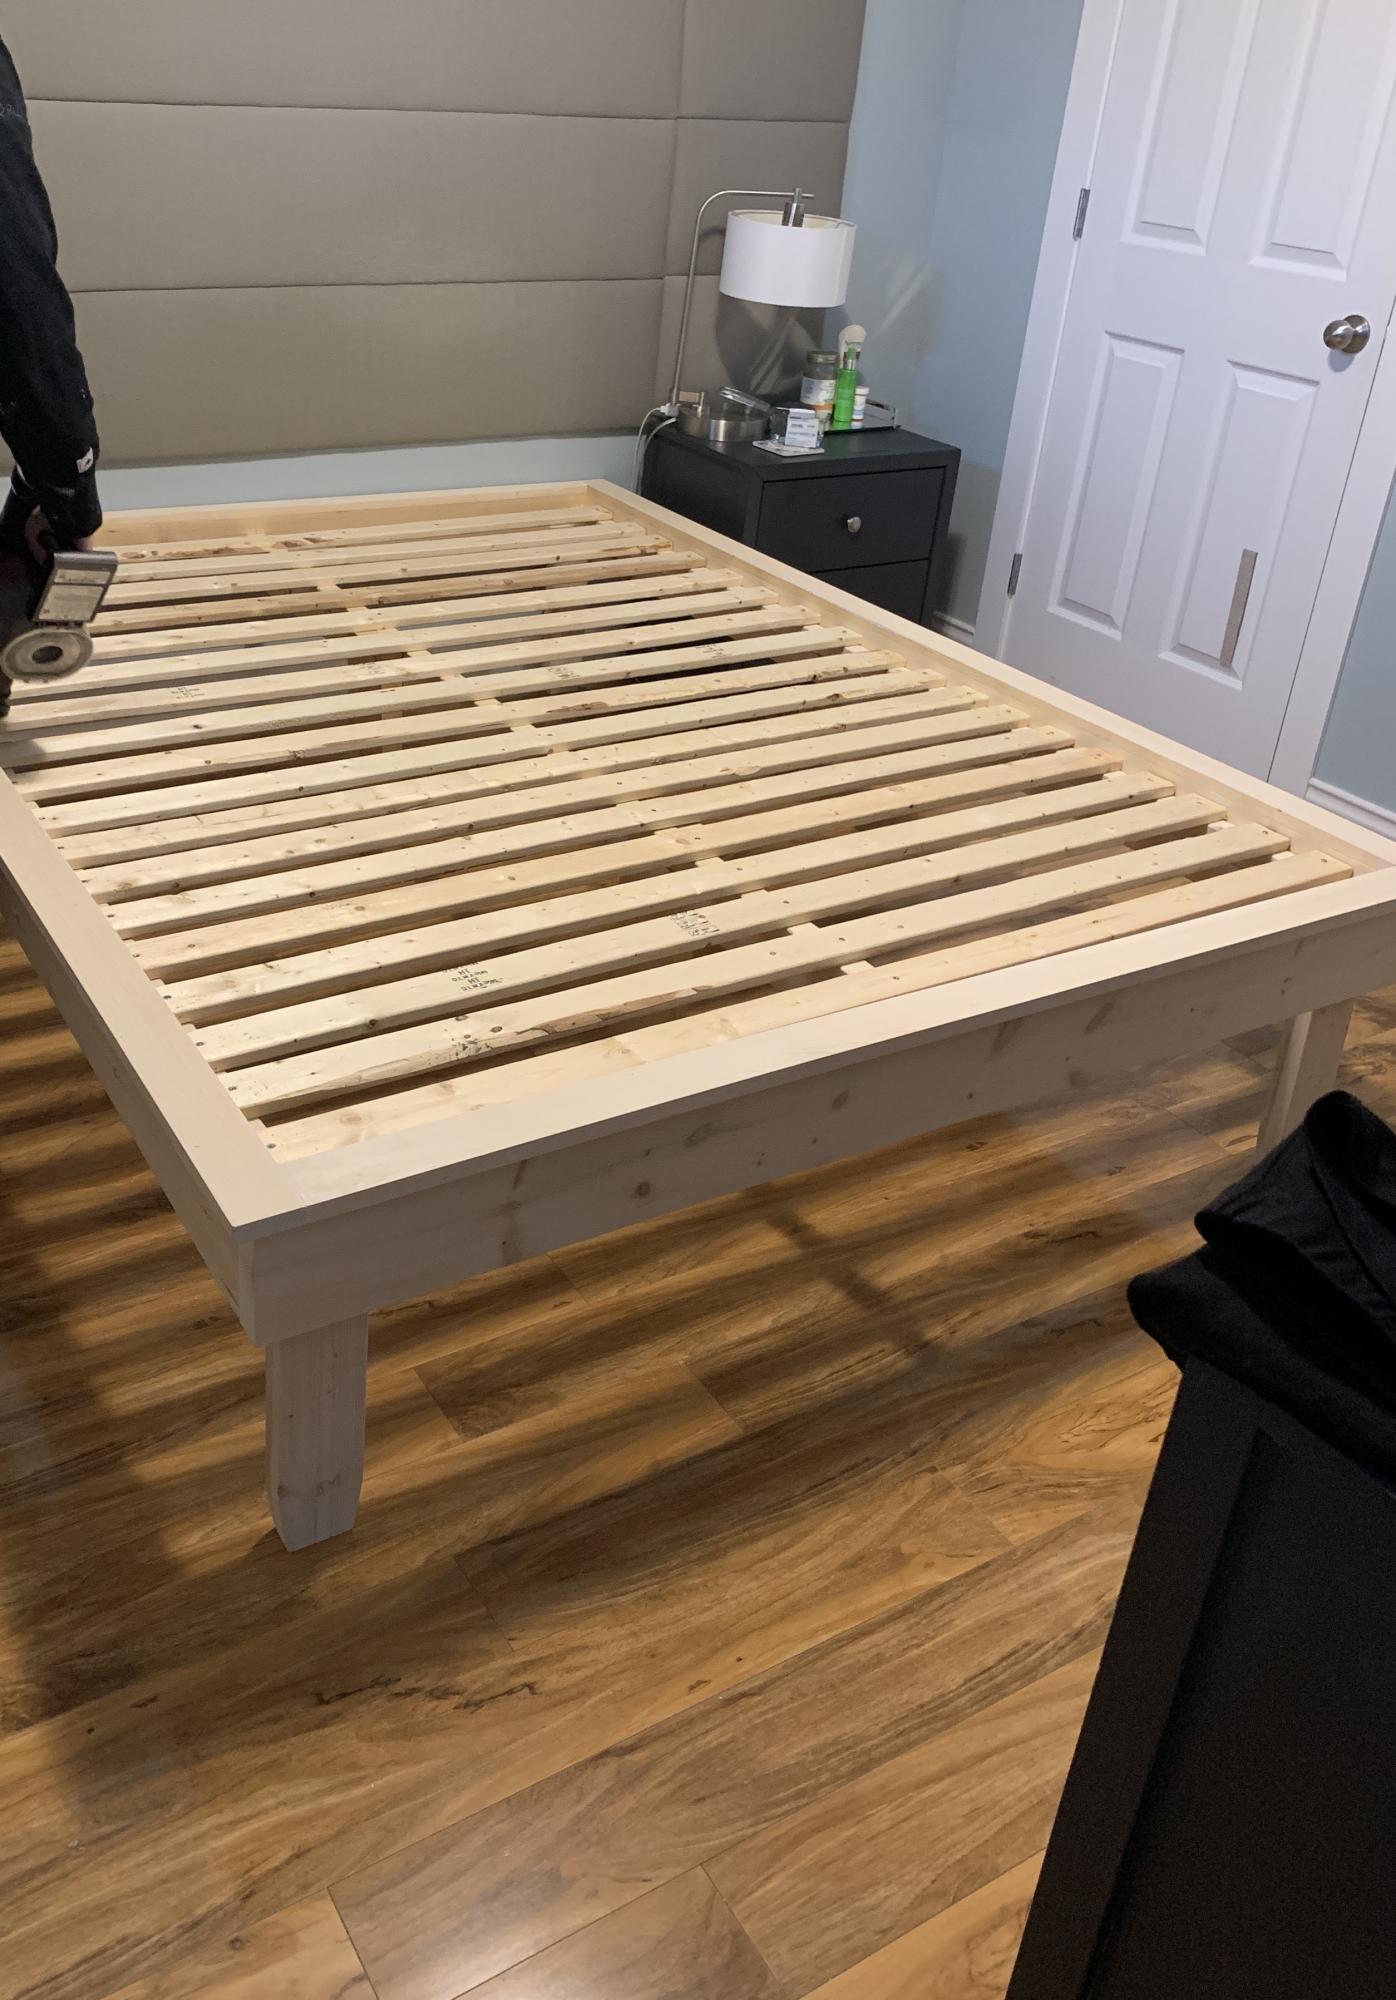
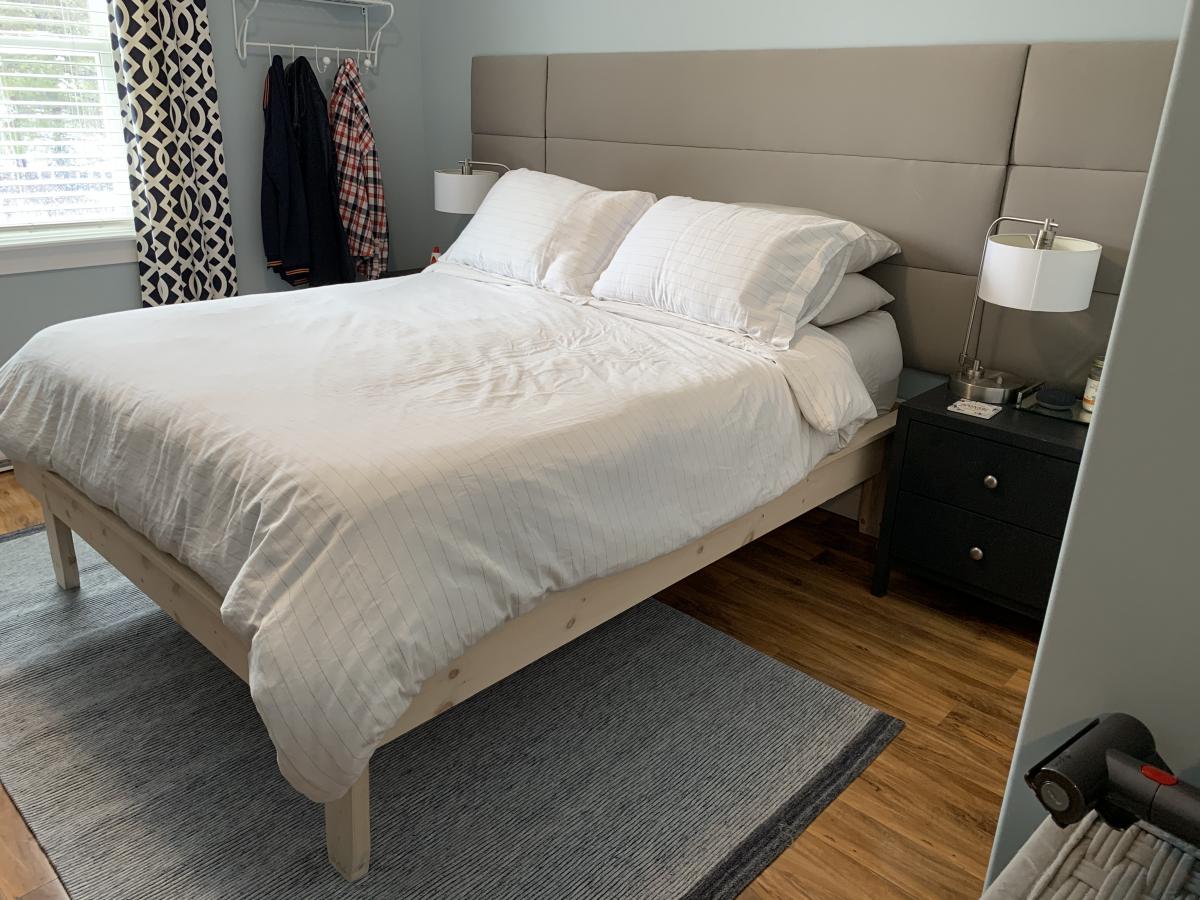
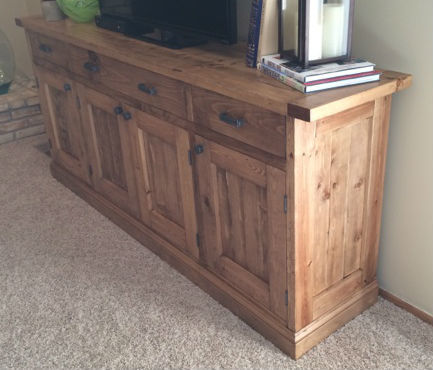
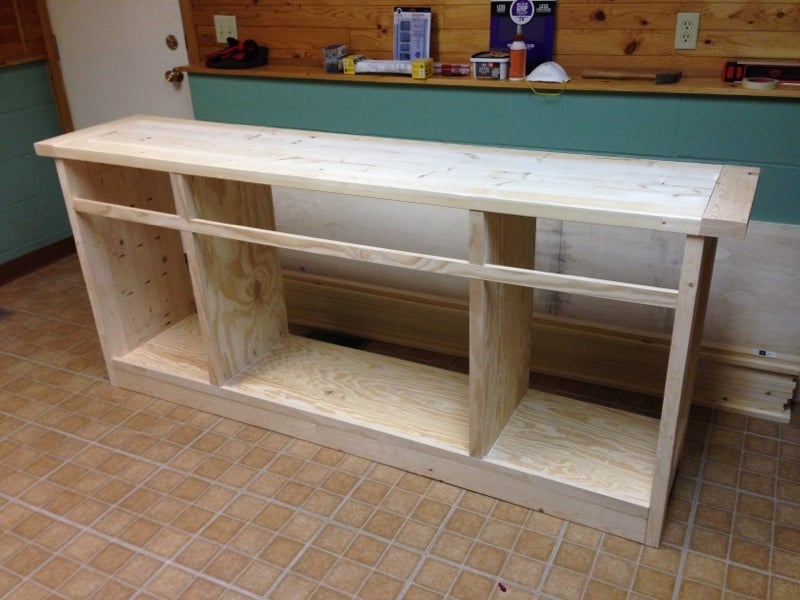
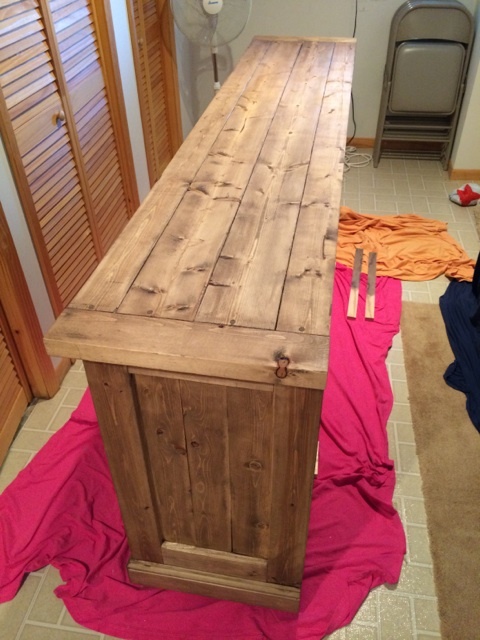
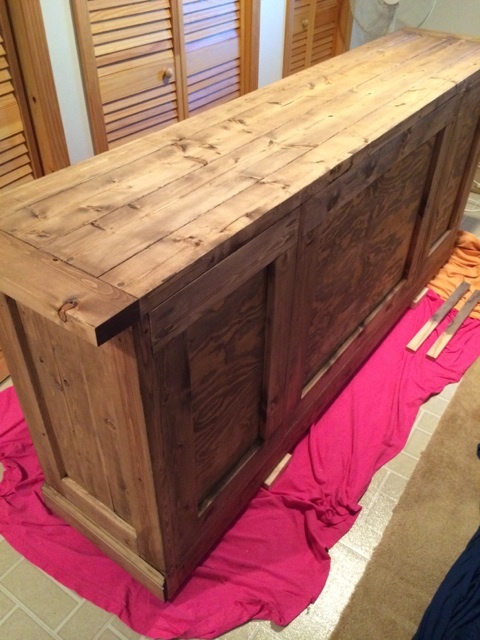
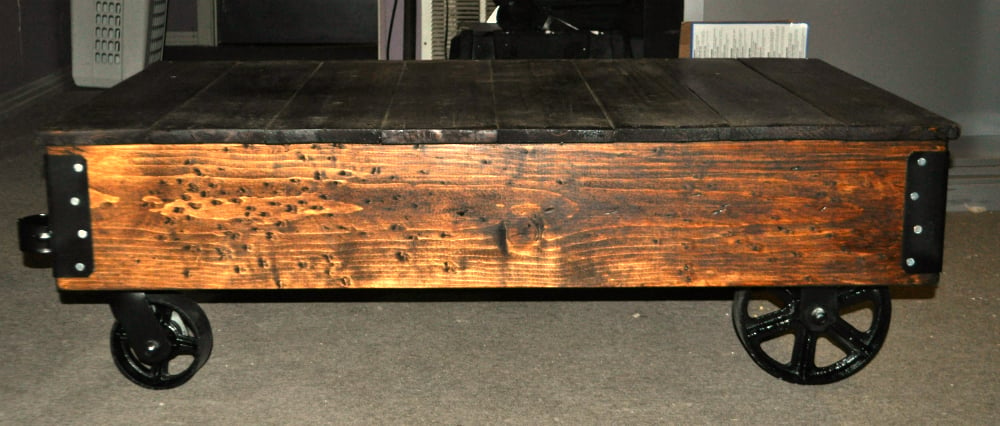
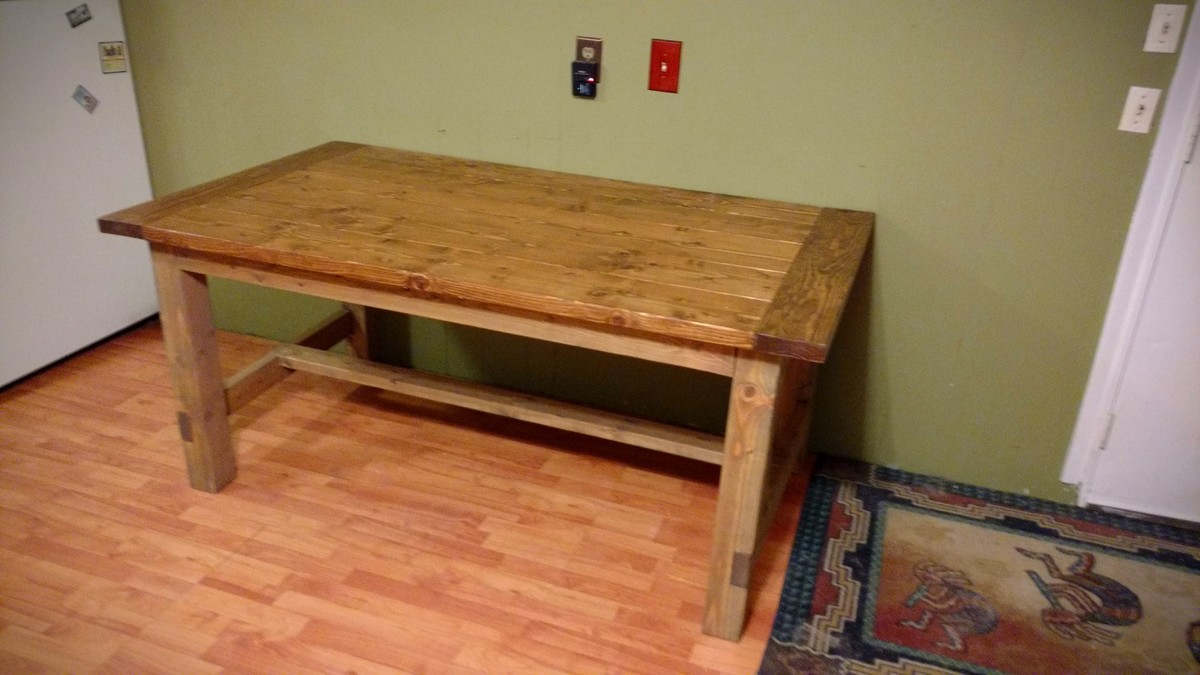
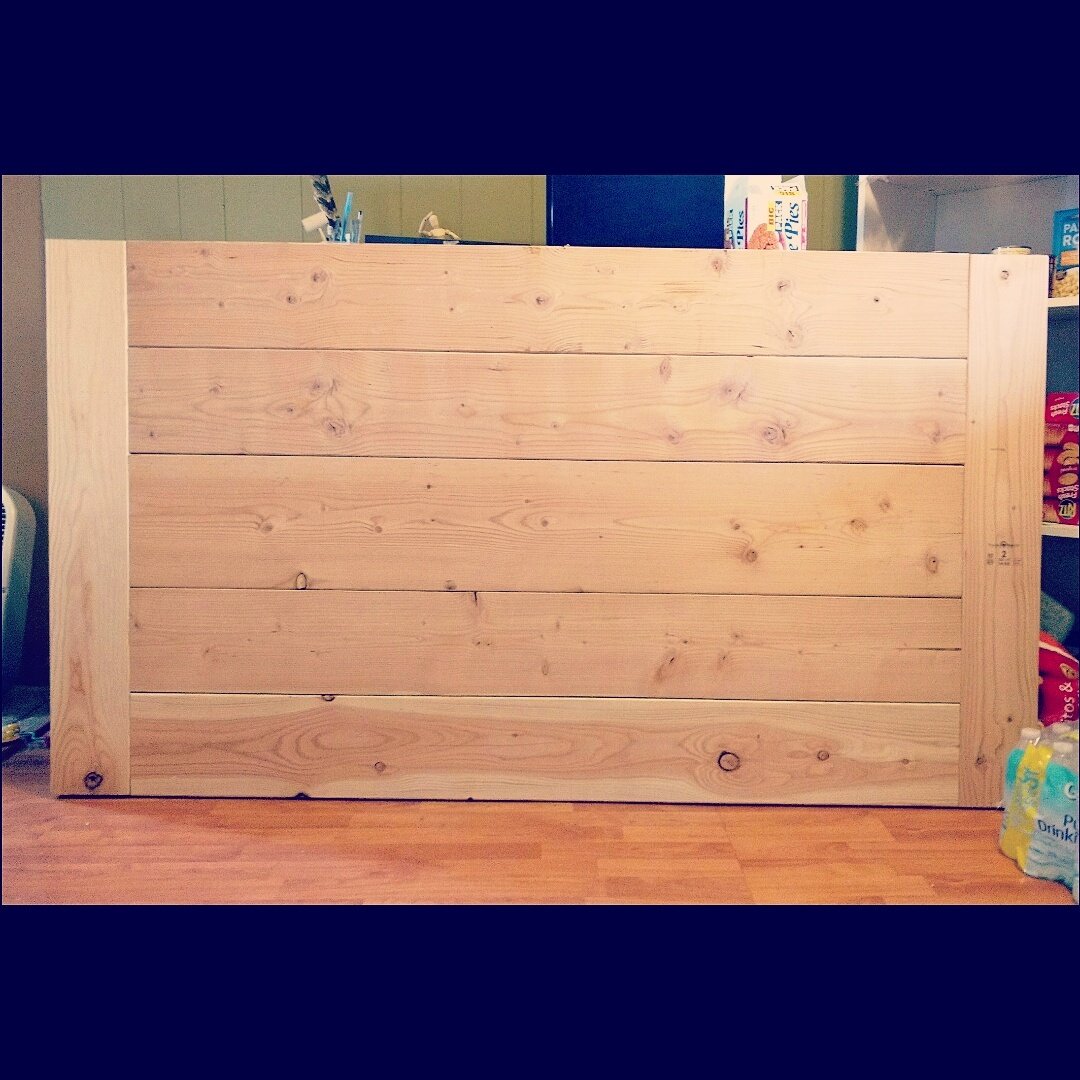
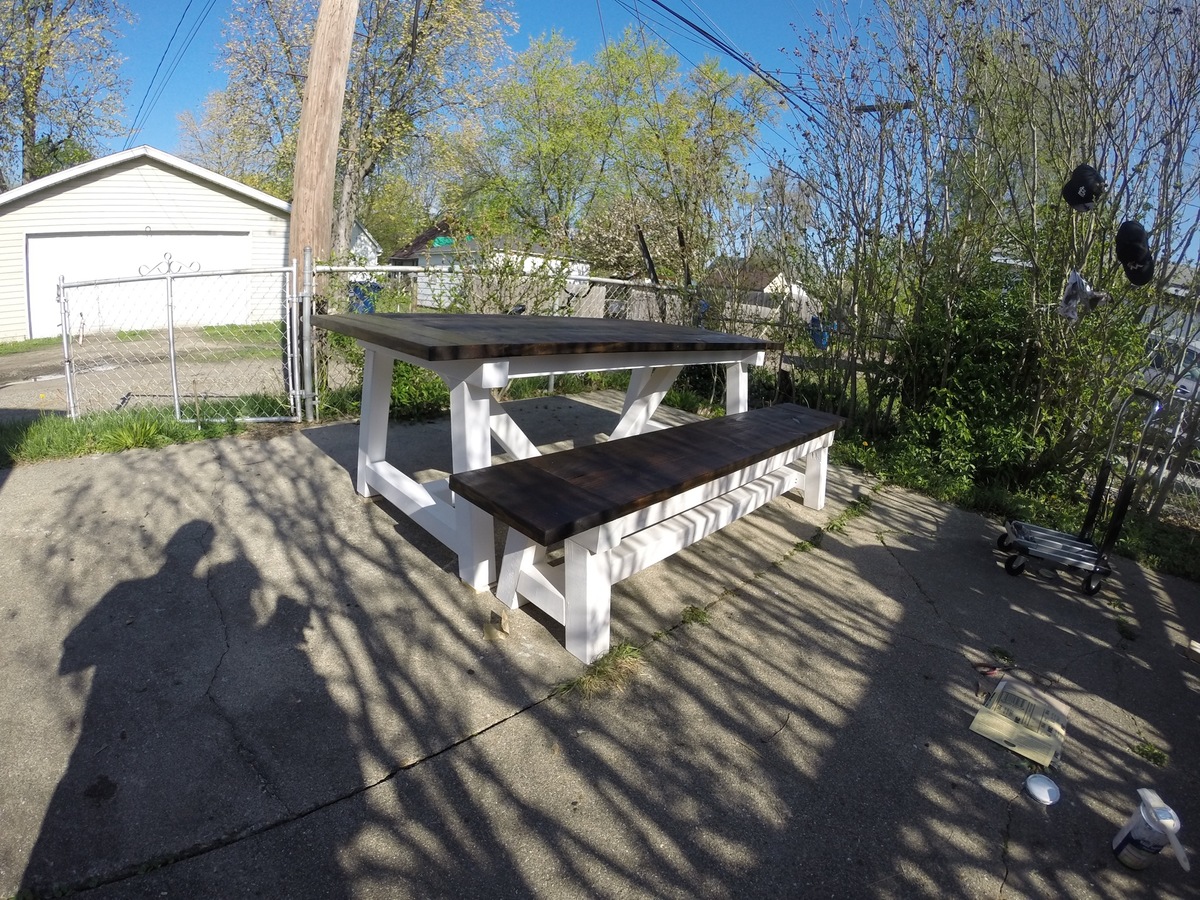
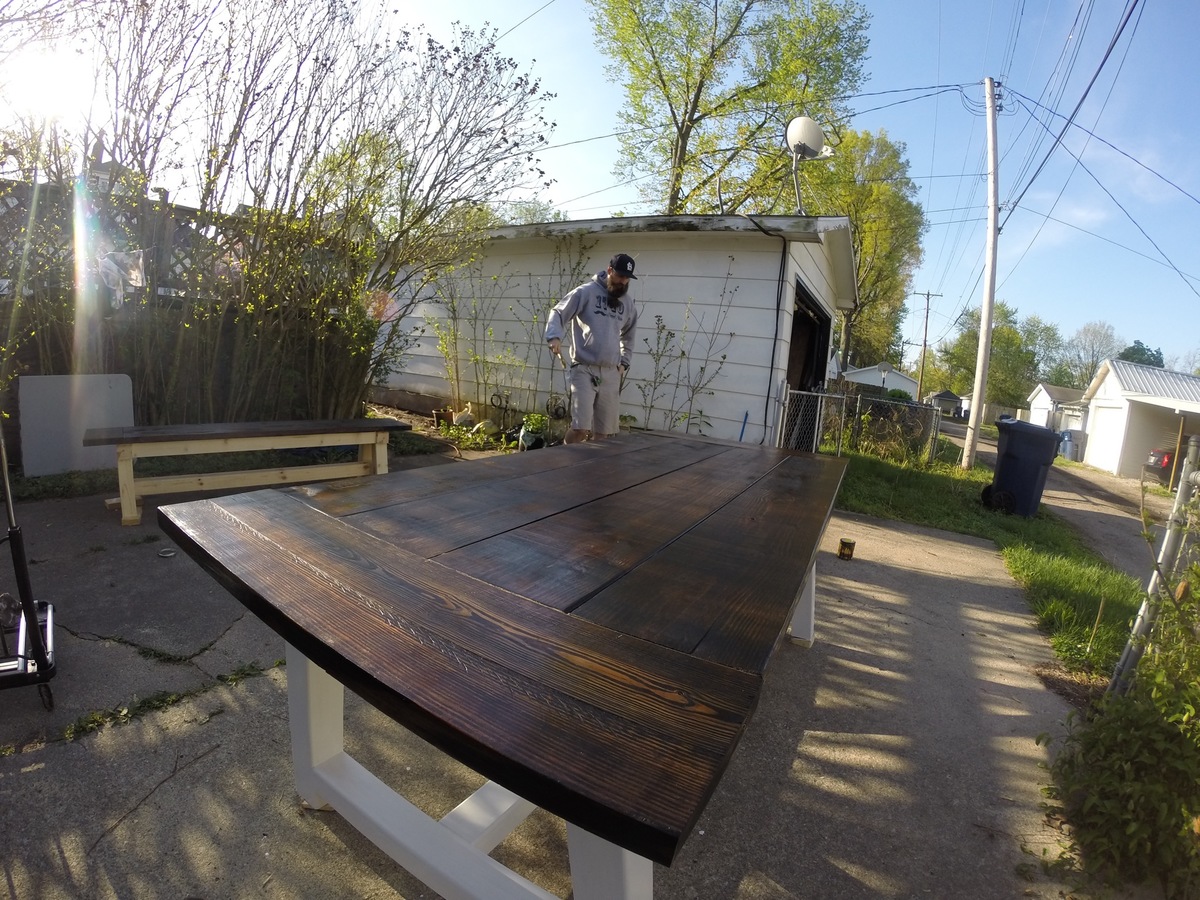
Farmhouse table!
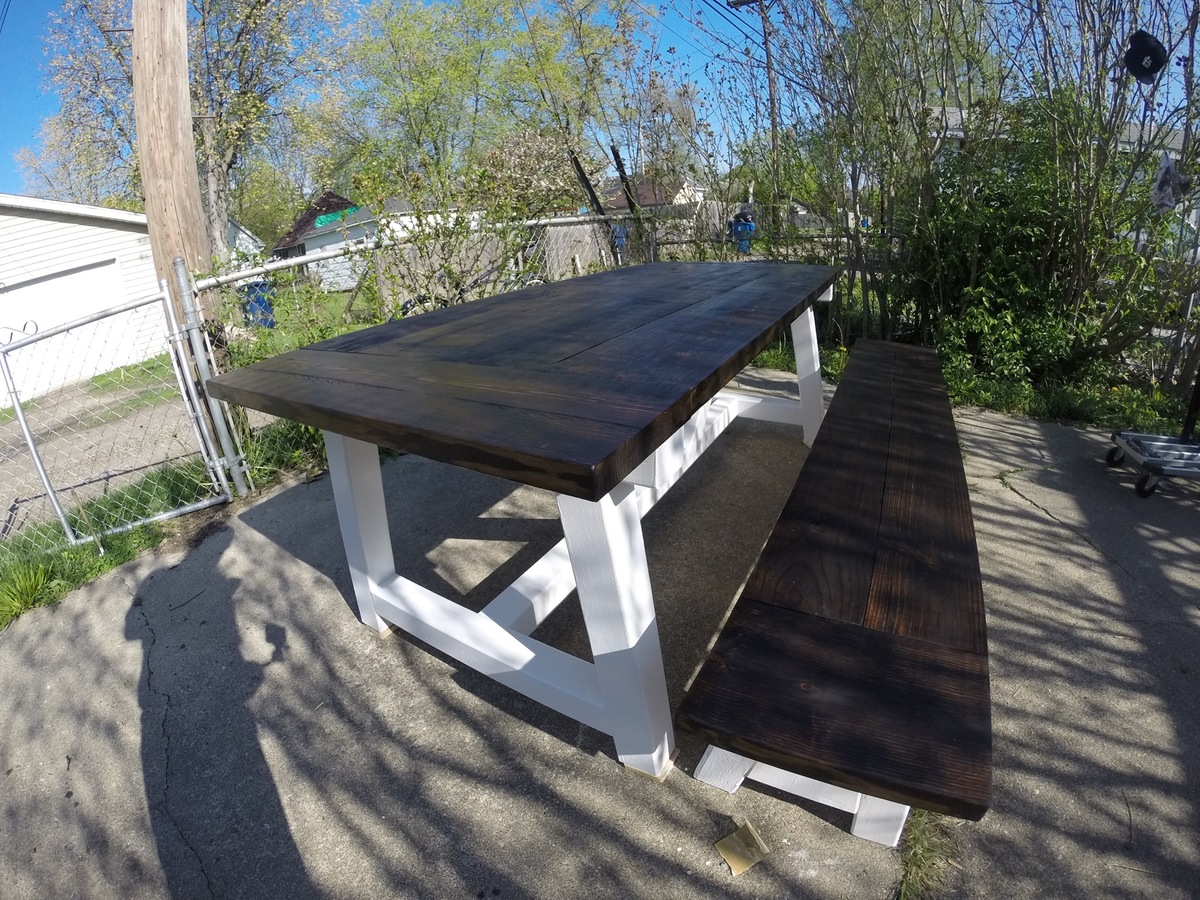
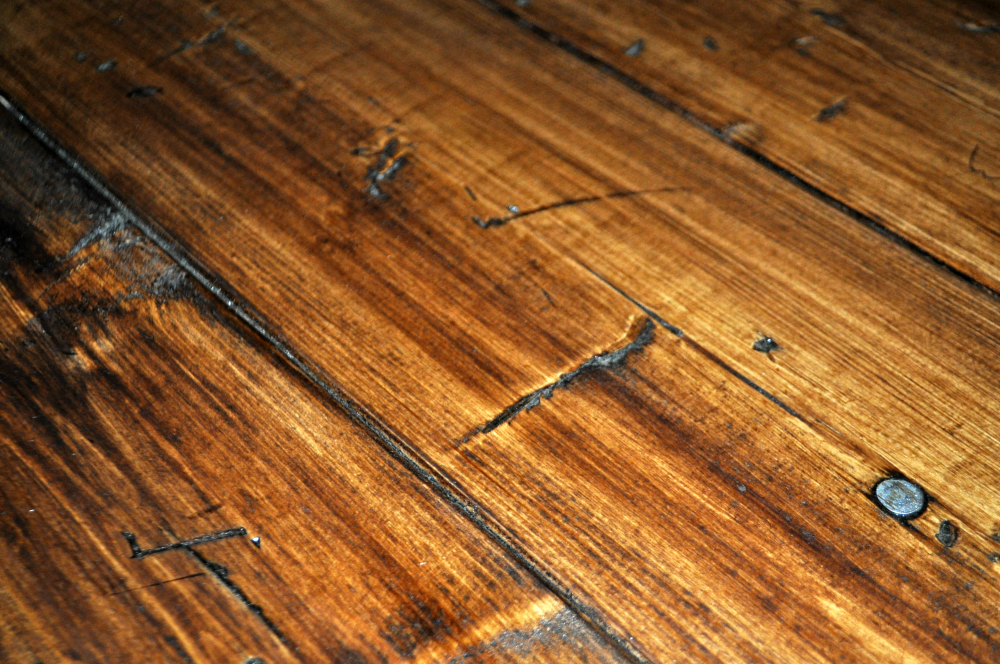
Built this for a friend of mine and his fiancé. They just bought a house and thought I would help them fill it. This is my 2nd farmhouse table. I really like the thickness of the table.


Built from Plan(s)
Estimated Cost
$125 with bench and stain
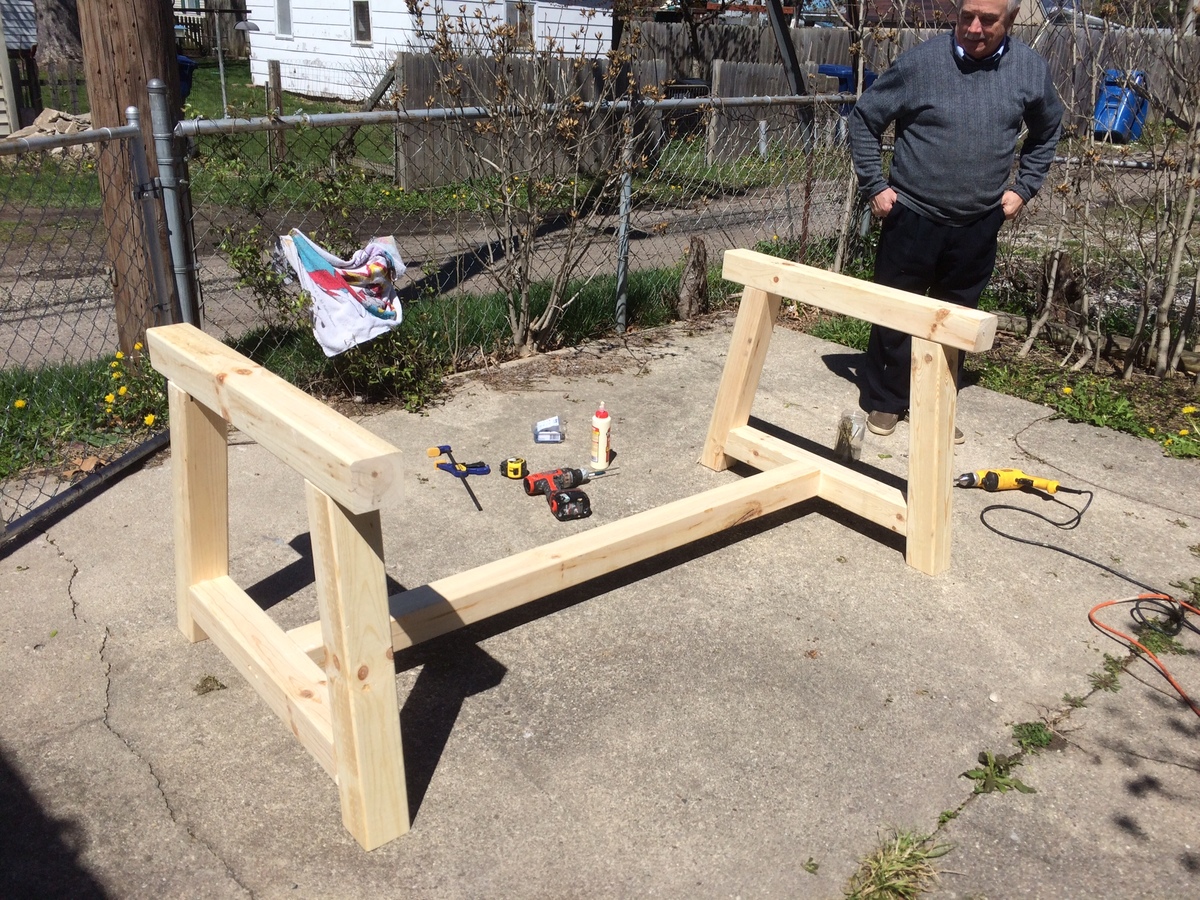
Estimated Time Investment
Weekend Project (10-20 Hours)
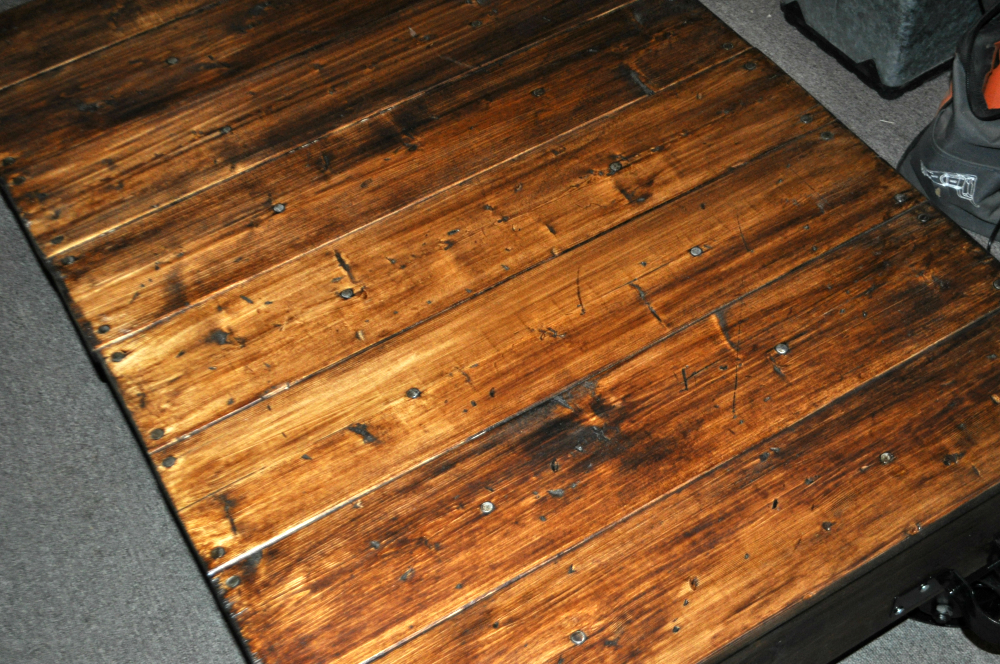
Finish Used
Dark walnut on top and white paint for the frame
Recommended Skill Level
Intermediate