When husband breaks it I can fix it.
![](/sites/default/files/20191001_214035.jpg)
My husband broke out entertainment stand all out of glass. This is my very first project. All by my self. Inspired from being broke and have 2x4 laying around.
Thanks to you we were able to build my mom a shelf for her kitchen with a combination of two of your plans! My mom loved the top of the “Farmhouse Potting Bench” but also wanted shelves like the “Rustic X Console Table”. We combined the two and adjusted measurements to fit our wall space. We didn’t do a complete X on the side because we wanted it with one slant, but loved how it turned out over all!
Kayla
My first project build from Ana-white.com. My wife had been looking at these towers online for a while until we saw they were upwards of $200 online... So I was like, "I'm sure I could make one.". So I found Ana's website, and here it is... My 19 month old daughter loves it, she climbs in and out of it with no problems, she calls it "uppy". This is my first of many projects to come from this very helpful site. The plans are all so helpful and very detailed. Thanks Ana!
I built the American Girl canopy bed and closet for a family friend for Christmas. This plan was so much fun to make! I will definitely be making a few more for Christmas. I put a tutorial for the mattress I made and will be adding tutorials for the rest of the bedding on my blog tomorrow. Thanks so much!!
I'm not a carpenter by any stretch of the imagination. This is the first building project I've done in God knows how long. Having a brad nailer is almost a must. it make the assembly of this headboard a piece of cake. The hardest part by far for me was finding untreated 4x4's. especially since we wanted to leave them the natural color of the wood. I finally found a local lumber yard that also had a pallet shop where they make custom pallets for area businesses. They had some untreated 4x4's that they use to make pallets with. It took me quite a while to pick out some good ones from the bunch. Even after being very selective with the 4x4's I still had to take 80 grit sandpaper on a belt sander to them to get them to the finished product. They turned out great though. I would say that I'm a jack of all trades type of person, but had no experience building anything remotely close to furniture before. I am usually handy when it comes to figuring things out and doing work with my hands though. If you are looking for a good project to try out, then this one is a great one to start on. As for now, I don't plan to make the footboard and rails for this bed. These headboards cost me a total of about $52 or $53 each in materials. It took me a total of about 5-6 hours to build (2 hours of that was sanding on the 4x4's.)
Made from a combination of Ana White plans to build the ultimate home bar! I used the Rustic Sideboard / Buffet Table and Modular Bar Wine Grid Hutch plans for this custom build
We like to fly the flag in our family so 4th of July is a big deal for us. I built three sets of crates to share, each with a little difference but all three with red white and blue stain from HD.
Easy to build and the instructions/plans were perfect. Nine crates required four cedar picketts.
A Playhouse Under the Stairs for the Grand babies! A really fun space :) A fun project for me to build ... It lets the creative thoughts take shape. I had the perfect space for a playhouse under the stairs in the basement and thought that since we live in a cold climate it might be good to have an indoor play space. Inside I put down carpet to keep that area warmer since it is on the cement floor. I also installed bead board, chair rail and plywood with wall paper on it. I didn't use any plans from this amazing site but did see other plans that inspired me! I will be using some plans on this site soon. Look for a Murphy Bed soon from me :)
Sun, 01/22/2012 - 10:39
That is an amazing play space for your grand babies! Makes me wish I had stairs so I could build one for me! LOL
Mon, 01/23/2012 - 13:51
Not a single detail was overlooked. What a great use of the space! I'm sure the grandbabies are thrilled
Mon, 05/21/2012 - 00:42
Very cool, makes me wish that I had a house with stairs!! Just so I could build it for me!! LOL My kids are too old anyway right?! (13, 14 & 15)
In reply to How did I miss this one?!!! by tracysmith
Mon, 05/21/2012 - 07:12
We are never to old to enjoy girl stuff and imagination. I made this for my grand babies but had so much fun with it myself. I am so glad that you enjoyed it.
Hugs,
Bj
My parents have hated their fireplace since they moved into their house 18 years ago. When they moved in it was black bricks, so we painted it white, but it was still really sad looking. I finally got on Ana's site and found plans for Mimi's Faux Mantel and got to work. We just love how it turned out. Really warms up the space and now the fireplace in the focal point of the room. Thanks Ana!
Sun, 10/05/2014 - 18:34
what a fantastic job you did! That settles it....this week I'm picking up my materials and getting to work. I've thought about it for long enough. Your mantel is an inspiration to me because it's exactly what I've been looking for. Your parents must be so happy. again, Great Job!!!
Coffee table with built in toy storage with glaze coat top
Our kitchen REALLY needed an island, and with a few modifications from Ana's plan, we had the perfect new piece for our home!
Made this about 7 years ago from Ana's plans. Very easy to follow. I actually extended it to be a 4 and 2 seater set. Still a perfect today. Love it
Wicklow
Ireland.
Sat, 06/10/2023 - 06:39
It looks so great, shared on our Facebook page today! Thanks for sharing.
We needed space, display space as well as gadget space. The Workbench Console and Rustic Hutch fit in well with the dinner table I modified from Ana's Farmhouse table. Instead of adding the 2x6 on the front and towel bar, I opted to leave the face clean with just a 2x4 and add some reclaimed antique drawer pulls on the side for decoration.
Instead of plywood or 1x4's for the back of the hutch I used the ever handy bead board. Same feel, but cut to size. We also raised the shelf up 12" from the bottom so that I could easily vacuum under it and it would be a great place for a basket or 2 just to hide linens.
Thank you Ana...my house is transforming one project at a time...
Fri, 01/27/2012 - 11:25
I like this a lot! You did a fabulous job! I can see a ton of applications where I could use something like this around the house.
This took me for-ever to build but mainly because I have an infant plus two other children. I think the actual time in hours was about 15 for the build and about the same for finish work. We modified the plans to fit my sons full size mattress. We also spent a lot on lumber because, initially, I thought I would stain but ended up painting.
Tue, 12/10/2013 - 11:00
Excellent job, even if it did take 4 coats of paint. Nicely done. I really liked the rope wrapped legs.
Built this bed and stool for my grandaughter's first "big girl" bed.
This is a queen size headboard I built for our guest room. This is inspired by http://ana-white.com/woodworking-projects/reclaimed-wood-headboard-queen-size.
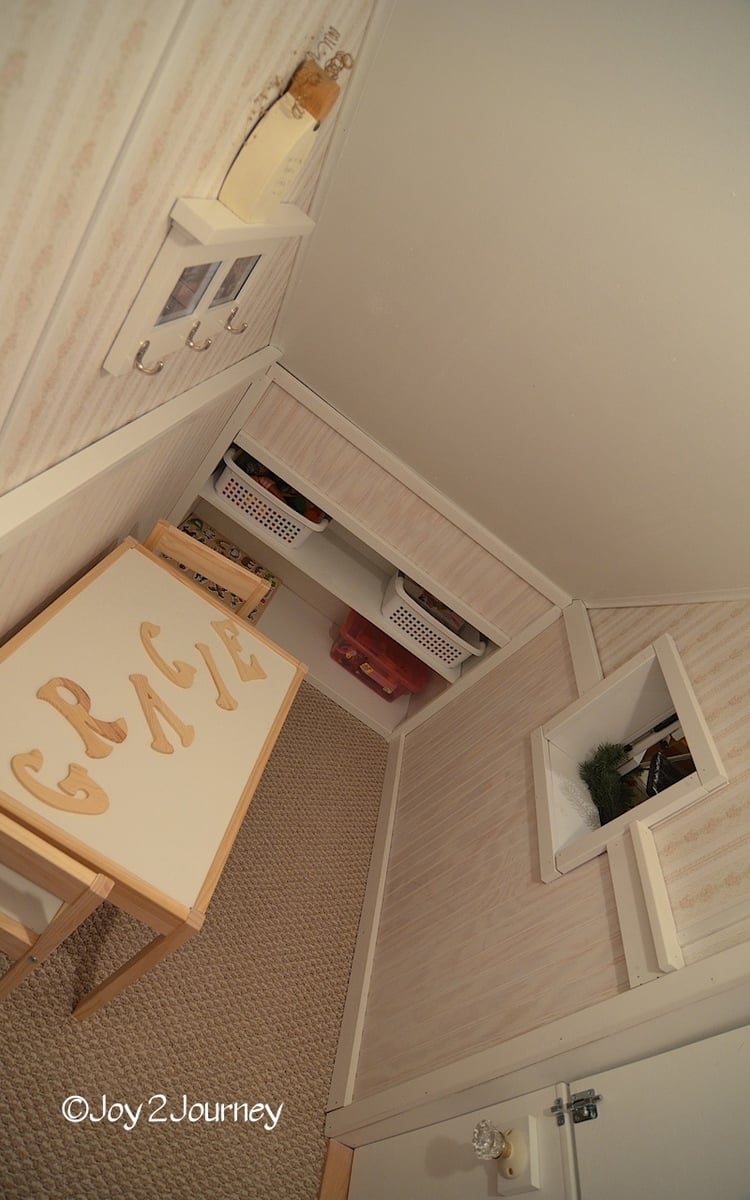
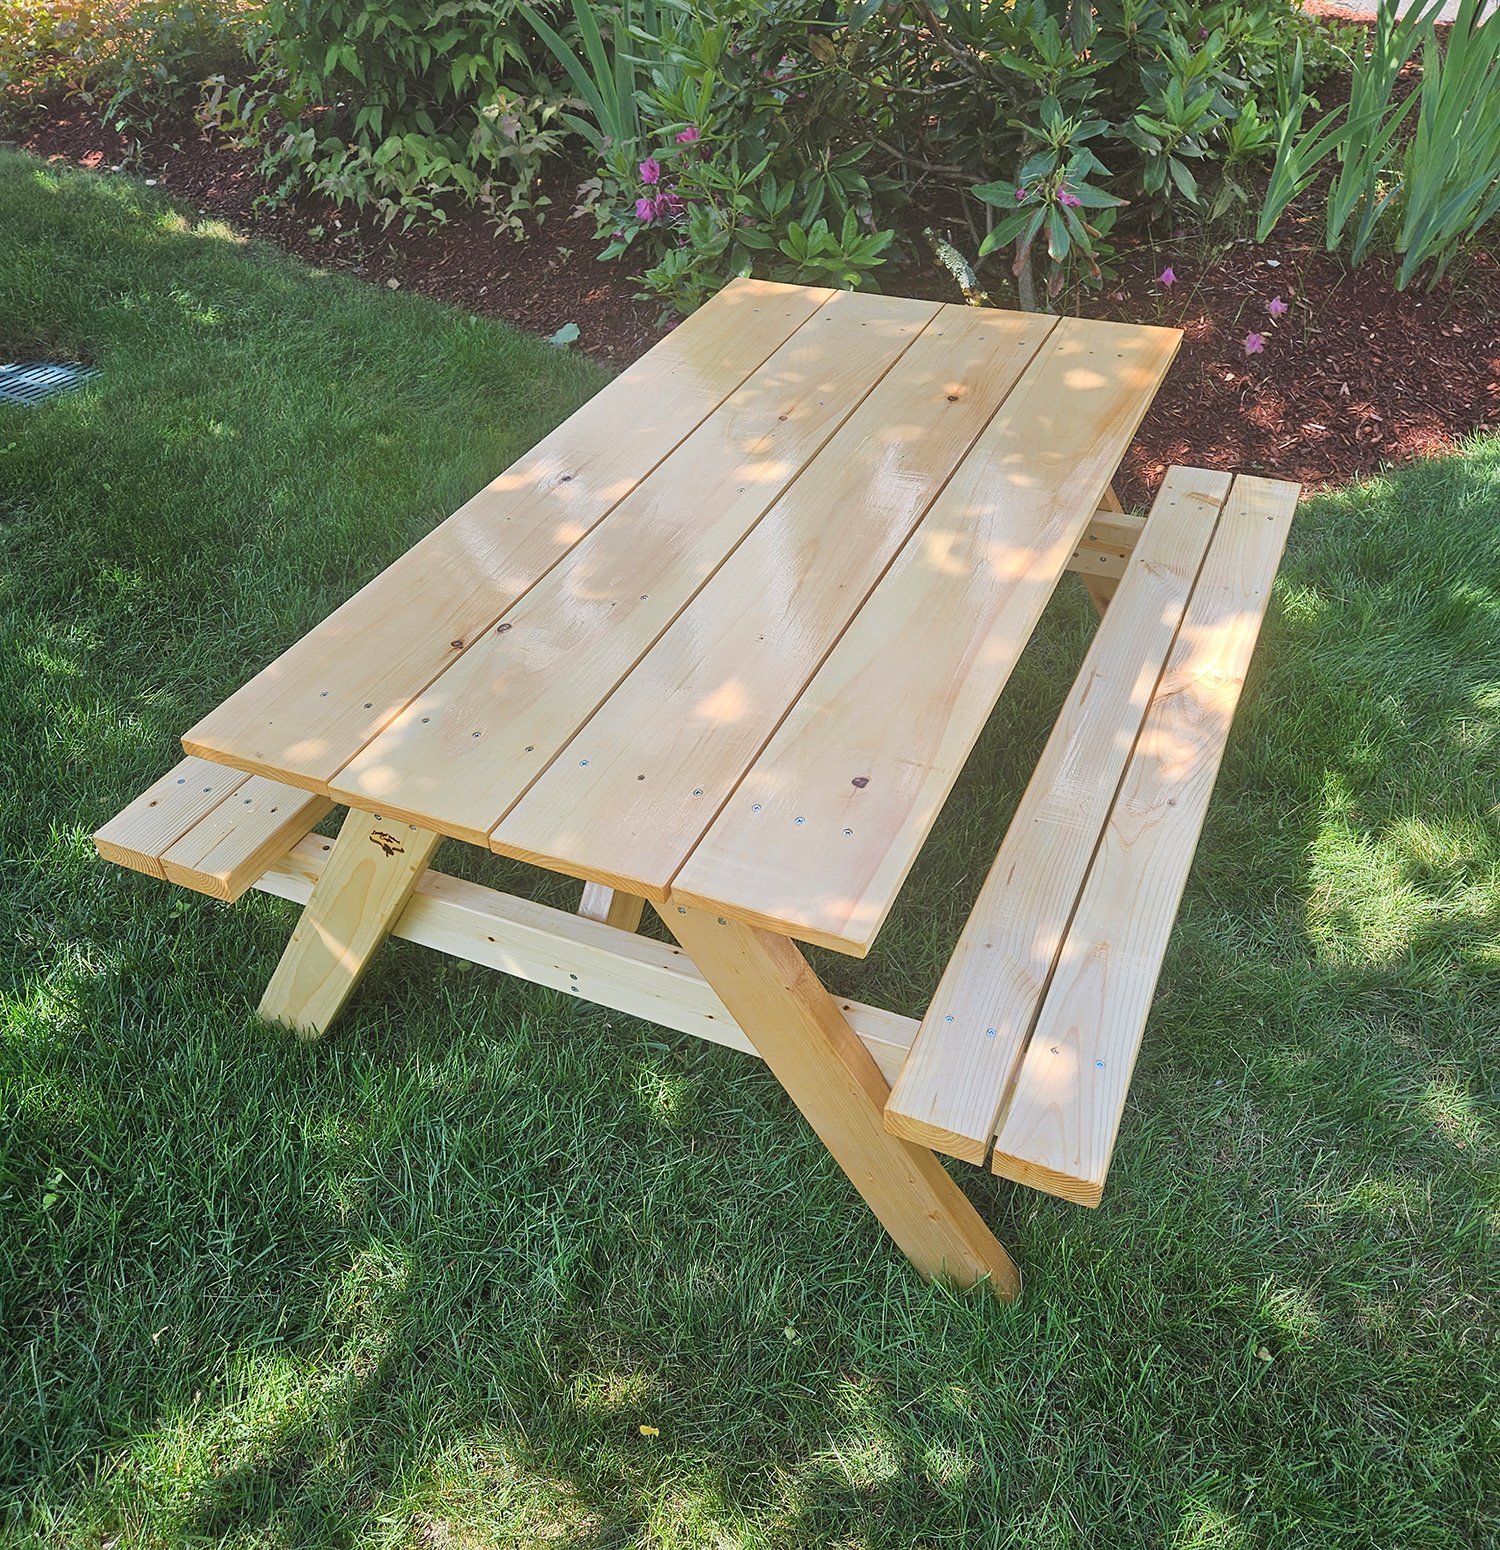
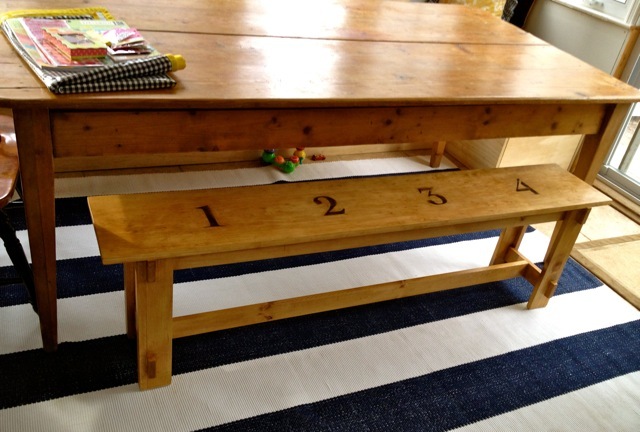
The plans for the small and medium picnic table came at a perfect time. Our two granddaughters were growing out of their plastic play table and a big party was on the horizon - a graduation from pre-school.
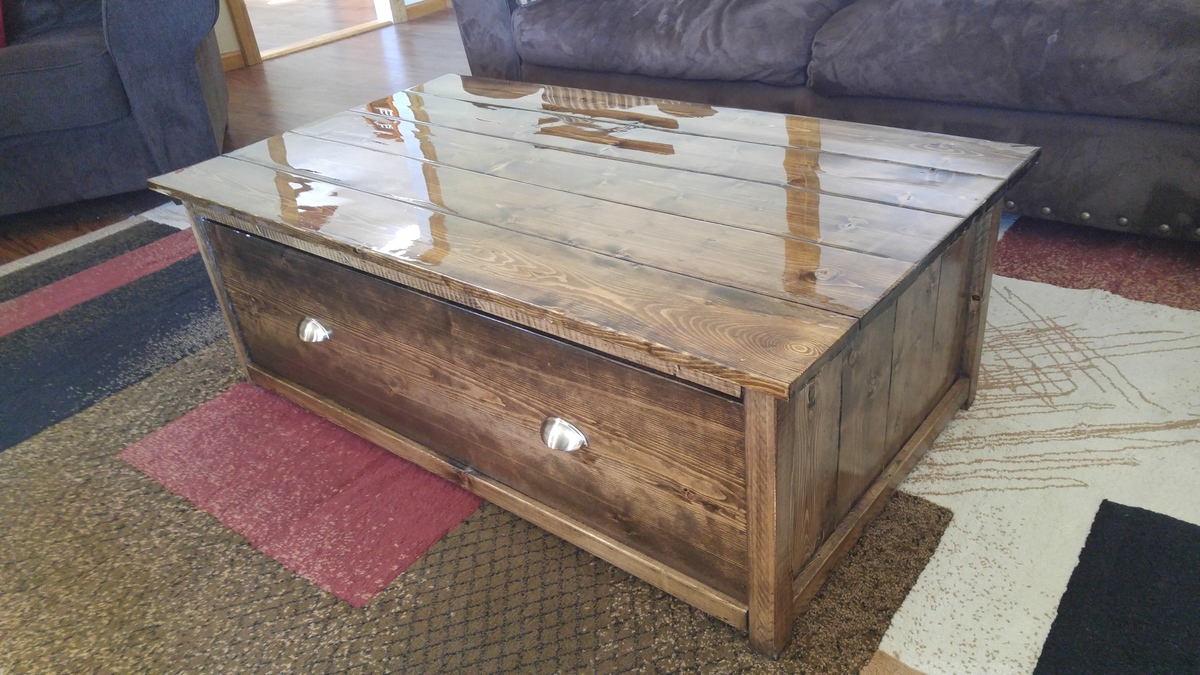
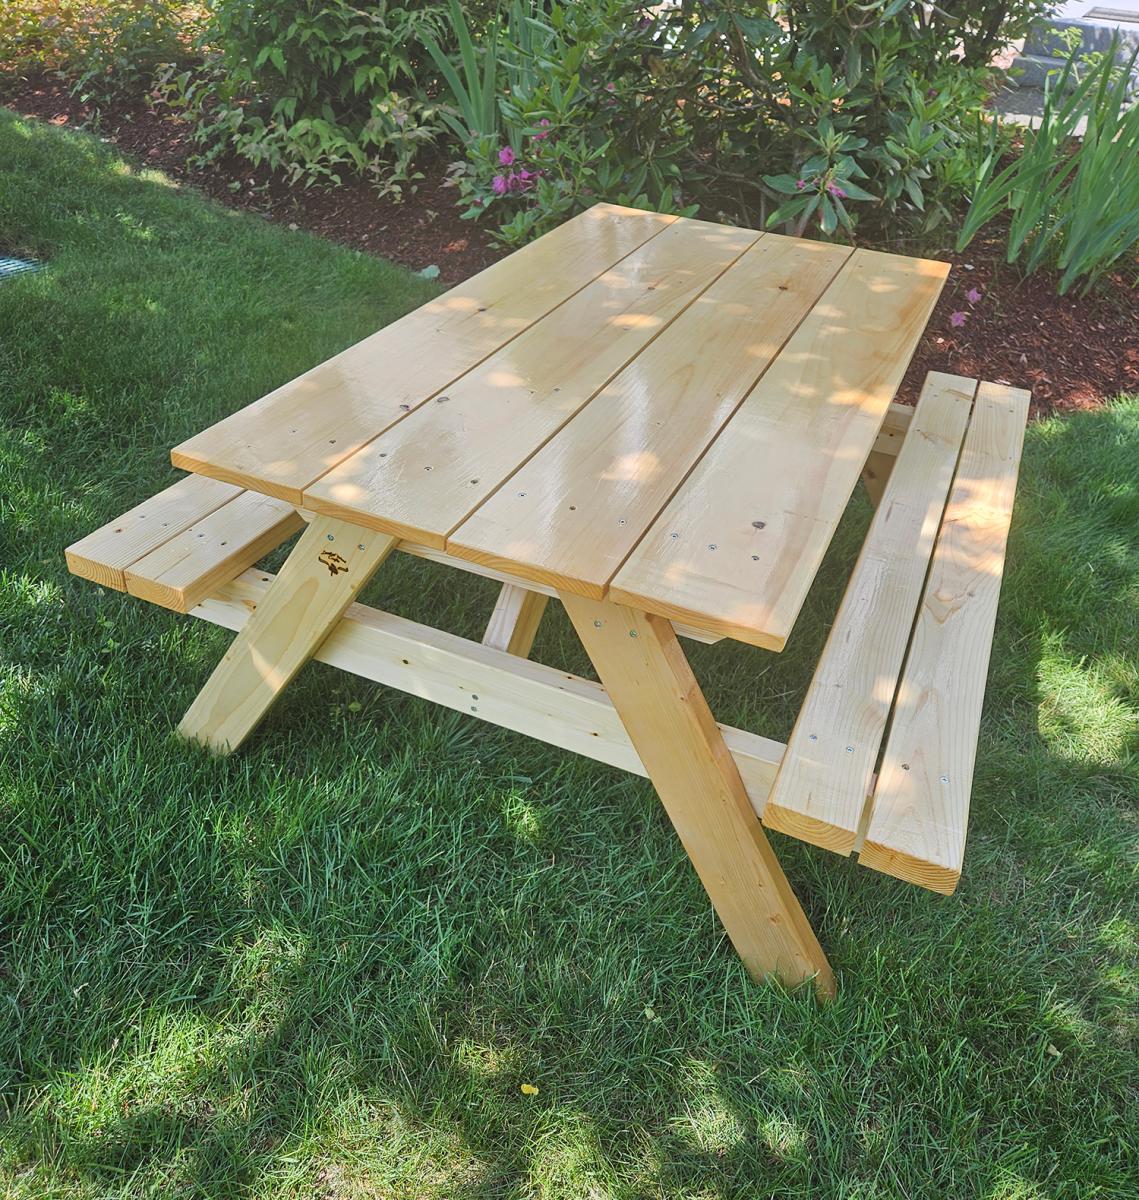
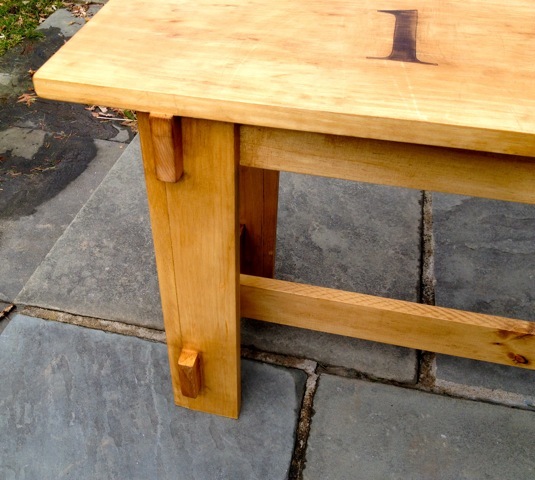
As it turned out, I had purchased some very nice pine pre-covid and decided to use it for the table. The only change I made to the plan was to use 1" x 6" boards for the top as that was what I had. It gave the table a lighter look. I'm not sure if the boards will cup over time but I'm hoping the 5 coats of Spar Varnish will prevent that from happening.
I was surprised at how easy the plans were to follow and that the level of detail was enough to get it build without questioning "What do I do next?" or "How do I do this?"
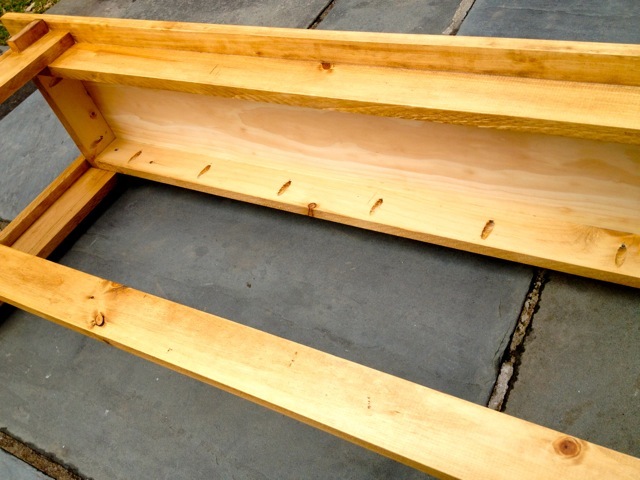
I must say that having a miter saw and drill press made the job go faster but I could see that using more basic tools would certainly get the job done. Having the material allowed me to build the table in a single day. The coats of varnish took time to apply and let dry but I believe it will protect the table better than polyurethane.
rustic bench, modified length and omitted x detail, painted numbers
Fri, 02/03/2012 - 07:25
C'est une belle réalisation , je veux en faire l'été prochain. Merci pour toutes vos superbes idées. Bisous Isabelle
Wed, 02/08/2012 - 08:27
Sometime I wish I hadn't been handed down such a nice dining table and chair (plus coordinating antique buffet!)set from my parents. I read about this project at your site and would love to build this for my family. We are expecting baby #6 and two benches with 1, 2, and 3 on one and 4, 5, and 6 on the other would be too cute.
I keep hoping my parents will build again, this time in the style that matches their previous set and I can "generously" give them back the heirloom set ;-).
My sister wanted a step stool for her grand-daughter via her daughter-in-law. Like our mother and grand-mother before us, we stood by the sink with our hands in the wash water "helping" with the dishes. She asked it I could build a stool. After searching through several plans, I came across this vintage step stool and changed it up a little for the personal touch. I added the cartoon characters to fit with my great-nieces theme and she now has something that she can "brag" about as she grows.
I saw this plan on pinterest and really liked the way it looked. I bought the wood, but let it sit for a year because it wasn't a priority. Well, we were getting a new dog and he needed a little more room due to hip surgery. So, I expanded the crate dimension and got to work. I added 6 inches to the width, and 4 to the length but turns out I was about an inch shy all the way around to fit a plastic liner tray. Next one will be better. I used birch plywood on the side panels and the bottom panel, but used 4 inch wide board to create a slatted top rather than a solid top. I put hinges on the top with a window latch style lock, and put 2 slider style gate locks on the door. the color was from using medium walnut Danish oil, finished with 3 coats of gloss poly. During the project, I took time to teach my 9 yr old daughter how to use various tools, from the drill to the power miter saw. It was a great bonding time for us, and for a worthwhile reason- the new dog.
We modified Ana’s plans only slightly and we love our outdoor furniture we are going to make a second couch and a couple of chairs as well!
Comments
Ana White
Wed, 10/02/2019 - 09:53
It's perfect - and will…
It's perfect - and will never break!