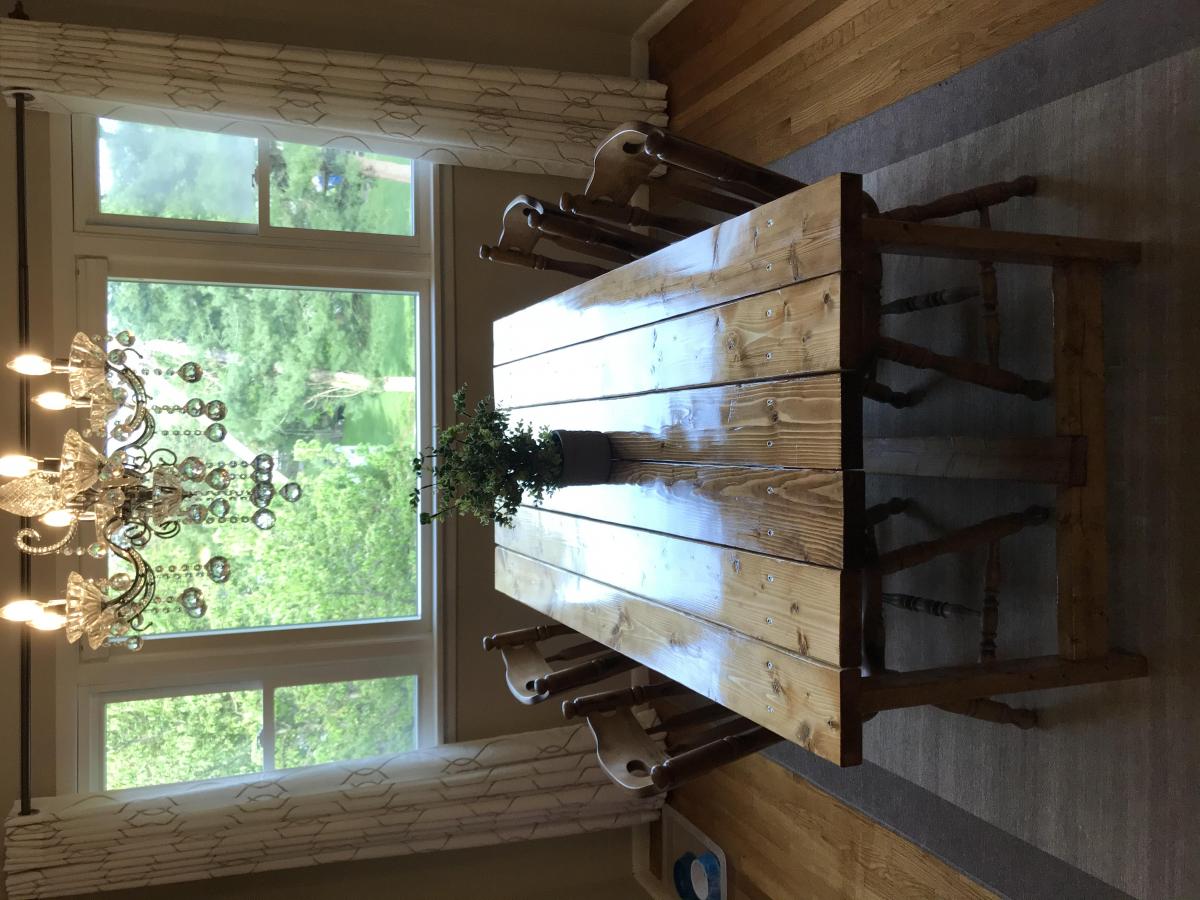
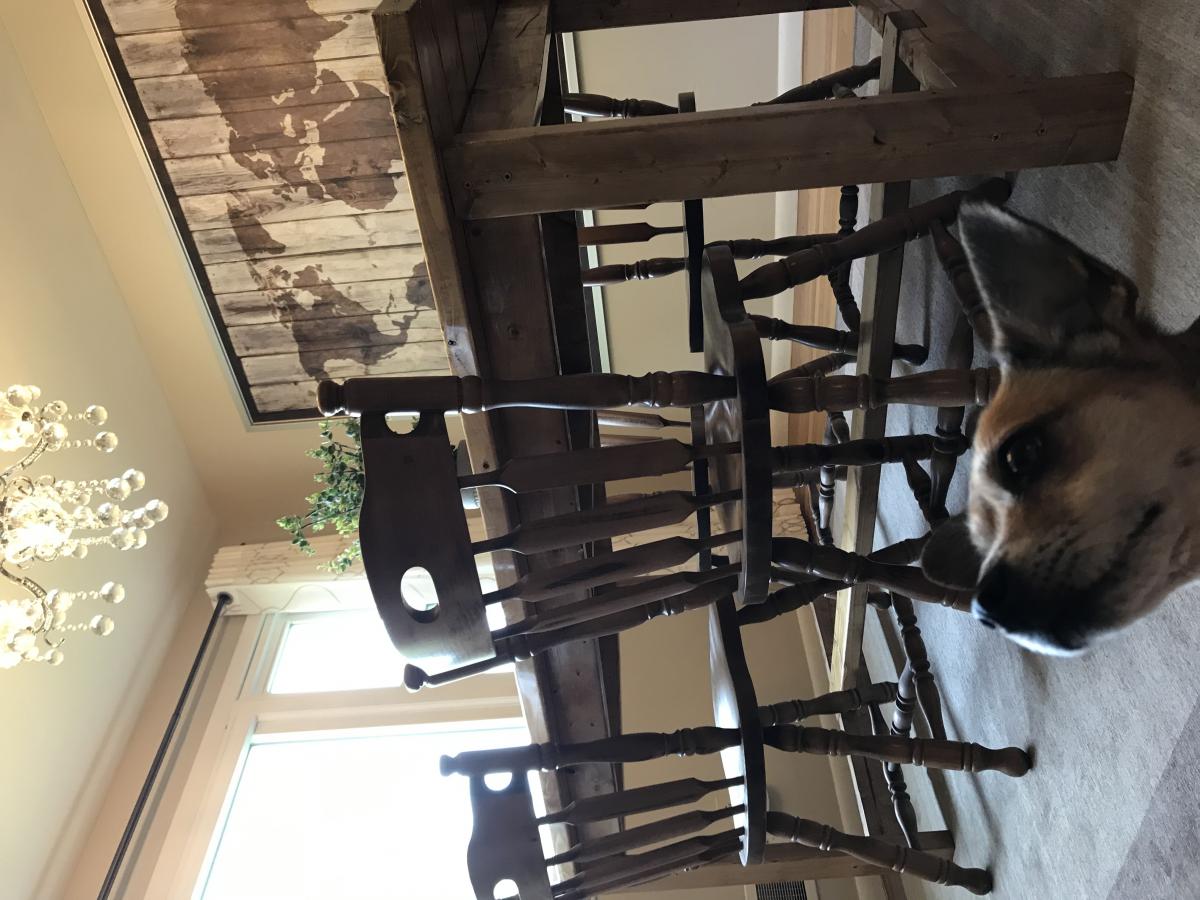
Farmhouse furniture set
Had fun with this one
Had fun with this one
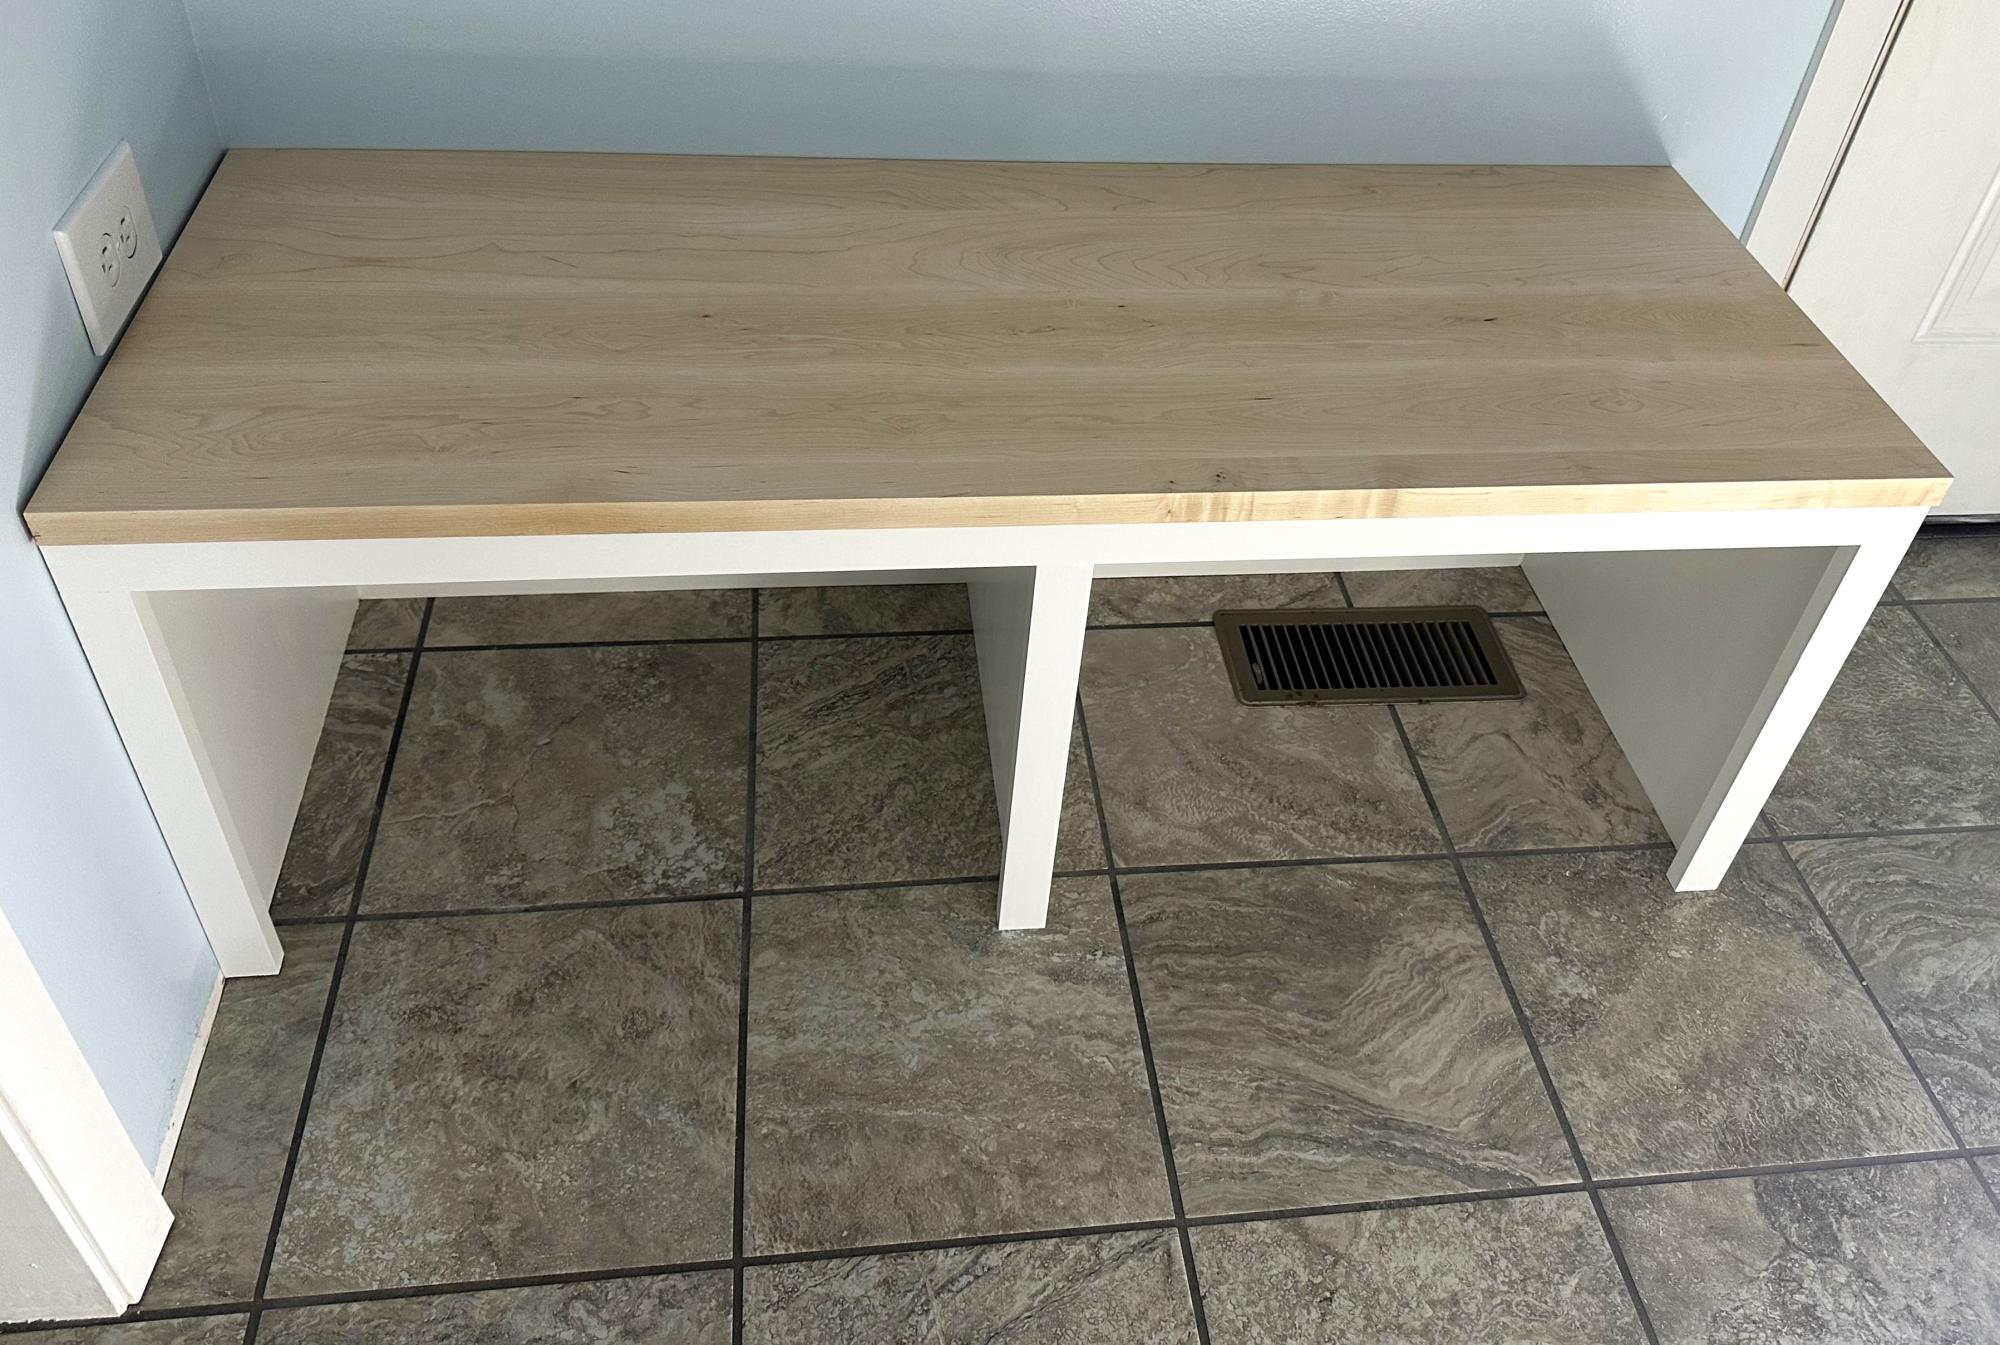
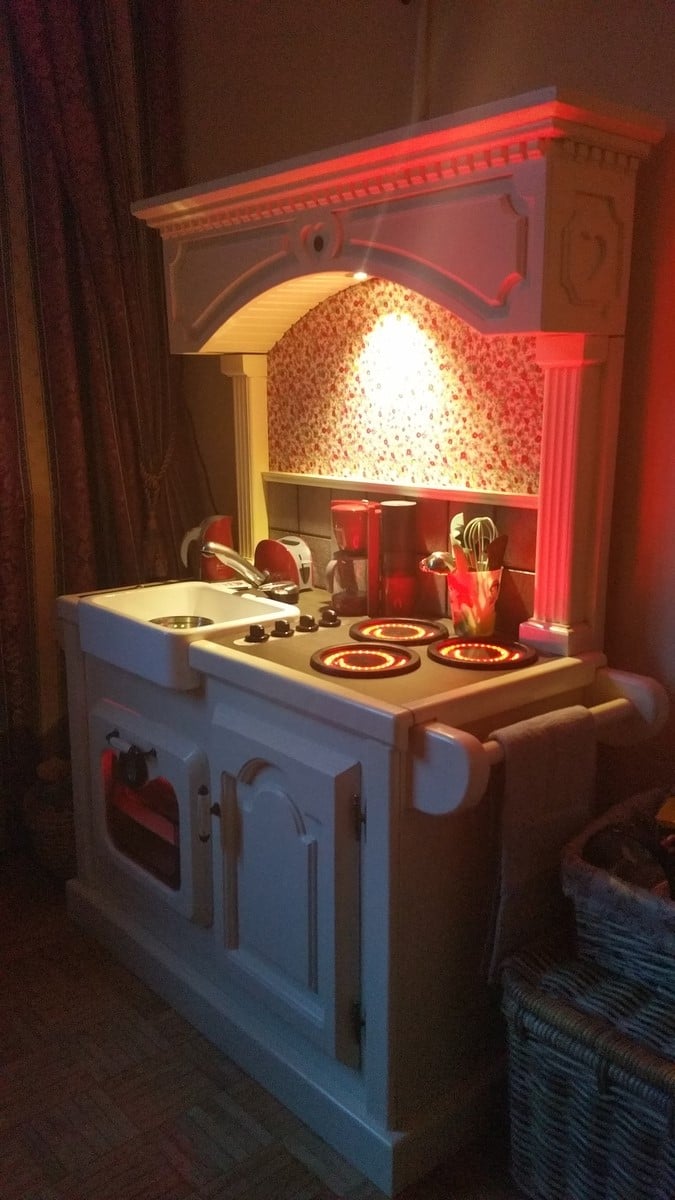
I have a very small area and really needed more storage. I used stock cabinets which I modified and made the shelf and installed the hooks. Because I have cats, one bay is for food and water and the other for shoes.
Margaret White


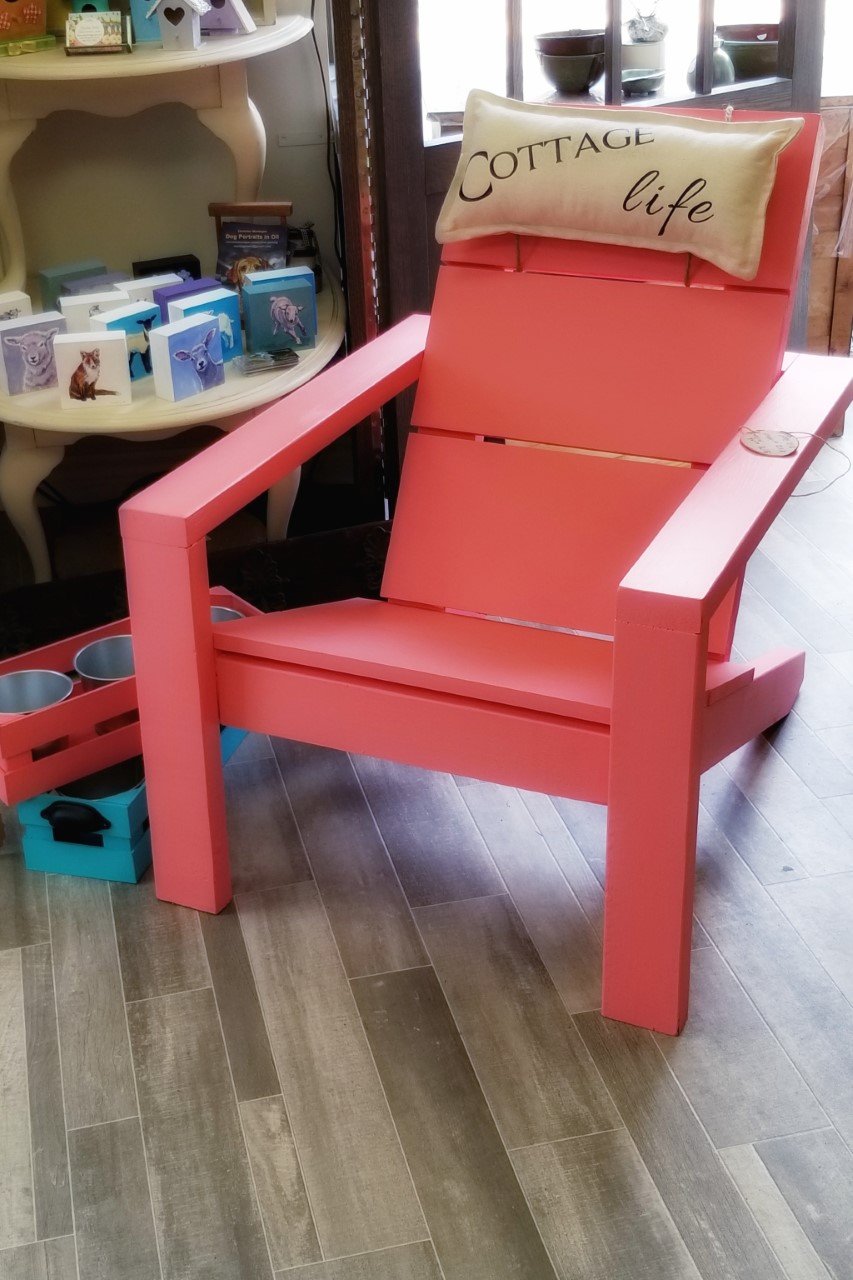
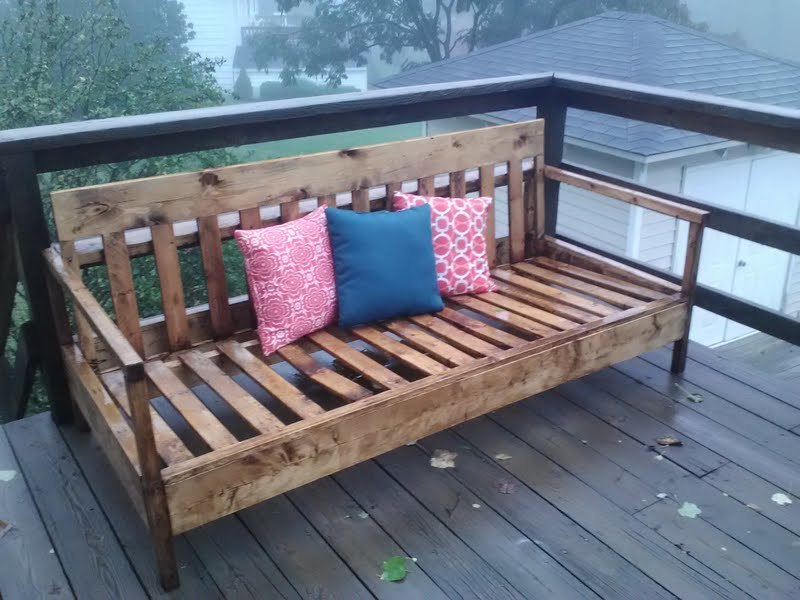
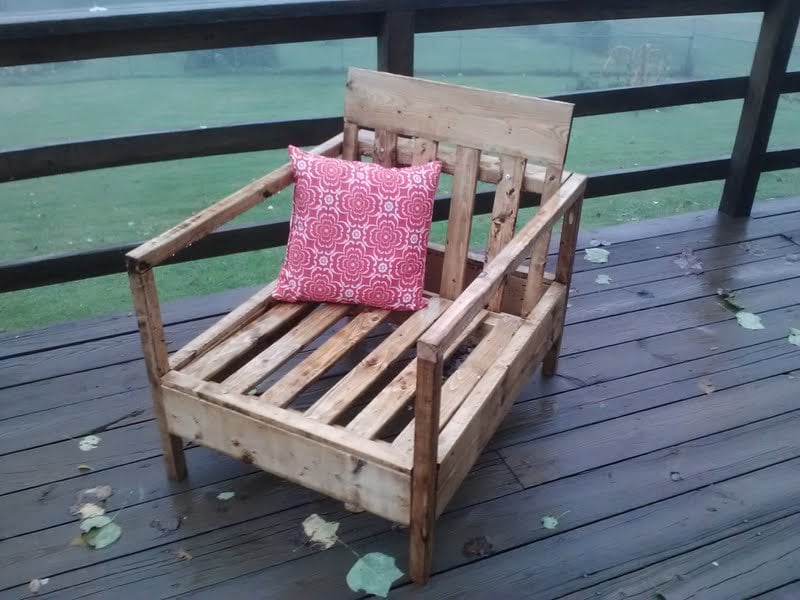
I loved every part of this project! I did it all by myself except for having the nice man at Home Depot cut all of the pieces for me (thank you tony! :) ). I had to buy all of the tools and found what I needed at a local flea market, and spent no more that $15 each tool. It was great. I have enough left over scrap lumber to build a coffee table of some sort next. Thank you so much for the plans, they were super easy to read and follow! I was able to find cushions at Home Depot as well, although they are not displayed in the picture since i love the stained wood so much. Since it is fall they were marked down to only $25/each which is a HUGE discount from previously being $90. The cost of the cushions will be the most expensive part of this project for sure, so make sure you can find what you want first before you get into this project if you have a strict budget for it!
Tue, 10/23/2012 - 09:49
you did an awesome job, and love the stain! I myself cant draw a sraight line... i was interested in having someone build this for me, curious if you would be interested in building sofa, 2 chairs, 2 endtables and coffee table? Located in texas.. thanks
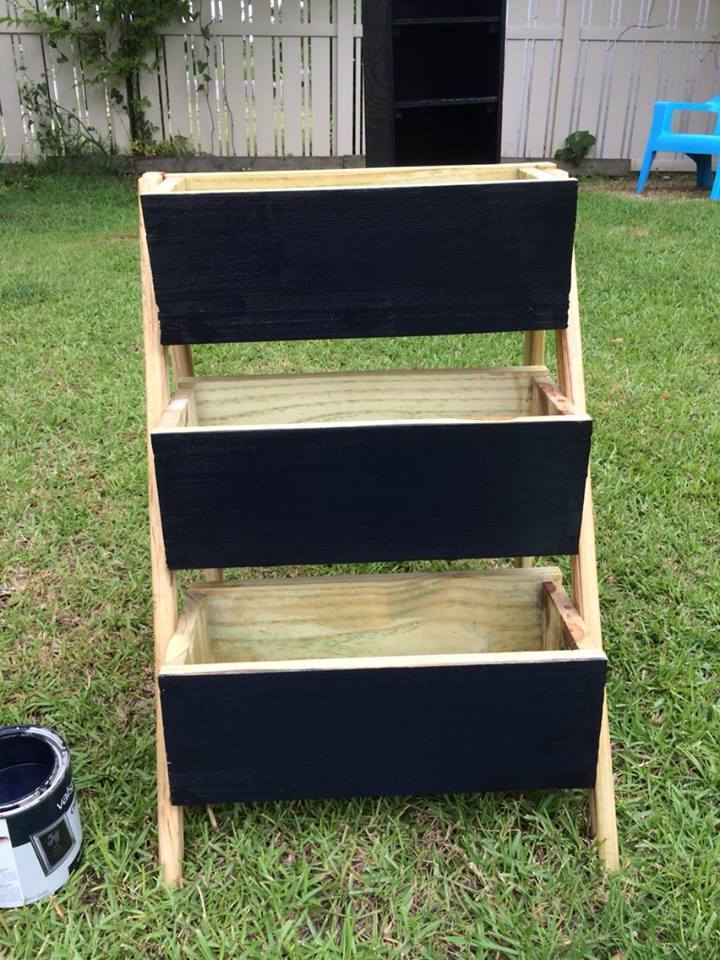
I made this from the Ana White Build a $10 Cedar Tiered Flower Planter or Herb Garden plans. It was a quick and easy fun project to work on.

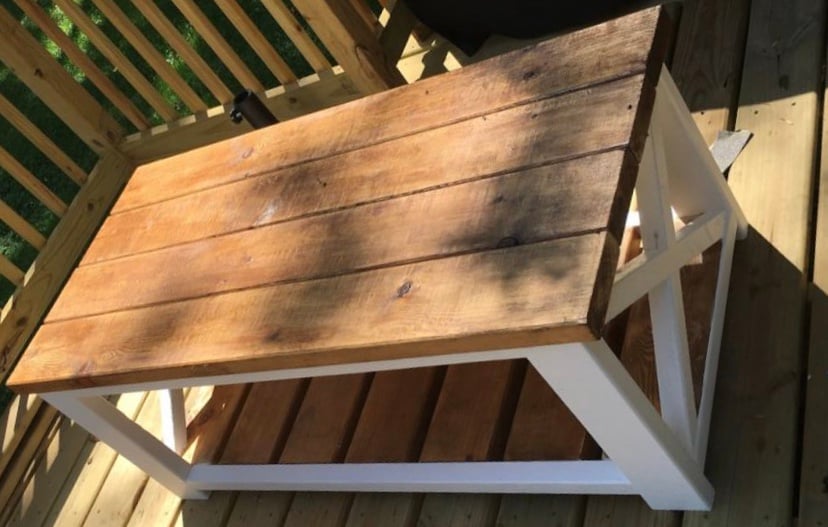
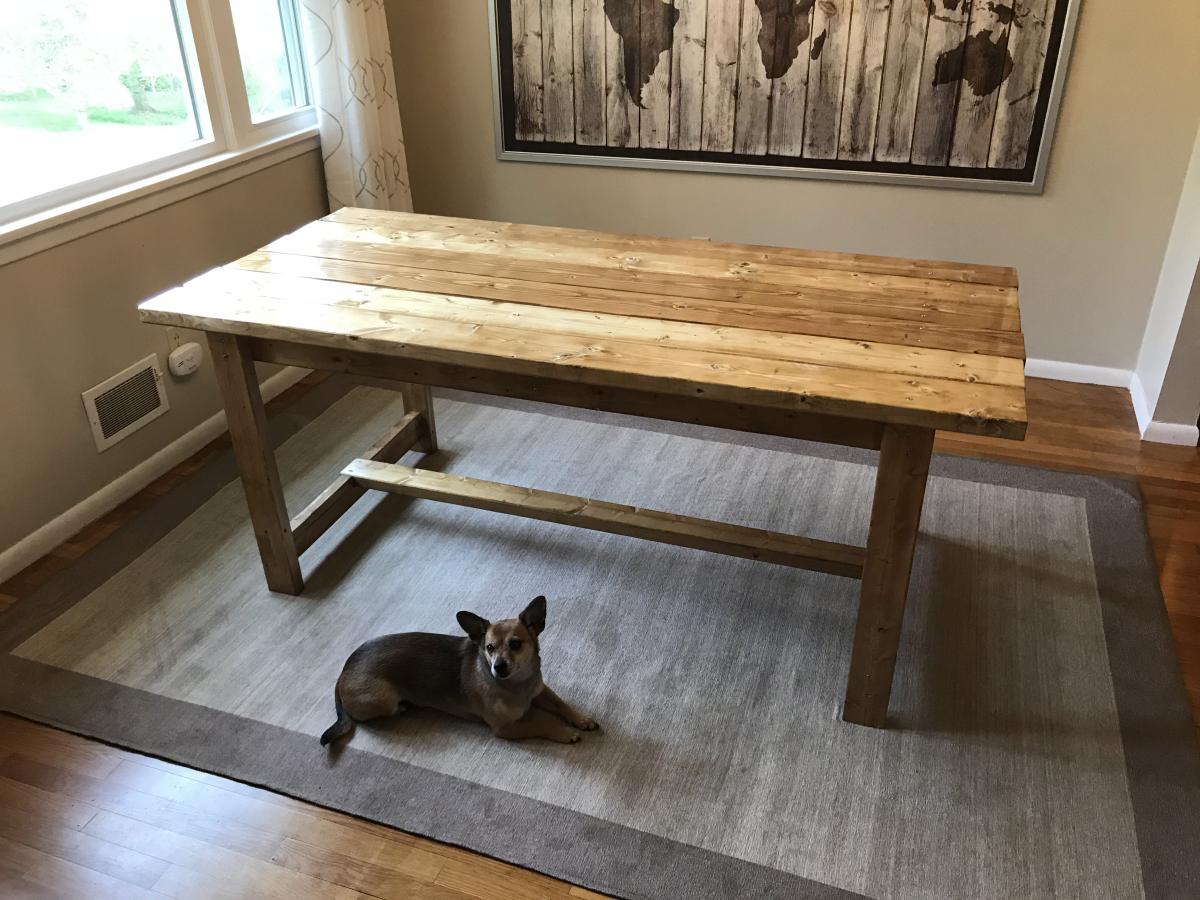
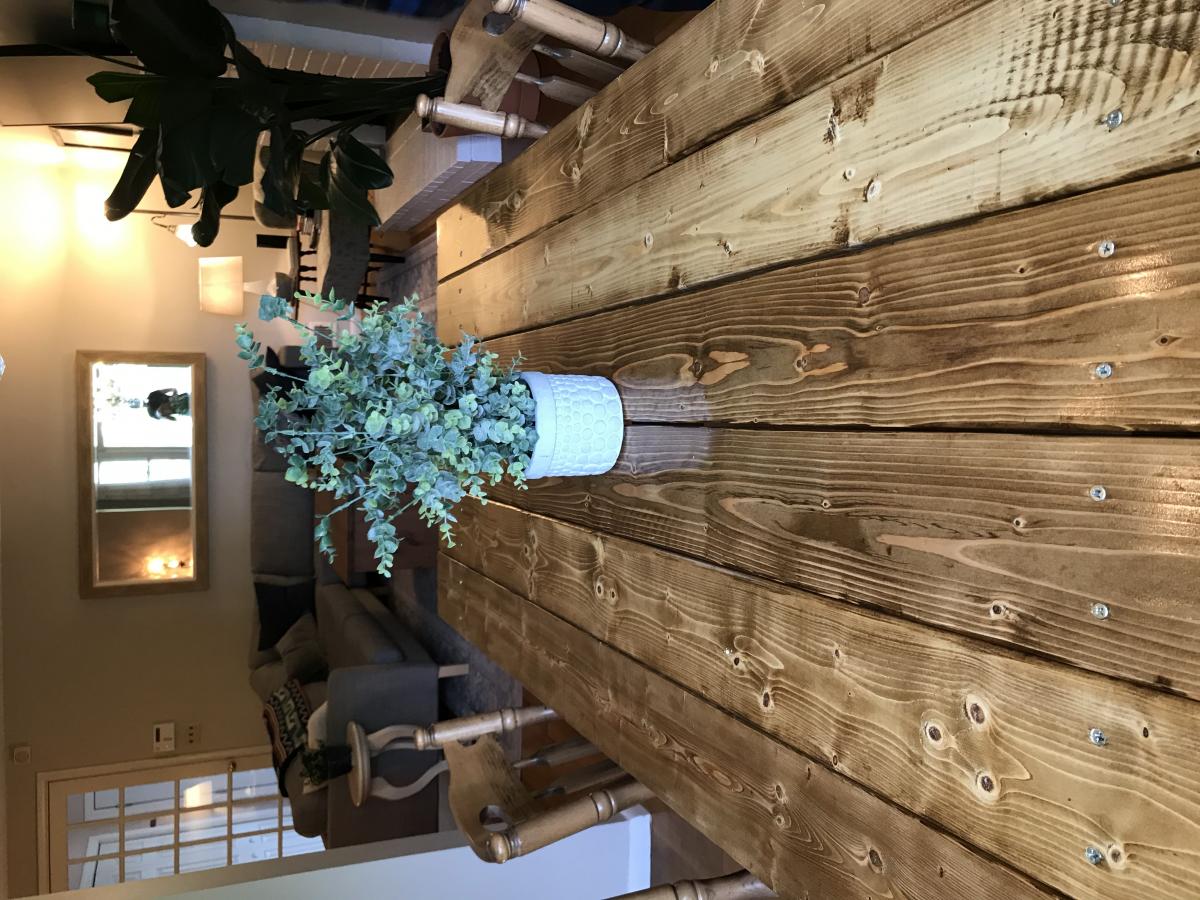
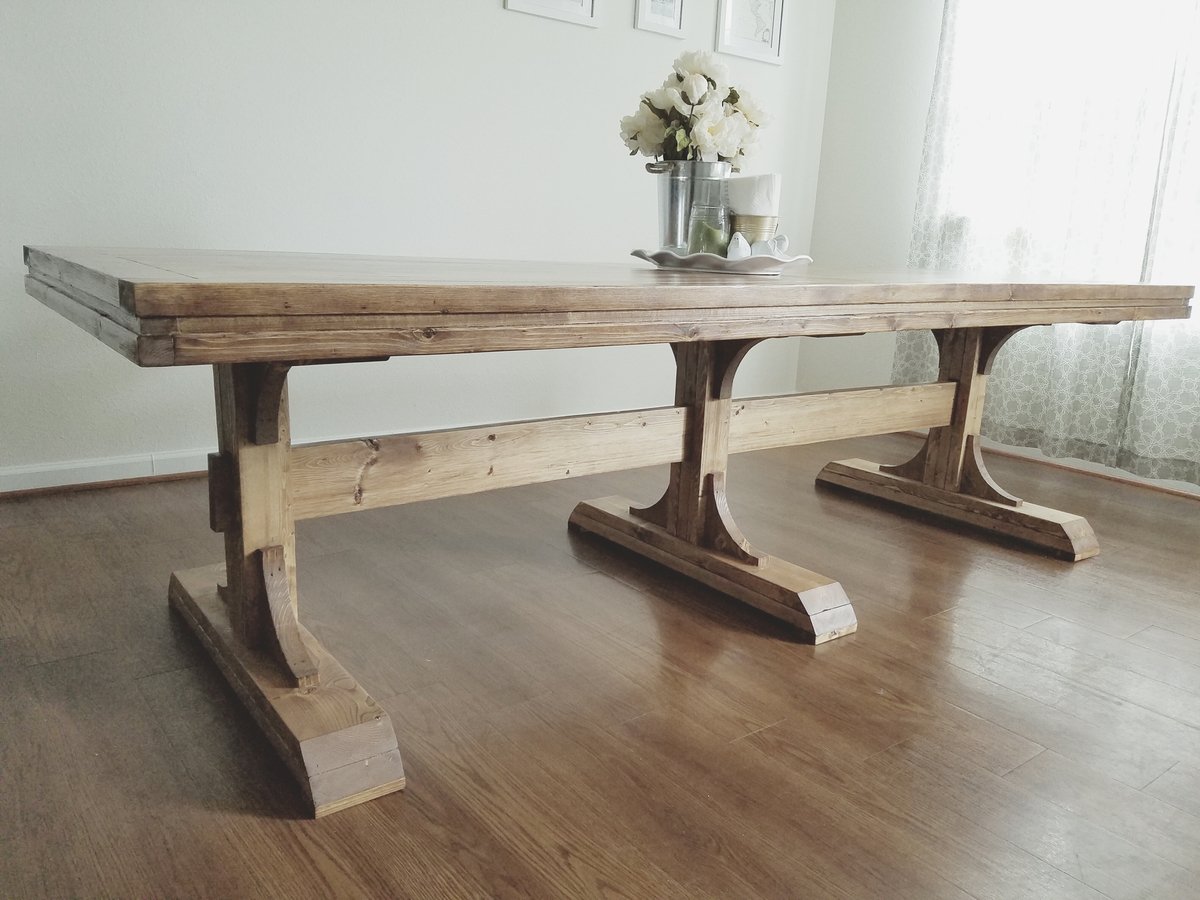
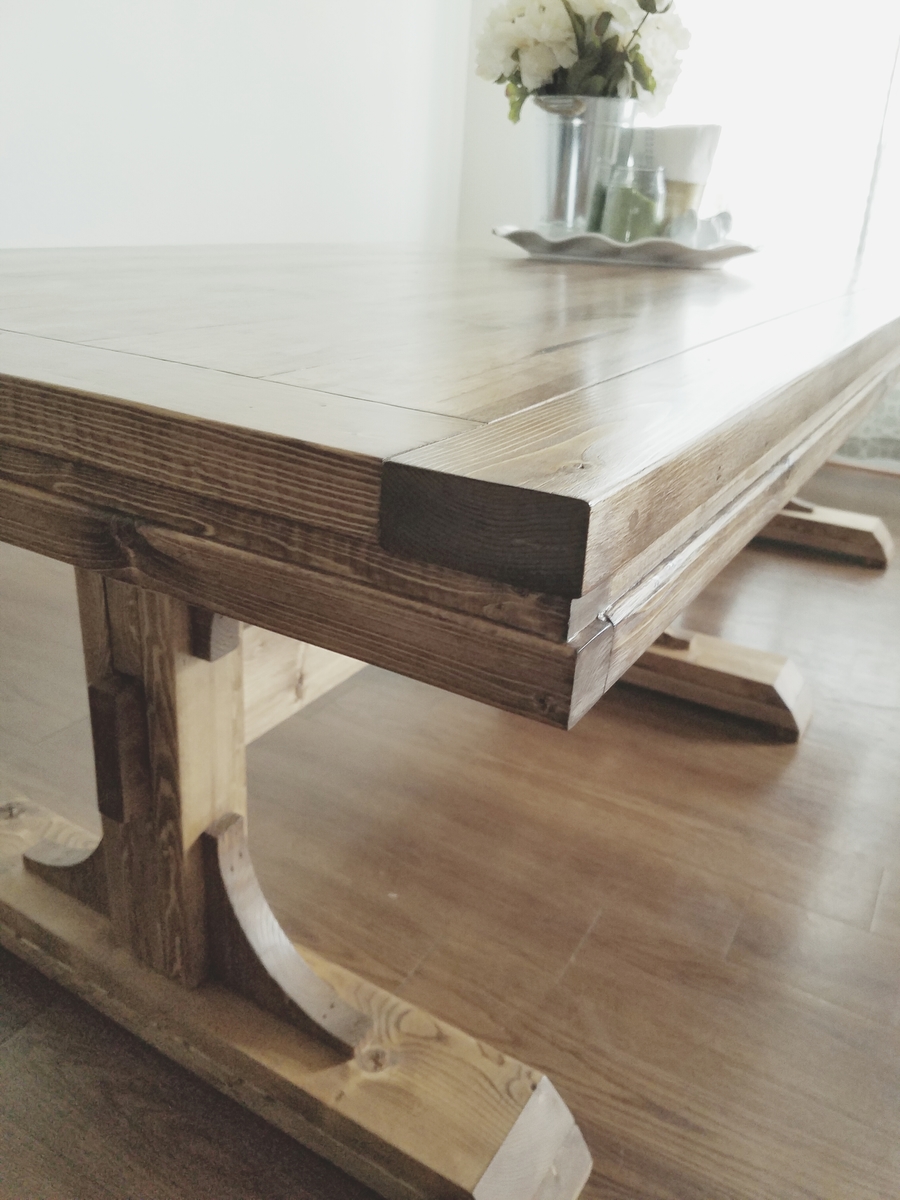
We had recently gotten a house and had acquired an old antique table. After fixing it up with wood glue it was still quite rickety and just didn't have the look and feel I wanted for the room. Loving the rustic look and being pretty new to wood working I took on this project. It was a great a learning experience. I have to completely redo 3 of the top table board because they warped during the staining/polyurethane process.
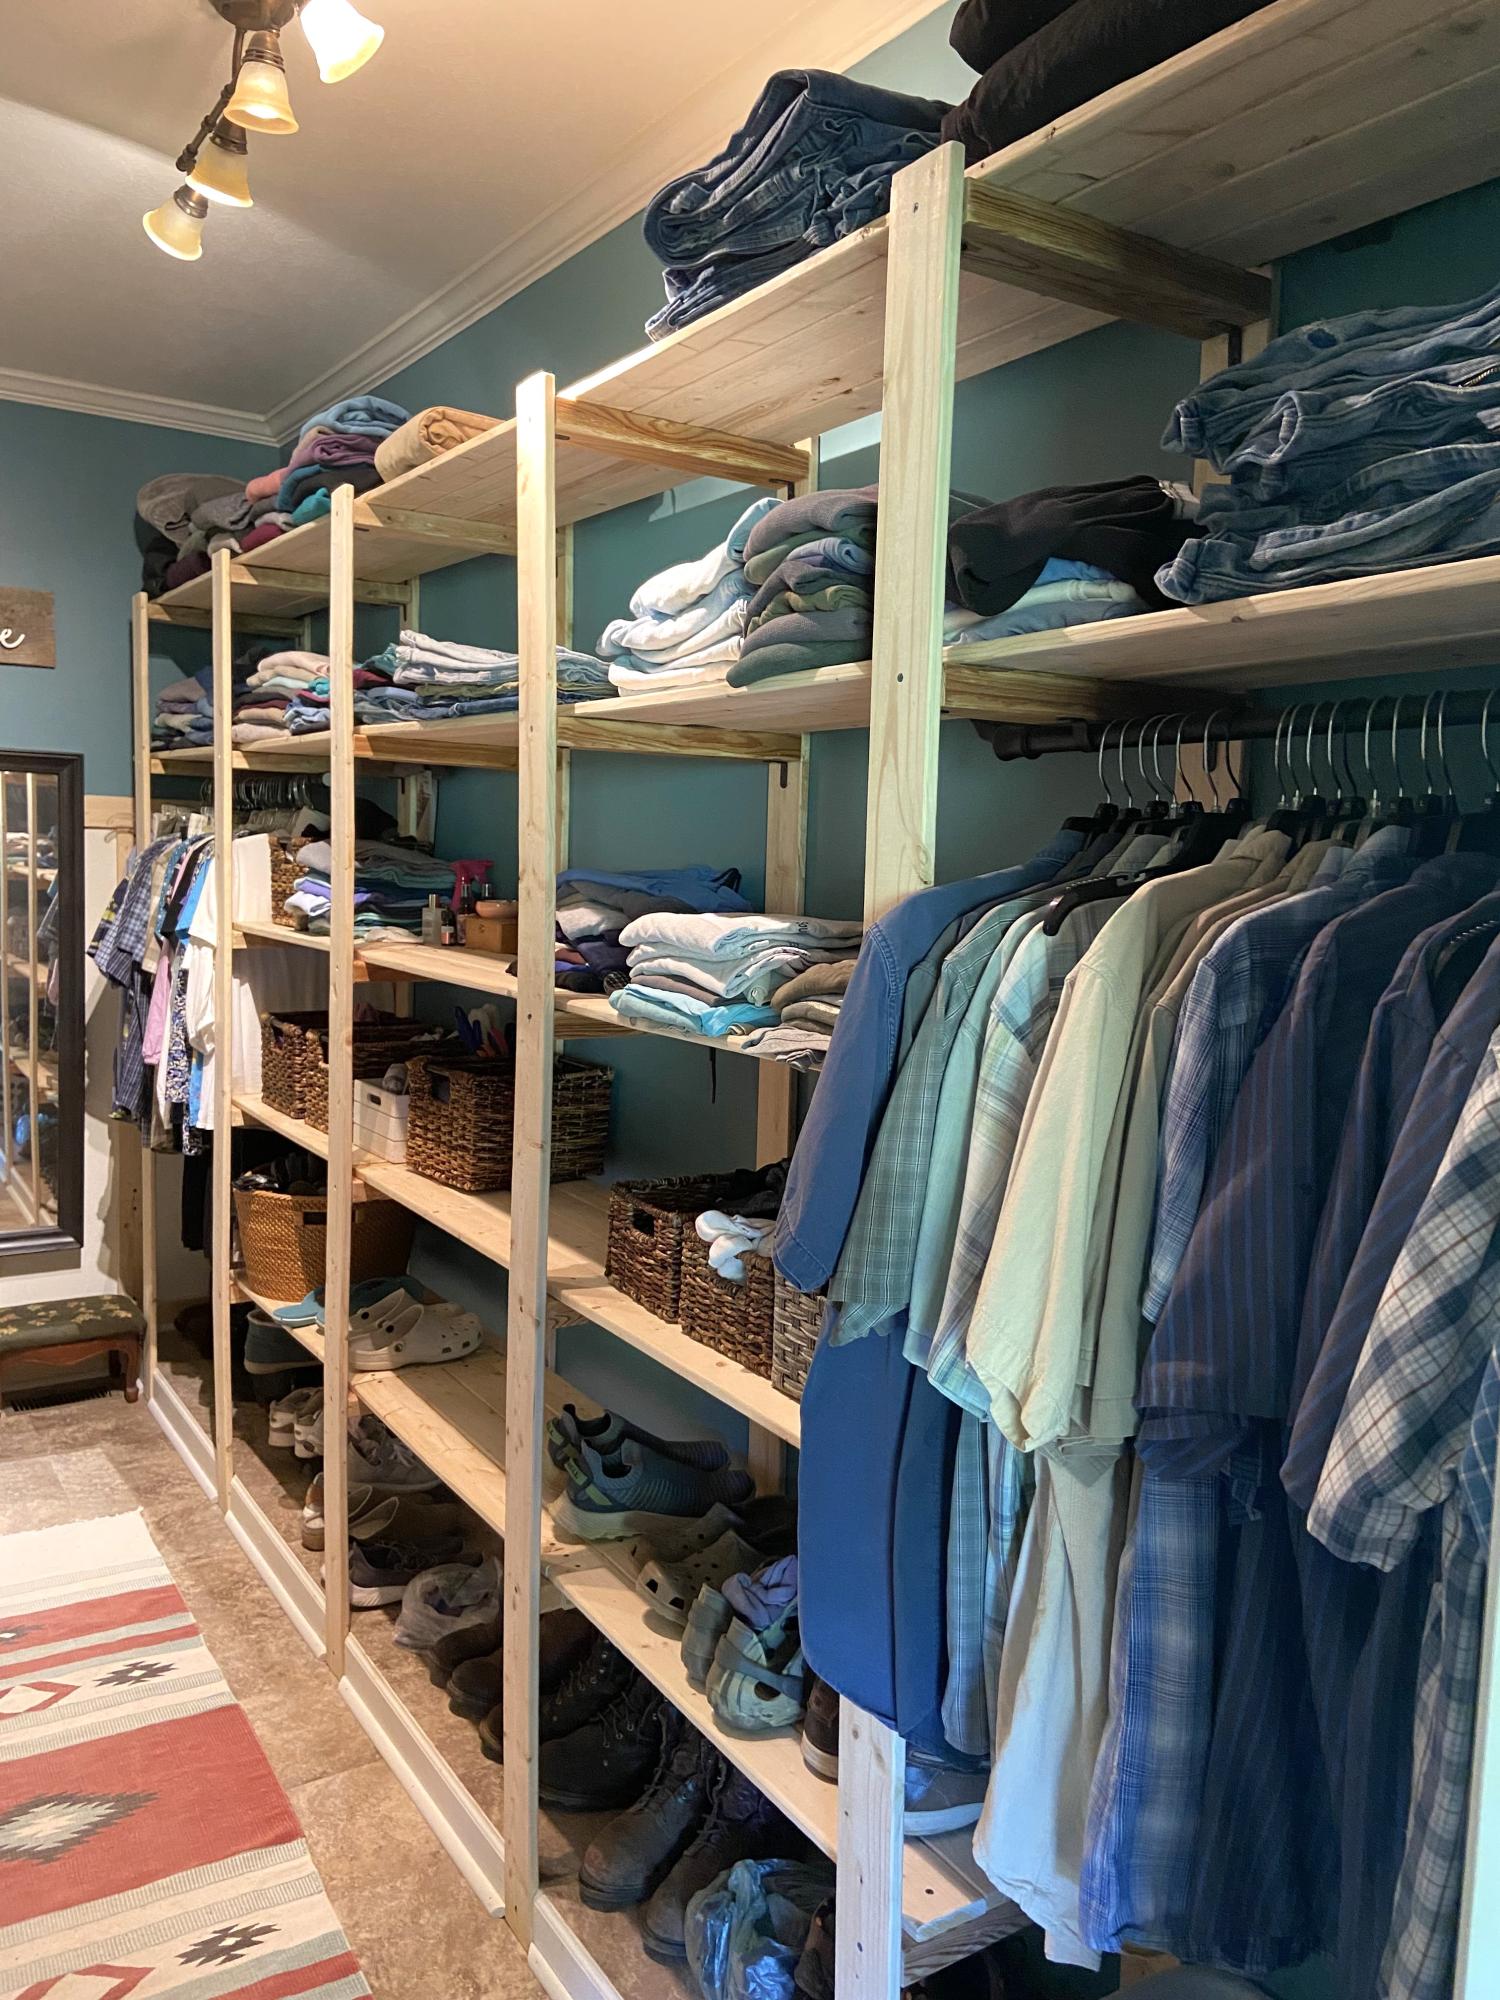
These closet shelves are perfect!
Elizabeth Williams
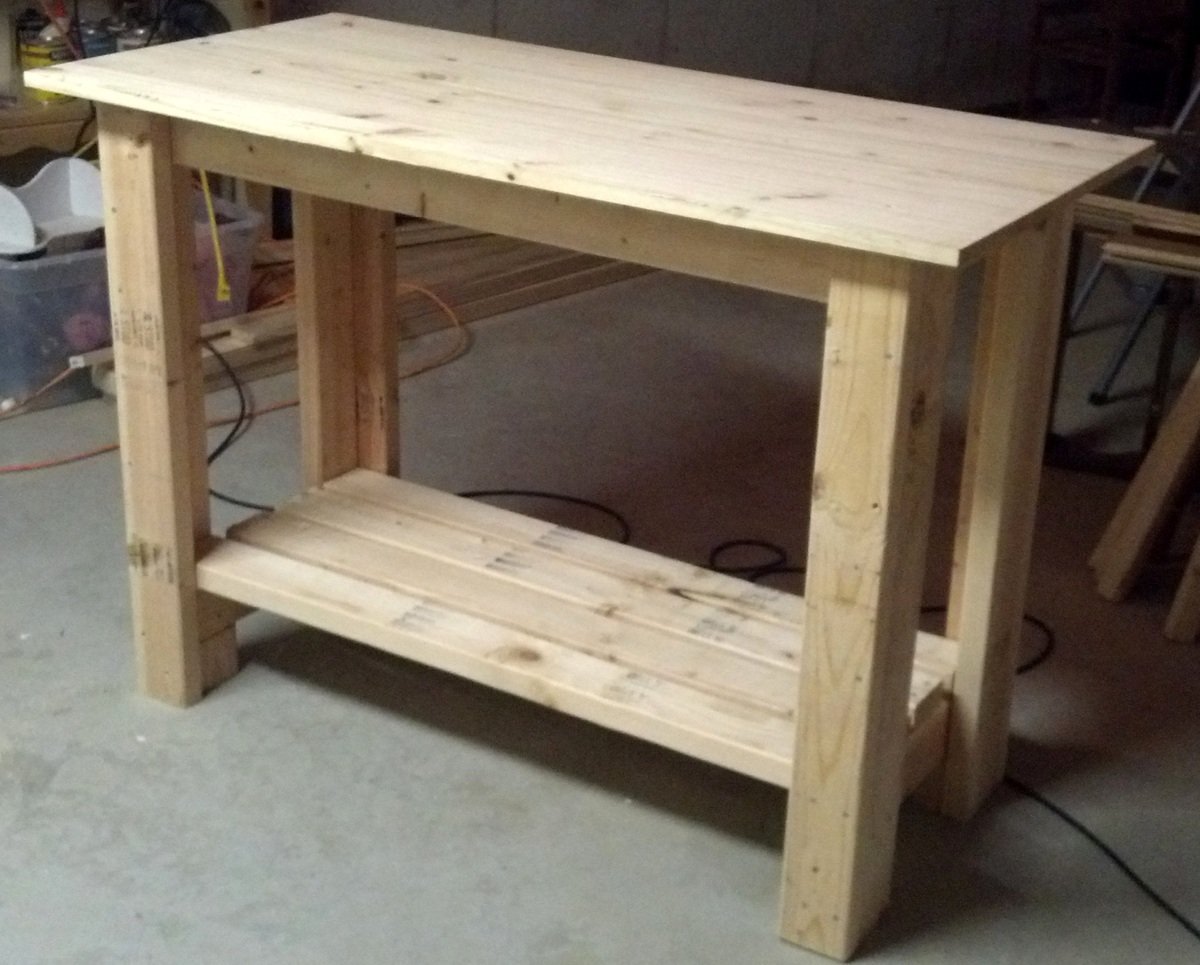
I figured the first thing I should make was a bench to work on :)
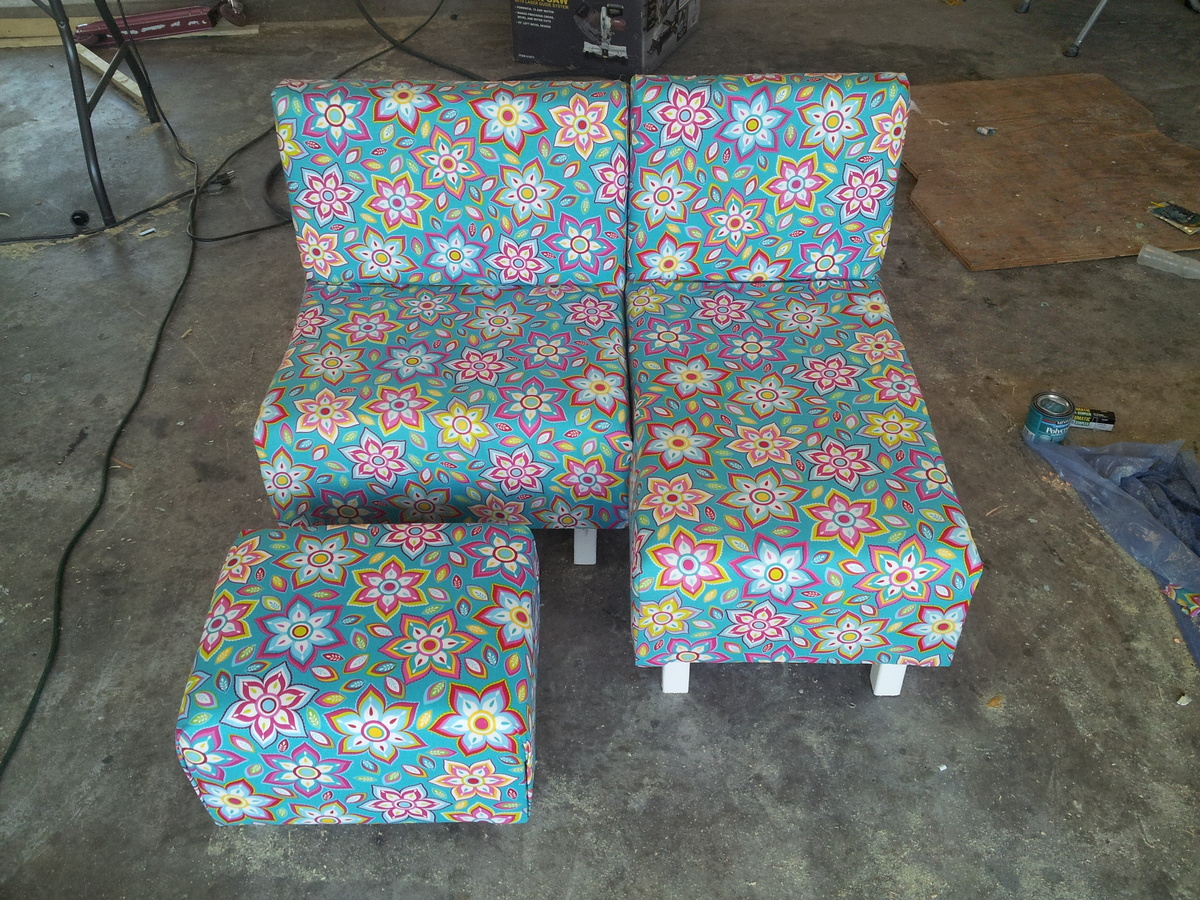
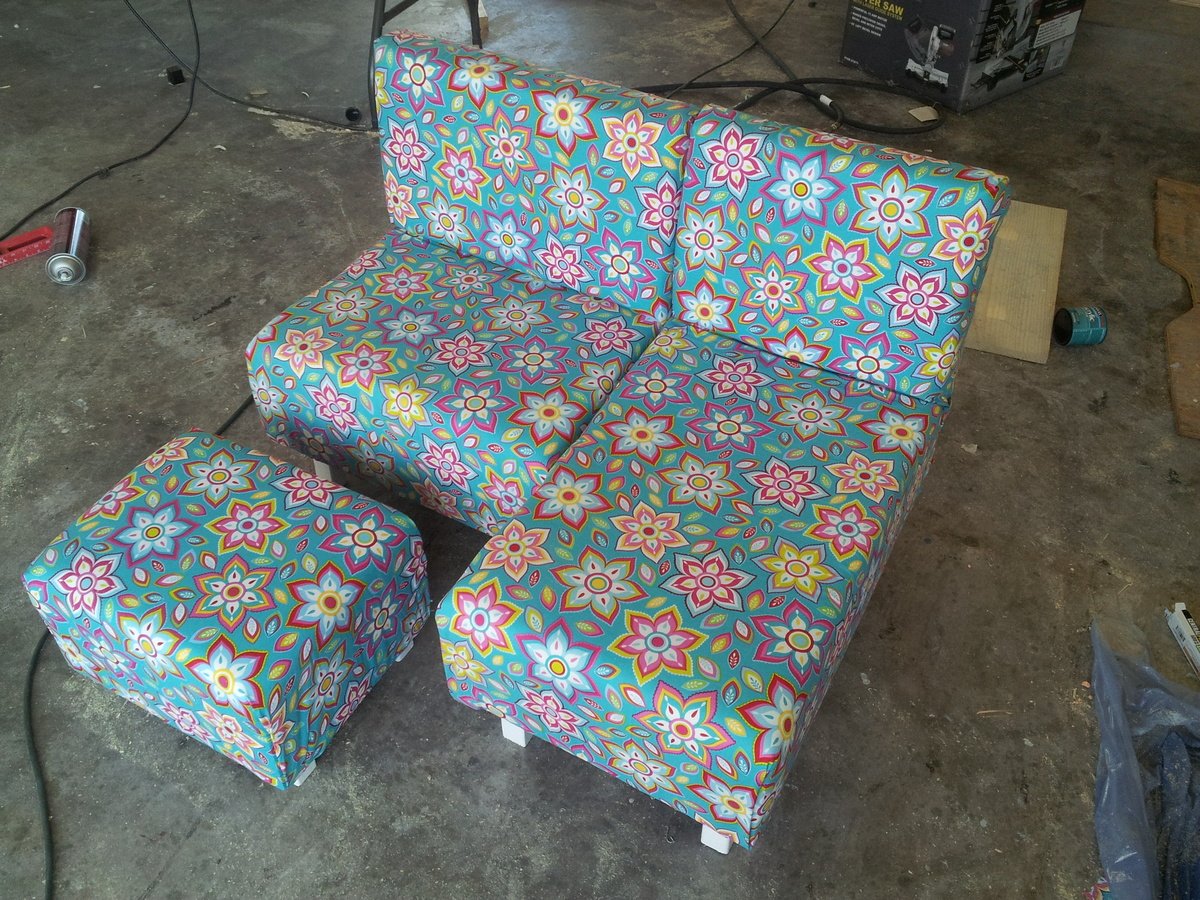
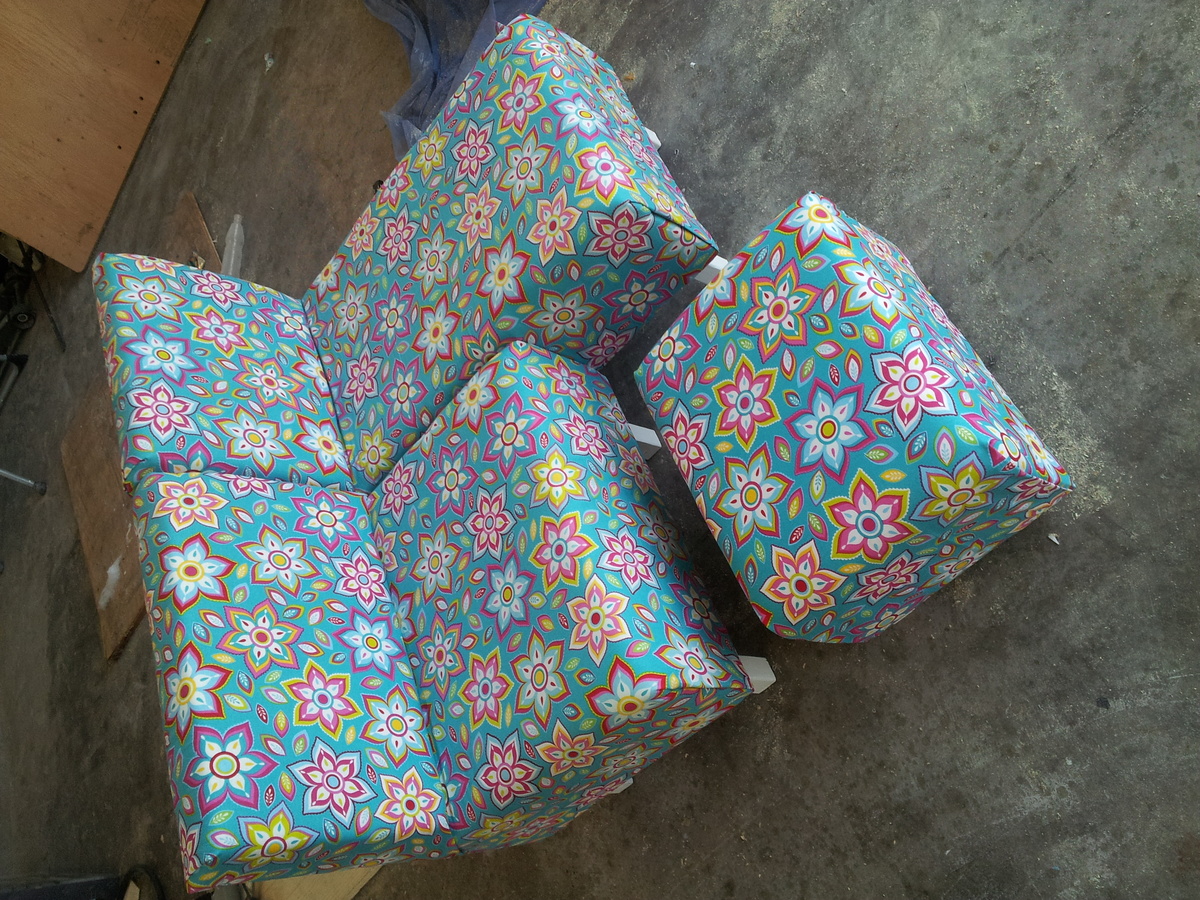
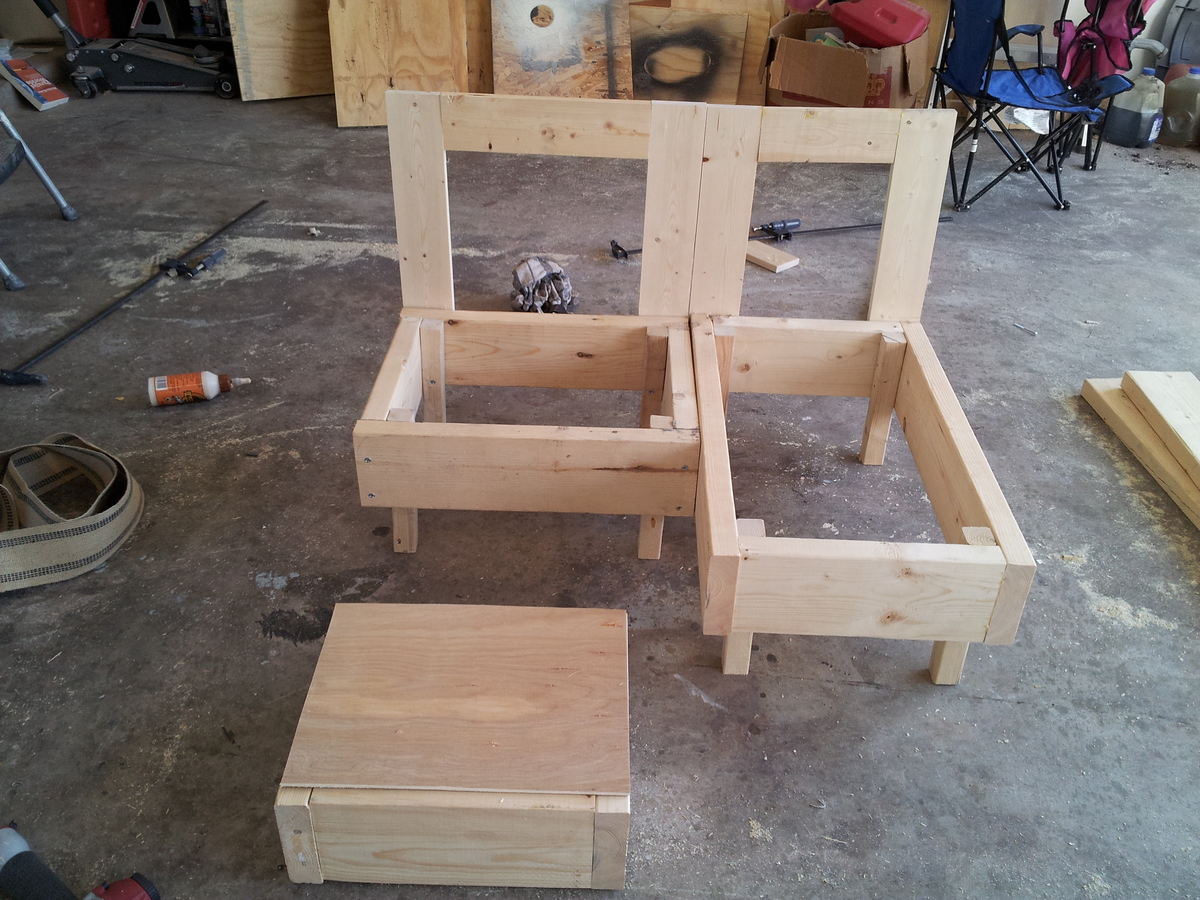
I built this for my daughter to go under her loft bed at the time. It was my very first time upholstering anything before!

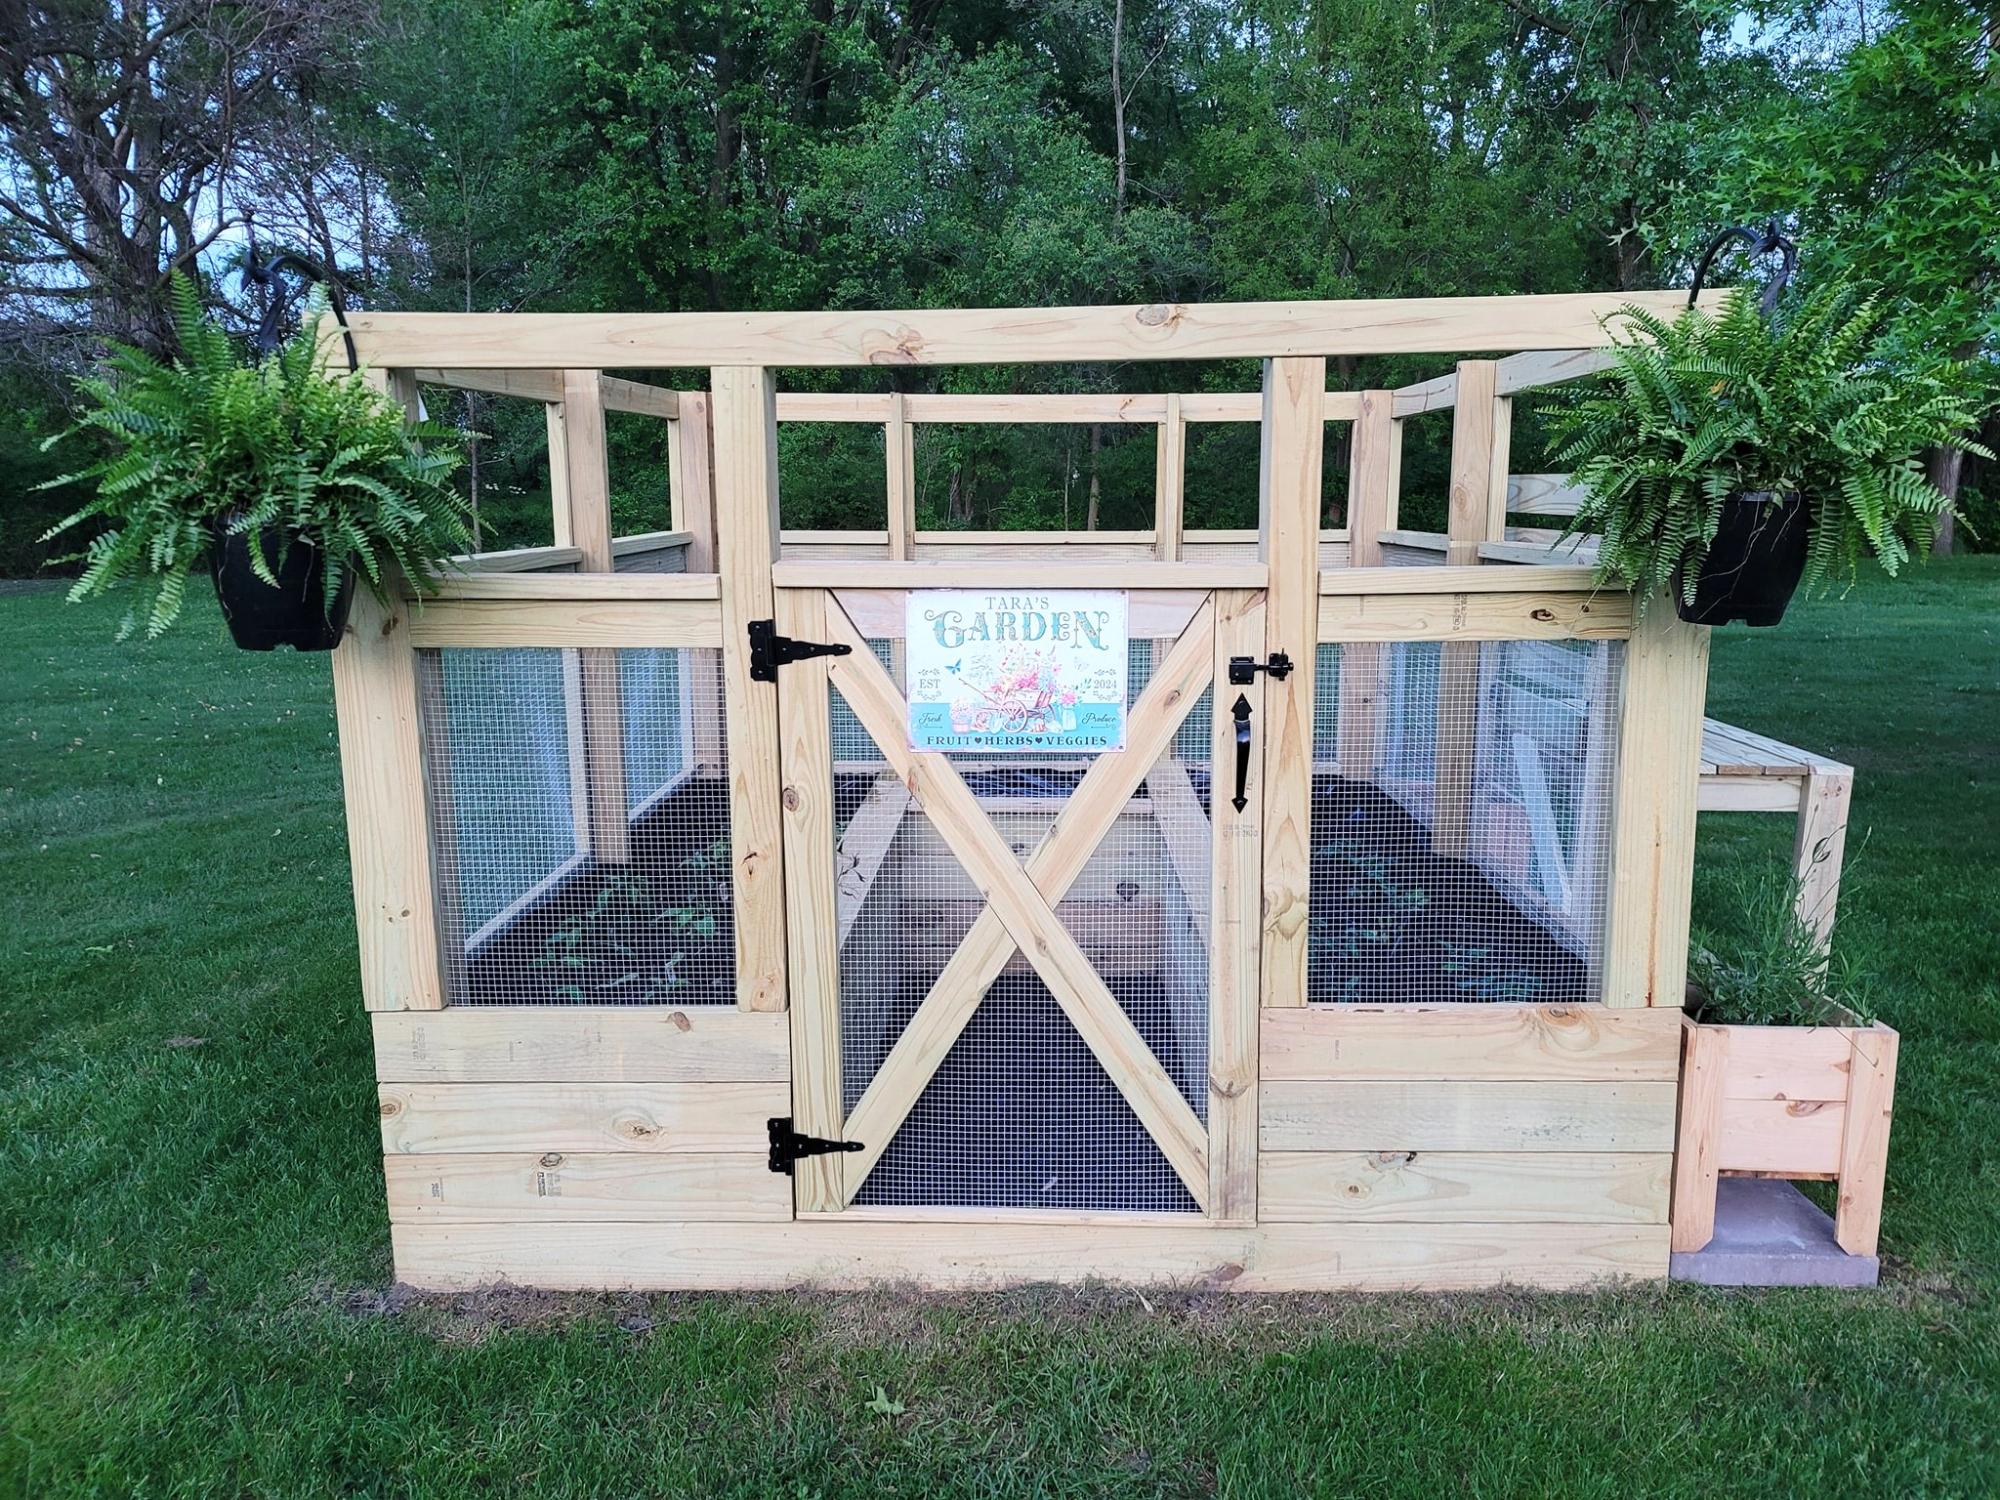
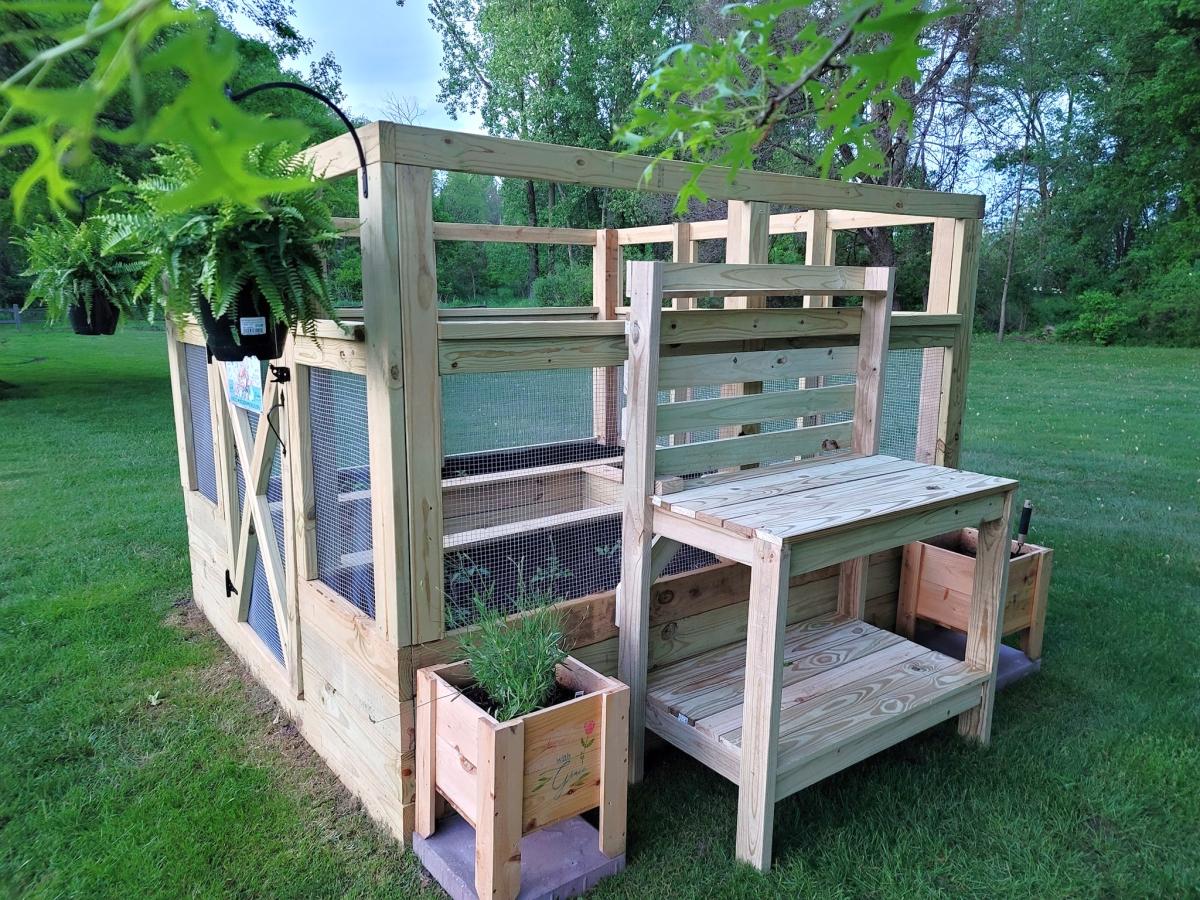
This is a idea I saw on Ana's site. Just love the simplicity of her builds and her followers visions and builds. Decided we need raised garden beds and a barrier to keep our friends at bay. Thanks once again Ana and all the fans and followers for sharing and inspiring thousands of people to take part and enjoy the fun and creativity of wood working. Nothing more rewarding than using your hands and mind to create something beautiful and useful that often will last generations.
John Nicholson
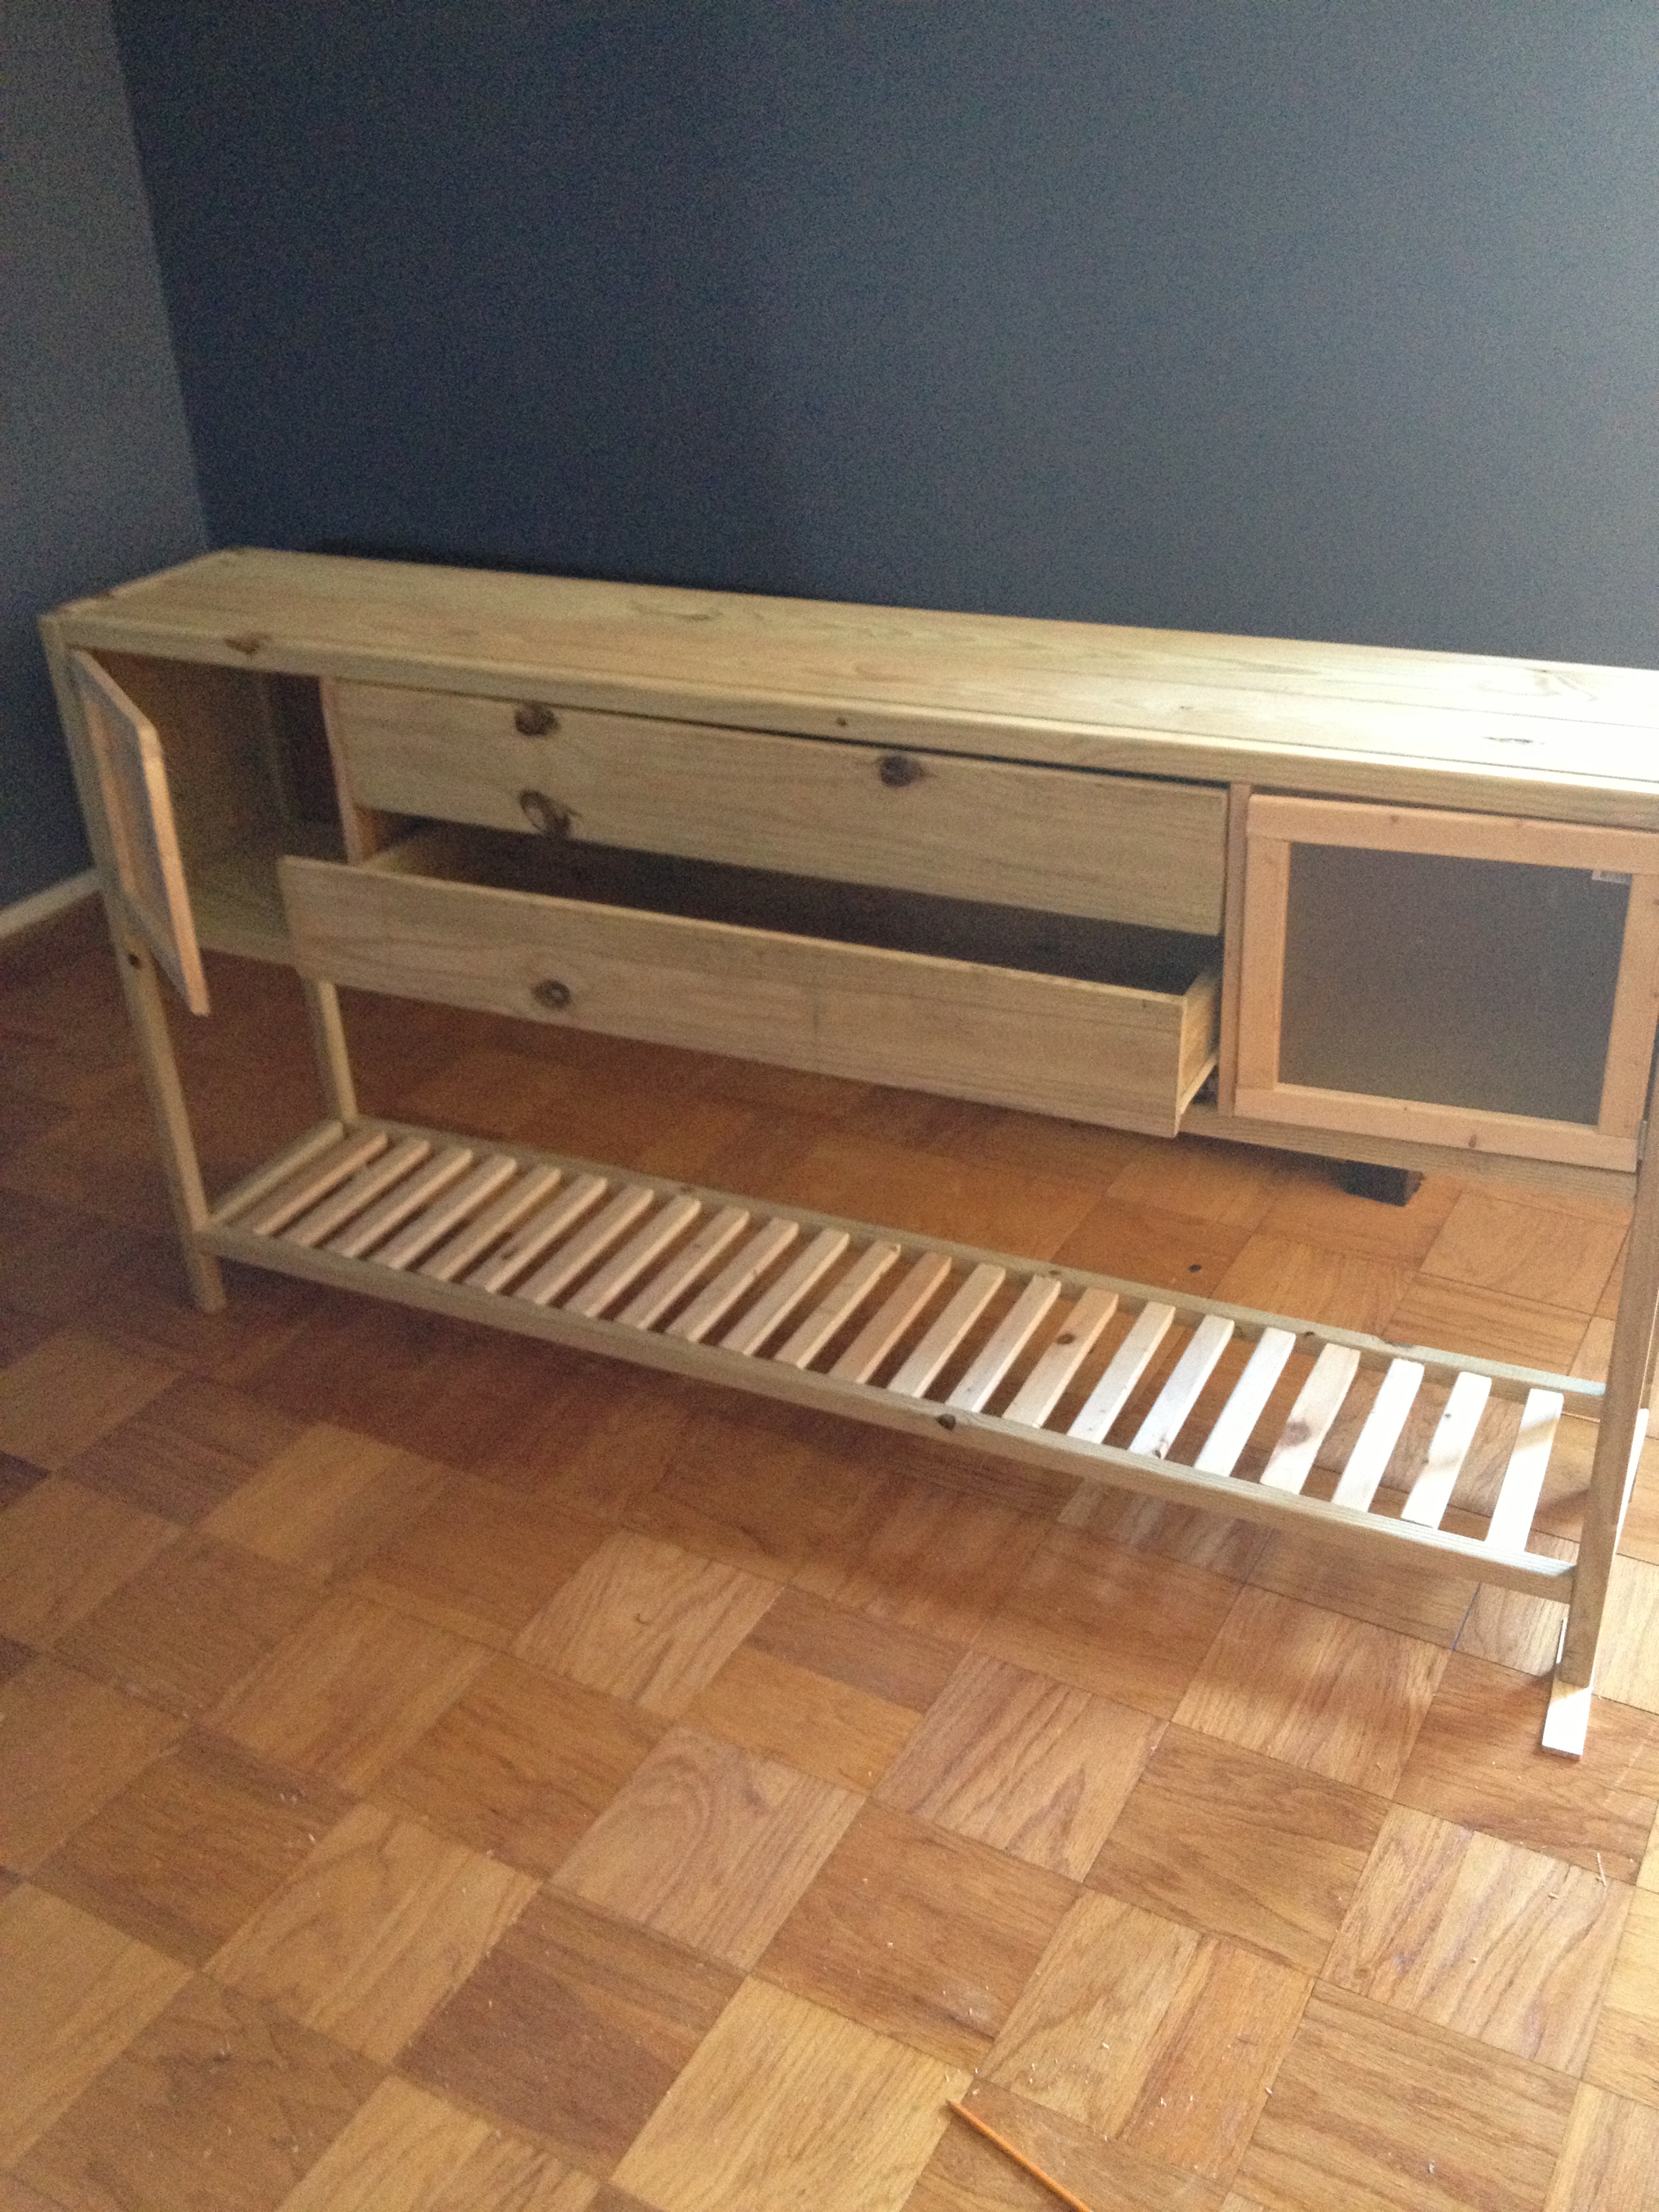
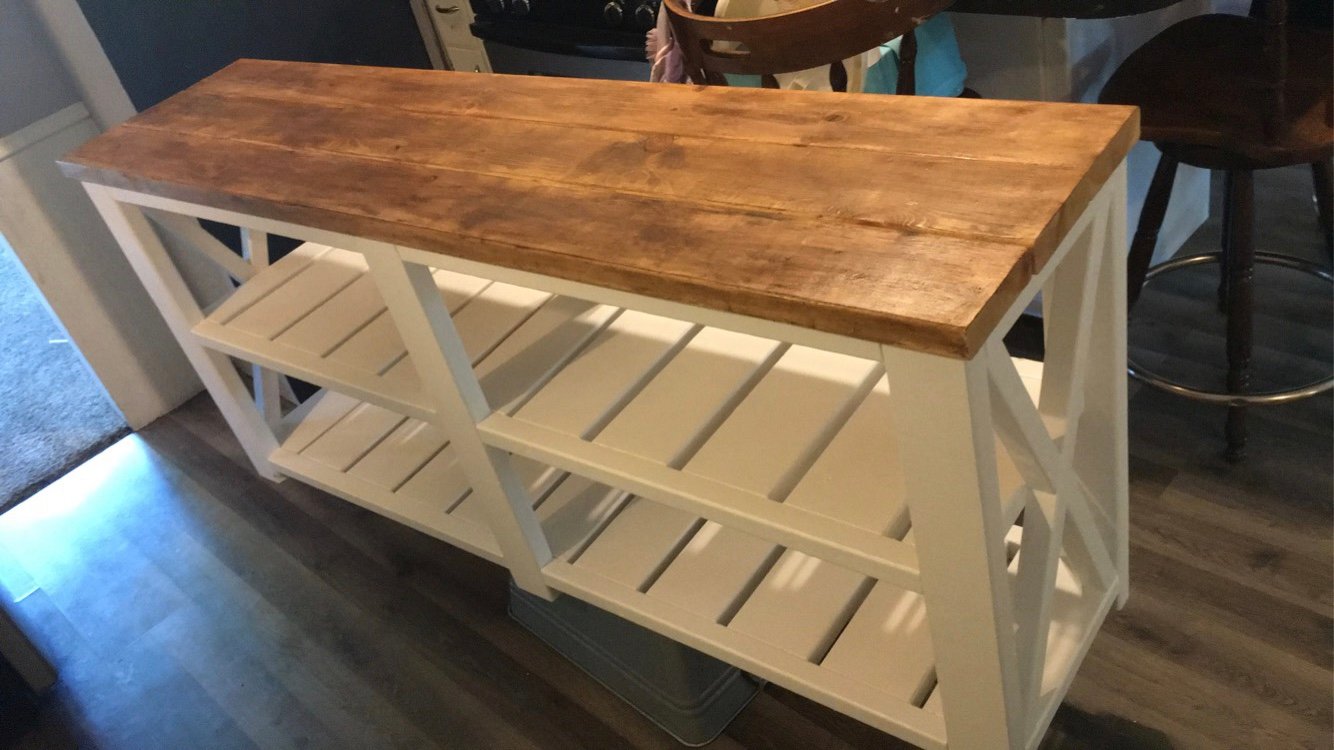
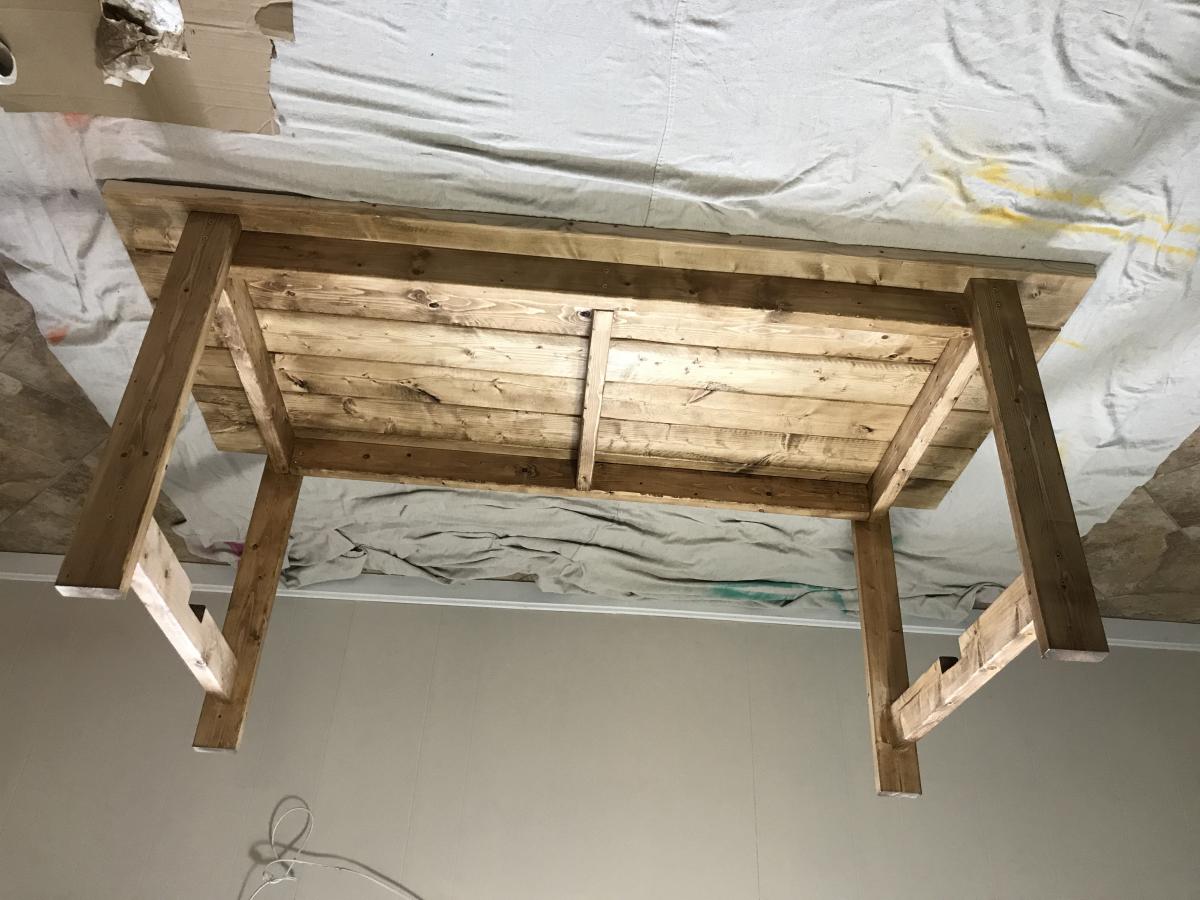
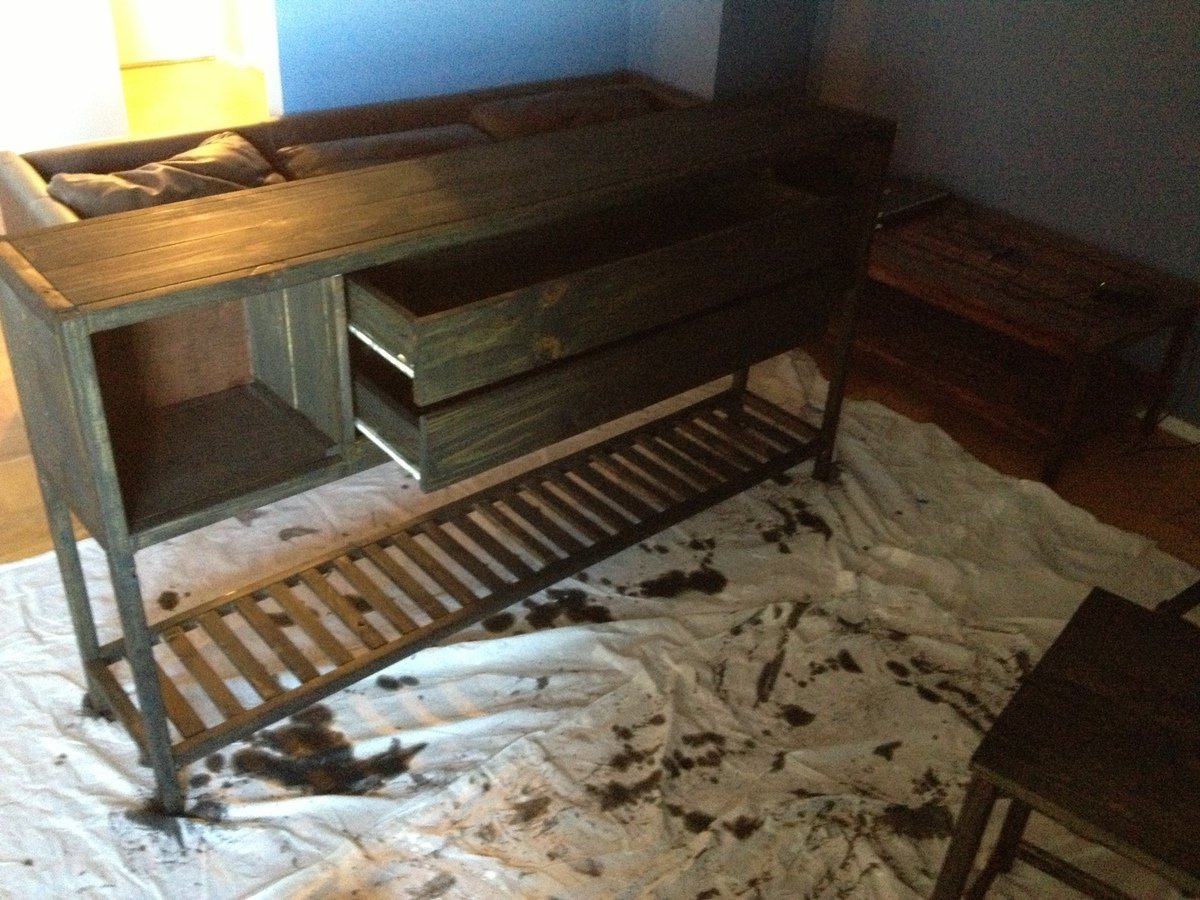
I just wanted to thank Lady Goats for the idea for this project. I got the plans from http://ana-white.com/2011/12/plans/rhyan-console-table and made some modifications. I wanted to use the table as an entry table, so I made it taller and longer to fit the space I had for it. I still have to poly it and will post more pics as it comes along.
As far as cost, I used 1x6 instead of 1x12 to reduce the cost for the project. I think at the most it came out to 90 (including stain, poly, screws, brushes).
And yes, I built it in the living room of my small apartment.
Thanks again!

Tue, 09/25/2012 - 15:15
I immediately though of the rhyan console when I saw this, but wondered if there was another plan out there! Looks great (but don't thank ME! Ana did the plans!!).
Beyond impressed with the mods! And the fact that you built it in your living room!
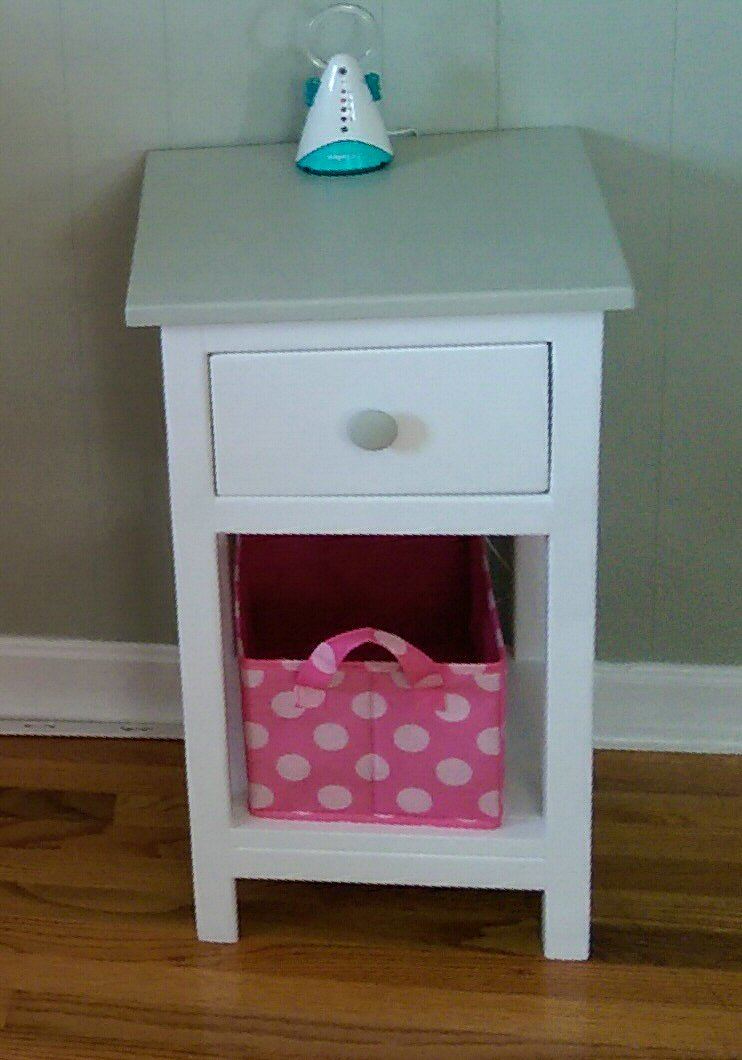
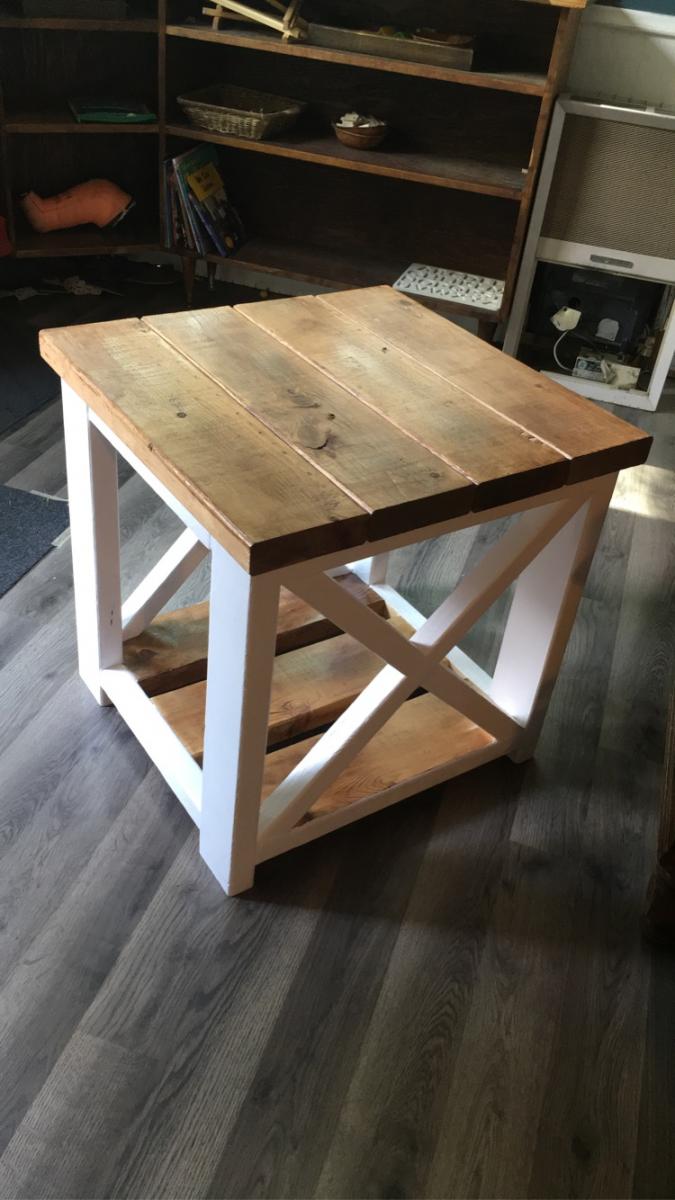
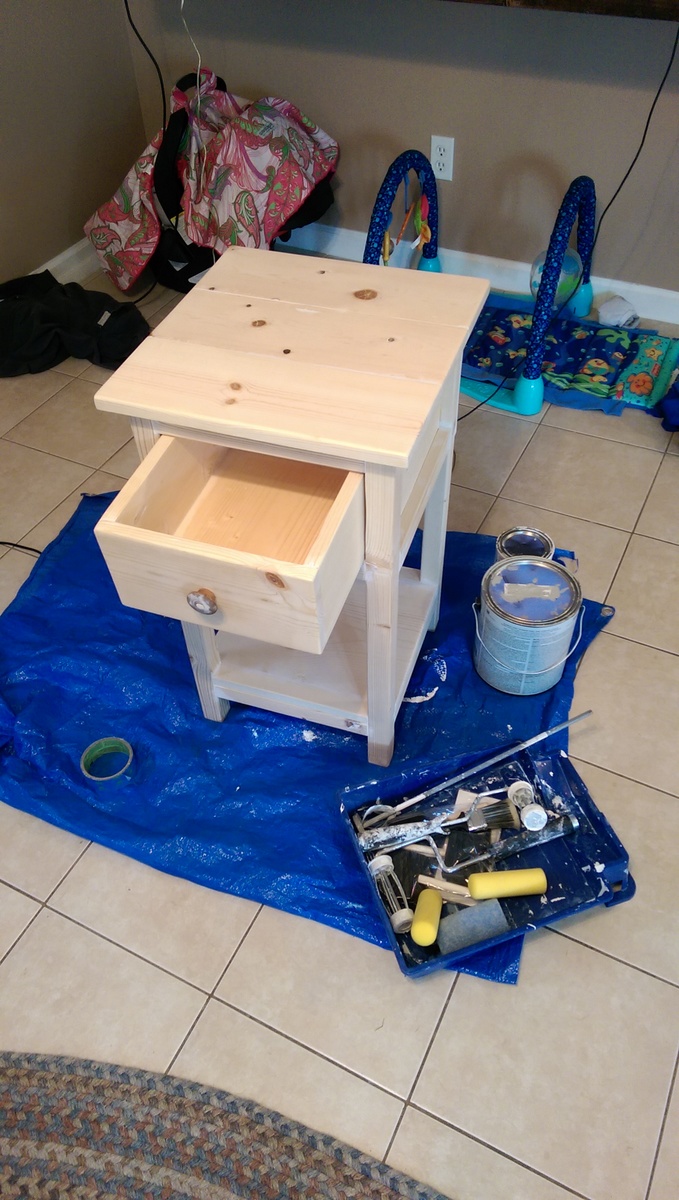
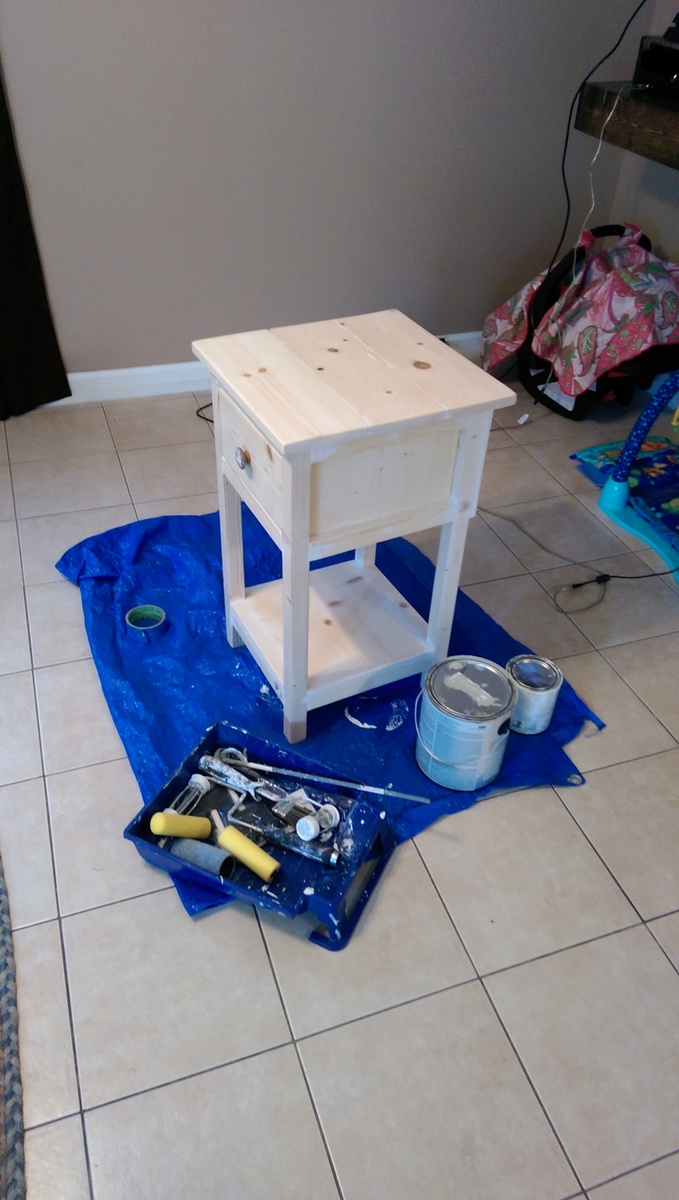
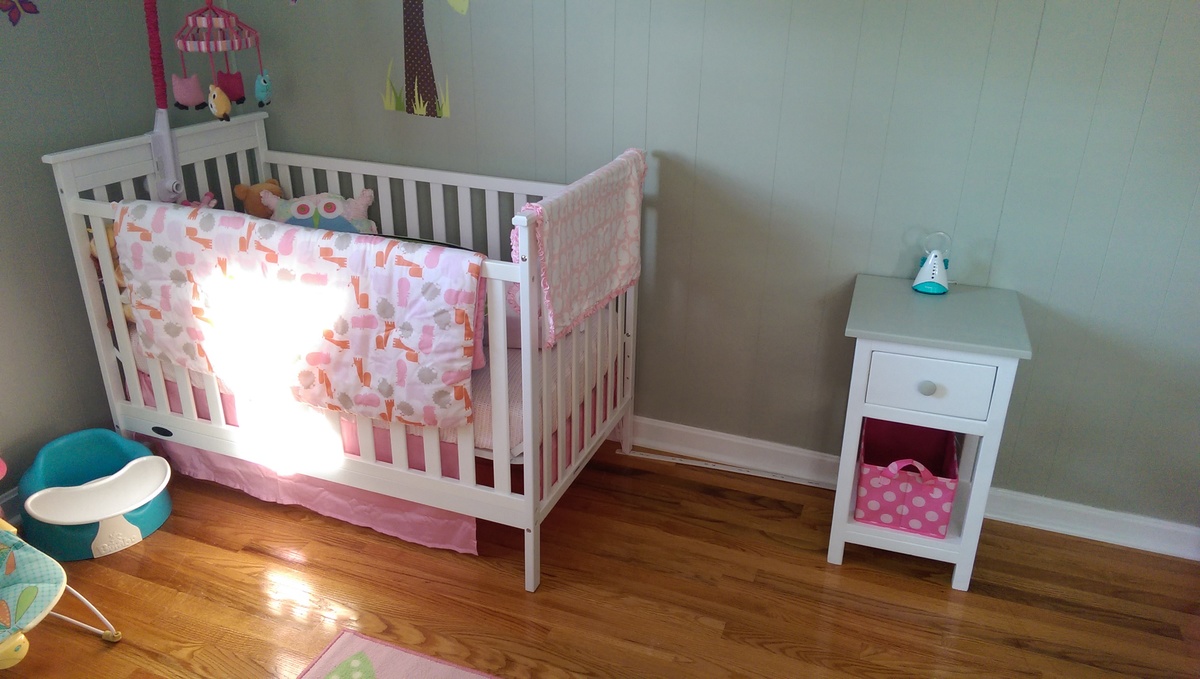
Built this table for my daughter's nursery. She is going to be here next month so I'm trying to make sure her room is perfect for her.
This table was easy to build. I've been doing woodwork for about a year now so if I can do it you can do it, just make sure you have all the tools for the job :-)
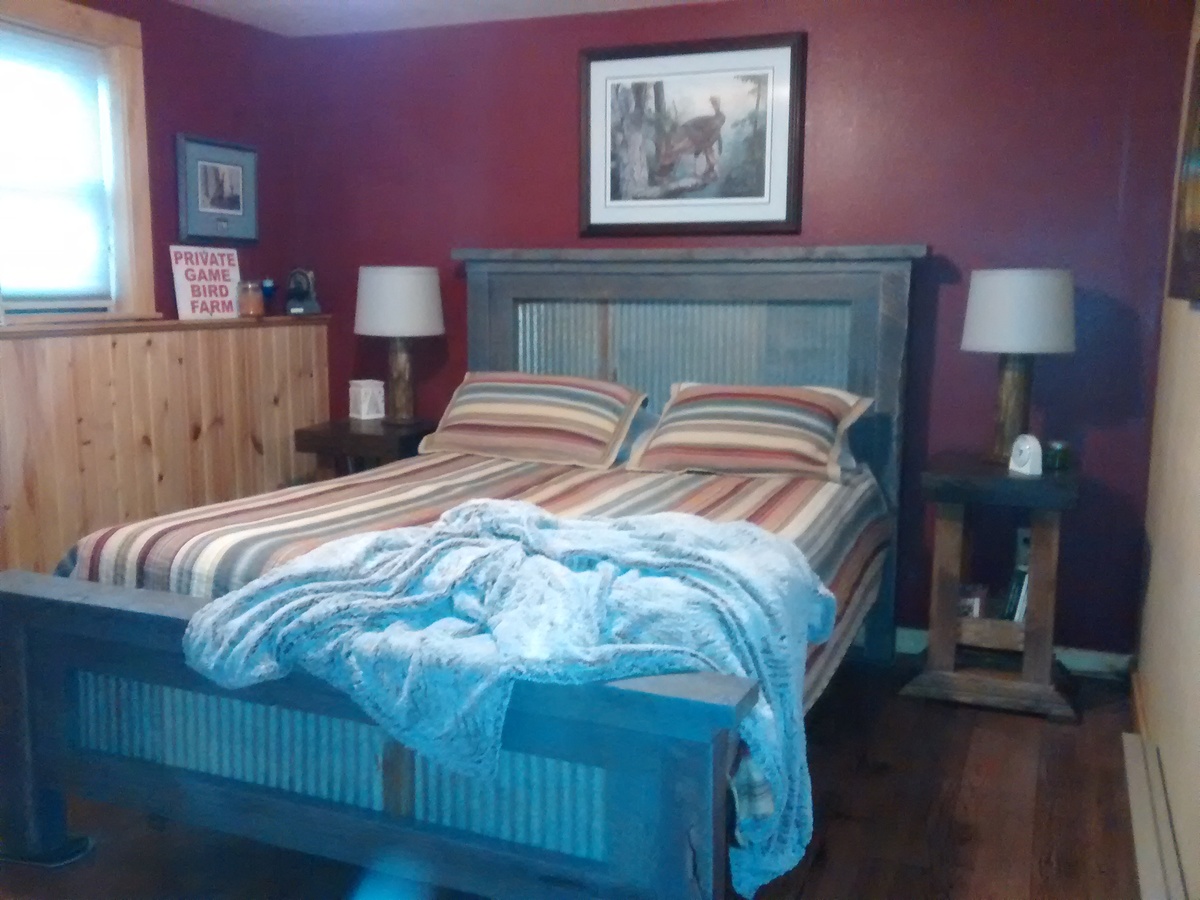
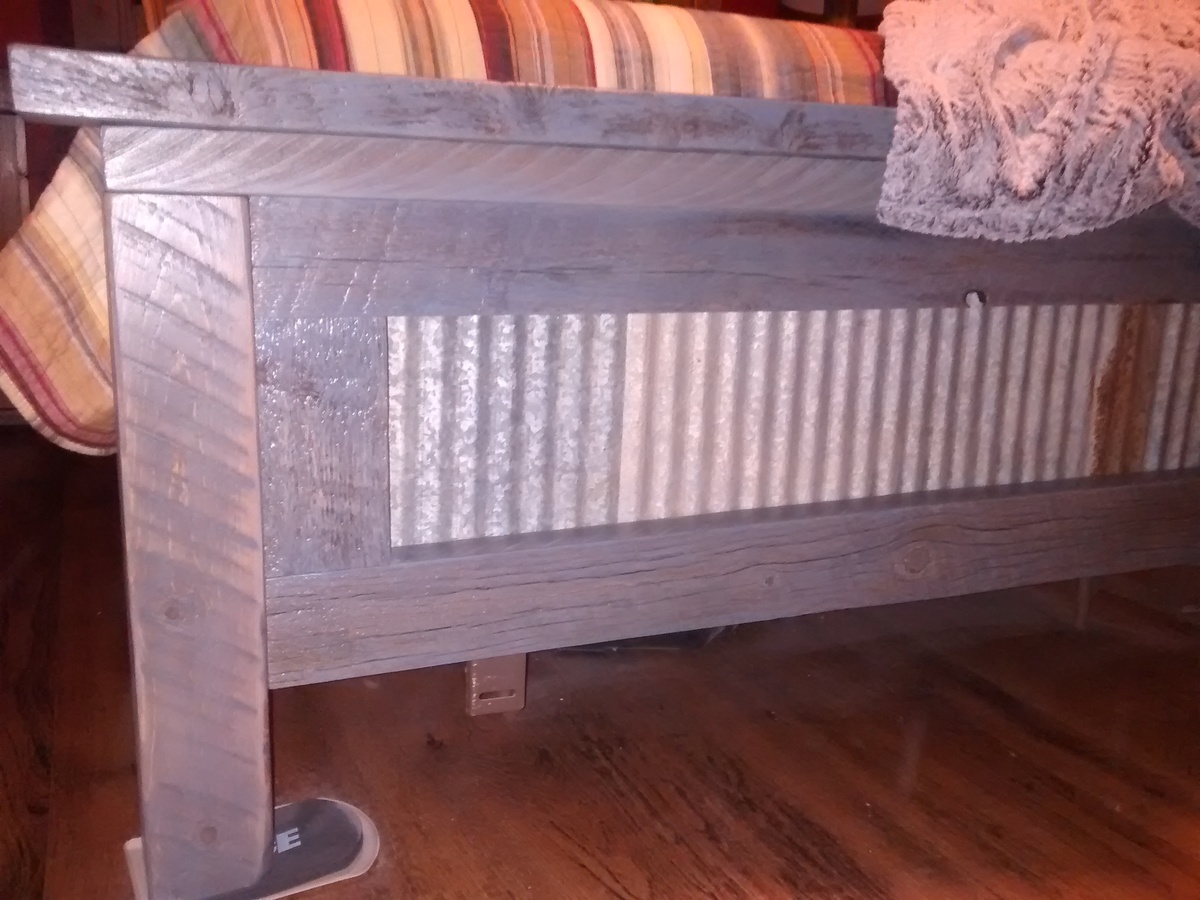
Made the bed from wood that I got from the place I work. It was weathered and rotting. I was able to work around the rot. I had to play with the finish to get it all of the bed pieces to match. The bed is really heavy because the wood was full 2" material. The smaller picture shows the actual color of the bed more accurately.
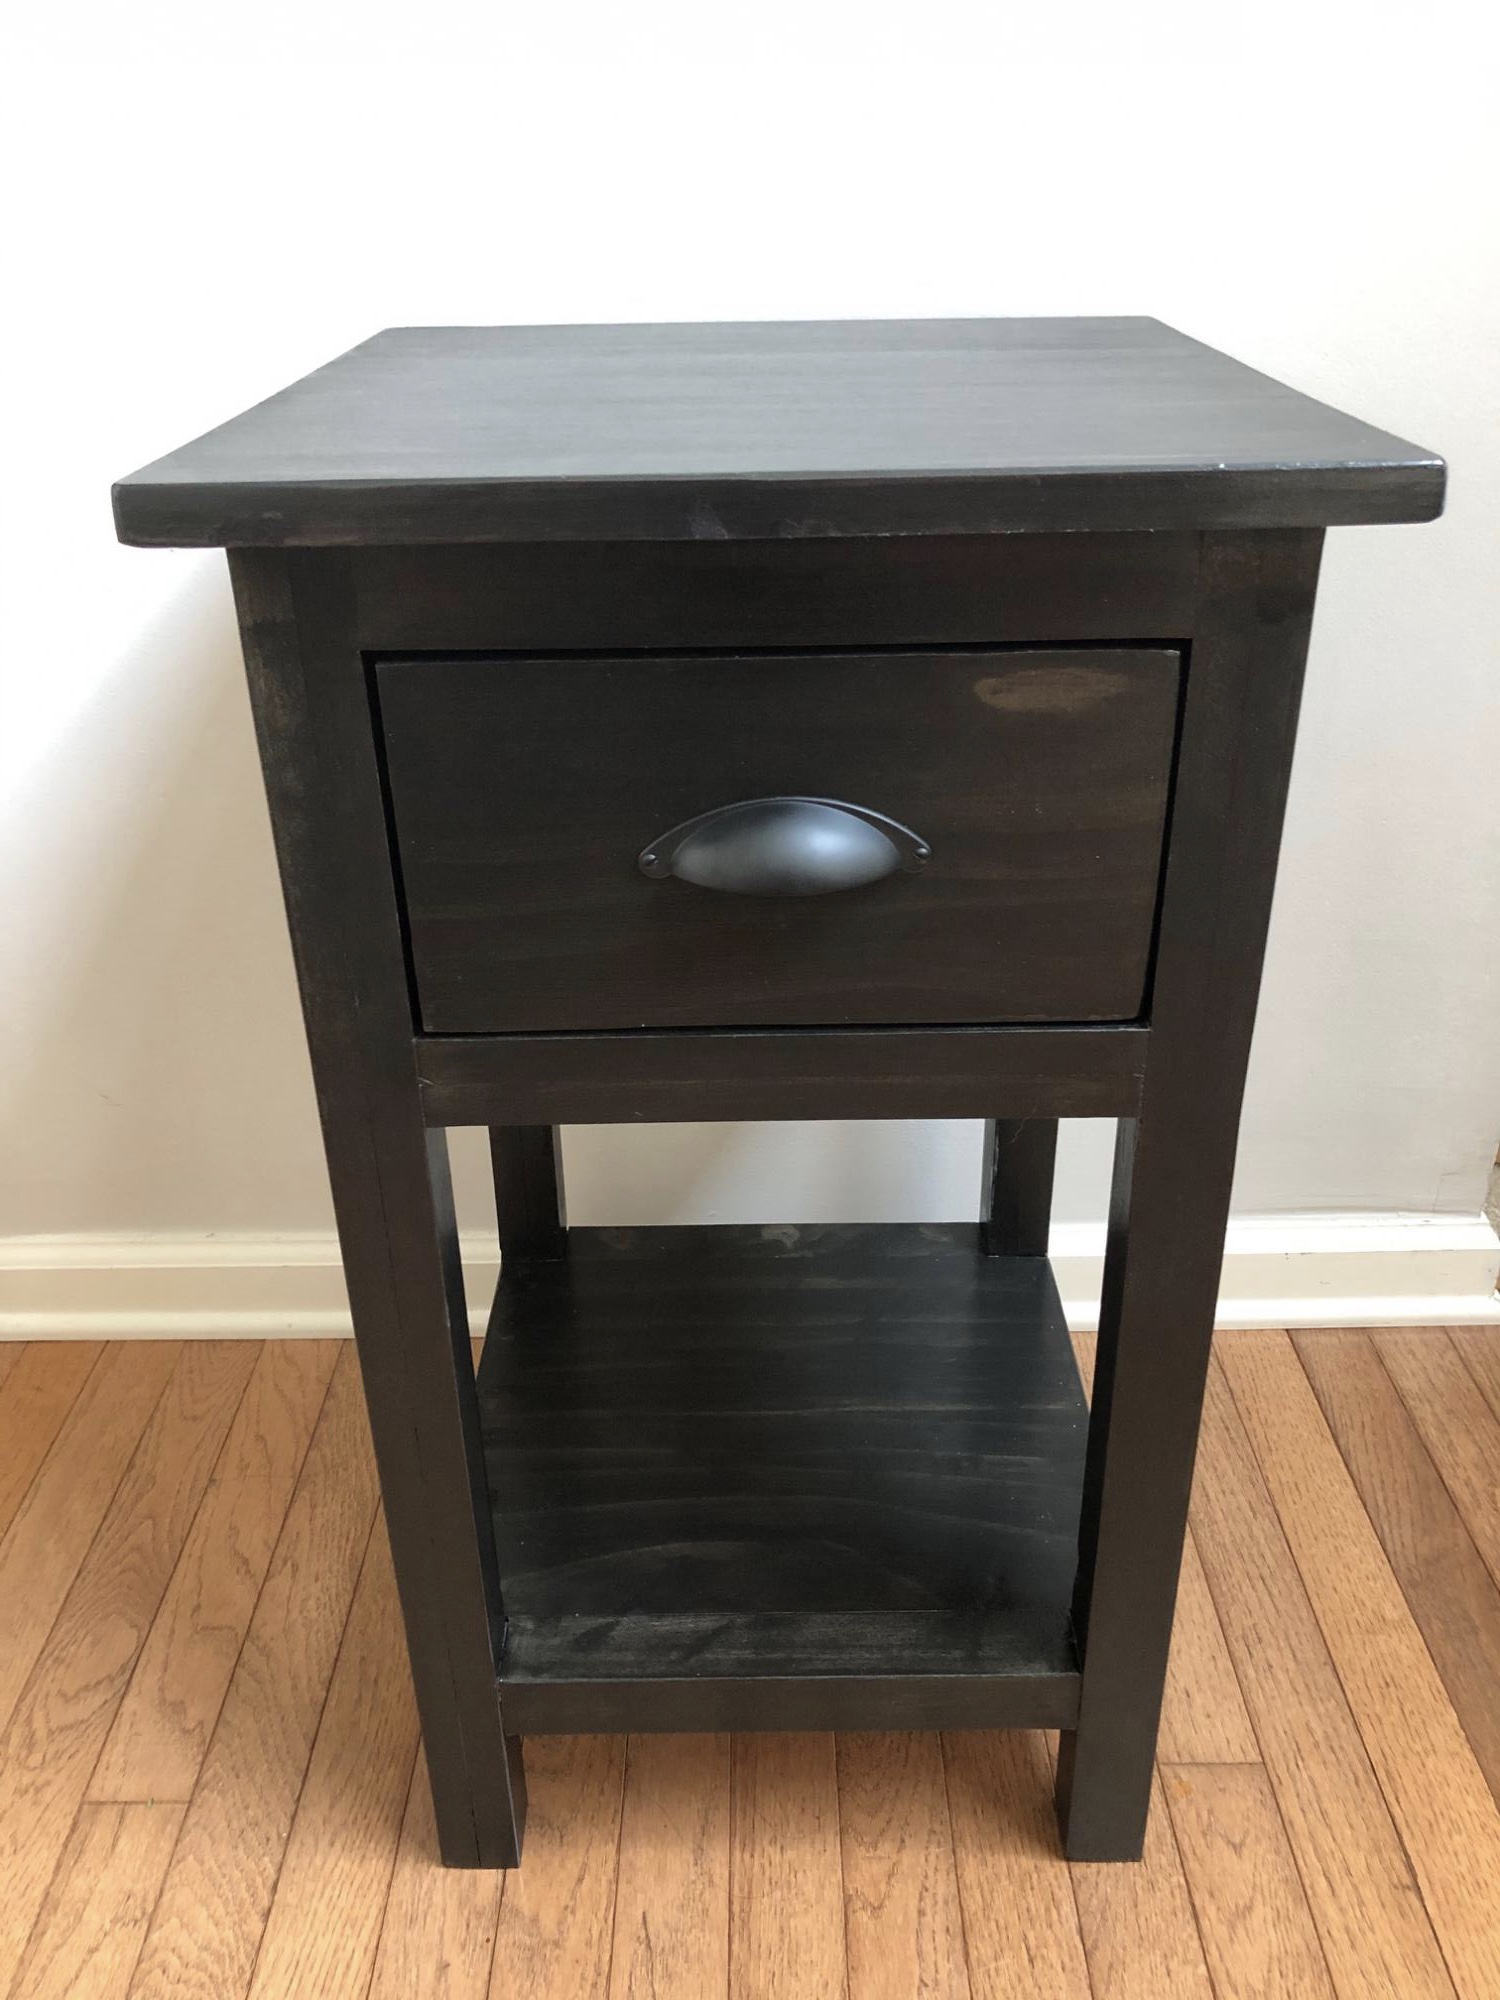
I love the workbench console plans so made them smaller to work as nightstands.
Decided to try and make lamps out of some firewood. They worked for what I wanted.
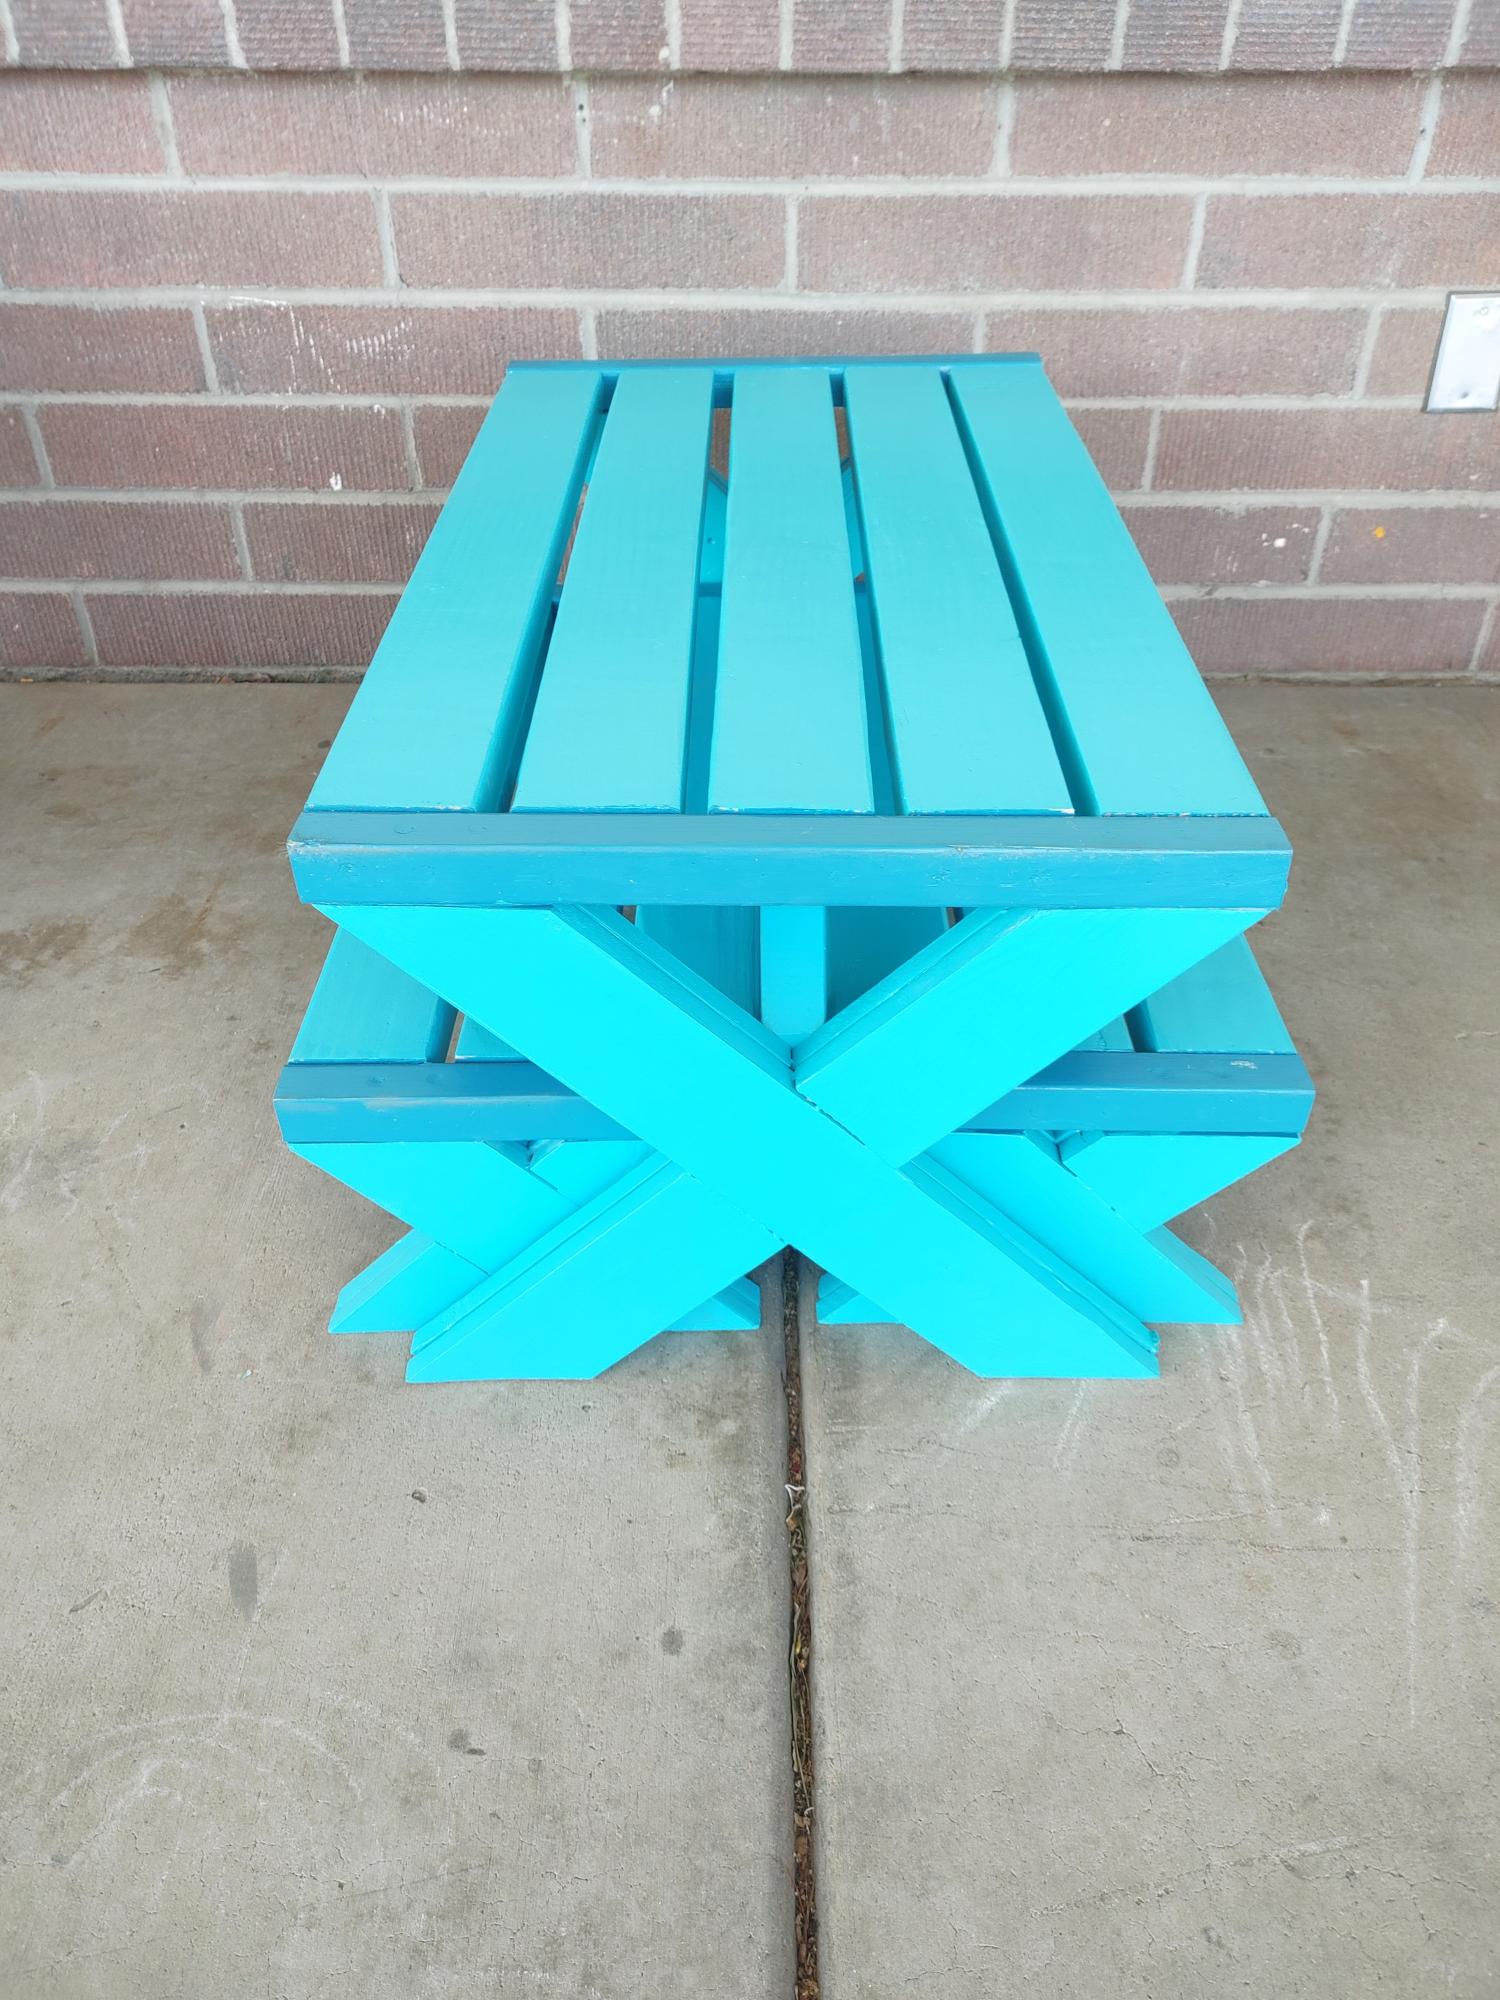
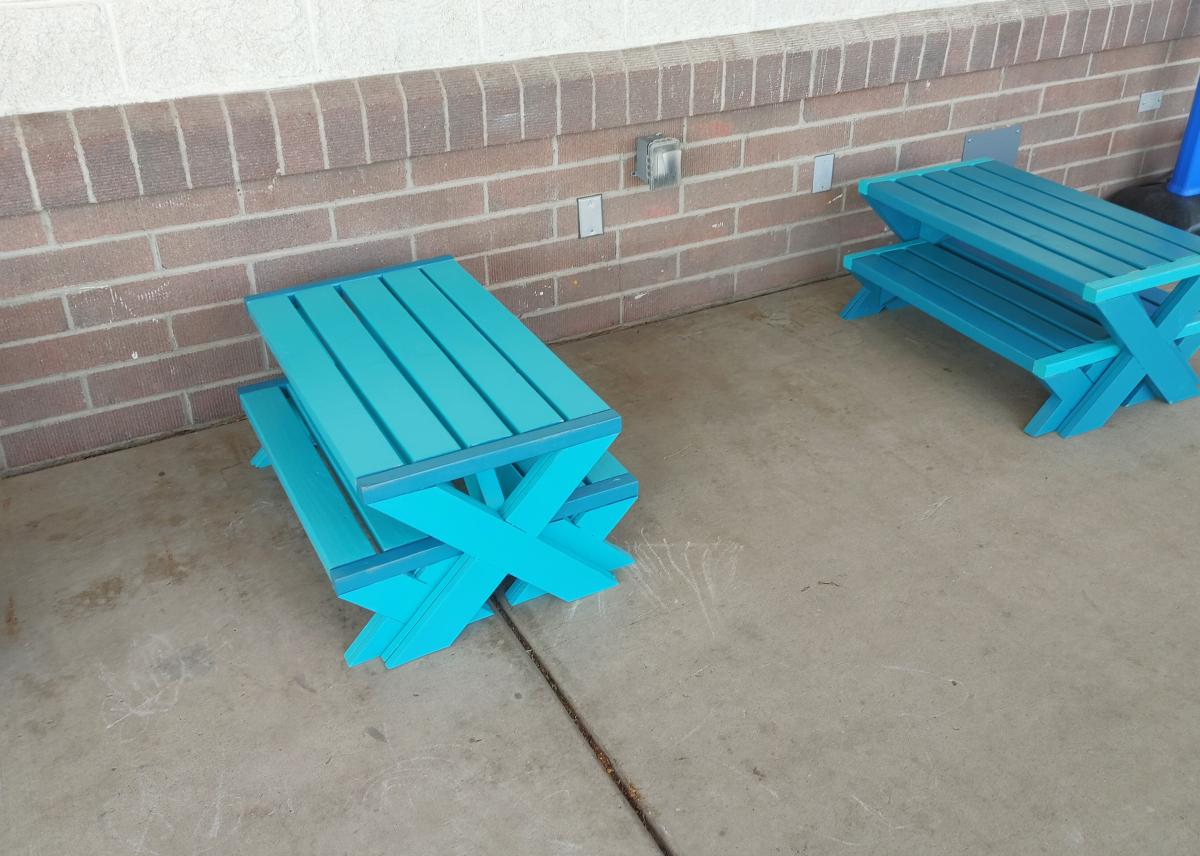
Thanks for the plans for this project. I built them for my wife's preschool. I hid the screw holes with plastic wood, sanded and painted over them. I made them a little more sturdy with a brace on the inside of each bench and table. It all turned out great.
R Buettner
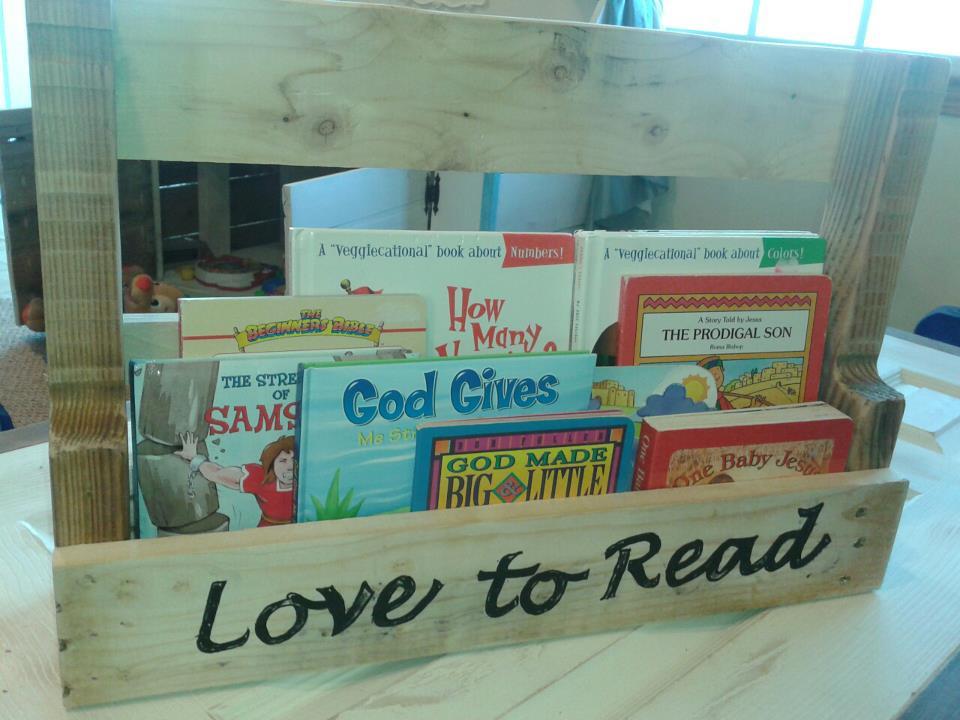
Very simple, very easy book holder. Come to find out, it makes a great wine bottle holder as well. The picture alone can suffice as the plans. Enjoy!!!
Fri, 09/28/2012 - 12:19
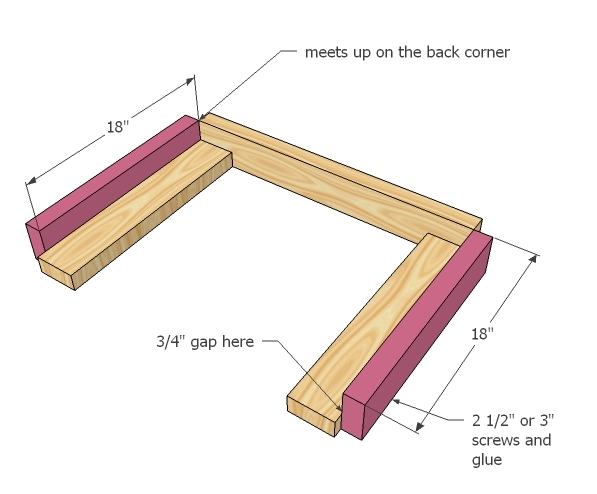
This particular one is made of 1x4's (4) and 2x4's (2). The notches in the 2x4's were already there. Attach one 1x4 on the front and three evenly spaced on the back. And Done! Add stencils for creativity!
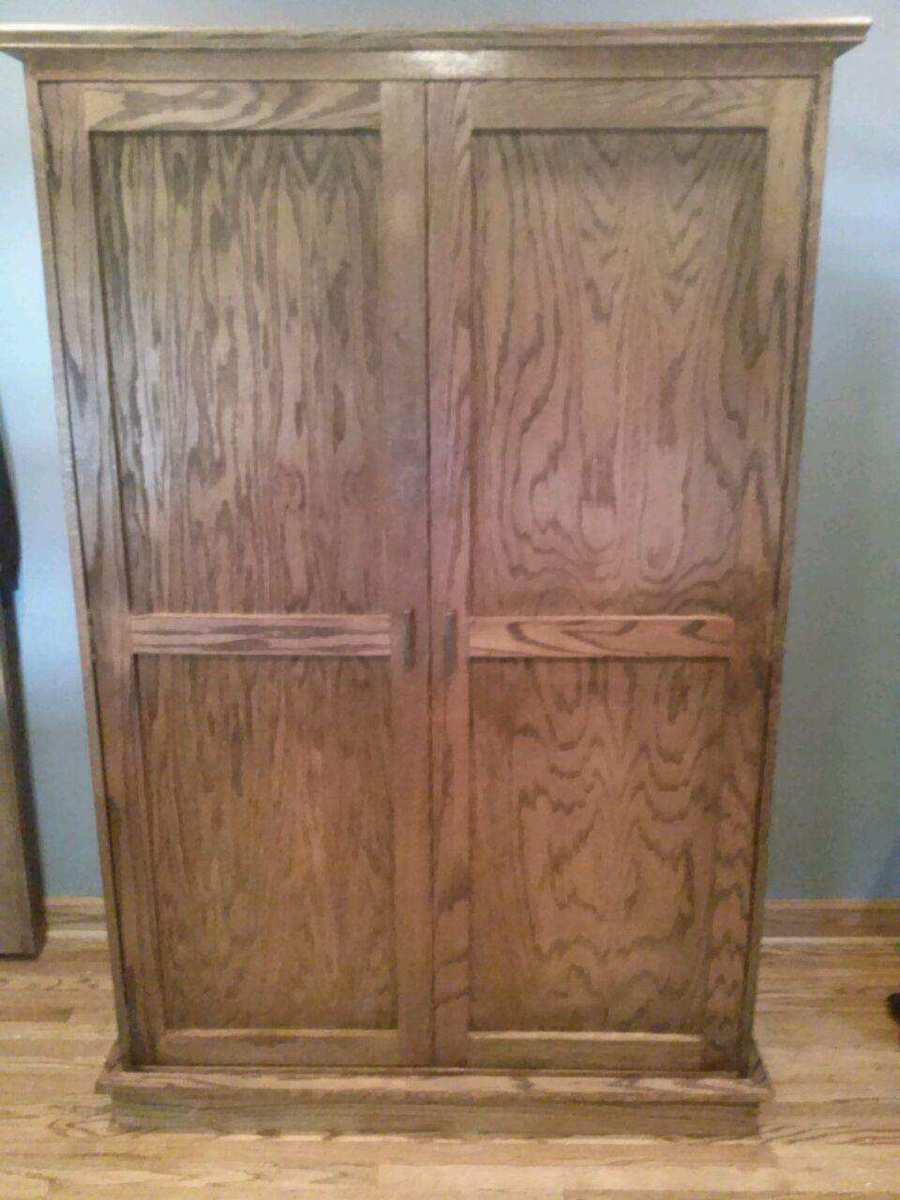
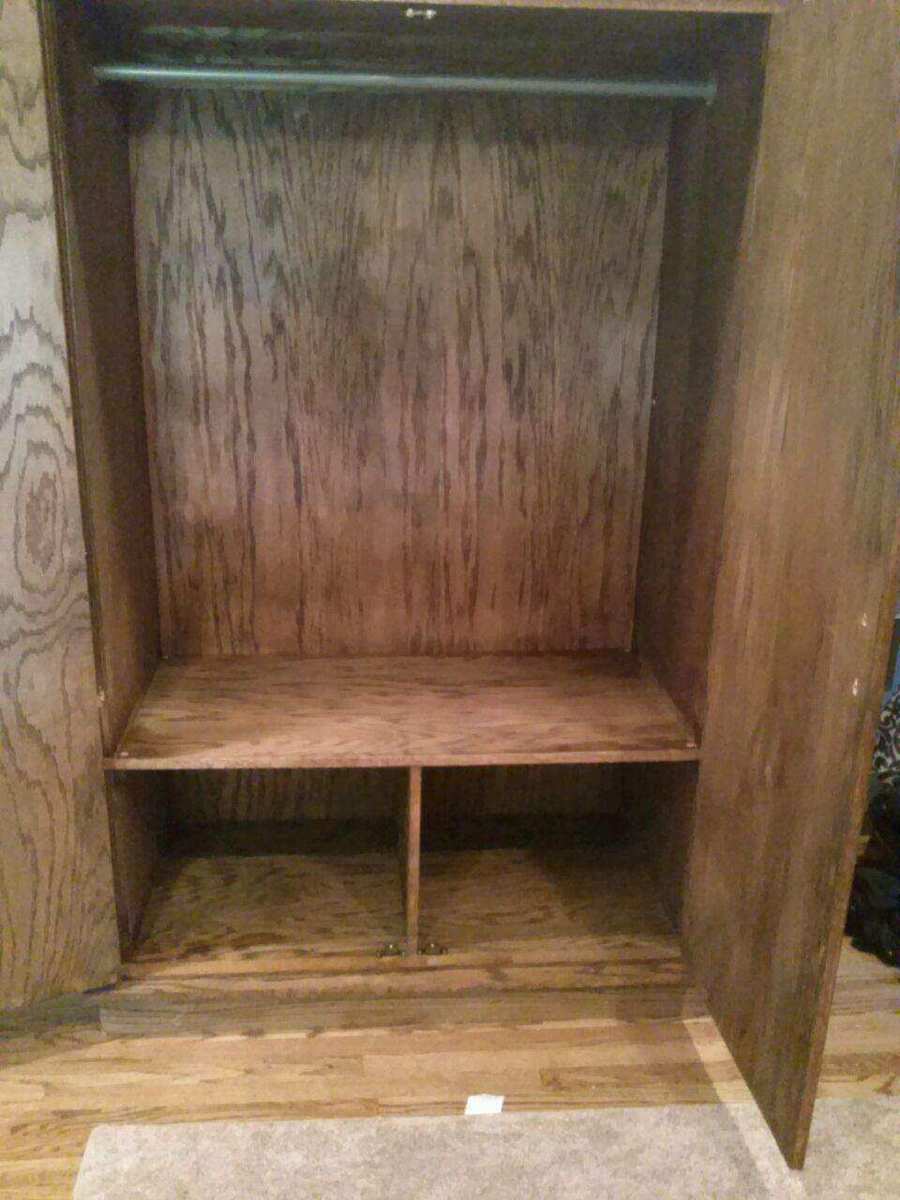
I modified the plans to make a larger armoire to hand pants and store board games.

Love love how this turned out! Great plans. We've been wanting to build this for years now. Works great for us...we are a military family and move every 3 years so being given able to break this down into pieces easily makes it easy on our moves! Thank you for the plans!
benches are next!
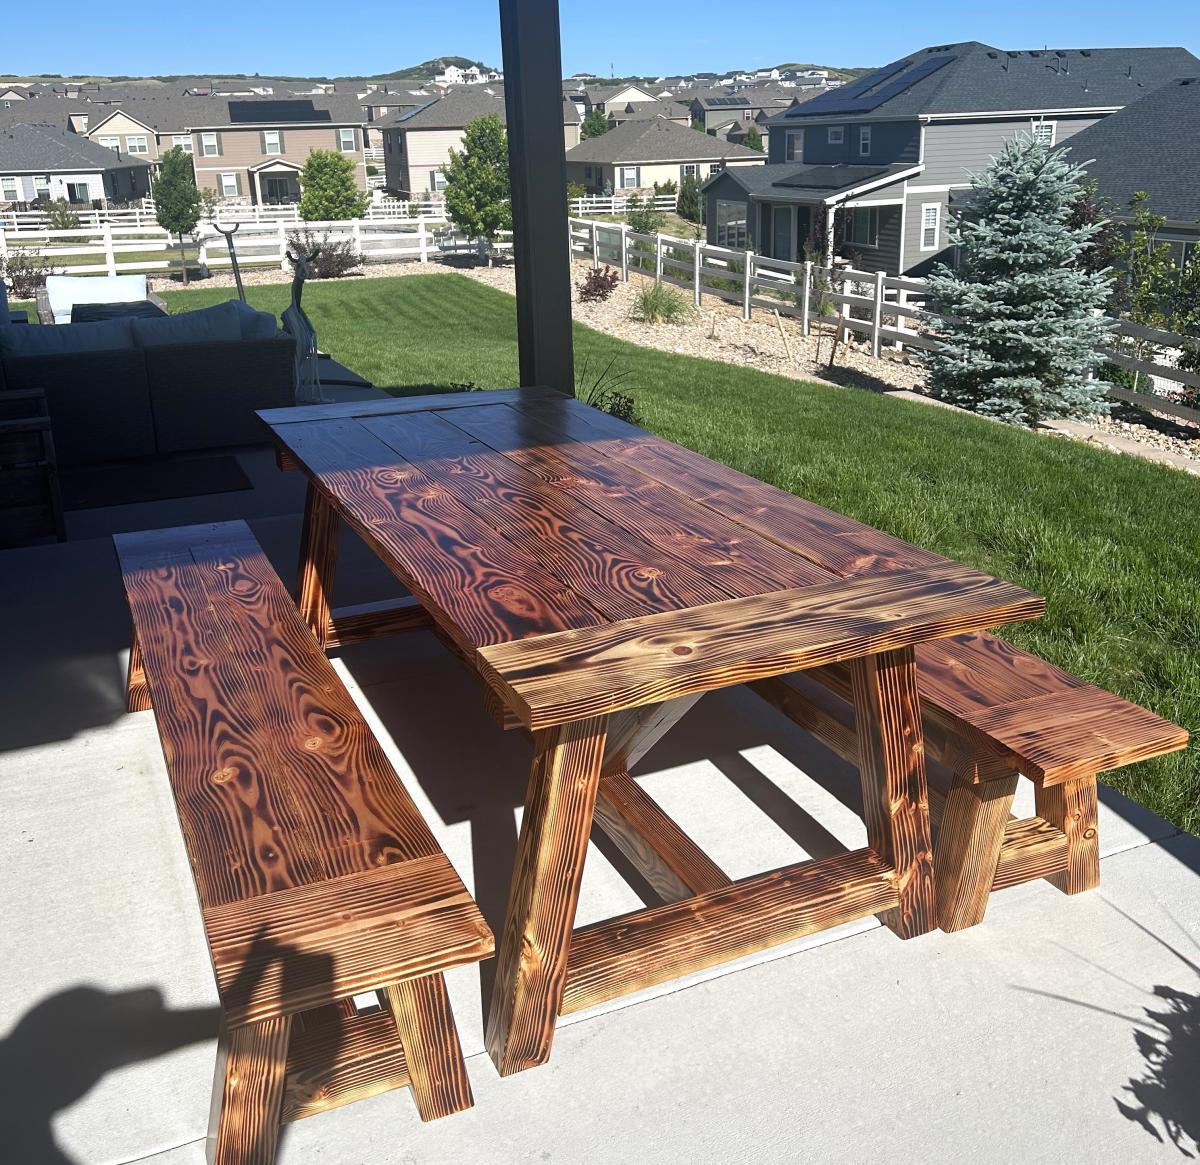
Second table I made from these plans. Dark stain really accents the grain and the glue that I did not clean up :(
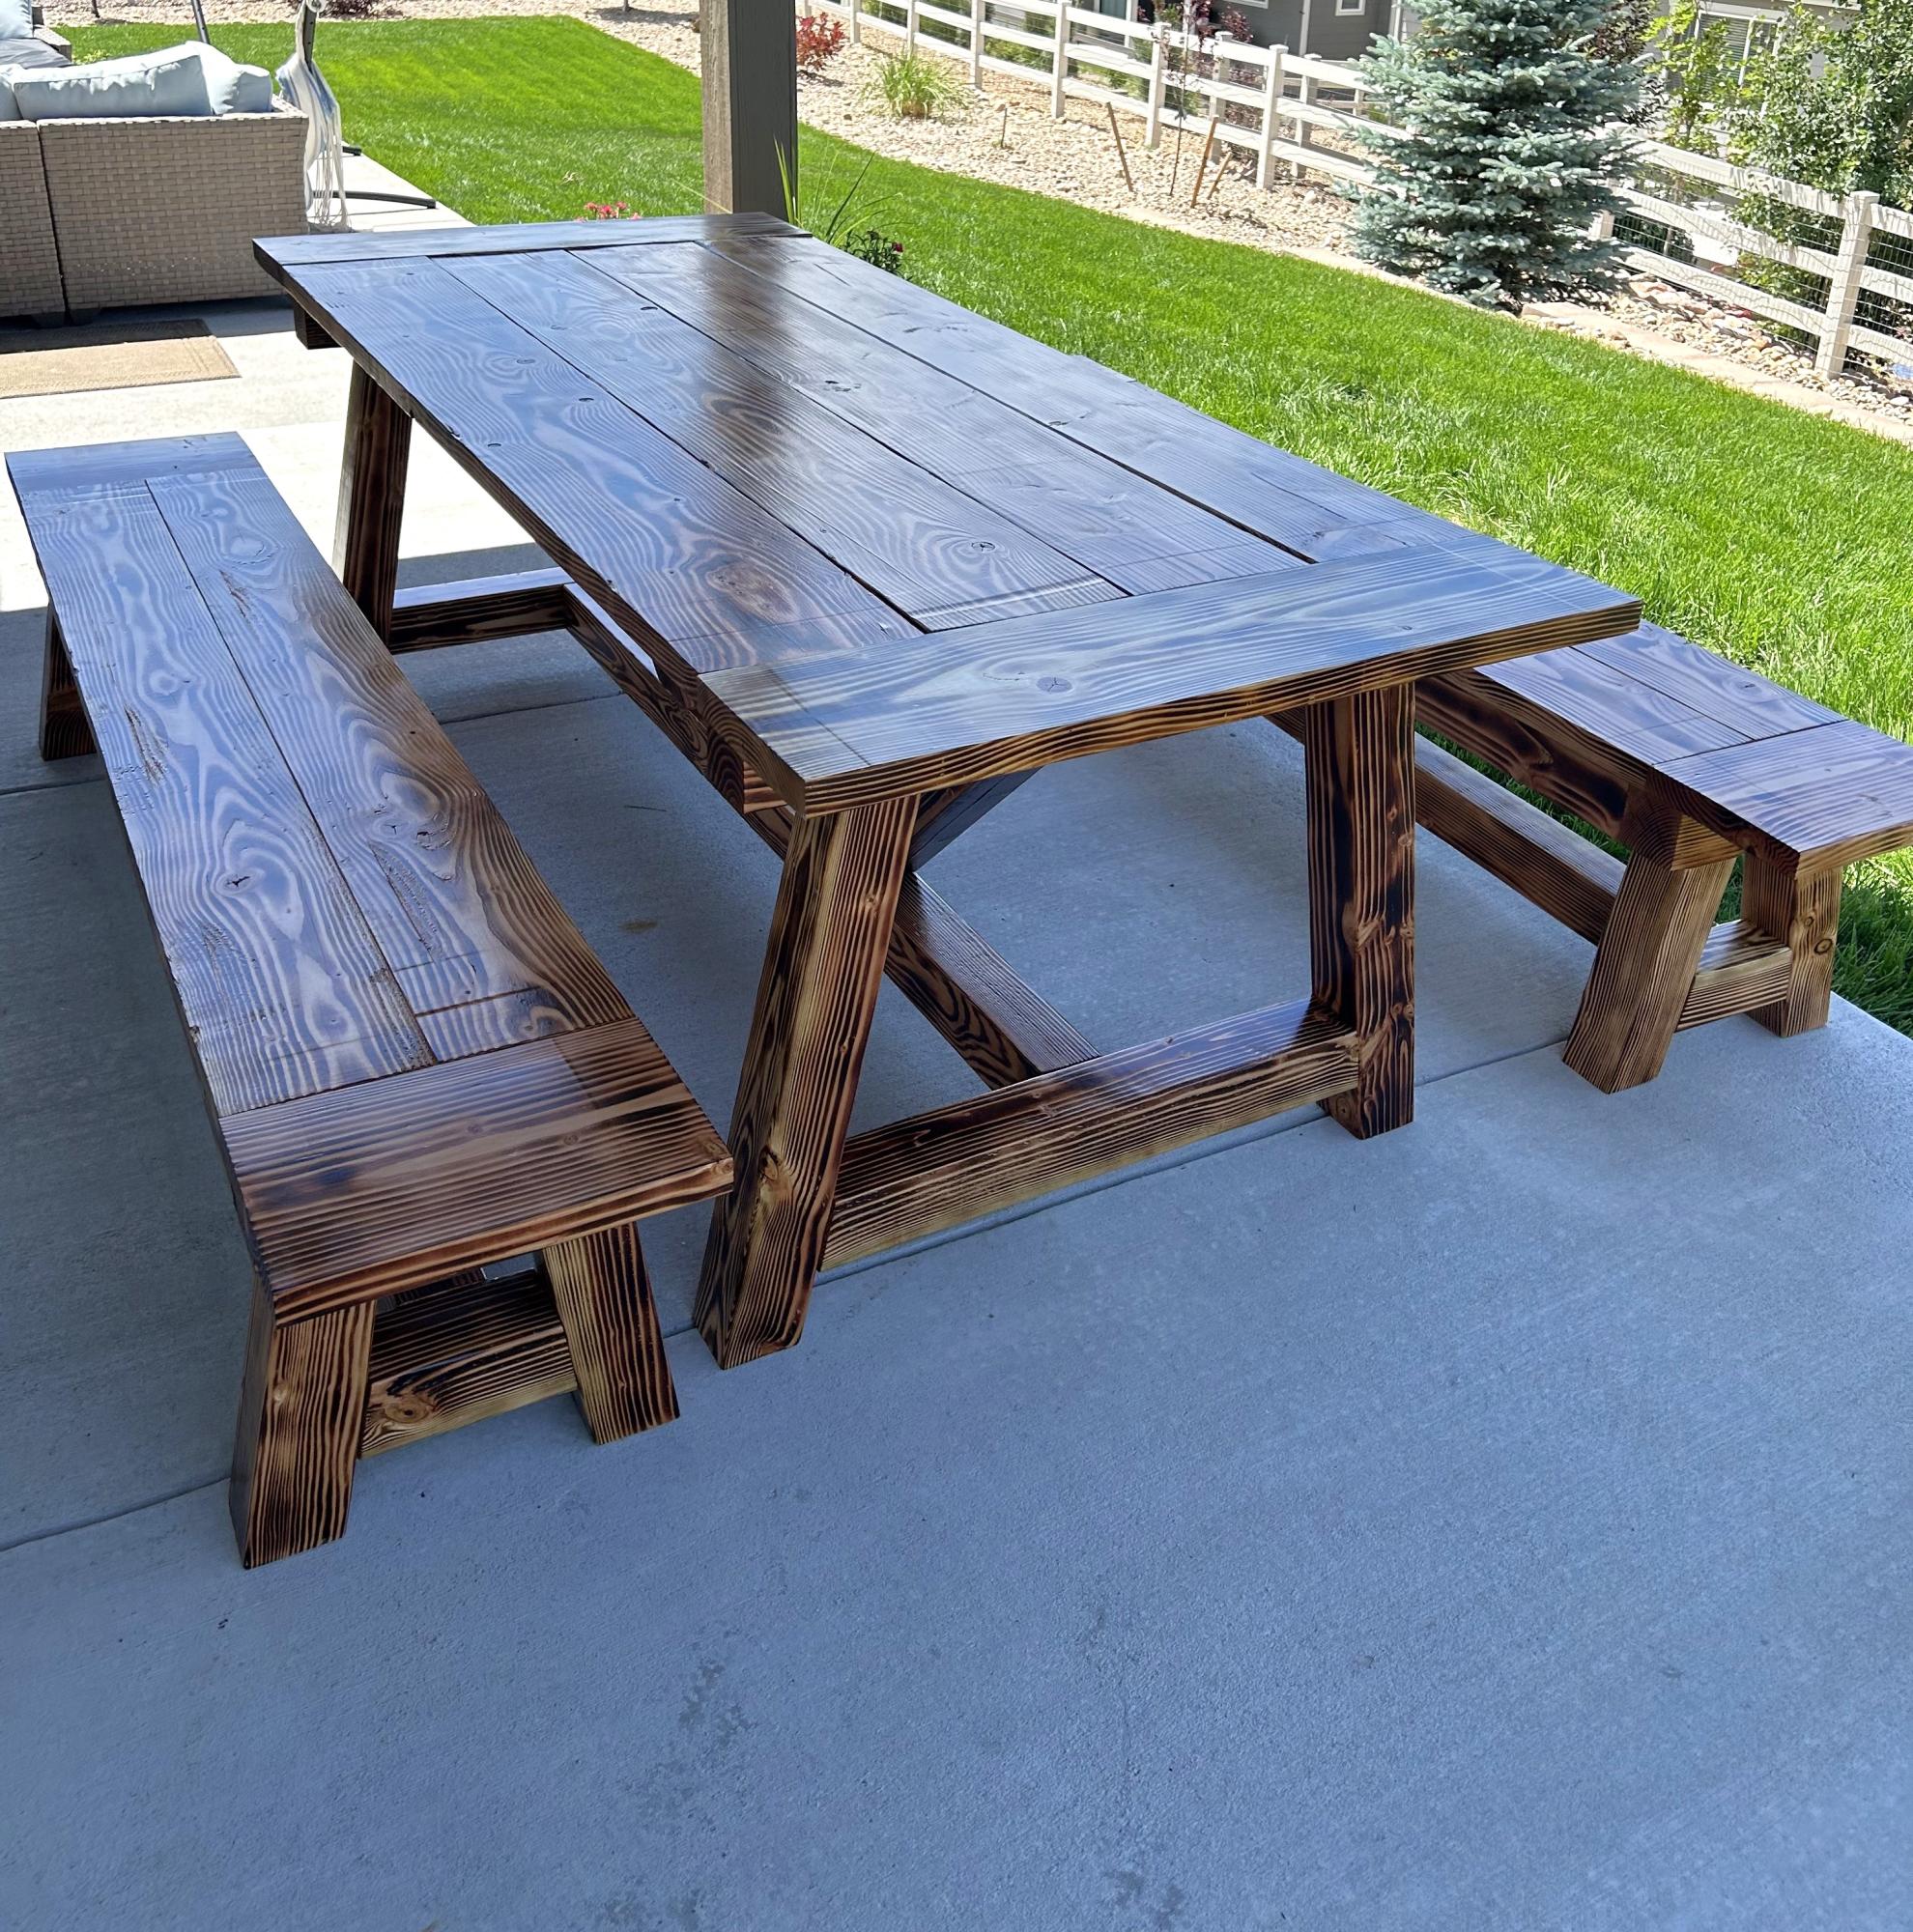
Used box store lumber and did a light burn, tung oil and sealant.
Tim H

These are the cubby seats featured on Shanty 2 Chic's site along with Pottery Barn inspired Trestle table. This was a lot of fun to make because it was the first project I did using my hand saw. I normally have the wood cut at home depot. But now I can do it on my own!! you can check them out on my blog: goldhoopstochickencoops.blogspot.com