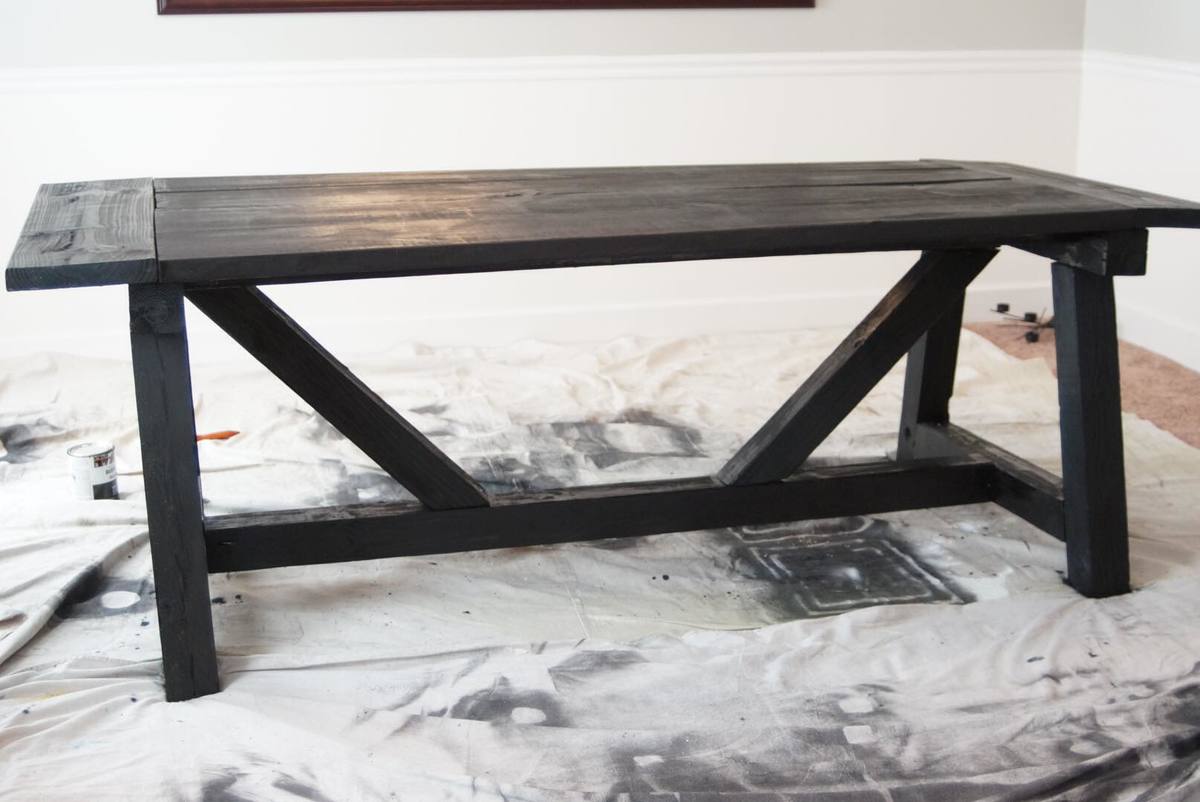
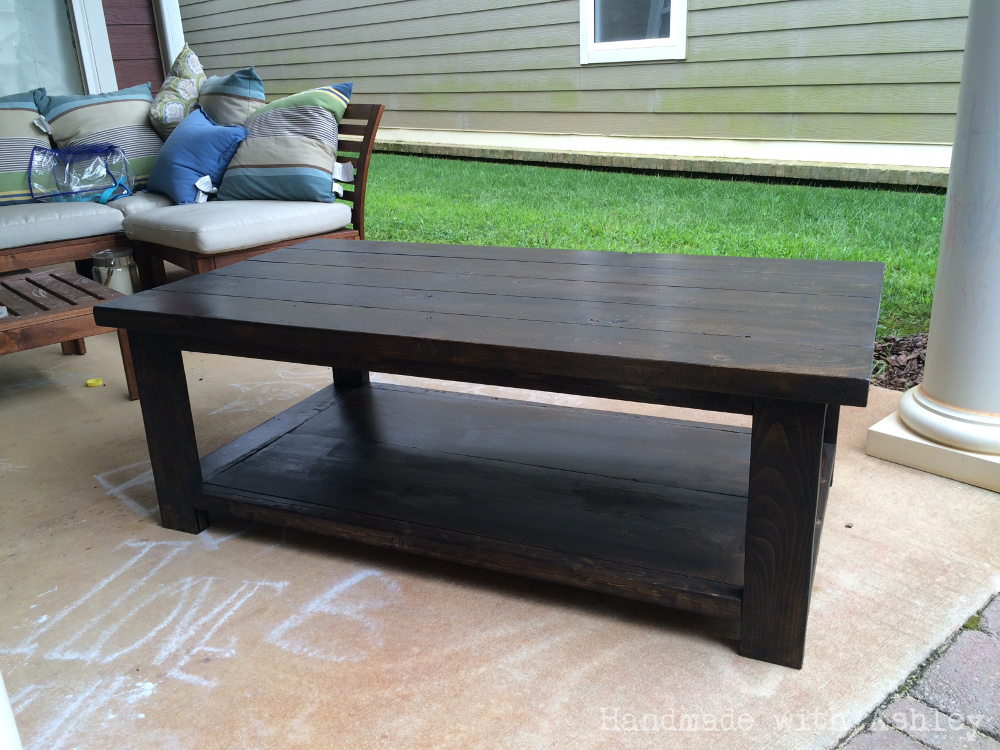
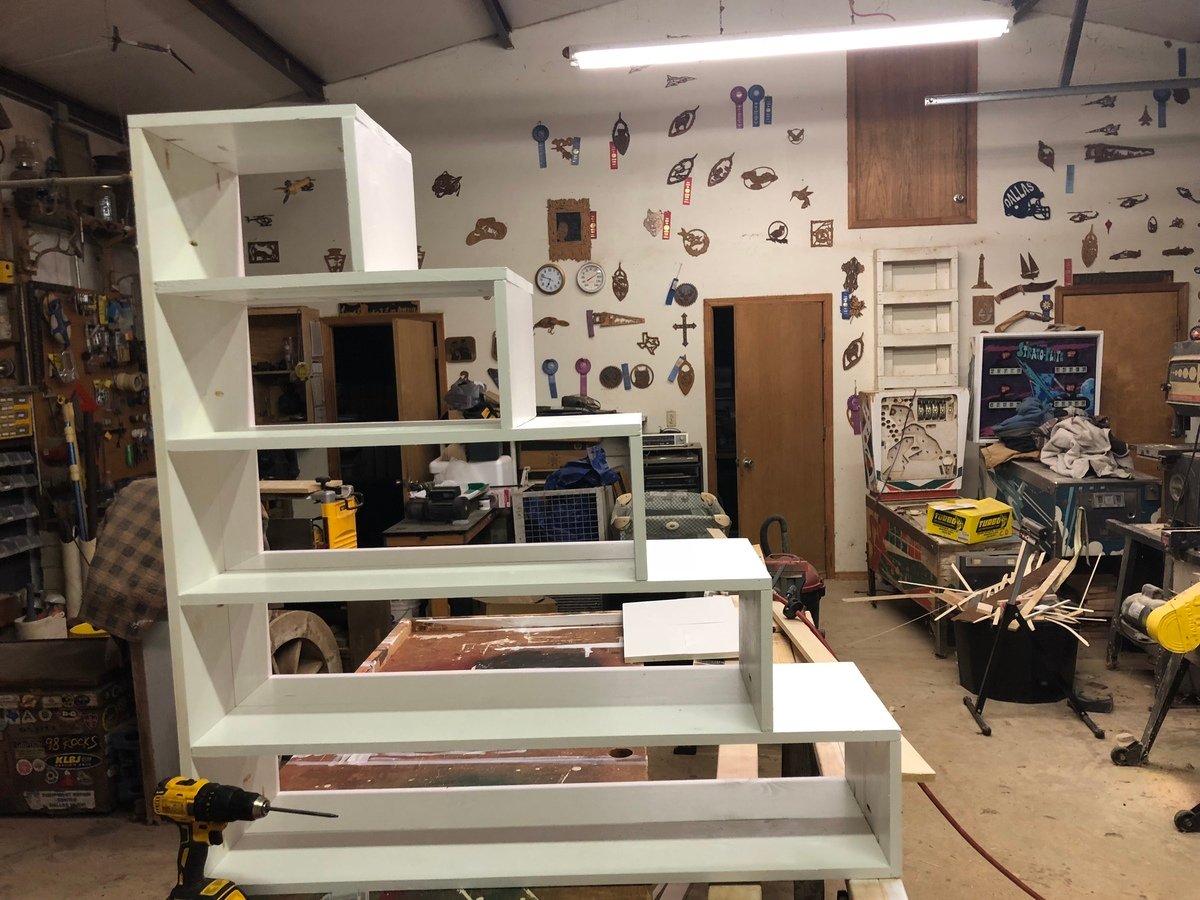
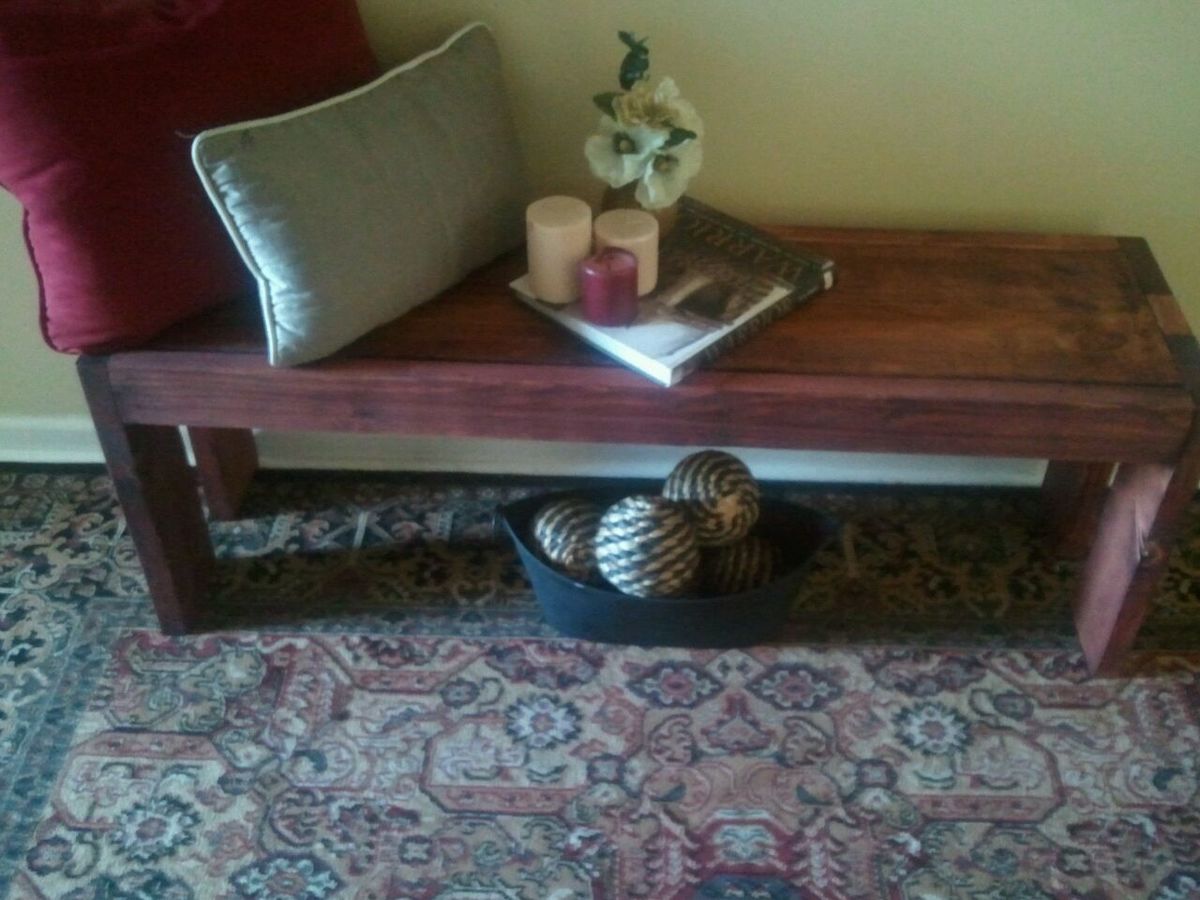
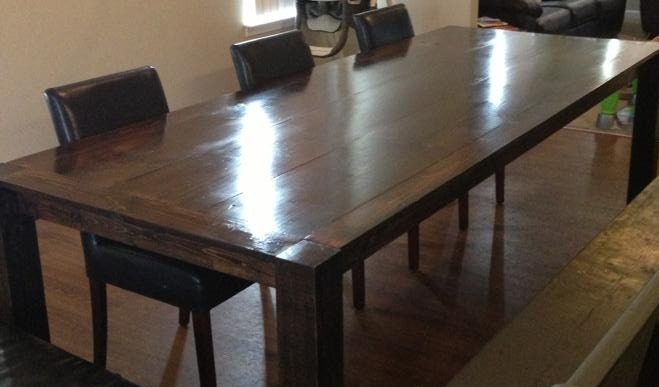
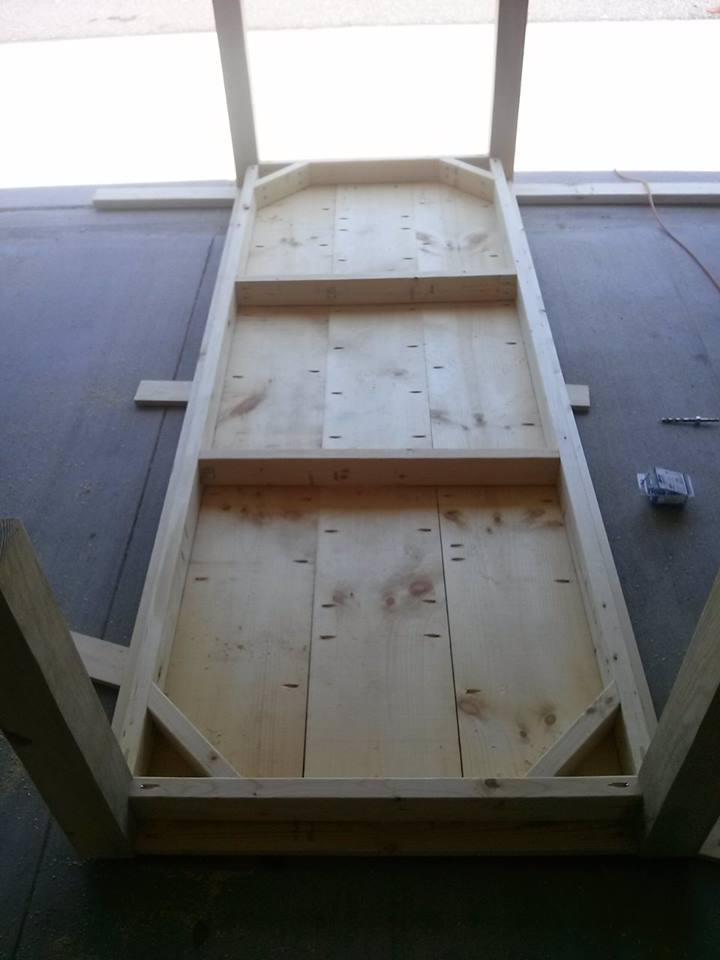
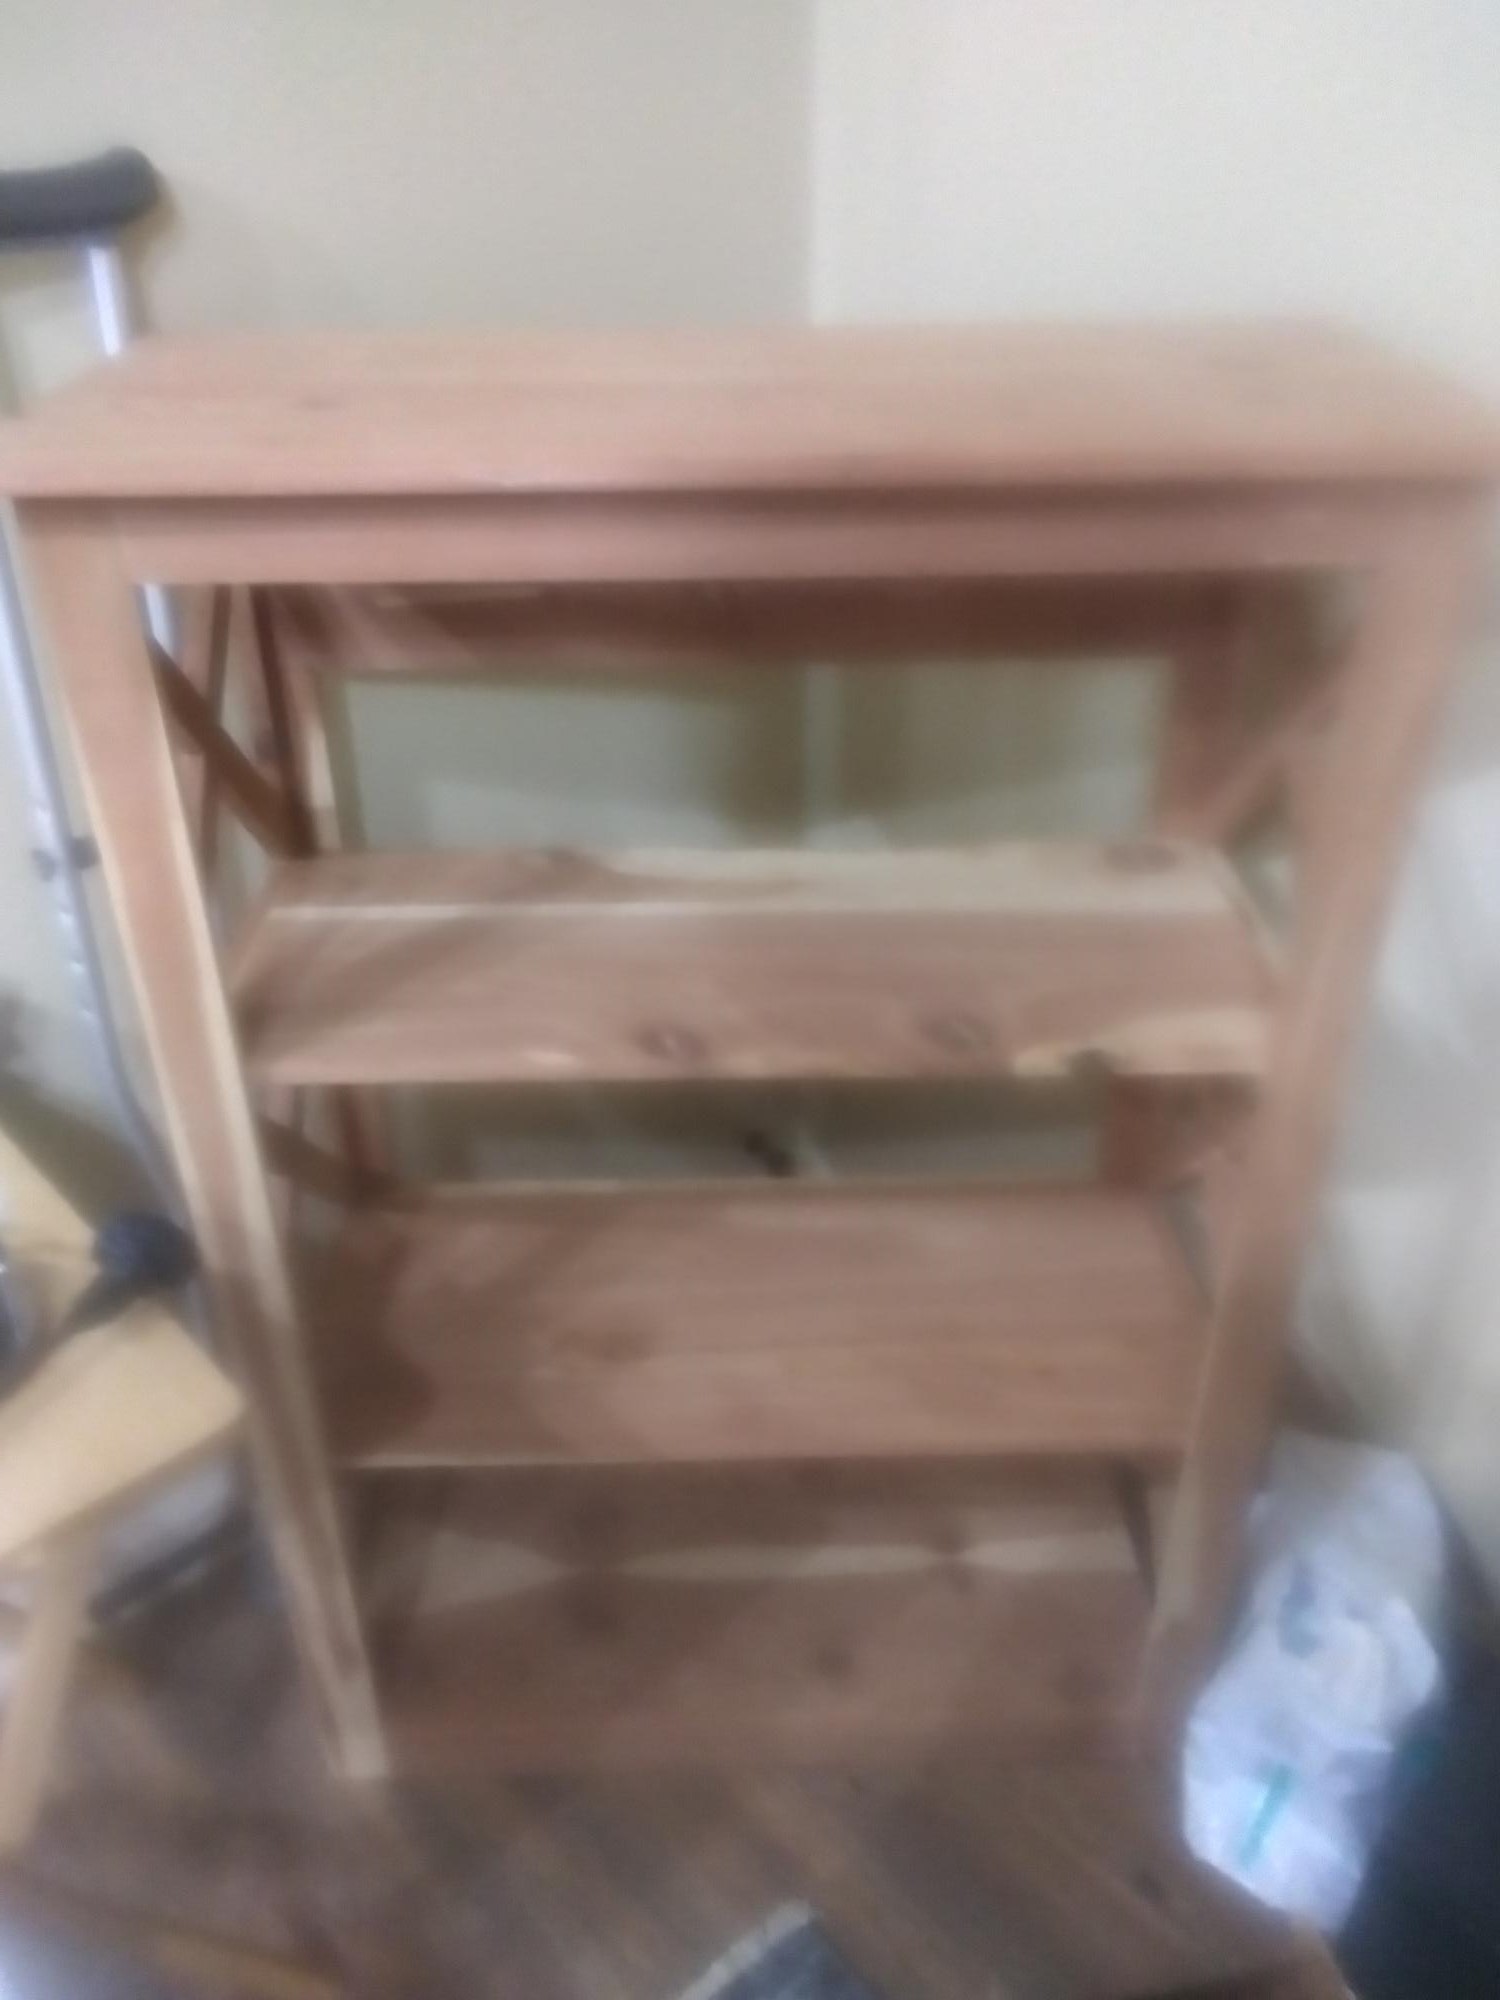
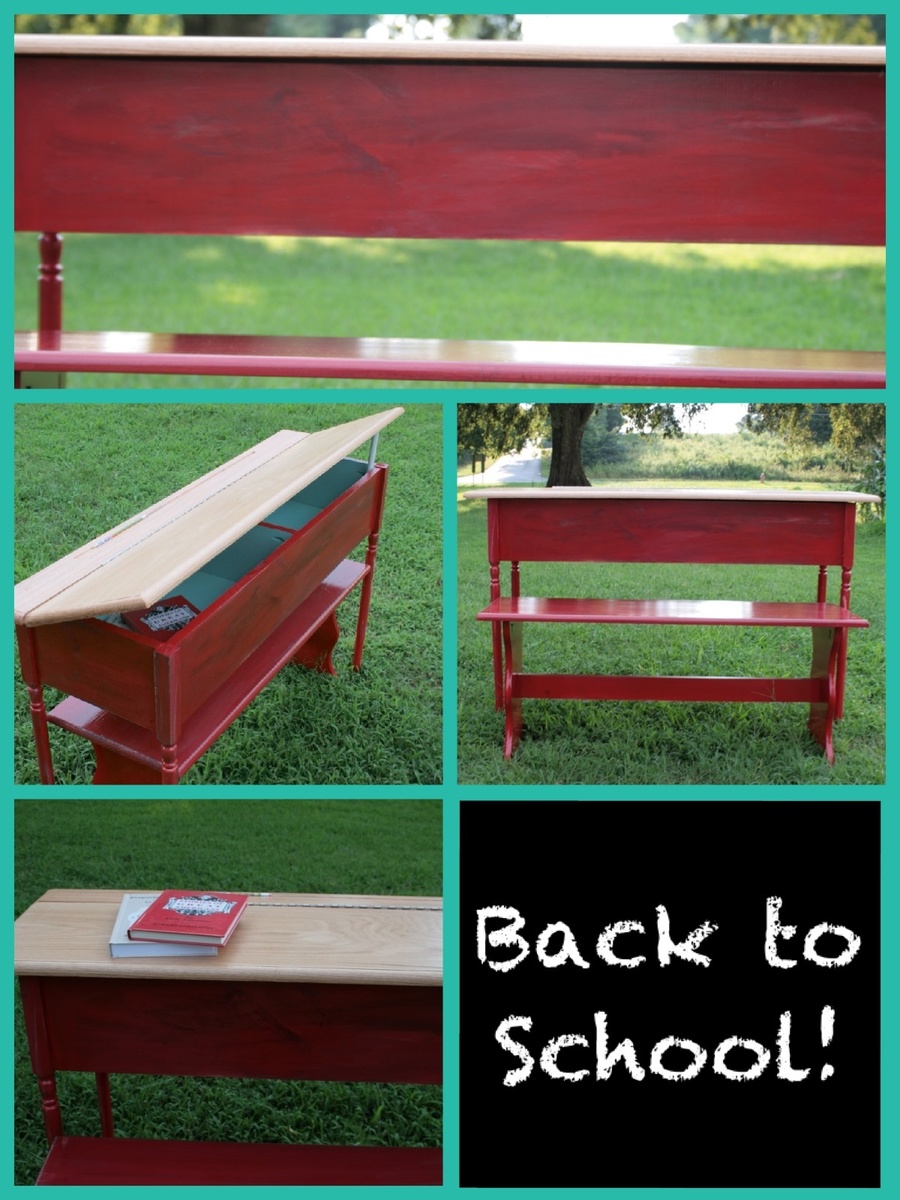
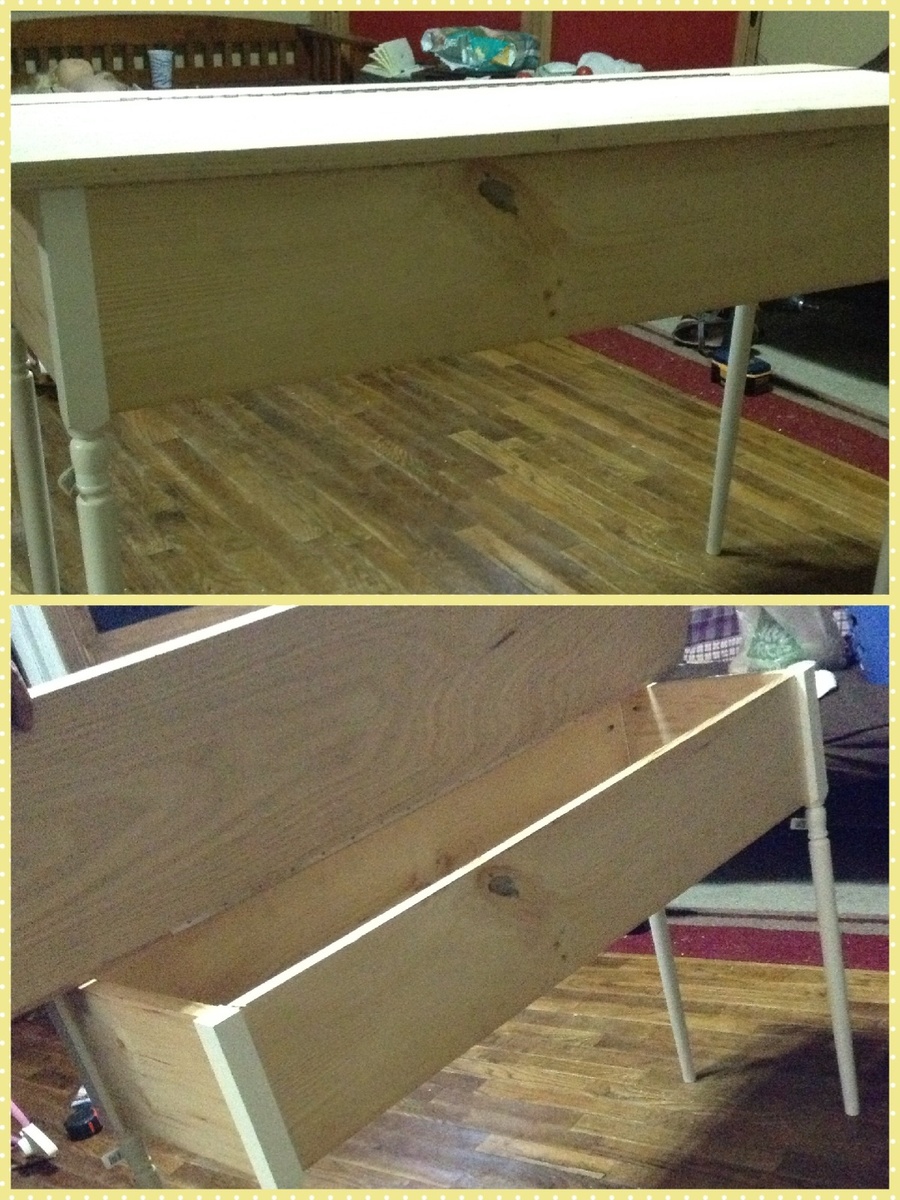
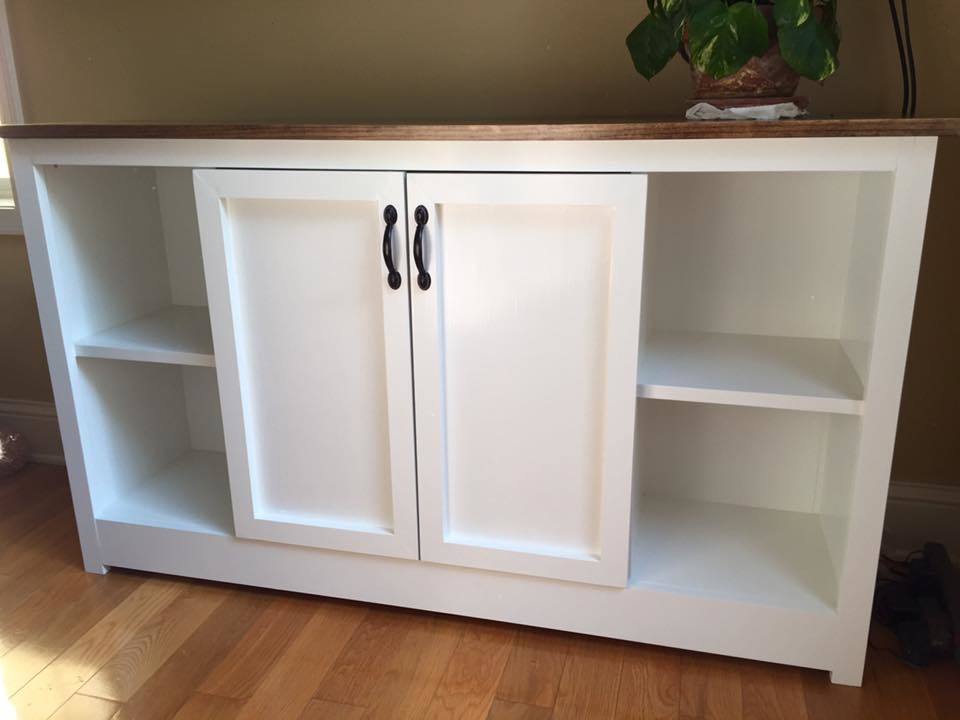
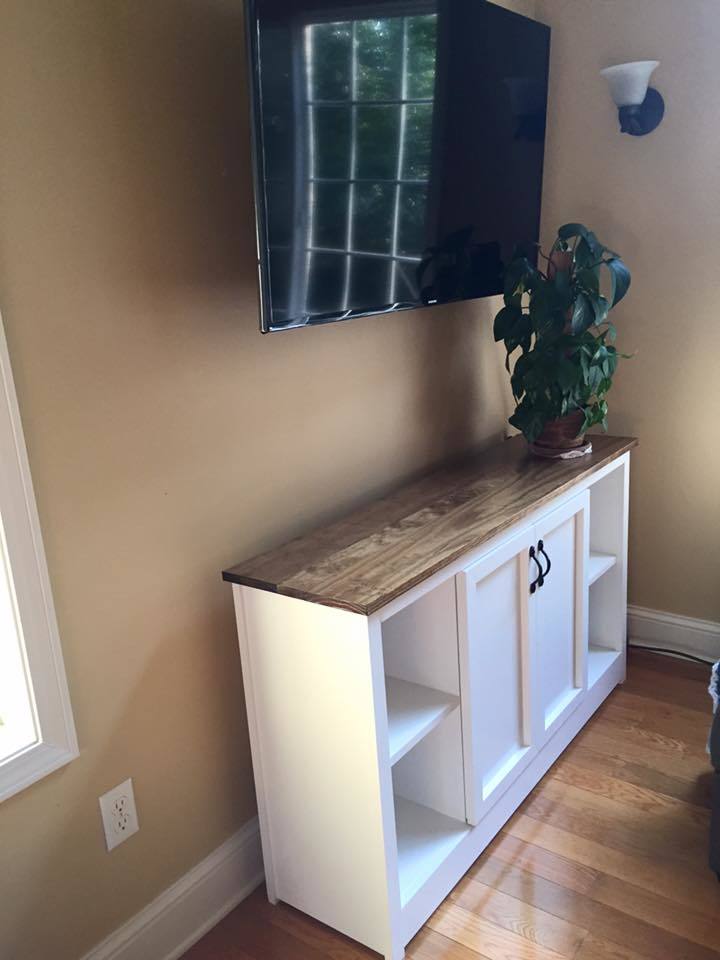
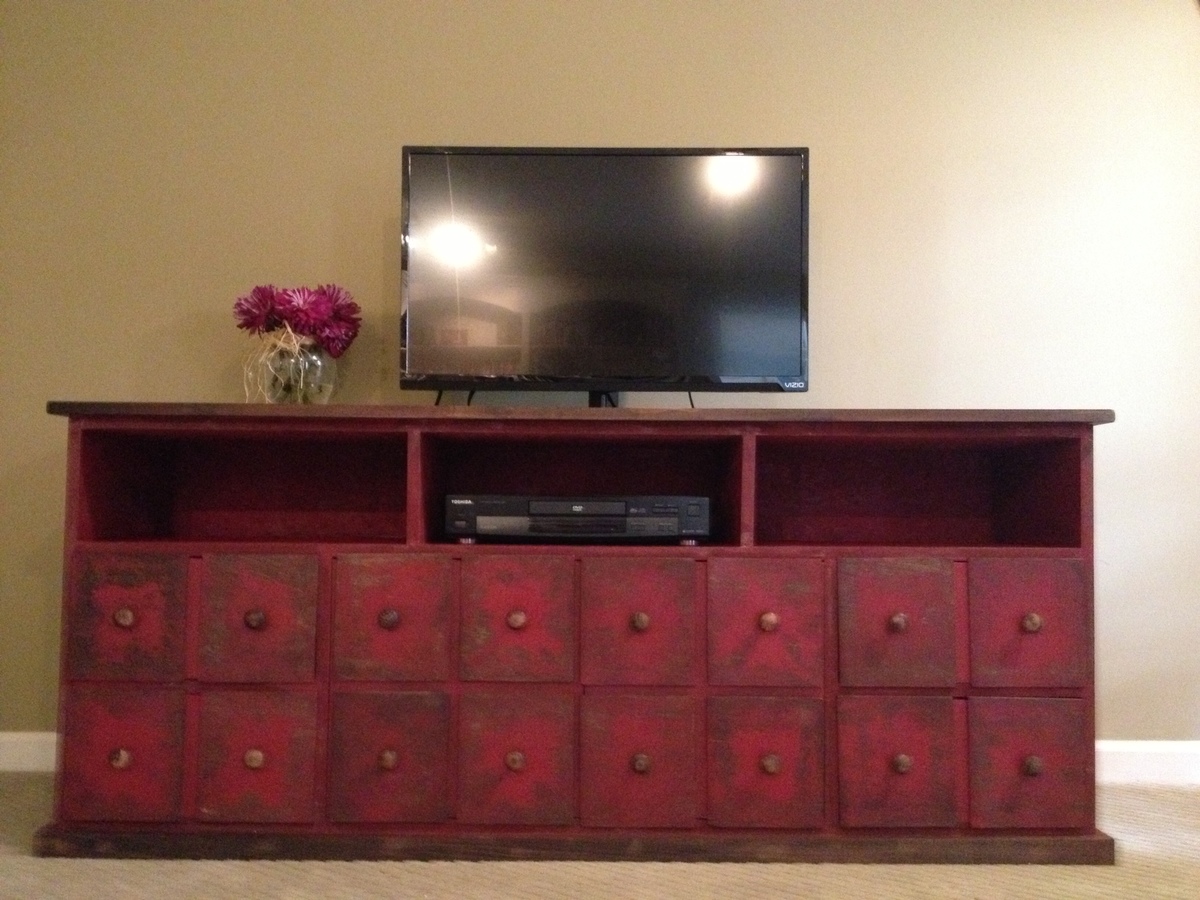
Apothecary Media Console
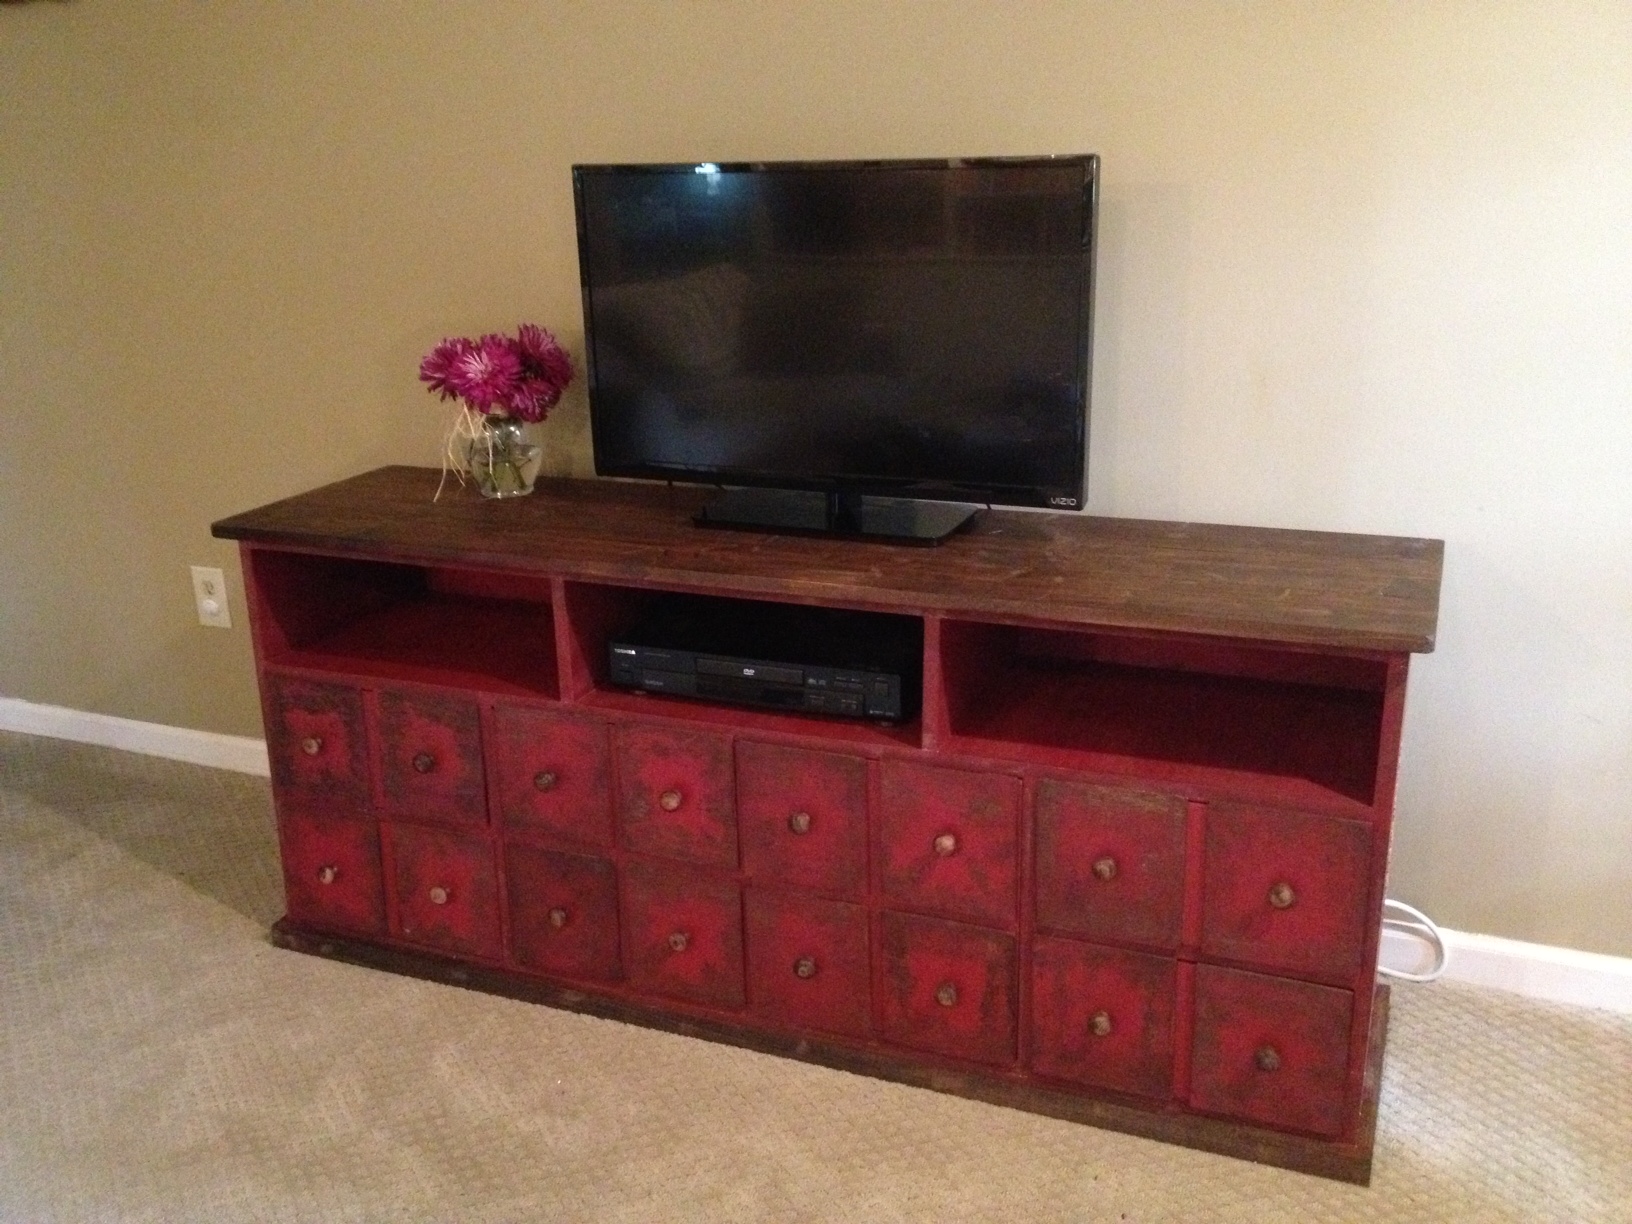
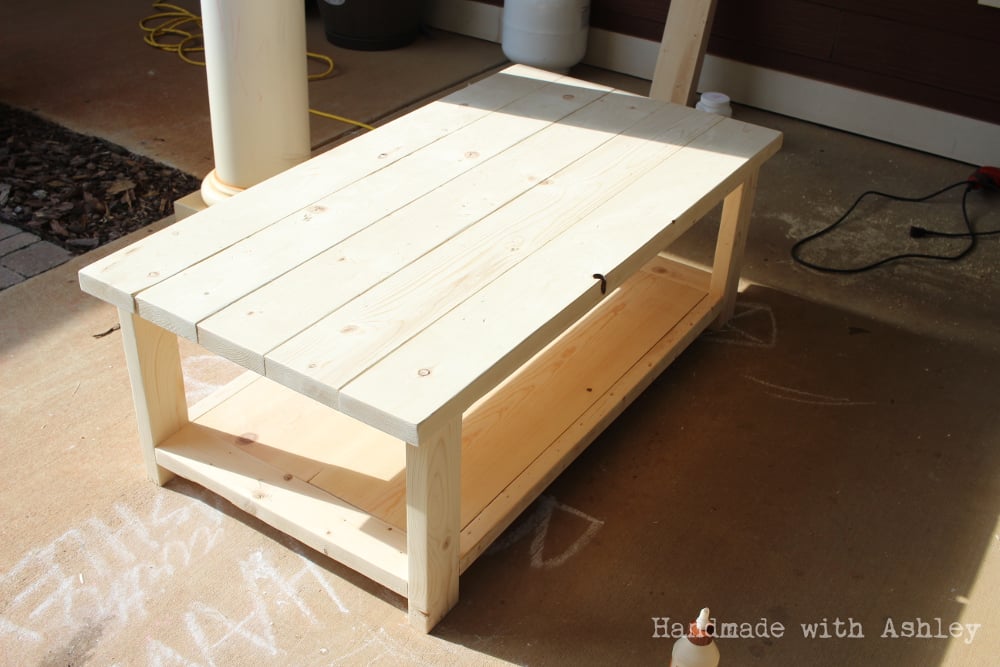
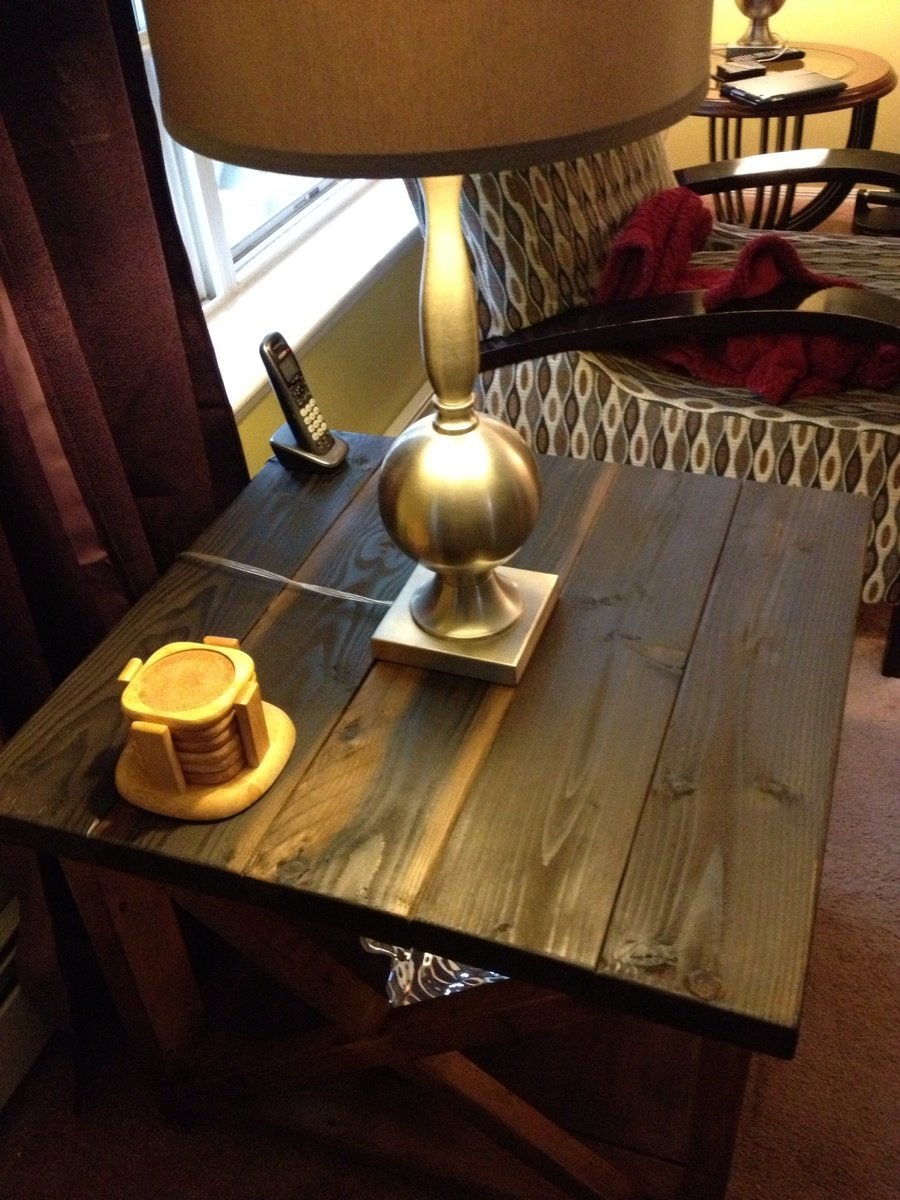
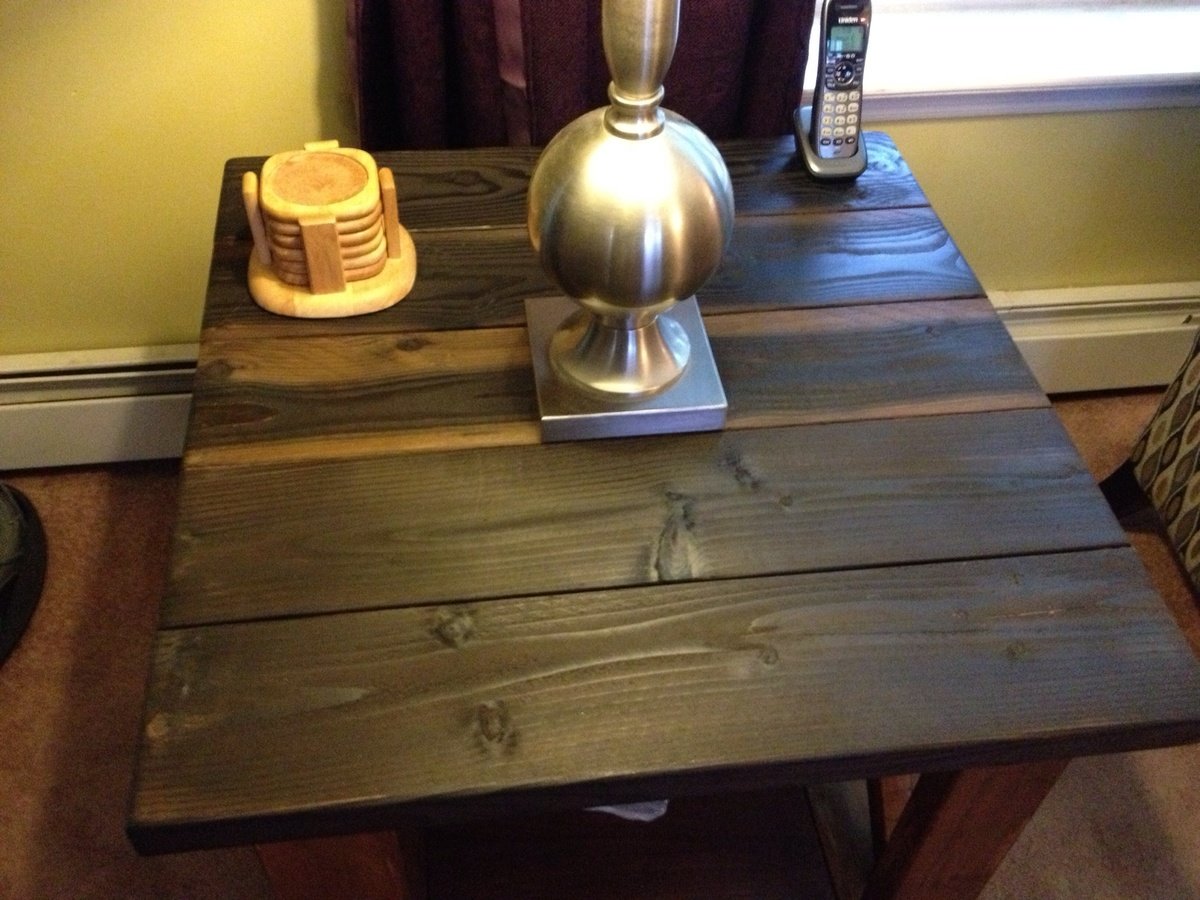
Apothecary Media Console Table. No modifications to plans.
Built from Plan(s)
Estimated Cost
$200-$300
Estimated Time Investment
Weekend Project (10-20 Hours)
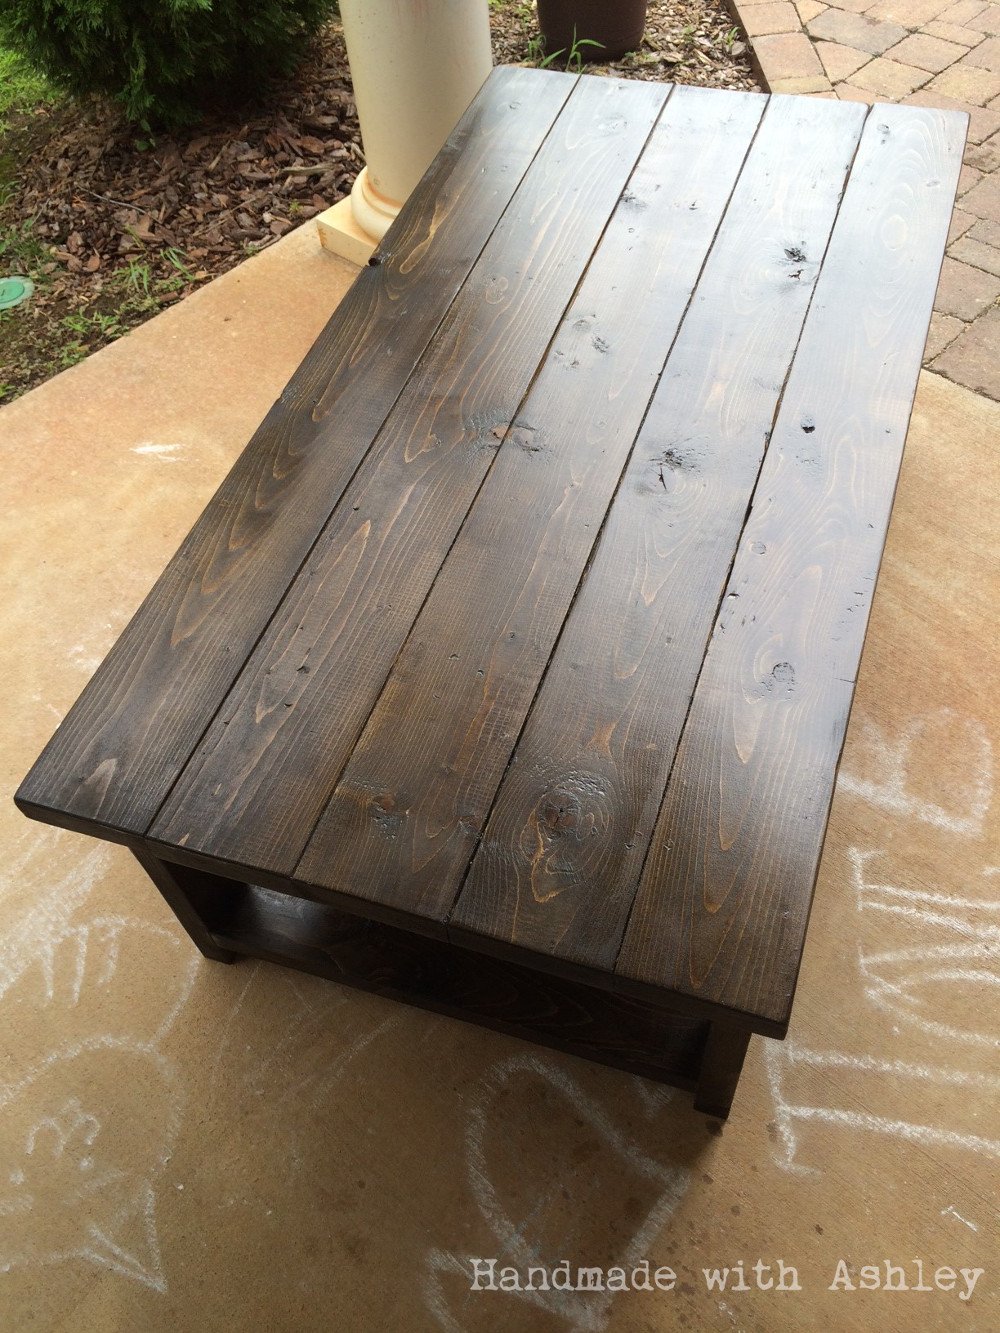
Finish Used
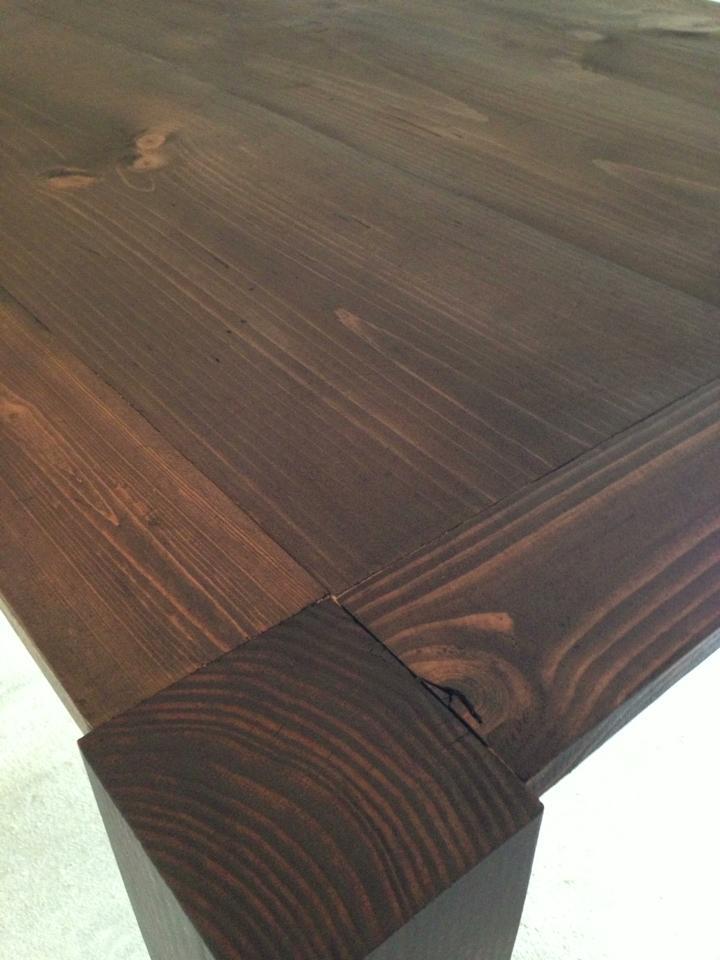
Minwax Dark Walnut Stain, Rustoleum red spray paint, and Minwax Finishing Paste Wax. I stained the bottom trim and top board. I then spray painted 2 coats over all visible MDF surfaces. I sanded the spray paint and used the stain to glaze all visible surfaces. For the false fronts, I stained them first. I then rubbed soap (standard hotel soap) all over the fronts, heavily coating the edges. I then spray painted them red. Using a large chisel, I chipped off the paint around the edges, distressing where I thought appropriate. I glazed back over the paint with the Minwax stain. I stained the wooden knobs. I finished by applying the clear paste finishing wax all over and buffing.
Recommended Skill Level
Intermediate