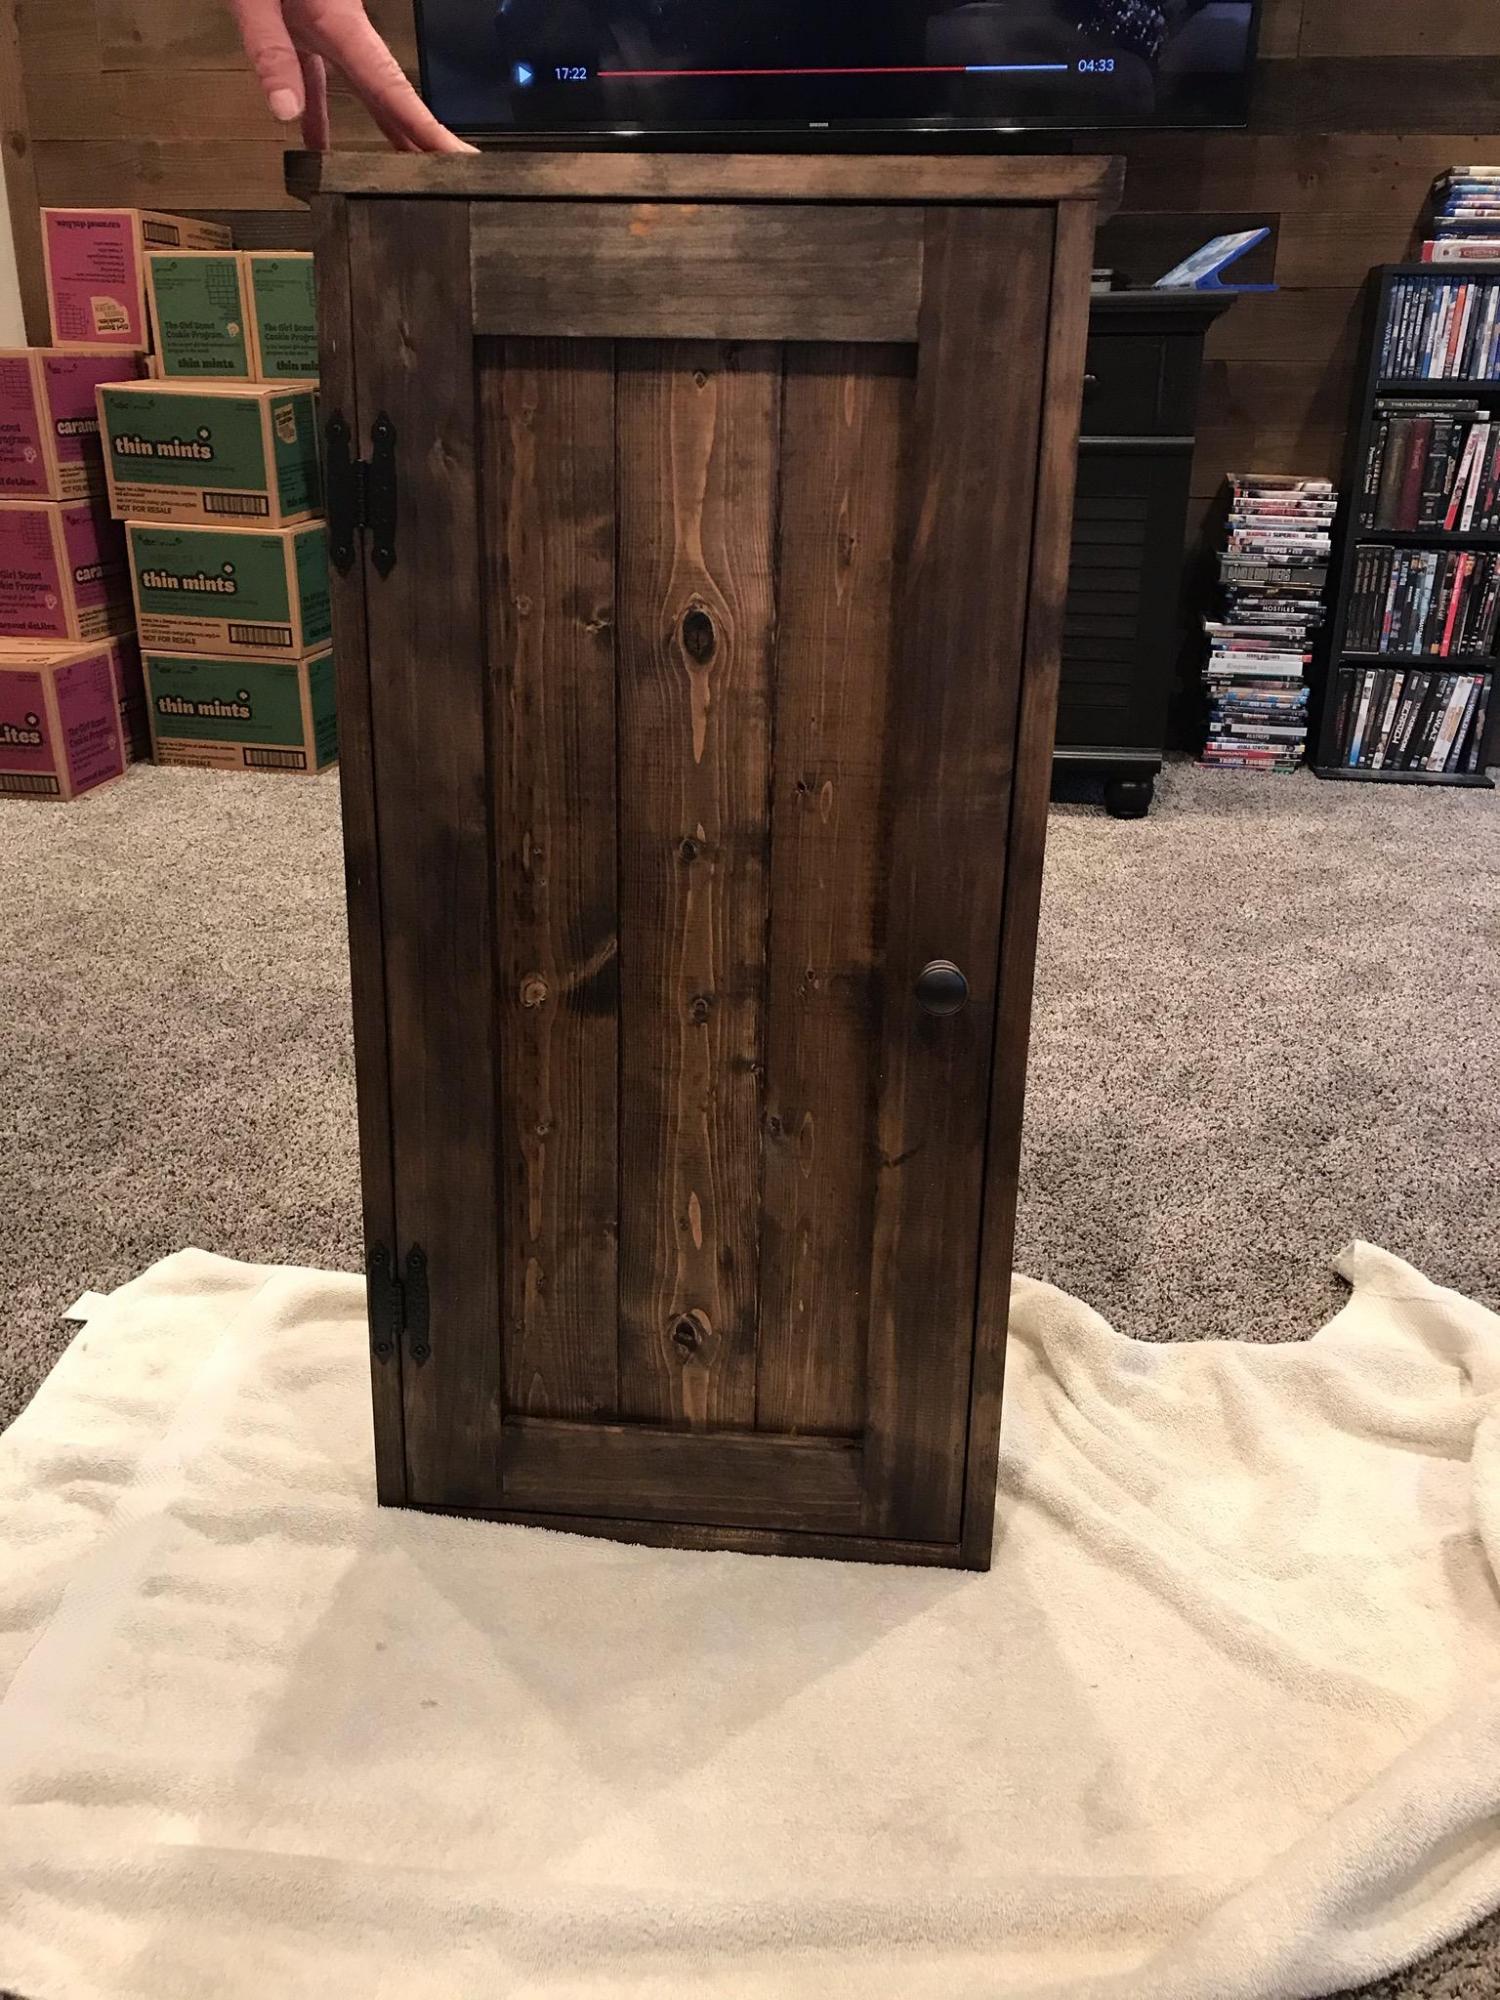
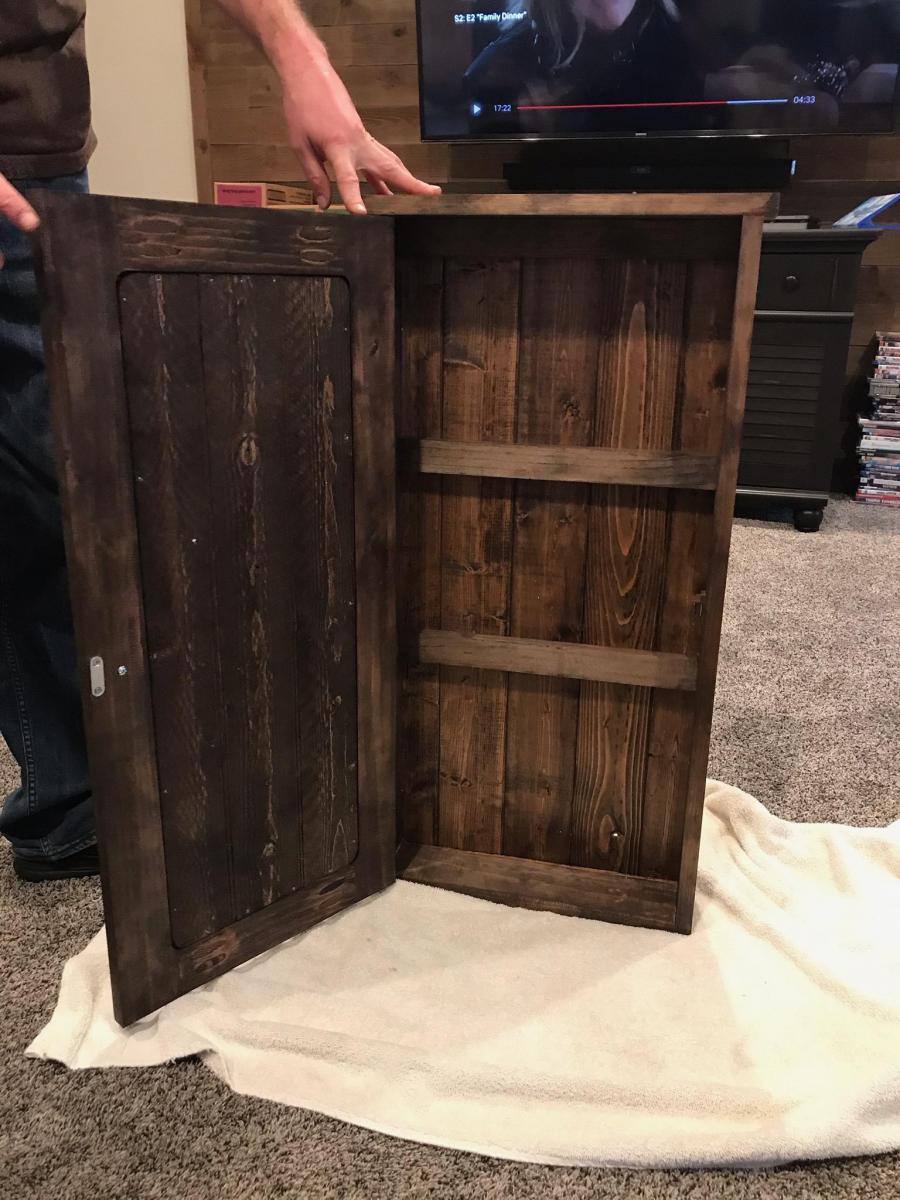
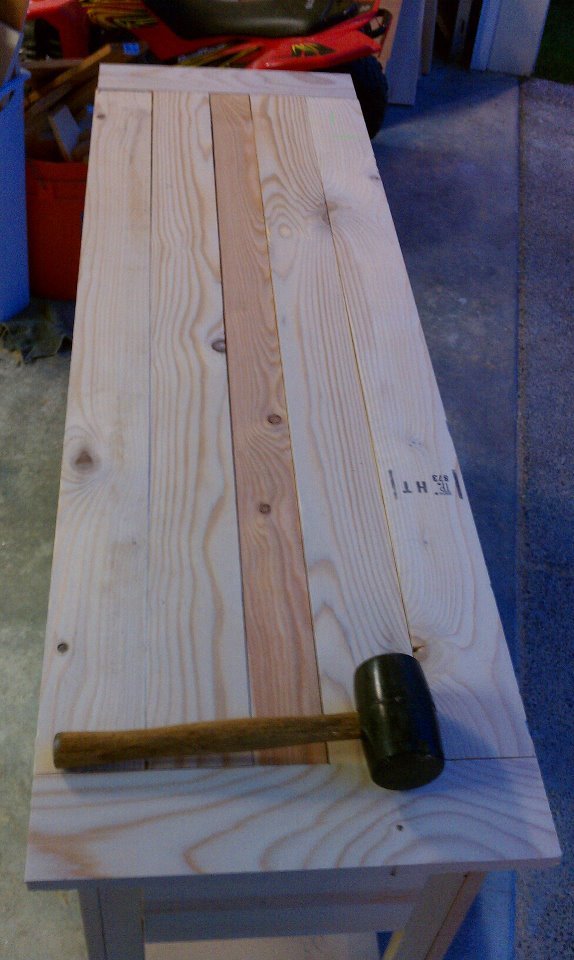
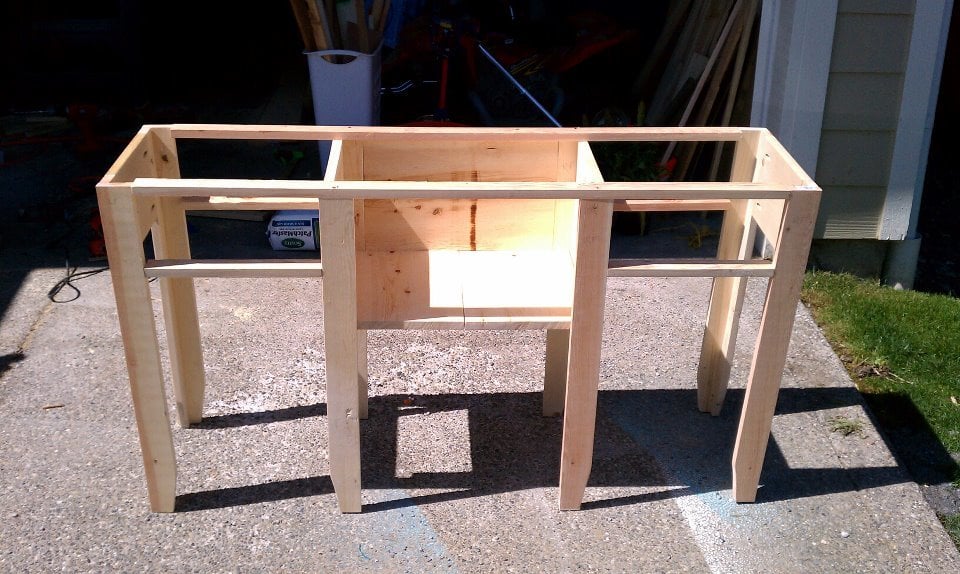
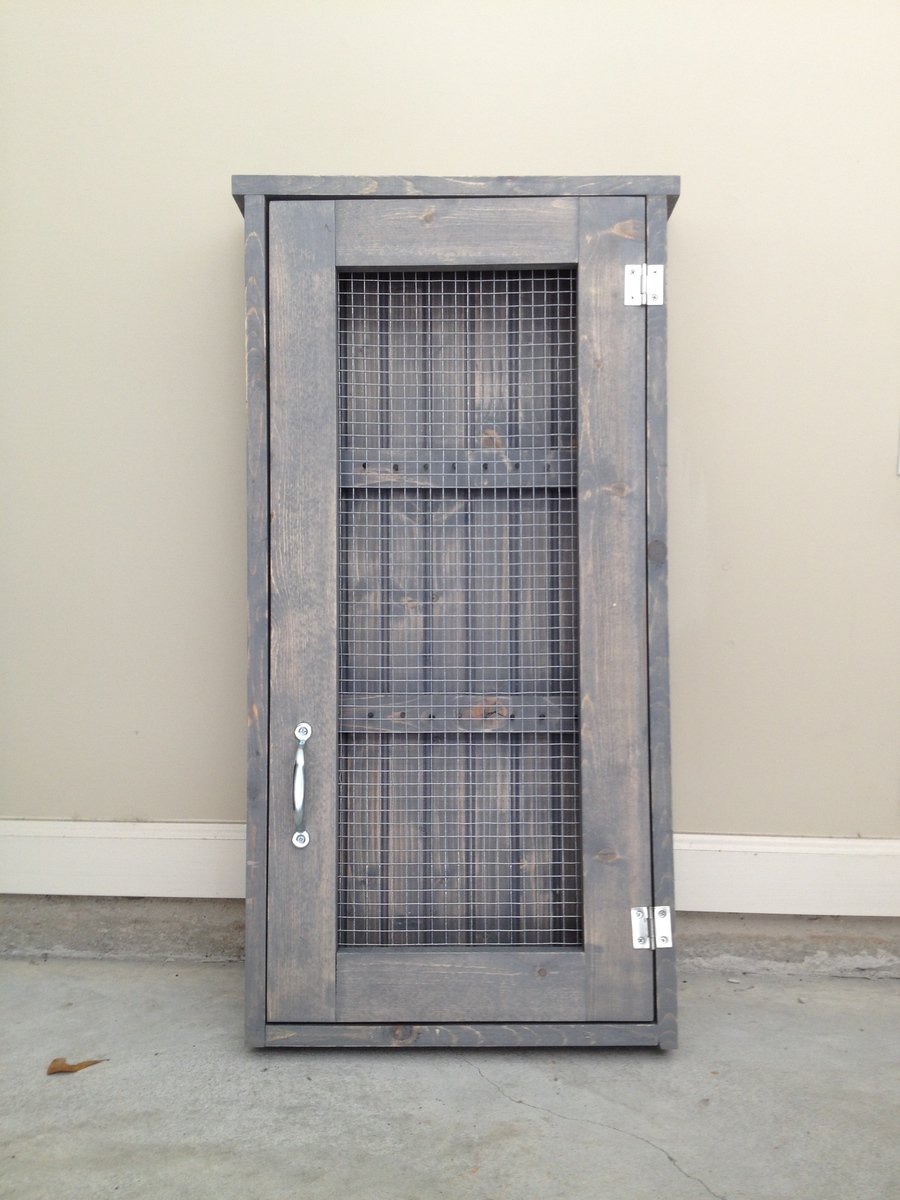
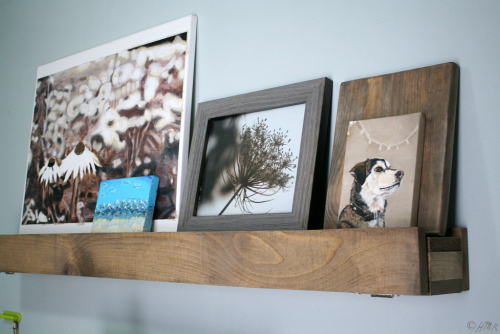
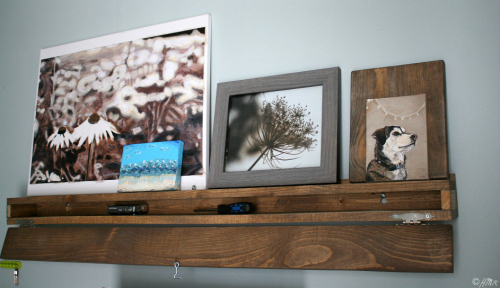
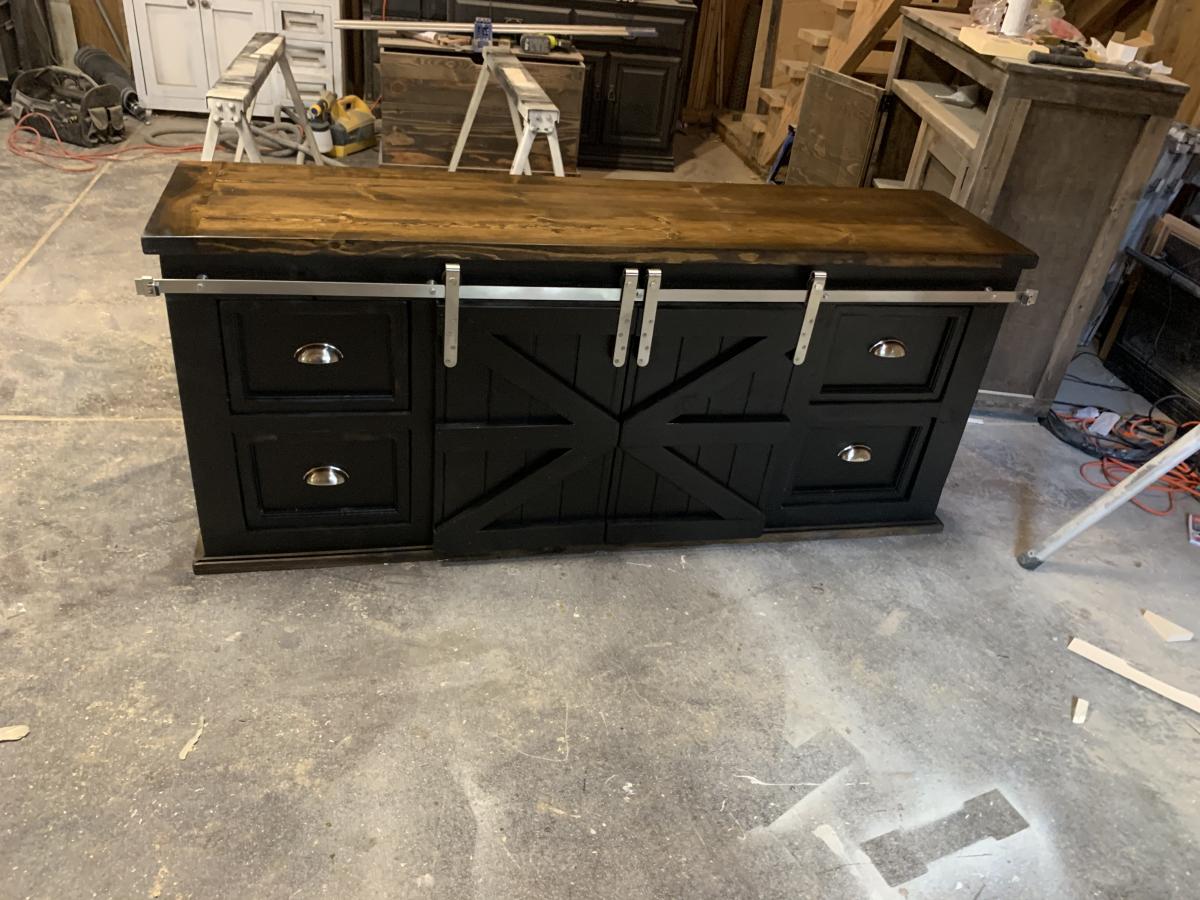
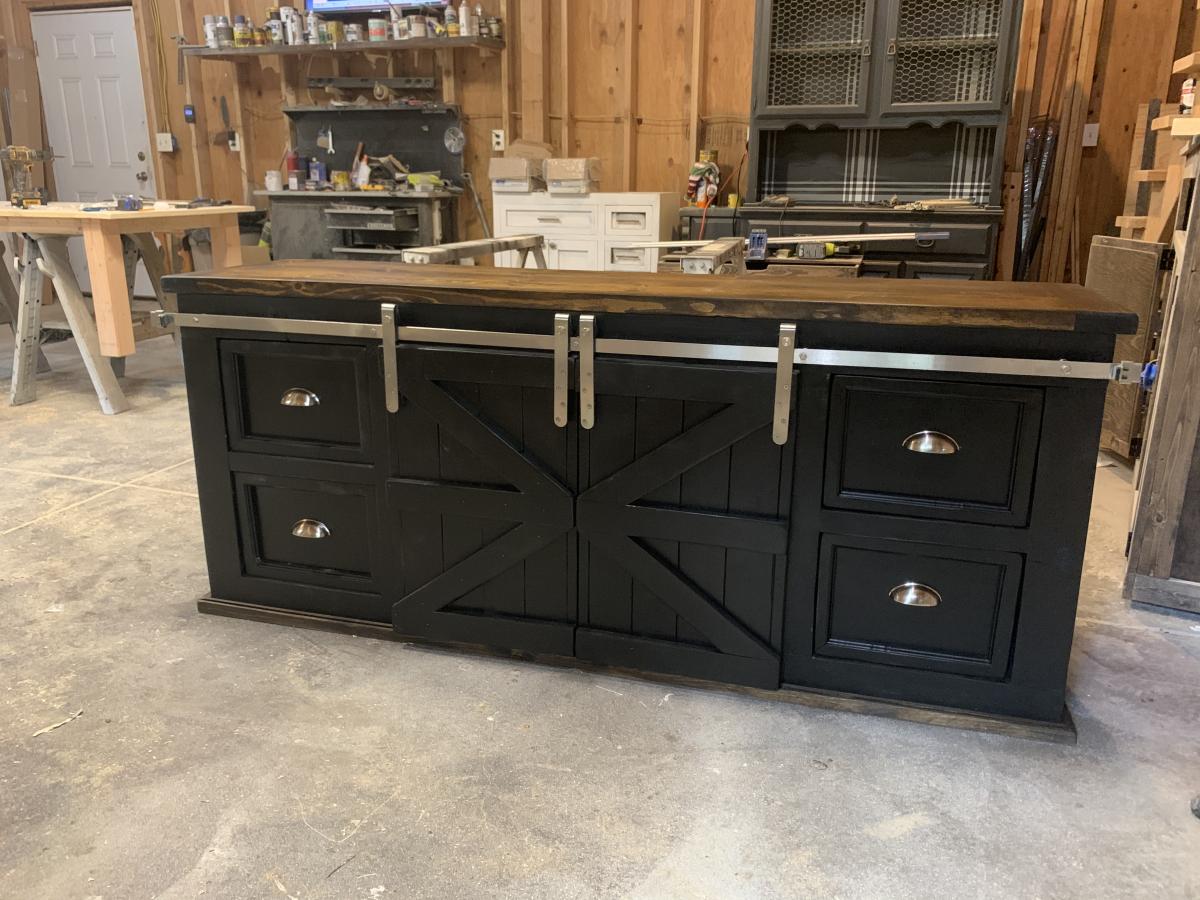
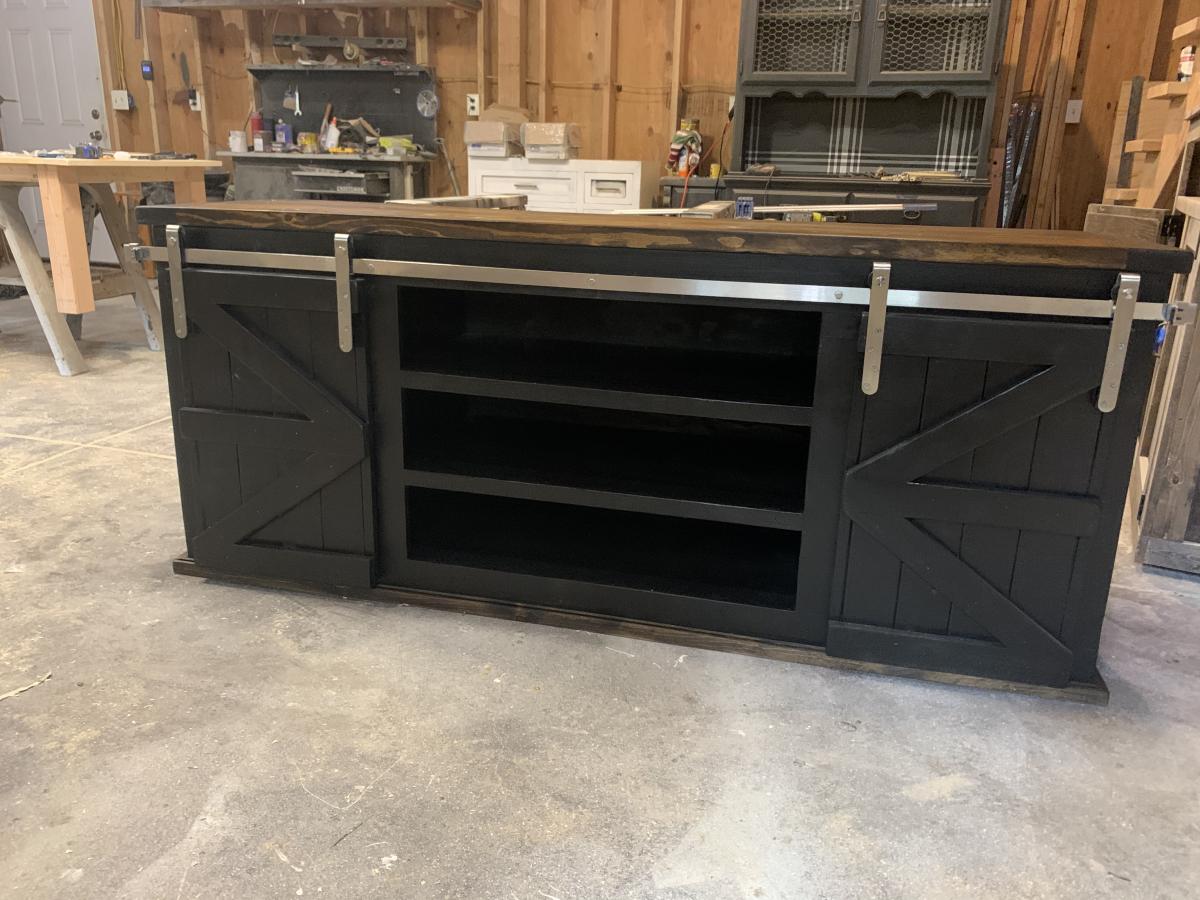
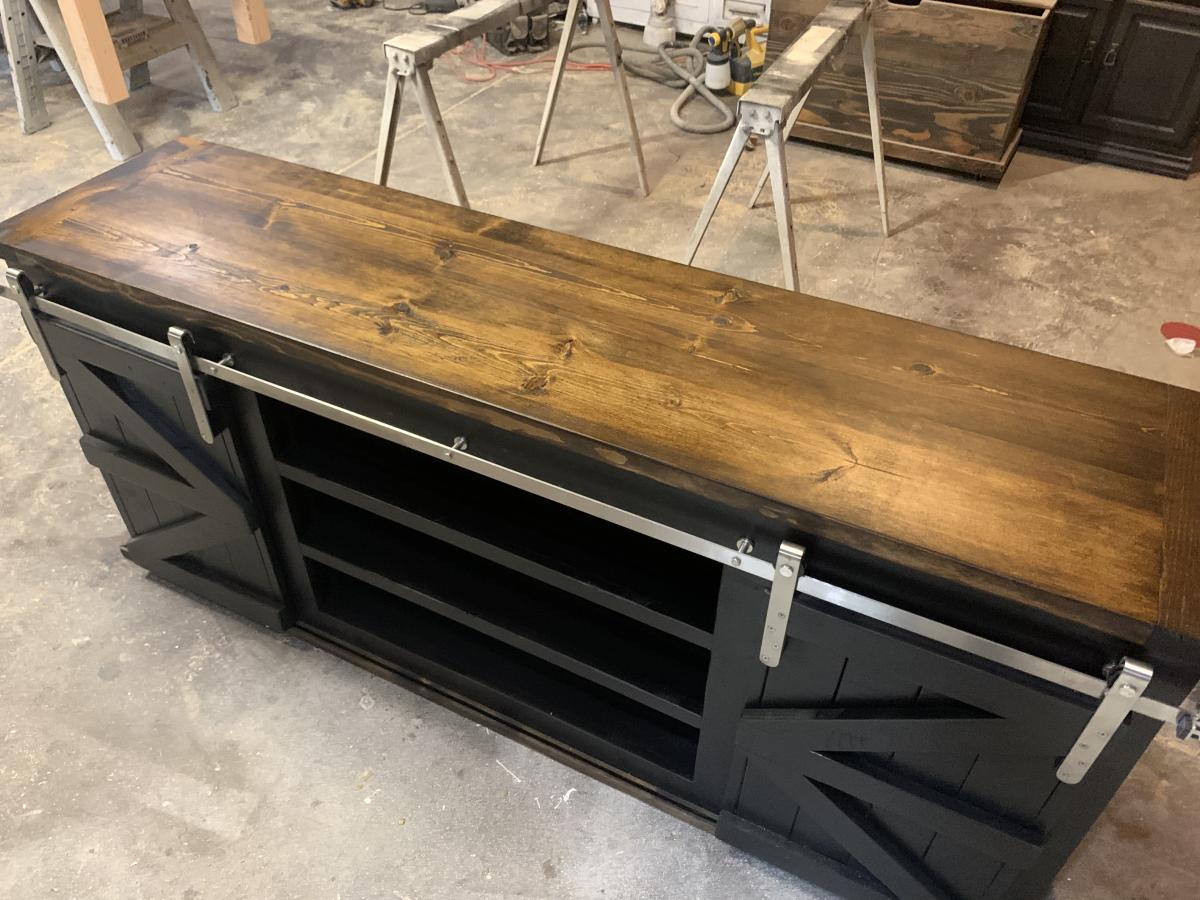
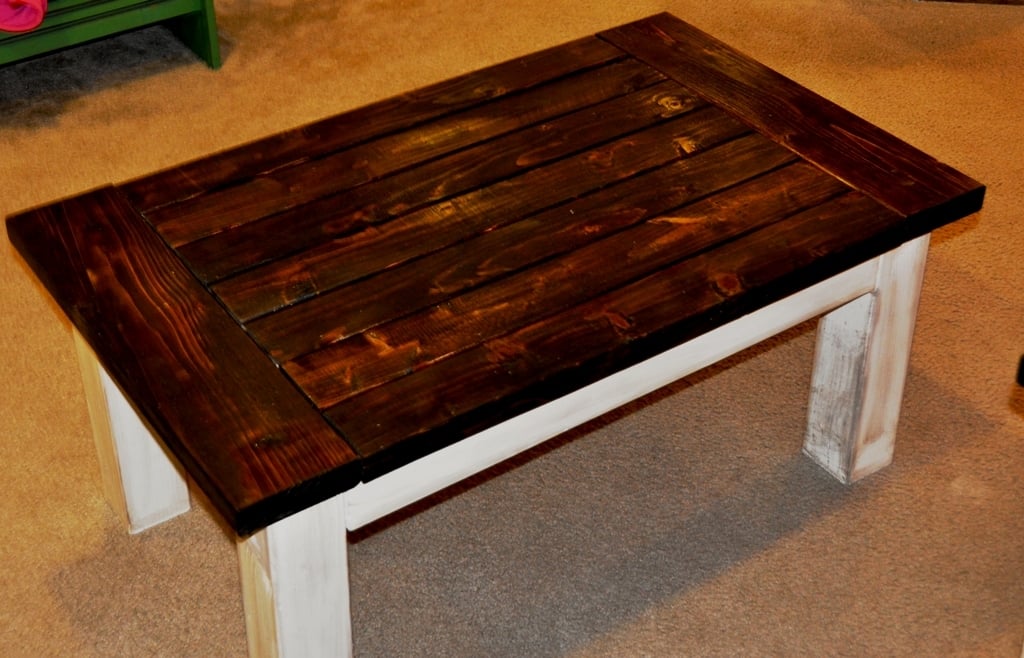
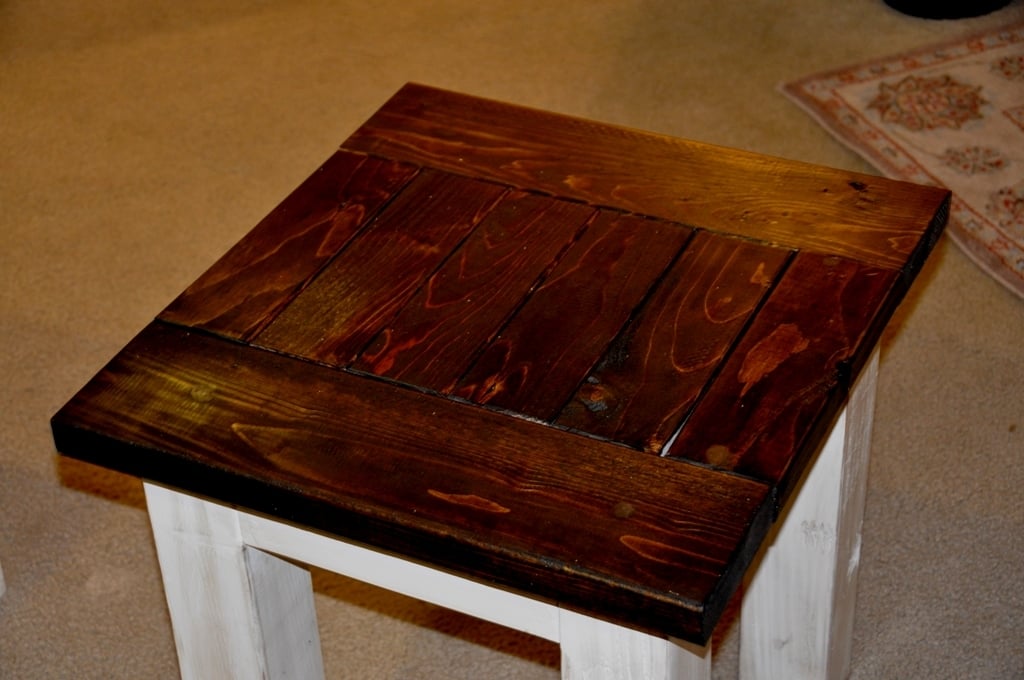
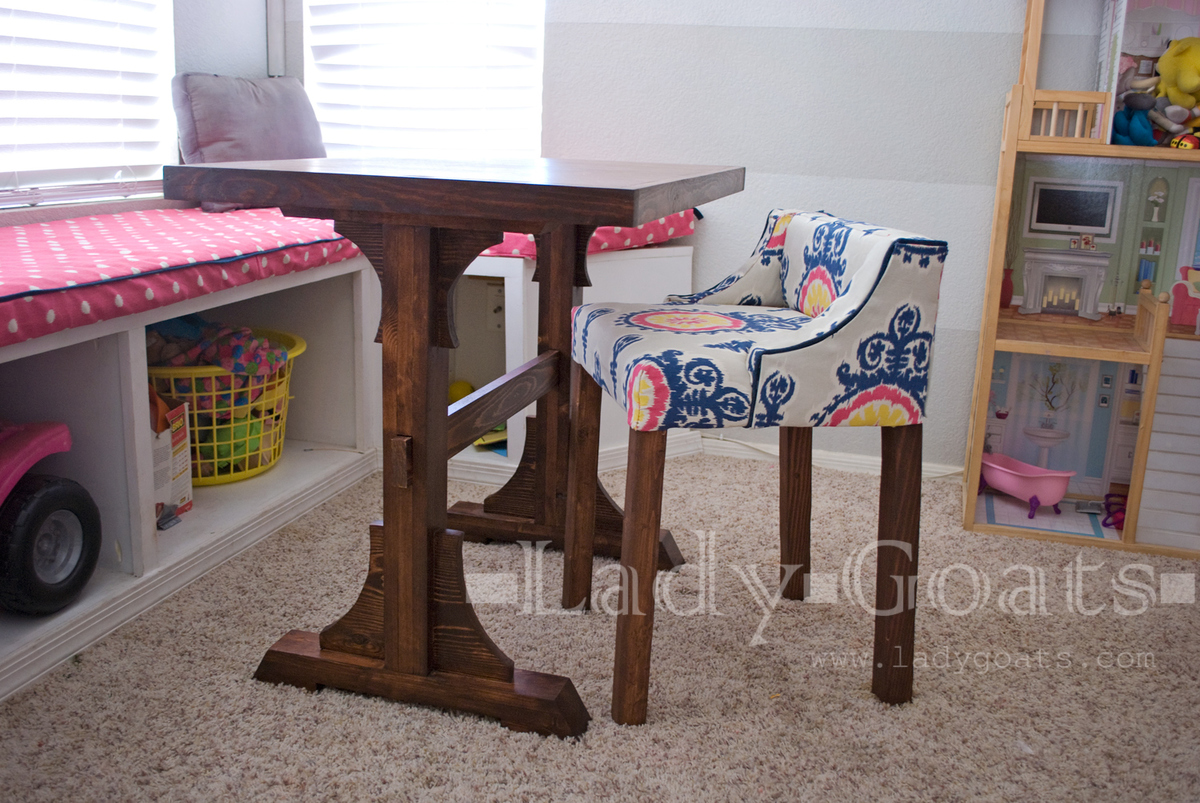
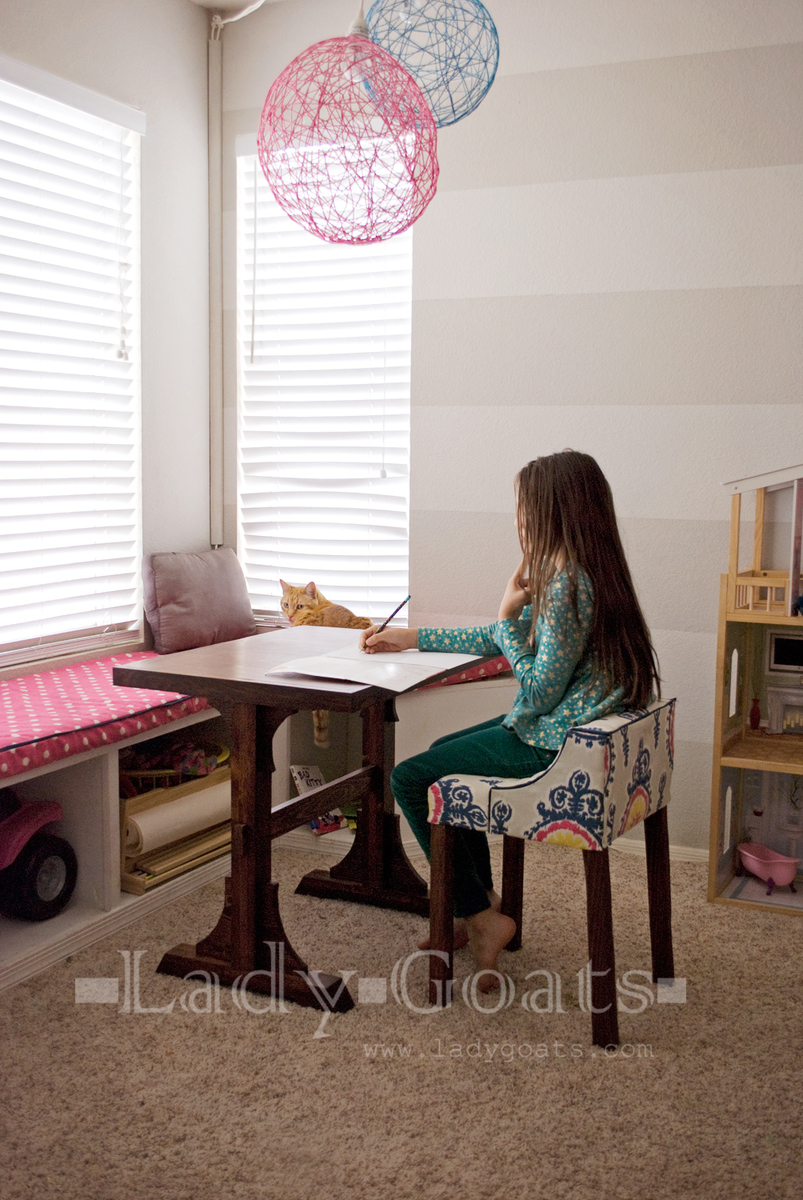
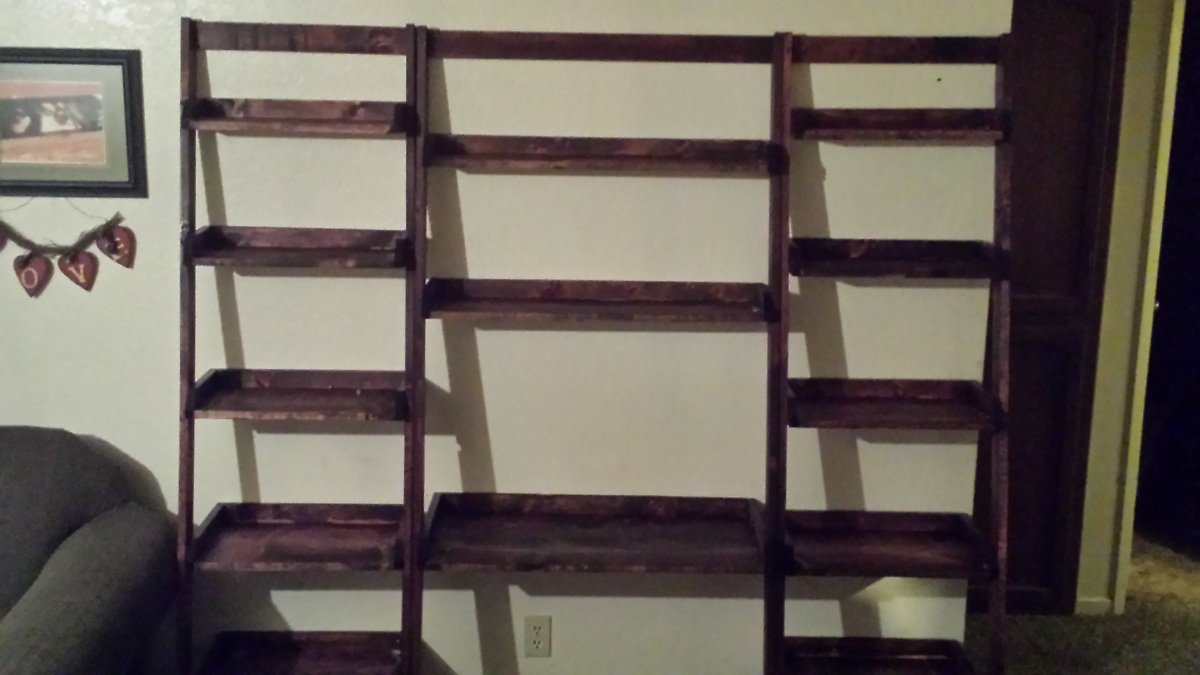
Toy room shelving
![](/sites/default/files/20160502_144535_0.jpg)
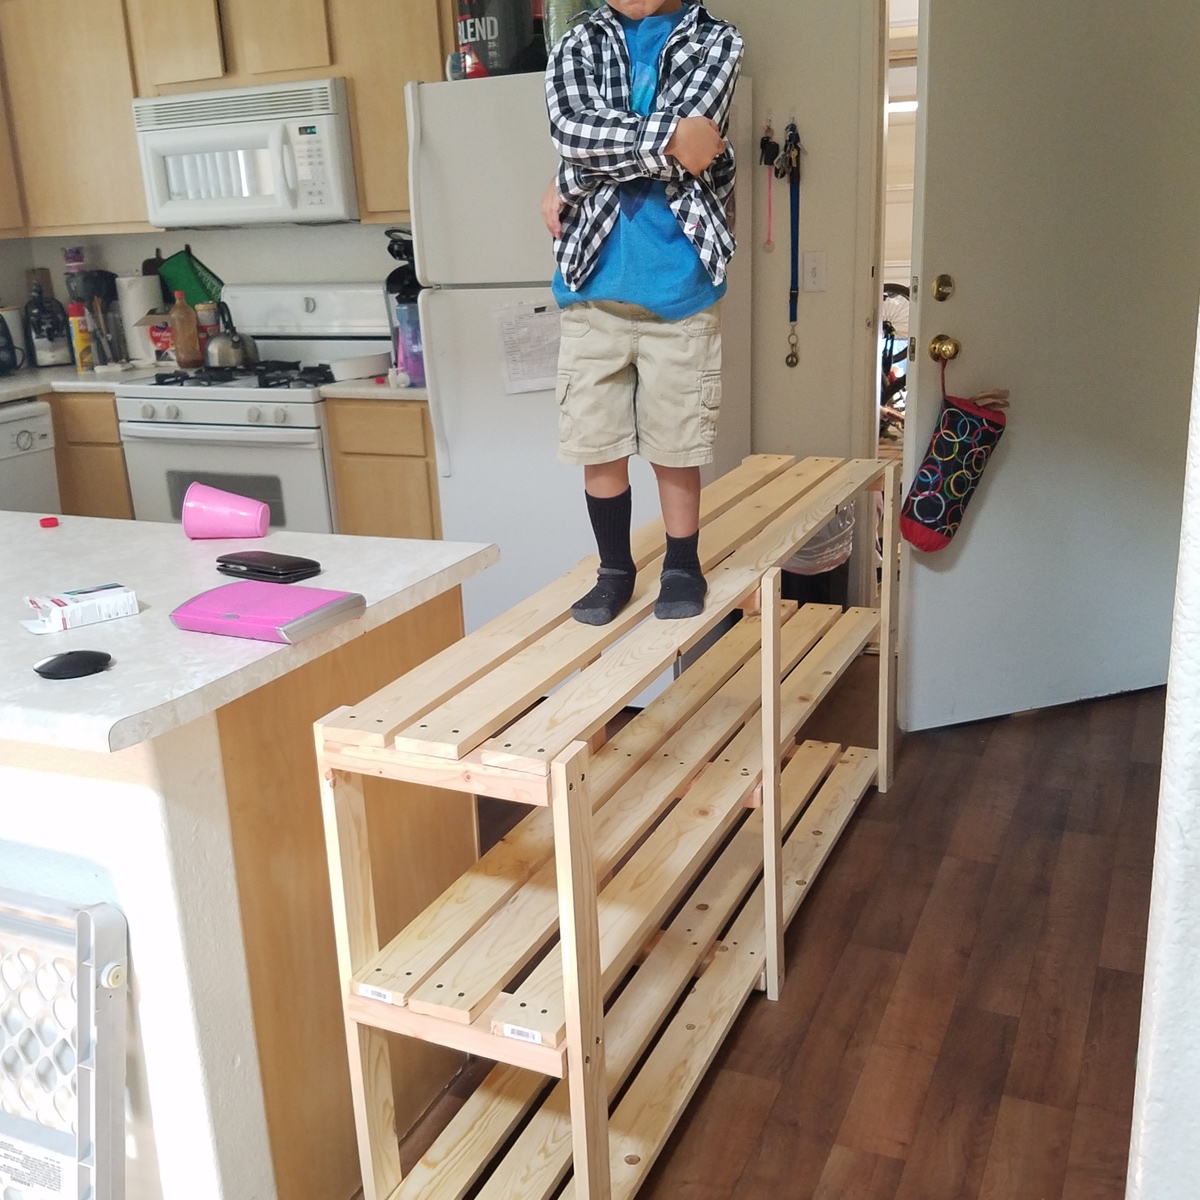
Super easy project. My space is smaller so I modified to 6ft instead of the 8ft used in the plana. I plan to make the white board crates to finish the project.
The plans were simple to follow. Made some small changes, used some pine wood wall paneling from Lowes. The pine paneling was used on the back and door. Both were inset with a routed step the same thickness as the panels.
I built a simple, yet very classy table using table legs from Bear Hollow Supply. All you need is a table top, which in my case I used a nice looking wood slab. Then you just attach the legs and you're done. It's a very simply process and the final results is a great looking table.
So my wife got her new Country Sampler magazine the other day and she saw this table in there that she liked. After an hour of research I found the table at Becker Furniture World online. The table is called the Liberty Casual 2-Drawer 2-Shelf Sofa Table by Steve Silver. I decided to draw up some plans in my head and give it a shot. After 2 rounds of Home Depot warped 1x 12s we got the table together. Instead of making this a sofa table, I extended the table top out a little to make it into a console table. If you want to see my inspiration google search Liberty Casual 2-Drawer 2-Shelf Sofa Table by Steve Silver. If you like it let me know and I will give out the wood list and the cut list.
Compass rose dimensions: 22×22 (90 degree cross) tilt 45 degrees 16×16 (90 degree cross) then connect lines with a ruler, start with the 16" lines connect from outer point to 2" from center of the 22" crossed lines, once that star is complete make lines from point of the 22" lines to 2 1/2" down side of star adjacent to that point (hint: it's much easier to look at a picture of a compass rose while trying to sketch it). Cut sizes should turn out to be: 8- 9"×7"×2 1/2" triangles and 8- 8"×7"×2" triangles (hint: we had best results using a table saw to make all the cuts)...
This was super easy to build and I love the way it turned out. I painted mine to add some color to my kitchen and did a concrete countertop.
A lady that my husband works with just got her forever home through Habitat for Humanity. We wanted to do something special for her and her kids so we used Anna’s platform plans to build one queen and 3 full size bed frames. The plans were easy to follow and assembly was a snap on delivery.
To make the fulls we took the queen dimensions and modified the cuts for the full size mattress dimensions.
Thank you Anna for helping us to make 4 beautiful additions to our friends home.
Made the Kitchen Prep Cart. Just altered a bit for storage in the cabinet. Still need to plug the Kreg Jig holes inside.
I made this Brookstone headboard (and then made up a bed frame). Total cost for headboard was $30. This is my 3 year old son's big boy bed, and I love it! For the stain I used Minwax water-based, clear tint base, with some black in it.
Thu, 04/26/2012 - 10:26
That's a great looking bed. Love the style and the finish on it.
Building this Jewelry Cabinet was really fun and easier than I expected. I made one to give away as a birthday gift, could not resist making another to keep. I don't really have that much jewelry, I just think its gorgeous! I loved the look of the original posted project, that I wanted to duplicate it just as it was.
We built upon the mudroom bench plans. The length dimensions had to be modified to fit our room, but for the most part we stuck to the directions. We switched to metric for this project and it was the best decision. Make sure you have a Kreg Jig.
When Ana posted plans for these a few weeks back I knew they would be perfect for the front of my house. Instead of putting them on the never ending "to do" list, I just made them!
I kreg jigged them all together.
I used wooden eggs from the craft store for the finials.
Lined them with landscaping fabric.
Fairly easy to make and I love them, but I think I need a couple more :)
I modified this plan to allow for interior storage space within the shelving. Rather than nailing the front board on, I attached two lower hinges so that it functions as a drop-down panel. The front panel then secures to the top board with a centrally located screw-in hook and eye (not visible if the top of your ledge is above eye-level).
I took the Rustic X Console plans and used some rouch sawn pine and hemlock from a reclaimed lumber yard. We left some of the character (nail holes, saw marks, imperfections) in the table top for a more rustic look.
Hand made barn door console with drawers
We were looking for a cheap project for the weekend. We found the plans for the Tryde Coffee Table here on Ana White's site and we decided to give it a try. We knocked off about 10 inches so it would fit in the living room, what I found out was that 10 inches knock off allowed me to build side table with a few pieces of scrap wood we had sitting around in the garage. The plan is to build the matching entertainment center with hutch attachment. That will make my living room 90% built by me. The finish on this is Rustoleum American Accent Heirloom white with Minwax Walnut stain rubbed into the paint for the aged look and the top is dark walnut stain with 2 coats of poly.
I needed a bigger kid play room table because my girls have outgrown our play table and chairs from IKEA. We have a window seat, and it seems the consensus is that pedestal tables are the best for window seats, but they're not really my style. I let the big kid pick one, and she chose the triple pedestal farmhouse table! I obviously couldn't follow the plans for that, so I more used them for inspiration, and lessened the size of everything. **UPDATE** I posted plans for this modification here.
I have refinished wood, but this was the first time I ever built something from scratch with my own two hands. I have always loved ladder shelves and loved the idea of having a ladder style desk. I looked for plans and couldn't find any. I had to get rid of an old desk and the day I threw it out, I found Ana White's plans. For nearly the same price as the particle board ones sold at stores, I figured I could buy all the tools and materials to do it myself and customize it....and then i would have the tools to use on future projects. As a beginner with no technique or skill, working between overtime hours, it took me about 2 weeks to finish. I had to work on it in stages. Cutting the boards all the exact same length was by far my biggest challenge. I even had a Home Depot employee cut me two extra pieces and he couldn't even get them perfect. A stop block really would have made this a lot easier. I stuck very closely to the plans except I made my book shelves 18" wide to accommodate my printer. I also added a slide out tray under the desk shelf (not in picture). I made quite a few mistakes, but the finished project looks amazing in my living room. I should have taken another picture after it was all set up with my desk supplies. This picture doesn't do it justice. I love it so much, I may just build another one to serve as an entertainment center on the opposite wall.