Community Brag Posts

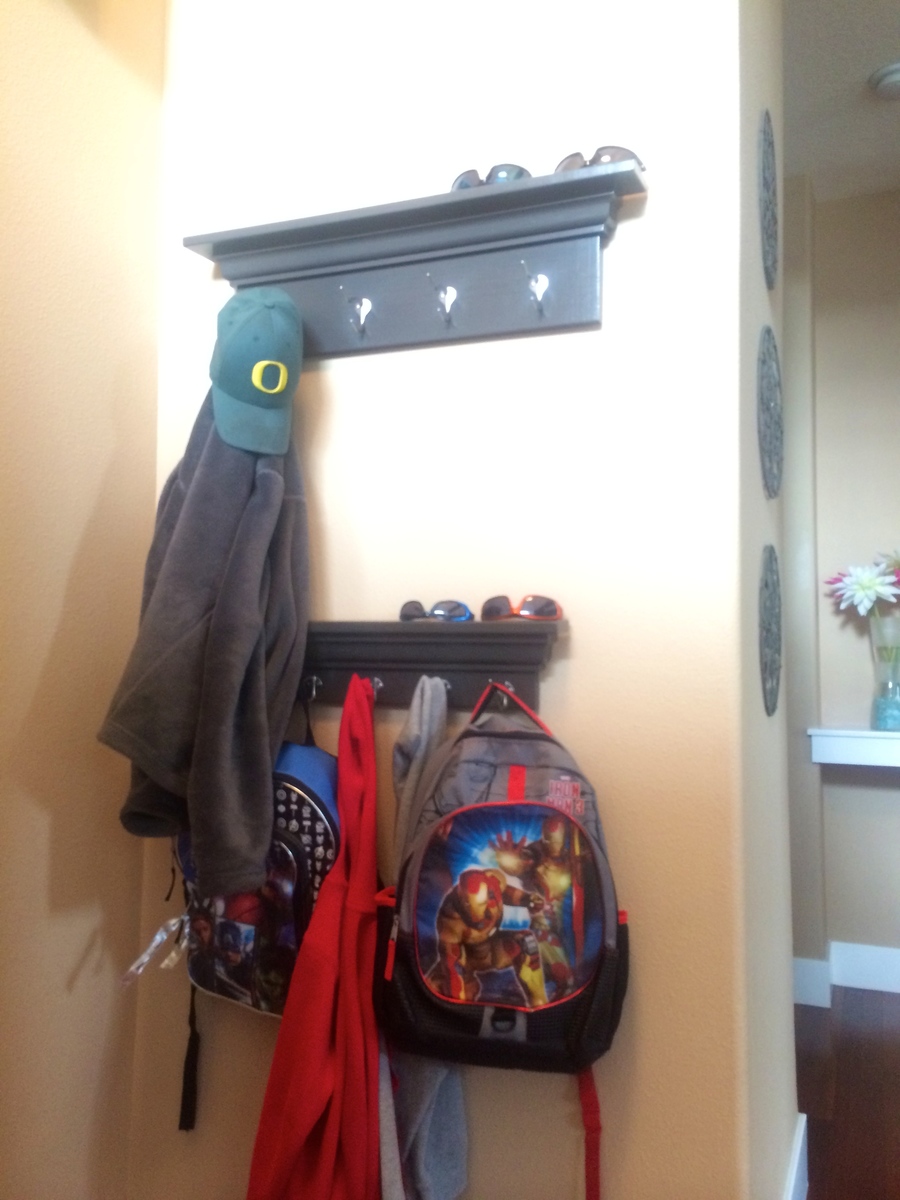
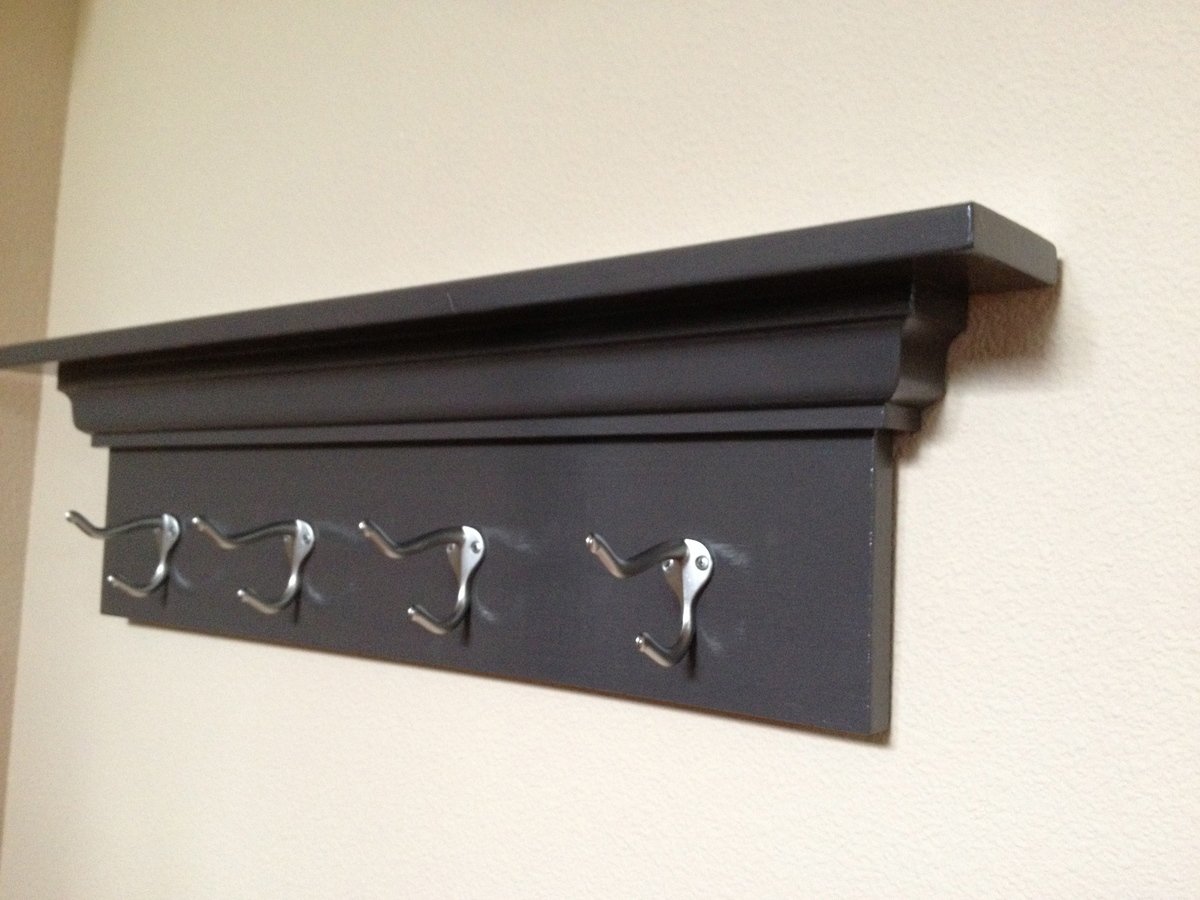
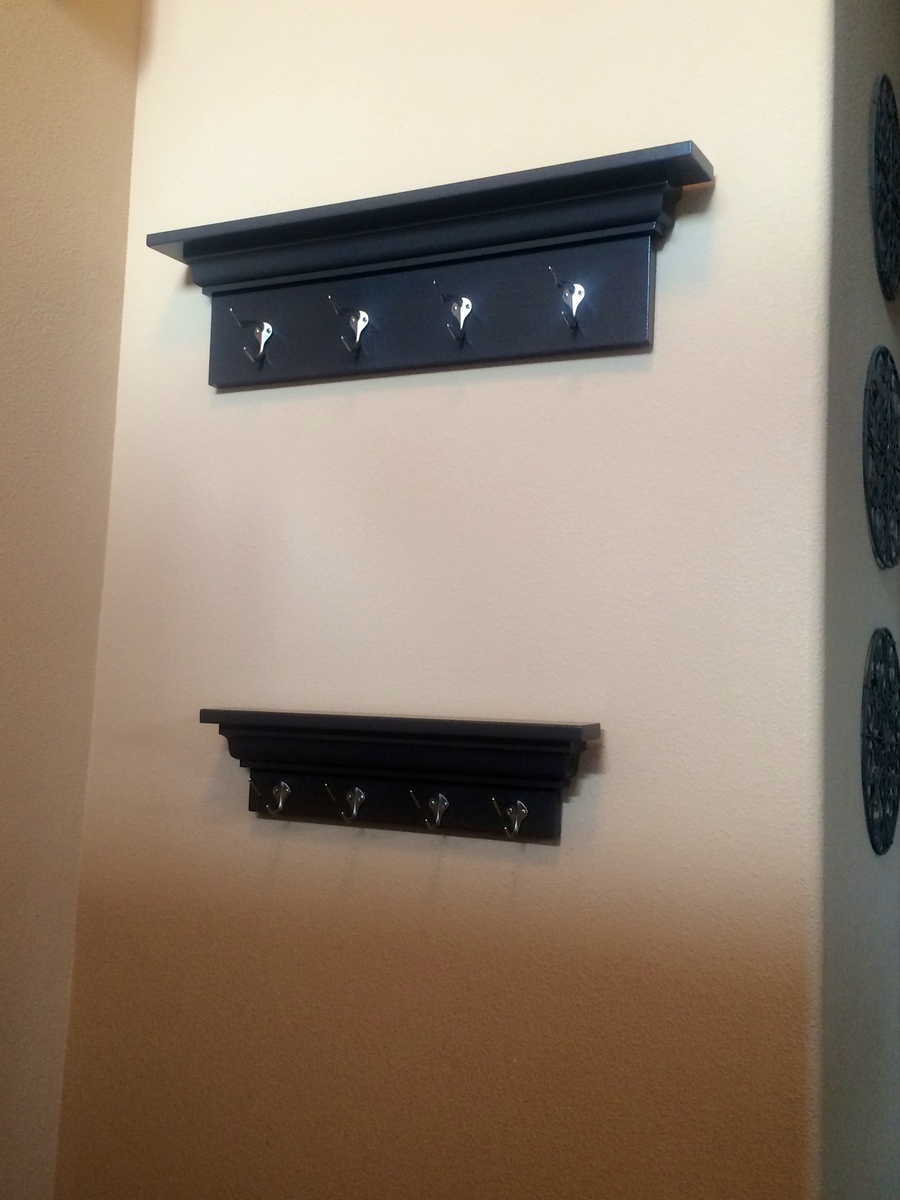
Simple coat rack

Submitted by Medickep on Mon, 05/06/2013 - 08:23

This was a simple coat rack I decided to make with some random scraps of wood I had from previous projects. The only out of pocket costs for me was the hooks!

***update****

I decided to make a kid friendly version as my kids were creating quit the pile of courts and backpacks when they got home from school, mostly because they couldn't reach the adult one! With some left overs, problem solved!!

Estimated Cost
10-30 (depends on hooks you choose and scraps of wood you have!)
Estimated Time Investment
Afternoon Project (3-6 Hours)
Finish Used
I used a primer and latex paint!
Recommended Skill Level
Starter Project

Comments

carrmatt02

Tue, 05/07/2013 - 08:16

Exactly what I was looking to make without getting a router involved! What kind of moulding is that?

Medickep

Sun, 05/12/2013 - 12:17

It's exterior header for a window you see on some homes. Common at a lot of lumber stores. The best part is that it's solid, so no need for complex crown-molding cuts

Farm House Table

I took the original plans from the Farmhouse Table - Updated Pocket Hole Plans - and I modified it so that my table could be countertop height and join up to my counter -  like a modified breakfast bar, so this table it countertop high, and is also more narrow and alittle longer.  I can easily pull it away from the wall and sit 6 people around it.  It is now my favorite place in the house!  

Estimated Cost
$200
Estimated Time Investment
Weekend Project (10-20 Hours)
Finish Used
Oxidizer (steel wool and vinegar) and then sealed with Water Polyseal and then Miniwax Paste Furniture Wax

I added extra metal supports underneath to help avoid wood movement over time and added metal corner guards.
Recommended Skill Level
Intermediate

Comments

Bookshelf with bench for kid's room

Submitted by Anonymous (not verified) on Tue, 06/27/2017 - 15:12

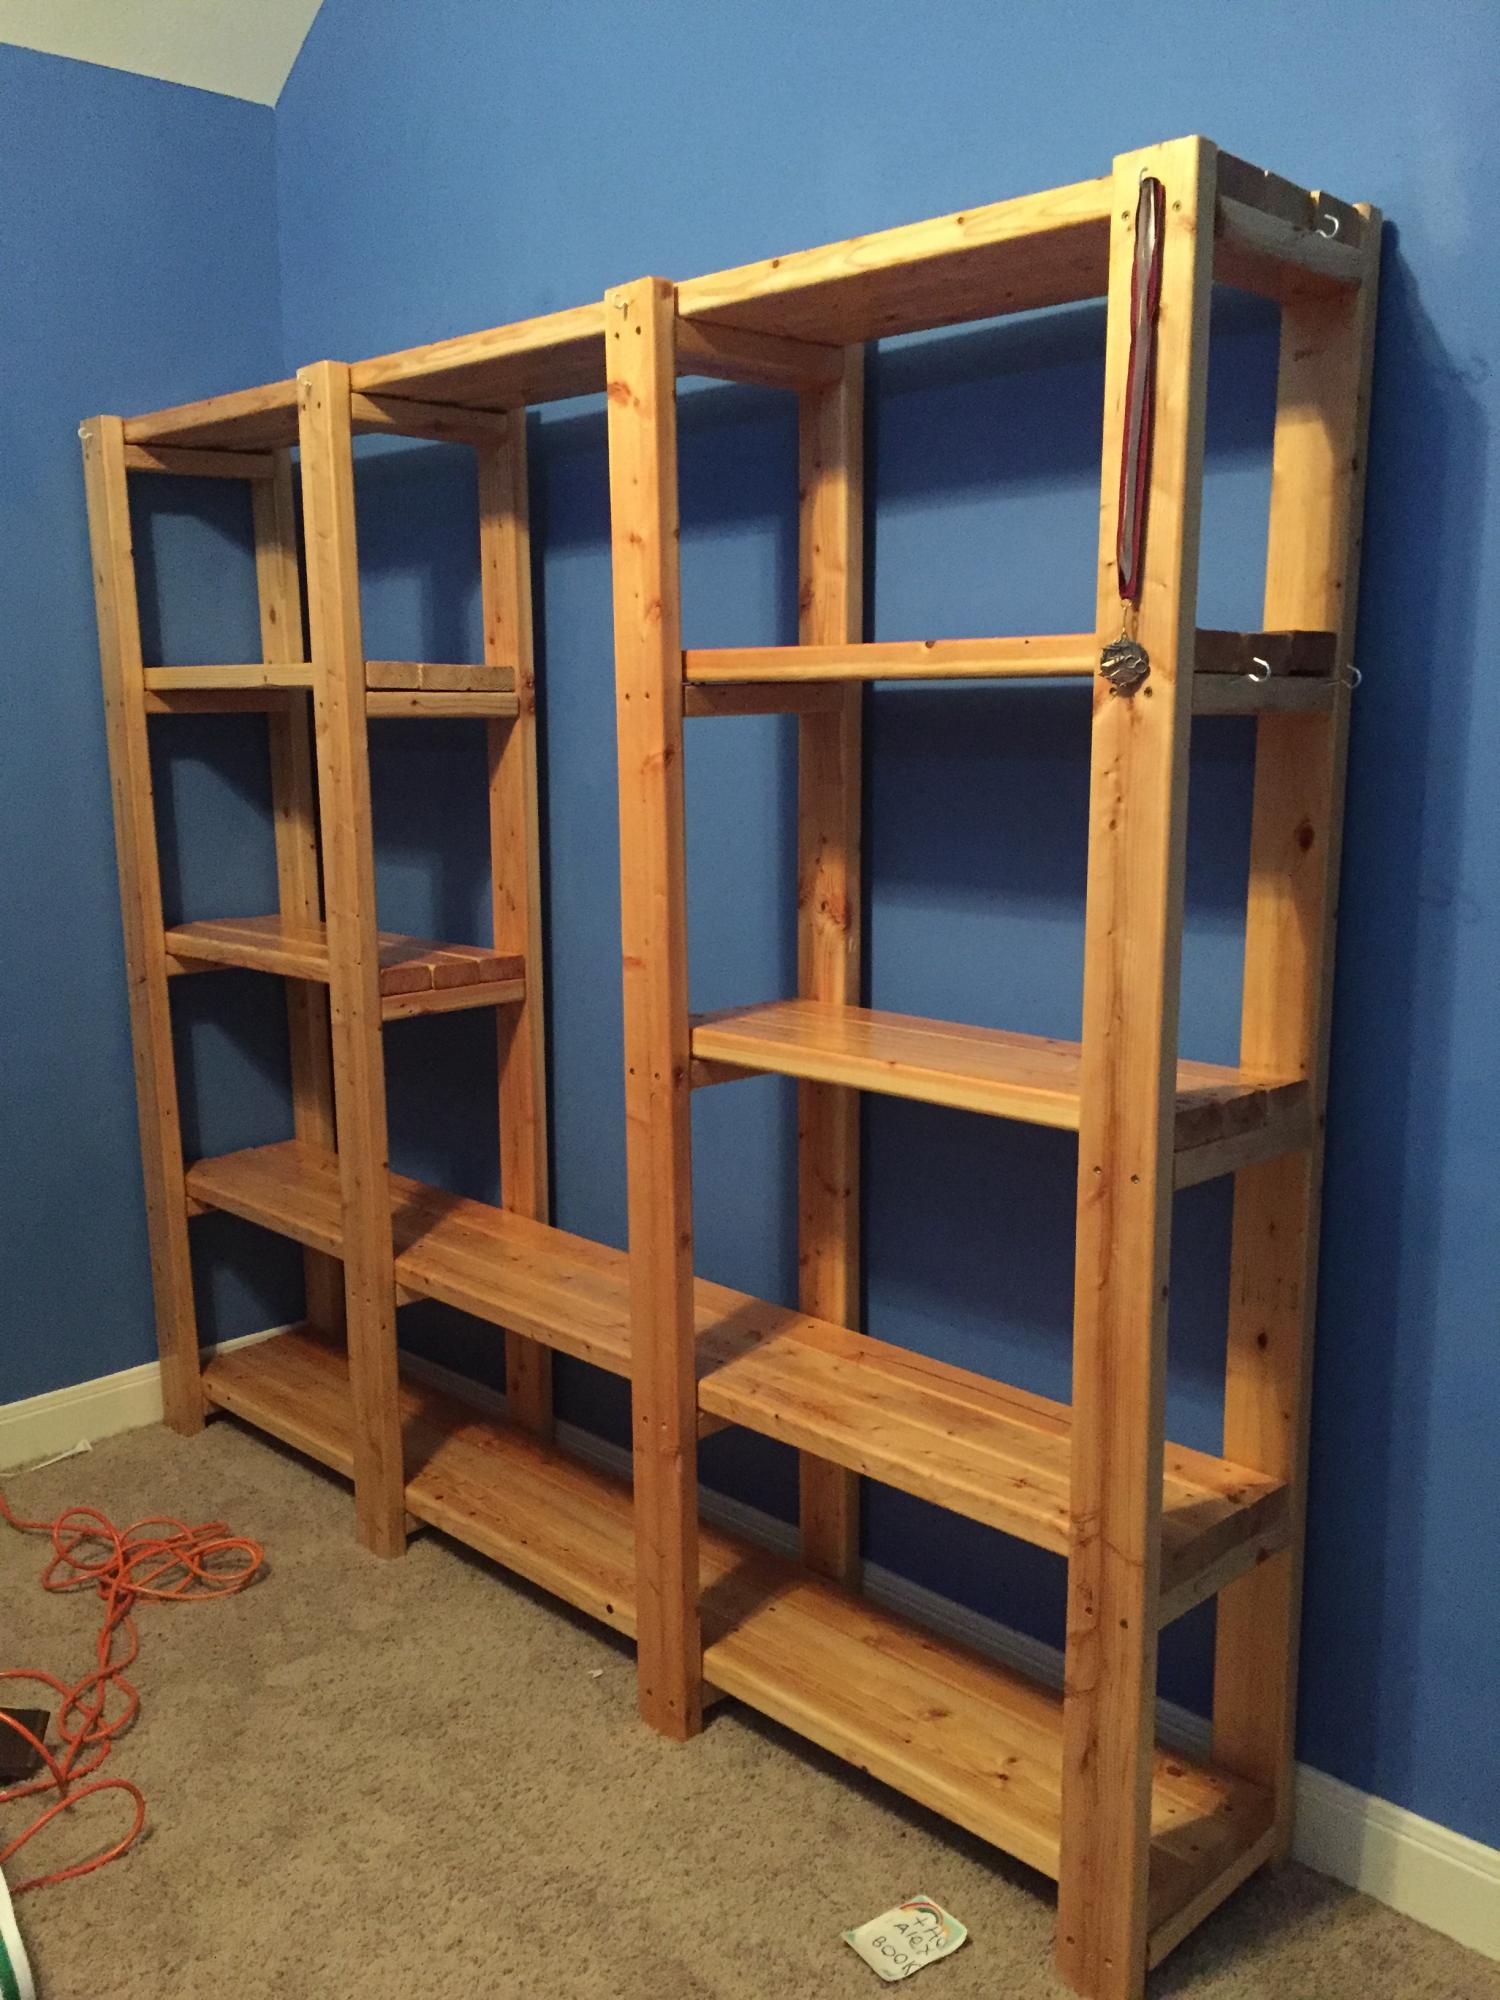
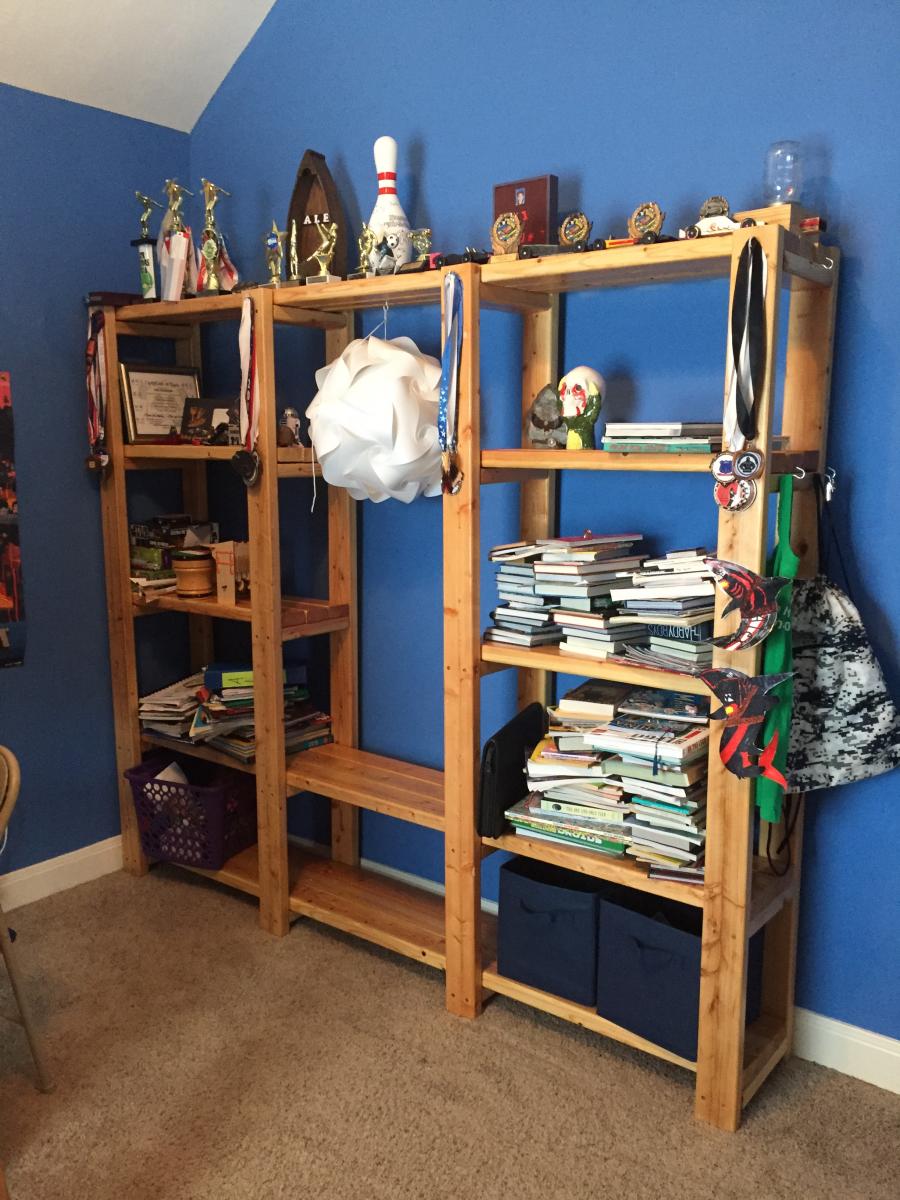
I was looking for something for my son's room that would last him until college, so I adapted your plans and added hooks and a bench and stained it.  Bookends are all we are missing to make it perfect. He loves it, and I don't think he will be able to break it.  I could use a suggestion for anchoring it to the wall, though. Thank you for the great, easy-to-follow plan!

Estimated Cost
$75
Estimated Time Investment
Week Long Project (20 Hours or More)
Finish Used
Natural stain and polycrylic
Recommended Skill Level
Starter Project

Comments

DIYMomof4

Tue, 06/27/2017 - 18:30

Your bookshelf and bench look really nice and sturdy!  I'm sure it will hold up for many years.  As far as anchoring it to a wall, I have had luck with anti-tip furniture straps.  I would use several and anchor them right to the studs.  I also use long, self tapping construction screws instead of the screws that come in the package.  

Hall Tree

Submitted by Theavy on Mon, 10/04/2021 - 12:45

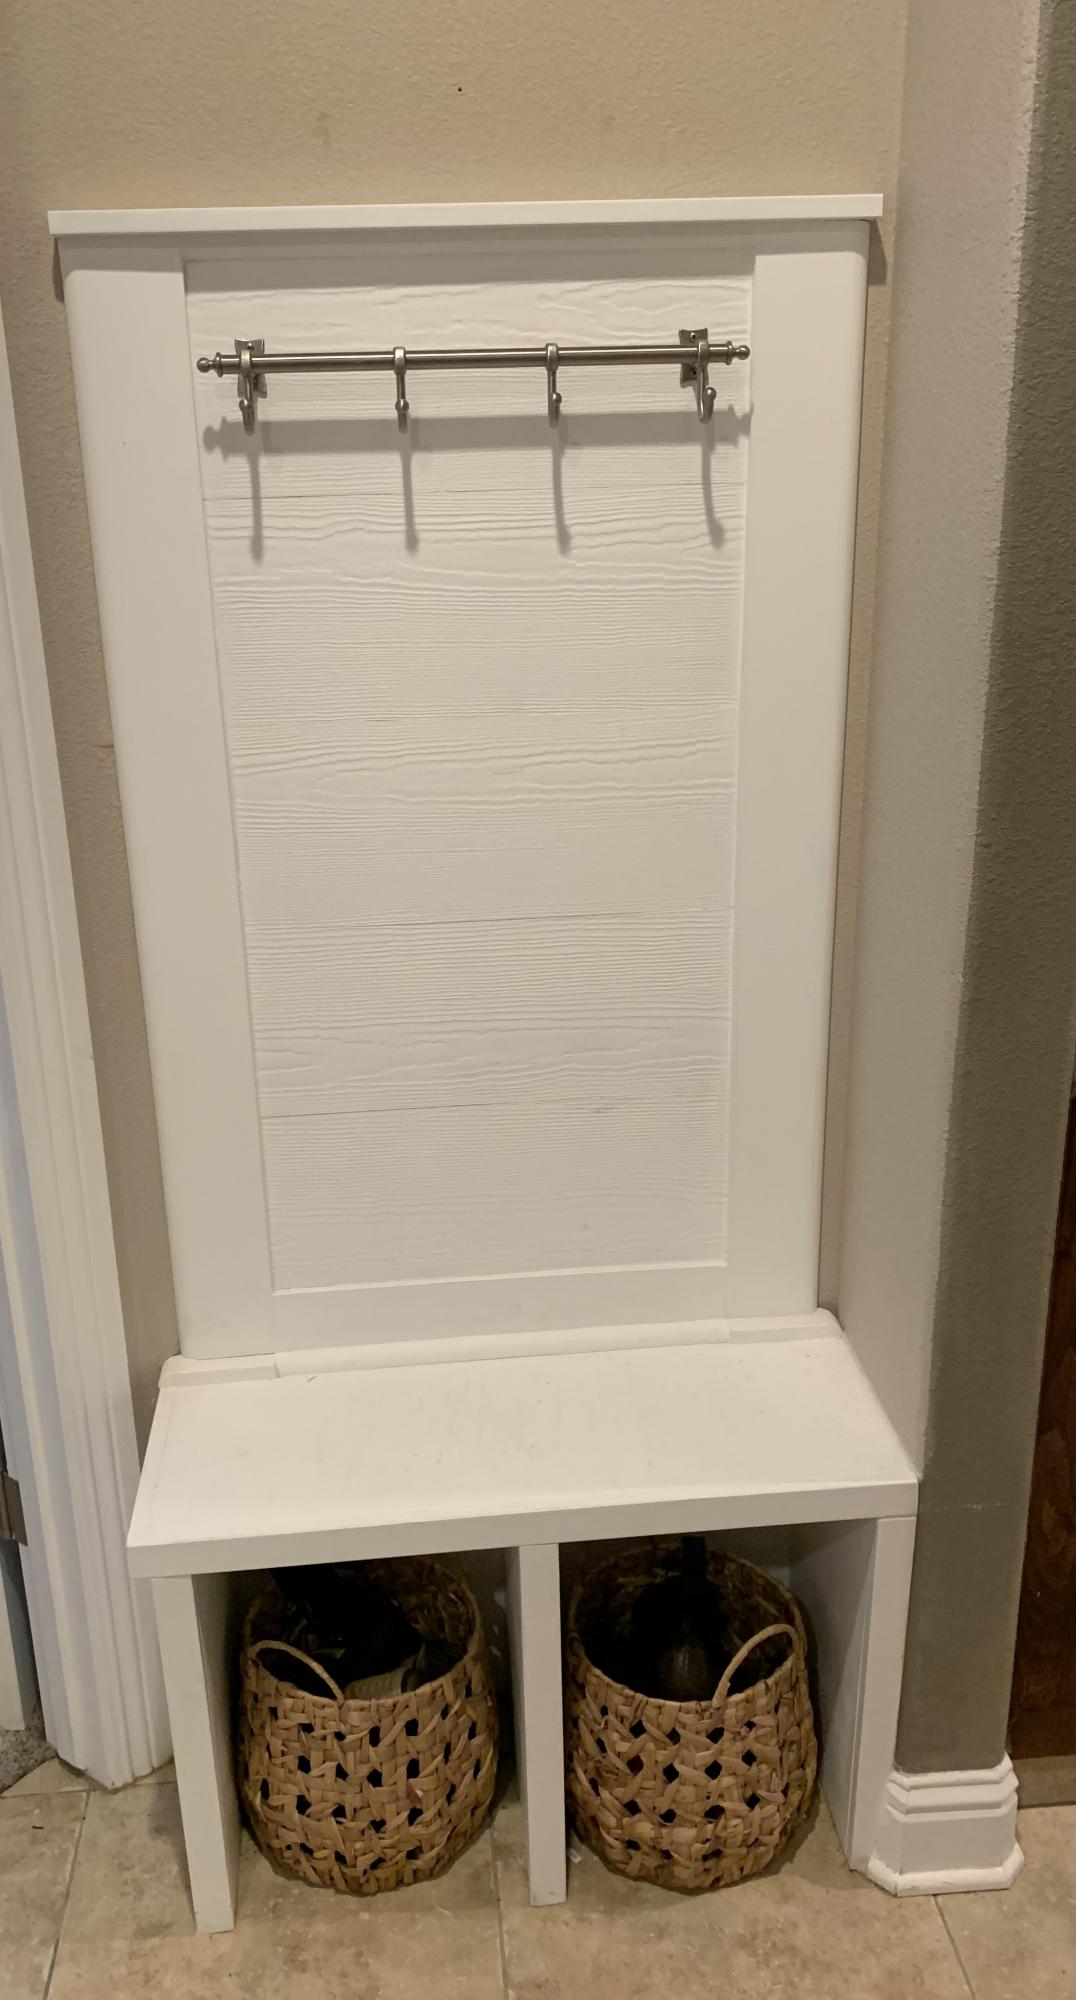
Used scrap material from a new development near me. (Was given permission by developer). Liquid nails and Brad nailer used to assemble the 1x12’s. 1x2 and shoe moldings to clean up edges. Chalk and white paint to finish it up. I already had the coat rack so it literally cost me nothing to assemble.

Comments

Farmhouse Table

Submitted by jennazer on Wed, 05/08/2013 - 15:22

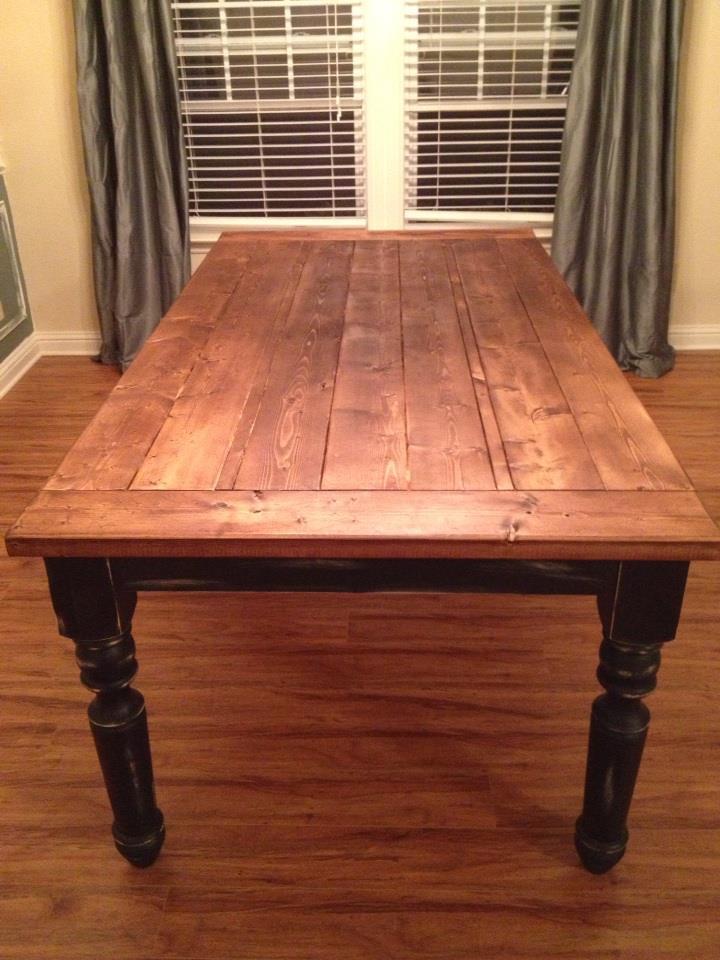
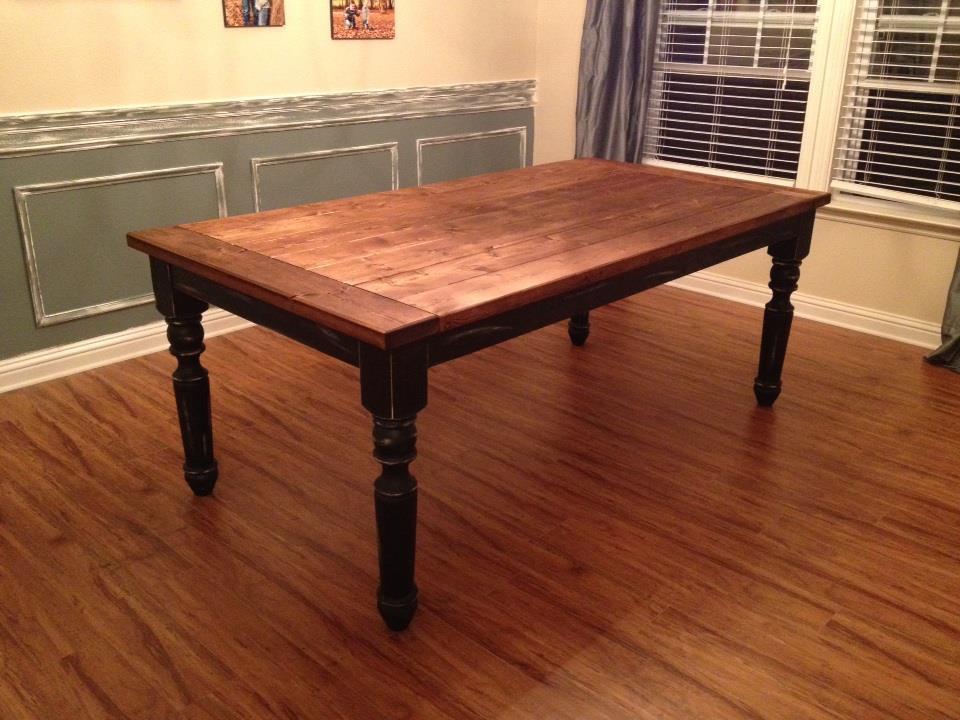
I am completely redecorating my home, Out is the furniture that no one was allowed to sit on or go near. I wanted furniture that we could use. I have 2 boys so I wanted it casual, fun and durable. Loved the farmhouse style and loved this table. It is made from pine, sanded and stained on top. I used Minwax provincial stain. Bottom is painted with black furniture paint then distressed. We purchased the legs from Osborne Wood Products.

Estimated Time Investment
Day Project (6-9 Hours)
Finish Used
Dining, playing board games on, talking
Recommended Skill Level
Intermediate

Shabby Chic Bunny Box

Submitted by EAnderson on Sun, 03/29/2015 - 19:01

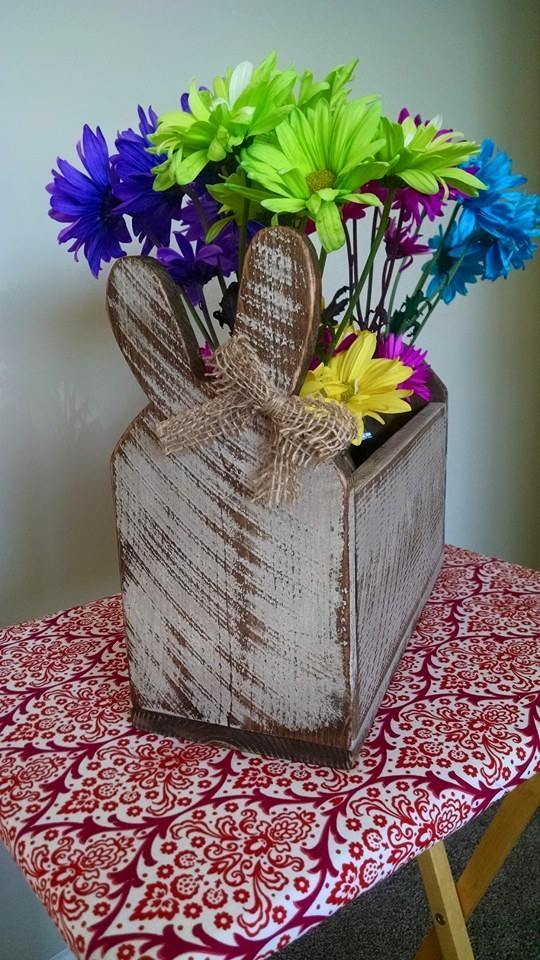
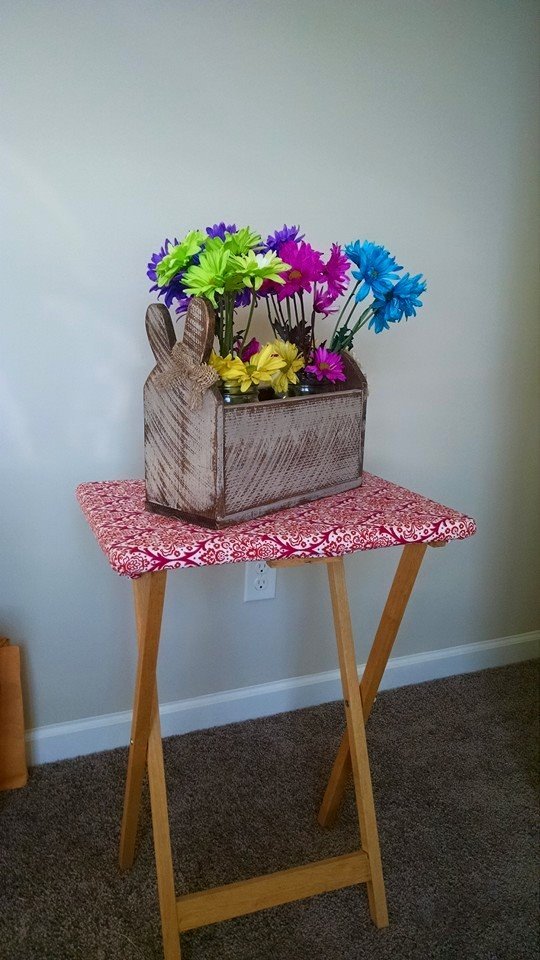
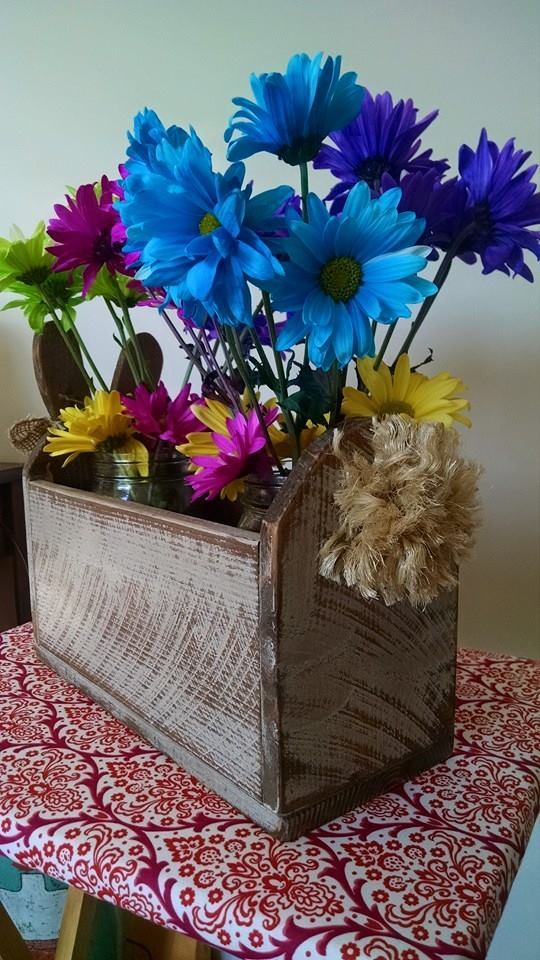
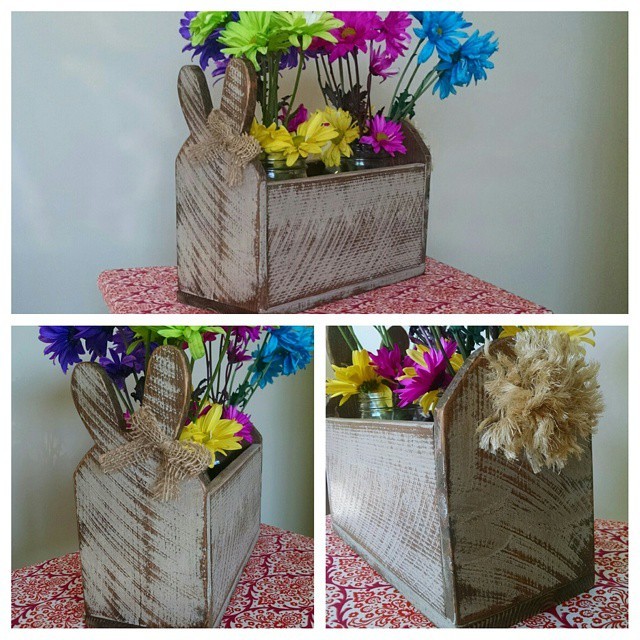
I had a lot of fun with this project! It was quick, and I already had everything I needed on hand. I have been wanting to get more practice with my jigsaw and this project was perfect for that. I used one cedar picket for the whole box and still had some left over. I added a burlap bow and made the tail with some extra pieces of rope and my glue gun. It was a breeze!

Estimated Cost
FREE! I made this with a leftover piece of cedar fence picket and paint/stain that I already had. If you wanted to purchase a picket they are around $2.75 each.
Estimated Time Investment
An Hour or Two (0-2 Hours)
Finish Used
I first sanded and whitewashed the picket and then cut the pieces. After I had assembled everything and let the glue dry for a little bit, I roughed up the paint with my sander and applied stain.
Recommended Skill Level
Starter Project

Comments

Harold Webb

Tue, 03/31/2015 - 06:47

Excellent! I doubt that I will make it in 2 hours, but I'll try. I really like this kind of product, especially given the fact that my wife loves in flowering :). By the way, if someone need help in writing of any type of works, you can visit my website http://www.trusteddissertations.com/ and get a decent discount.
Have a nice day!

Hockey 'lockers'

Submitted by Anonymous (not verified) on Thu, 06/29/2017 - 19:56

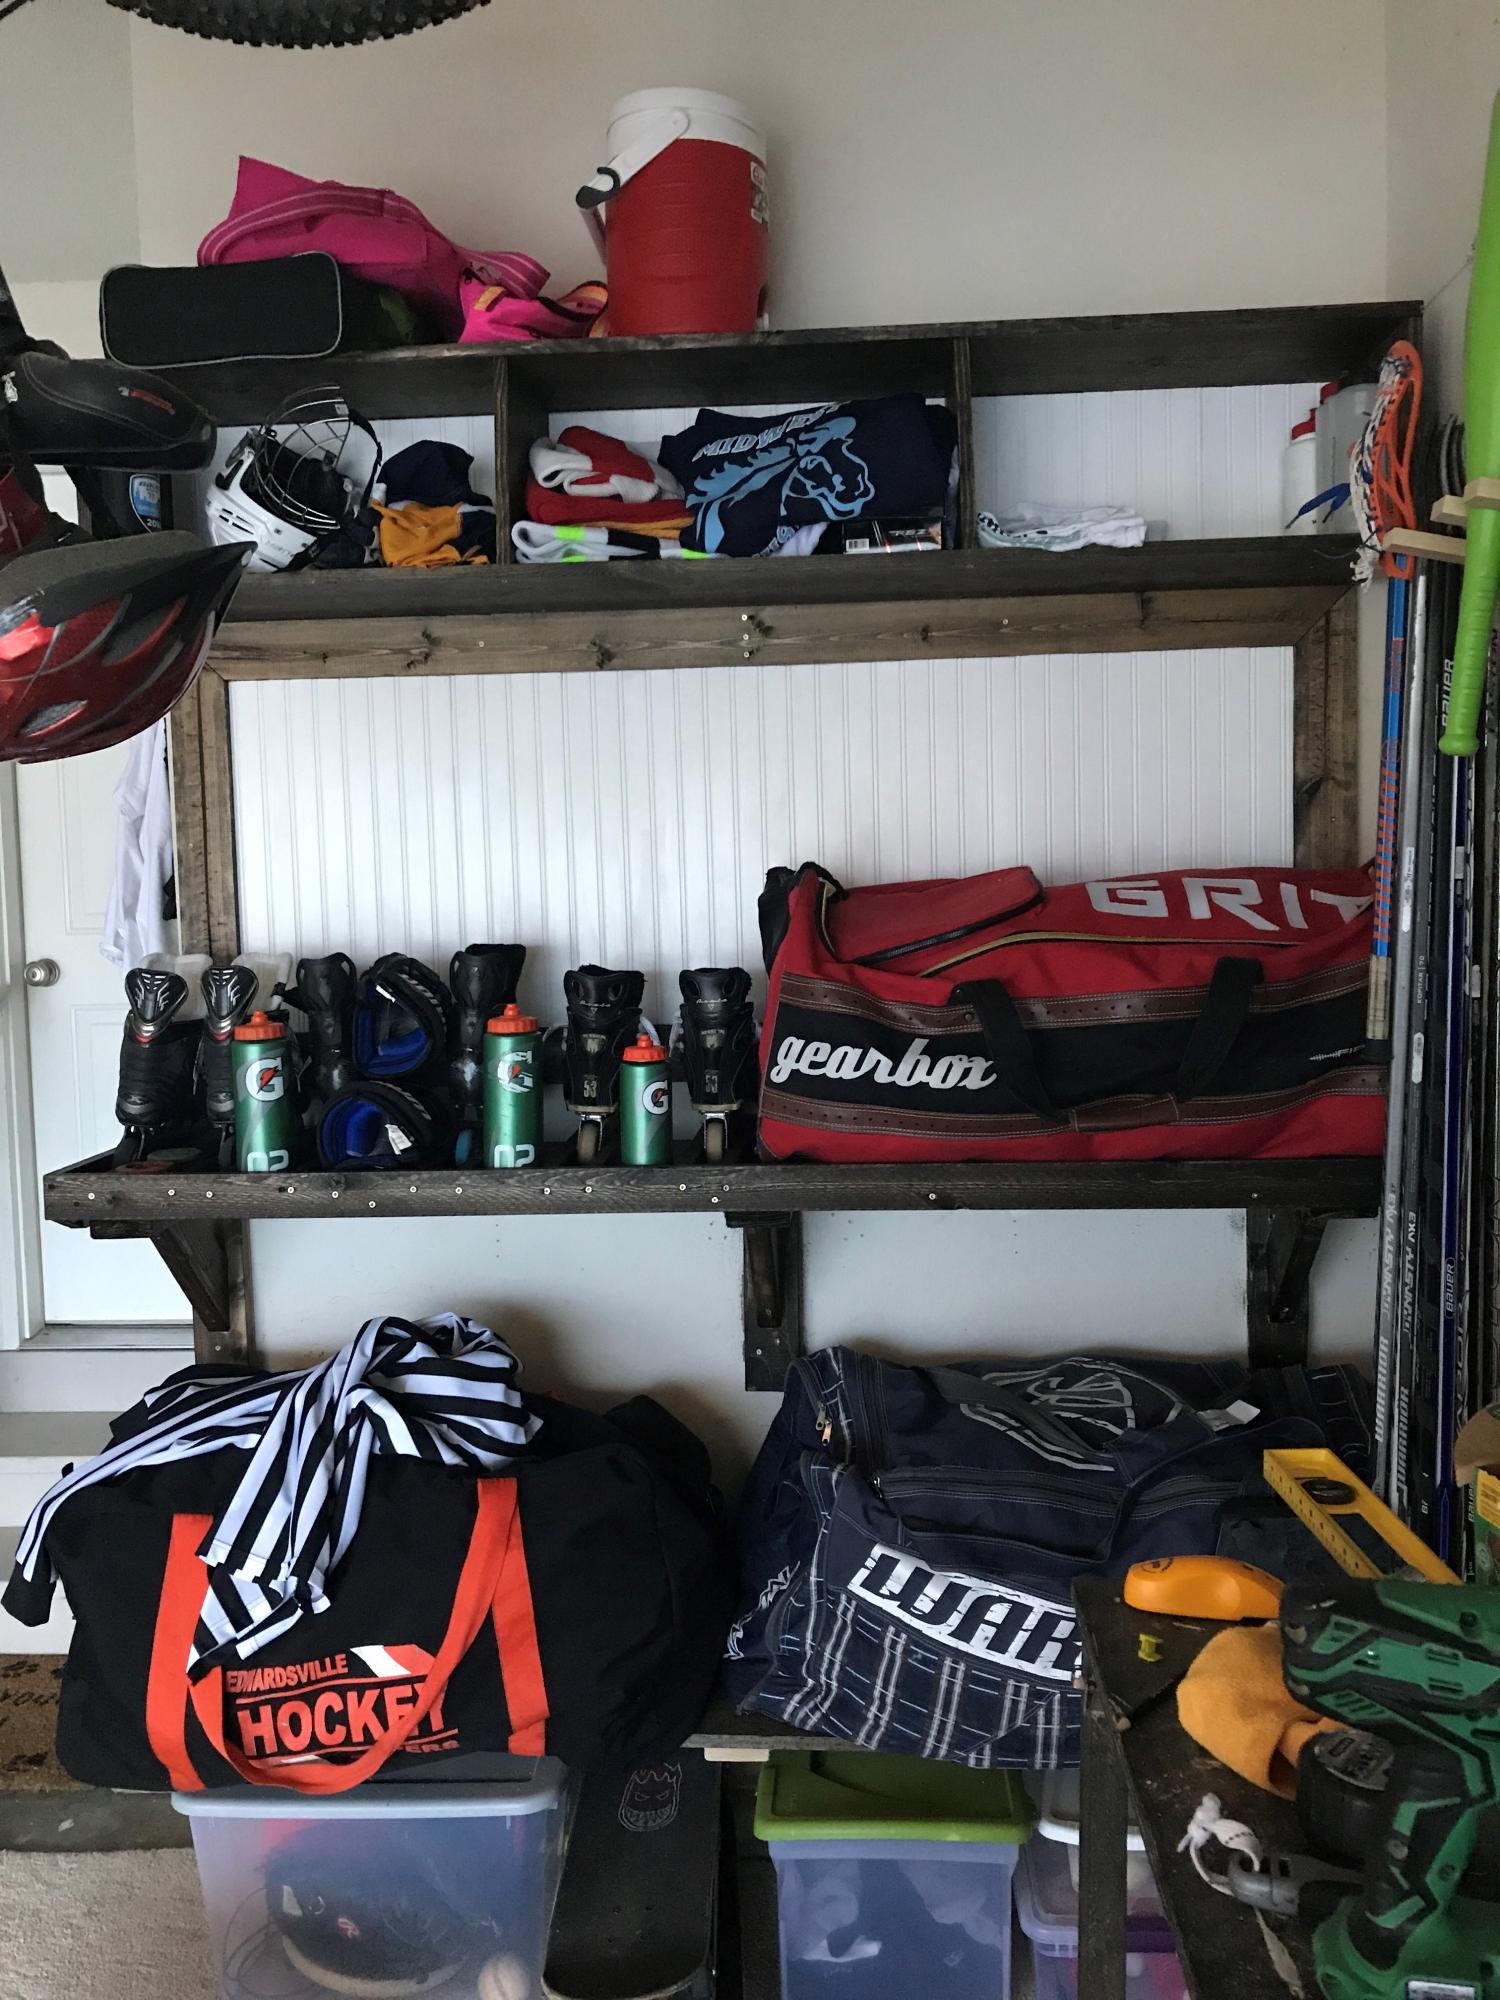
I needed something to organize our hockey gear so I customized this mudroom idea. It turned out great and makes me feel better when I walk in the garage. Everything must have a place!

Estimated Time Investment
Day Project (6-9 Hours)
Finish Used
Minwax Jacobean Stain
Recommended Skill Level
Beginner

Full Size Storage Bed

With a new baby on the way, my husband, Steve and I had to move our 2yr old son out of the nursery and into his big boy bedroom. After casually looking at storage beds and falling over in shock at the prices, I came across Ana’s plans for the storage bed. Knowing that Steve is extremely handy but had not attempted to build furniture before, I started talking him into building this bed. He was sold the moment I told him that we would save close to $2400 by building it ourselves. This was a longer than anticipated project mainly due to Steve’s full time work schedule, my inablility to handle stain fumes, allowing a toddler to “help” build his bed and working around said toddler’s nap schedule. We modified Ana’s plans by adding some trim to the cubby hutch, omitting the doors on the small hutch and sizing everything to a full size bed. We also omitted the shelves on the storage headboard since we weren’t going to use them with the side towers. I am absolutely in LOVE with the final result and have a long list of other projects that we will be building in the near future.

Built from Plan(s)
Estimated Cost
$600
Estimated Time Investment
Week Long Project (20 Hours or More)
Finish Used
Paint or Stain Color/Type: Minwax Polyshades in Pecan Gloss

Finishing Technique: Steve primed the wood first with Minwax Pre-Stain Wood Conditioner then, added two coats of Minwax Polyshades in Pecan Gloss.

Recommended Skill Level
Intermediate

So fun. So easy. So beautiful.

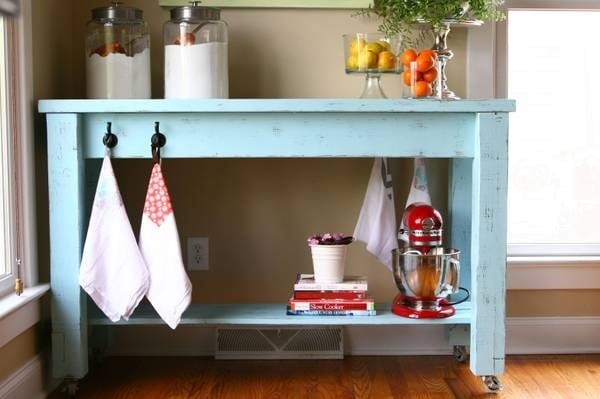
This table was so easy and so much fun, even for a beginner. In fact, it's so easy I've built it three times. The latest one is my favorite. I think it's the beautiful blue color...

Built from Plan(s)
Estimated Time Investment
Weekend Project (10-20 Hours)
Finish Used
First I stained it in a dark color. Next, I painted it with a watered dawn blue. Then, I sanded for a distressed looked. Lastly, I coated it with a finishing wax.
Recommended Skill Level
Starter Project

Comments

Outdoor Sectional

Submitted by Anonymous (not verified) on Sun, 07/02/2017 - 18:53

We are obsessed with our new outdoor sectional.

Estimated Cost
300 for the chairs, 600 including cushions
Estimated Time Investment
Week Long Project (20 Hours or More)
Recommended Skill Level
Beginner

Media console

Submitted by Anonymous (not verified) on Mon, 10/04/2021 - 13:28

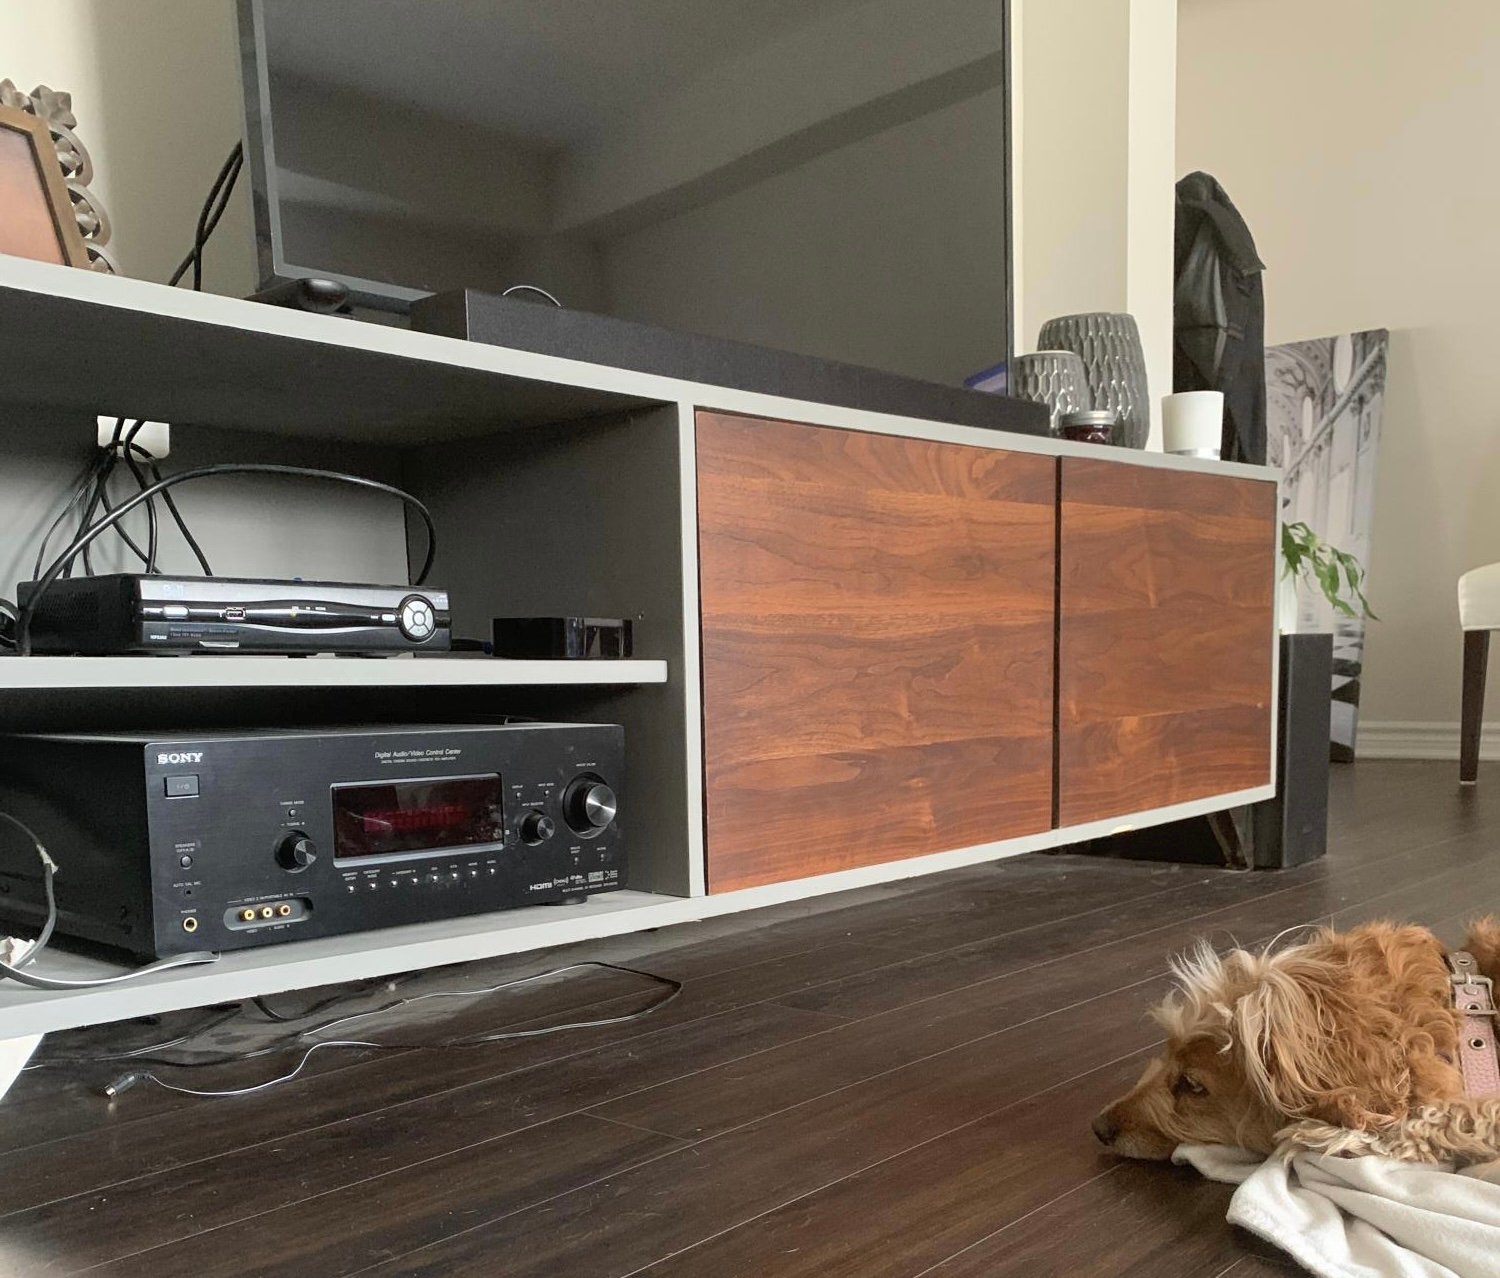
This great plan!! Thx Ana!

Comments

built by Grandpa

Submitted by jsanders on Sun, 05/12/2013 - 10:25

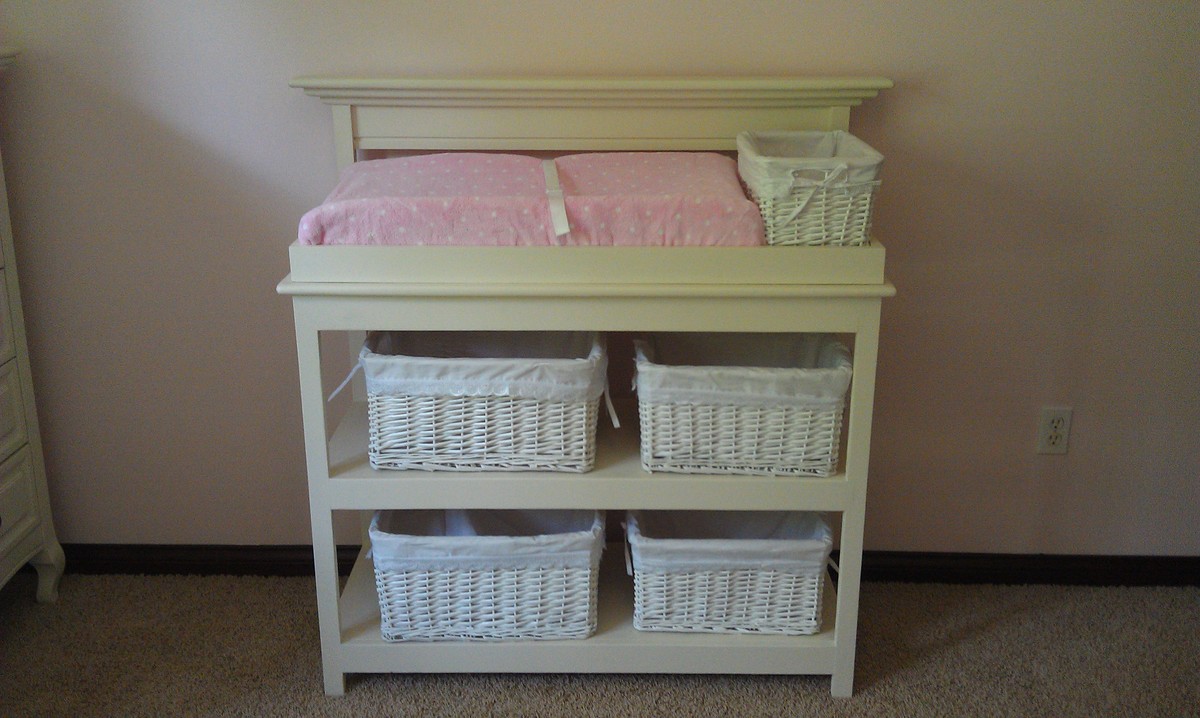
Grandpa modified the simple changing table to match the rest of our nursery furniture.

Built from Plan(s)
Estimated Cost
$100
Estimated Time Investment
Weekend Project (10-20 Hours)
Finish Used
Paint
Recommended Skill Level
Intermediate

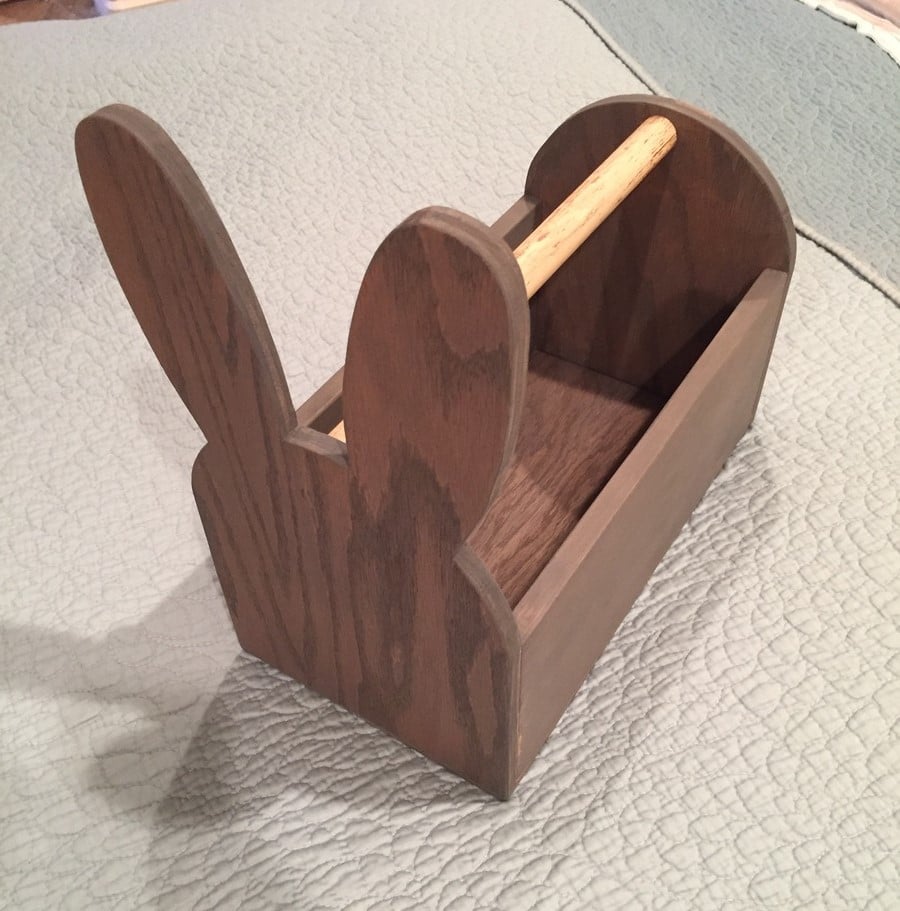
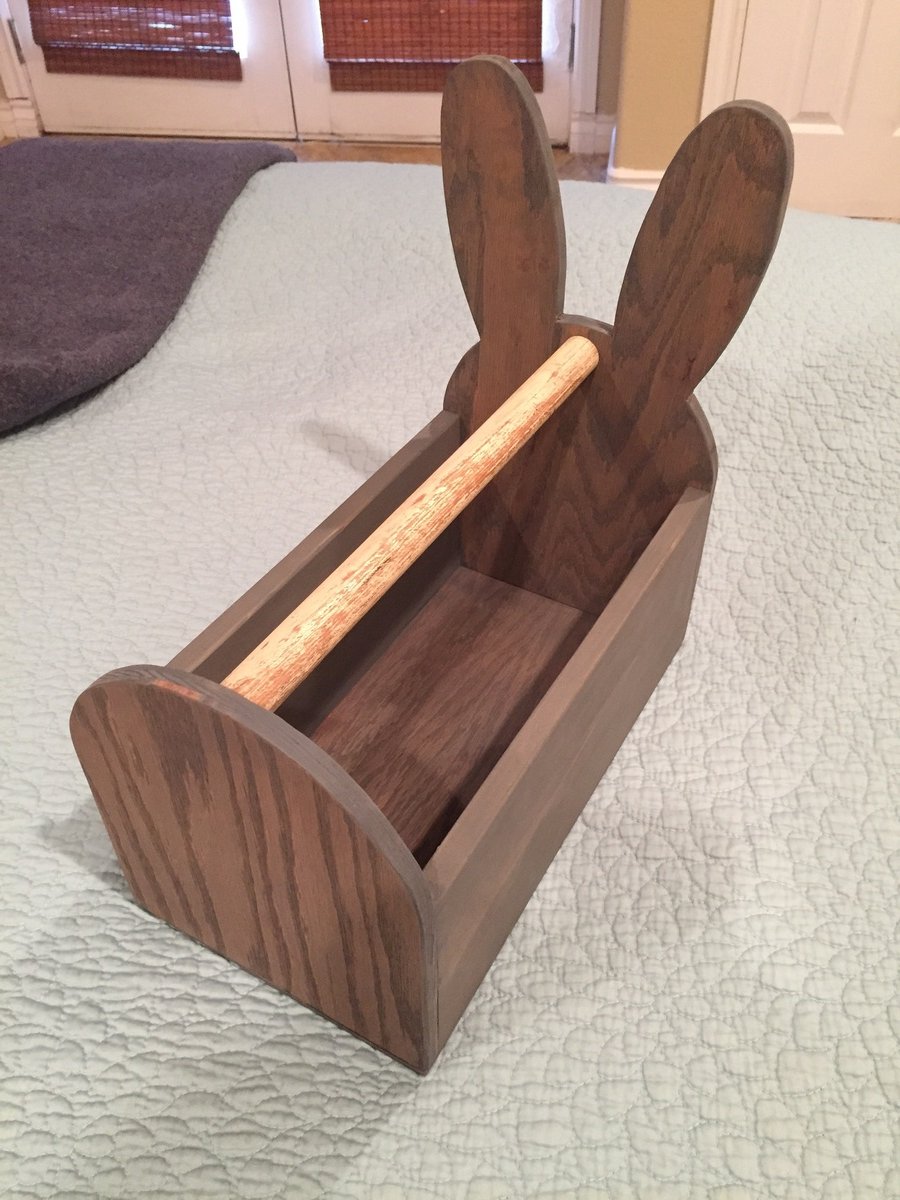
Bunny box

Submitted by Josh_B on Wed, 04/01/2015 - 17:54

1/2" oak ply, cedar fence post, 1/4 inch oak ply


First brag! I had a little time to play in the garage and decided to join the scrap wood bandwagon. The wife loves the bunny box and now the mother-in-law NEEDS one. Back to the garage I go...


Estimated Cost
$0
Estimated Time Investment
An Hour or Two (0-2 Hours)
Finish Used
Minwax Classic gray
Recommended Skill Level
Beginner

Comments

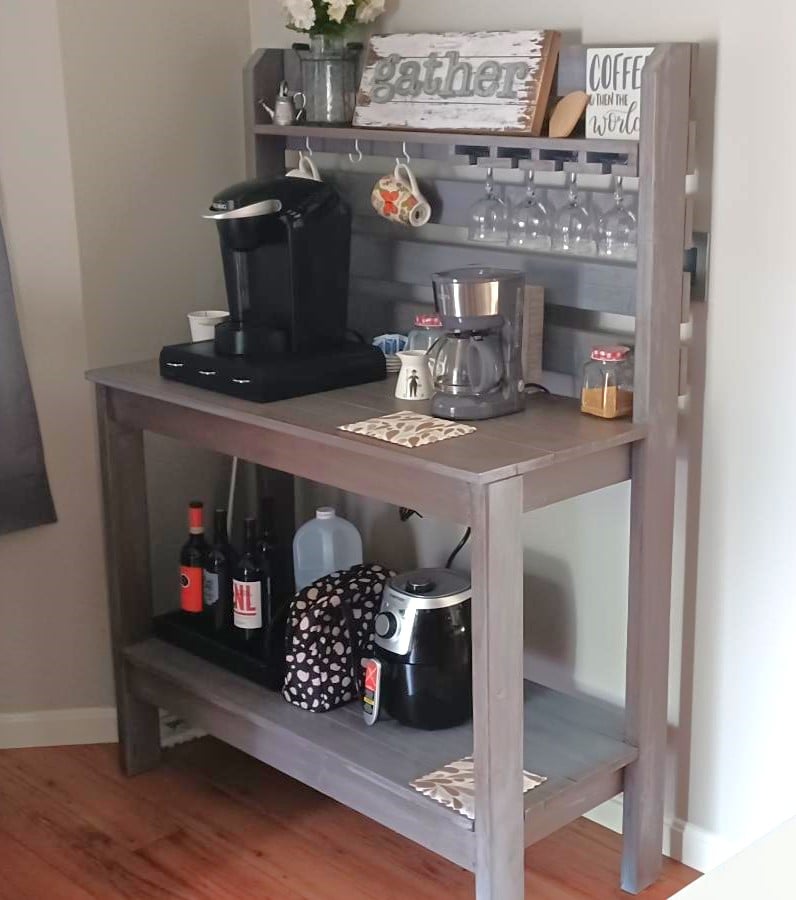
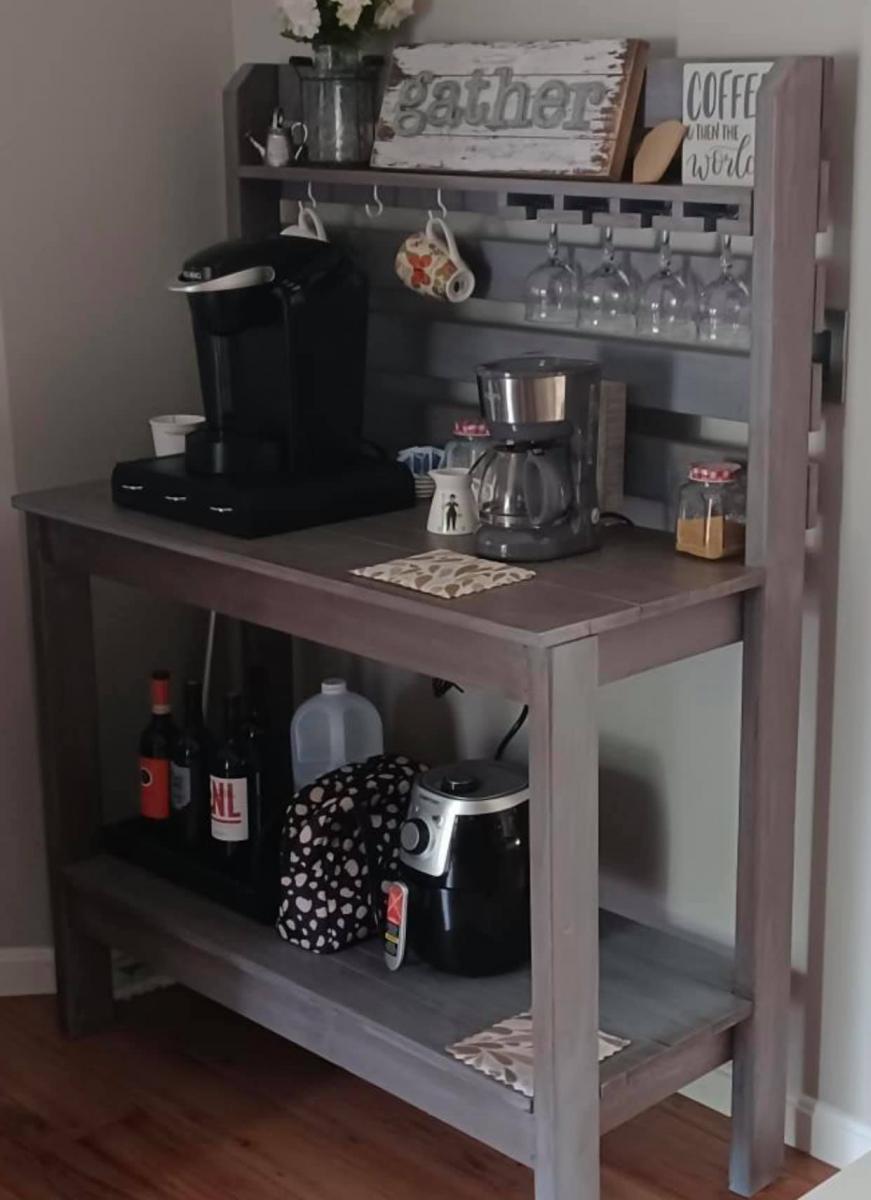
Coffee - Wine Bar (Adapted from Planter's Bench

Submitted by Anonymous (not verified) on Mon, 10/04/2021 - 13:58

Built for my daughter but it came out so well, kept it.

Comments

Ana White Admin

Tue, 10/05/2021 - 09:58

That would be hard to give up, lol! The cup and wine glass storage is a great addition, thanks for sharing:)

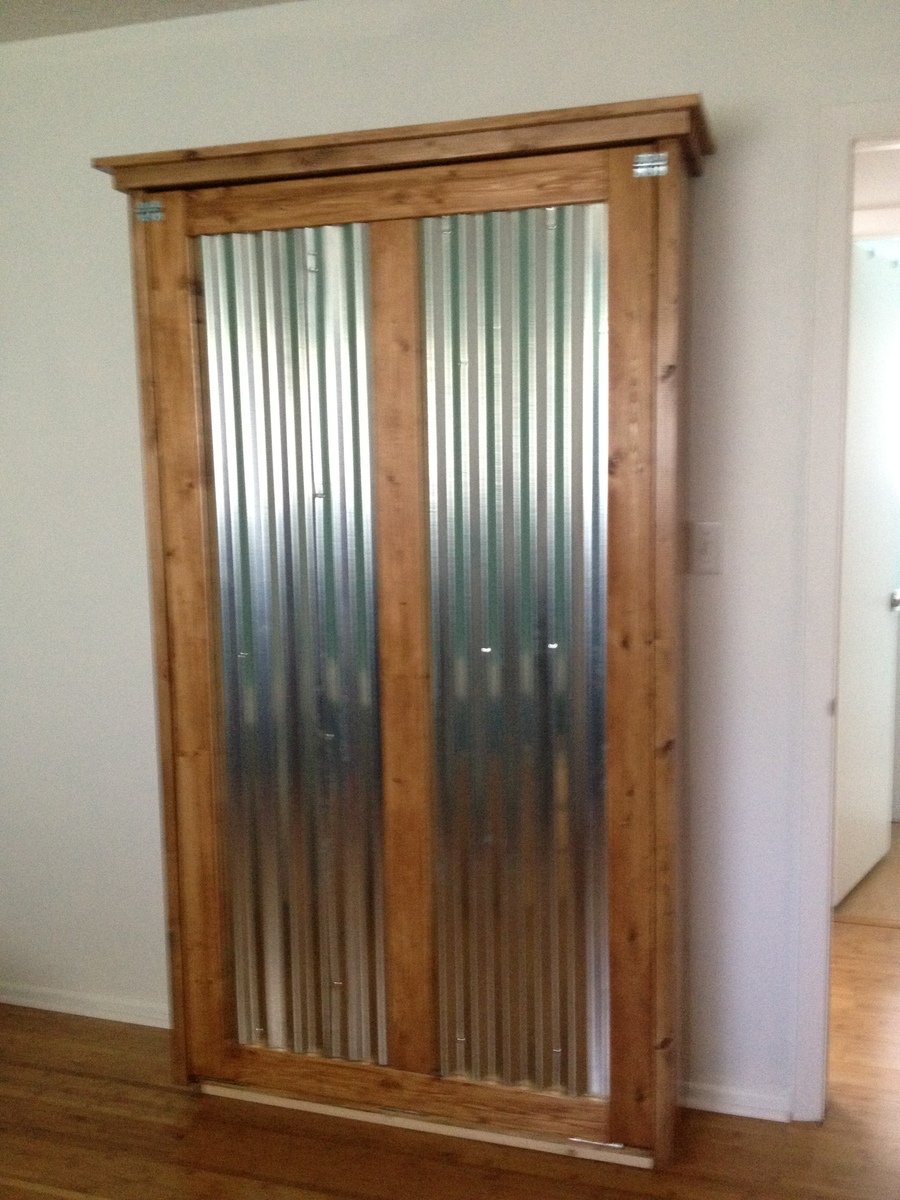
Murphy Bed

Submitted by arkep on Tue, 05/14/2013 - 19:19

I'm turning my messy sewing room into an organized craft/guest room, so I made a murphy bed to conserve space. I used corrugated tin on the the face of the bed so that I can use it as a magnet board while not in use as a bed.

Estimated Cost
$100
Estimated Time Investment
Weekend Project (10-20 Hours)
Finish Used
Polyshades Antique Walnut--two coats with light sanding in between
Recommended Skill Level
Intermediate

Comments

Julie44256

Fri, 05/17/2013 - 09:54

The estimated cost is $100, but the hardware linked from the original plan was over $300. Do you have an alternate method of mounting this?

arkep

Fri, 05/17/2013 - 11:23

I think that link was a suggestion if you want an assisted lift/lowering system, and that hardware is part of what makes regular Murphy beds so expensive. I just used door hinges--3 for $8. It's not that heavy to lift and lower the bed, in my opinion.

Julie44256

Fri, 05/17/2013 - 11:40

Thank you for your reply! If I make this project, I think I'll try the door hinges. It won't be frequently used (a few times a year) and I'm pretty sure we can handle the minimal weight for those few occasions.

P.S. I really like the styling with the wood and corrugated metal, it looks sharp!

iMark

Fri, 06/28/2013 - 20:02

thanks for sharing the murphy bed. have been looking for a space solution for my daughter's bedroom. the corrugated tin look sharp in this project--my daughter would like the corrugatged tin as well--except for hot pink stain on the cabinet.

anyone know where to get hot pink stain?

DorieM

Wed, 02/10/2016 - 04:22

I would love this for my room let me save space versus sideways bed. Maybe spray chalkboard or dry erase on one side magnets to one side and daily to do notes on the other?

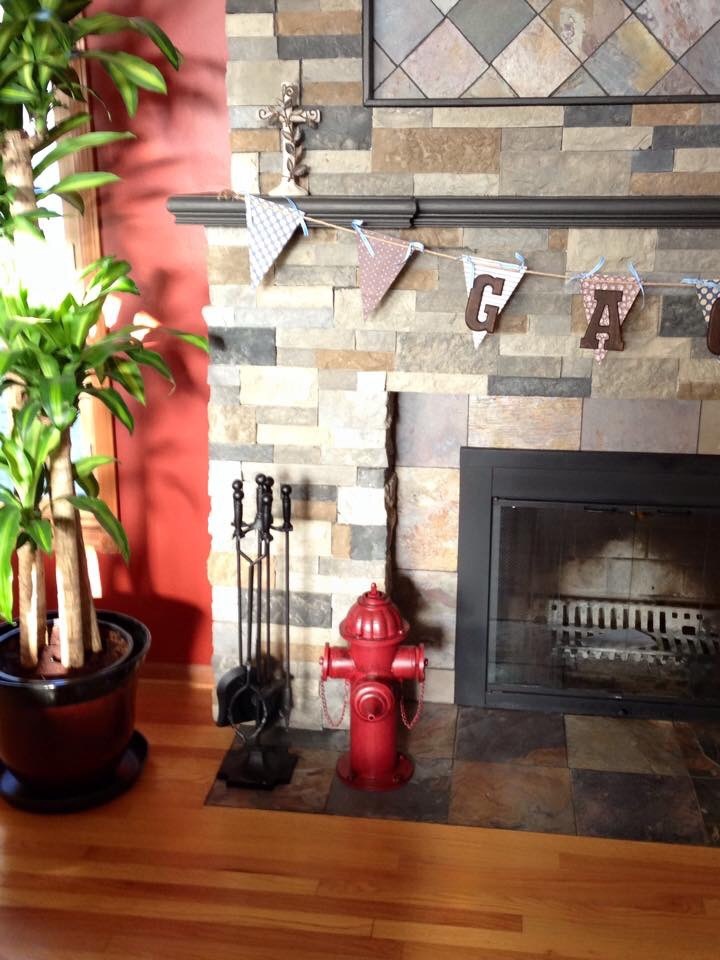
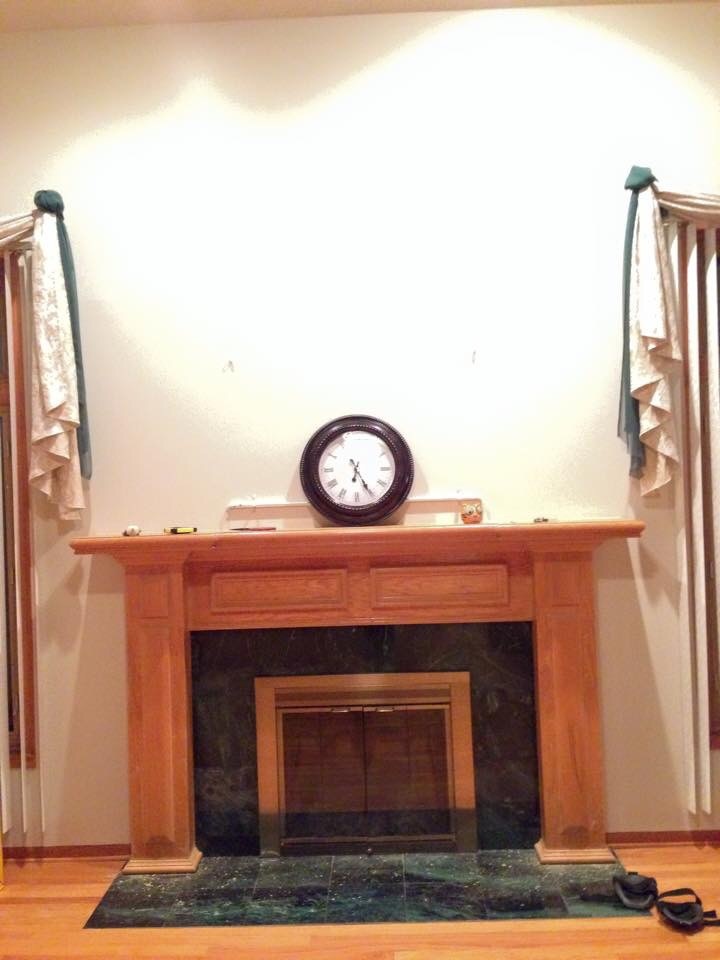
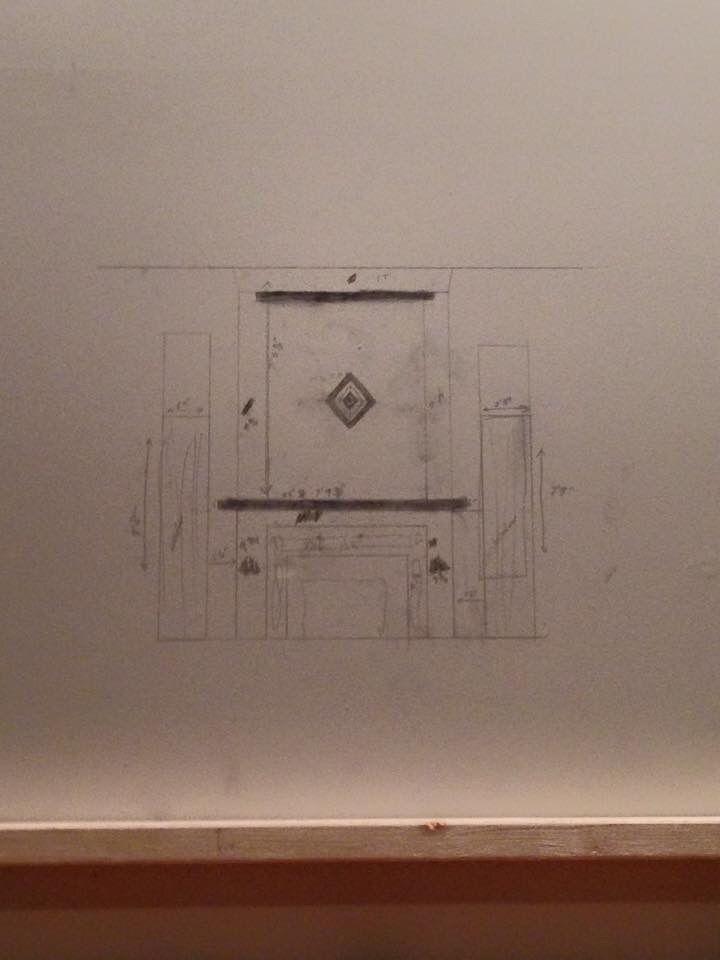
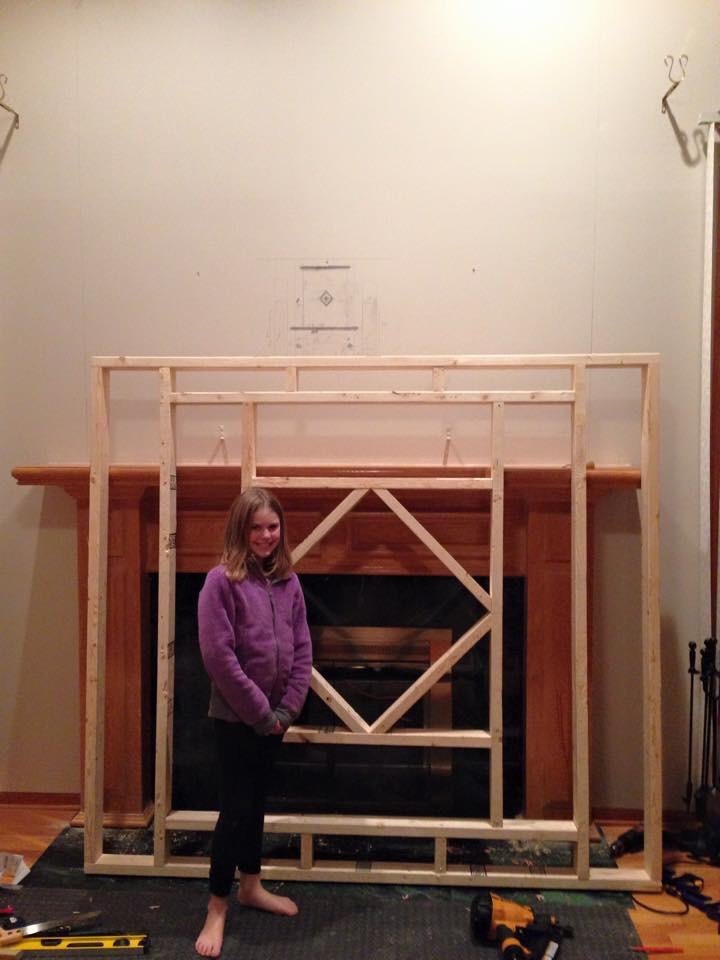
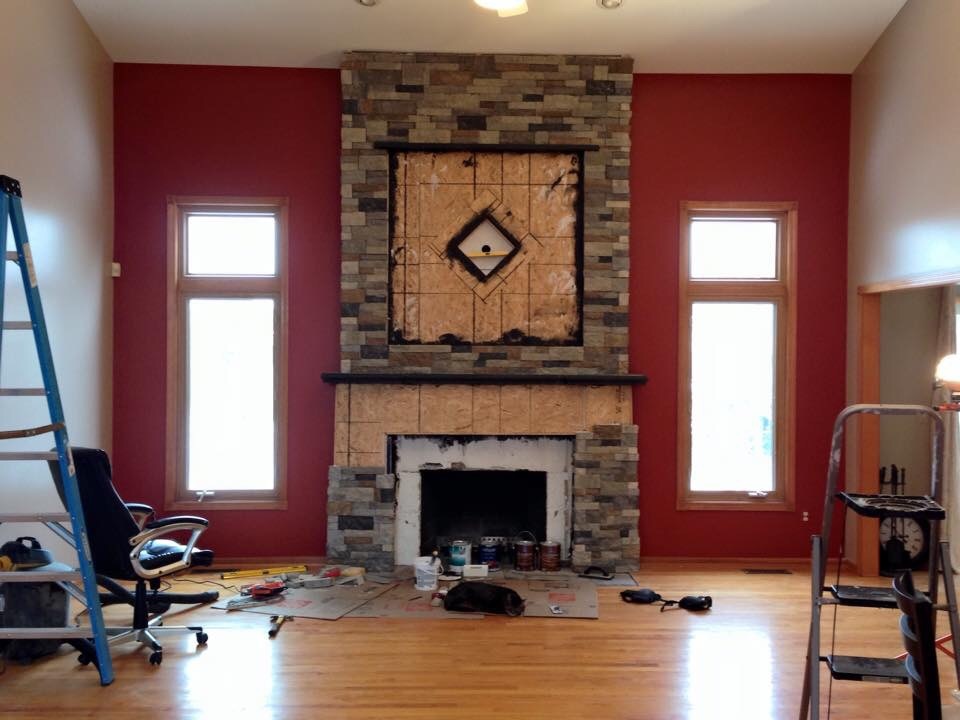
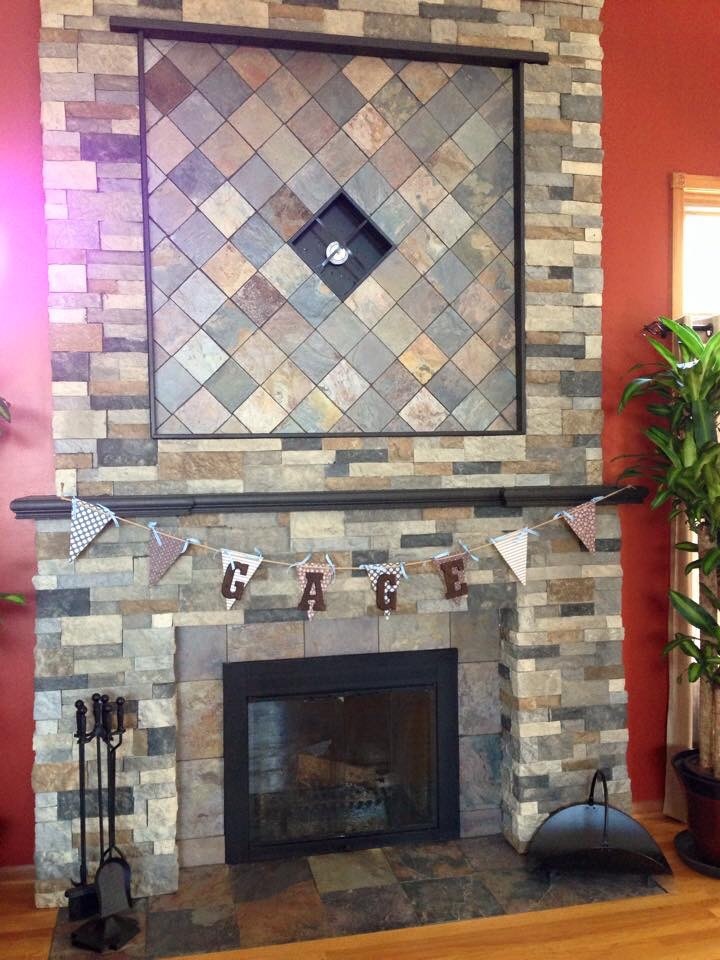
Fireplace makeover

Submitted by Stewsterl on Sun, 04/05/2015 - 00:30

This is my first DIY project ever. No plans. 

Estimated Time Investment
Week Long Project (20 Hours or More)
Finish Used
Airstone
Recommended Skill Level
Beginner

Comments

Square Picnic Table

Submitted by Anonymous (not verified) on Mon, 10/04/2021 - 15:01

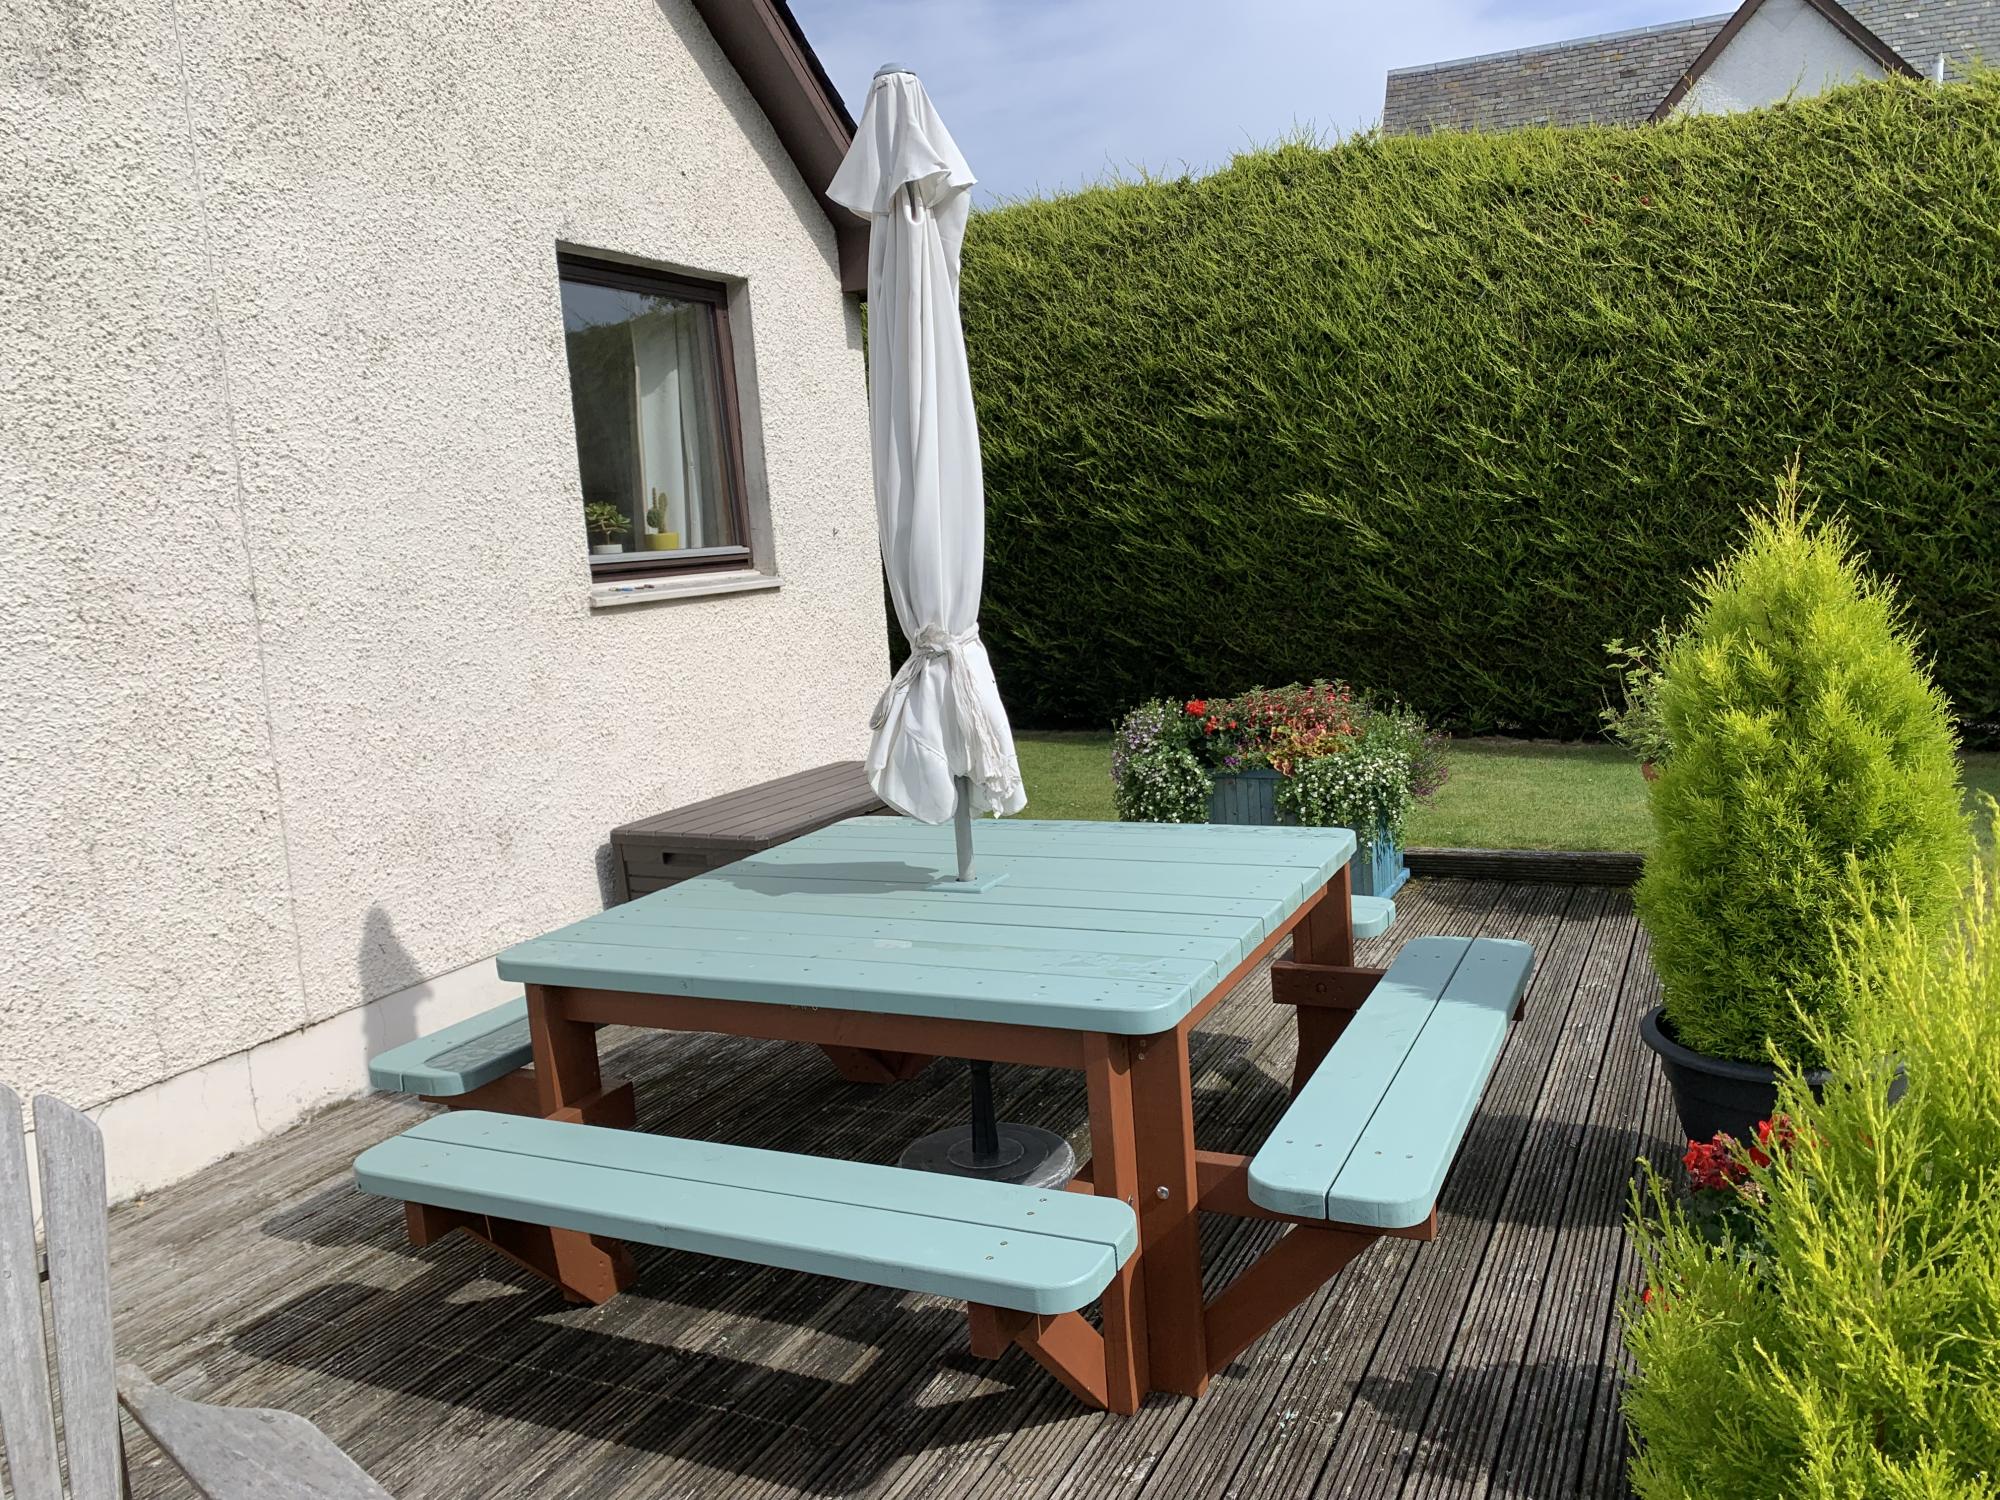
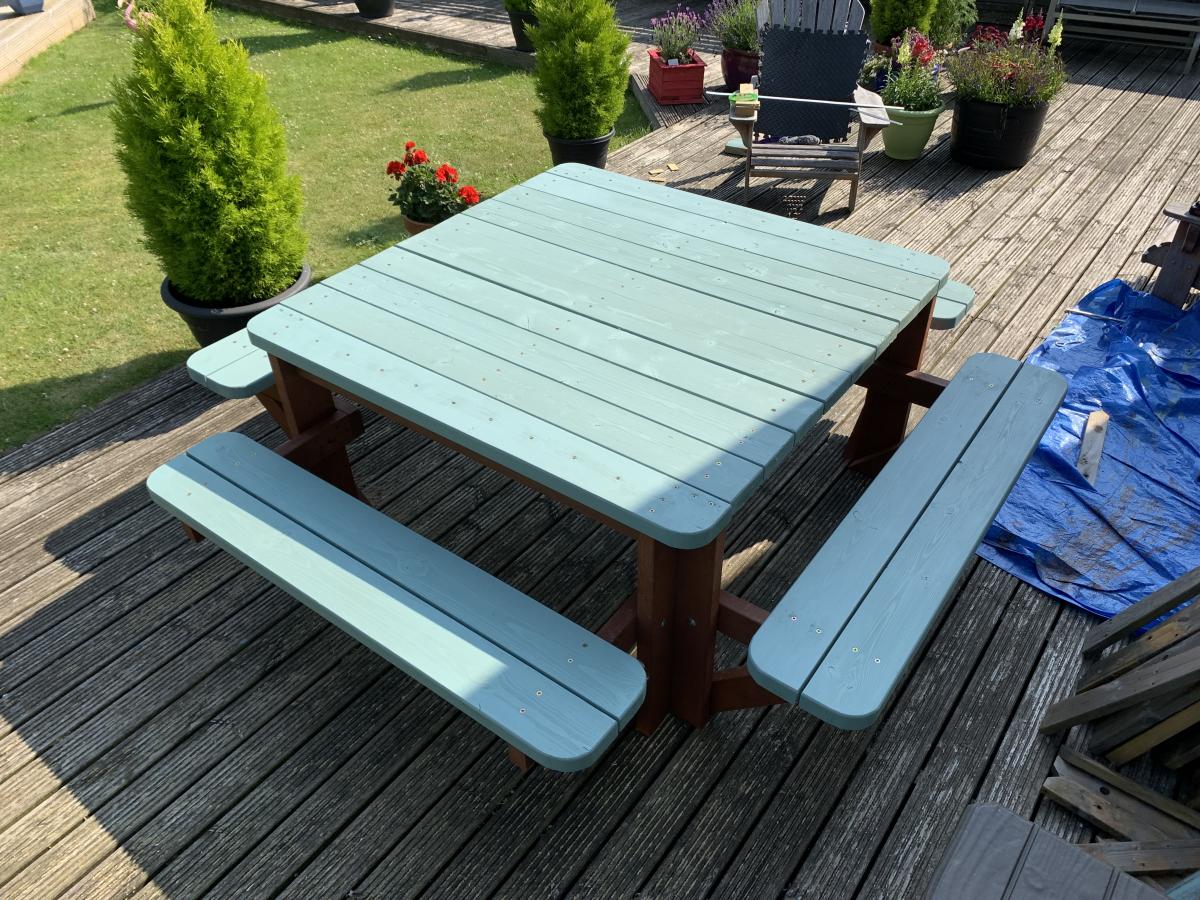
This is a bit larger than Ana’s plan. I added additional support to the table top and added a braced opening for the umbrella. I also went for a more rounded finish by rounding all the corners of the table and benches with my jigsaw and then sanding to create smooth curves.

Built from Plan(s)

Comments

Leaning Wall Media Center

Submitted by KatieLott on Wed, 03/09/2011 - 13:45

Recently I was a Crate and Barrel and I found the Sloane Leaning Desk and thought that it would be perfect for my media center. (See that wall heater under the desk, I needed that to be open and I was tired of my big wood box of a media center on the, now, couch wall.) So knowing that I had seen the Leaning Wall Shelf on this site I knew I could reconfigure it a bit to work out for my own needs.

First, I cut the dimensions down a bit. Instead of the 31 1/2" length on all of the shelves I cut them at 24". Then then all the back trim at 25 1/2". Then for the middle section, I cut the shelf and desk at 36" and the back trim to 37 1/2". The side trim for the desk is 14 1/4". The desk itself was 22x36" and the top shelf was cut from a 1x8x6. I did this because I could cut all the other shelves and the desk from one piece of 4x8' plywood. For added support I used a 2x4 as the brace under the desk and added 1x2 braces (cut at a 45 degree angle) for extra support on the front/ sides of the desk (see photo). I also left all the edges squared off for a more modern look, like the Sloane.

I hope this helps you and good luck with your project! FYI, this was my first build EVER, and with a little help from my dad cutting the wood and getting it level, I got it done pretty easily. Oh, and get yourself some large clamps or an extra set of hands to help hold things together while you're drilling.

Estimated Cost
$140
Estimated Time Investment
Week Long Project (20 Hours or More)
Finish Used
I built the main supports and shelves separately then sanded, primed and painted them before assembling them in my home. For the primer I used 1qt. Zinsser 1-2-3 (1 coat), then used 1qt. of Martha Stewart, Seal (2 coats with a smooth finish roller) in a satin finish.
Recommended Skill Level
Beginner
Comments

Adirondack Chair

Submitted by maparuna on Sat, 05/18/2013 - 19:07

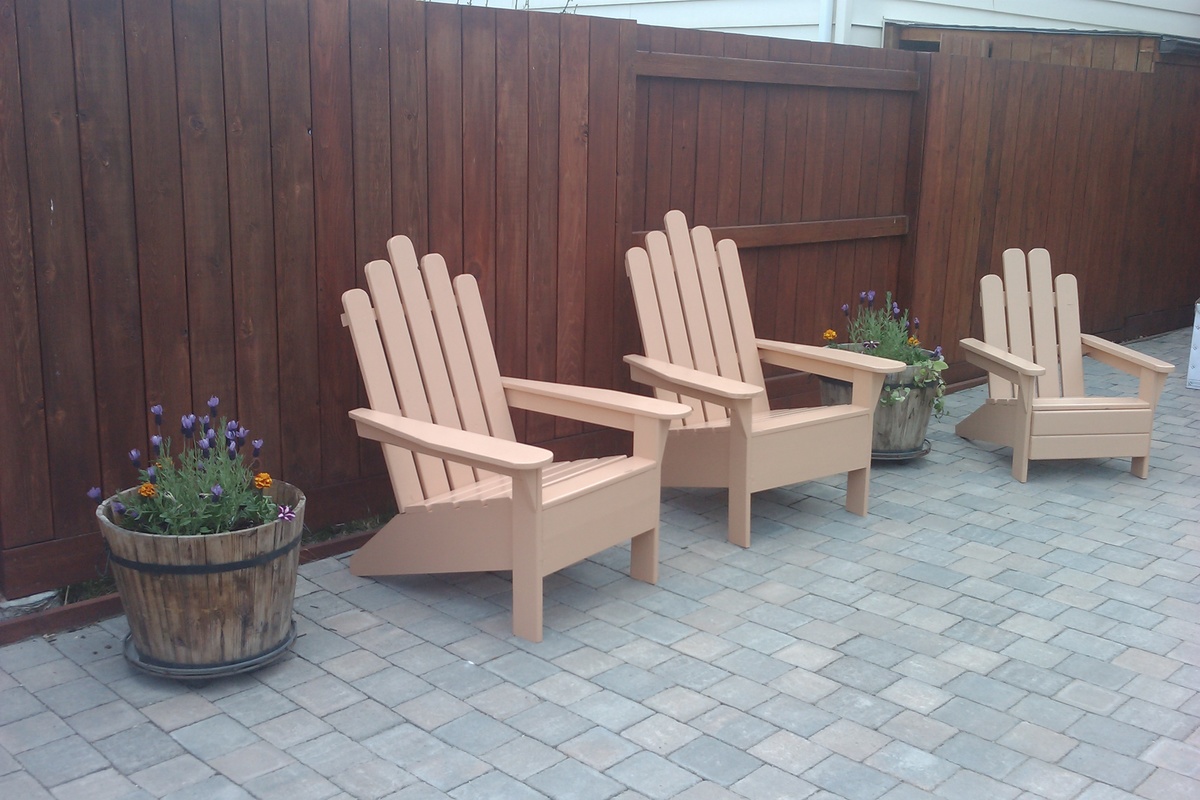
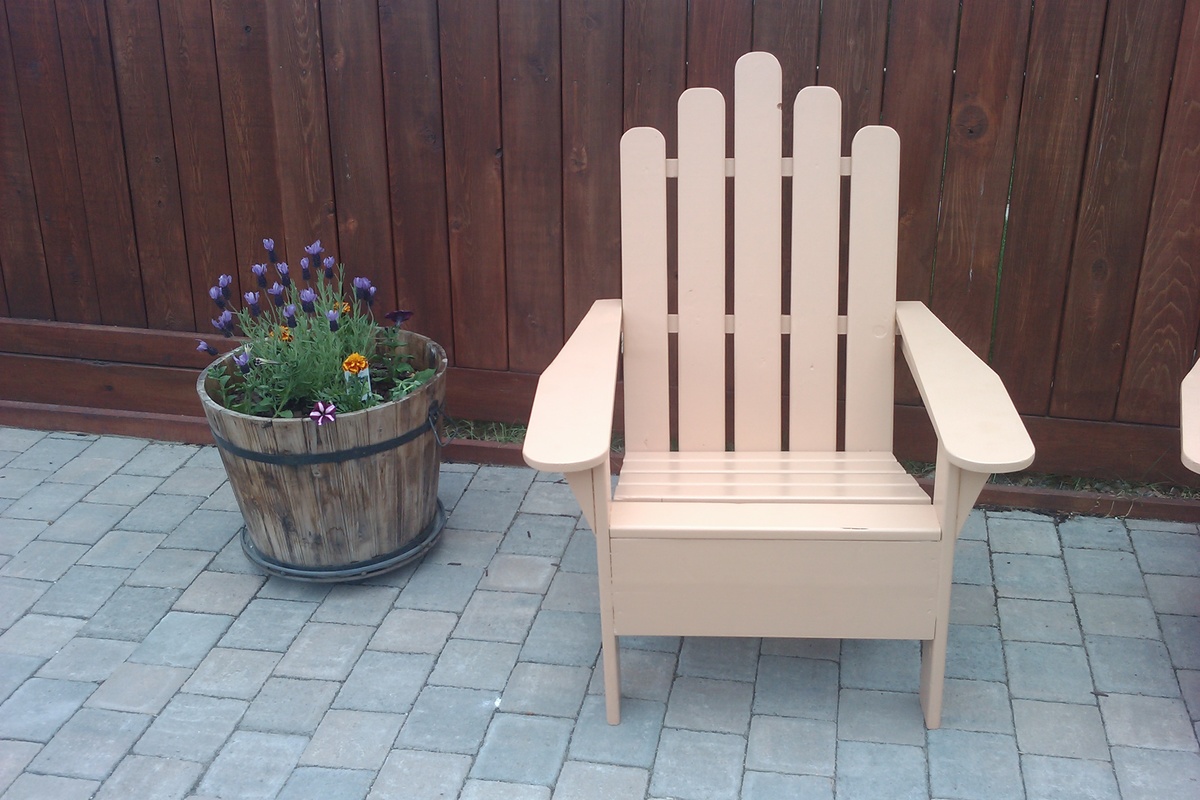
Built three Adirondack Chair, got the dimensions from Ana's Adirondack Chair and modify dimensions for the smaller chair for my daughter. Used ceder and pine. Cost about CDN 40 per chair. Specially I would like to thanks Ana giving information about simple but beautiful furniture designs.

Estimated Time Investment
Weekend Project (10-20 Hours)
Finish Used
Used for my backyard
Recommended Skill Level
Beginner
Comments

Kitchen Cabinets

Submitted by bsbdays on Tue, 04/07/2015 - 06:18

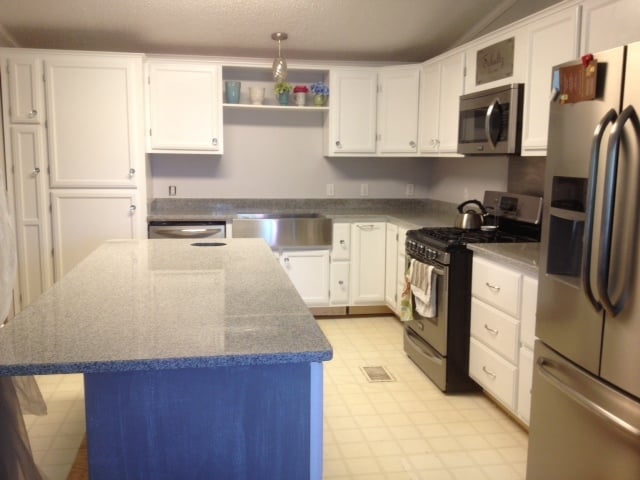
Here is a pic of kitchen cabinets I built using Ana's plans.

Recommended Skill Level
Intermediate

Comments

Calmly

Tue, 04/07/2015 - 11:40

If you lived near me, I would hire you. If you can do this, your funk tire buying days are over ! Awesome job!
bsbdays

Mon, 05/04/2015 - 12:00

Thank you, this was my first Kitchen remodel. I am not sure if I want to do this for hire. I may just build the cabinets but not sure if I want to install anymore.

bsbdays

Mon, 05/04/2015 - 12:03

I still have to install the back splash and flooring. Going with a knotty pine flooring. I will distress it and I am going to install vintage Common Rose Head nails at the butt joints of the flooring.

Hall Tree

Submitted by Don Ellery on Wed, 07/19/2017 - 11:25

I made this project for a friend.  It was very important to get straight boards for the back in order to make everything square.  Let me know if you have any questions!

Built from Plan(s)
Estimated Cost
$180
Estimated Time Investment
Day Project (6-9 Hours)
Finish Used
None yet! I did fill and sand the project and condition the wood for paint. Any exposed pocket holes were filled with angled dowels, some wood filler, and then sanded flat. I used a little extra 1x3 in order to face the middle two dividers. One more note...depending on your board length, you might need to get an extra 1x4. An 8 footer will leave you 1" short for the 41" board. But hey! Leftover wood turns into a new project!
Recommended Skill Level
Intermediate