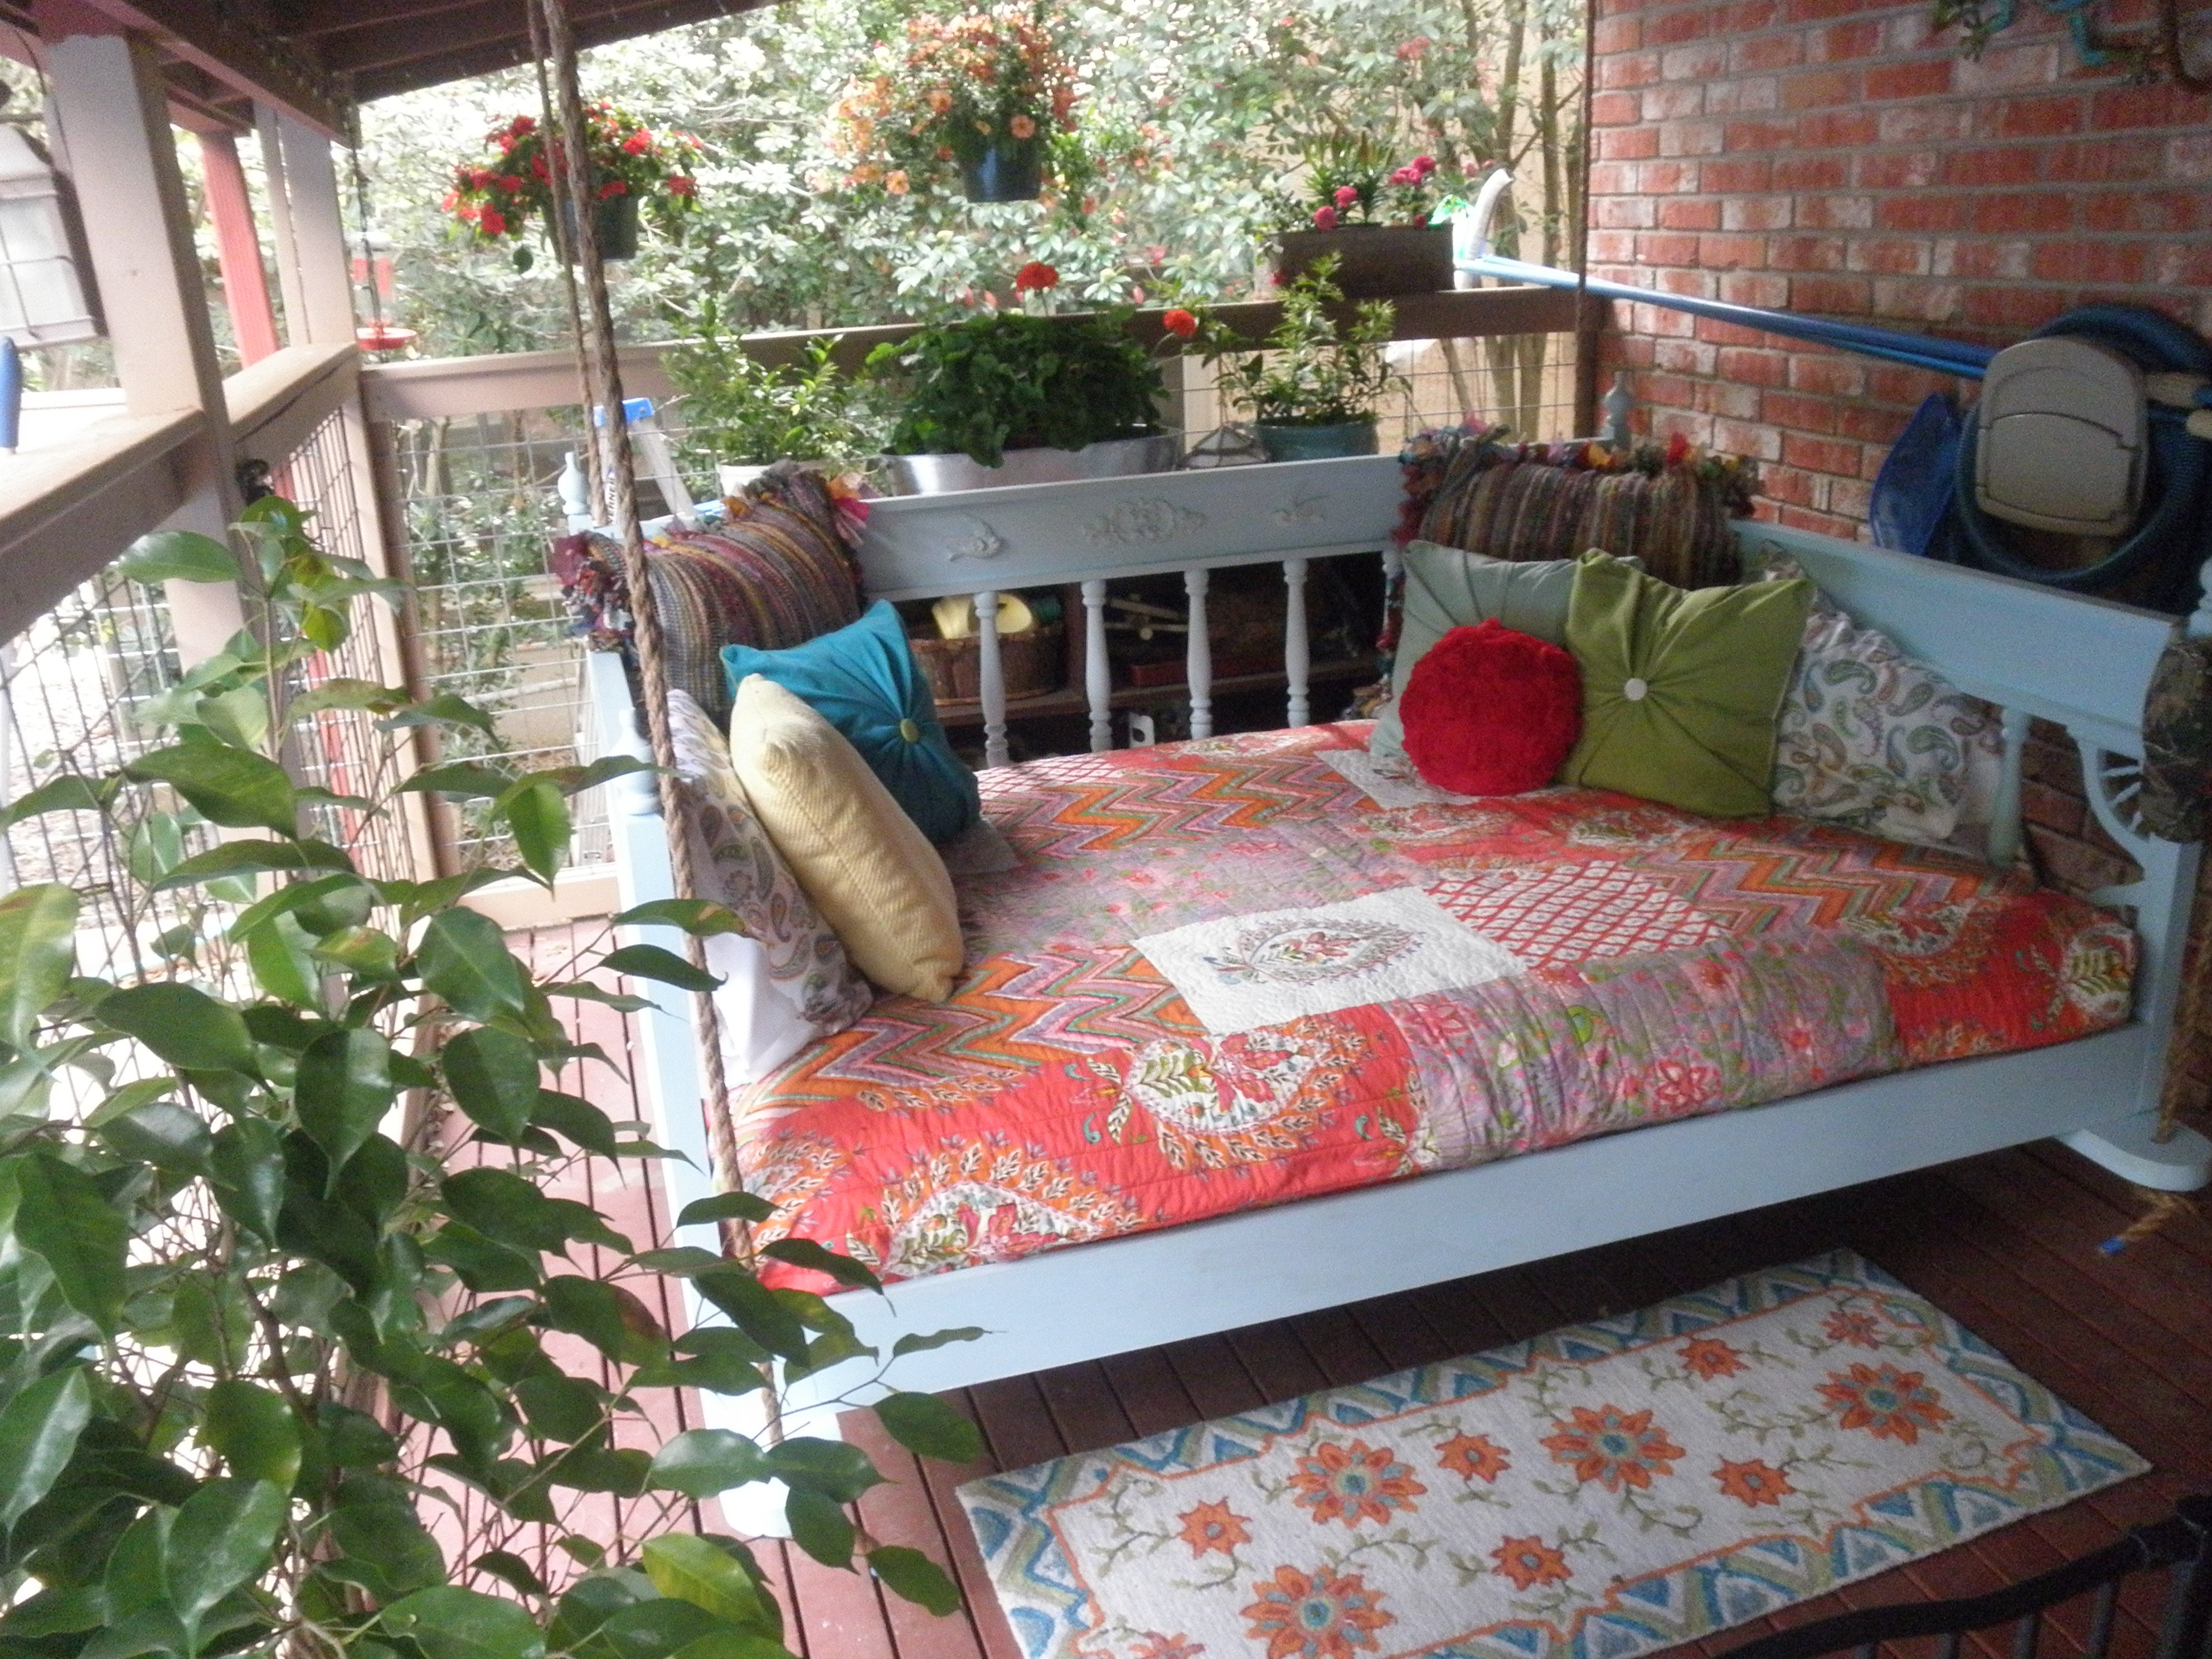
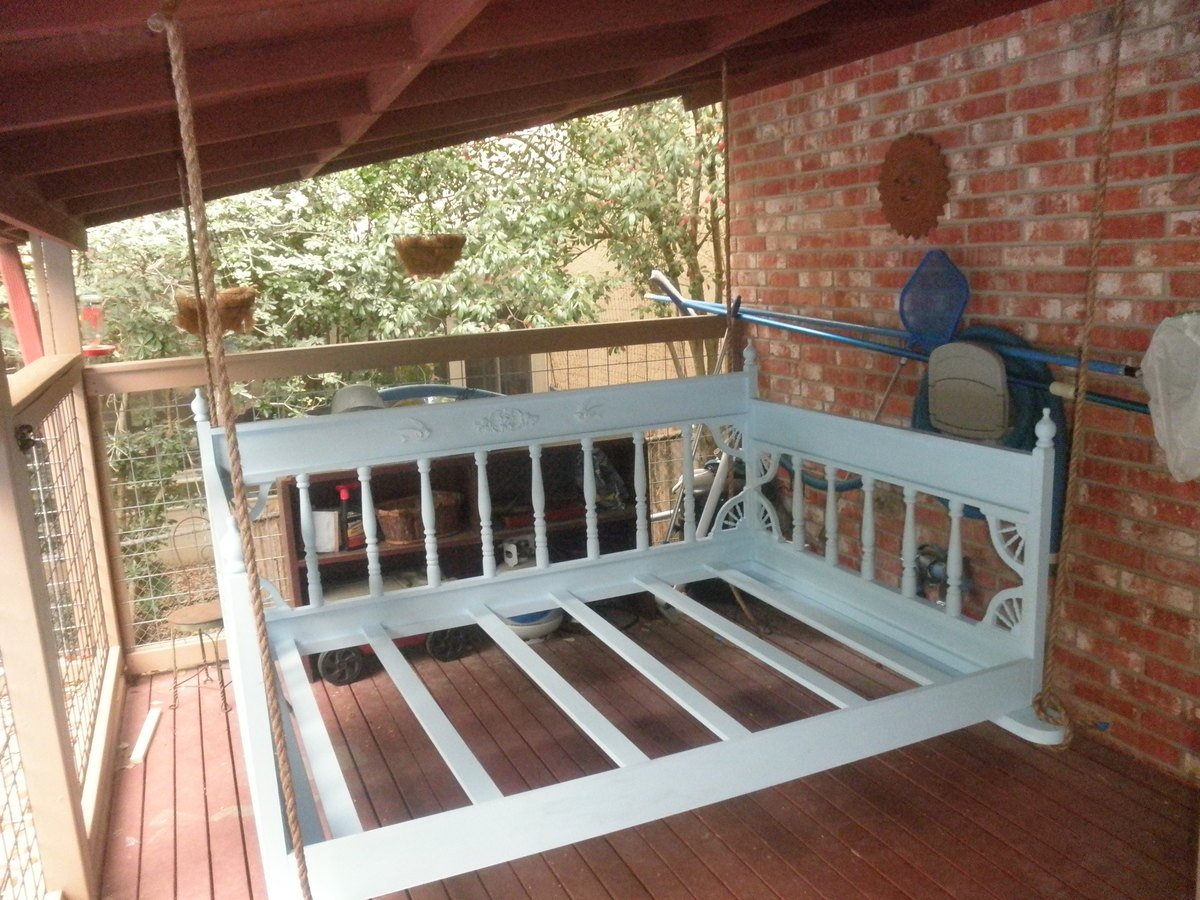
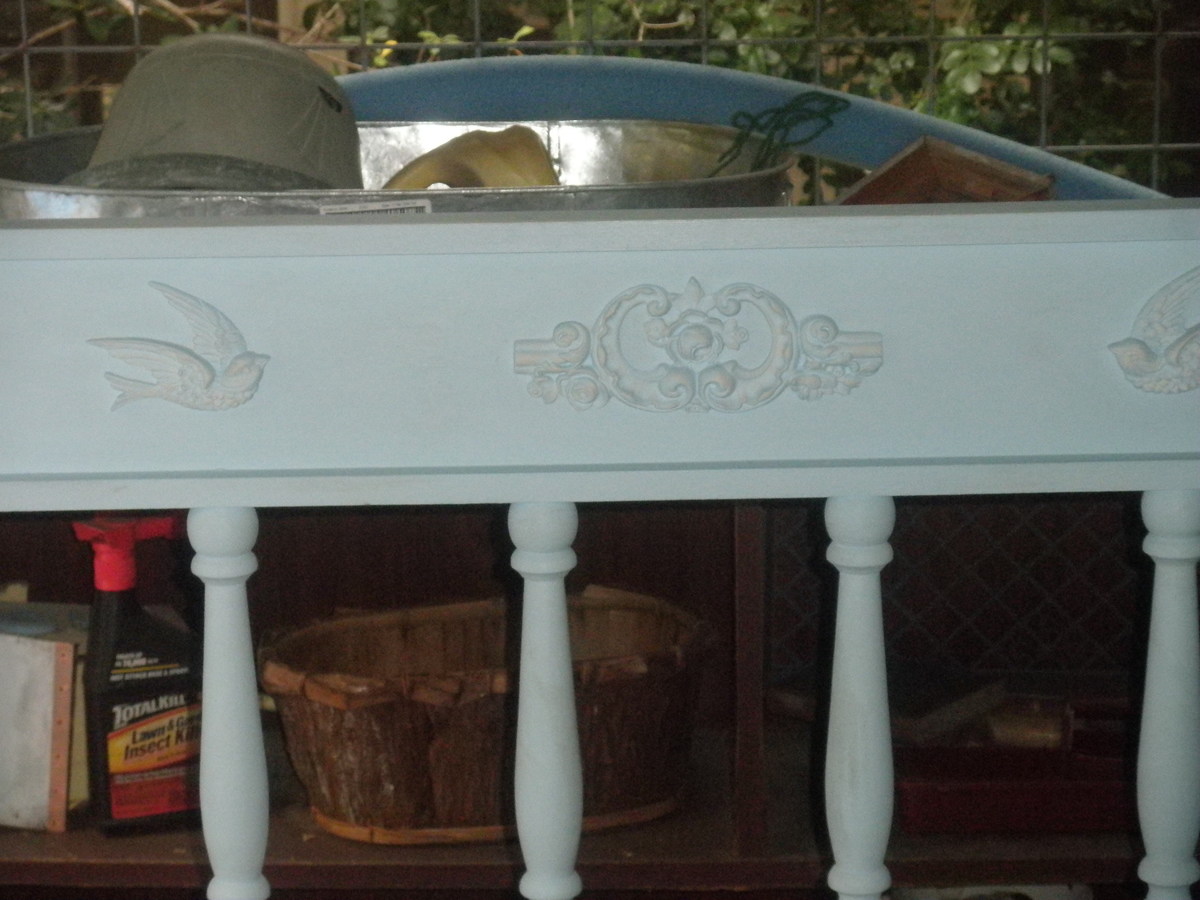
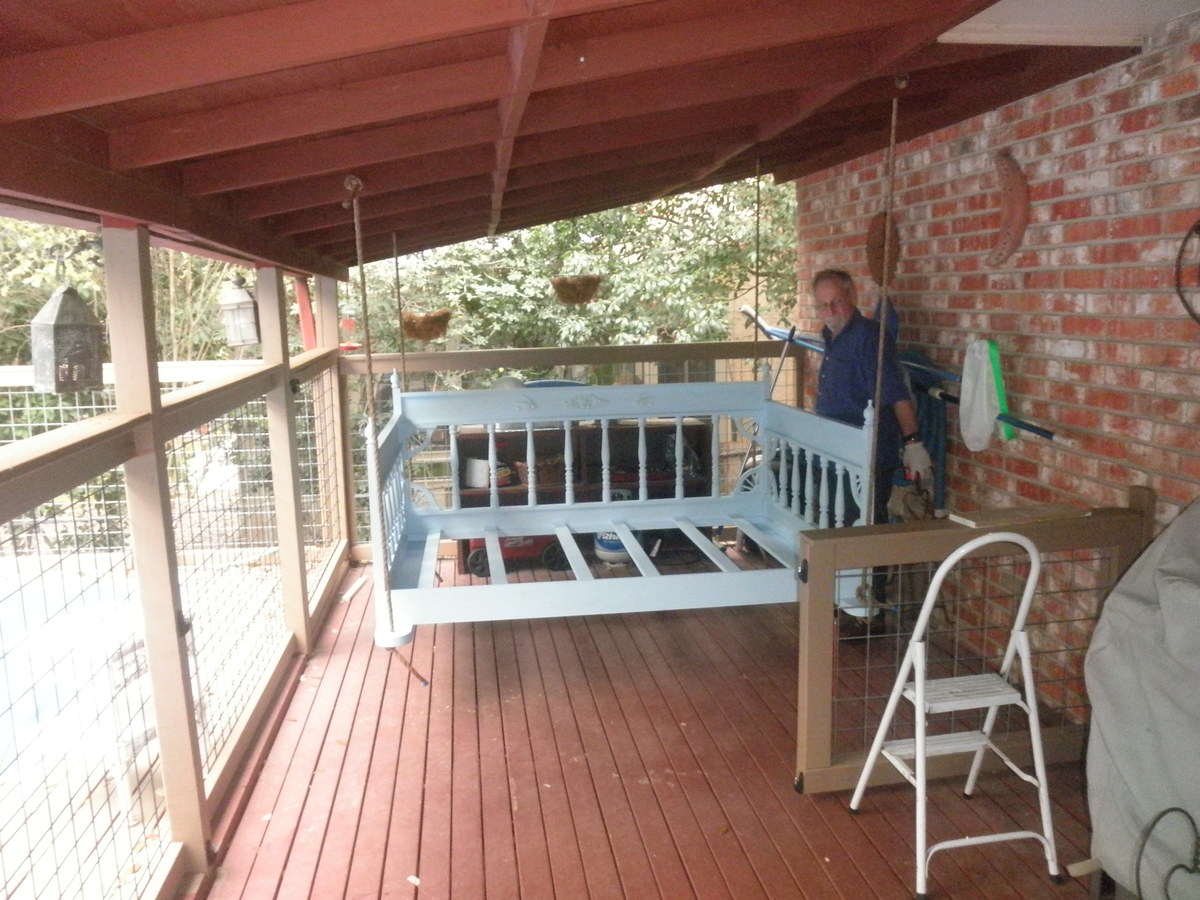
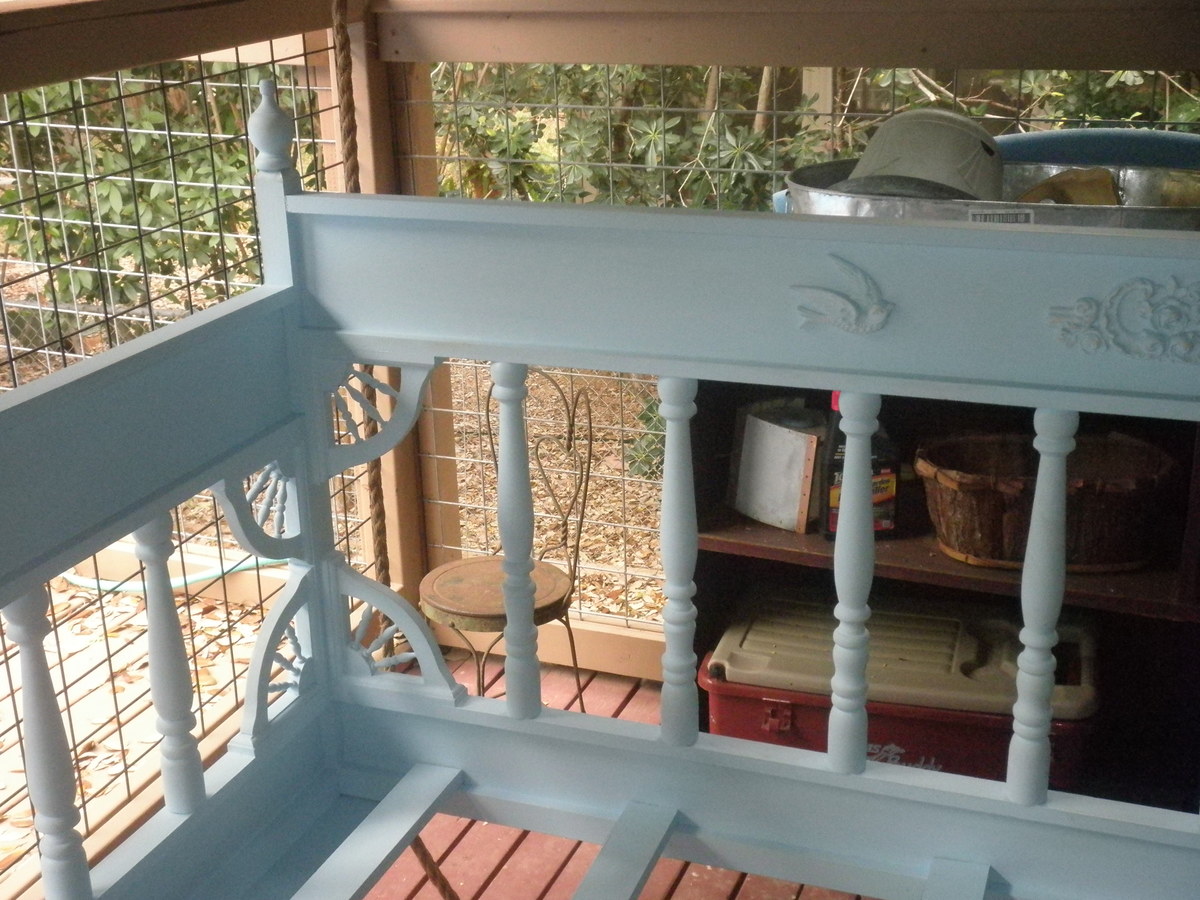
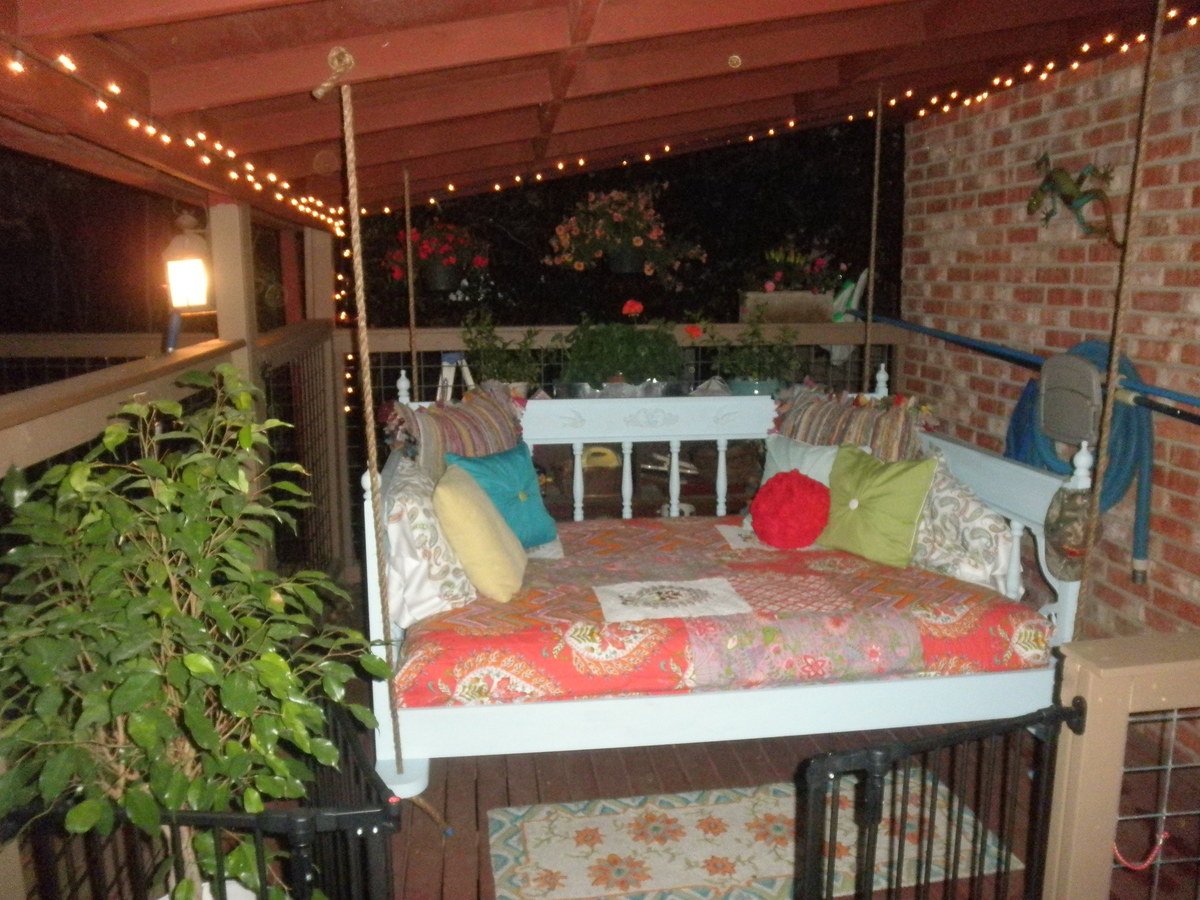
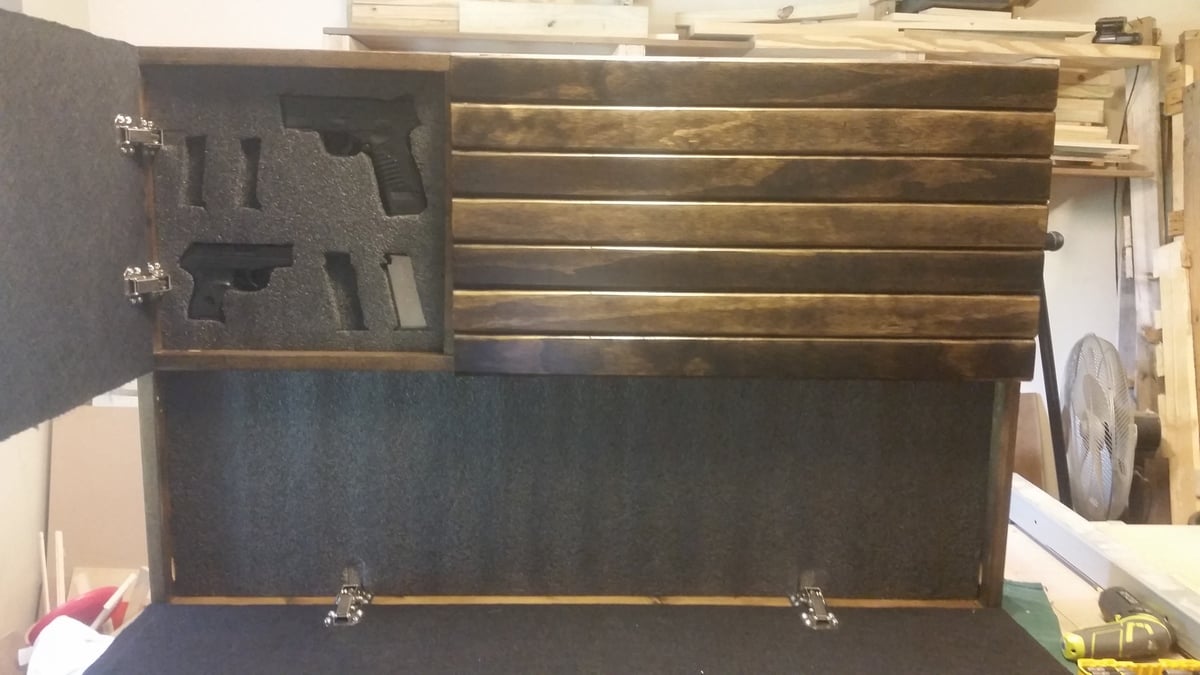
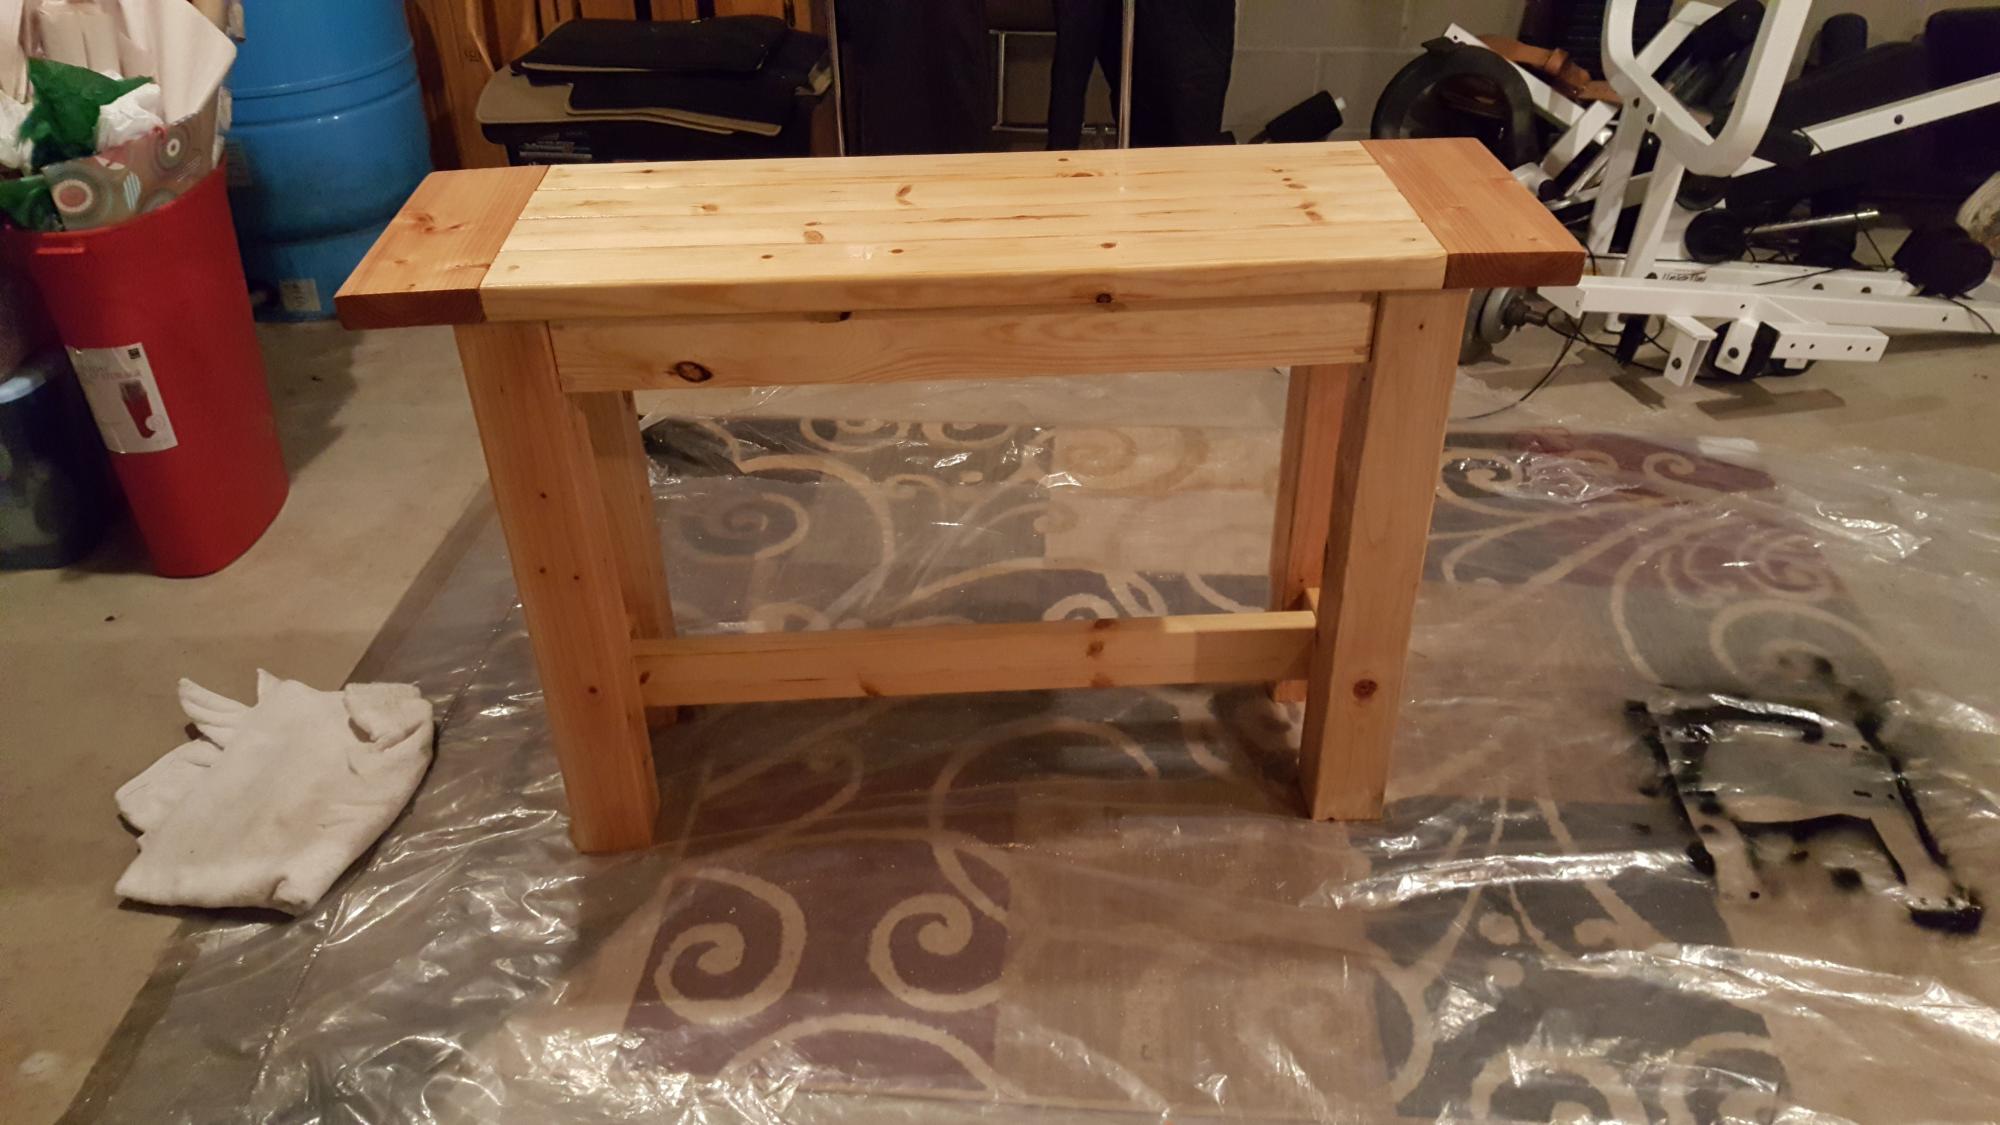
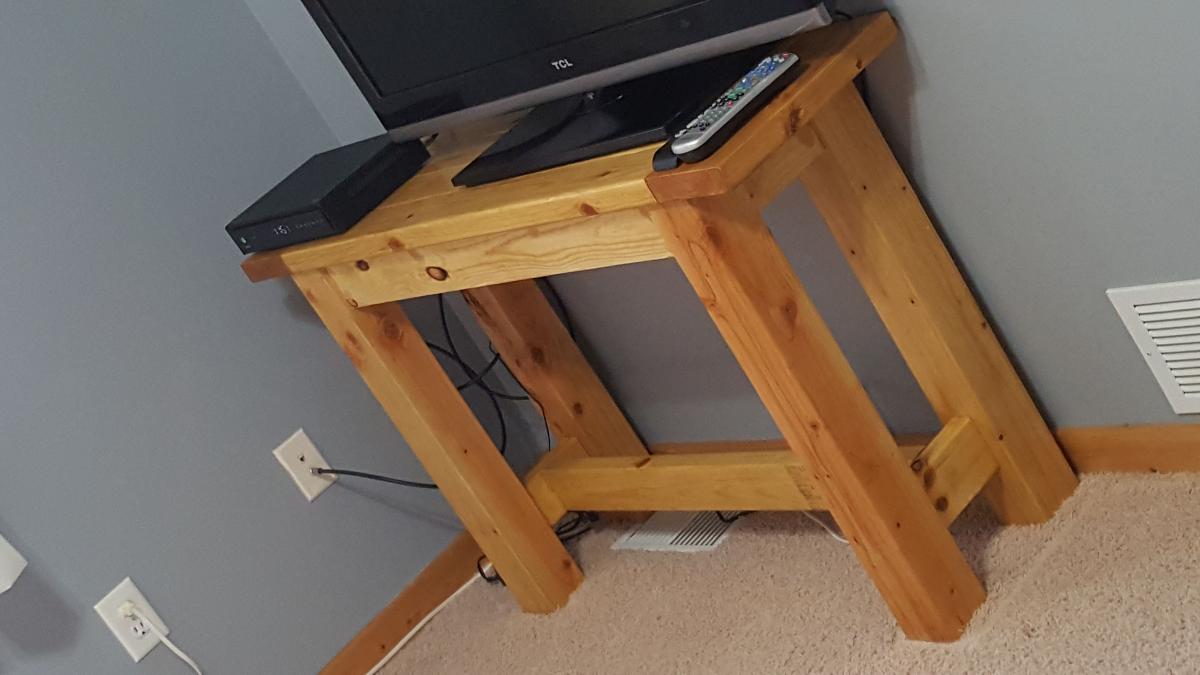
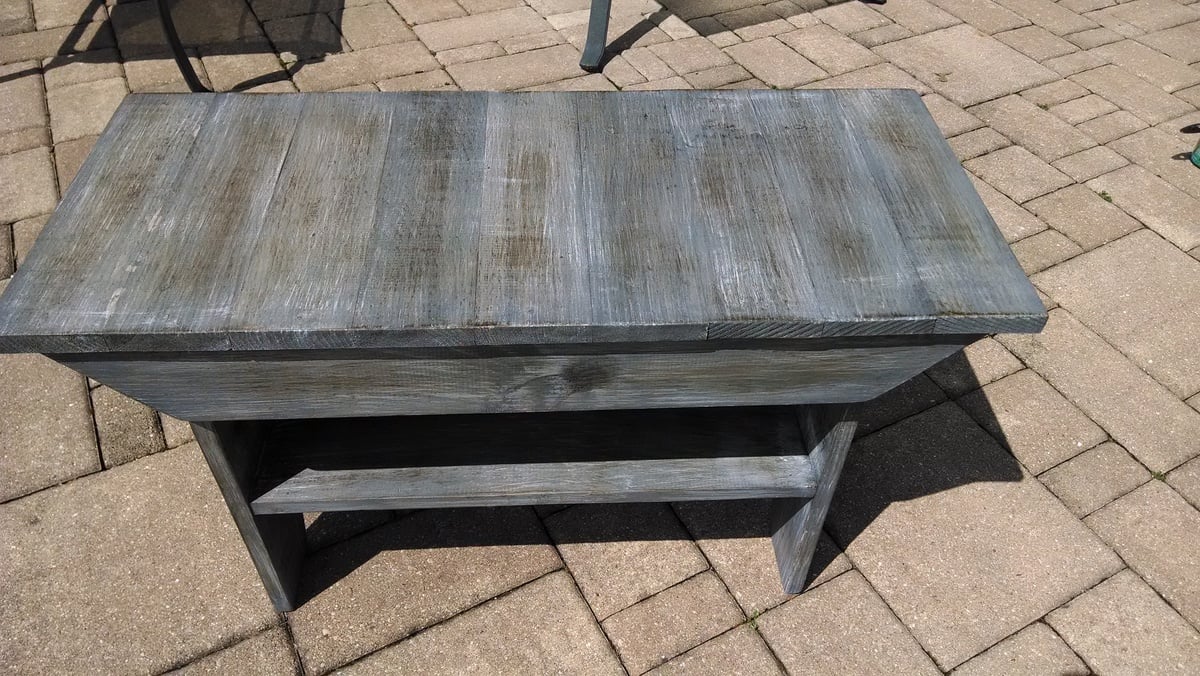
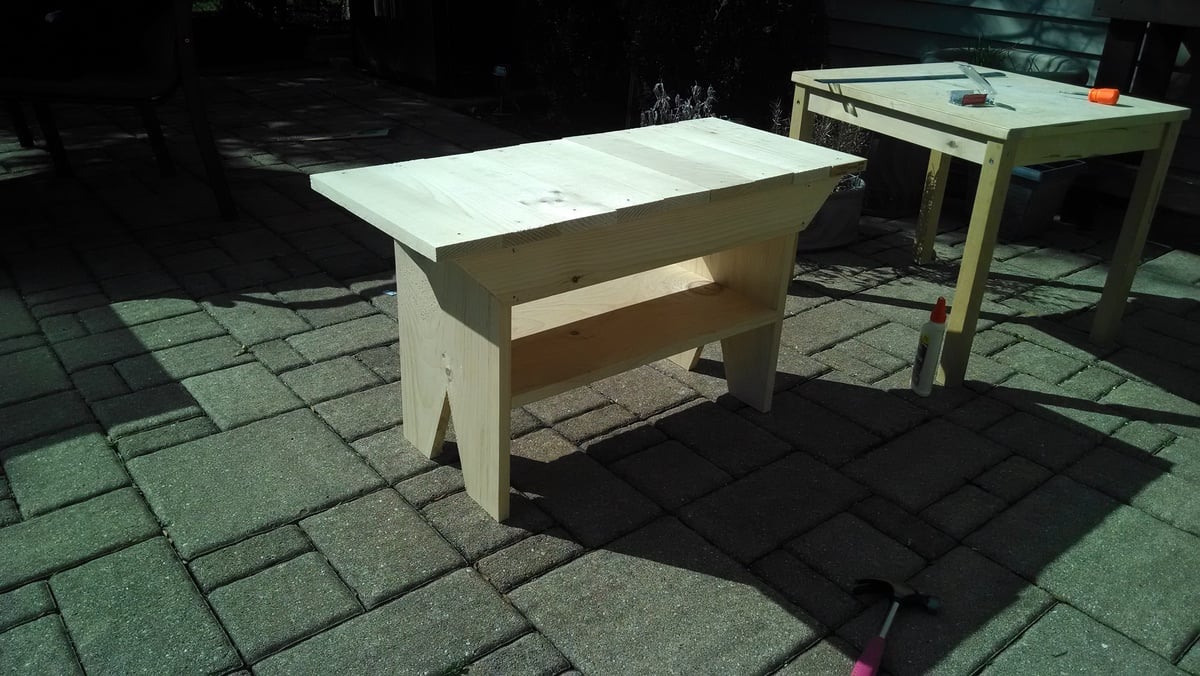
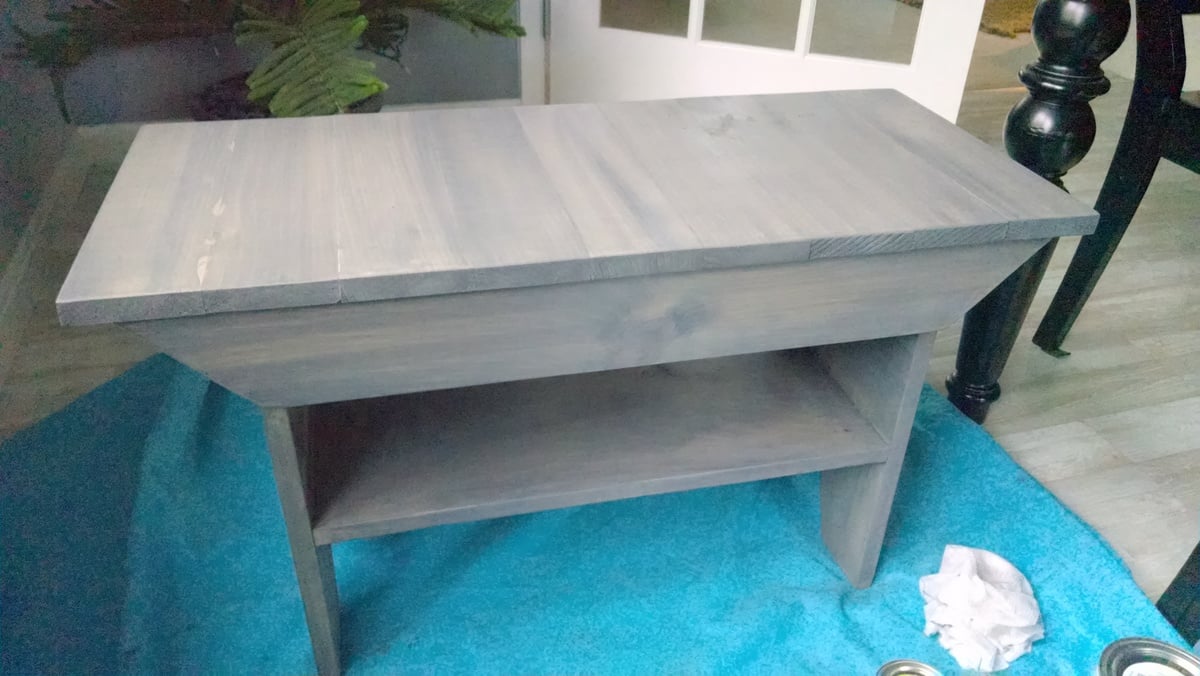
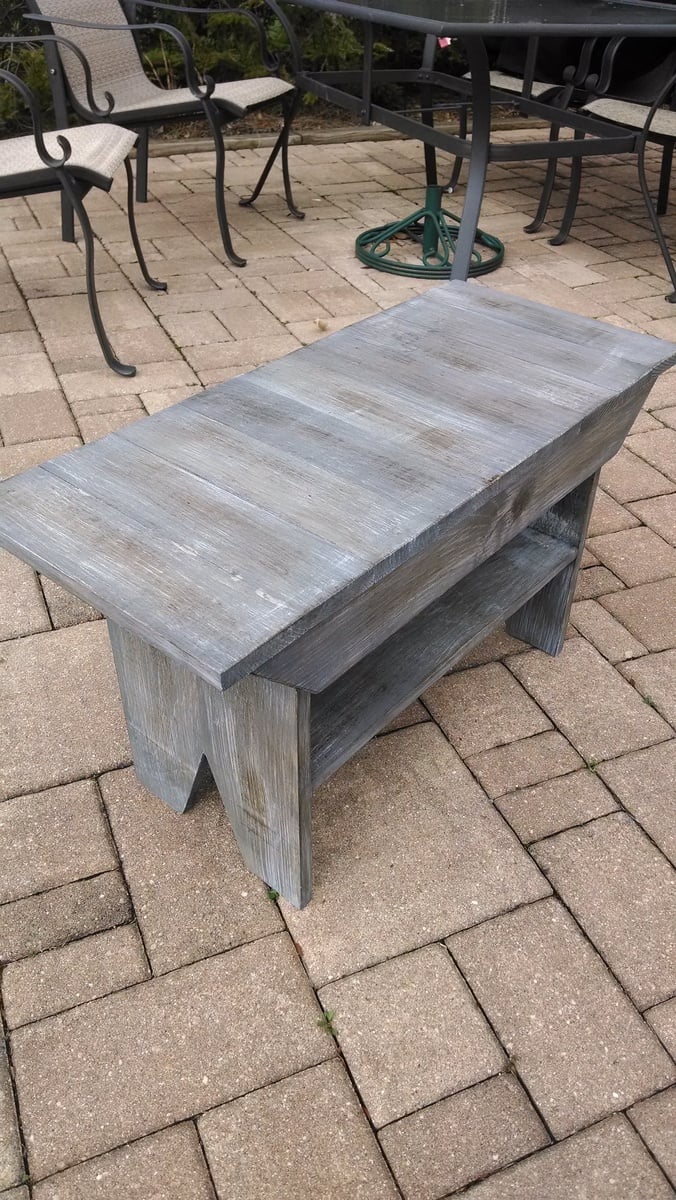
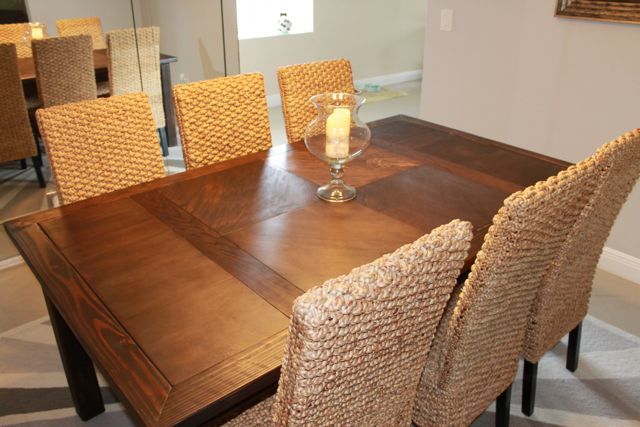
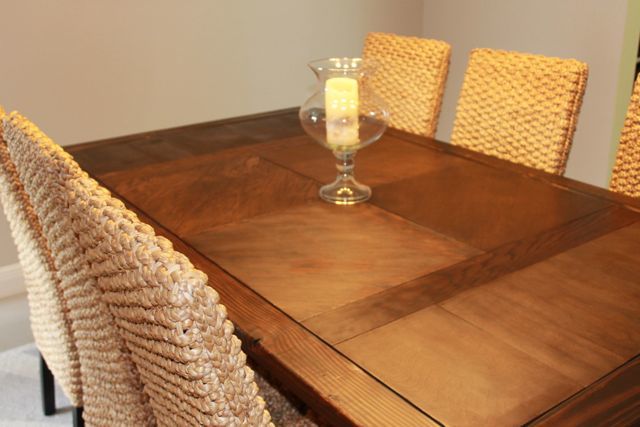
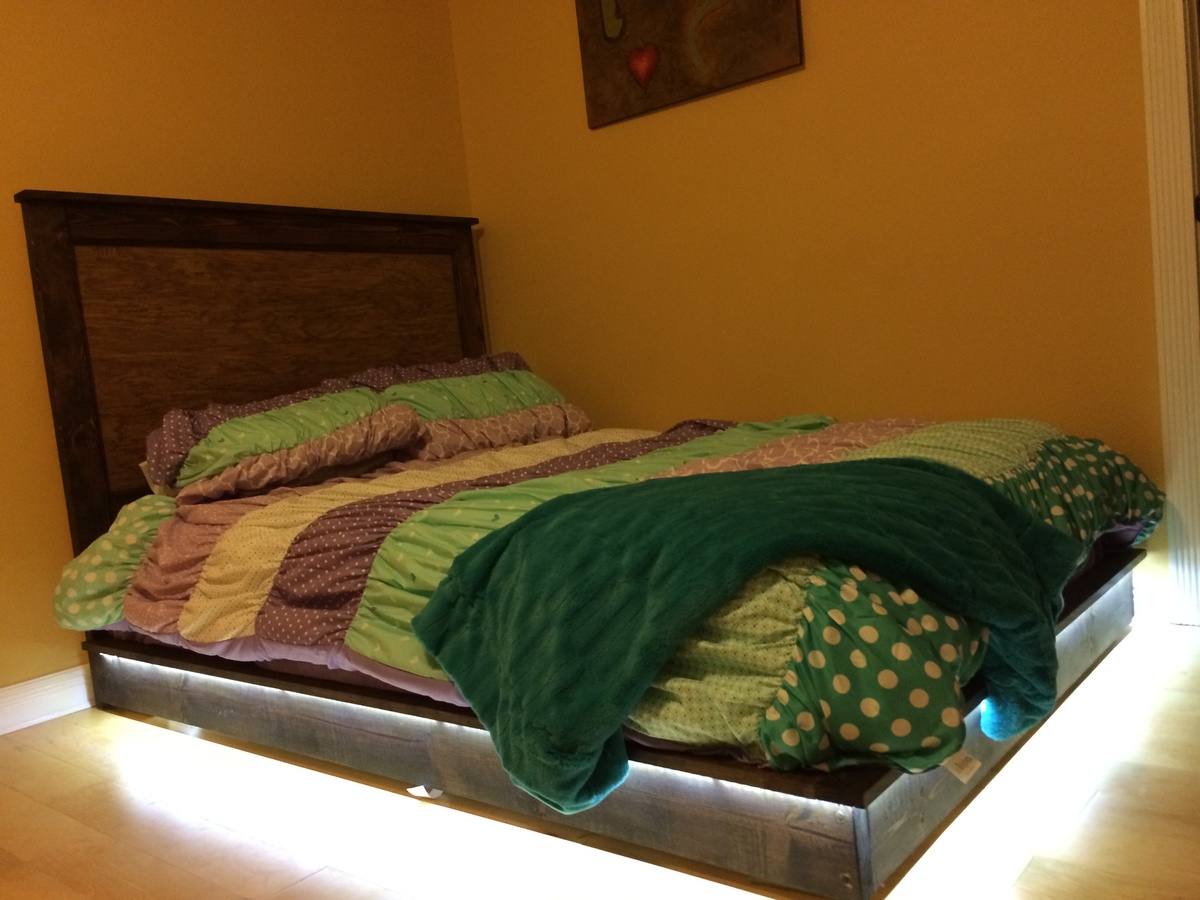
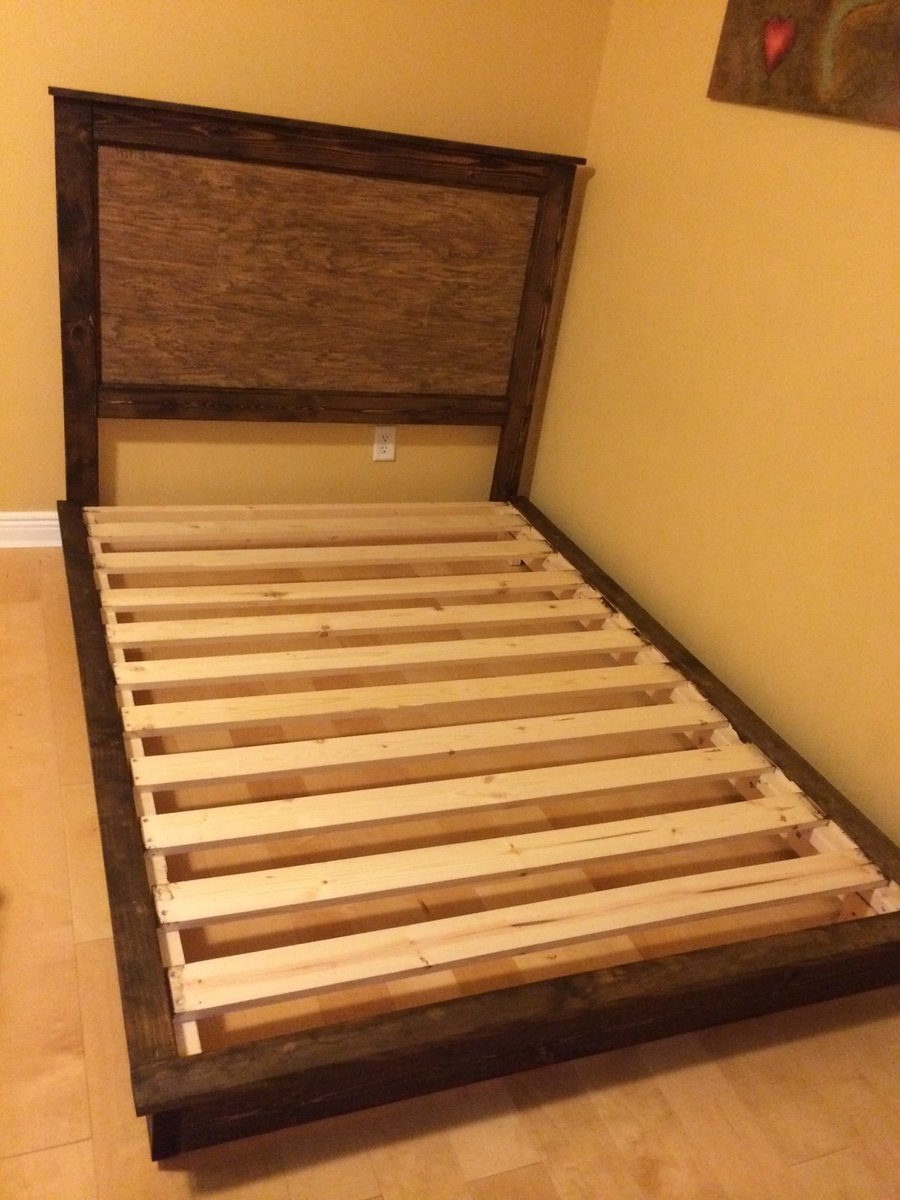
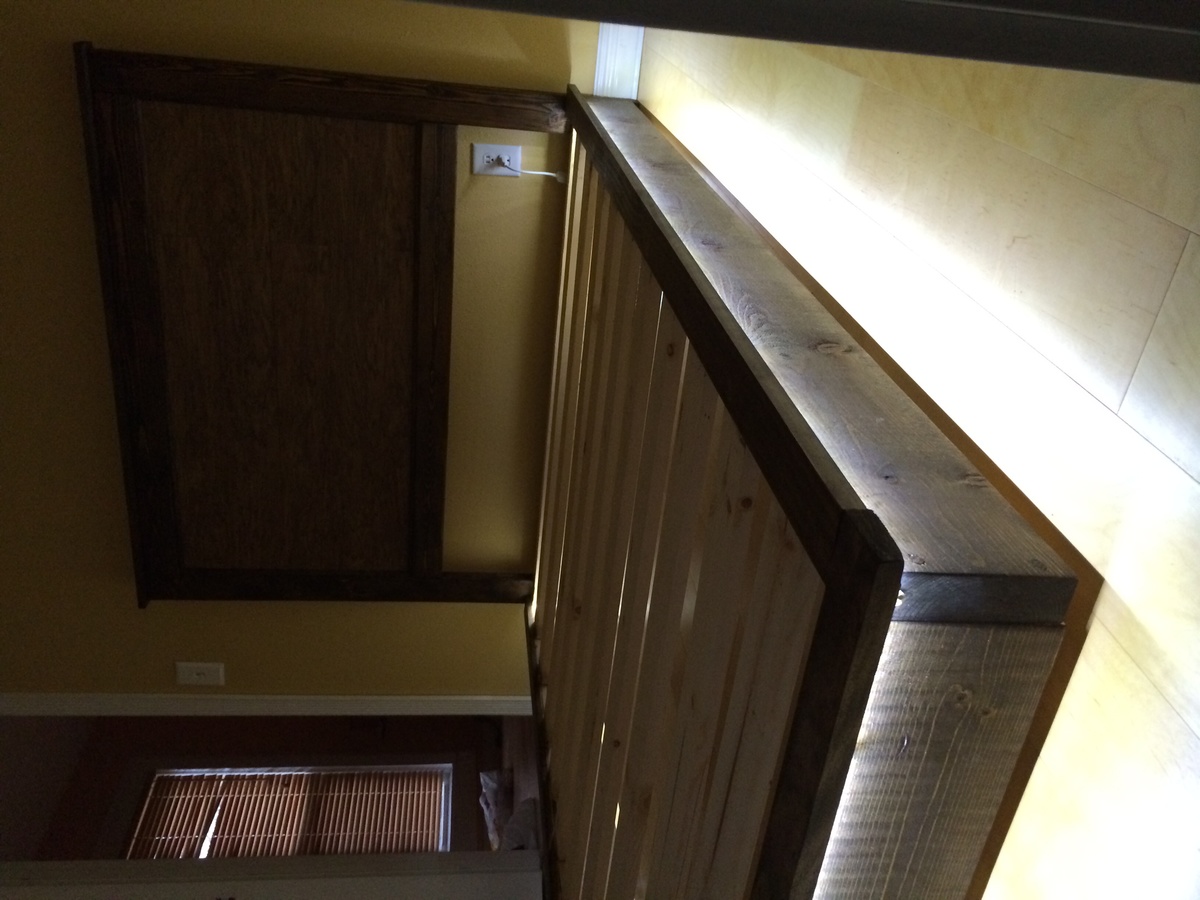
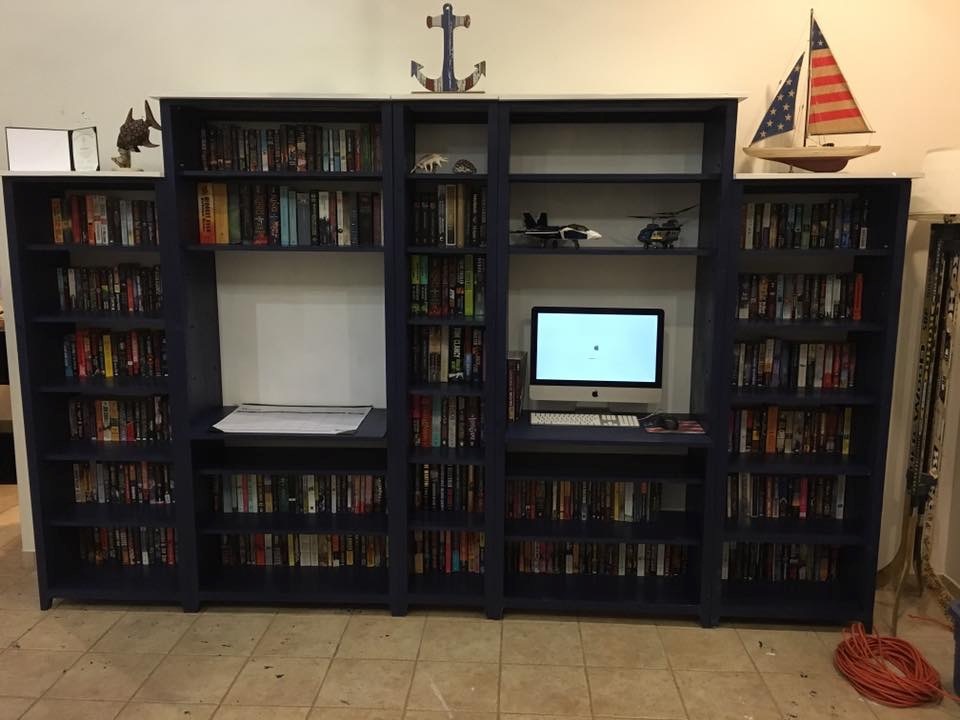
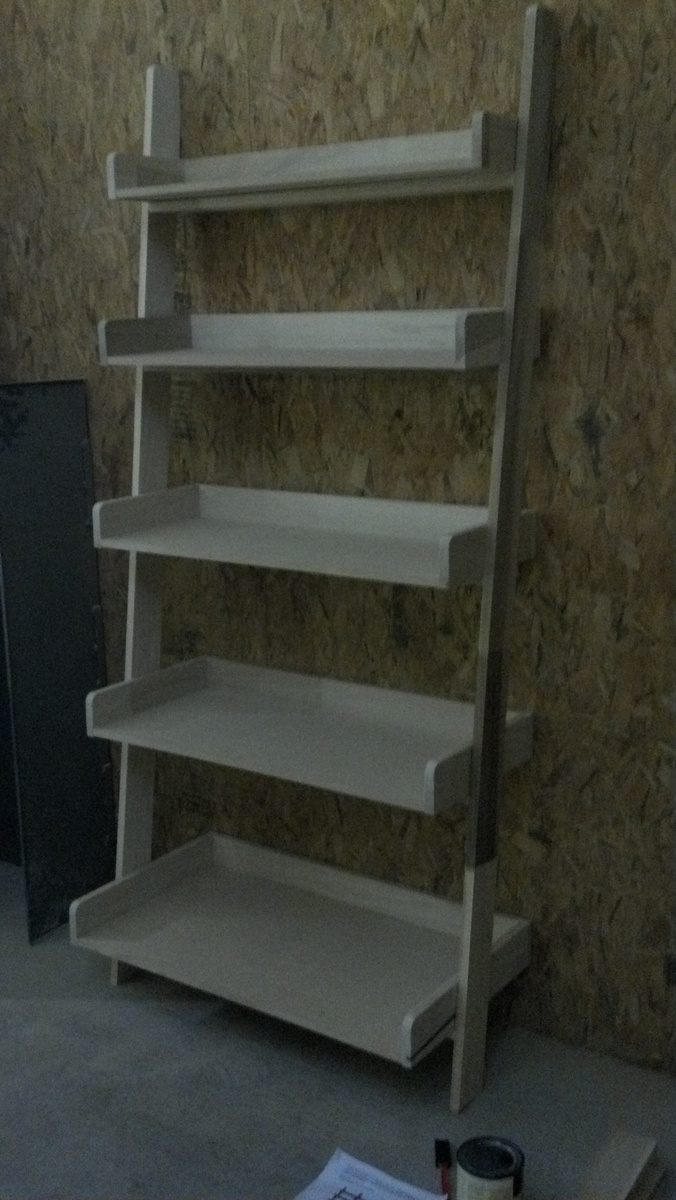
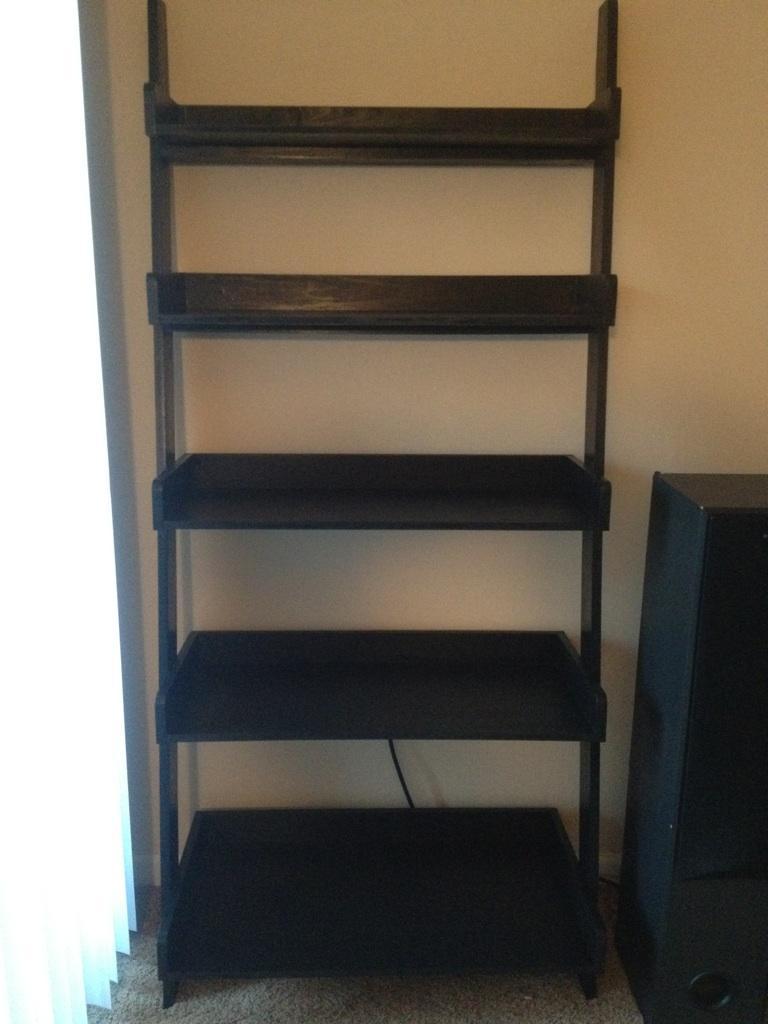
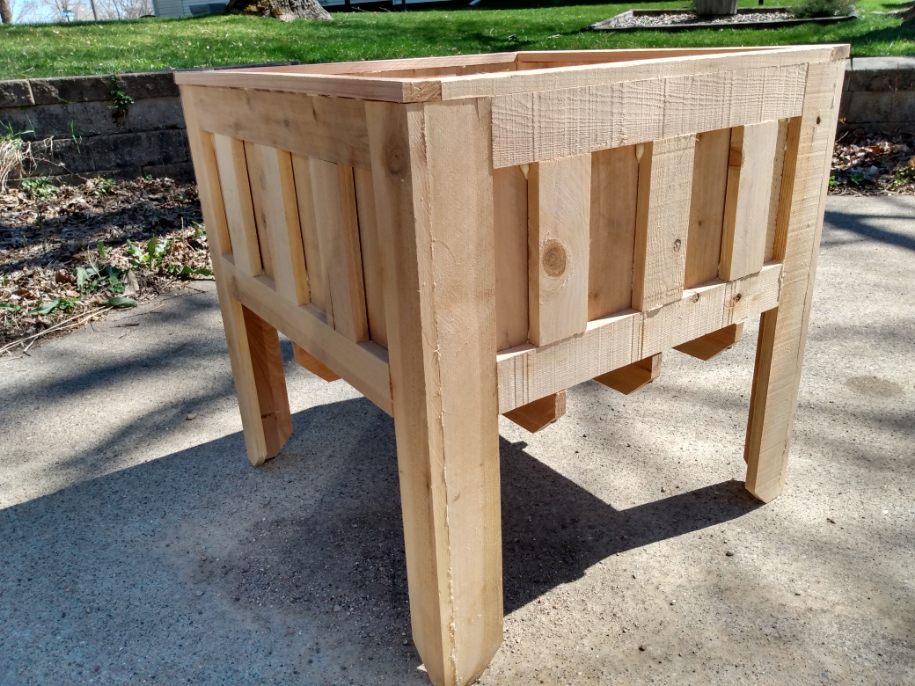
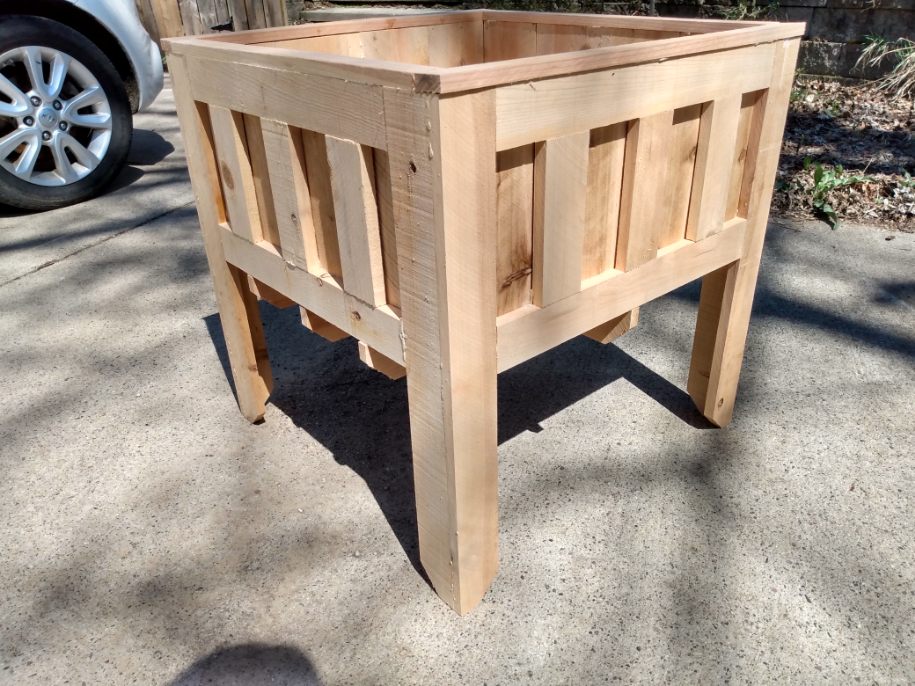
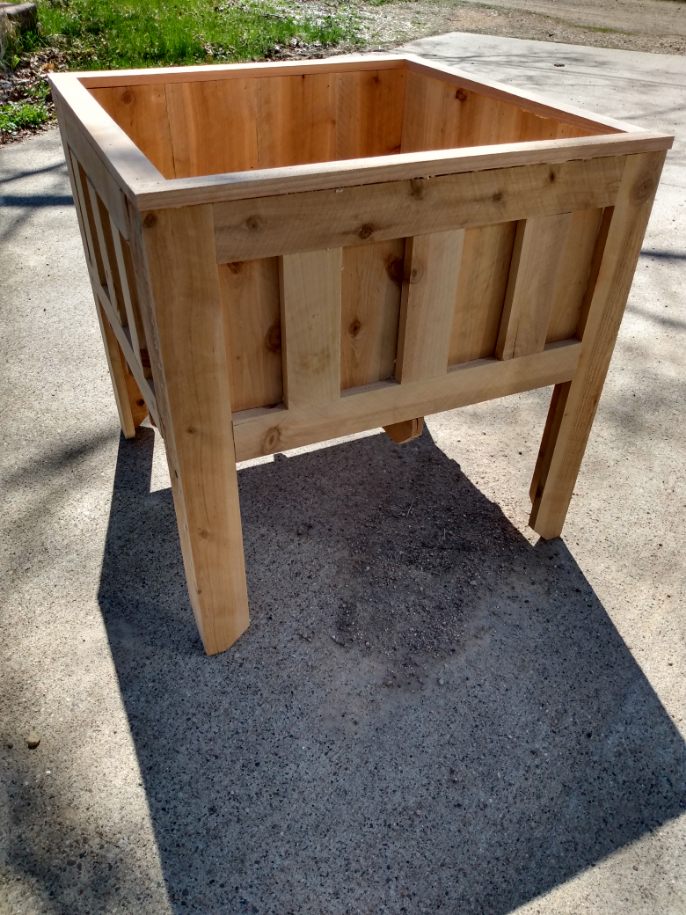
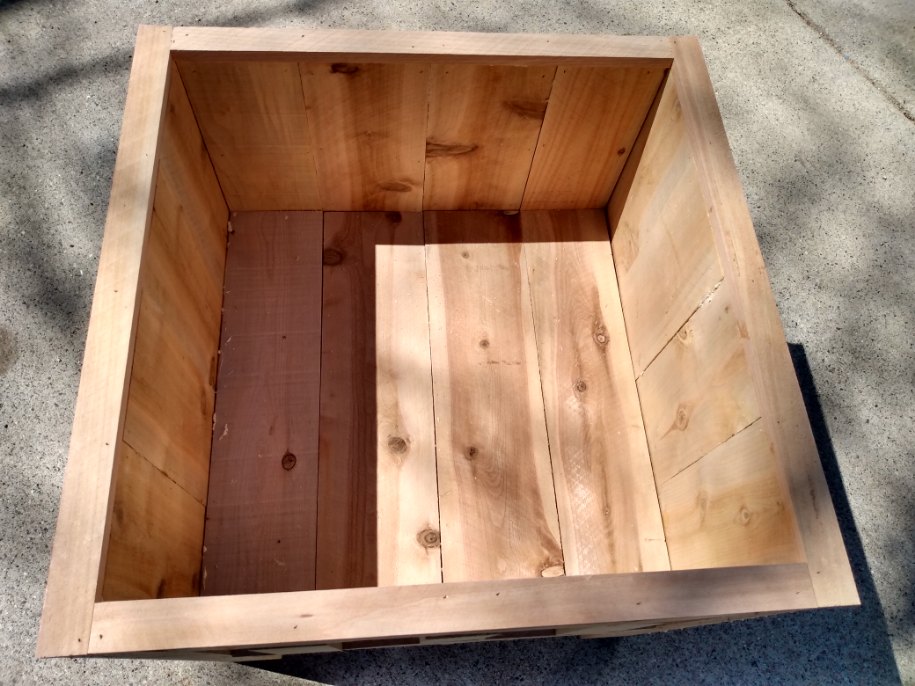
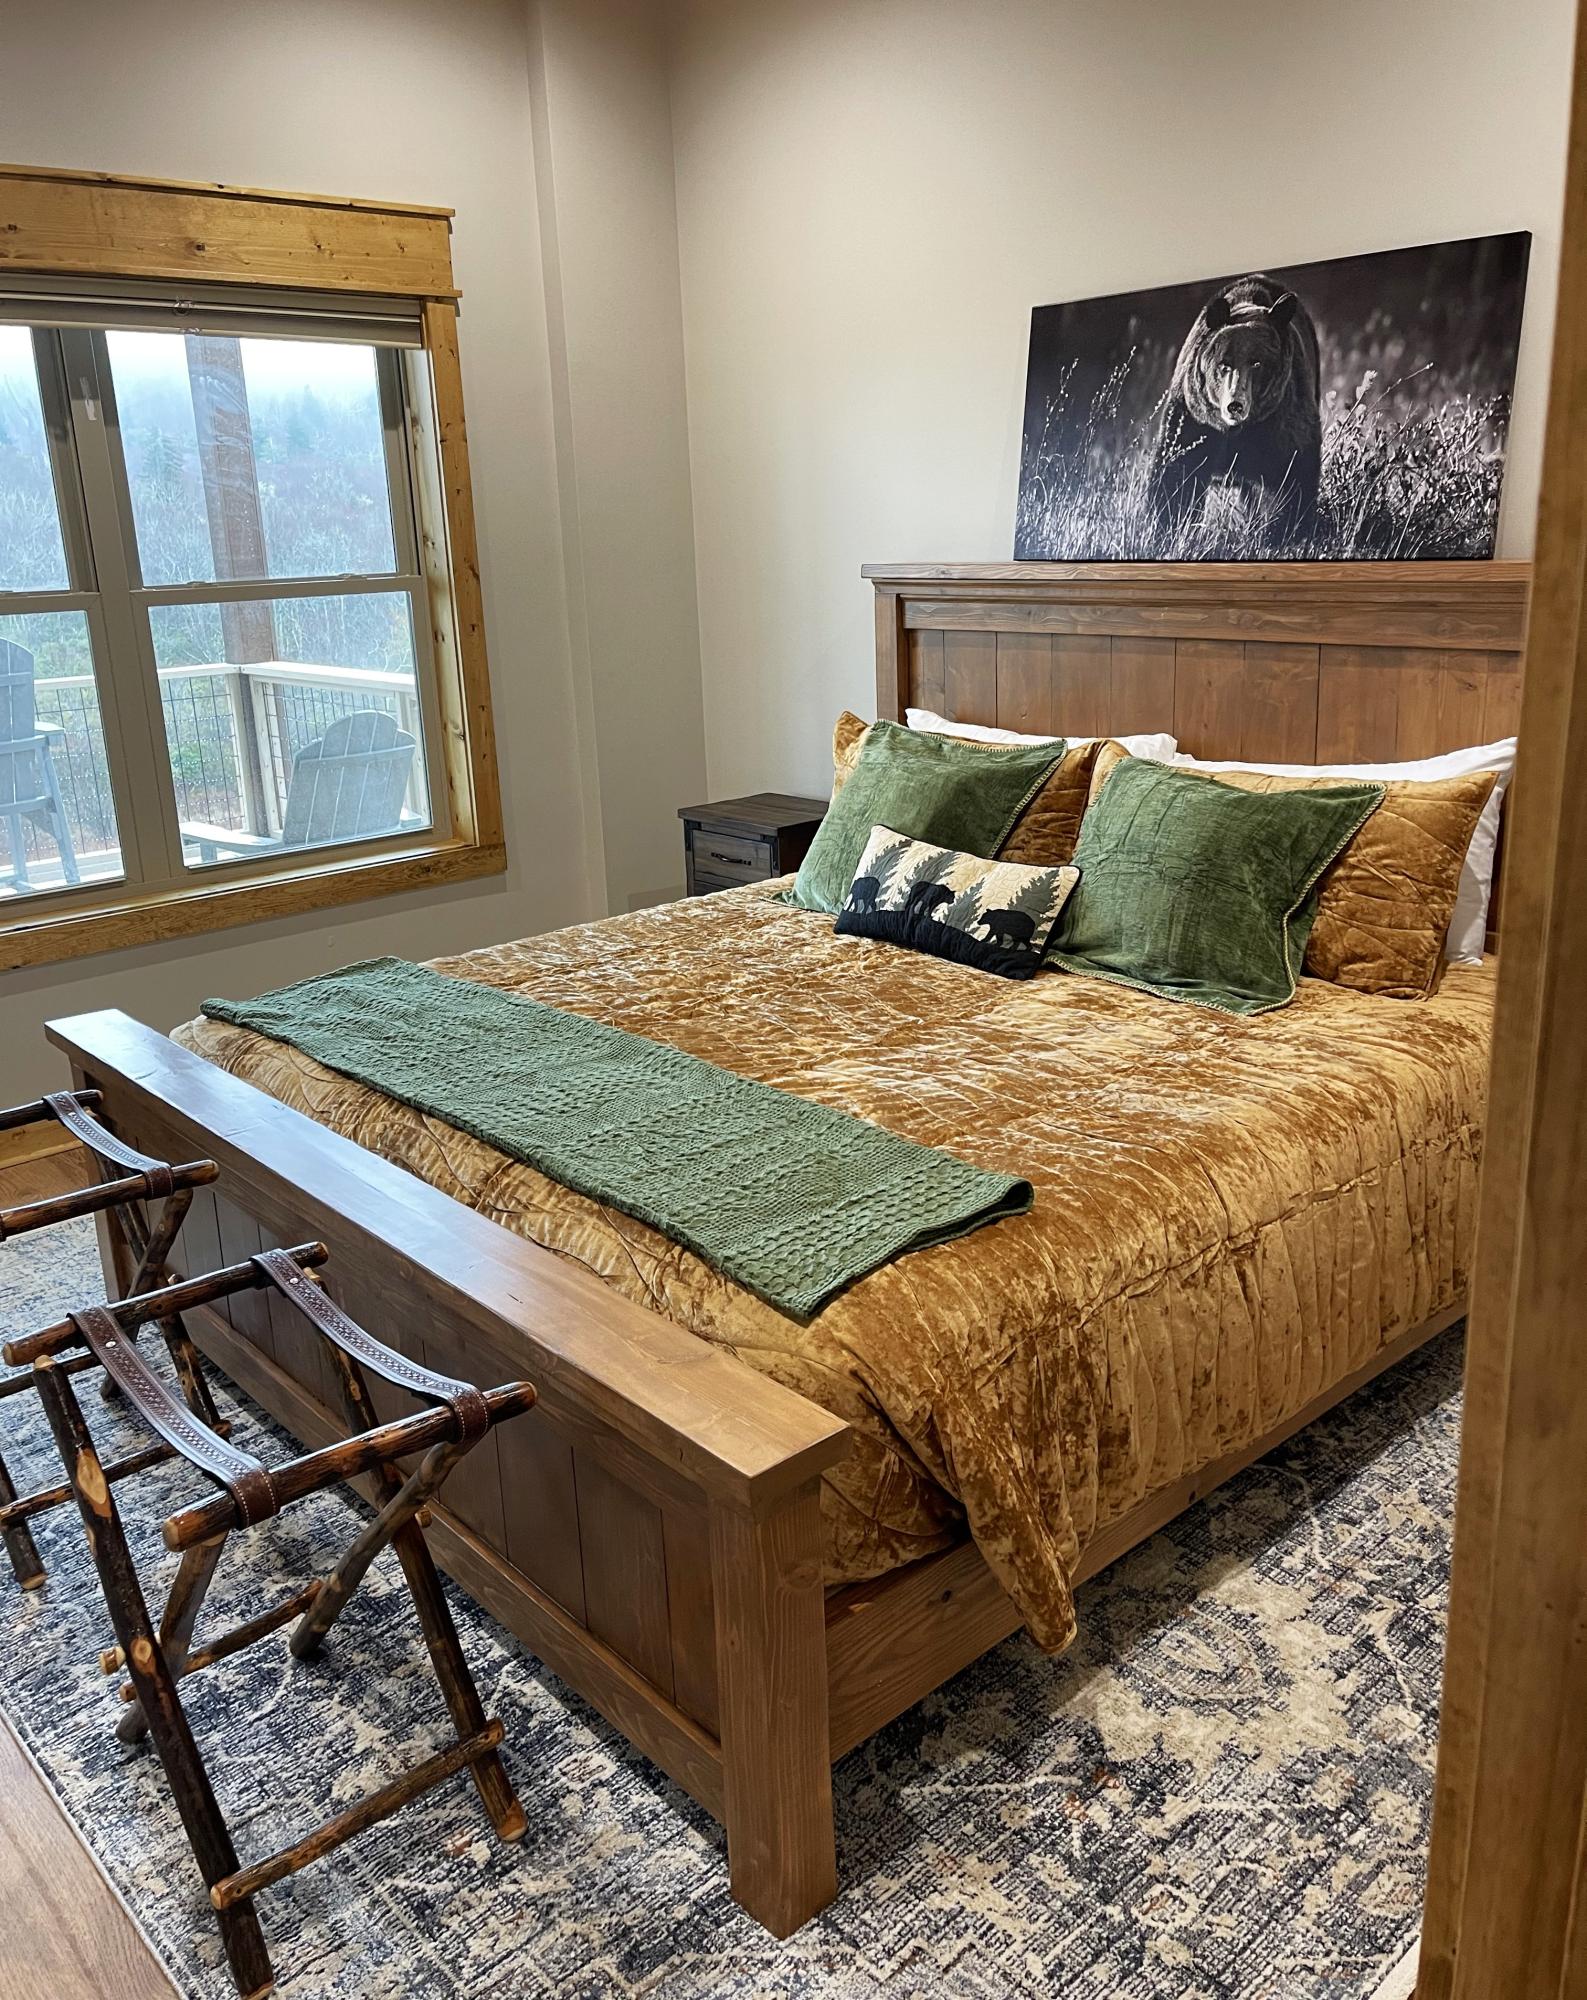
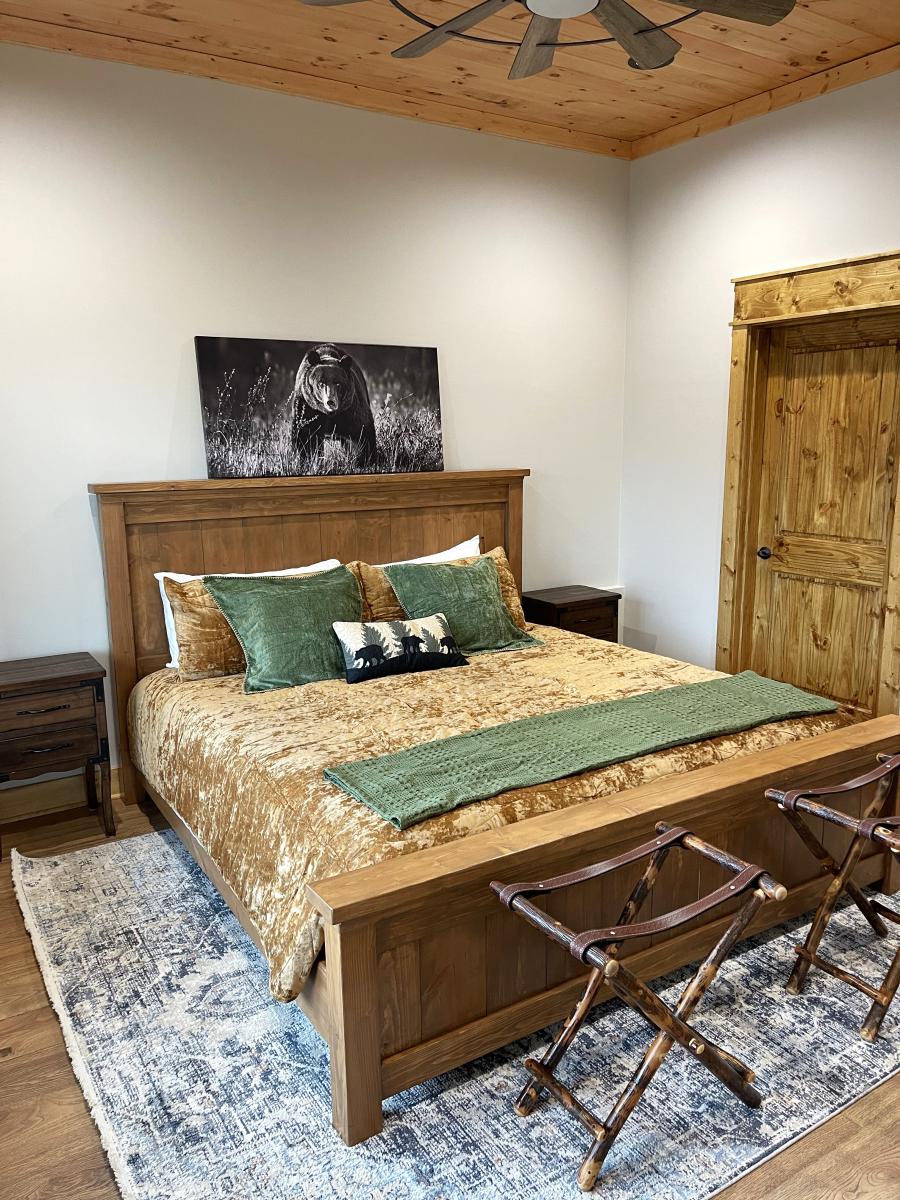
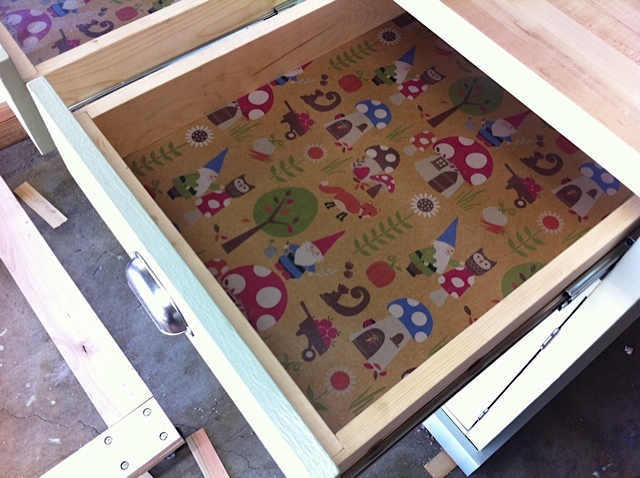
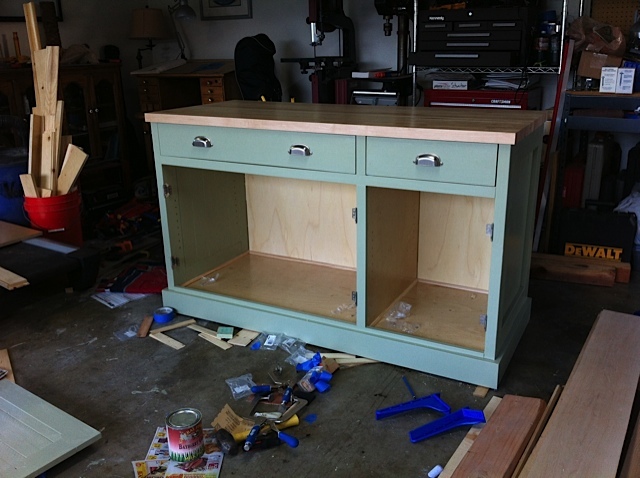
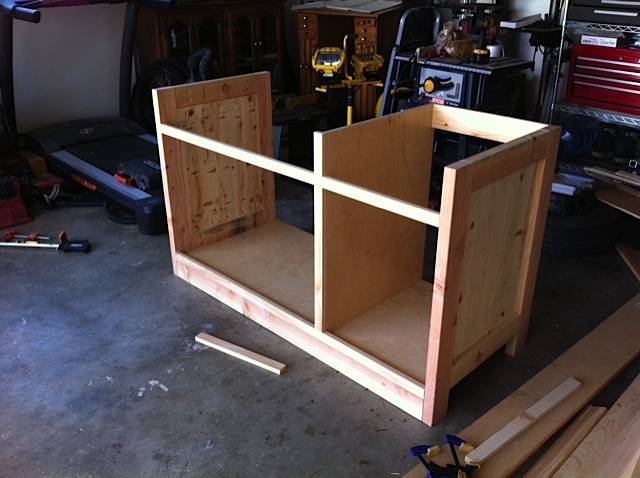
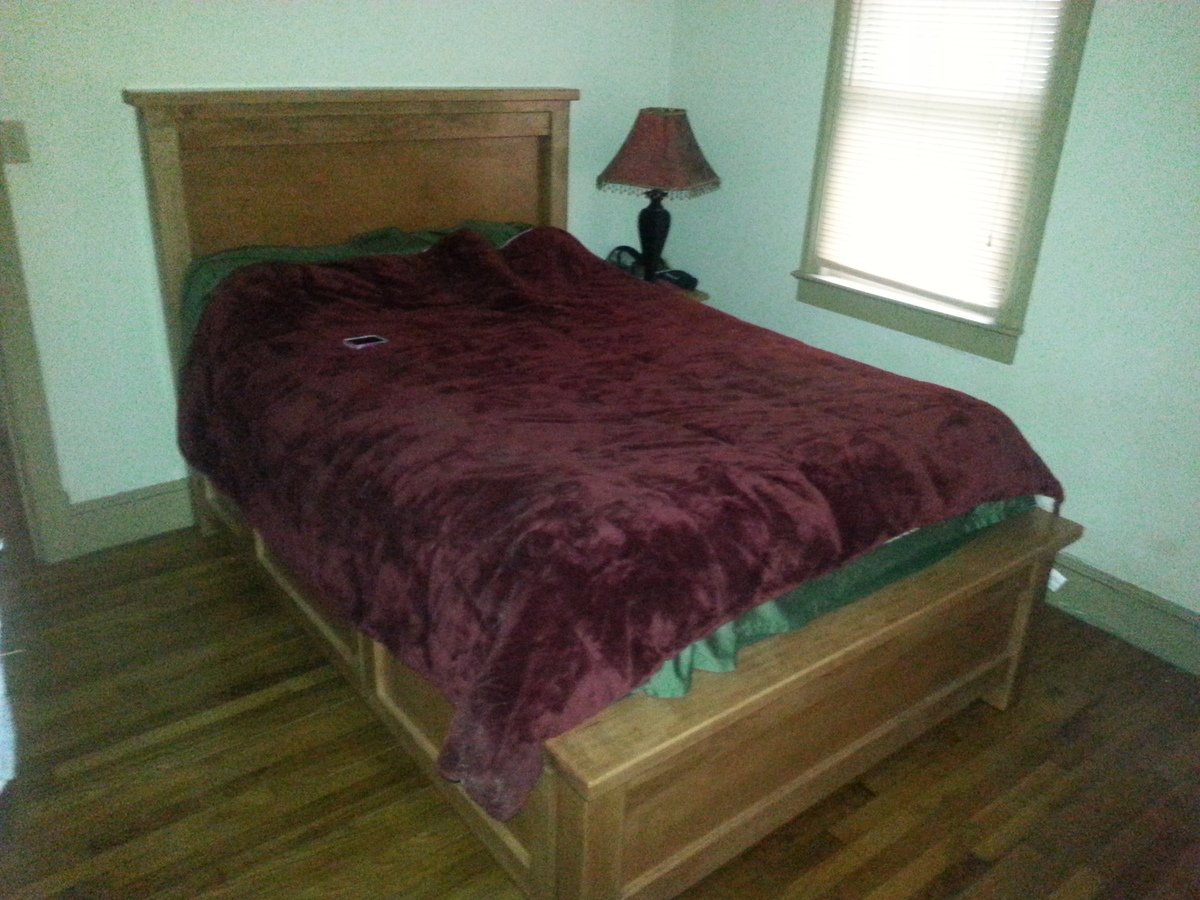
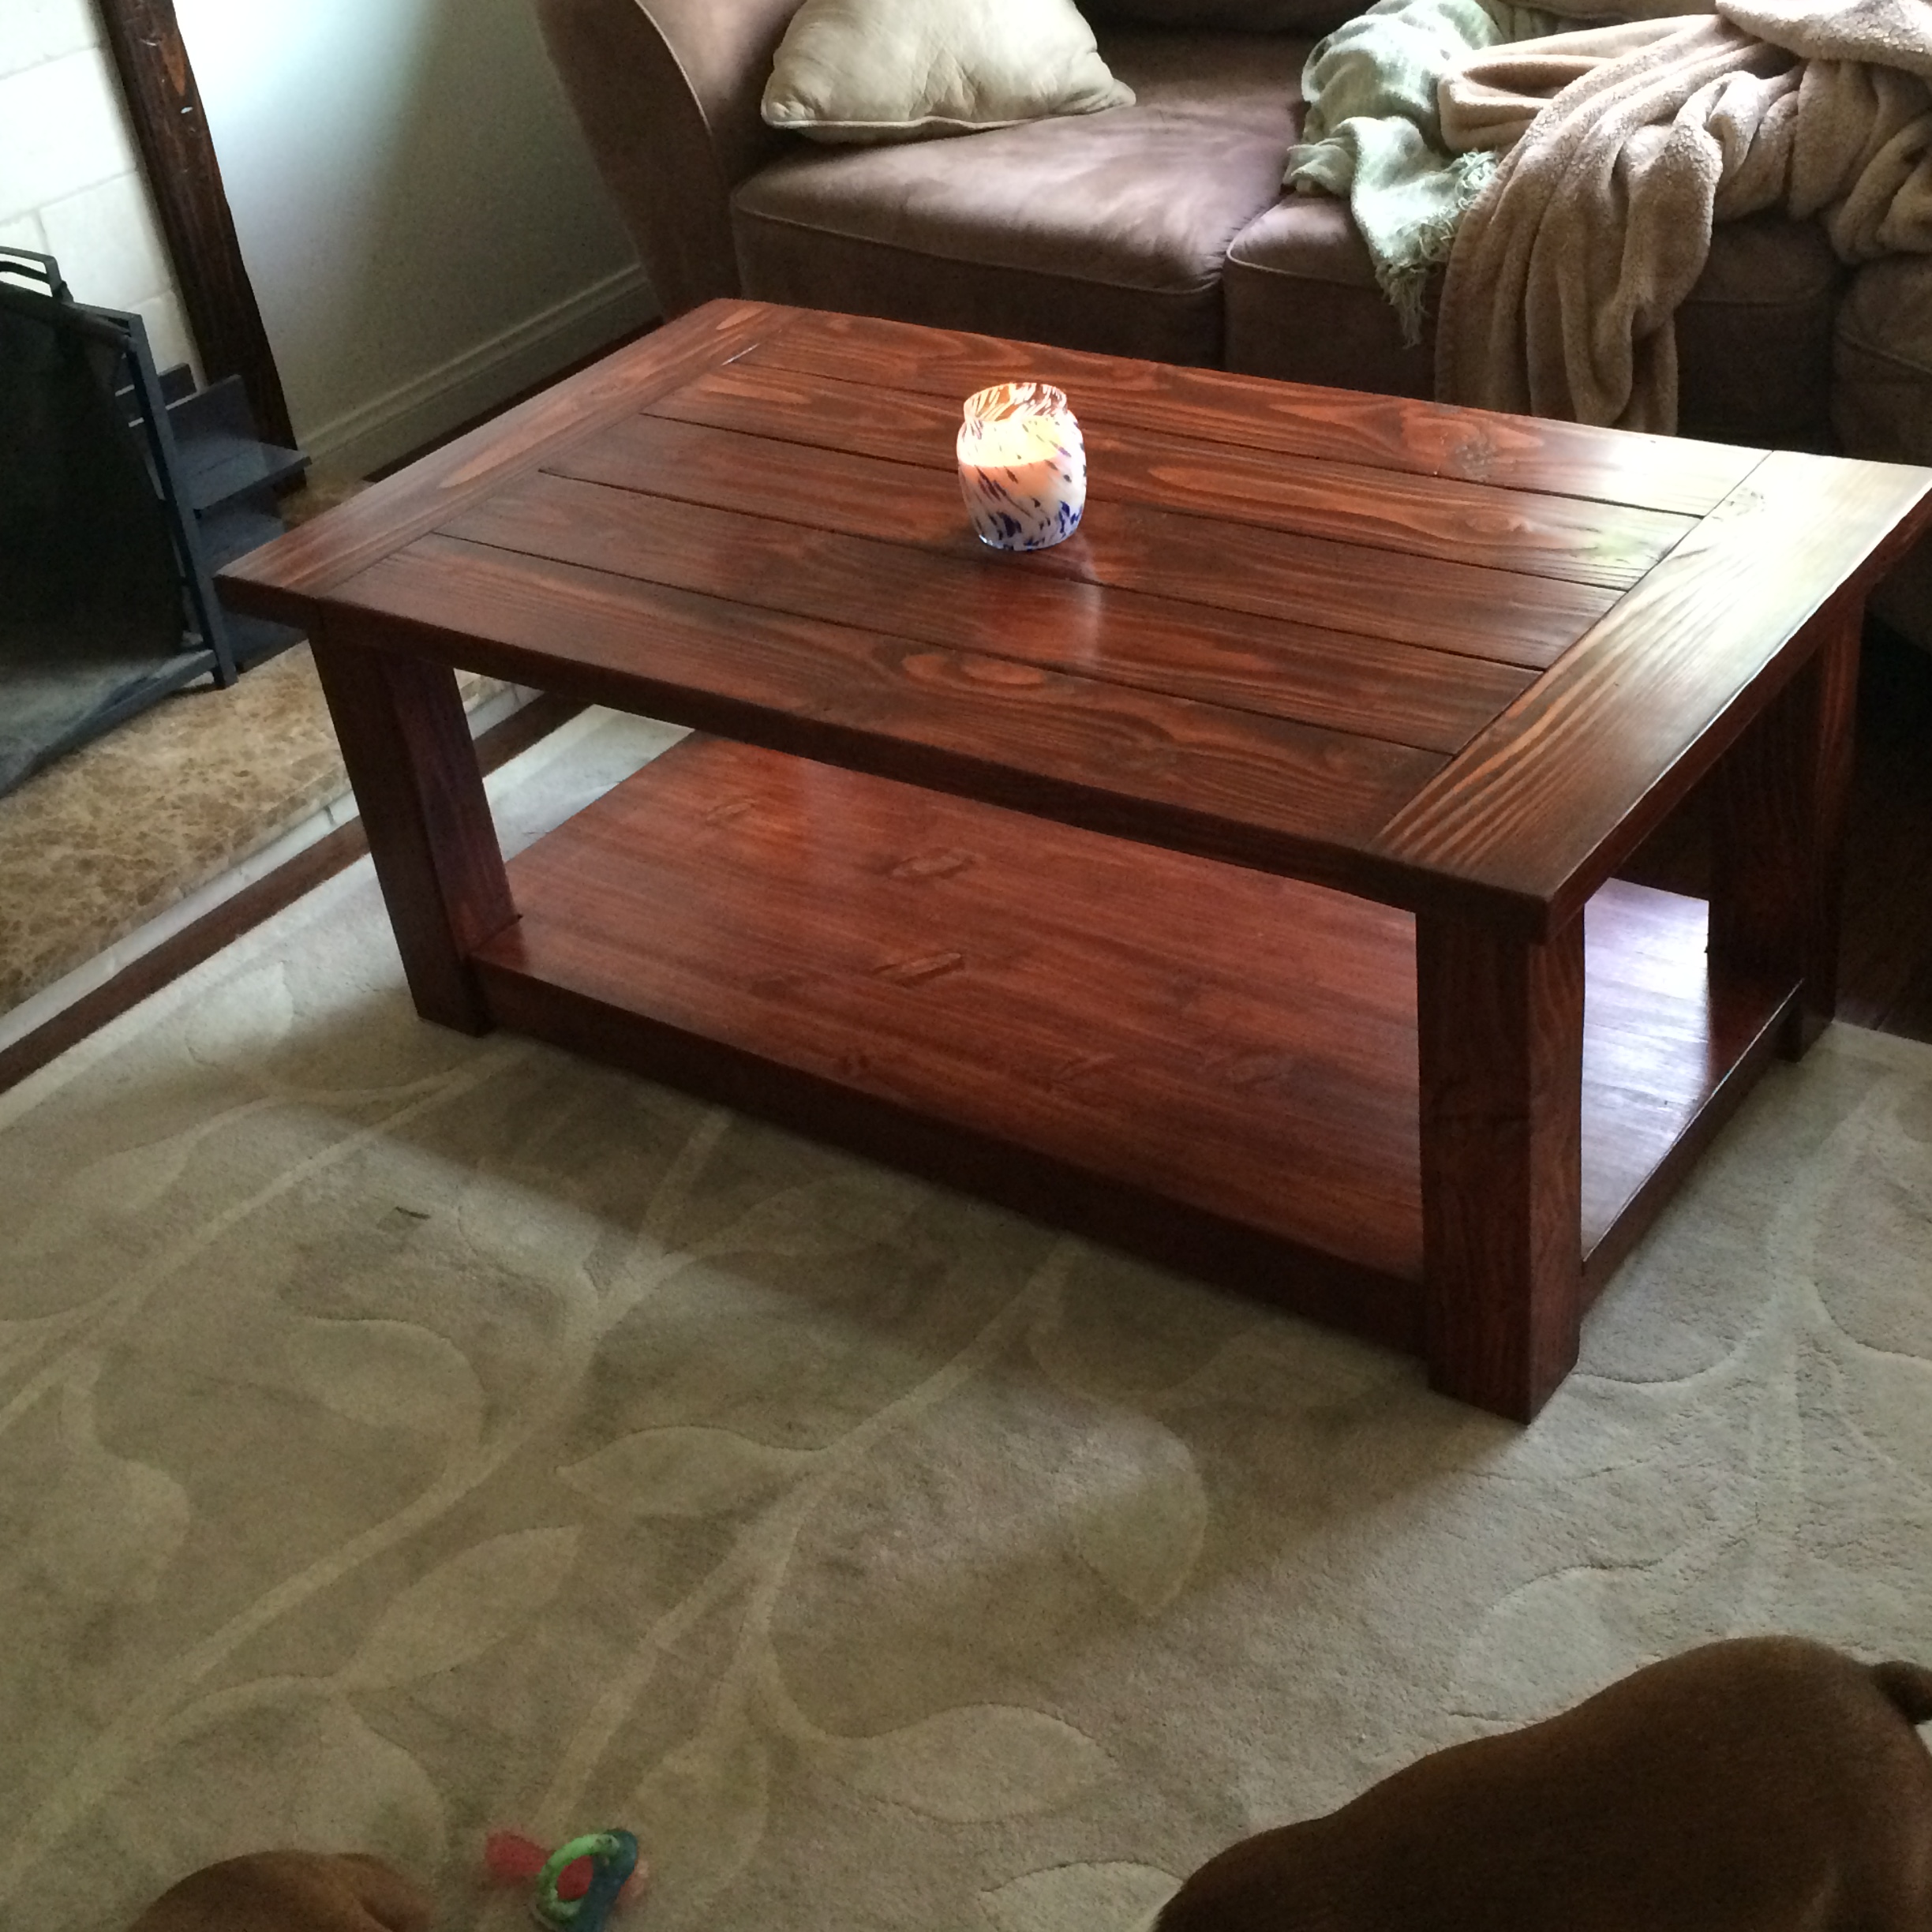
Modified pottery barn knock off
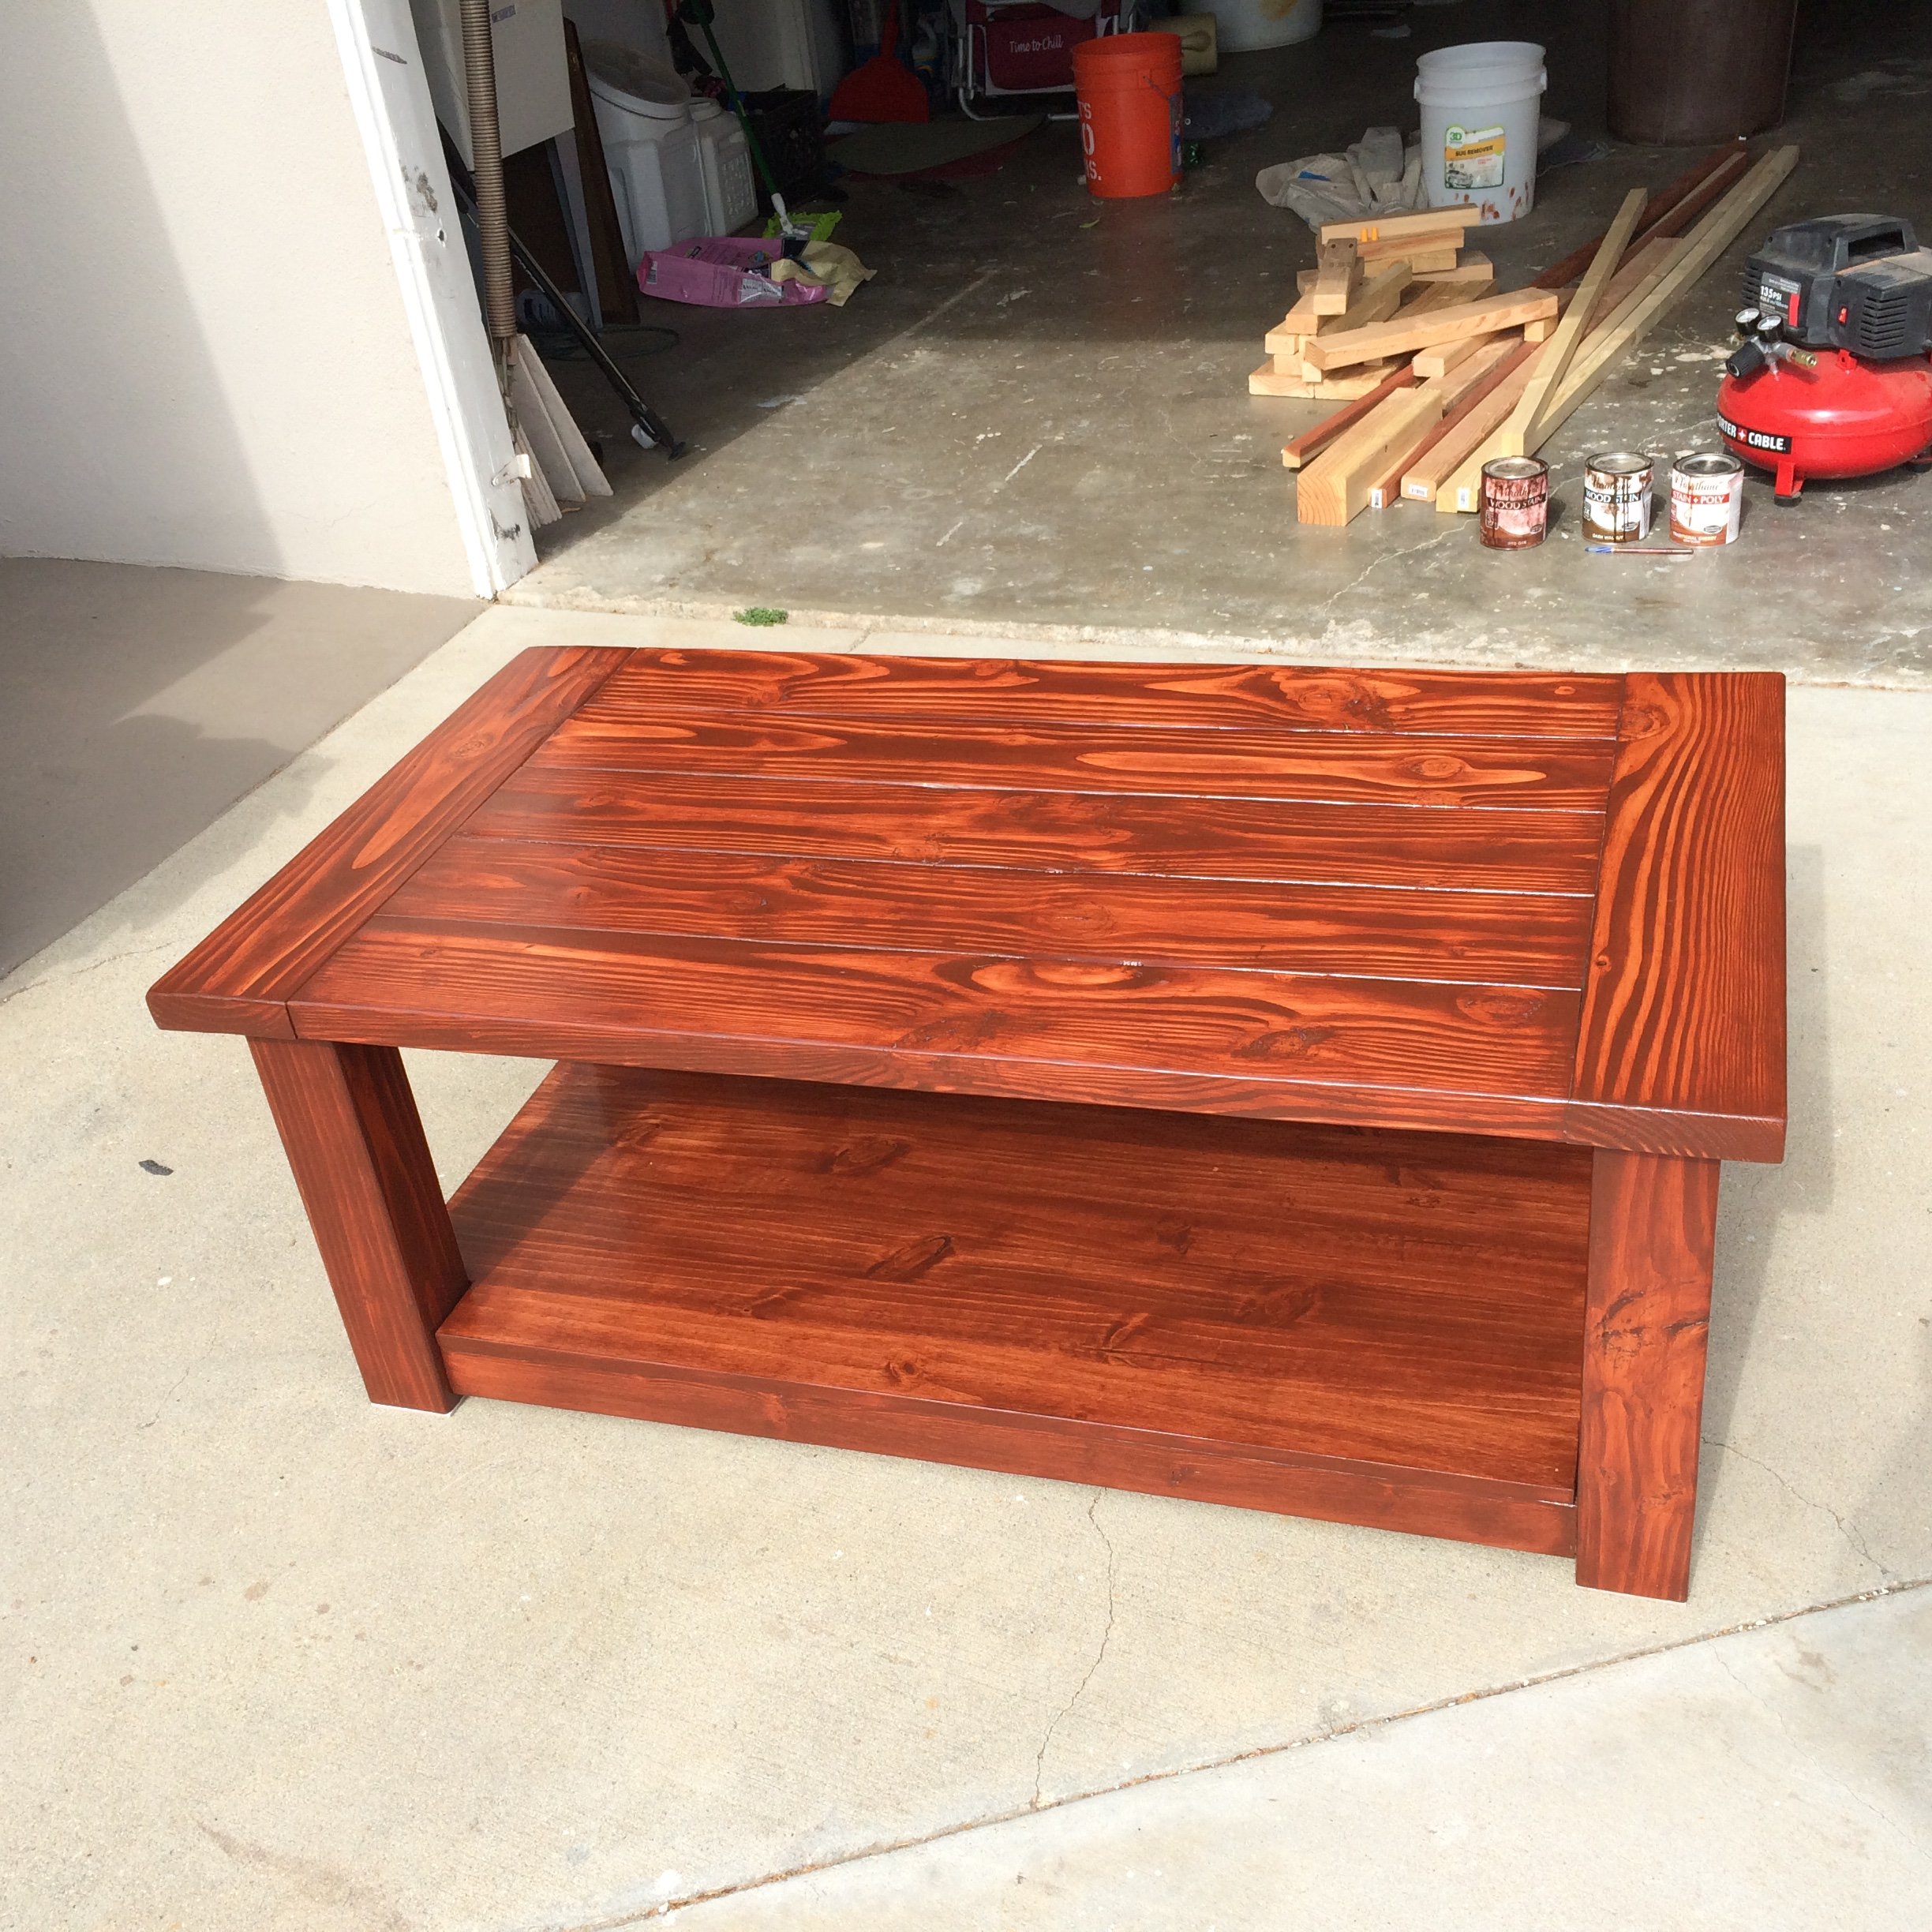
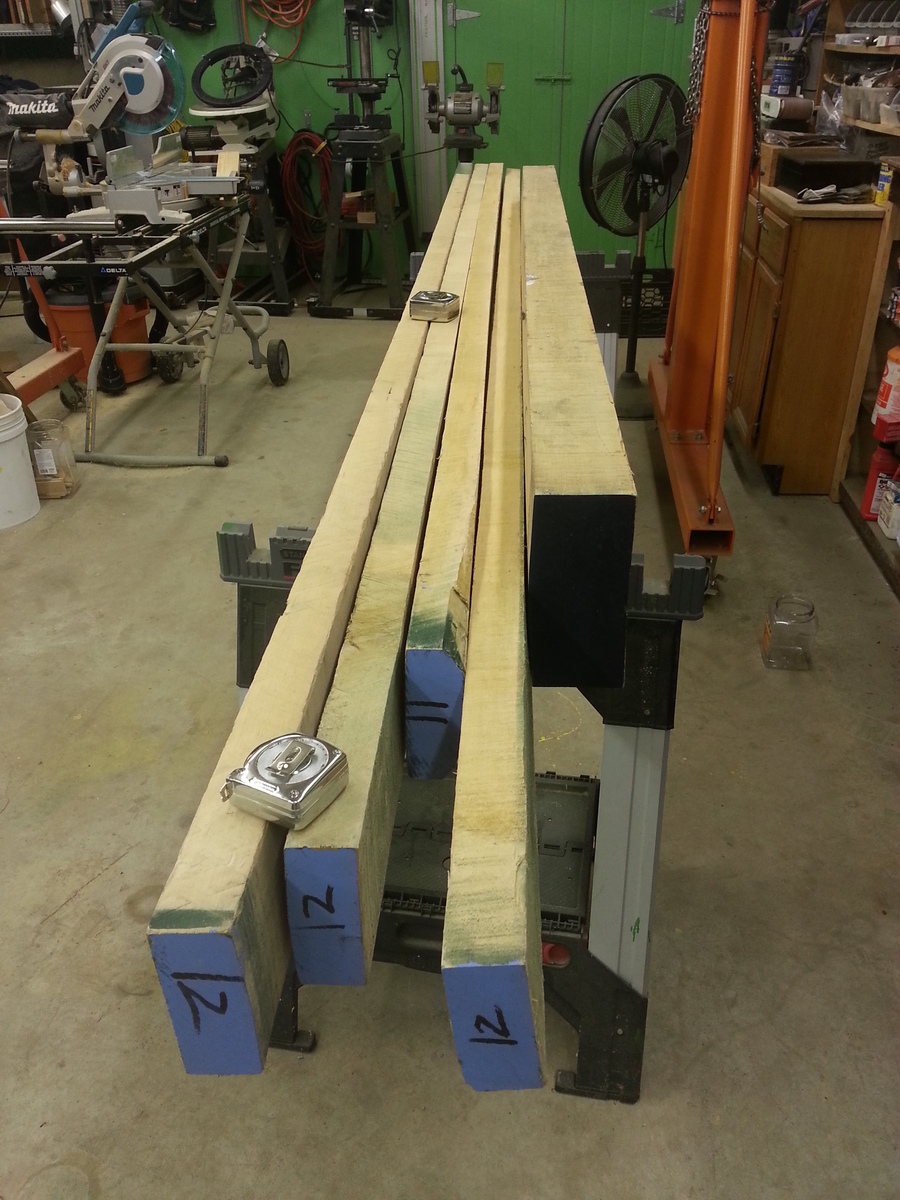
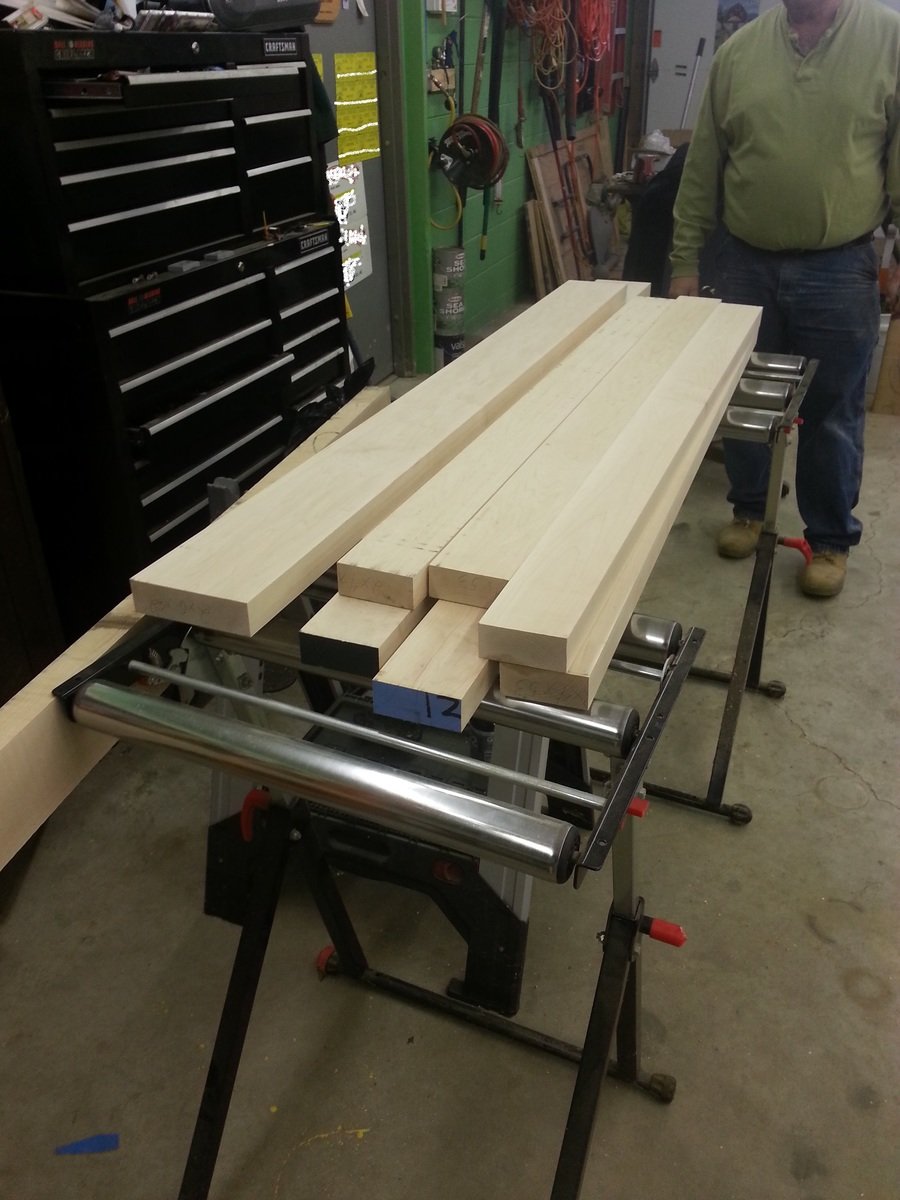
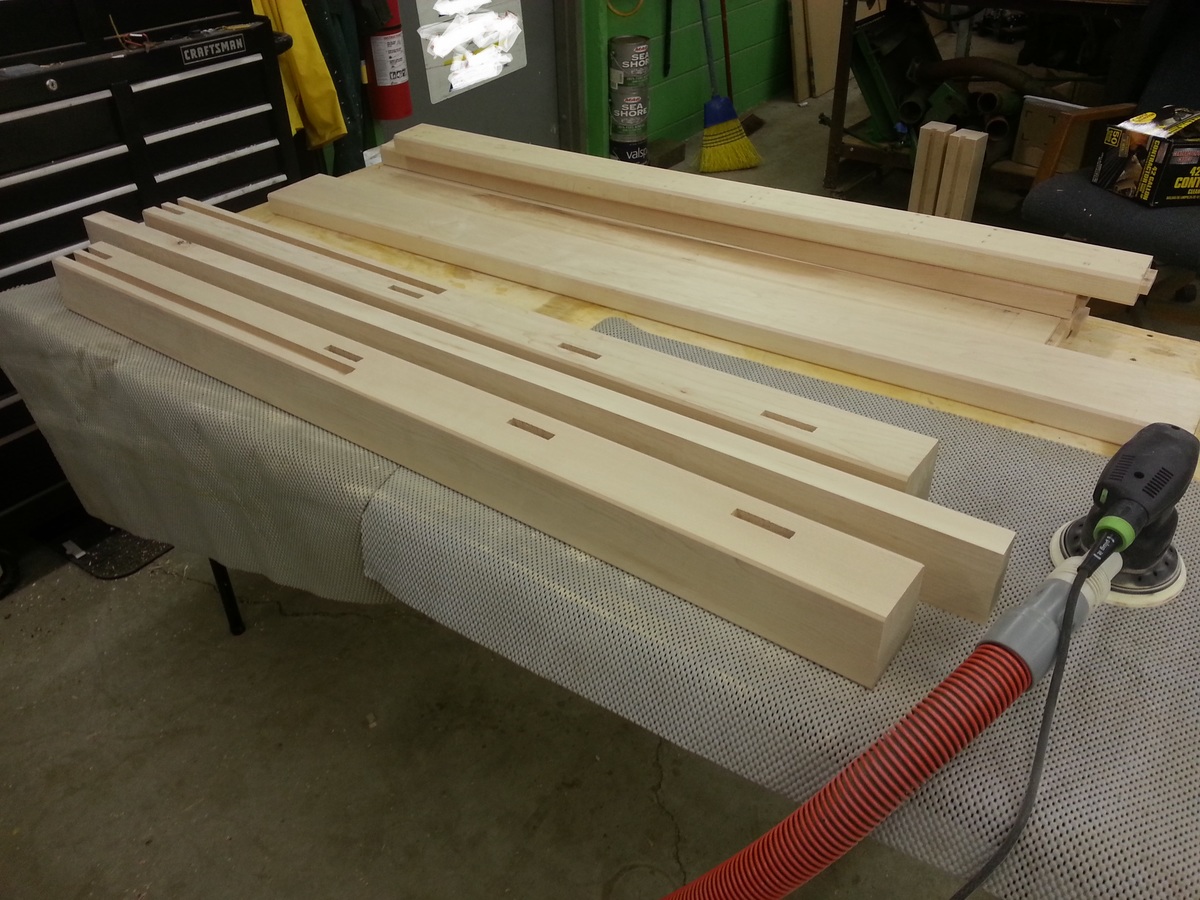
Slight modification to the original plans. Used all 2x6's across the top and added capped ends. Used 2x3s instead of 1x3s. Cuts and assembly were not time consuming, sanding was!!
Built from Plan(s)
Estimated Cost
$40
Estimated Time Investment
Weekend Project (10-20 Hours)
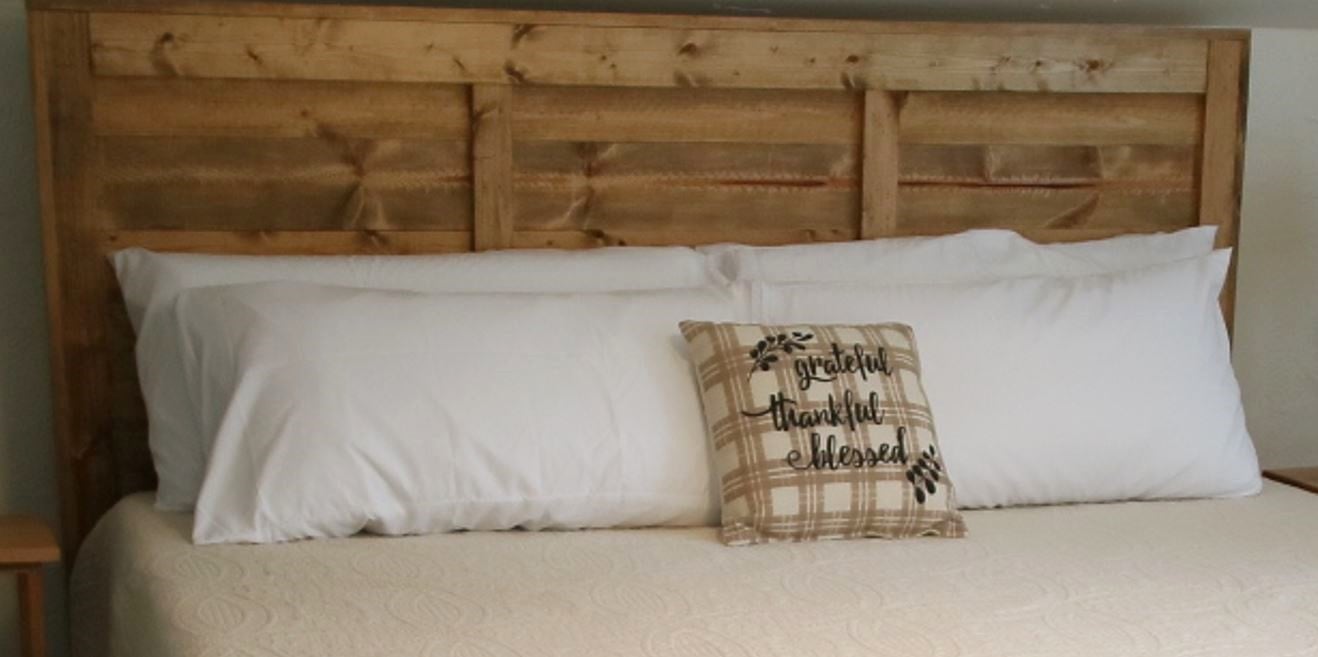
Finish Used
Urethane semi-gloss triple thick 2 coats, brush application. Varathane Cognac stain 2 coats. Sanded to 200
Recommended Skill Level
Beginner