Rustic X Hall Tree
quick build, turned out solid
We have a pretty small place and not a lot of room for our sewing/crafting stuff. We would leave our machines by our piano, on the floor, every time we brought them down stairs. We needed a better way to store them and this was the perfect solution, and it added a few more seats in our little family room. I build the bench with a one-piece top and added a removable tray for the cords.
This is the prototype build for the Book Box plan. It was a lot of fun coming up with the decoration ideas, and the build was quick and super-easy. I plan on making more of these! I used scrap wood and left over finishes for this build.
Mon, 11/24/2014 - 12:10
What a great use of scrap wood! Looking good! Thanks for sharing.
Tue, 11/25/2014 - 14:11
Thanks Ana! I had a lot of fun with this project. Your Handmade Holidays collection inspired me! Happy Thanksgiving to you and your family! :) Joanne
I loved the rustic X console, but it was a bit too big for our space. We decided to go with the Henry Media Console, but I had my dad add "X"s to each end. We took breaks and worked in between our busy schedules, but this could totally be a day project.
Built a plant wall out of cedar planks to get our planters off the ground. Not pictured, but I also ran a drip line up to each plant so now they're maintenance free!
Love the look and ease of this plant wall.
This was a fun weekend project!
In reply to bottom? by nkfuller09
Thu, 12/31/2015 - 07:16
I used 1x6's, i think 2x6's would've made the table much too heavy... it is already extremely heavy, but super sturdy as well!
Tue, 01/16/2018 - 16:26
Just wondering where you got them from? We've been looking all over the internet and have yet to find them...
In reply to Corner Brackets? by sergiontami
Sat, 06/23/2018 - 12:15
I fashioned them myself out of some flat steel brackets. I bent them to 90 degree angles in a vice, then spray painted them black.
I used the Cabin Bunk Bed system as a starting point for these plans. This was my first major build of any kind of furniture, except for a small basic coffee table and pantry. I took all the dimensions of the lumber, then put them into SketchUp to make sure the bed would fit in my daughter's room first. My major mistake was using regular dimensions instead of board dimensions. That cost me a couple days at least because I would have to go measure, then cut, then fit together.
I decided not to do the drawers because I didn't know how to do it and was exhausted by the time this was finished, so I'm using it as a cubby and robe hanger instead. I designed the steps myself using 3/4" plywood. I then painted the bed with semi-gloss white, 2 coats for durability.
Structurally, I was wary because it shook pretty bad, but put an angled brace on the desk side. That side was the weak point by far, but I got it sturdy enough for my daughter.
Wed, 11/26/2014 - 12:15
This is really awesome! I love the way that it turned out! Thanks for sharing!
Only 2 more to build. LOL
Hinges from Lee Valley and knobs from ikea.
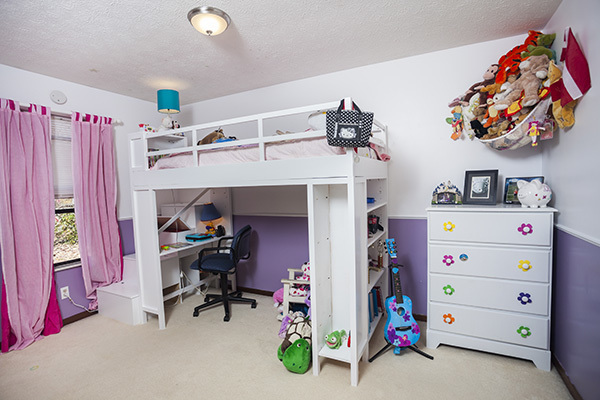
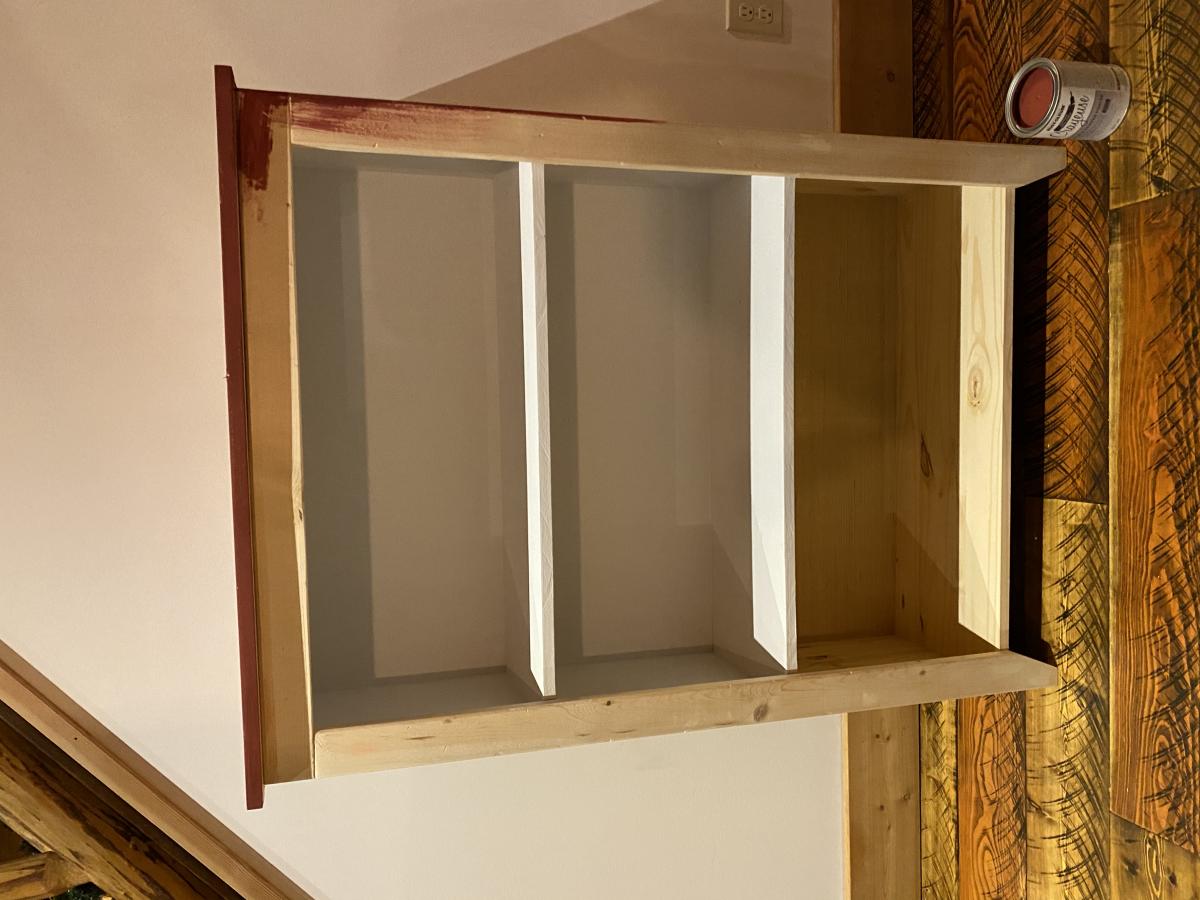
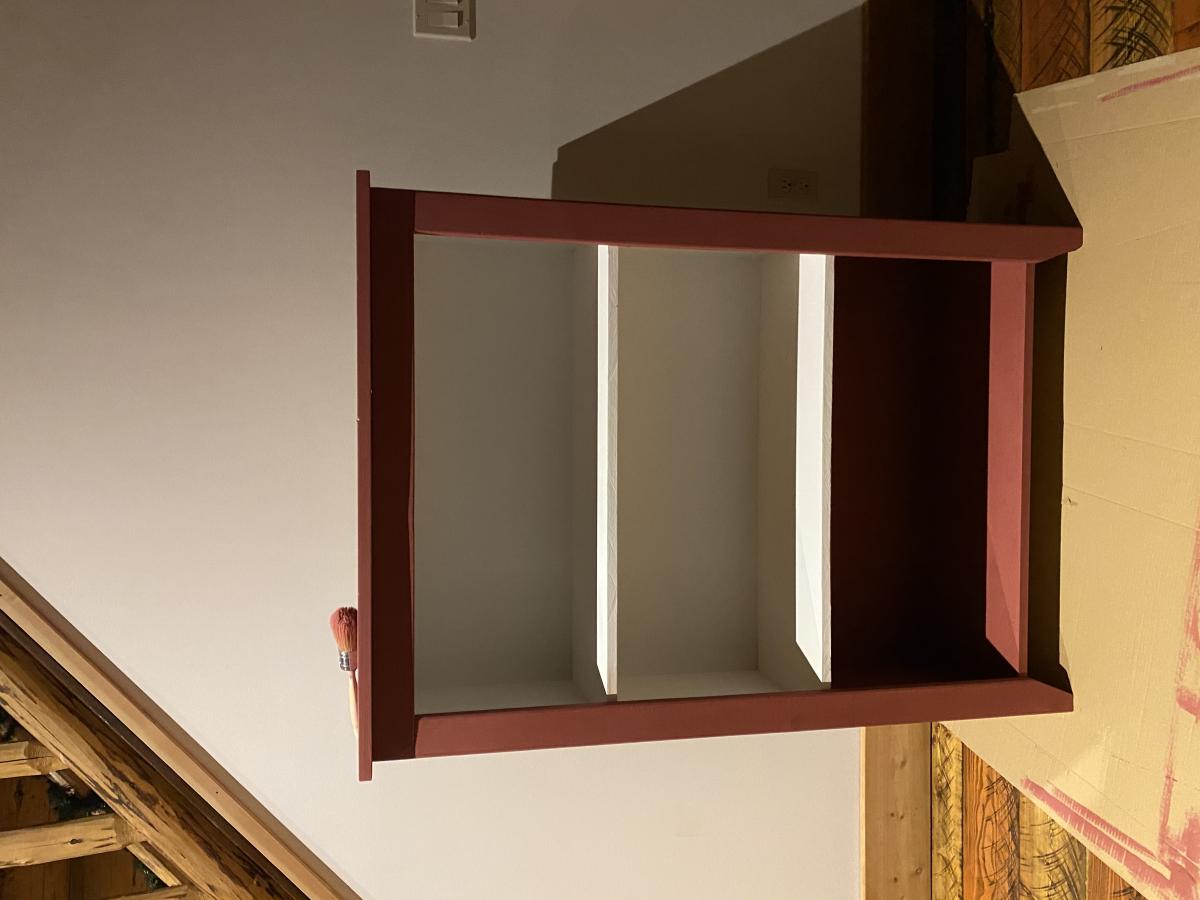
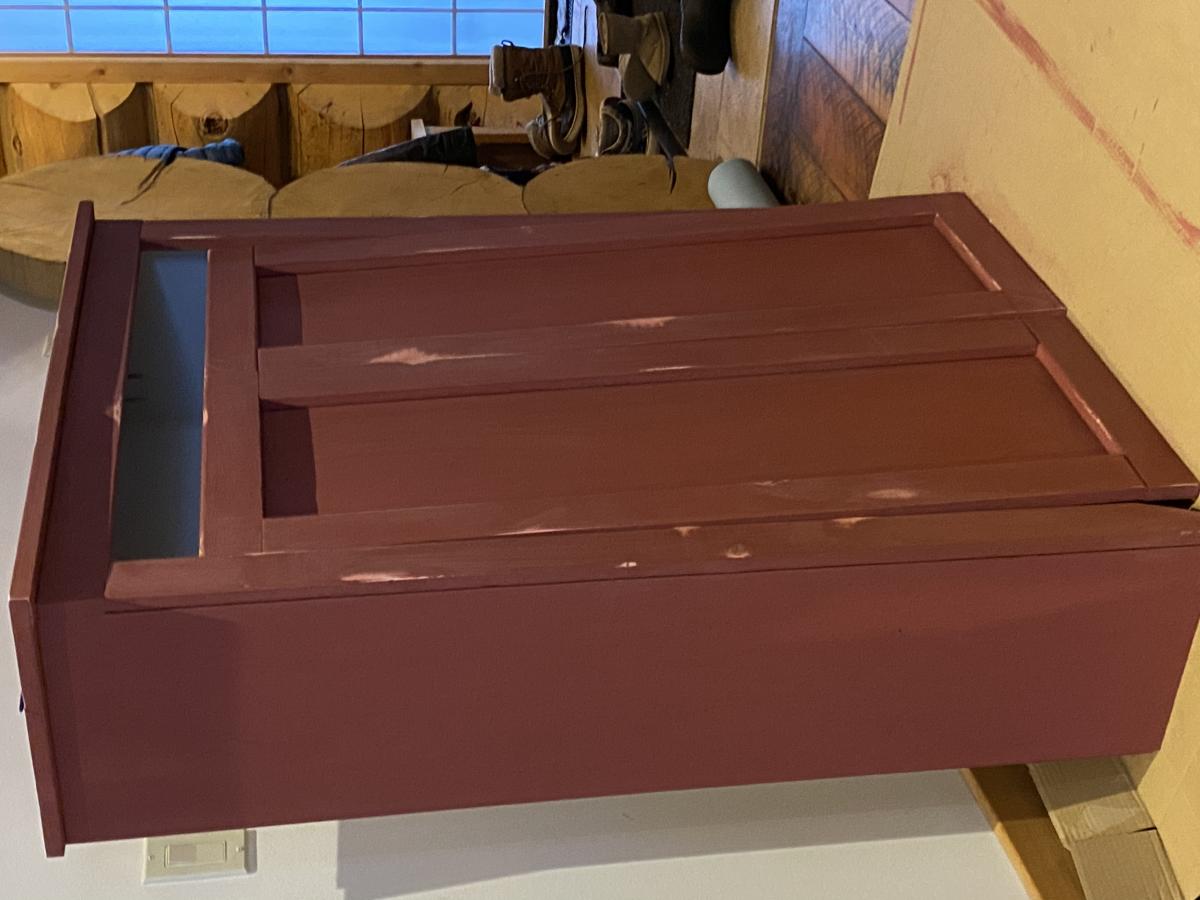
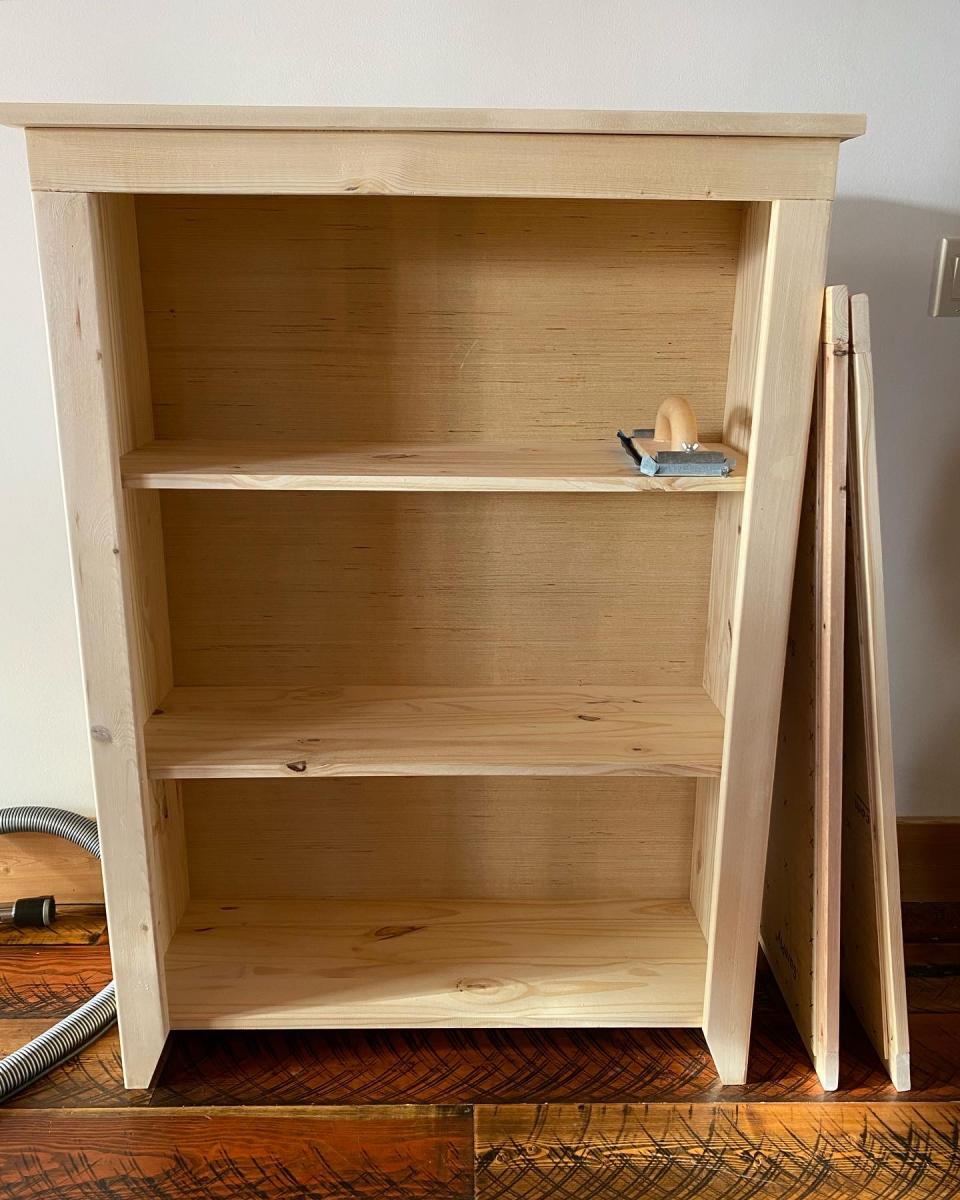
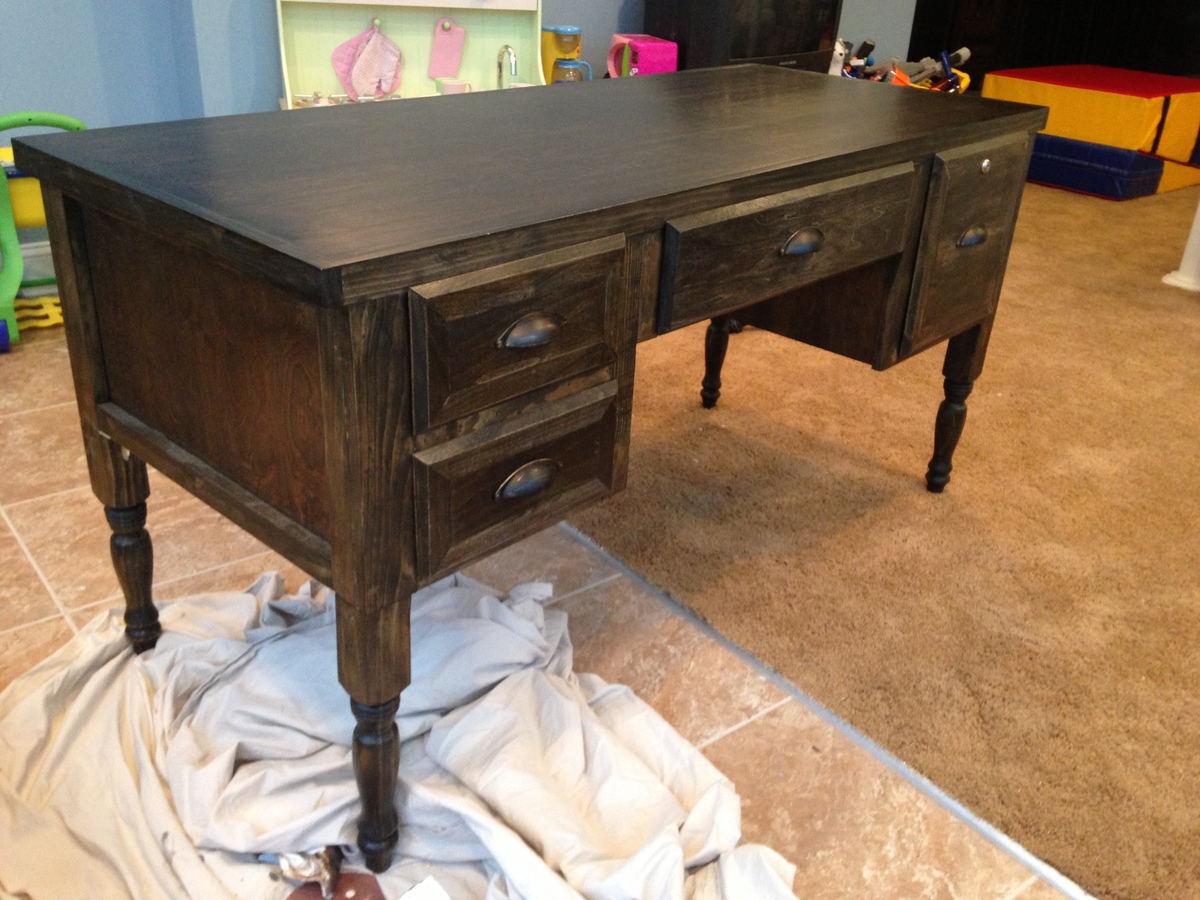
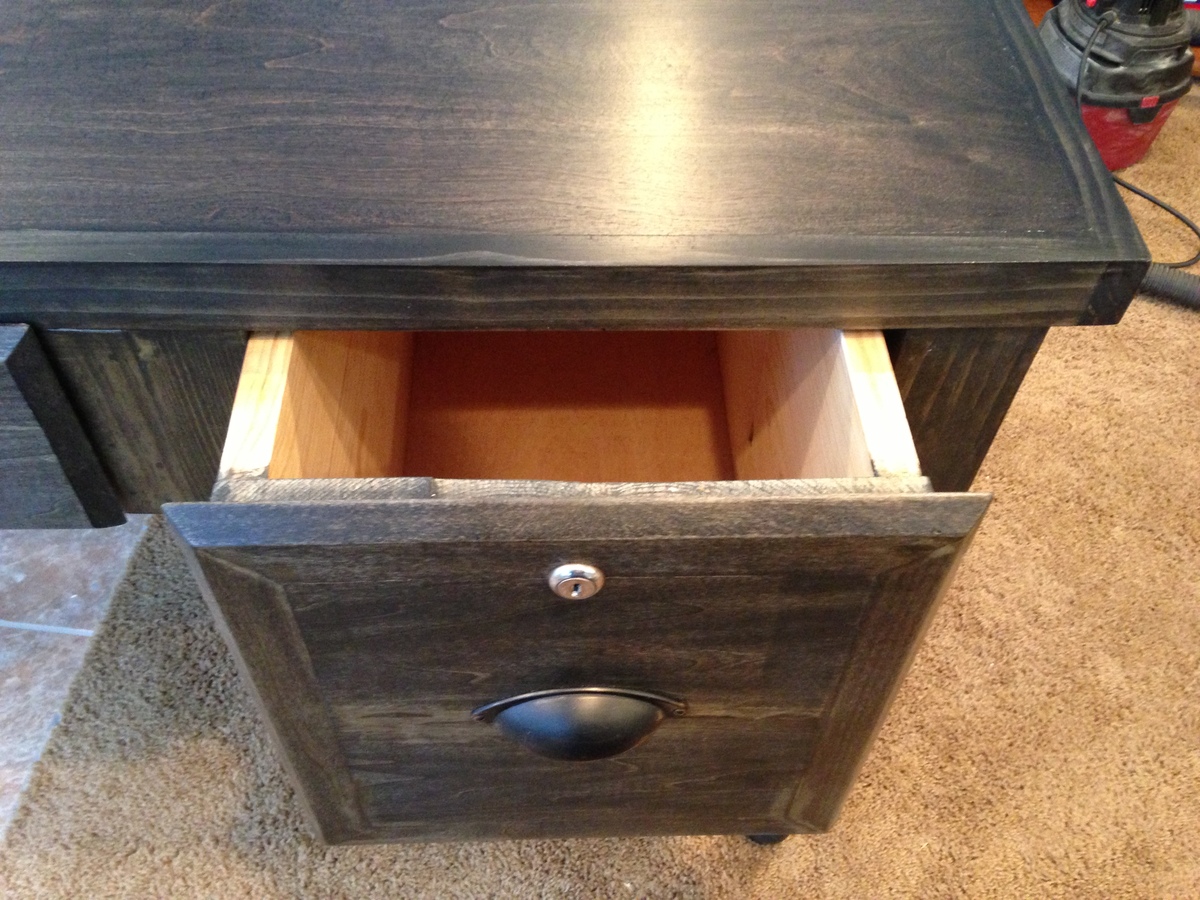
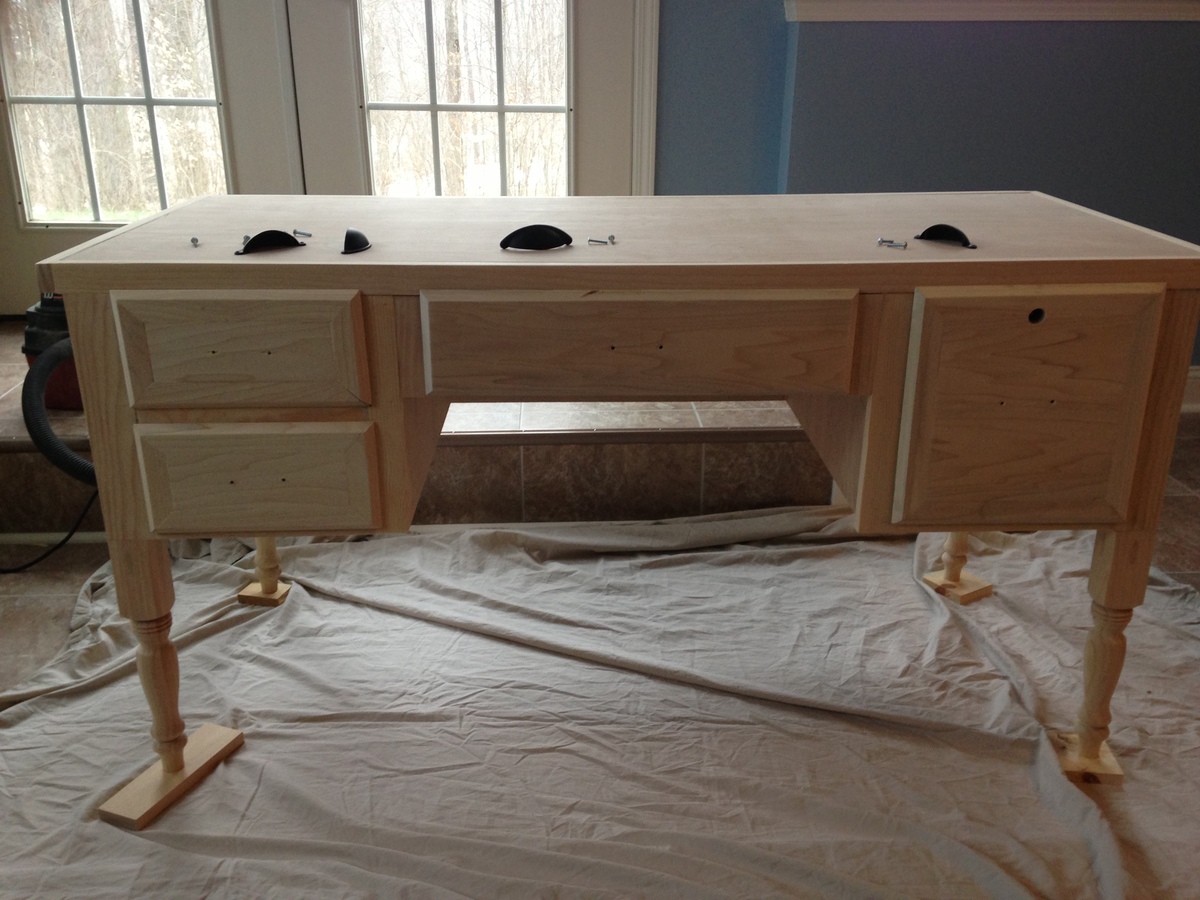
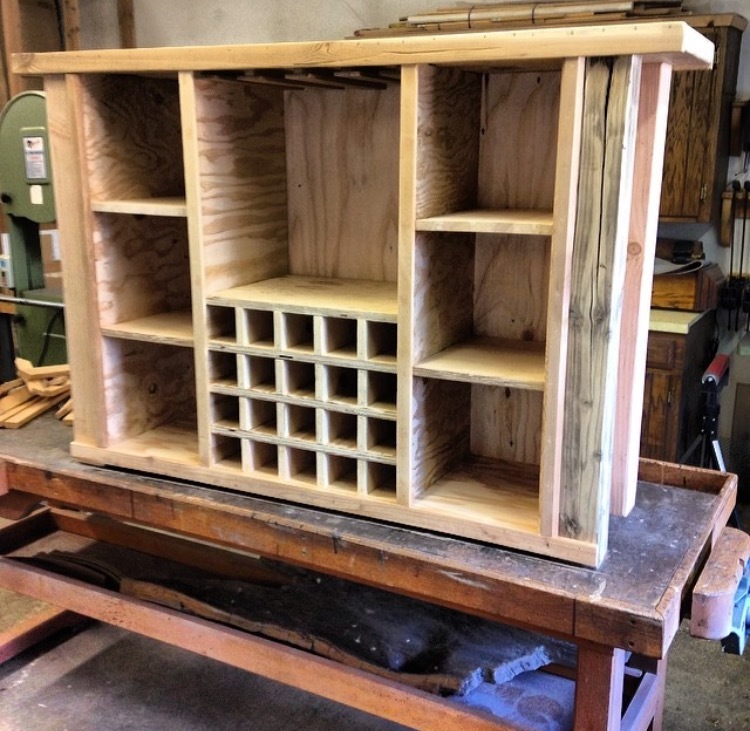
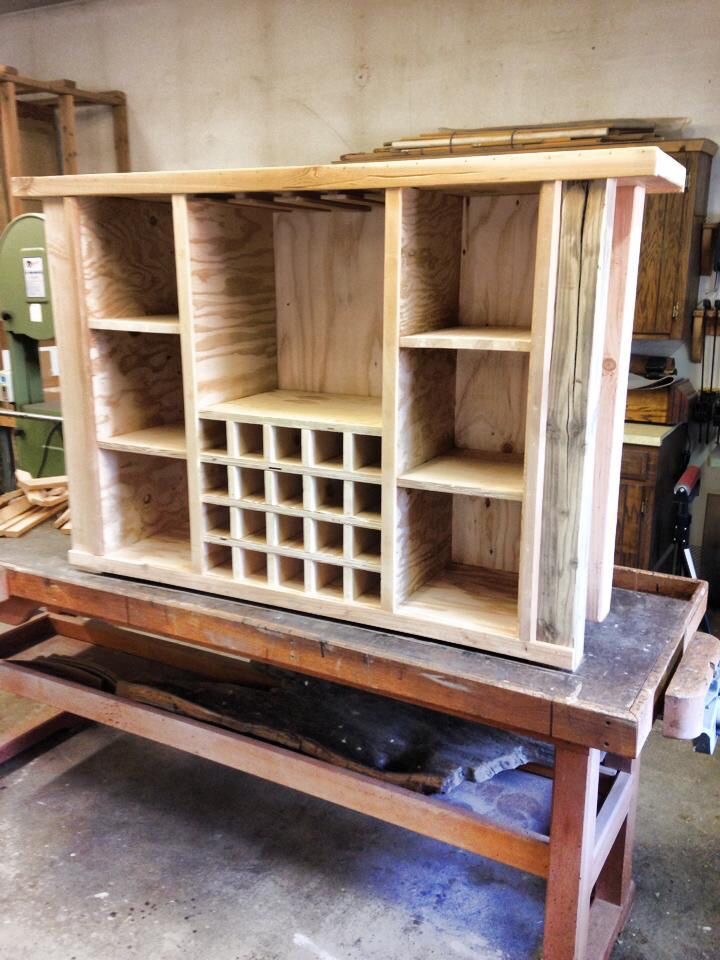
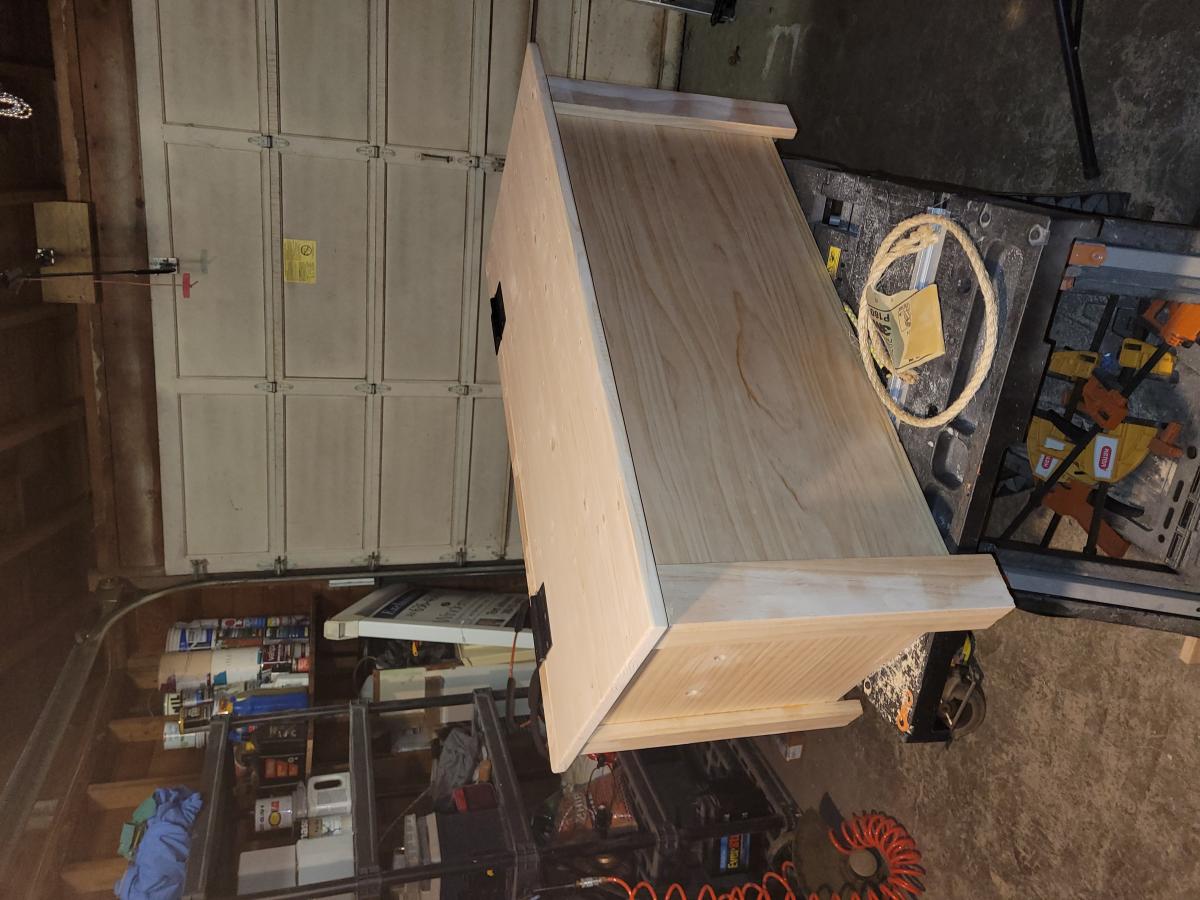
I wanted to build a desk for each of my 3 kids. We have an unused loft space in our home that I wanted to convert to a kid's homework area. Initially, I was going to build cabinets and create two walls of built in bookshelves and desk space. But decided I wanted free standing desks in a style that would last them into adulthood. (And possibly move with them into their own homes:) I really liked Pottery Barn's Printer's Keyhole Desk for the first desk but couldn't find a plan to build something like that. I ended up modifying the Turned Leg media console plan instead. It was a lot of work trying to figure out the correct changes to the plan. It totally made me appreciate how easy Ana's plans are to follow. I changed the depth to 24 inches and also changed the basic box from the plan into 3 boxes (left side drawers, middle drawer, right side drawer) then attached the boxes to each other then to the top. It was a heck of lot easier to say that in a couple of sentances then to actually do it. I also found it easier to put face frames on my drawers to hide my not perfect drawer boxes.
This project took me about a month to complete. I am a SAHM, and was not able to work on it every day.
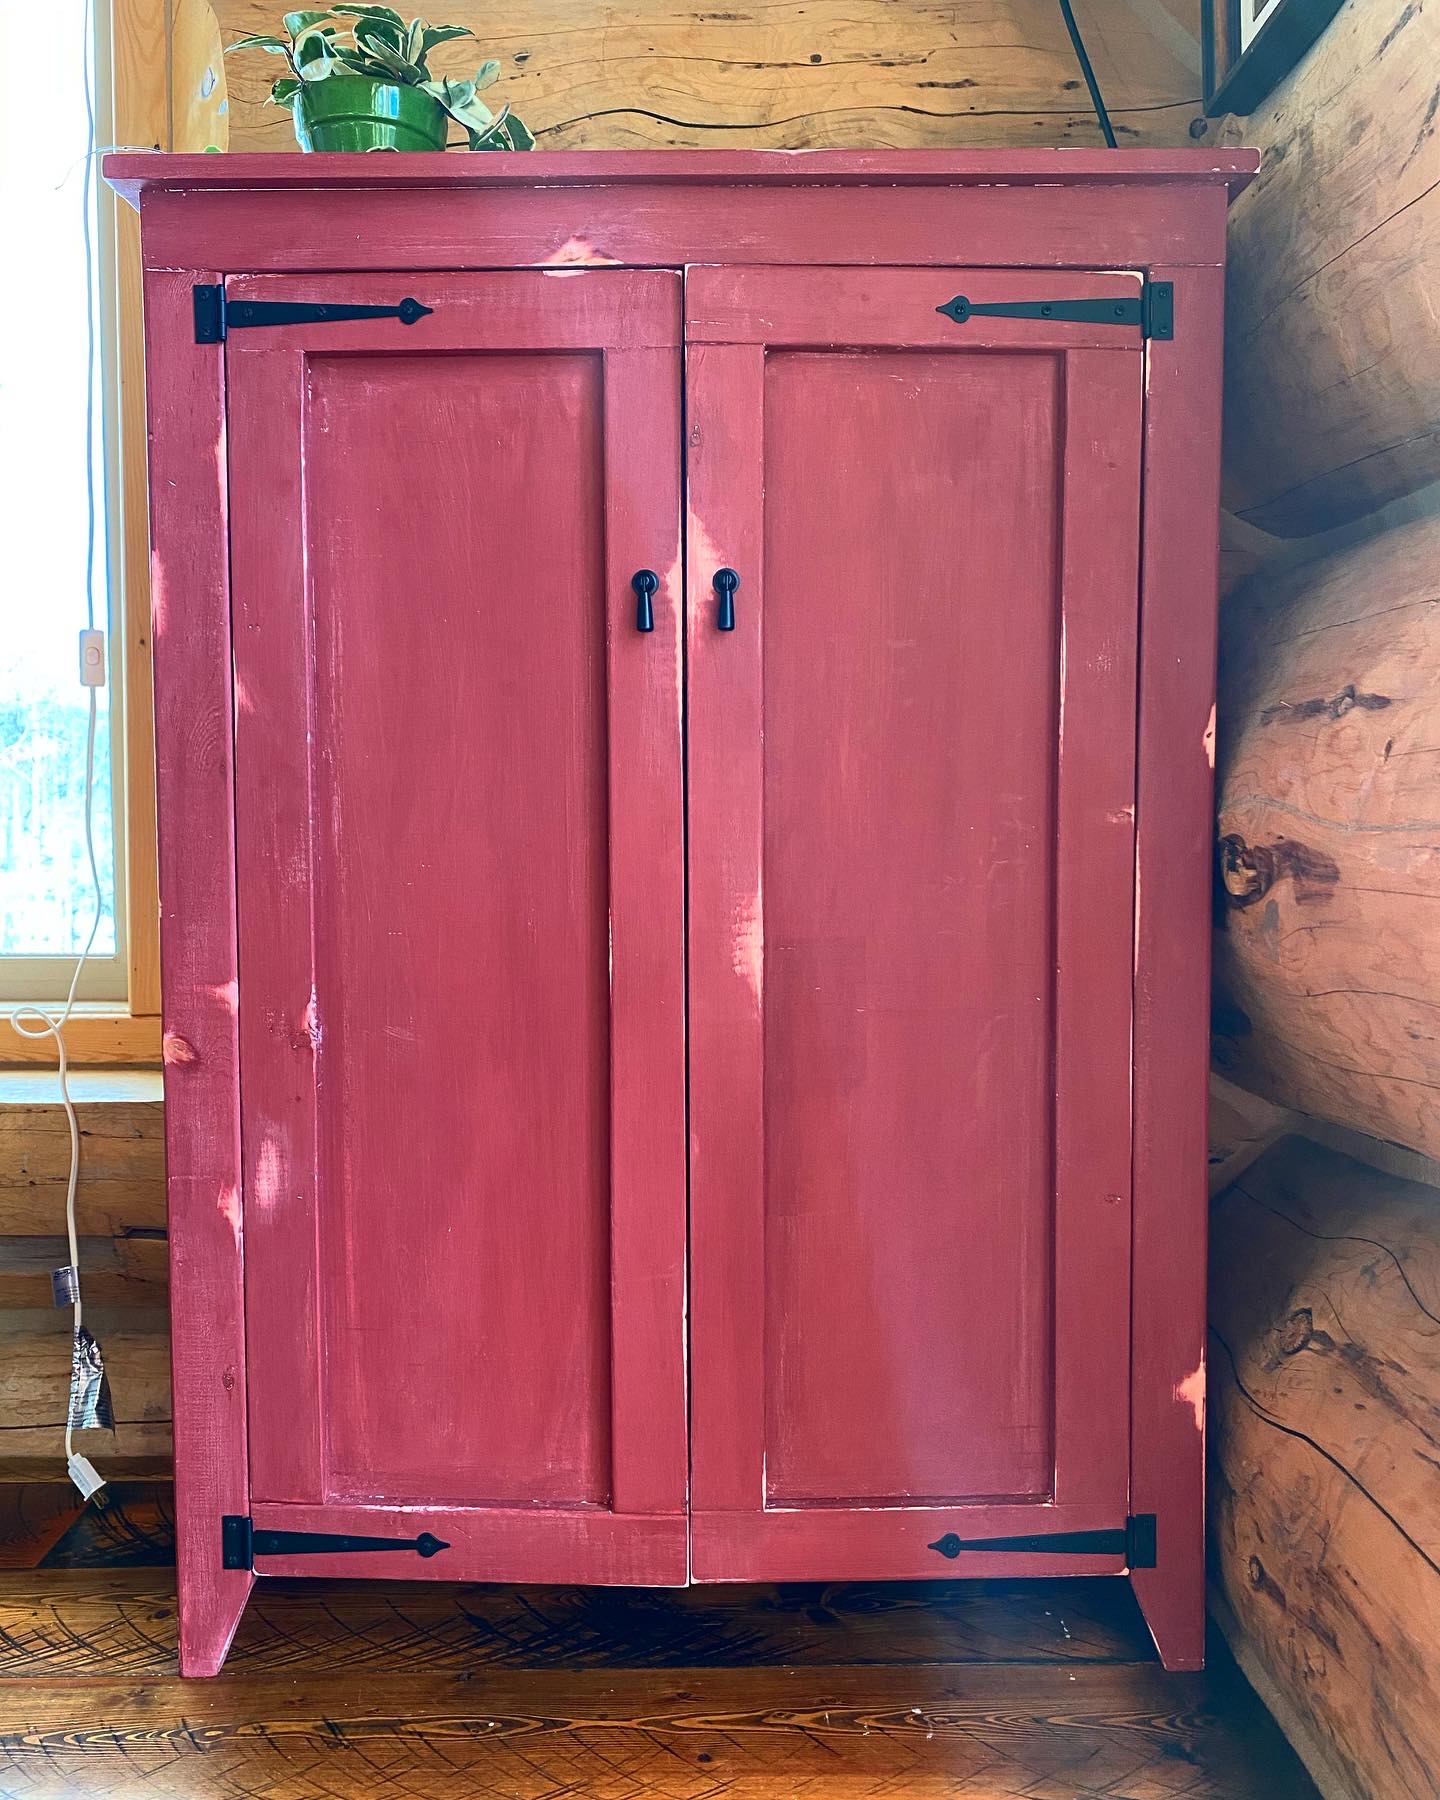
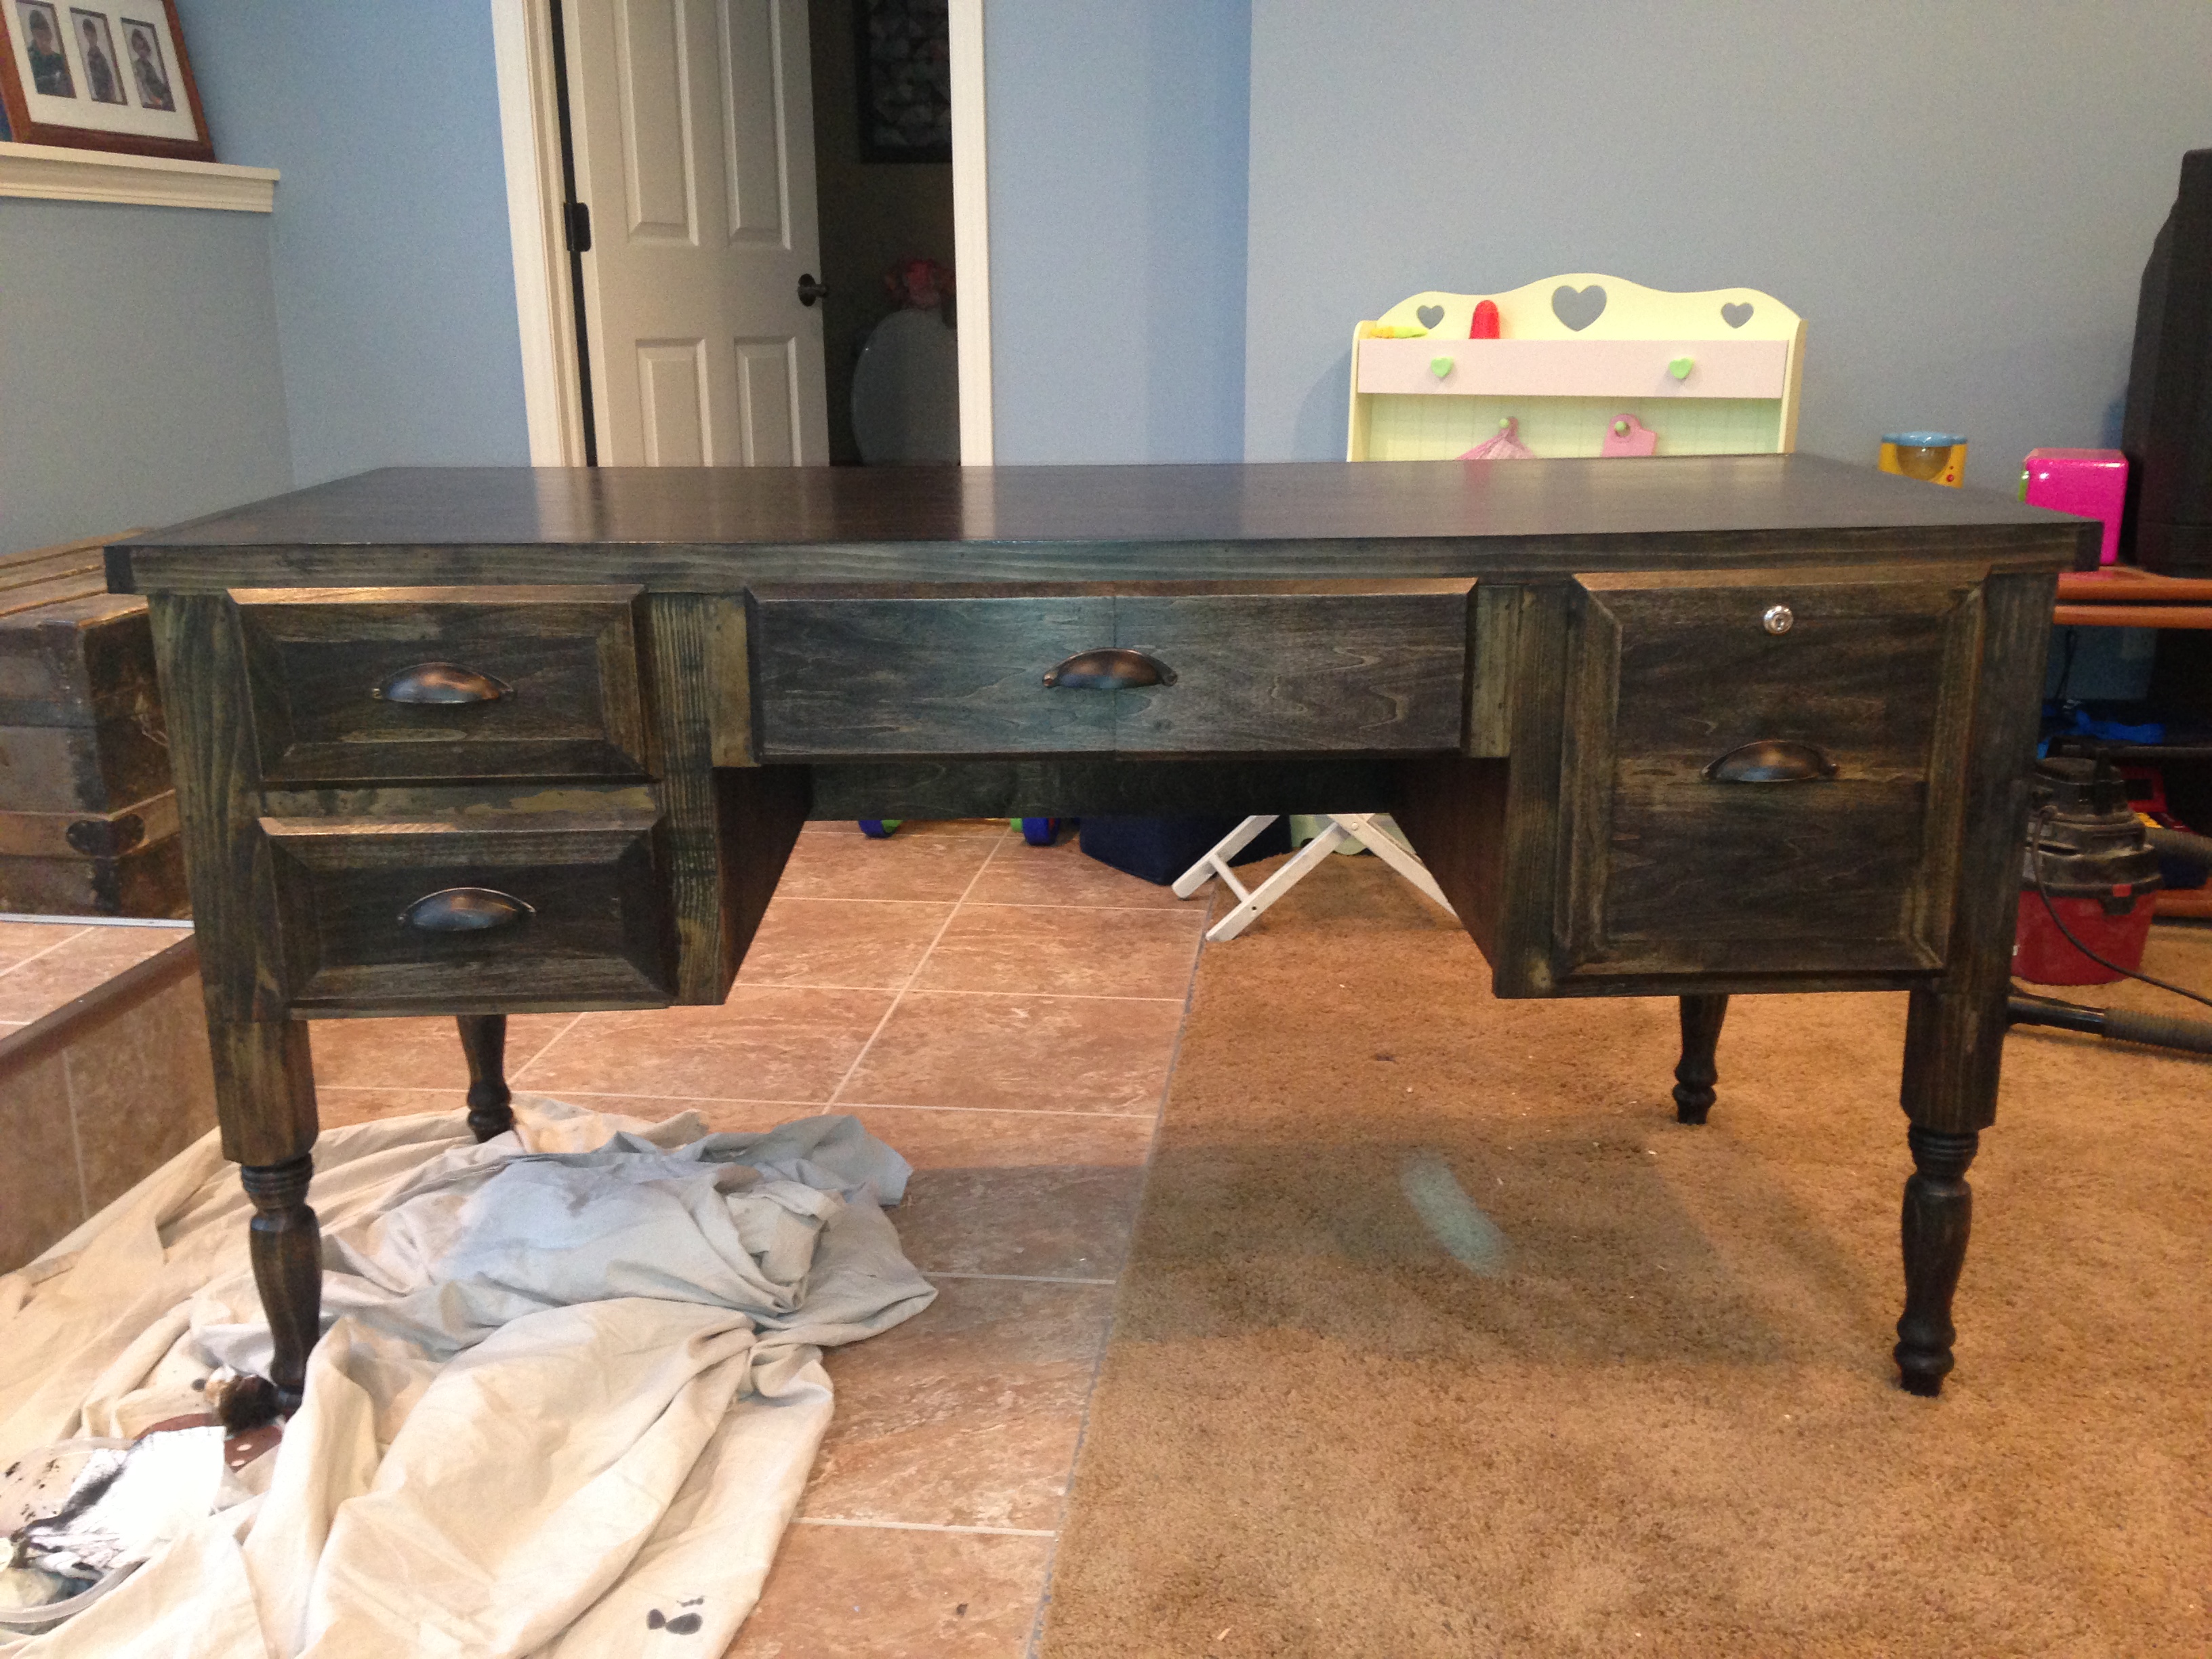
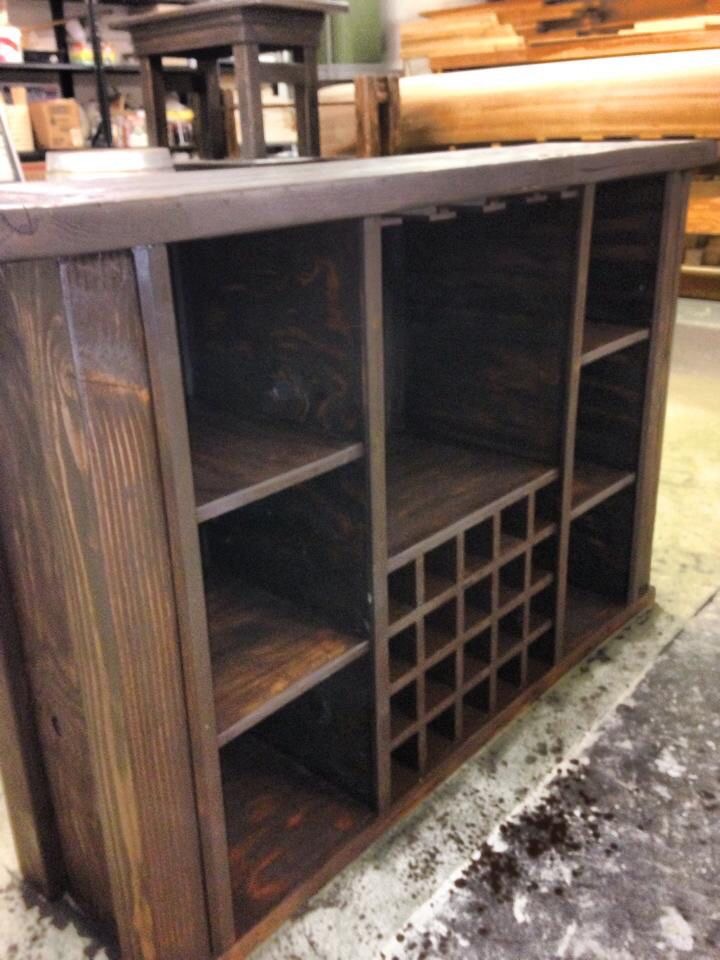
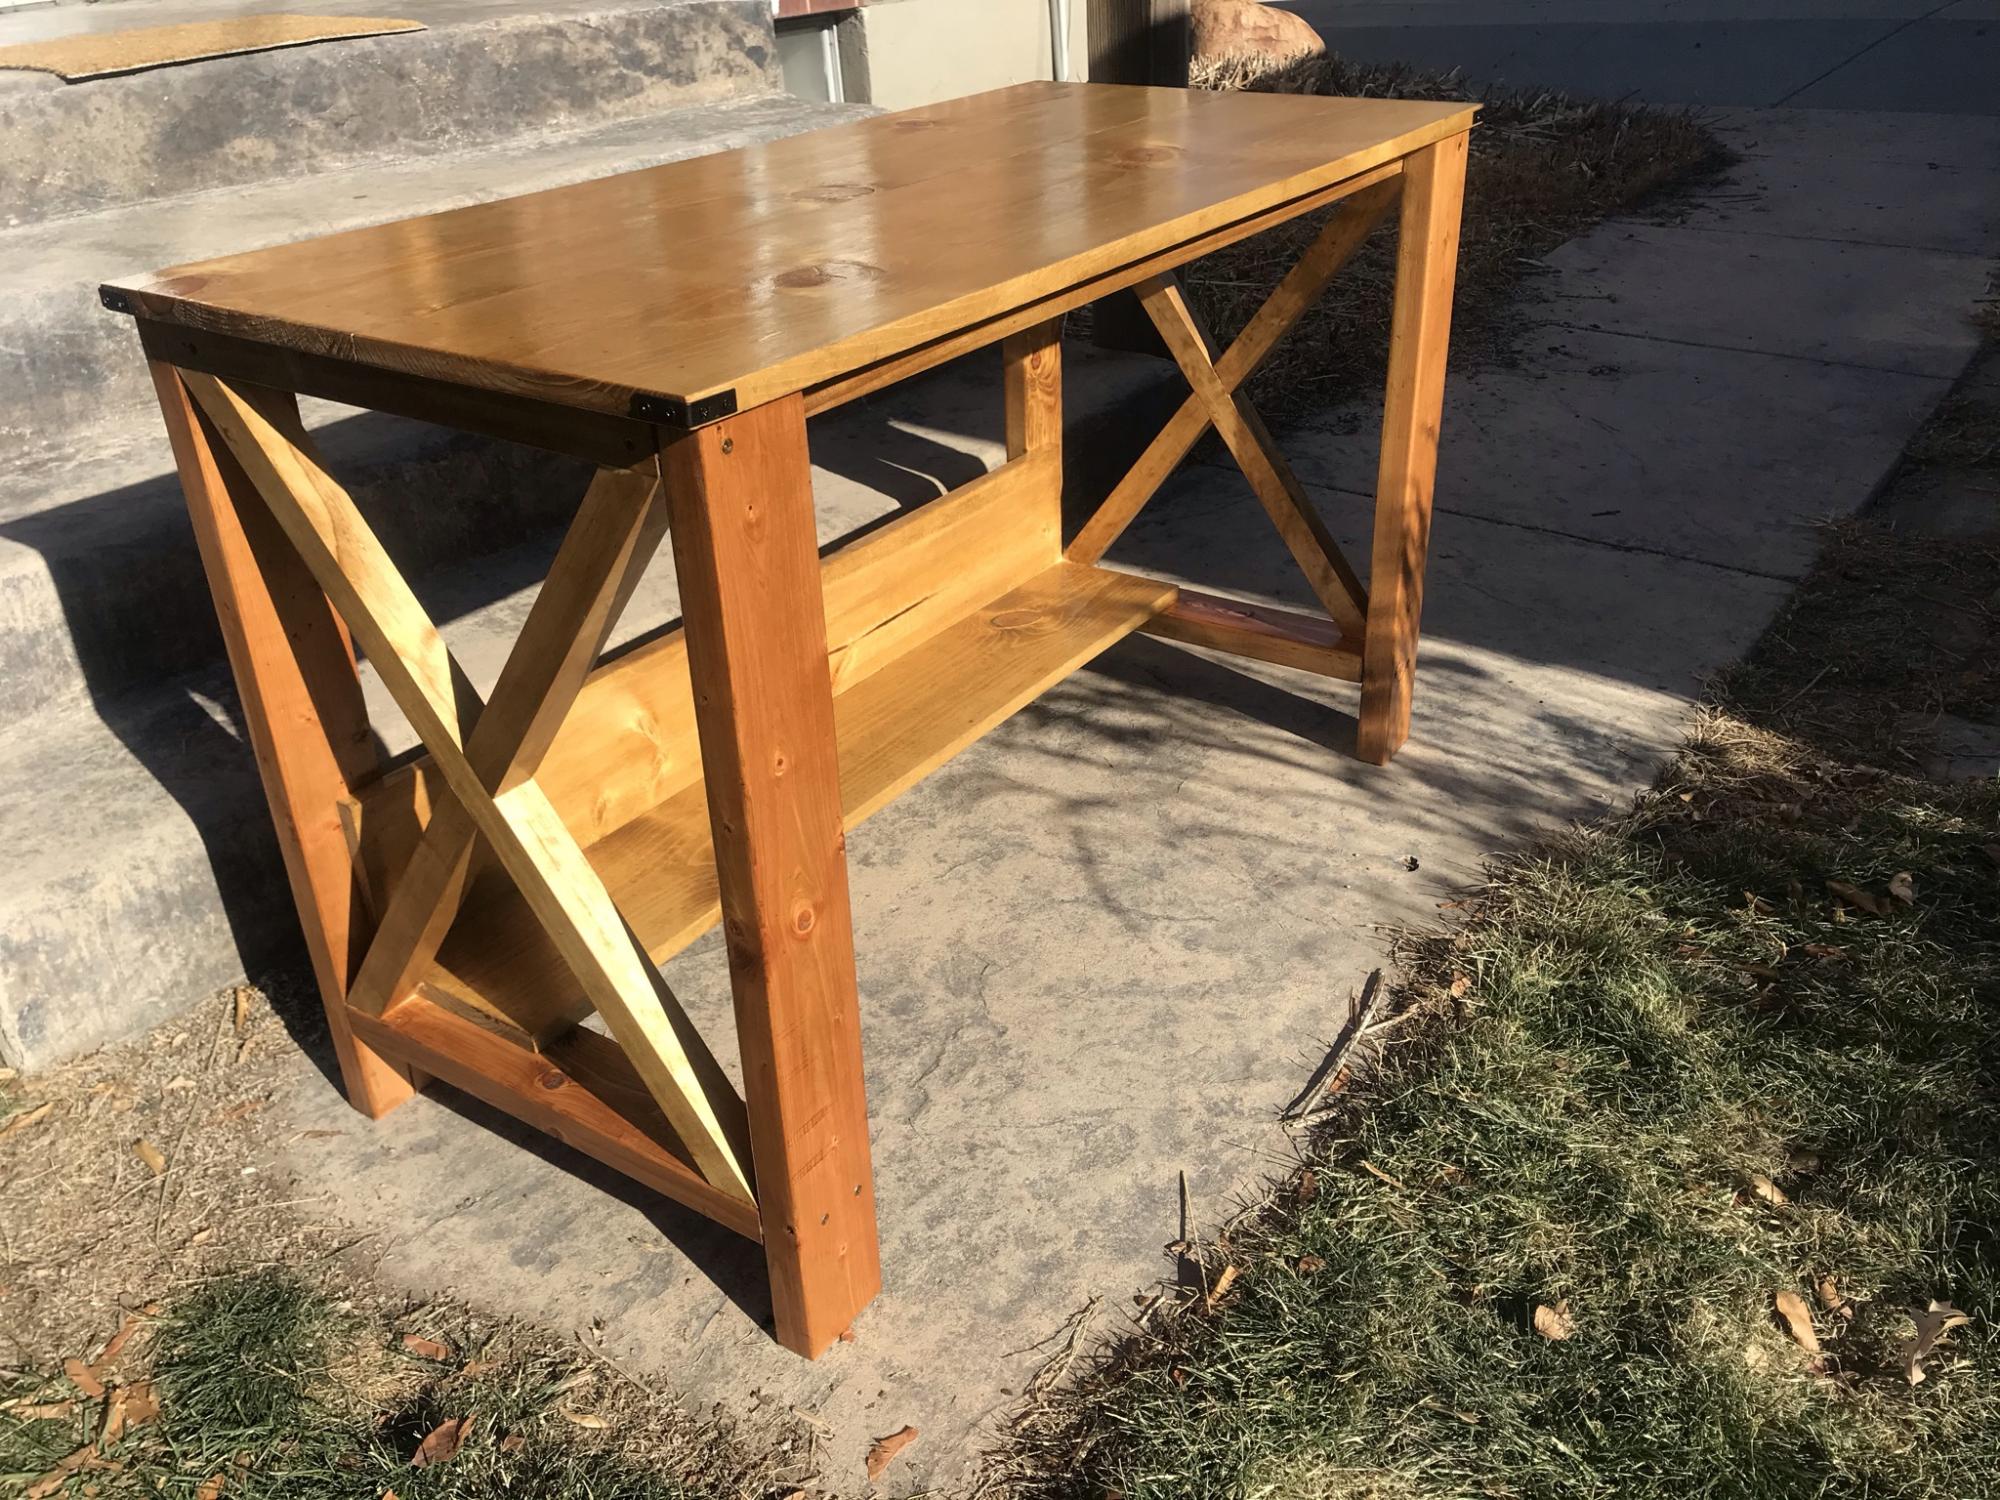
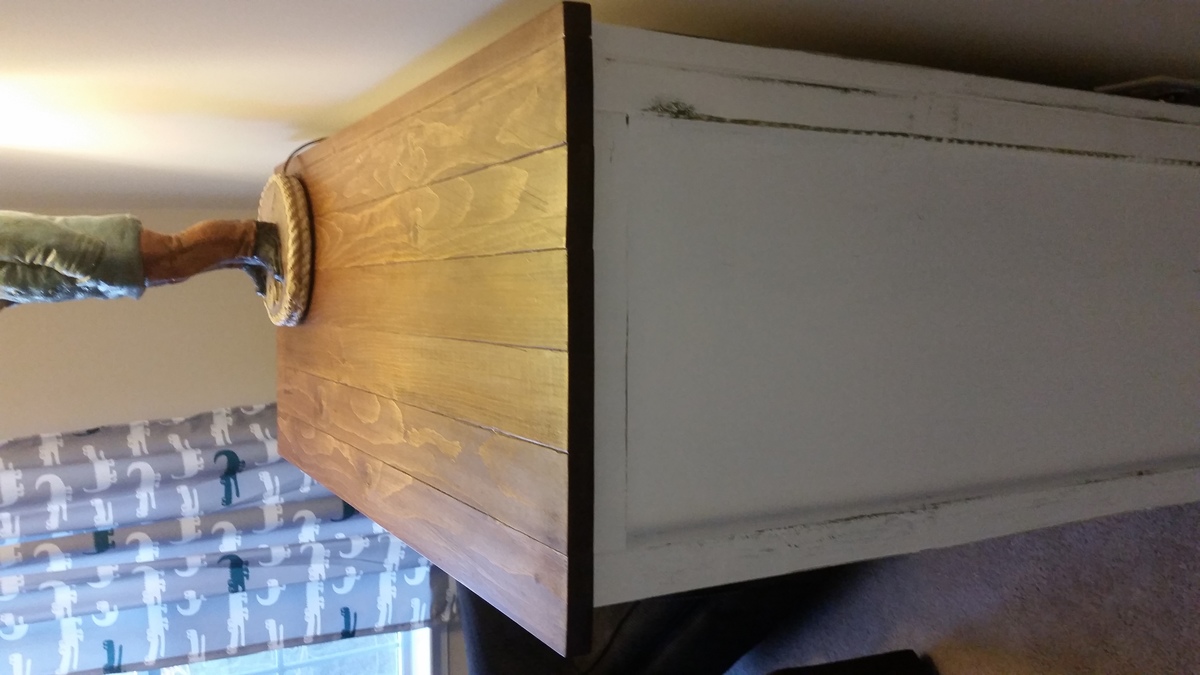
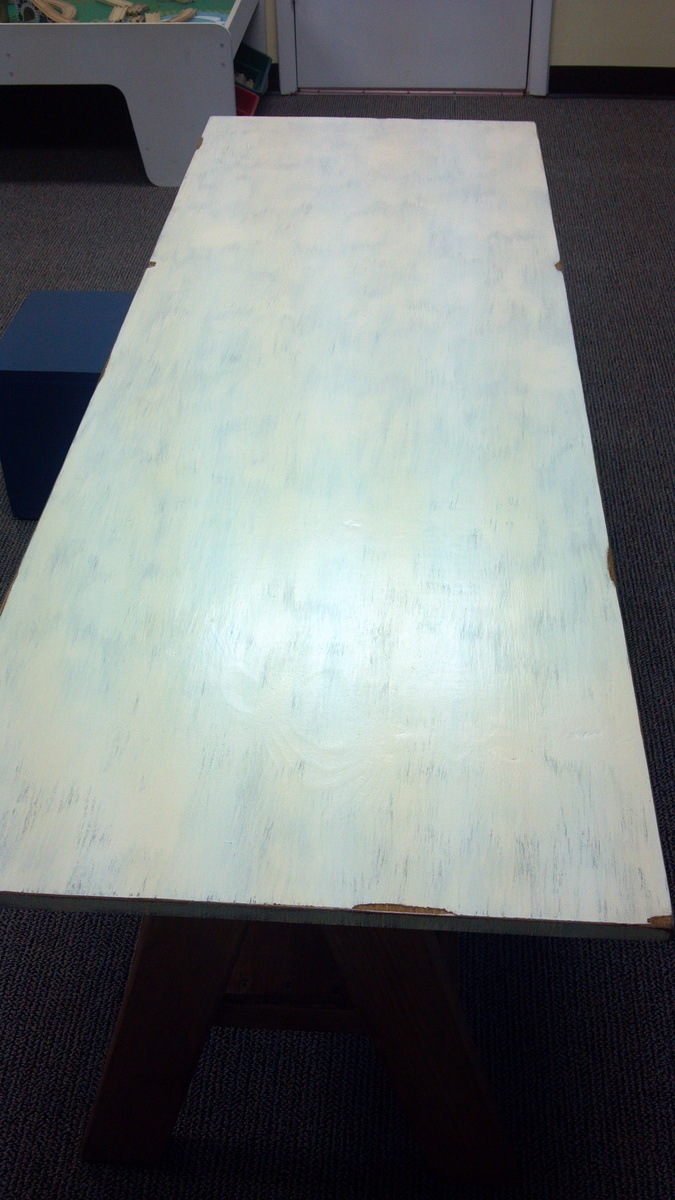
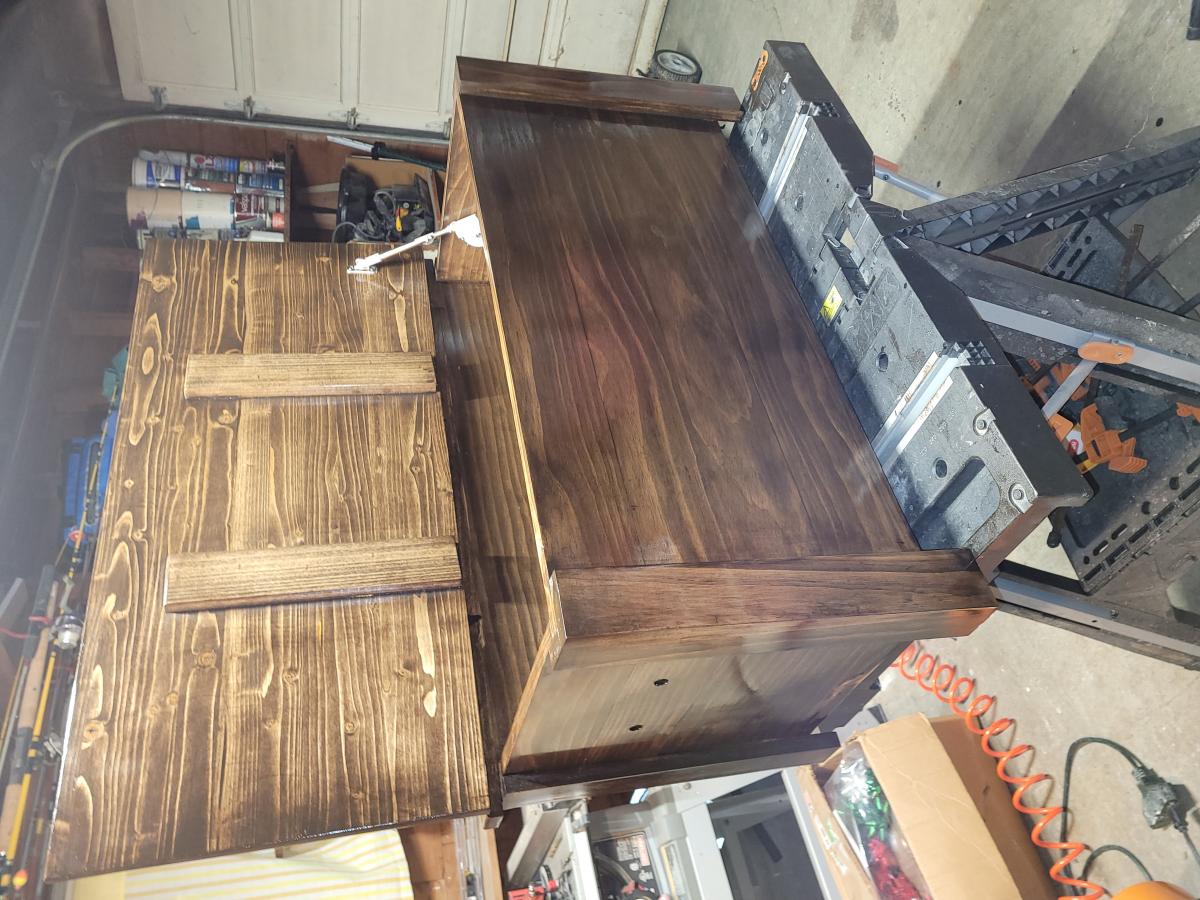
The finish is Minwax Ebony oil based stain. I've had success using Annie Sloan waxes on other projects but was not happy with how the top looked after using it on the desk. Eventually I sanded the finish off and re-stained it 2x then topped it with 3 coats of Polycrylic. I left the rest of the desk with the original stain/Dark Wax finish.
I am too lazy to attempt sanding off the rest of the desk and restaining and sealing it. Kid #2 is already asking when I'm going to start on his desk (I'm thinking RH St. James style) and Kid #1 came home from school today and wanted to do his homework in the basement (where his desk is currently drying) so I think I should just say it's done and move on!
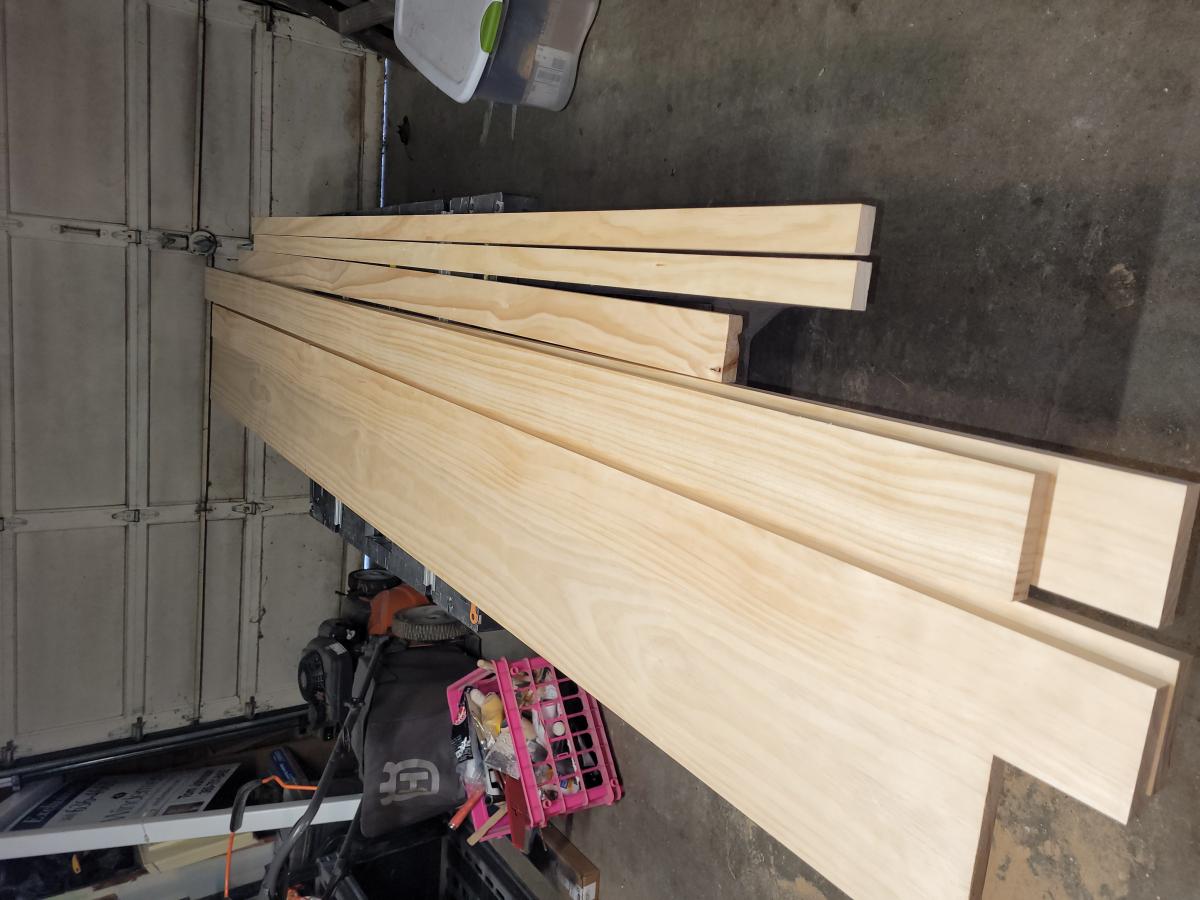
My experience comes just from reading this site and a few others. I've made AG doll furniture, picture frames, a console table, 2 benches, built-in bookshelves and a dollhouse bookcase. I used pocket hole joinery, glue and nails in this project. I don't have a table saw, so I made my long cuts with a circular saw fitted with a Kreg Rip Cut and occasionally a jig saw.
I would like to add some sort of hutch to it and am considering the Channing Hutch from this site. Thanks for reading!
Mon, 01/28/2013 - 21:28
Very pretty! What a beautiful labor of love. You are super ambitious to do this x 3!
Tue, 02/05/2013 - 05:57
I've been looking for a desk plan to replace the antique desk my mom recently took back to her house and this just might be my saving grace! Where did you get the legs for this? Thanks in advance and what a great job you did!!! Looks awesome! :-)
Thu, 02/07/2013 - 14:58
Thank you tracy! The legs came from lowes. Nothing special, pine, 15" table legs.
In reply to Thank you tracy! The legs by cathygehrke
Sun, 02/24/2013 - 23:18
So you must have joined them to another piece of wood to make it tall enough... like a 2x2? I'll go over and check at lowes to see what they have. THanks for the input!!!!
Very easy garage shelving
Thu, 12/04/2014 - 21:57
Wow that looks alot like mine! Quick and easy...great job!
Fun project
I enjoyed making this chair. Even though I am a beginner at wood work, it really was easy to make and the instructions were very clear. I made it for my daughter. She will be 3 years old in May and she loves it. Our next project is making her a table to go with the chair. Thanx for sharing the plan
This was my first attempt at building a bed. My wife wanted to buy my 2-year old a twin bed from one of the big box stores. I asked her to let me take a crack at it before she spent several hundred dollars (and hours of assembly for me!). I immediately went to Ana's site first and found this plan. Since my wife loves all things PB, it was an easy sell.
I spent about $75 on lumber at Blue and about $20 on hardware at Orange. I also used this project as an excuse to buy a random orbitsl sander, so altogether, I spent less than $150. The mattress is a Serta Benson that we picked up for $180 after taxes and a Black Friday special. It came with a free box spring, but I declined because I used slats and didn't want the bed any higher.
I followed the plans in terms of measurements and dimensions. However, I modified the headboard and footboard. I omitted the cross pieces on the headboard and used quarter-round pine trim to hide some imperfections on my plywood cuts. I think it turned out OK.
Thu, 12/04/2014 - 22:47
This looks great! Thanks for sharing! Love the colors for your son's room!
I rushed to get this done for christmas for my son and daughter between working 60 hours a week and spending time with them and ALOT of painting help from my elves (husband and brother), we got it done! They were so excited to see what Santa brought.
Since everyone else is making them, I had to jump on the bandwagon. Typical end table, but I left off the metal trim (for now at least) and used a wire brush on the top boards to eat away at the wood and raise the grain. It gives it tremendous texture and really makes it look more like old reclaimed lumber.
Built this for my grandson for christmas. First woodworking project I've done.
I changed the size of this to fit underneath my sons playhouse loft bed. It fits perfectly in the space between the door and wall of the bed. Put a kids leather chair in there and now he has his own personal man cave :)
Comments
Ana White Admin
Mon, 12/07/2020 - 19:23
Solid and pretty!
Looks great, thank you for sharing!