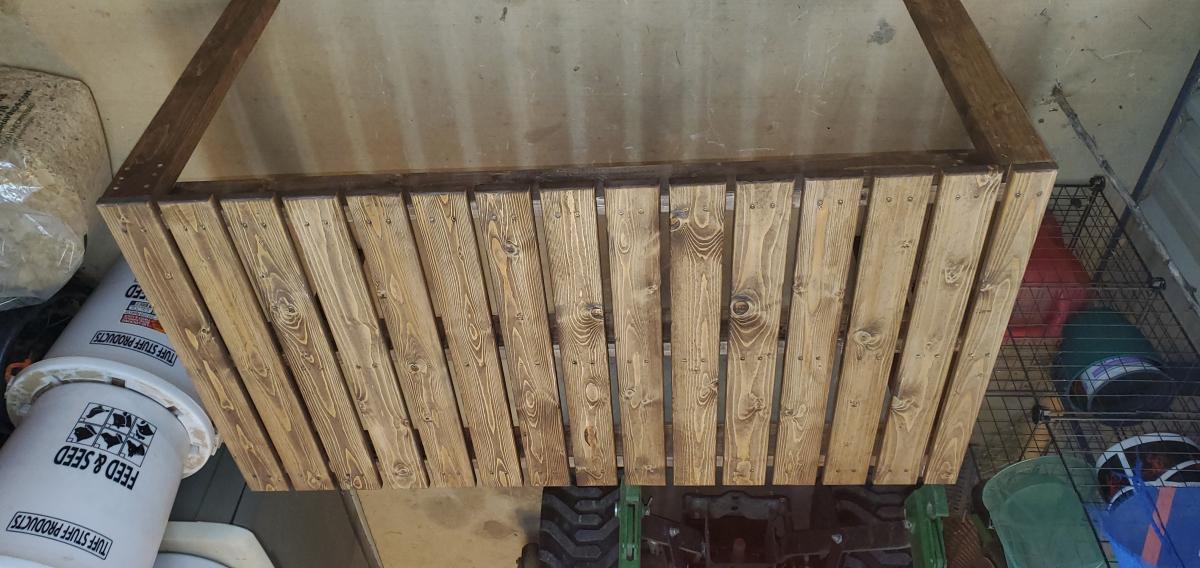
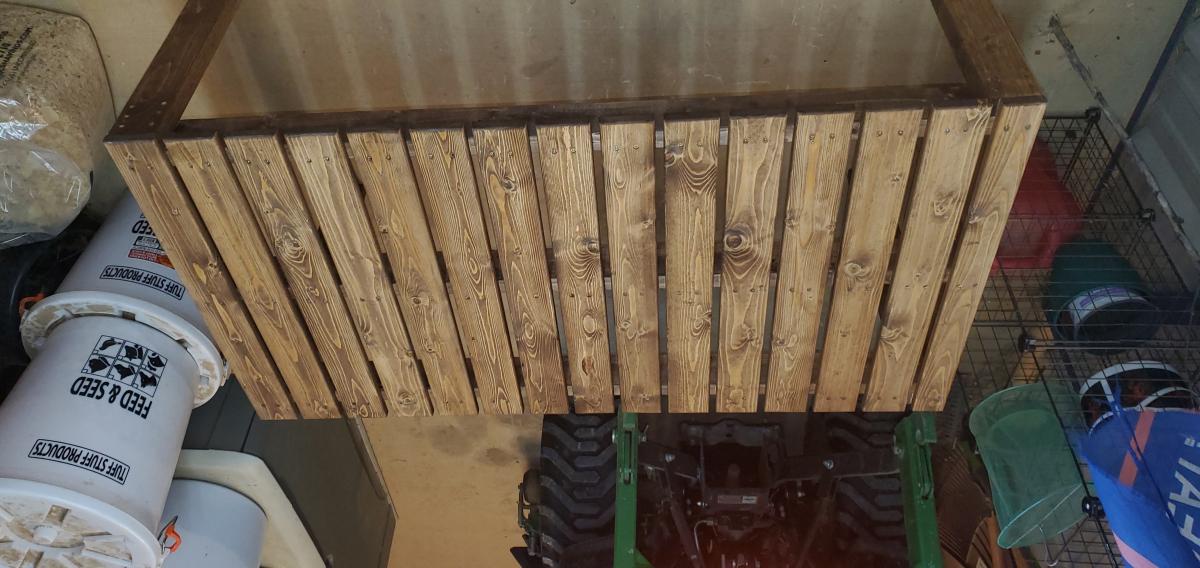
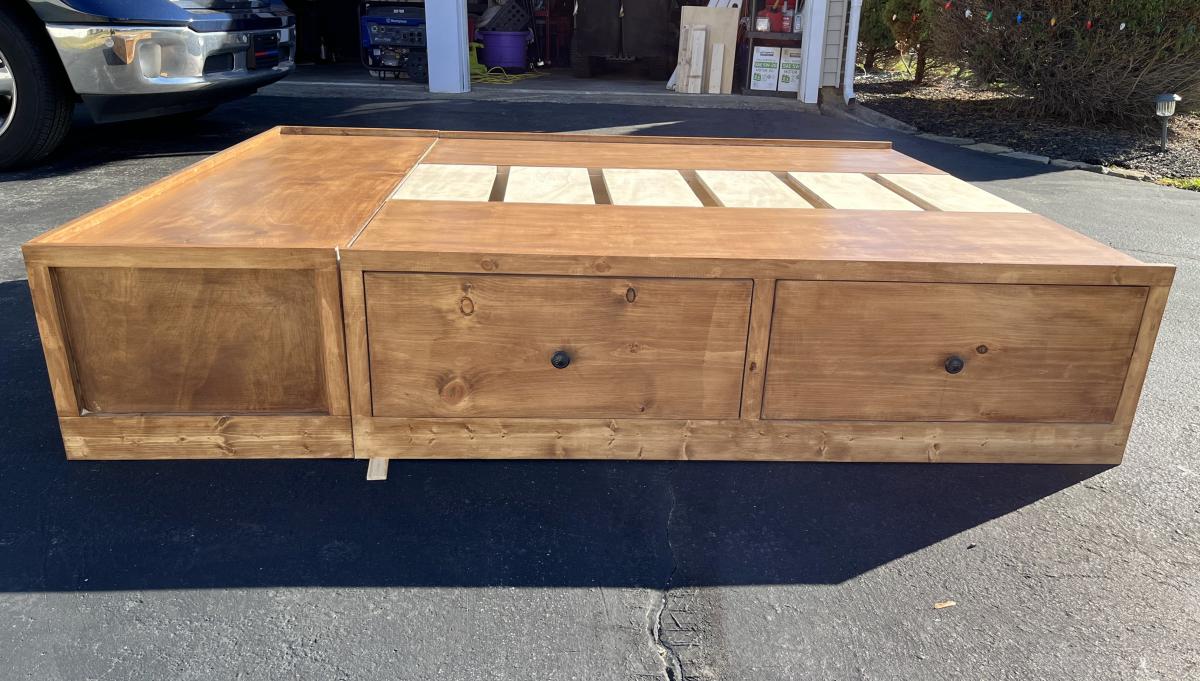
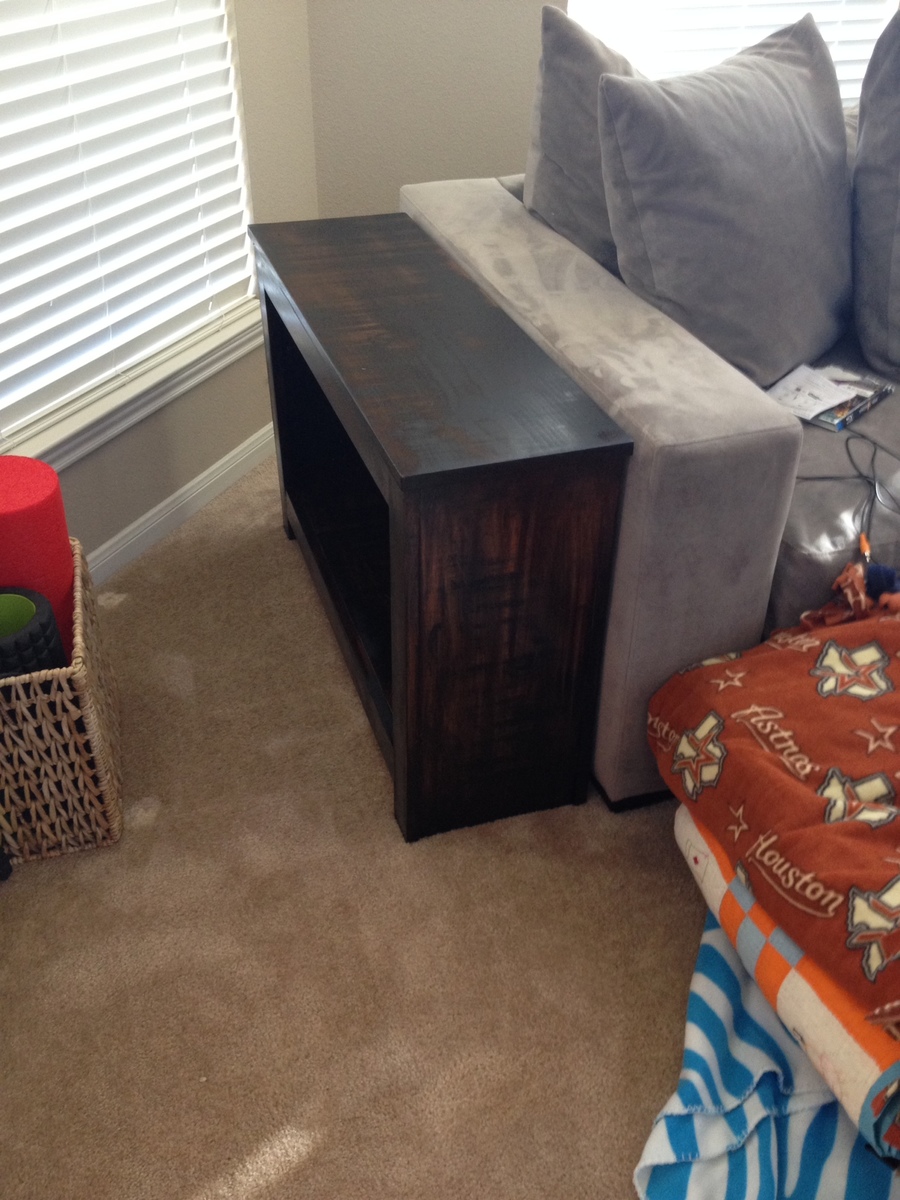
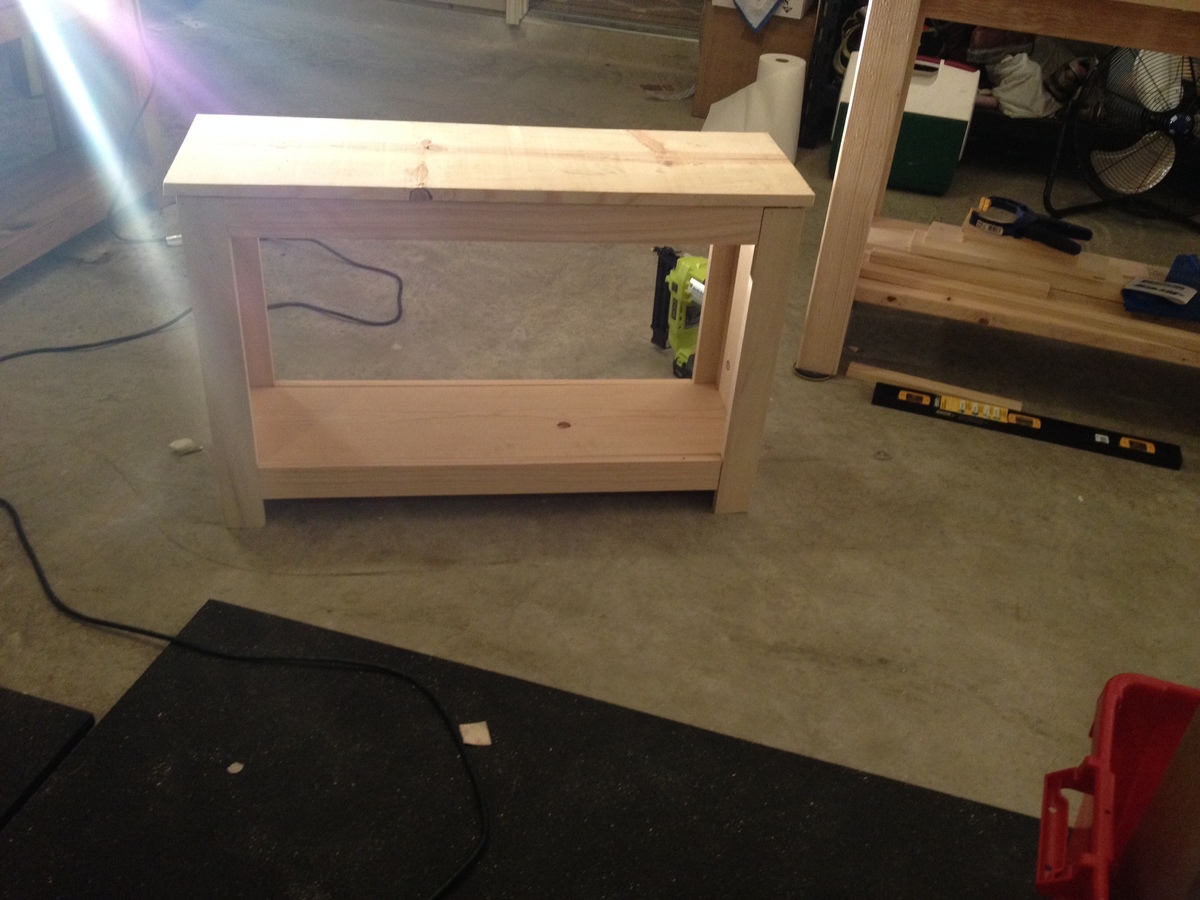
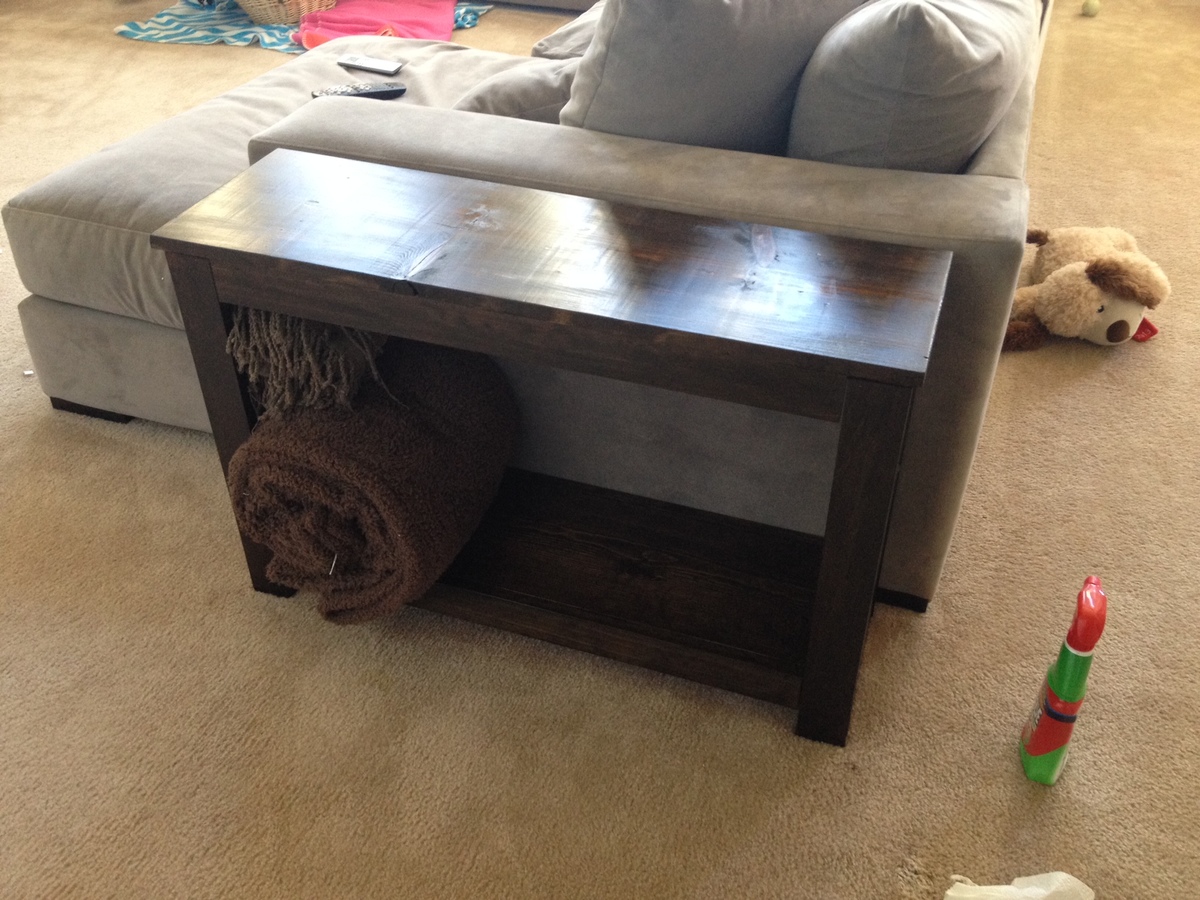
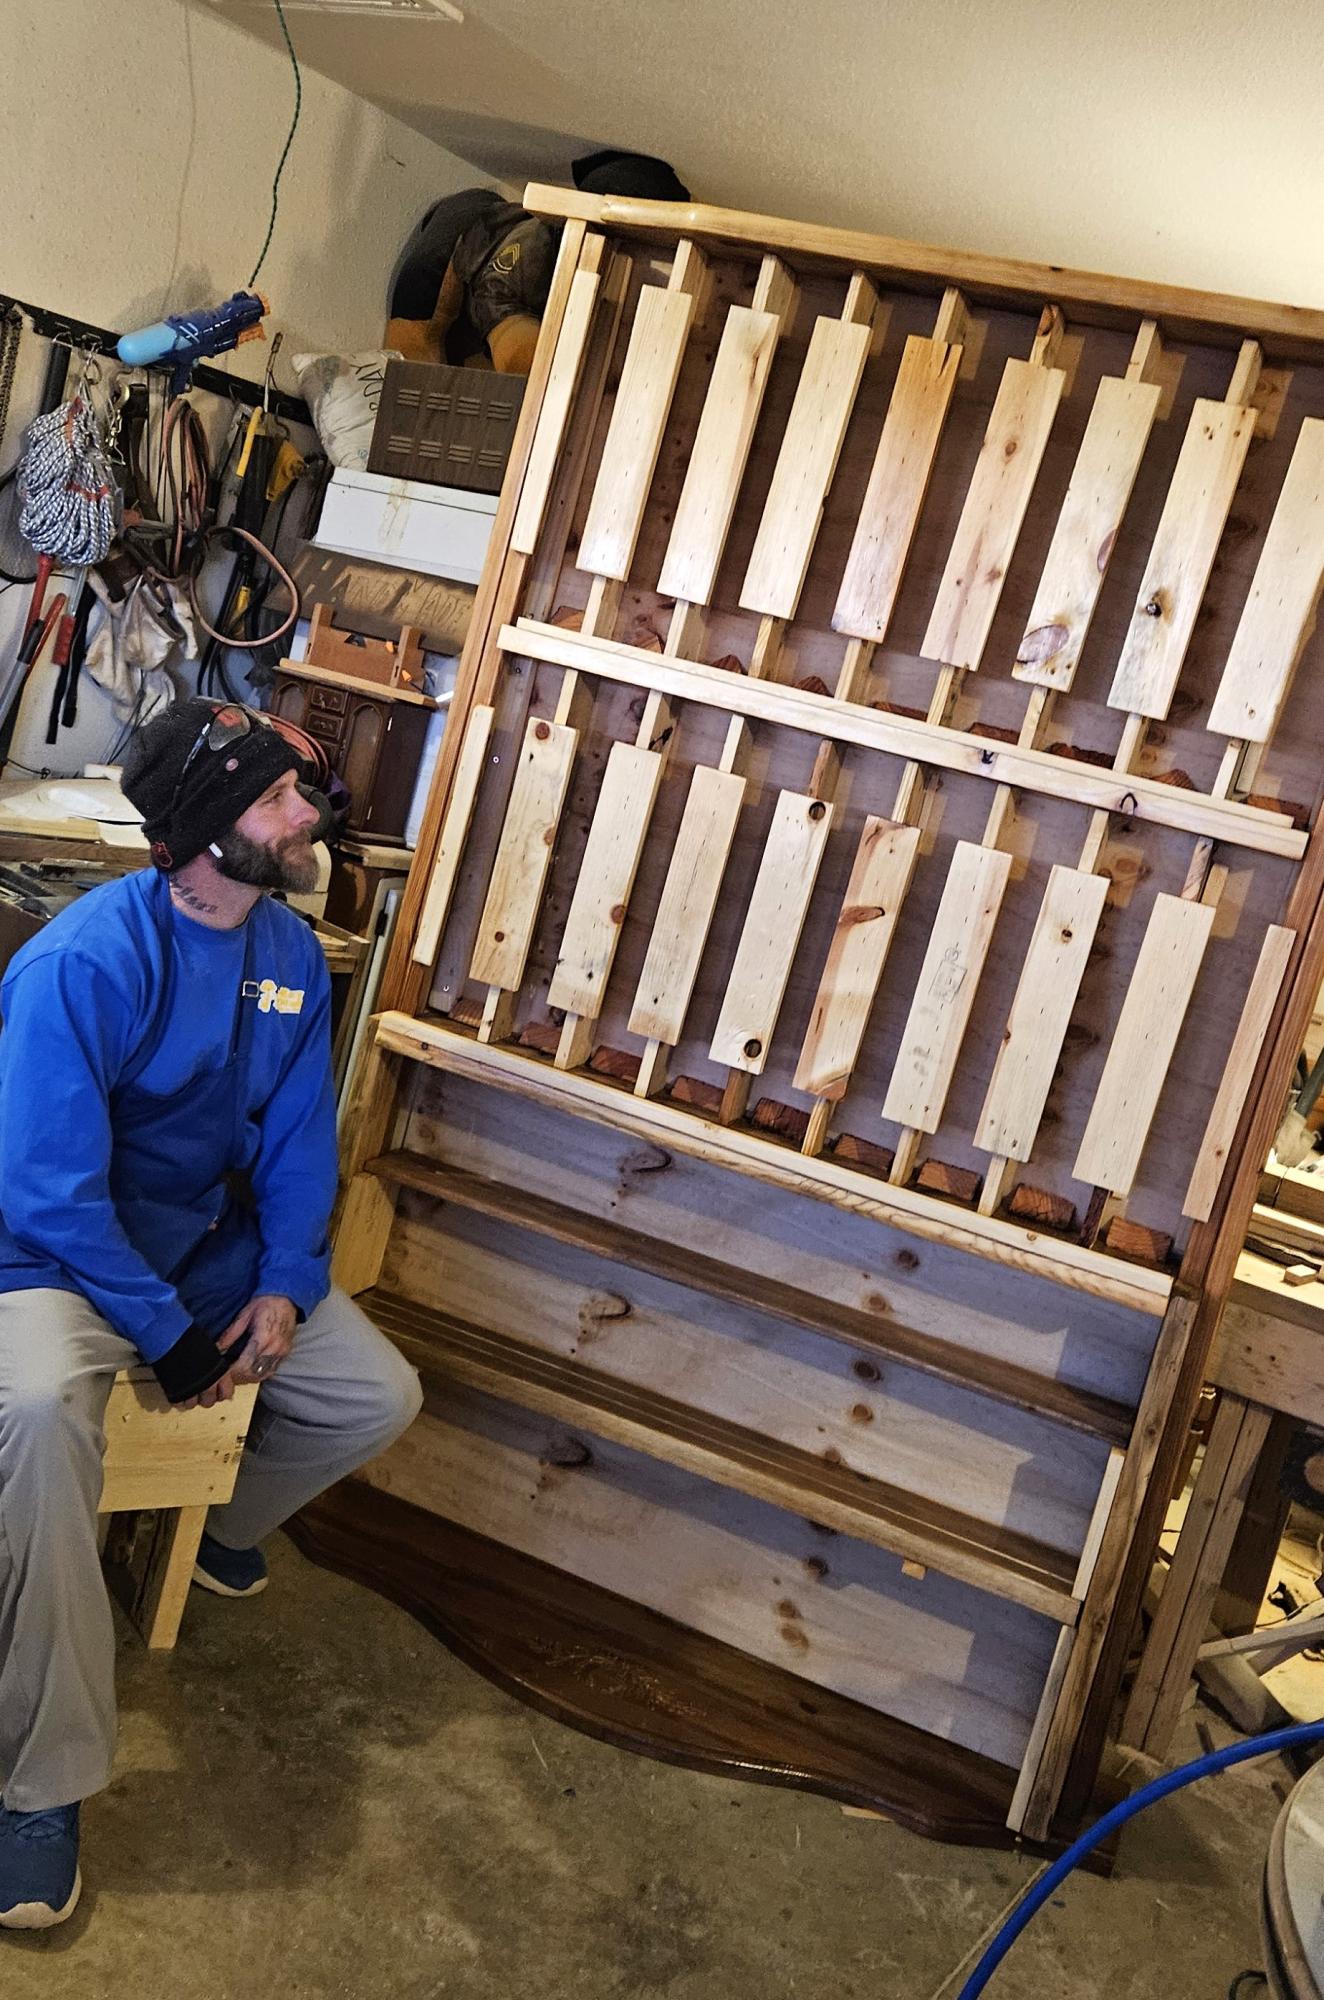
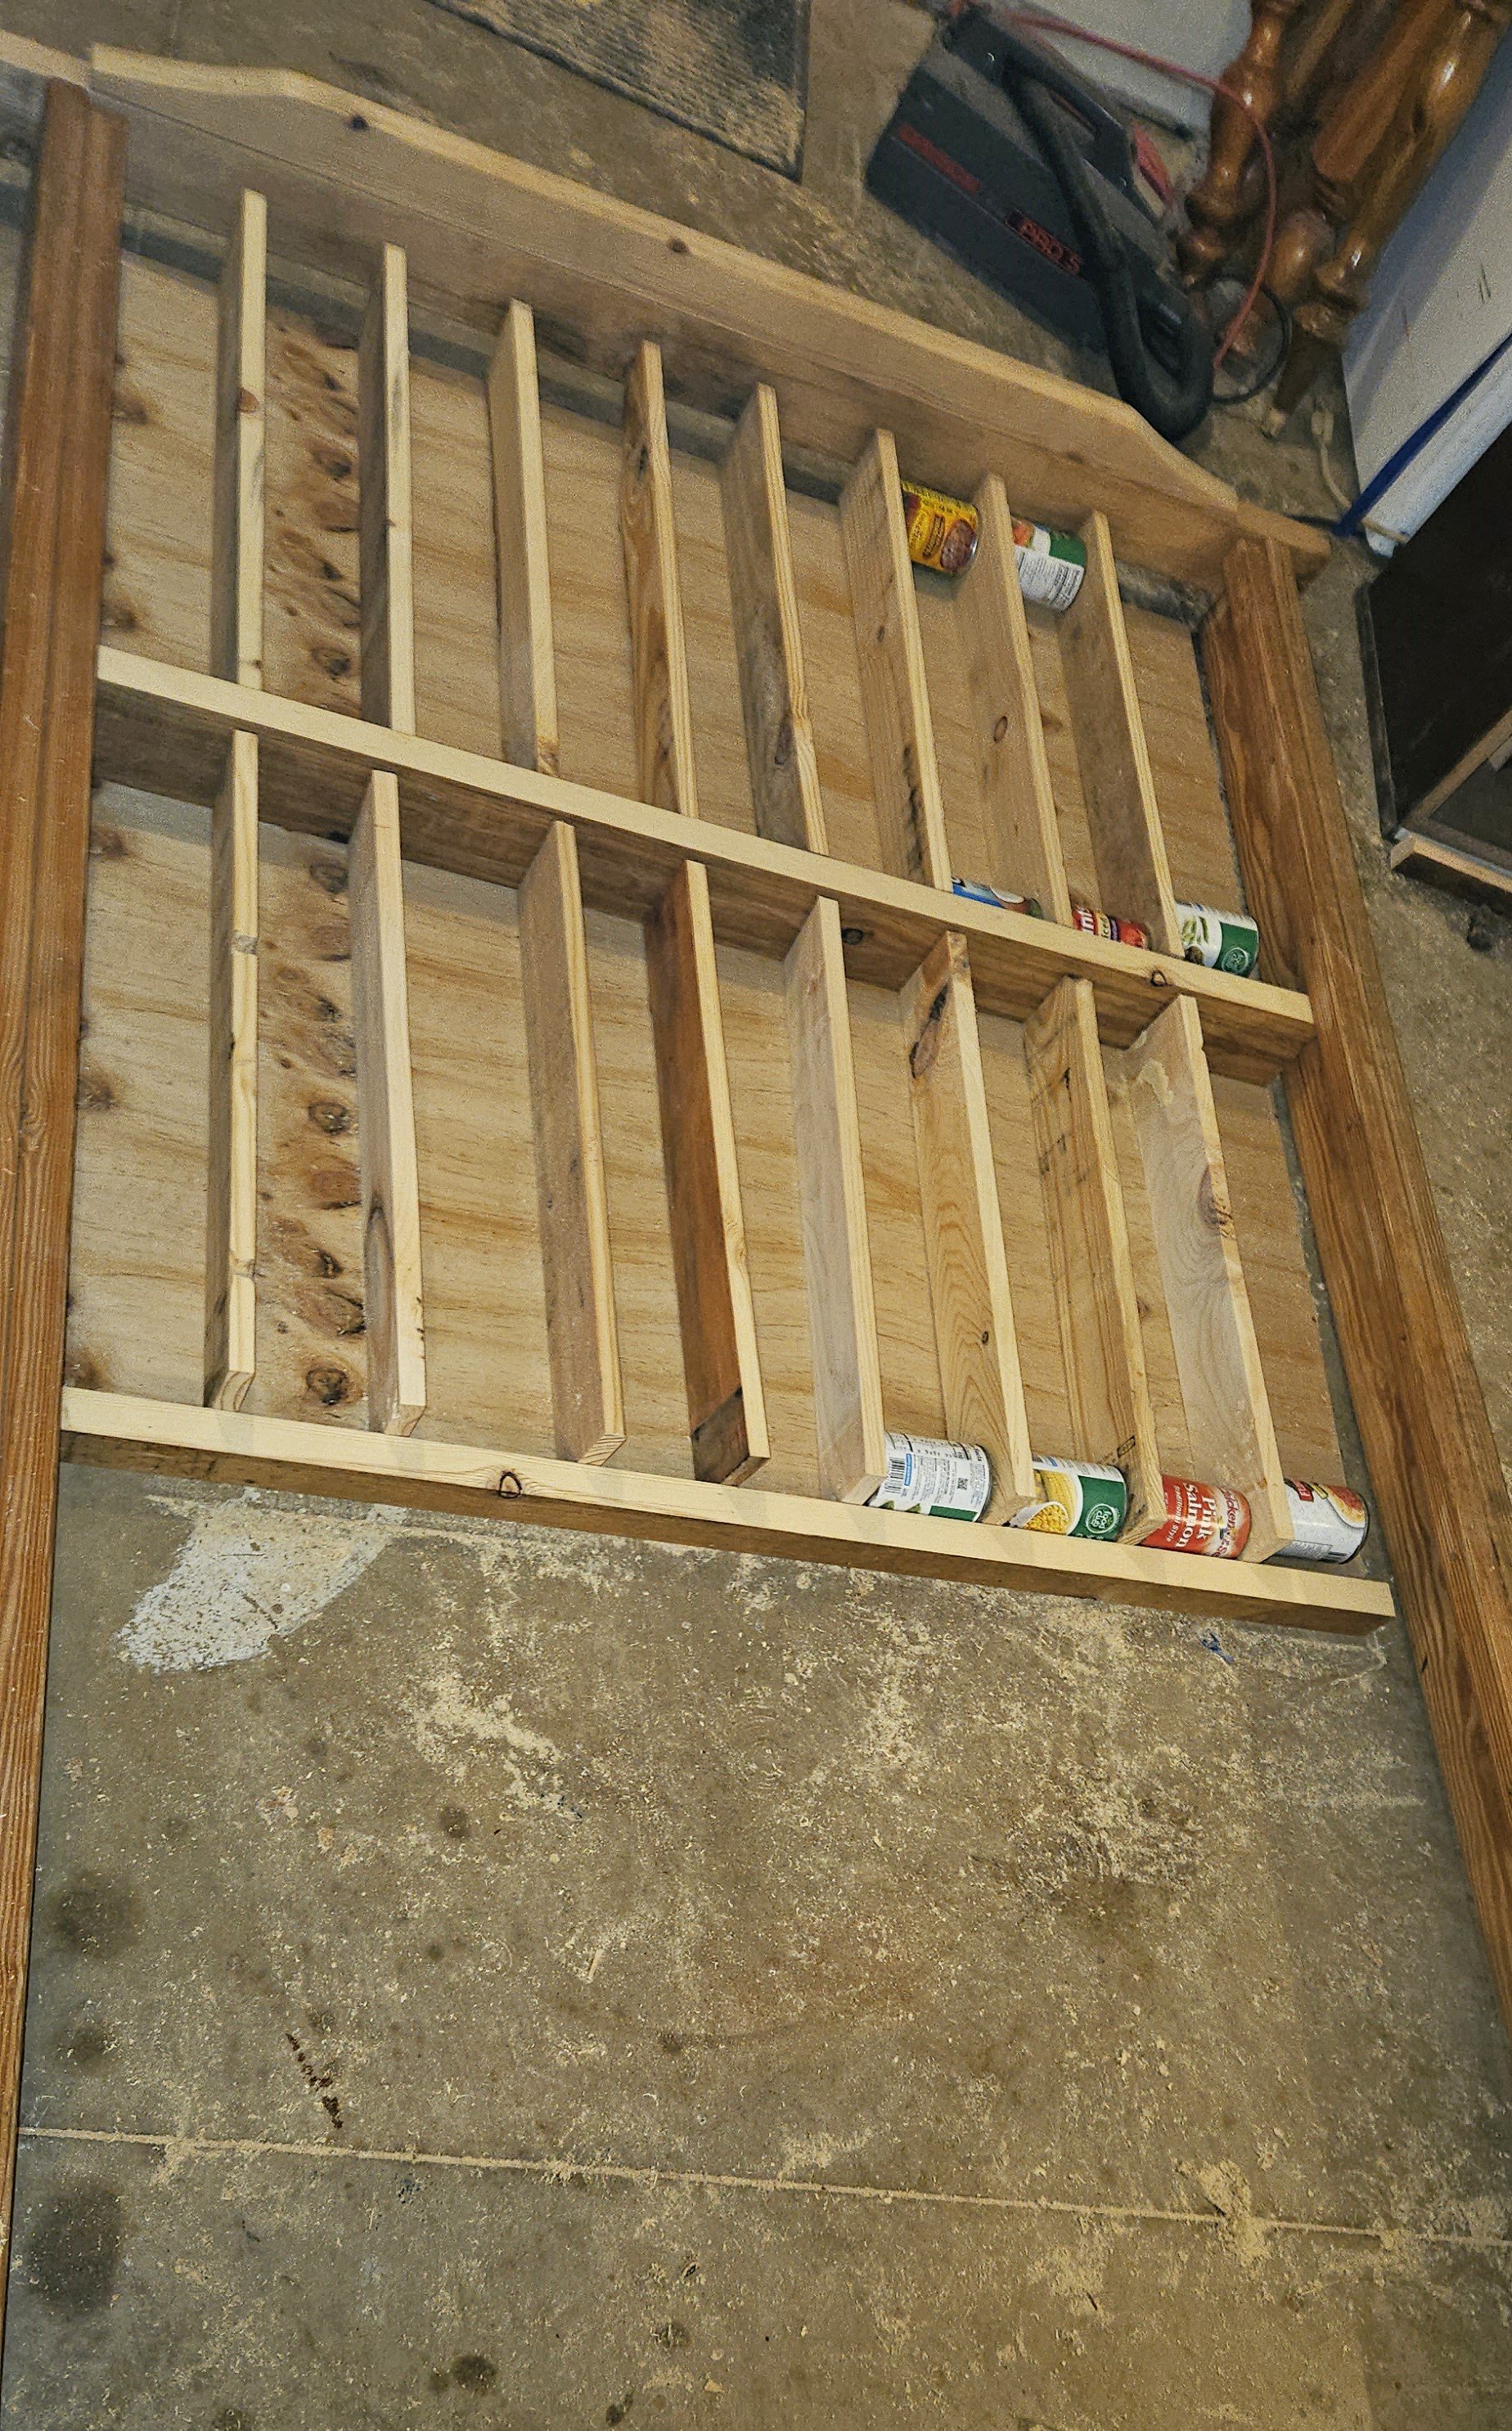
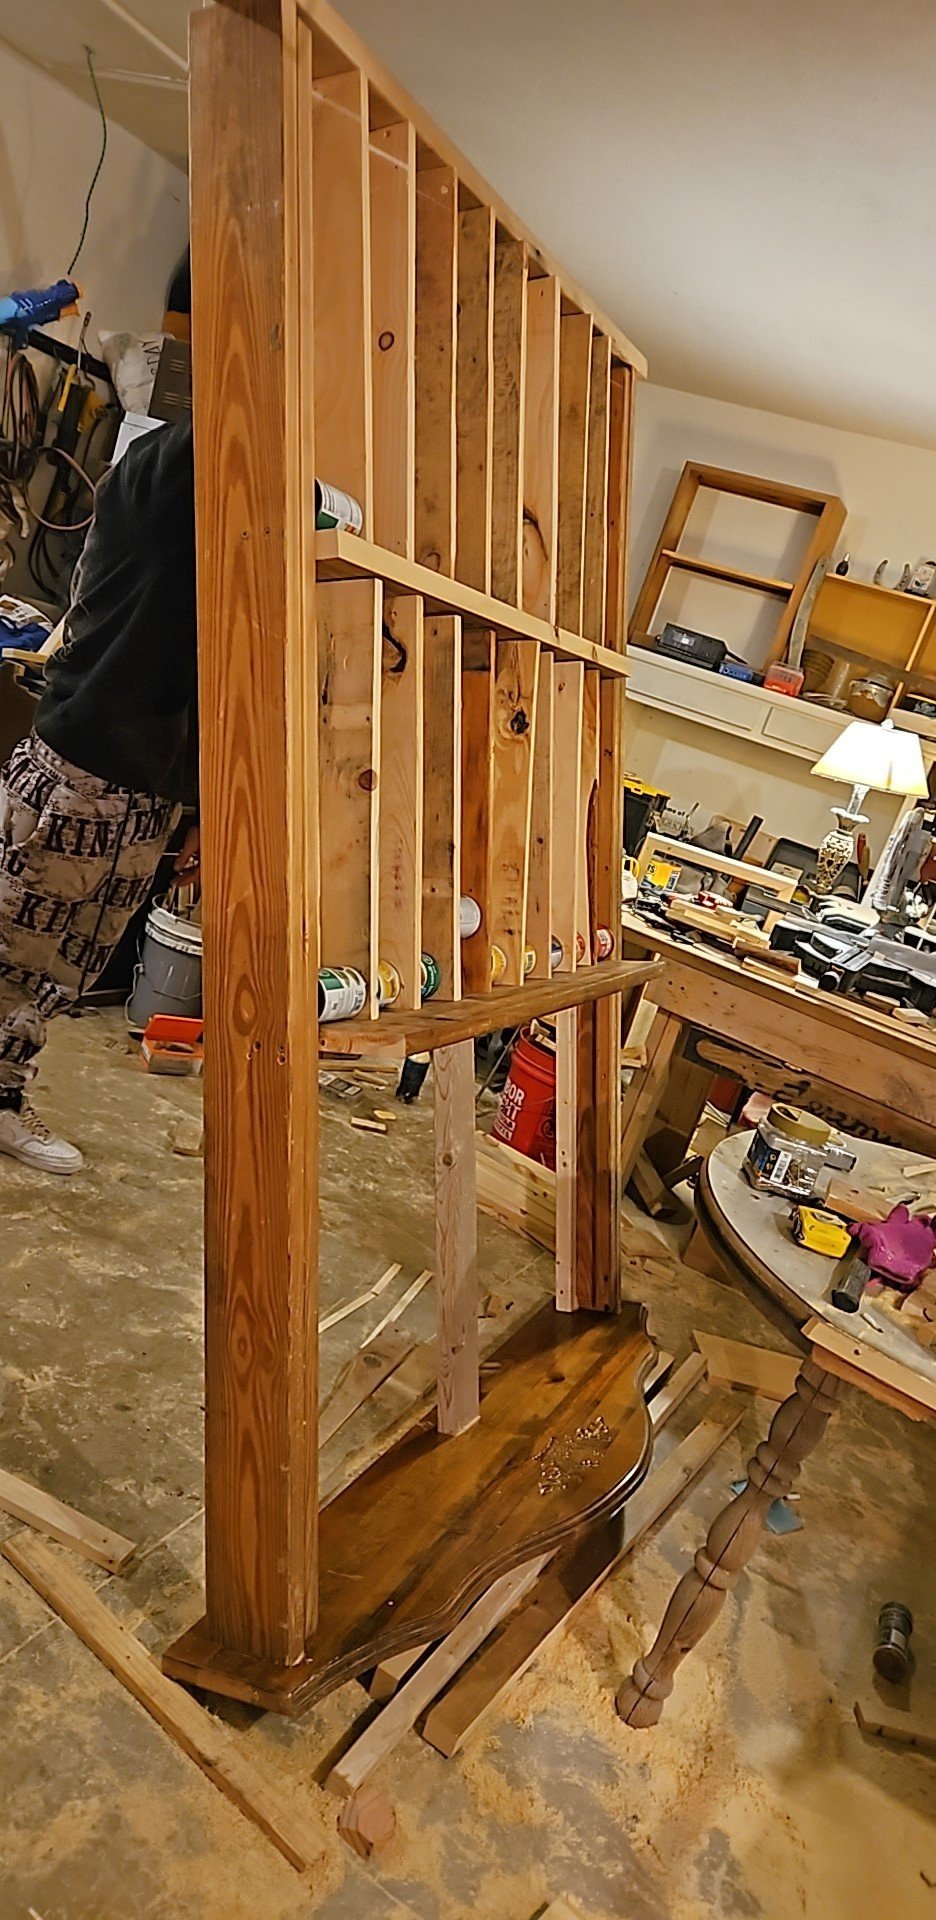
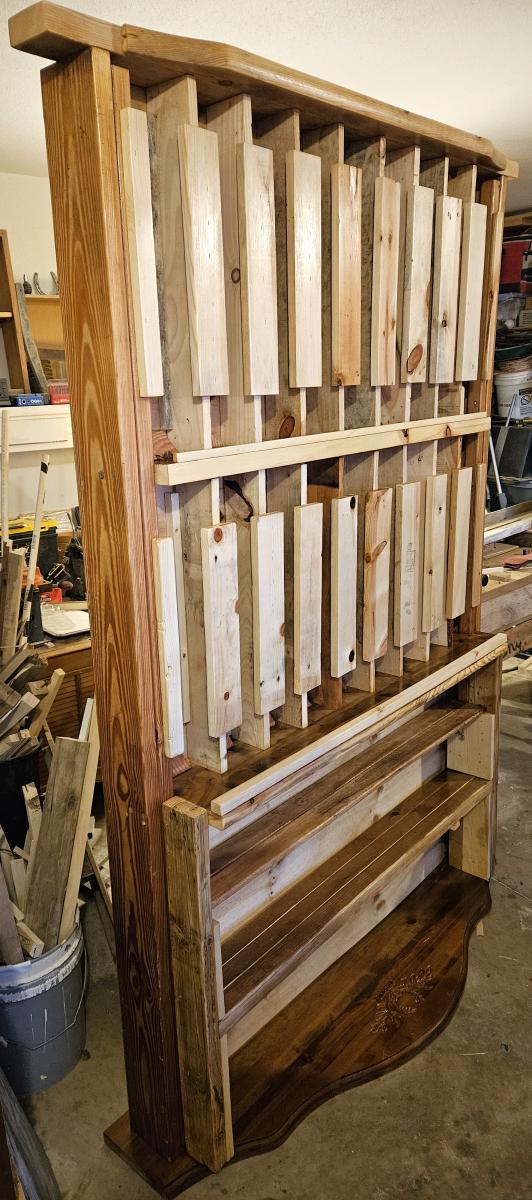
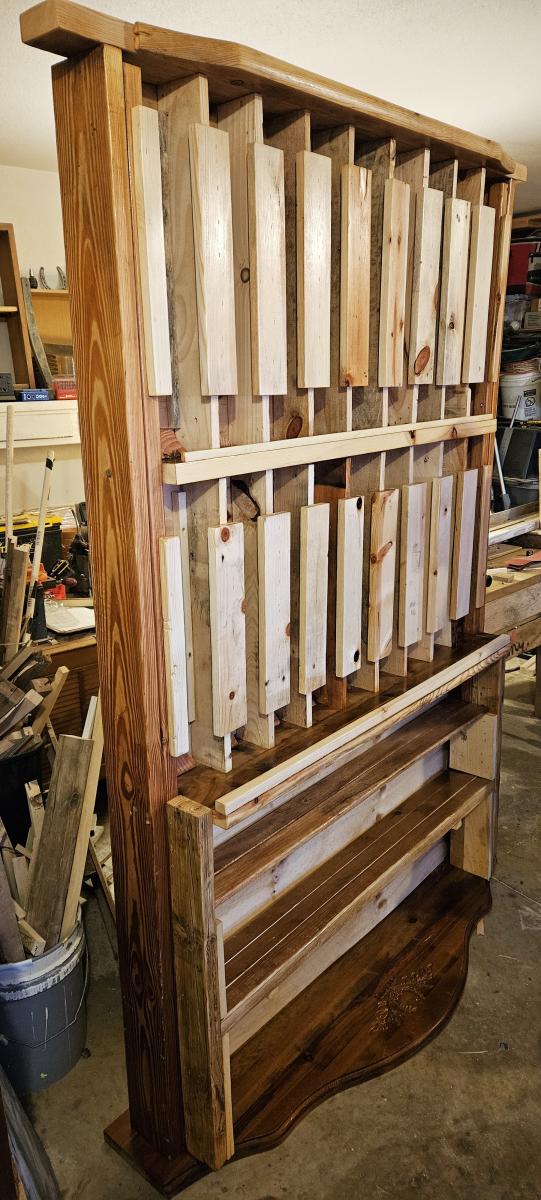
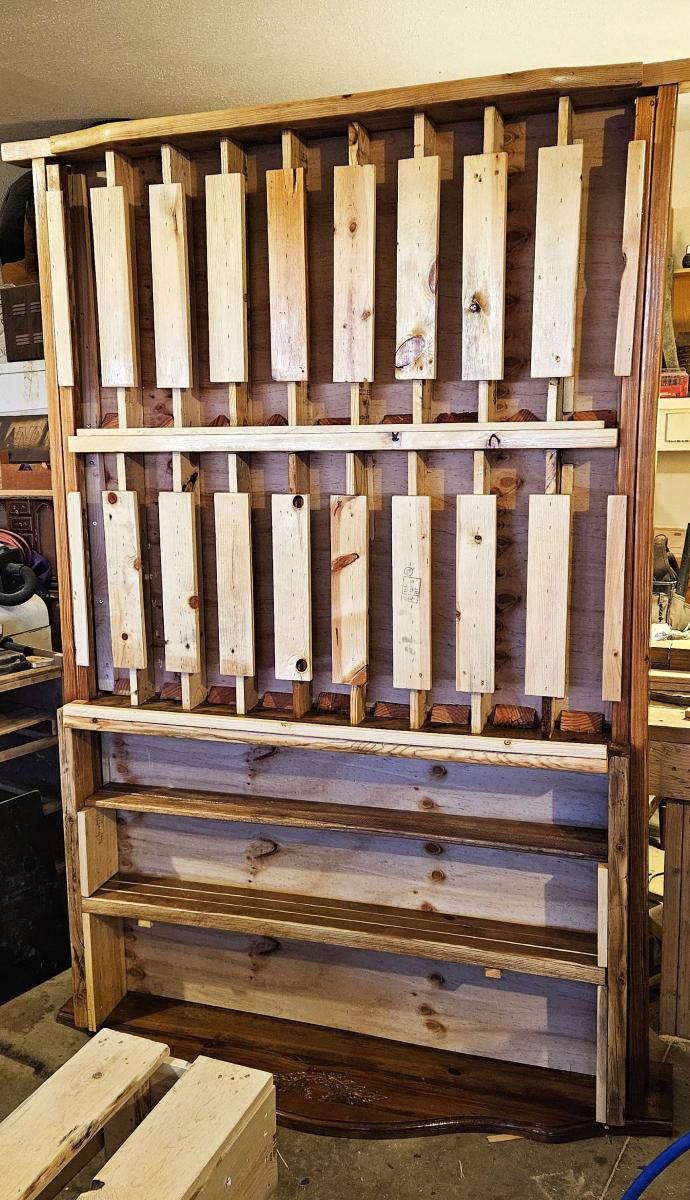
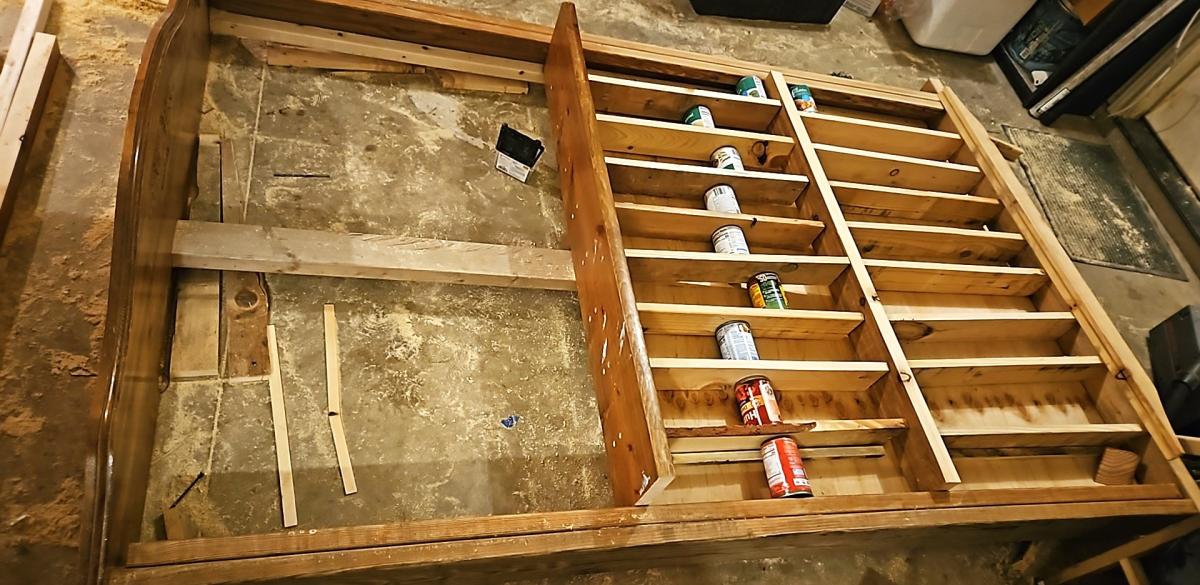
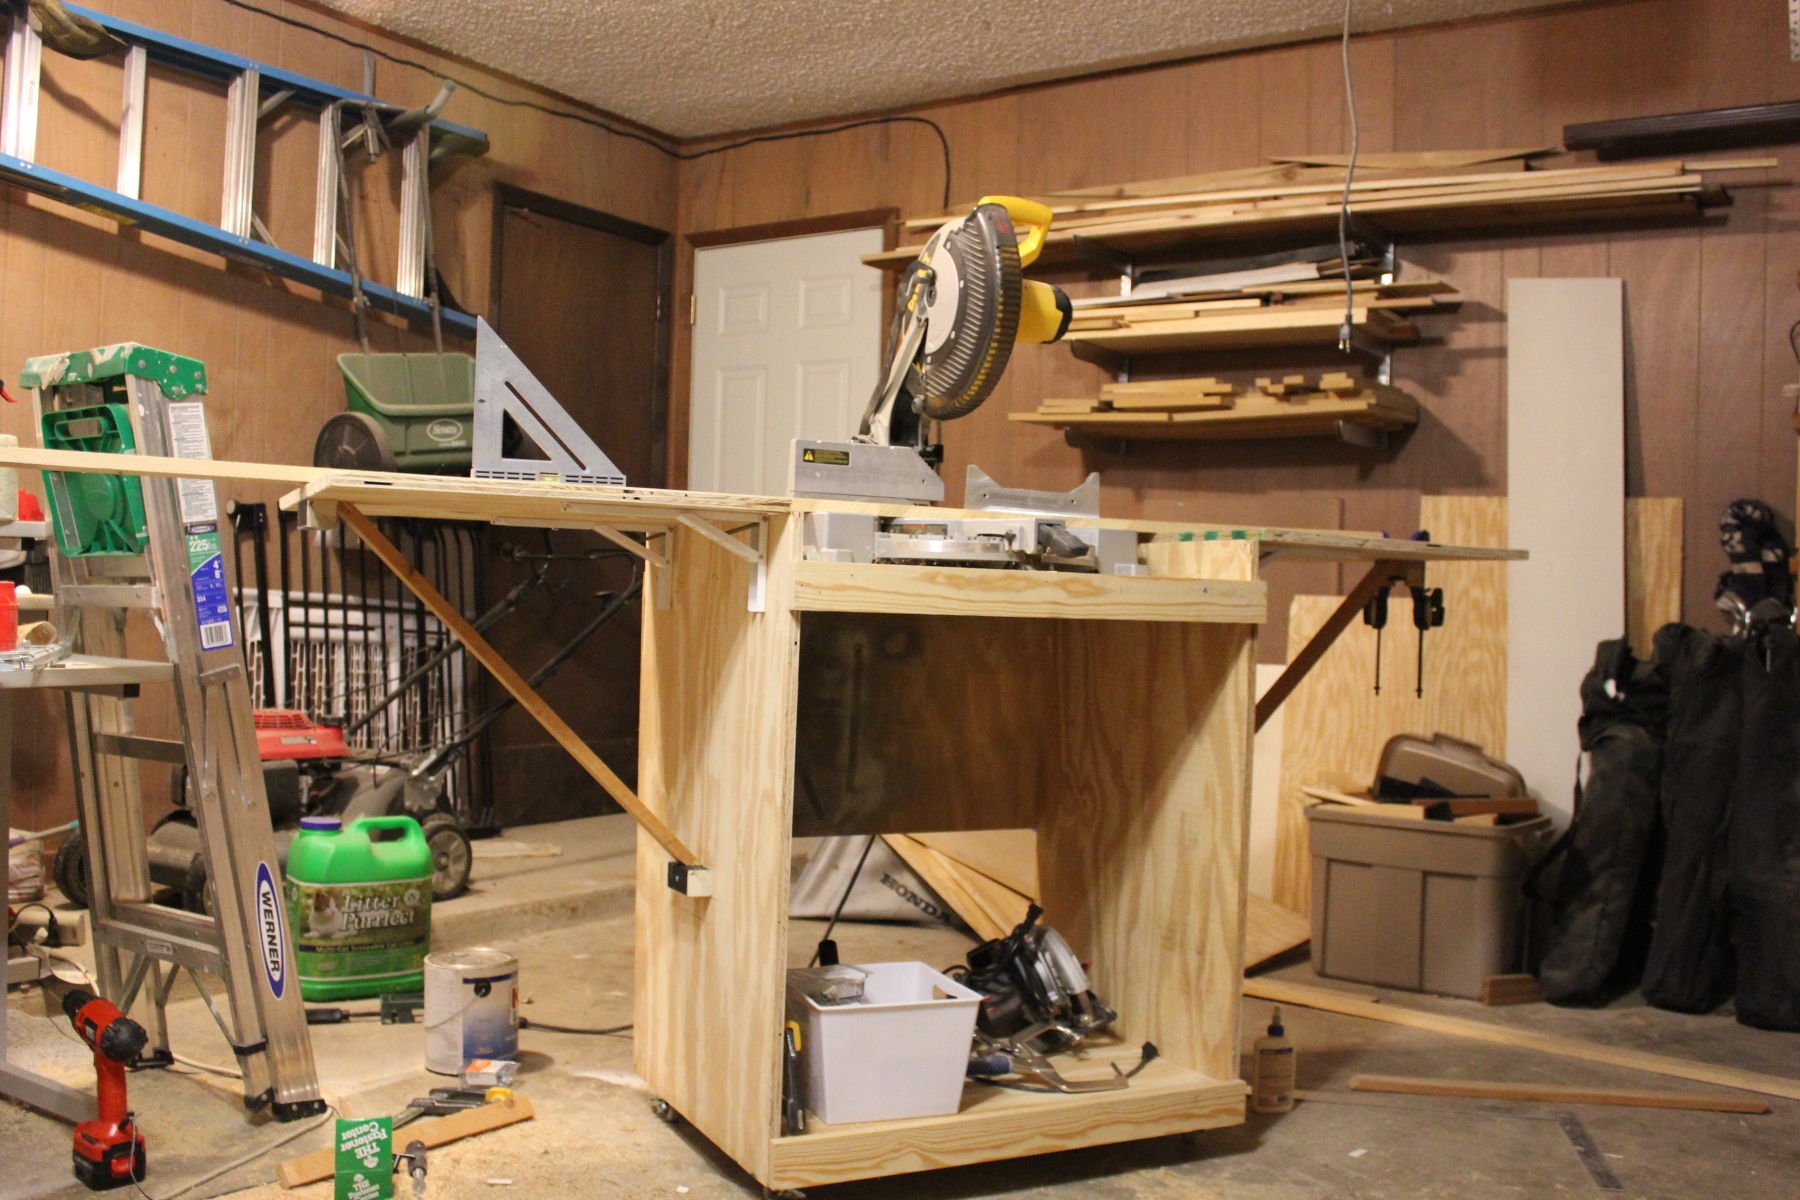
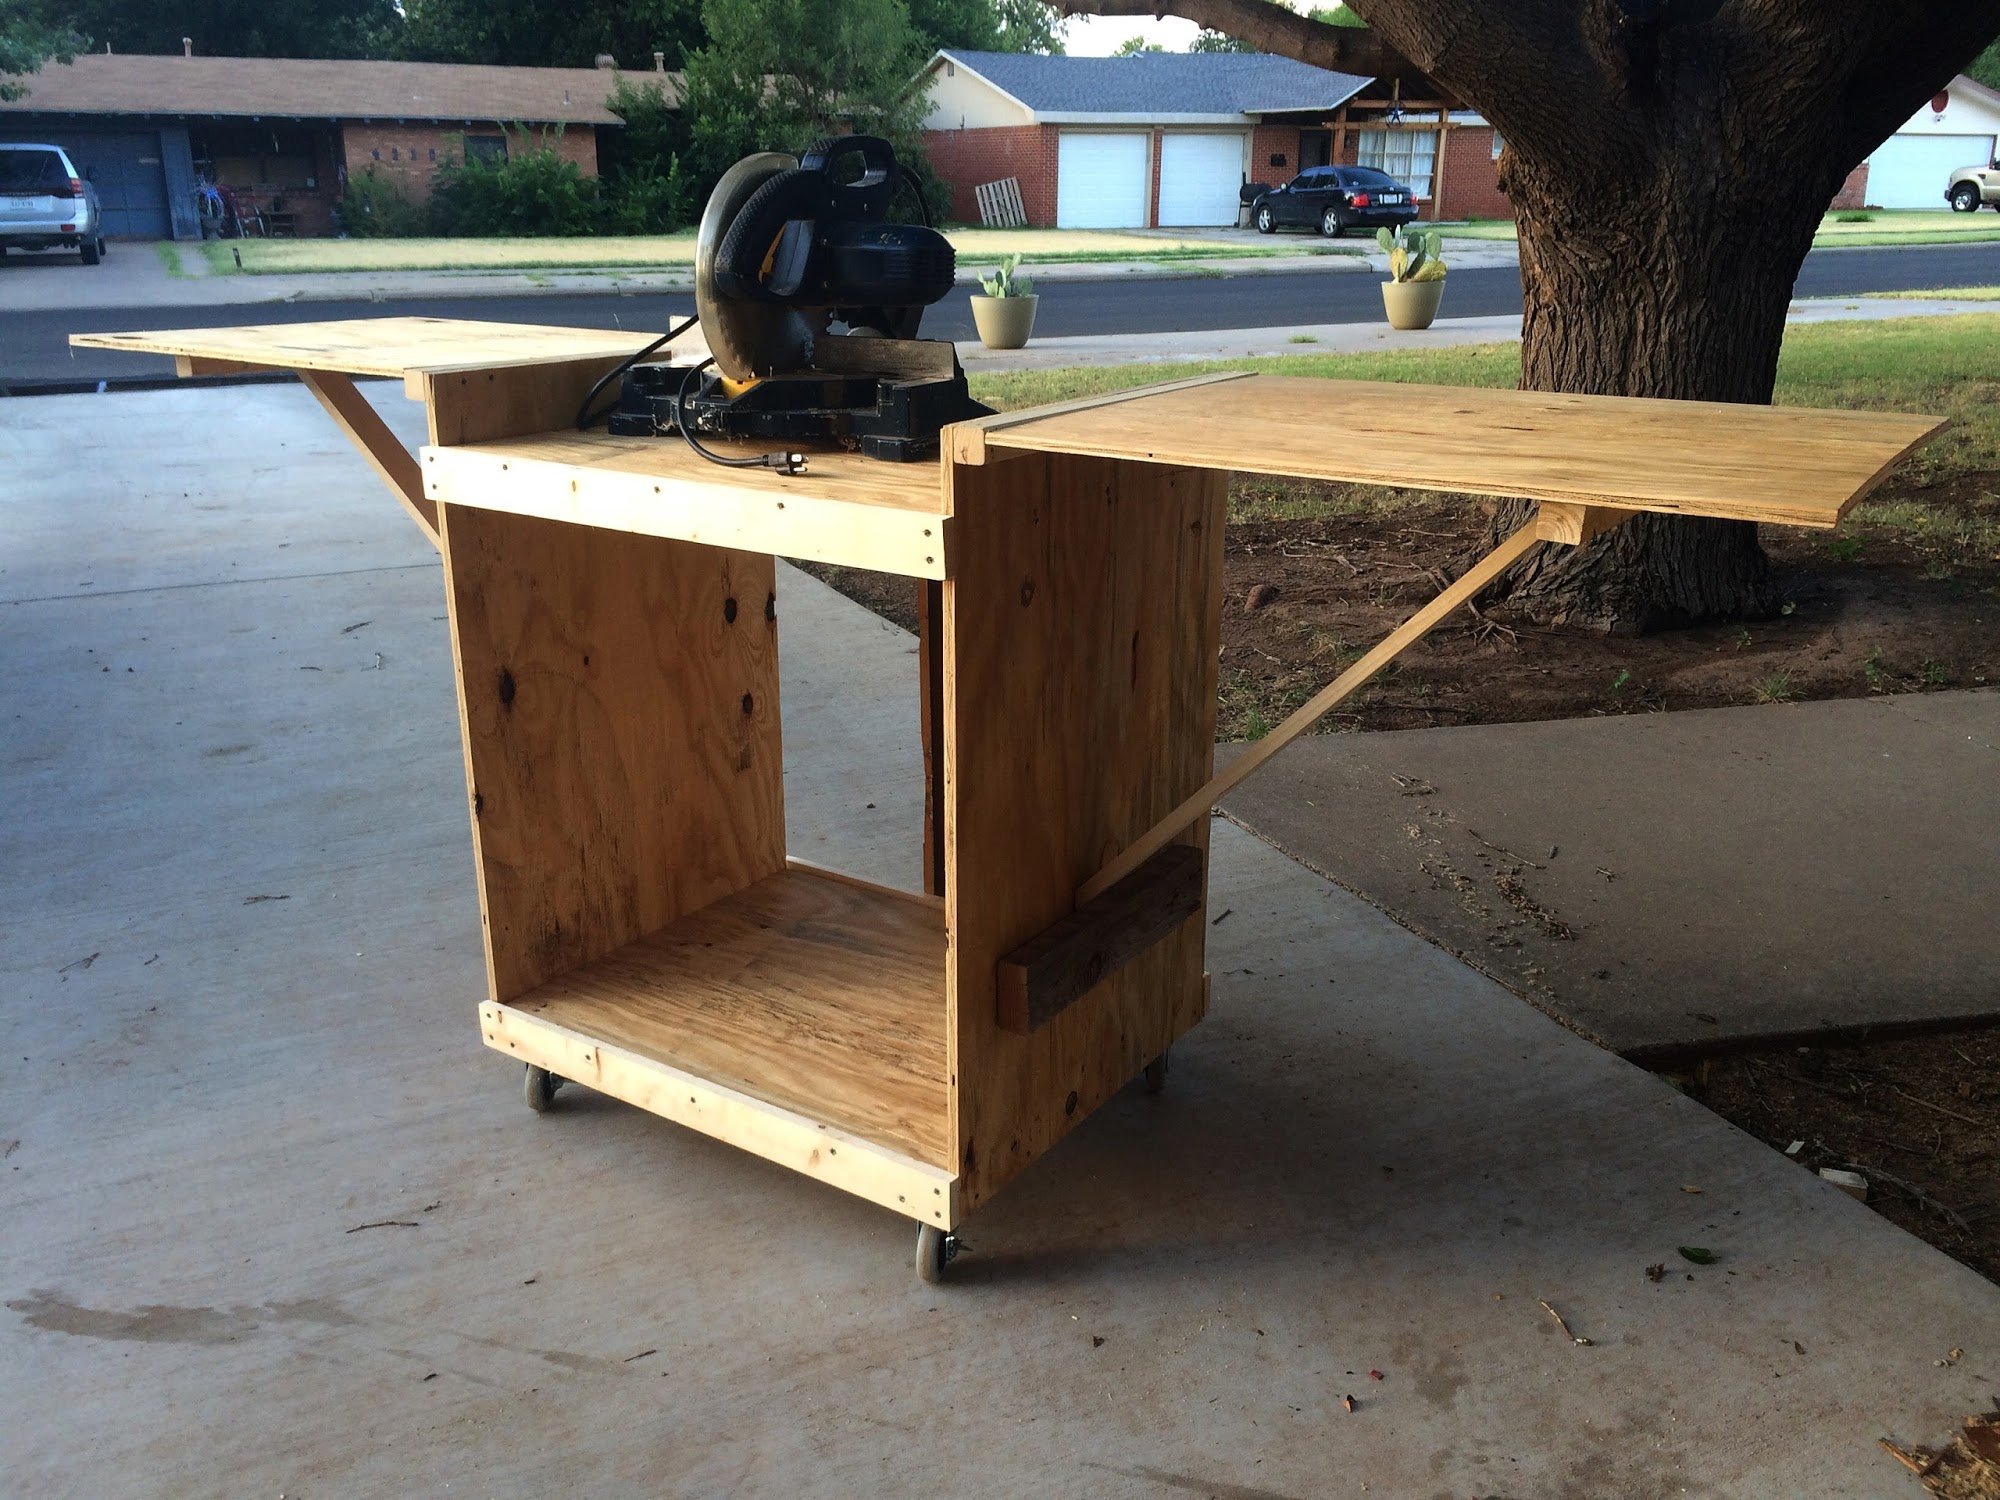
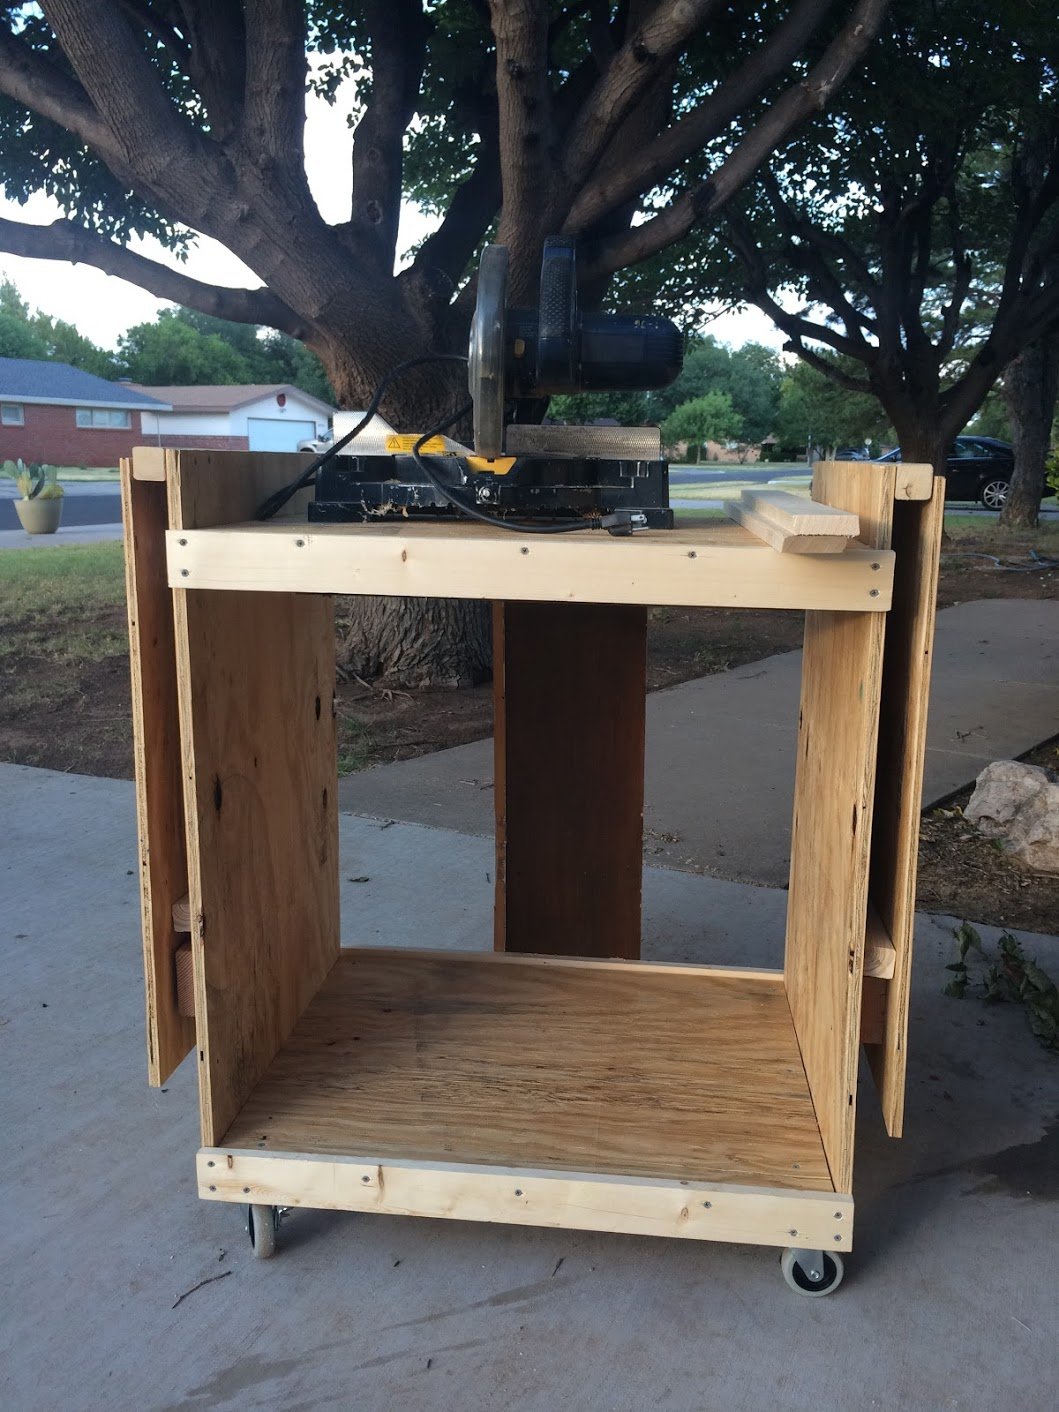
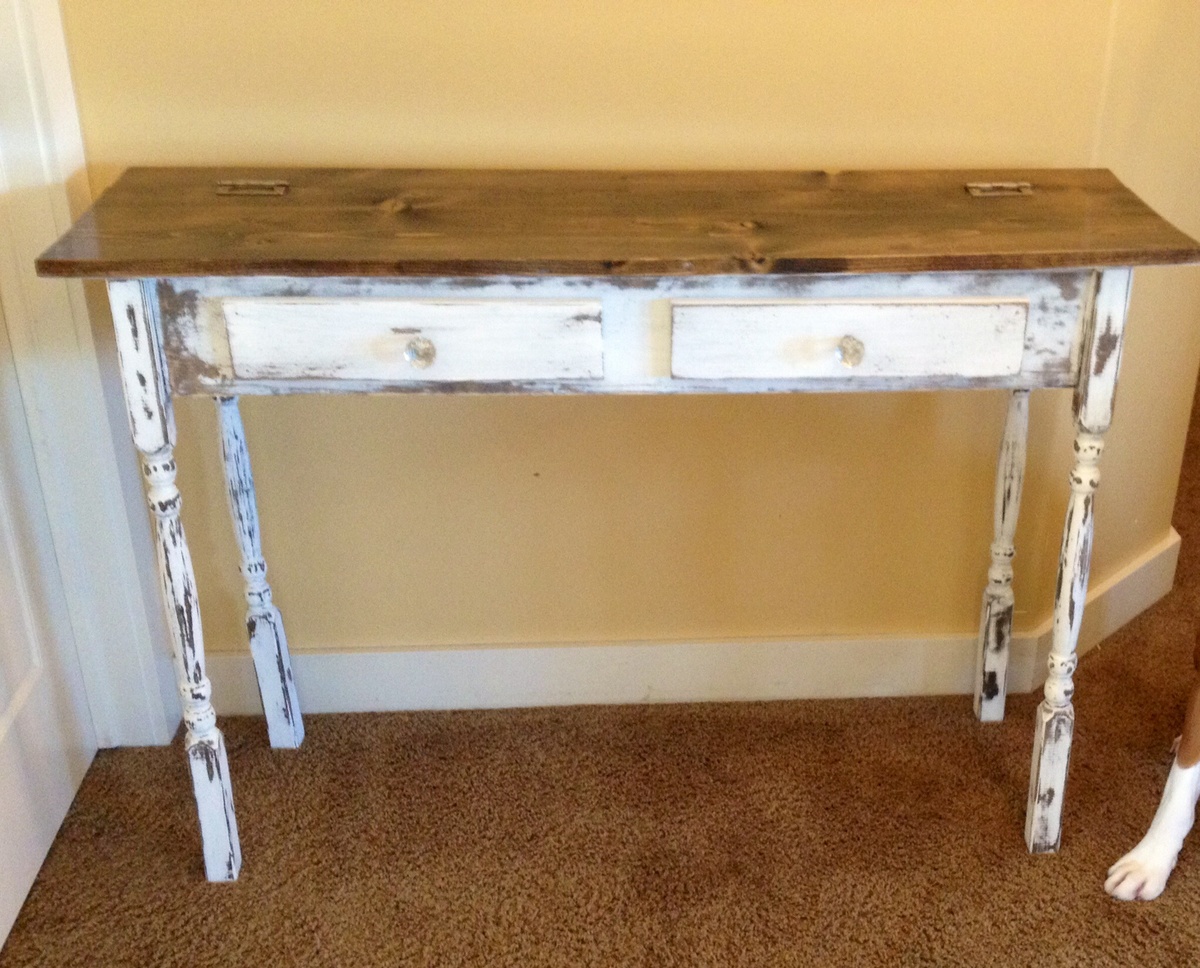
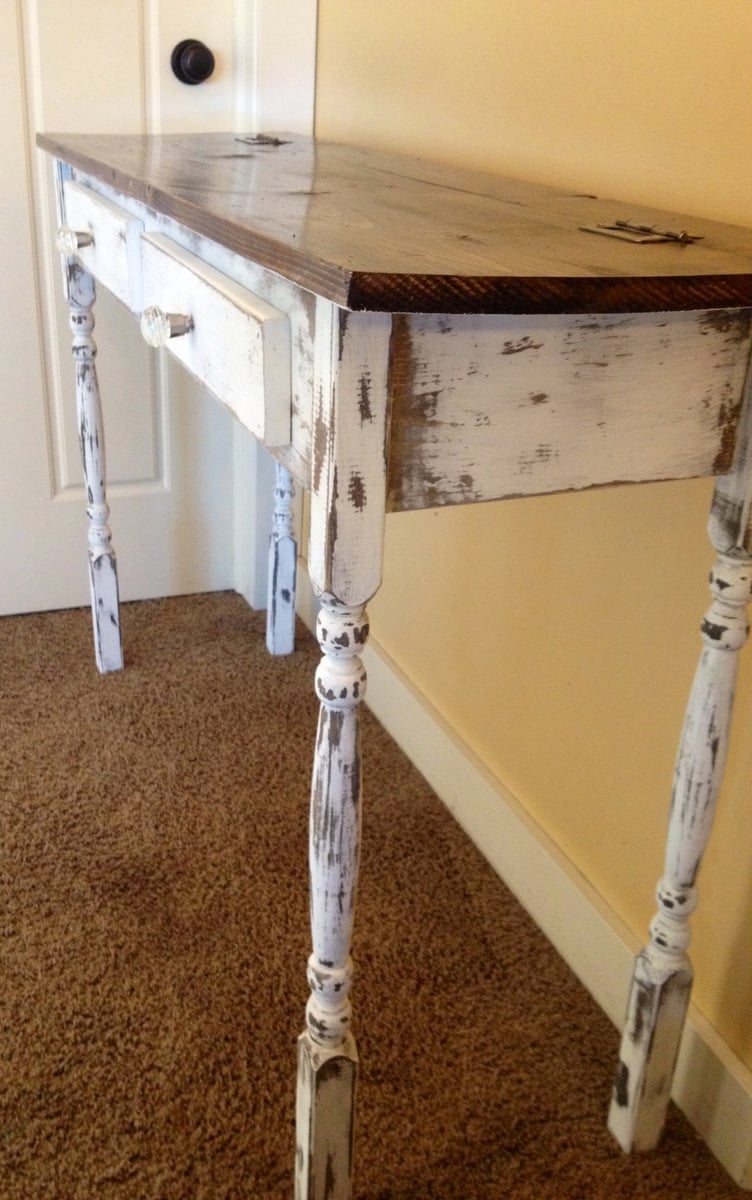
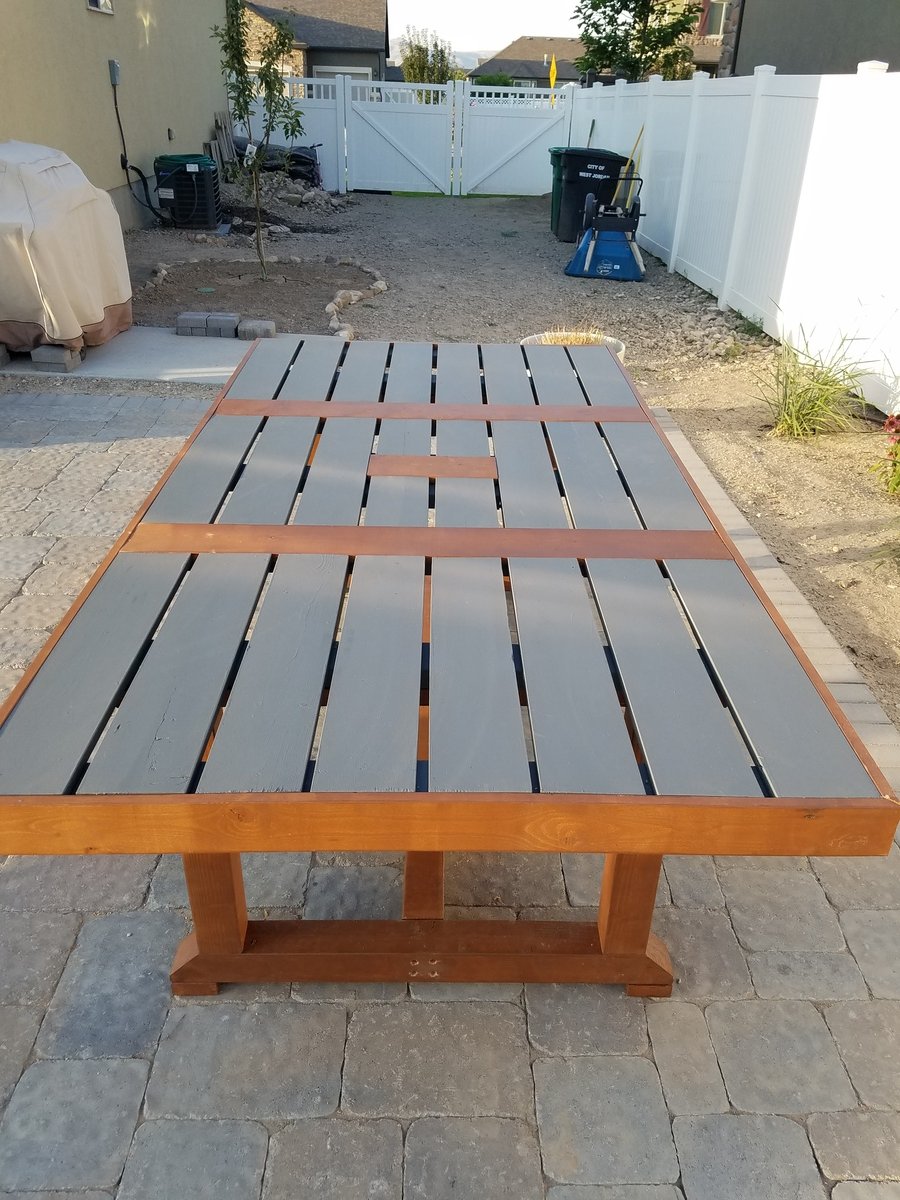
Standup Desk built from Modified Farmhouse Potting Bench Plans
![](/sites/default/files/F62F326D-F708-40D2-A295-A0F7625702EA_0.jpg)
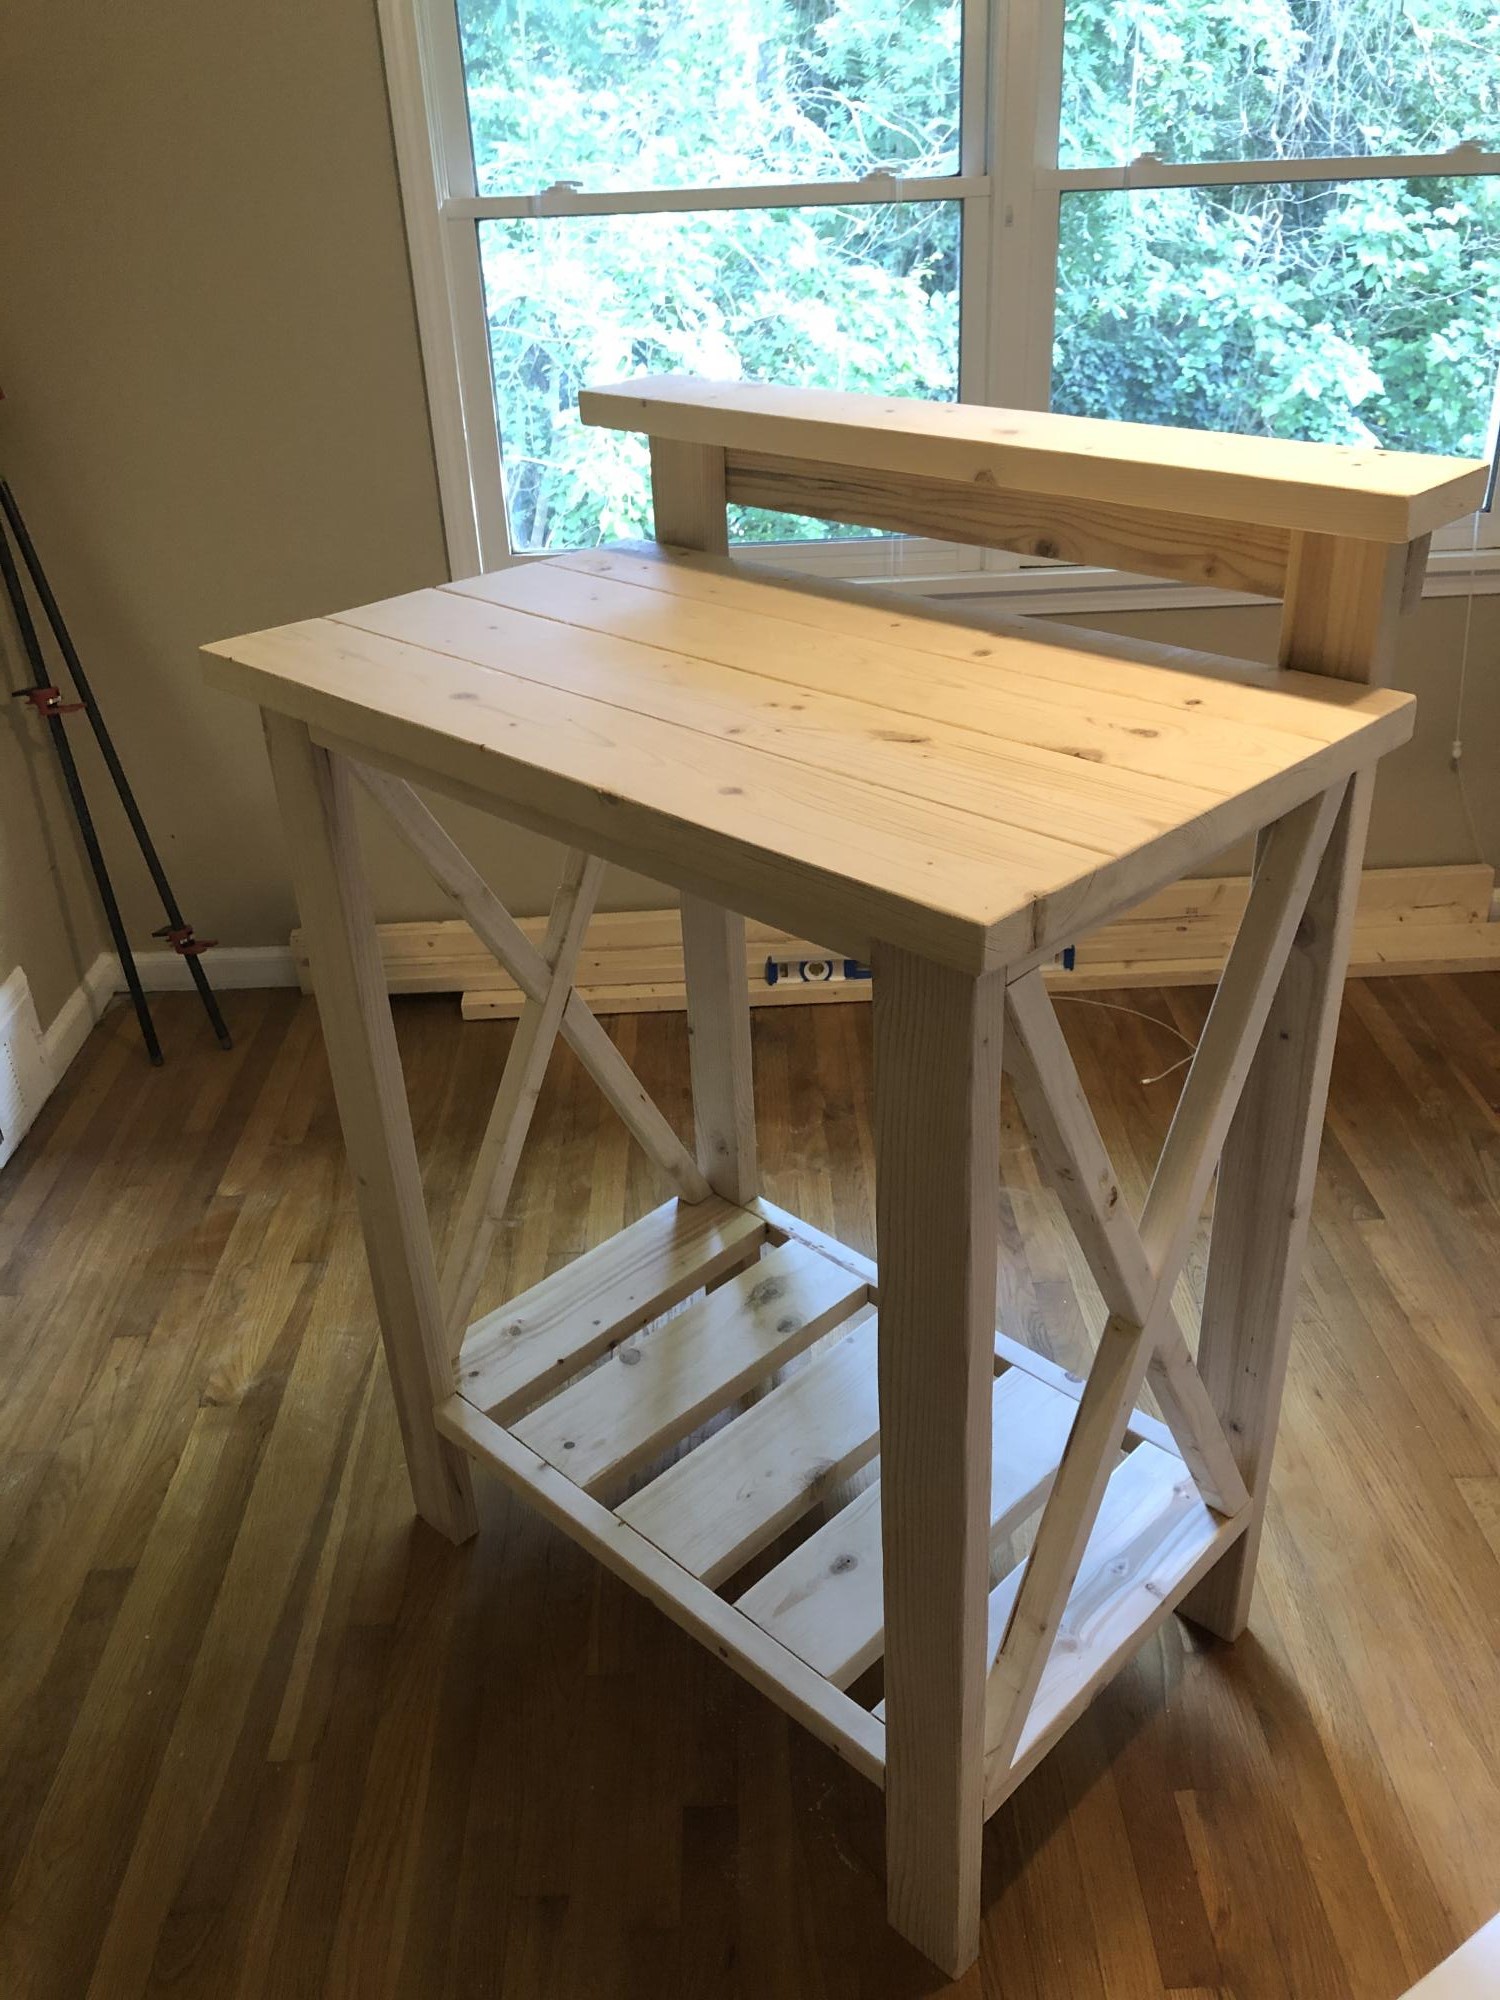
Hello! I used the plans for the Farmhouse Potting Bench and modified them to make a standup desk. This has been awesome for making a simple but effective desk during the quarantine.
Thank you for the inspiration. In Australia I could not get the same size timber so needed to trim the sides. Next time will create the main frame and use it as a template. Made my own wheels, lock nut (also super glued) to ensure nut does not come off with little ones.
For my granddaughter and finished with Winnie the Pooh stickers.
Lawrie Kirk
A few years ago our family vacationed in Watercolor, on the northwest Florida coast. We loved the house we stayed in so much when we returned home we put our house up for sale so we could build a home similar to the one we stayed in. One of the features we loved so much was the large covered front porch and most of all the swing bed it showcased. My wife spent every morning and night that week relaxing in that swing. I promised my wife then that I would make sure got her own swing. Thanks to Ana White, she was back in her (new) swing last night.
I began with the "Large Modern Porch Swing" plan and made some changes. I wanted to use a twin size mattress so I increased the size of the swing's base. Also, because the mattress was 6" I lifted the arms and back. The arms are the biggest and best change I think. I had seen someone else do similar arms, but I they used an 1x12 I think. I wanted a heavier look, so I used a 2x10.
Wed, 07/17/2013 - 13:56
Do you use a regular twin mattress? What do you do when it rains?
A few weekends ago, I went into our tool house to get my bike out so I could ride to work, and I had to remove so many obstacles, that I was too late to ride to work, and as a result, boiling mad. Several of the objects I had to move out of my way were my kids bikes that don't have kick stands, which my kids just haphazardly dump on their sides on the floor of the shed.
I had had the idea to build a bike rack out of spare 2x4s for the kids' bikes for a while, but this incident cemented my resolve to finish it quickly.
I had some scrap 2x4s and 2x6 wood left over from another project, which I used to compose my bike rack. It has 4 slots for 4 bikes.
I did some light sanding to prevent splinters, but I did not apply any finish because of the way it was going to be used and it would not be exposed to the elements.
It took very little time to put together. If I had more claps, I could have done it more quickly.
If you are interested in making something that looks just like mine, stop by my blog to get the details.
This was a fun and relatively easy weekend project. Shaping the legs and getting the rounded header and footer were the only challenging parts. A good stretch project for the novice DIYer.
This table is very nice and so simple and inexpensive. Just choose your lumber selectively. I used prime 2x4's for higher quality.
I'm just starting out. I built this from scrap wood I had laying around. I followed the plan except for the table top. Here I used a 2x6 that I cut on the miter saw, and used bowties to help give the middle more strength.
My daughter needed a step stool to reach the sink in our bathroom. I simplified the jigsaw cuts for this design to accommodate my learning curve. :) I used leftover plywood for the sides and 1x6s for both steps because it was what I had on hand in my garage. It was fun to make and is something we use every day!
built by Instagram: @sawdustandperfume
built to be used in an buisness office that a former cattle rancher conducts buisness.
Queen bed frame with drawers.
Alex's Dad
I was wanting long, skinny end tables for my couch and when I came upon the spa bench plan I knew it was perfect length and size for what I wanted. I only altered the plans by making it taller to fit my couch. This was my second build and I learned a lot through the process so these are not perfect but I love the imperfections. I also didn't like the first stain that I put on the tables and when I tried taking it off my sander made weird marks but it gave it a more rustic look which I ended up loving. (Which I could never recreate on purpose)
I hacked three IKEA bookcases into this beautiful bed for my princess of a daughter who was getting her first apartment in Orlando, FL, because she got a full-time dream job with Disney. Full details at http://handydad.tv/ikea-hack-bed-bridge-bookcase/.
This was one of my first wood working projects. It taught me so much and it also helped me to realize that I really do love wood working! I think in the future I'd probably paint the bottom more of a light grey color to cut down on the contrast between the stained top and the painted bottom. Overall, I love it and my Sadie pup will be happy to have some new bowls to eat out of!
144 can dry storage for a pantry. In Amarillo Texas.
Jeremy Racette
Sun, 01/14/2024 - 19:44
This looks amazing and stores so many cans! Thank you for sharing.:)
I saw Gina's post and this moved straight to the top of the to-build list. It's gotten my saw off the floor of my garage and provided a ton of storage for my other tools and bits. I also added another shelf after taking this picture. I modified this slightly: I made the wings 24" only, added a short back to provide more stability and reinforcement to the top shelf, added a diagonal support to the wings, and reinforced the top shelf from the sides with 3" dowels. I got my wood from a local lumberyard and the wheels from Blue.
I followed the plans as listed pretty closely. I added a 2x4 under the main shelf for extra support, and used 2x4s instead of 2x2s at the bottom, so I could have something to attach the casters to. I also opted for 1x3 braces, rather than the hinges to hold up the sides. I need to add the fence and paint it white.
This is my first time making this kind of project and it turn out amazing!!! Looking forward to built some end tables with this same design!!!
I had never built cabinets before, but I’ve been wanting to learn how to, and this corner in our house had been screaming for a bar area for awhile. I’m quite happy with the result, given that I’m only one year into woodworking! Thank you, Ana, for all your inspiration!
Jaclyn Pietrafetta
I actually got the idea from Shanty 2 Chic and I thought I would share my take on it here. It was super simply...I just kreg jig'd the boards together and built a frame to the size I wanted. I bought the aluminum from Lowe's and cut it down. I actually built 6 of these so I could give 5 away as thank you gifts. The price for all 6 was under $50 and I think only about $30 of that was the materials to make the boards. The rest was spend on the stuff I made for the boards.
Here is a link for their post! http://www.shanty-2-chic.com/2012/05/diy-12-magnetic-memo-board.html
This build was quite easy. I didn't run into any issues. I went with stair balusters for the legs instead of the 2x2's that the design calls for, but the balusters ended up being 2x2 anyways so I didn't need to make any changes. My building costs were a bit pricier as I find there's a slight price difference for lumber here in Canada. The construction of the table itself took about an hour or so, however the finishing took much longer due to the painting, staining and then lacquering and waxing!
I decided to go with a more distressed/aged look for my finish, and I thought the glass knobs would look gorgeous. I also decided to line the inside storage area because it just looked a little bland to me! All-in-all I'm very happy with the outcome!
This took new novice DIYers about 25 hrs. Also this table is really heavy when complete so build it where you want it to sit or build in it one place and right before you are about to finish move the 3 built peieces separely where you want it to sit and finish assymbling it. Also, when completed this is counter height. We are going to take ours apart abit and shave 6in or so off the legs to be normal table height.
Comments
CreativeNest
Tue, 07/14/2020 - 07:10
Great Mod
This is great! I was thinking of modifying the potting bench plans as well, to build a kitchen unit. My stove recently bit the dust, and seeing as I never use the oven anyway, I'm hoping to build a convection plate cooking unit to put in the old stove's place. I'll probably pop some doors onto it and have closed storage underneath.