Community Brag Posts

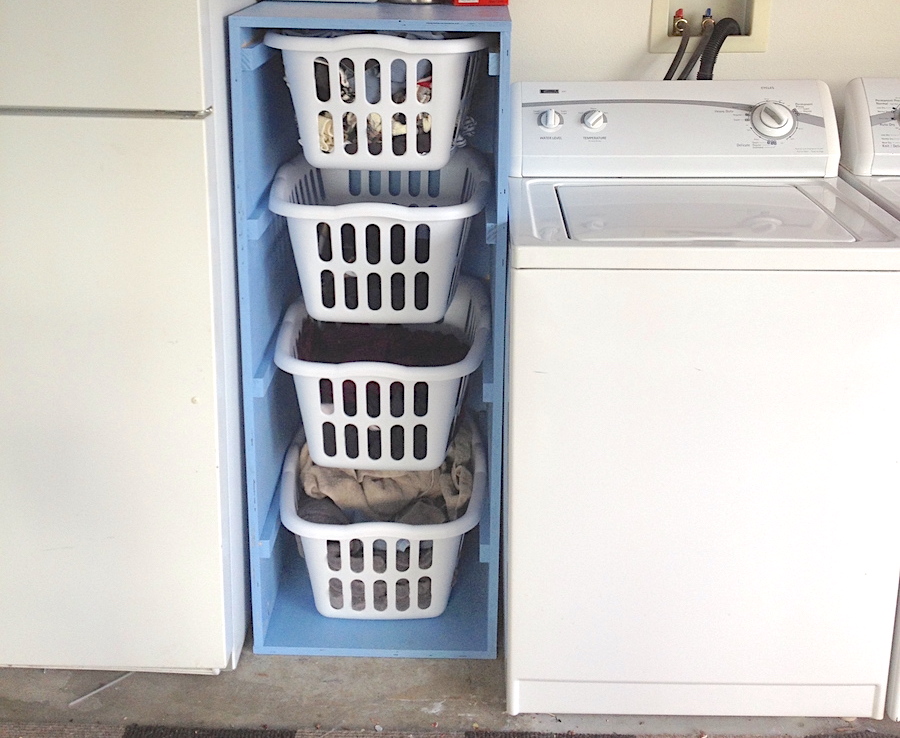
Laundry Sorter

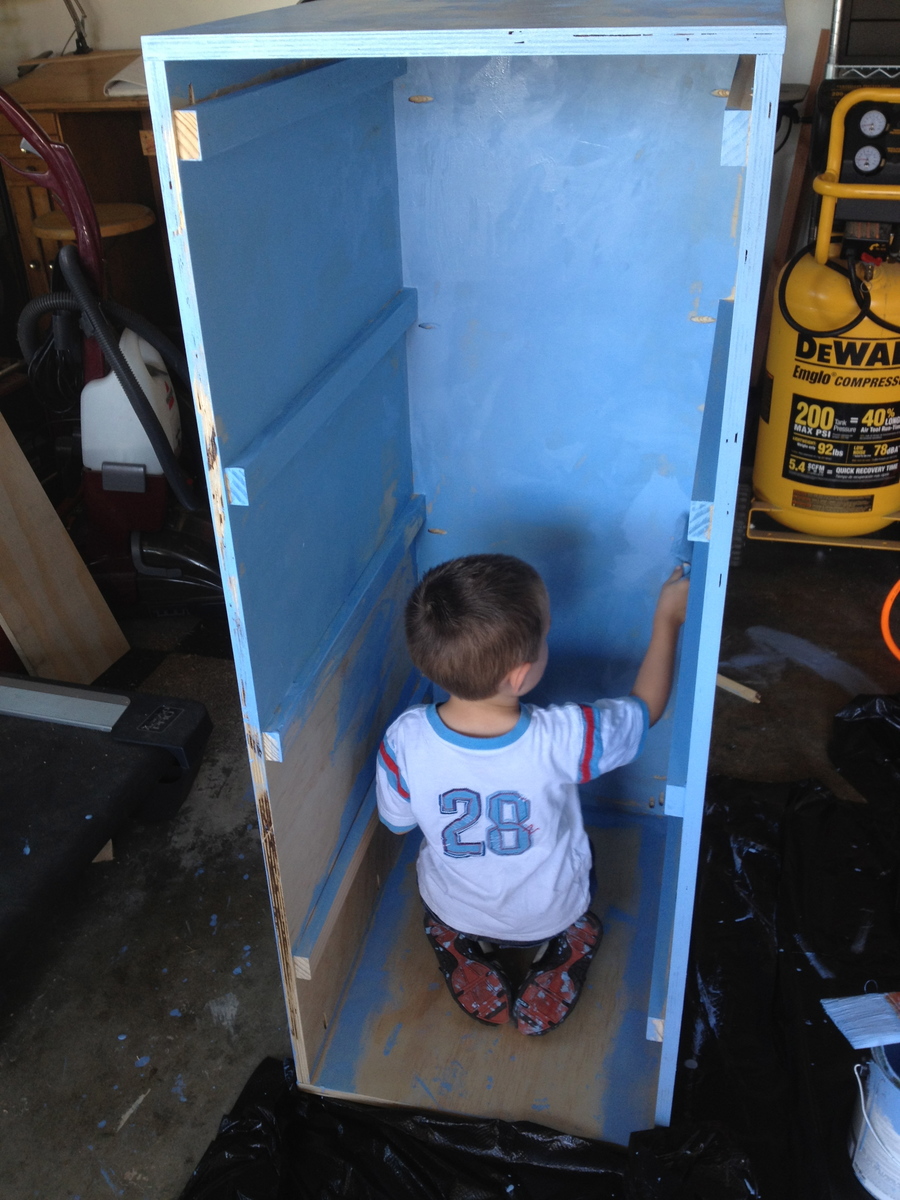
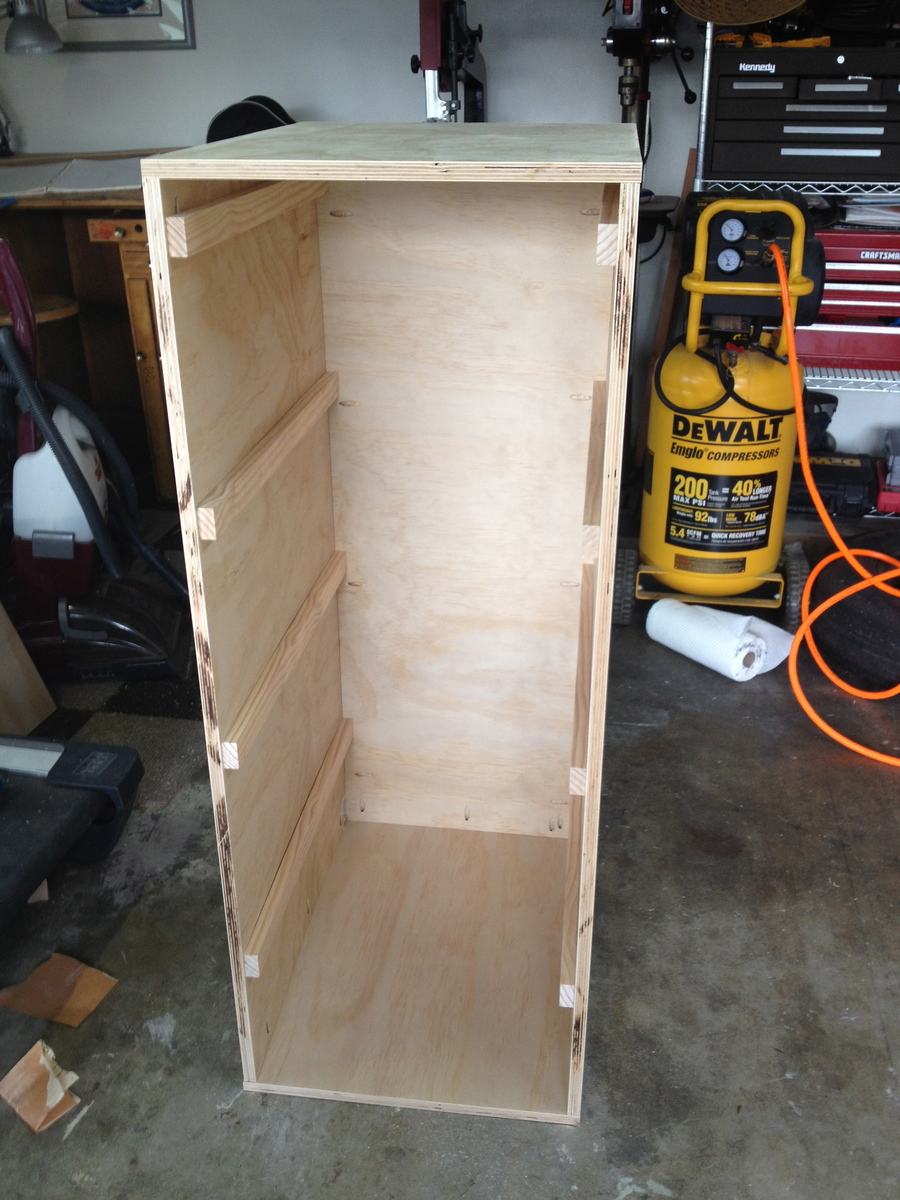
I was tired of having my laundry piled on my garage floor. These plans were the perfect solution. It fits great in the small space I had next to my washer. And it was so easy. I was able to do it all by myself. My husband just had to catch the plywood for me when I ripped it. I was able to find the baskets on the plans at Target and used left over paint from my sons' playroom. My laundry is now always sorted, making it much easier and faster to clean.

Estimated Cost
$60
Estimated Time Investment
Day Project (6-9 Hours)
Finish Used
Water based paint in eggshell finish. Since this was going to be in the garage I just used leftover paint. If it would have been used anywhere else, I would have used a semi-gloss.
Recommended Skill Level
Beginner

Wine Cabinet - Made from jelly cupboard\pie safe plan

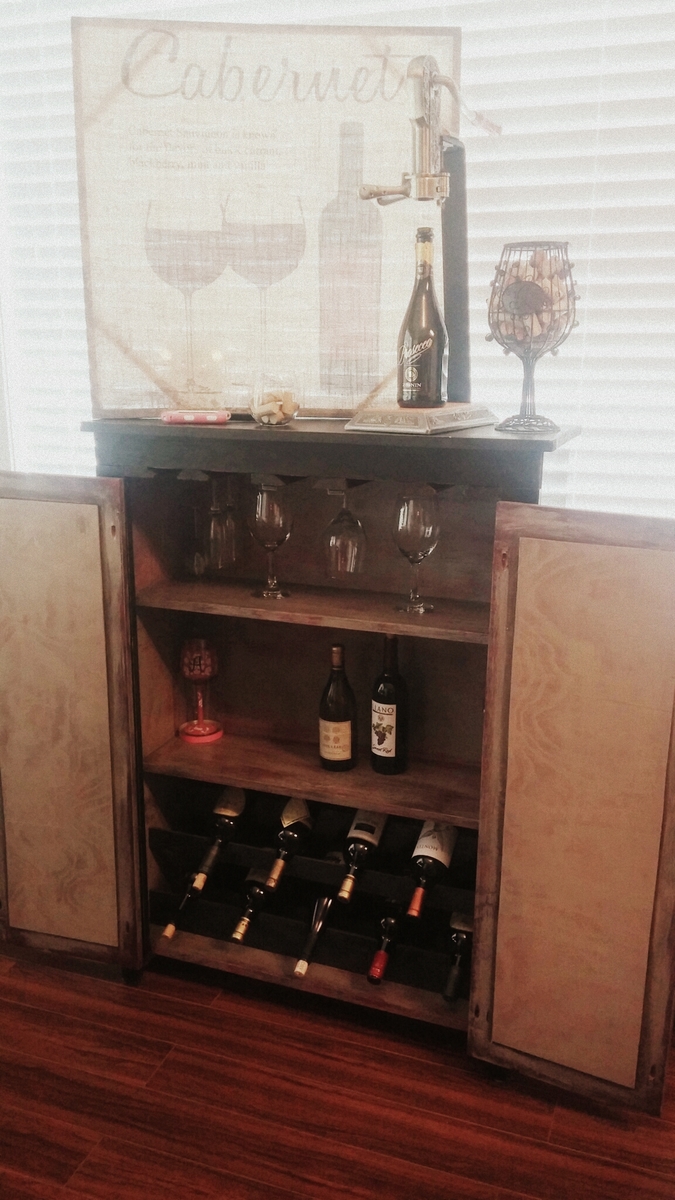
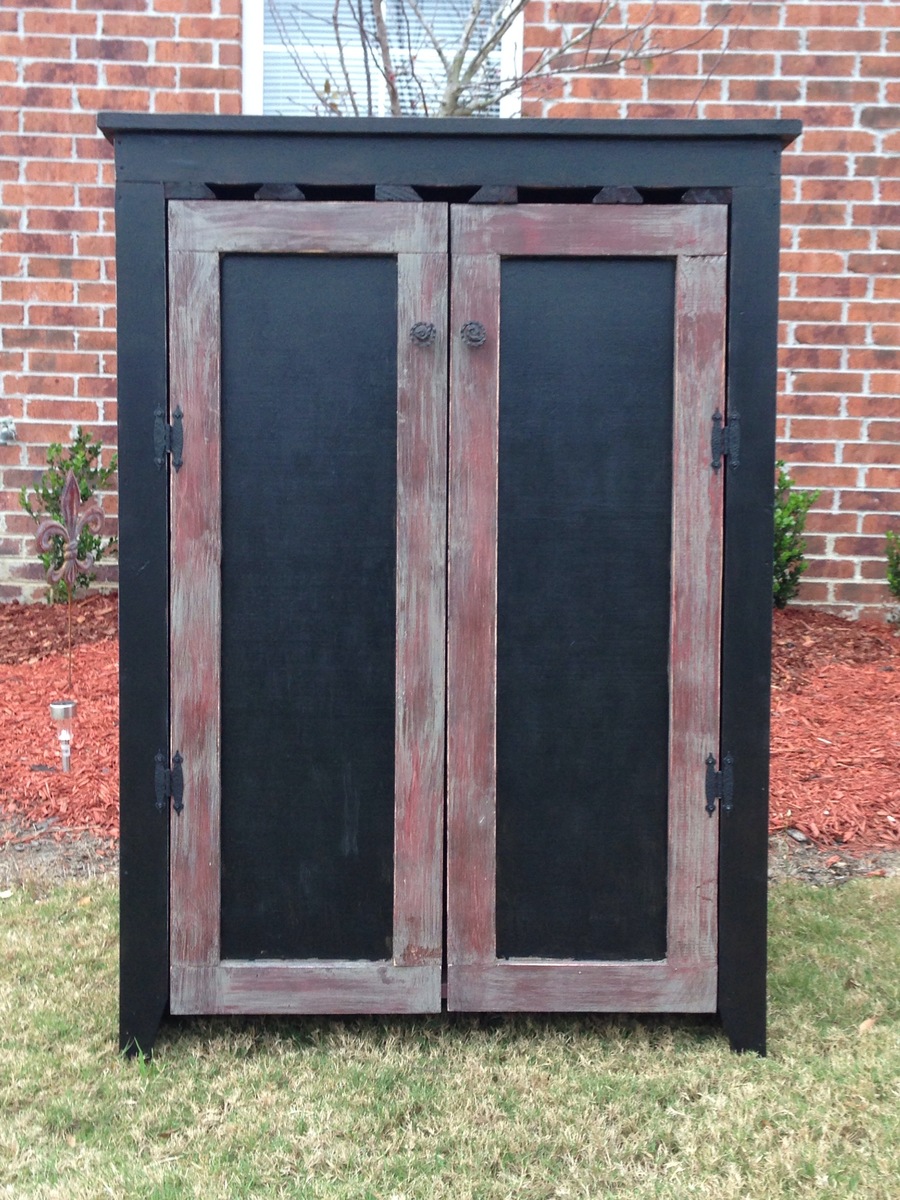
We used the plans from the jelly cabinet \pie safe and added a wine rack at the bottom and wine glass rack that the top! I love it! I get so many compliments on it.

Estimated Cost
$150.00
Estimated Time Investment
Weekend Project (10-20 Hours)
Finish Used
I wanted it to look rustic\antique so I used spray paint and regular paint. It was my first time doing something like this. I was pretty much just experimenting and it turned out perfect.. We are building one for my Mom next, I wait to see how it turns out!!
Recommended Skill Level
Beginner

When you follow directions and plans..

Submitted by Anonymous (not verified) on Sat, 07/04/2020 - 05:54

Followed Ana’s plans down to the measurements. Didn’t have a brad nailer, so I attached the 1x4 sides with 3/4in pocket holes and 1 1/4in PH screws. Additionally used trim screws and 1 1/4 finish nails throughout it for places I couldn’t put a PH. Plan on getting four more brackets for the bottom half, like the top. Very proud of myself.
Stained the legs, top, and base before completely assembling them.

Estimated Cost
$35 (without tools and screws)
Estimated Time Investment
Weekend Project (10-20 Hours)
Finish Used
Varathane Briarsmoke. Three coats of Satin finish.
Recommended Skill Level
Beginner

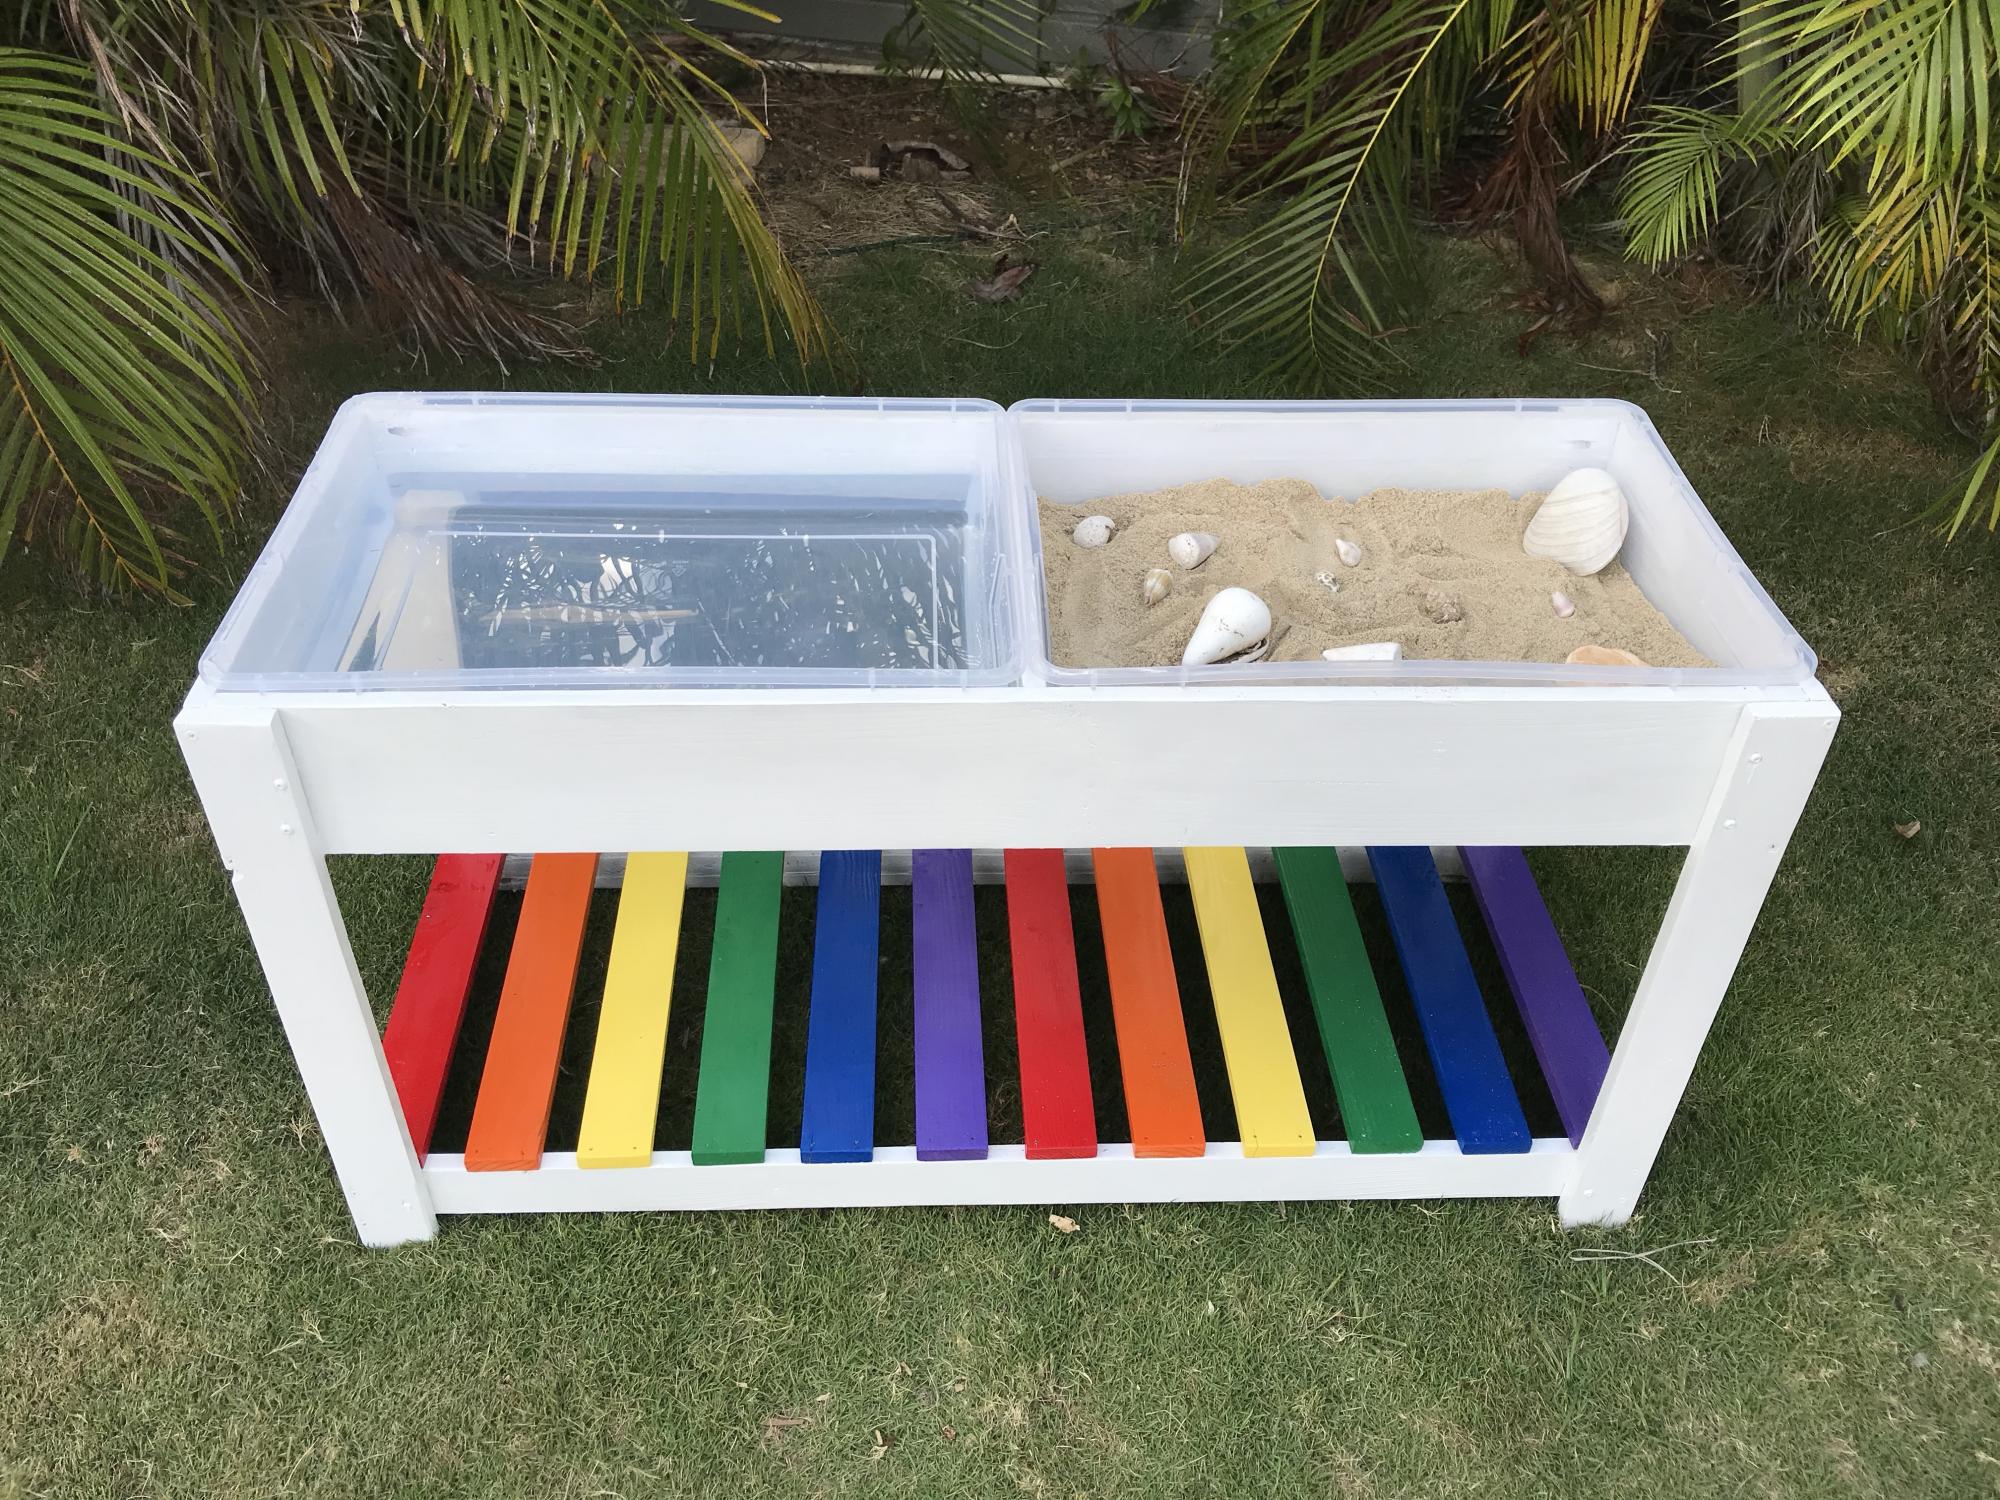
Rainbow Sand & Water Table

I'm new to woodworking, and this was so much fun to make! Pocket holes make it sturdy, and I spent plenty of time on sanding so no slivers for little ones. The plastic containers just barely fit so be sure to not undercut anything in the plan.

Built from Plan(s)
Estimated Cost
$20 in wood, $15 in containers, $4 each color of spray paint, white paint/screws/wood glue I had on hand
Estimated Time Investment
Afternoon Project (3-6 Hours)
Finish Used
White primer paint and spray paint for the shelf boards
Recommended Skill Level
Beginner

Comments

Square Coffee Table

Submitted by jsevart on Sat, 07/19/2014 - 07:14

Square coffee table based on a discontinued design from West Elm.

Estimated Time Investment
Weekend Project (10-20 Hours)
Finish Used
Rustoleum Dark Walnut. Wood Conditioner. Rustoleum Polyurethane.
Recommended Skill Level
Intermediate

Comments

Reza1352

Wed, 10/13/2021 - 13:18

Could you please post the plan and cut list and others info??

It is so nice and i like to make it .

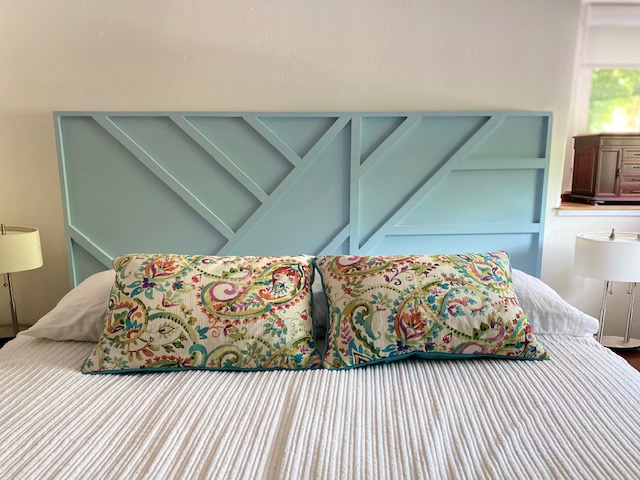
Geo Headboard -first project

Submitted by LHGinWC on Mon, 07/20/2020 - 11:07

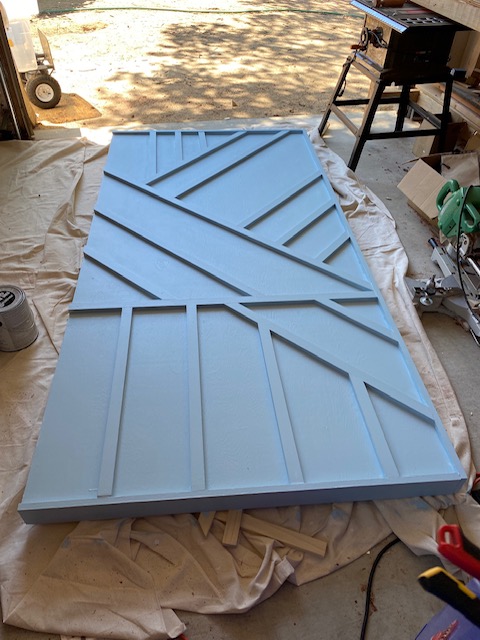
This project was fun and I learned a ton! I used the Modern Geo Headboard plans and then modified them to fit my room. This was my first project and I'm glad I did it but I should have started with something simpler to learn about my tools and understand the process better. I'm proud of myself and I'm looking forward to my next project. Thanks to Ana for the plans and the inspiration, staying busy during this pandemic is a lifesaver!

Built from Plan(s)
Estimated Cost
$200
Estimated Time Investment
Afternoon Project (3-6 Hours)
Finish Used
Magnolia Paint- Vibrant Horizon
Recommended Skill Level
Beginner

Mudroom

Submitted by Taa-daa on Tue, 11/01/2016 - 13:22

My front closet was transformed into a mudroom. Hidden storage is a genious idea. Thank you Ana!!! It wasn't easy though.

Estimated Cost
a bit less than 150$
Estimated Time Investment
Week Long Project (20 Hours or More)
Finish Used
Dark walnut
Recommended Skill Level
Intermediate

My work table

Submitted by ewebrat on Fri, 07/24/2020 - 13:19

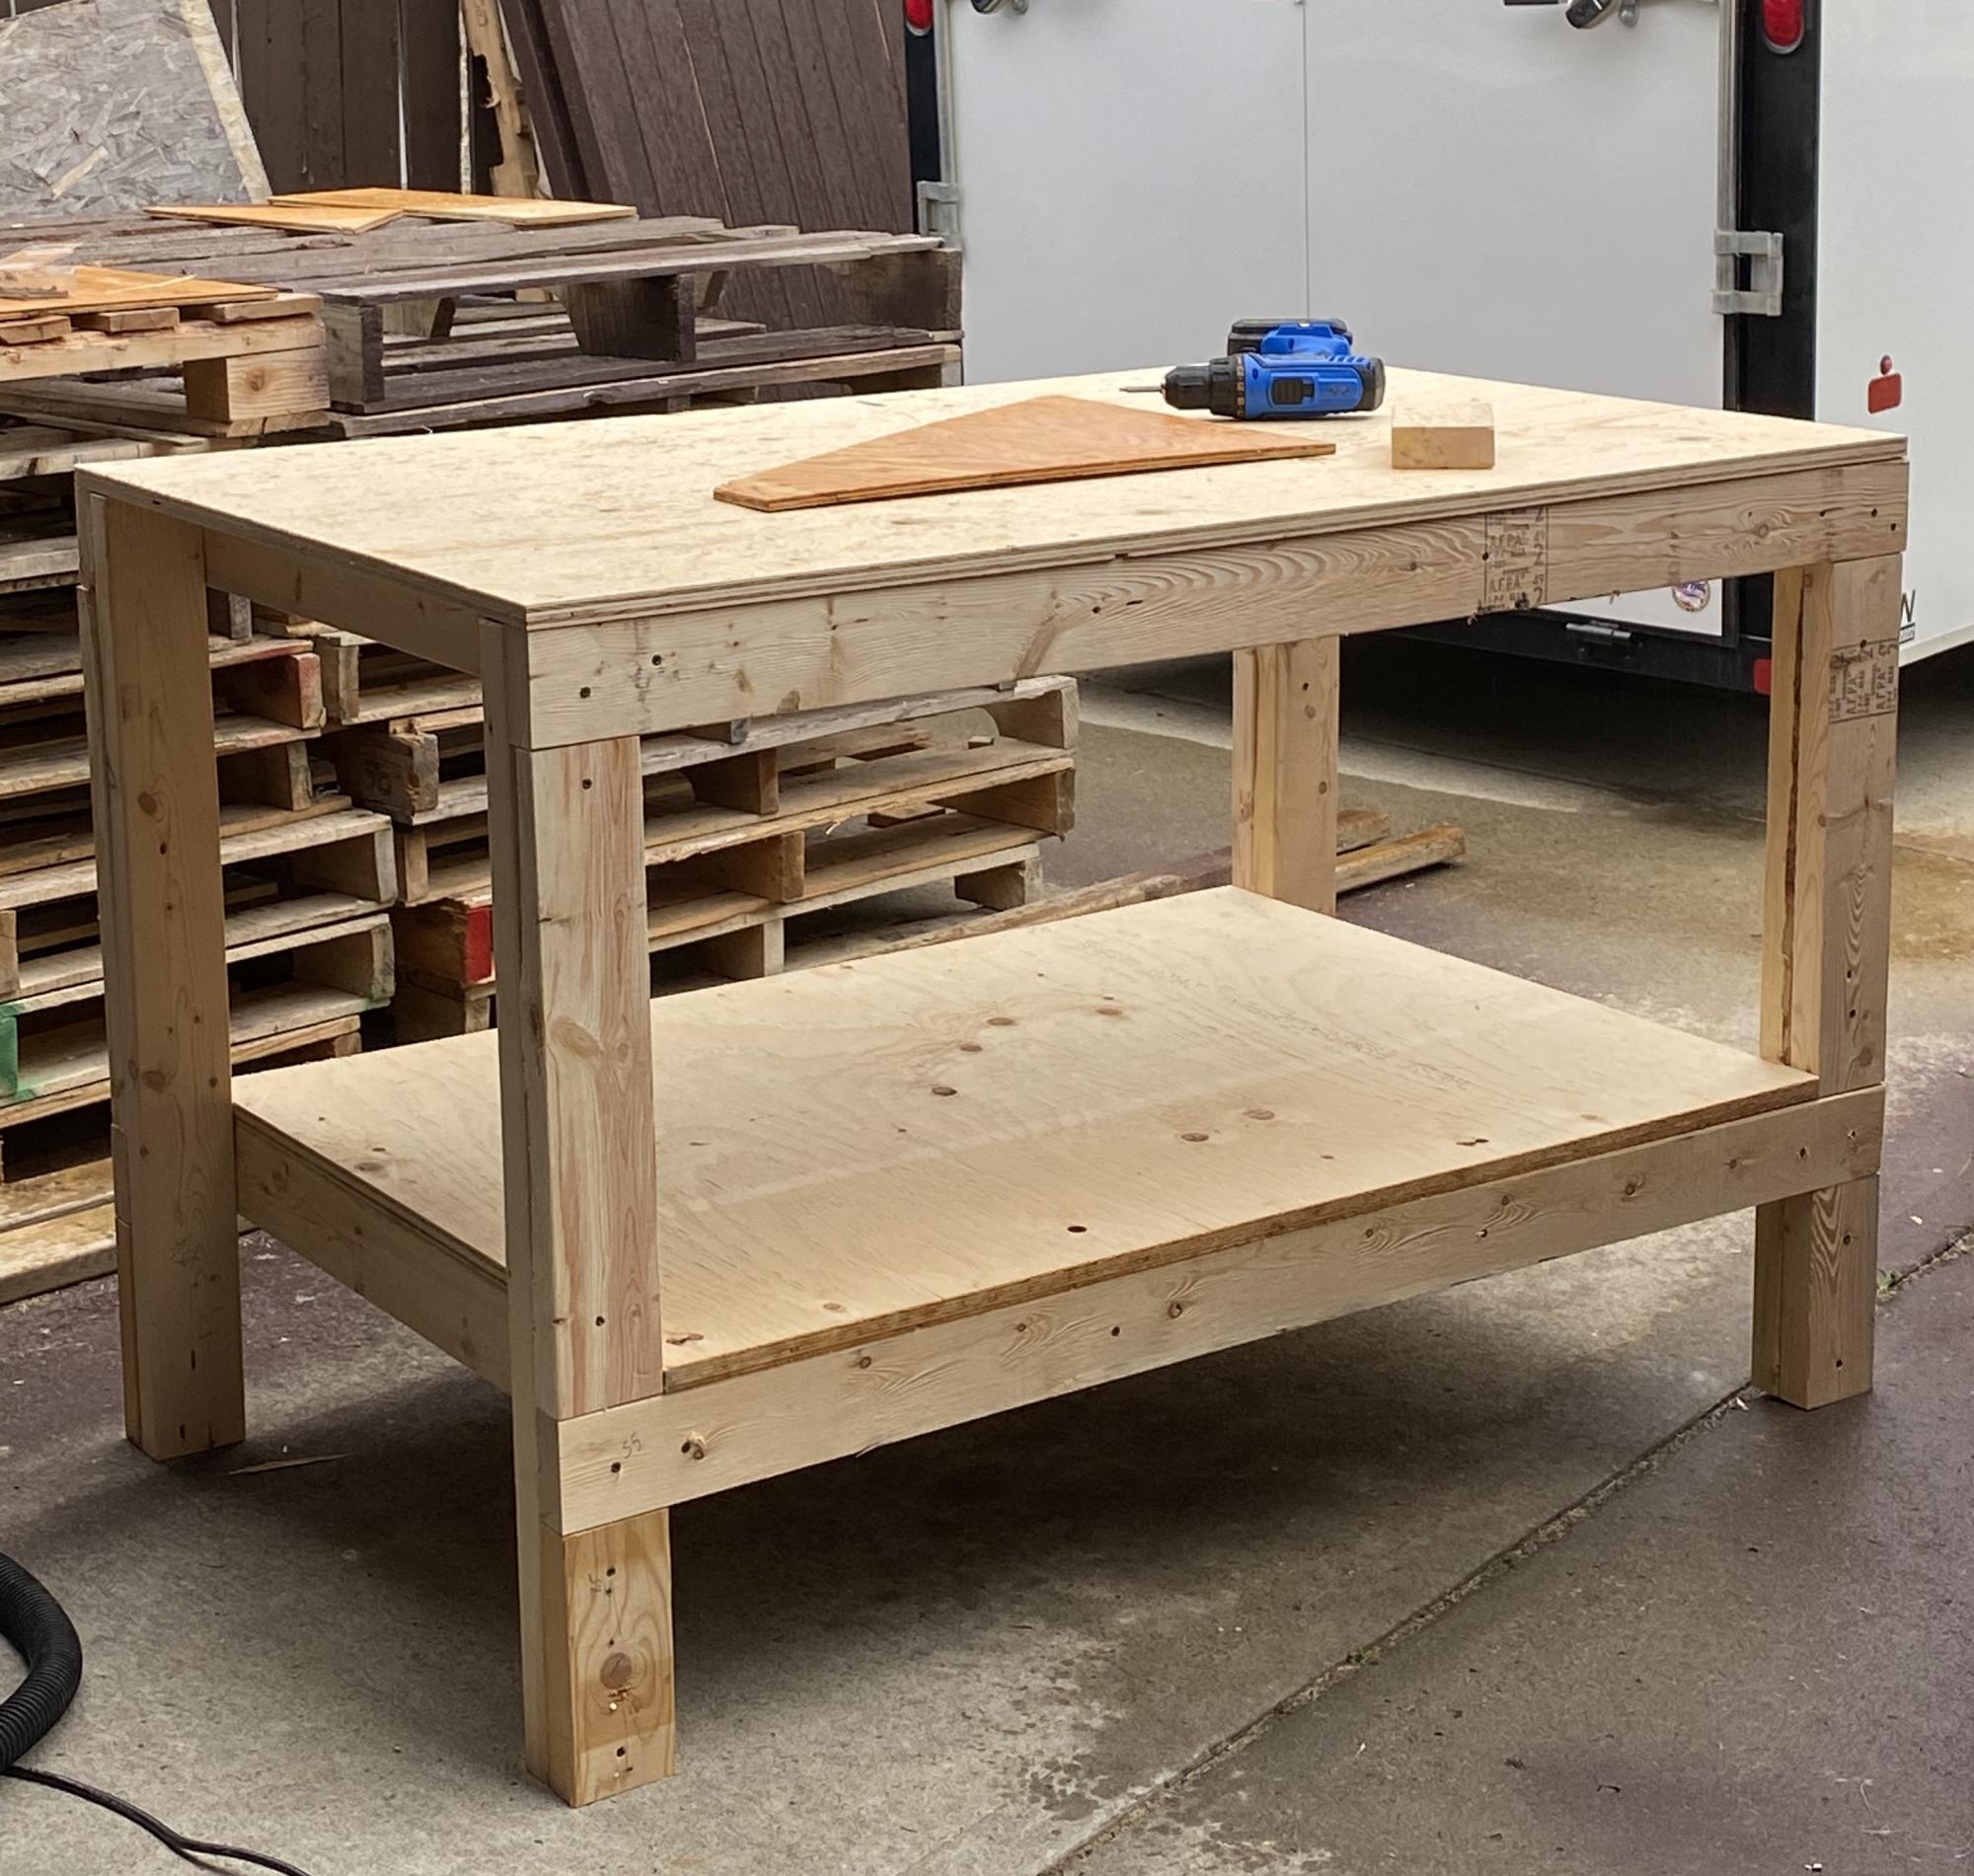
Started to renovate hubby’s bathroom, got annoyed with lack of space on his work bench, built my own. Since this pic, I’ve added locking casters, a power bar up one leg, and a plain metal tool holder on one side. Still have some thoughts rattling around in my head about various other upgrades. Super plans, easy one-woman job.

Estimated Cost
$100
Estimated Time Investment
Afternoon Project (3-6 Hours)
Finish Used
No finish. I want to add a 1/4 or 1/2 MDD top, but that’s the only not-naked original wood.
Recommended Skill Level
Beginner

Adirondack Chairs

Submitted by BPJacobs on Mon, 07/27/2020 - 06:39

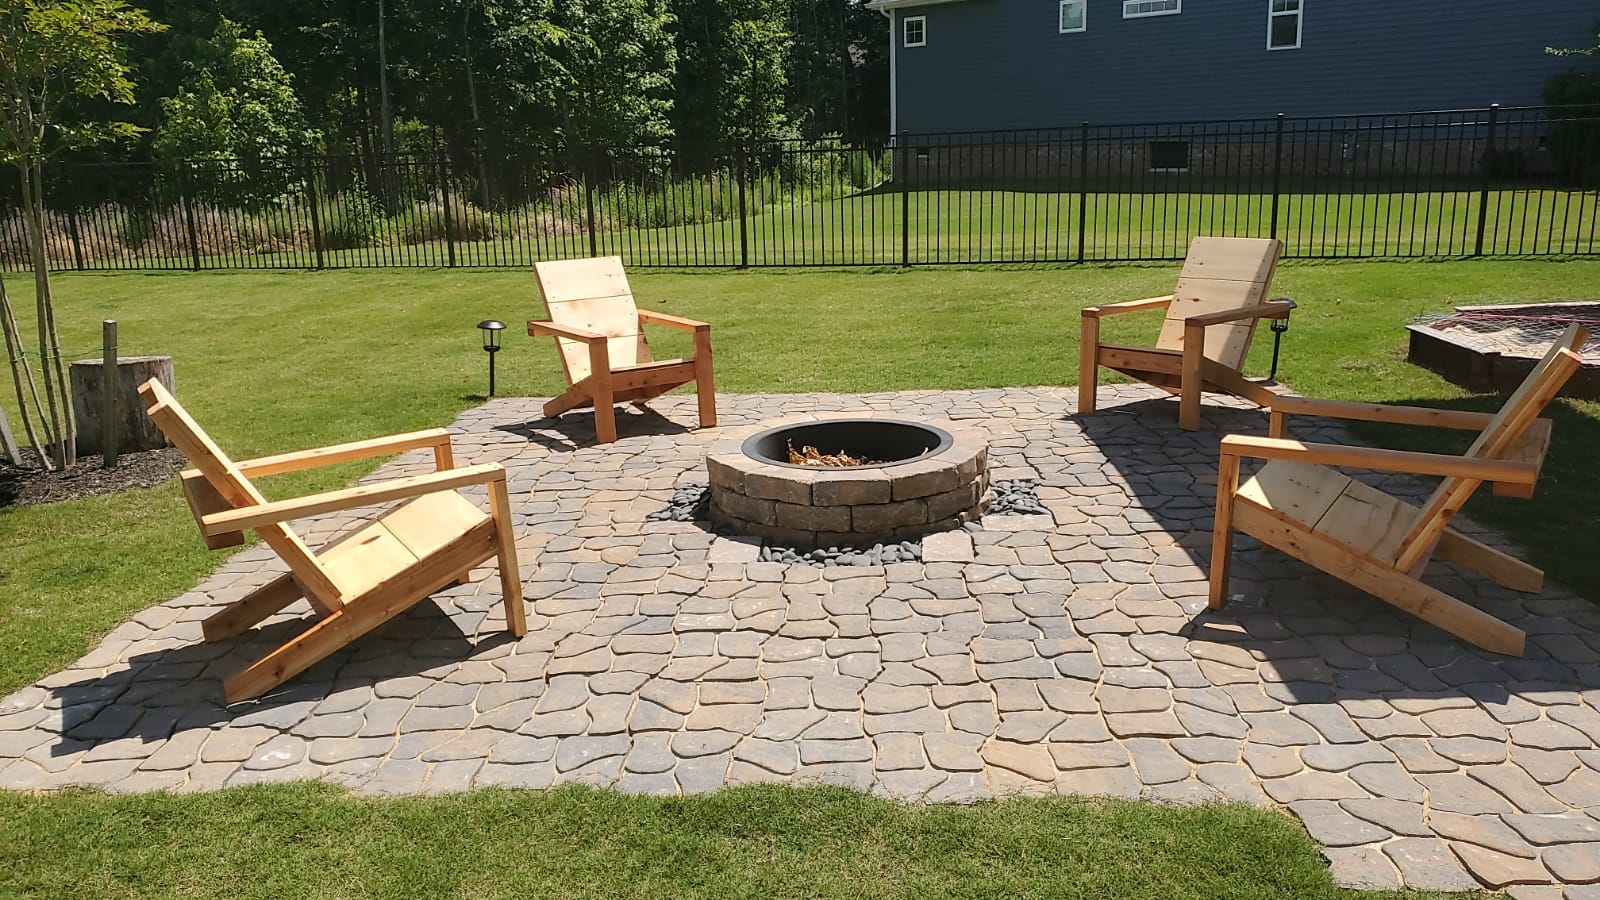
I built these a couple of weeks ago - very easy. I did not have a pocket hole jig so I added a 26" 2x4 to attach the pieces behind the back-rest. I don't think is makes it look bad, and it adds some weight which is nice.
I have built 6 so far - 4 for myself and 2 that I gave to friends. the first couple took a while to get the process sorted out but after that they came together in about 30-45 minutes per chair. I did make a couple of mistakes in the cutting initially (forgot to cut angles so I wasted a lot of wood), and then of course the additional piece of 2x4 added to the price.

Estimated Cost
About $80-$90 per chair
Estimated Time Investment
Afternoon Project (3-6 Hours)
Finish Used
Exterior wood sealant
Recommended Skill Level
Beginner

2 Piece Outdoor Wood Chair

Submitted by vendo on Tue, 07/09/2024 - 09:11

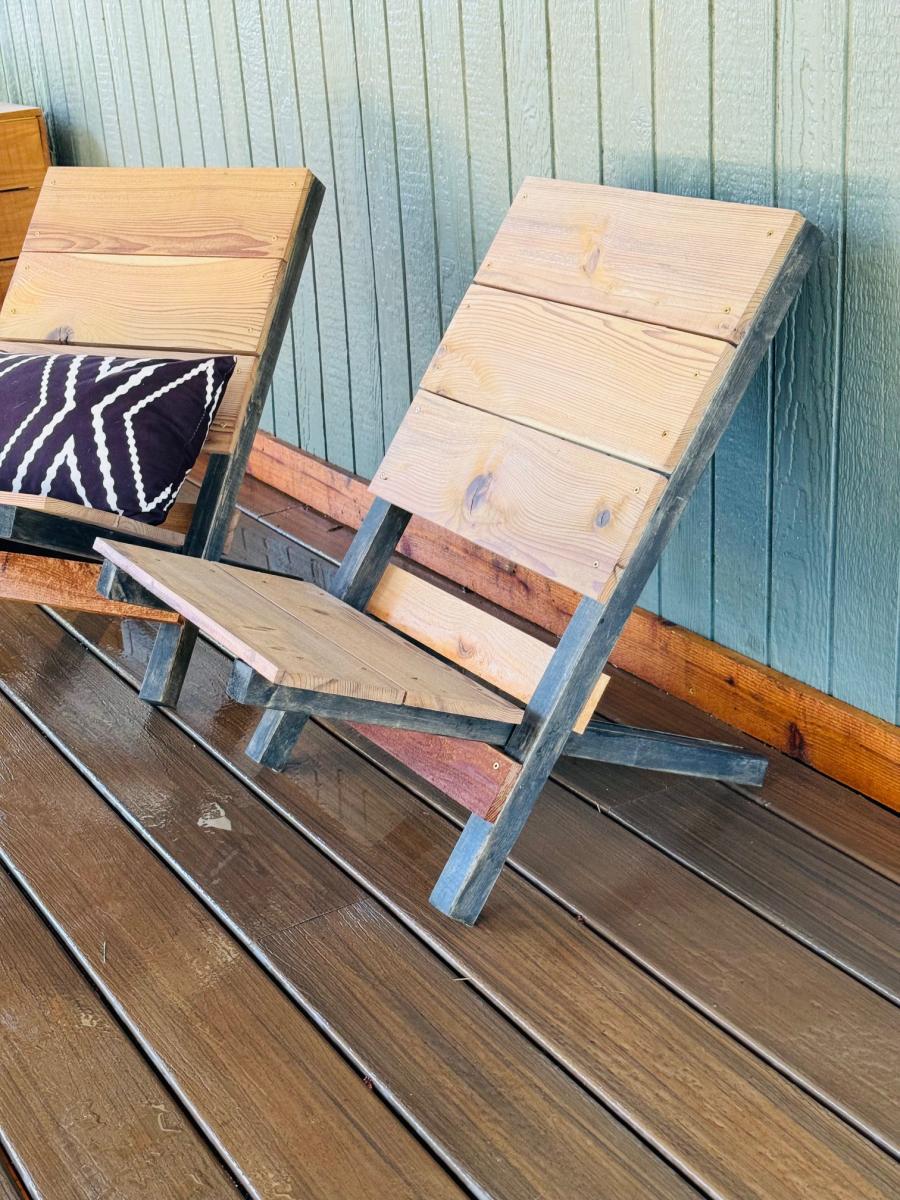
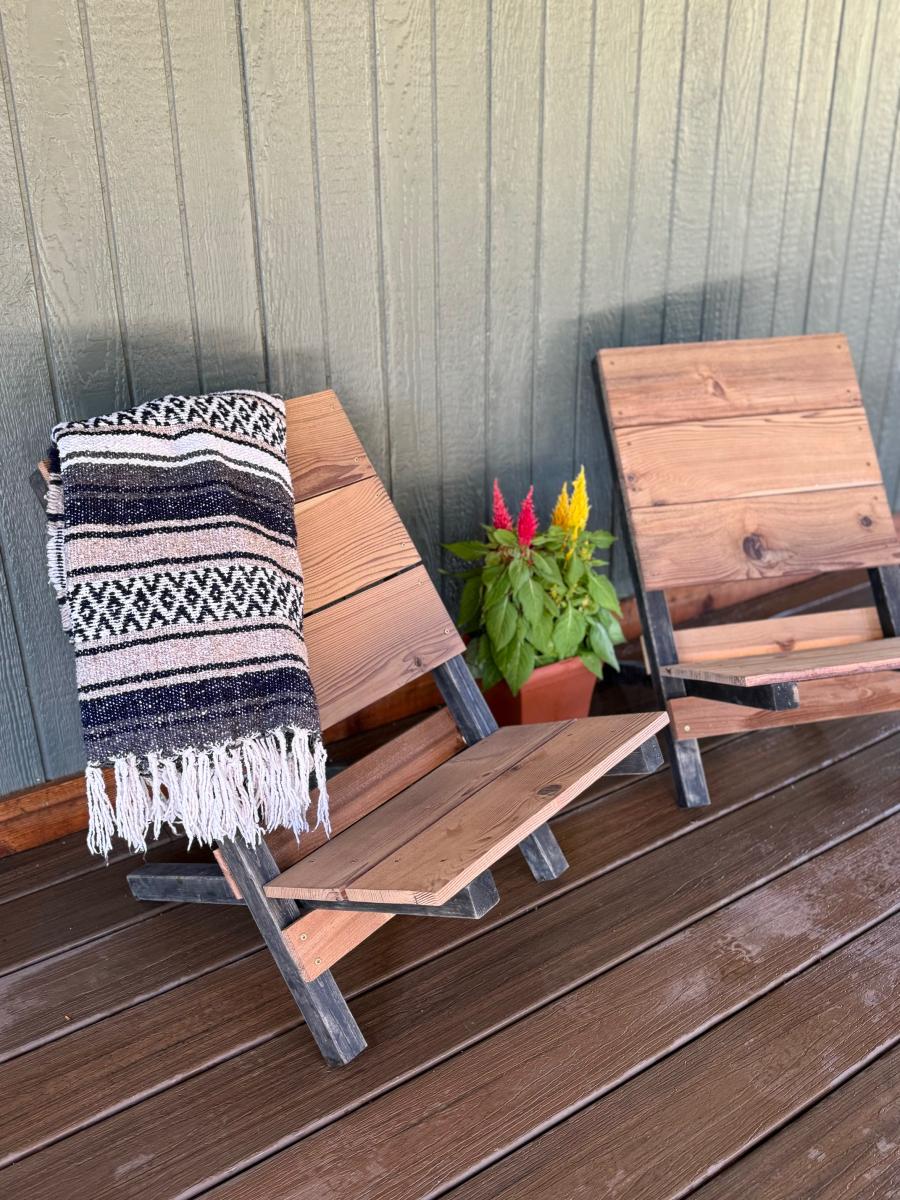
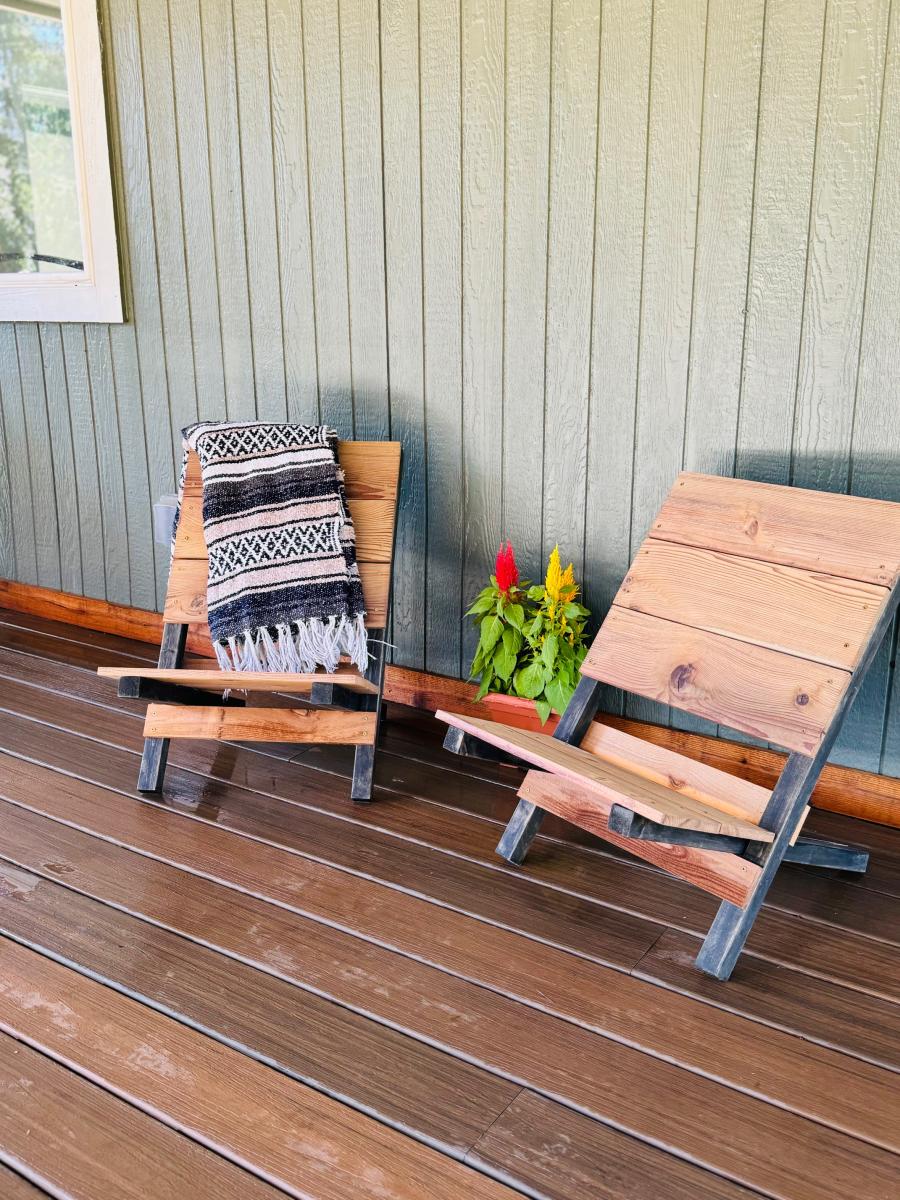
I built these chairs in about 90 minutes. I started with cutting enough boards for 2 chairs according to Ana's cut list. I then prefinished them by sanding and prestaining all the boards. Once they were dry I started assembly. At first I was having issues with the wood splitting, so I ended up predrilling my holes. I made the seat and the back 18" wide and where Ana uses the 1x3, I ended up just ripping the cedar fence picket to 2.5" wide. This was a fun build and will be nice to easily transport to an outdoor activity!

Family_DIYnamic on Instagram

Rustic Modern Outhouse

Submitted by Anonymous (not verified) on Mon, 07/15/2024 - 13:08

I used your simple outhouse plans and modified the roof with clear corrugated plastic roofing for maximum light inside. I used the leftovers to line the hole and direct everything into the hole so no smelly wood. I also used wood from free pallets for door and inside trim to keep cost down.
I have to credit to “Girl in the woods” from youtube that mentioned you Ana, and for the roof idea. Your plans were easy to follow and I’m so proud of my first build.

Built from Plan(s)
Seasonal And Holiday

Kids Storage Table with extra storage

Submitted by redhead_61 on Mon, 11/05/2012 - 17:05

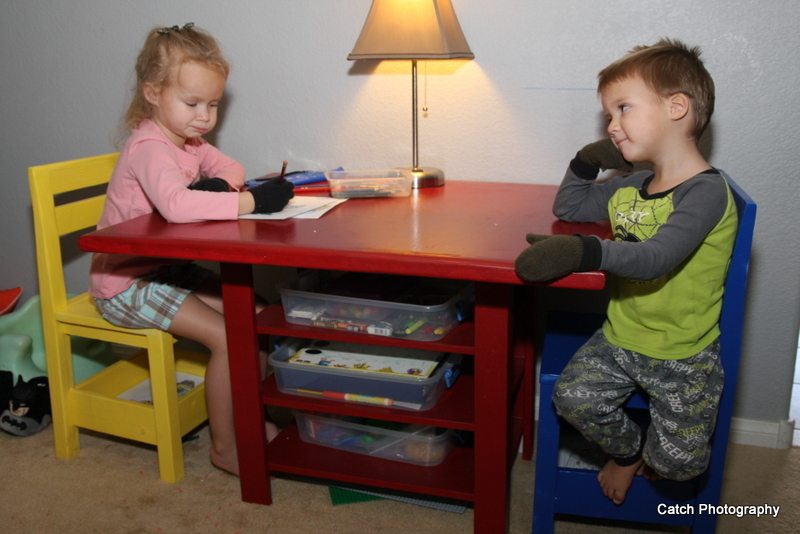
I wanted a table with storage, I added a couple extra "shelves" This was the easiest design to do this with. Just be sure to add from the top shelf to the bottom if you are using a Kreg Jig. You might want to pre-paint also . My shelves are 5 inches apart to fit perfectly my little flat style containers for art stuff and playdough.

Built from Plan(s)
Estimated Time Investment
Afternoon Project (3-6 Hours)
Recommended Skill Level
Starter Project

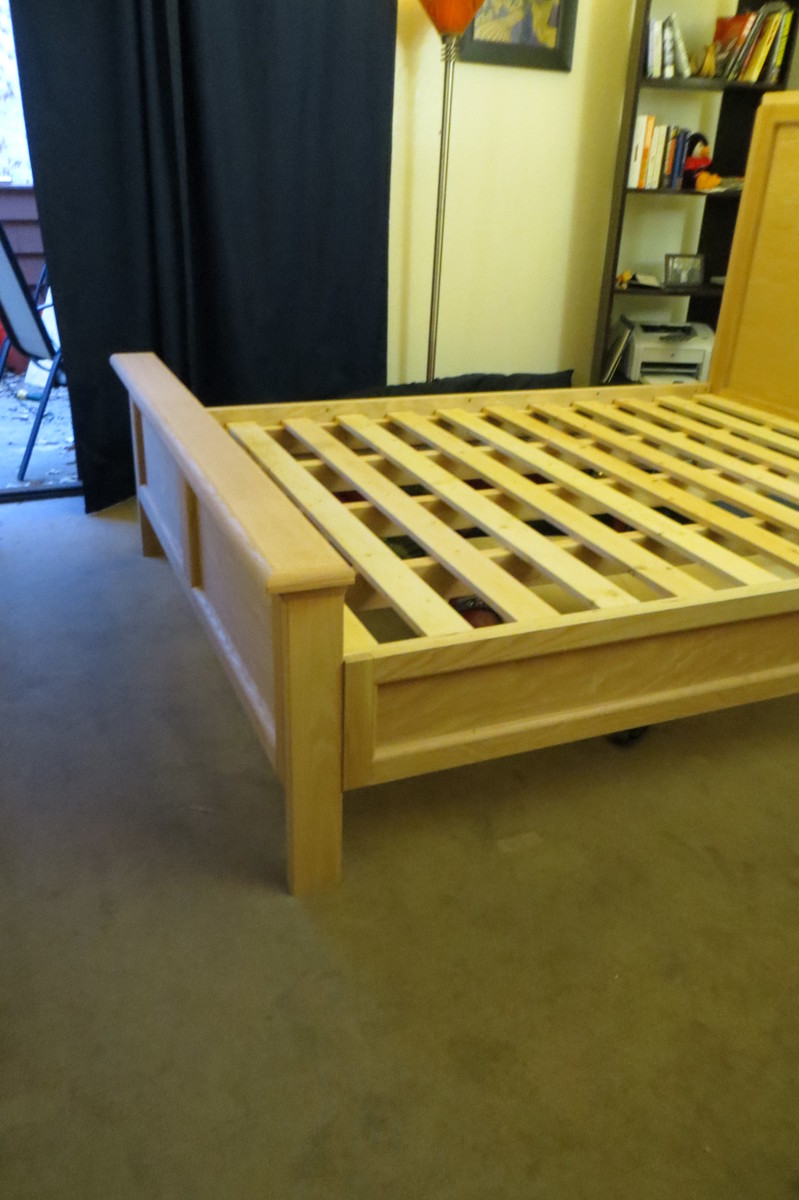
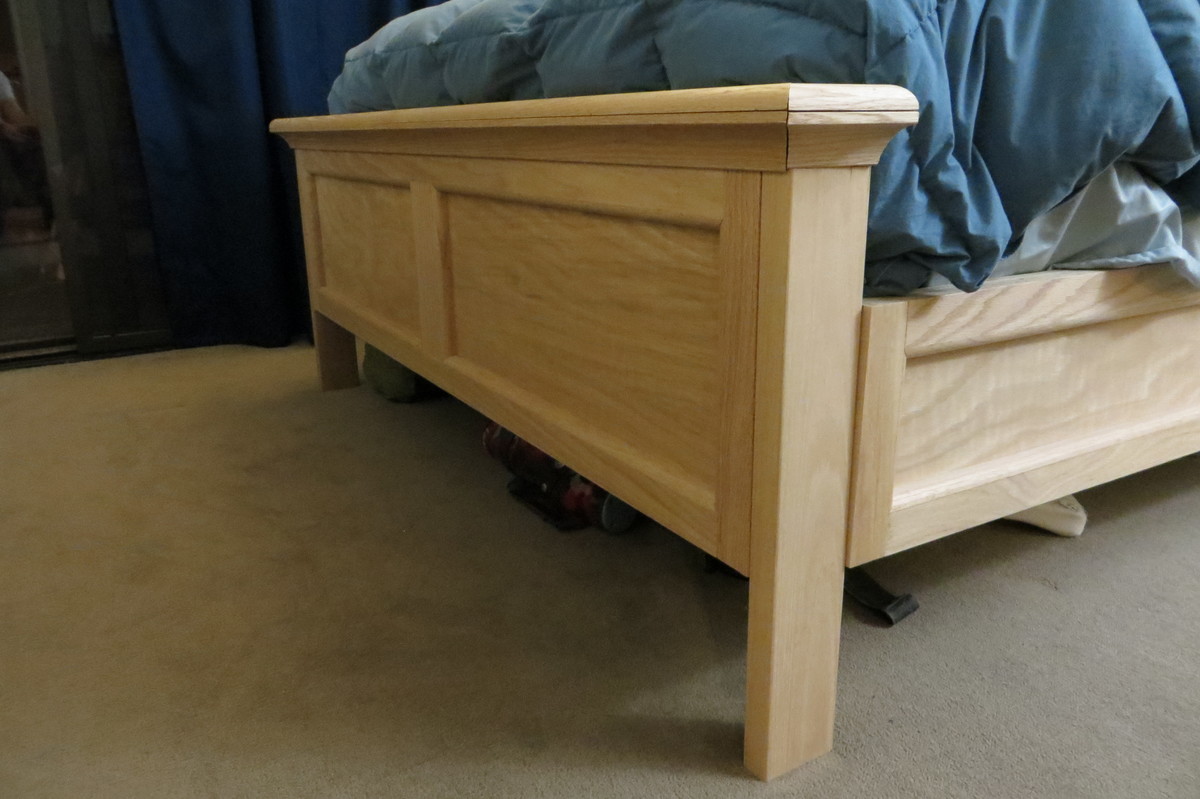
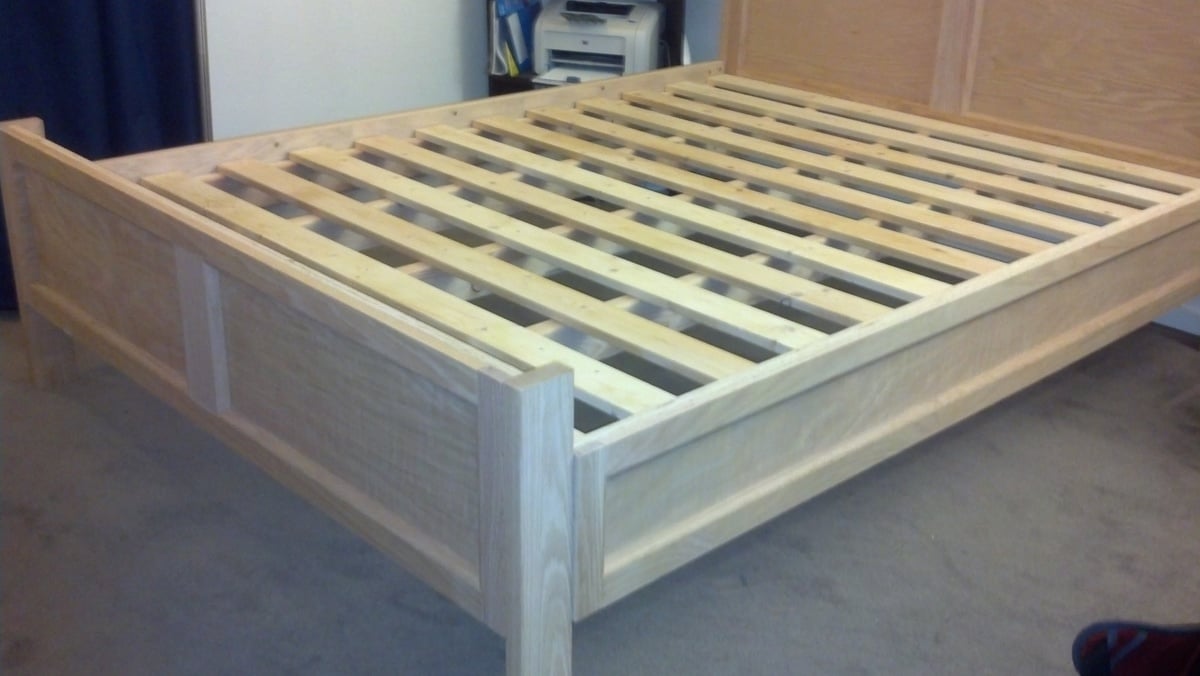
Modified Farmhouse/Pottery Barn Bed Frame

Submitted by Tailer426 on Sat, 11/10/2012 - 10:08

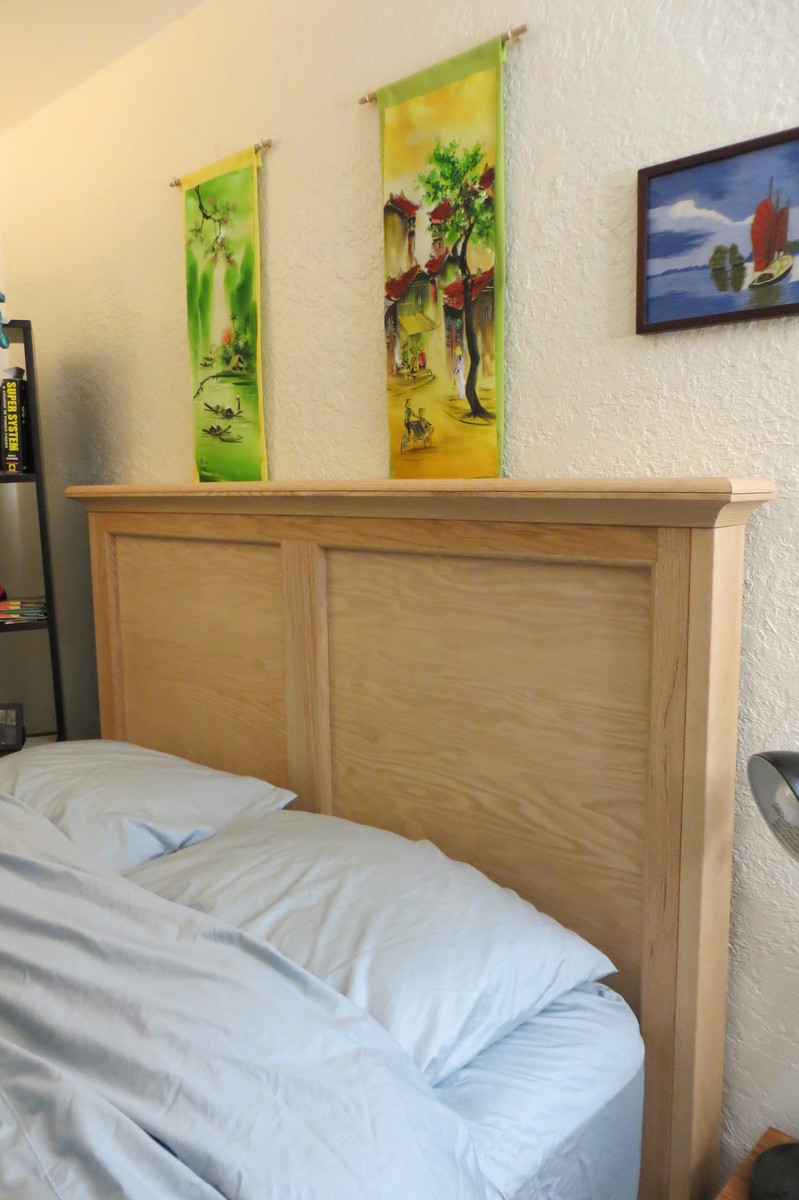
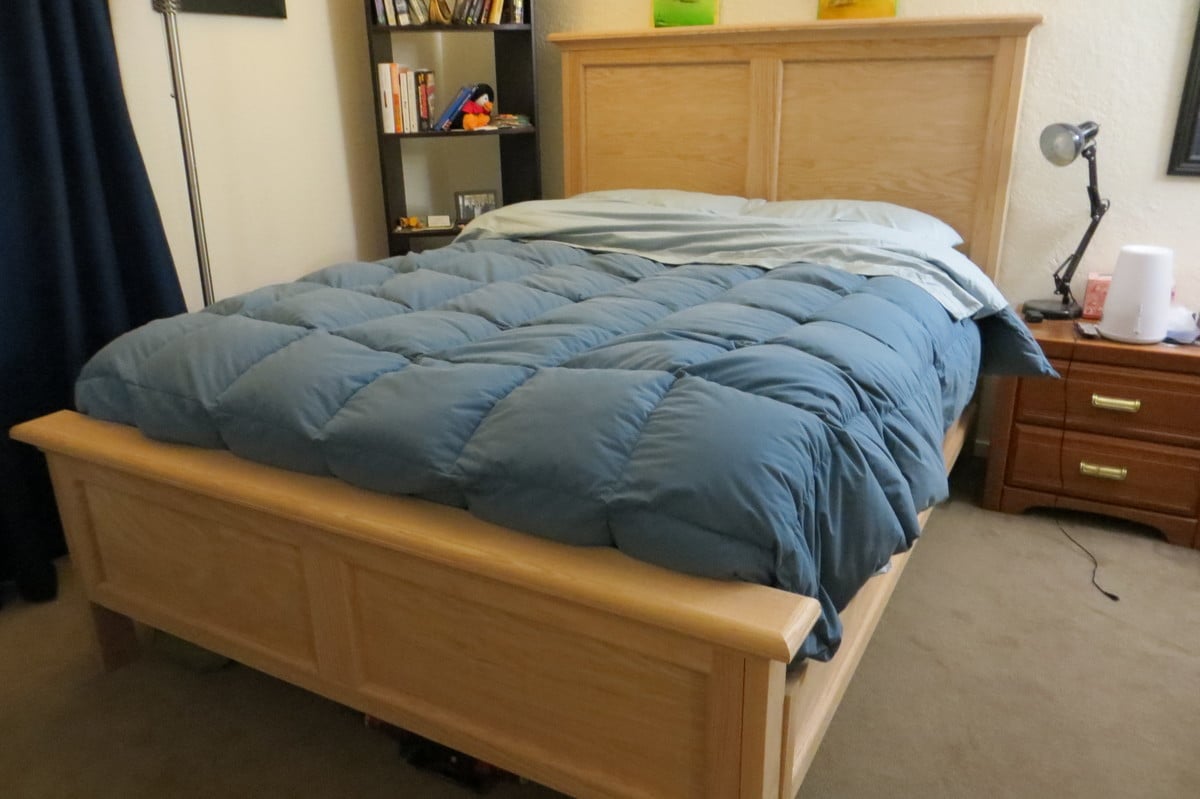
This was my second big project and I went ALL out! I was inspired by the modified farmhouse bed, but completely modified it to look like the Hudson bed from Pottery Barn. I designed it completely on my own too. All of the exterior is oak and the frame is fir and pine. This bed is super sturdy and sleeps great!

The sides, footboard, and headboard are made from oak plywood outlined by oak 1x2 and 1x3. Then added 1/2"x3/4" oak shoe molding for the indentations. The top of the footboard and headboard has 1.5" cove molding topped with quarter-round.

The total cost of all the material was $430. But I have enough leftover oak plywood to make a matching night table. I still need to stain it, but I love the raw oak smell and feel.

My only tools to create this was a circular saw, drill, screwdriver, miter box, and sander. The frame itself took only a few hours. All of the hand cutting of the molding and careful angles took most of the time (20+ hours) since it was my first time ever doing anything like this. The cove crown molding was especially difficult.

So....what color should I stain it?
Built from Plan(s)
Estimated Cost
430
Estimated Time Investment
Week Long Project (20 Hours or More)
Finish Used
None...yet.
Recommended Skill Level
Advanced

Comments

Elisha (not verified)

Sat, 11/10/2012 - 12:30

Beautiful! I love my farmhouse bed too. Doesn't it feel so good to cozy up into something to sturdy and know you made it with your own two hands? I don't know if it goes with the rest of your furniture, but I like the blonde color it is now. Maybe just seal it with Polyacrylic or wax so it doesn't yellow?
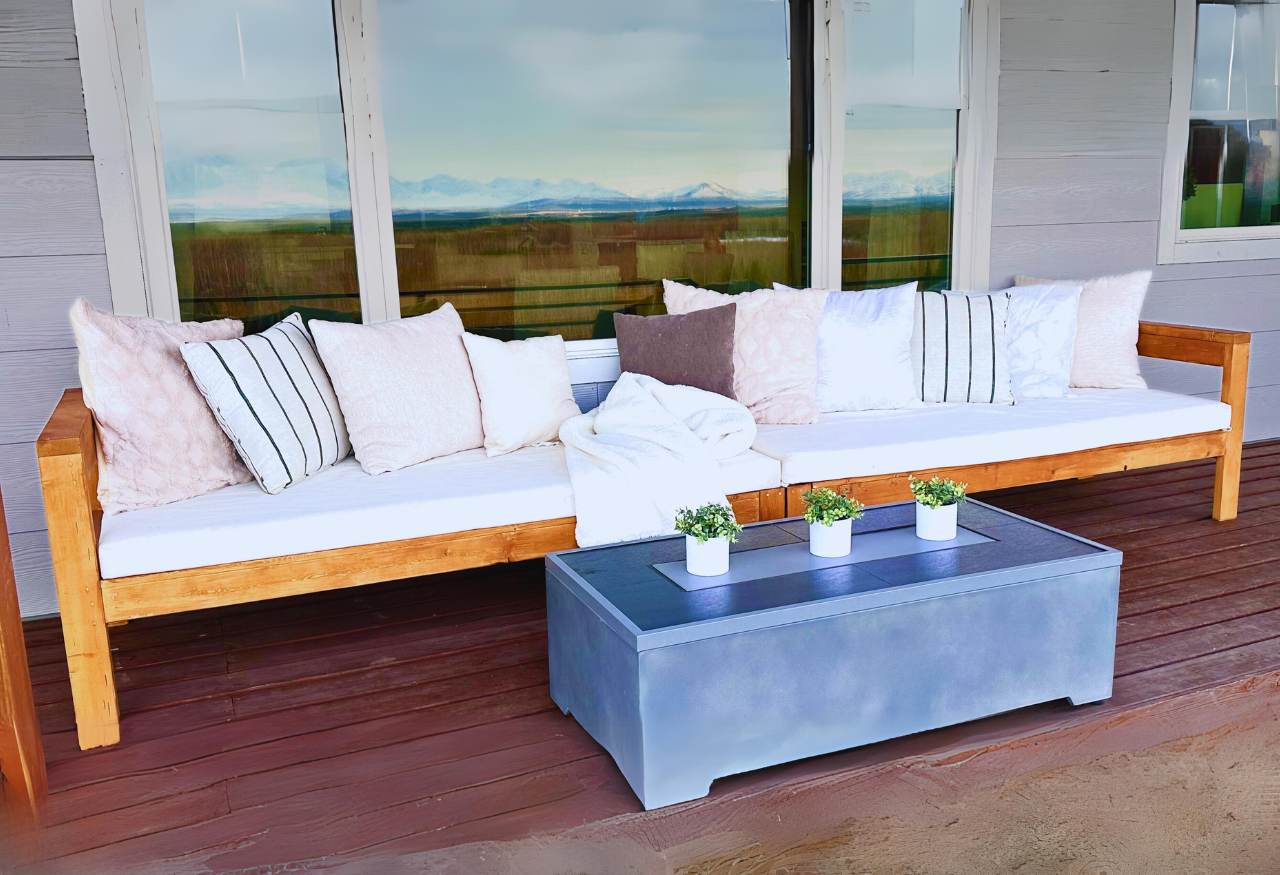
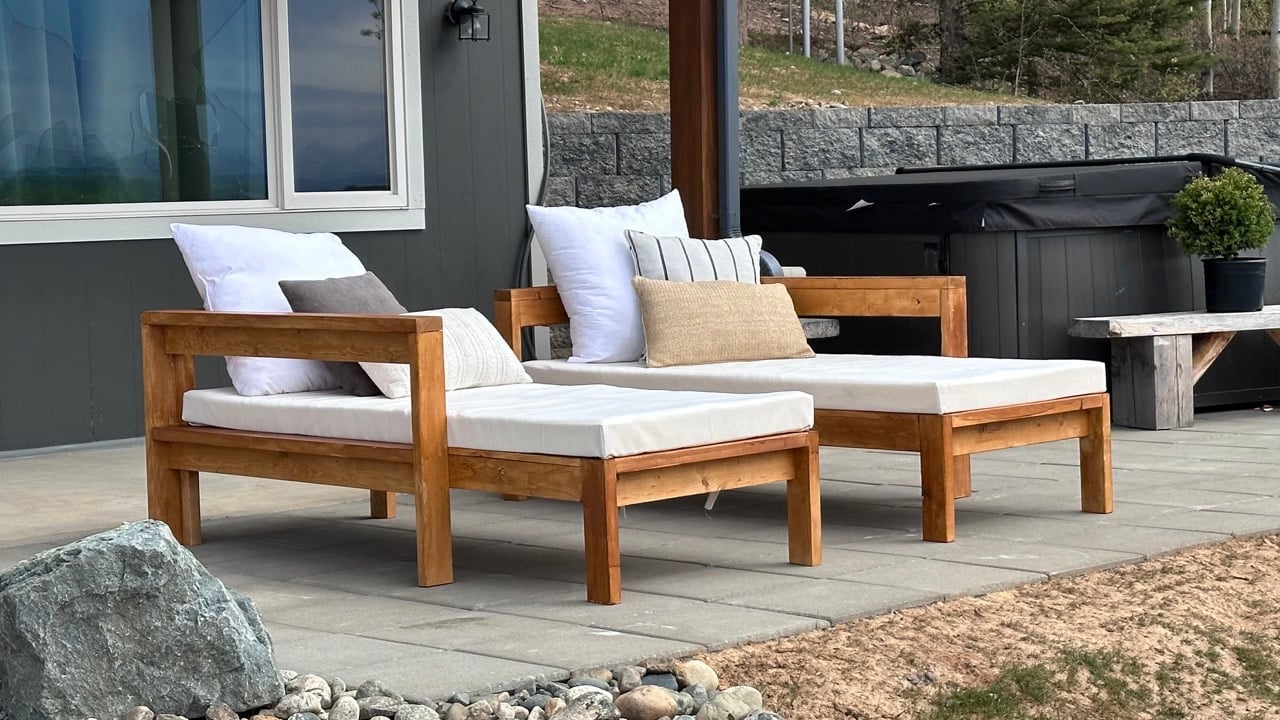
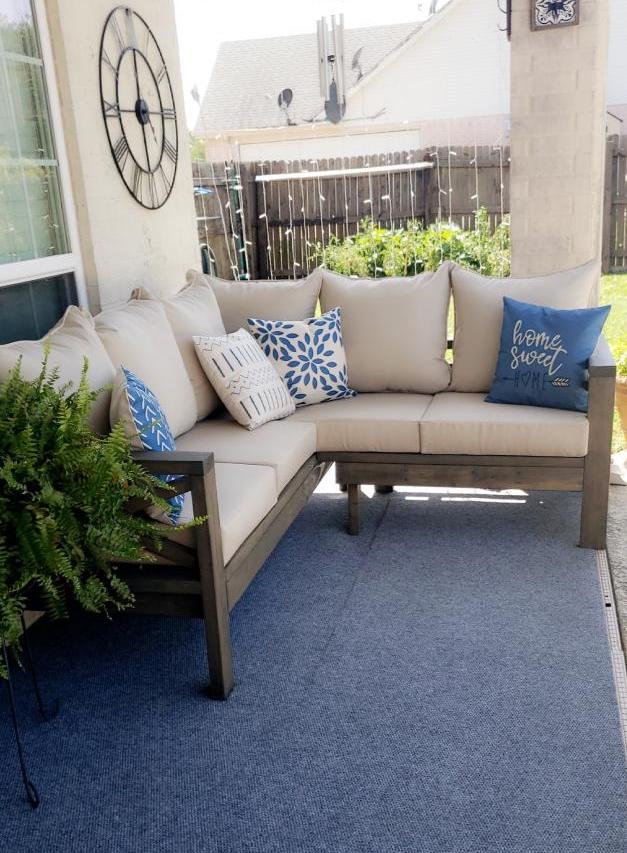
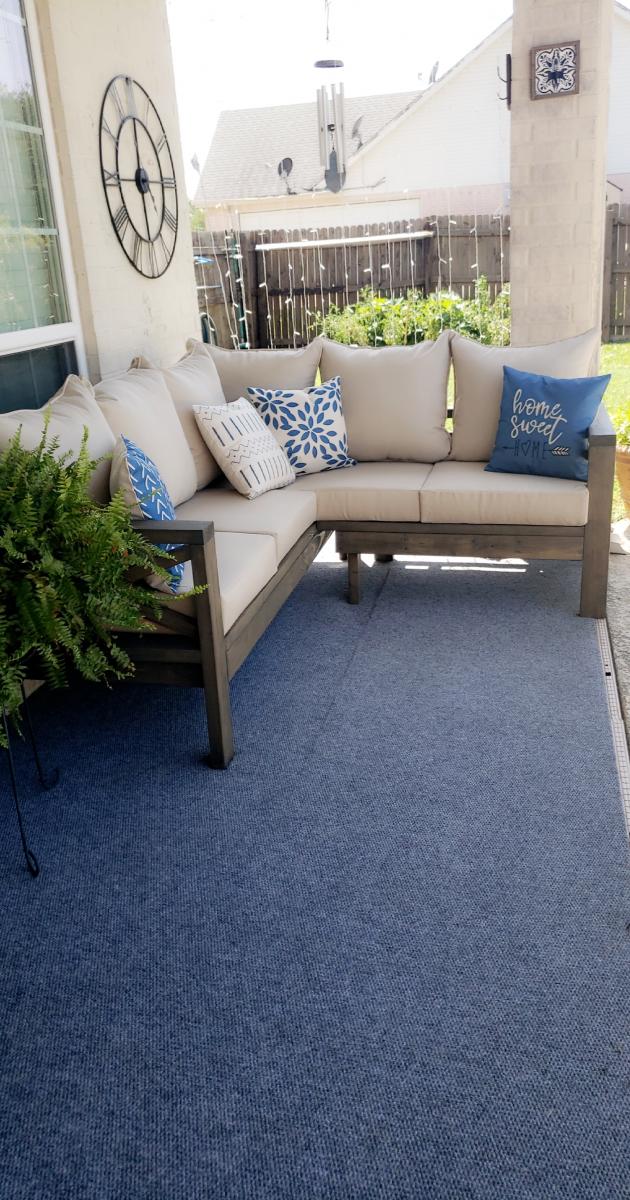
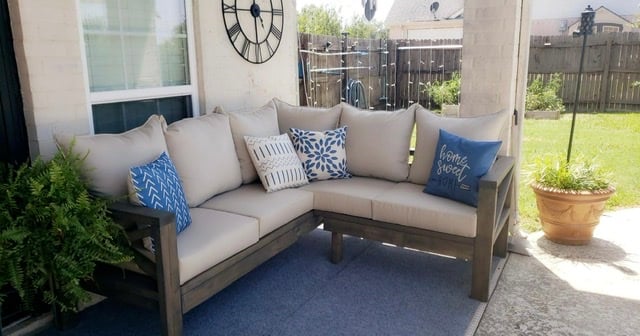
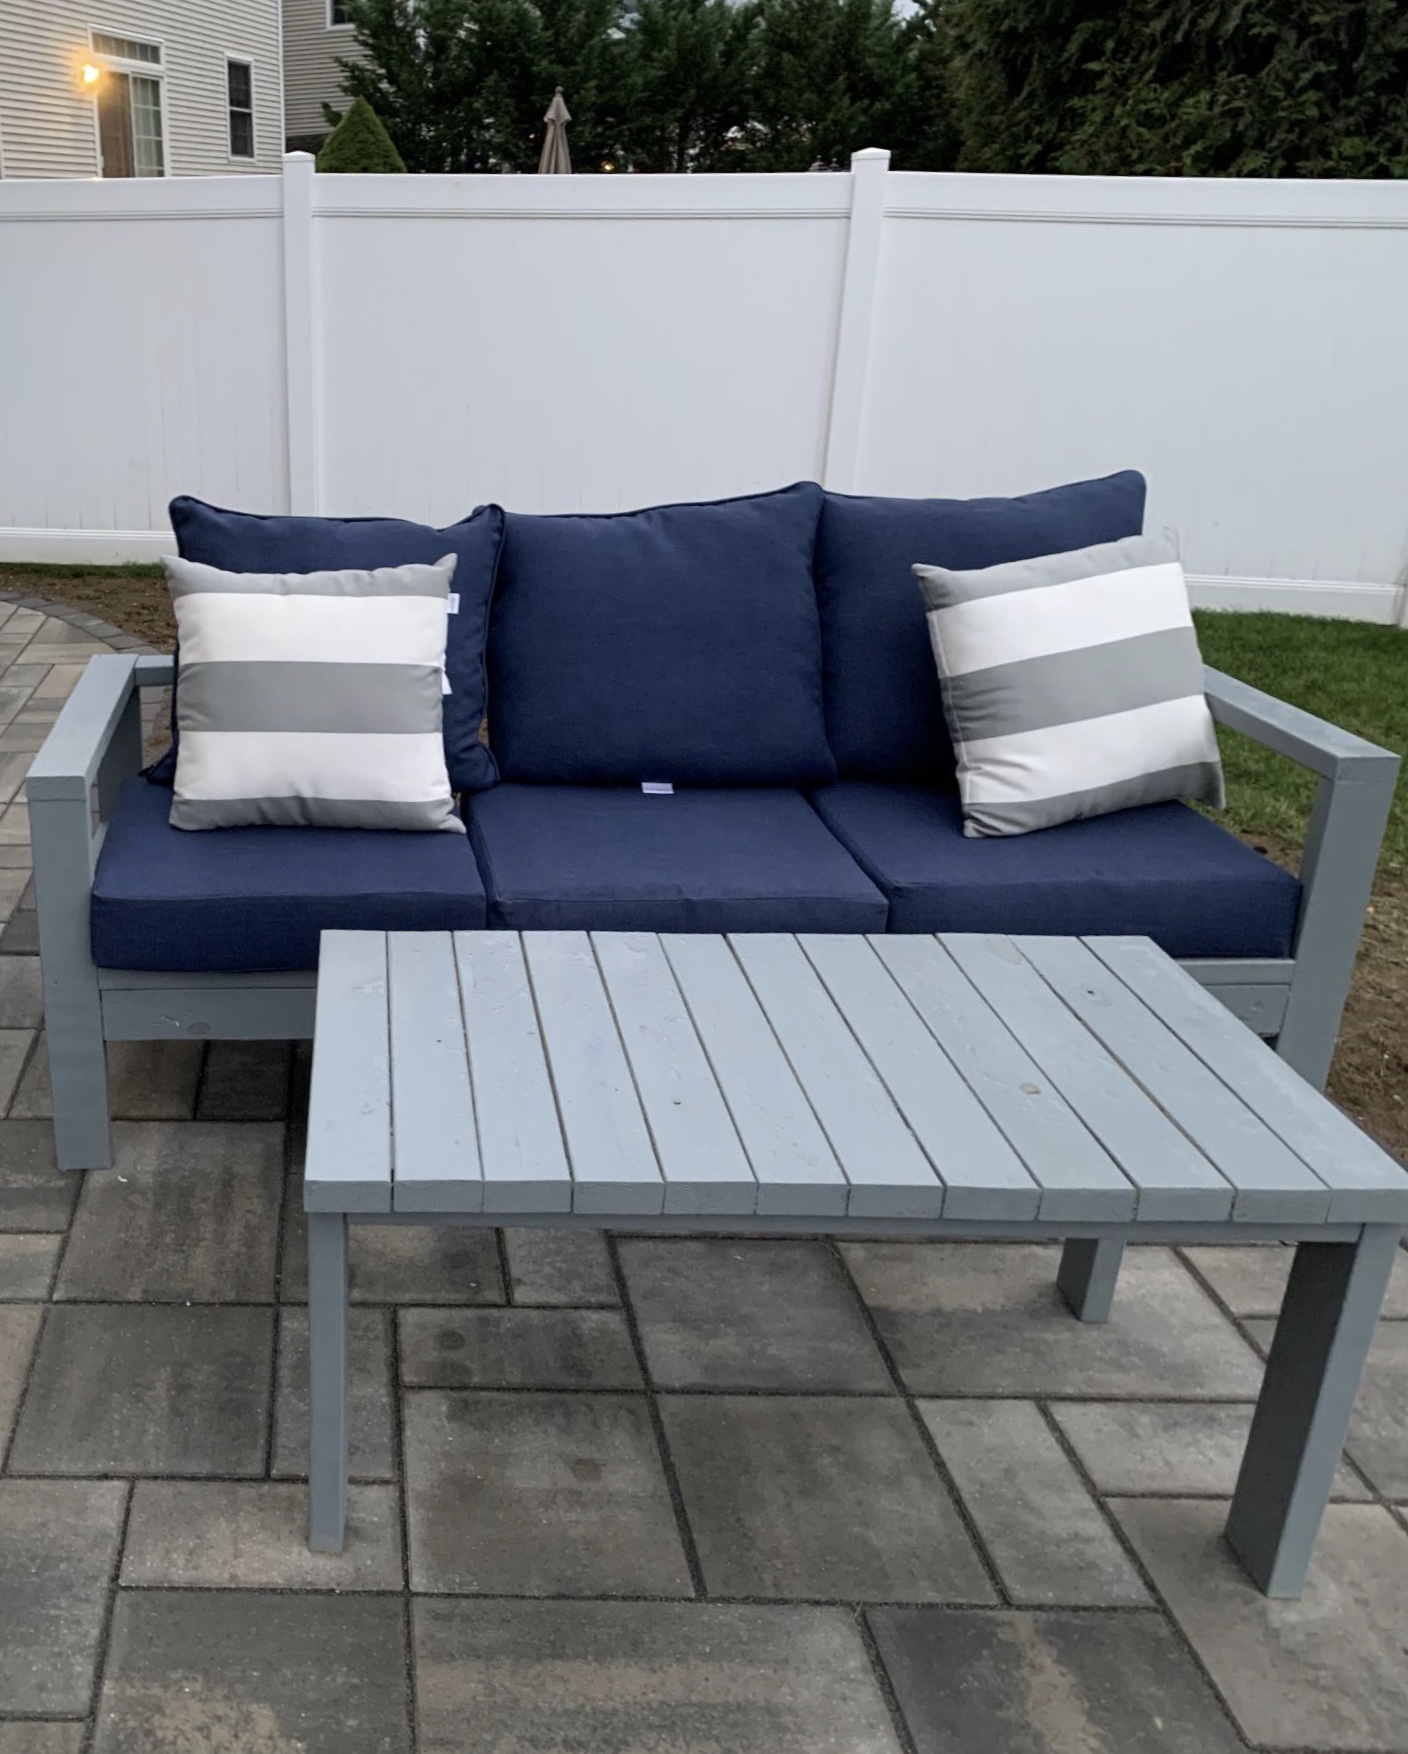
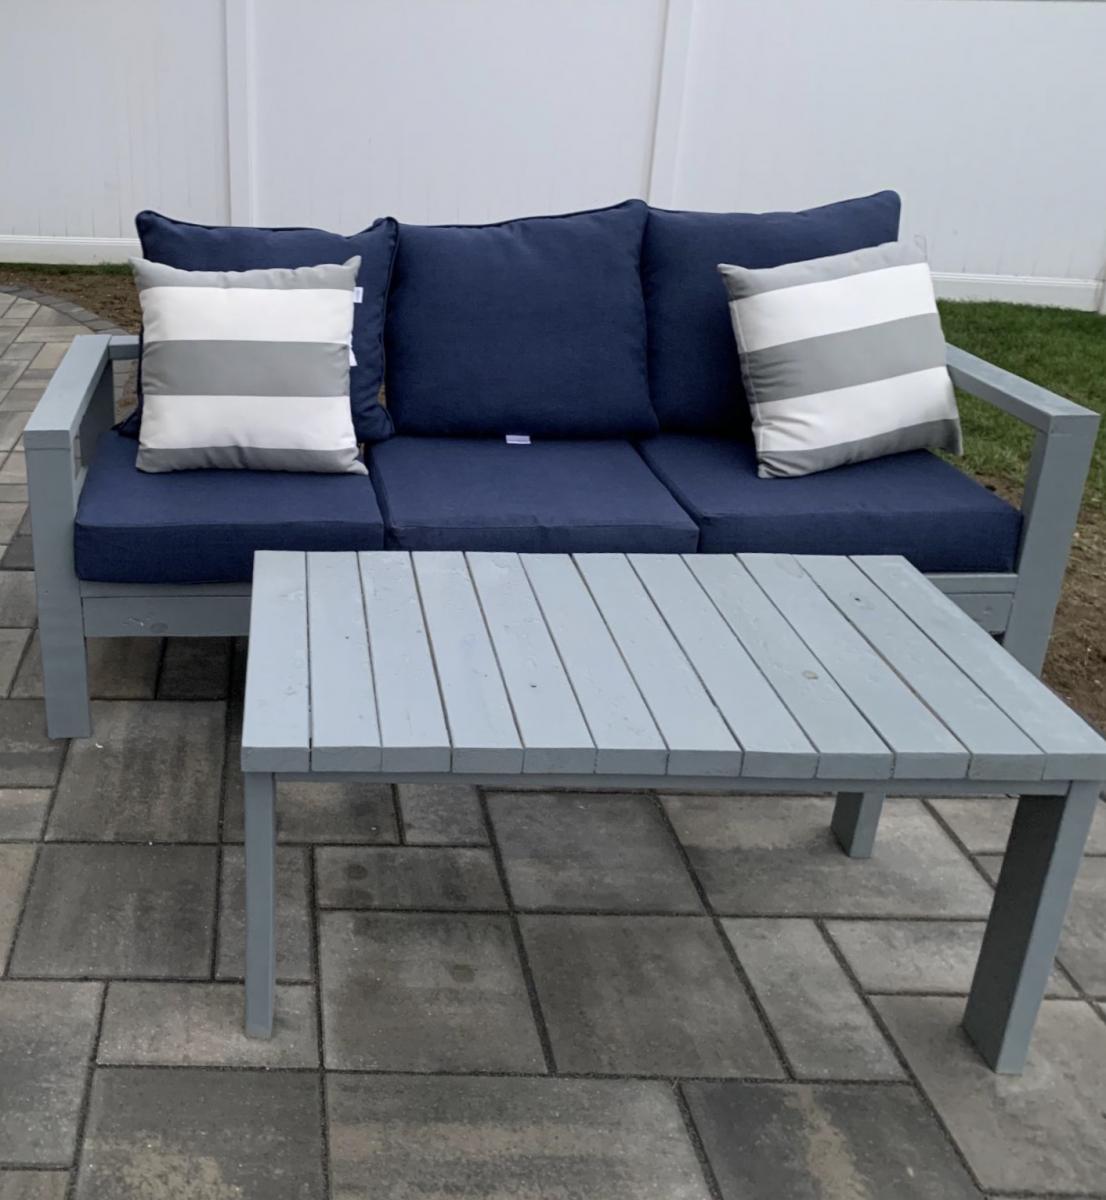
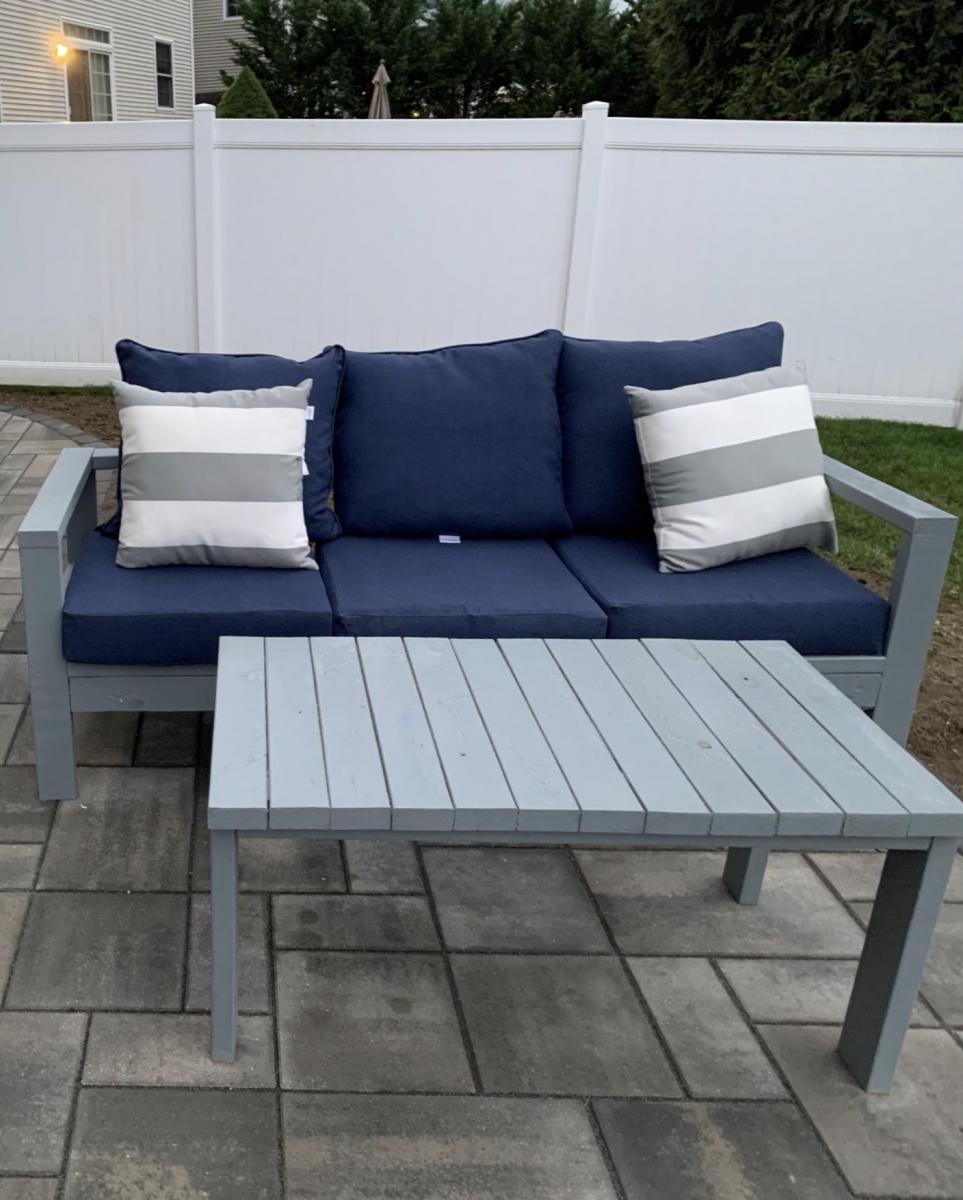
Outdoor Sofa

Submitted by cbecksOSU on Mon, 08/31/2020 - 18:43

First DIY project ever. Came out so good I built another

Built from Plan(s)
Estimated Cost
$300
Estimated Time Investment
Afternoon Project (3-6 Hours)
Finish Used
Georgetown Gray Arbor Coat (Benjamin Moore)
Recommended Skill Level
Beginner

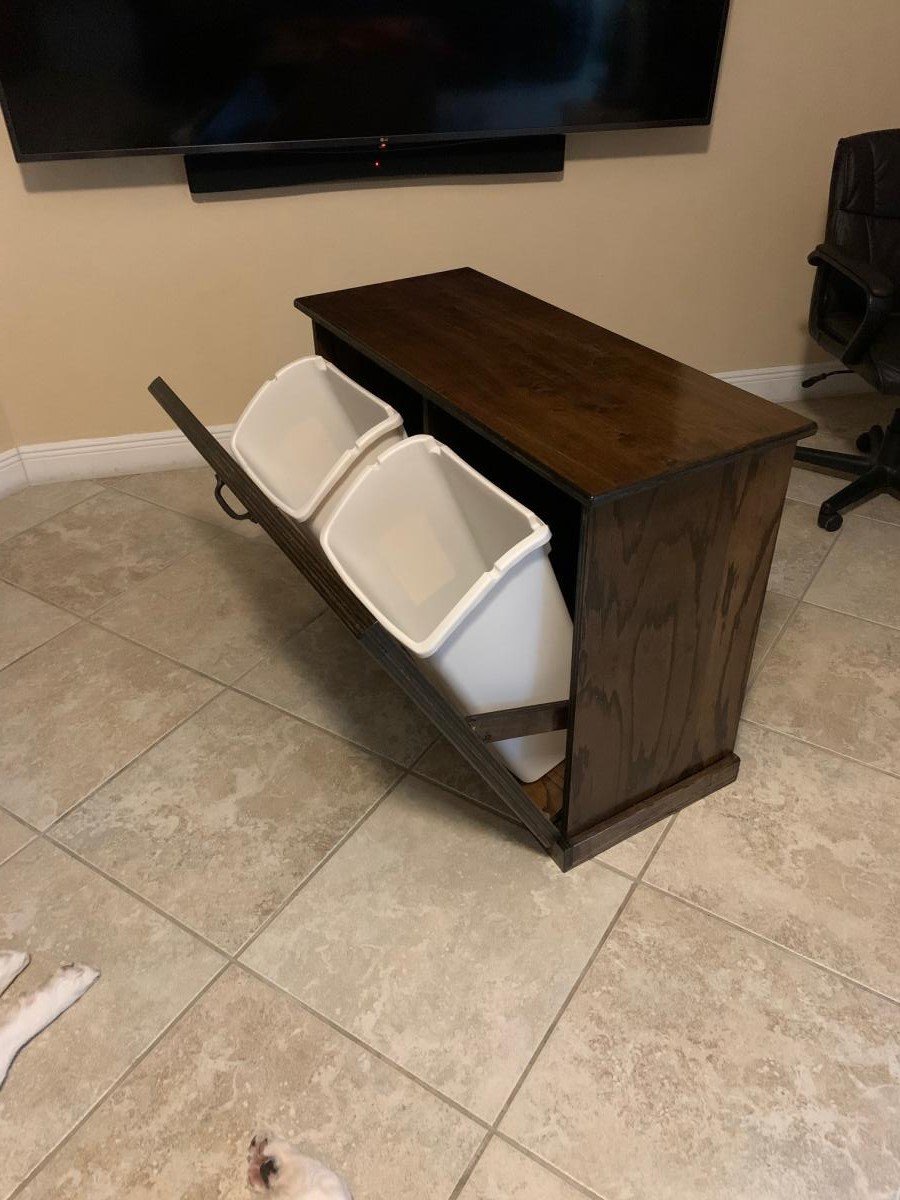
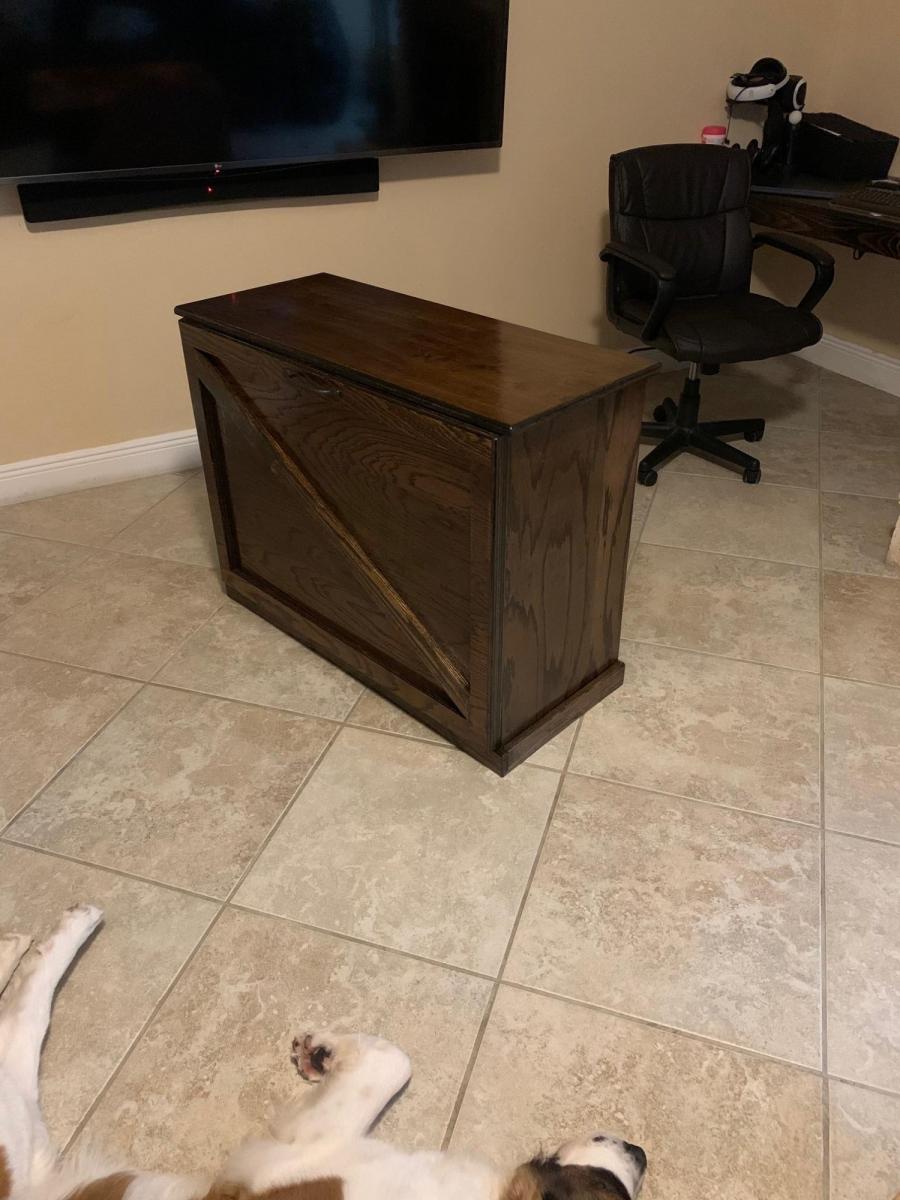
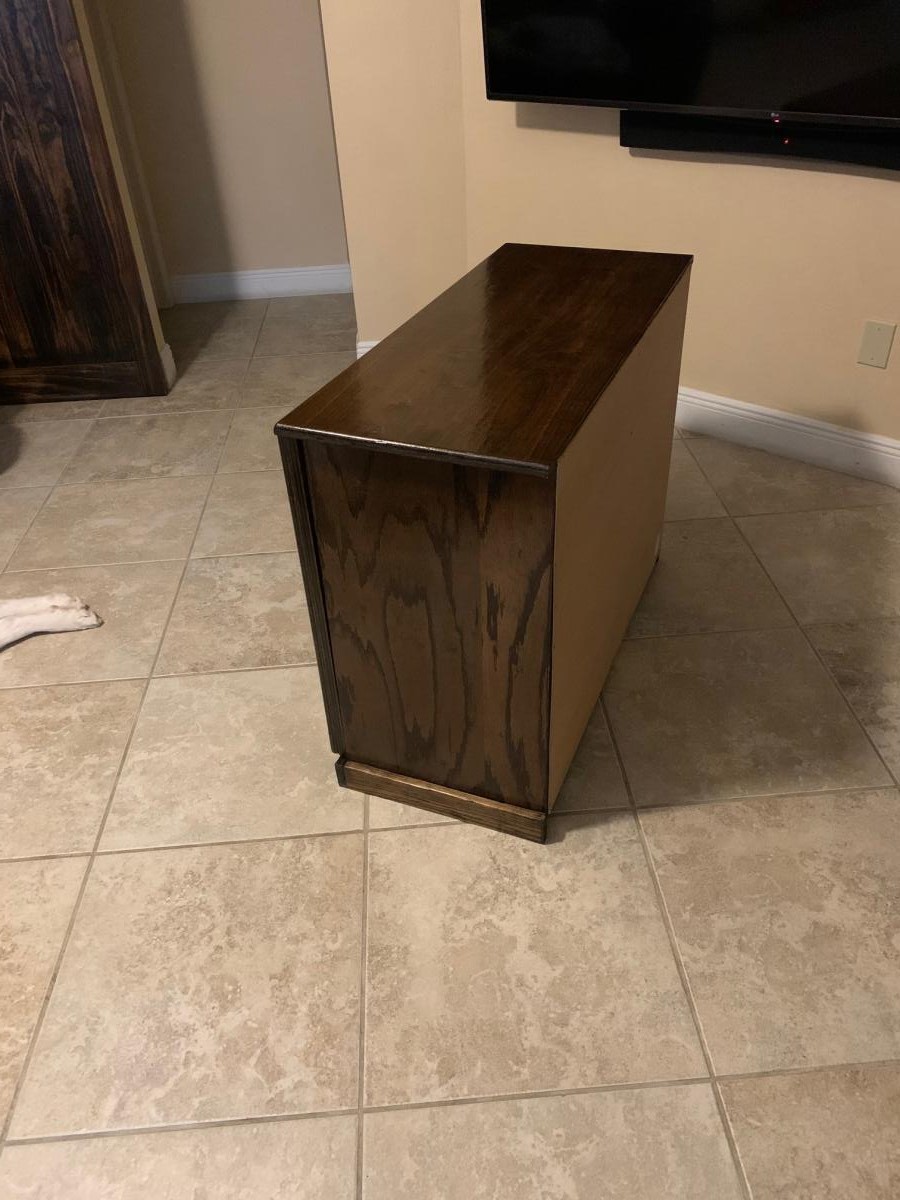
Tilt Out Recycling Center

Submitted by ppavel on Fri, 09/18/2020 - 07:36

Tilt Out Recycling Center to match the floating desk and barn door in the same room. Great project from the recycling center plans. (slight modification)

Estimated Cost
$80
Estimated Time Investment
Weekend Project (10-20 Hours)
Finish Used
Espresso Stain (Minwax)
Polyurethane Finish (3 coats)
Recommended Skill Level
Beginner

Comments

Back