Community Brag Posts

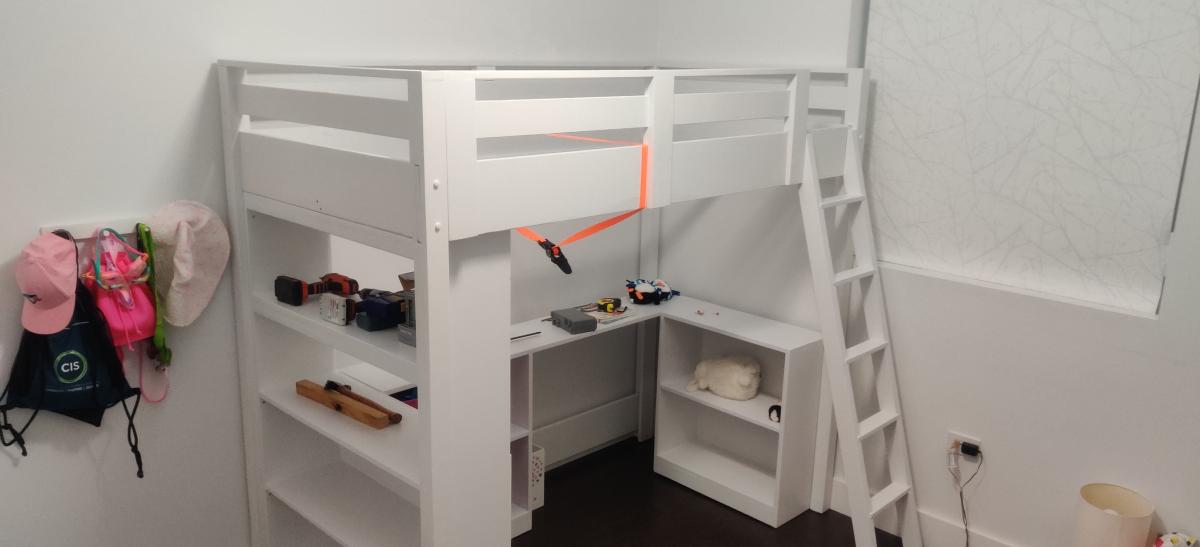
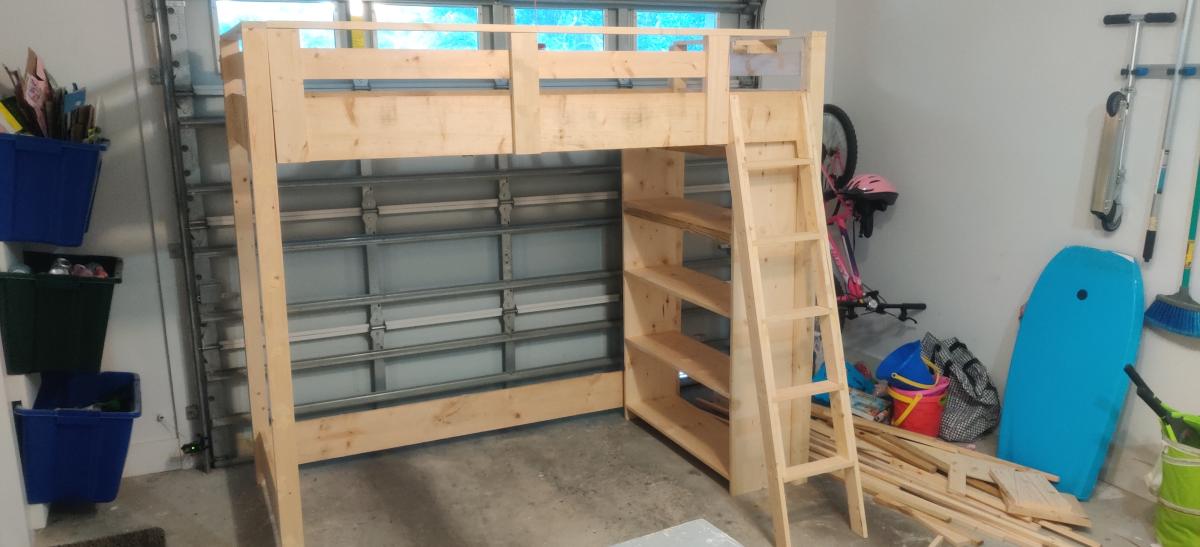
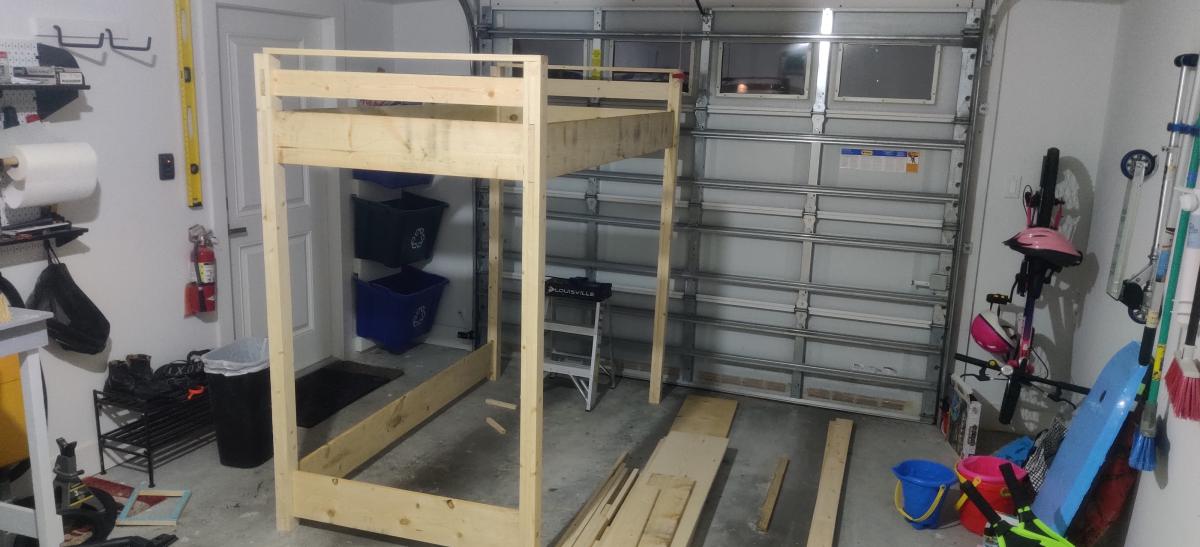
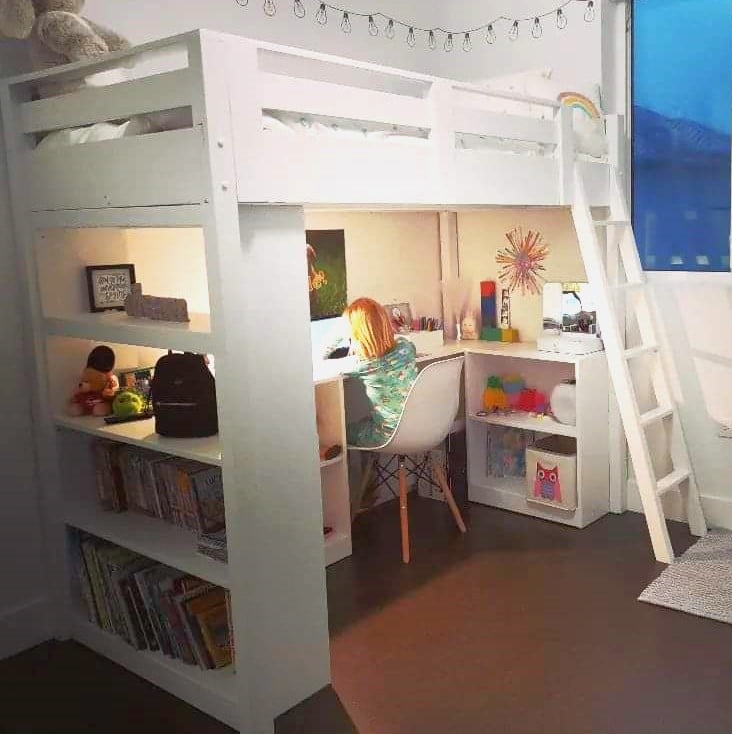
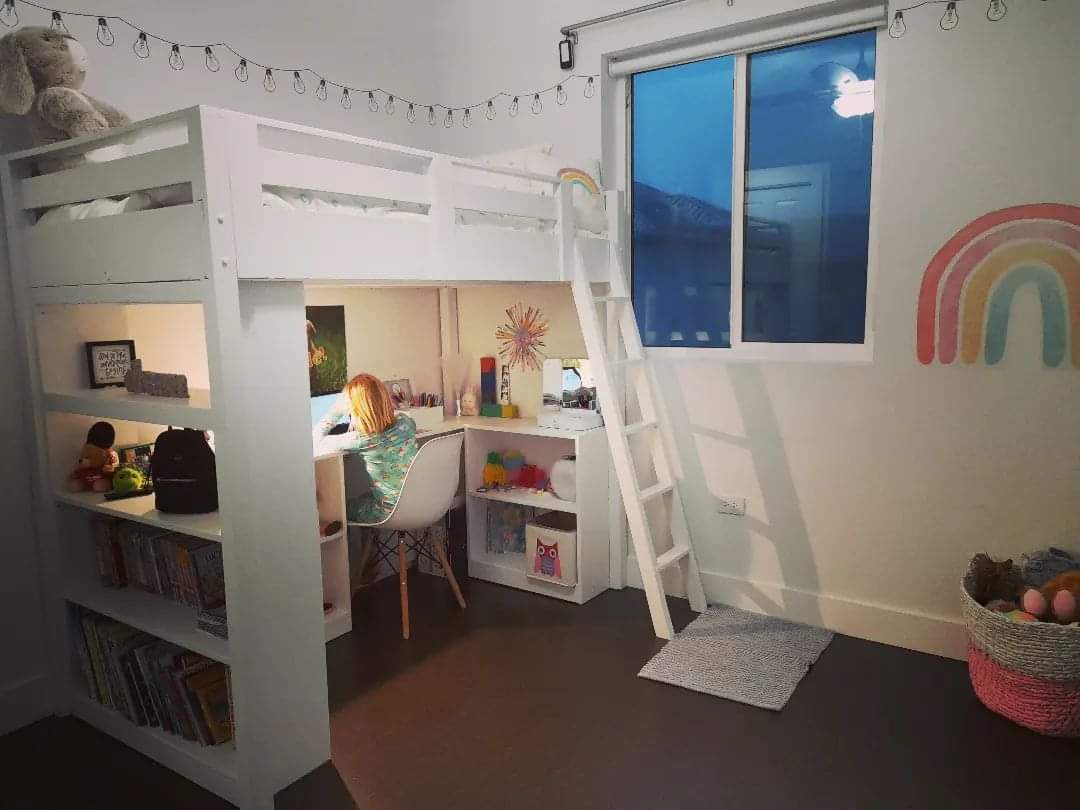
Loft bed with bookcase and desk

Submitted by abc1234 on Mon, 12/26/2022 - 08:01

I built this for my daughter and more or less followed the plan without changes. I wasn't able to get hold of 1x3 so had to rip 1x4s which was a little time consuming. In hindsight I would probably increase the depth of the desk as it's a little shallow but not a huge problem.
I primed with two coats of BIN Primer as there were a lot if knots in the wood and I heard this is the best to cover then. It was a lot more expensive but hopefully worth it. Finished with latex semigloss.

Comments

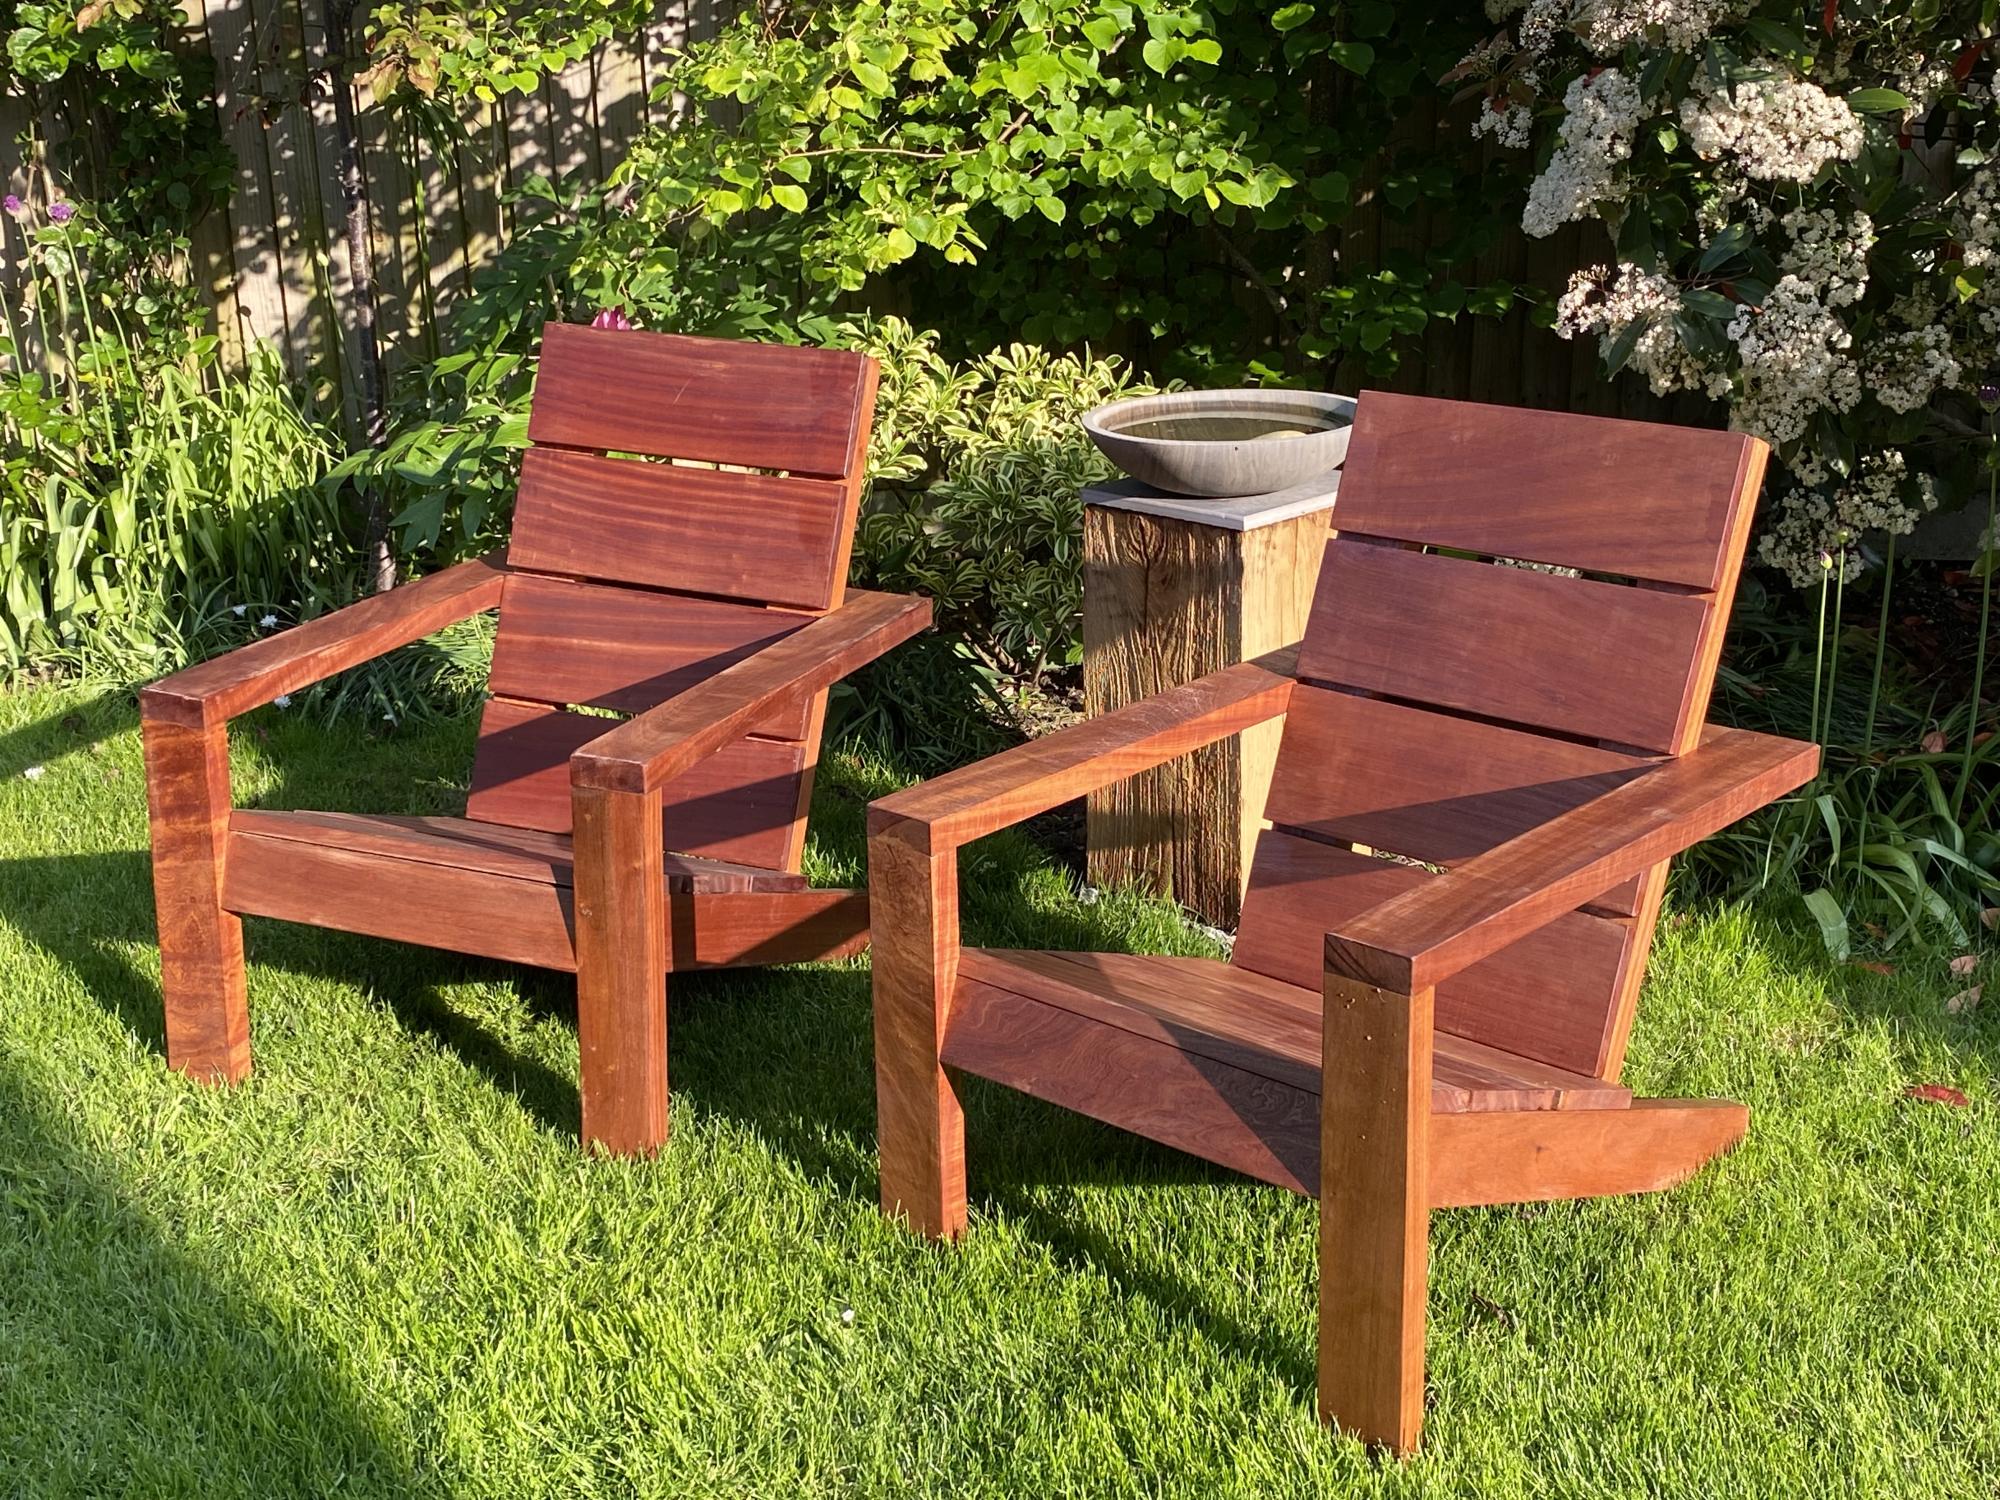
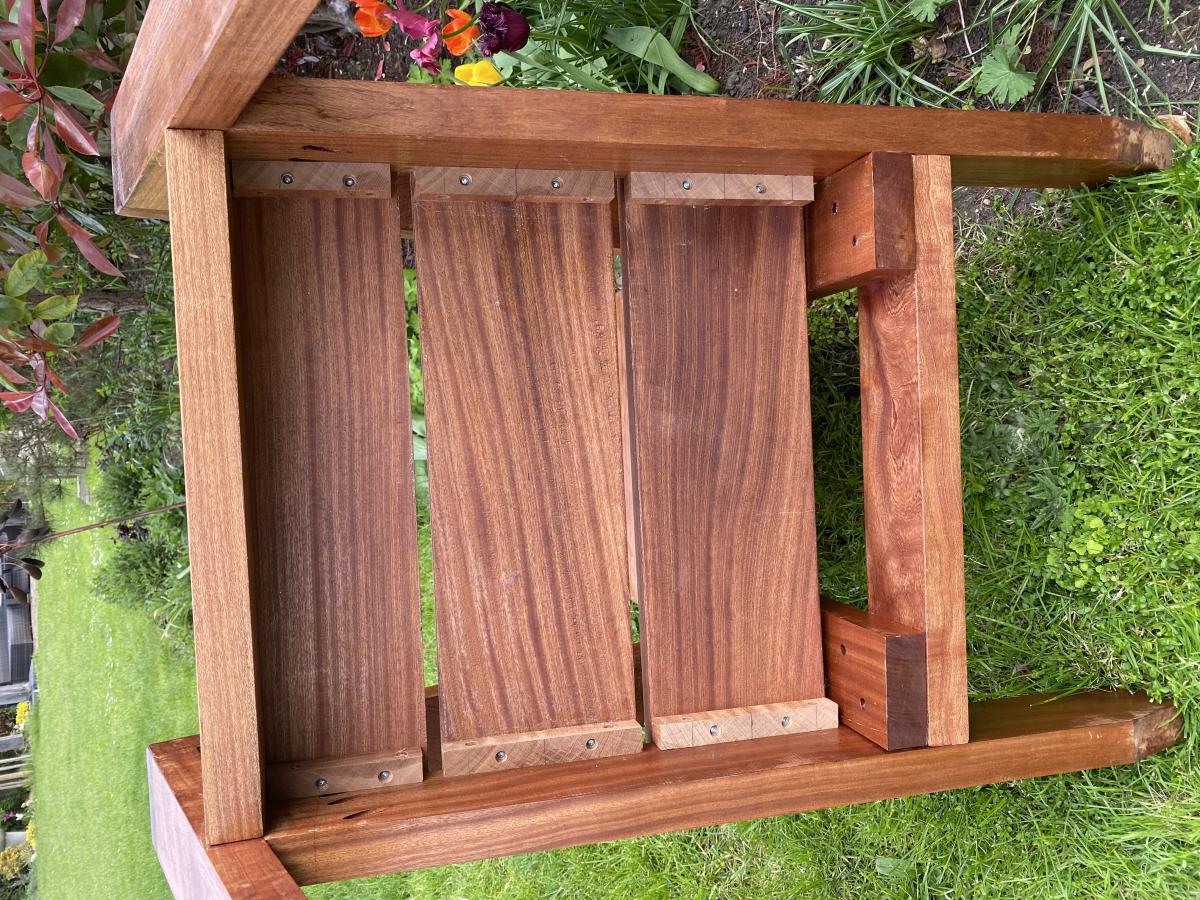
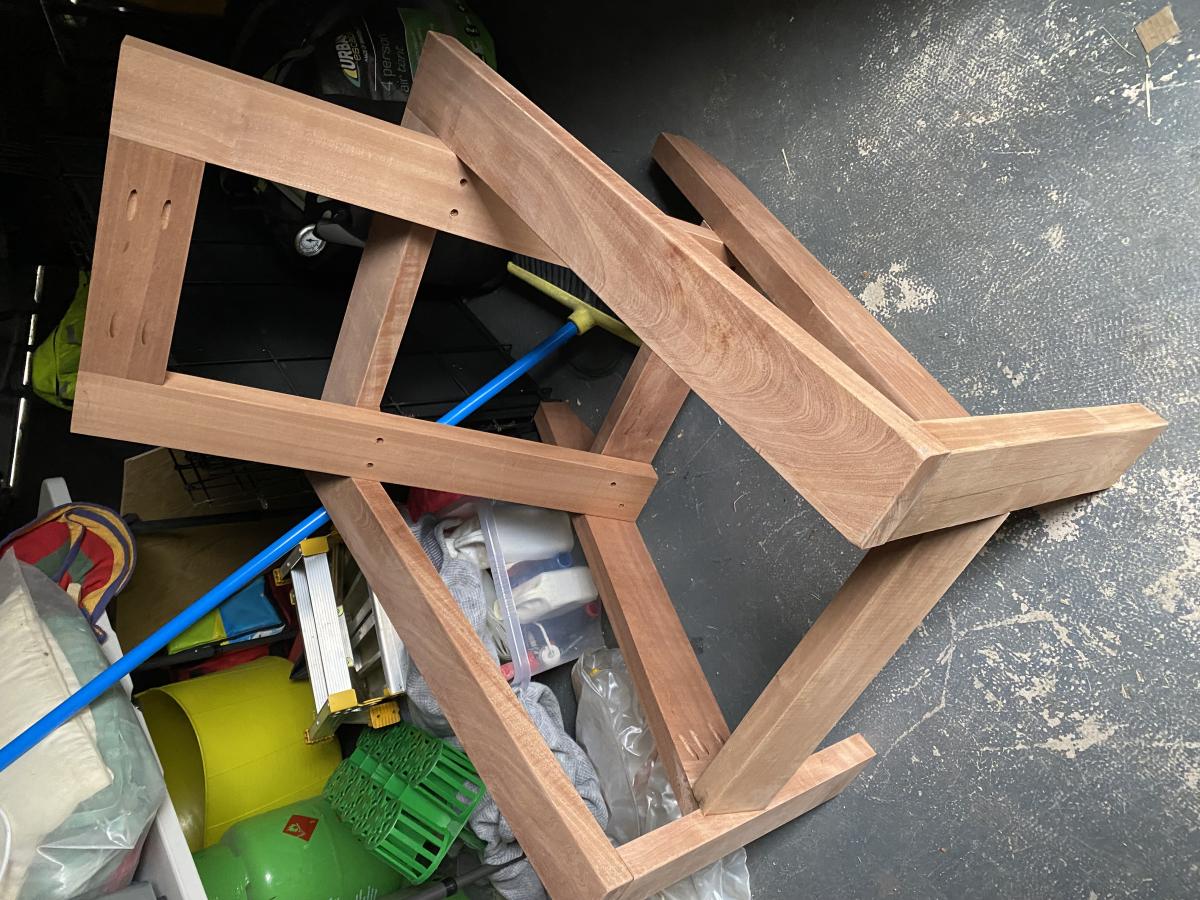
Upmarket hardwood Adirondack

Submitted by Anonymous (not verified) on Tue, 05/16/2023 - 11:33

Loved design so decided on hardwood and no visible screw heads….. took a while but loved the result

Comments

Seasonal And Holiday

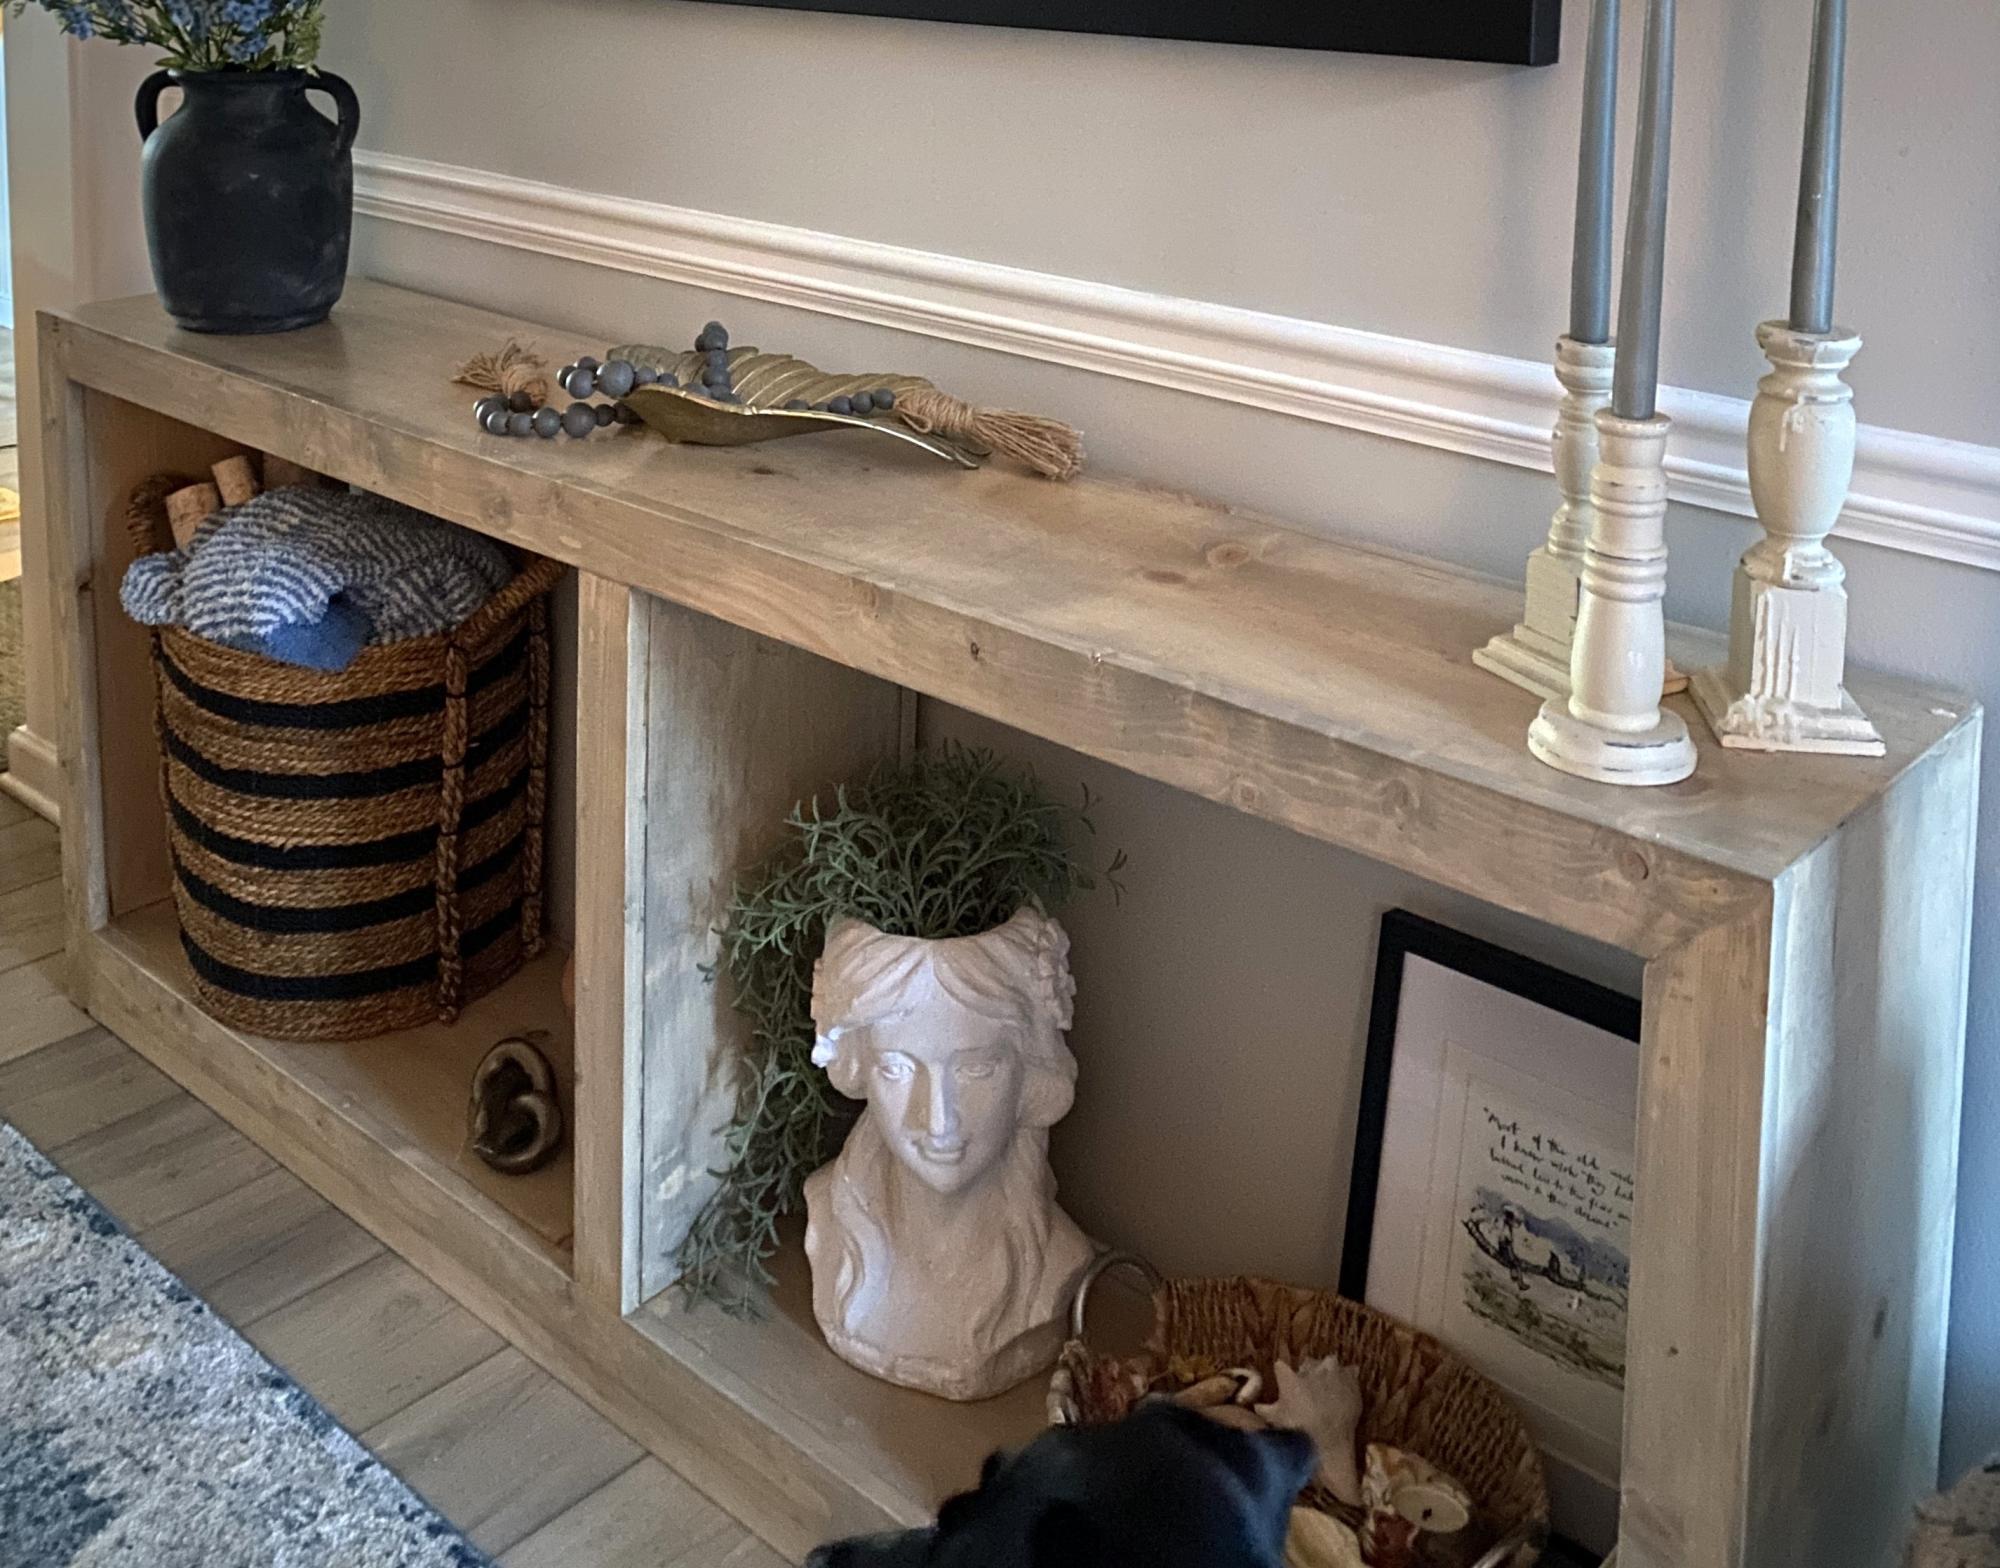
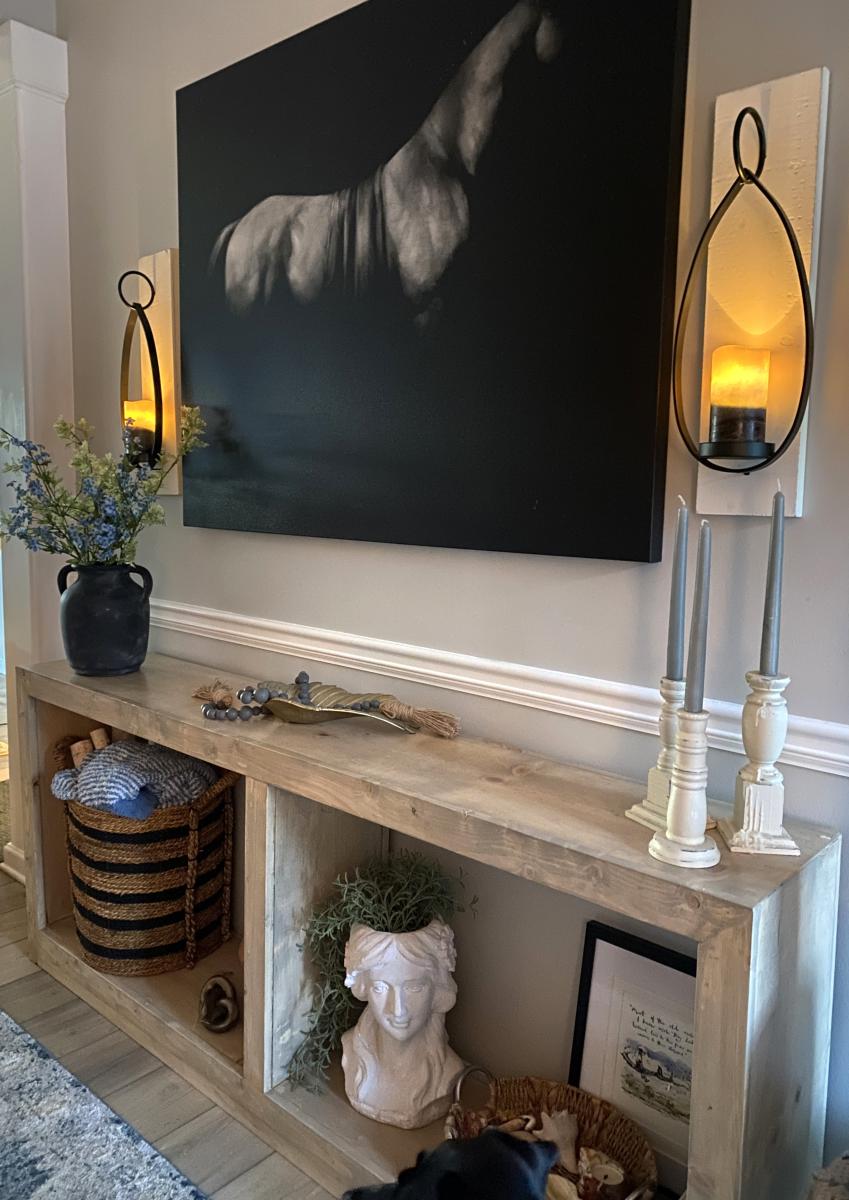
Grand Waterfall Console Table

Submitted by Anonymous (not verified) on Tue, 06/27/2023 - 08:48

I used the Grand Waterfall Console plans, but modified them to be 72 inches long instead of 84 inches. Overall, I learned a lot during the process, but wood filler, sanding, stain, and finishing with polycrylic made all the difference in the end. The hardest parts for me were the mitered cuts. I think if I did it again, it would look even better!

Deb

Shoe Dresser

Submitted by Anonymous (not verified) on Sat, 04/01/2017 - 08:26

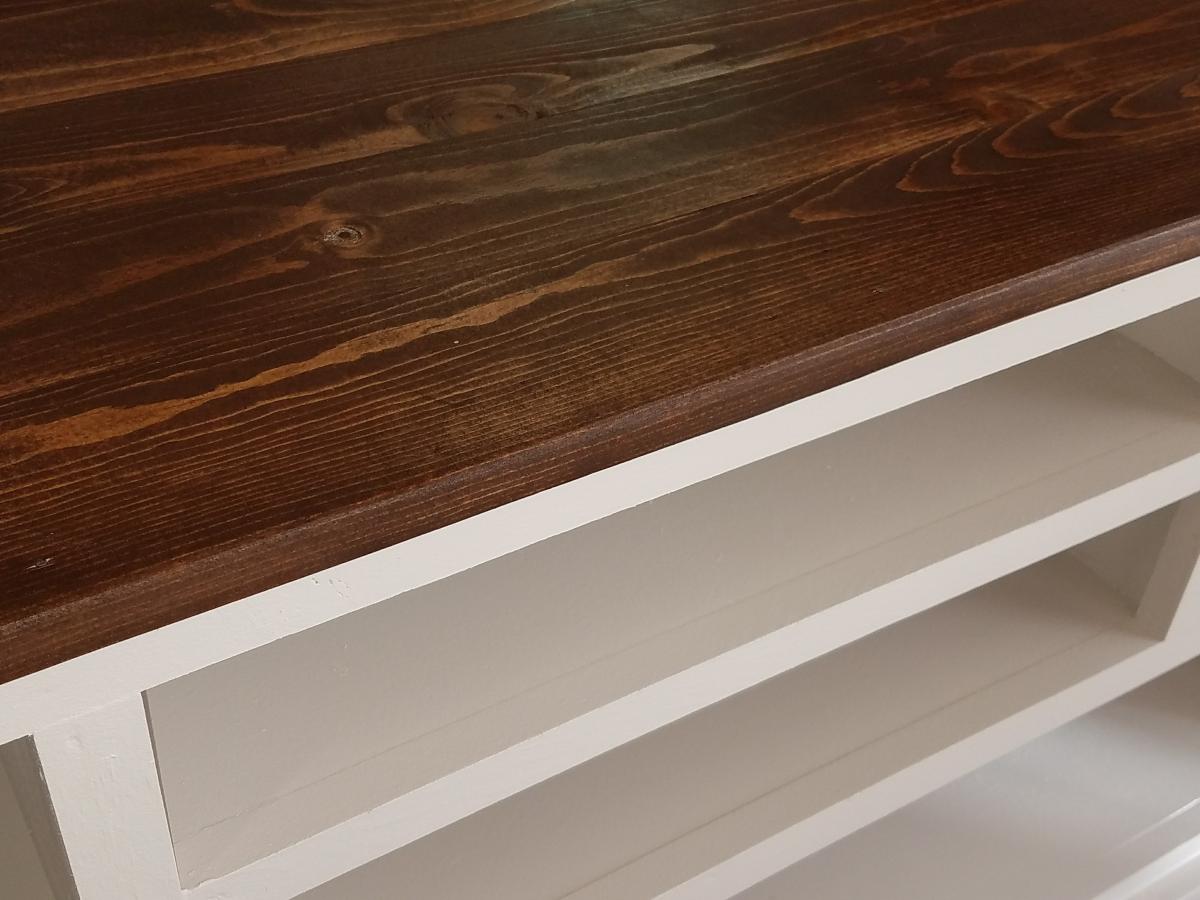
We used the shoe dresser instructions with some modifications to make it longer

Built from Plan(s)
Finish Used
Stain, polyerthane, chalk paint and wax
Recommended Skill Level
Advanced

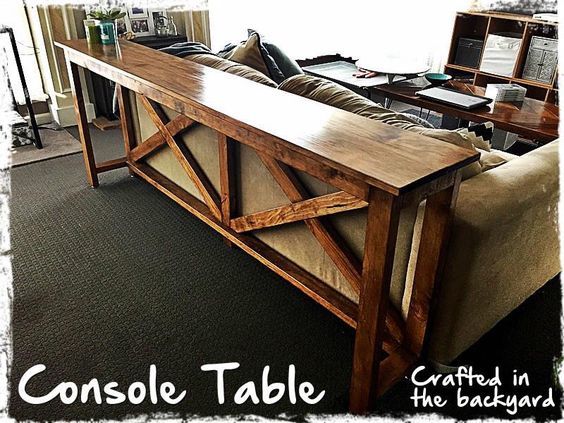
Console Sofa Table

Submitted by naomi on Fri, 06/23/2017 - 06:51

Made from the modified Ana White Rustic X-Console Table.

I made this console table to fit the length of my sons couch. It's about 6 foot long.

It was really easy to make. My only tip is to sand all your timber before assembling. Getting into the tight spots with a sander is quite difficult. I hae now made 4 of these tables and sanding first saves so much time and headaches. The other 3 I have made were painted white and had stained tops. 

Estimated Cost
About $50
Estimated Time Investment
Afternoon Project (3-6 Hours)
Finish Used
Walnut Stain
Recommended Skill Level
Beginner

Comments

kgoss5

Tue, 06/18/2019 - 08:46

Any way you could share your material list/plans ? Thanks 

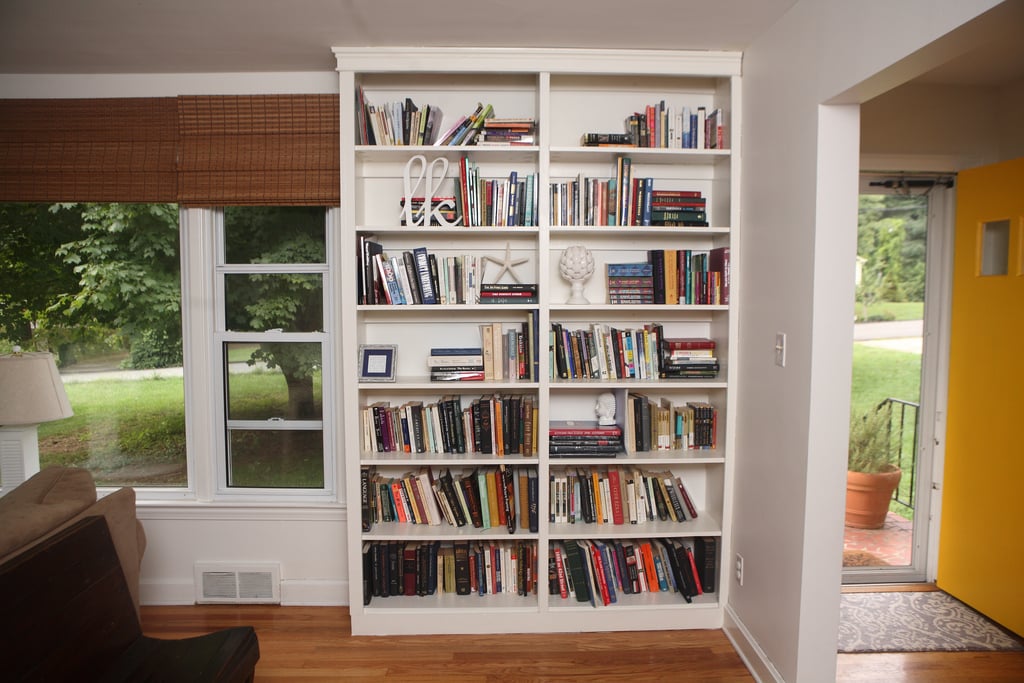
Built-in Bookshelves

Submitted by keribeth on Fri, 07/06/2012 - 14:55

These built-in bookshelves were my first project, and were loosely based on the Willy bookshelf plans, although I changed the dimensions, set them on a 2x4 base, and added trim to the sides and molding on top.

Built from Plan(s)
Estimated Cost
~$120 in lumber
Estimated Time Investment
Weekend Project (10-20 Hours)
Finish Used
Benjamin Moore white dove in advance
Recommended Skill Level
Starter Project

Comments

smoser

Sat, 08/11/2012 - 05:58

hello,

Just wondering how the sides and middle part are built. They look like thicker than 1/2 in.Is it a trim or a 1x2? or did you use some 2x4 too?
I am looking at building a bookcase too but i wanted something more massive than 1/2 in. like yours.
Thanks

Great job!! looks awesome

keribeth

Tue, 08/21/2012 - 05:31

I made the two bookshelves separately so I could move them in my house easier. Each has 1x12 sides (so 3/4" thick), and and that's 1x2 trim over the side and middle.

Thanks!

2x10 Step Stools

Submitted by msyoung22 on Tue, 08/16/2016 - 07:26

My kids needed a step stool and I had some scrap wood (2x10) left over from a previous project

Estimated Cost
20 dollars
Estimated Time Investment
Weekend Project (10-20 Hours)
Finish Used
Minwax (weathered oak stain)
Minwax polycrylic protective finish
Recommended Skill Level
Starter Project

Comments

kristyzed

Wed, 08/17/2016 - 20:40

These are great.  Can you share dimensions and if there are any angle cuts on the legs?

msyoung22

Thu, 08/18/2016 - 20:12

Thank you! The dimensions are the same as the Ana White "Simple 1x10 Single Step Stool" except I used 2x10's instead of 1x10's like the plans called for. I also used some scrap pallet wood to make a design on the top of the stool. 

- Stool height: 7 1/2" for legs, 1 1/2" for top, and 1/2" for scrap pallet wood; which gives a total height of 9"

- Stool width: 9 1/4" x 16"

- 5 degree angle cuts were made on the legs

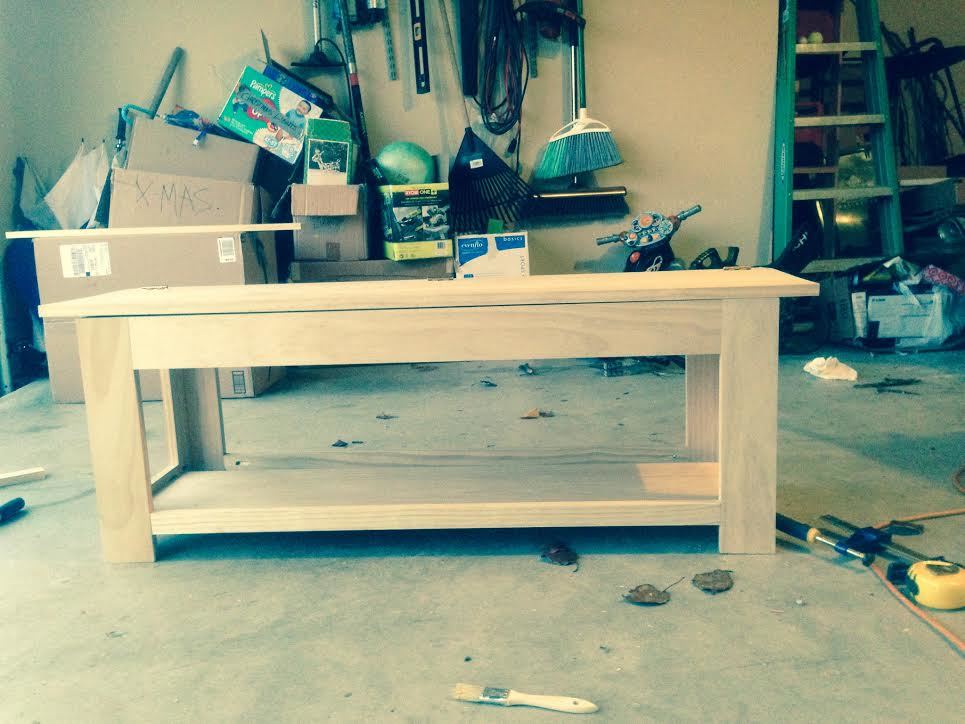
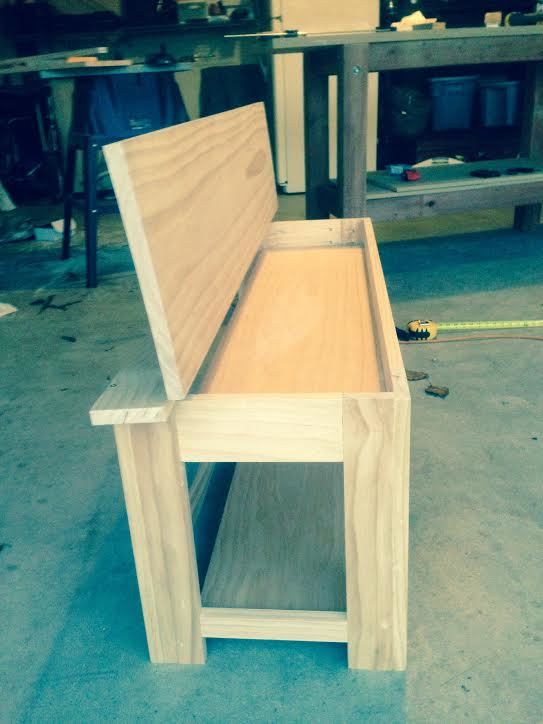
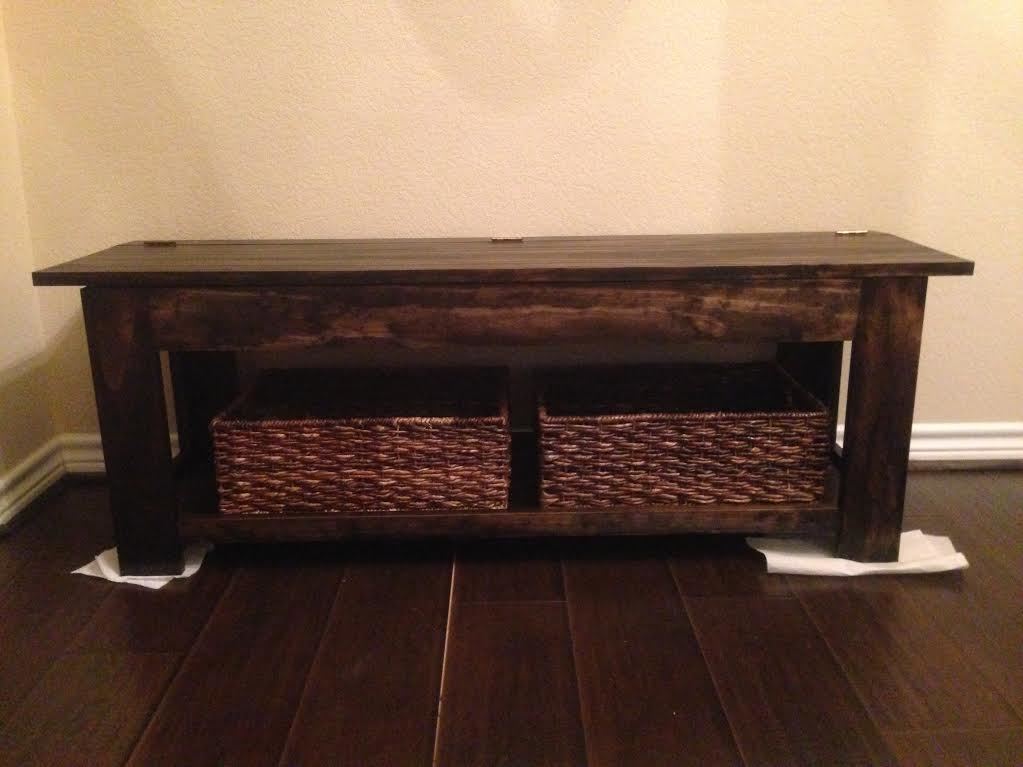
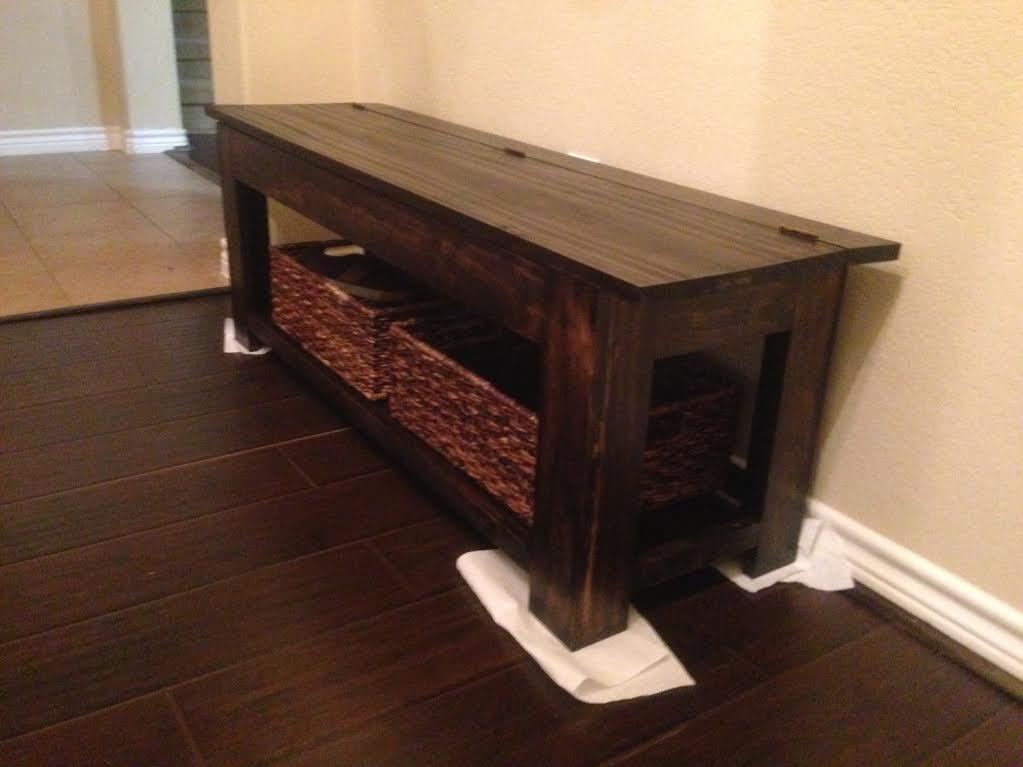
Shoe Storage Flip Top Bench - First Attempt at "Woodworking"

Submitted by rskeels on Thu, 12/26/2013 - 07:48

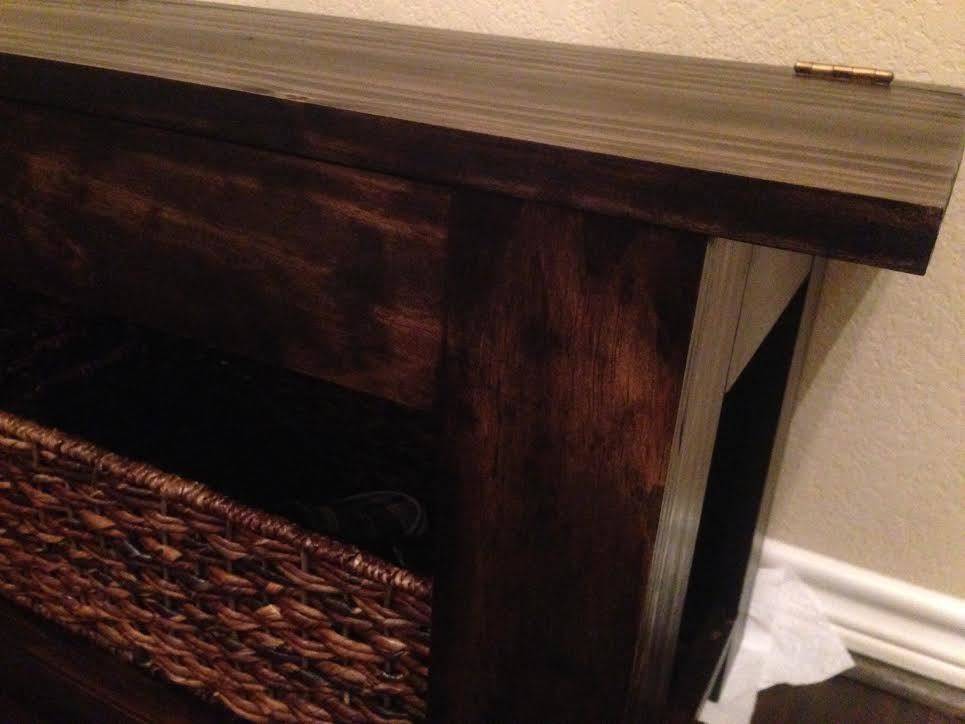
This is my first attempt at building and your website made it possible. There were a couple of mistakes, I admit. This was especially true with the finish. I did my best, but I'm a little impatient with letting things dry.

I am also having a difficult time estimating how long it took to build as I am the sometimes proud father of 3 boys...aged 2, 4, and 5....resulting in frequent stopping, starting, and intermittent chasing down the street. I need an exterior lock on the garage.

Thanks so much for your website Ana.

Estimated Time Investment
Day Project (6-9 Hours)
Finish Used
Minwax English Chestnut - Two Coats
Minwax Jacobean - One coat
Minwax Polyurethane
Recommended Skill Level
Starter Project

Comments

Mimi's Faux Mantle

Submitted by adriannew on Fri, 12/07/2012 - 22:06

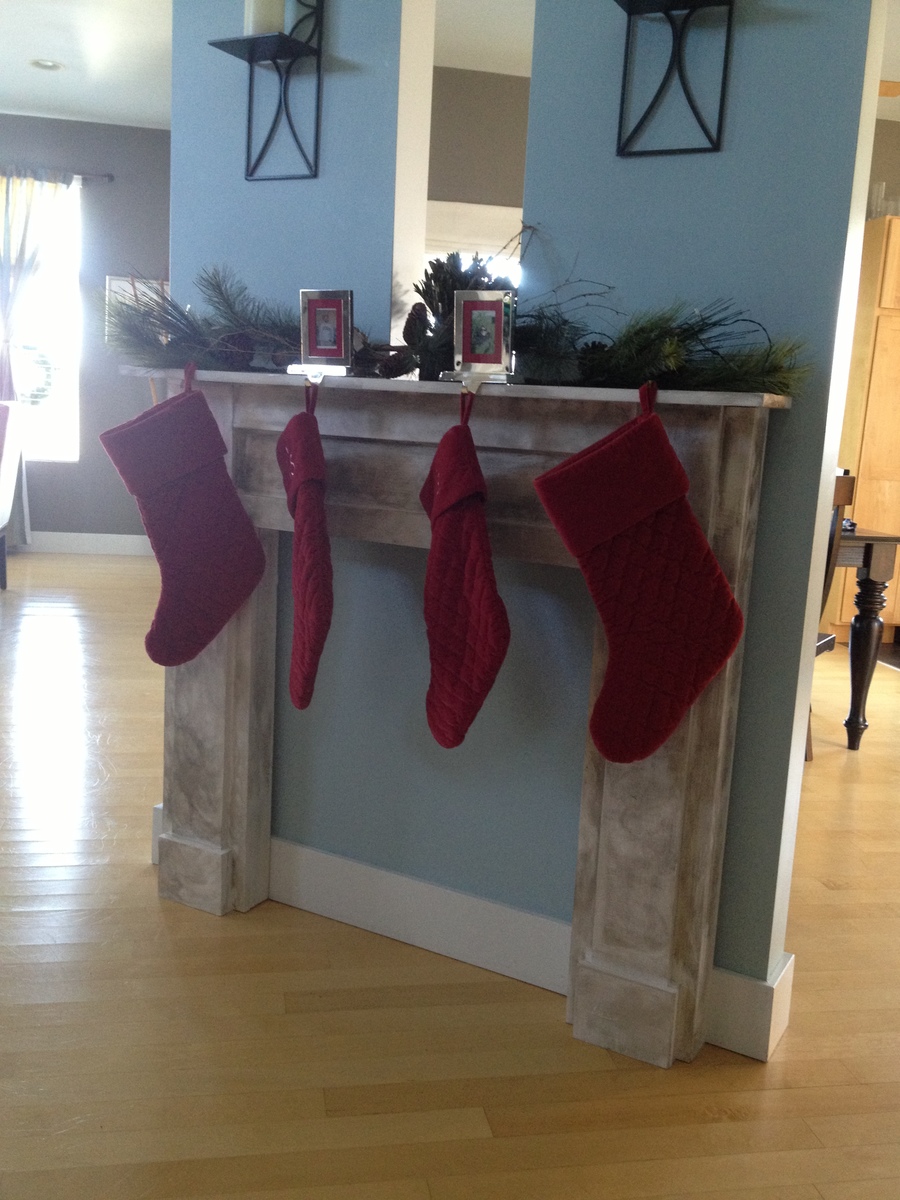
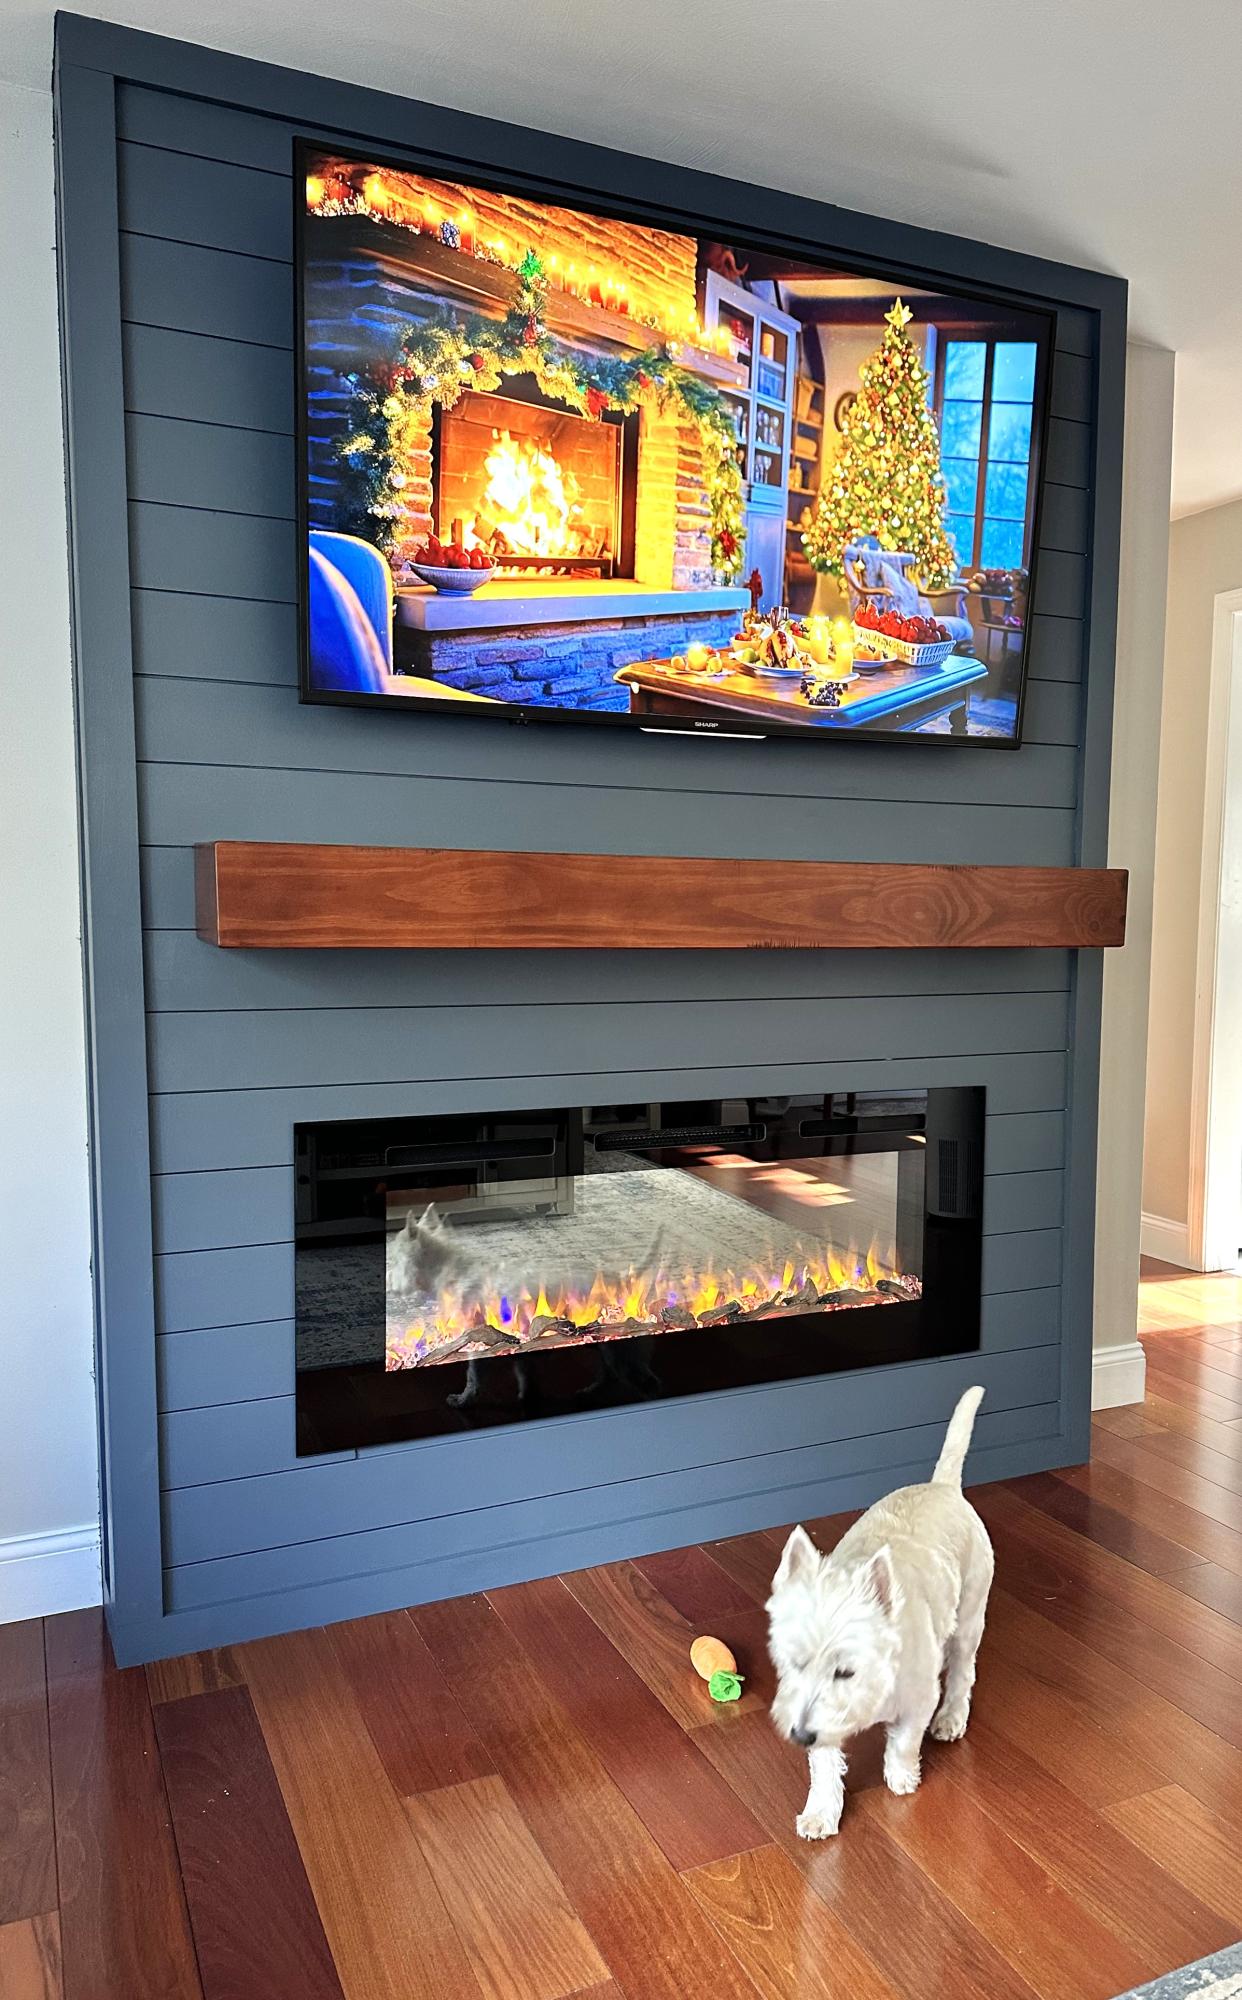
Our home (like many) does not have a fireplace or mantle. So, I decided to build one. Thank goodness for Lowes. They pre-cut all wood for me. I was afraid to use a drill (I'm a rookie), so I nailed all pieces of wood with 1 1/2 inch nails. Wood glue was fabulous prior to using the hammer. I omitted decorative molding too. I think I used too much antique paint, but I can always re-paint it next year. I don't think I'll have the mantle up all year long, but it's great for a Christmas decoration. I hope this gives hope to anyone out there considering this project. If I can do it, YOU can totally do it! Thank you SO much for helping a novice builder like me add something to our home.

Estimated Cost
$80.00
Estimated Time Investment
Weekend Project (10-20 Hours)
Finish Used
antique paint and clear finishing spray
Recommended Skill Level
Starter Project

Comments

Handmade Soap Rack

Submitted by Anonymous (not verified) on Mon, 11/11/2024 - 16:41

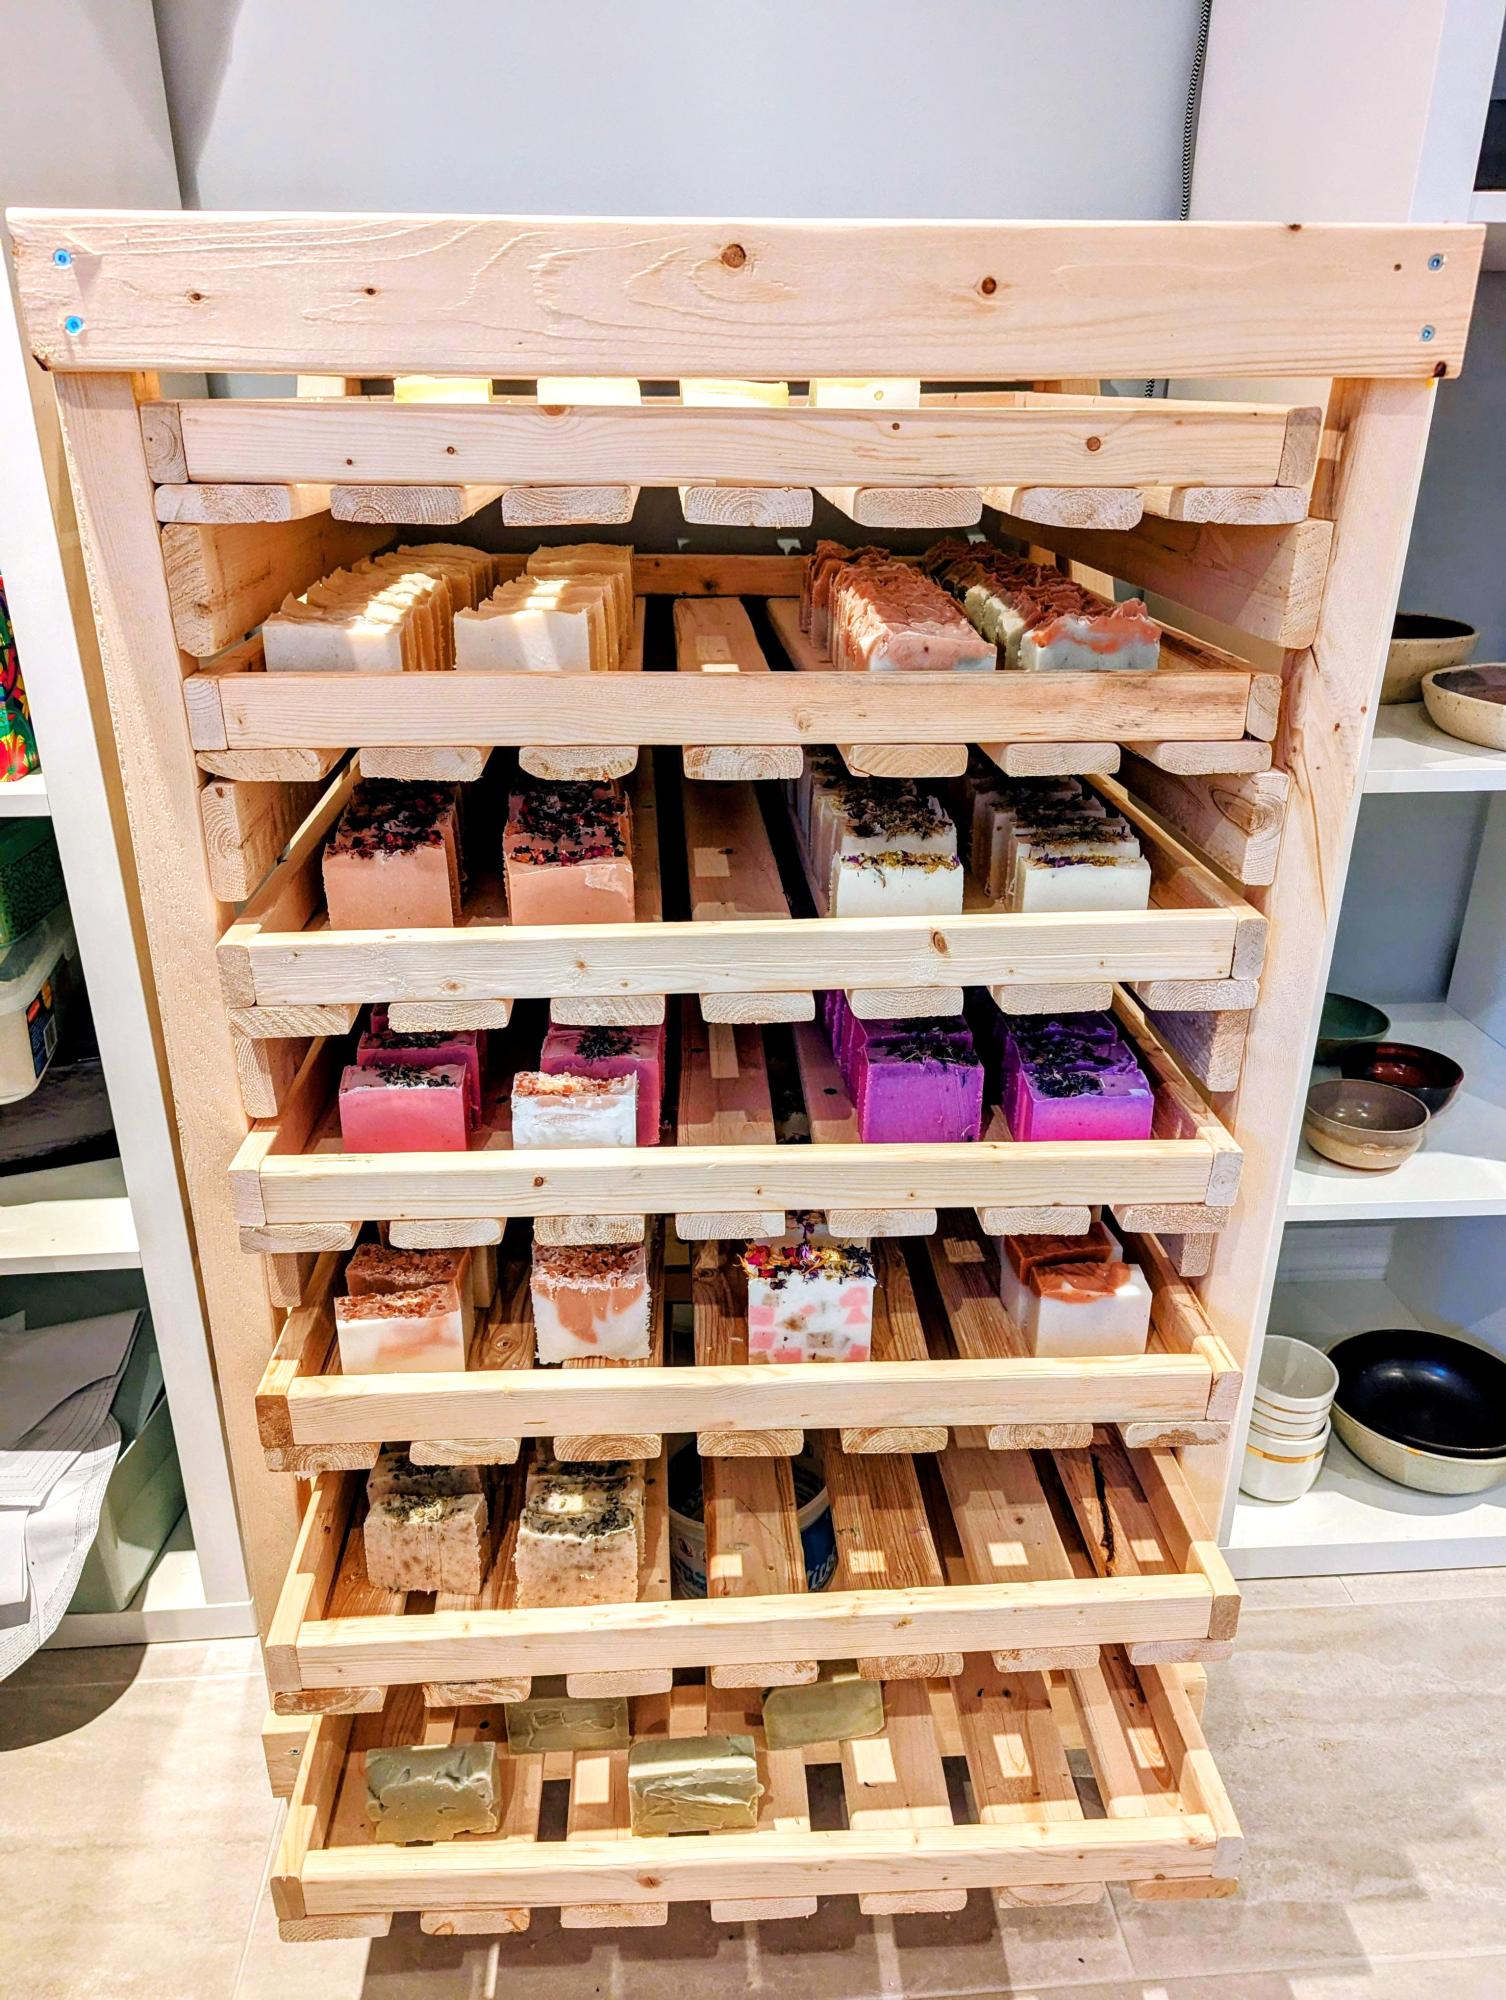
My wife loves handcrafting soap, potery, weaving, etc. She needed a solution to cure her soap and she found your plan. We made a deal : I'll do the project but I'll (finally!) buy a brad nailer. It turned out to be a great project to do for her. The plan is very well explained and the design optimizes the usage of wood. Thank you so much Ana for the idea and the plan! - Martin

Seasonal And Holiday

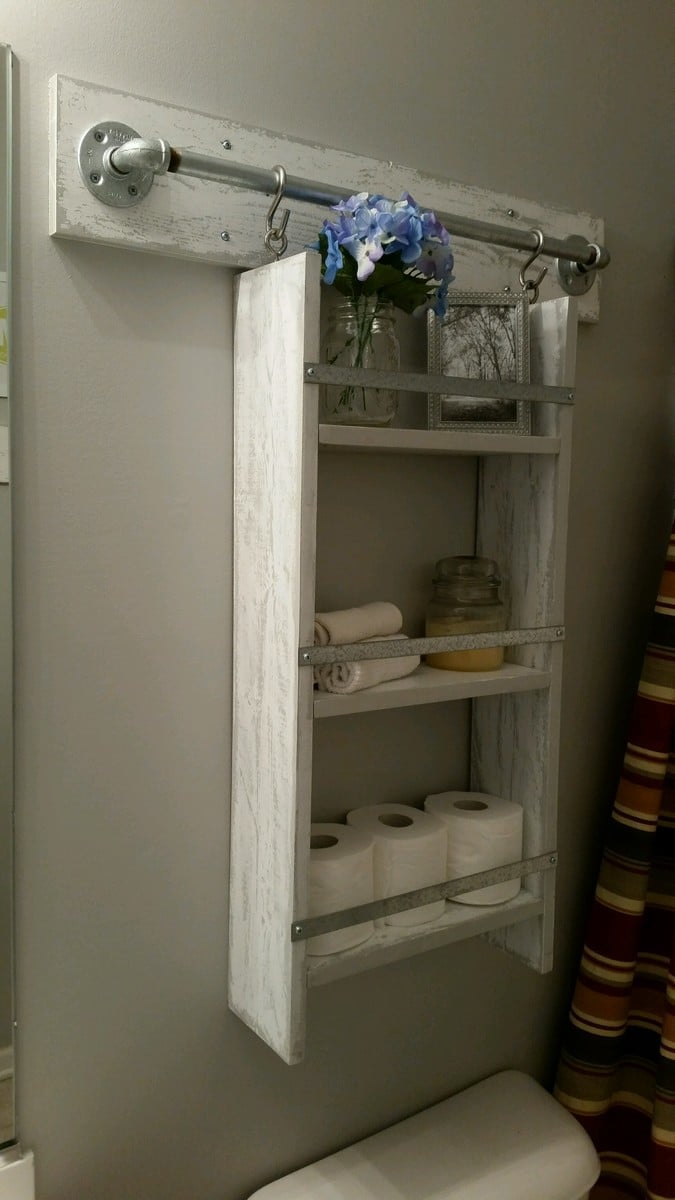
Gabriel Wall System Hanging Organizer

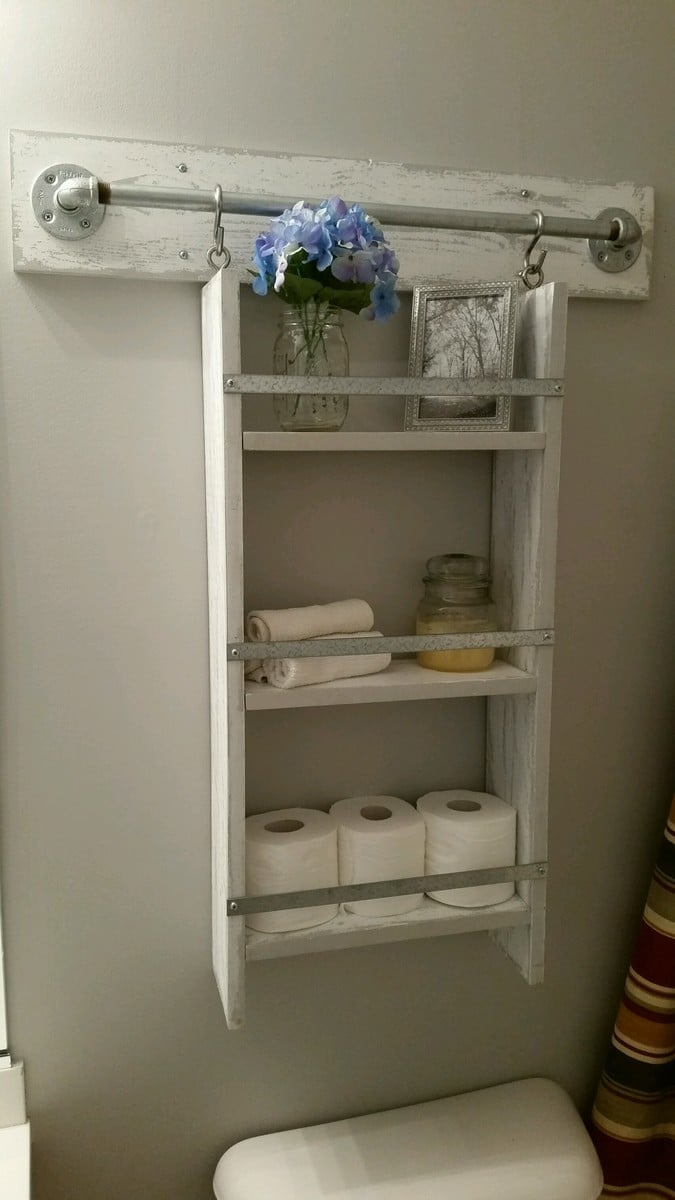
This was a very fun project to build. I pretty much followed the directions that were posted, but I used 1x6's instead of 1x4's because I wanted more storage space on the shelves. I also used 1/2" iron piping instead of 3/4" and am happy with how it turned out. Since the guest bathroom is gray, we didn't want to stain the wood and chose to do an easy to do "weathered" (directions below) look. Now all we need to do is replace the ugly shower curtain!

Estimated Cost
$40 (paint not included).
Estimated Time Investment
Day Project (6-9 Hours)
Finish Used
"Weathered" look – First, paint a gray undercoat of paint and let dry. Secondly, coat the piece with paraffin wax (especially the edges and corners). Next, paint a top coat of white and let dry. Lastly, scrape off the wax (with a razor blade), to your liking, to give it the "weathered" look.
Recommended Skill Level
Beginner

Comments

tgrott

Wed, 03/30/2016 - 06:41

Love the weathered/distressed look you did.  Can you share your technique for the paint job?

tgrott

Wed, 03/30/2016 - 06:42

I;m sorry!! I just noticed that you did share the paint job!  Thanks! :P

tgrott

Wed, 03/30/2016 - 06:43

I;m sorry!! I just noticed that you did share the paint job!  Thanks! :P

Rustic X coffee table with Minwax Classic Gray stain

Submitted by cariaw123 on Thu, 11/21/2013 - 07:54

This project was quick and painless. I recommend for a beginners project (but expect to get frustrated over building the x's into the side though). I stained our table with the Minwax Classic Gray stain and used the Minwax water-based polyurethane to seal it. I realize that the stain is difficult to see but it is a beautiful stain that has turned into my go-to stain. The stain is not too gray and you can see the natural color of the wood through it. The photo gives the impression a glossy finish. In reality, it is more matte.

Built from Plan(s)
Estimated Cost
$80-90
Estimated Time Investment
Afternoon Project (3-6 Hours)
Finish Used
Minwax Classic Gray stain with Minwax Water-based Polyurethane.
NOTE:The stain goes on pine and whitewood VERY differently. The pine pieces come out very dark with the stain being brushed on and immediately wiped off. For the whitewood, you can leave it on for 10 minutes and it'll reach a threshold for the amount of stain it will accept. I just sanded the darker pieces down a little bit to match the lighter pieces. (Does that make sense?)
Recommended Skill Level
Beginner

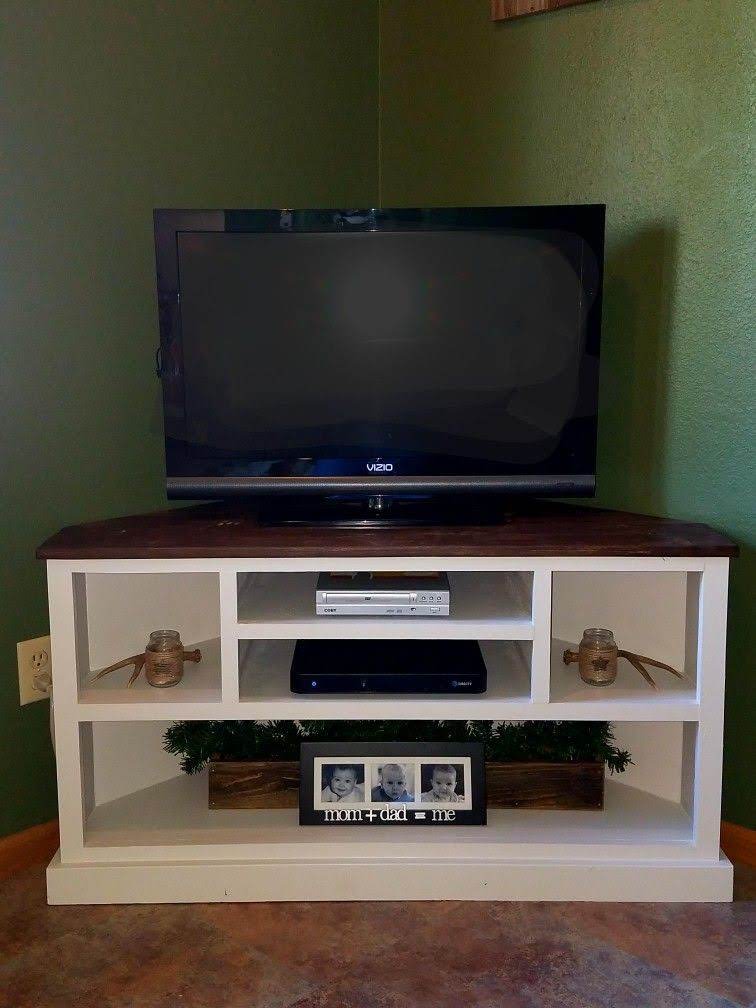
Corner Media Console

Submitted by craw4dz on Thu, 02/27/2020 - 10:39

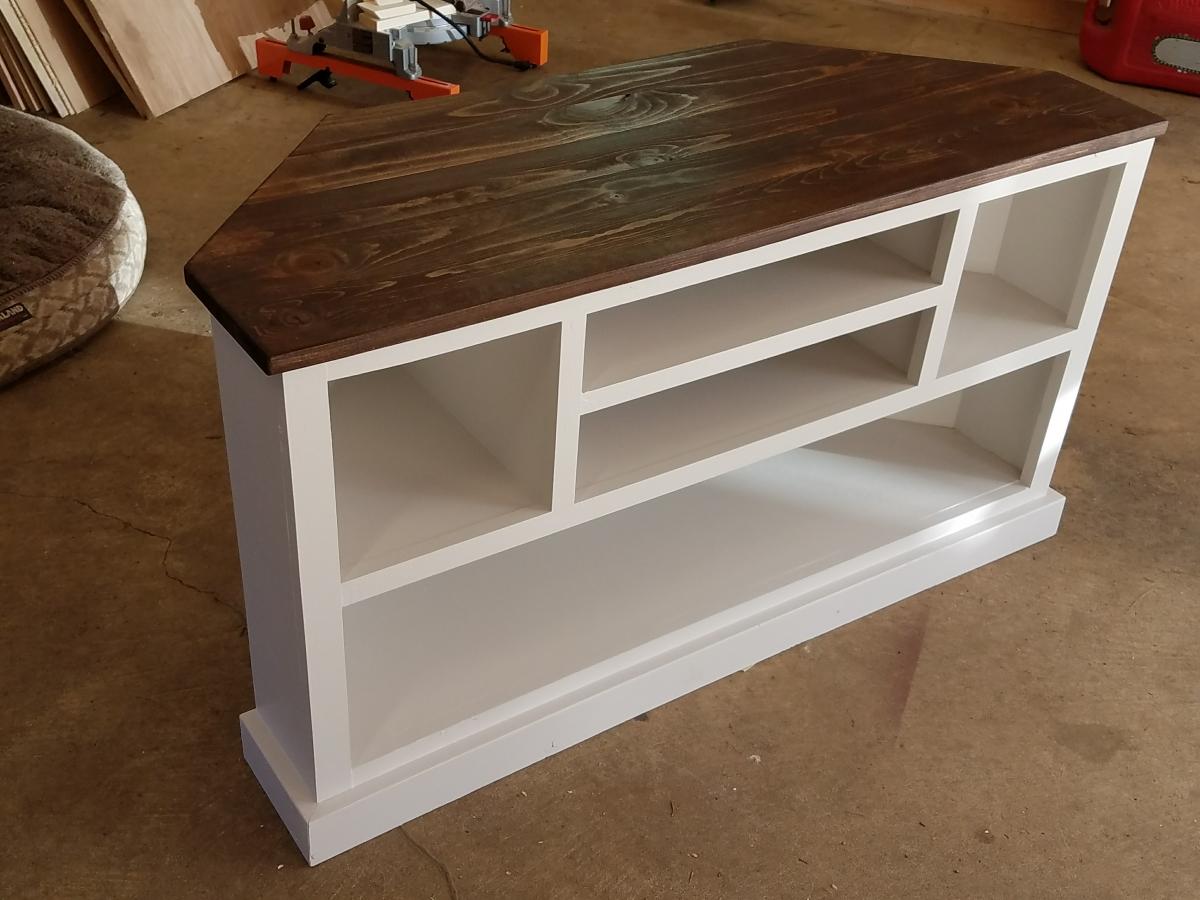
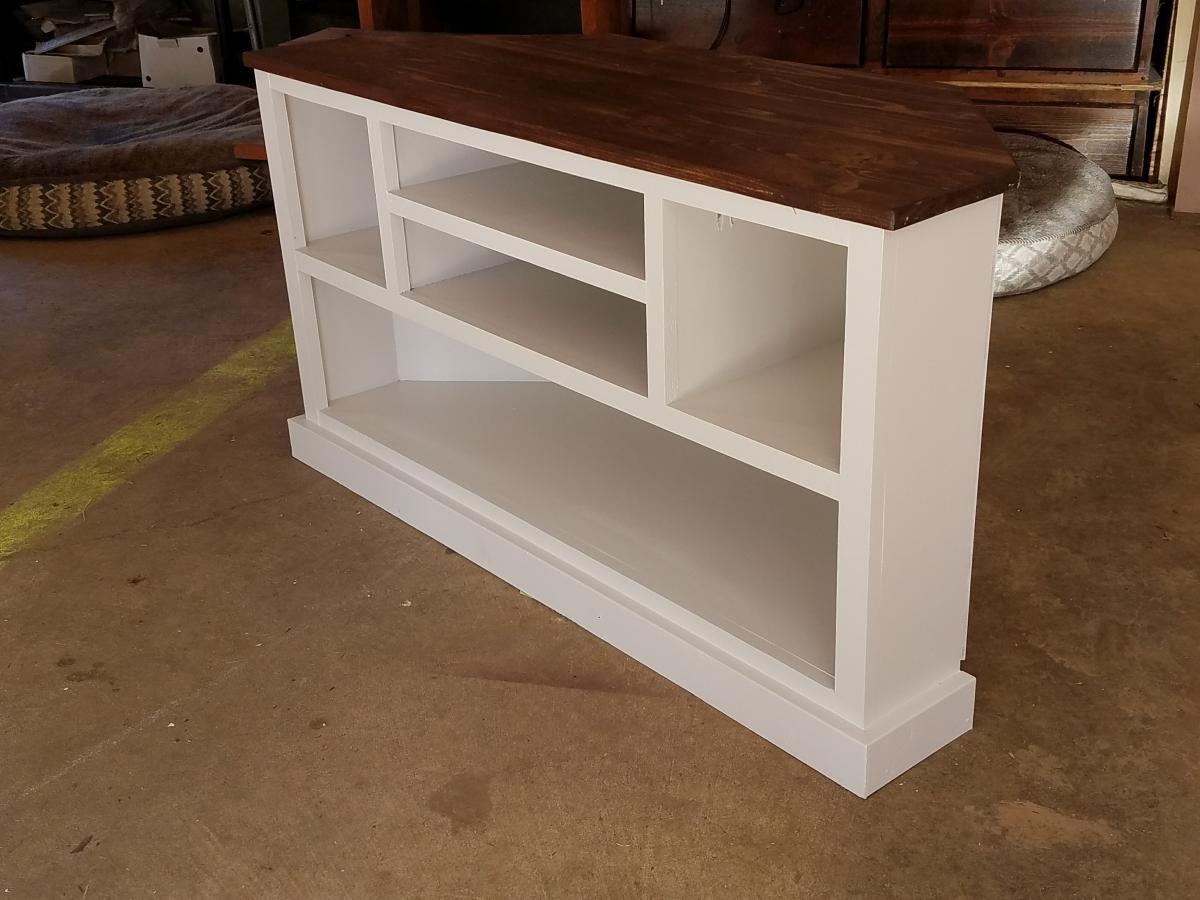
We had just moved into our new house and were using an end table for our TV stand I just didn't like it.  I found this and modified it so it's shorter and fits in our room better.  I also opted to not put doors on it and use it to display items instead.  This was a relatively easy build and I'm learning new things with every build I make.  It took about 2 days to complete not including filling holes/paint/stain.  I love it, it looks so great in our room and I am planning on building end tables to match as well as replacing our buffet with movies in it to match also.  Thanks for the easy-to-follow plans!

Built from Plan(s)
Estimated Cost
$45
Estimated Time Investment
Weekend Project (10-20 Hours)
Finish Used
Whatever white paint I had on hand (haha) and Varathane Kona with a satin poly for the top.
Recommended Skill Level
Beginner

Farmhouse King Bed- Beetle Kill Pine

This was our first build and it was quite a big project to take on to start with. We had so much fun and learned so much along the way. 

Our biggest lessons were to hand pick our wood and make sure we get the straightest pieces possible. We had to wrestle some wood to make this bed work!  Clamp everything especially when using large bolts as the pieces would pull apart from each other. We even used a ratchet strap at one point becuase our small clamps weren't cutting it. I'm sure there's a better way and we'd love to hear about it but we made what we had work. We also had to figure out how to attach the side rails and at what height. We ended up using 3 4-inch screws on each end to screw them into the posts.  

We love this bed not only because it was a labor of love but because its such a solid beautiful piece. 

Estimated Cost
$200
Estimated Time Investment
Week Long Project (20 Hours or More)
Finish Used
Minwax Polycrylic Water based - 4 coats, sanded using a 220 grit sanding block in-between each coat.
Recommended Skill Level
Intermediate

Comments

Huffaker6971

Sun, 08/18/2019 - 13:47

This is exactly what I've been looking for. Are there plans for this build?

sxewhodey

Sun, 03/01/2020 - 11:29

Very nice! I love the lighter wood too, but my wife likes the darker stain, so we compromised in the middle for the finish. Why  arethe post always so red? I can appreciate the natural tendency of nature to add color, but the 4*4's are always red-er in color. Do they always use a different pine or certain part of the tree for those?

Garden Bench!!

Submitted by Nathan1342 on Mon, 08/06/2012 - 12:09

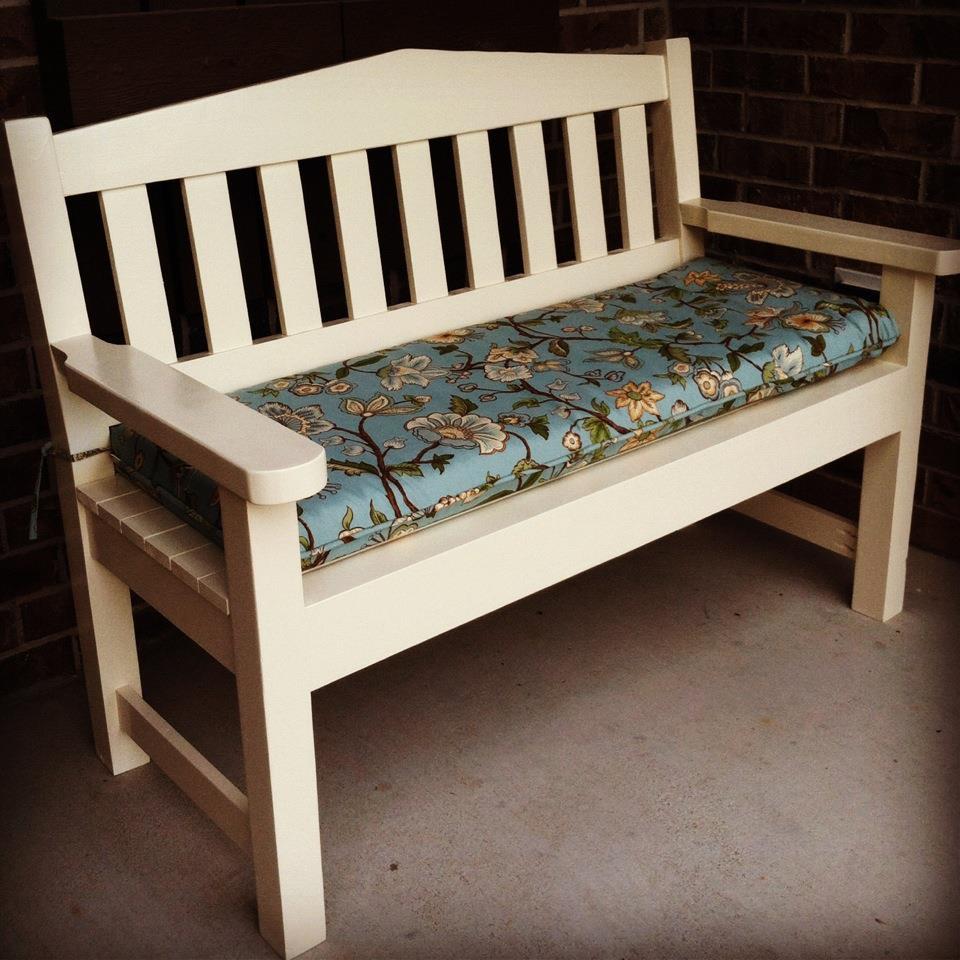
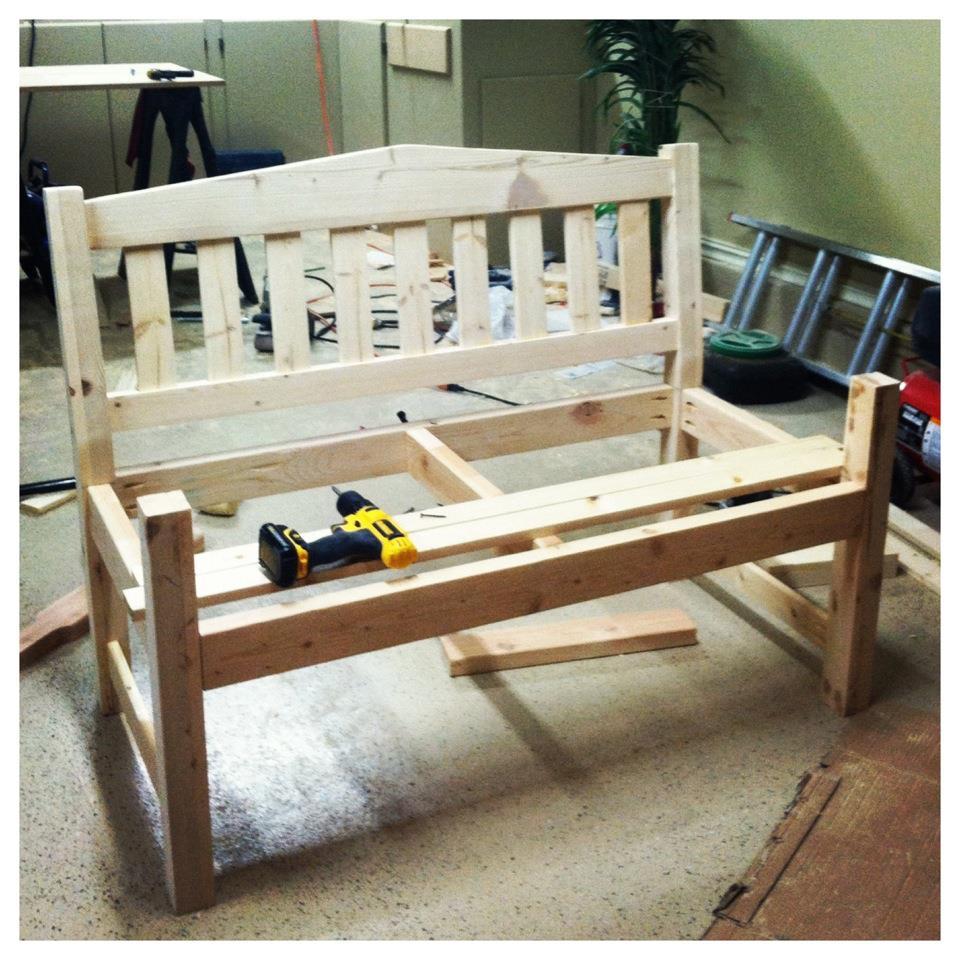
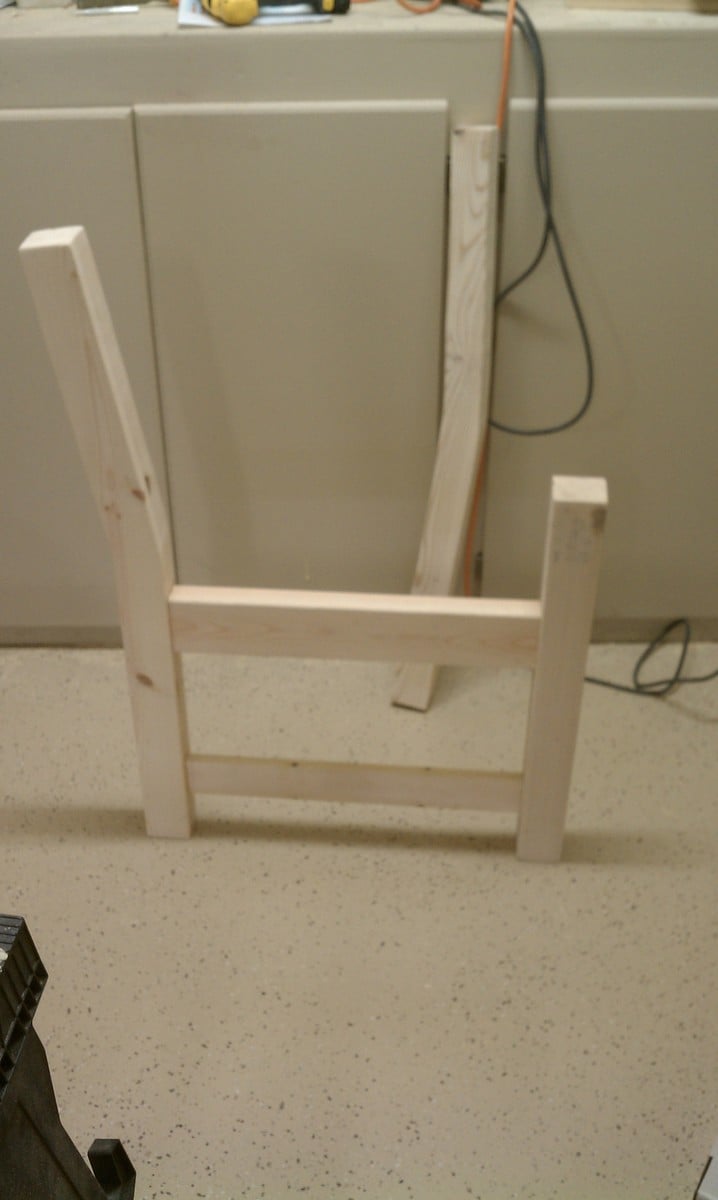
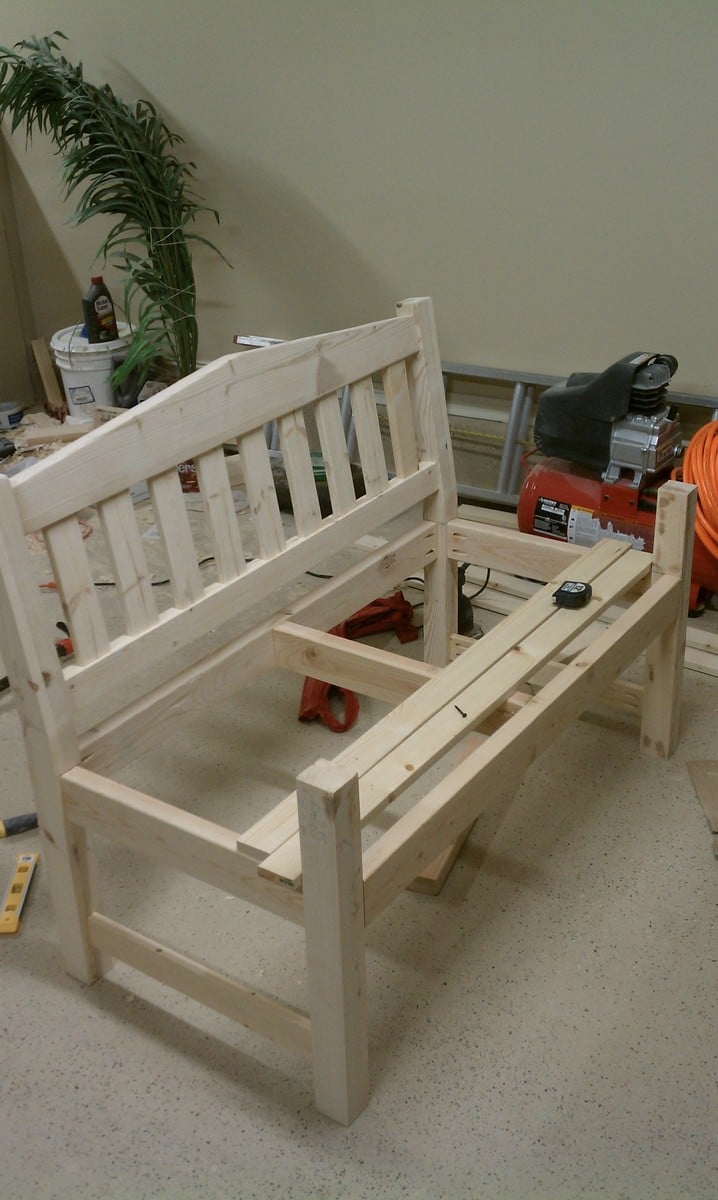
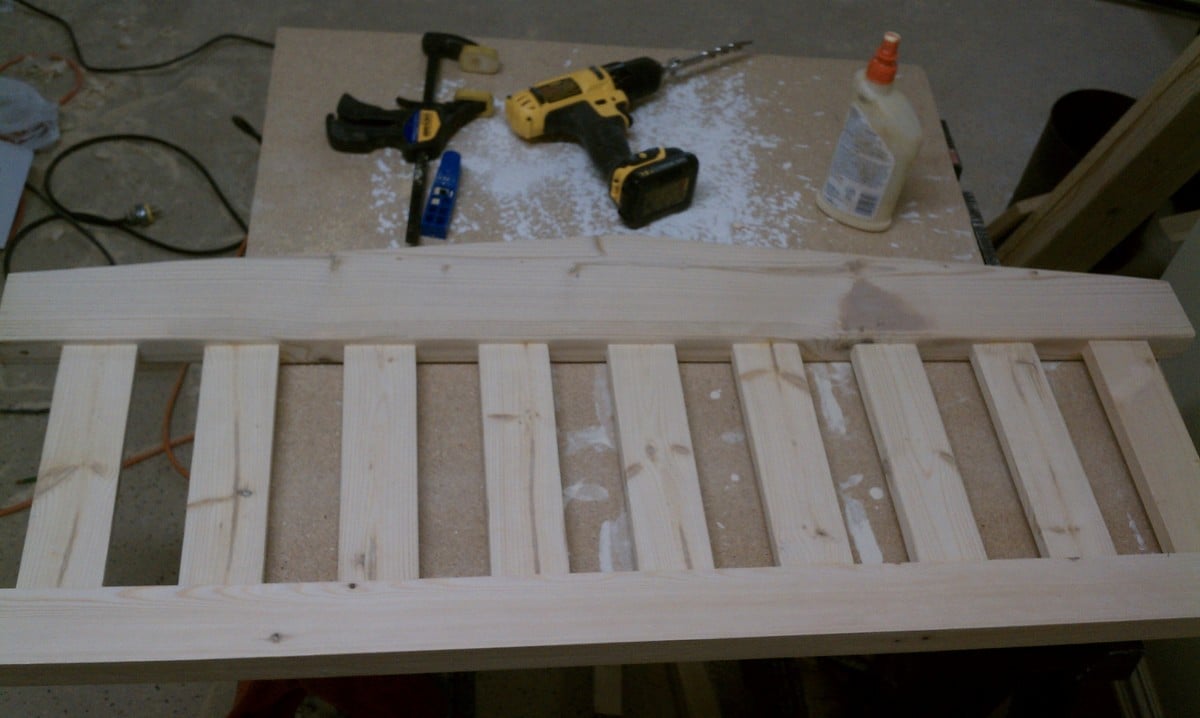
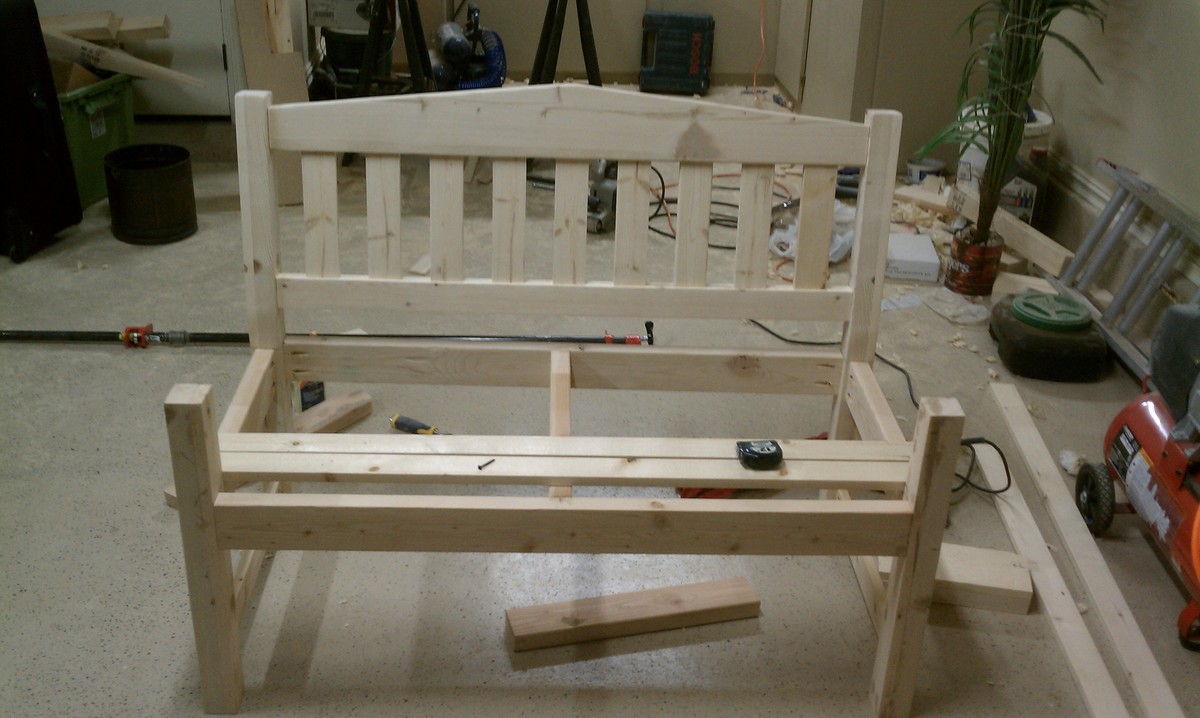
I built this for my wife for an anniversary present. She had wanted a garden bench for some time but the ones that she wanted were between $500-$700 which is ridiculous for this type of bench. So, I did a search on here for garden benches but there weren't really any plans for them and the few brag plans were not really the type of bench I was looking for. I printed off a few pictures of benches that I liked and got to work. The front and back legs a 2x6 and a 1x6 glued together and then cut to be straight. I wanted something thicker then just a plain old 2x6. If I had to do this again though, I would have just glued 3 1X6's together. The reason being, is that 1x6's usually do not have a rounded edge and a 2X6 does. So needless to say when you glue them together you have a nice little gap on either side. Without a table saw to take this off, its pretty difficult to get a straight cut. But I ended up getting it right after sweating for a few hours in the garage. The bench stands 36 inches high, 48inches wide and about 18 inches deep. The seat height is right at 18in also.

In the unfinished pictures I actually had the depth being 24 inches. After sitting on it though it was just way to deep. So I pulled it apart, made the adjustments and its now much more comfortable to sit in.

If anyone has any questions or wants more details feel free to drop me a line!

Thanks!
Estimated Cost
85
Estimated Time Investment
Weekend Project (10-20 Hours)
Finish Used
Oil based acrylic paint
Recommended Skill Level
Beginner

Comments

Torwart13

Tue, 06/16/2015 - 11:25

So legs are about 2 1/4" square? Are the seat supports 2x4's? Back cross pieces 2x4? Slats 1x4"?

smz1919

Wed, 06/17/2015 - 12:39

how did you get the curve on the back legs?

In reply to by smz1919

Nathan1342

Fri, 06/19/2015 - 13:34

I glued a 2x6 and a 1x6 together to get the thickness. Now that i have a table saw and a jointer this entire process would have been much easier but after getting it to look like one solid piece i just outlined the slant i wanted and cut it using a jig saw.

smz1919

Fri, 06/19/2015 - 20:17

So the back slats are just glued in place right? I wonder if it would be easier to use a biscuit joiner or not

Mikeyw221

Sun, 10/23/2016 - 17:46

on the back legs how high up did you go before you started cutting the angle? and was it around 15 degrees fromt he edge?

SawdustMaker21

Wed, 05/26/2021 - 08:32

Hi Nathan
Love the look of the bench. Would you have a list of material requirements. I intend to make a bench like this and would like to know the measurements of the top back spar (the shaped one).
Here in the Uk our timber yards do not always supply the same cuts as the US so I need to have some idea of the pieces I need
Many thanks

Dollhouse

Submitted by lsjayhawk on Sun, 06/29/2014 - 12:56

I built a slightly smaller version of the full sized dollhouse. I used MDF for the house with the roof and pine for the and windows.

Estimated Cost
$120
Estimated Time Investment
Weekend Project (10-20 Hours)
Finish Used
Valspar paint for the sides and back, spray paint for the inside
Recommended Skill Level
Intermediate

Comments

Our Big Boy Fort Bed!

Submitted by Kabarie on Fri, 01/25/2013 - 18:03

This was sooo easy for a first timer like myself. Followed Anna's plan. Learned as I went. Customized a little...started with the end panel..could only fit it cut in sections in car from store, so decided to separate the sections and open it up a little with a peek a boo window. Used a little unsanded grout in my paint choice so that my son can doodle some art on the panels with his chalk. Added some support boards on lower corners for extra support...also used the Long L brackets as bed rails to support the slats. Make sure you get enough wood to cut the vertical side of ladder as the plans didn't include it. Cost about $100 without the mattress. Very happy with it. Thanks Ana!

Built from Plan(s)
Estimated Cost
$100
Estimated Time Investment
Weekend Project (10-20 Hours)
Finish Used
Sanded, wiped down with wet rag and applied one coat of Minwax Ipswich Pine 221 to wood.

For painting the panels I mixed 2tbs of unsanded grout with 1 cup of my choice of paint so that chalk could be used on it.
Recommended Skill Level
Starter Project

Shabby Chic Farmhouse Bed

Submitted by RVmama on Fri, 02/08/2013 - 18:18

This was our first major project, so we learned a lot while we were doing it. We painted our bed white, and rather than using metal bed rails (which no one seemed to sell), we improvised and fastened 2x4s to the inside of our side rails. Then we cut slats to rest on the 2x4s and run the width of the bed. The 2x4s lend great stability to the side rails, and are much less costly, not to mention easier to obtain. ($10 vs. $75) This bed is sturdy and solid. I think we will be handing it down to our grandchildren in fifty years!
Recommended Skill Level
Beginner

Outdoor Pergola with Seating Built-in!
Submitted by Anonymous (not verified) on Sun, 08/27/2023 - 12:14

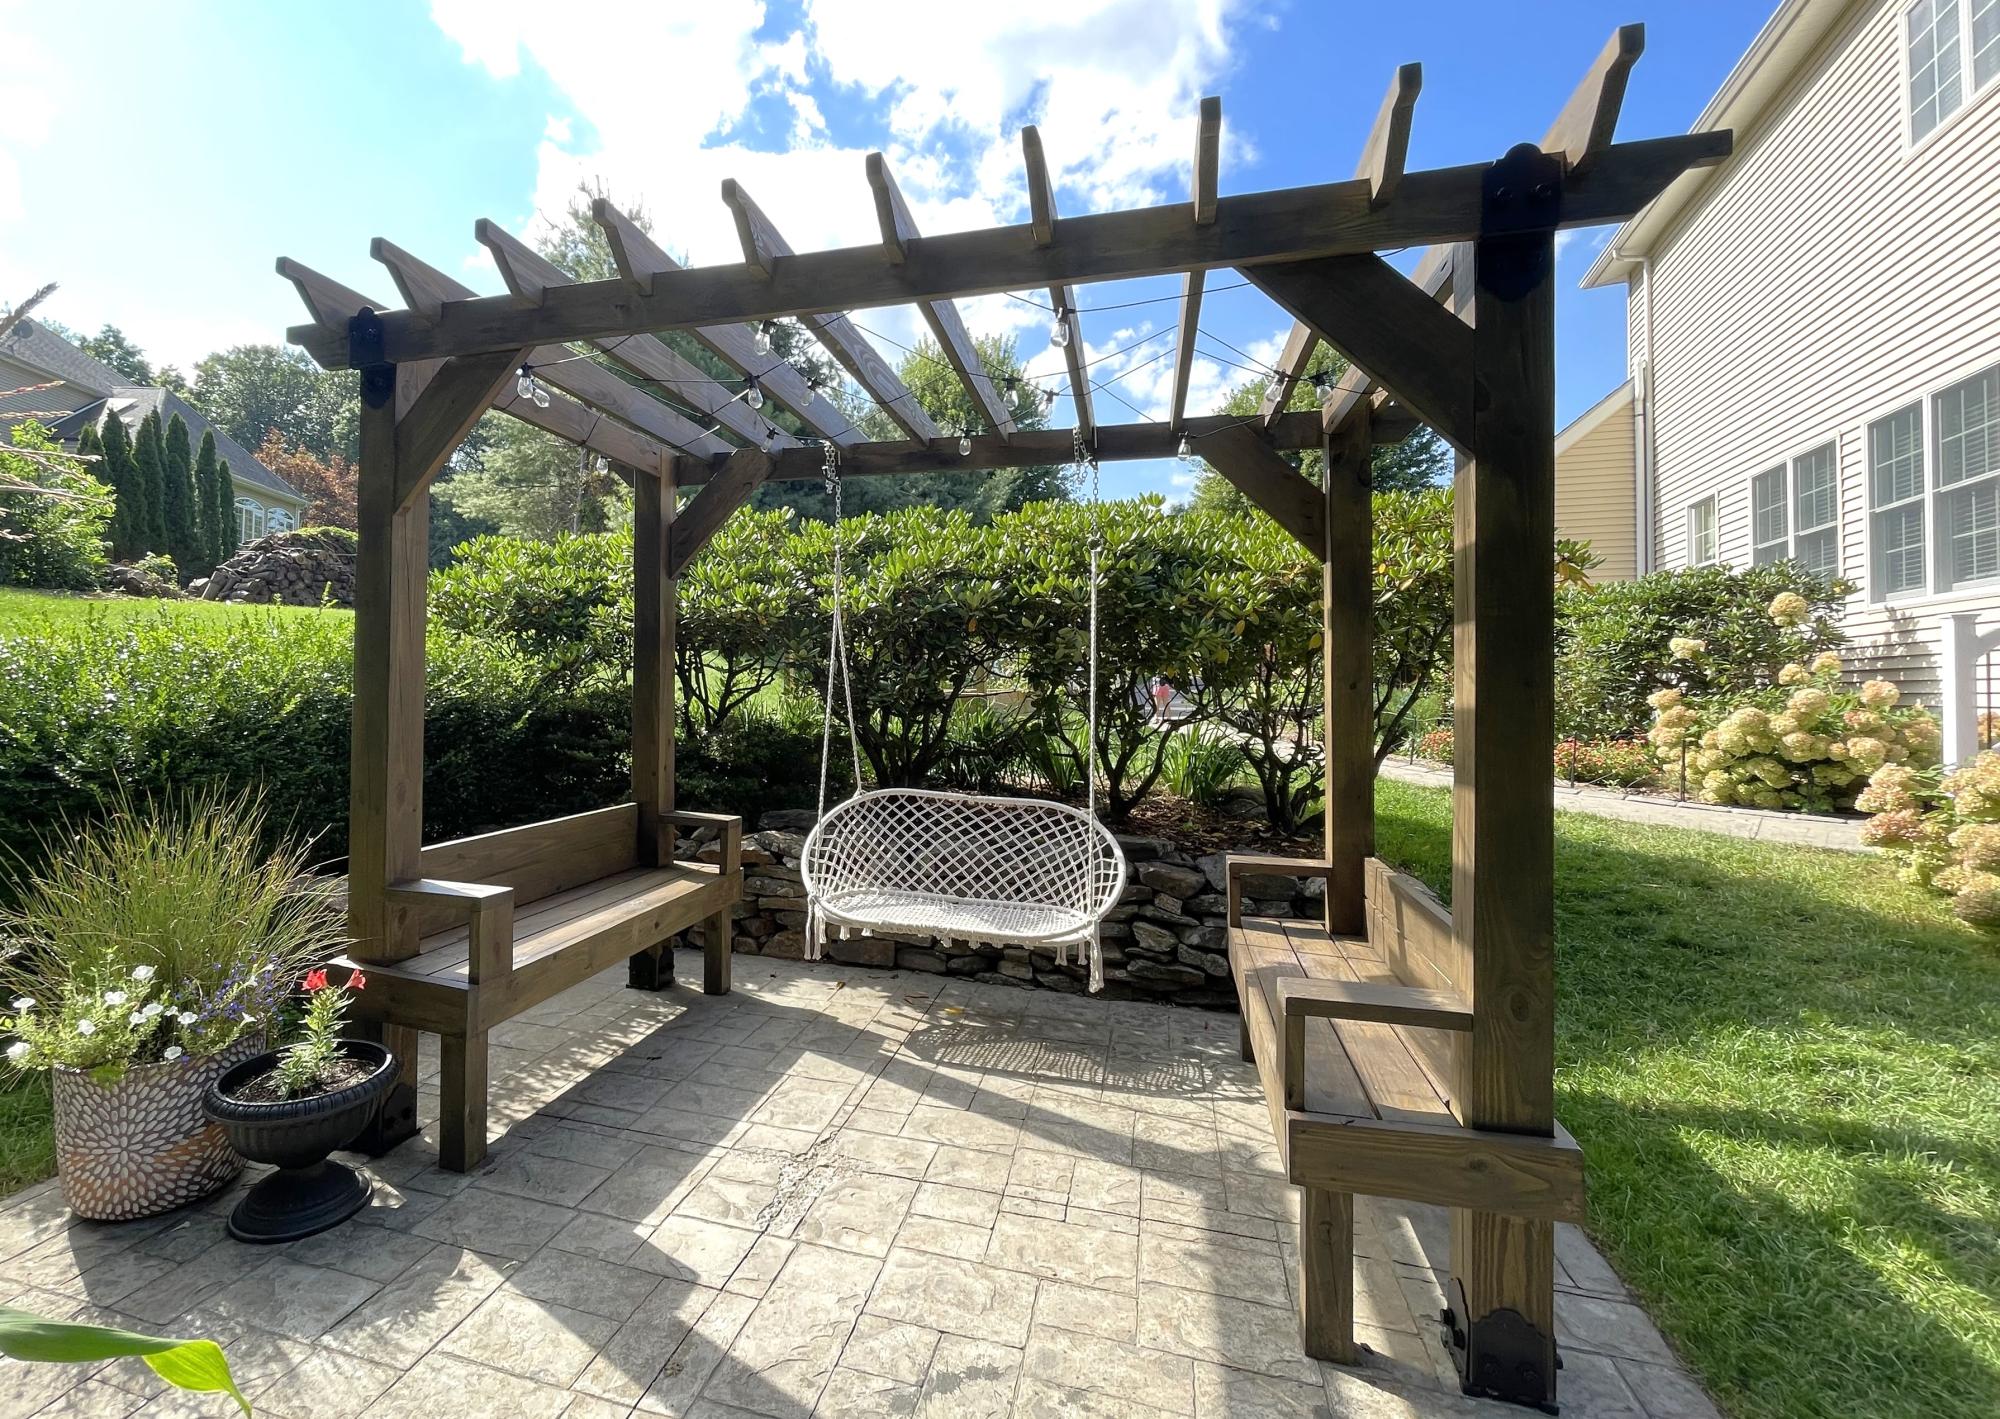
Pergola outdoor room plans modified to make side seating instead of side tables. Left sides open. Added cute crochet swing bench. Anchored to concrete slab with iron plates and added decorative wood ties that match footing. I've gotten so many compliments and no one believes I made this!

Kristen P.

Built from Plan(s)

Comments

Seasonal And Holiday
Back