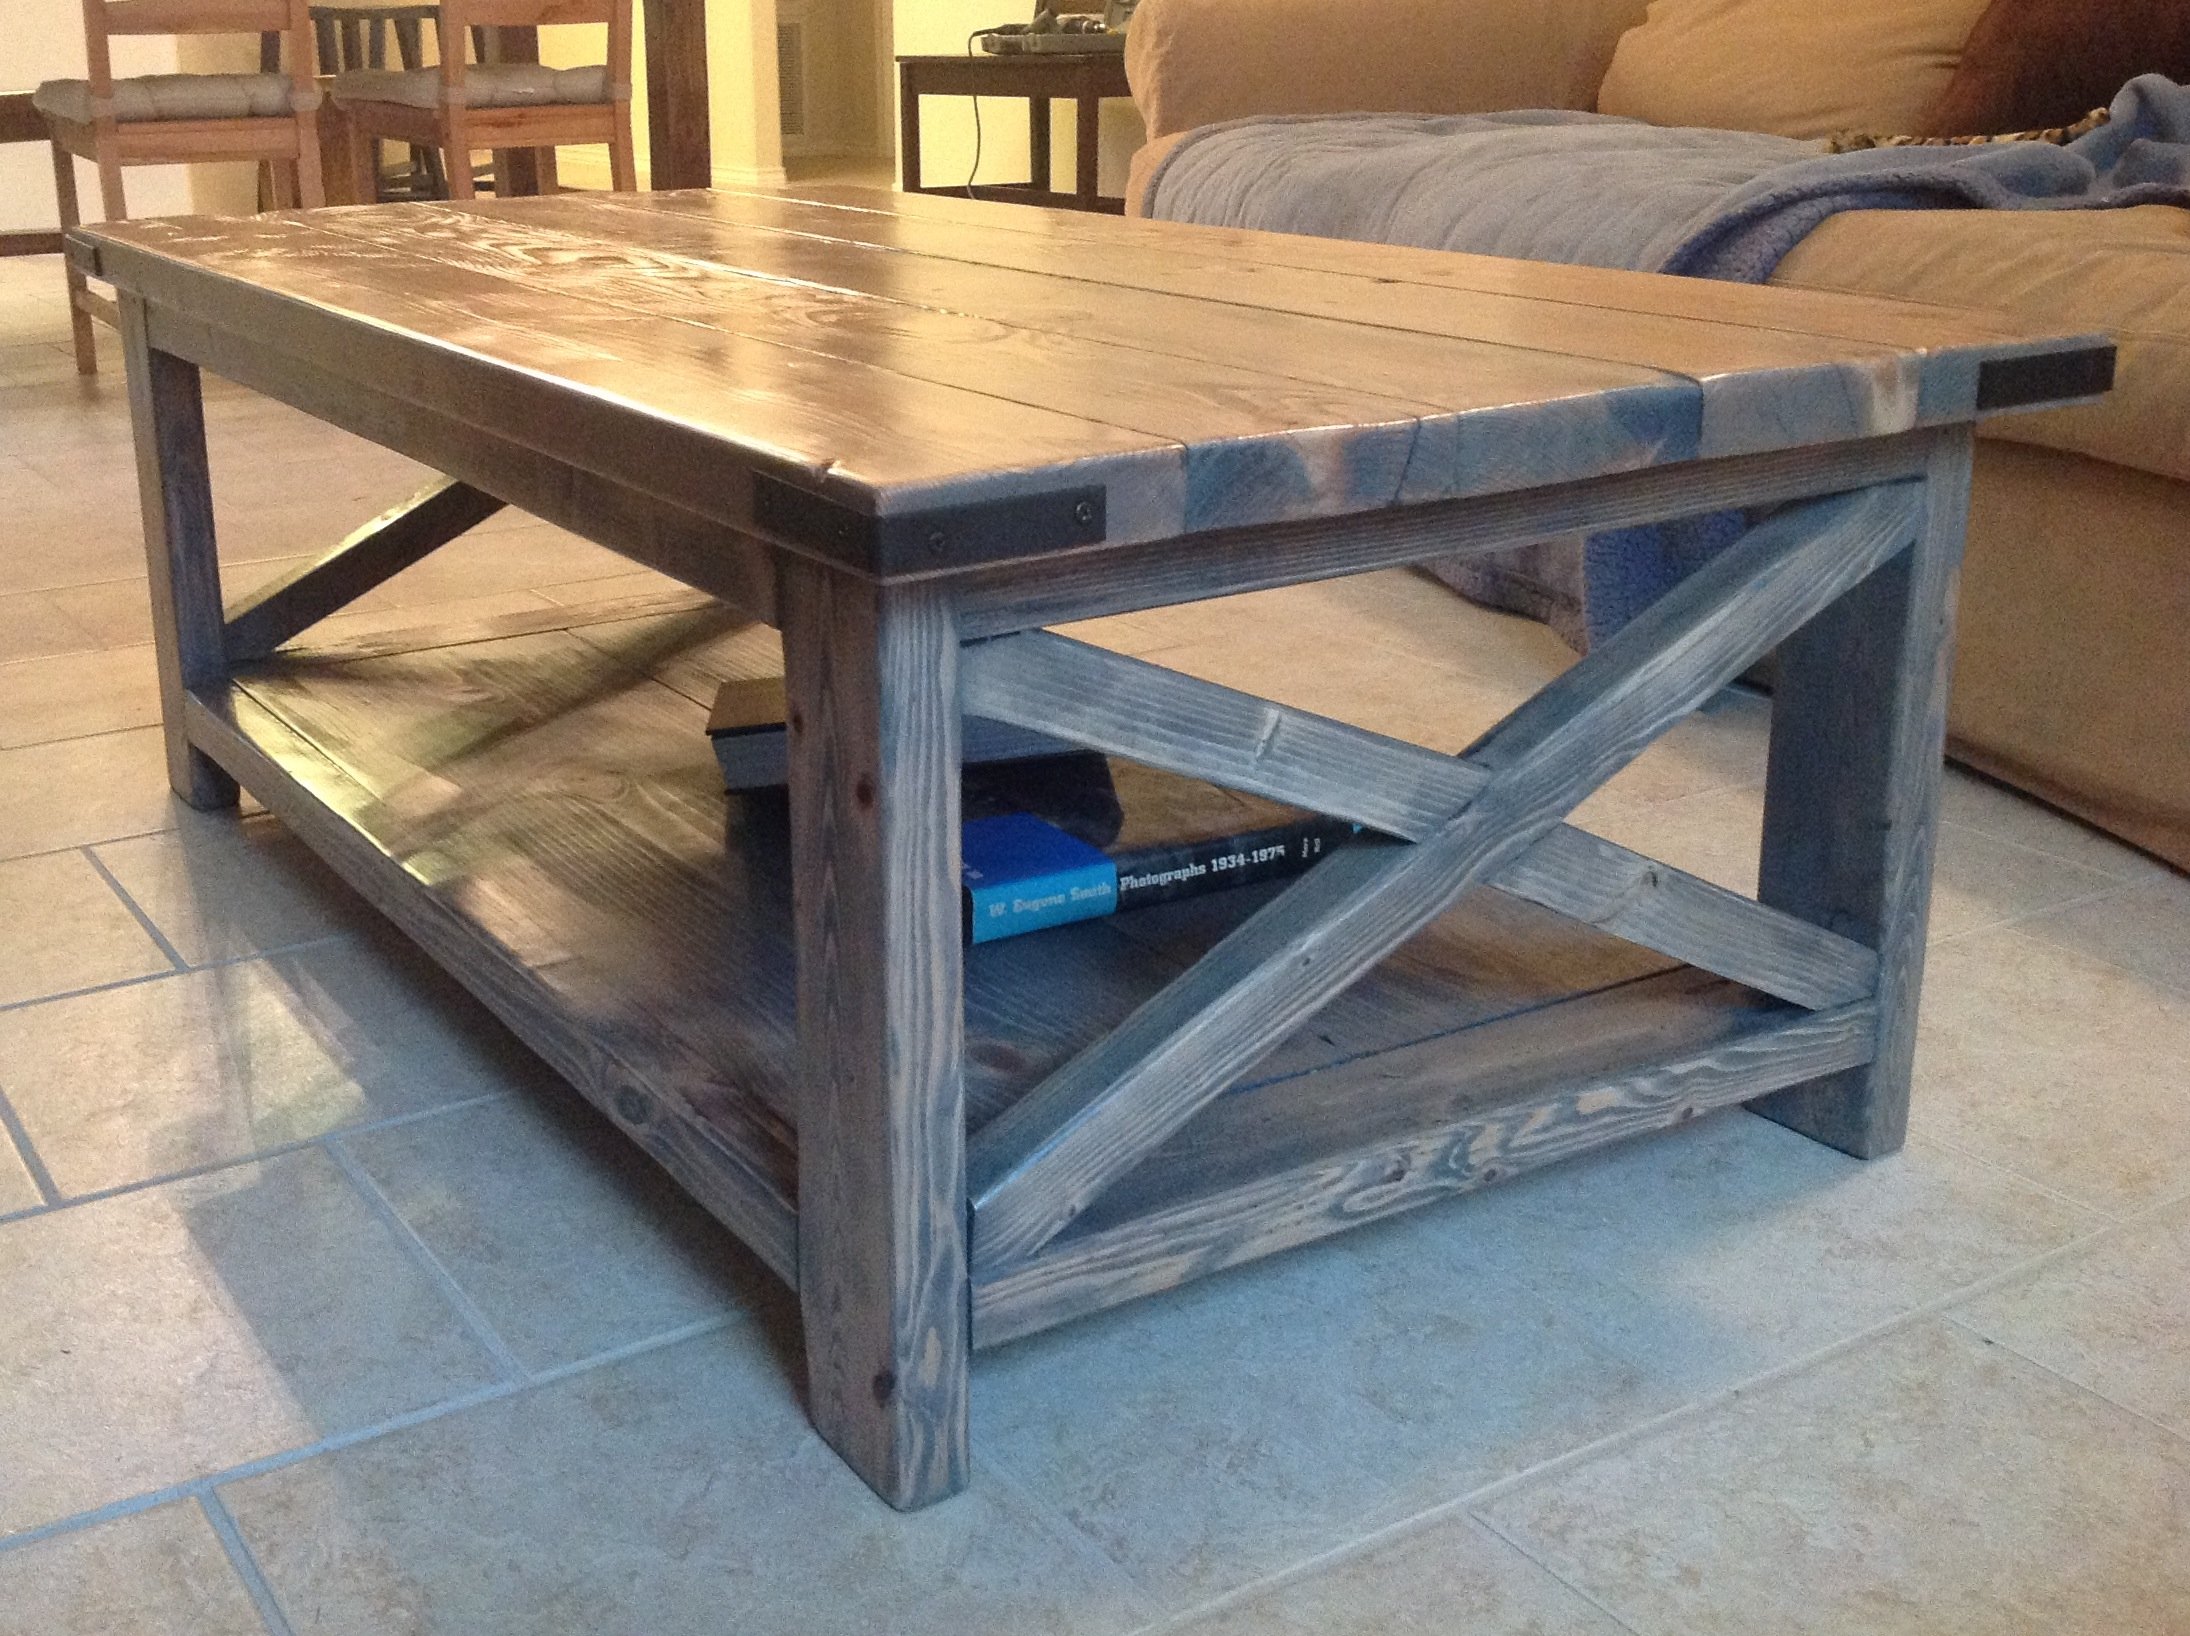
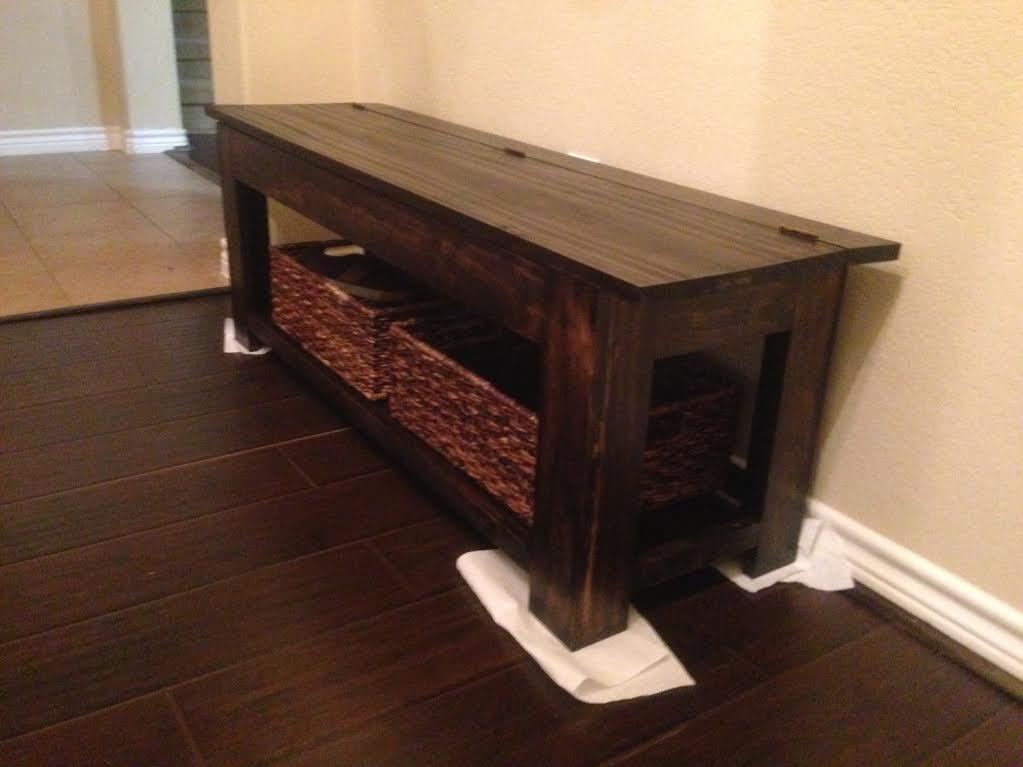
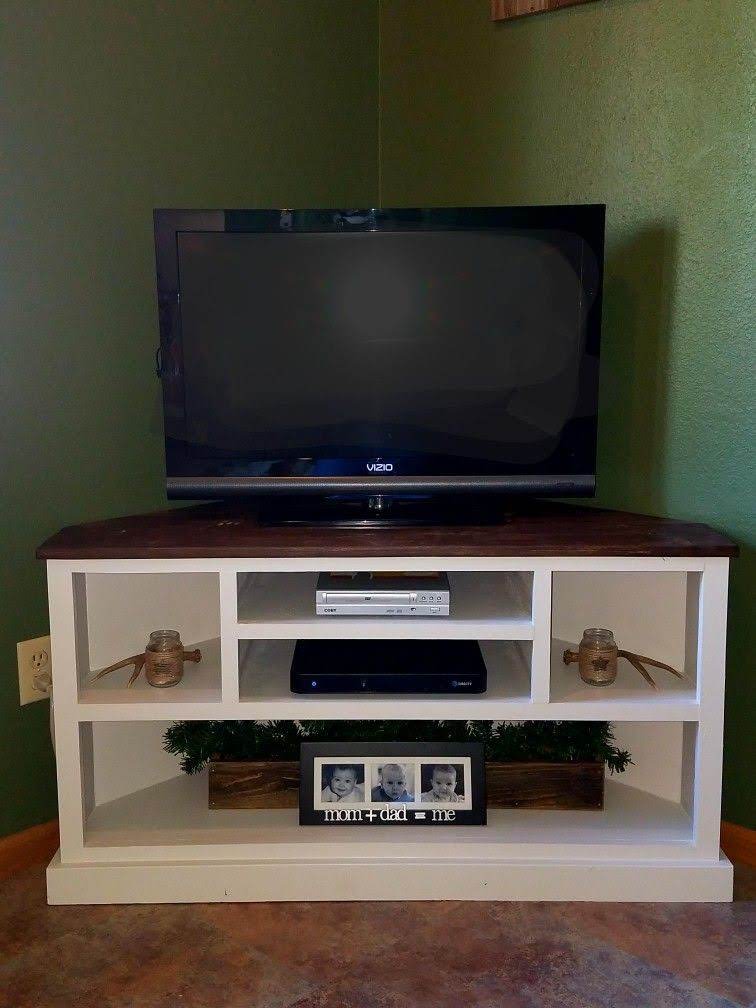
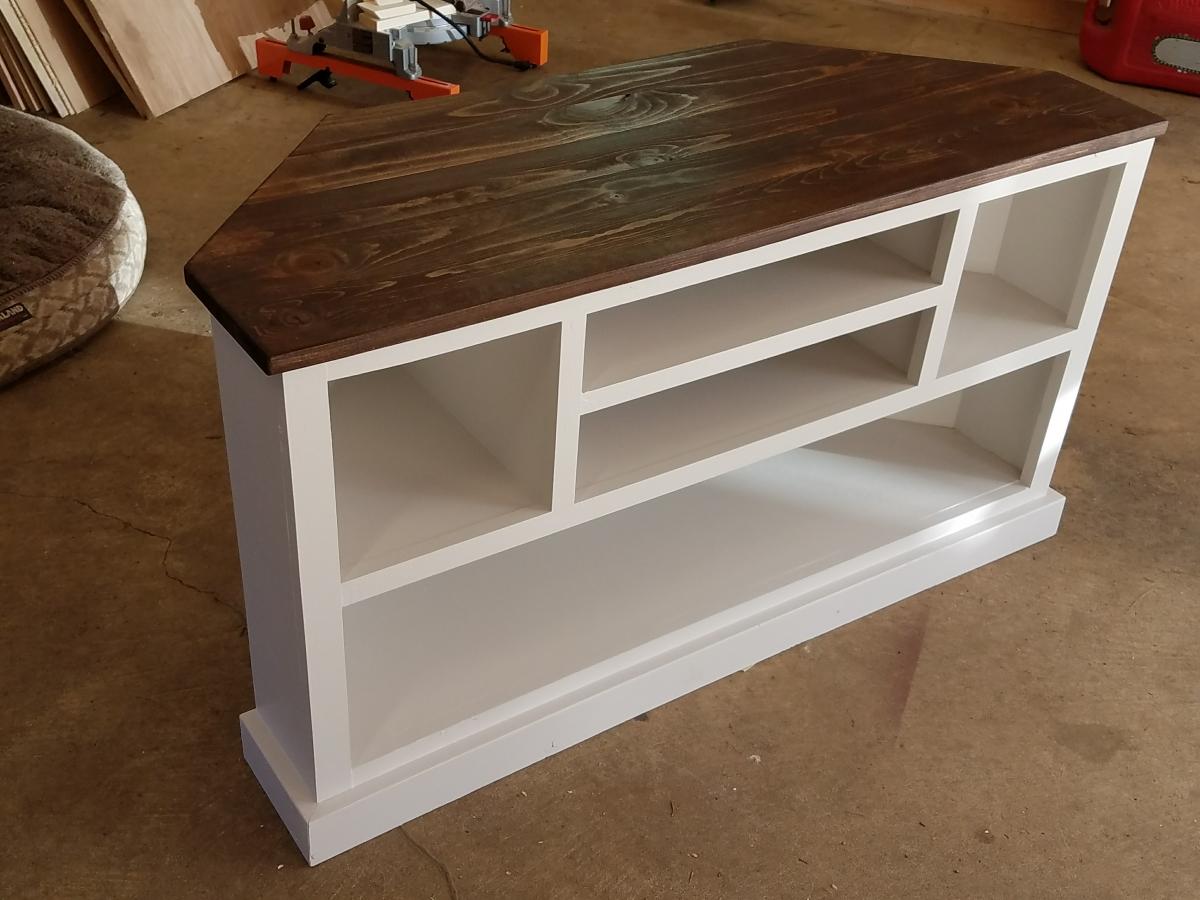
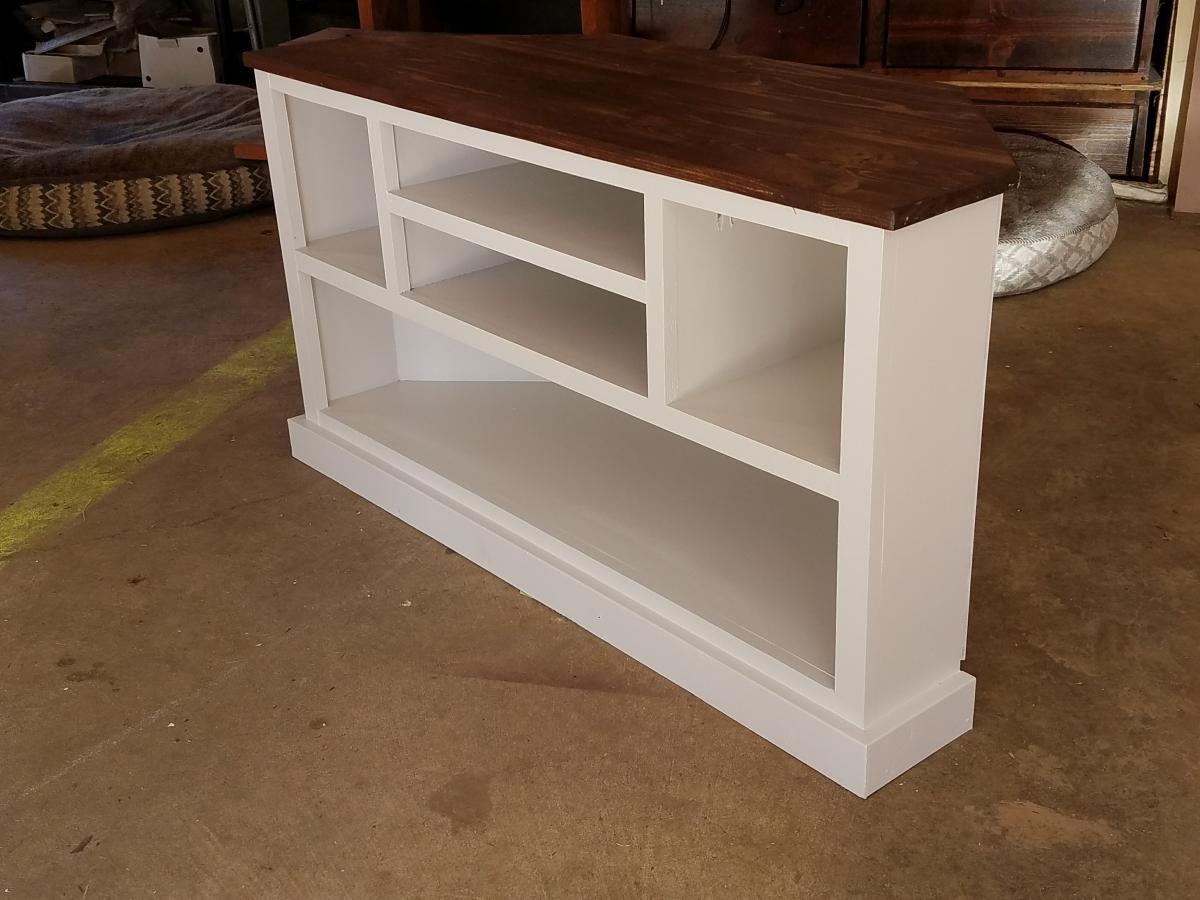
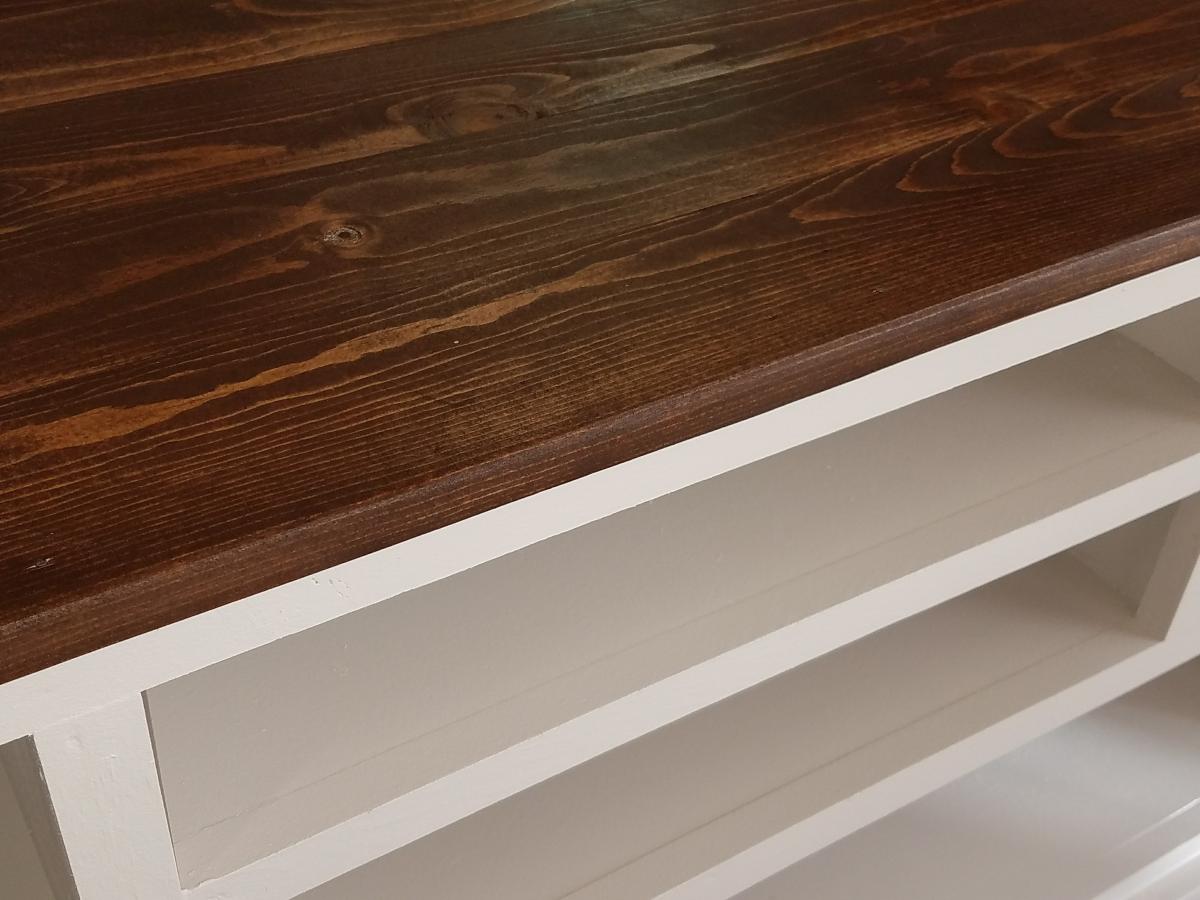
Console Sofa Table
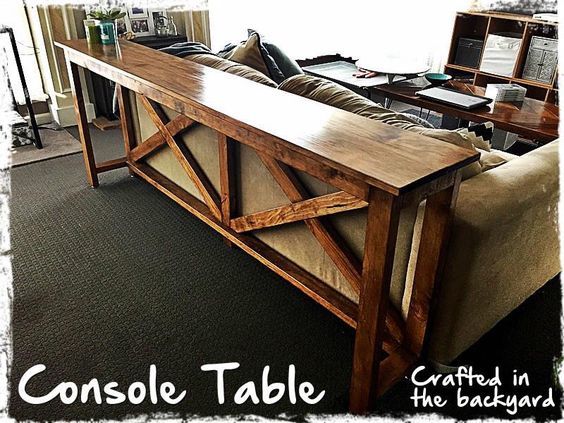
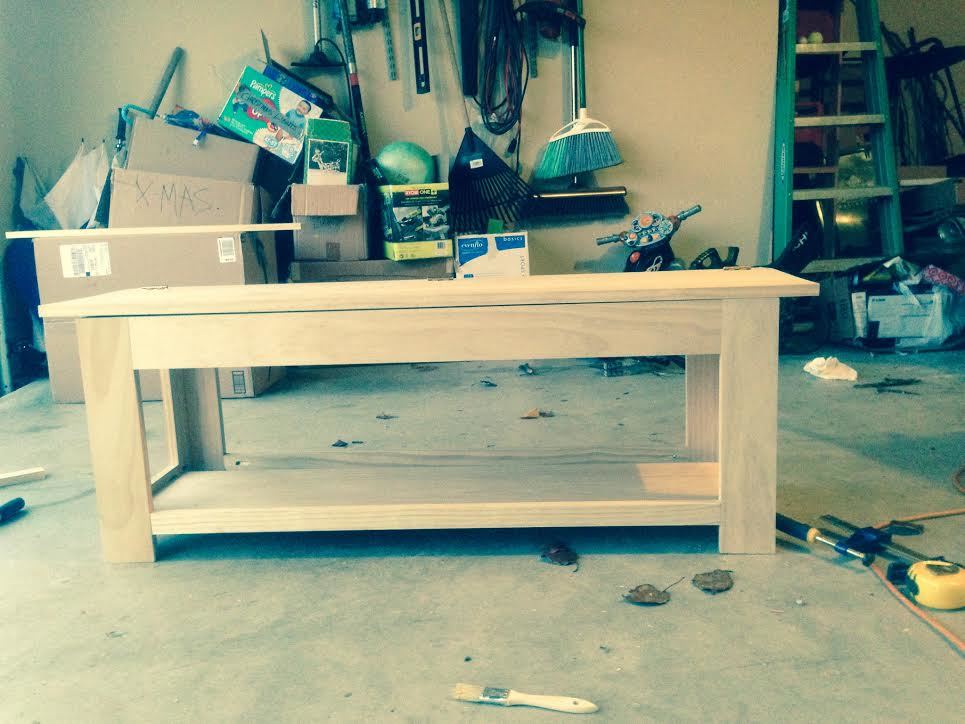
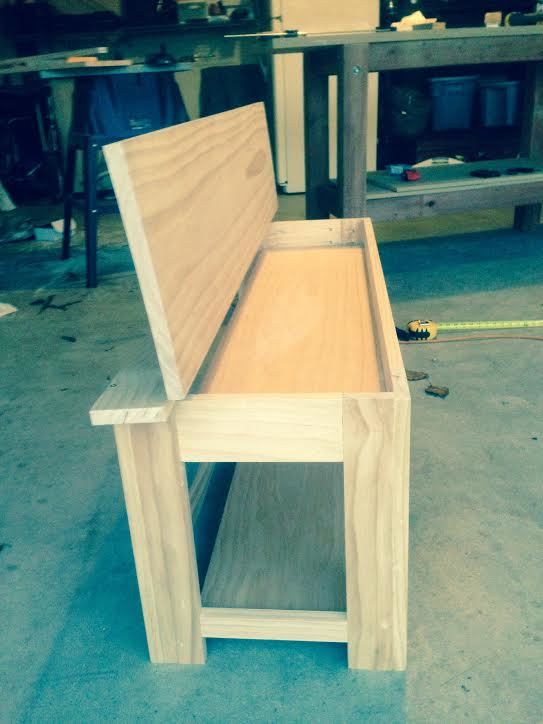
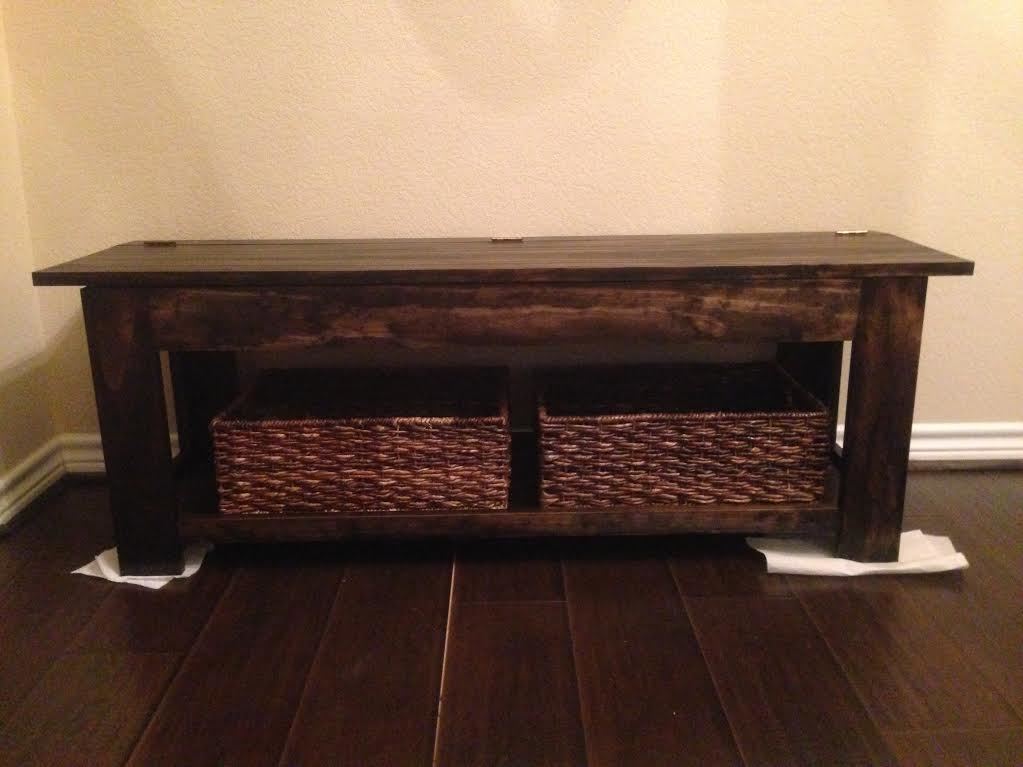
Made from the modified Ana White Rustic X-Console Table.
I made this console table to fit the length of my sons couch. It's about 6 foot long.
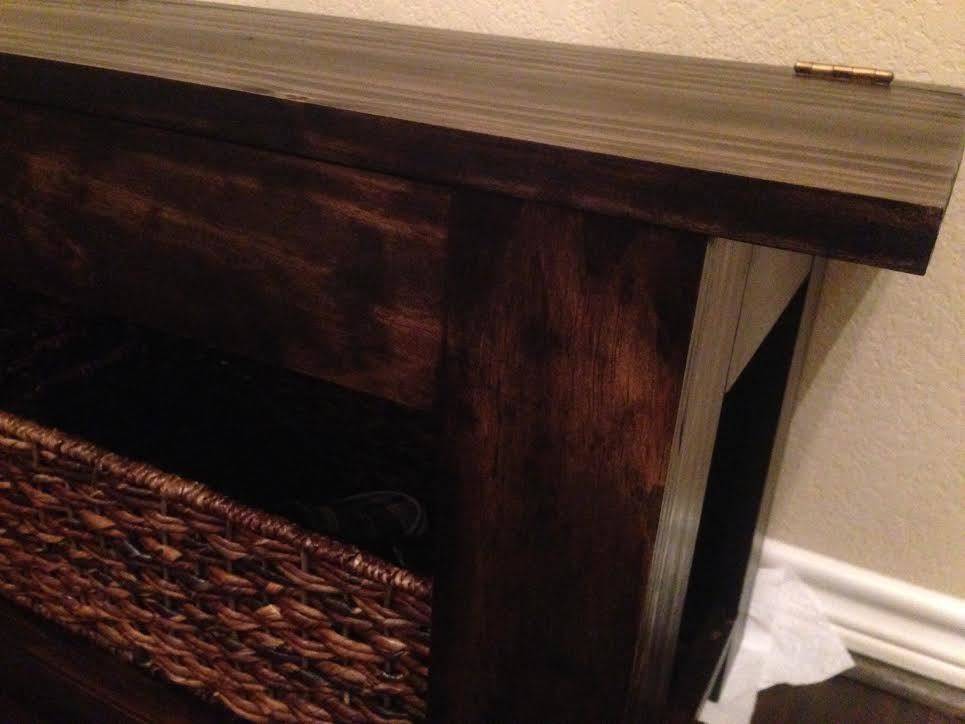
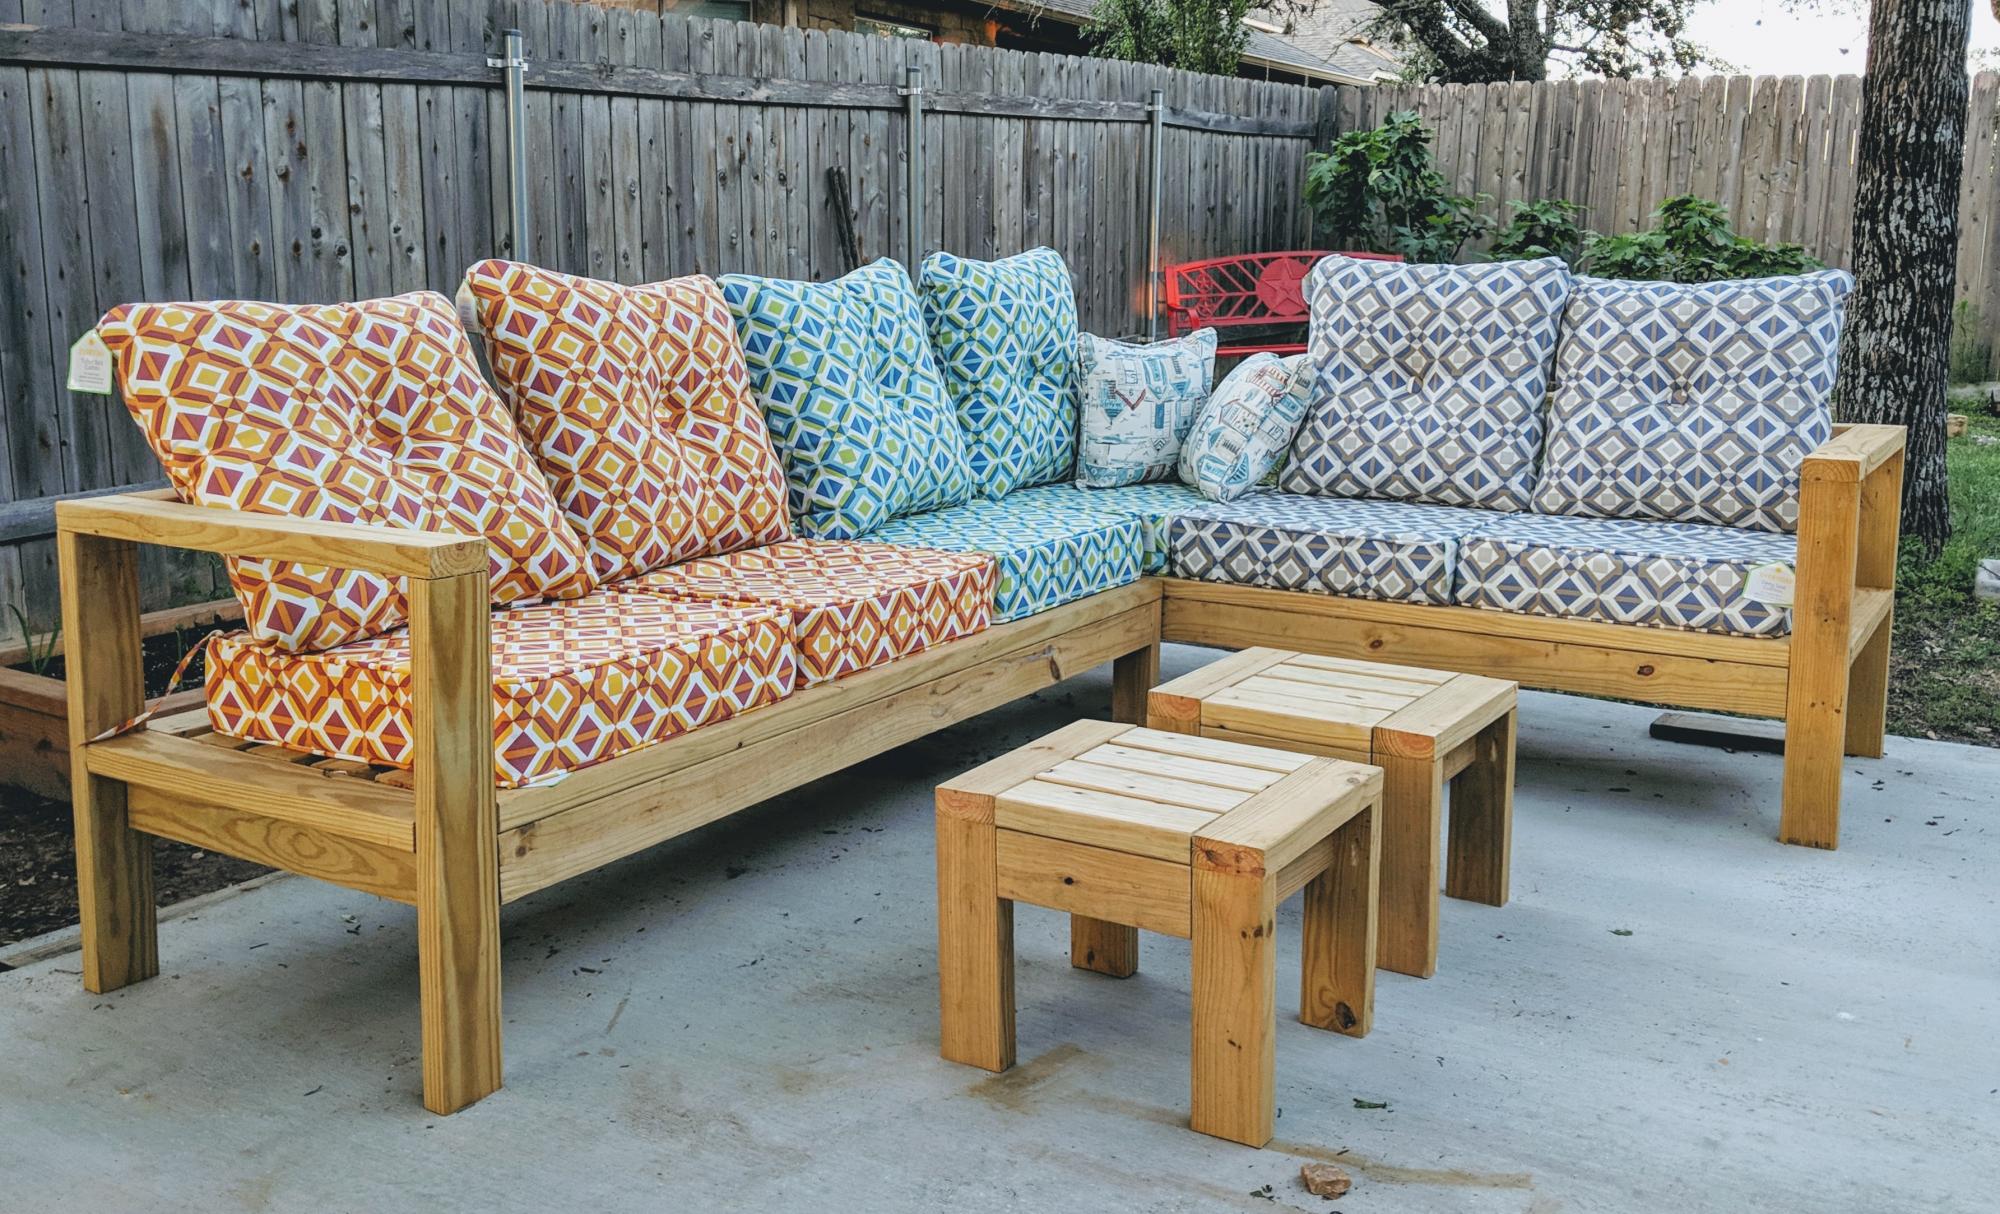
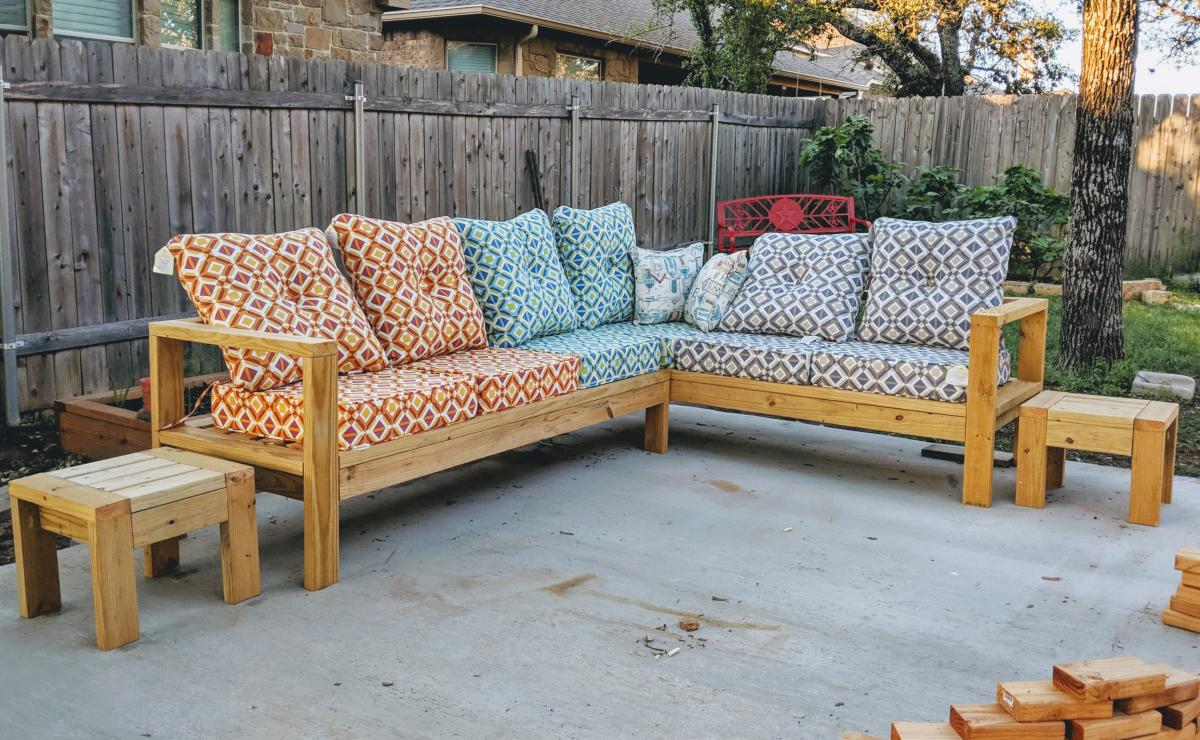
It was really easy to make. My only tip is to sand all your timber before assembling. Getting into the tight spots with a sander is quite difficult. I hae now made 4 of these tables and sanding first saves so much time and headaches. The other 3 I have made were painted white and had stained tops.
Built from Plan(s)
Estimated Cost
About $50
Estimated Time Investment
Afternoon Project (3-6 Hours)
Finish Used
Walnut Stain
Recommended Skill Level
Beginner


Comments
kgoss5
Tue, 06/18/2019 - 08:46
Plans
Any way you could share your material list/plans ? Thanks
jin77
Wed, 09/09/2020 - 09:03
Plans do you have the plans…
Plans
do you have the plans for this? i've been looking and looking for what i needed and this is it!!