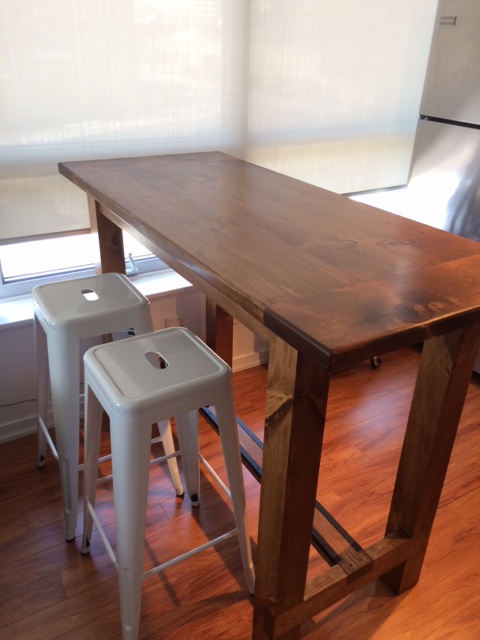
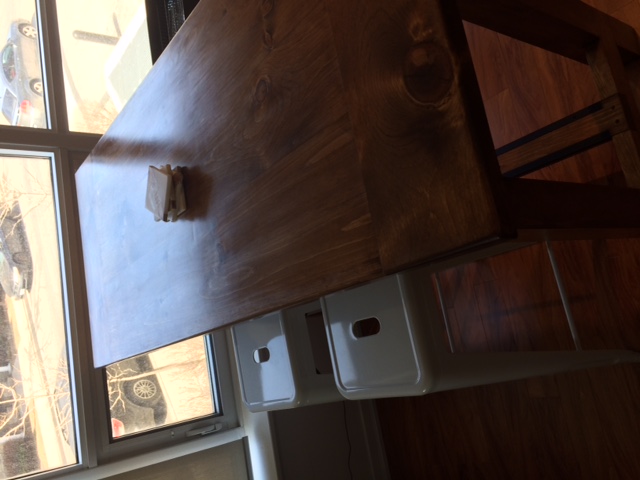
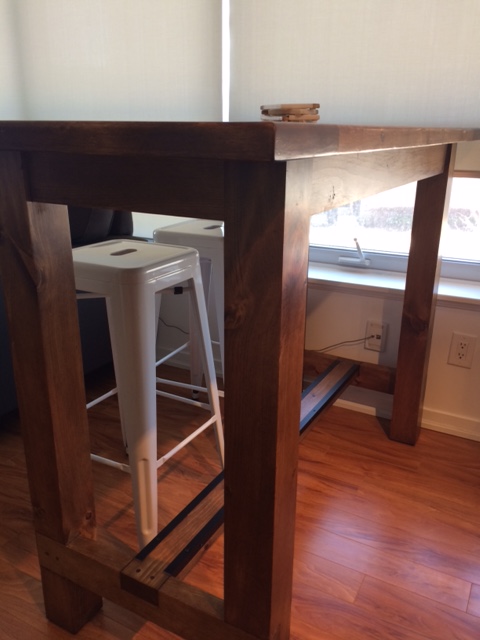
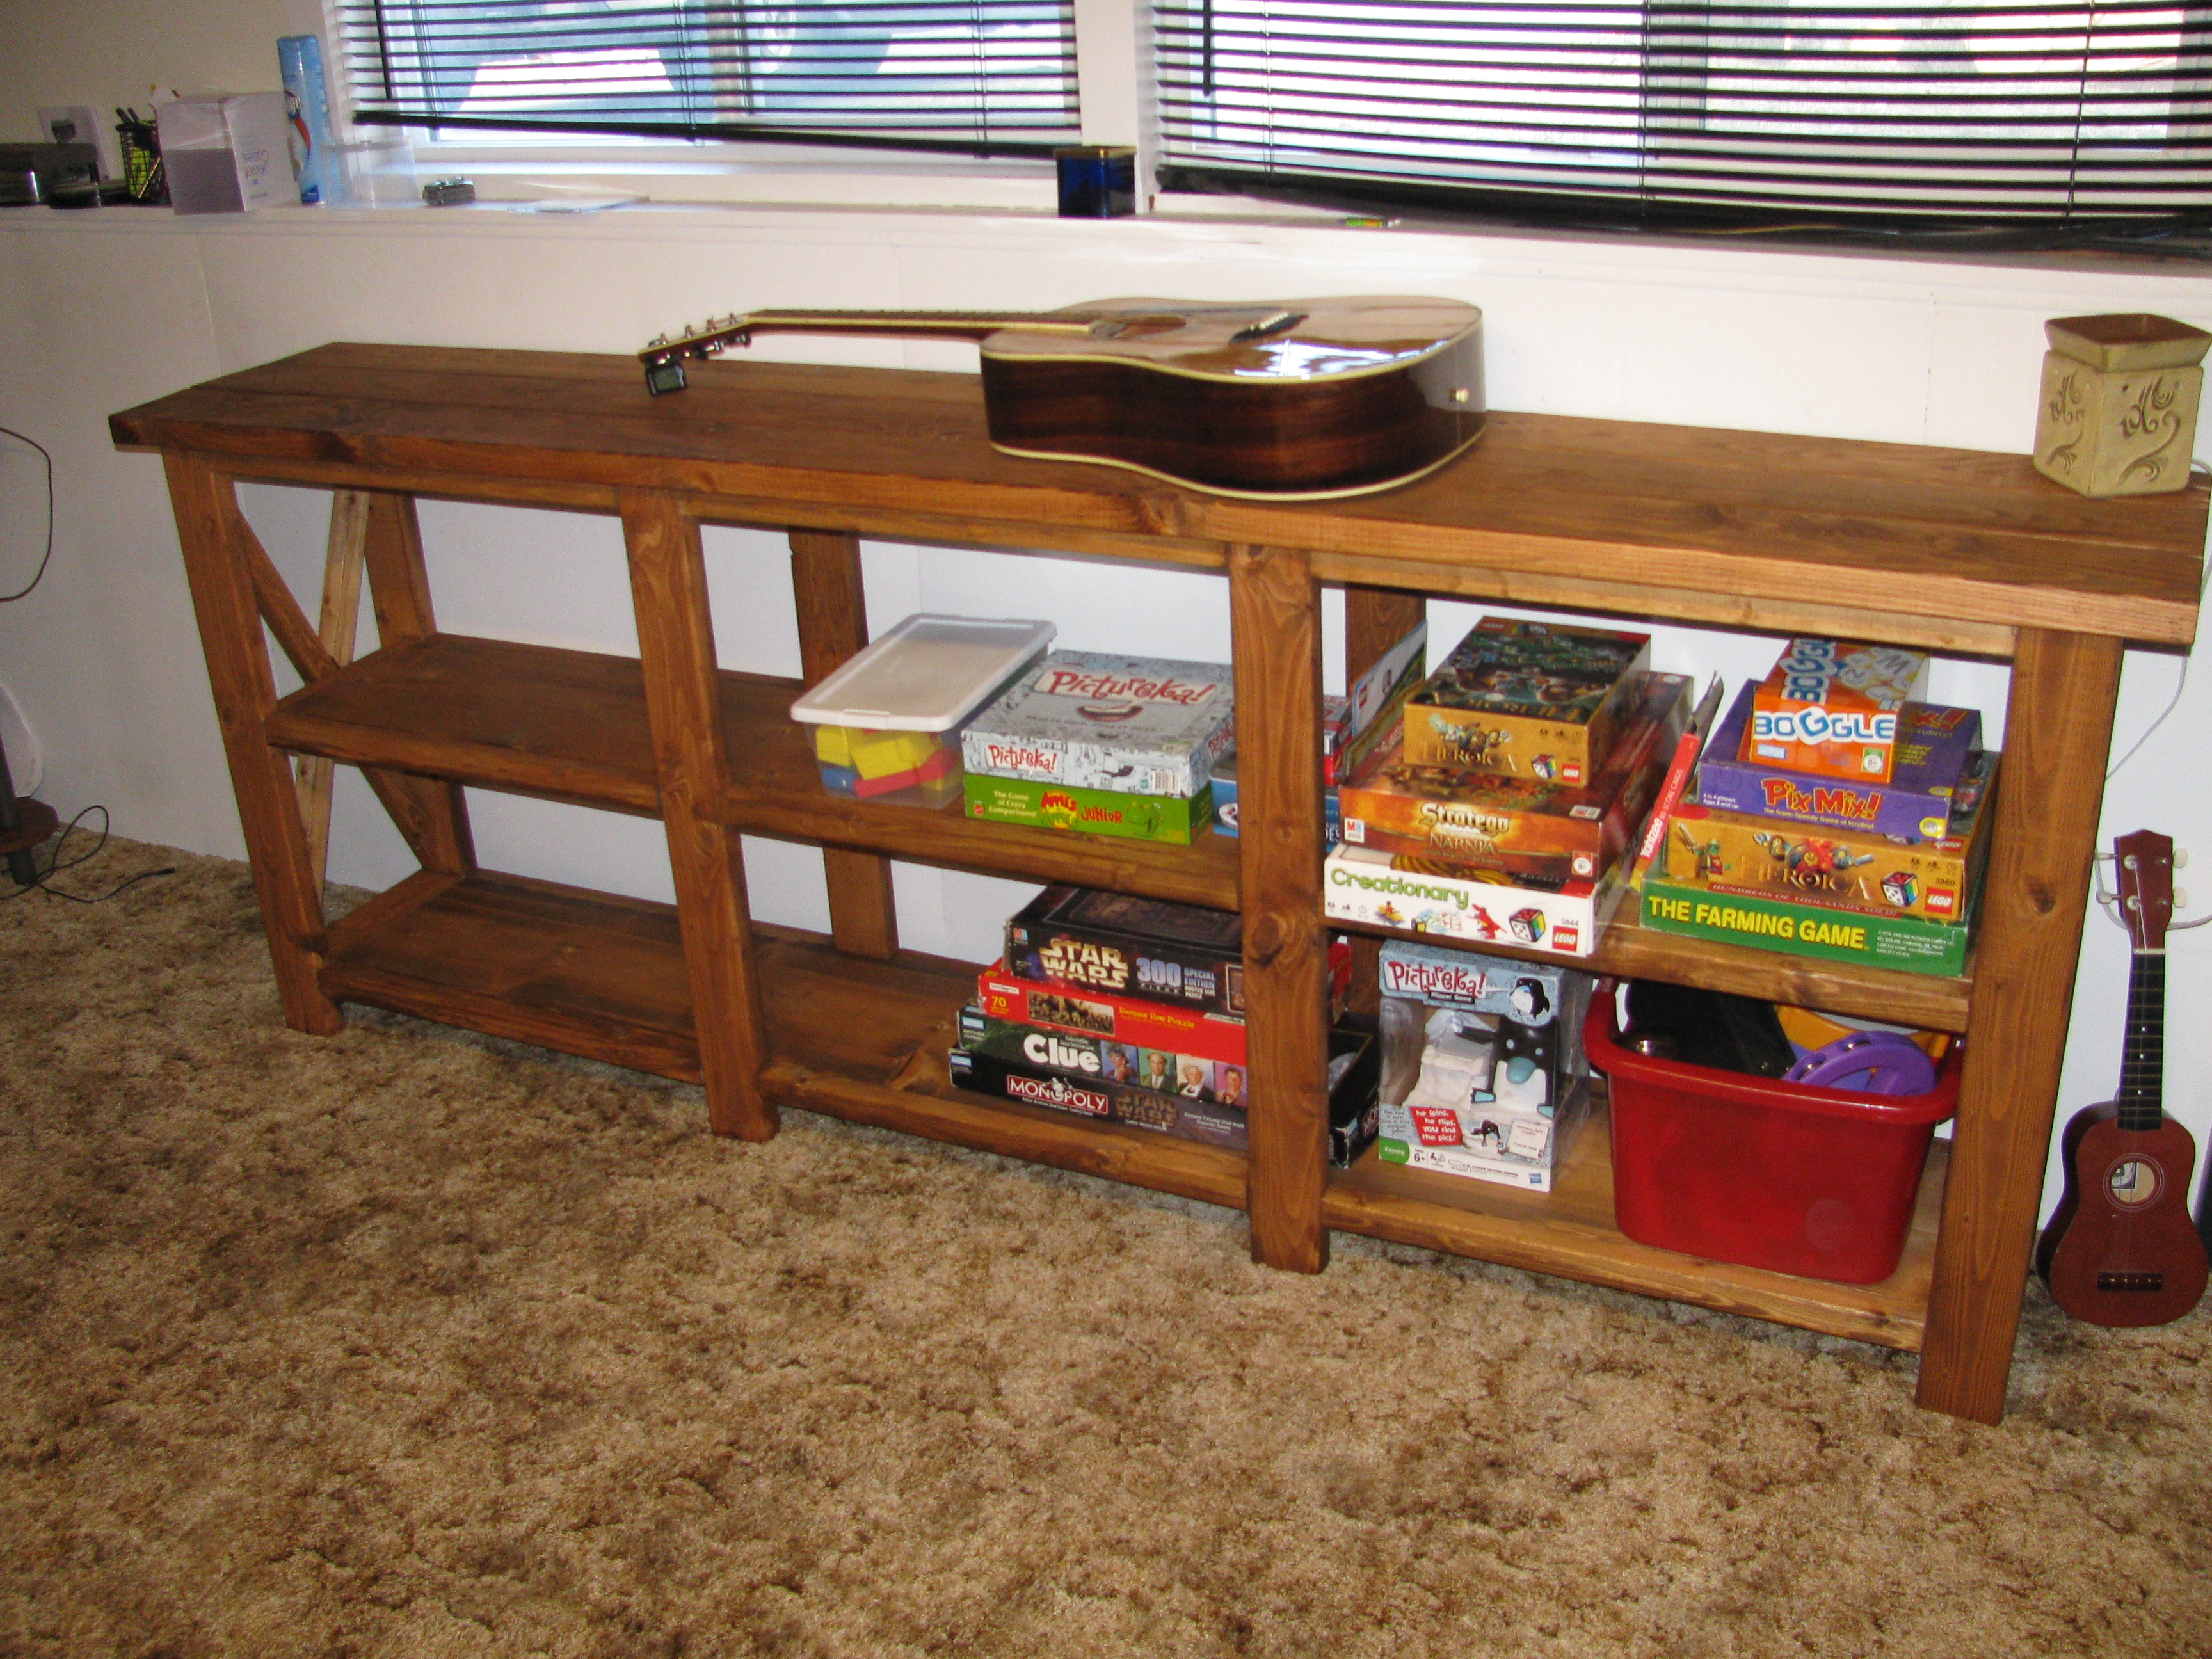
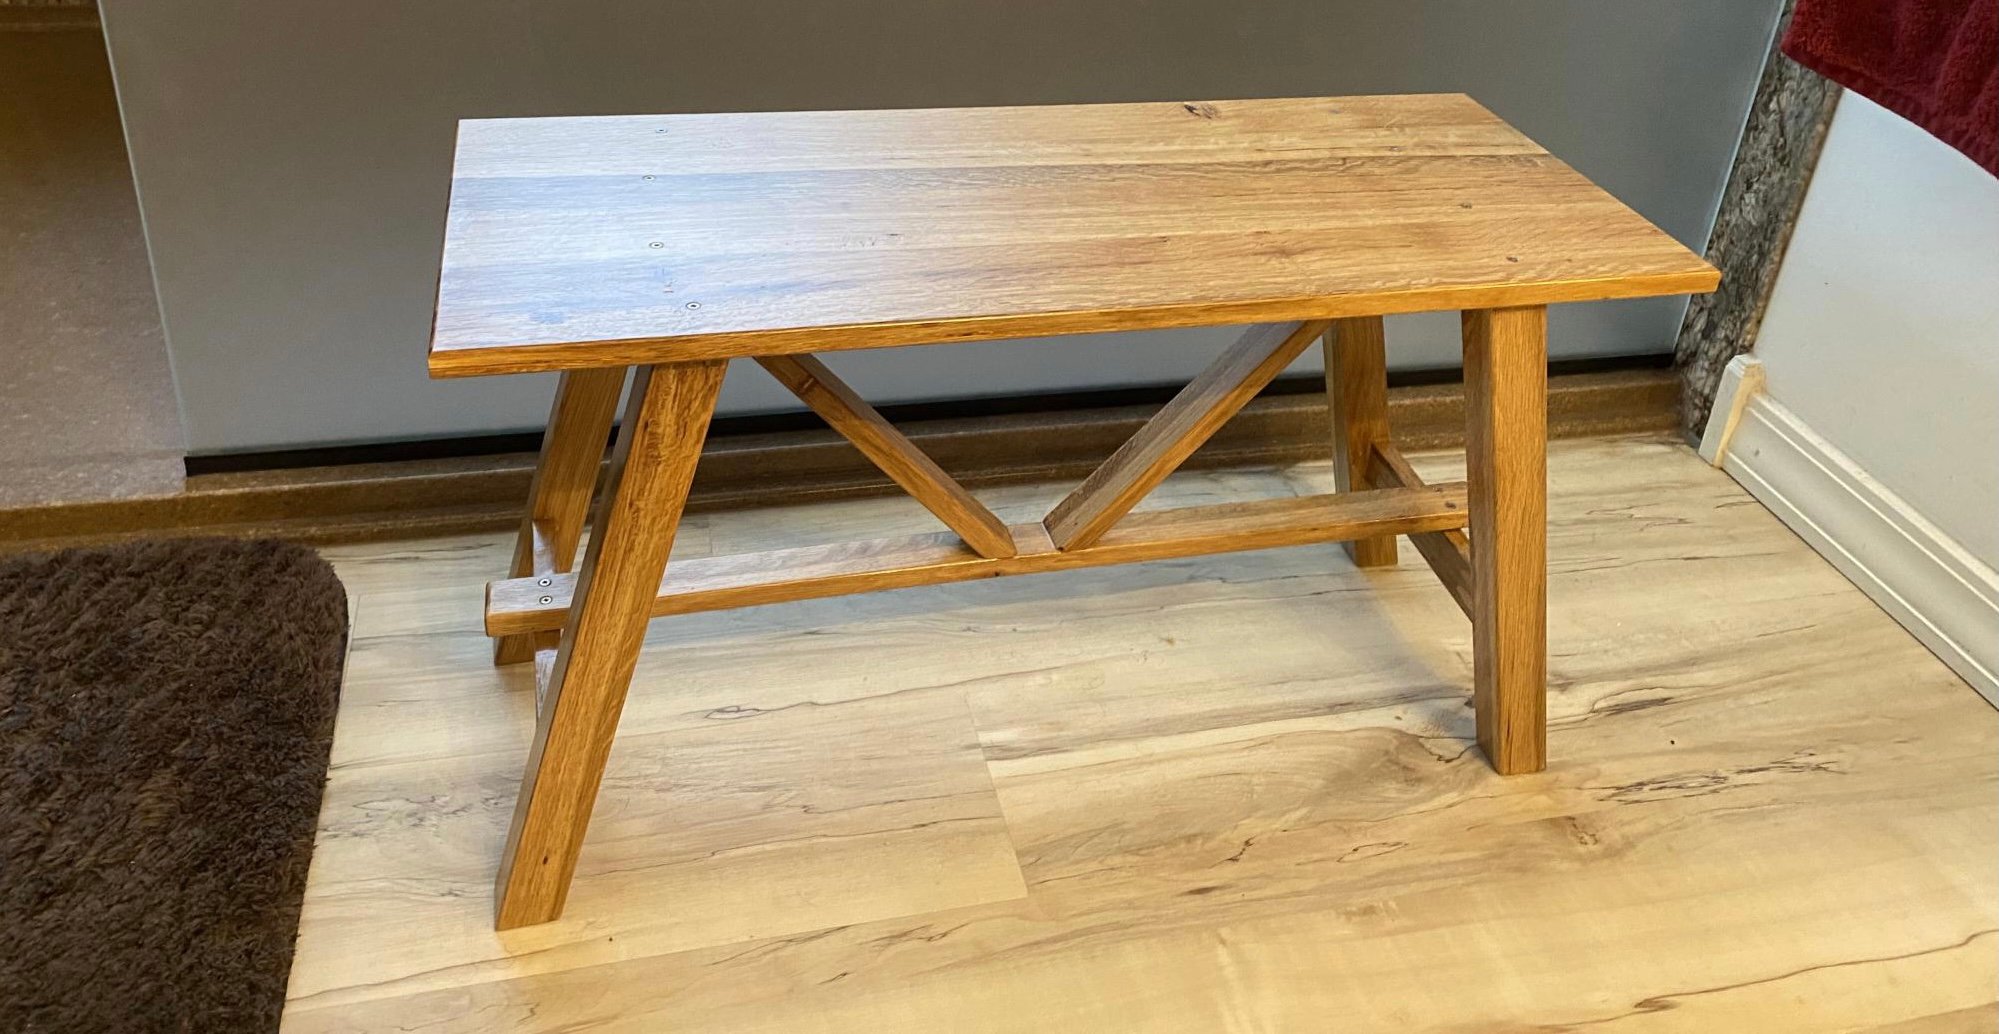
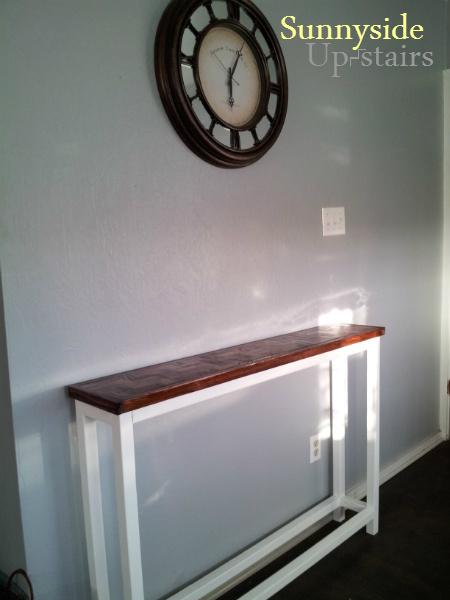
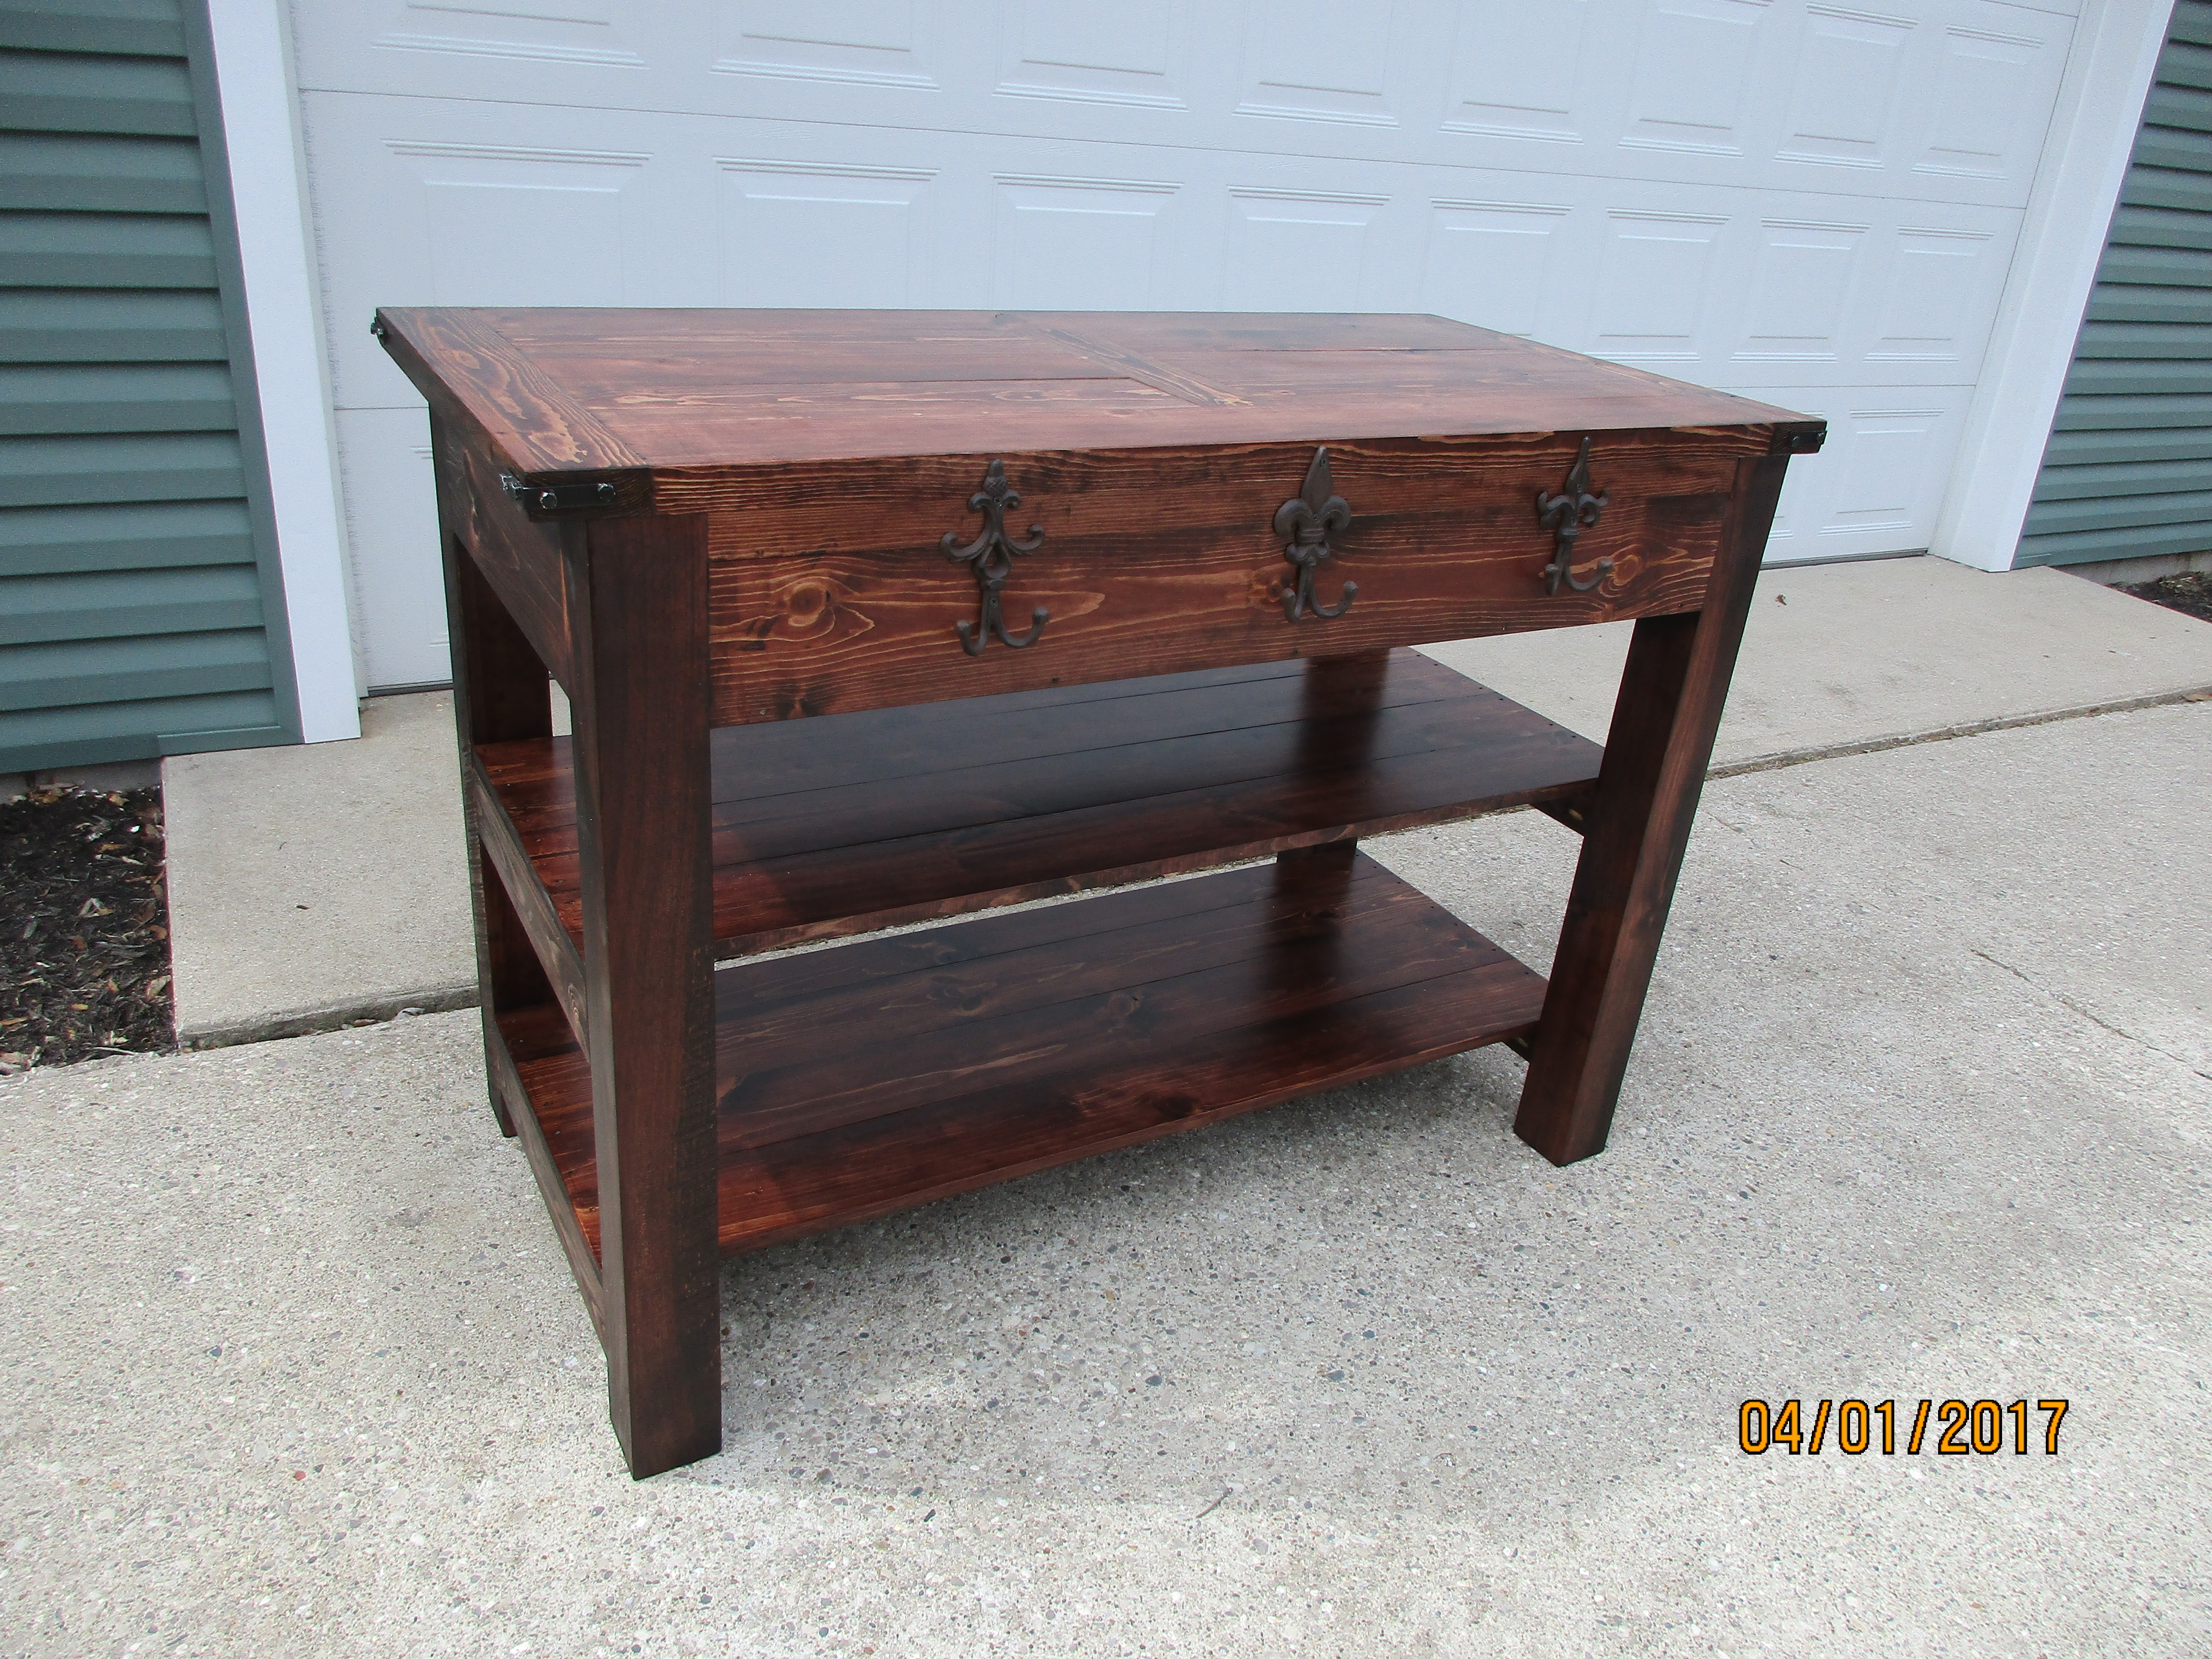
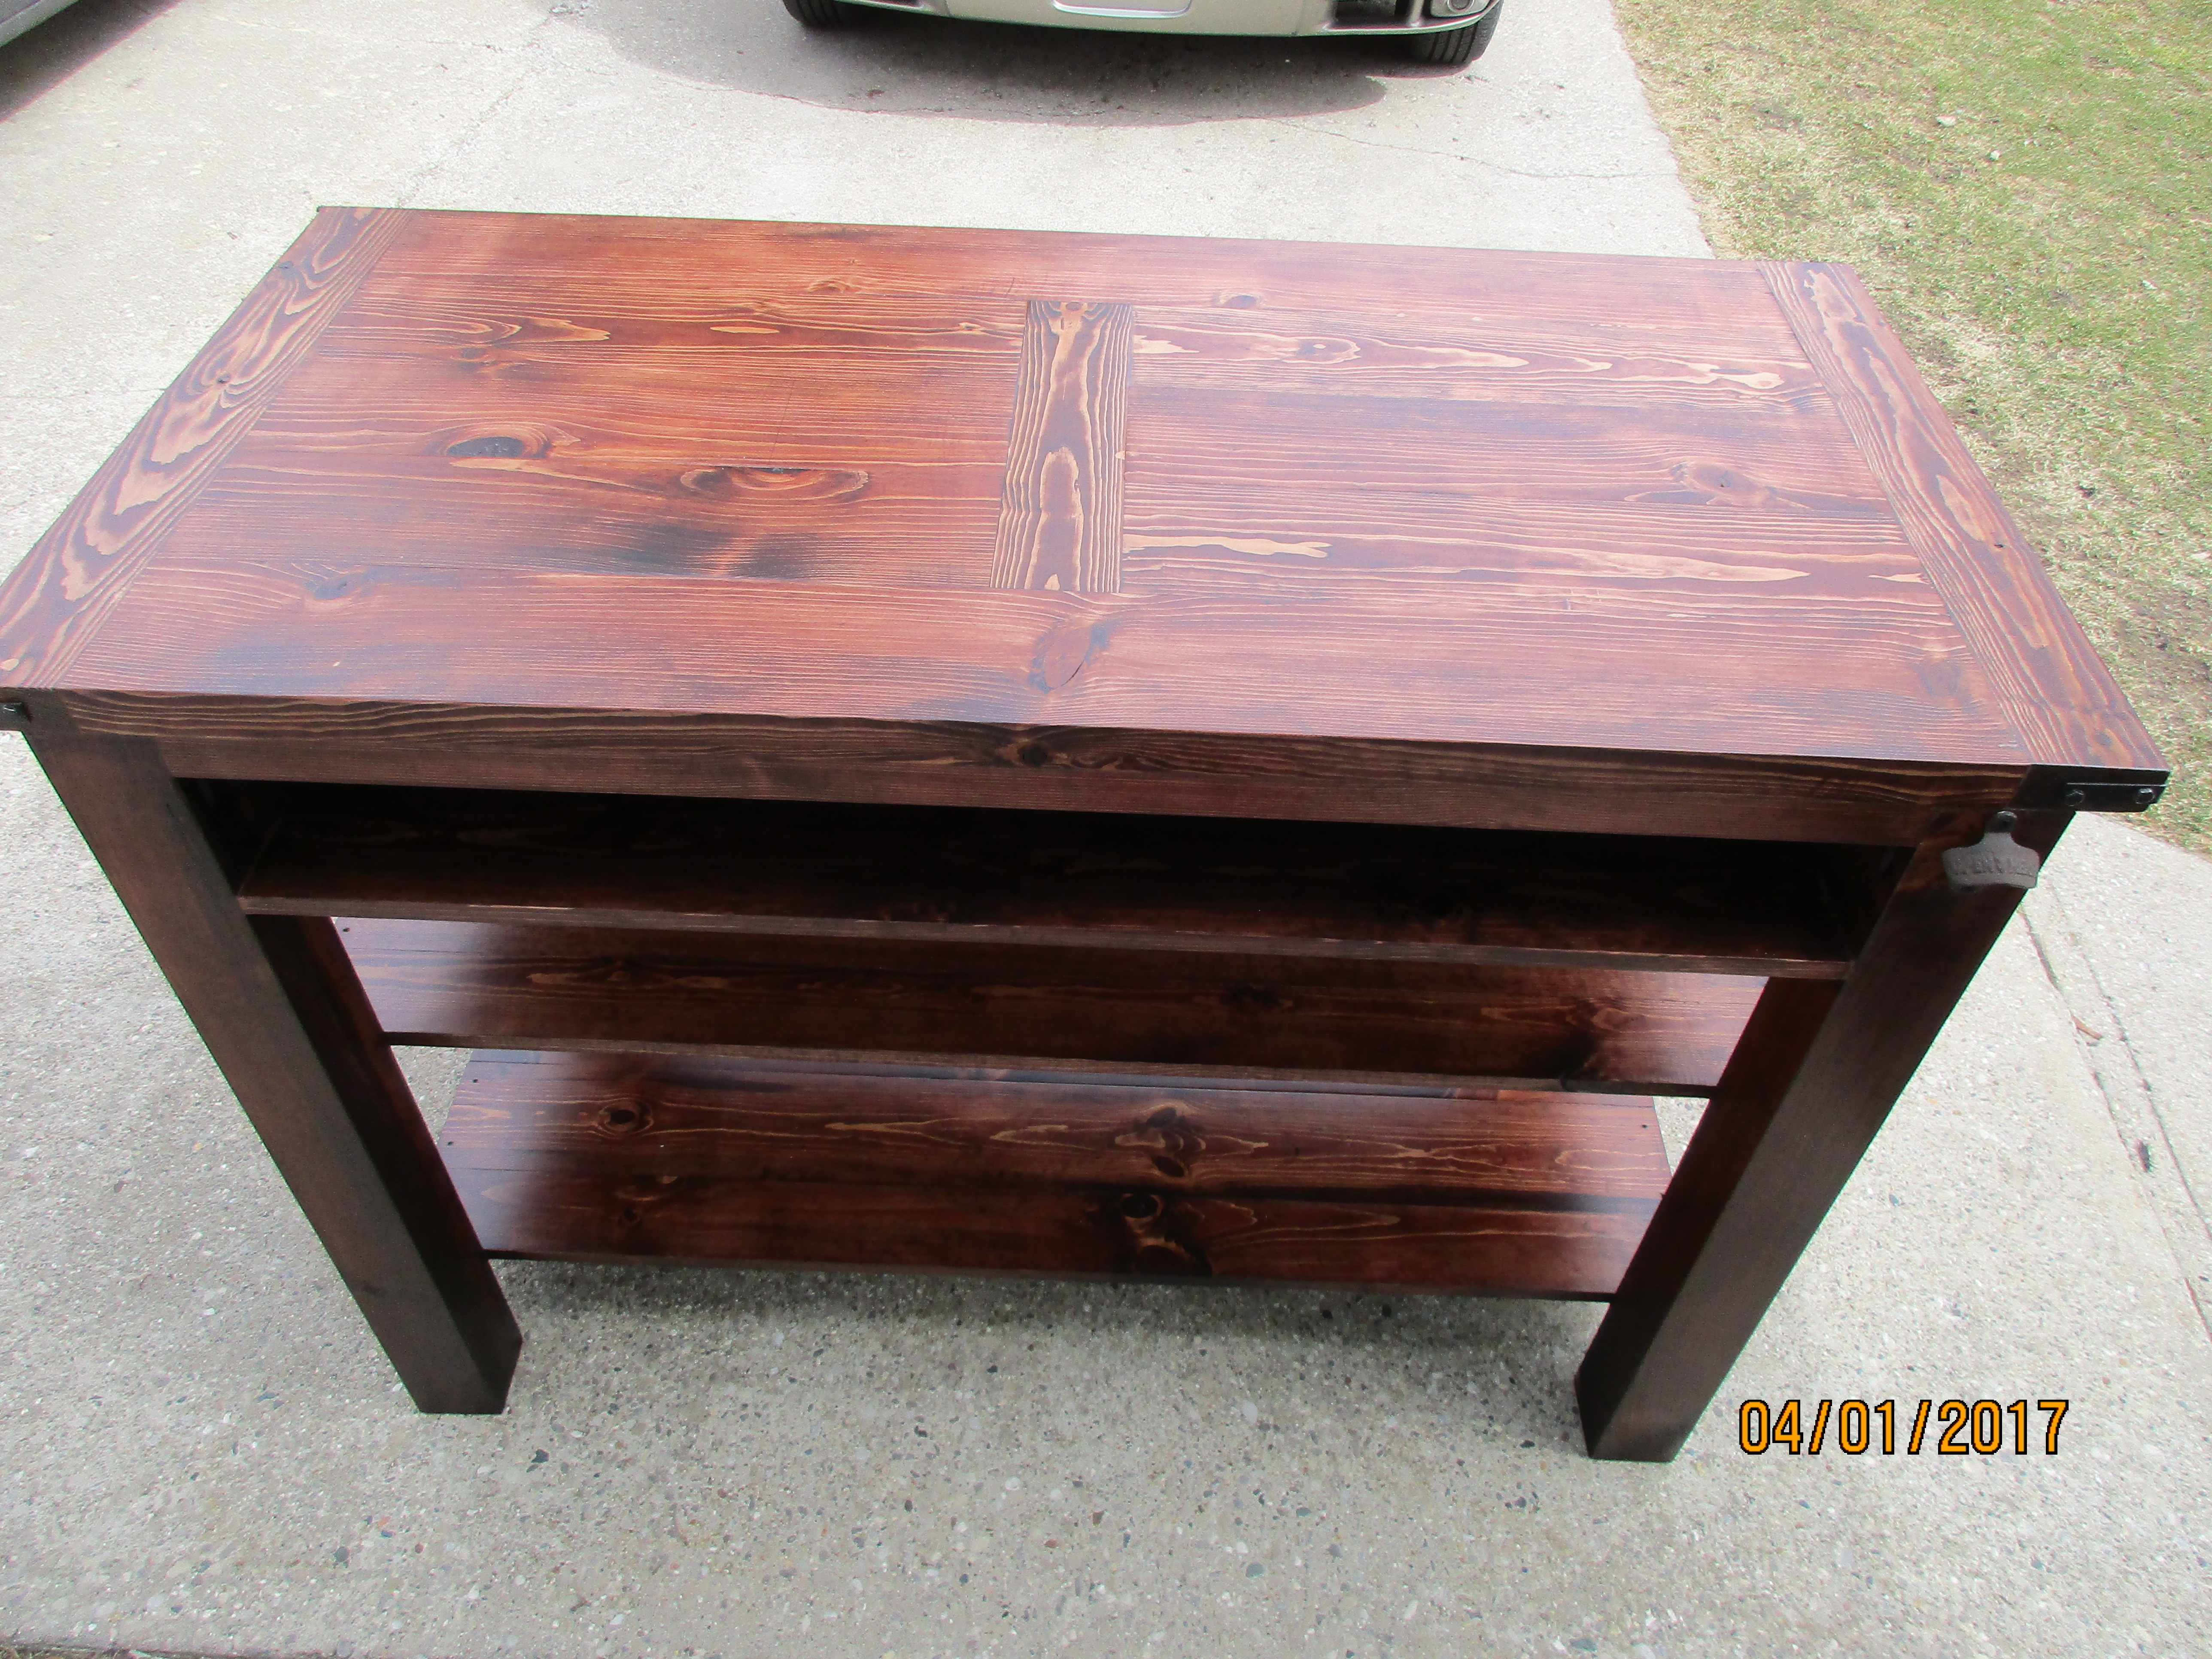
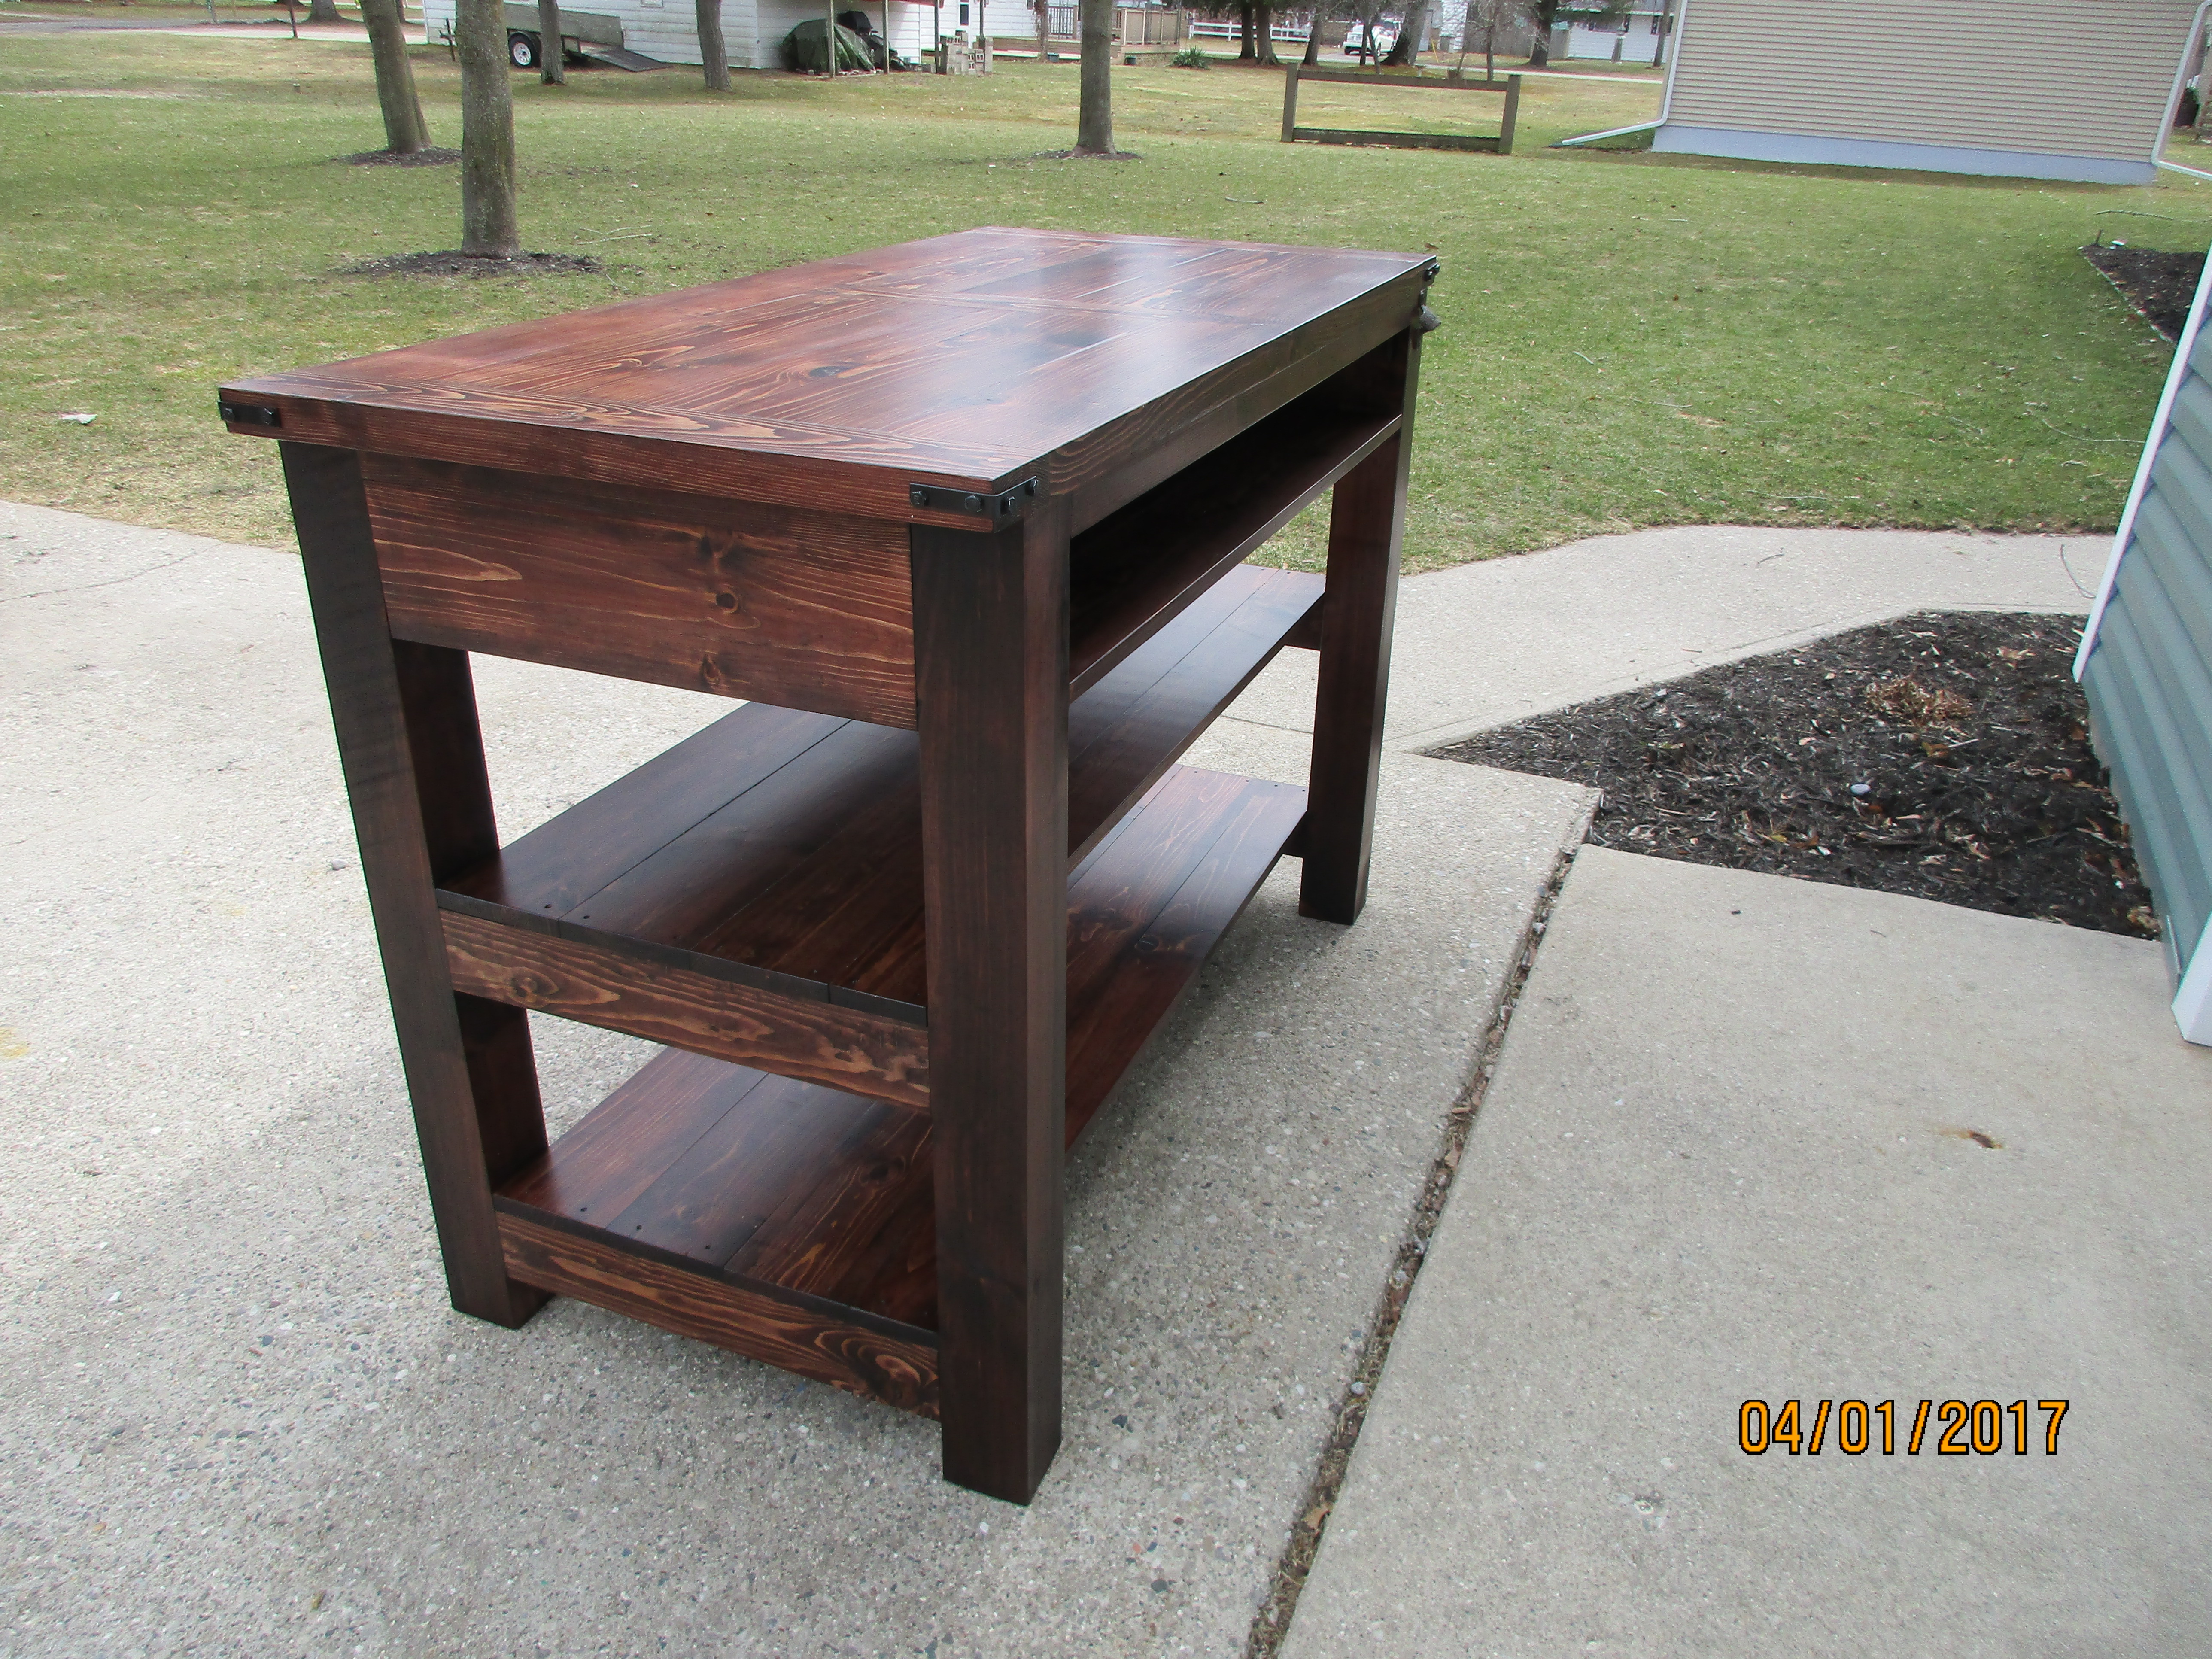
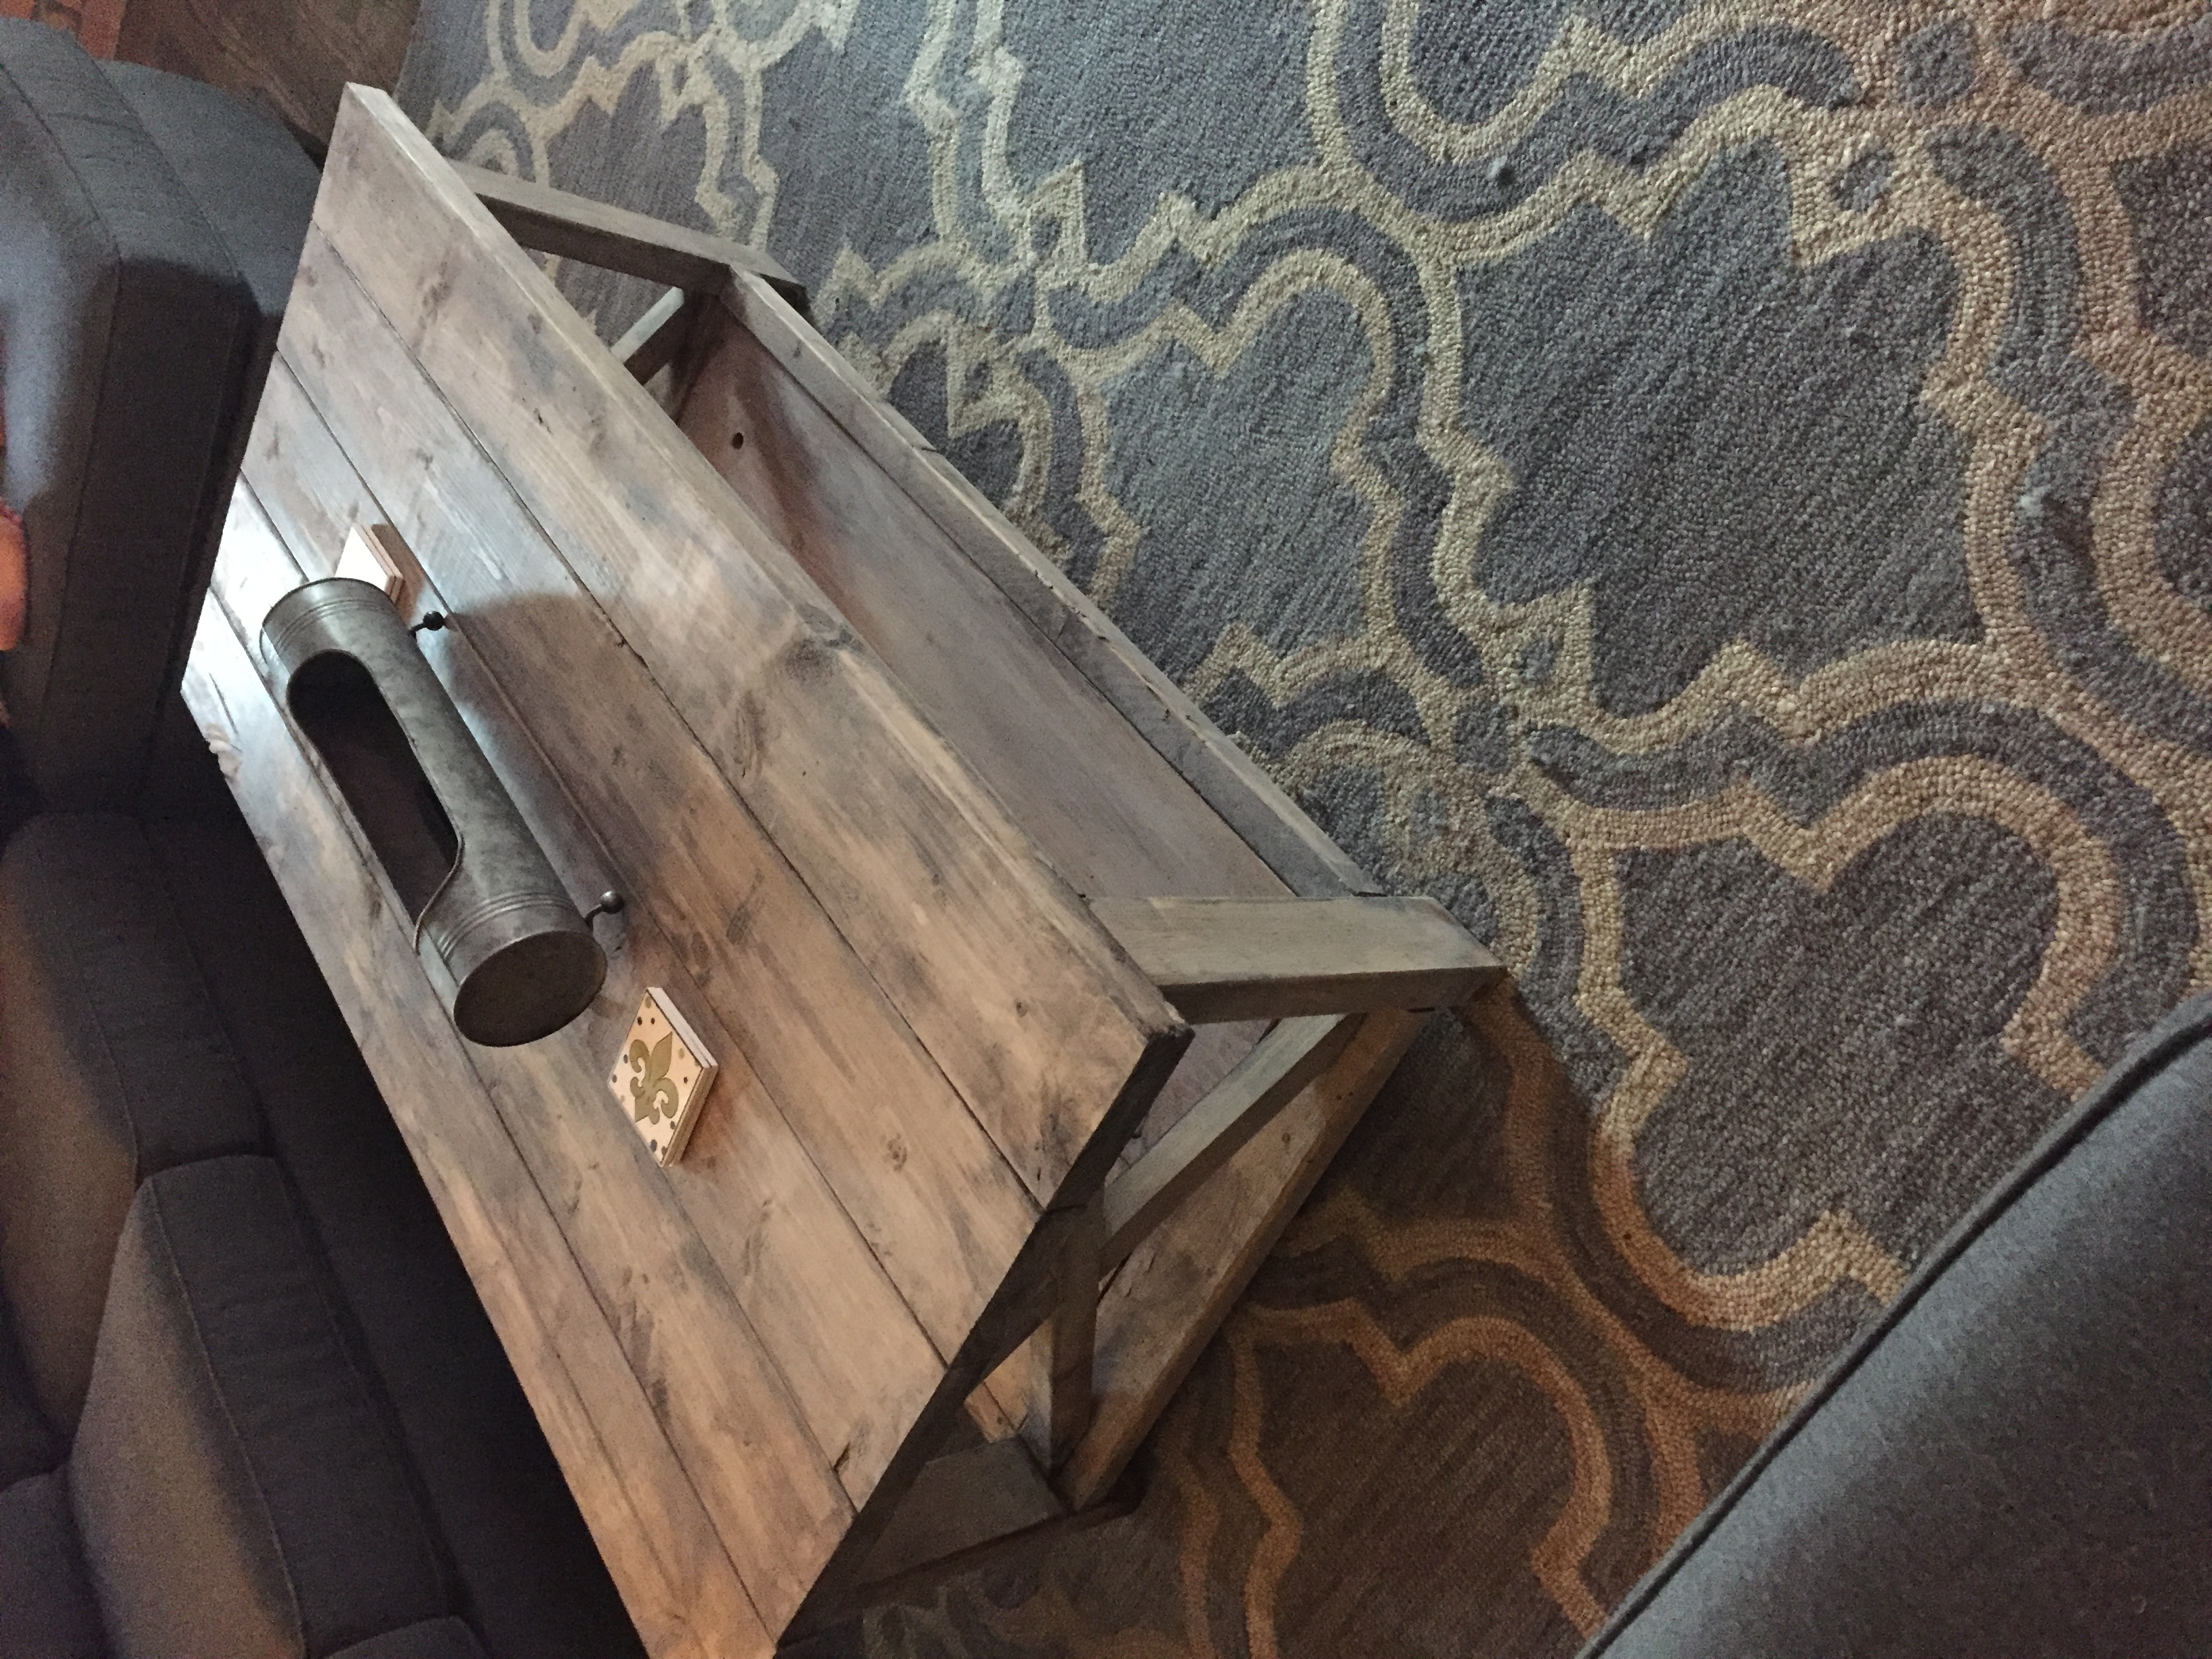
Rustic X coffee table
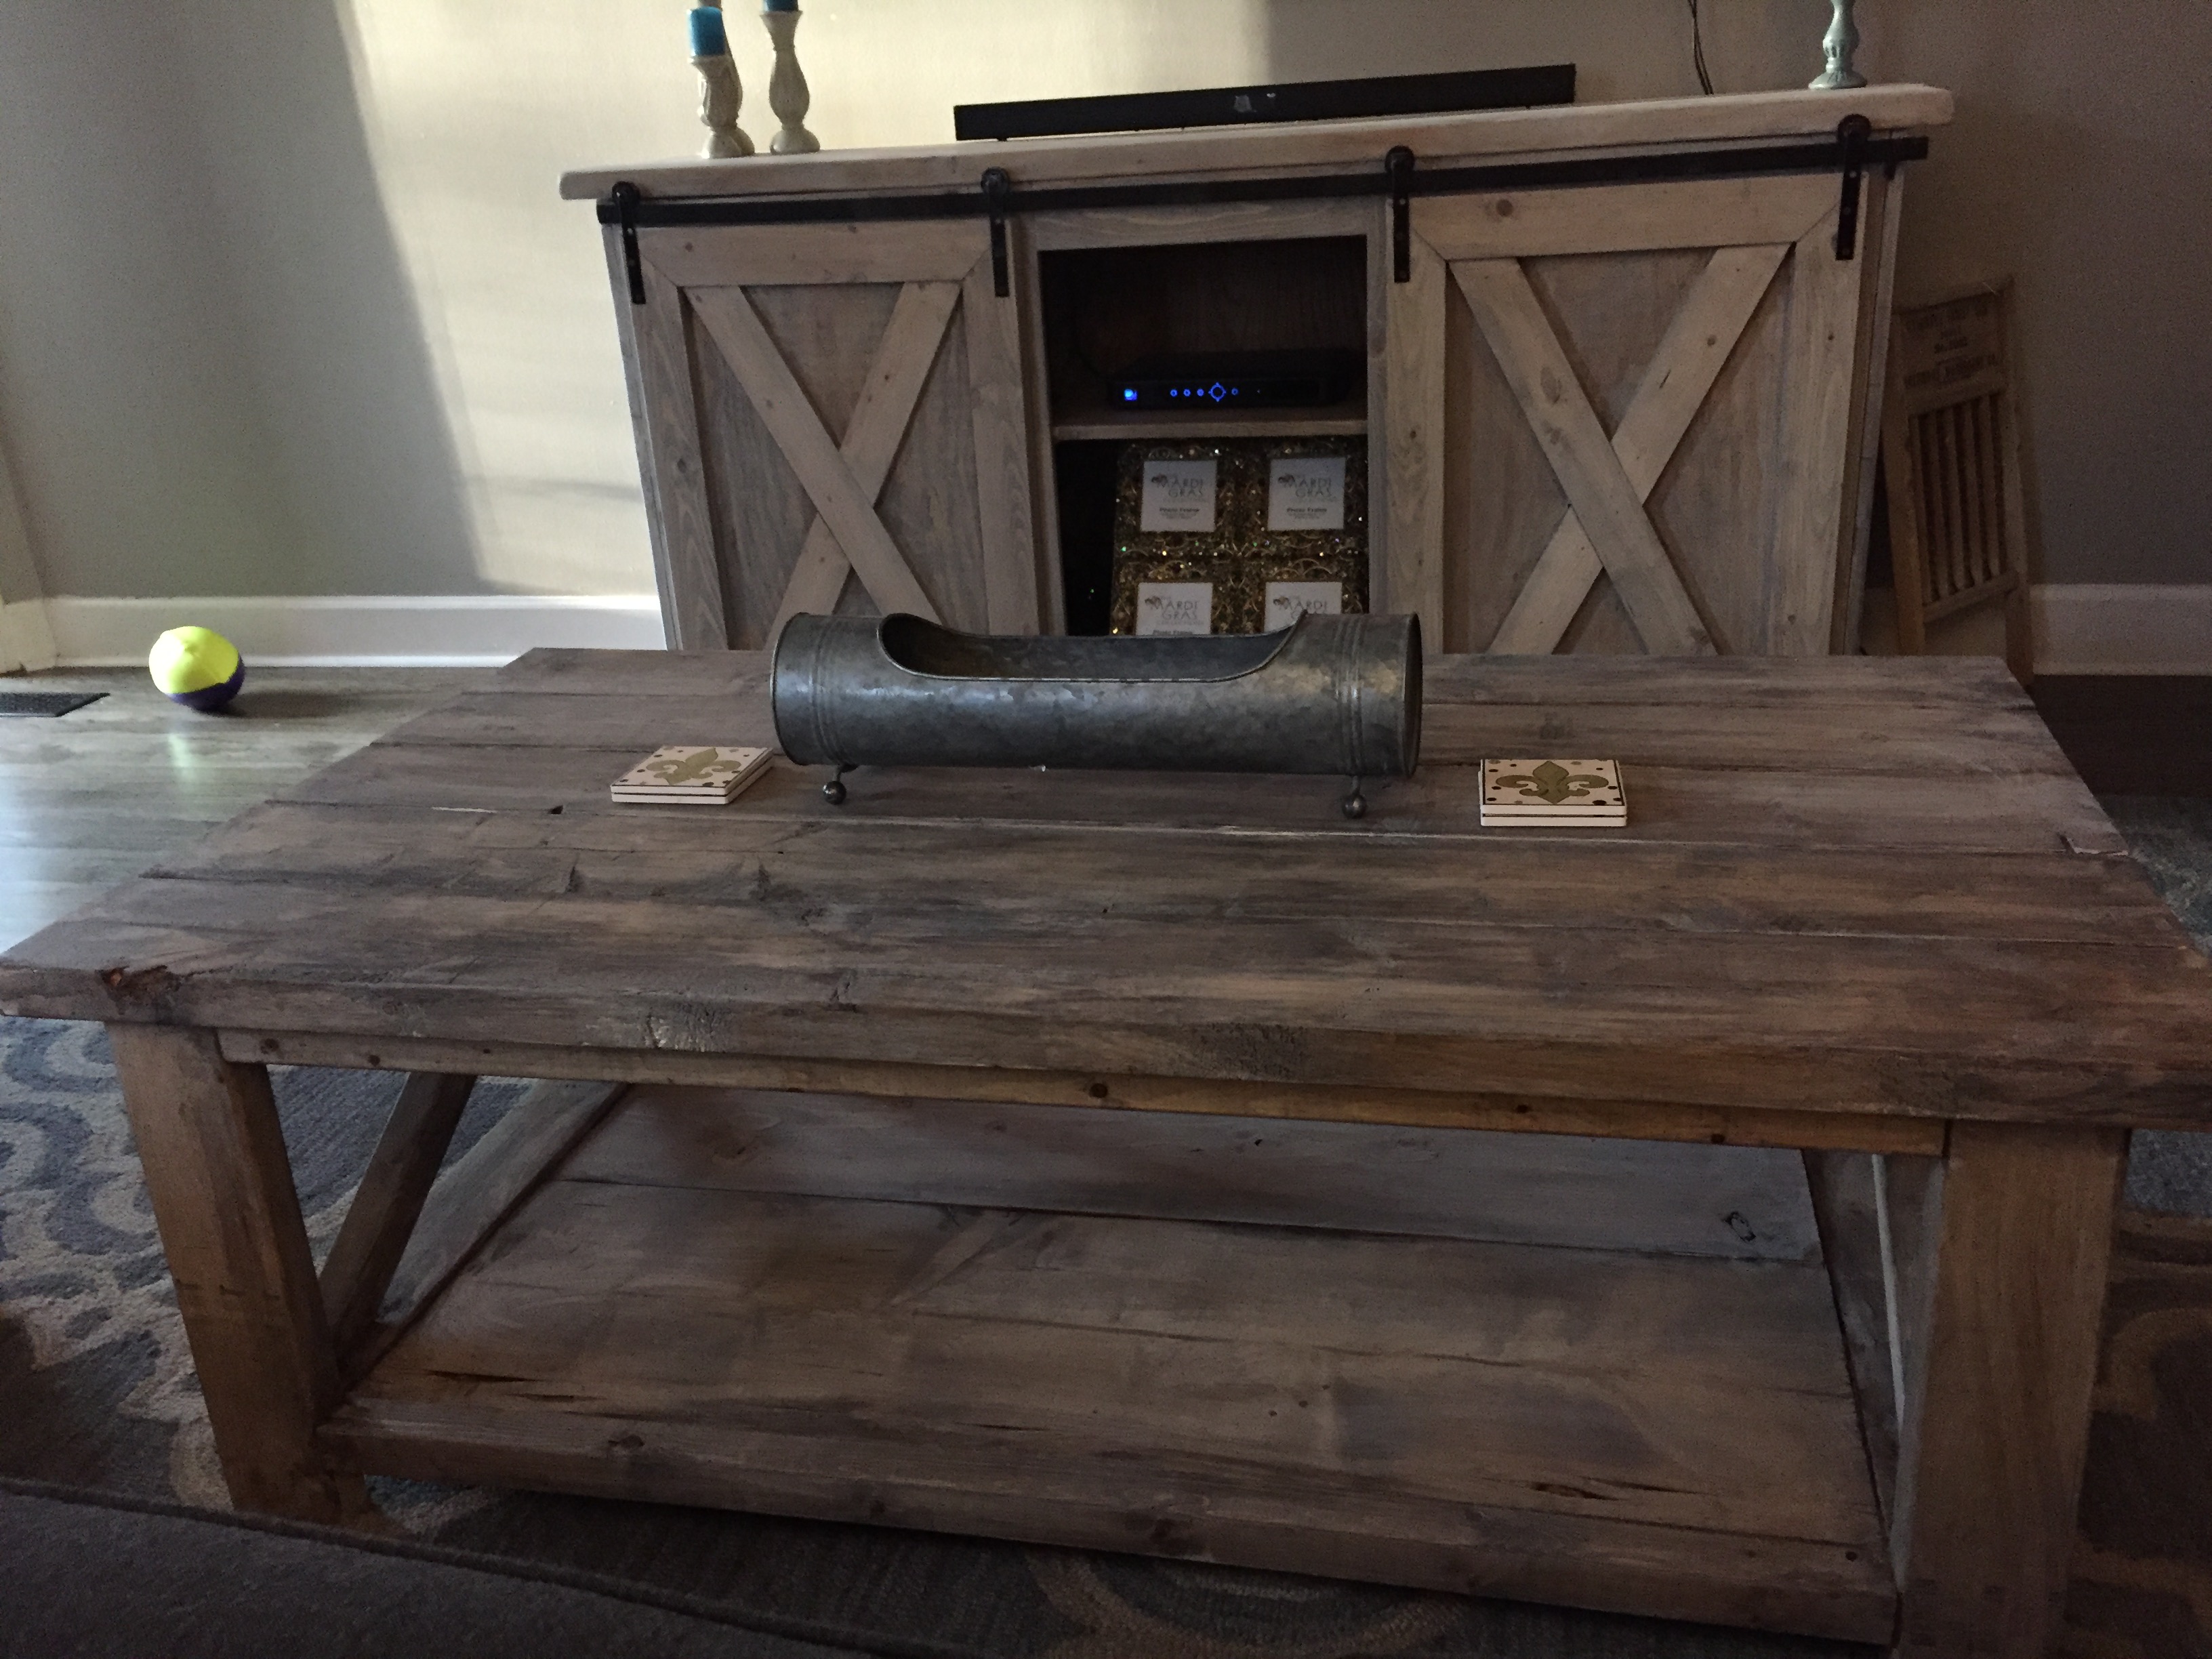
Coffee Table built from these plans: http://www.ana-white.com/2012/07/plans/rustic-x-coffee-table
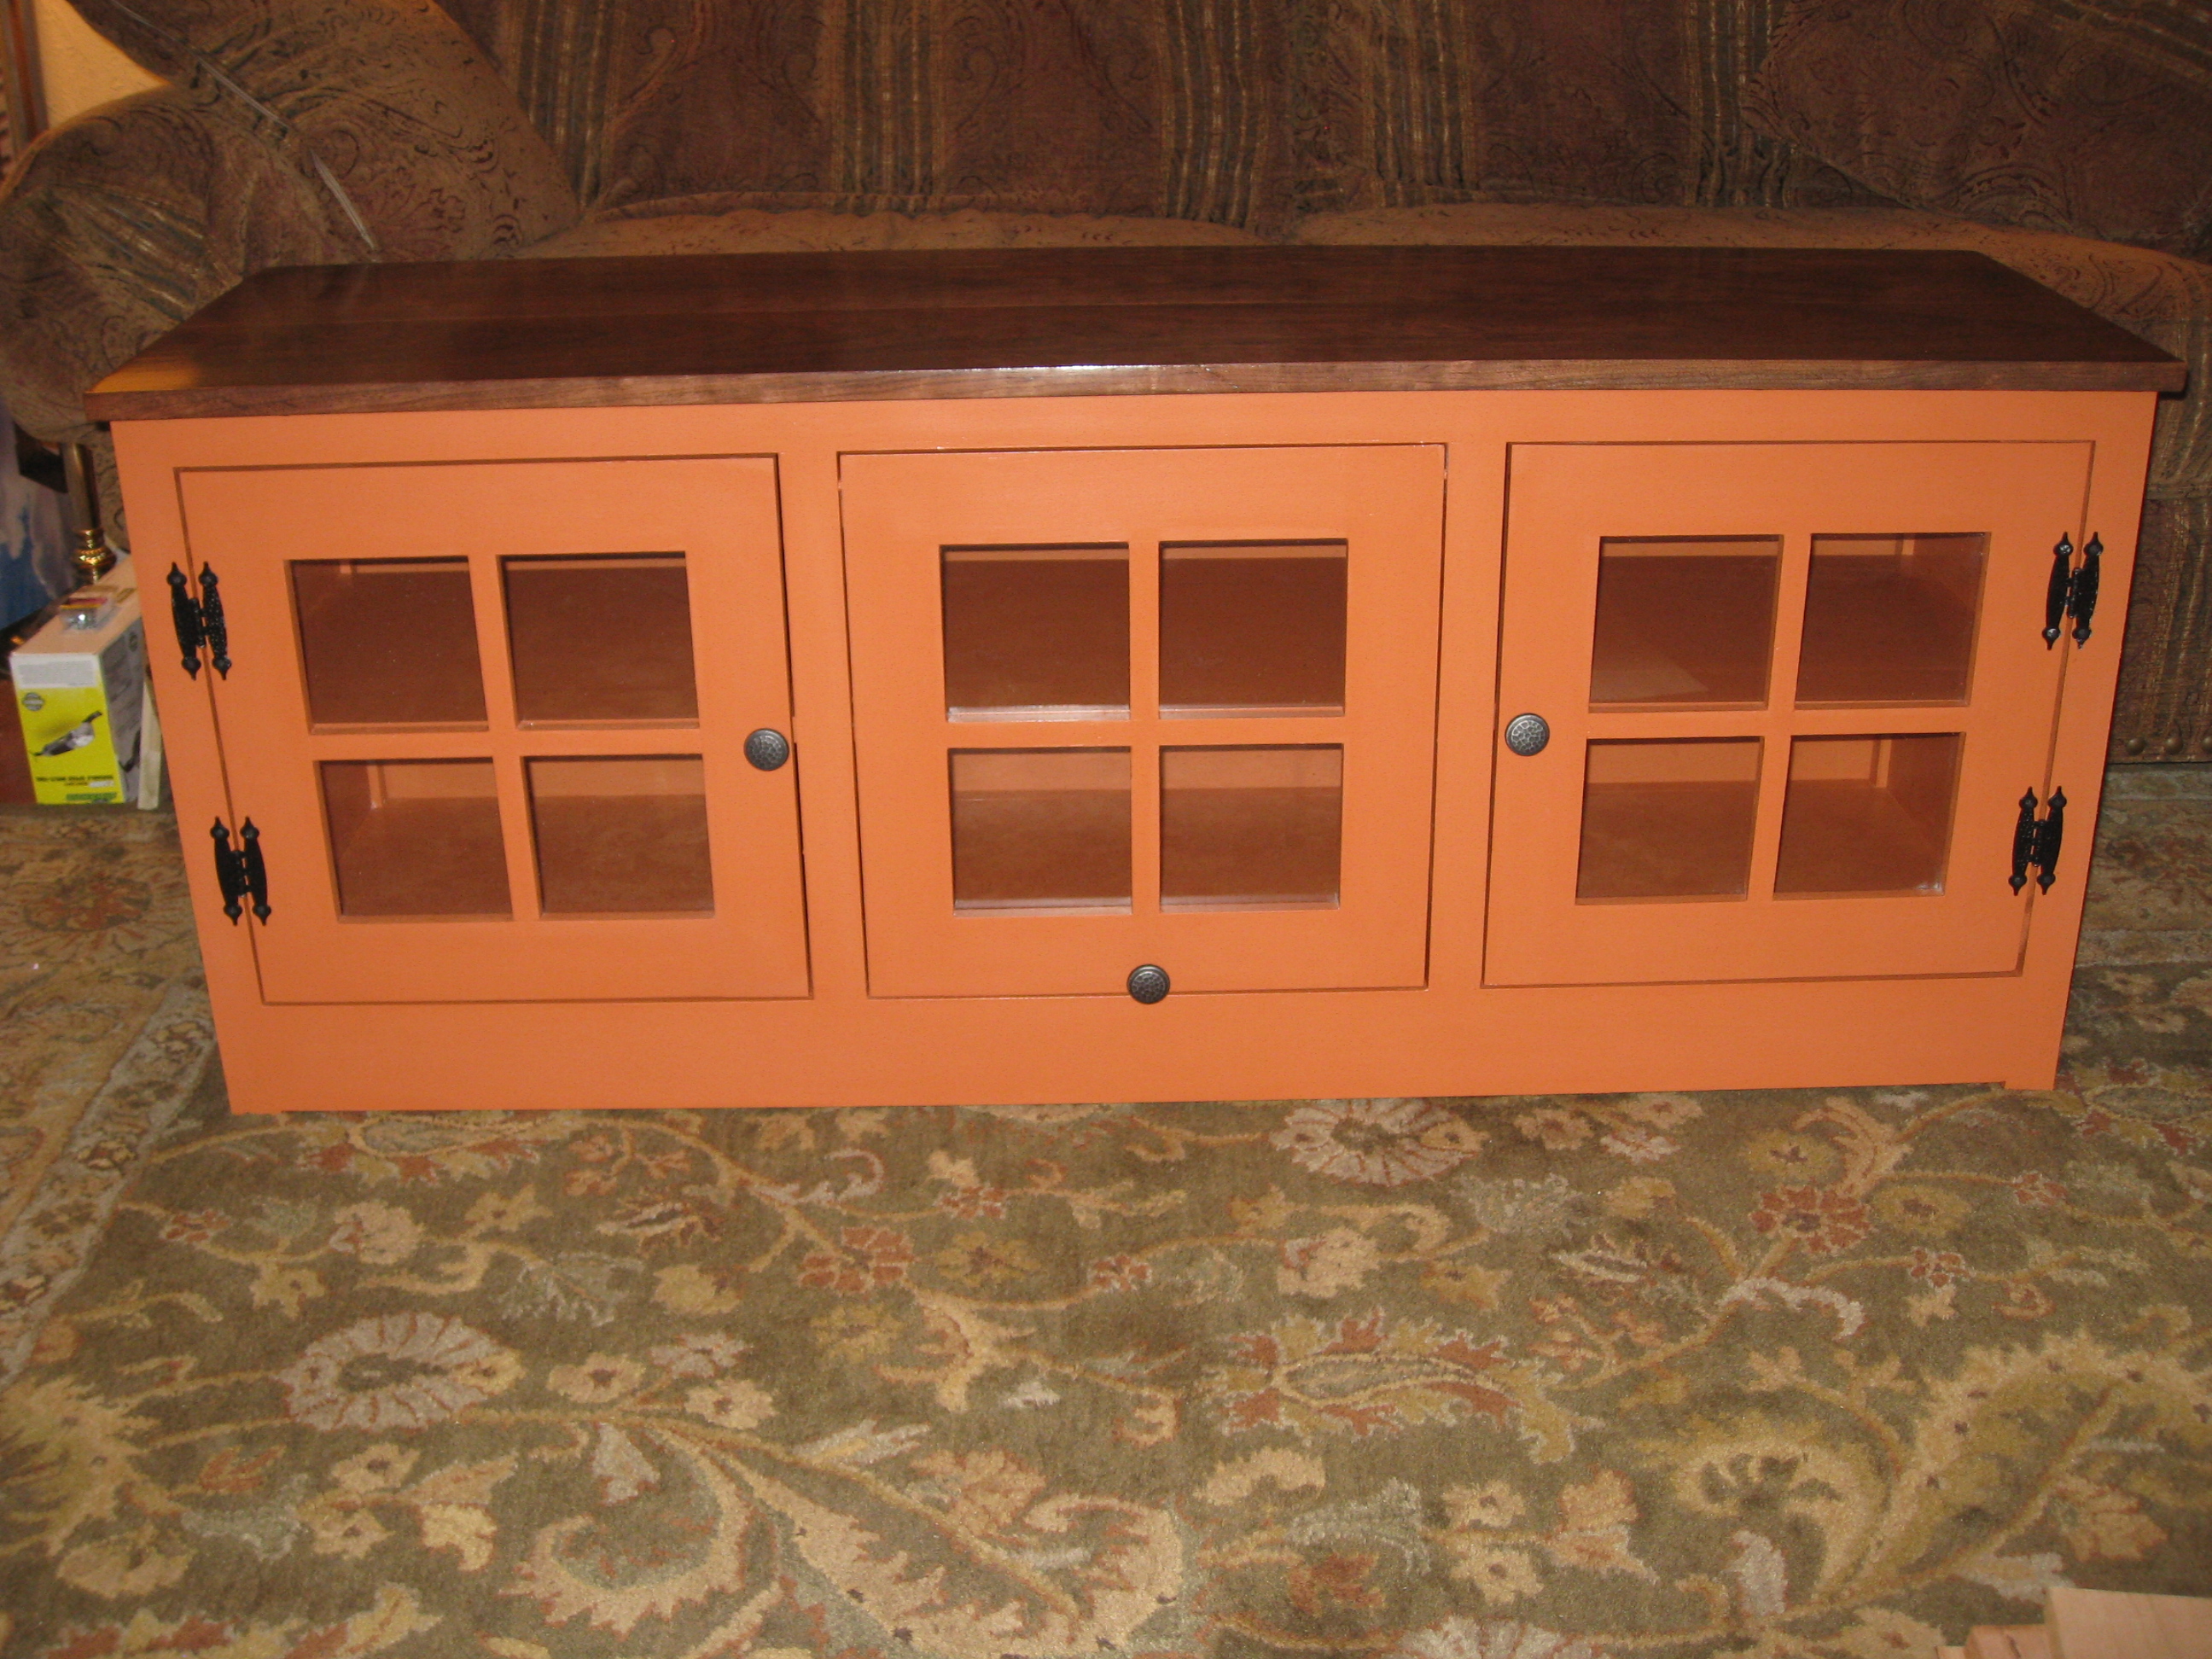
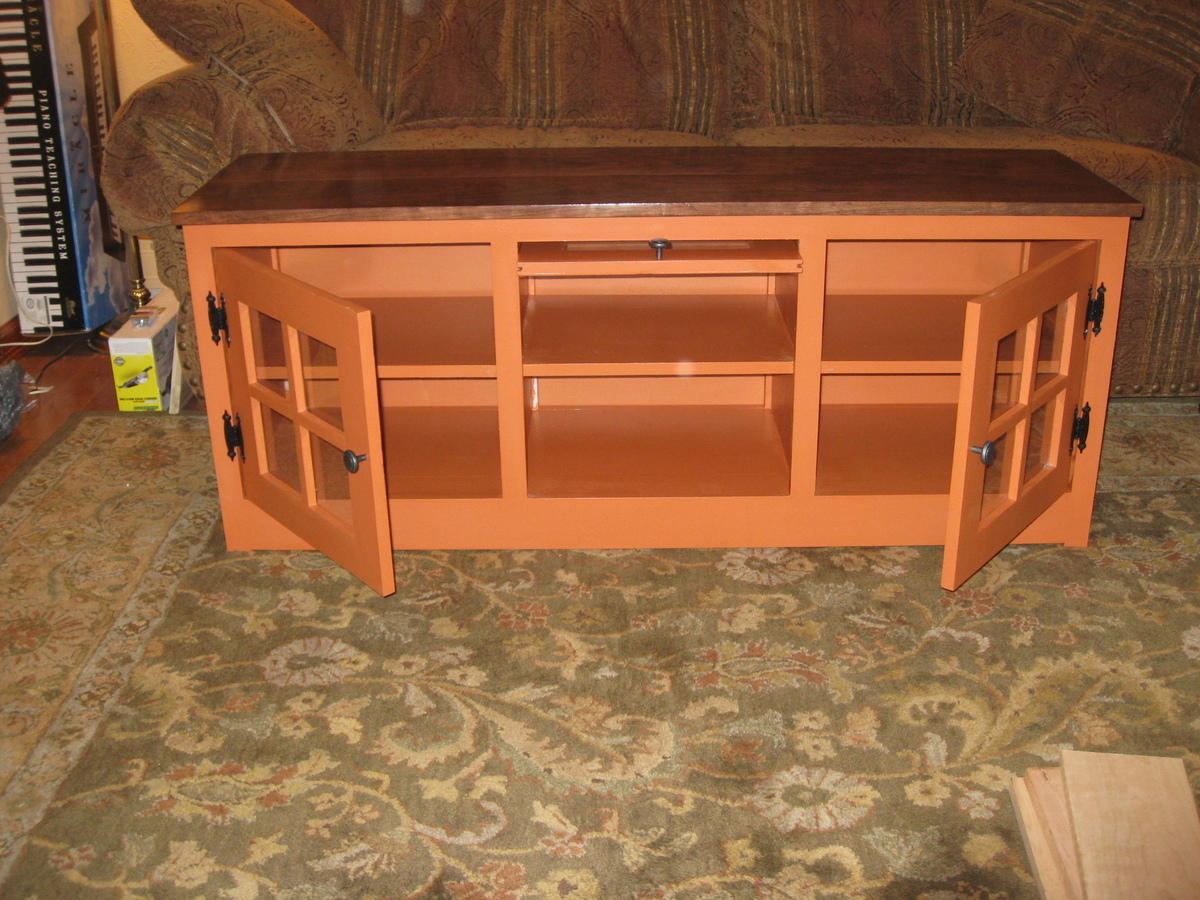
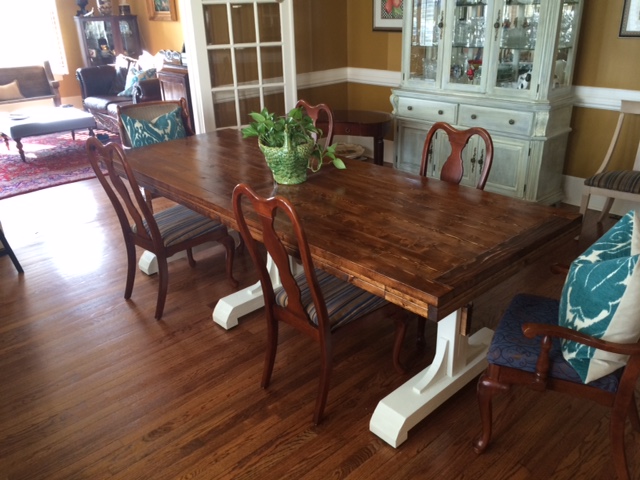
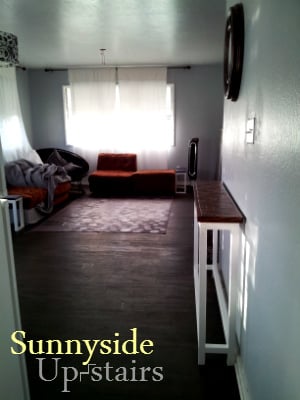
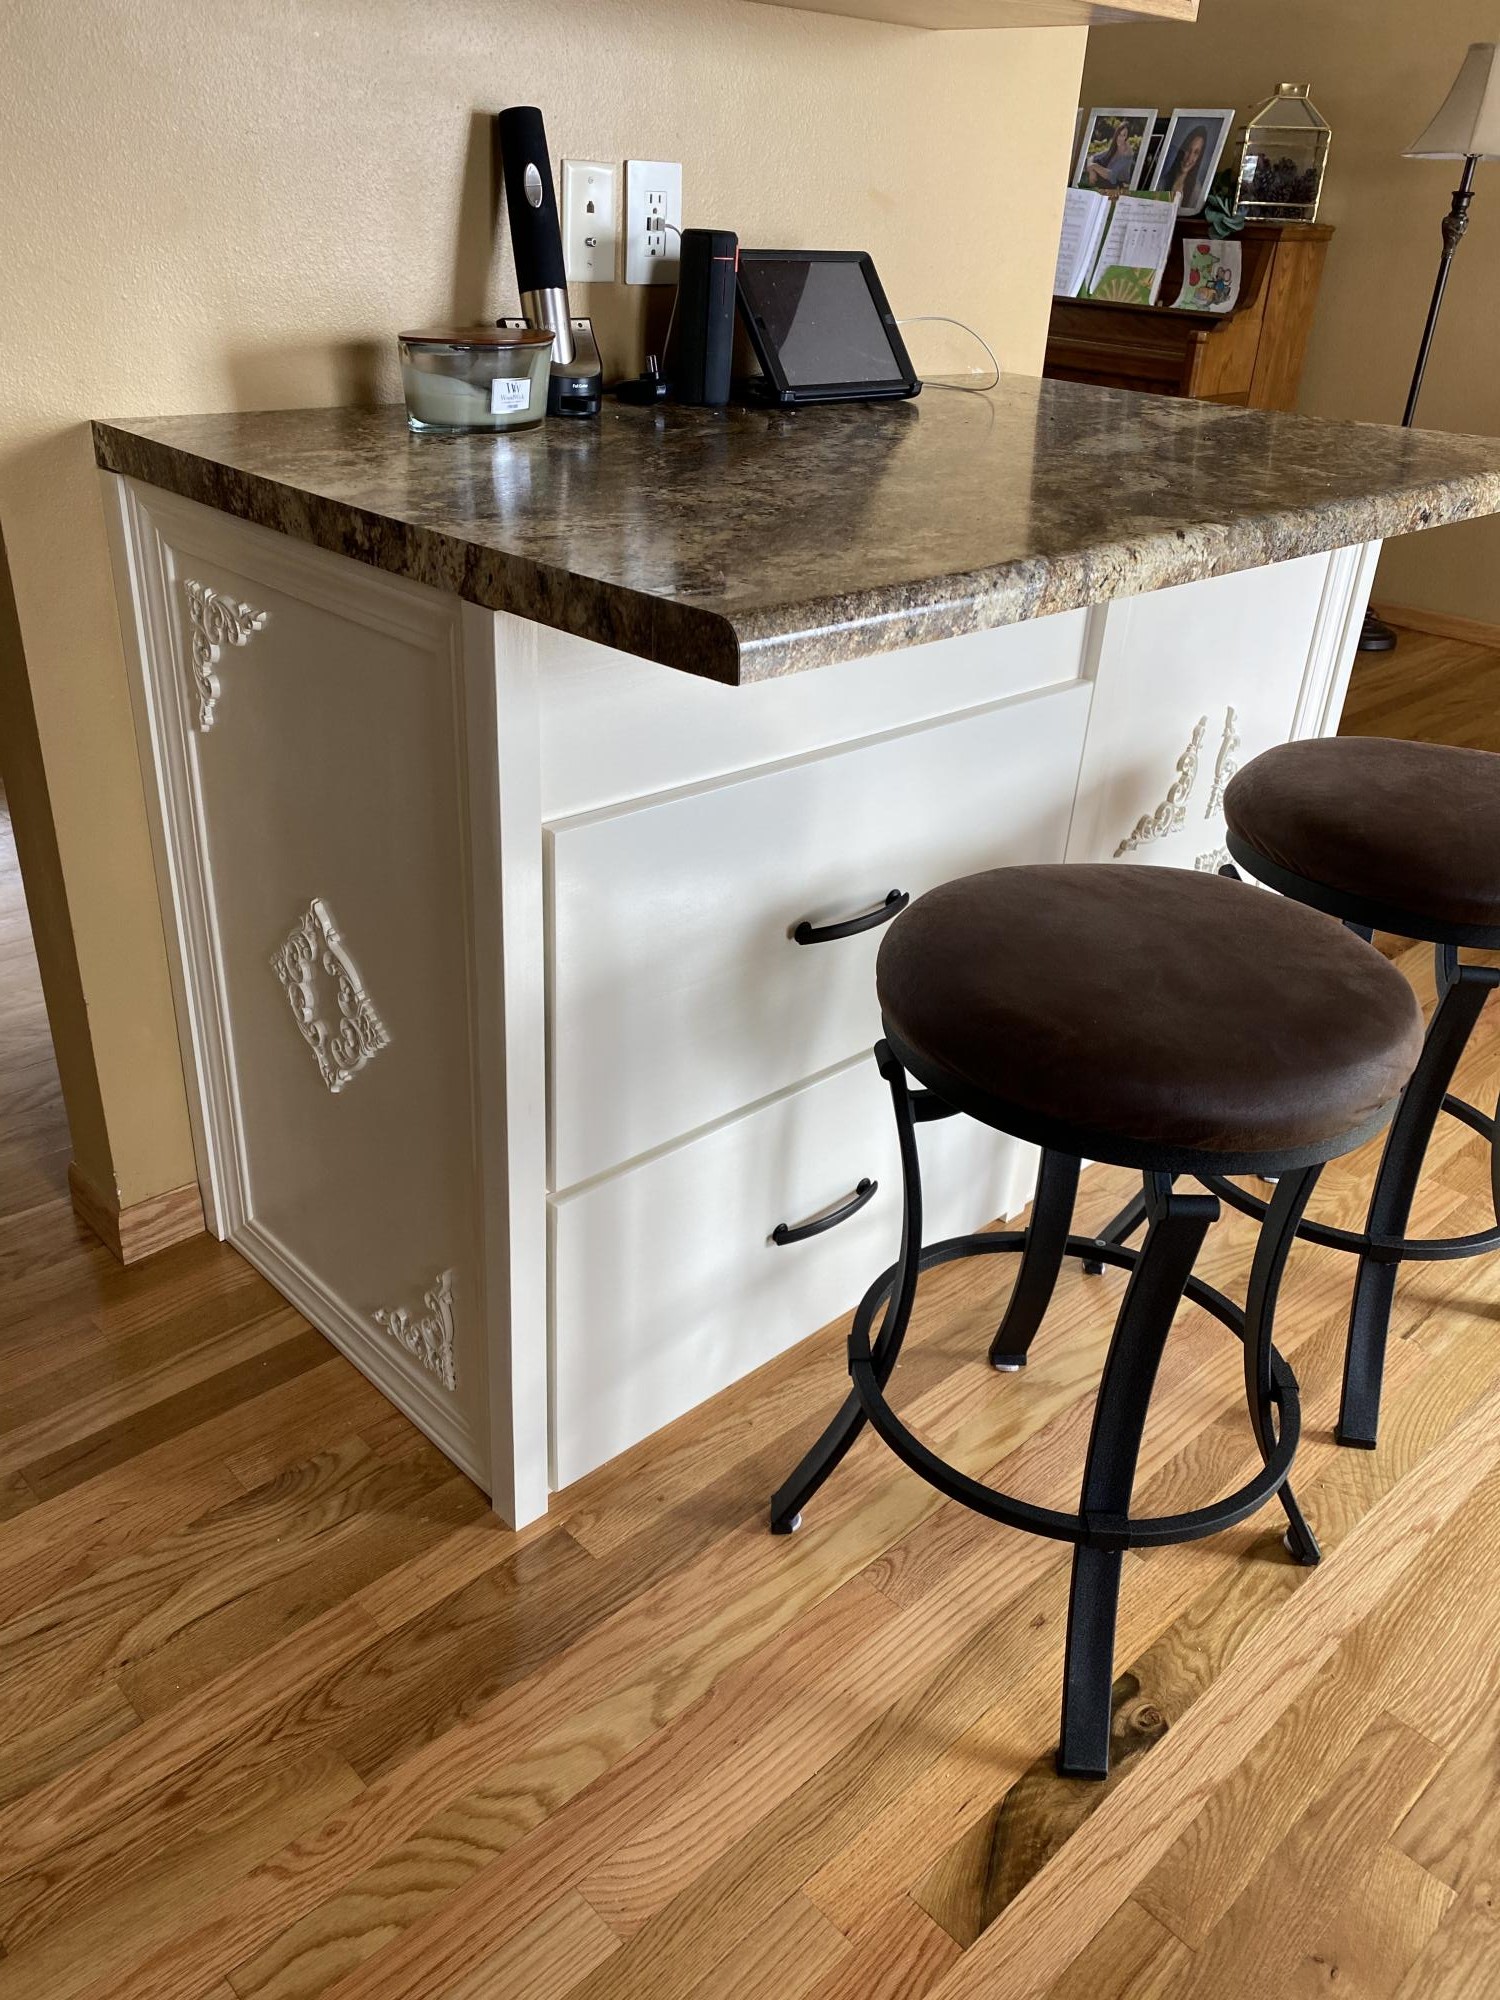
Media console built from these plans: http://www.ana-white.com/2015/08/free_plans/grandy-sliding-door-console
Built from Plan(s)
Estimated Time Investment
Afternoon Project (3-6 Hours)
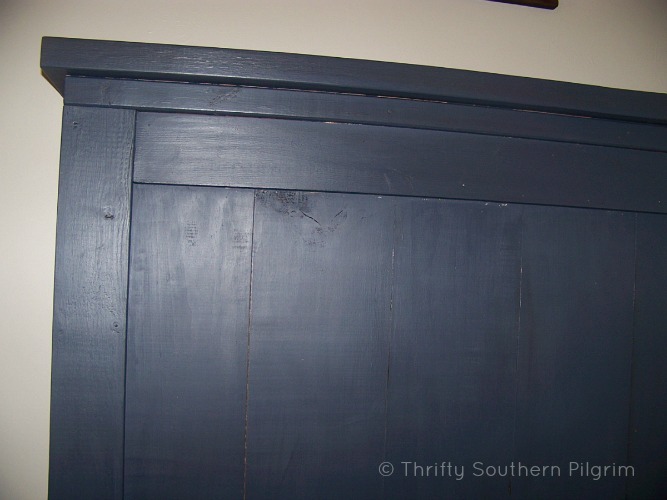
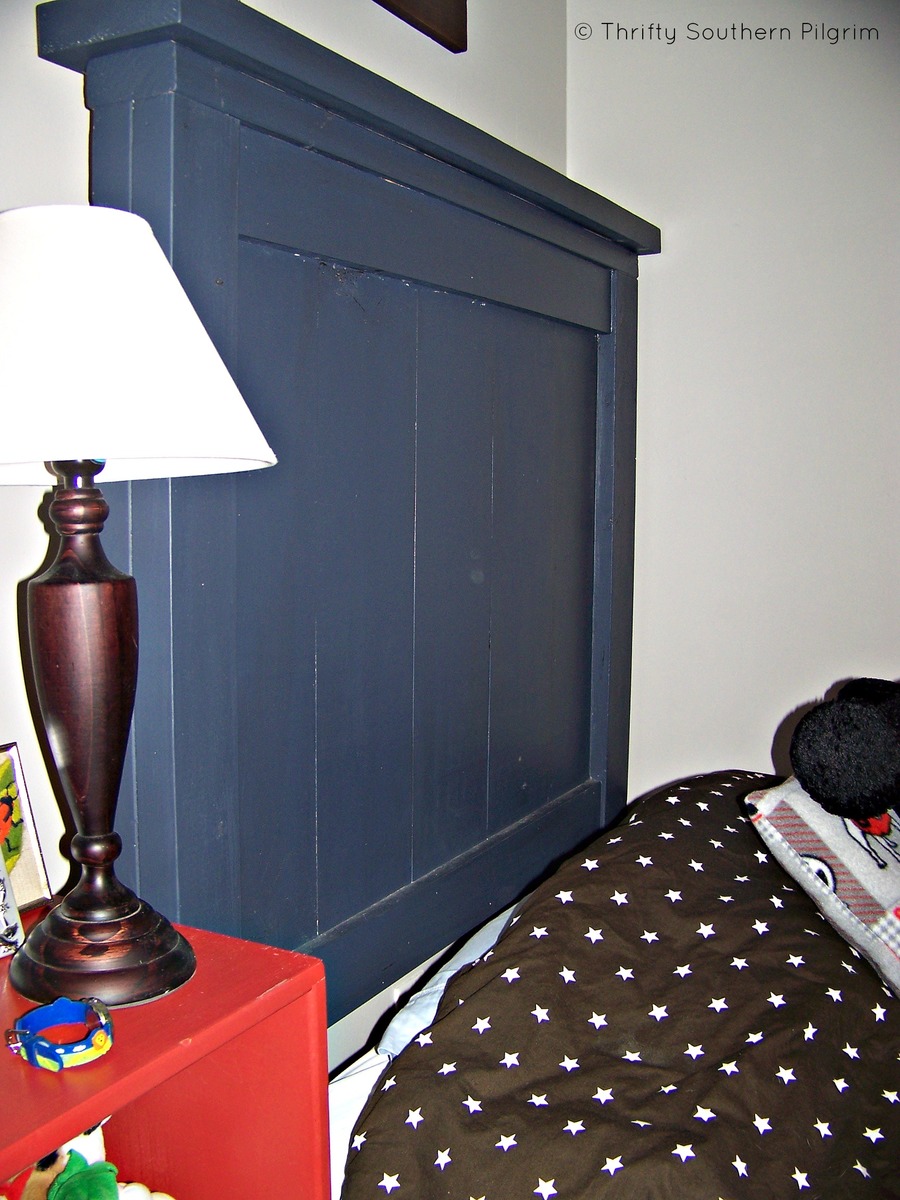
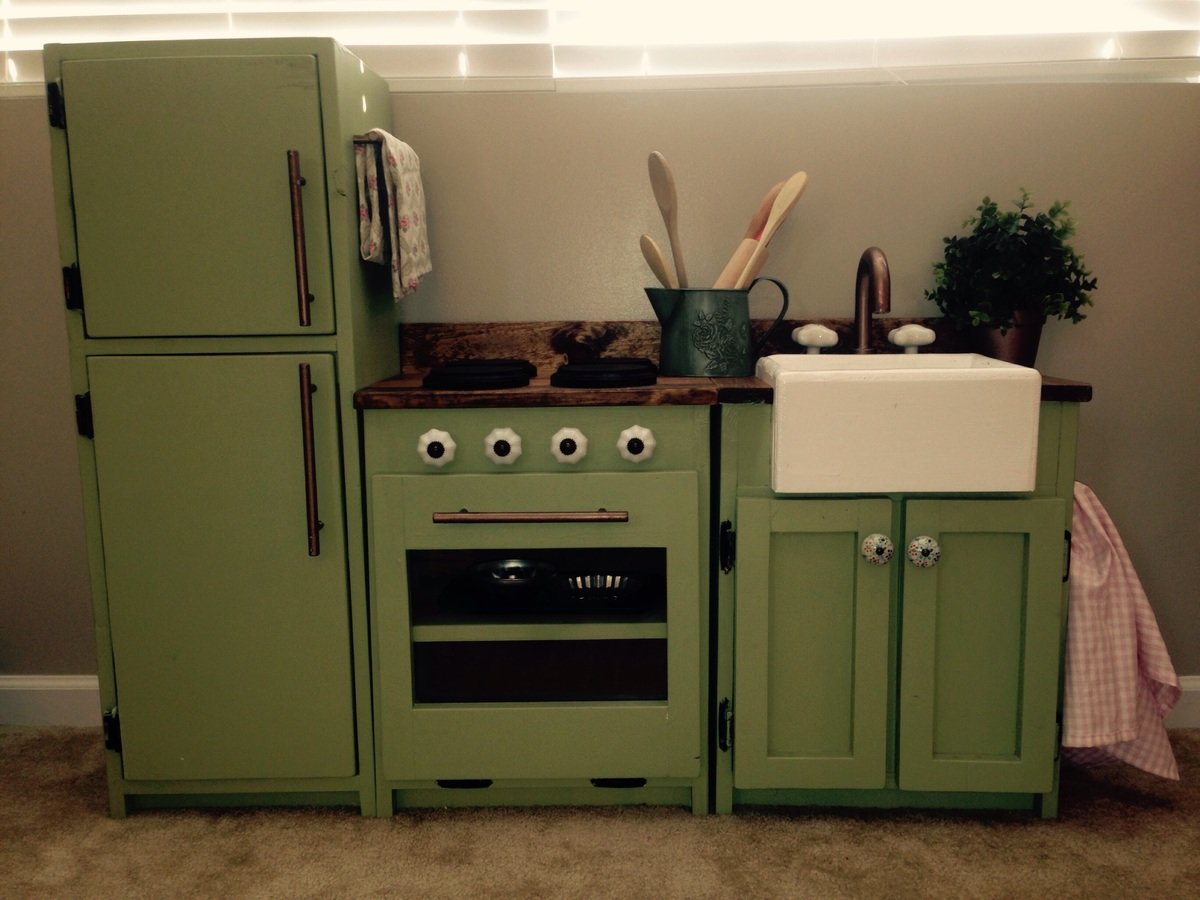
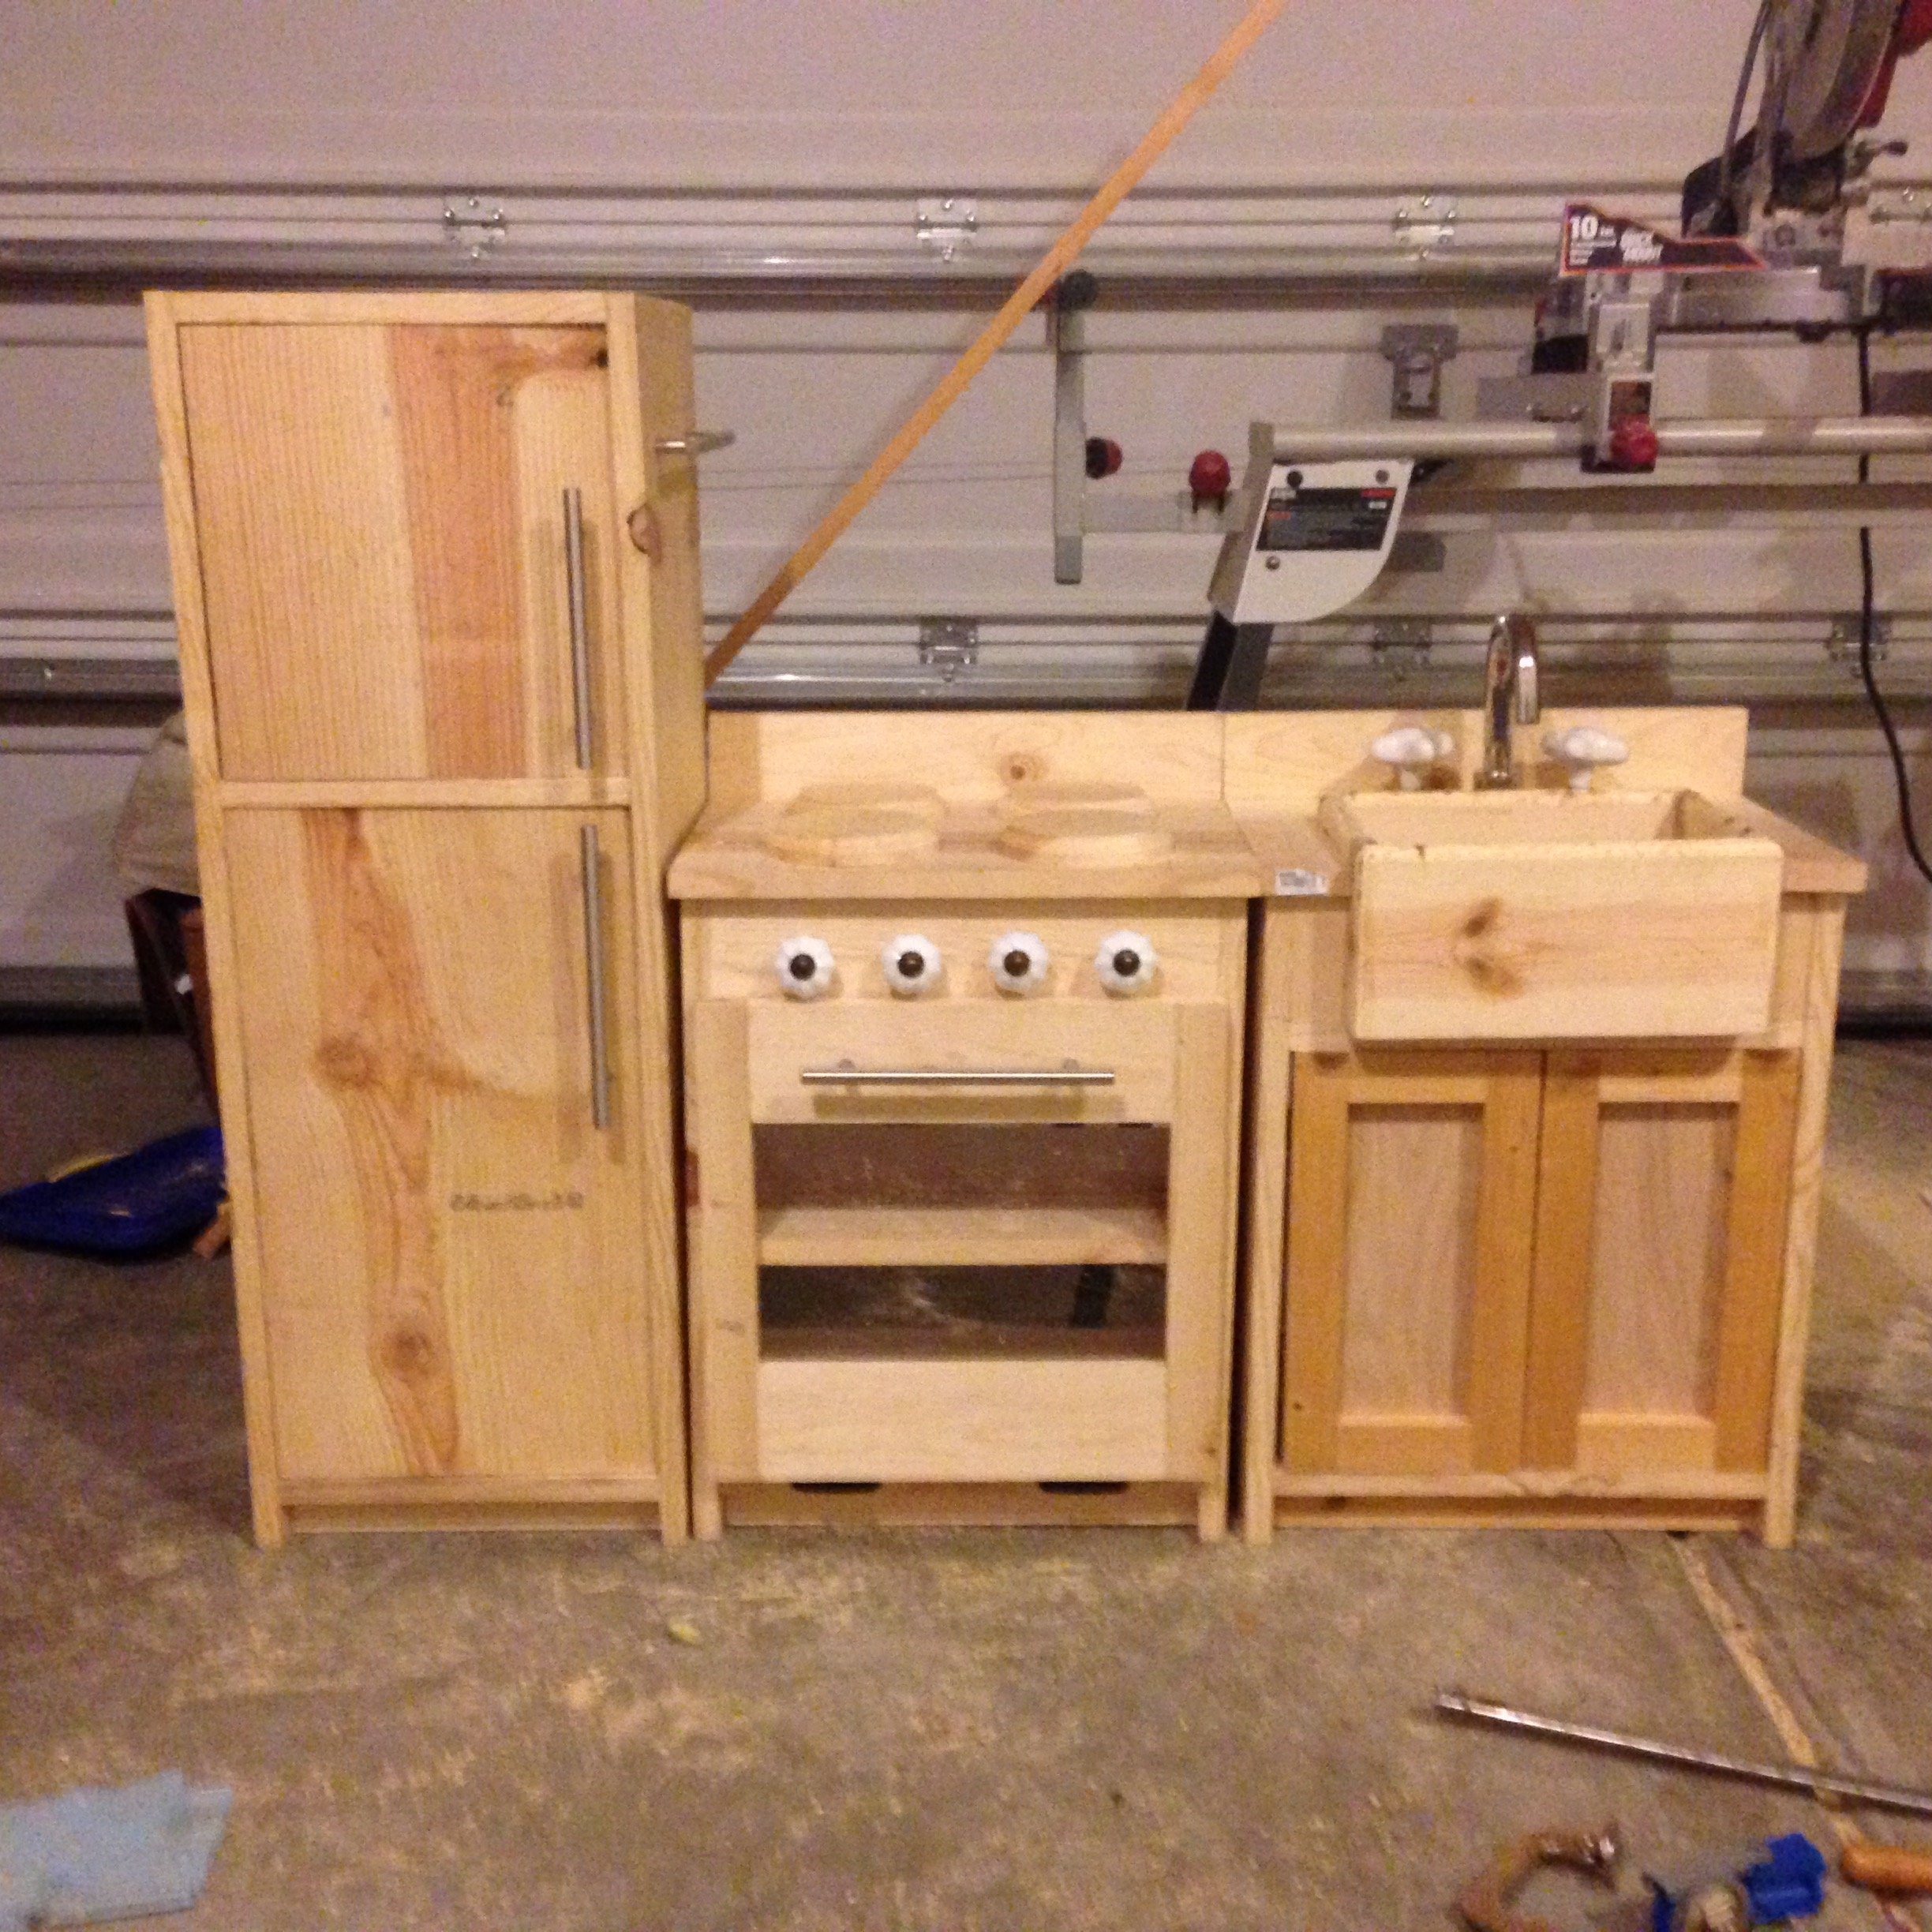
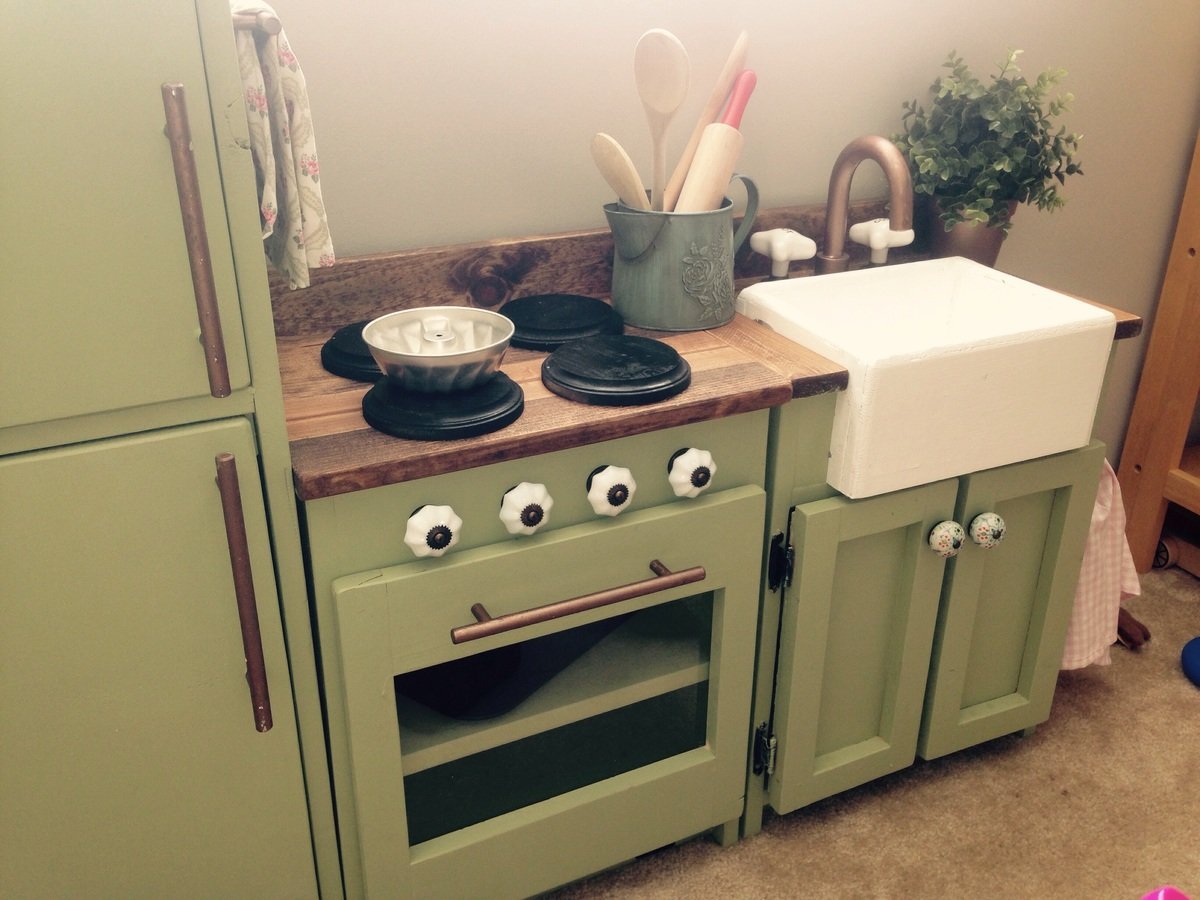
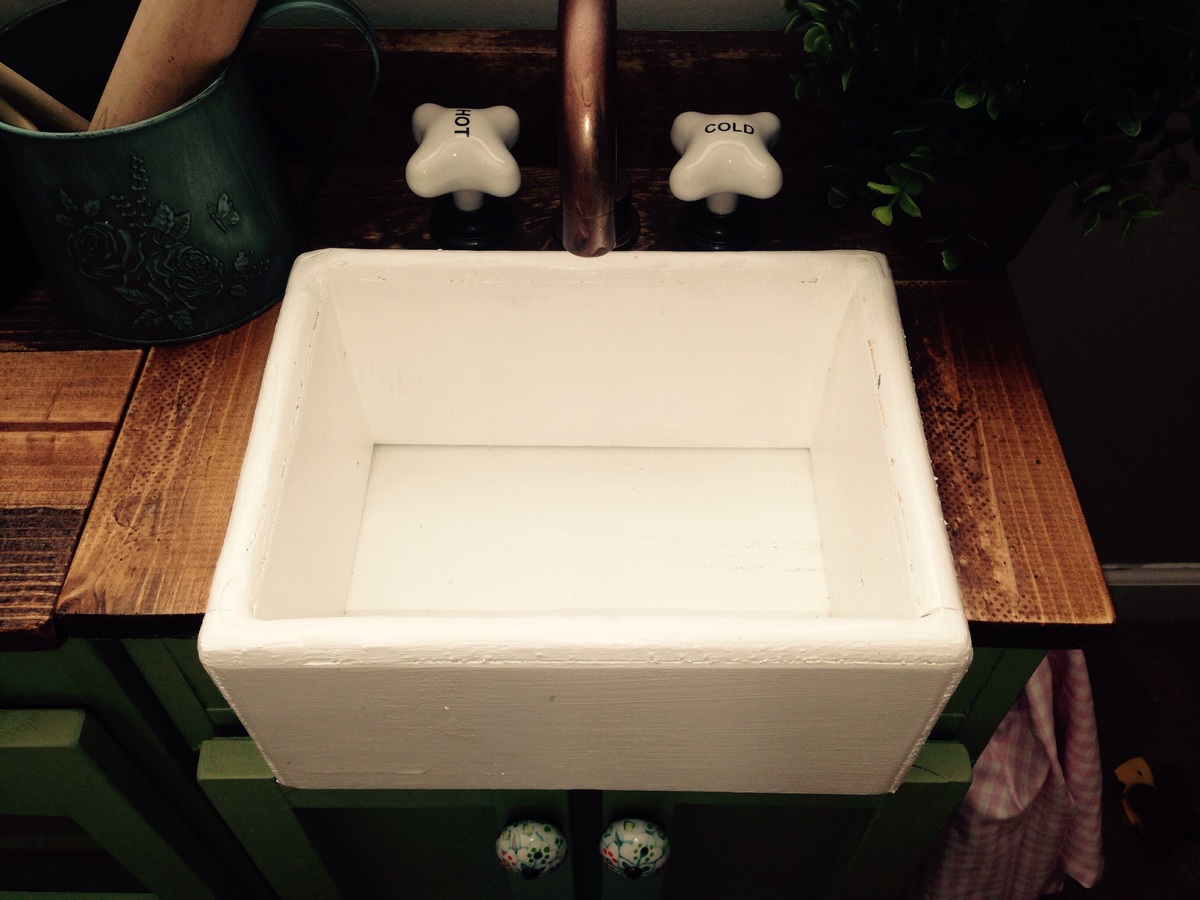
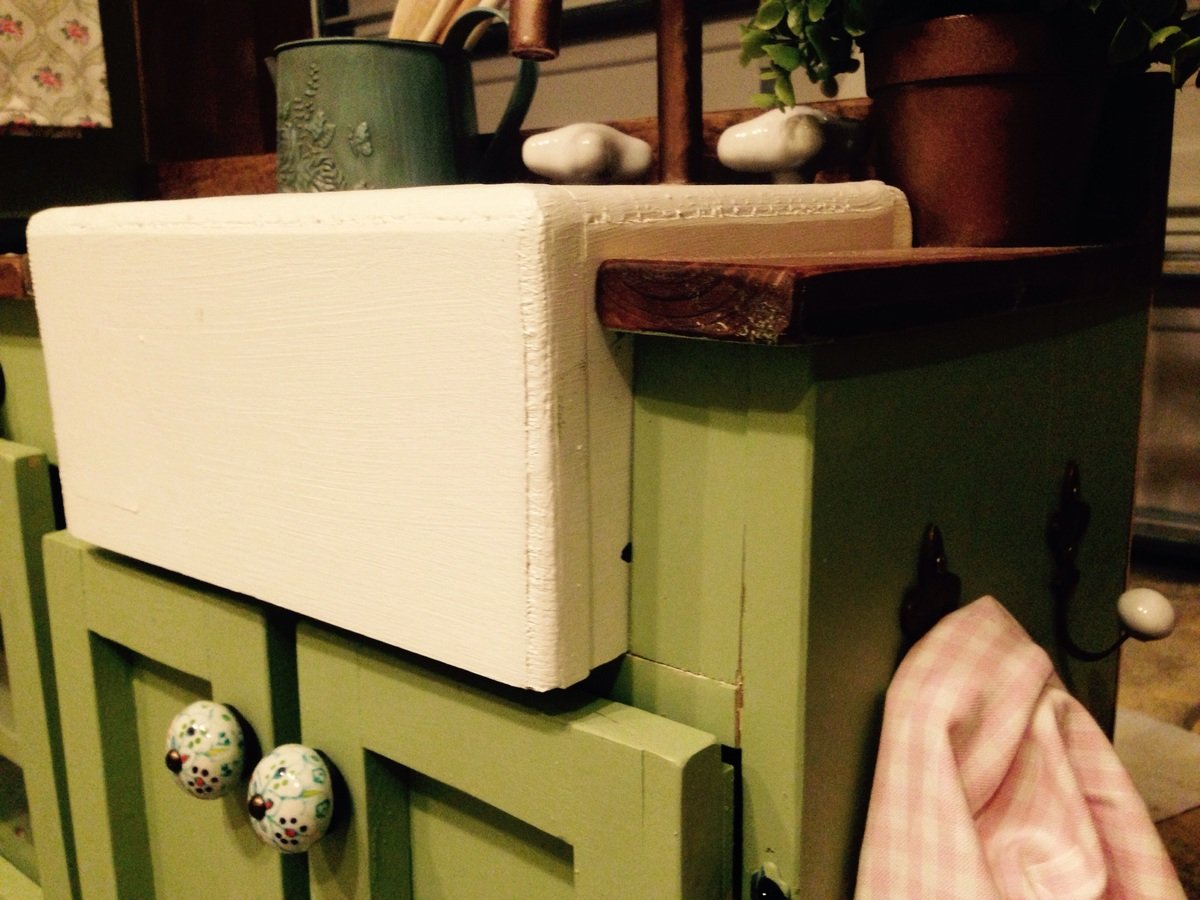
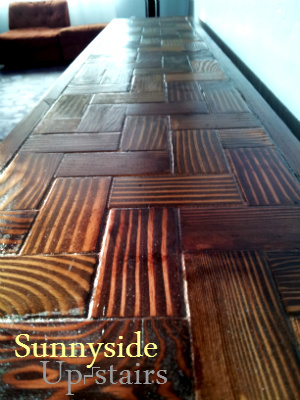
Finish Used
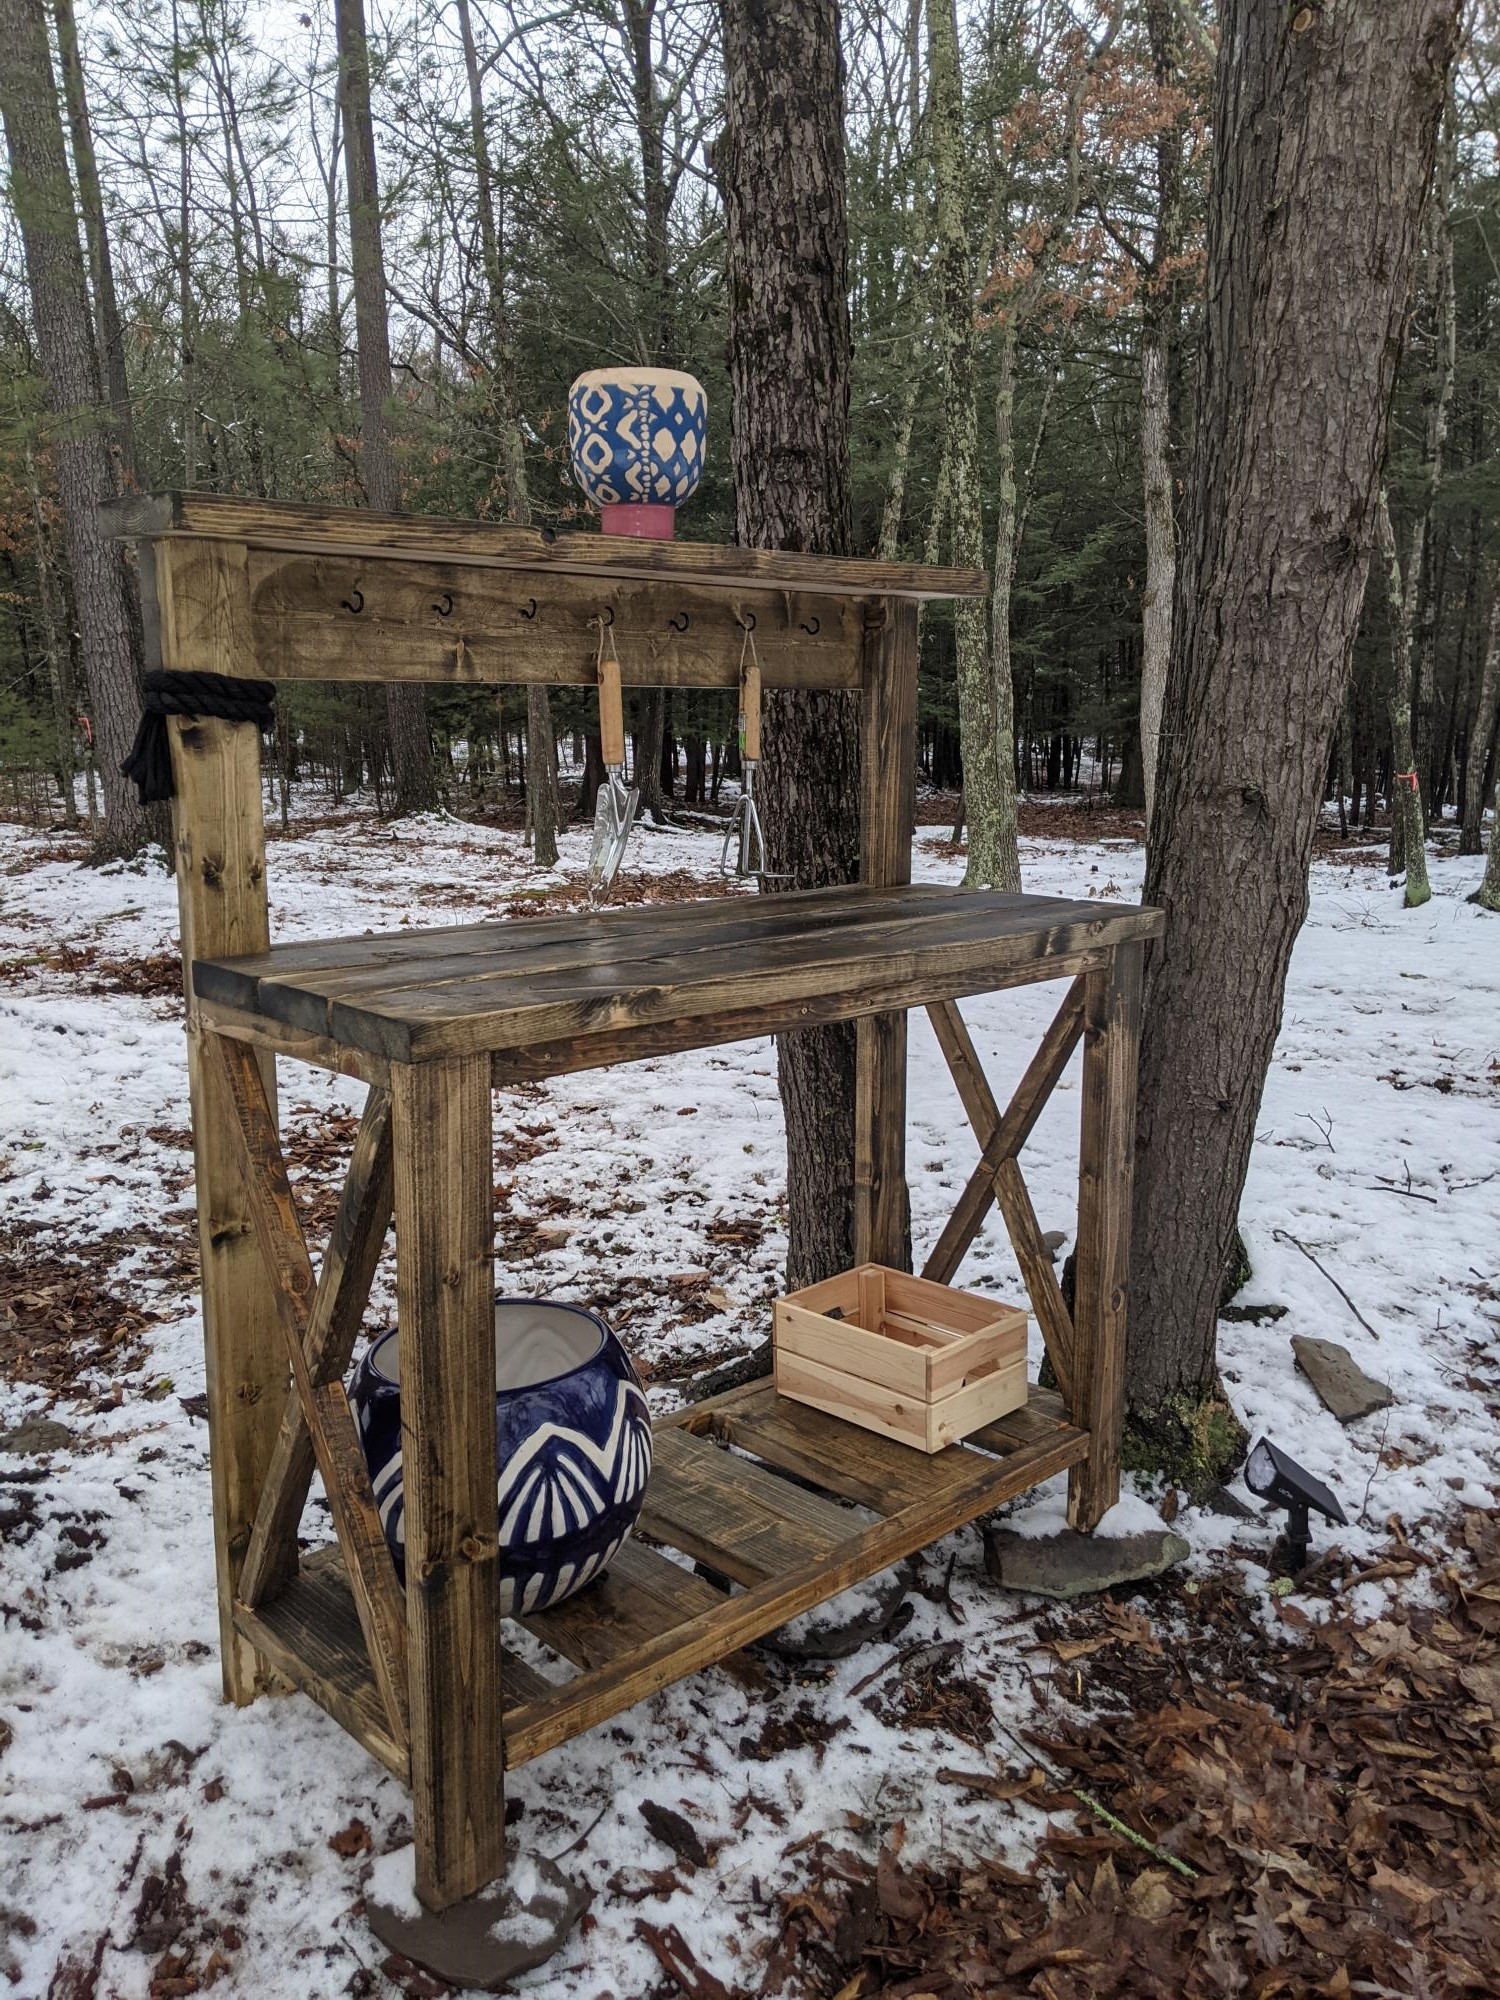
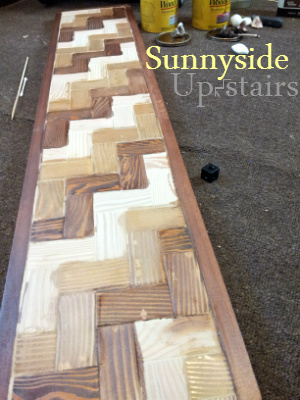
Tudor stain from minwax, then used chalk paint diluted with water. Dippped a rag into the water/paint mixture then squeezed it out, wipe on in small sections and then wipe off excess with another damn rag
Recommended Skill Level
Intermediate