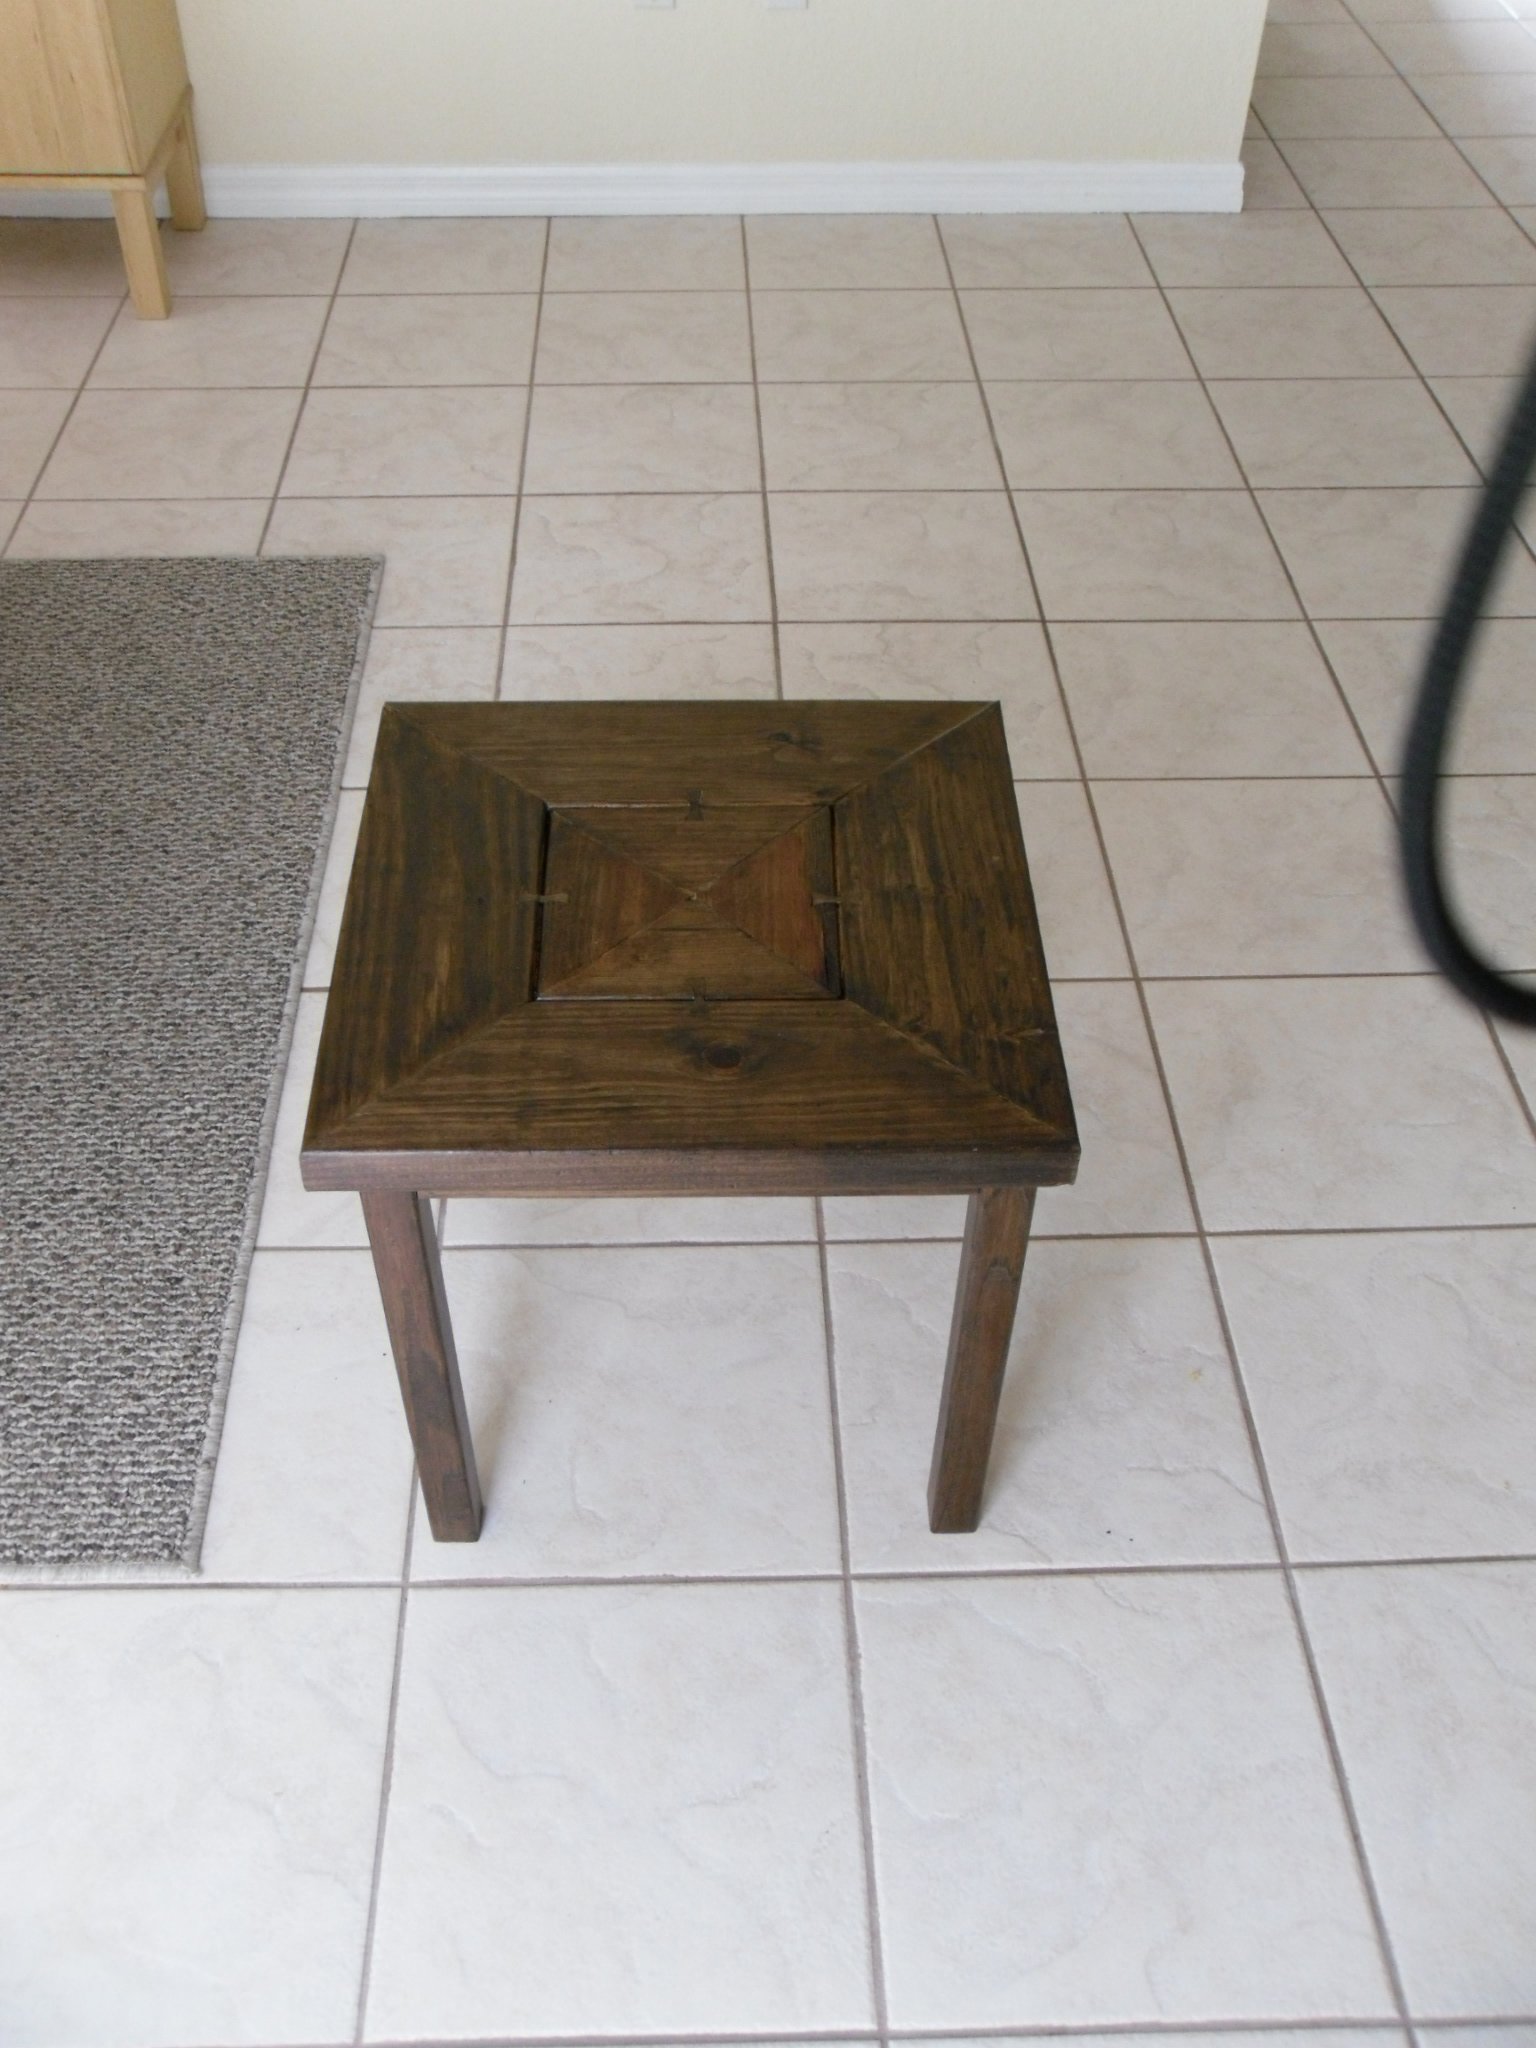
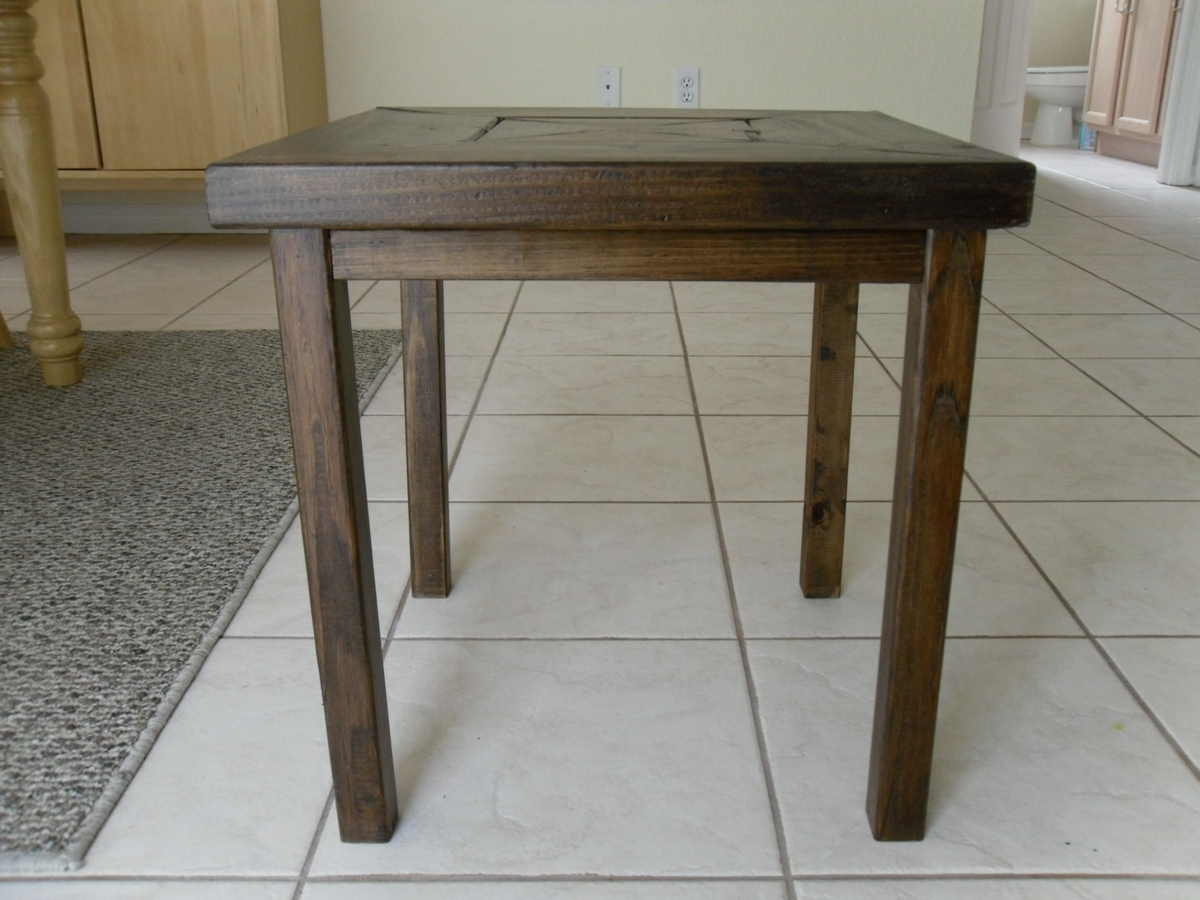
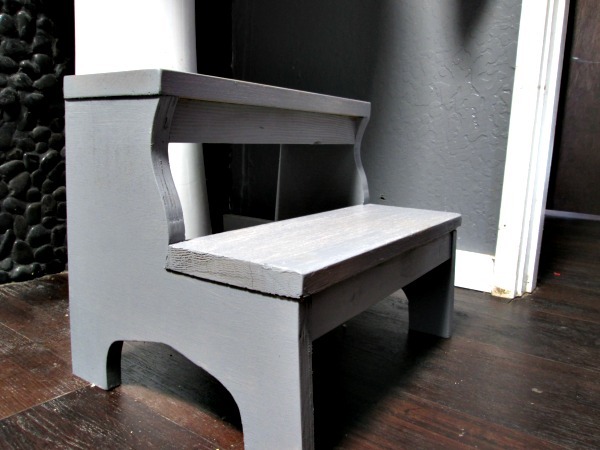
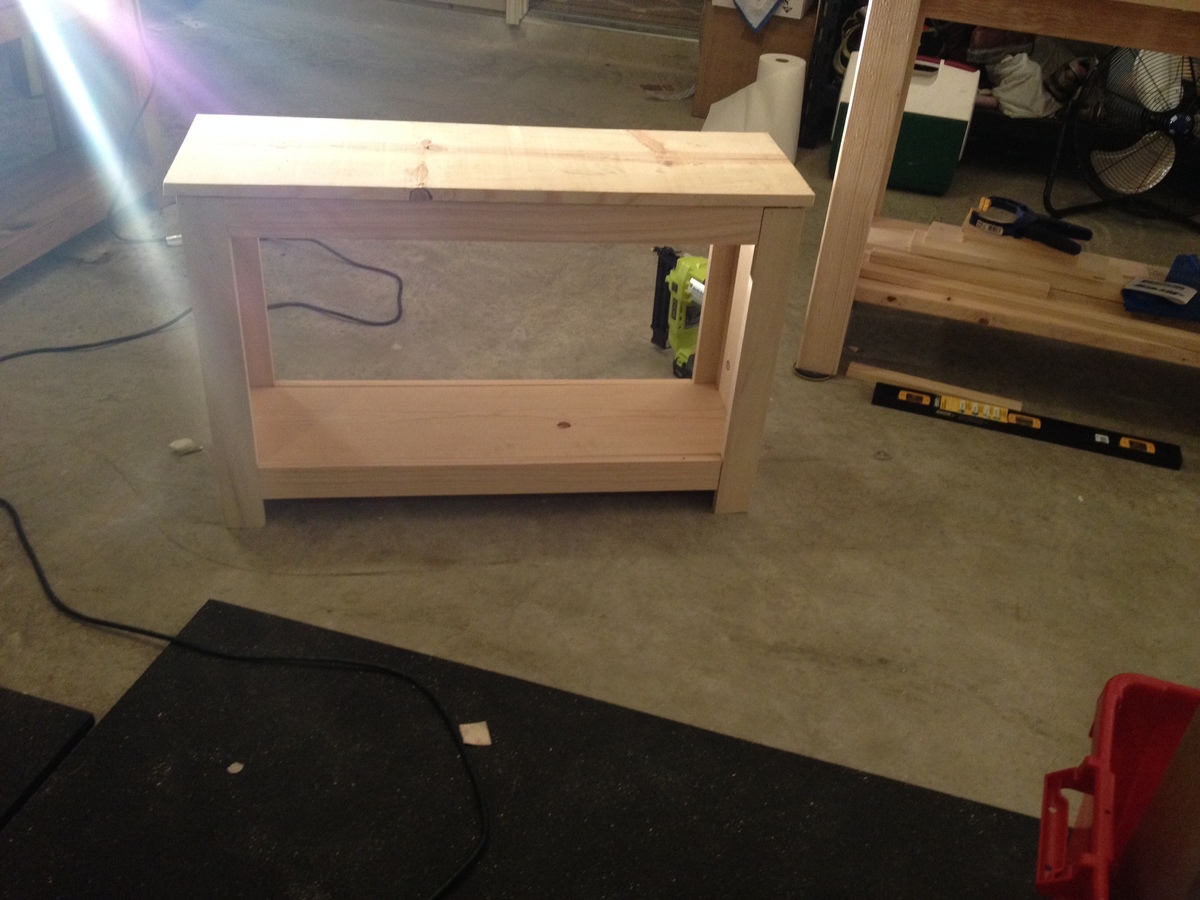
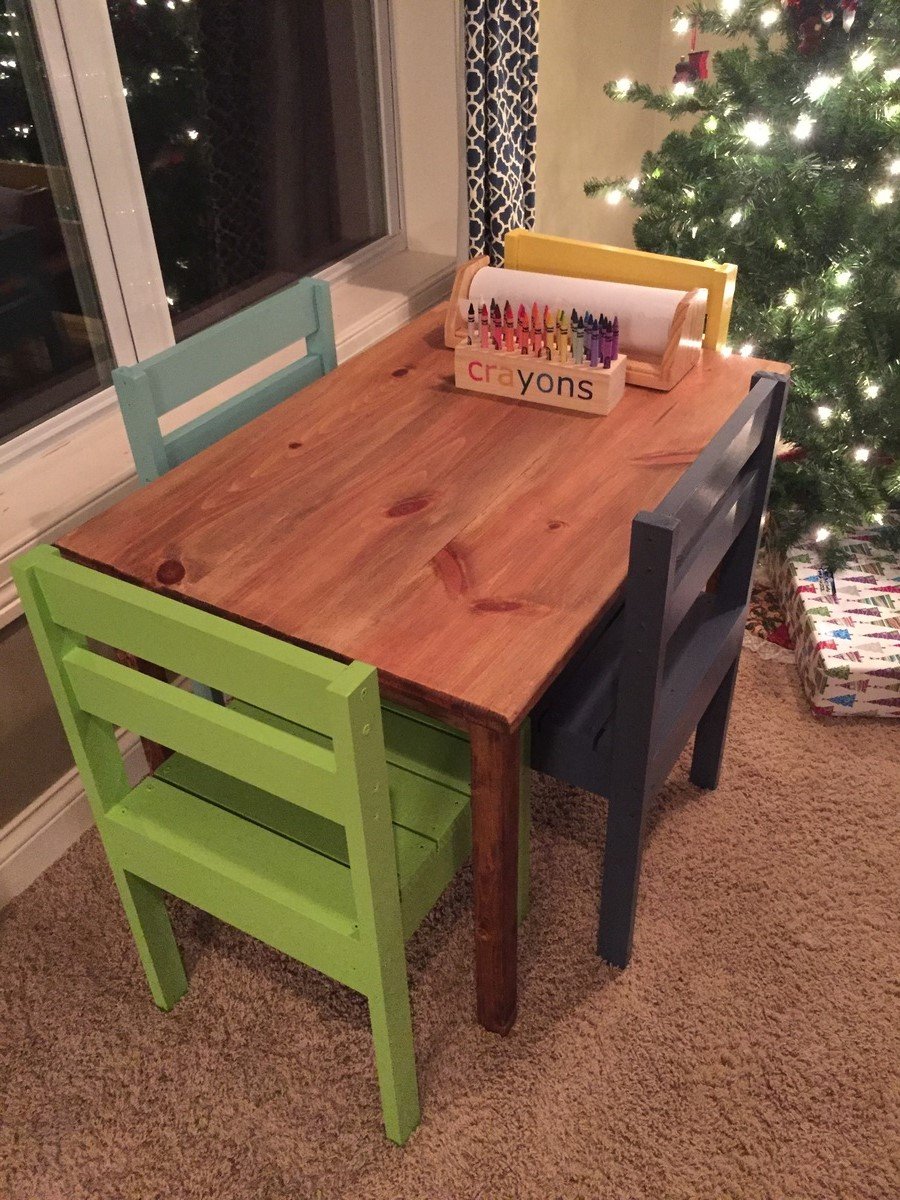
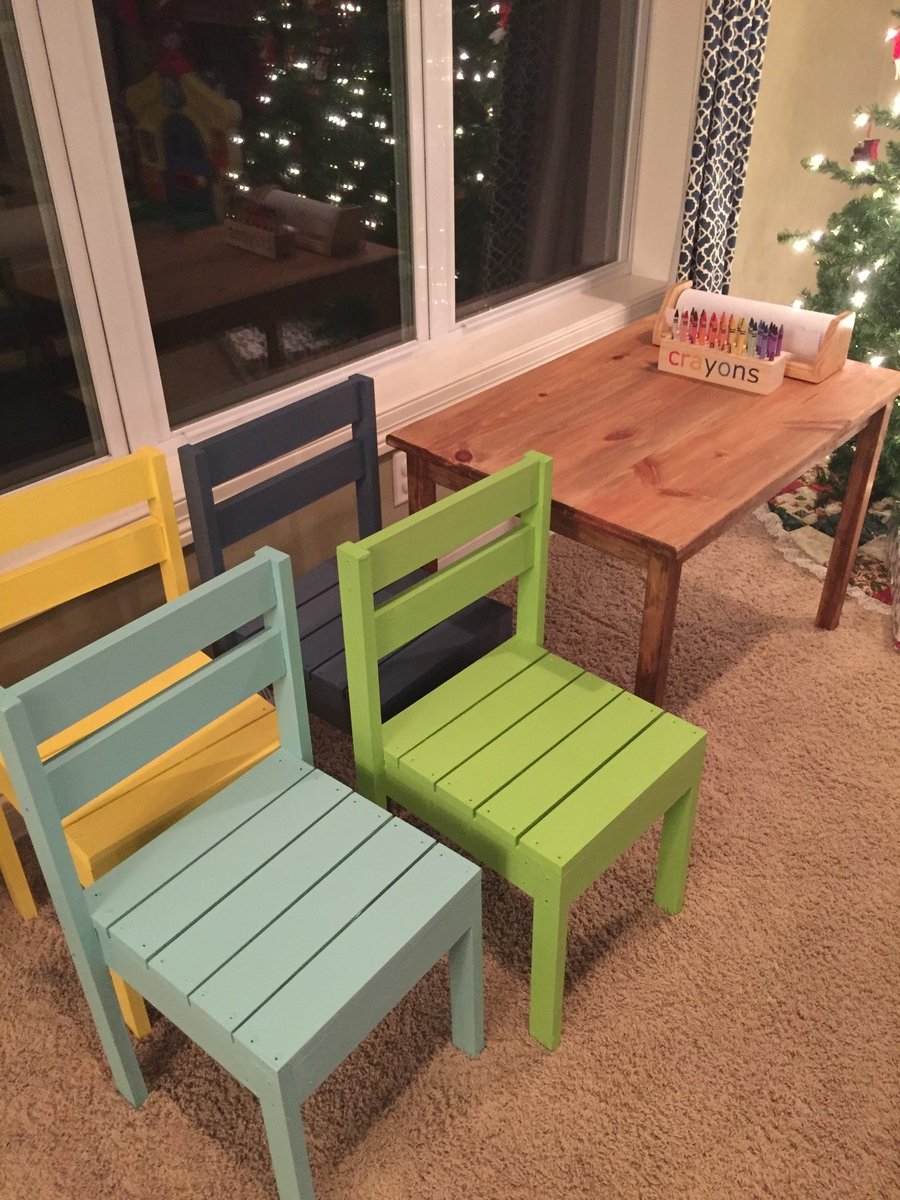
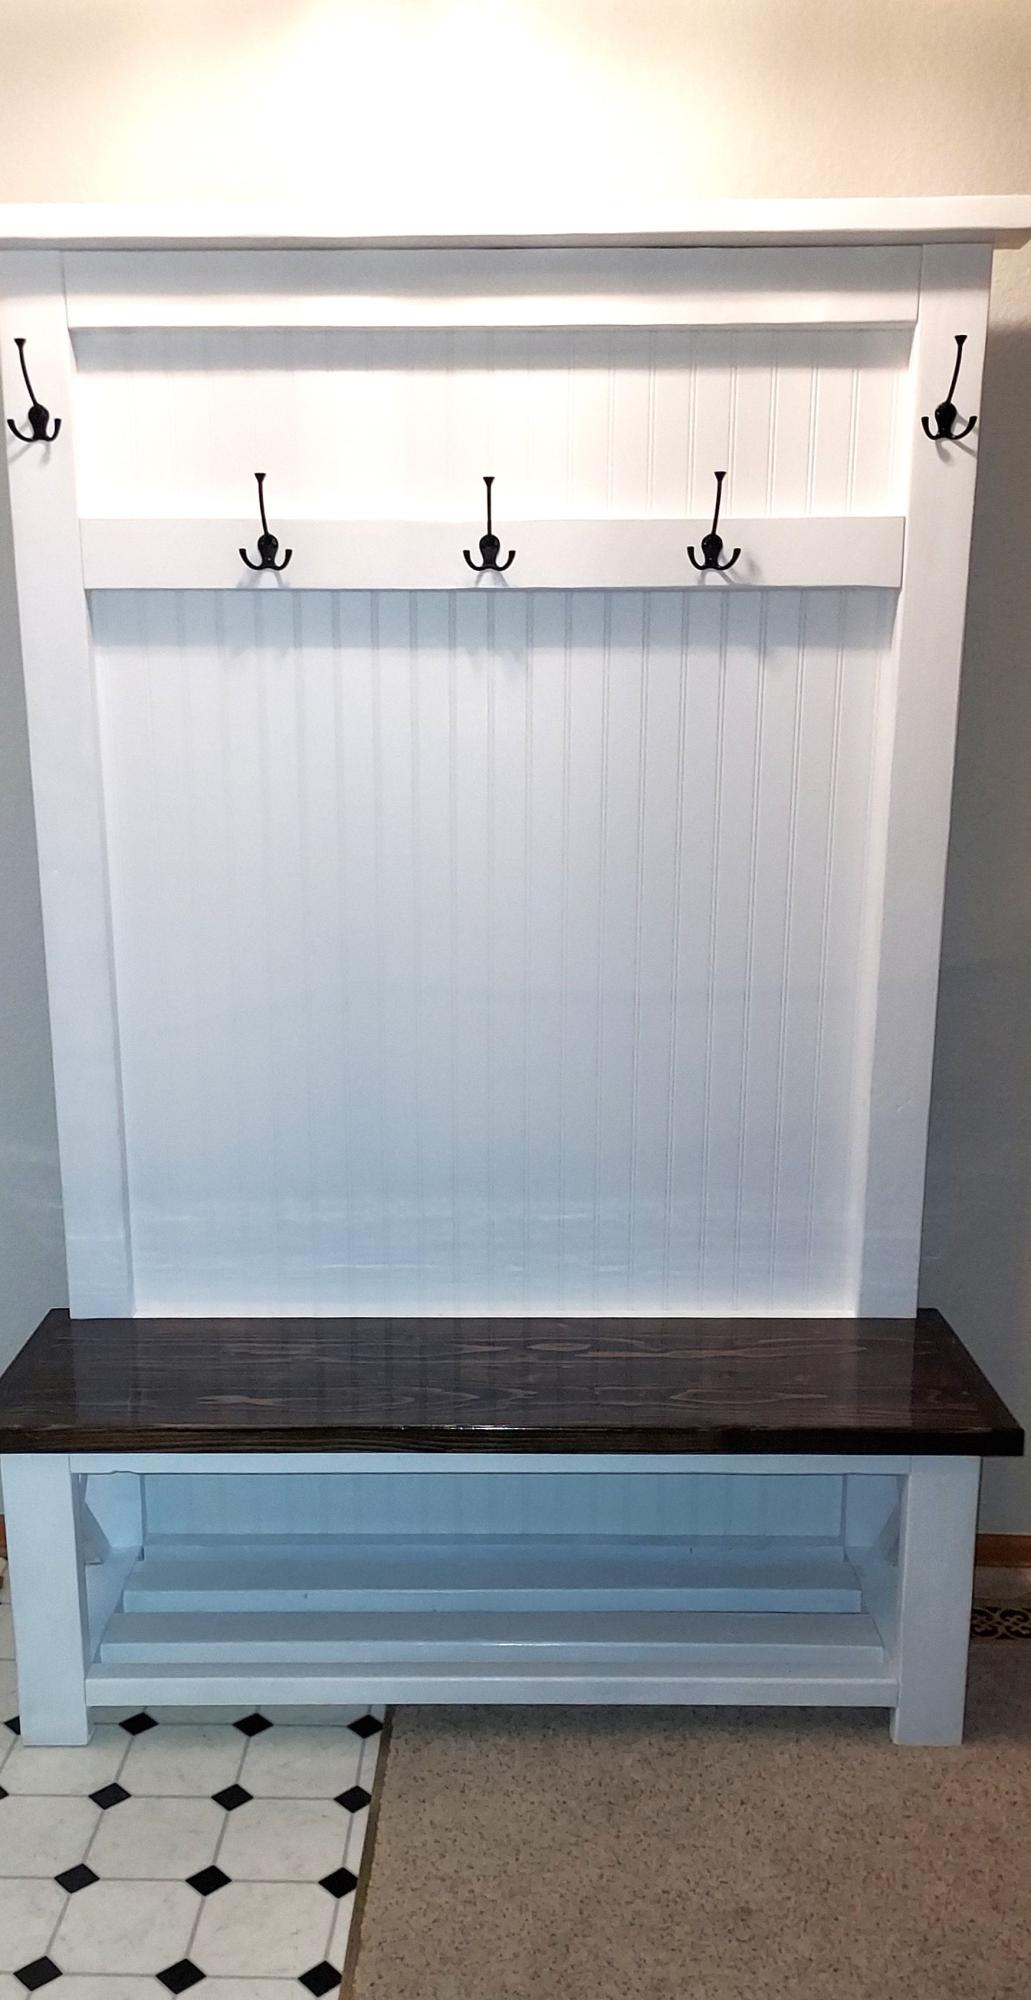
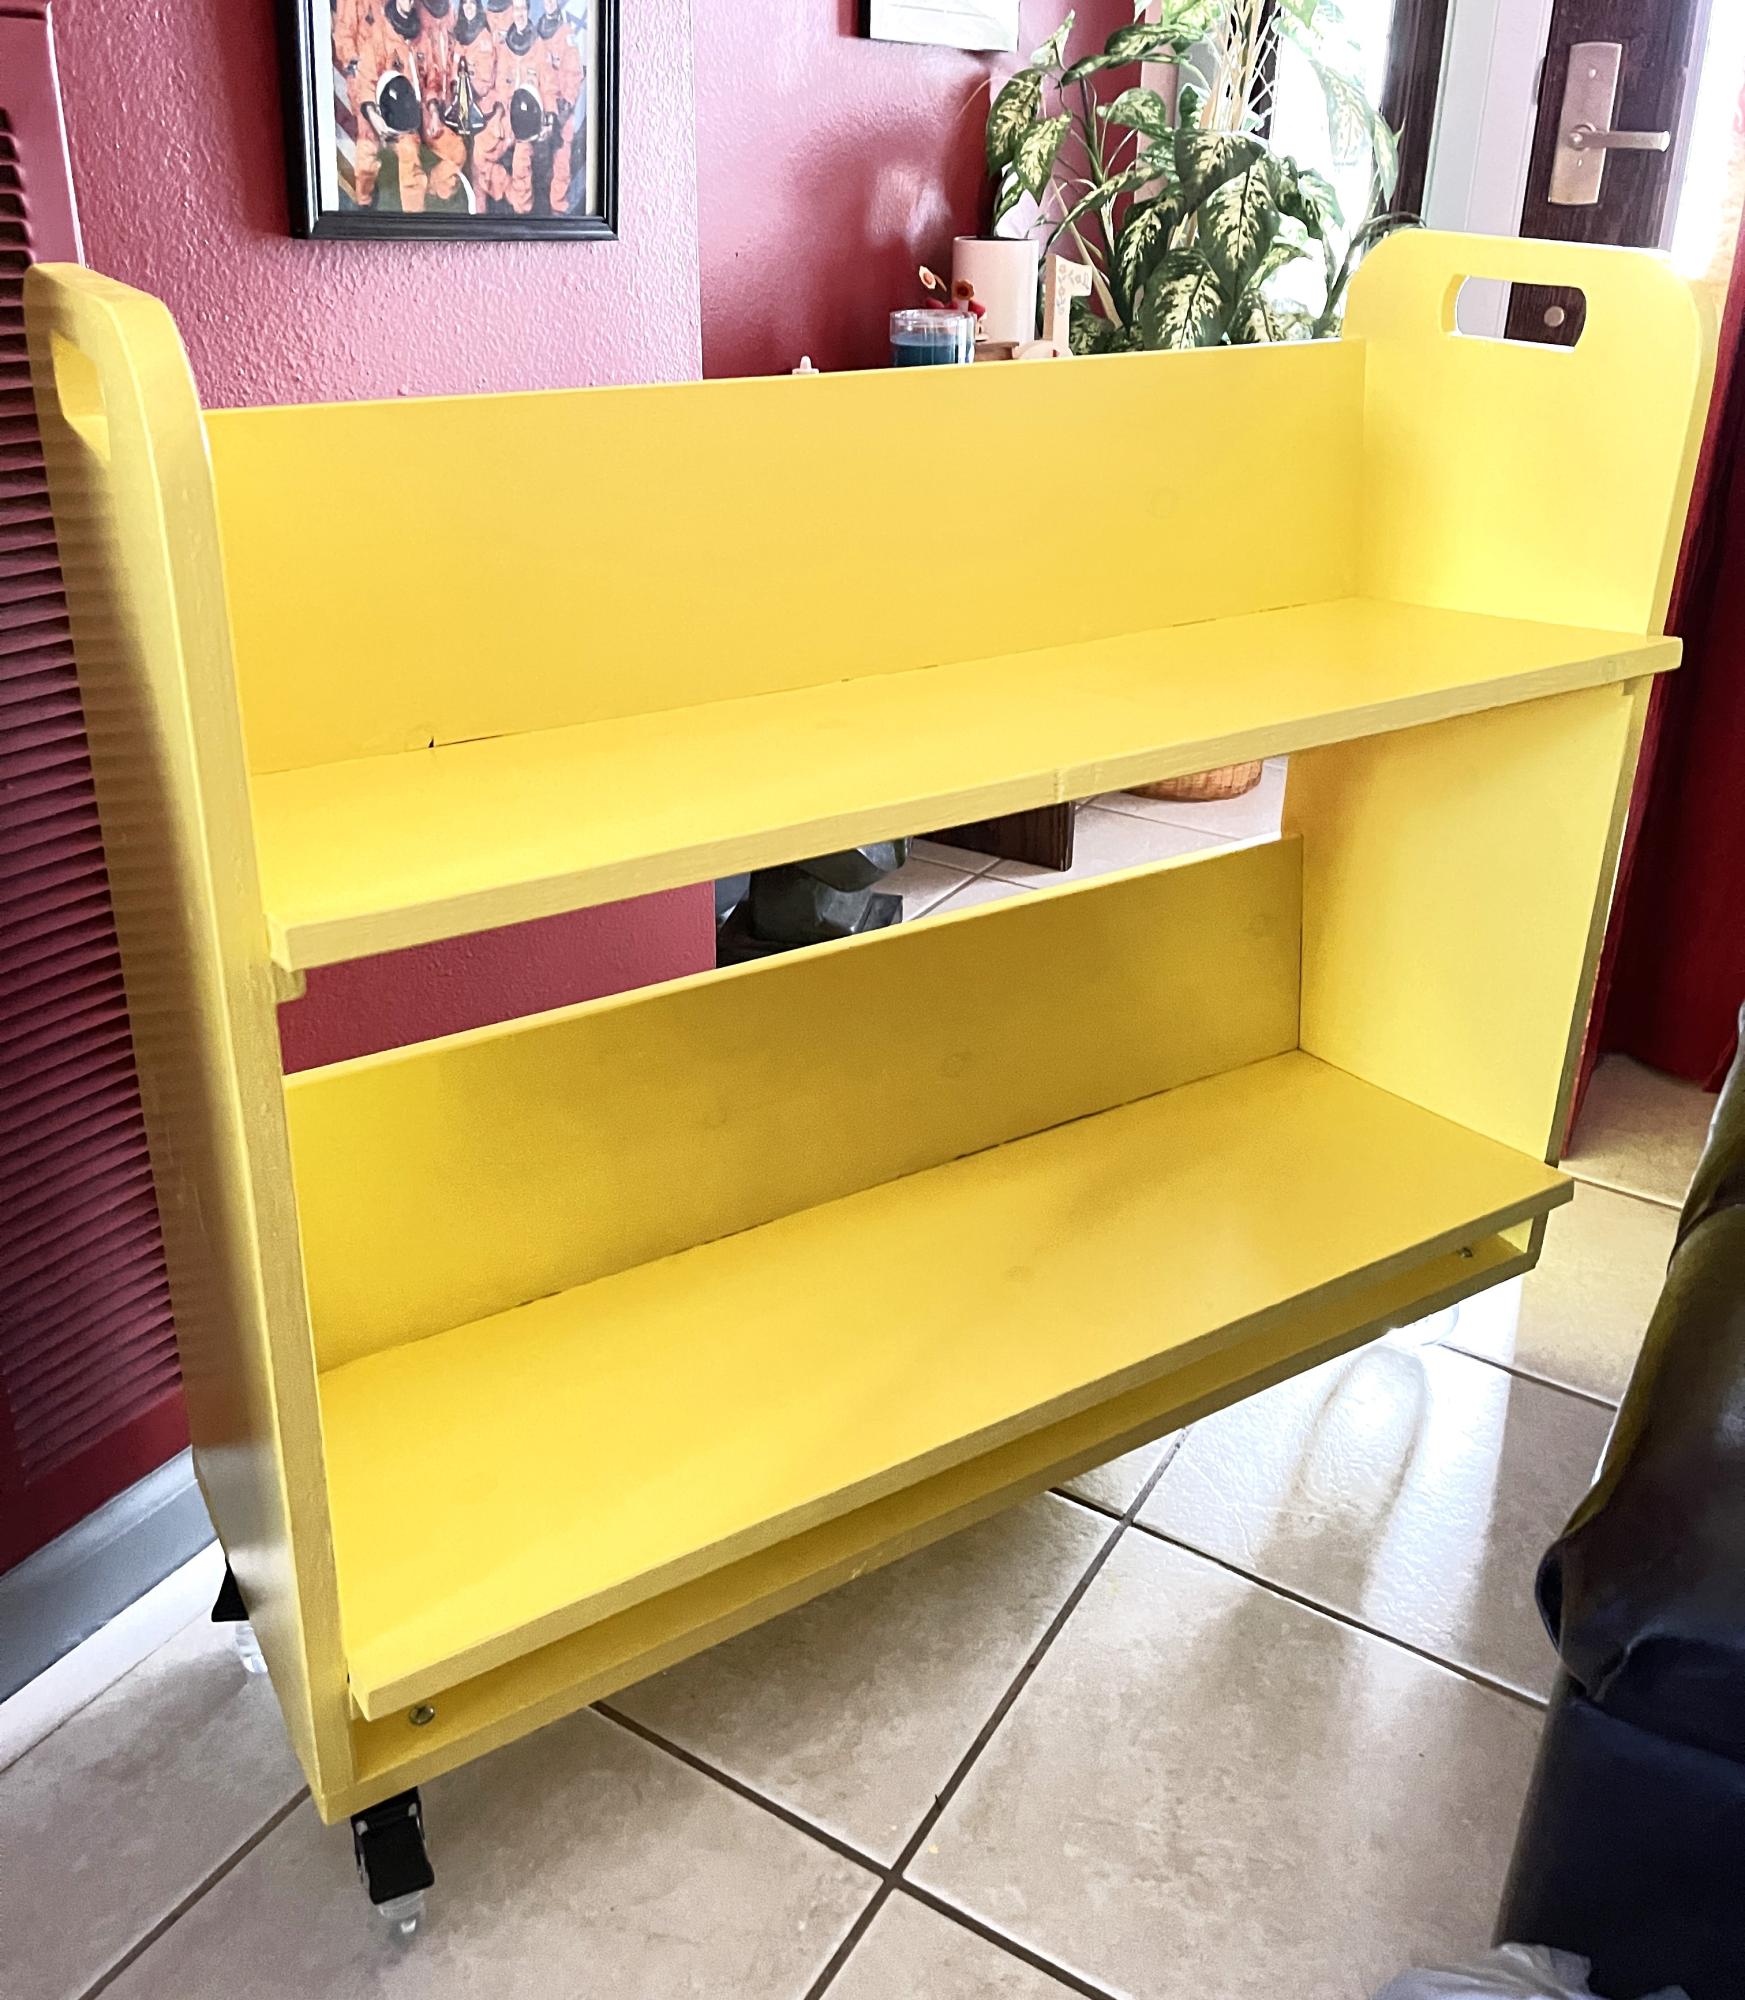
Nice and practical pair of desks/shelves
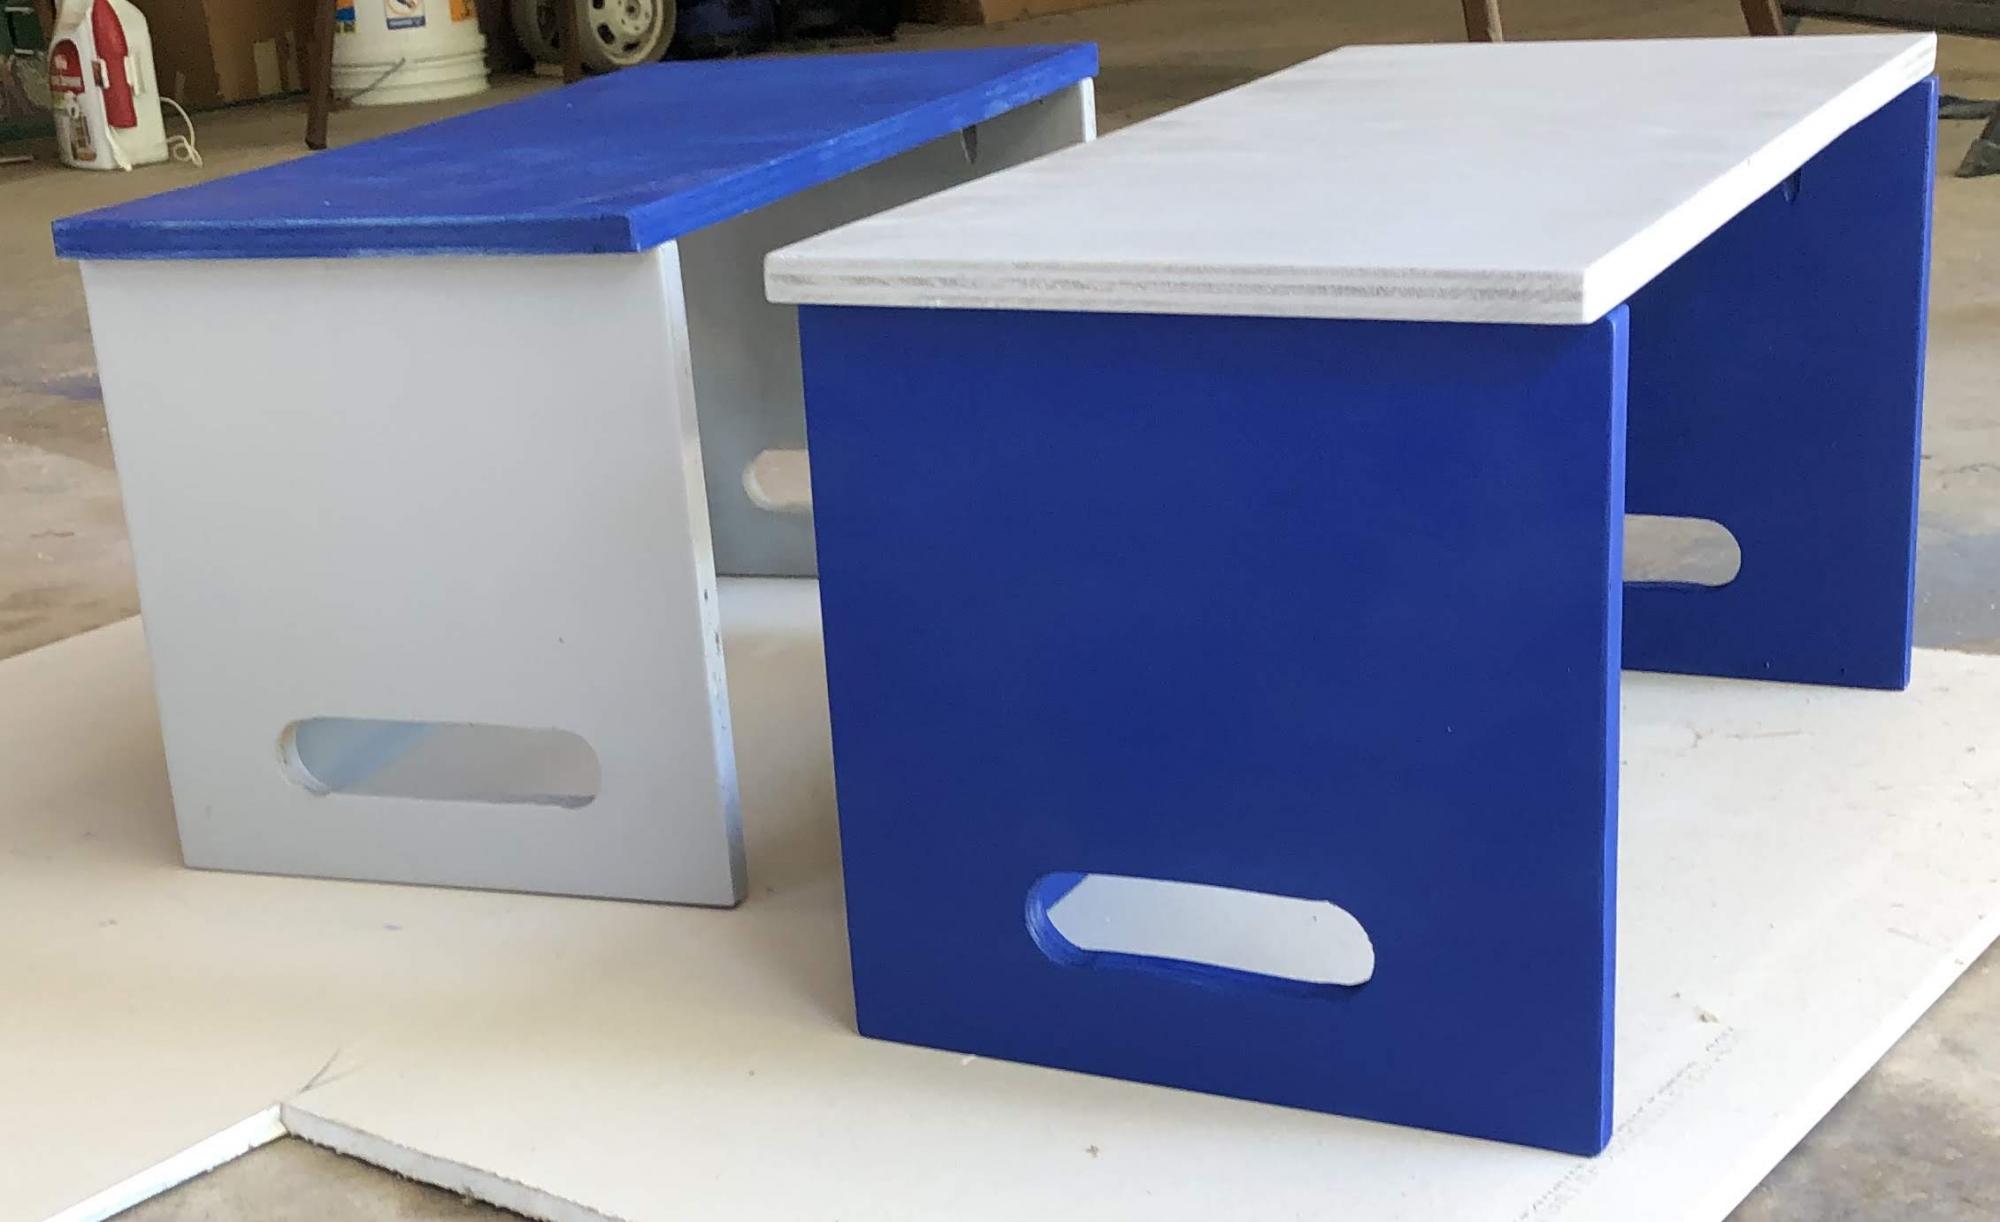
Built this using the Ana White plan. Construction was done in less than a day using leftover lumber from other repairs around the house. Painting and varnishing took multiple days for the paint and varnish to dry and cure though.
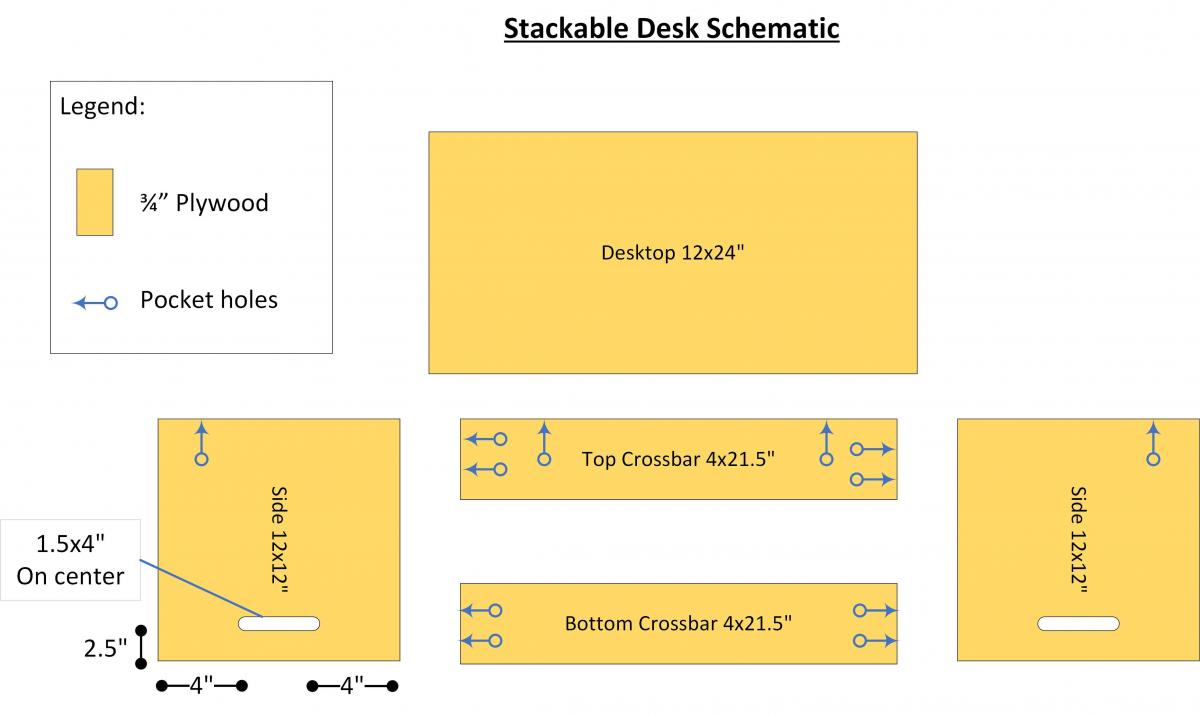
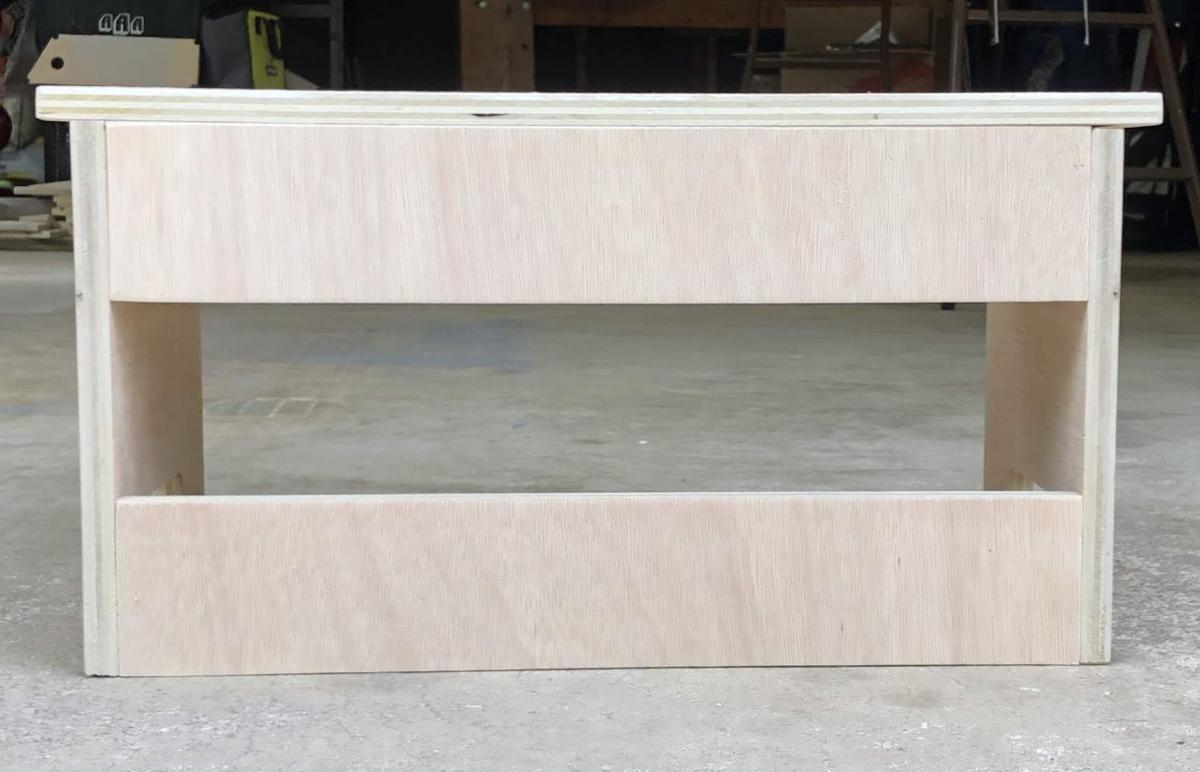
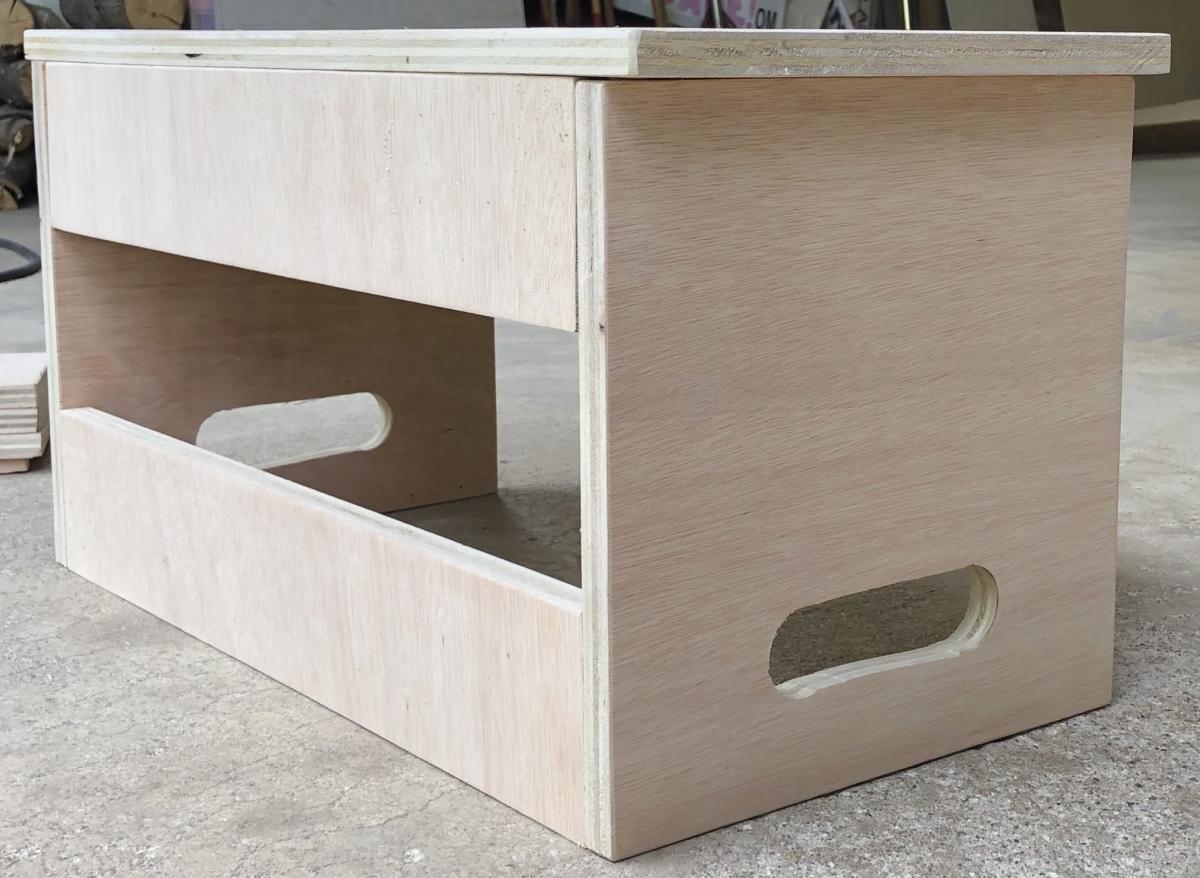
Used pocket screws - as shown in my diagram - to hold the pieces together.
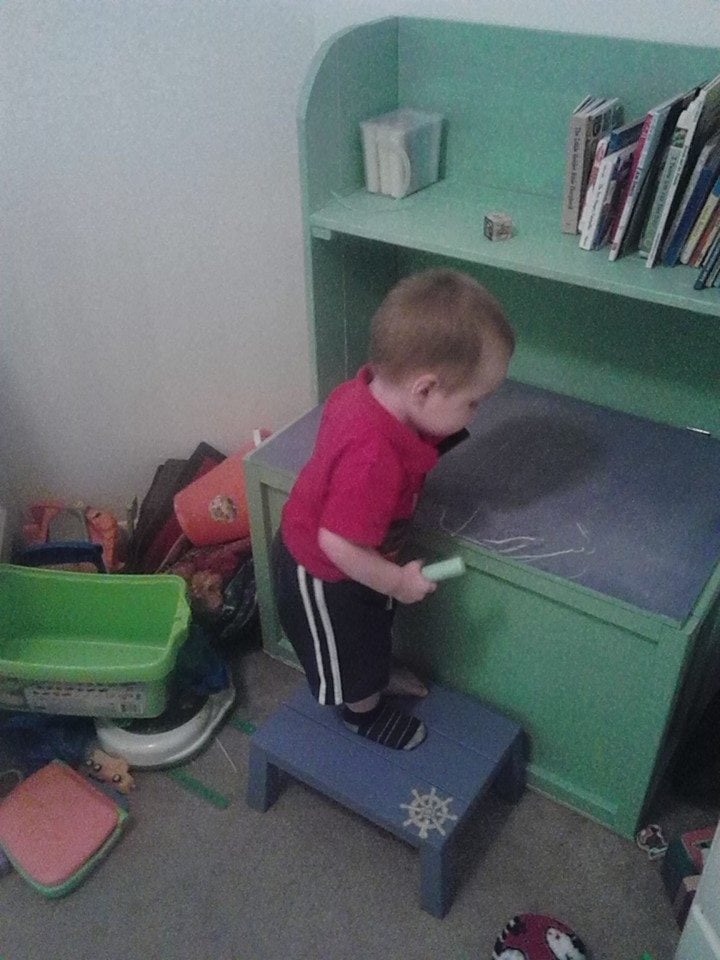
The family has enjoyed using the desks and if you stack one on top of the other, the bottom one creates a shelf also. Will make a few more to share.
Thanks for sharing the plans.
Estimated Time Investment
Week Long Project (20 Hours or More)
Finish Used
Spray paint and spray on varnish.
Recommended Skill Level
Starter Project