Truss table
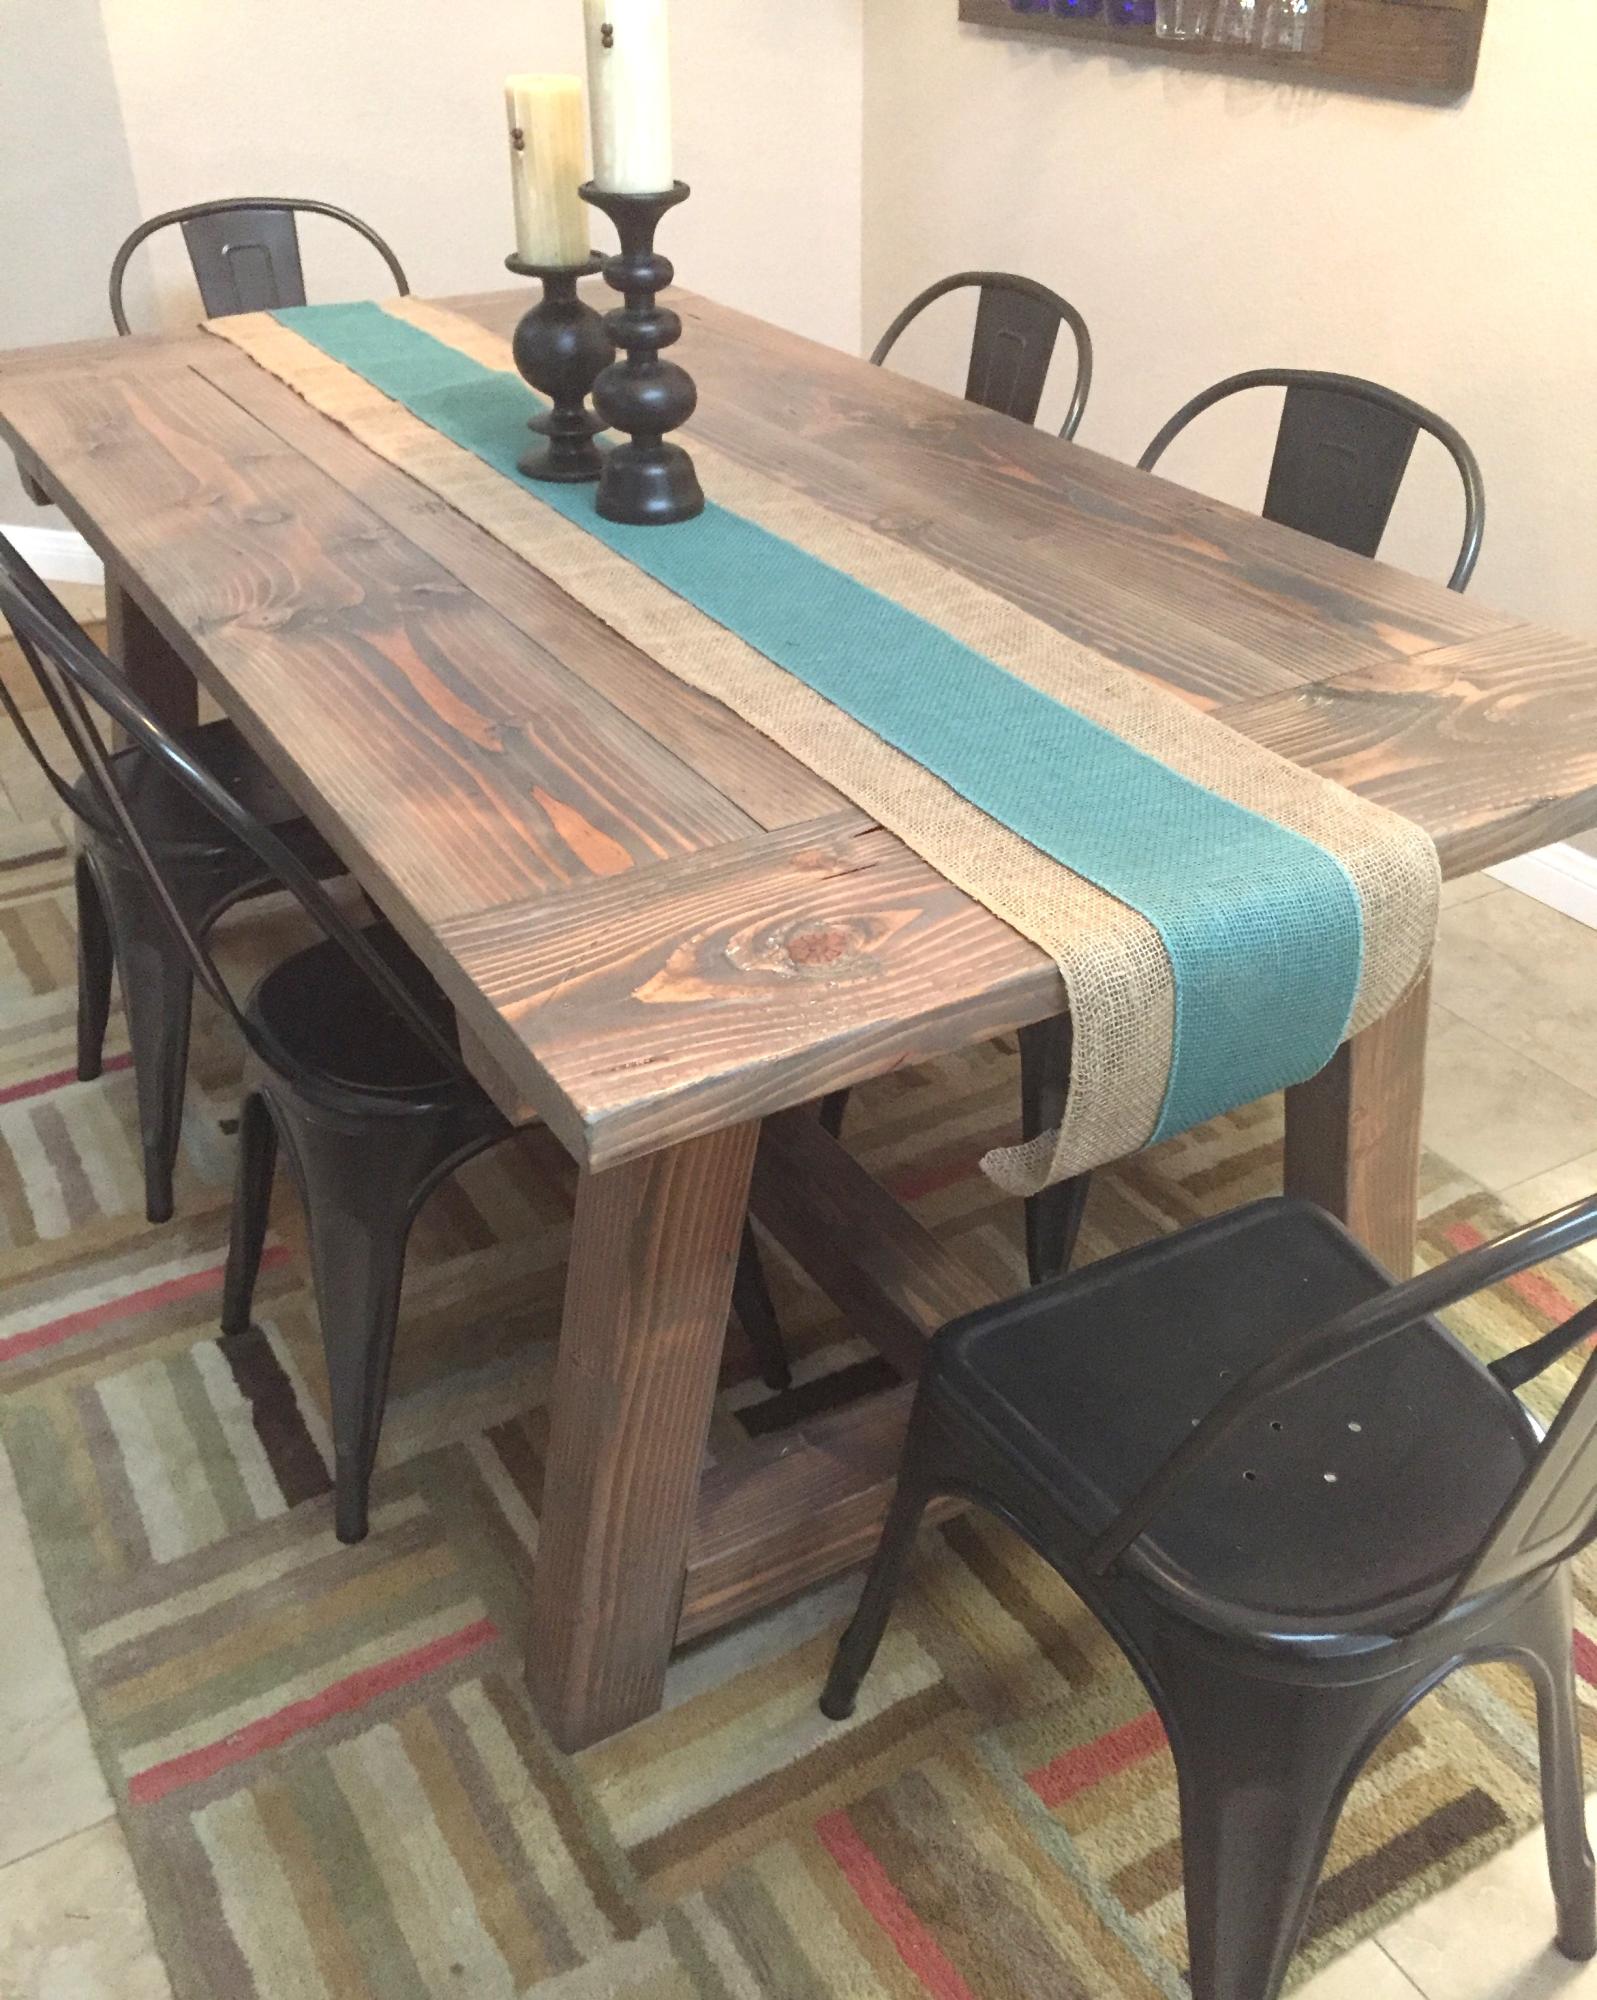
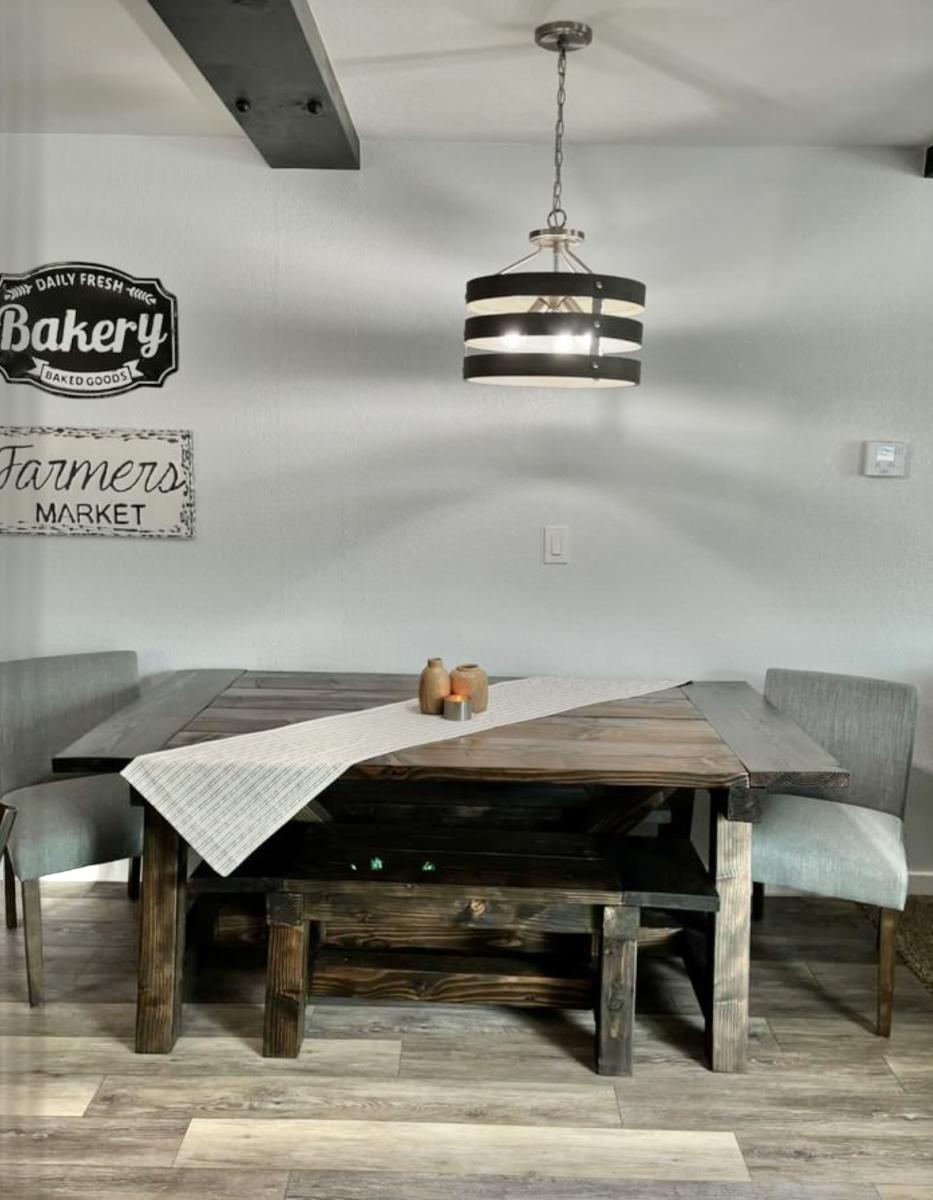
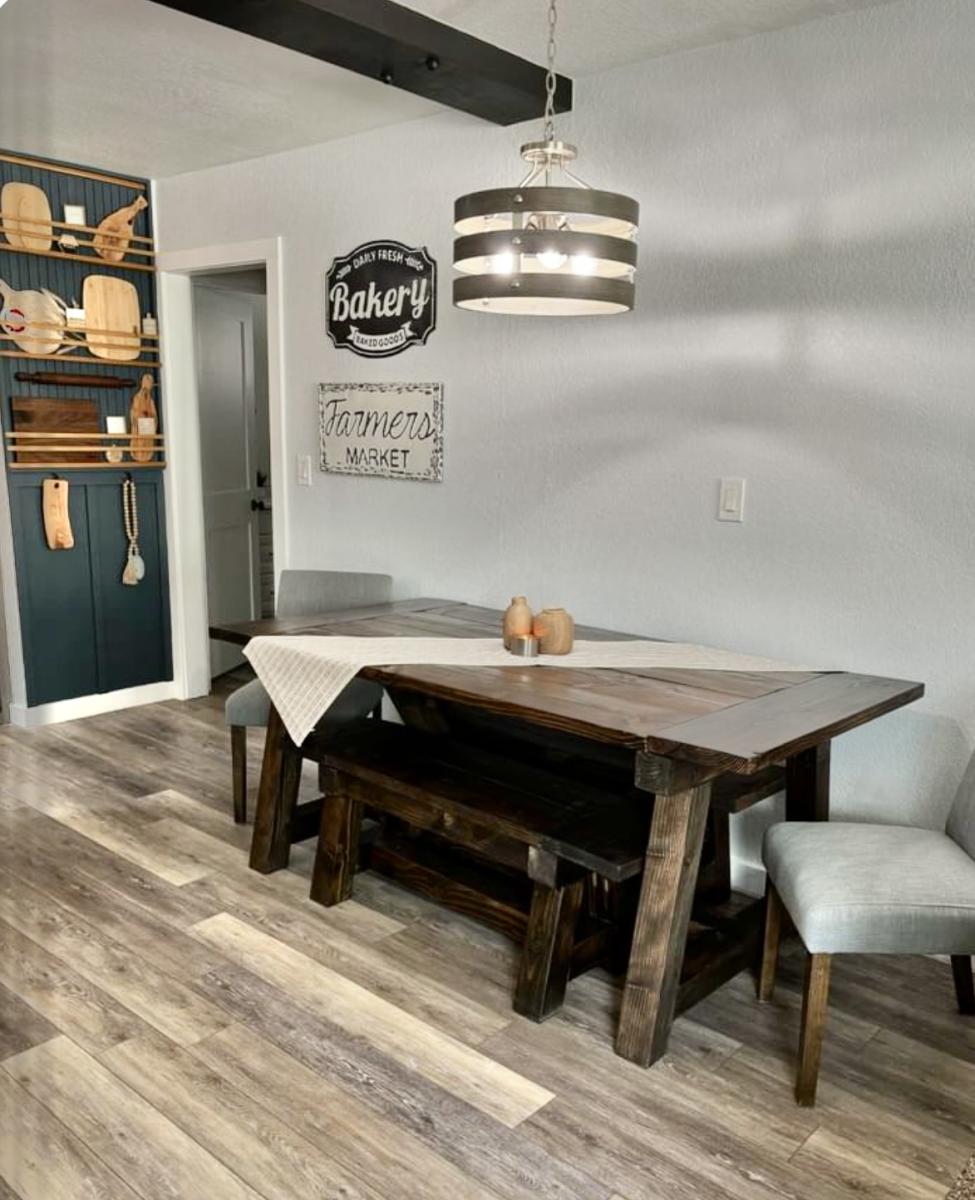
I reduced the length by 12 inches to accomodate my space, and I ripped the boards on the table saw so they would be more flush when I assembled the tabletop. Otherwise, I followed the plan exactly. Distressed tabletop before staining.

I reduced the length by 12 inches to accomodate my space, and I ripped the boards on the table saw so they would be more flush when I assembled the tabletop. Otherwise, I followed the plan exactly. Distressed tabletop before staining.
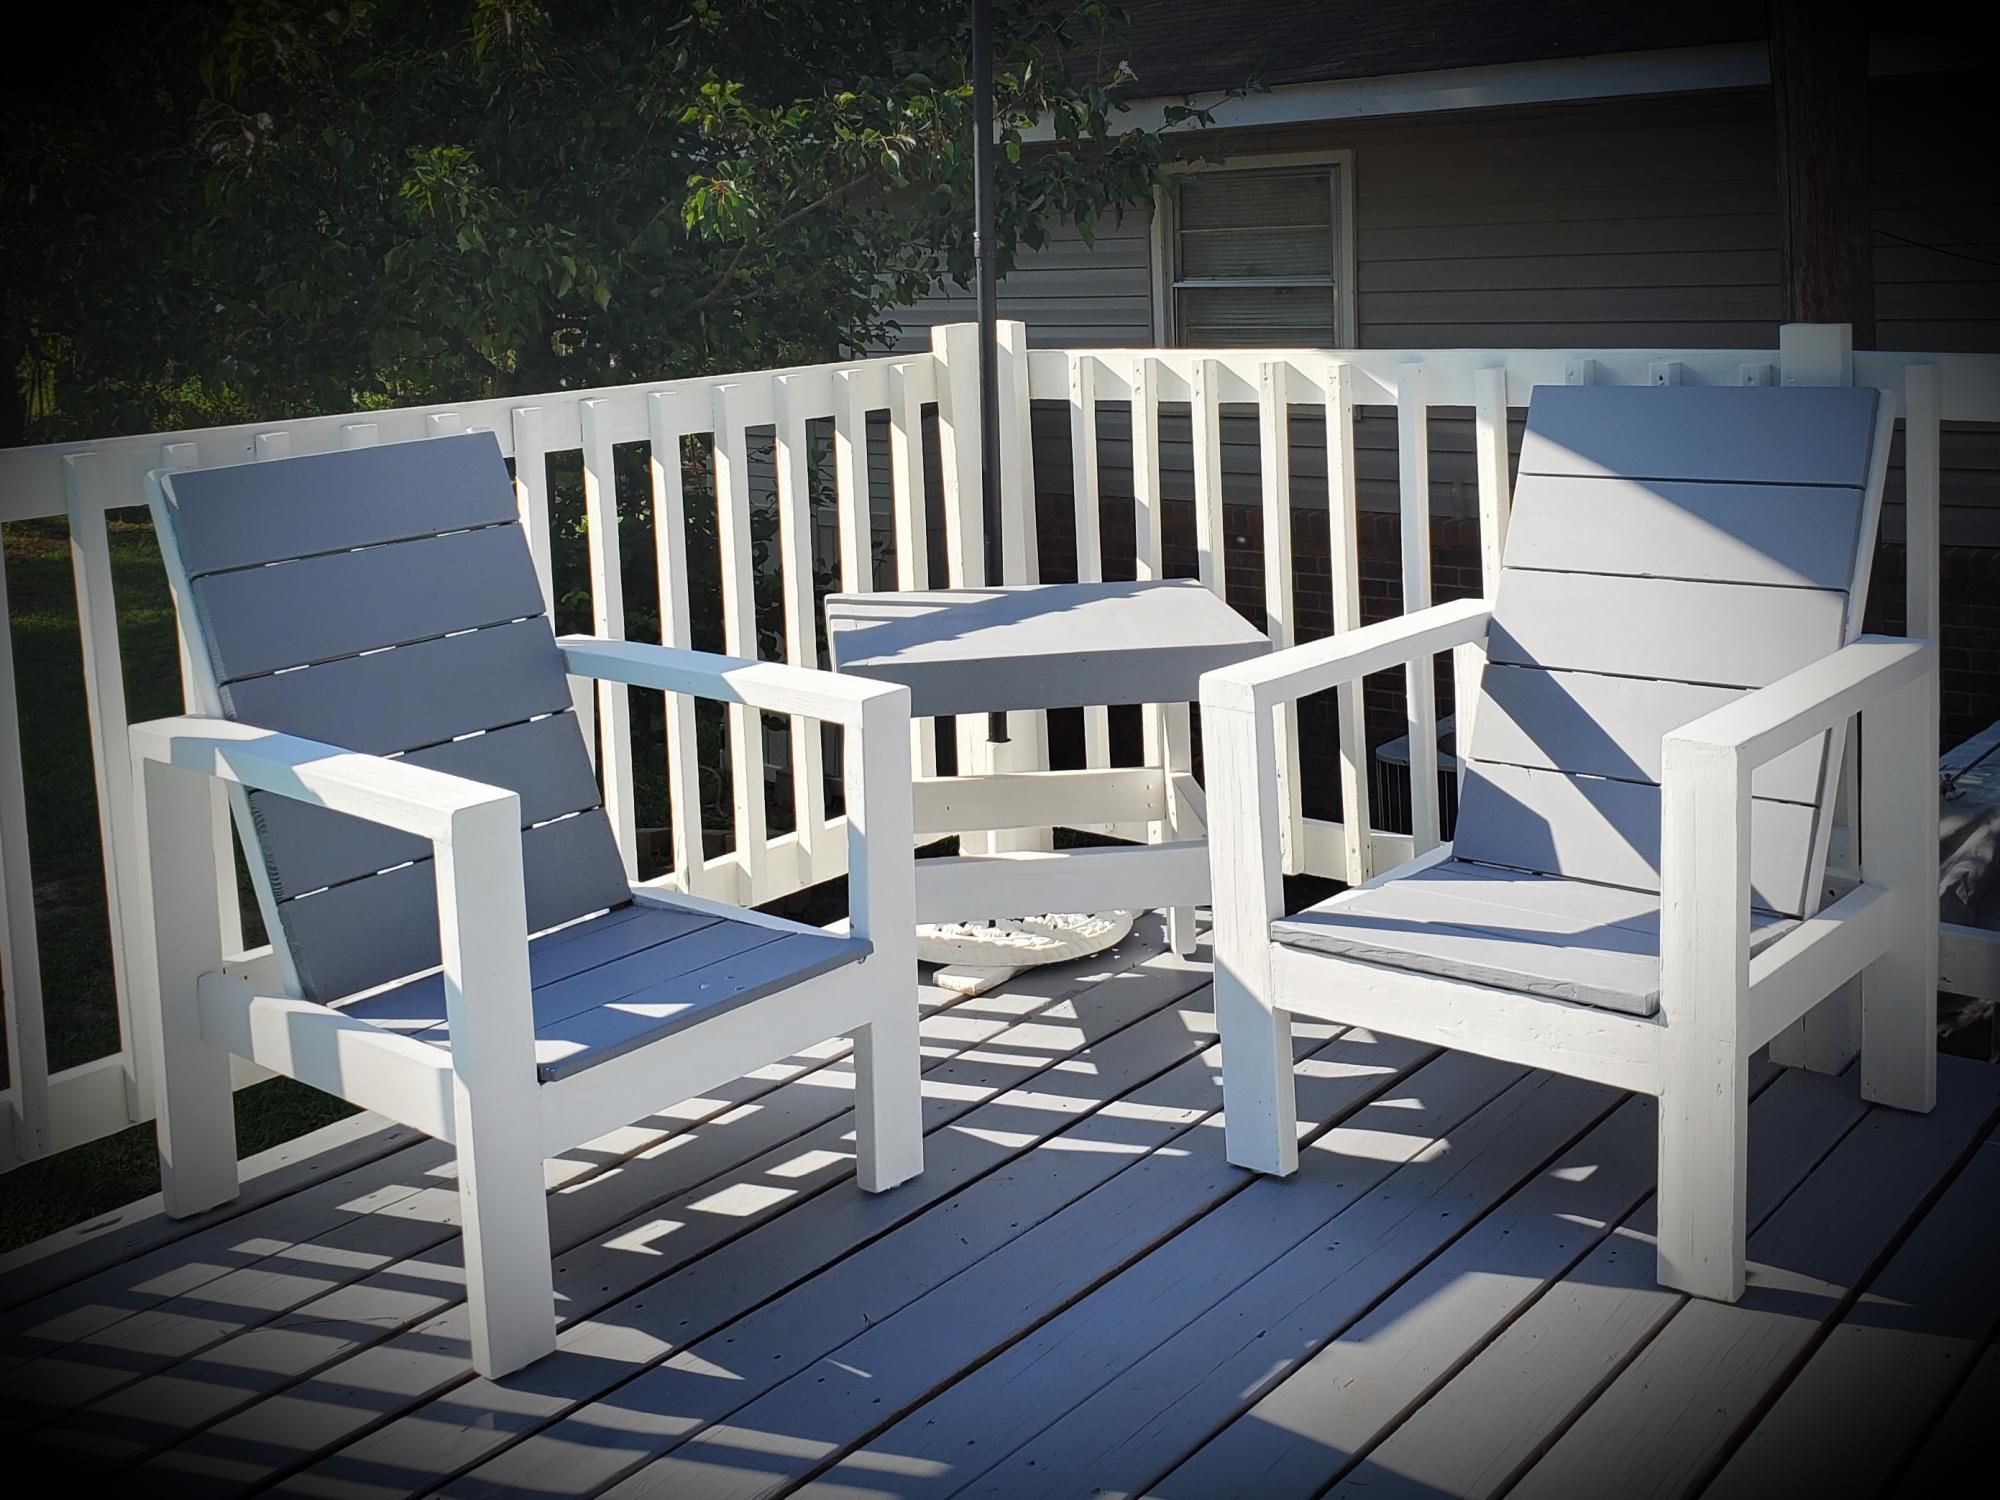
With a mix of the 2 attached plans, I found the perfect design! Plus, I was able to build them both, including the table, out of the scrap from the deck I built!! Thank you so much!!!
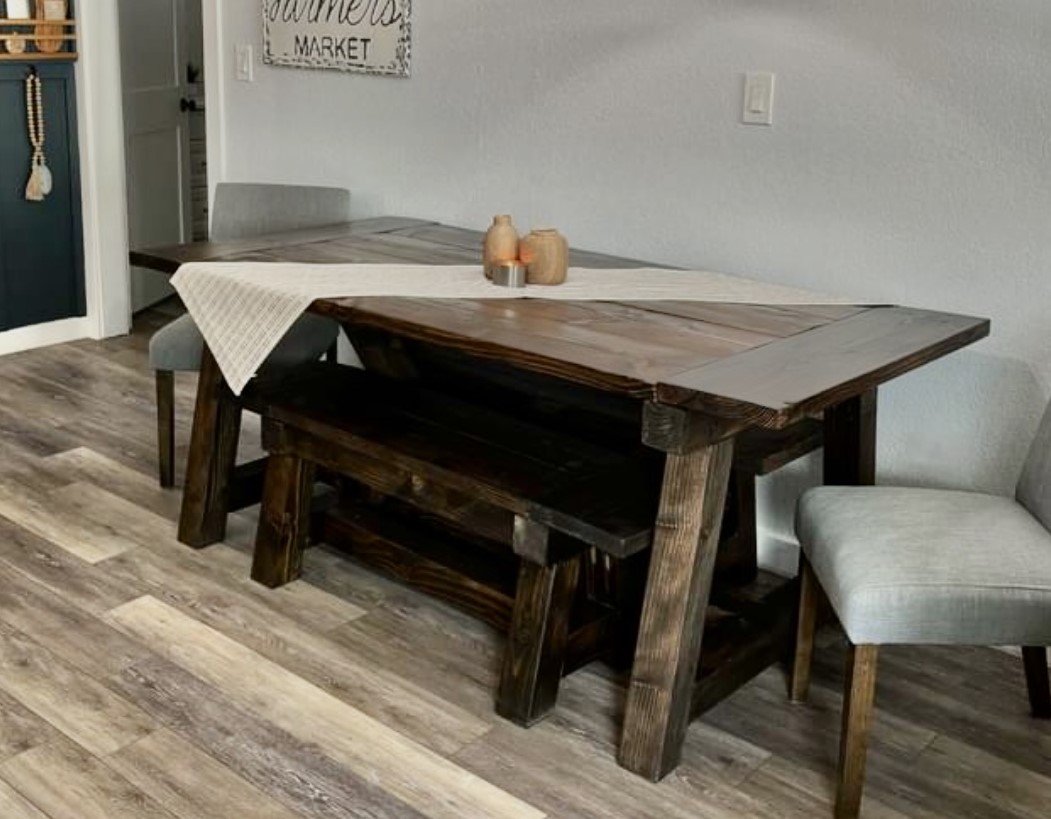
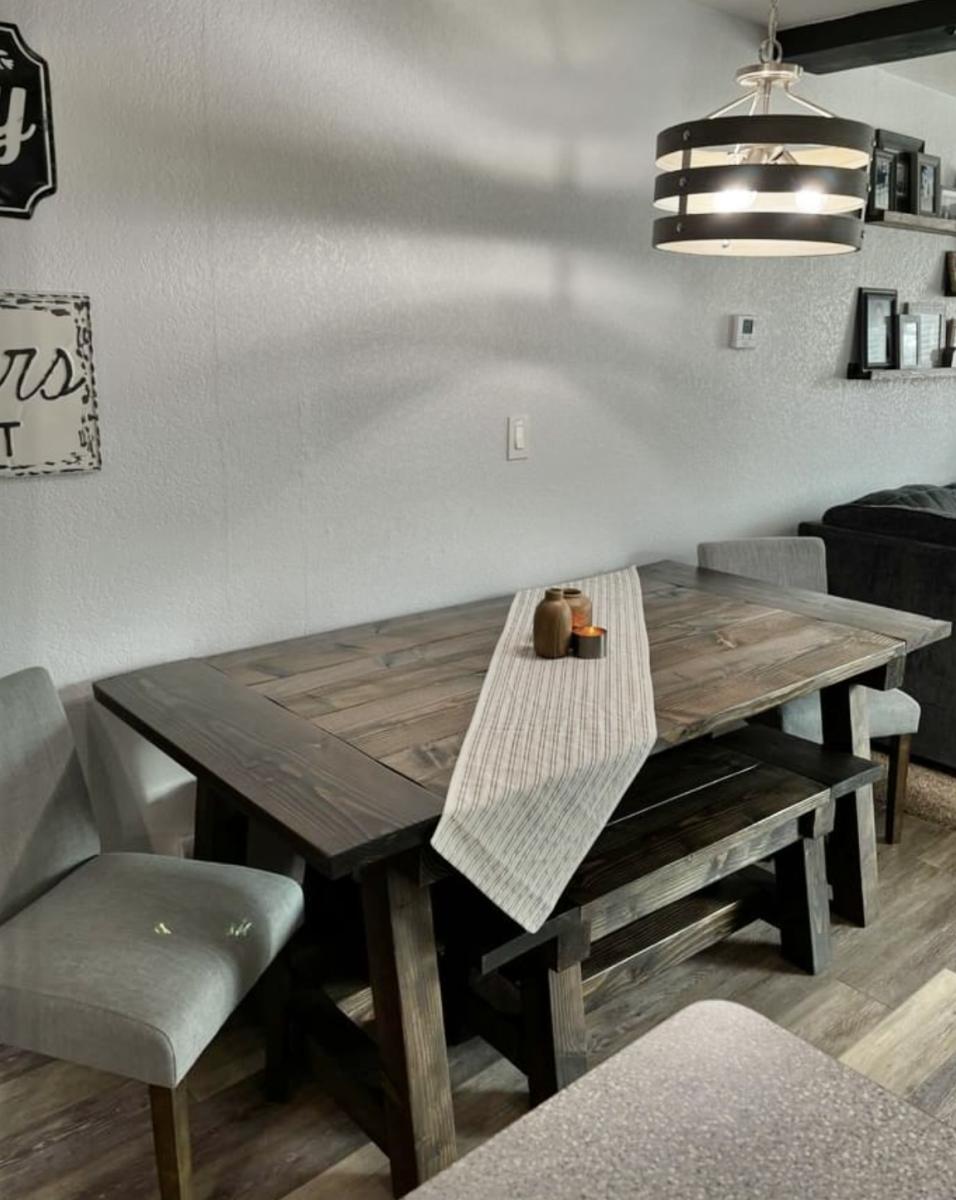
My latest project. I made adjustments in the length and I made the benches smaller to slide under the table. - Debbi Hernandez on Facebook
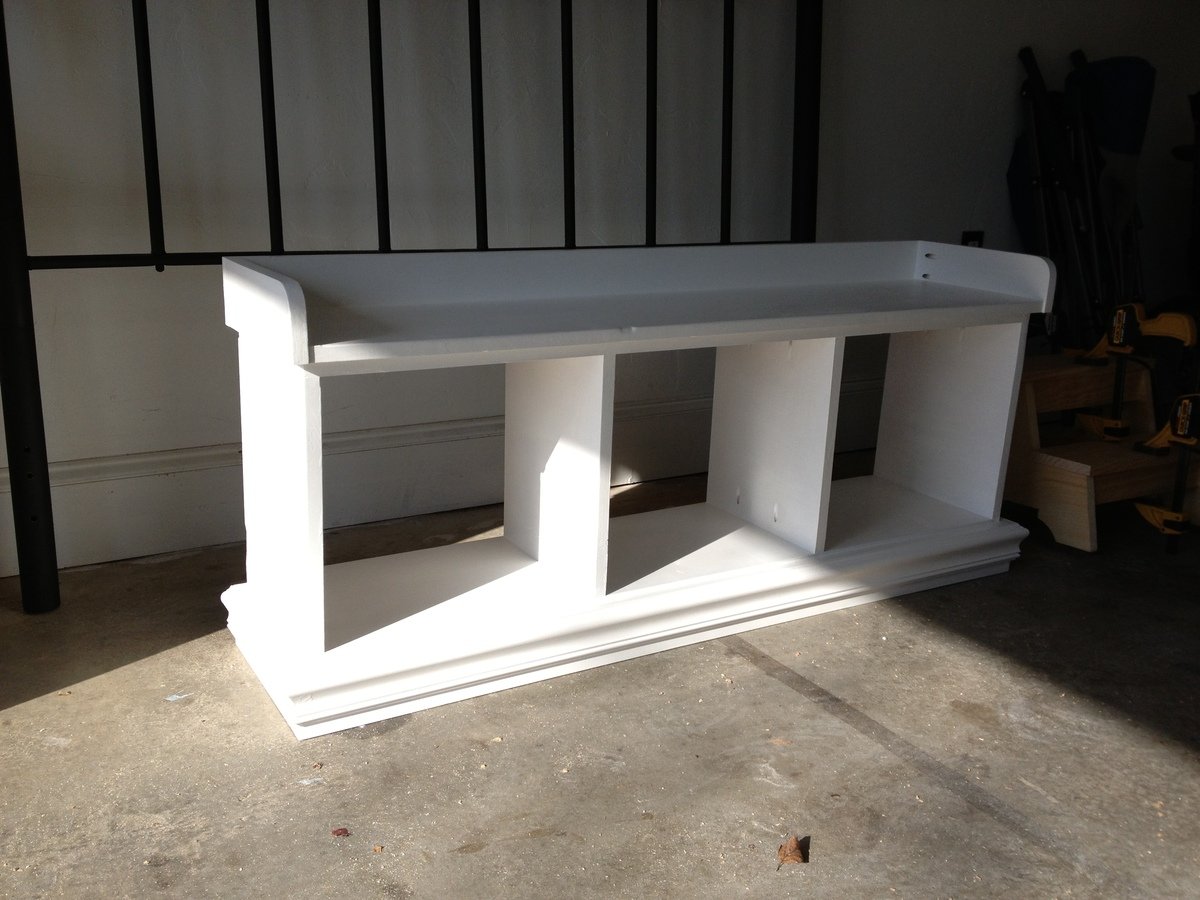
This was basically half of the entry way palns (I didn't make the top piece). I am yet to have a cushion made for the top but it looks great at the foot of our bed.
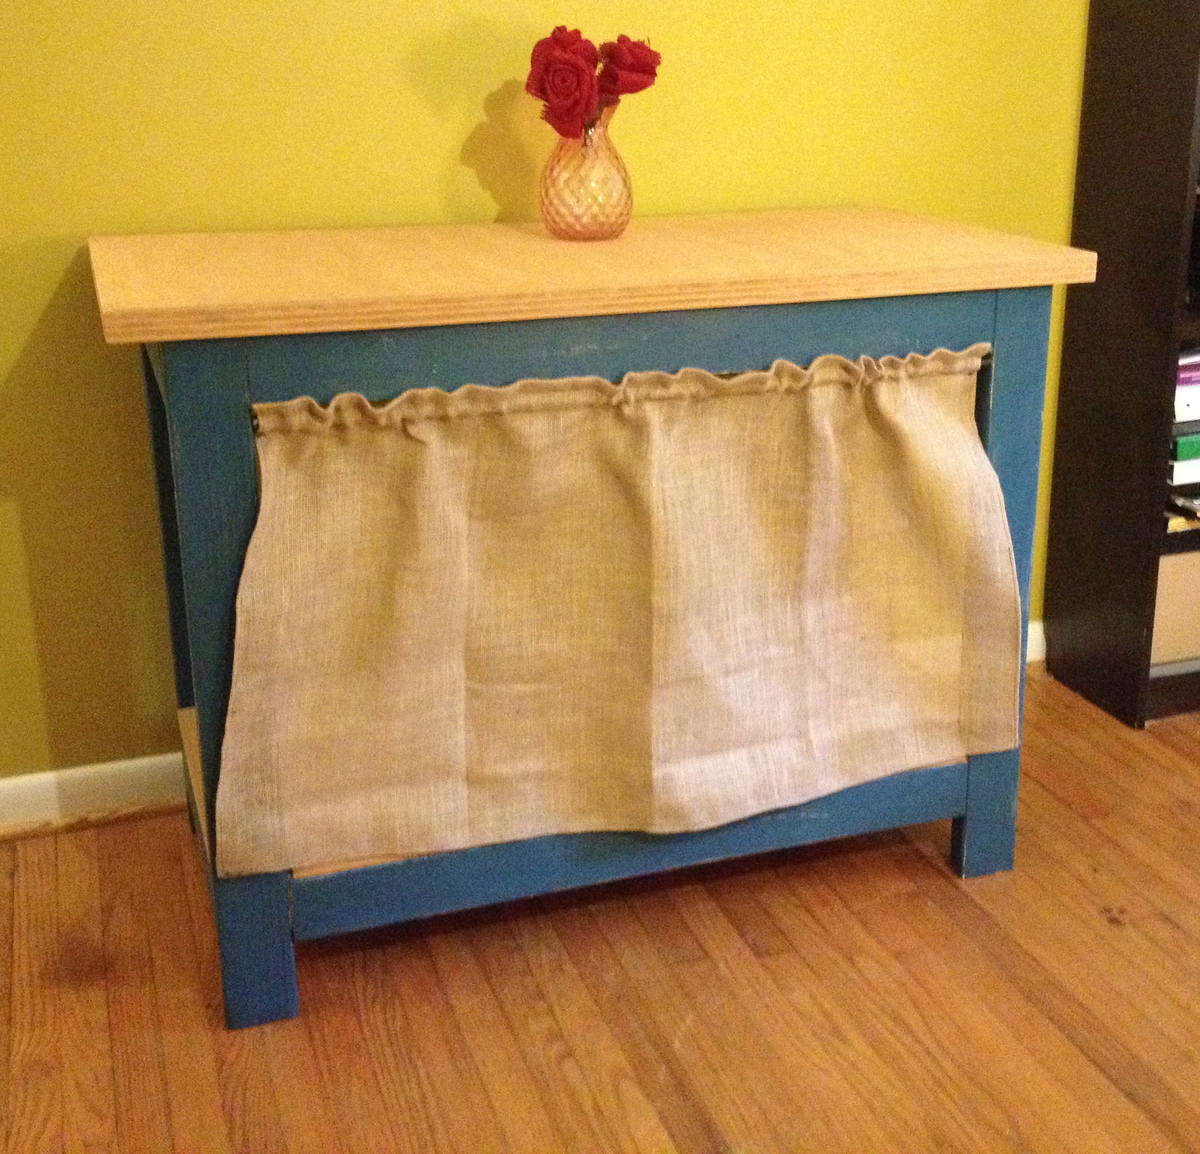
Ana's simplest console inspired my first build. I decided to make it a bit wider like one I saw on Shanty 2 Chic's website, and this is what I came up with. So excited about my first build - can't wait for the next!

This project took us four days. The biggest job that took us awhile was sanding and painting.
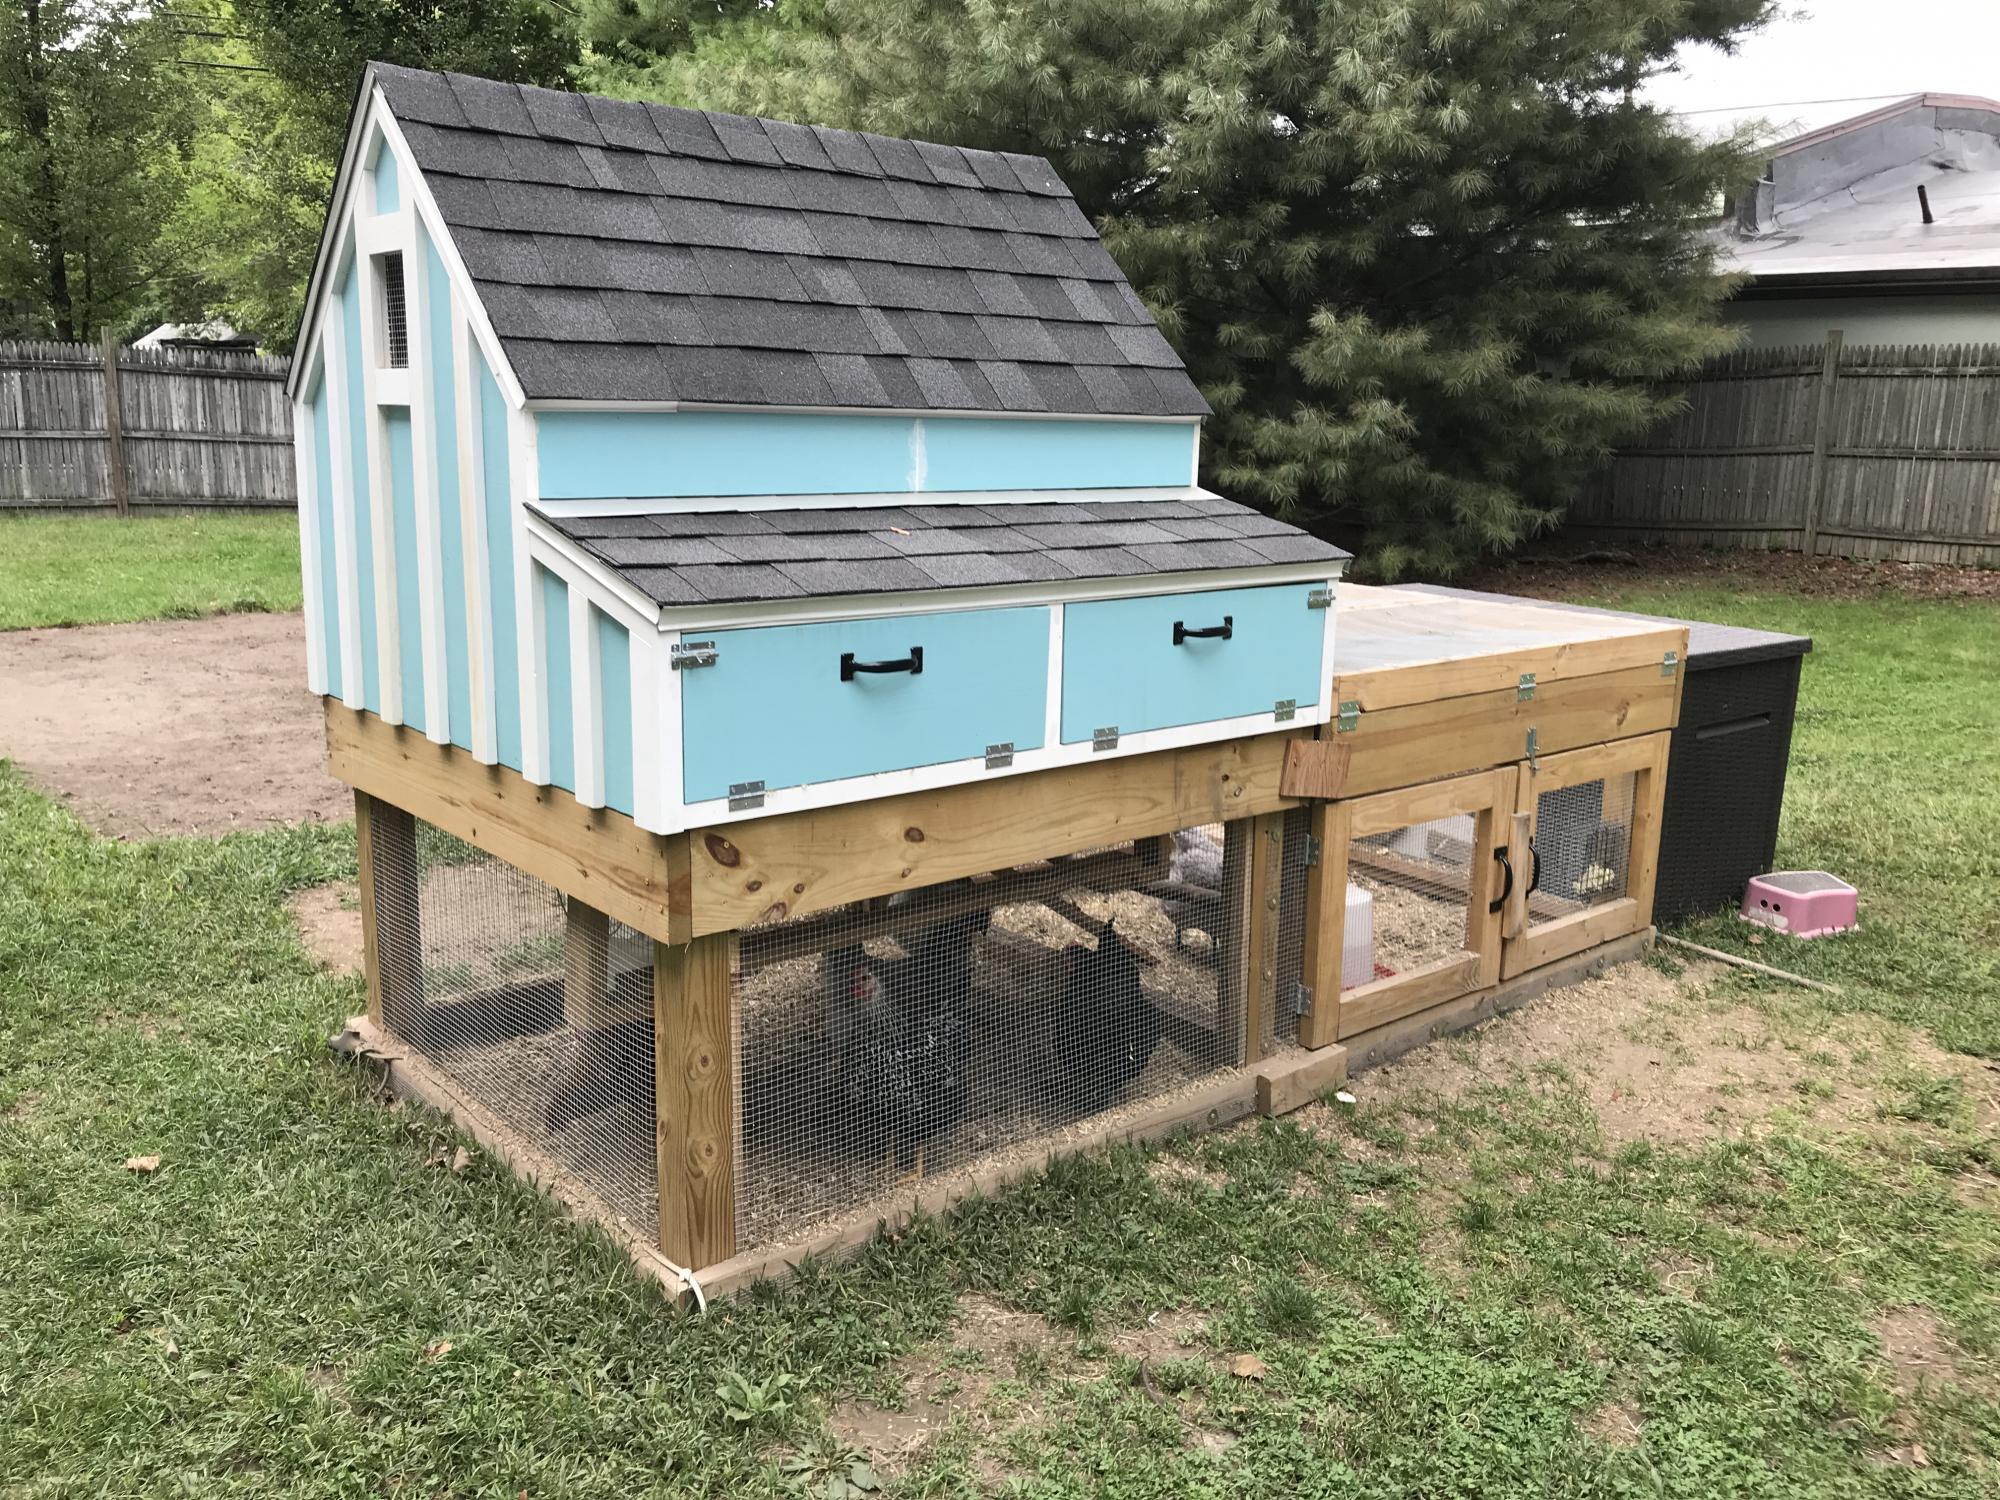
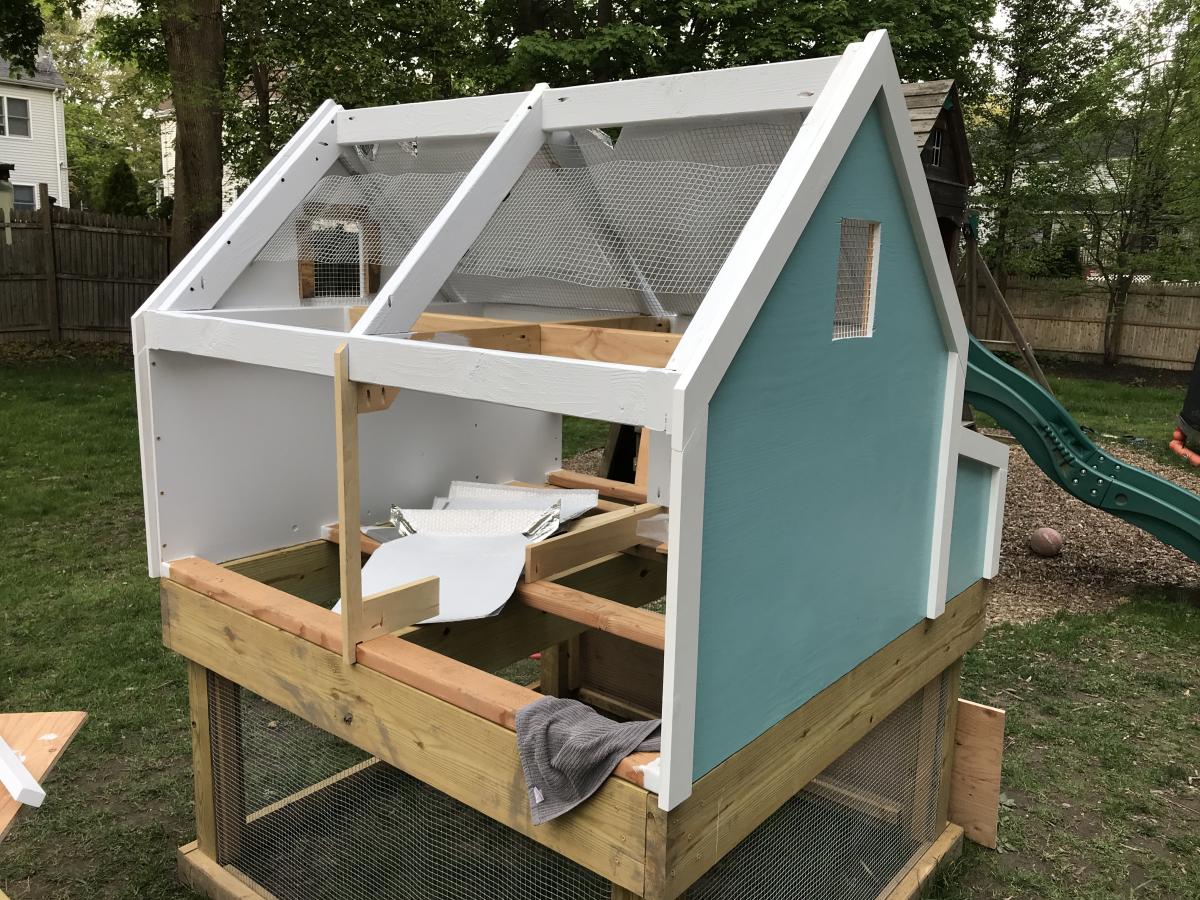
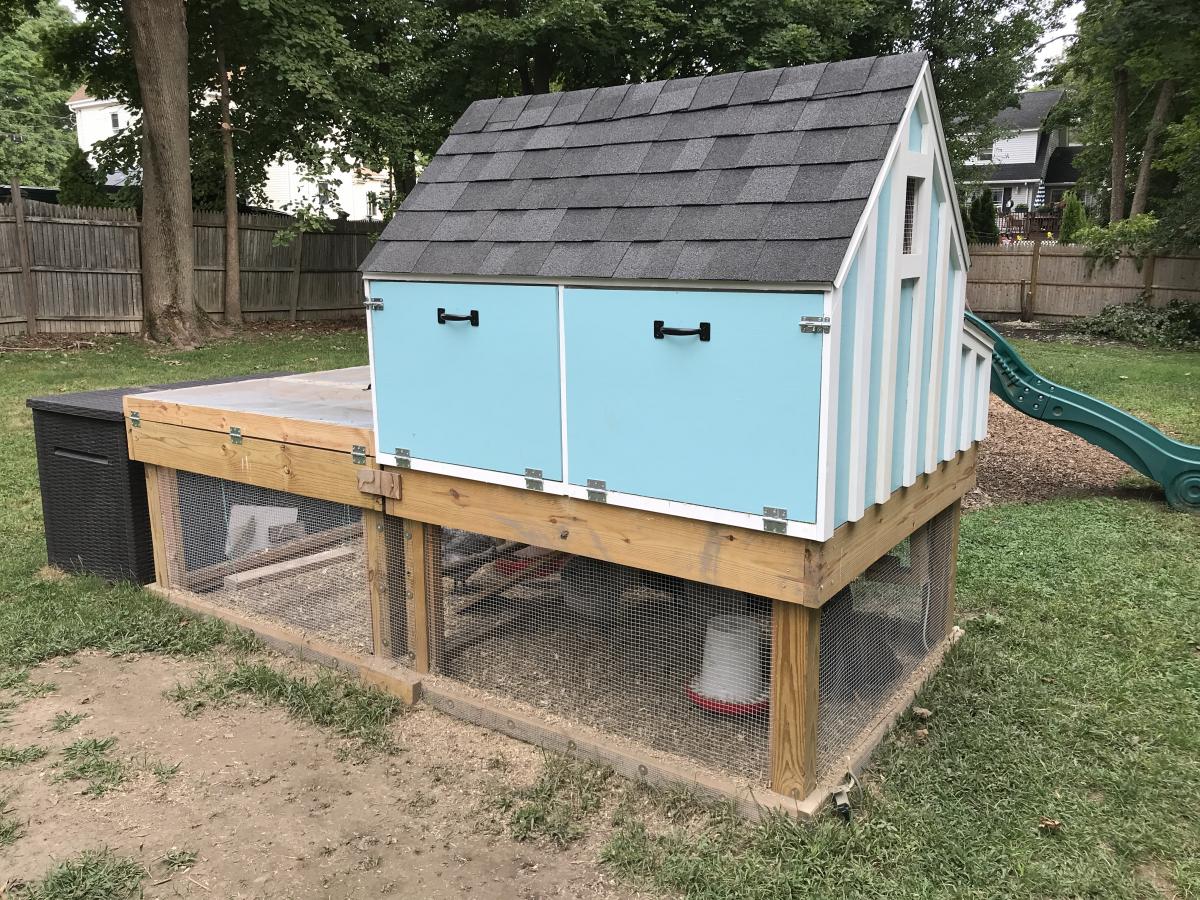
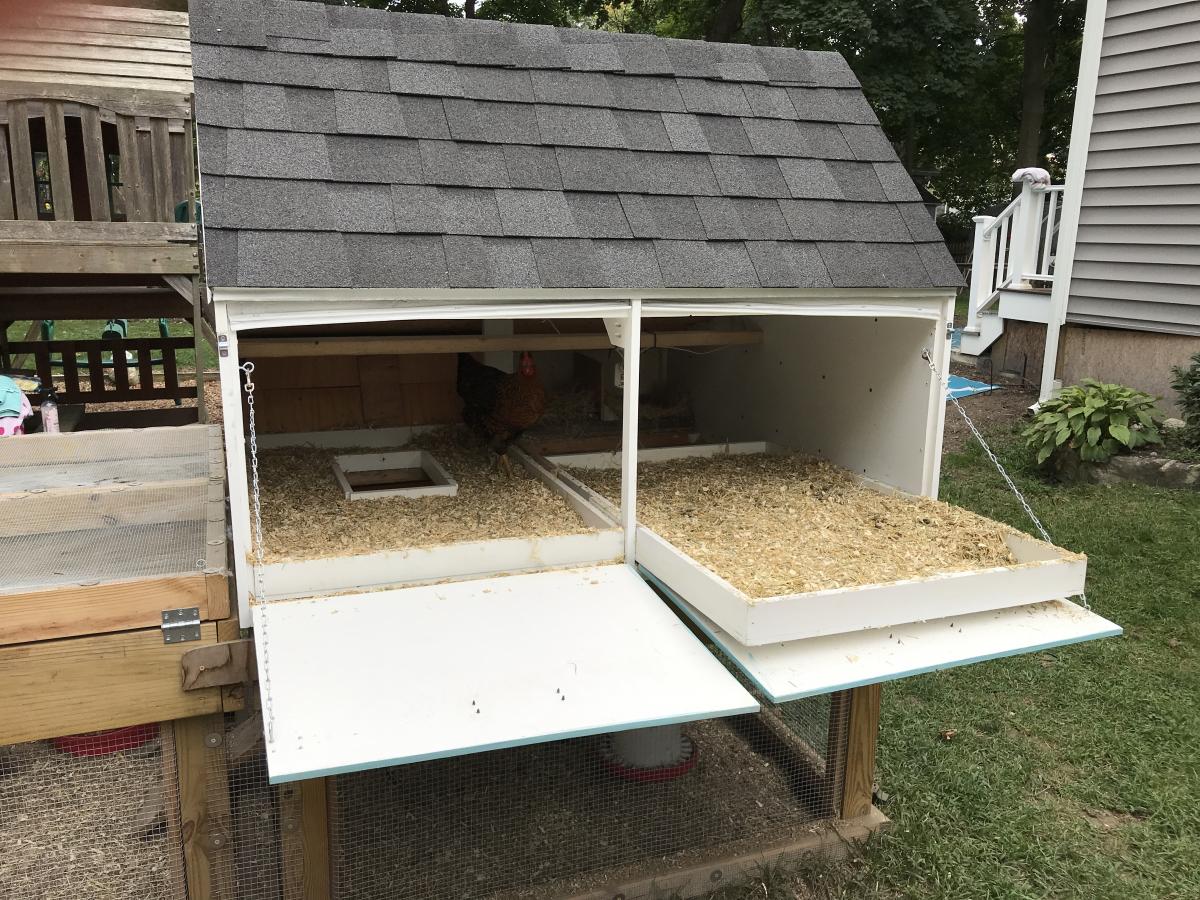
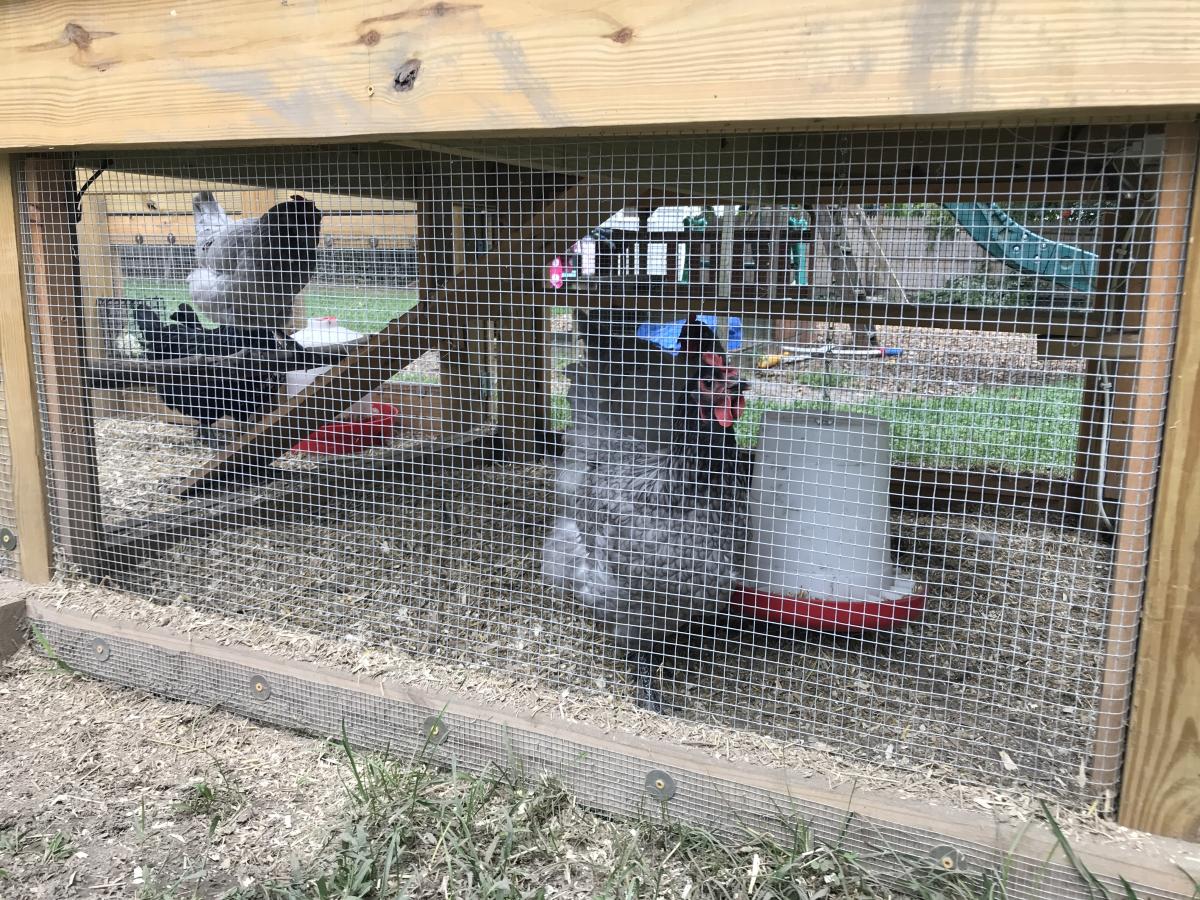
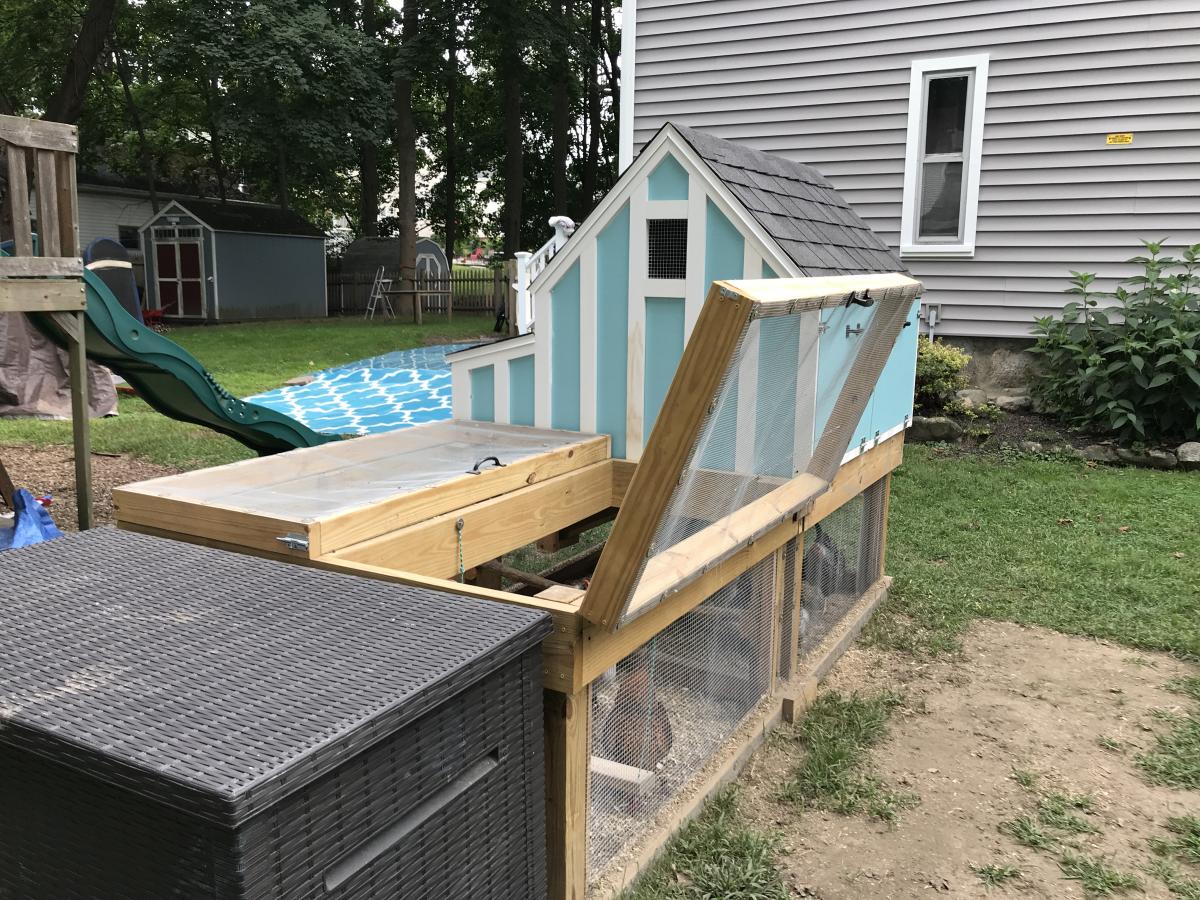
This was a fun build, though it took me quite a while because I decided to paint the interior. I ended up making it twice as wide to accommodate our six chickens. It took some planning but in the end I had essentially two coops side by side with no dividing wall between them. I also doubled the size of the run.
I cheaped out on the plywood and went with 1/2" - there was a big difference in cost as plywood was hard to find at the start of the pandemic. Using 1/2" turned out to be a big mistake. The 1/2" plywood warped quite a bit after I had painted it making it difficult to use the doors. I may have to replace the doors eventually with 3/4".
Overall I'm very happy with the end result. It's been easy to clean and maintain and the girls seems quite happy in it. This is one of the best looking coops I've come across. Thank you for these fantastic plans!
Sun, 09/13/2020 - 11:25
Love the double wide modification plus the extra work on finishing it, is the cherry on top! Thanks for sharing!
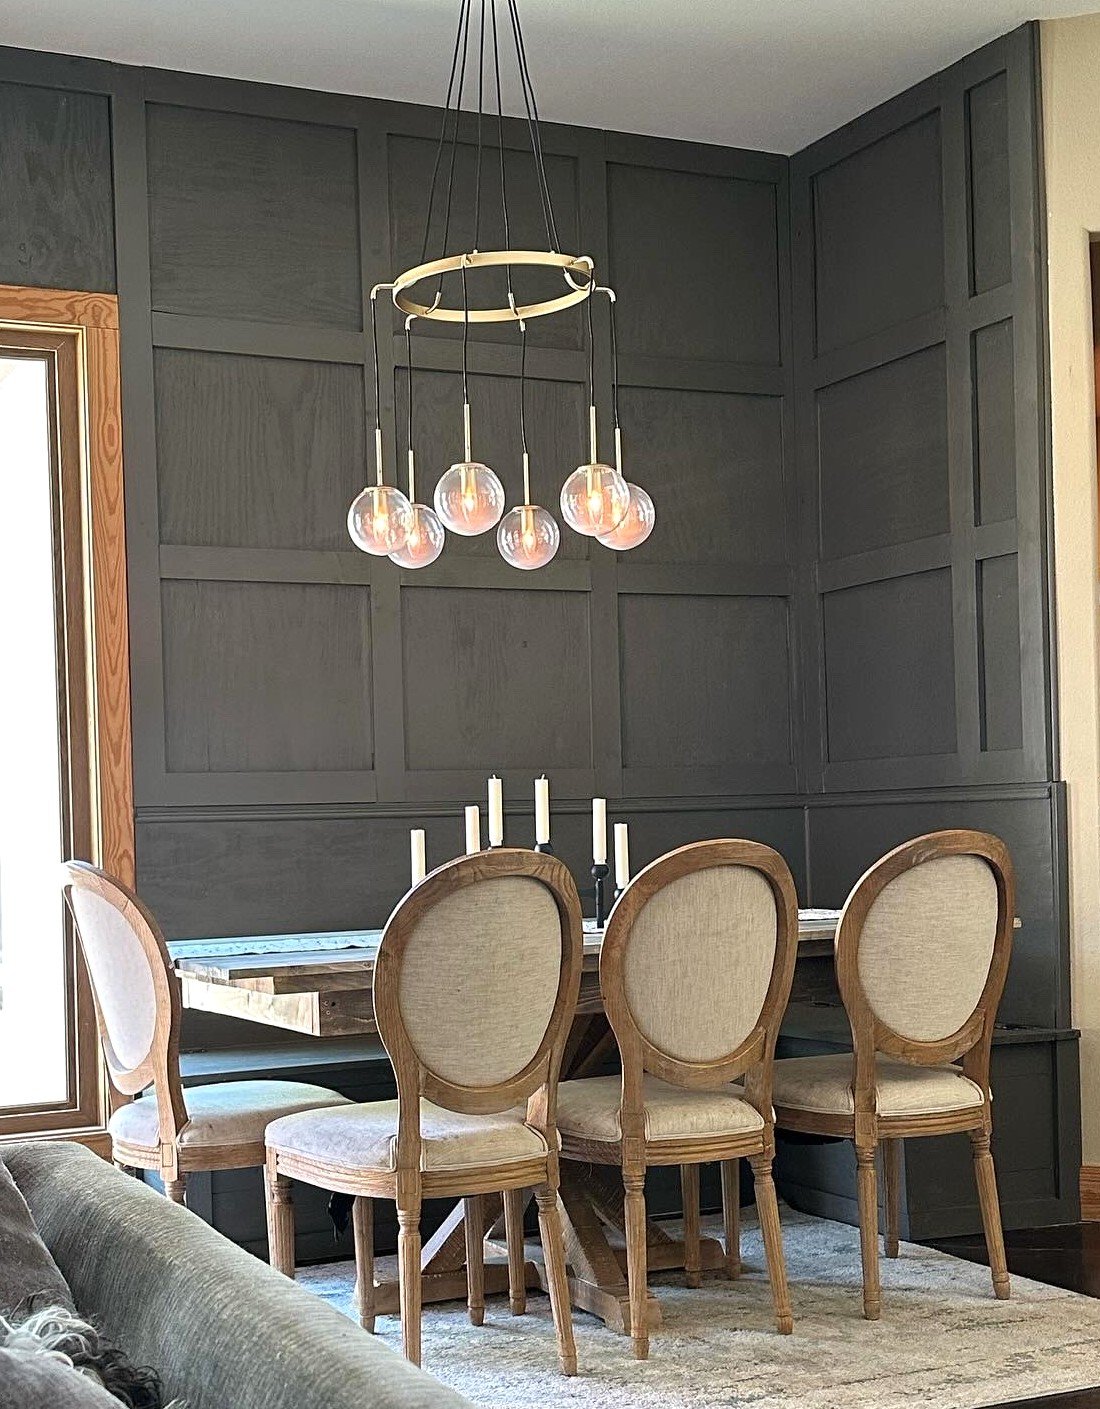
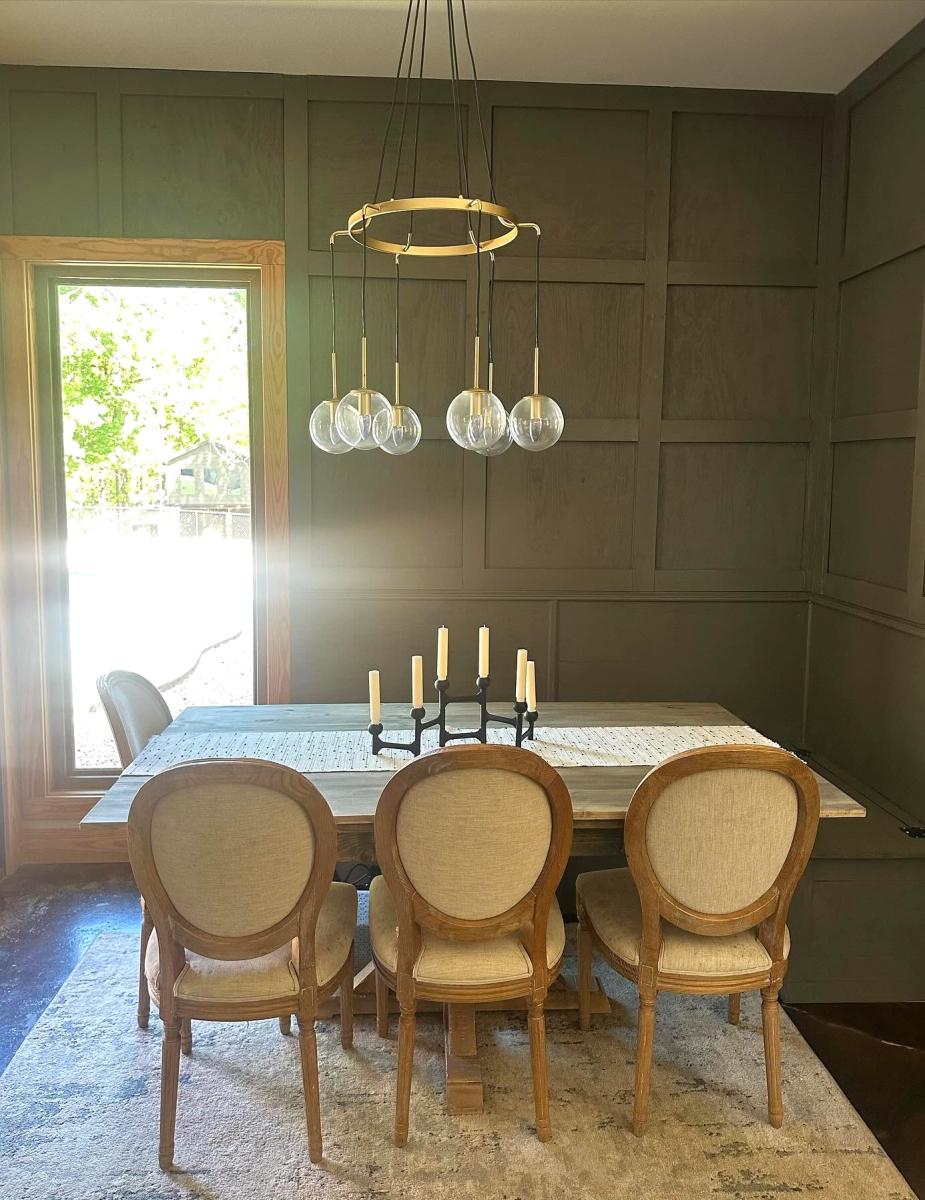
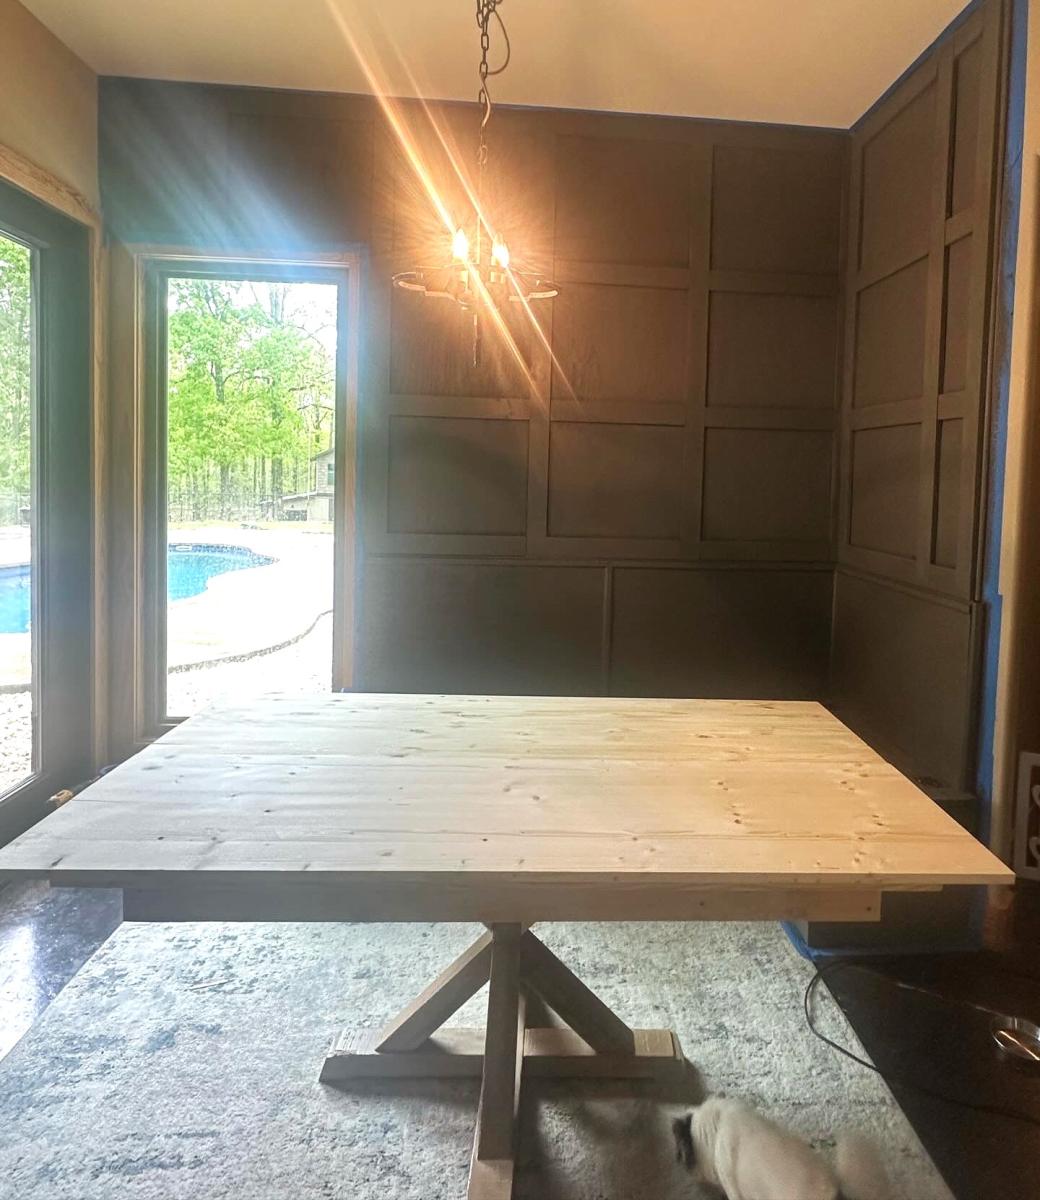
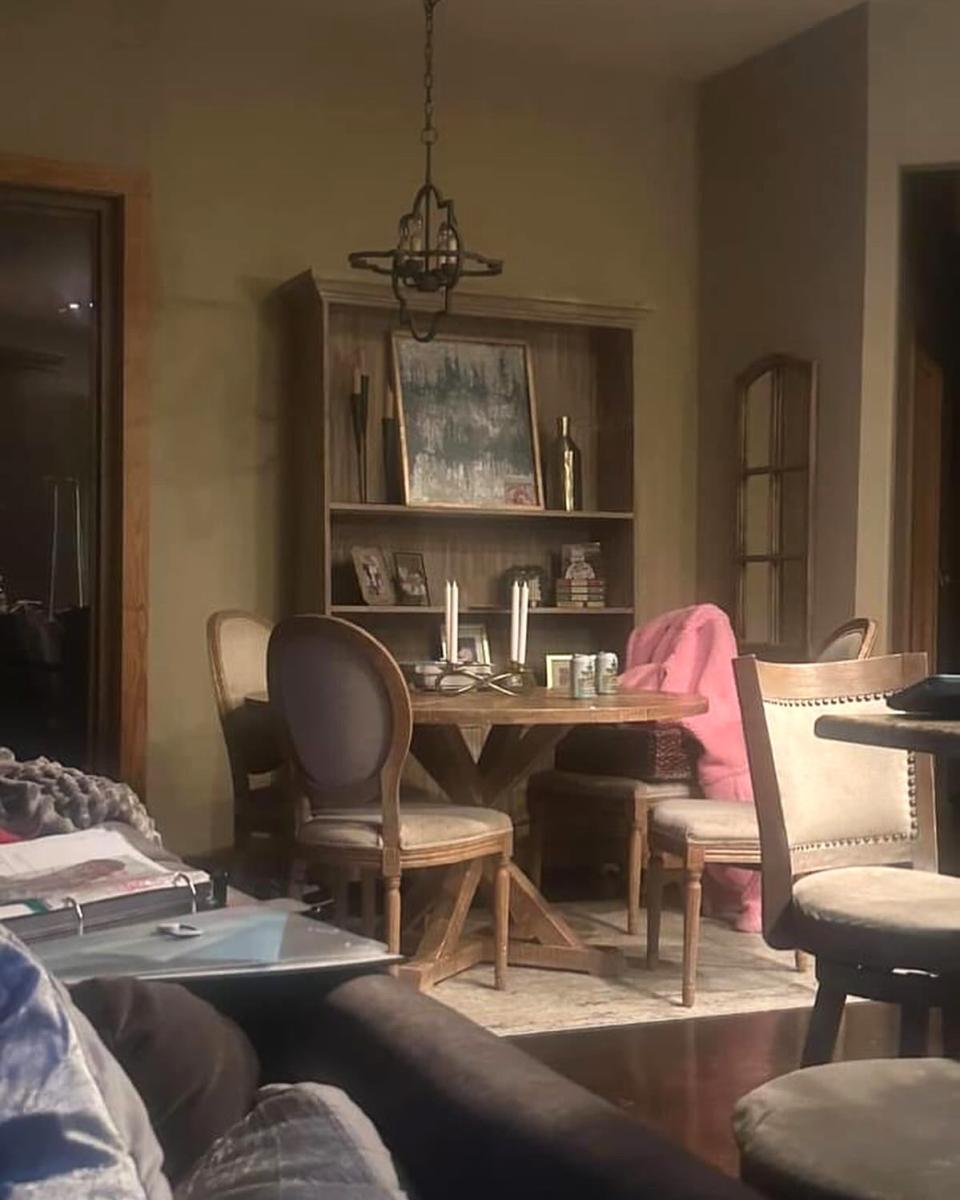
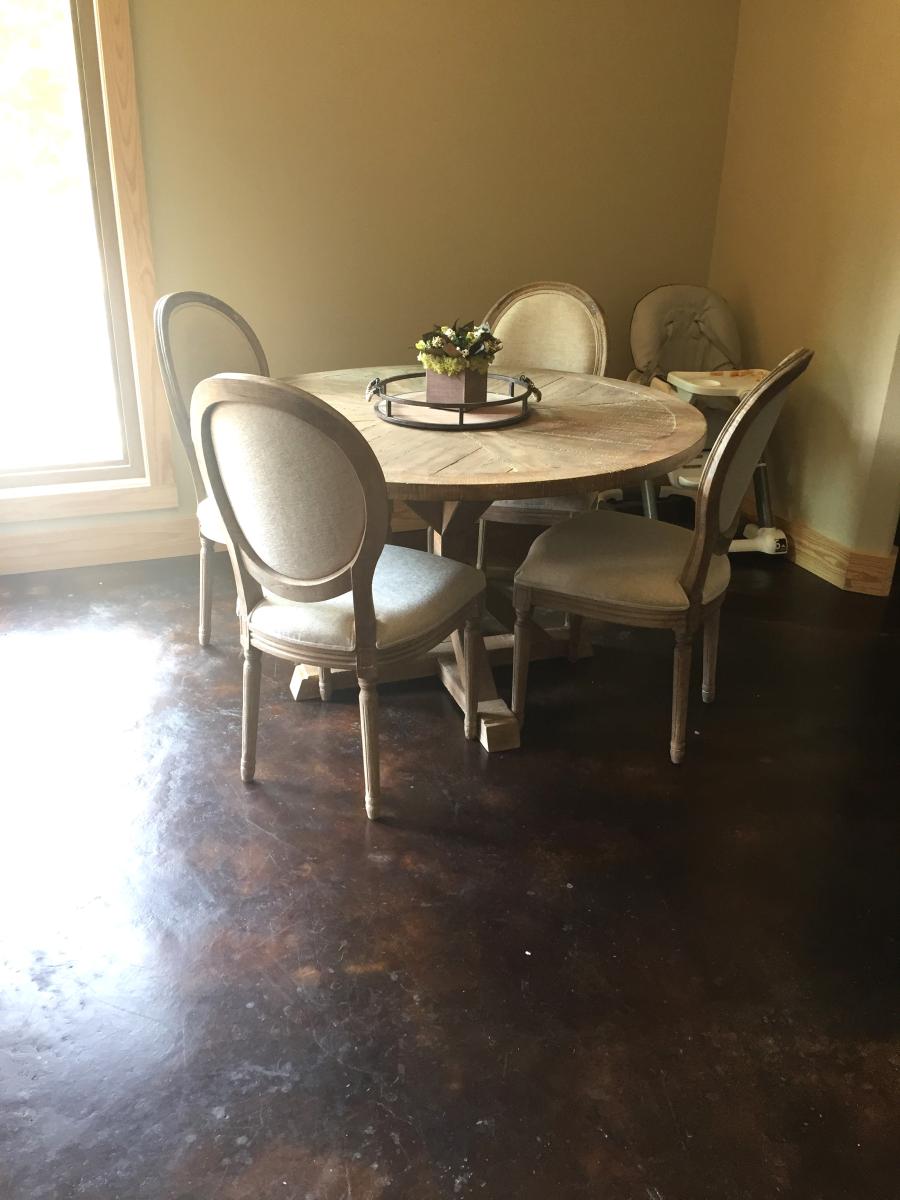
I started with the banquette….then thought, 🤔 hmmm. Let’s do an accent wall too. I included before and after’s of the space. Thank you!!
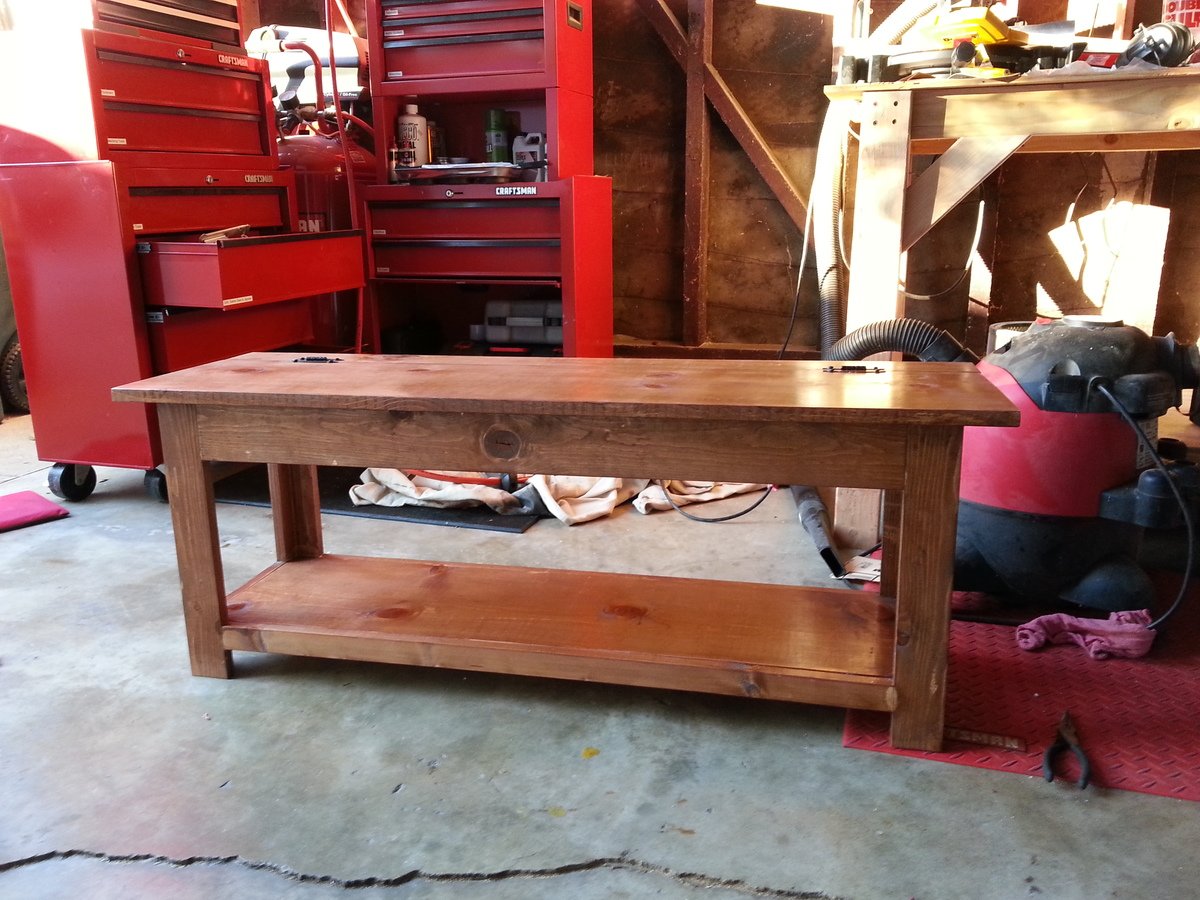
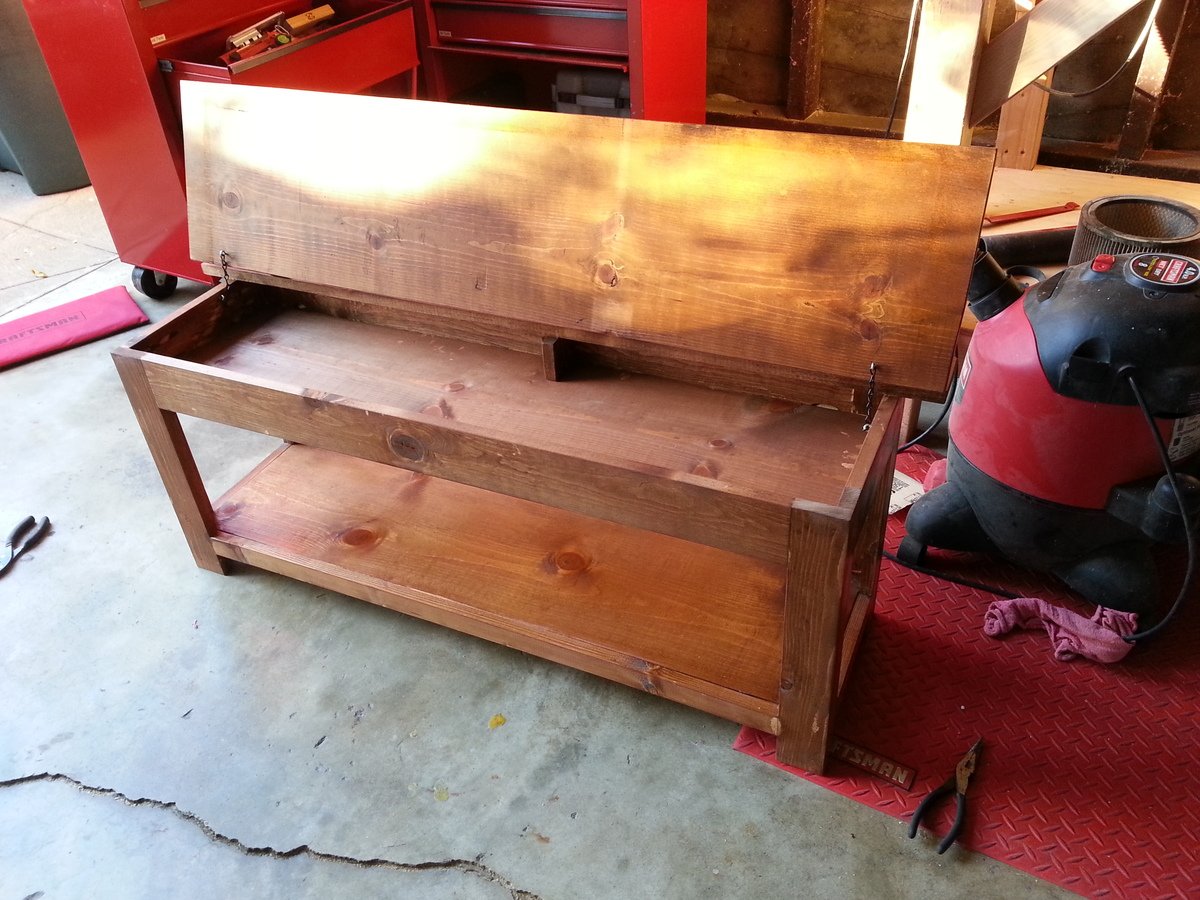
This bench works great as a piano bench with storage inside for all of the sheet music. I added one little 4x4x.75 piece of wood inside in the middle because I found that the 1x12 seat would flex in the center but after adding that piece of wood it was solid. I also added eye hooks and chain for the top so that it does not flip all the way backwards.
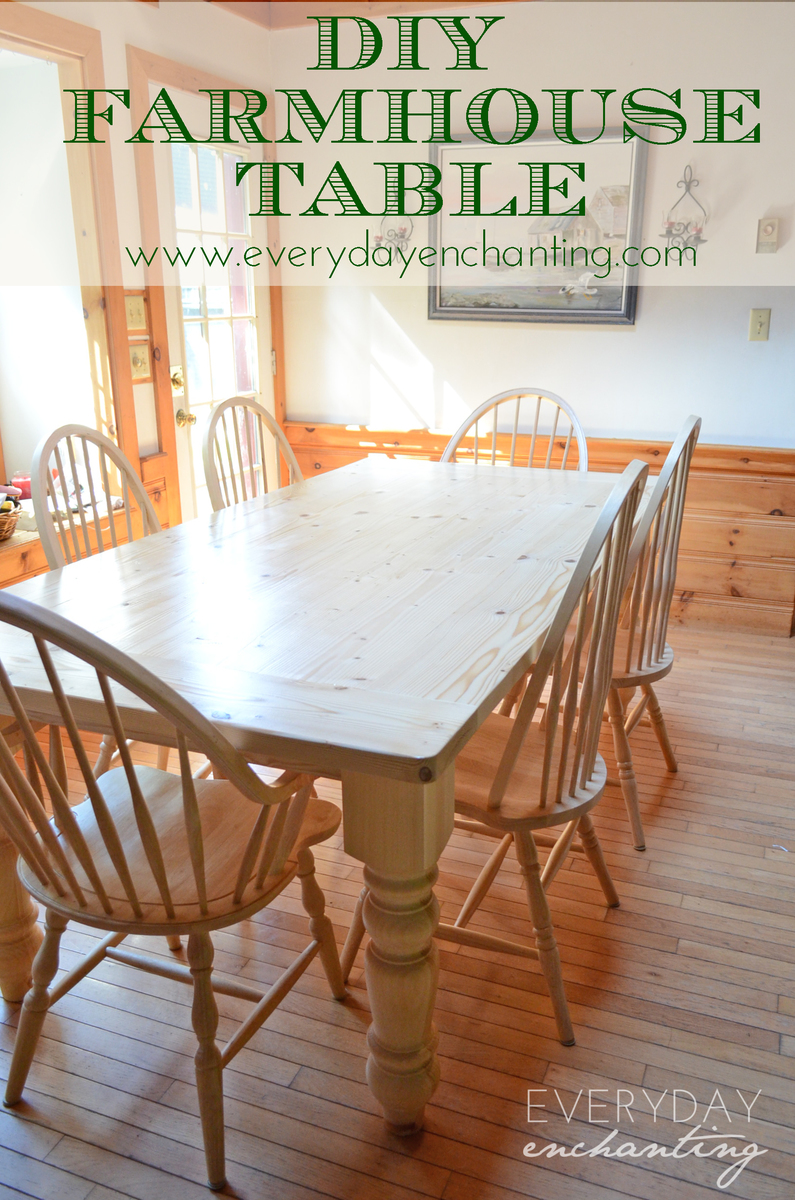
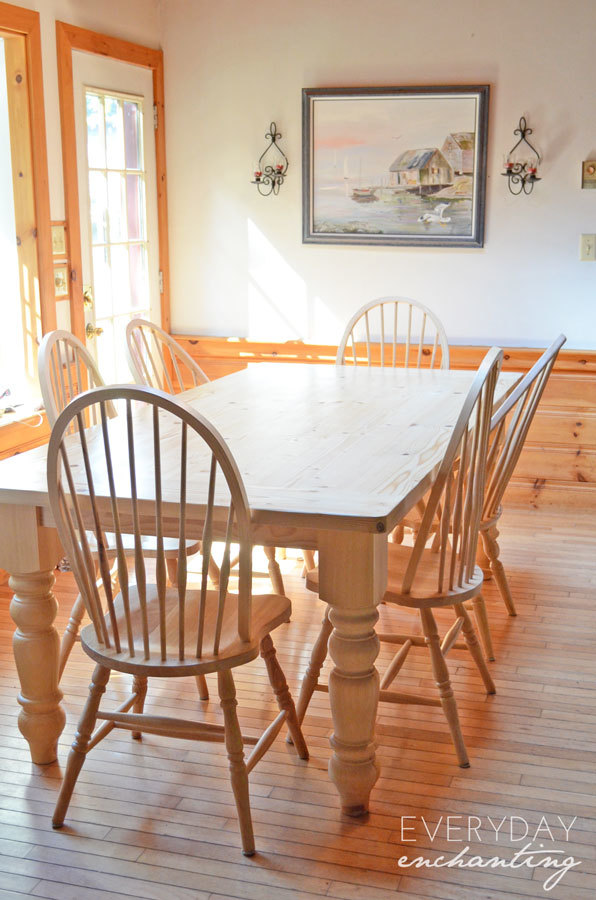
We built this farmhouse table for my Mom's house, to create a space big enough for our growing family to gather at holidays and birthdays. We added to the size- the final dimensions were 82″ (long) x42″ (wide) x 30″(tall). It is a huge, chunky table! My parents prefer natural finishes, so we gave the natural wood several protective coats of polycrylic.
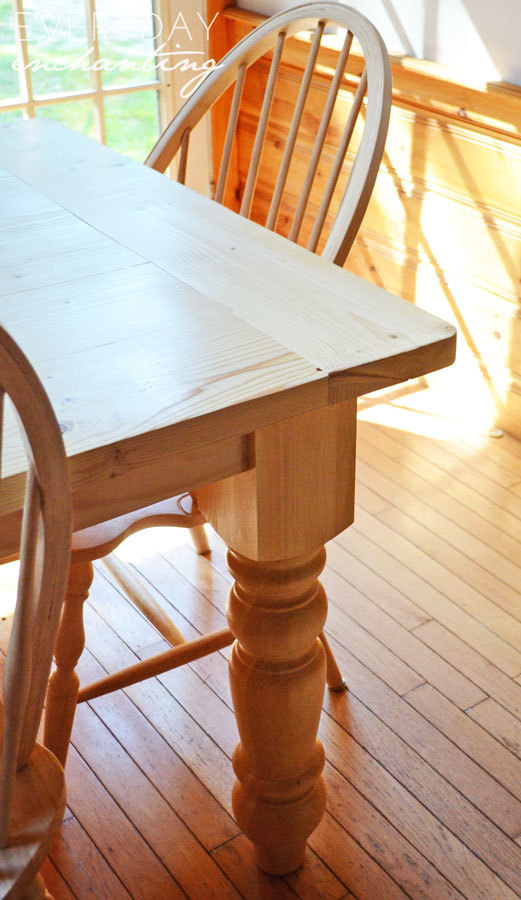
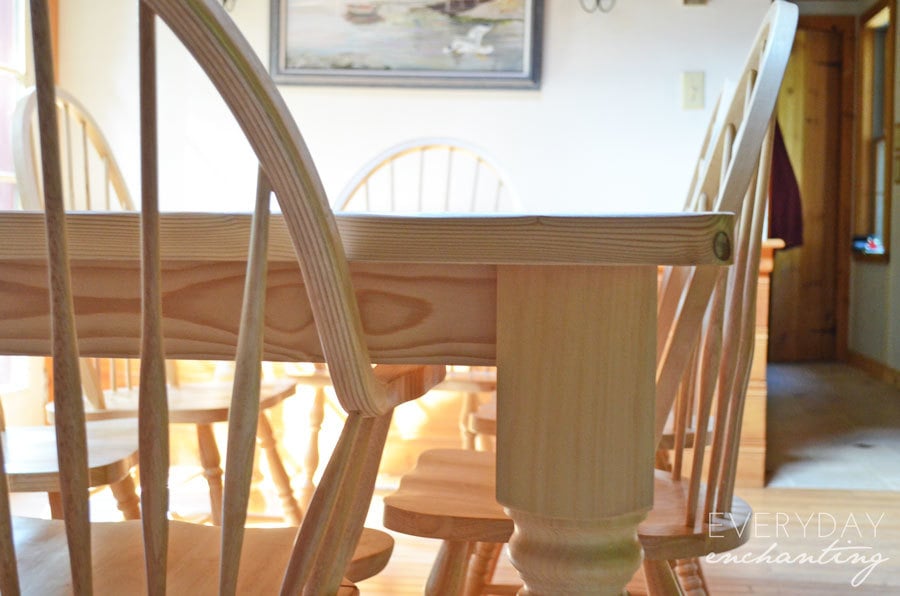
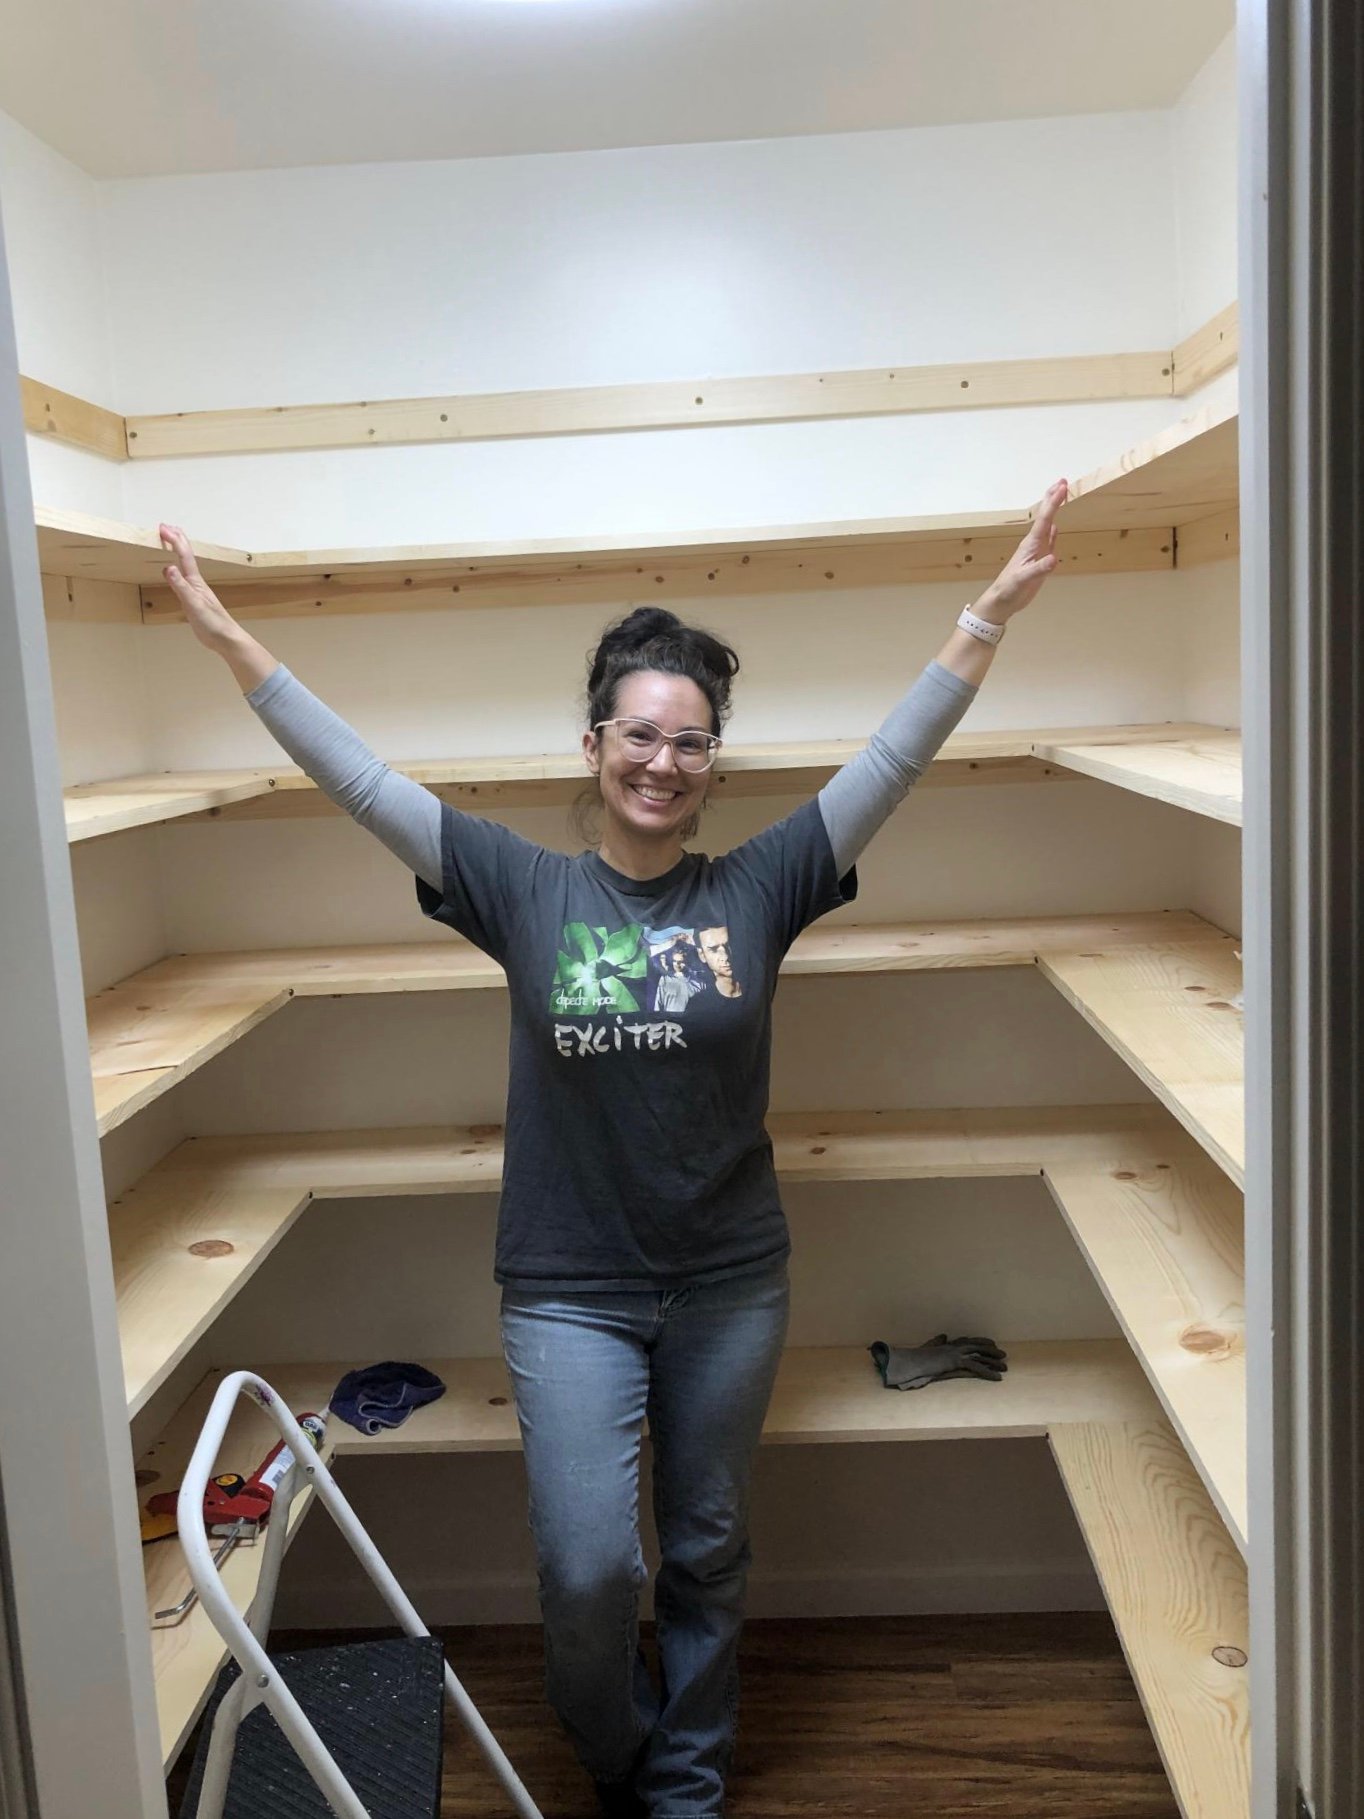
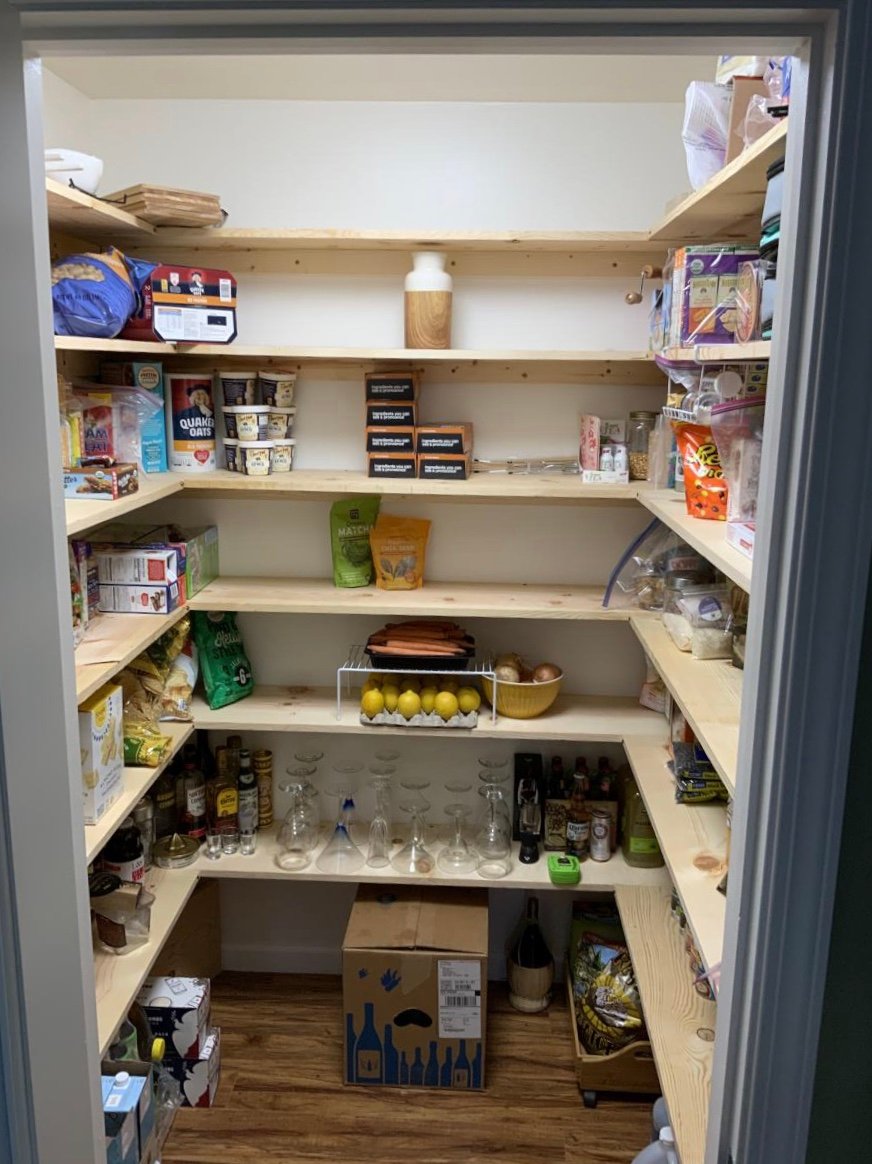
5 1/2W x 5 1/2L x 8H.
Ana made this project very easy for me. I did the main building while hubby cut the wood & helped drill in hard to reach areas. Thank you Ana for boosting my confidence. I’ve never done anything trike this.
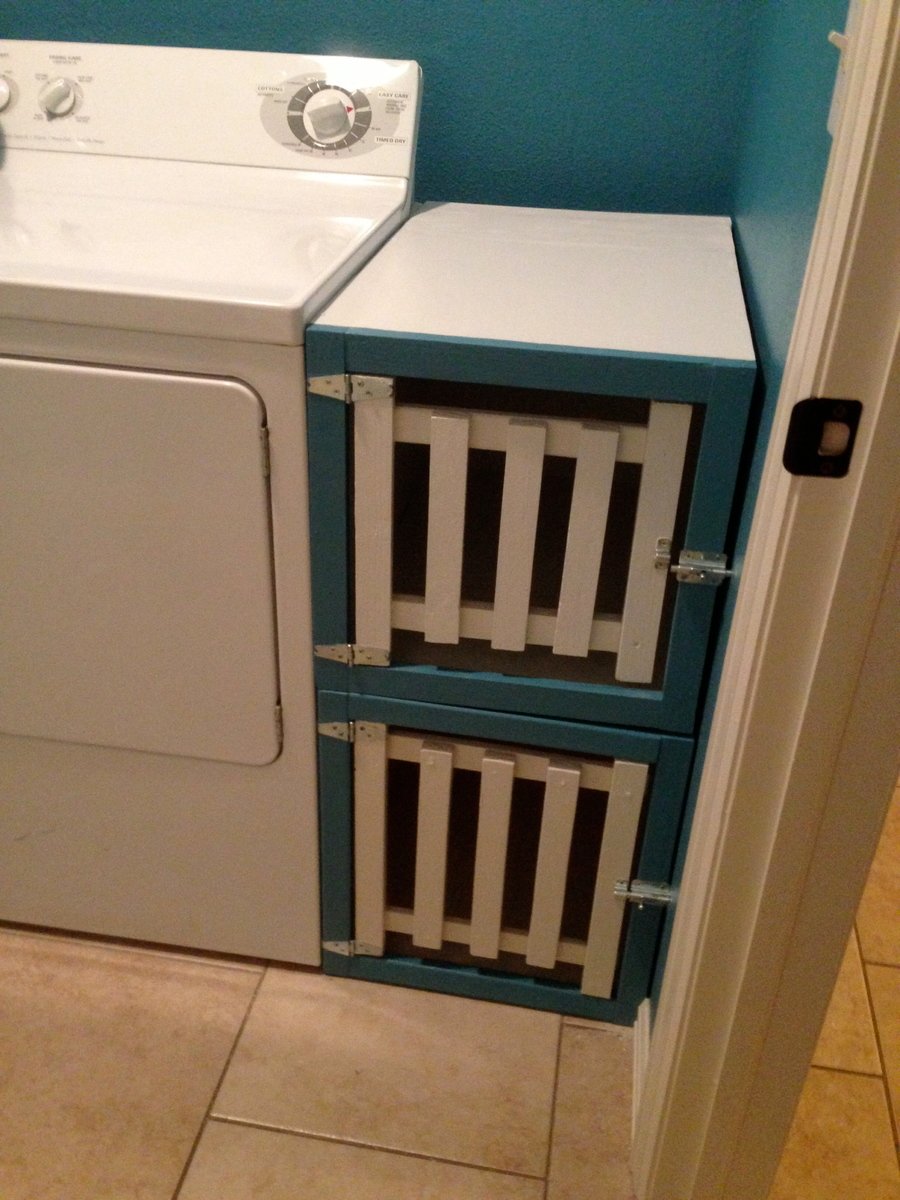
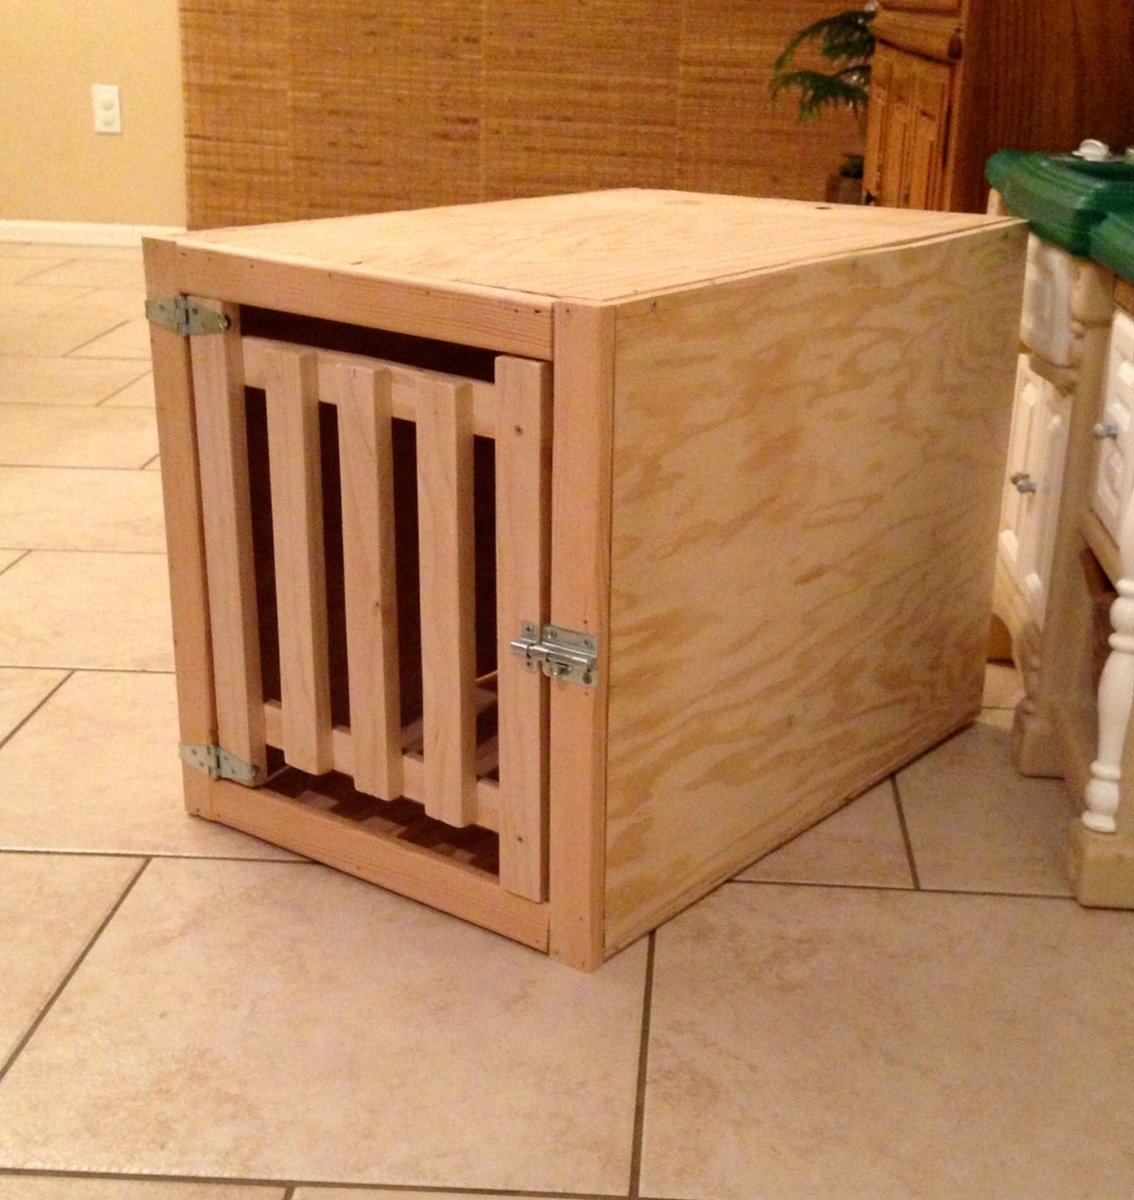
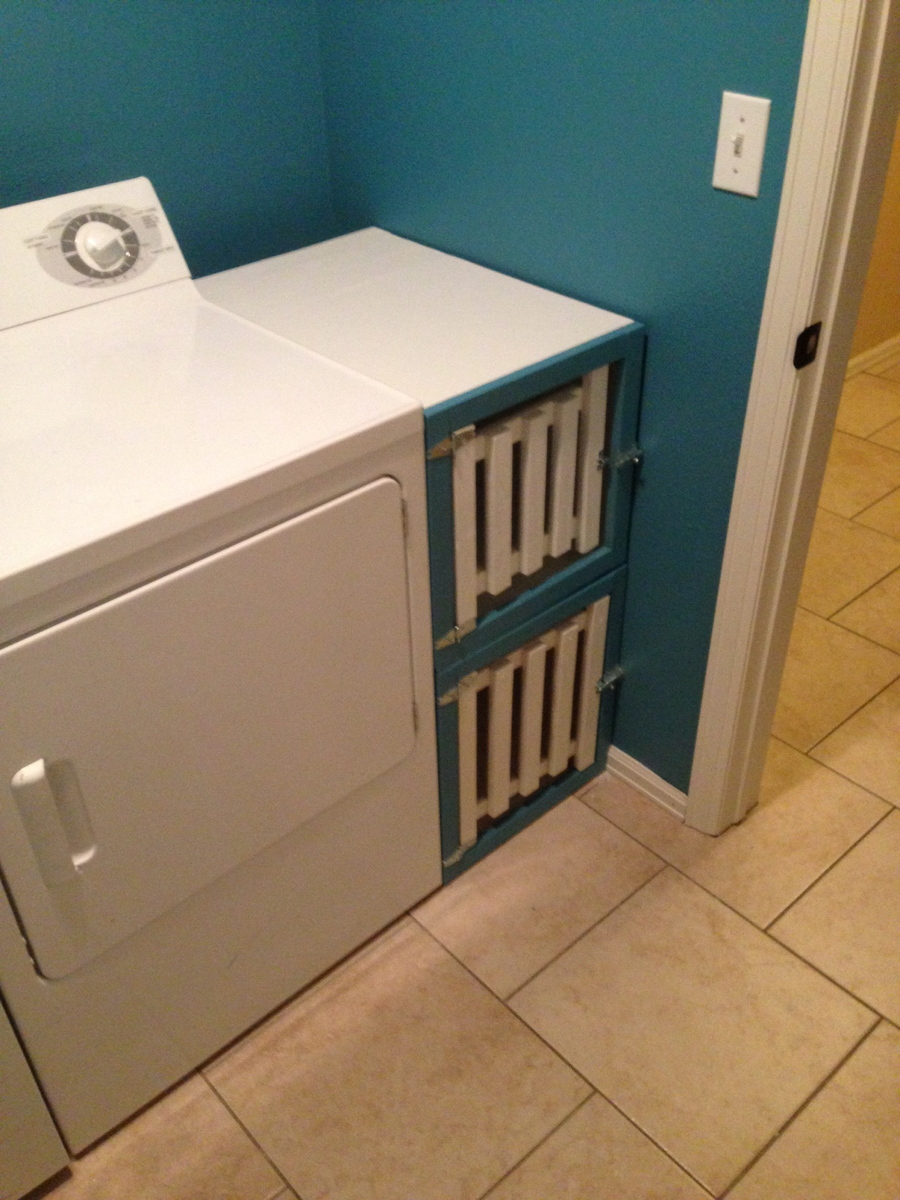
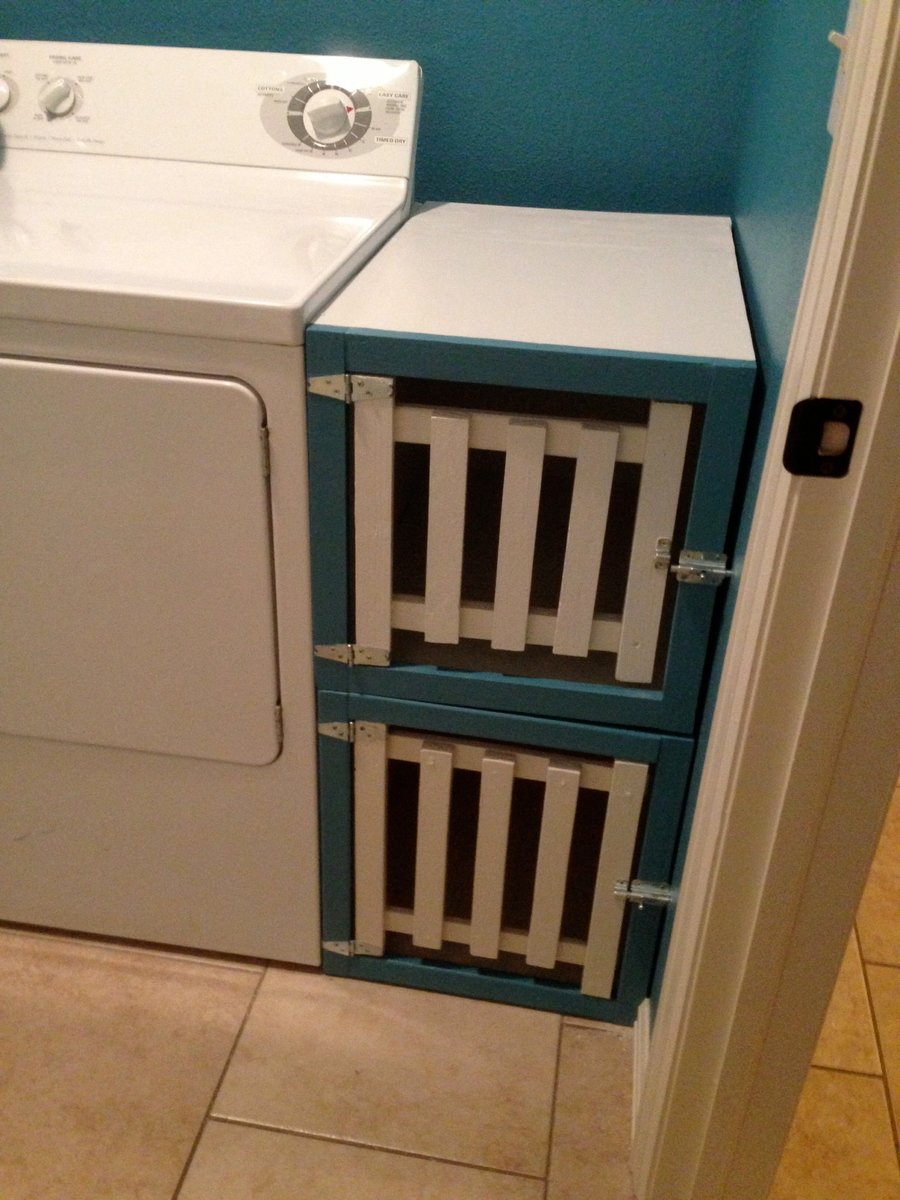
My wife told me she would like a pair of matching dog crates built to fit the space between the wall and the dryer in our laundry room. I built her two crates (25L x 17W x 18H) and painted them to match the colors in the laundry room. They fit the open space exactly and sit on top of each other. The entire project took about 2 days to finish and set me back around $80. They seem to work perfectly for our dogs, both of whom are on the smaller size of medium. They really tie the space together and add a wow factor to an other wise normal laundry room.
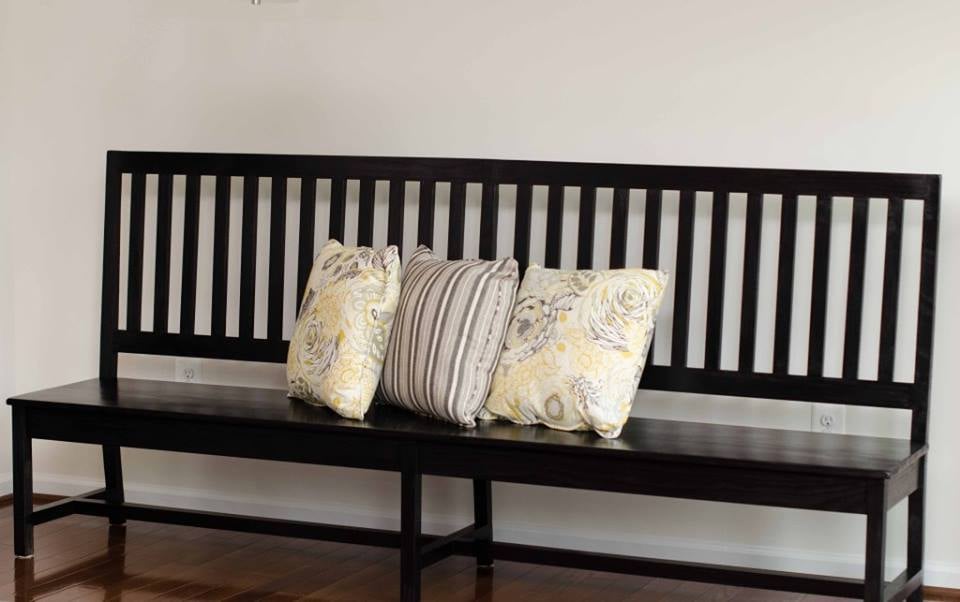
This was a custom build for a friend. It's nearly 8 feet long and I used the plans from the classic chair made simple for the back legs and support for the seat. Everything else was customized to fit her needs. =) Lots and lots and lots of pocket holes but this piece turned out better than what was pictured in my head!
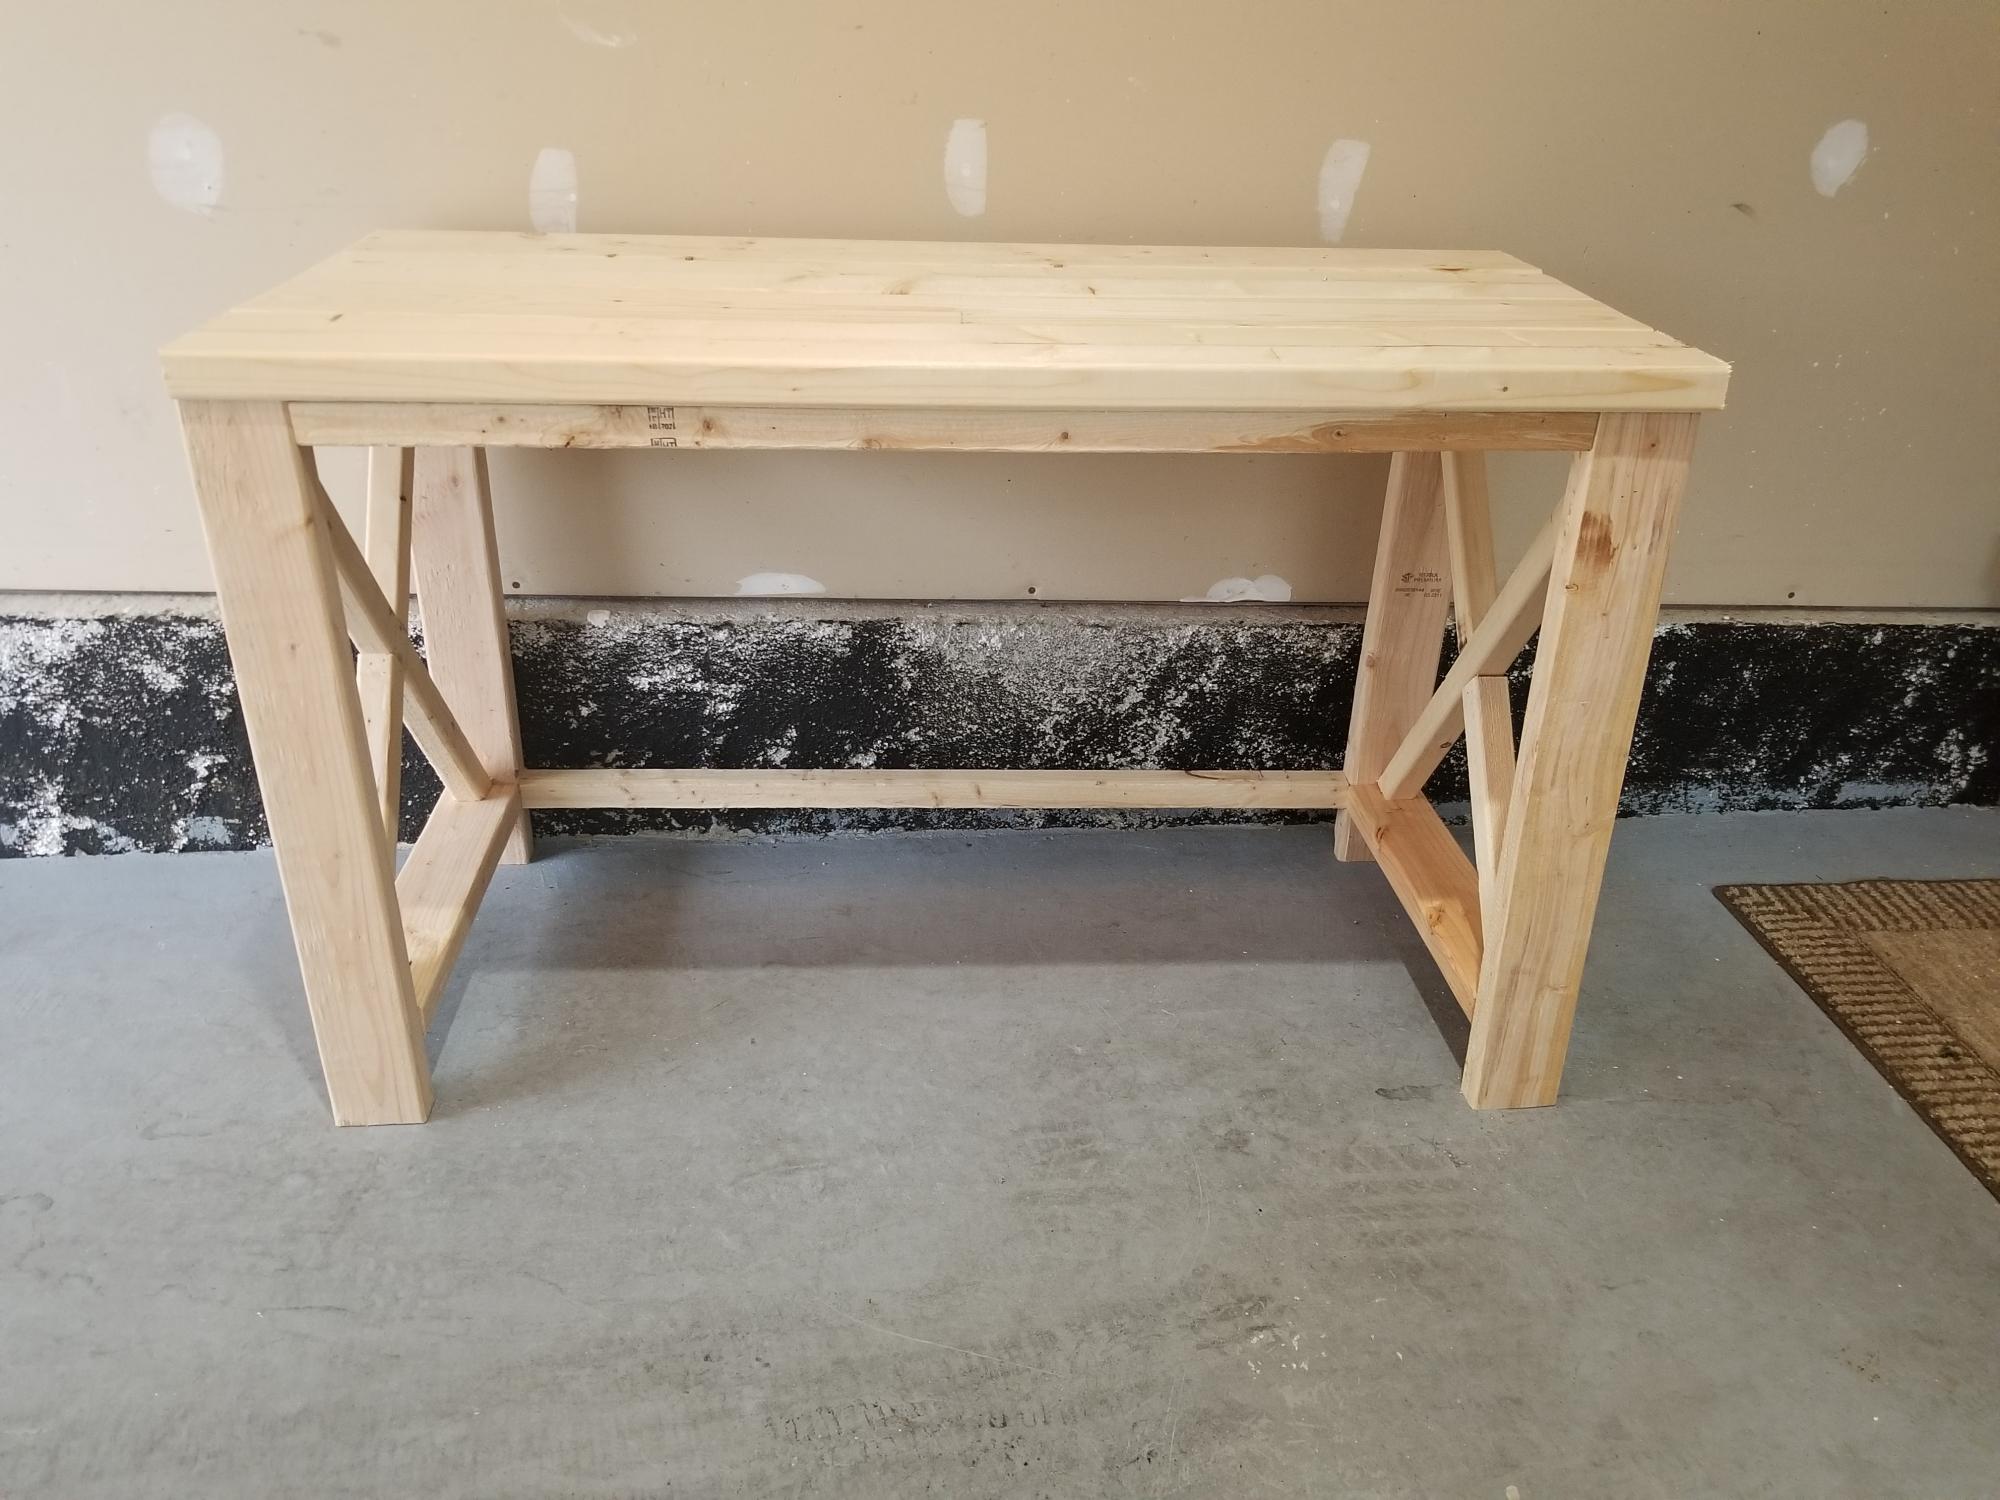
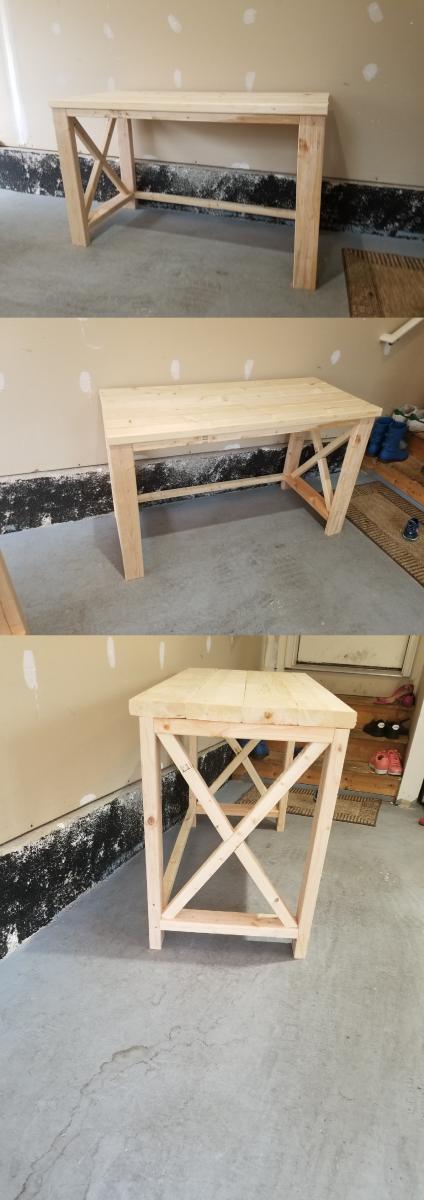
Desk for my sis, build on out of state visit. Left raw for her to finish. The X was a character builder as I only had my circular saw and my first time but decent enough lol
Thu, 09/17/2020 - 10:52
Are you going to paint or stain? Can't wait to see the finished project!:)
Fri, 09/18/2020 - 09:51
Looks awesome, can't wait to see how she finishes it!

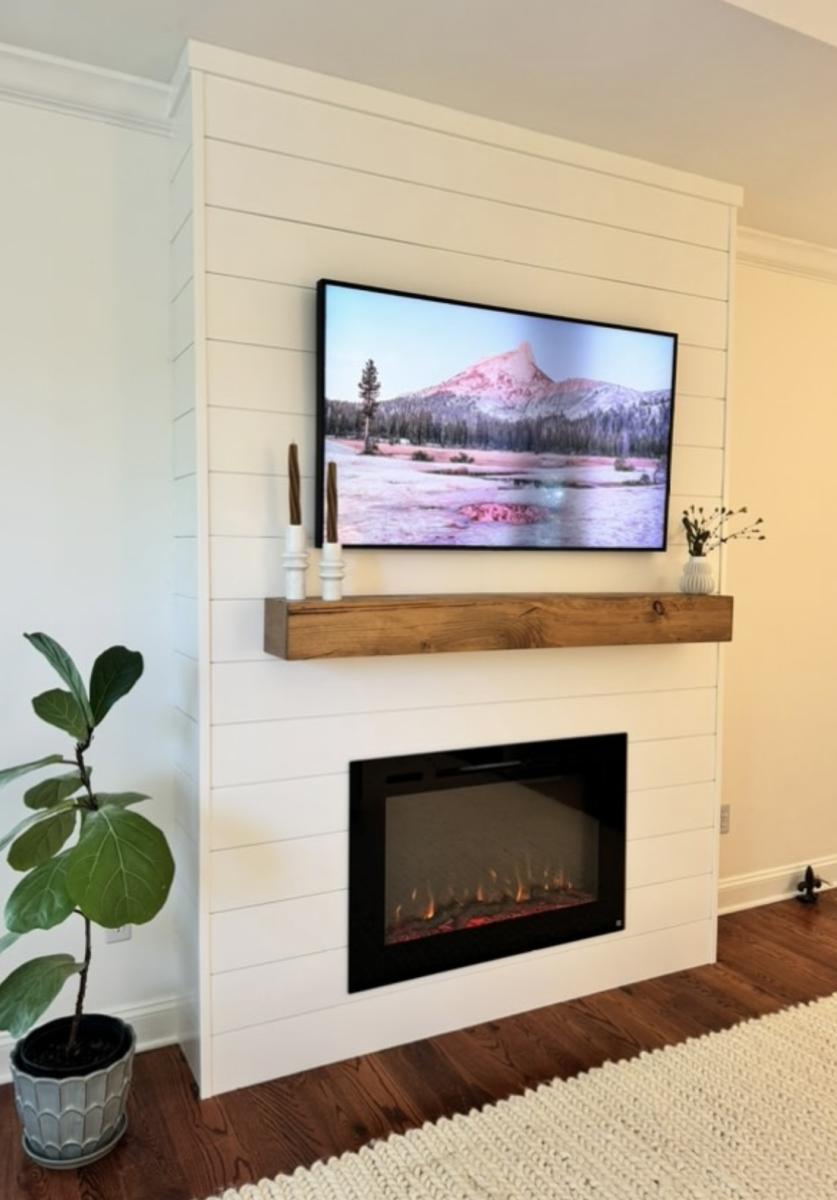
"My husband came up with the idea to build a bump-out fireplace to elevate our master bedroom space… and I’m so proud of him for executing it perfectly we can’t wait to relax here as the weather gets cooler. While contractors have quoted a job like this at $3000-4000+, we spent around $1250 doing the work ourselves (this includes wood, shiplap, paint supplies, electric fireplace, mantle, and recessed TV mount - we used a frame TV we already own)." - Carsonsays_ on Instagram


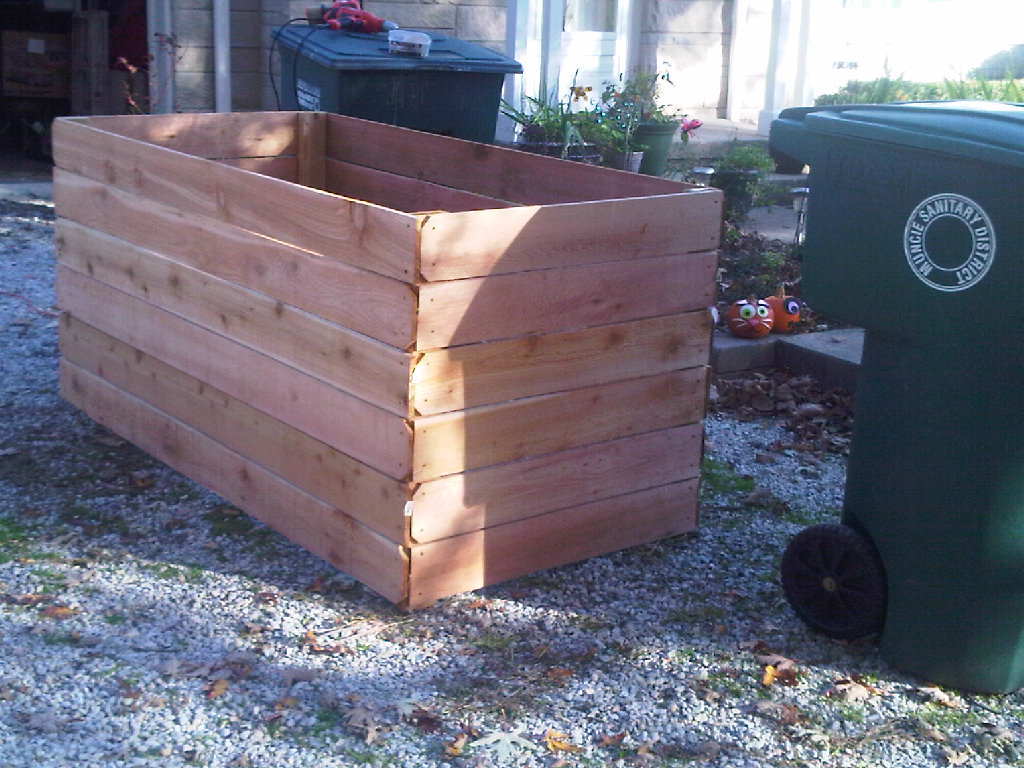
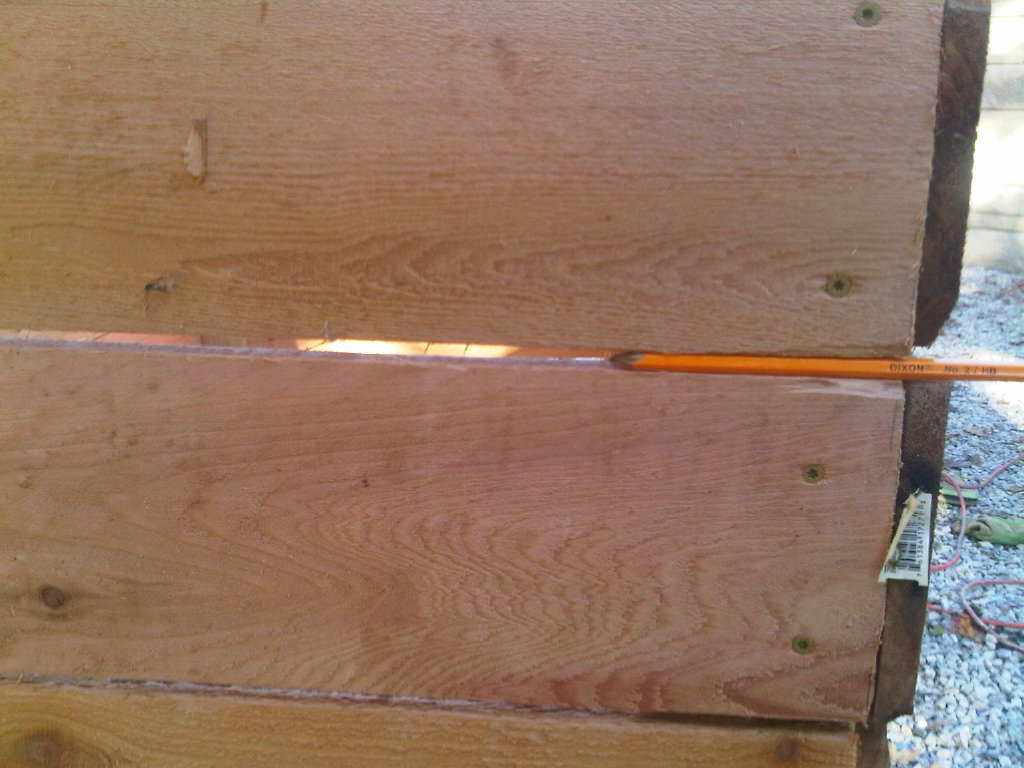
For this project, I used 6 foot cedar fence posts and 8 foot cedar 2x4s. I used a pencil to space the boards and allow extra air flow. More space between boards is acceptable - even to the extent of dropping off one full board and putting an inch between each side rail.
Another option is to make your sides interlocking layers, one or two boards high - http://cedarstackingcompostbin.blogspot.com/
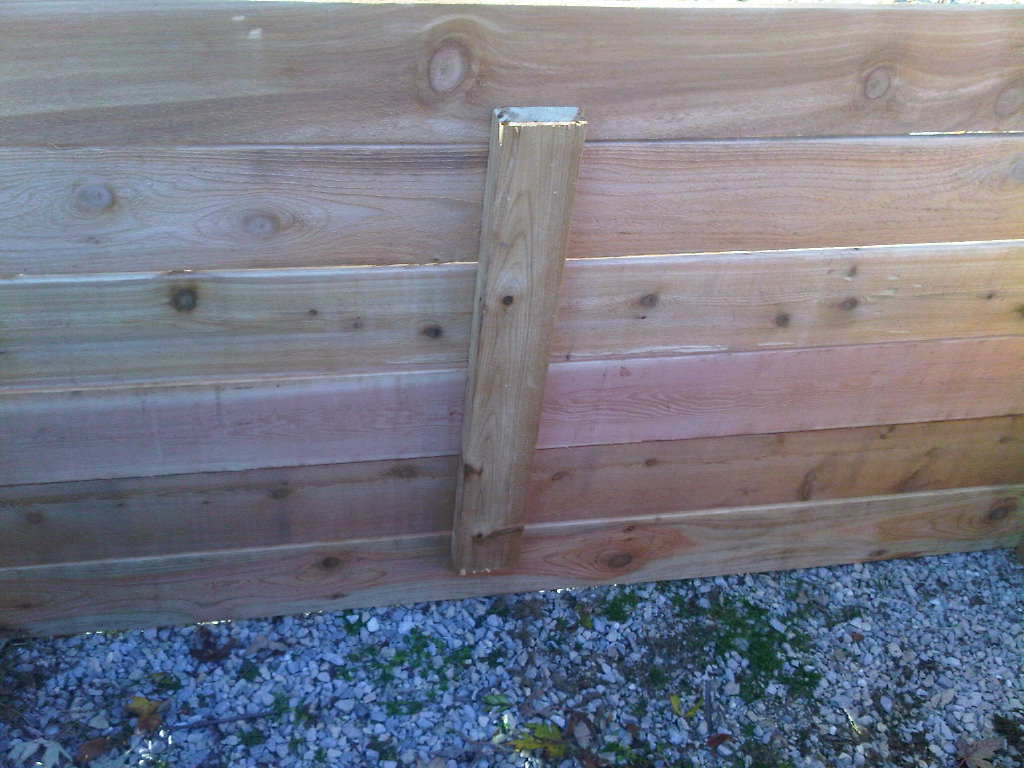
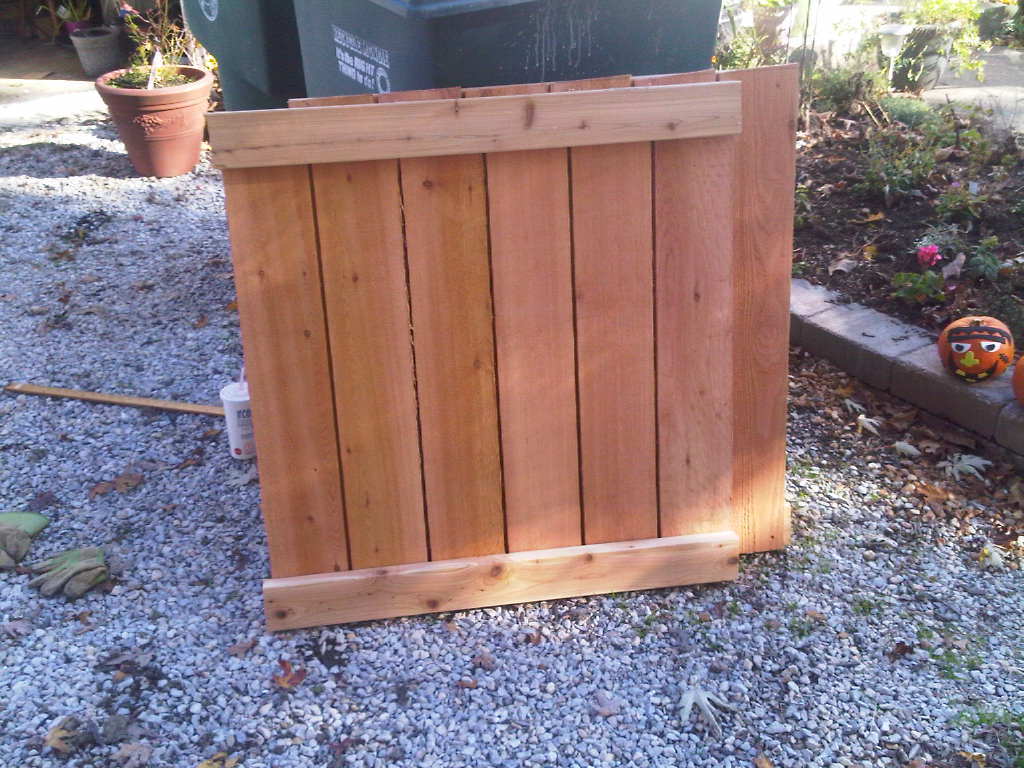
Since I am composting large amounts of leaves and grass clippings, mine is made in one piece. I don't turn my pile often - when I do, I can either lift the whole thing up or move the pile from side to side. I cut the 2x8x8 posts - cut a 3 foot length off of each end. Save the 2 foot center piece to brace the long sides. Affix your 1/2 (3 foot side) and full fence (6 foot side) boards to the 2x4, leaving the desired gap between each board. Affix each board with 2 weather proof screws - I used coated deck screws.
Attach the vertical posts to the inside of the cedar fence boards, including the short 2 foot boards that are just long enough to brace the long sides. I alternated the dog eared sides, so that each corner had one flat and one notched board.
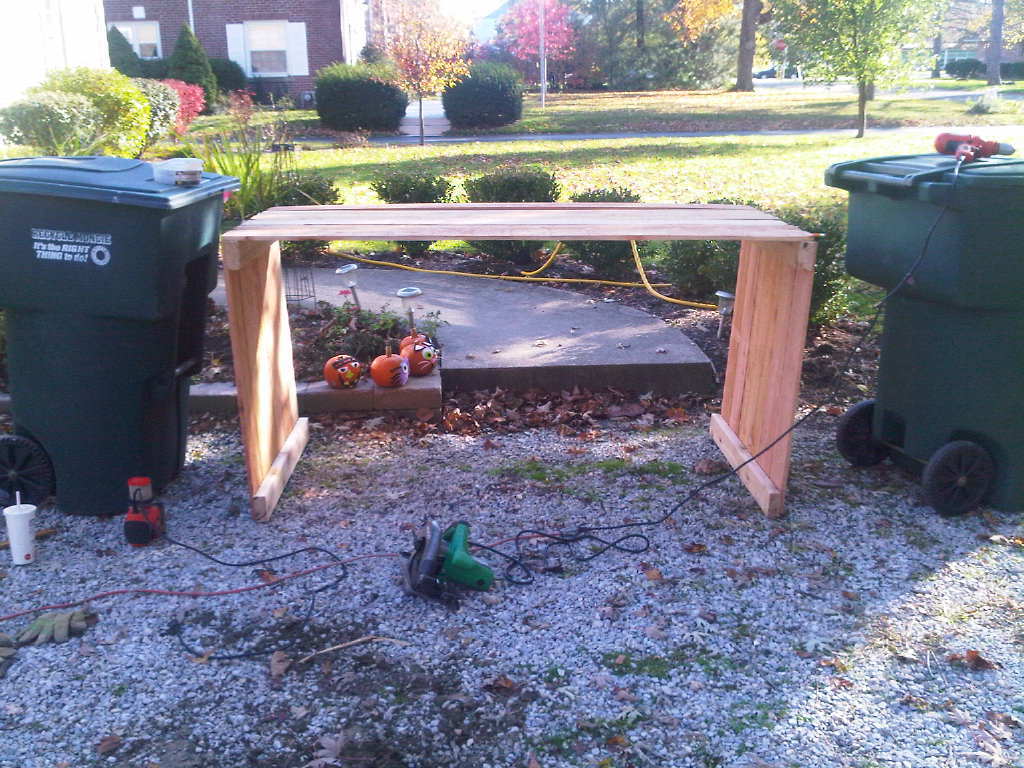
I used 24 cedar fence posts and 16 feet of cedar 2x4. Note, I was able to do this all along. The trash cans acted as supports - no clamps or saw horses needed.
Fri, 12/07/2012 - 18:43
This is a little heavy when finished. I can easily flip it over to turn the compost, but after building it and tiring my arms out with the cutting and drilling, it was a long haul to the back yard to position it. You might be happy with a 3x3 bin, in which case, I suggest making it 1 board shorter and leaving wider spaces - if you think through the math, you can probably get it down to 10-12 cedar fence posts and 1 longer 2x4. Cost would be about $35 that way - cheaper than most compost bins.
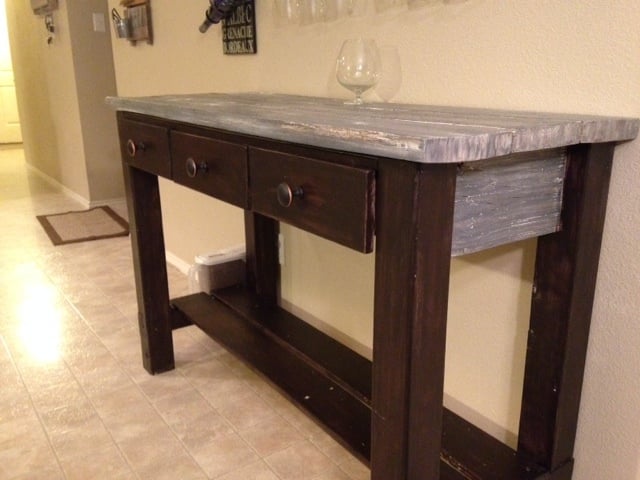
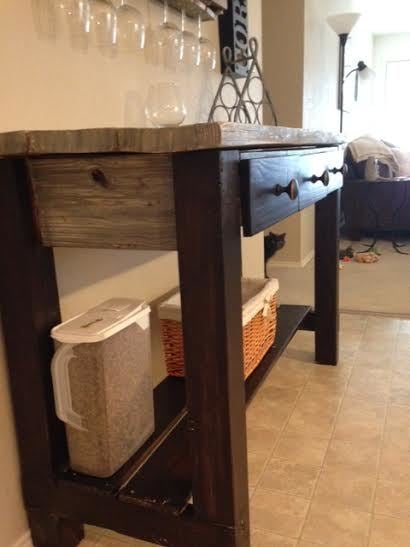
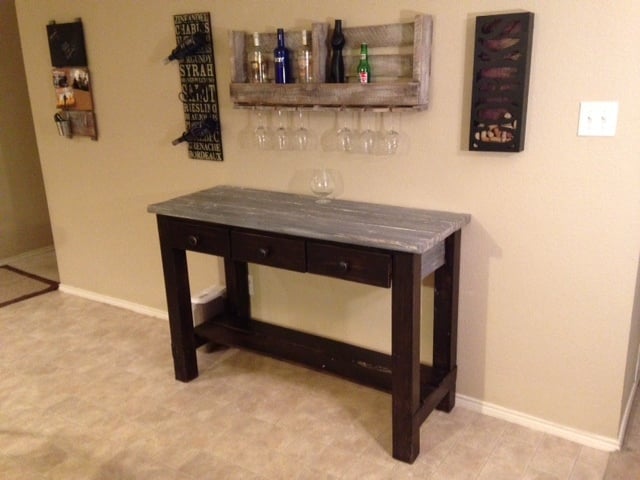
I built this buffet table for our dining room using the Gaby Kitchen Island plans. I used some reclaimed boards I salvaged from a trash pile at work for the top and side aprons. I also used old pallet wood for the bottom shelf boards. This gave it the cool, rustic look I was going for and really helped set it apart. Really fun project.
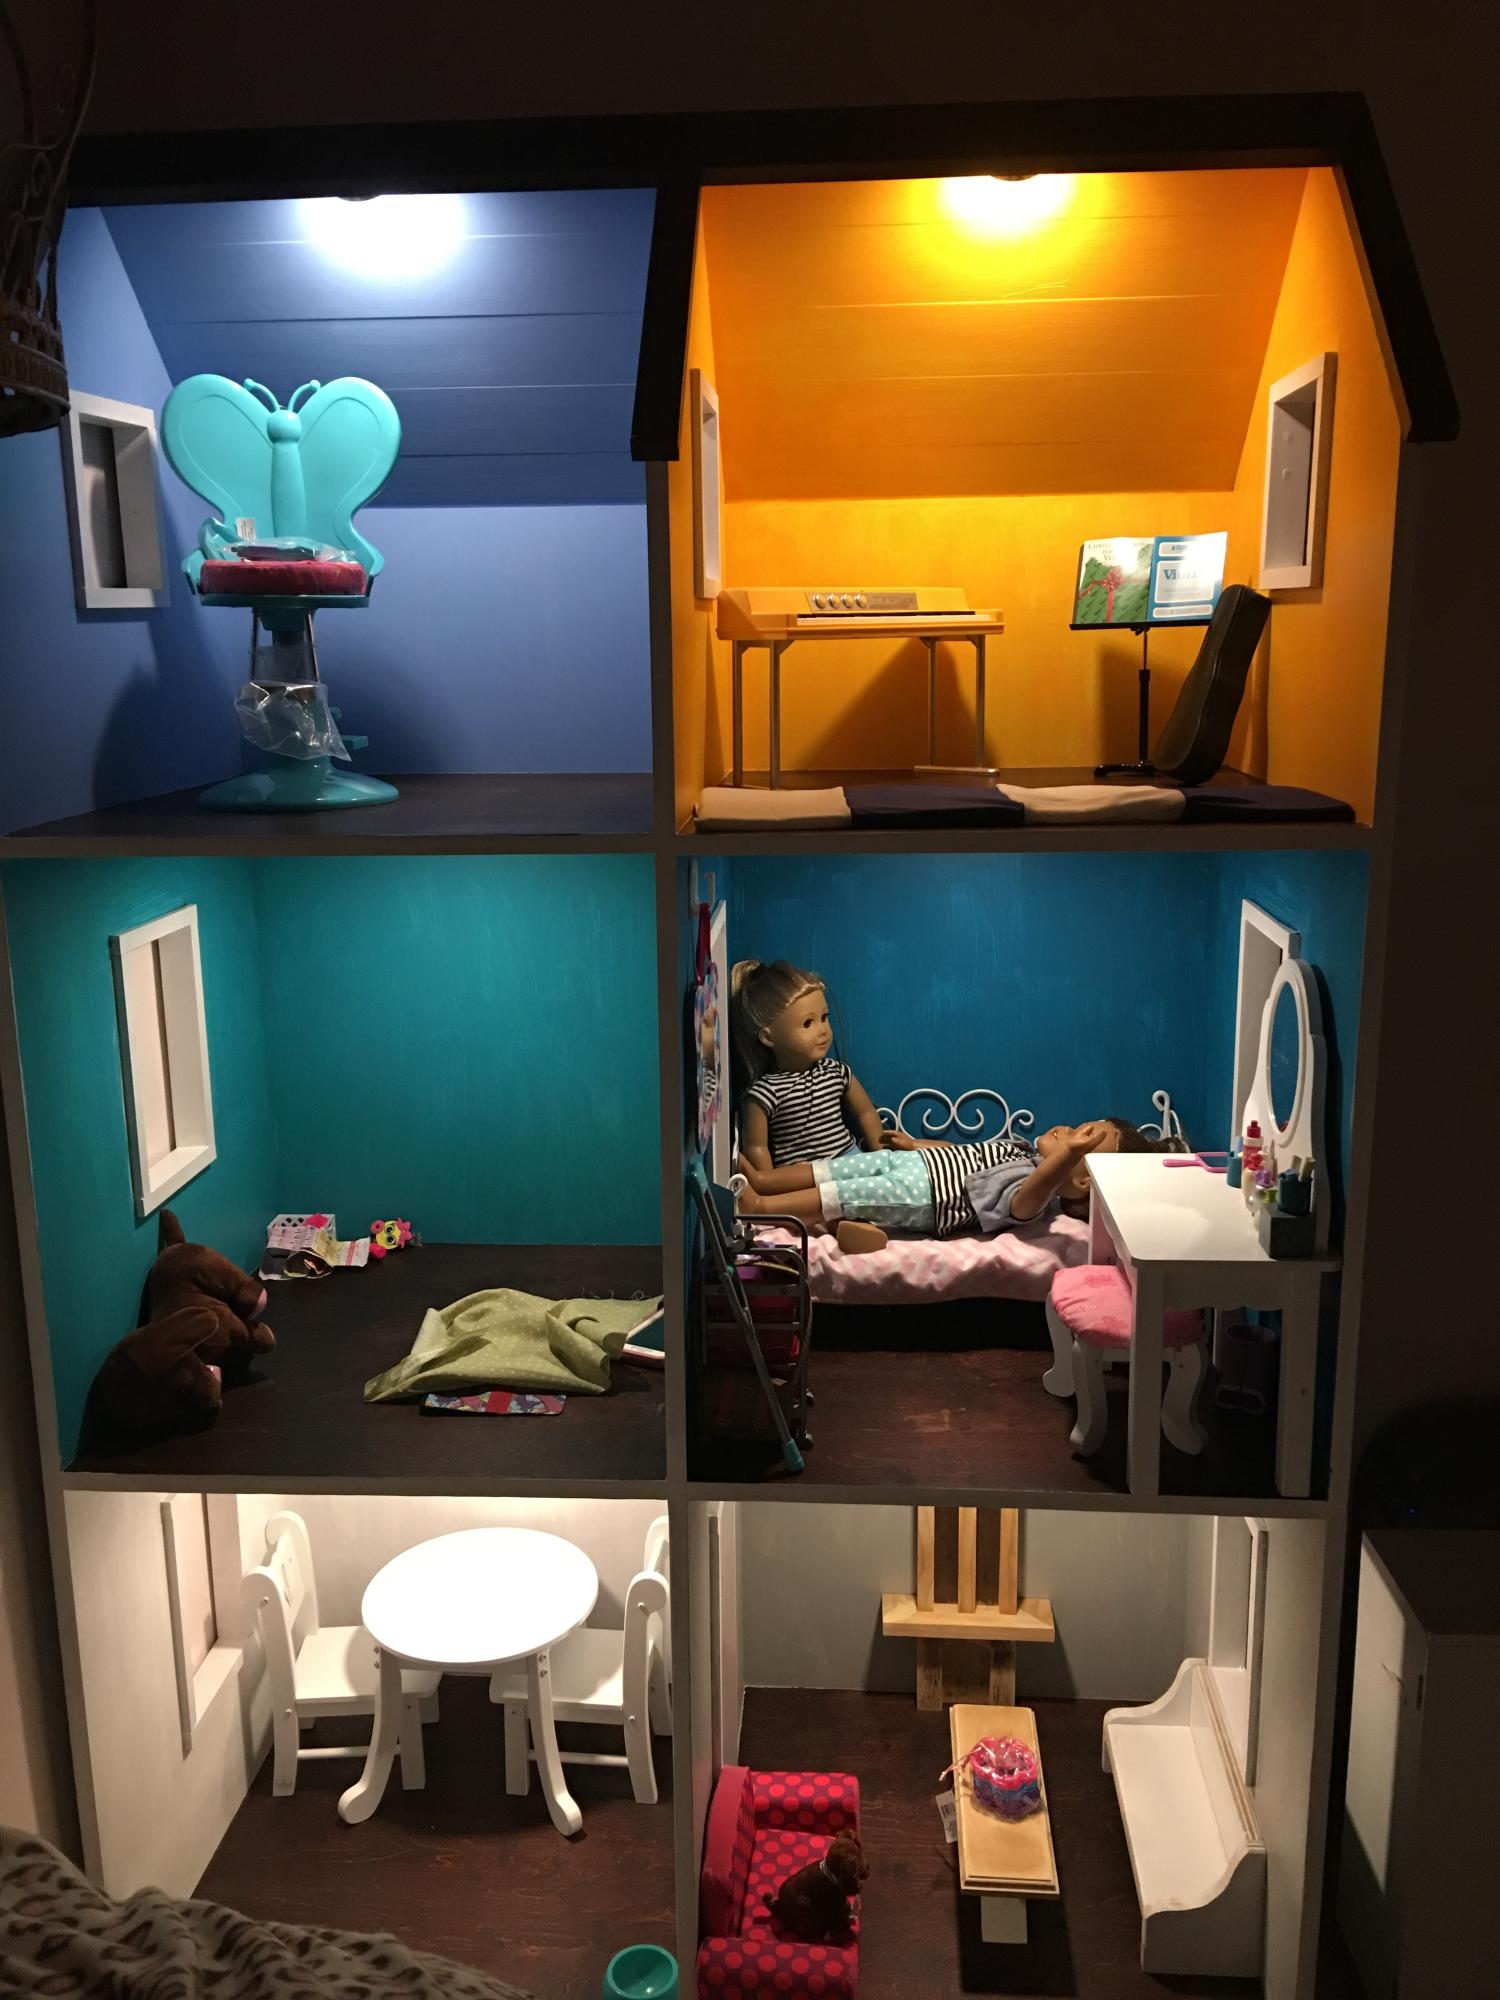
Thank you for the plans. It was a fun build and my girls love it!
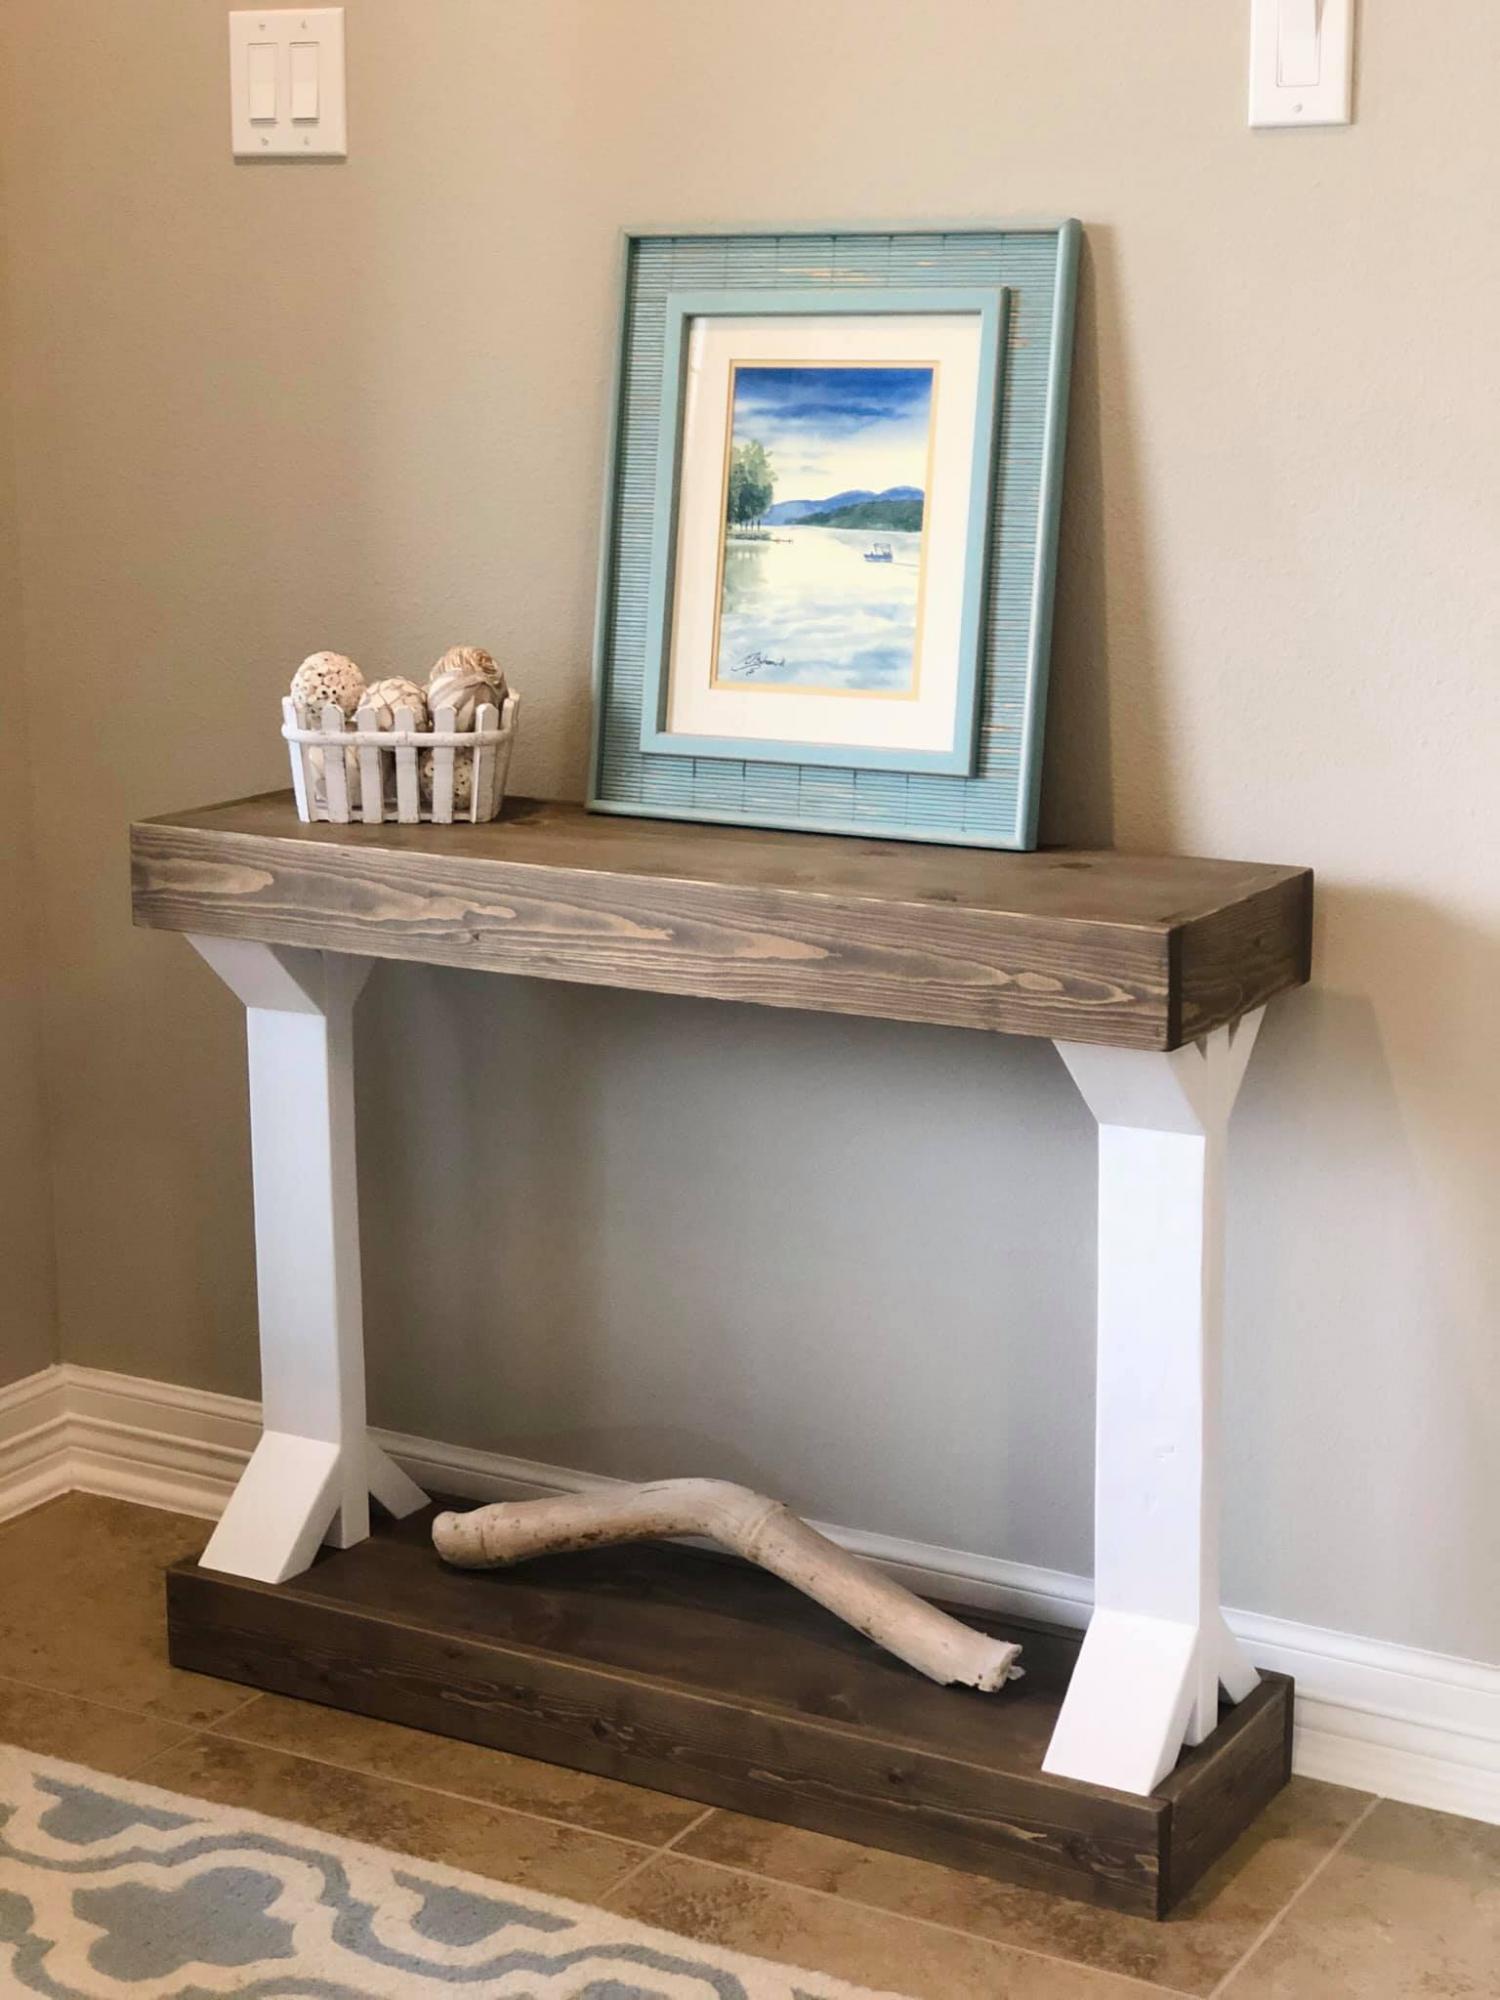
New table for my entryway!