Community Brag Posts

Workbench Console and Rustic Hutch
Submitted by mebohn on Mon, 06/11/2012 - 18:13

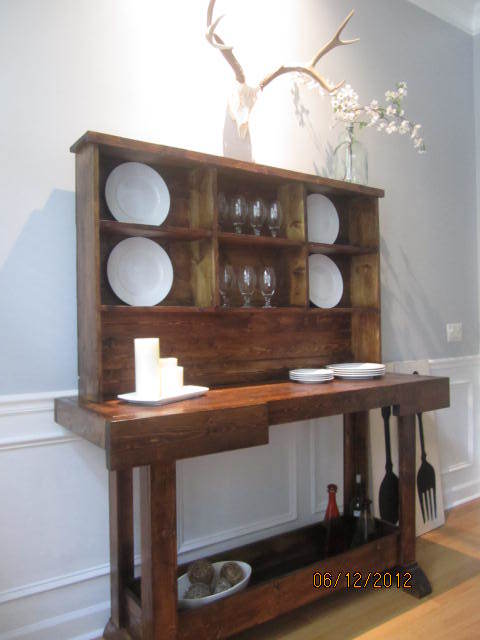
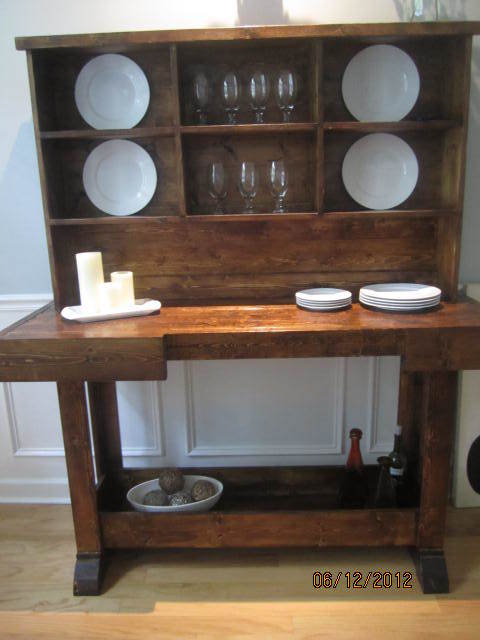
I love this antique workbench console b/c it's the perfect mix between my desire for beautiful and my husband's desire for rustic hunting lodge. (Southern girl meets Minnesota hunter - LOL). It's just a gorgeous antique look, but for far less money. I have haven't put the towel bar on the front yet b/c I keep forgetting to buy it (it's amazing how shopping with toddlers can do that to you). And in my area, mounted bottle openers are only available online, so we need to order one. I used standard stud grade 2x4's for the console, and 1x6's for the planked backing of the hutch. I also dropped the bottom shelf to the natural resting place at the bottom of the legs/top of the feet. It was so much easier for me that way as a beginner, and I really think it still looks great. This was my first Kreg Jig project - and it was so so easy. Ana is totally telling you the truth when she says it's completely worth the money to buy one. My father-in-law is a very well seasoned carpenter and wanted one after he saw some of the furniture I've built with it as a beginner! (We bought him one, of course, b/c he's awesome.)
Estimated Cost
Less than $100
Estimated Time Investment
Weekend Project (10-20 Hours)
Finish Used
2 Coats Minwax English Chestnut, 3 coats Minwax Polyeurethane sanding lightly in between coats
Recommended Skill Level
Intermediate

Comments

Atomic Credenza

Submitted by bethrose on Sat, 04/05/2014 - 19:01

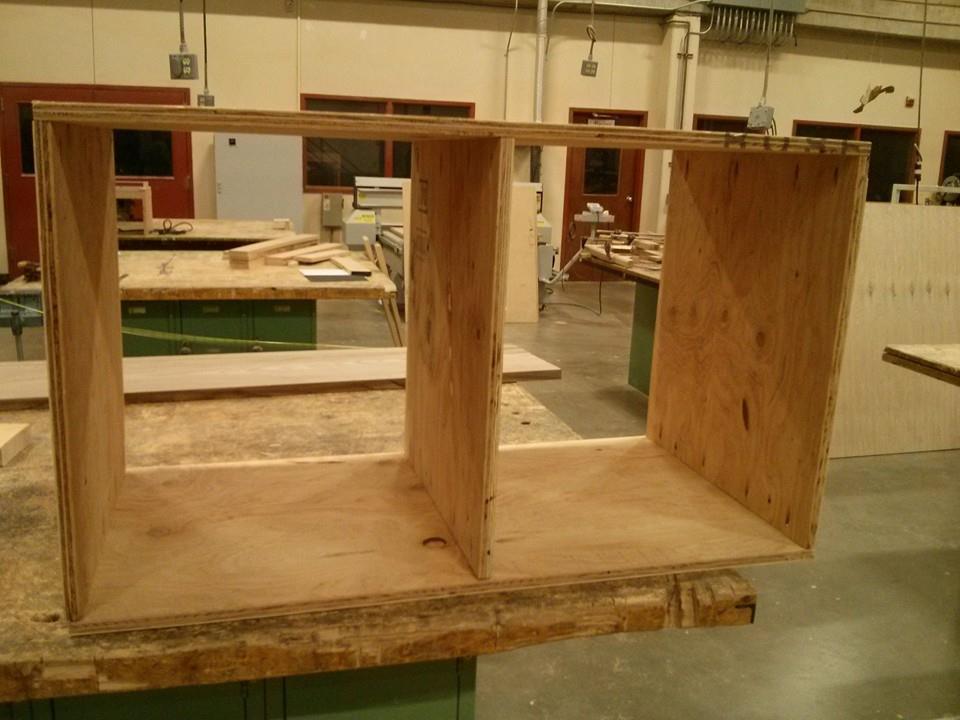
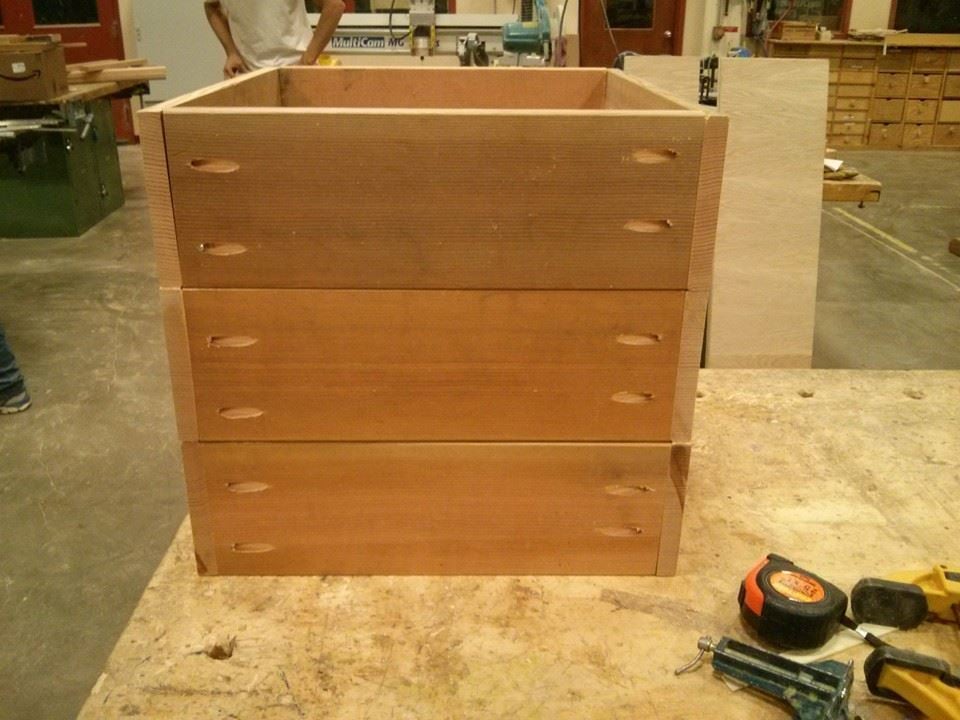
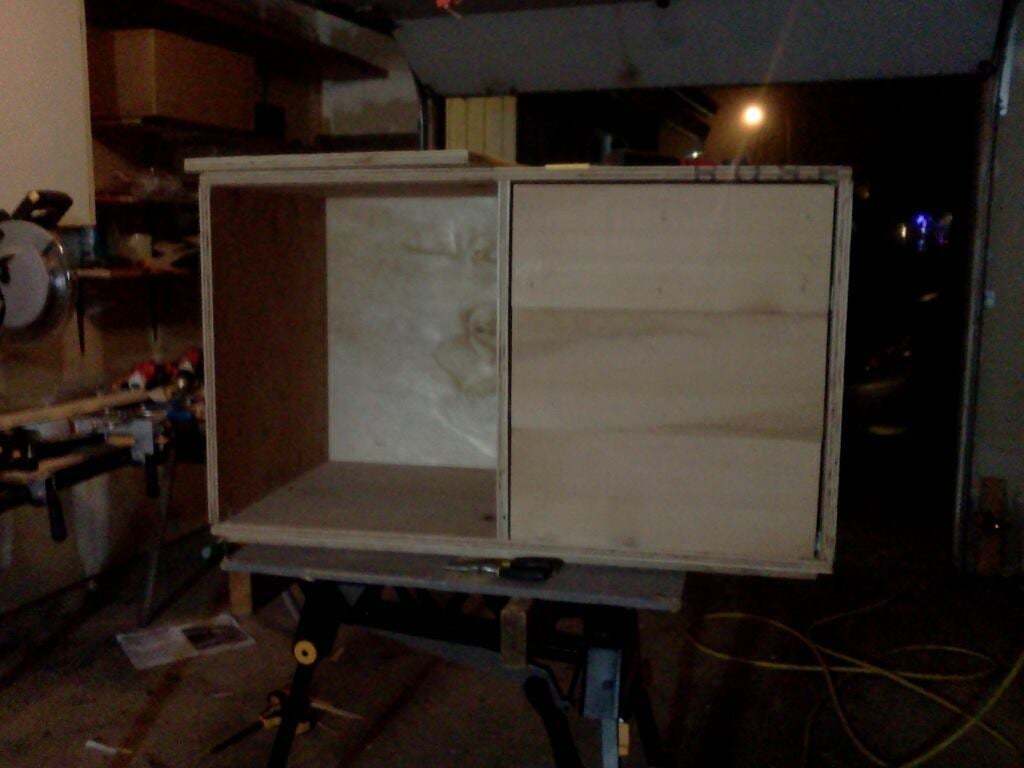
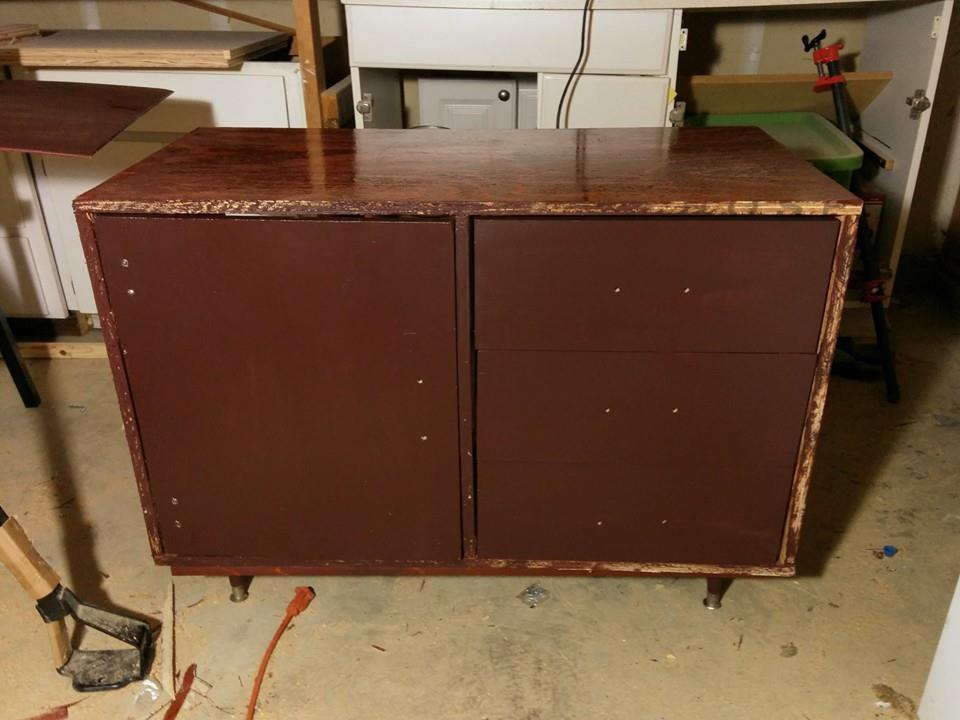
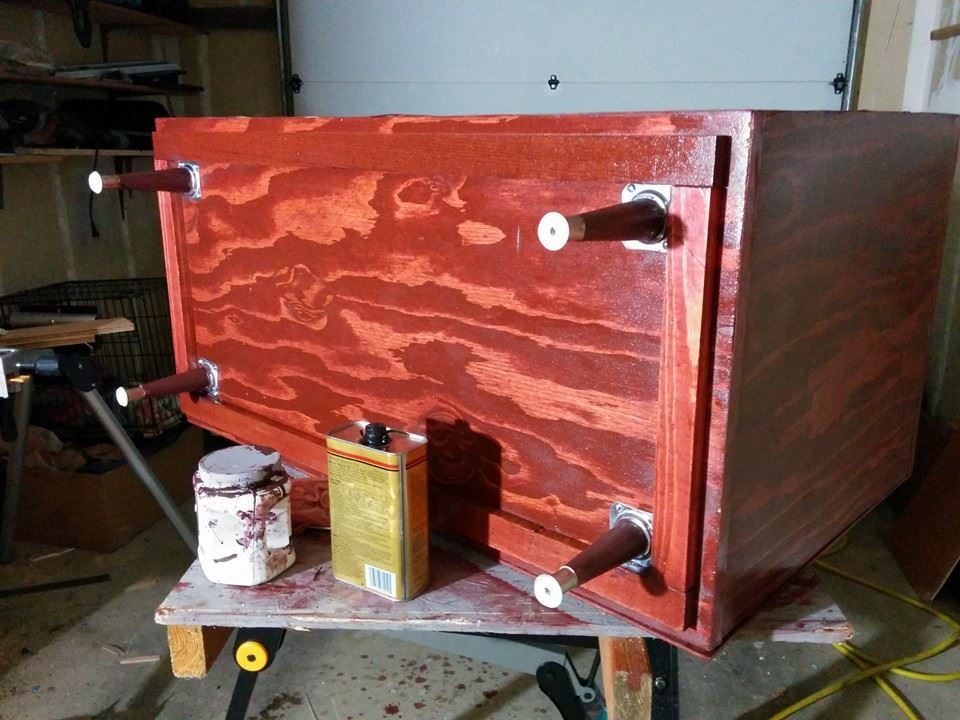
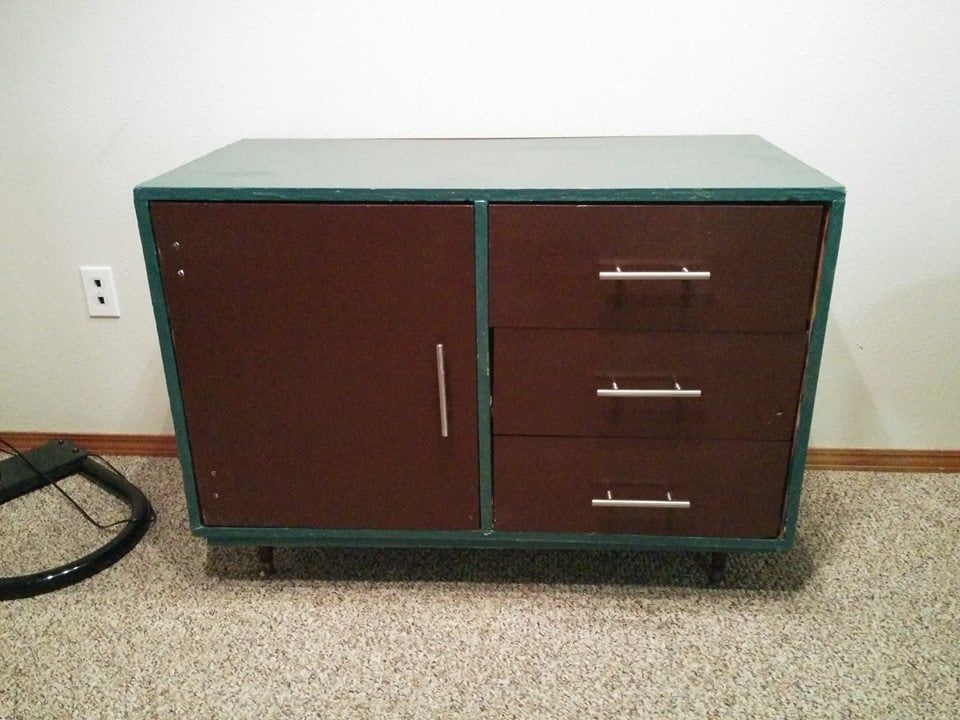
My neighbor loaned me a shop vac and a palm sander to refinish a table, and I fell down a rabbit hole. This is the Brooke Mid-century Console Table from this site. I need to touch up paint the front, and it's not perfect, but this was my first woodworking project. I think the hardest part was wrestling with the drawer slides; I think I had to remount them three or four times. There was plenty of swearing involved with the Euro hinge as well.

I took a "Woodworking: Your Own Projects" class at the local community college, but this project was almost entirely self-taught (although I had plenty of adult supervision while learning to use the saws.)
I bought most of the materials from Building Materials Resources, a local reclaimed building supply store. And then took about a million trips to the local big box home supply stores for "just one more thing."

I had originally stained the project with Minwax Sedona Red and put some wipe-on oil-based poly on it, but the drawer fronts came out blotchy because I had used wood putty over the brad holes, so I painted those and the door brown ("Polished Mahogany" SW2838.) Then the edgebanding that I had applied on the front and stained was peeling off and looking terrible, and I didn't want to redo it.
I gave up and scuff-sanded the whole thing and painted the rest of it blue ("Still Water" SW6223.) I then applied several coats of semi-gloss spray water-based polyurethane, sanding lightly inbetween coats. I finished it off with a coat of Howards Feed N Wax and 0000 steel wool.

One tip that I have is that you can buy enormous (quart sized!) paint samples at Sherwin Williams for about $5 apiece. I used a paint sample for the brown portions, and a "real" quart of paint for the blue portion, and I cannot tell the difference in quality.

Skills learned:
Drilling pilot holes (believe it or not)
How to use the Kreg jig
How to use a miter saw
How to use a circular saw
How to use a table saw
Applying edgebanding
Applying wood filler
Staining
Building drawer boxes
Installing drawer pulls
Installing drawer slides
Installing euro-hinges (and how to use a Forstner bit)
How to use a brad nailer
How to attach table legs
Probably some other stuff that I forgot

Estimated Time Investment
Week Long Project (20 Hours or More)
Finish Used
Paint + Spray semi-gloss water based Varathane
Recommended Skill Level
Starter Project

Sewing Cutting Table (over rabbit cage!)

Submitted by Anonymous (not verified) on Sat, 07/02/2016 - 14:46

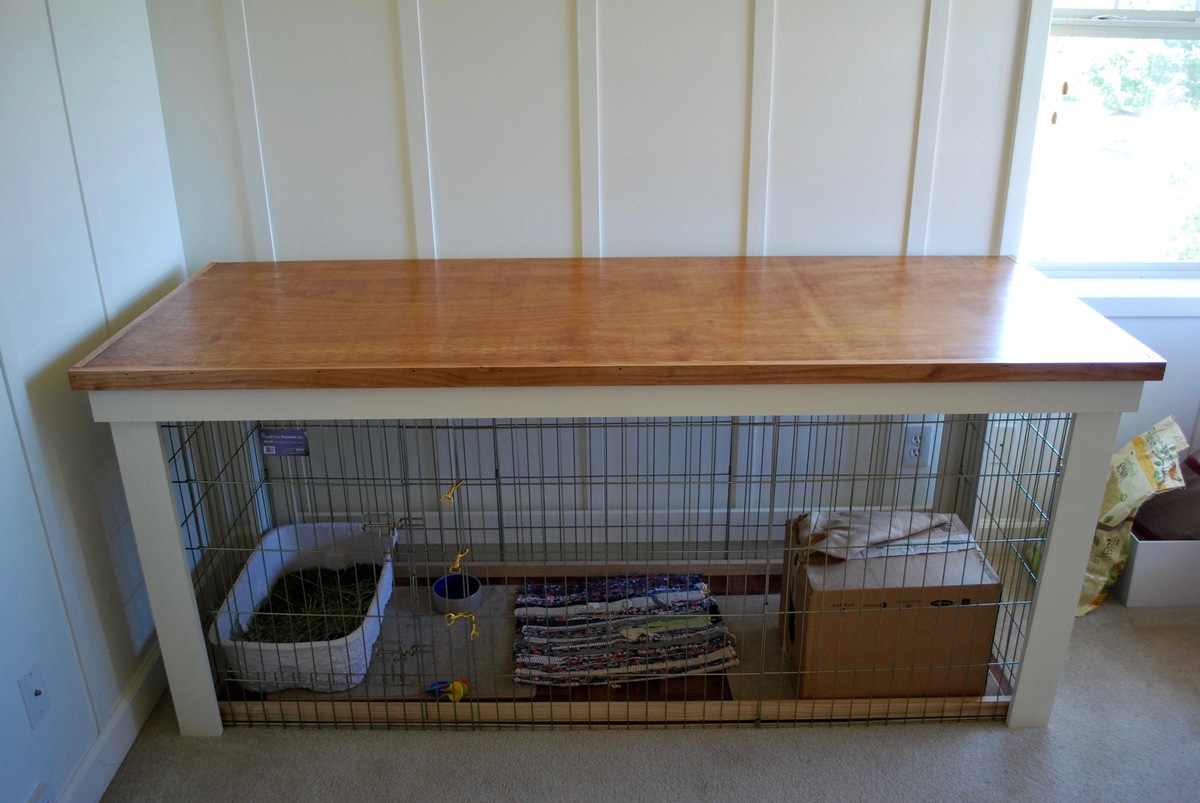
Our rabbit lives in a 2'x6' Xpen cage set up in my tiny sewing room. As cute and fluffy as he is, I couldn't help but see his space as intruding on some valuable sewing real estate. I had to do all my fabric cutting on the kitchen table and lug everything back upstairs to the sewing room when it was time to eat. Laying out patterns had to occur on the floor. I thought it would be quite nice to have a table in the rabbit's corner ... :) I've used 2 of Ana's plans for bookshelves years ago and so I KNEW I could come up with a simple table plan and execute it. It took me about 10 minutes to formulate my plan and about 4 days to build it. :) The top is removable so we can easily move the table ... otherwise it would be a real back-breaker! 


Note: The estimated cost is $100, but that's because I had supplies other than wood to buy. Screws, glue, stain, etc. I'd say it was $60 in lumber.

Estimated Cost
$100
Estimated Time Investment
Week Long Project (20 Hours or More)
Finish Used
I used chalk paint with Annie Sloan clear wax on the leg portion. For the top (pine plywood trimmed out with select pine 1x2s), I used wood conditioner, 2 coats of Minwax Gel Stain, then wet sanded with lemon oil followed by 2 coats of Annie Sloan clear wax buffed to a subtle shine. Let me tell you ... if you don't know about wet sanding with oil, Google it! It created a baby-butt-smooth finish on this plywood. So simple and such a difference!
Recommended Skill Level
Beginner

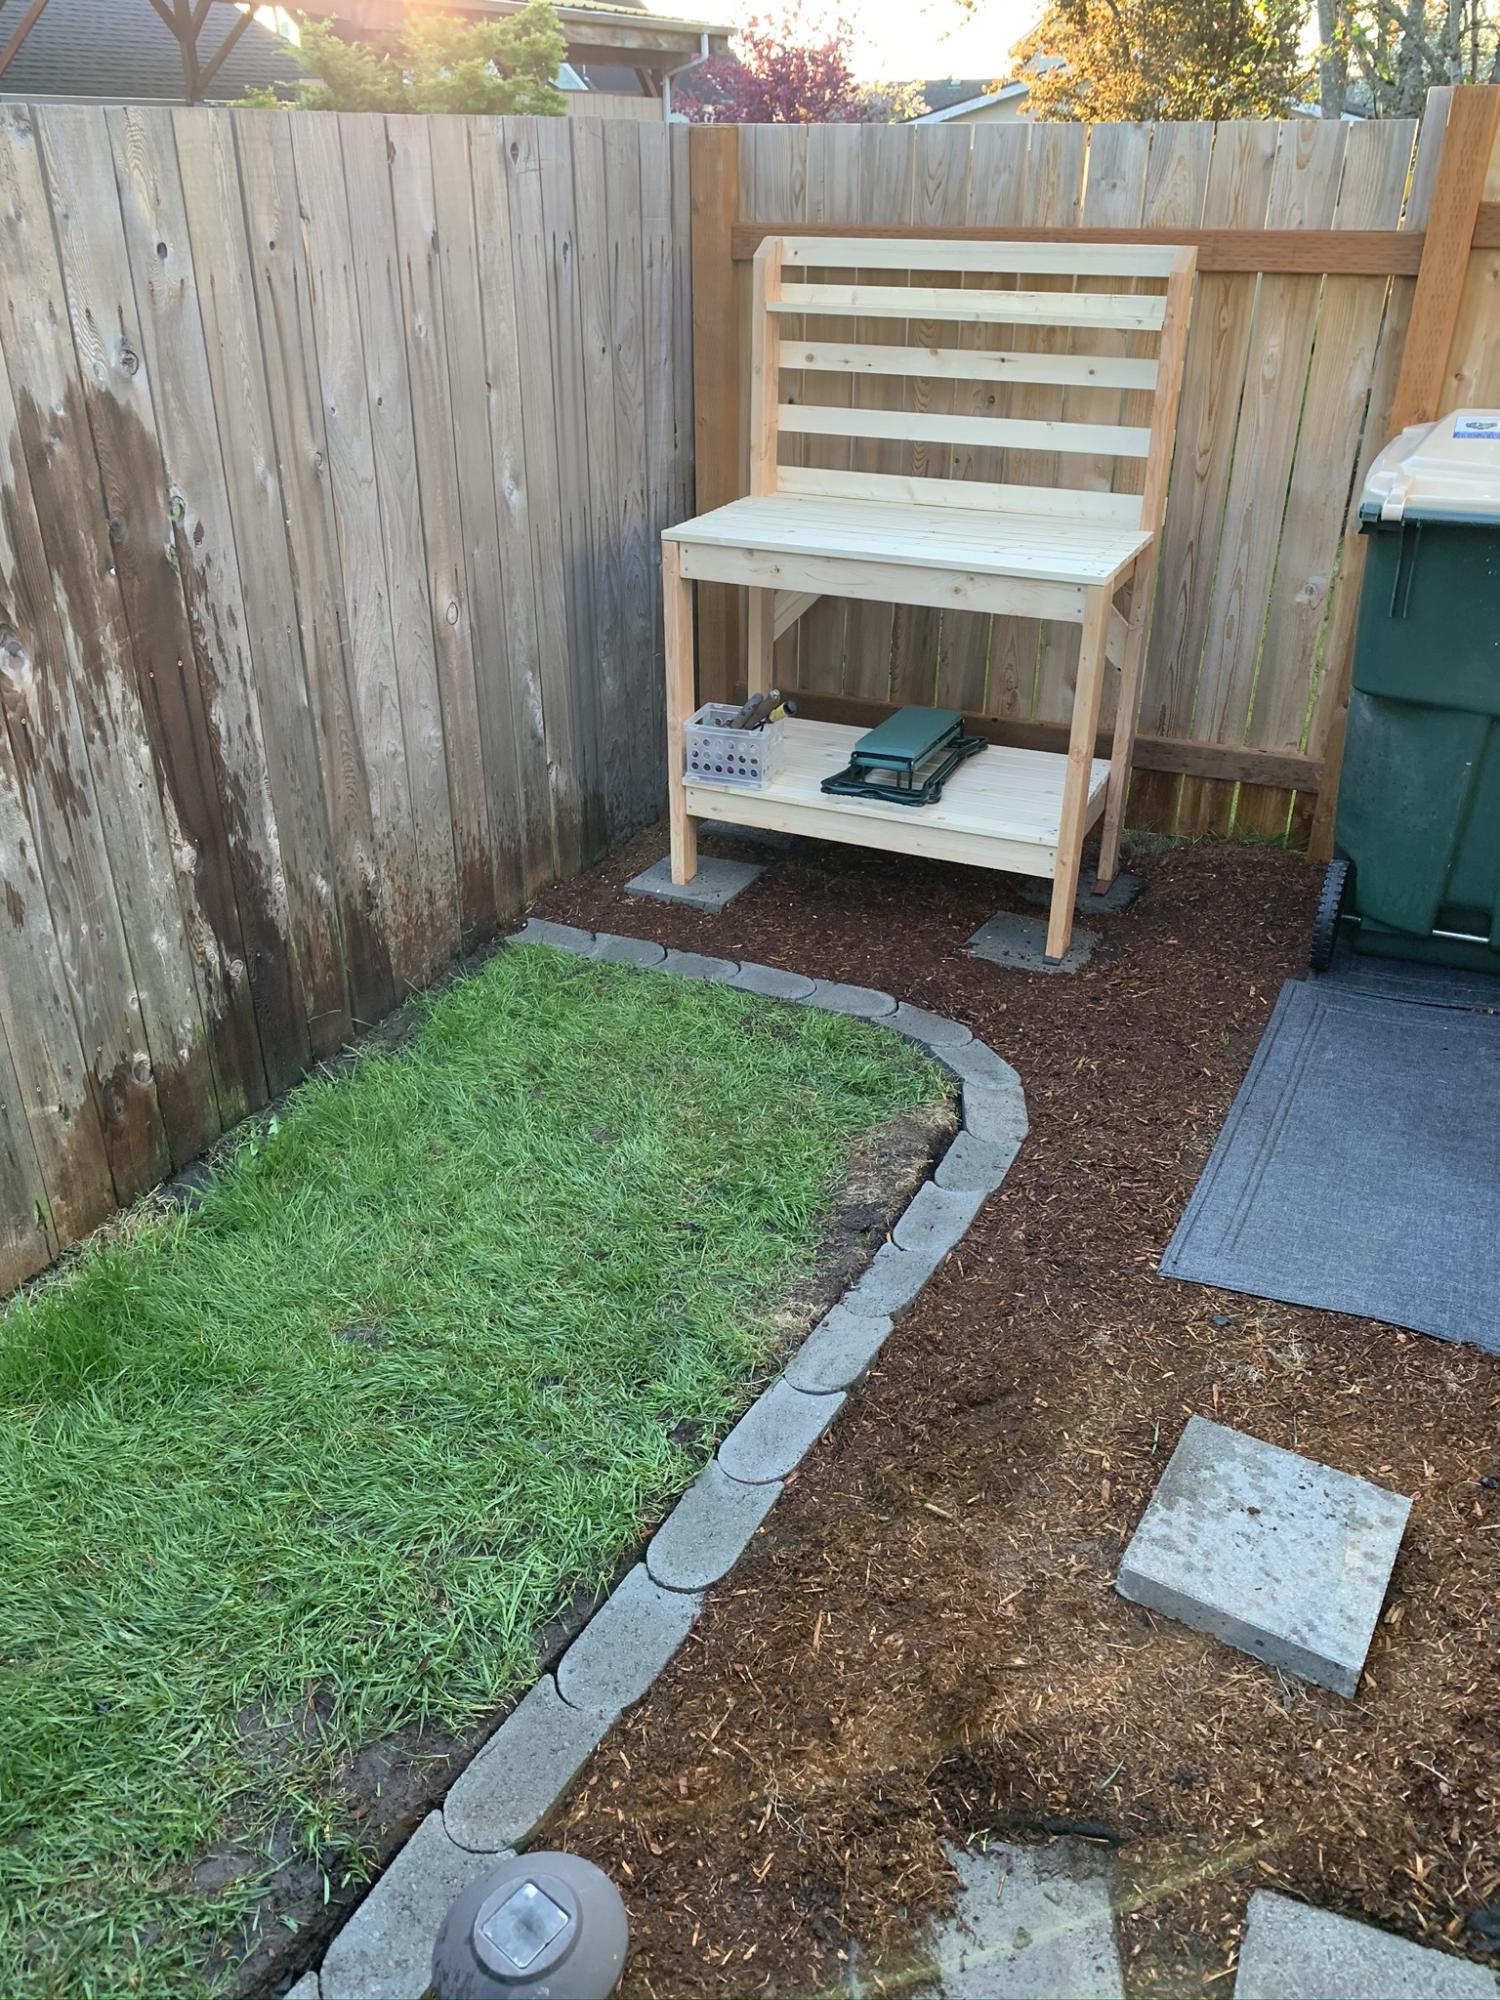
Garden-potting bench

Submitted by Anonymous (not verified) on Mon, 04/27/2020 - 19:48

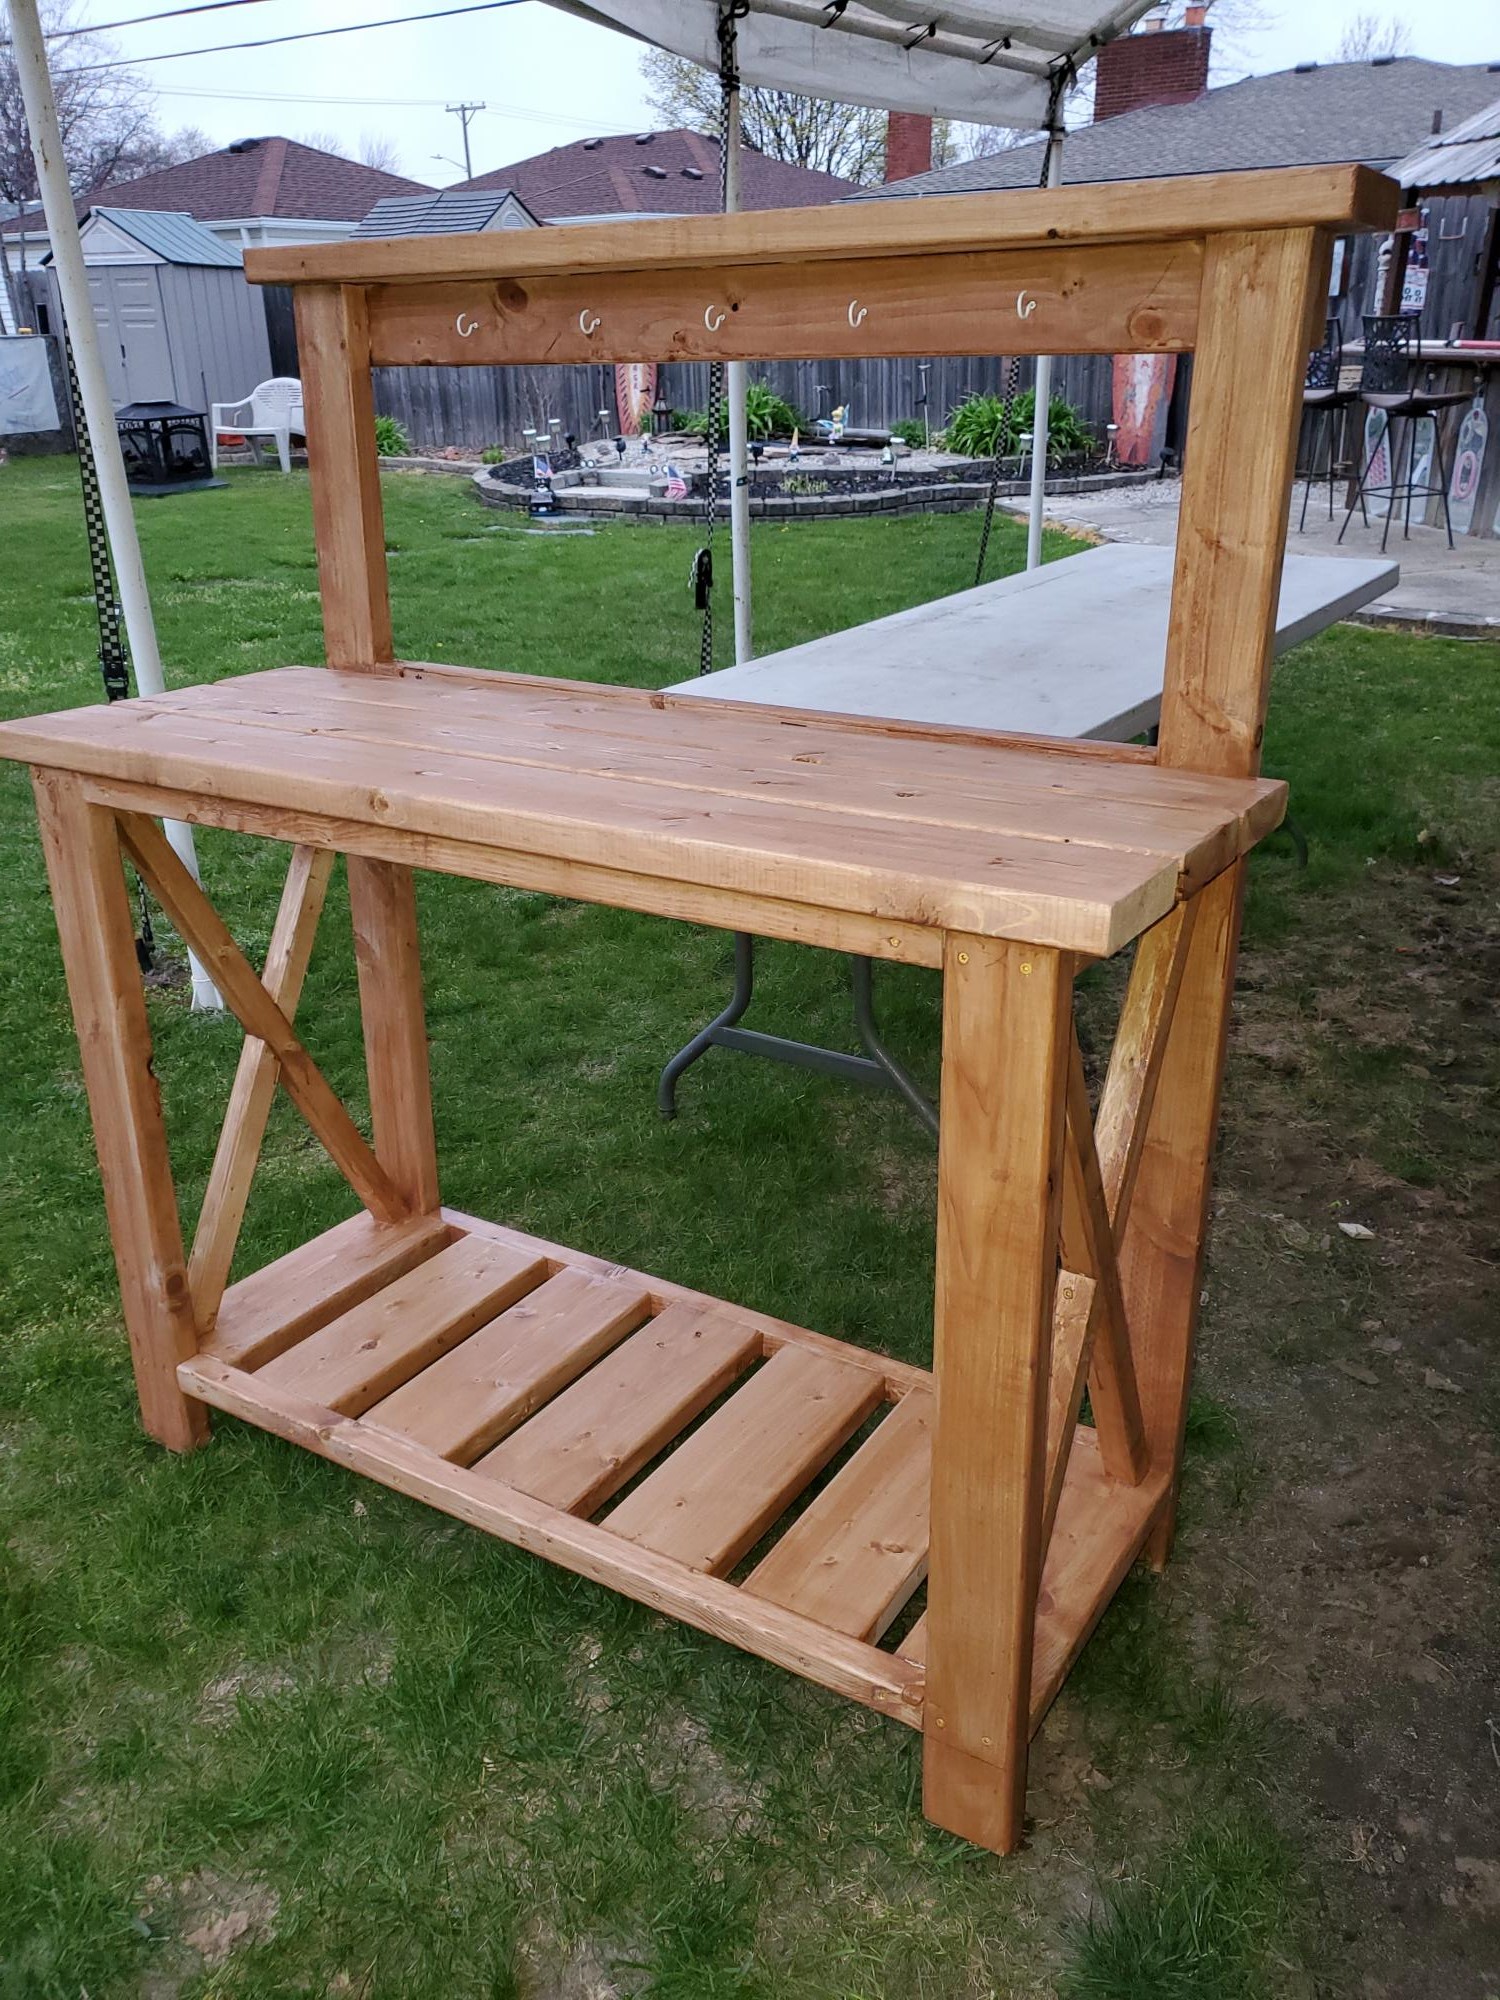
Great project! Thank you Ana!

1 thing though, it was 6-2×6×8' boards!
Cheers!

Built from Plan(s)
Estimated Time Investment
An Hour or Two (0-2 Hours)
Finish Used
Stained
Recommended Skill Level
Intermediate

Comments

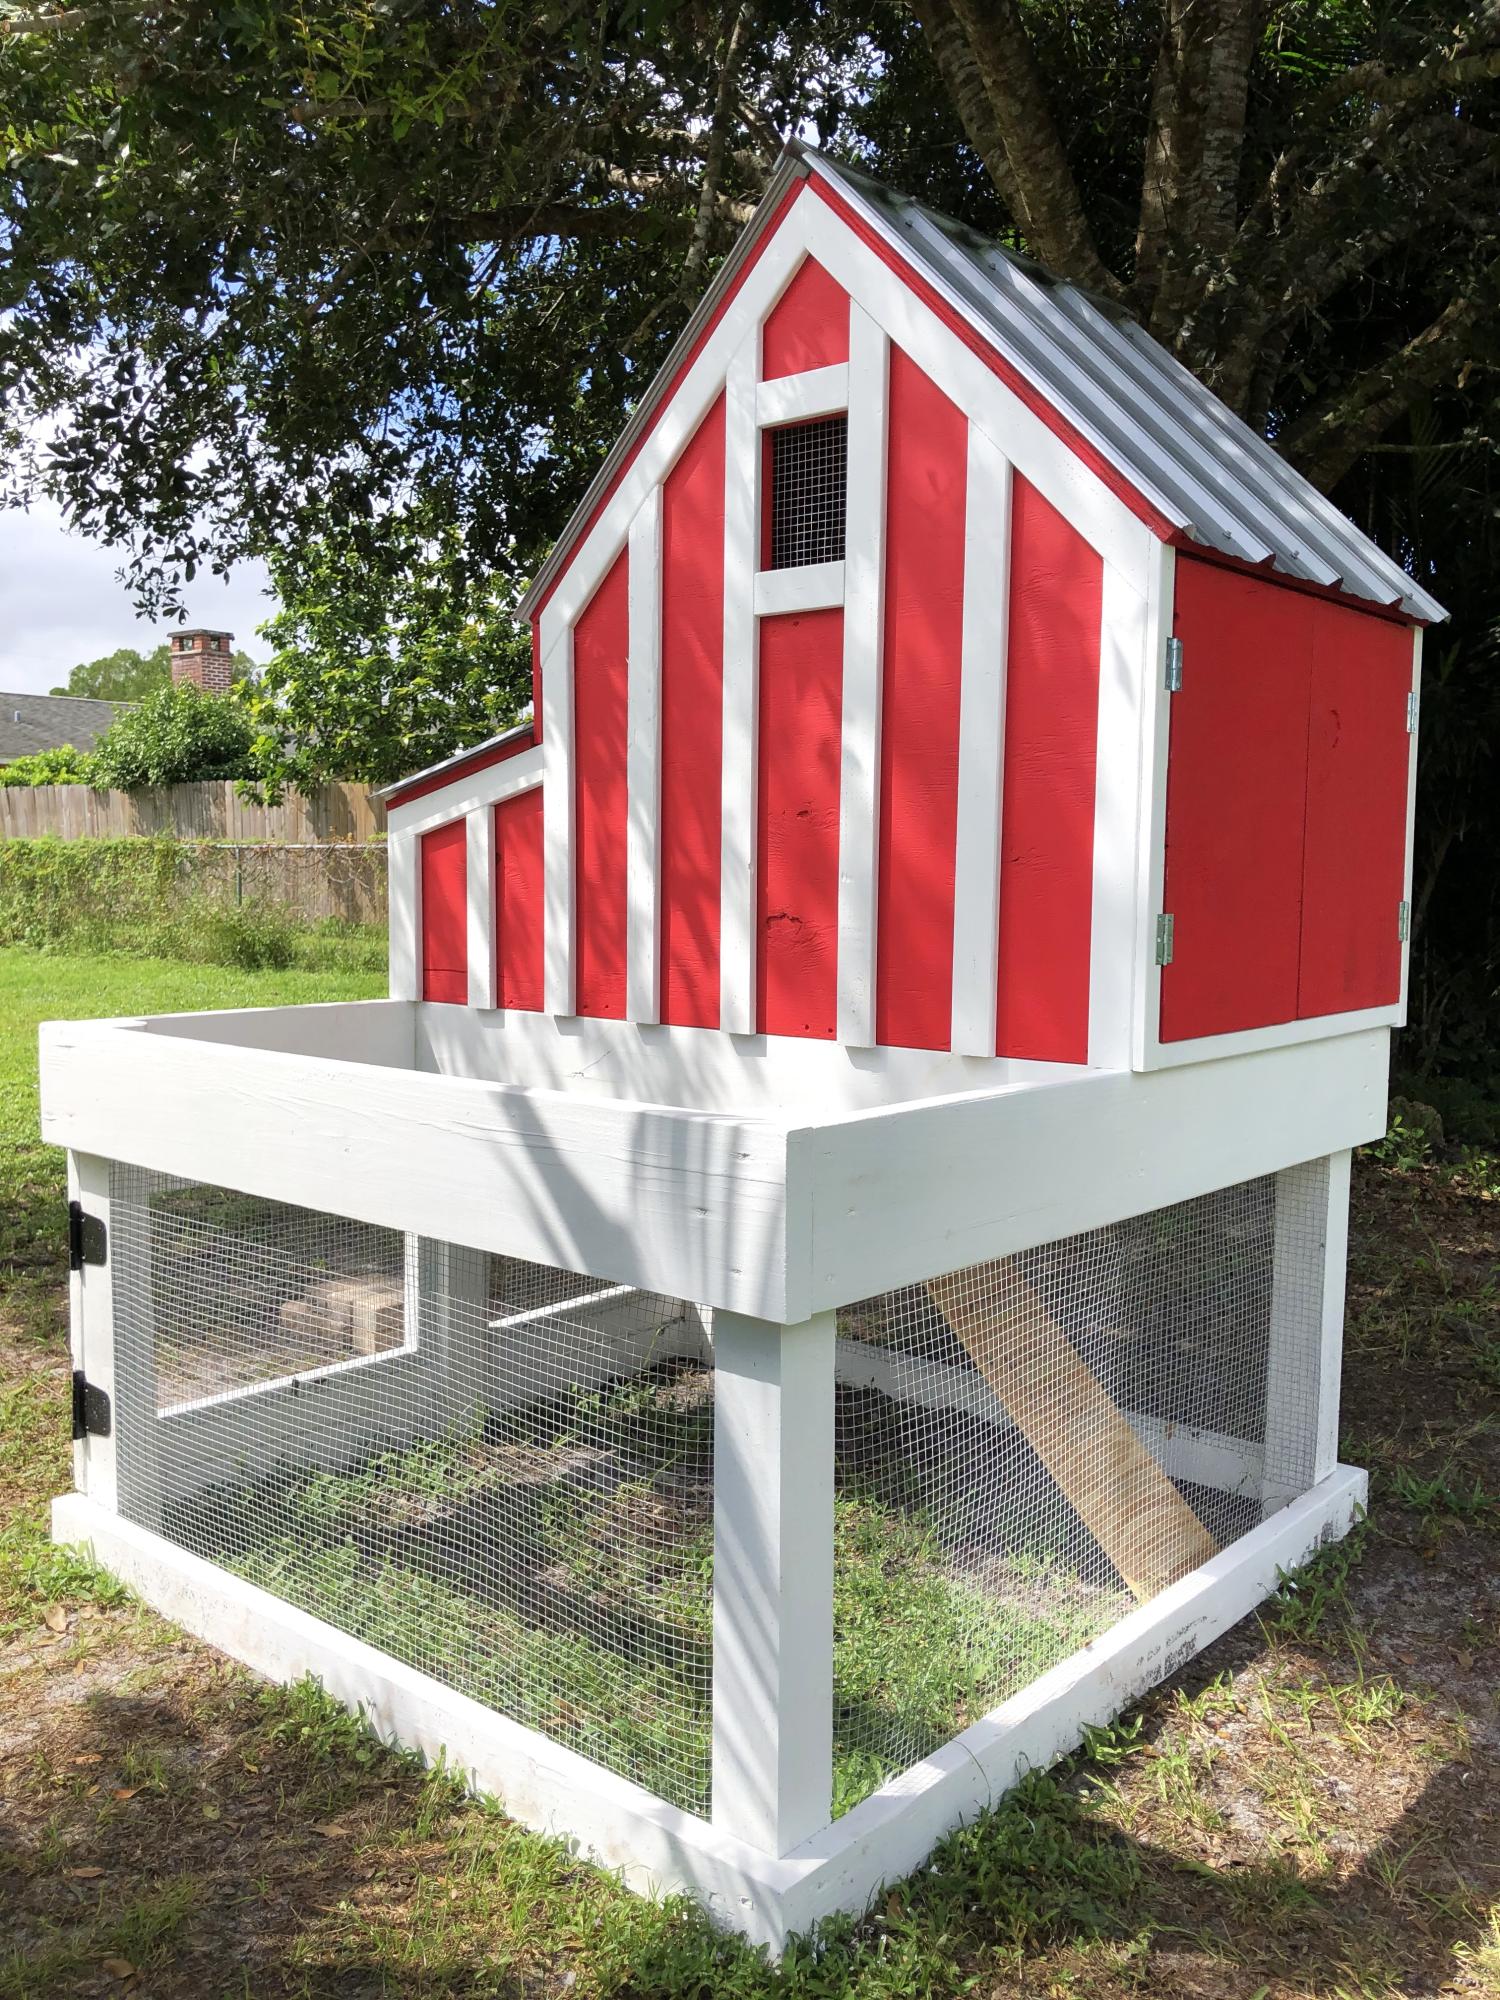
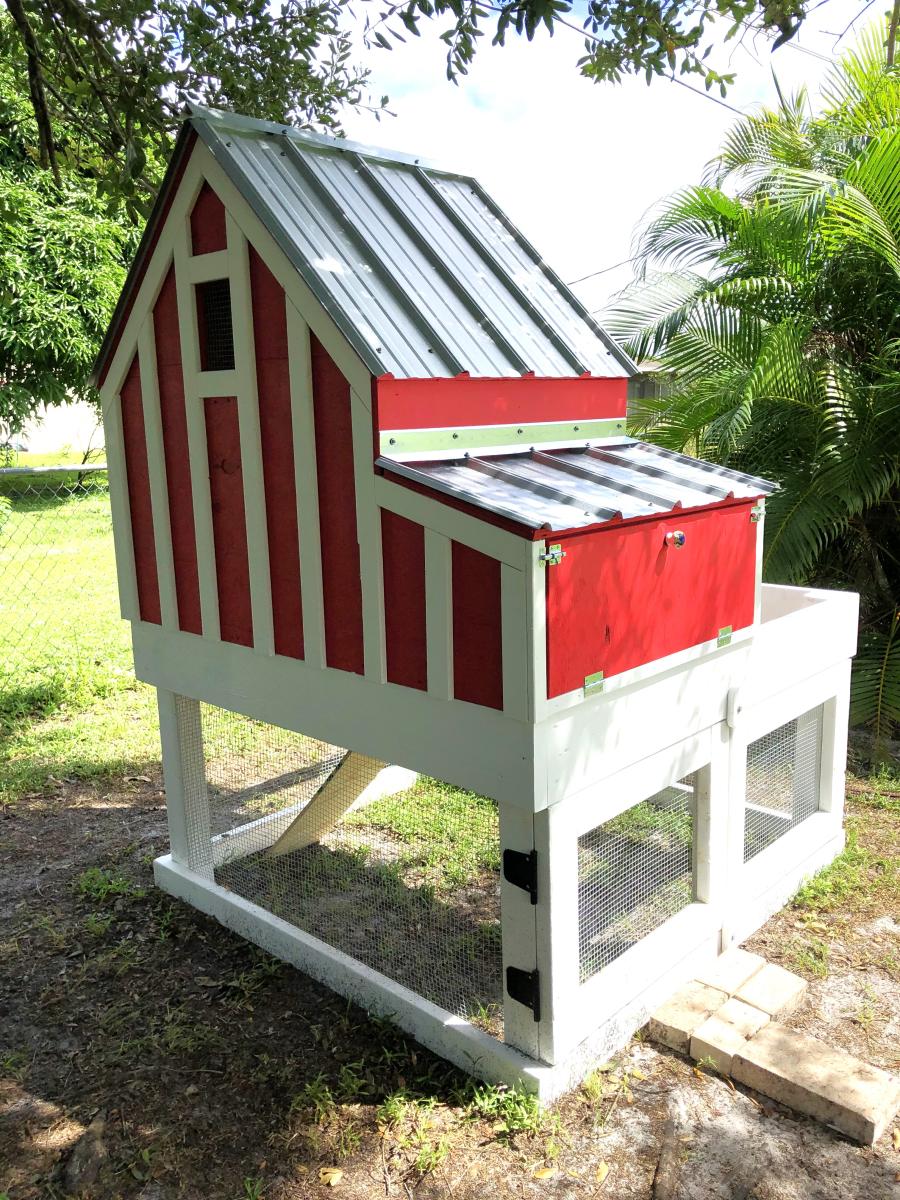
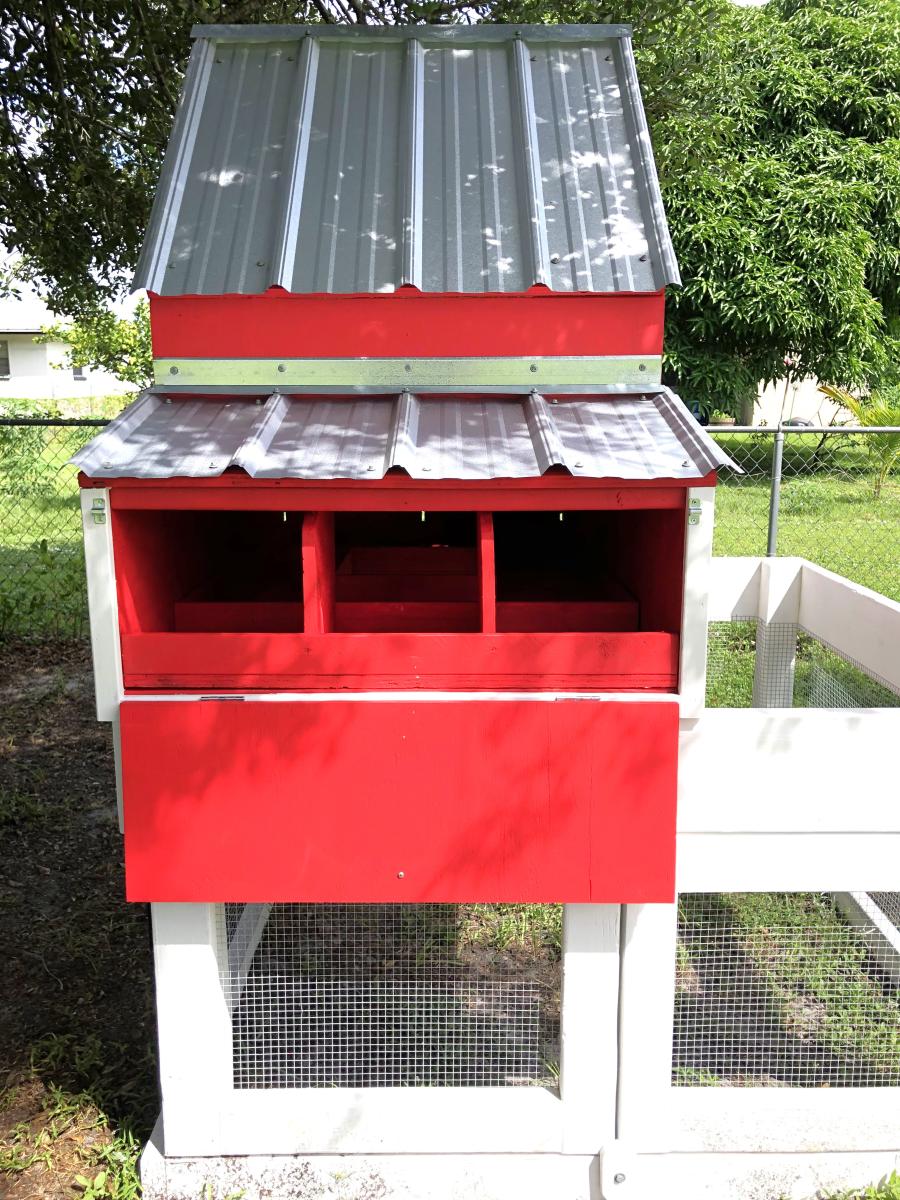
Red Chicken Coop

Submitted by Anonymous (not verified) on Tue, 12/19/2023 - 16:59

Ana, I want to say how inspirational you have been to me over some years. I think my first project found on your website was a chicken coop. More recently I have built the large garage workbench system with 2 rollout workbench/storage units (still in progress). In the past few weeks I have built the Adirondack chairs. The Adirondack chairs spurred me to continue building a “park like” setting in my small backyard. This includes a park bench (to match the Adirondack chairs), a park style grill, and a water fall. The waterfall is fairly simple (now that I have done it once - ha).

Ken Moody - Babcock Ranch, Florida

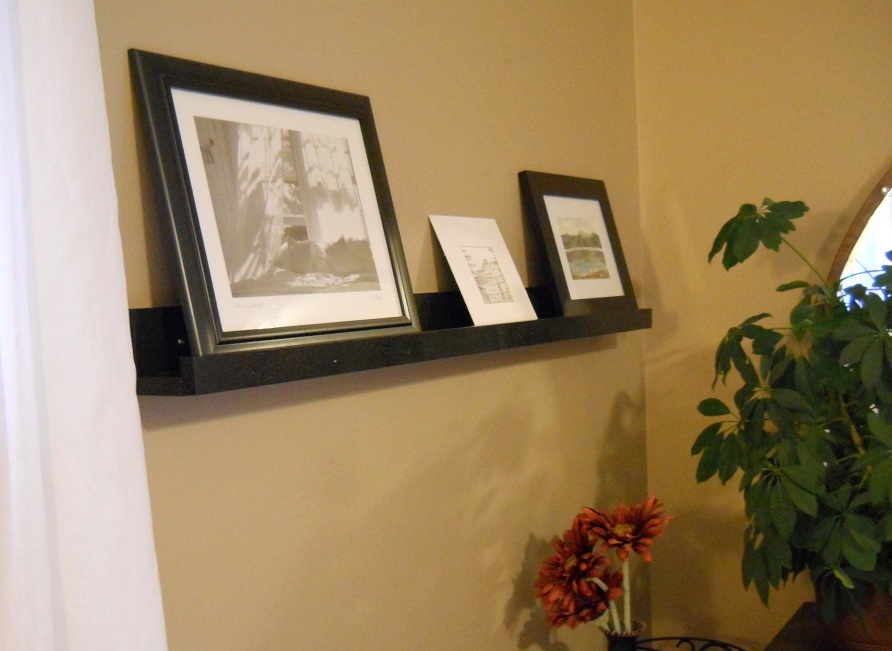
10 Dollar Ledges

This is the first Ana White plan I've used and my first project with a Kreg Jig. It was so easy! I used 6' long lumber. This ledge is 4' long and I have a 2' ledge in the living room.

Built from Plan(s)
Estimated Cost
$17
Estimated Time Investment
An Hour or Two (0-2 Hours)
Finish Used
"Hammered" finish black spray paint
Recommended Skill Level
Starter Project

First Console table!

I started this project without a cutting table or any kind of shop set up. I used a burnt out tree as my makeshift cutting table. With only hand tools I used Ana Whites blueprints from her website to do this whole table, the directions were very easy to
follow and very helpful.

Estimated Time Investment
Afternoon Project (3-6 Hours)
Recommended Skill Level
Beginner

Ana's Corner Cupboard Saved The Day!

Submitted by kar on Tue, 07/05/2016 - 09:08

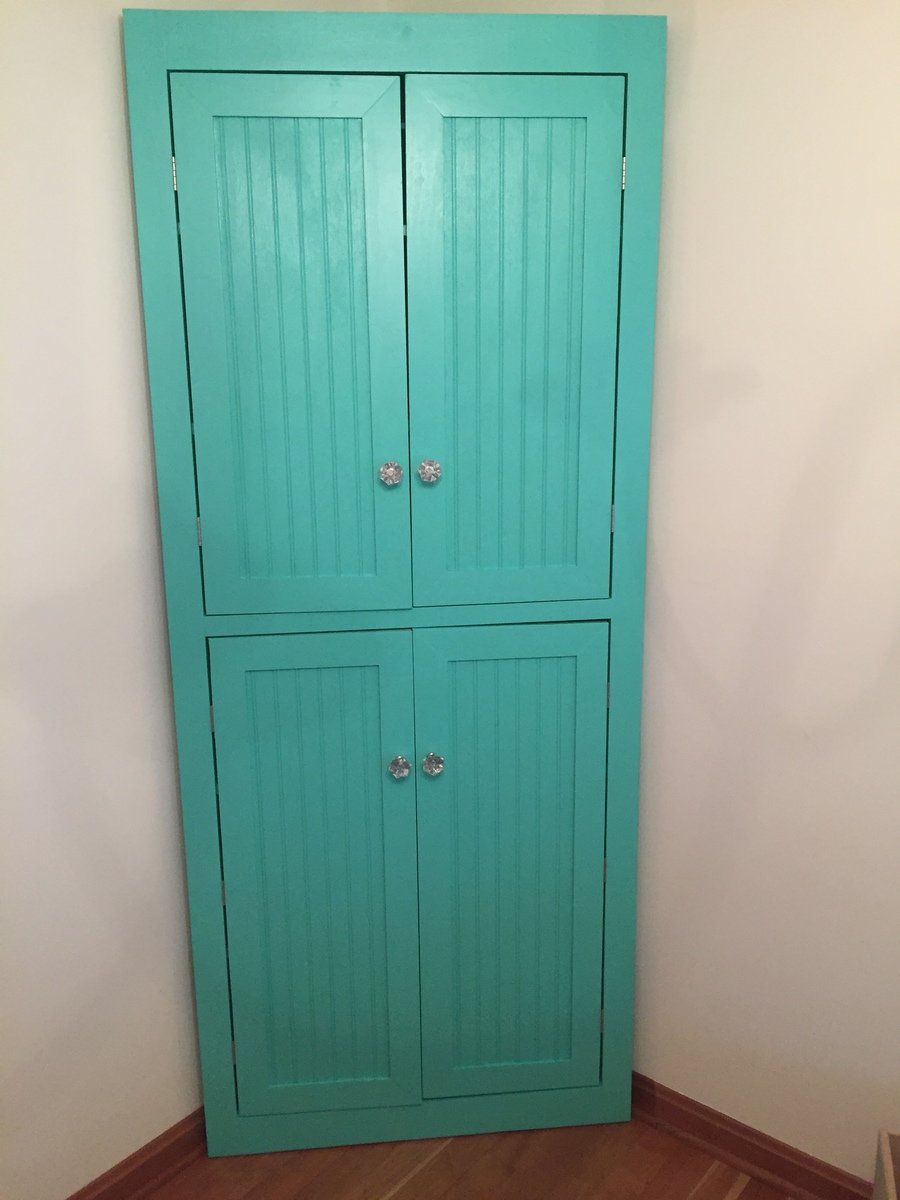
July 2016: We recently moved and the corner cupboard we purchased several years was too tall for the new house. I needed a new storage solution for our kid's arts & crafts, games, and funny business materials. Of course, Ana and her corner cupboard saved the day! Thank you! The kids have a great place to store their business and mom and dad can finally recycle all of the cardboard boxes stacked dangerously in the corner. 

Our corner cupboard was adapted from Ana's Corner Cupboard plan. The height was increased to 84", adjusted the dimensions for increase heights including the shelf spacing, doors on top and bottom to hide messes, used 1x12 for spine of the cupboard and shelves.

Thank you Ana! 

Built from Plan(s)
Estimated Cost
$150-$200: Depending on wood species and quality, including paint and hardware.
Estimated Time Investment
Weekend Project (10-20 Hours)
Finish Used
Dutch Boy Dura Clean Semi Gloss: Glazed Teal
Recommended Skill Level
Intermediate

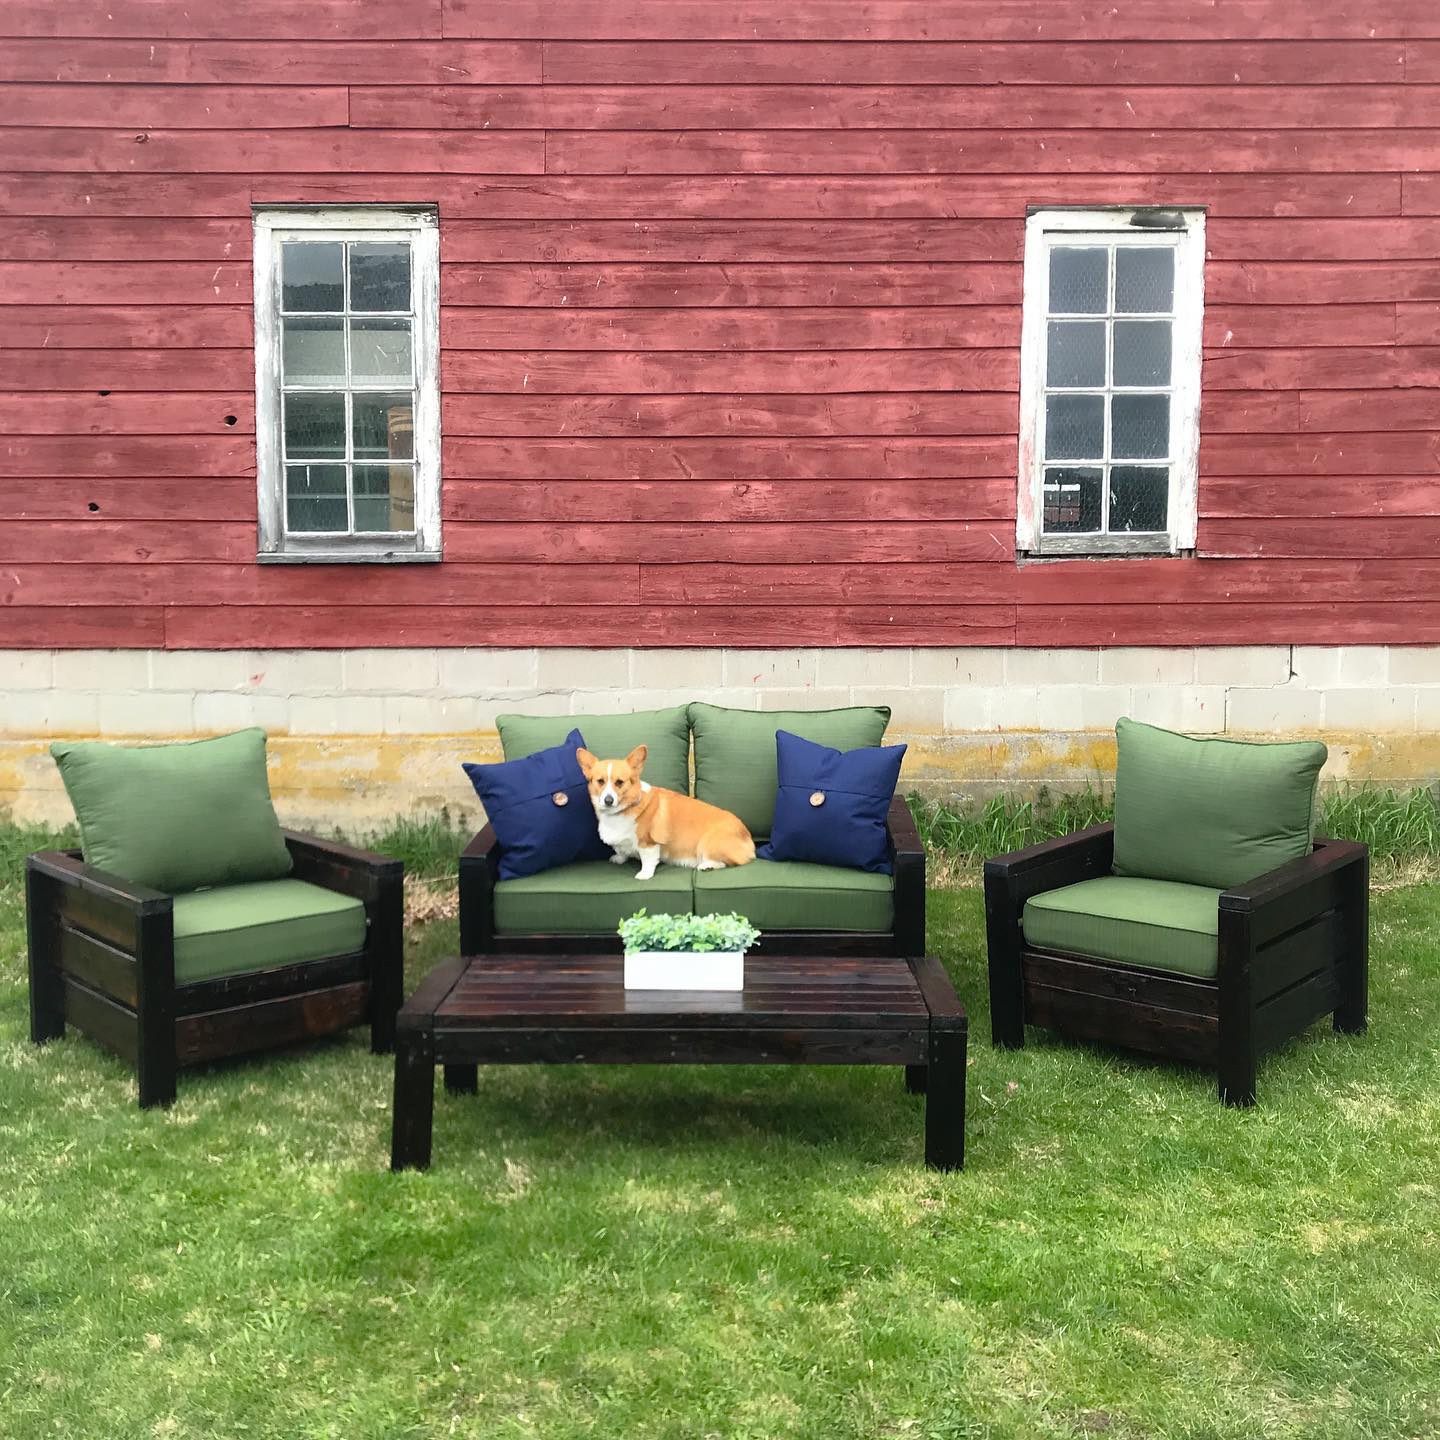
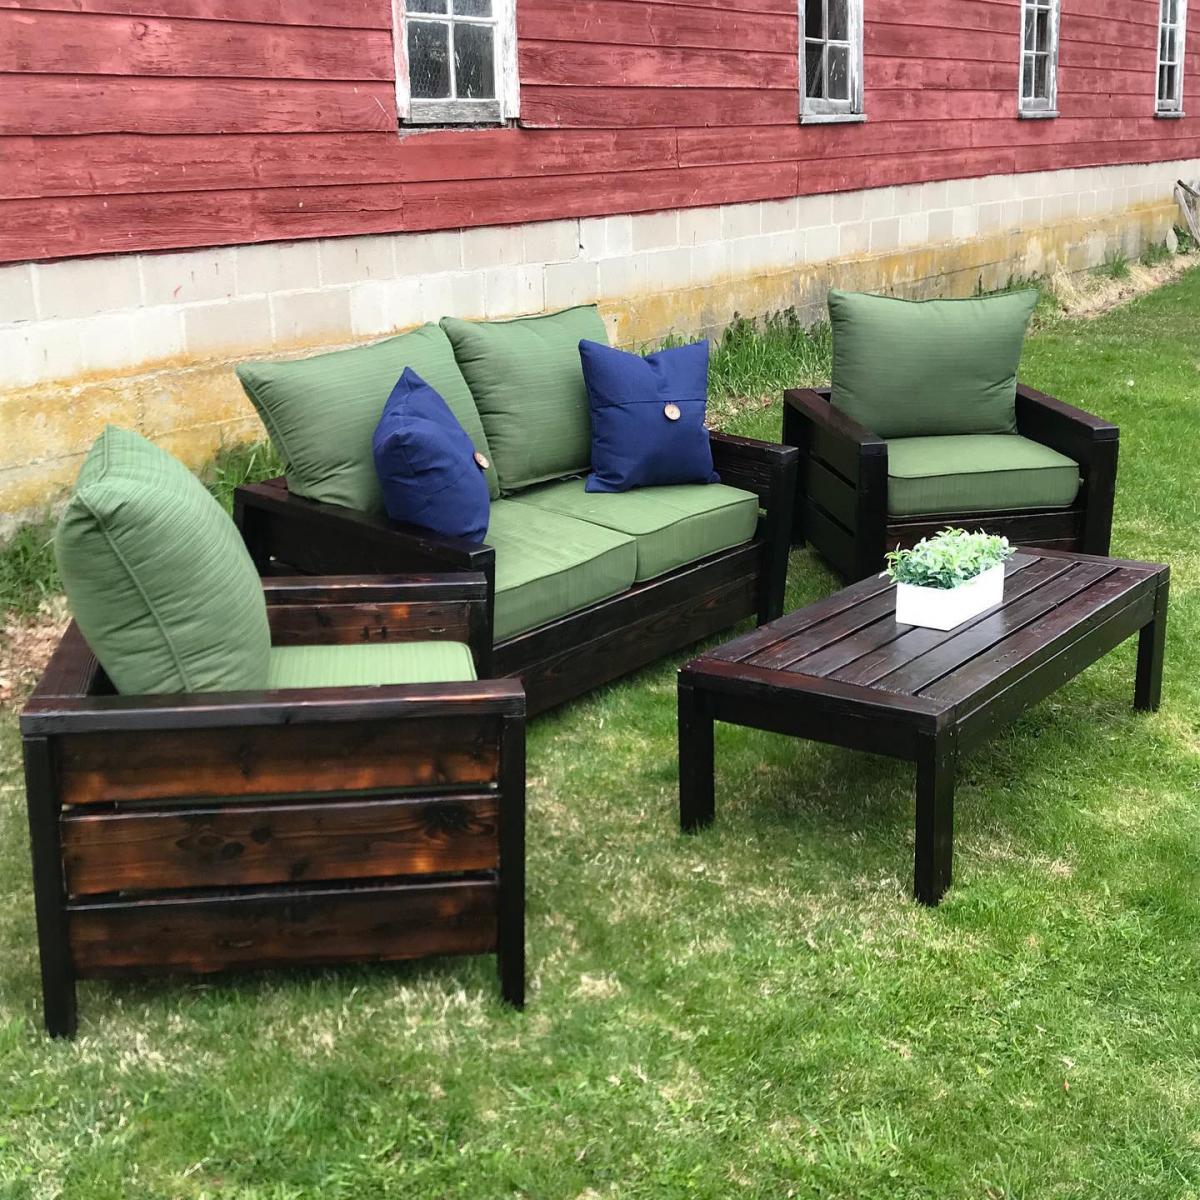
Modern Chairs, Modern Loveseat, and the 2x4 Outdoor Coffee Table

Submitted by Anonymous (not verified) on Wed, 04/29/2020 - 19:58

I took this opportunity while quarantined to make this set. I think it came out really beautifully!

Finish Used
Shou sugi ban, Simple Finish by Maker Brand, and Total Boat Halcyon Clear.

I used a blow torch to burn each board. Then I used a wire brush to remove soot, and washed with water and allowed to dry completely. I opted for pocket holes for the chairs and love seat. After assembling, I finished with Simple Finish by Maker Brand ($40/qt), and top coated with Total Boat Clear Halcyon ($32)

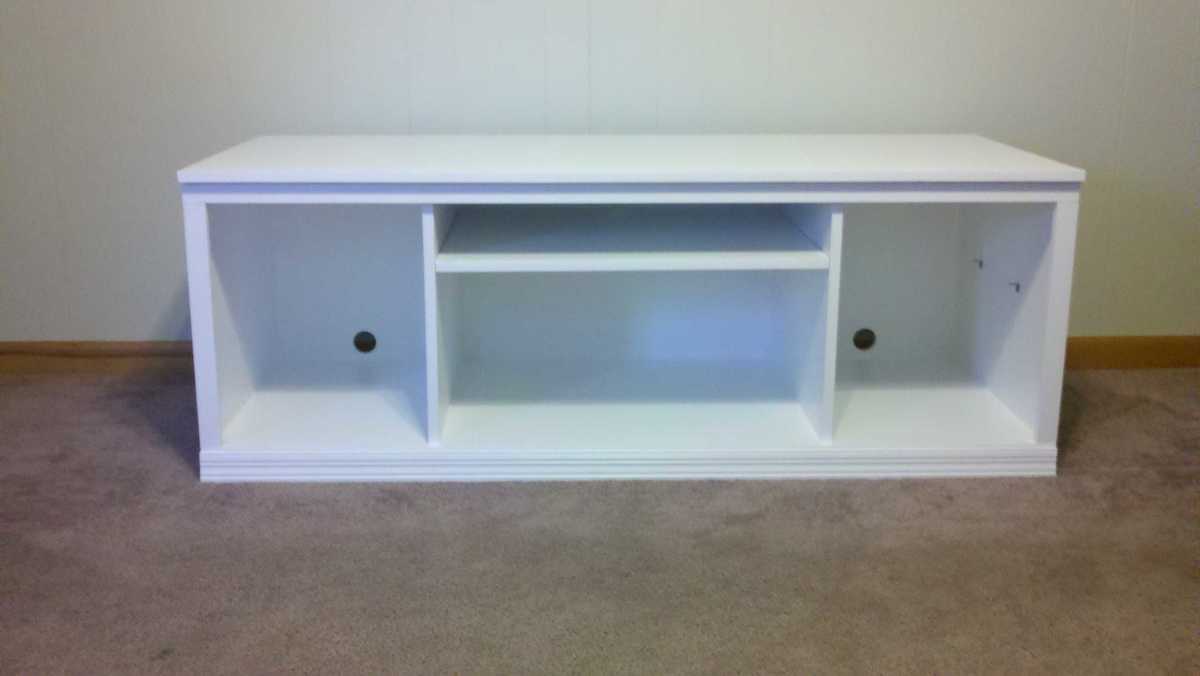
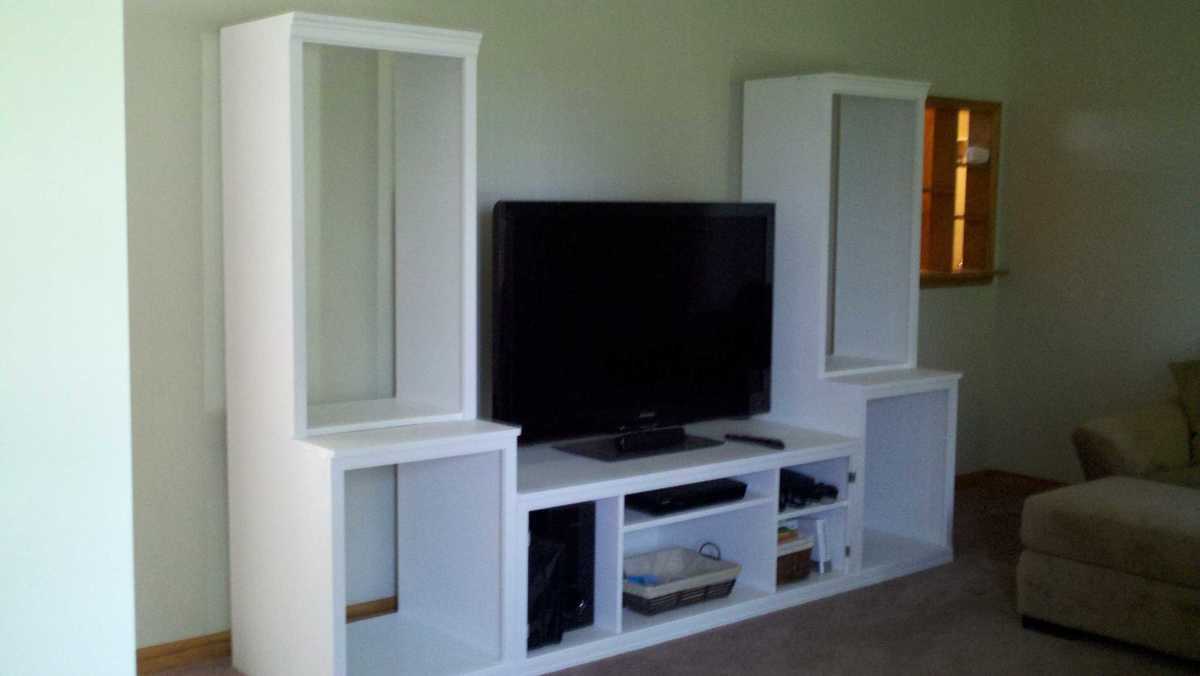
Logan Media Center / Classic Storage Collection

Submitted by Jen Marzen on Sun, 06/17/2012 - 23:31

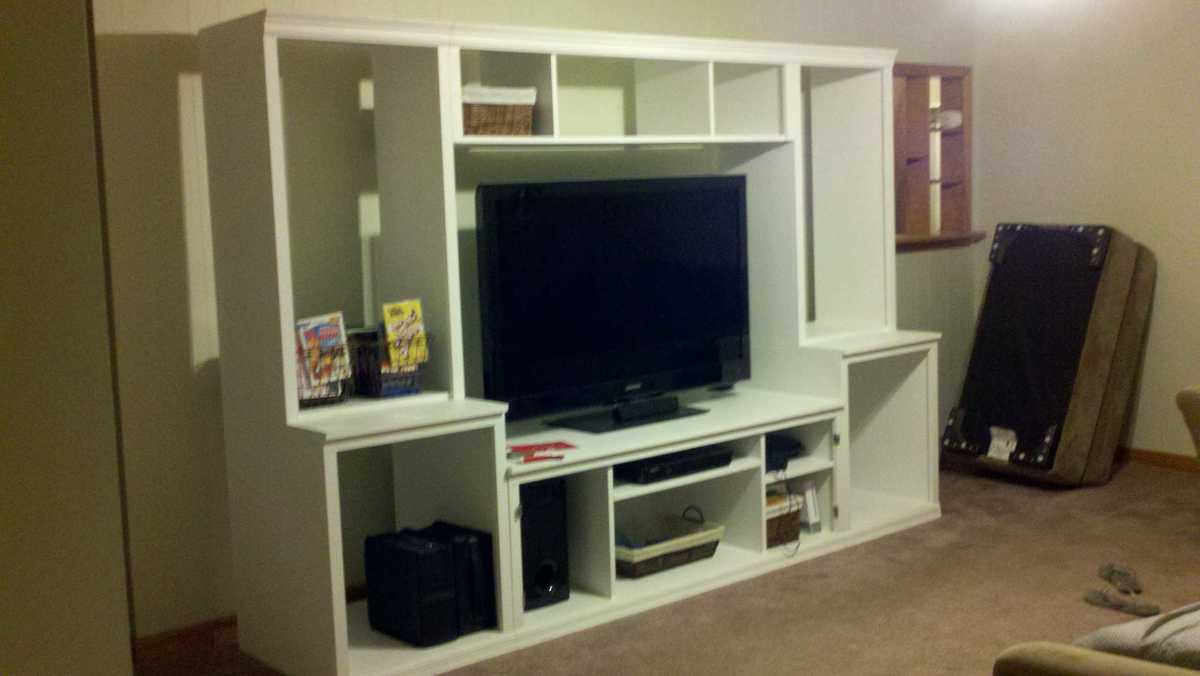
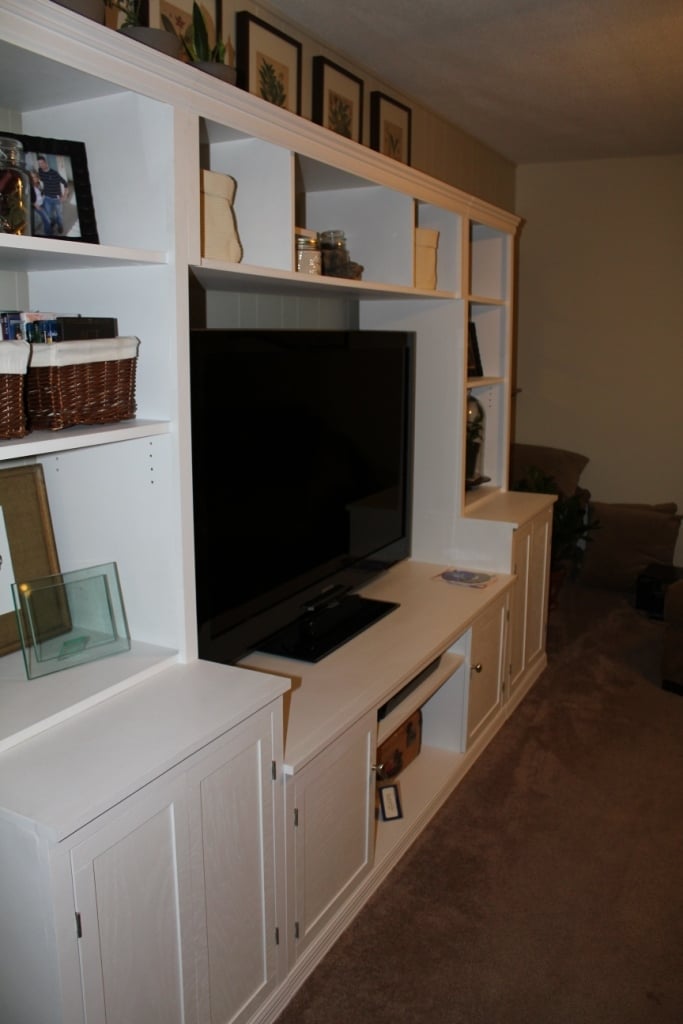
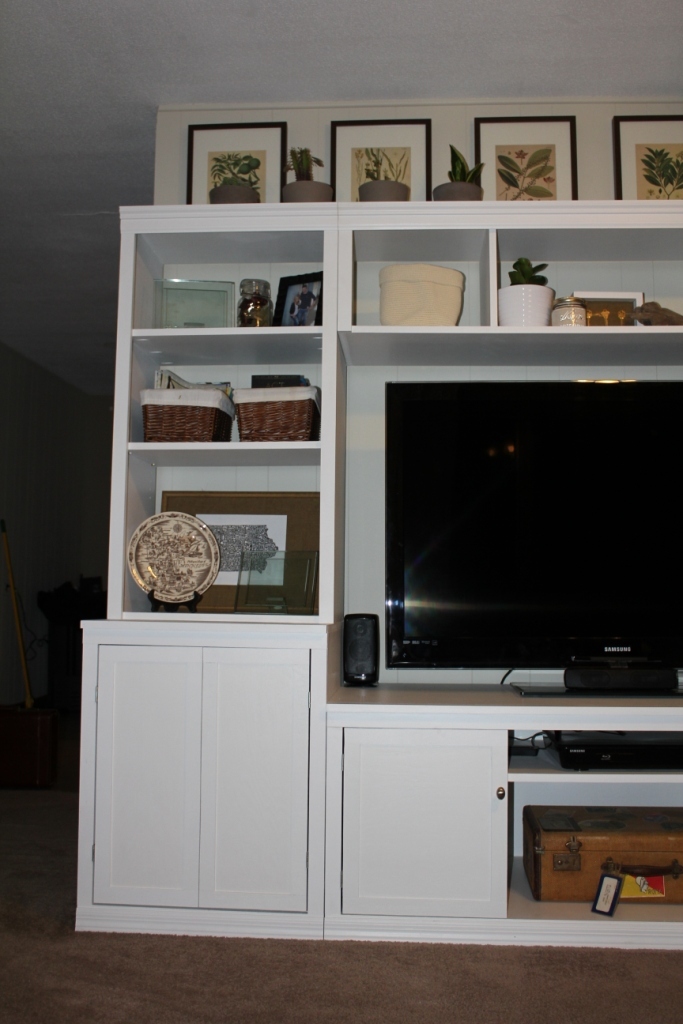
This media center was my hubby and I's very first project! It was definitely a learning experience and its definitely not perfect, but we love it! We love how much it looks like the pottery barn version and that WE MADE IT!!!

This project took us quite some time to complete..... and its still not 100% done as we still need hardware for the 2 outermost doors but are having a hard time finding ones similar to the pottery barn ones that aren’t going to cost us a fortune..... My hubby and I put this together piece by piece as we had time (which seemed to be few and far between). If you had uninterrupted time to work on this , one could probably start and finish it in a weekend. But because of lack of uninterrupted time and the learning curve of this being our first project it took us months to finish.

We got the TV base (the bottom middle piece) done first and we were so excited about it that before attempting the rest of the project, we painted it and set it up in the living room :) We were so excited to get the rest of the media center made but my hubby got busy with work and was unable to help me. I got antsy, so antsy in fact that finished the rest of the project COMPLETELY on my own!! And I am SO PROUD OF IT!!! I made and painted the rest of the media center except for the doors because i (not sure why) was completely intimidated by the doors so I procrastinated making them, so the media center sat in the living room for a month or 2 without doors or the adjustable shelves on the towers lol. Last week I finally got up the courage to make the doors and they (to my surprise!) really weren’t that bad!! I painted them and the adjustable shelves and finished assembling the media center. Its now finished and decorated except for some of the door hardware!!! SO EXCITED!!!

Since this was our first project we hadn’t bought a Kreg Jig jet (we have since bought one) and I HIGHLY recommend getting yourself one. It would have made this project so much easier.

Estimated Cost
$300
Estimated Time Investment
Week Long Project (20 Hours or More)
Finish Used
Primer (1 coat) White paint (3 coats)
Recommended Skill Level
Beginner

Comments

spiceylg

Mon, 06/18/2012 - 05:04

First project? That was a serious undertaking! You did a great job, looks fab!!!

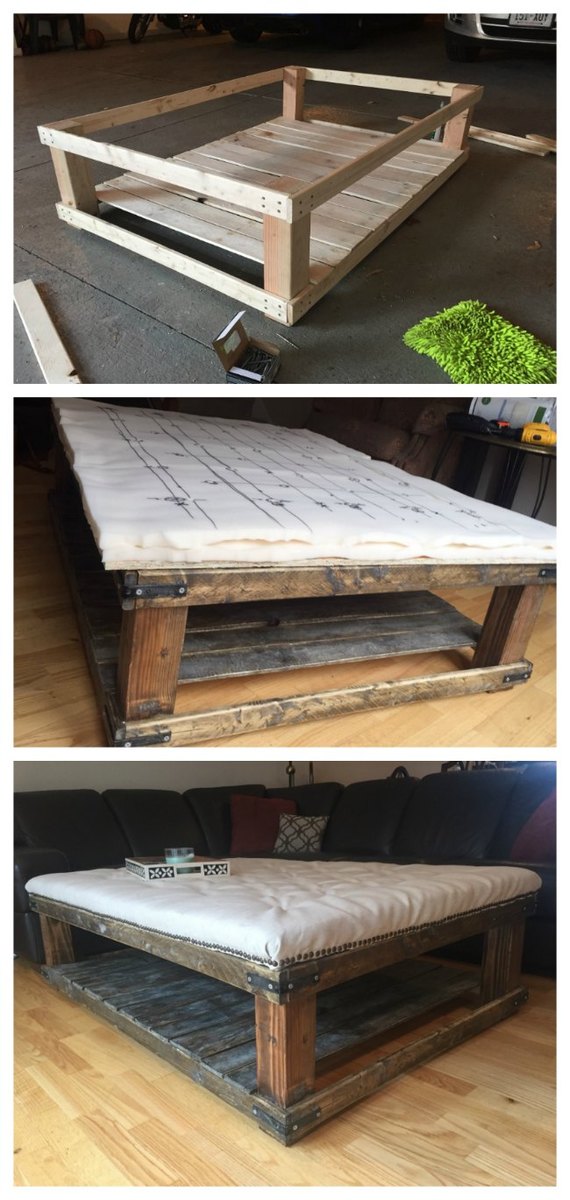
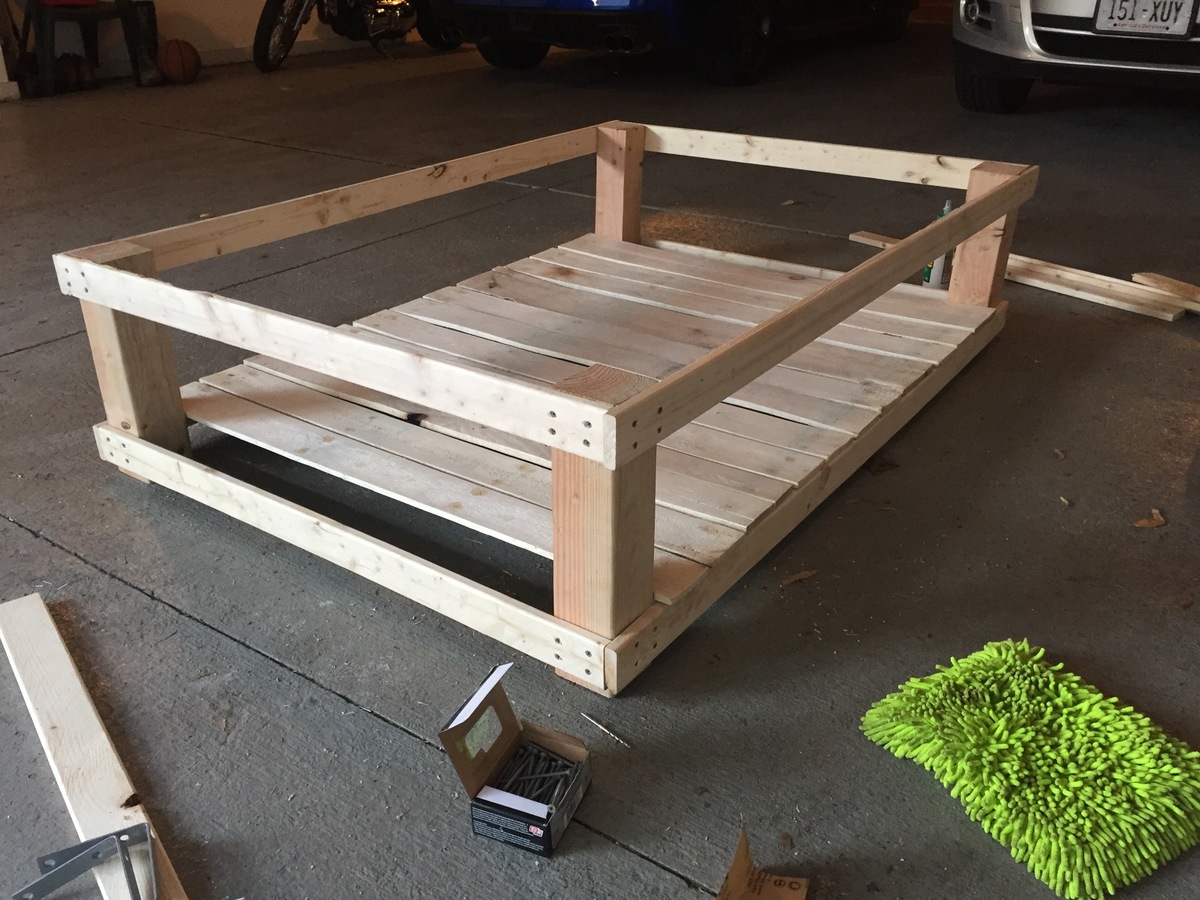
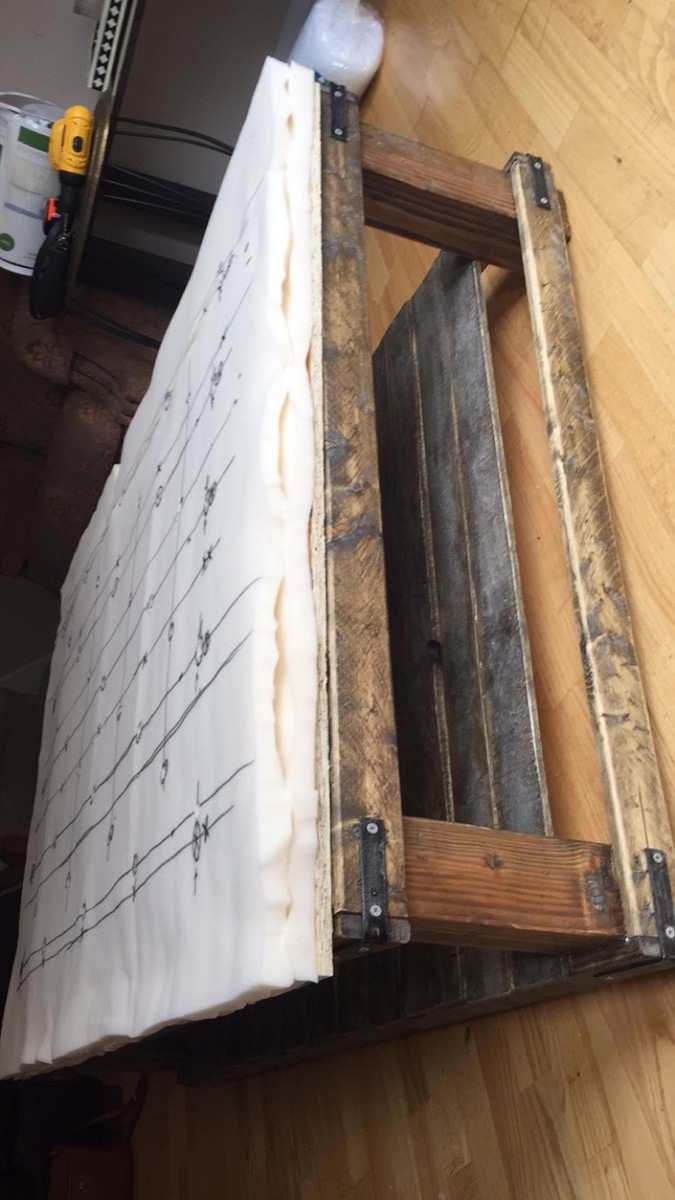
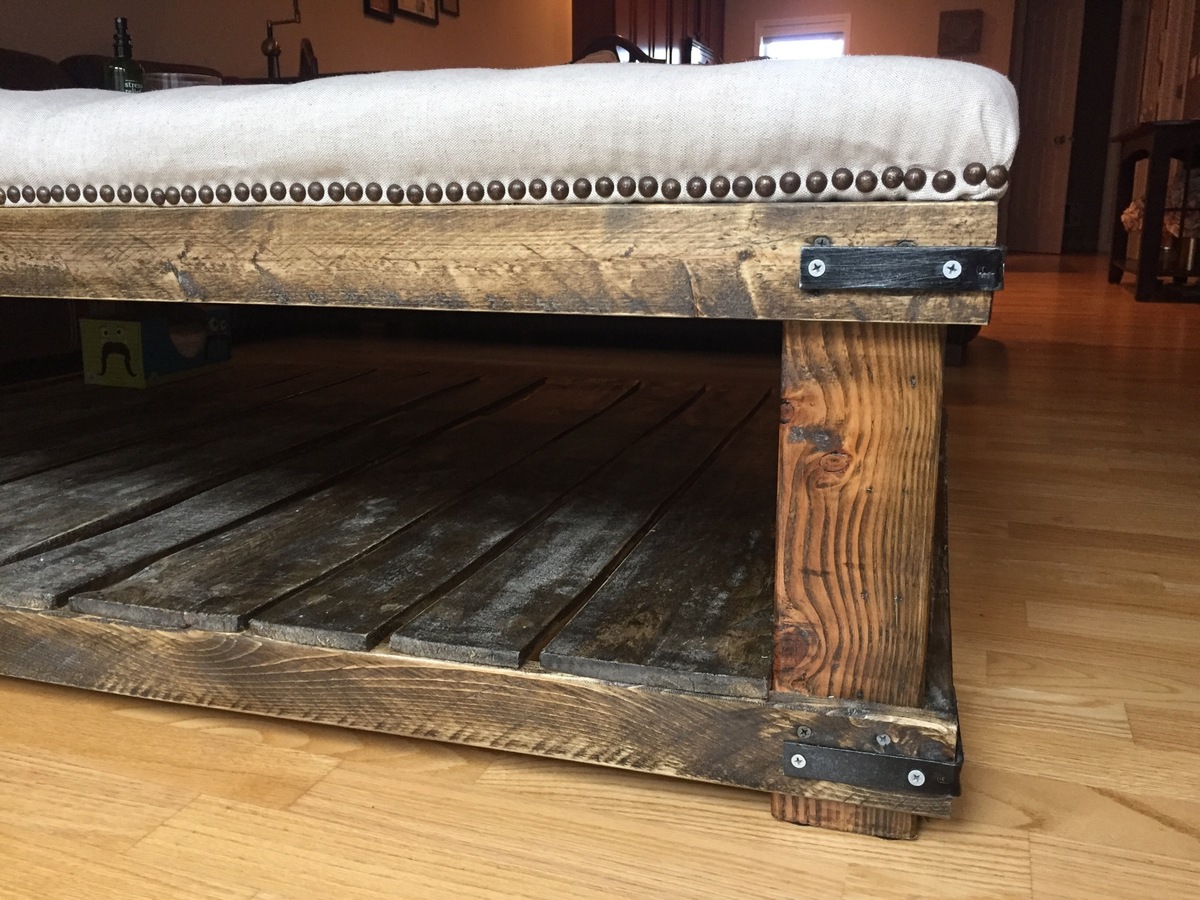
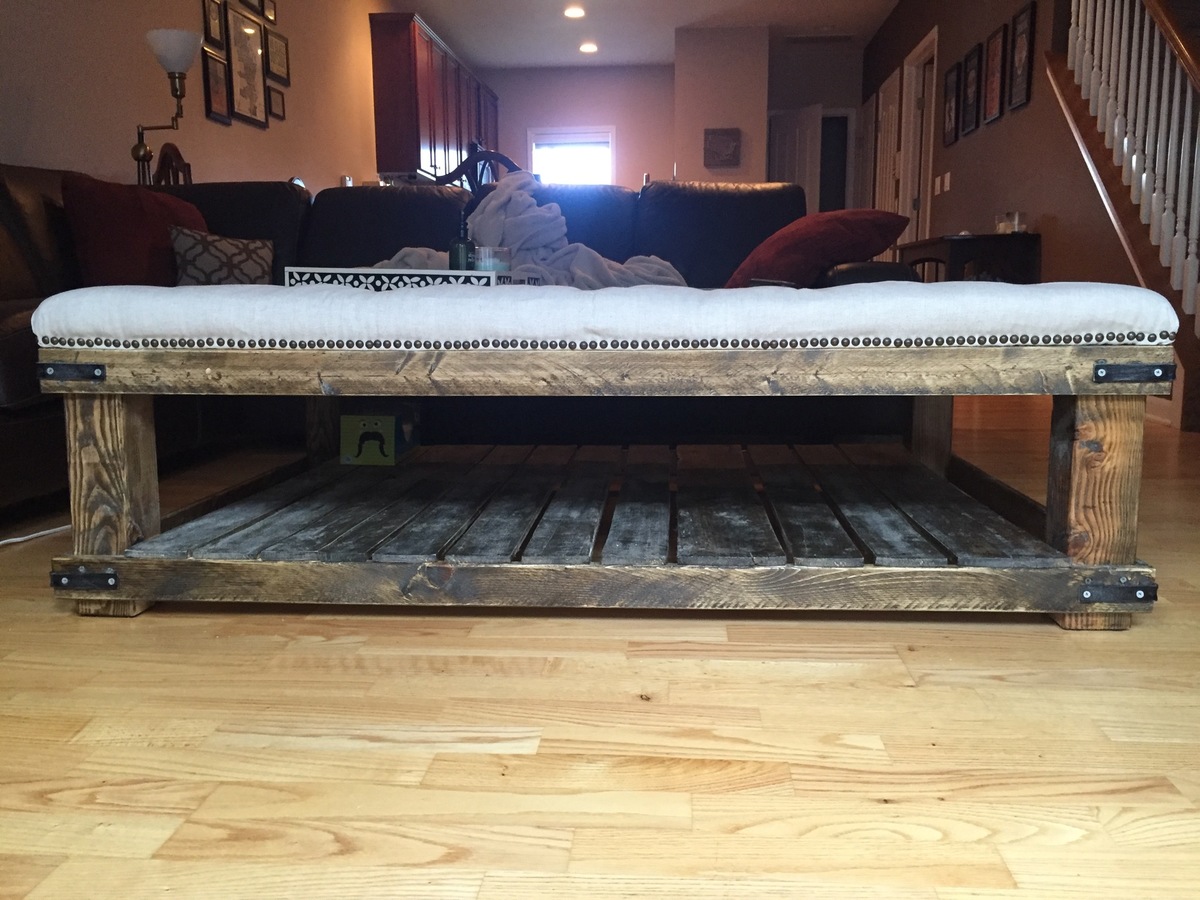
Oversized Tufted Ottoman

Submitted by Kegusho on Fri, 07/08/2016 - 09:53

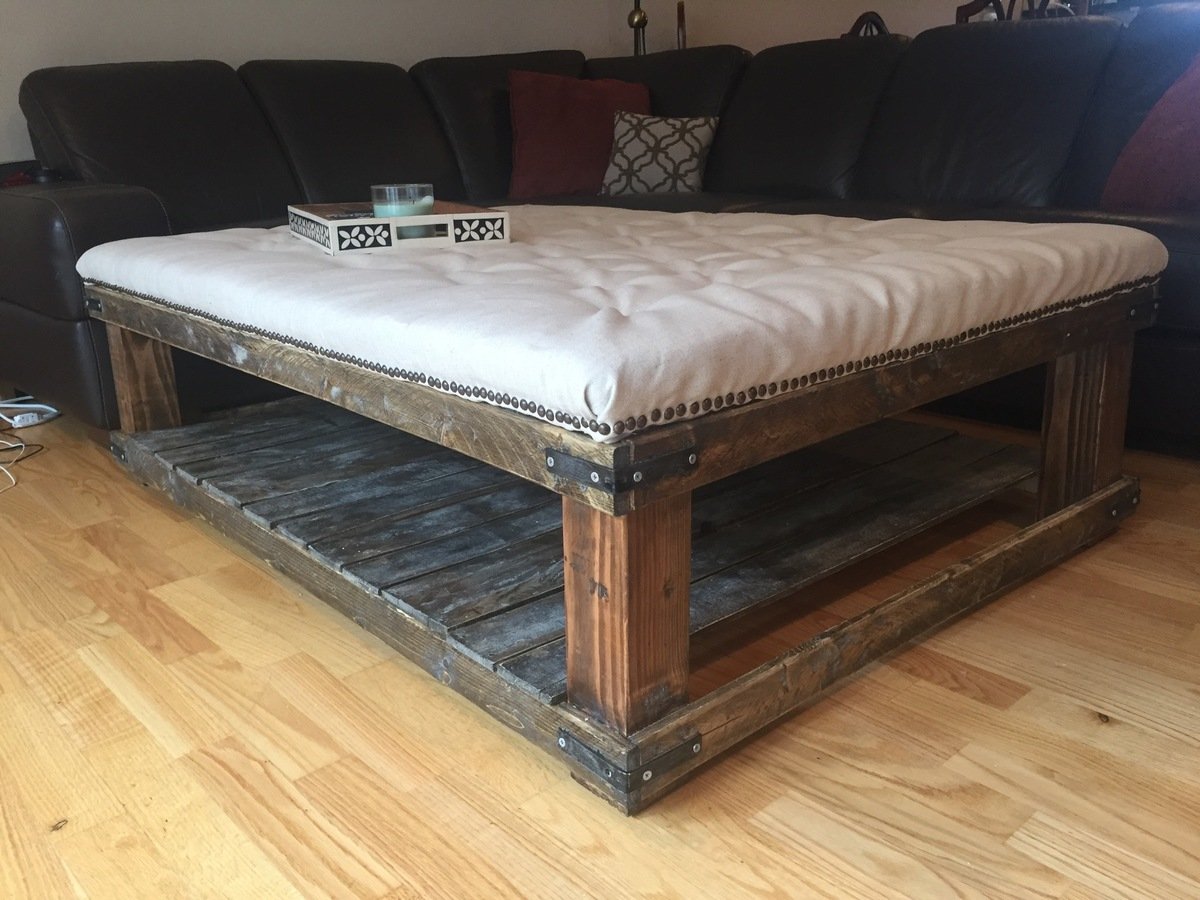
This project was inspired by the featured Diamond Tufted Ottoman plan. I combined the top with a customized plan inspired by the Cameron Coffee Table from World Market and Ana White's tutorial on how to create a weathered stain look like Restoration Hardware. 


Built from Plan(s)
Estimated Cost
$250
Estimated Time Investment
Week Long Project (20 Hours or More)
Finish Used
Combination of Minwax Special Oak and Weathered Oak, followed by two thin coats of polyurethane (lightly sanded afterward for smooth finish).
Recommended Skill Level
Beginner

Comments

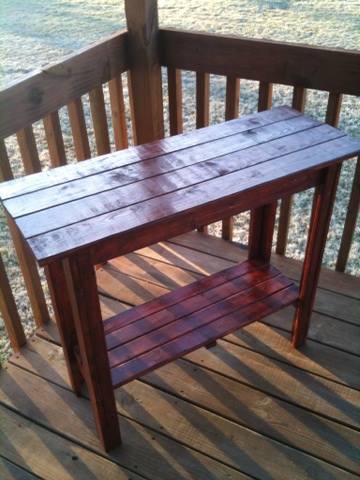
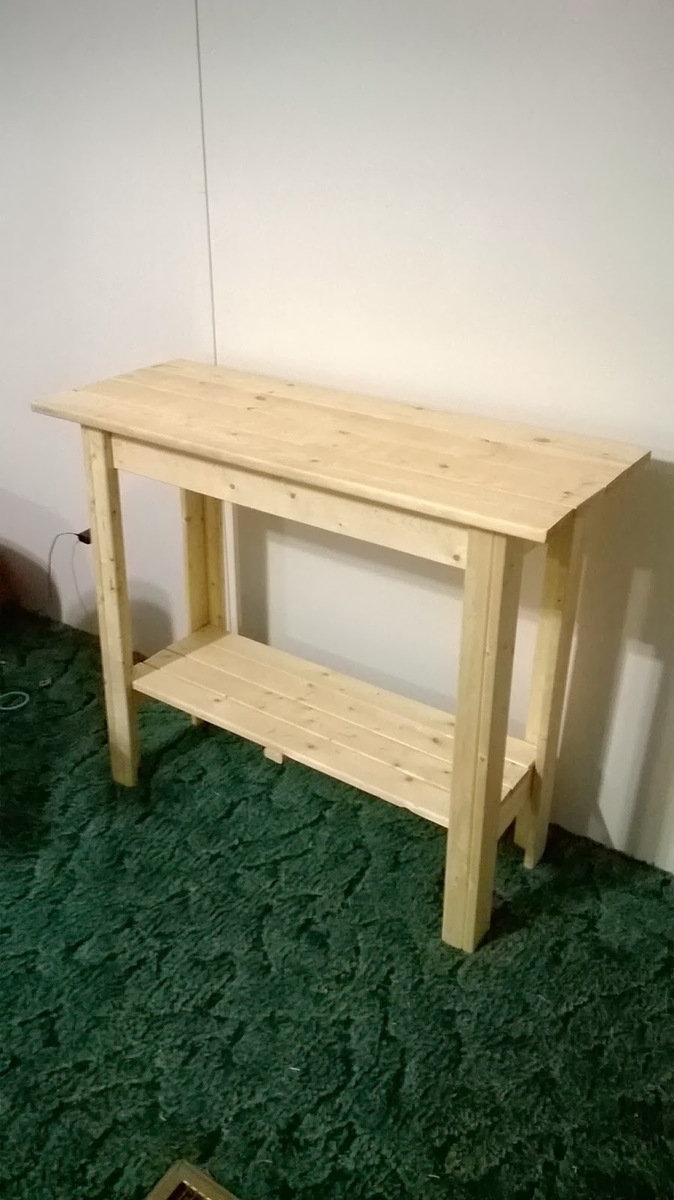
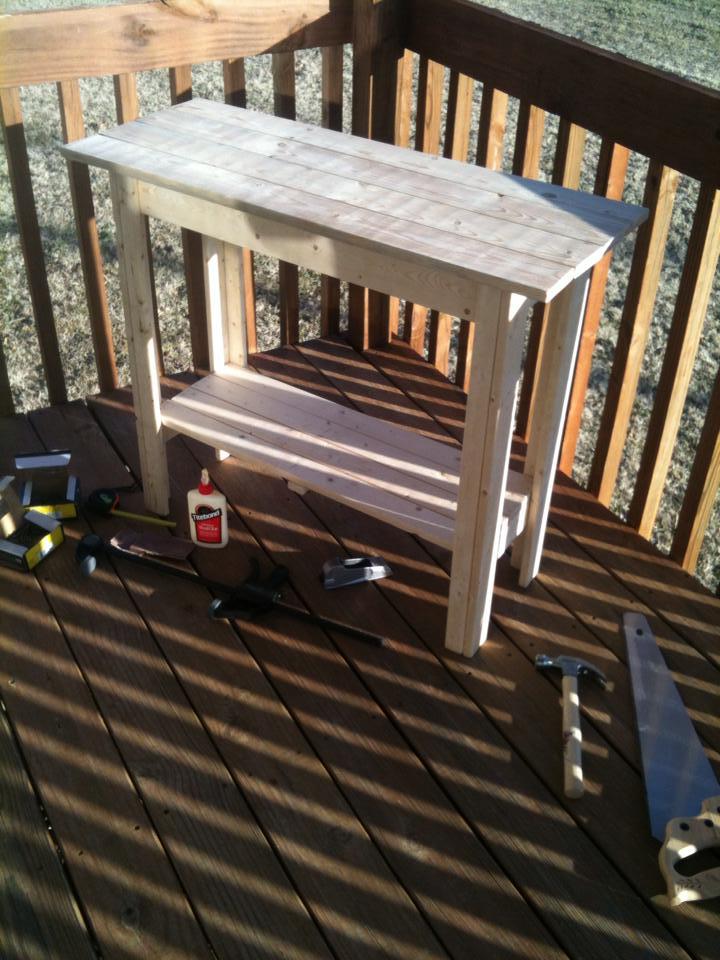
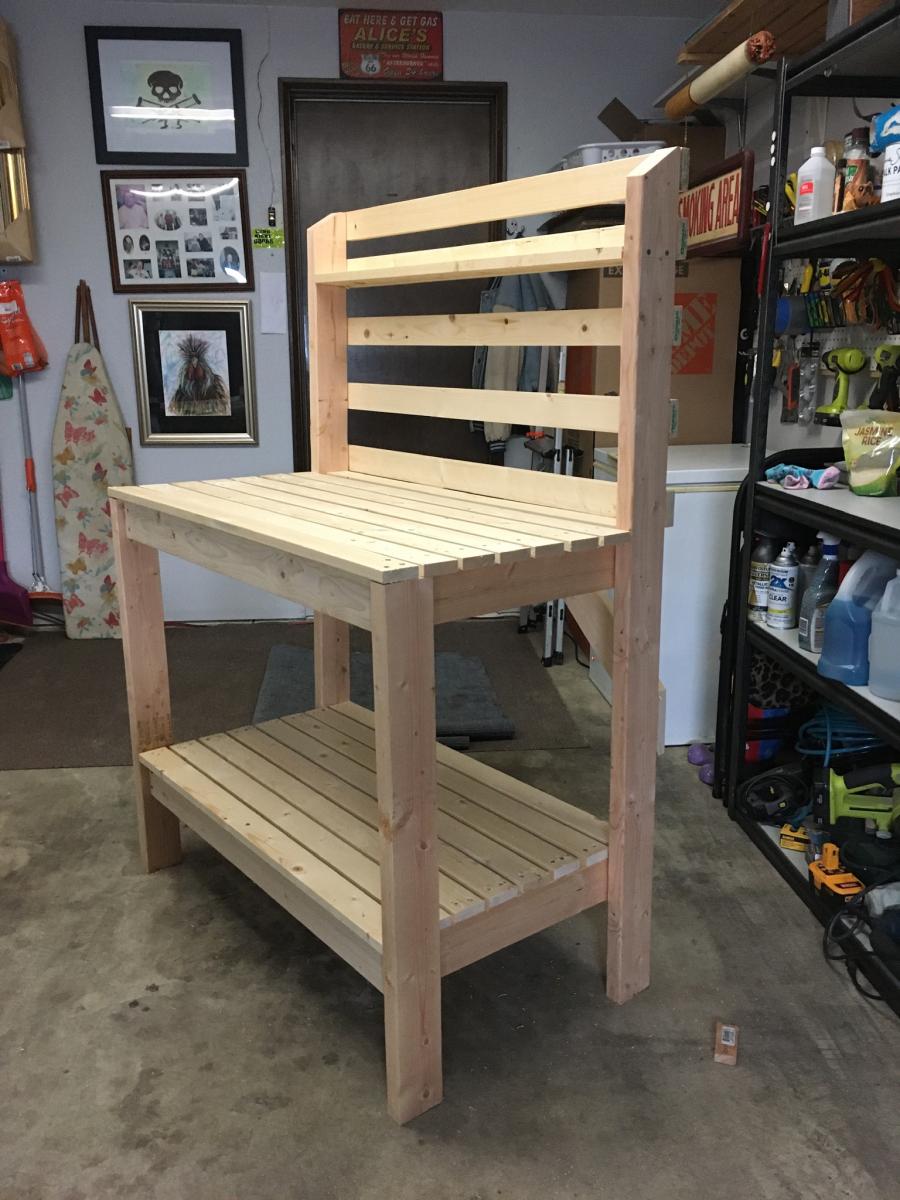
Easy 2x4 potting bench

Submitted by Randall on Mon, 05/04/2020 - 11:20

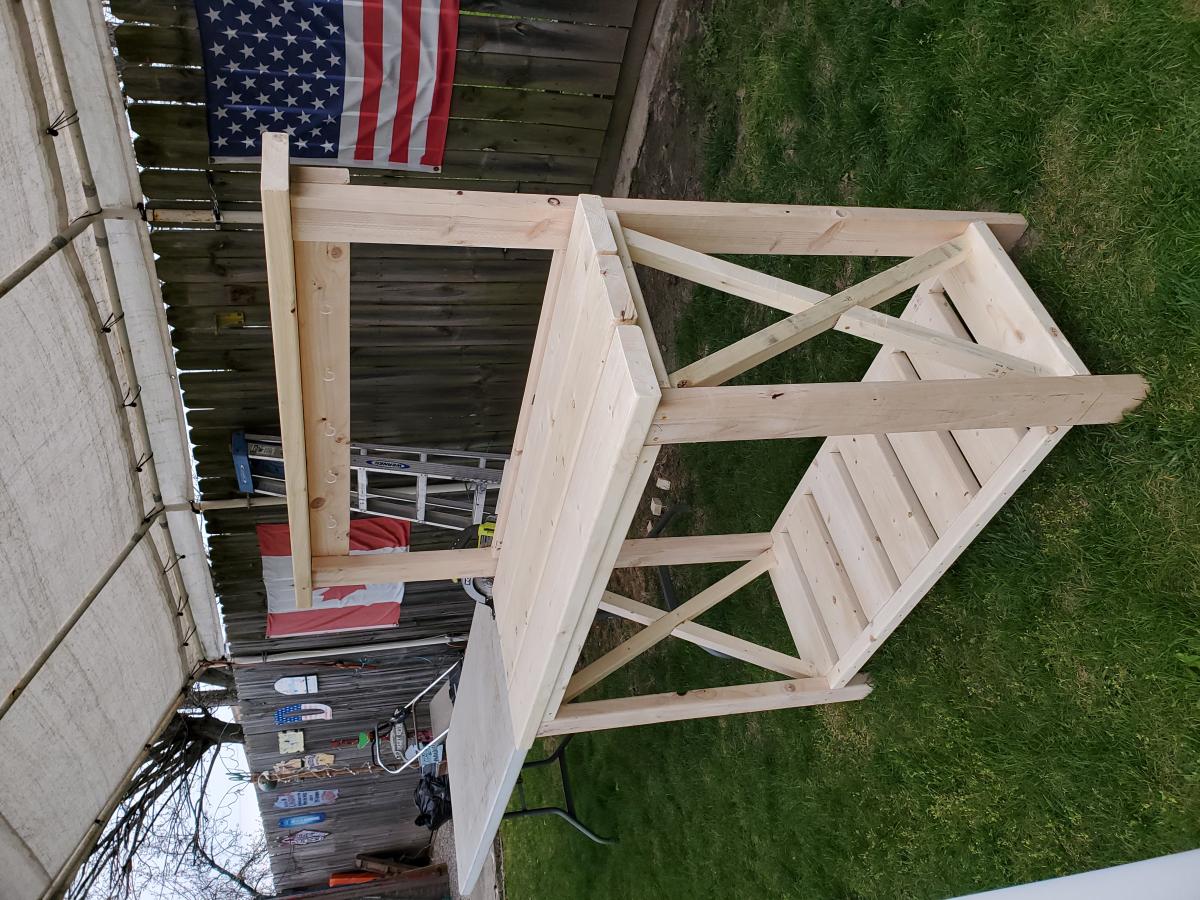
Great easy to follow plans, I cut both front and back legs from one 2x4x8’ by having the back leg 1” shorter than plan. Also bought 1x4x39” slats at less cost than buying the 8’ ones.
Great unit would be perfect for near the BBQ and any place needing storage and work bench

Estimated Cost
$80
Estimated Time Investment
Afternoon Project (3-6 Hours)
Finish Used
Olympia Outdoor wood sealer
Recommended Skill Level
Beginner

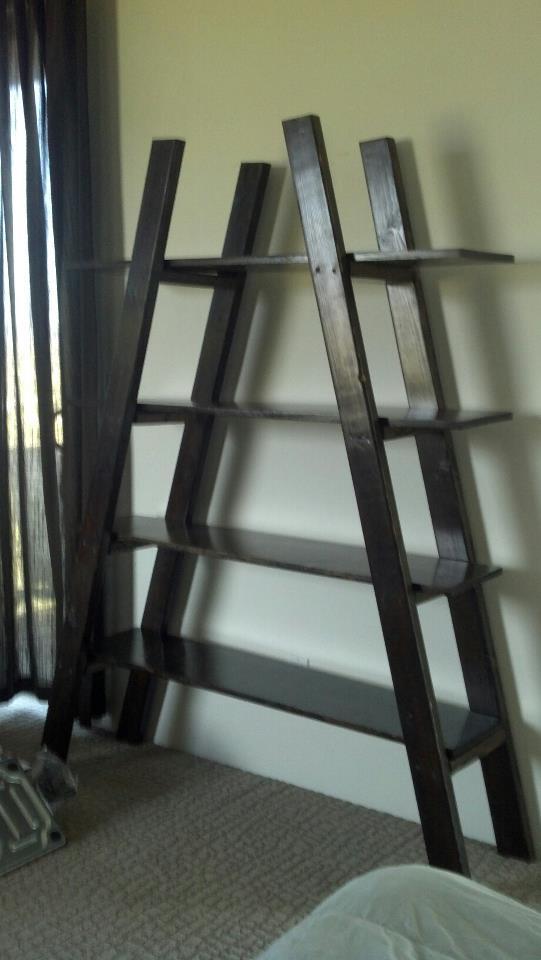
truss bookshelf

Submitted by cactuscc on Sat, 06/23/2012 - 14:42

We made this a bit taller then the plan. But everything worked out well. It was our first project. I would NOT recommend this as a first project. Also, wipe the stain off quickly. We let it sit way too long and it came out very dark. It took us a long time to build because we both work. And, Home Depot didn't cut miters so we had to get a neighbor to do it.... fyi

I love it though.

Estimated Time Investment
Week Long Project (20 Hours or More)
Finish Used
Minwax wood finish in Jacobean
Recommended Skill Level
Intermediate

Extended Nightstands

Submitted by PinnSB on Sun, 04/13/2014 - 20:33

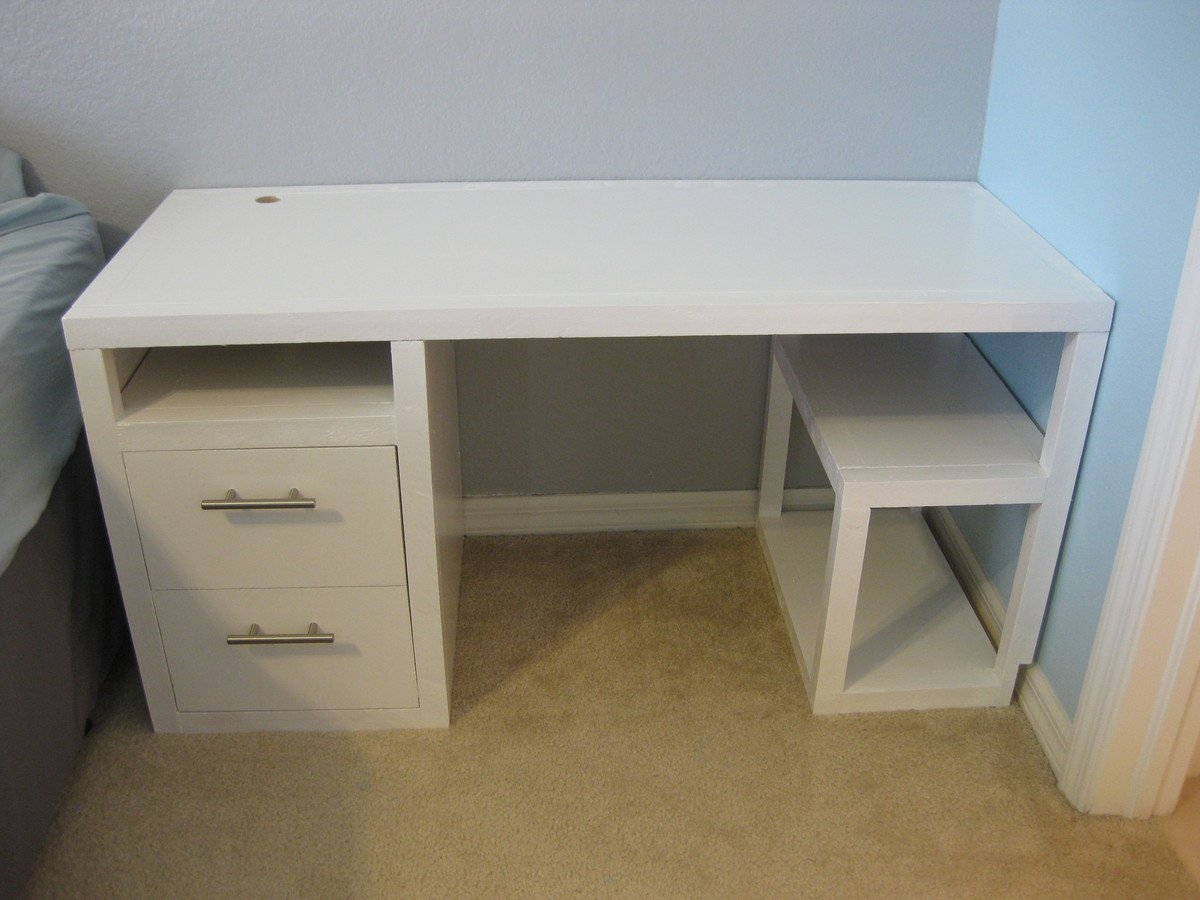
These nightstands span the entire wall of our master bedroom. My husband's side features a mini-fridge, whereas mine has a space for an ottoman that I have yet to buy (or make?). It is a combination of the "Modern Nightstand" and the "Parsons Desk".

Estimated Cost
$80
Estimated Time Investment
Week Long Project (20 Hours or More)
Finish Used
Behr ultra white gloss paint and polycrylic
Recommended Skill Level
Beginner

My Weatherly variation

Submitted by nest1212 on Mon, 07/11/2016 - 14:09

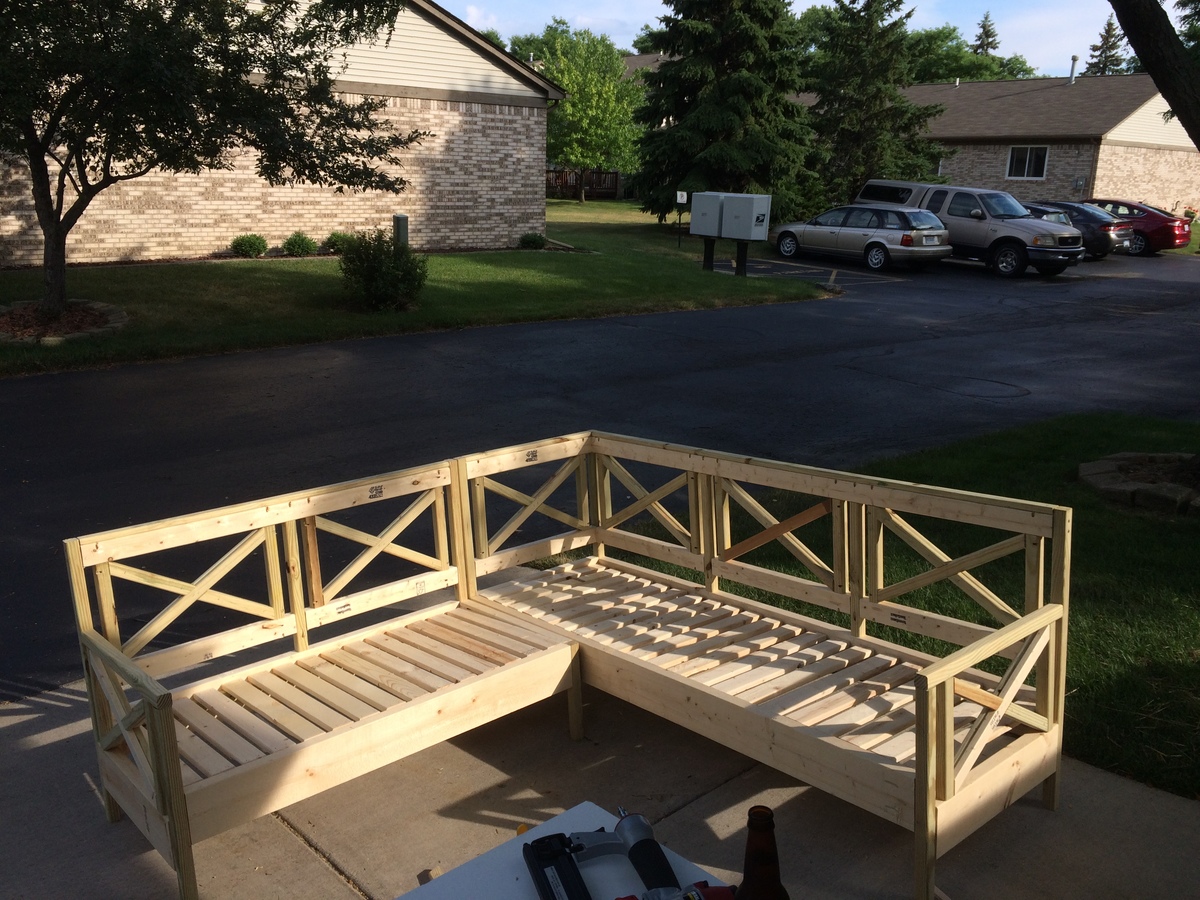
My wife loved the x-pattern of the eatherly sofa and also wants an L couch for our deck. Still have to sand and paint but that is her job :)

Estimated Cost
$120
Estimated Time Investment
Weekend Project (10-20 Hours)
Finish Used
Will be white outdoor paint
Recommended Skill Level
Beginner

Porch bed swing

Submitted by janamason on Tue, 05/05/2020 - 18:30

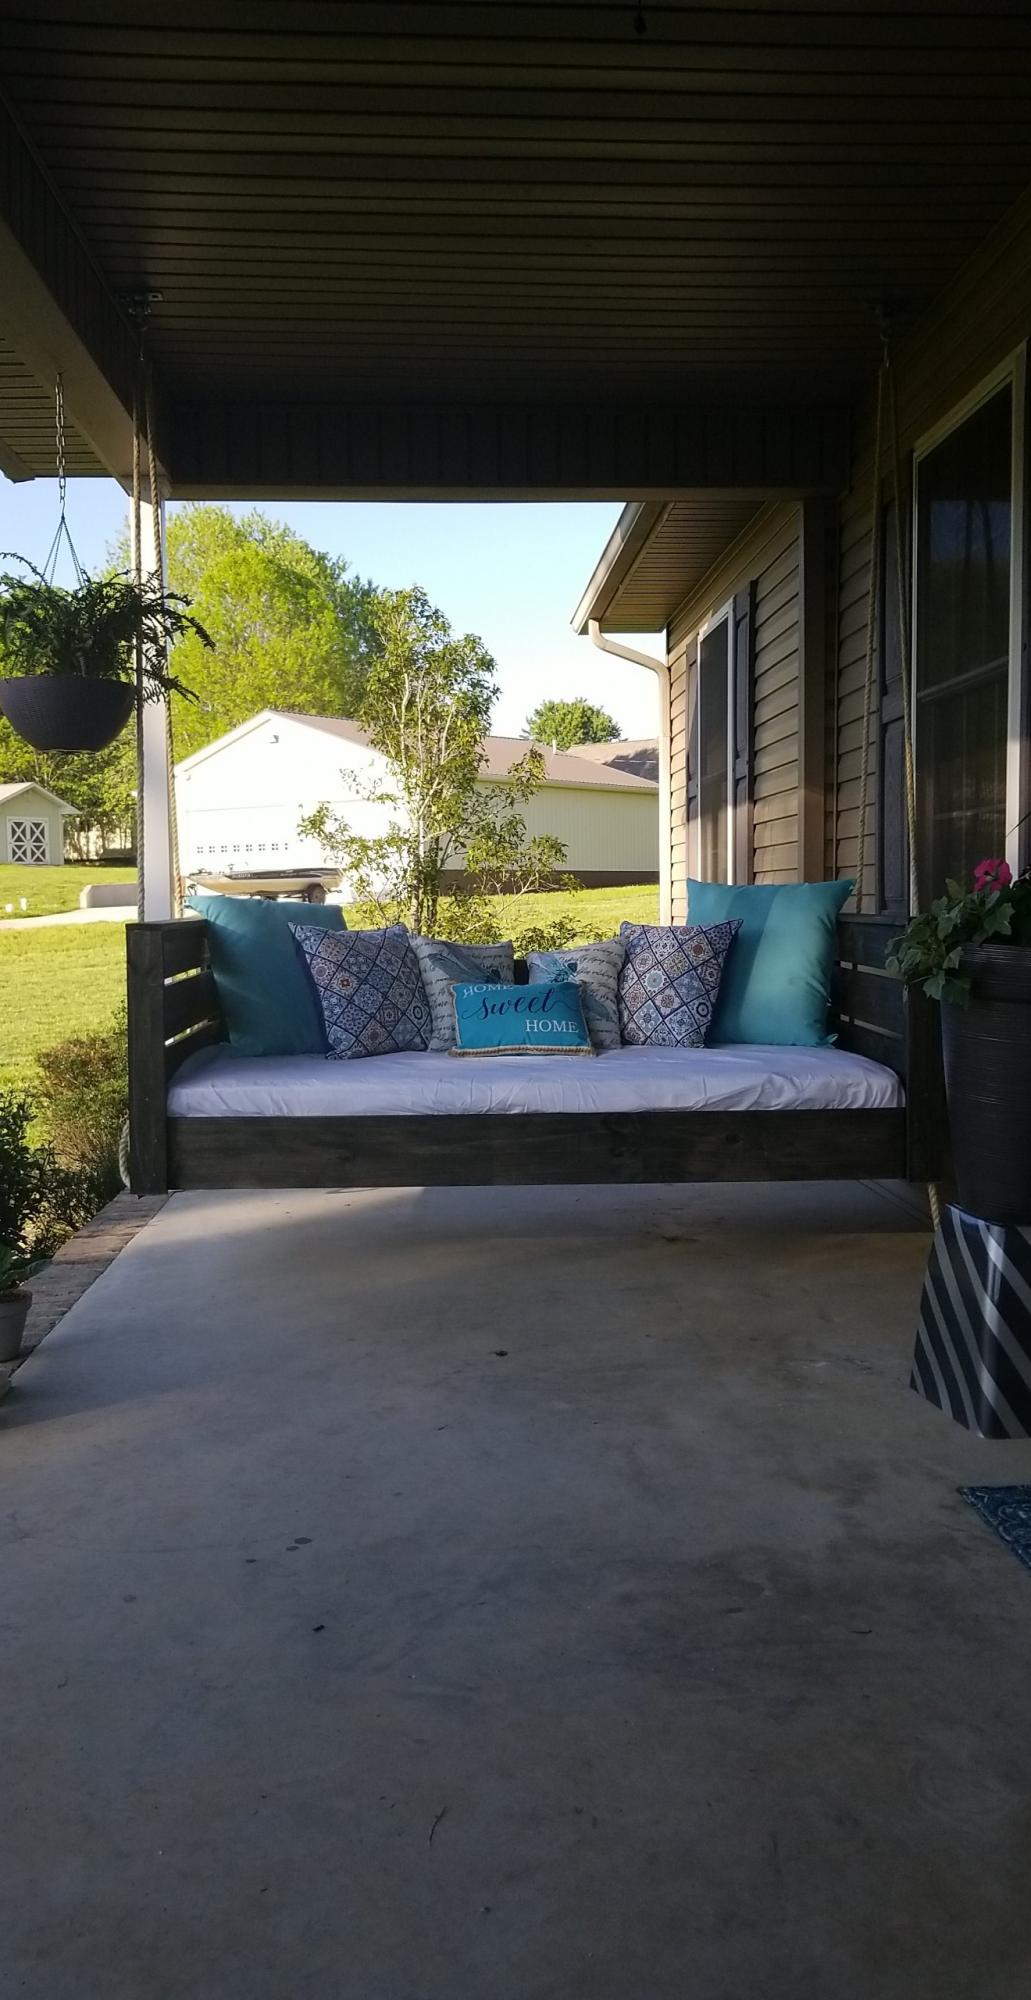
My 15 year old son built this for me!

Estimated Time Investment
Day Project (6-9 Hours)
Finish Used
Minwax ebony
Recommended Skill Level
Beginner

Comments

Fancy Doll Bed

Submitted by hortonec on Thu, 06/28/2012 - 04:59

This was my first project! WIth some guidance from my husband, we were able to complete this during naptime (minus paint, of course). It was a fun project and I can't wait to try a different one! (Not sure why it looks so crooked in this picture! It looks nice and even in person.)

Estimated Cost
$50
Estimated Time Investment
An Hour or Two (0-2 Hours)
Recommended Skill Level
Starter Project

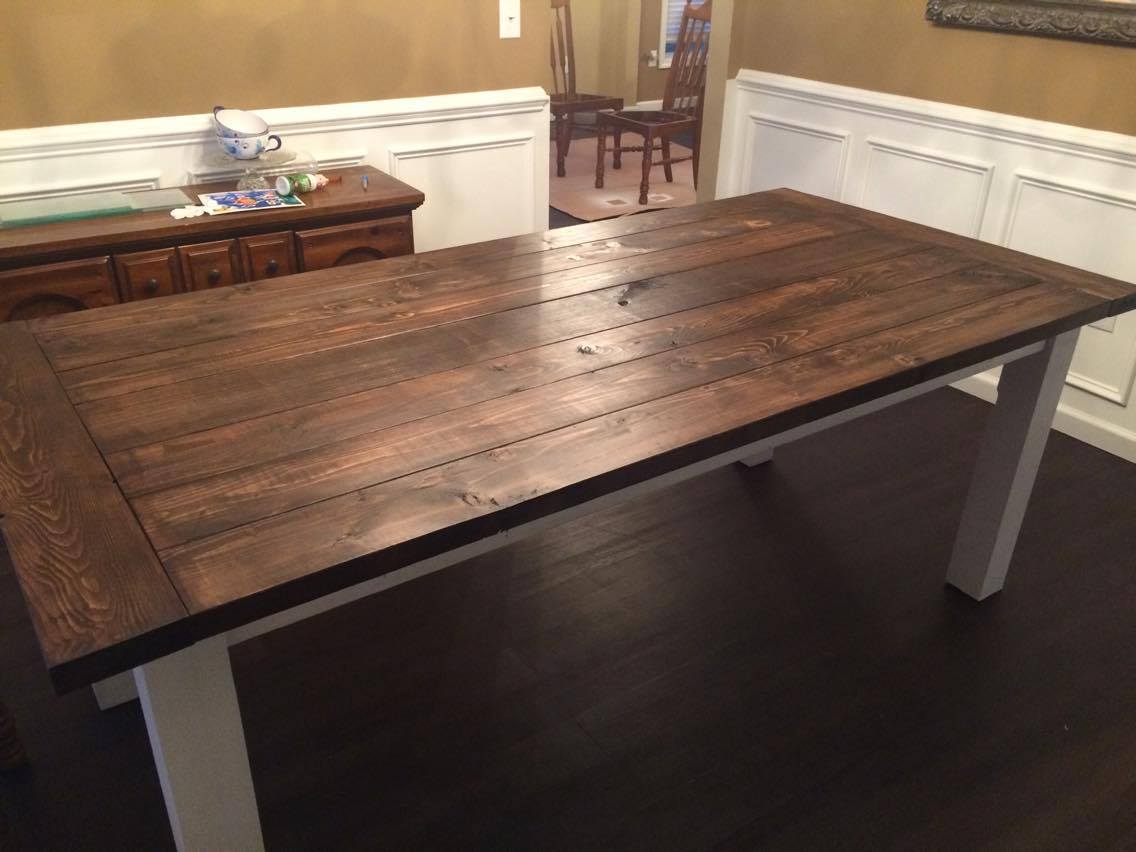
Slightly adjusted pocket hole plan

Submitted by Anonymous (not verified) on Thu, 07/14/2016 - 17:37

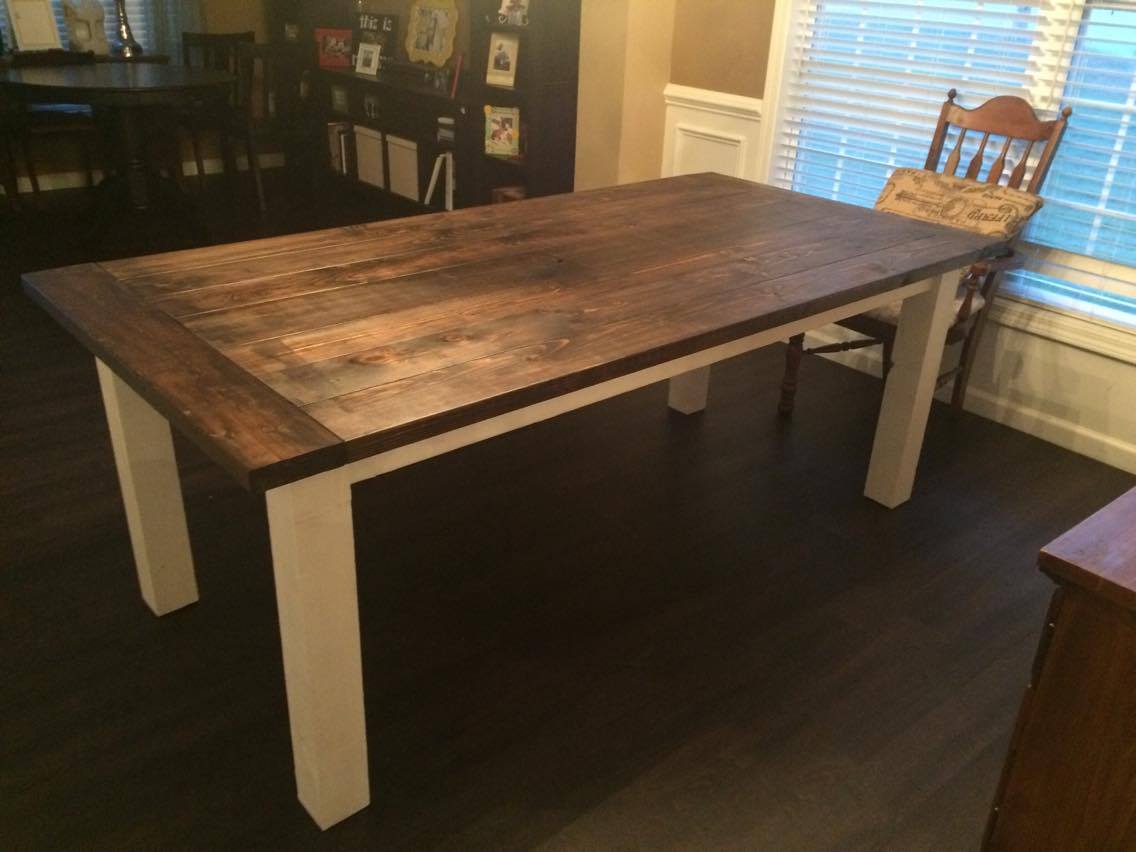
We decided to adjust this plan by removing the stretchers on the bottom. We knew we wanted to use the ends of the table for seating fairly regularly without adding a leaf on the end. The lack of support doesn't seem to have any effect on the sturdiness of the table. This was a super fun (and first woodworking) project! Can't wait to knock out the bench!

Estimated Cost
We spent around $85 total on materials. (This is not including tools I bought for the project.) I purchased a Kreg Jig for around $40 and a 6" Kreg clamp for $35. This was a great investment, not only for this project, but also more projects down the road.
Estimated Time Investment
Weekend Project (10-20 Hours)
Finish Used
The legs and apron were a painted with a Valspar Ultra White chalk paint. If you have the option to buy anything other than cedar 4x4's for you legs, DO IT!. Cedar soaked up so much paint and made it hard to get the clean, white look we were going for. The top is a stain color called Kona made by Rust-Oleum. We used about 3/4 of an 8oz can. We sealed it with Minwax Polycrylic Protective Finish.
Recommended Skill Level
Starter Project

Barn Door TV Console

Submitted by Anonymous (not verified) on Fri, 05/08/2020 - 19:36

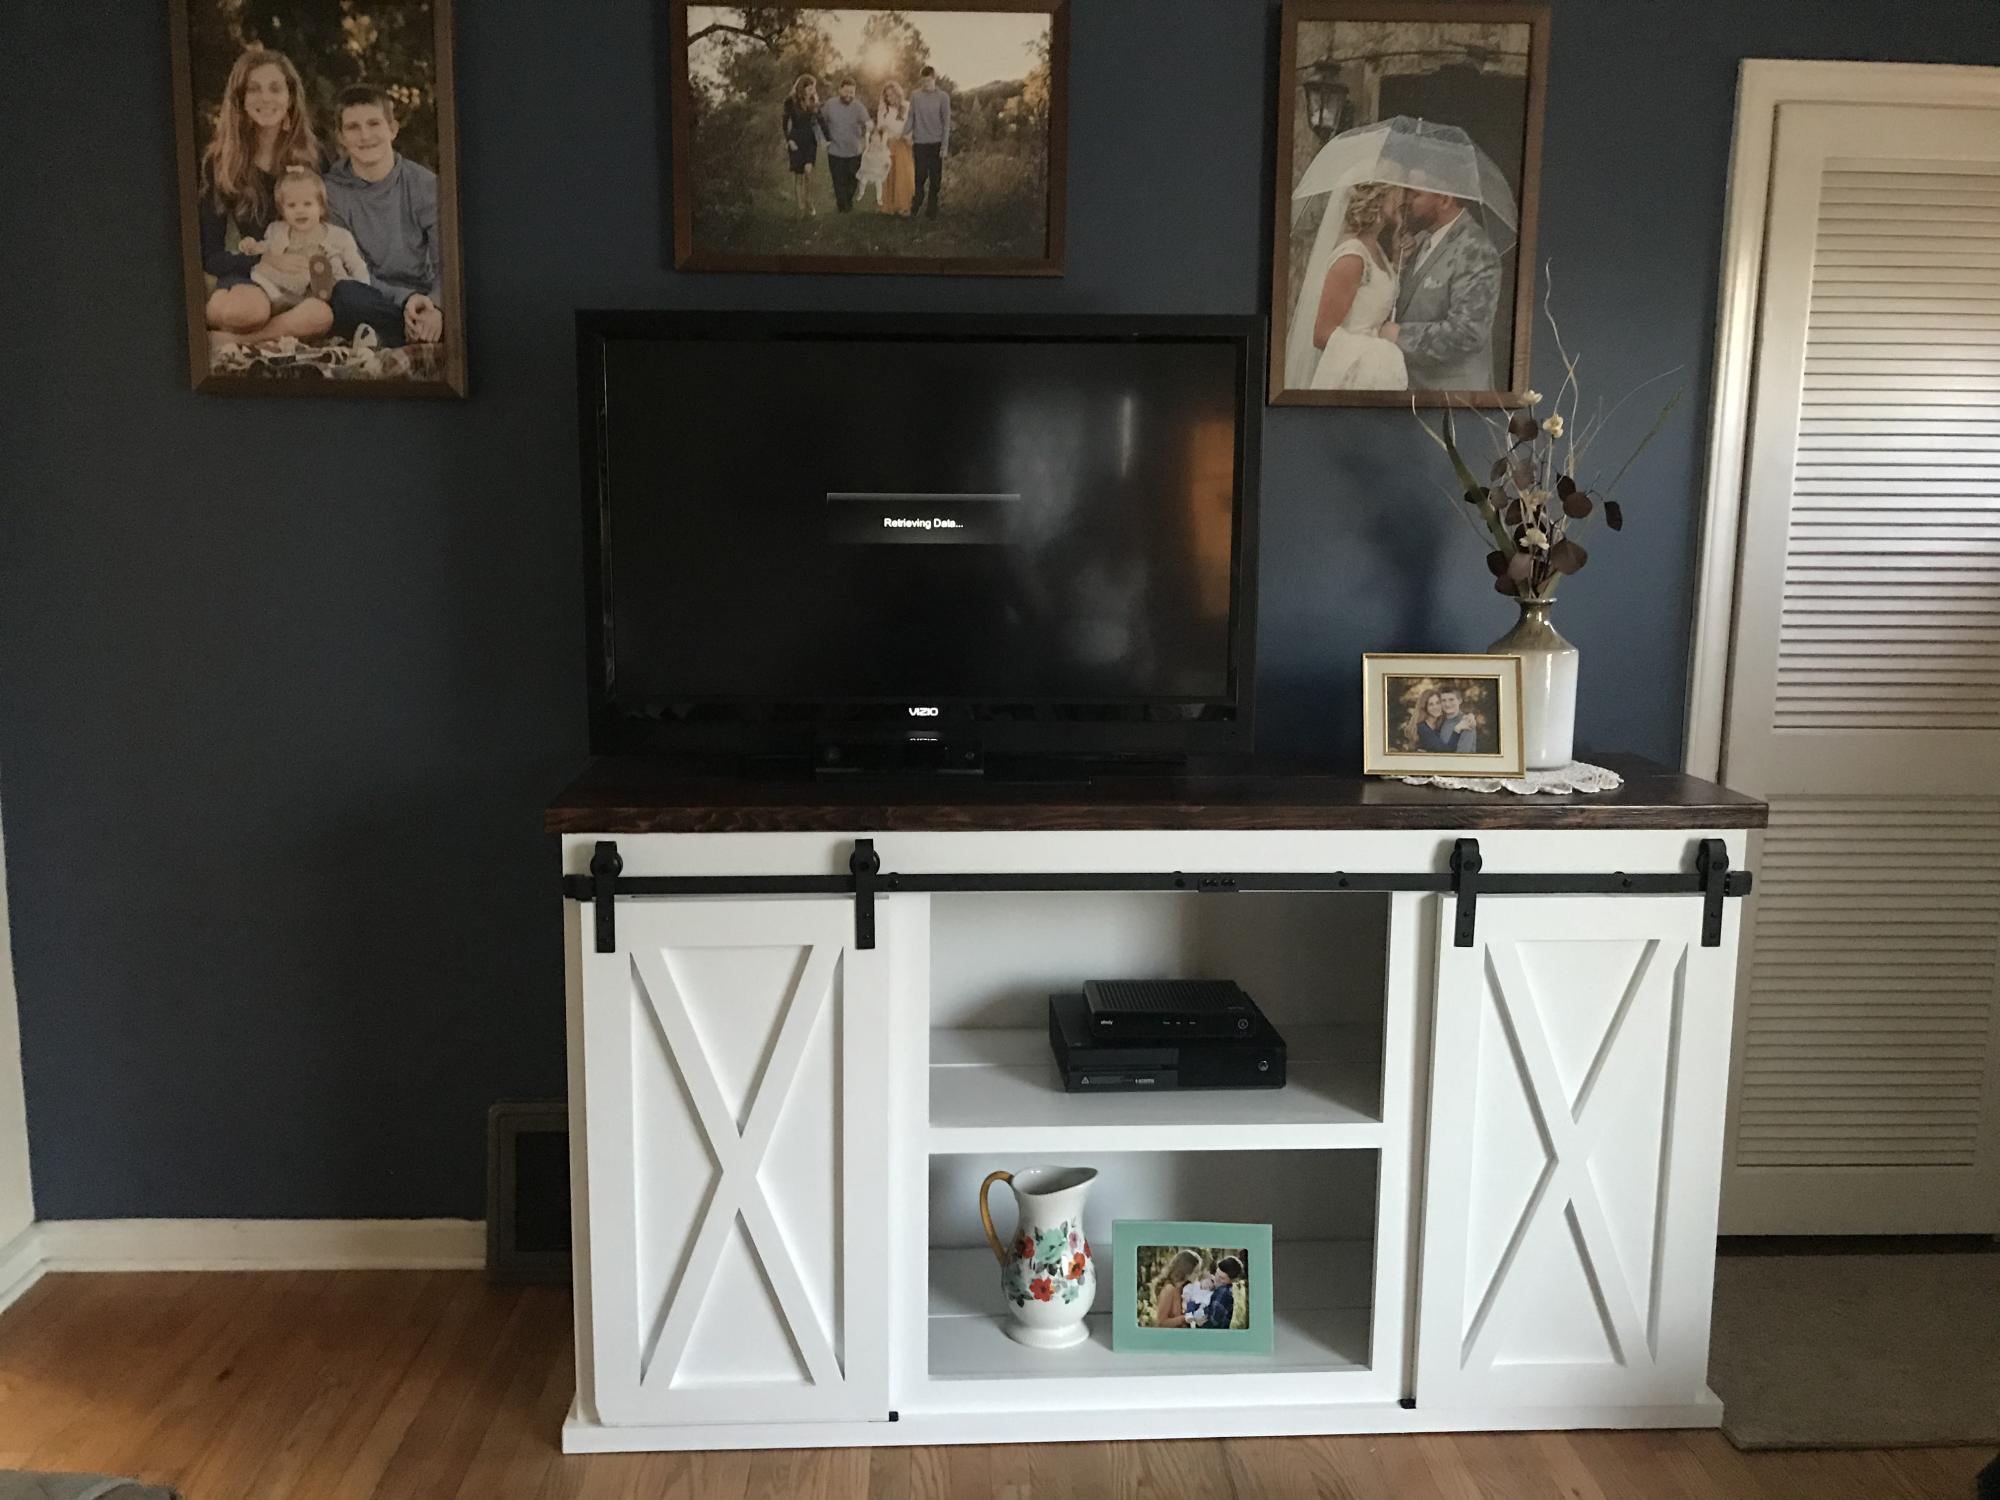
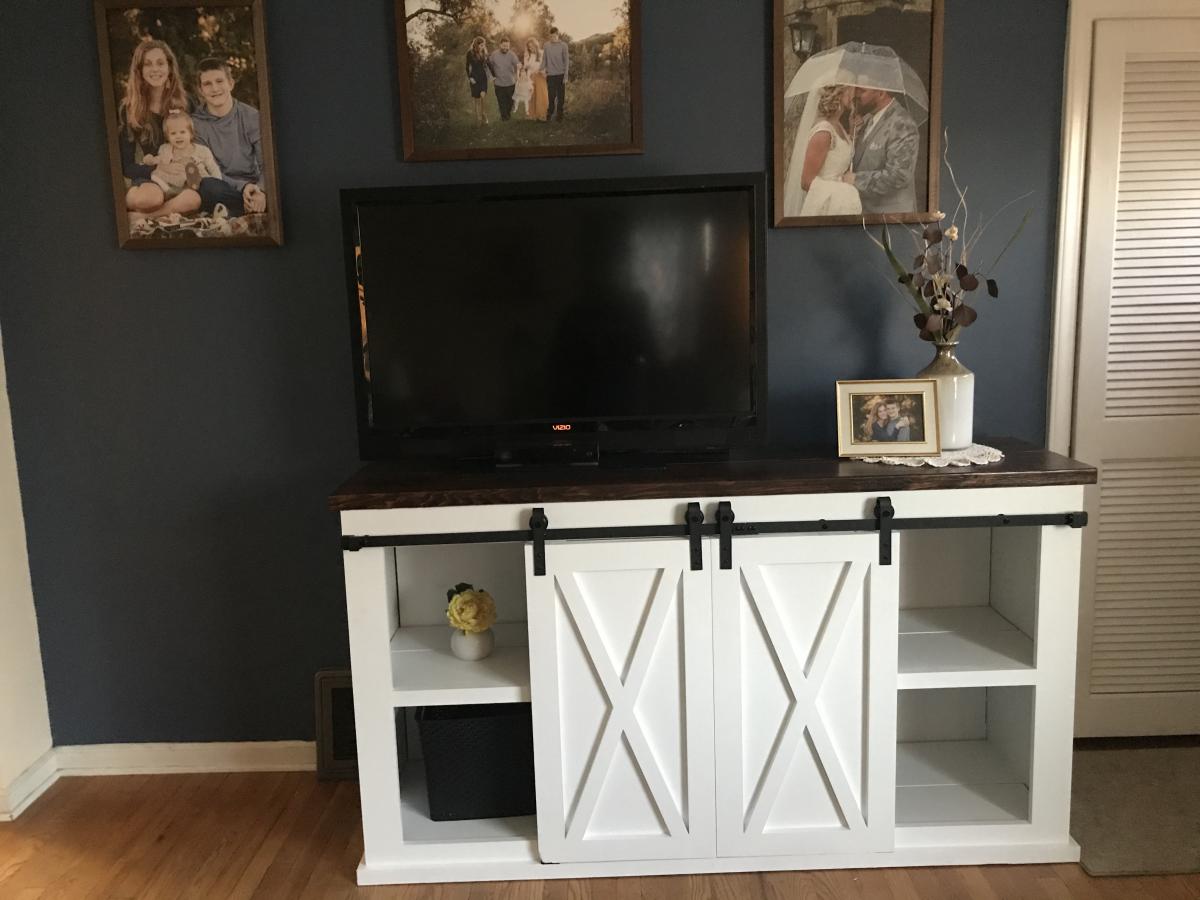
I built this during quarantine. Dark walnut on the top, and pure white paint ok the base and doors.

Built from Plan(s)
Estimated Cost
$350
Estimated Time Investment
Week Long Project (20 Hours or More)
Finish Used
Dark walnut stain, satin poly
pure white satin paint
Recommended Skill Level
Intermediate
Back