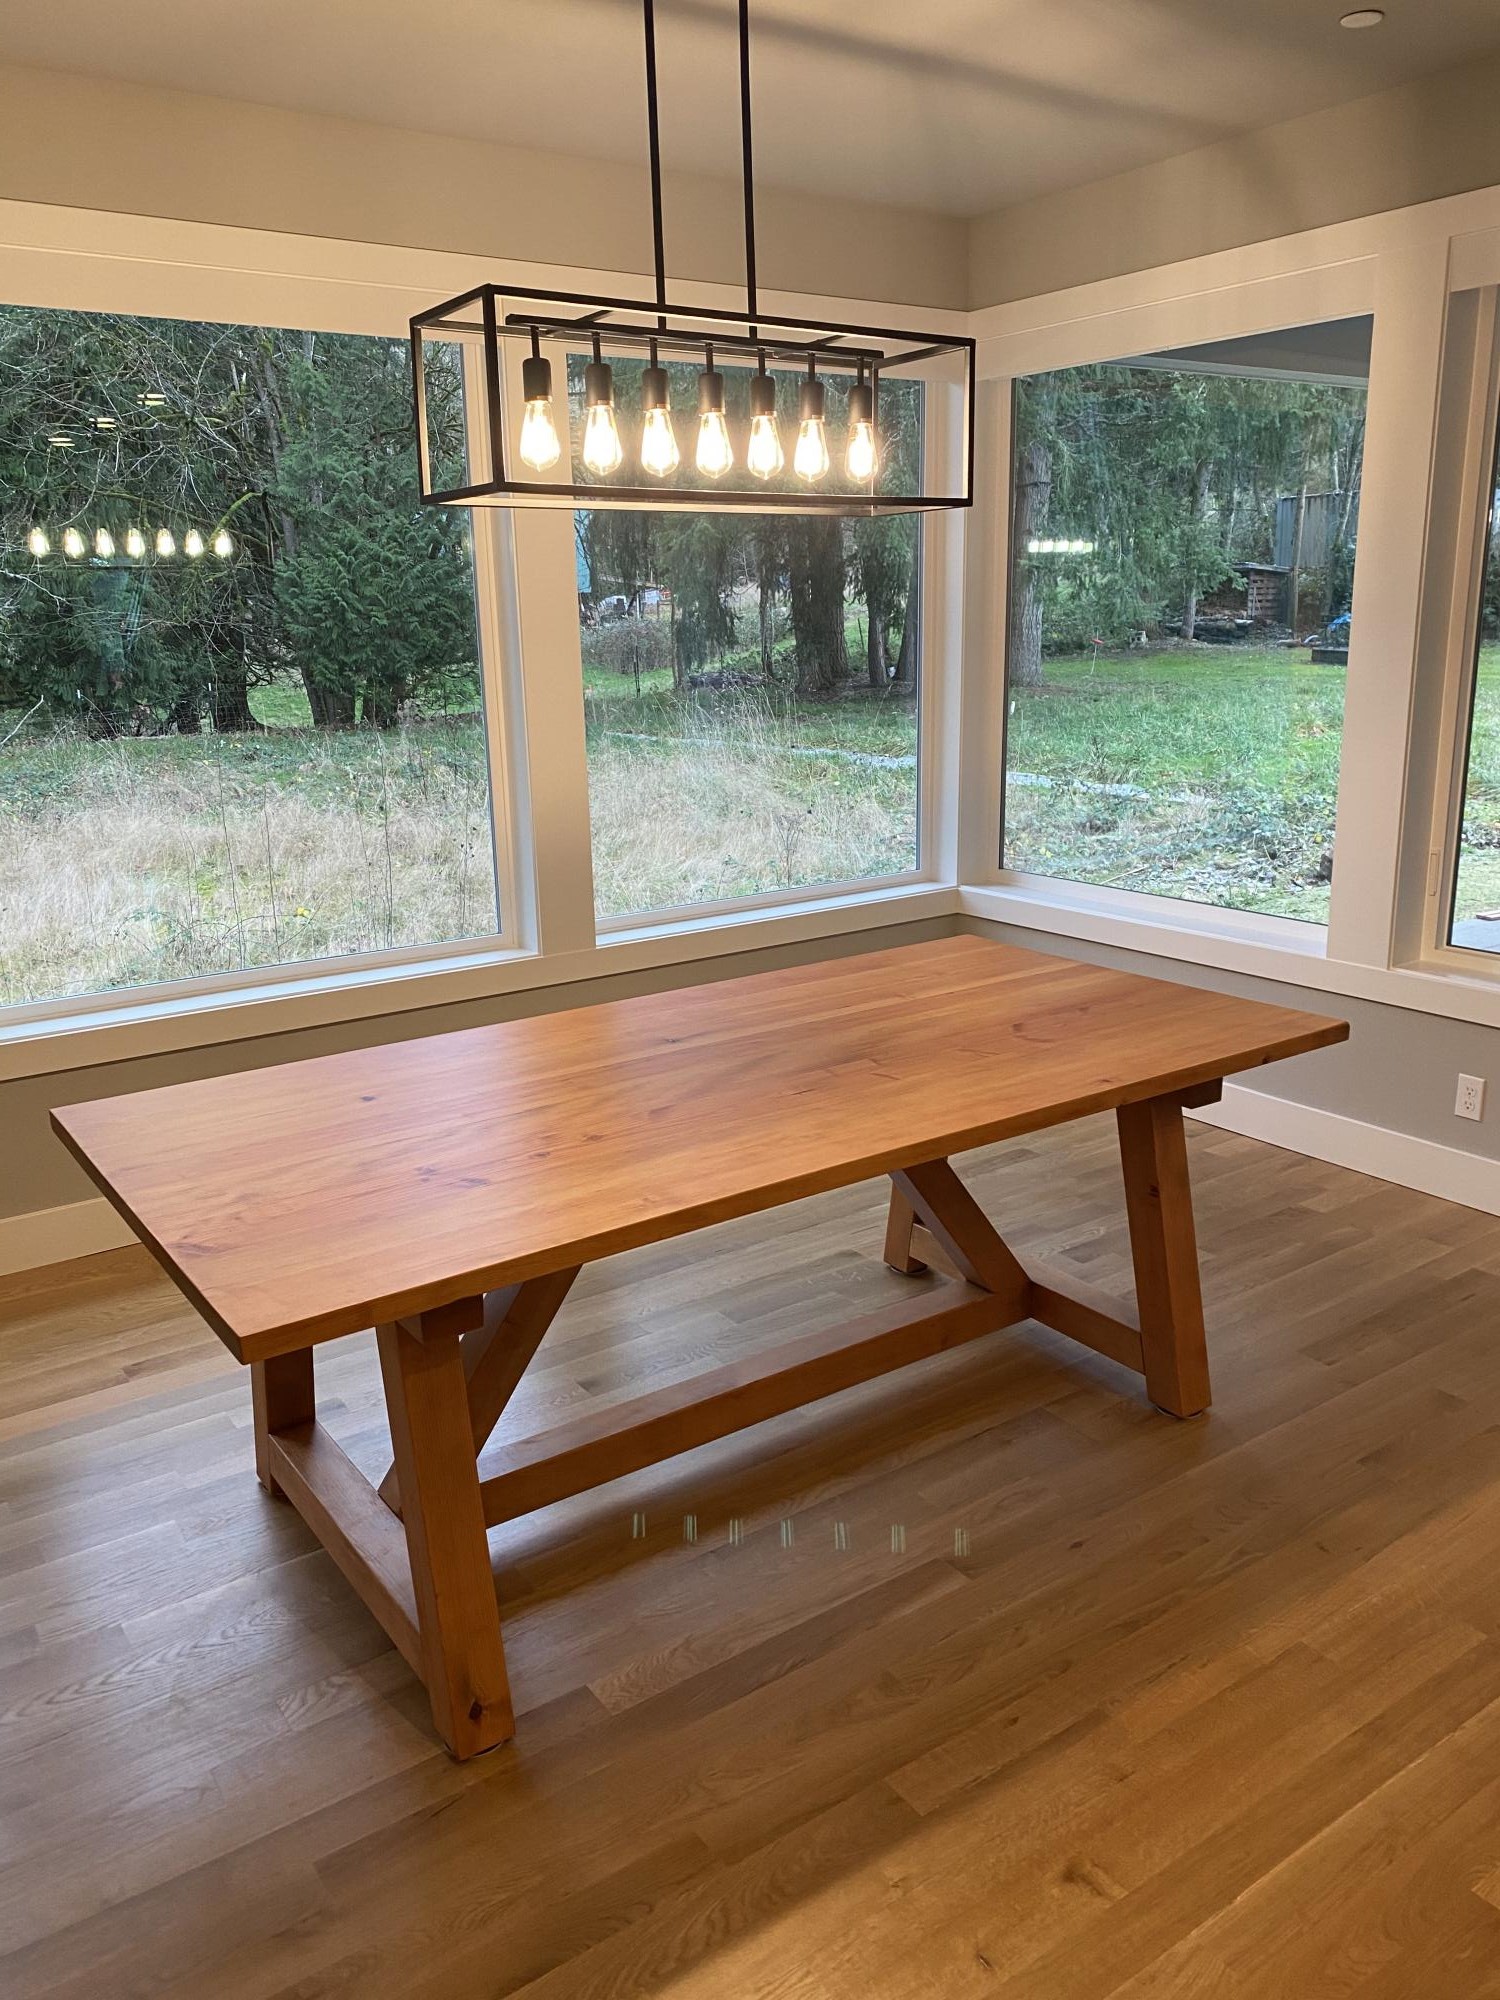
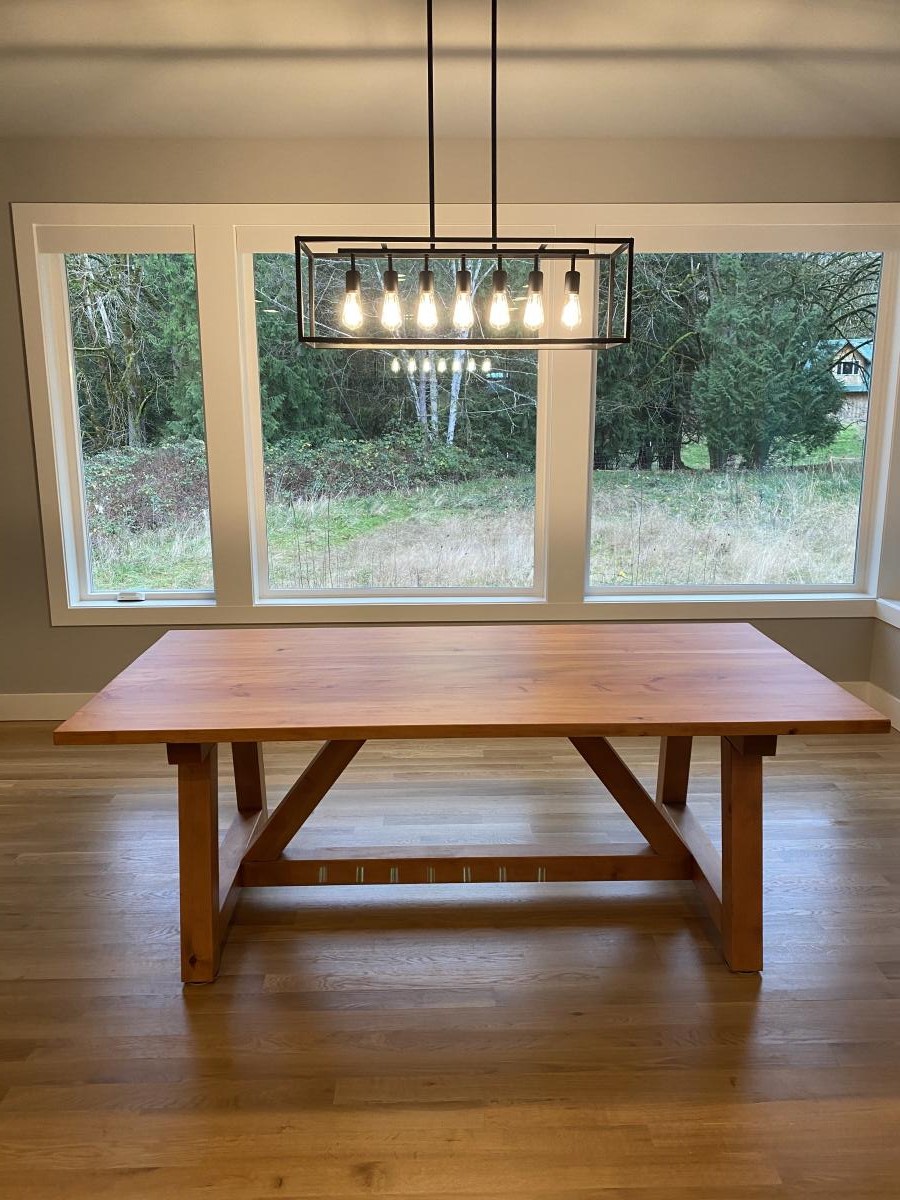
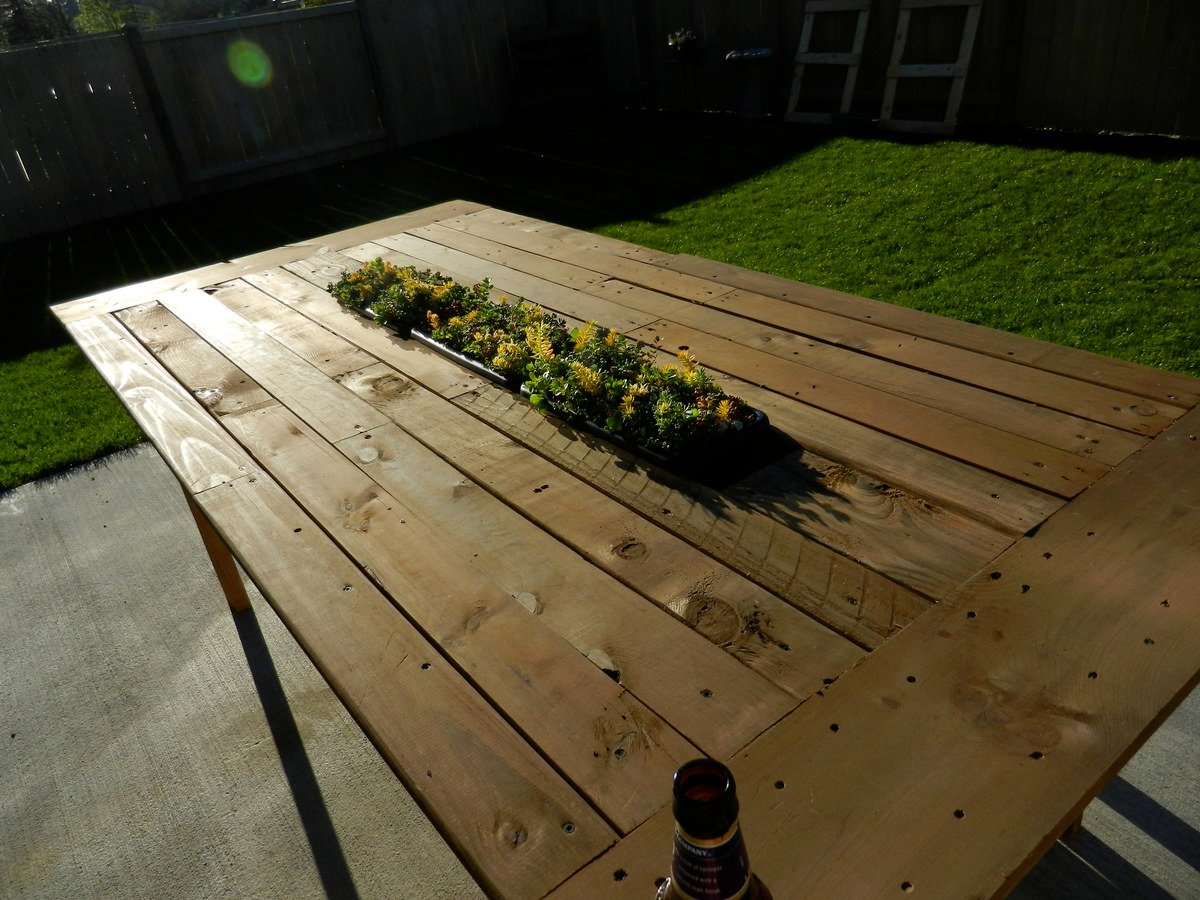
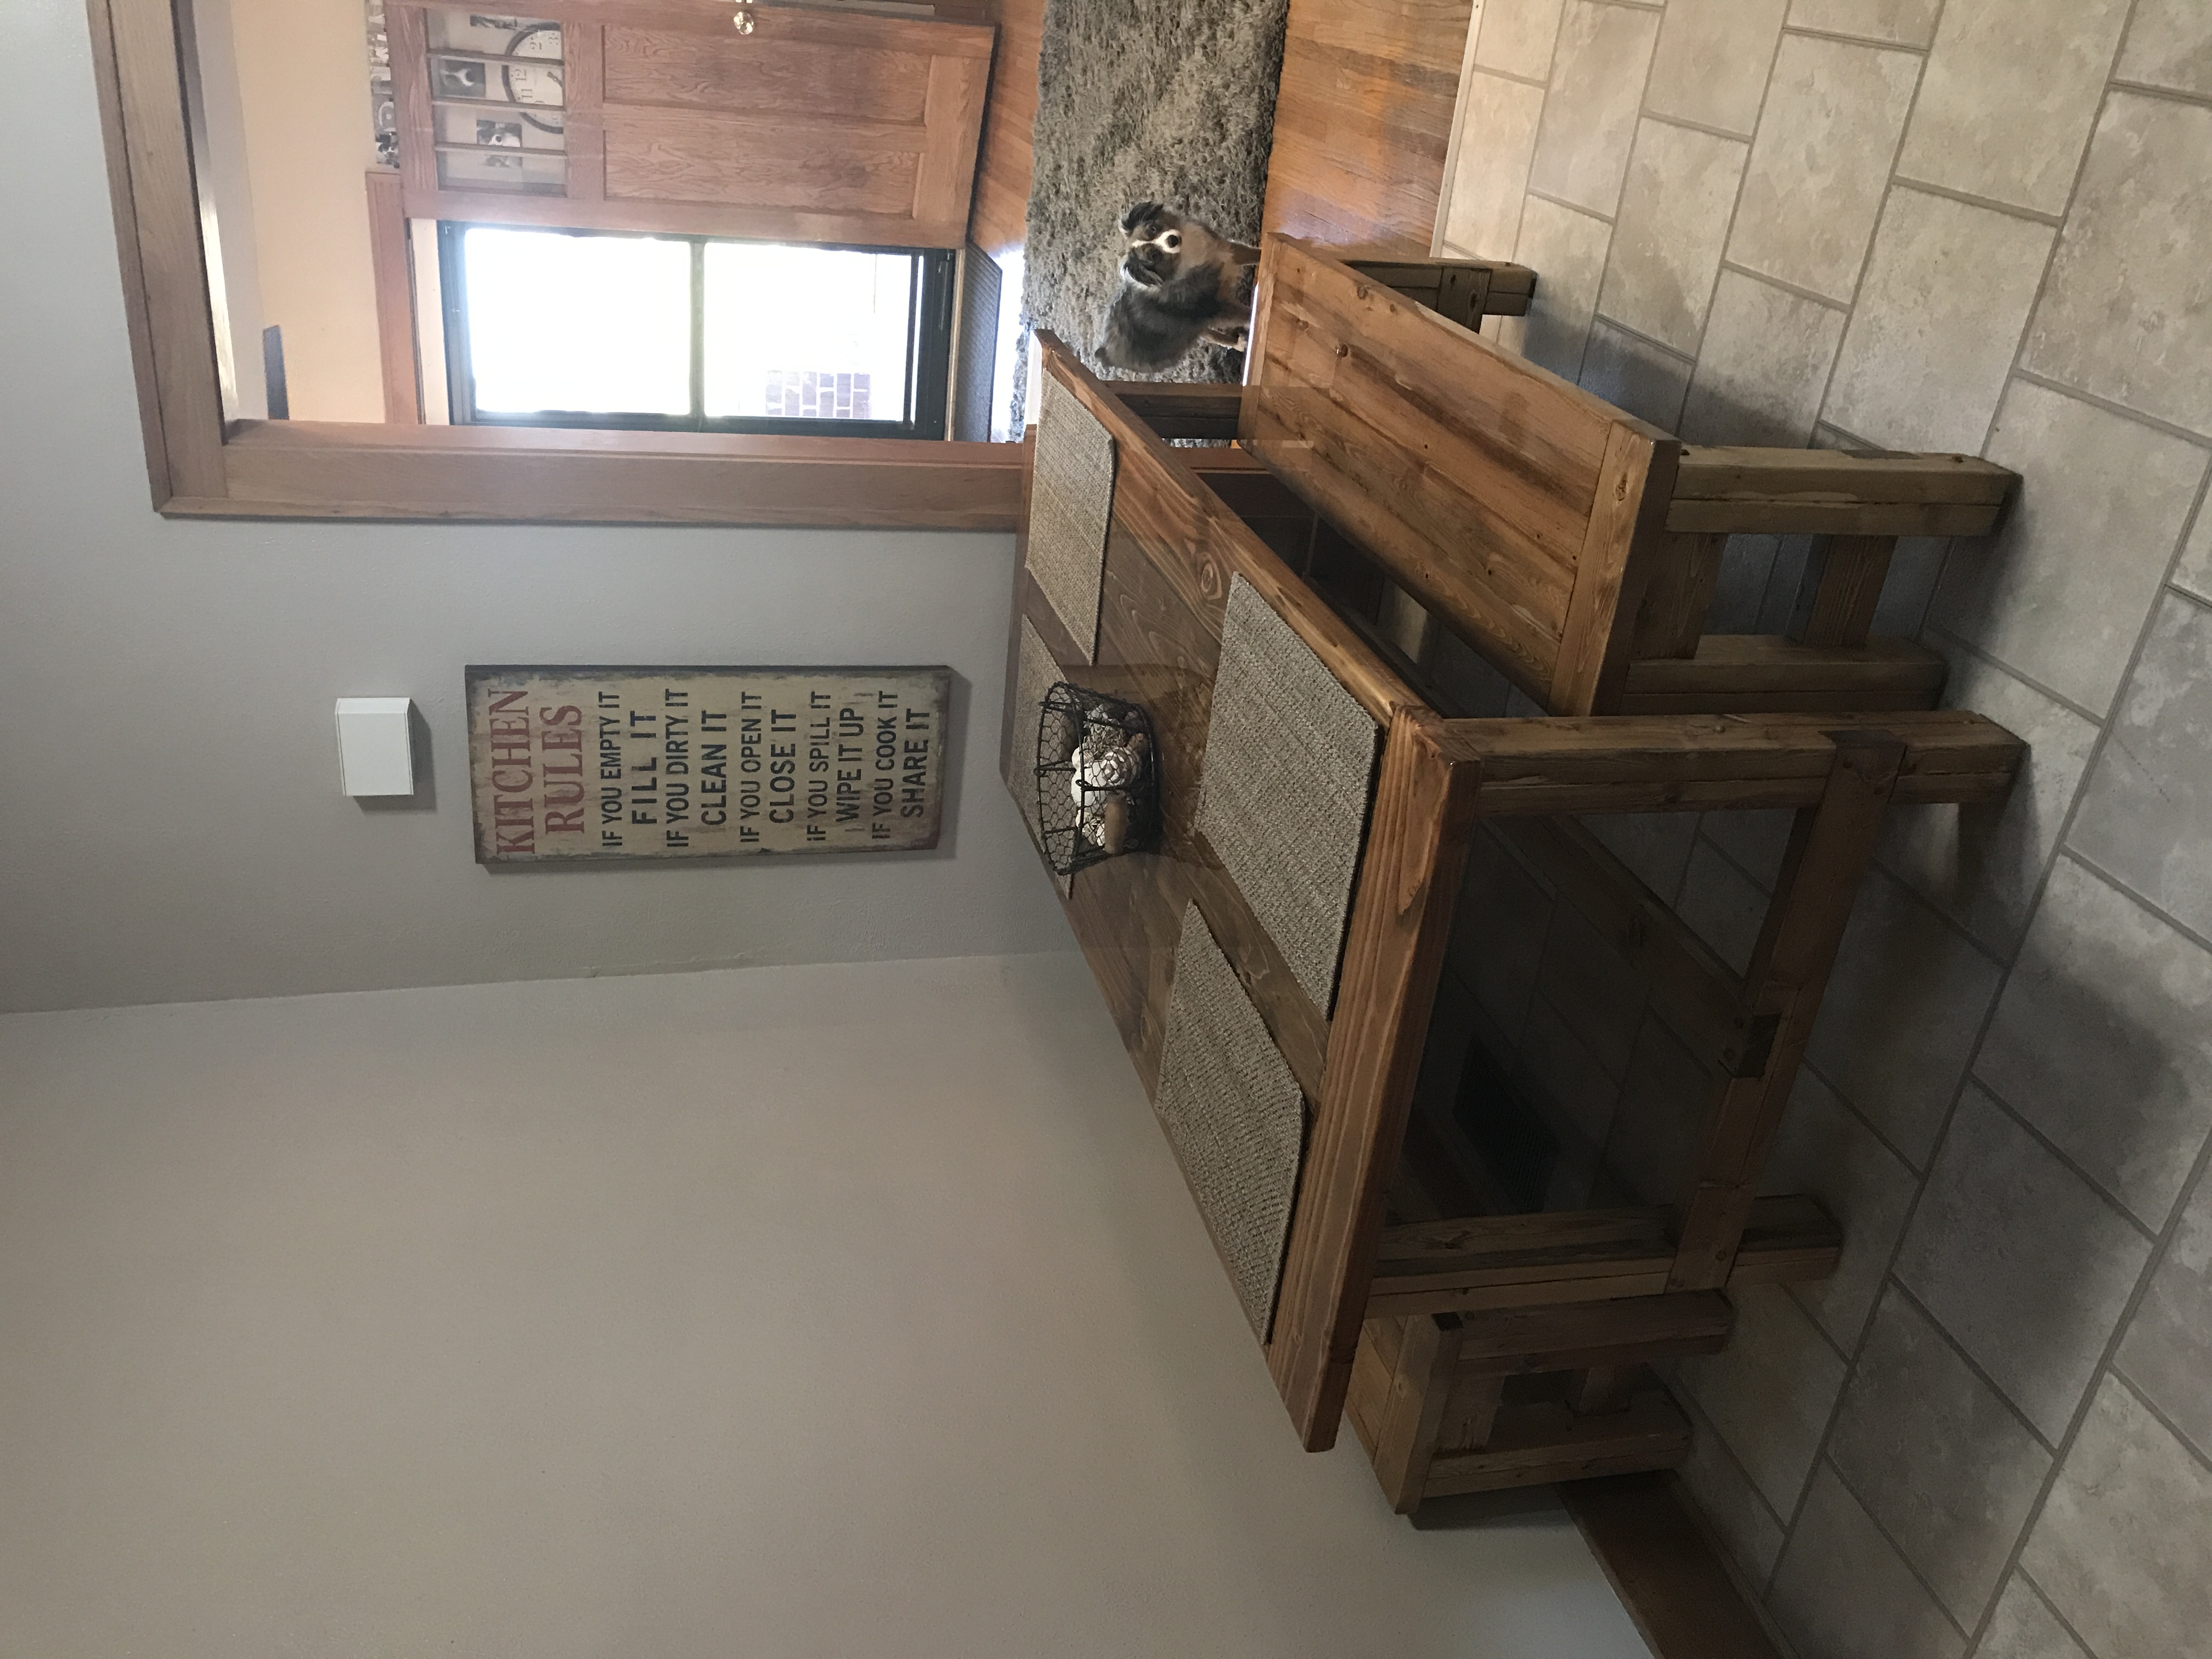
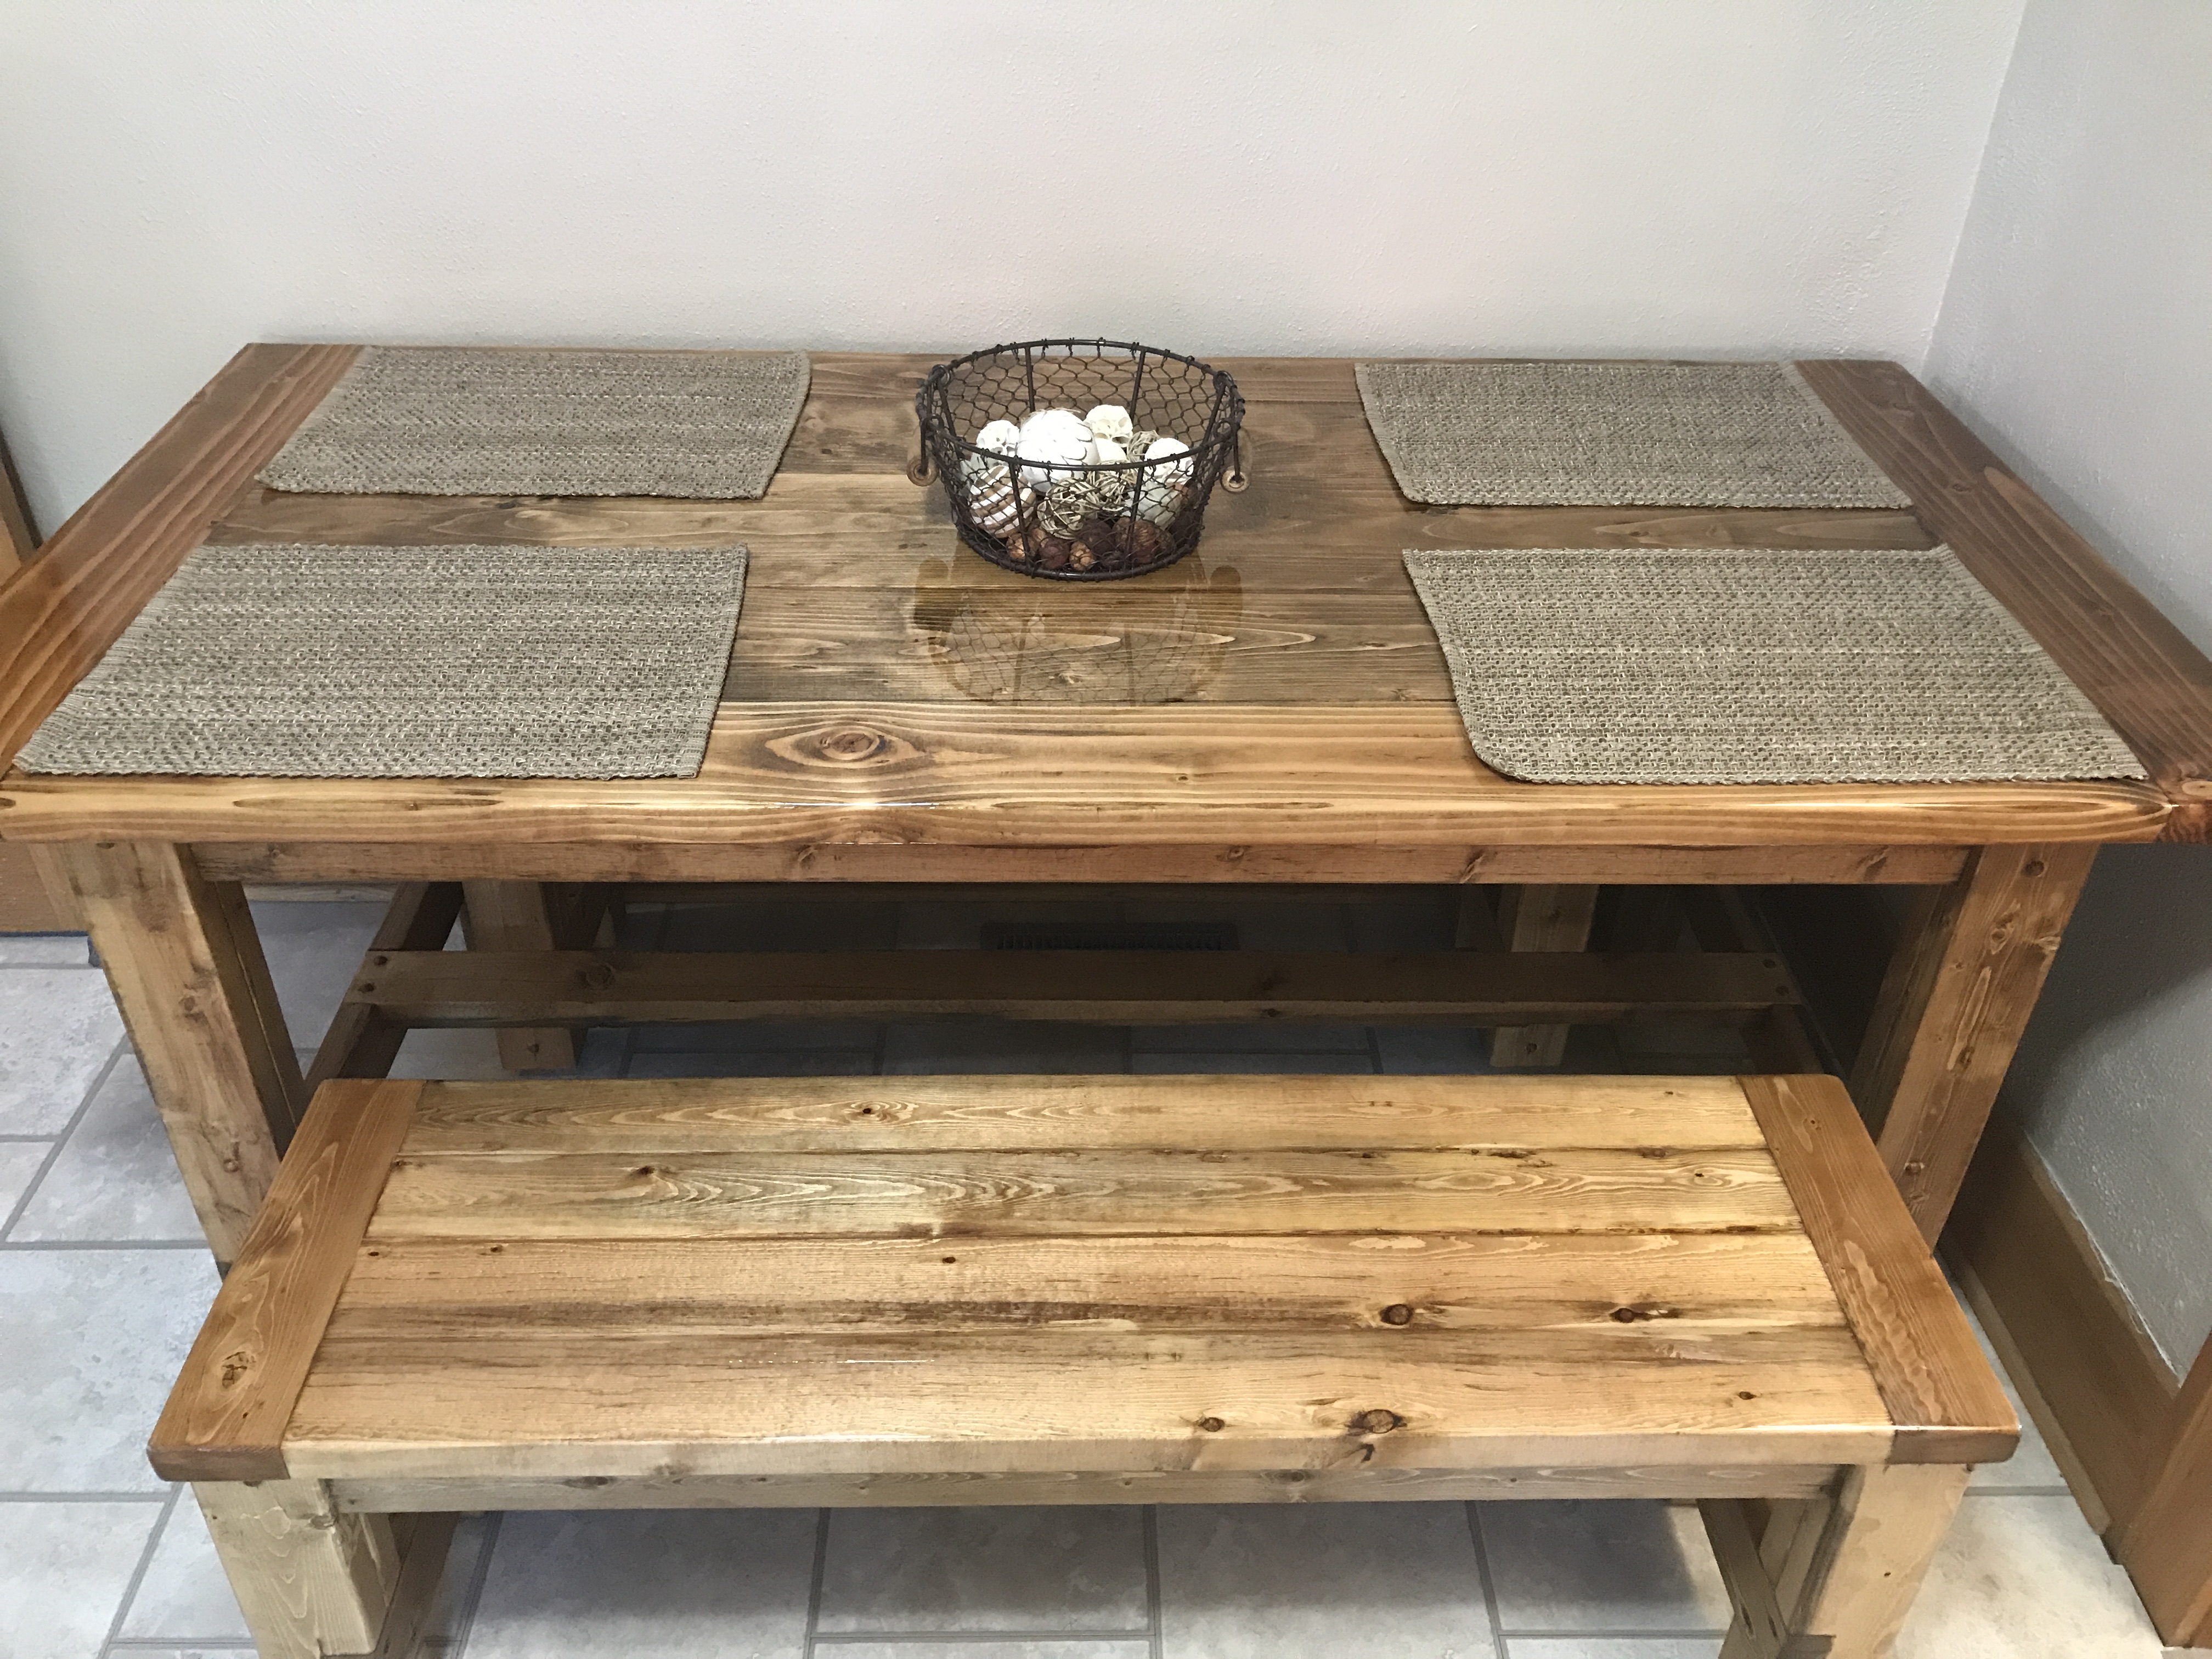
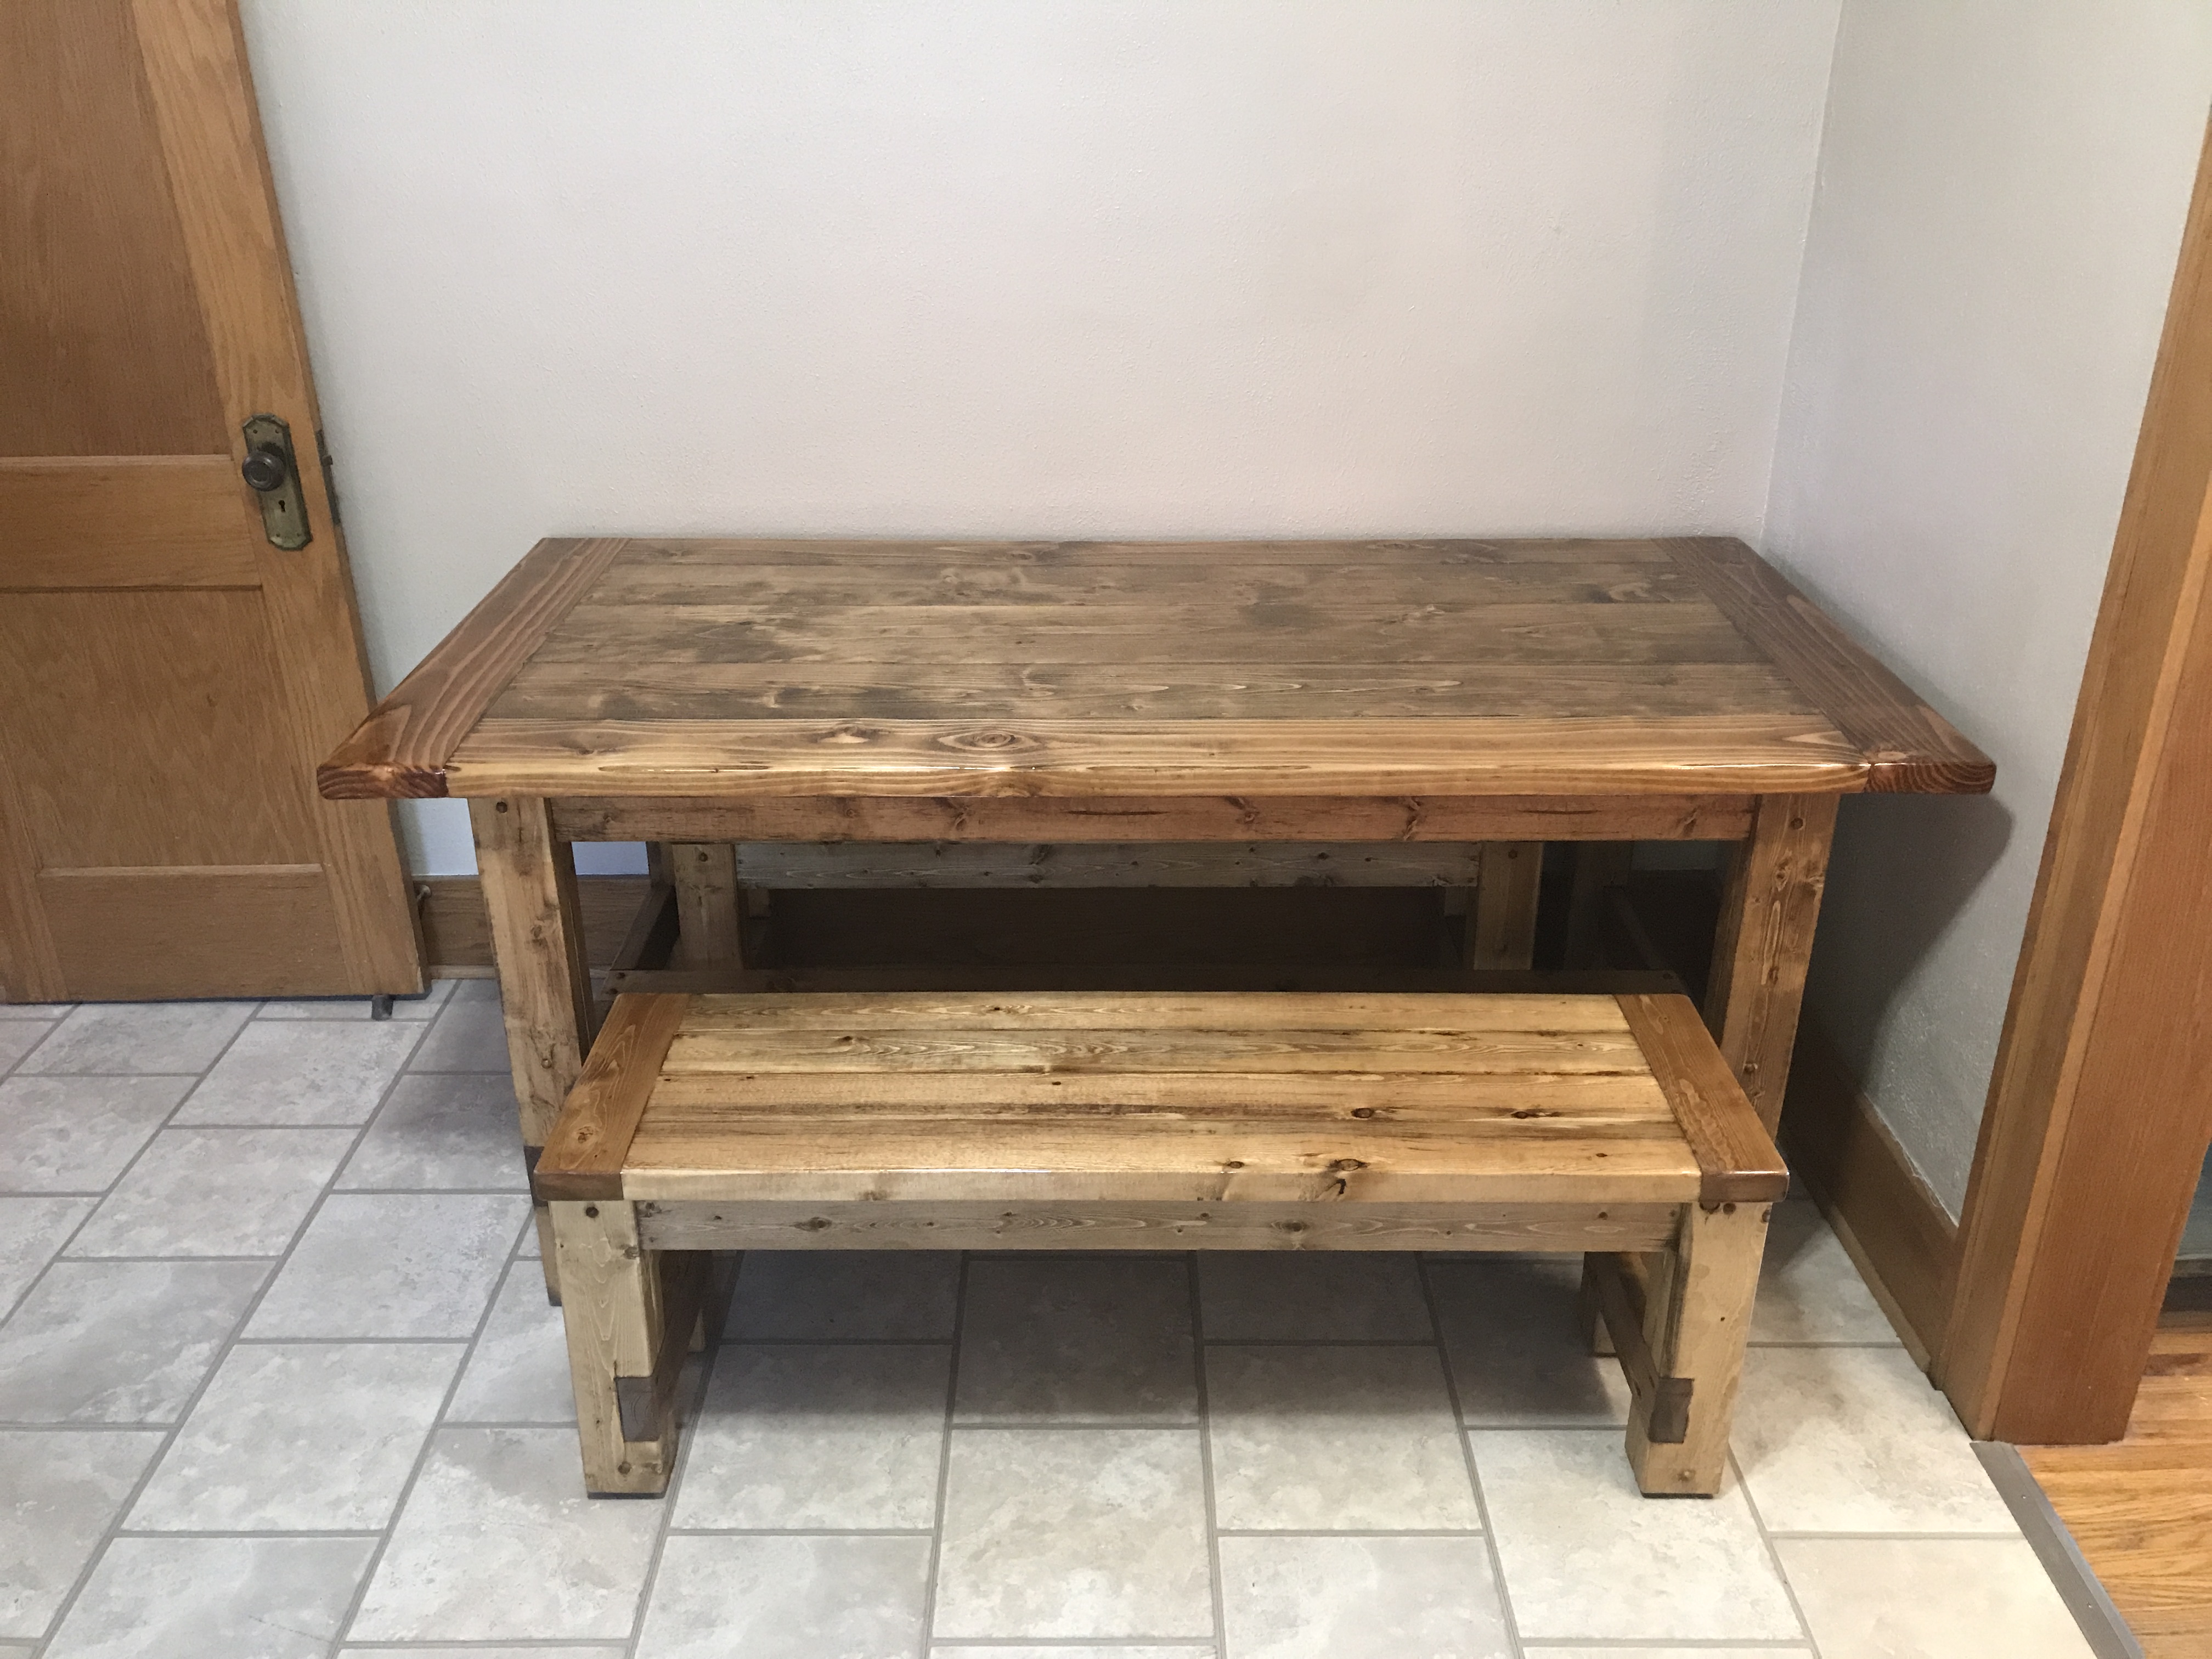
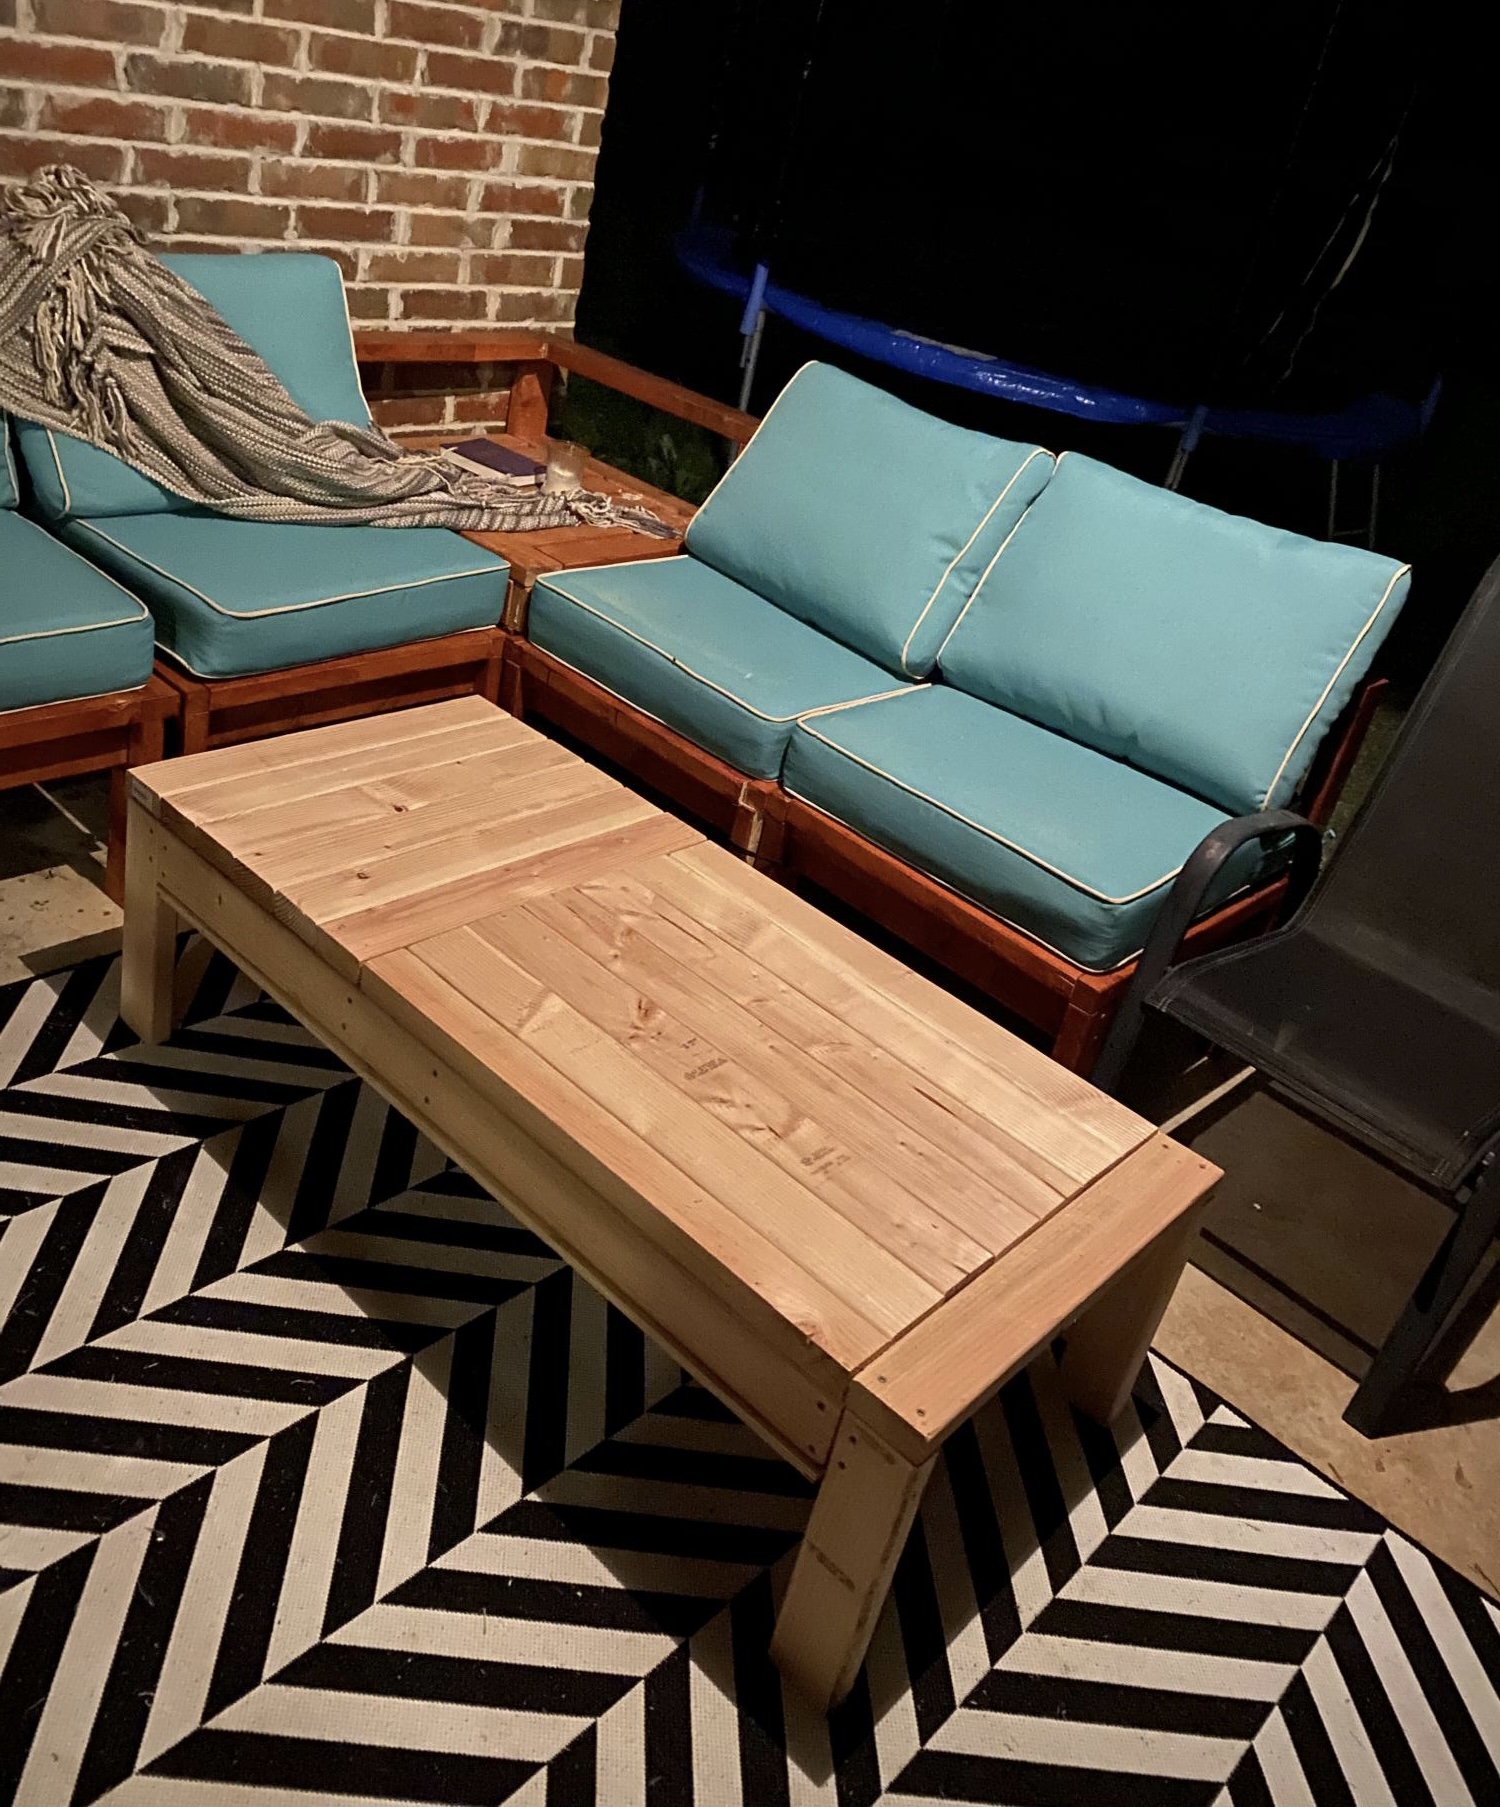
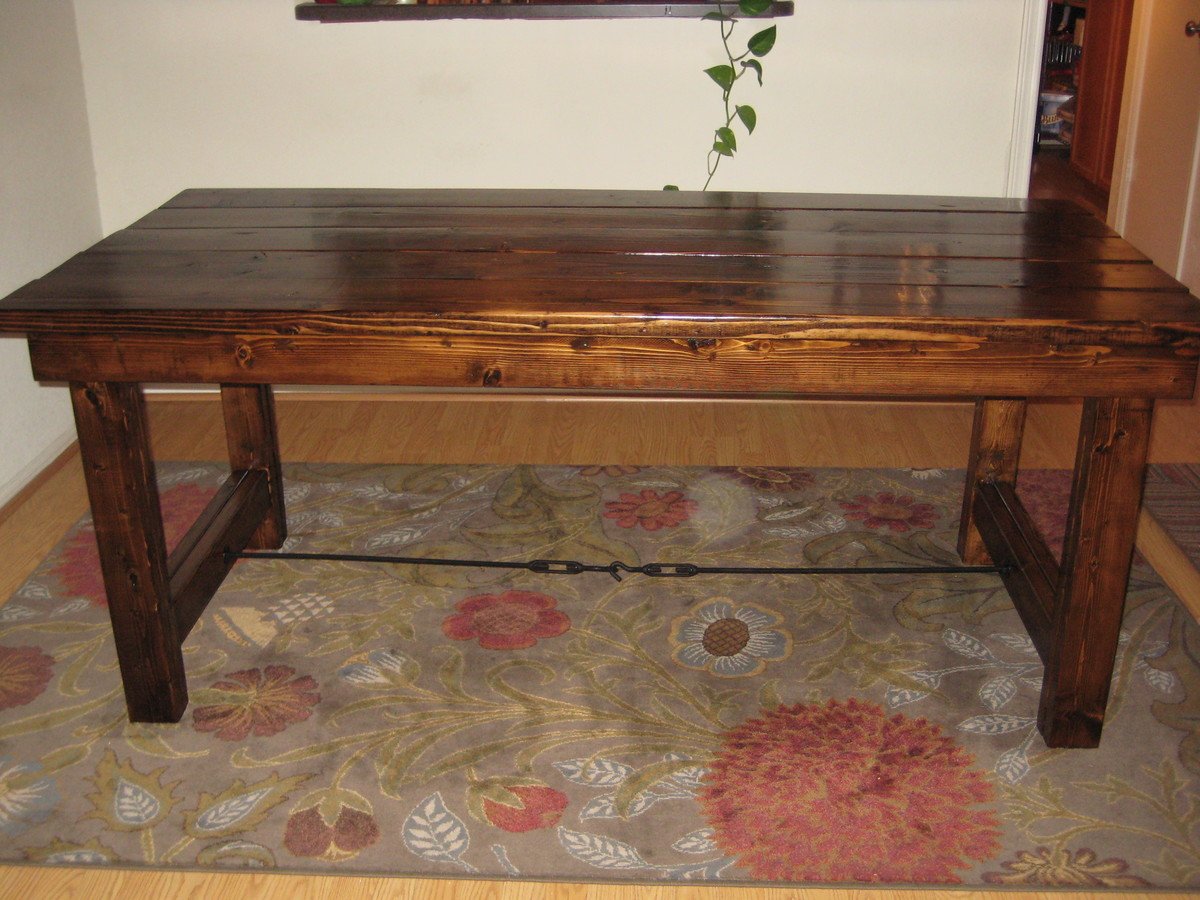
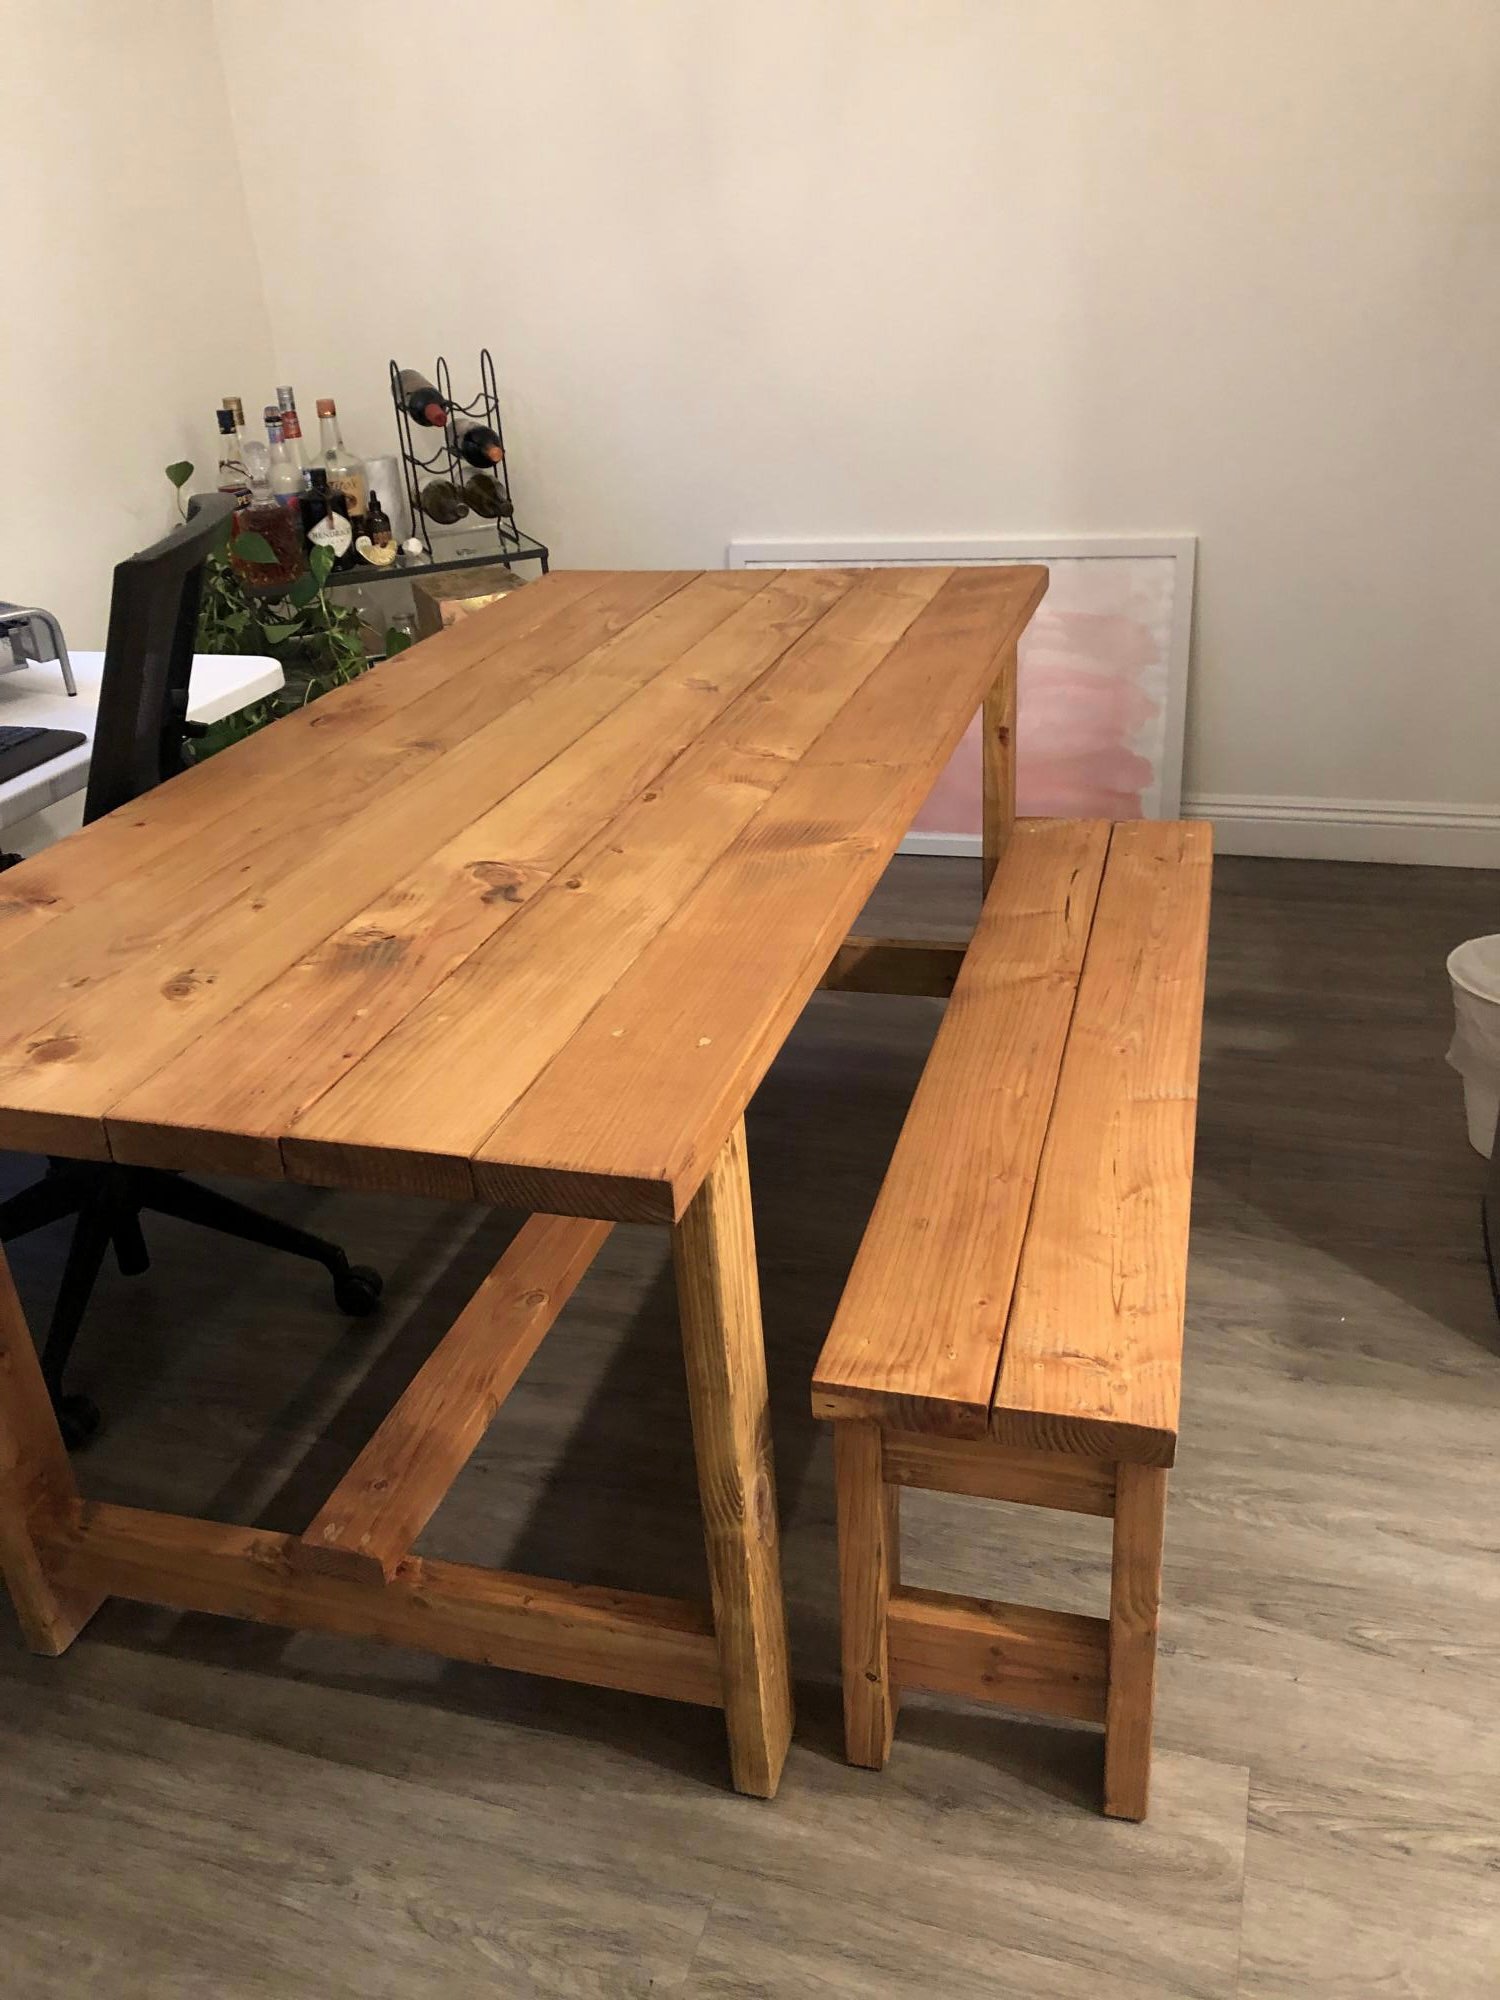
I bought a house and couldn't stomach buying something I could probably build myself. This is my first project and first furniture build. Besides buying the drill and screws the table was free. Didn't even buy a skill saw, just used a hand saw. The dimensions were dictated by the length of the pallet boards and width by the two end caps, so there were very few cuts to make.
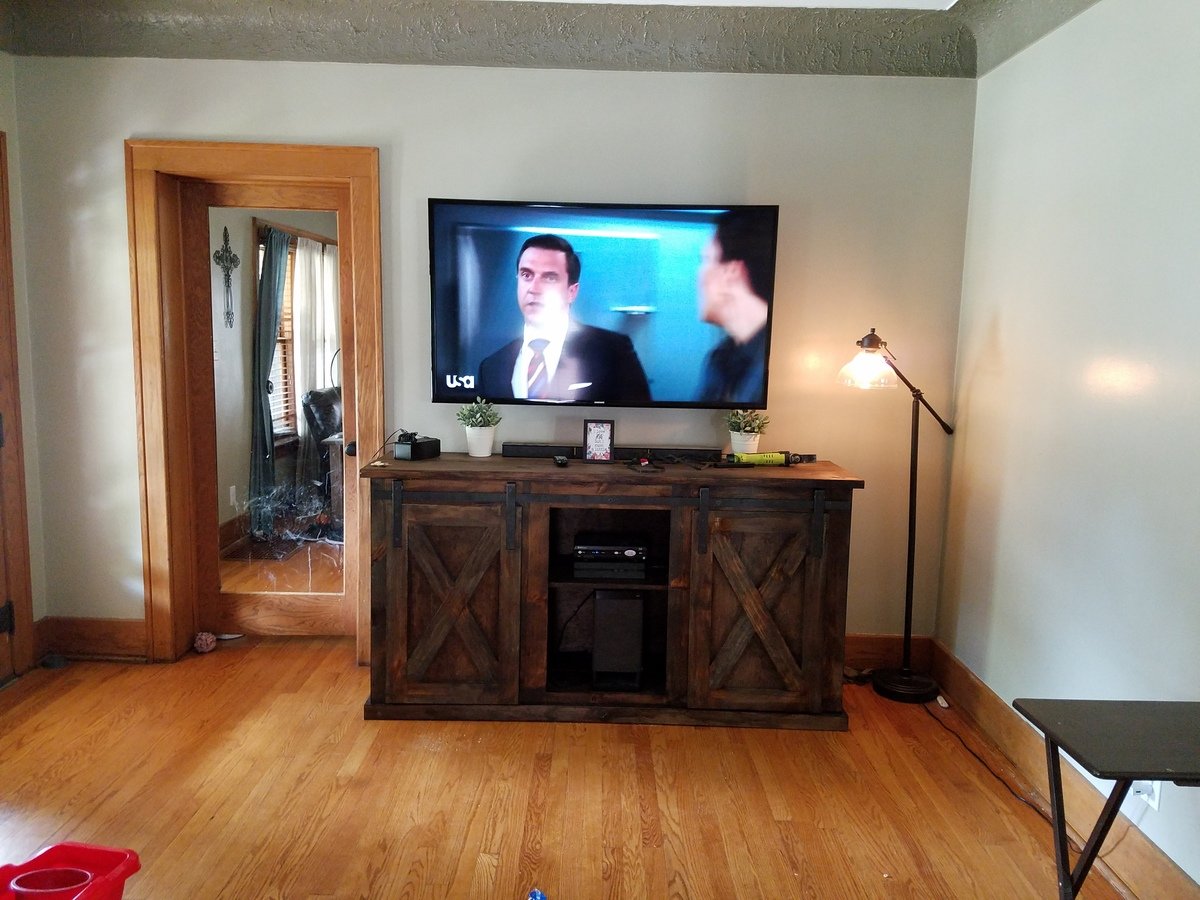
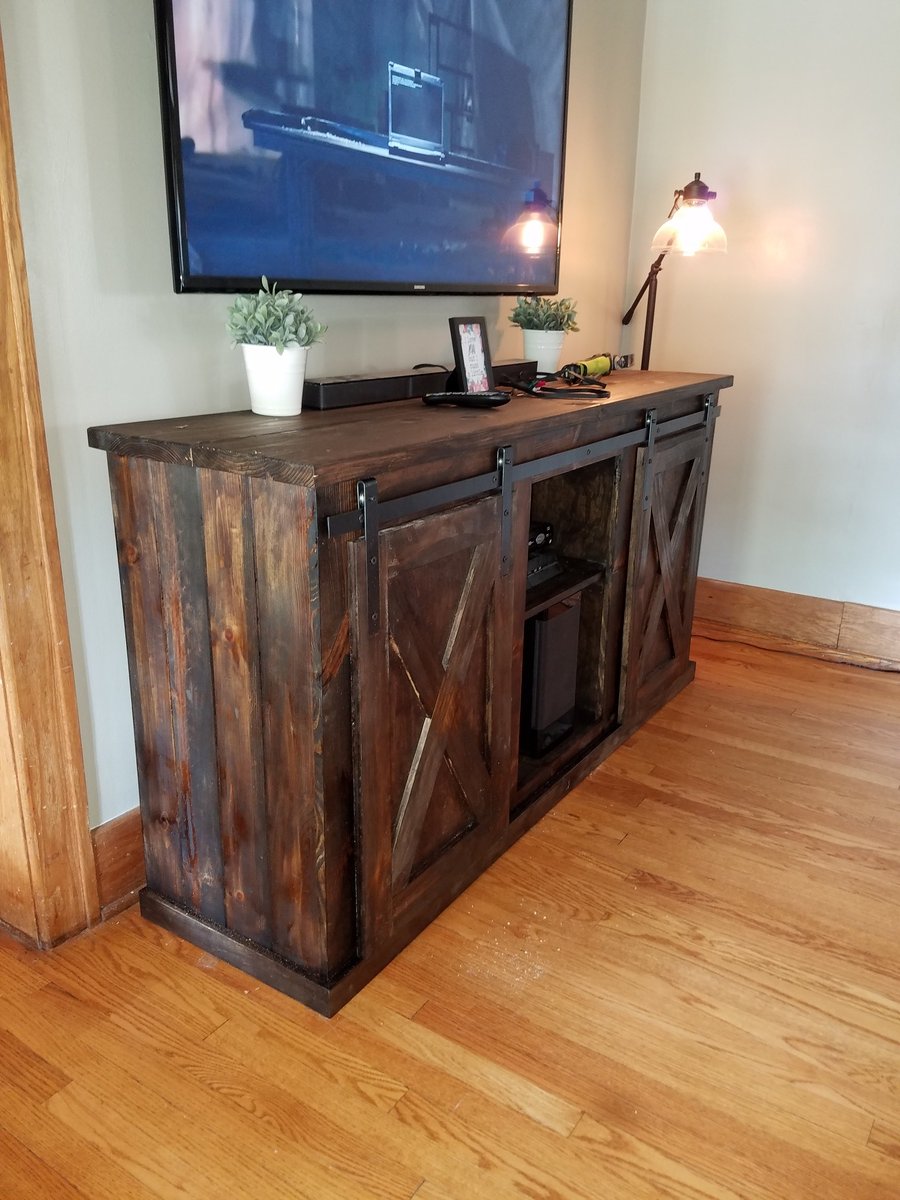
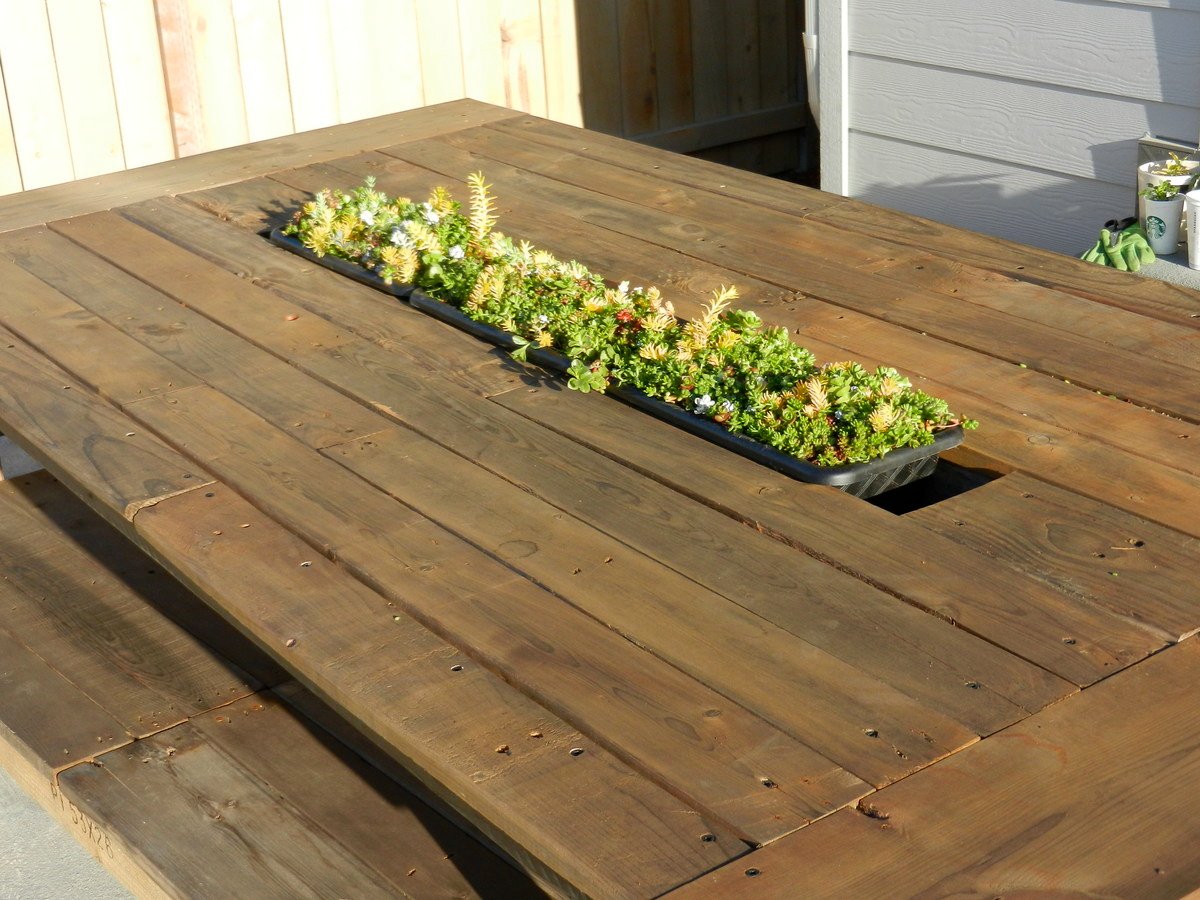
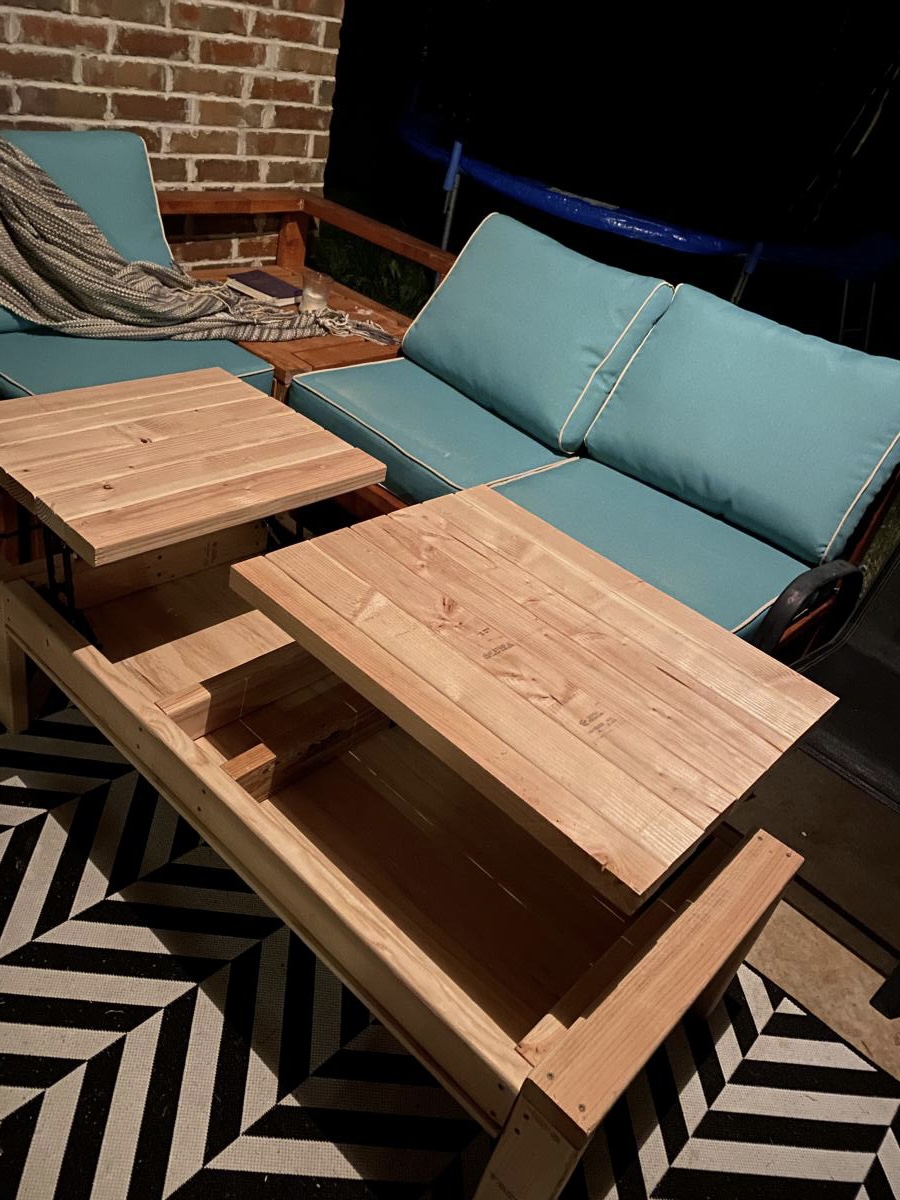
Found plastic planter boxes for succulents (3 in picture) @ dollar store. I wanted to be able to switch out the center pieces and plan to rotate in herbs, ice, other flowers.
This project was totally made possible and inspired by others posting projects so I thought I should say thanks and post my own creation.
Estimated Cost
All wood came from pallets that were free. $8 for screws.
Estimated Time Investment
Weekend Project (10-20 Hours)
Finish Used
Steel Wool in Vinegar. Waited 24 hours for stain to start working. 3 coats over three days from the same mixture so stain got darker each day as the steel wool disolved..
Recommended Skill Level
Beginner


Comments
rfrank23
Mon, 02/07/2022 - 10:10
Beautiful build. Looking…
Beautiful build. Looking forward to building one of my own.