Community Brag Posts

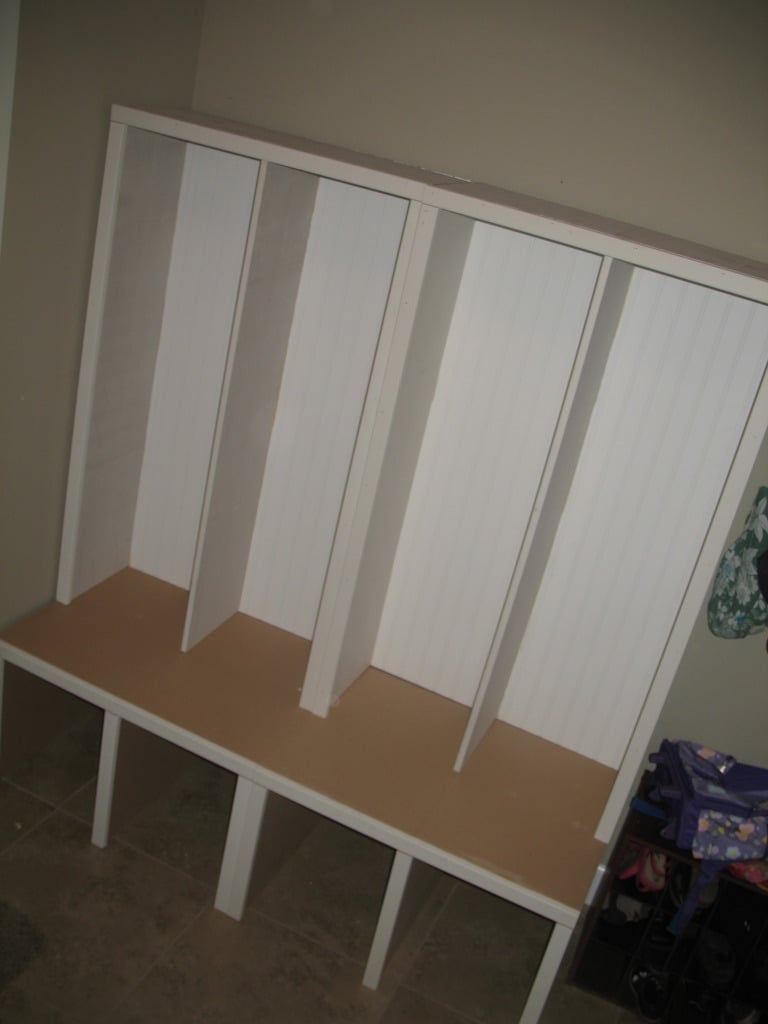
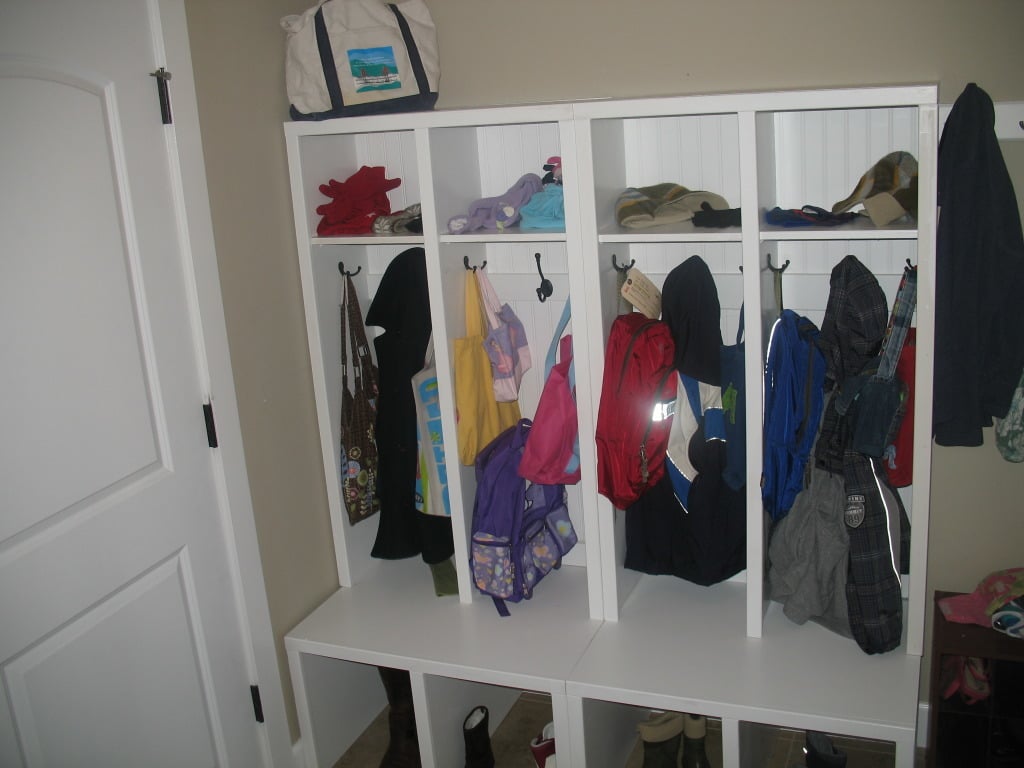
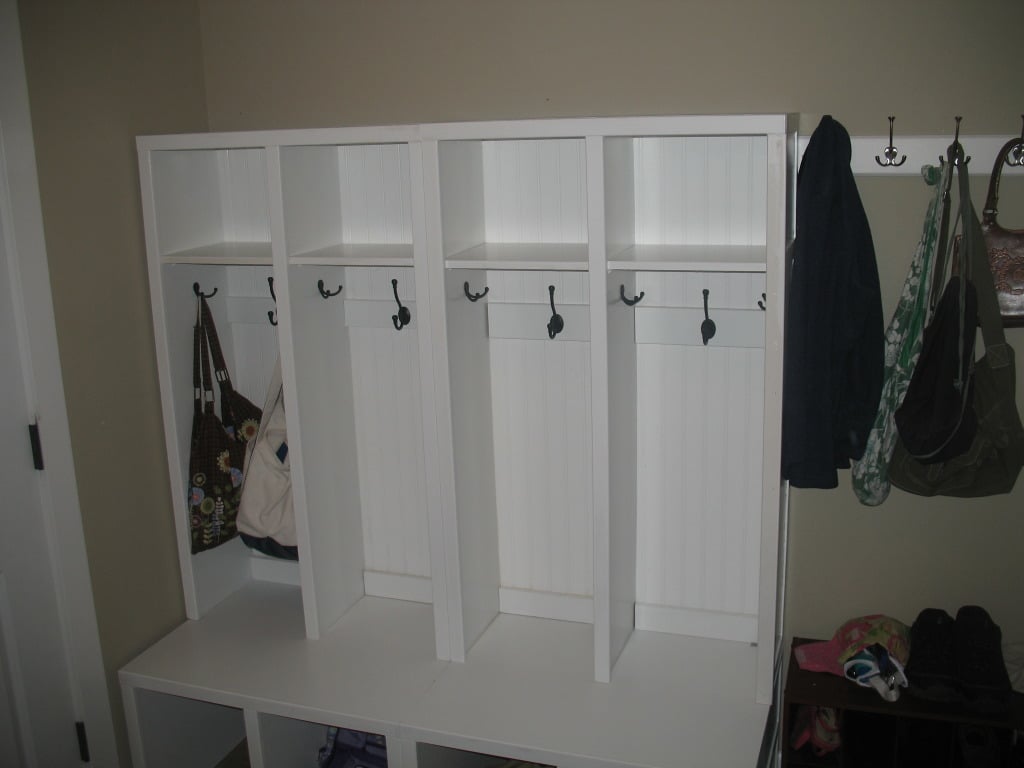
Lockers for Mudroom

This was a much faster build than we anticipated, thanks to easy to work with MDF and pre-finished bead-board backing. Had all the wood pre-ordered on line from Lowe's made pick up super easy - and then they did all the cuts for us!

Built from Plan(s)
Estimated Cost
~$200
Estimated Time Investment
Day Project (6-9 Hours)
Finish Used
White high gloss paint.
Recommended Skill Level
Beginner

Comments

Margaret Kubiszyn (not verified)

Sun, 01/08/2012 - 15:12

Looks great! I have a goofy question -- can you specify the cuts you want made when you order online, or do you get it at the store, take it back to the saw and have them cut it then?

In reply to by Margaret Kubiszyn (not verified)

molliepayne

Sun, 01/08/2012 - 17:07

No, you have to go back to the cutting area and do those. I wouldn't want to trust them to do them just right, though. I like to watch and help measure if need be. There's nothing worse than having your cuts off by a 1/4 inch or more!

Sam - builder (not verified)

Sun, 01/08/2012 - 17:08

I don't think that you can specify cuts in your online order, just the boards. But we picked it up with a sheet of paper specifying how each board should be cut.

Margaret Kubiszyn (not verified)

Sun, 01/08/2012 - 18:01

Now that you said that, I totally agree about wanting to watch the guy cut. Usually they are pretty good, but I have run into a couple of not-so-smart ones also!

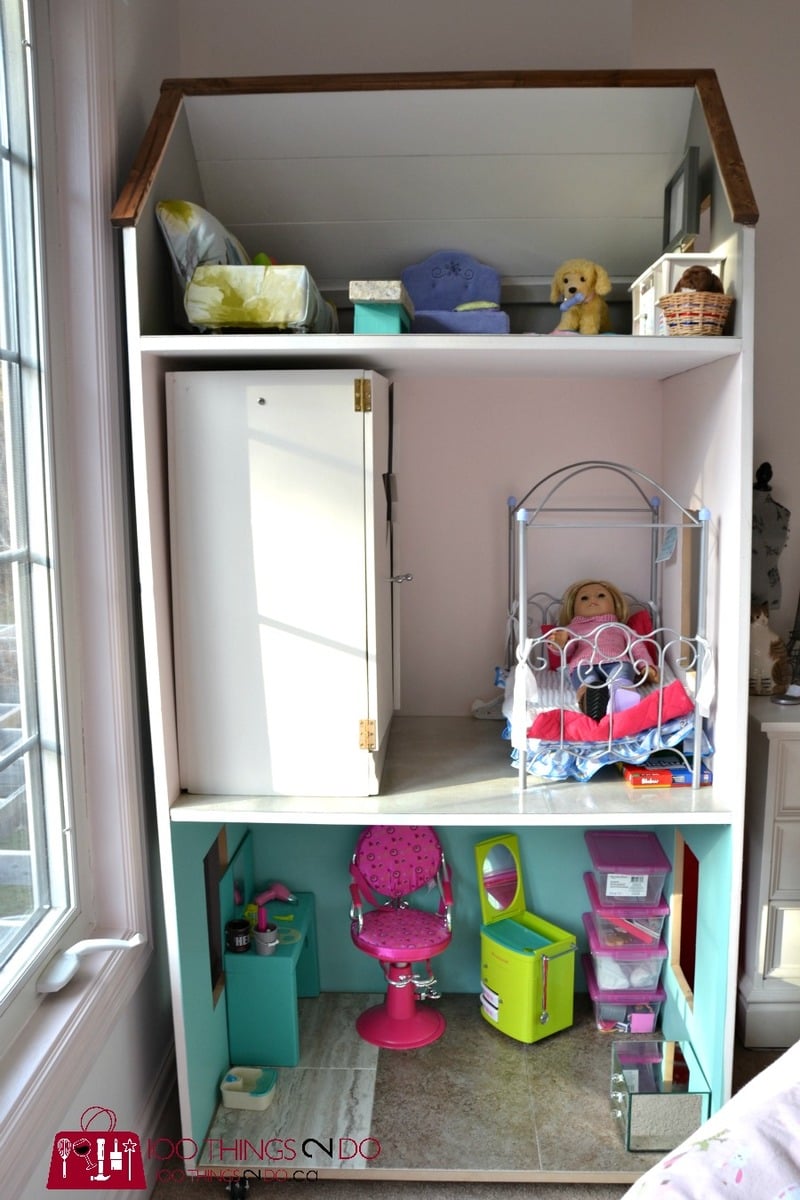
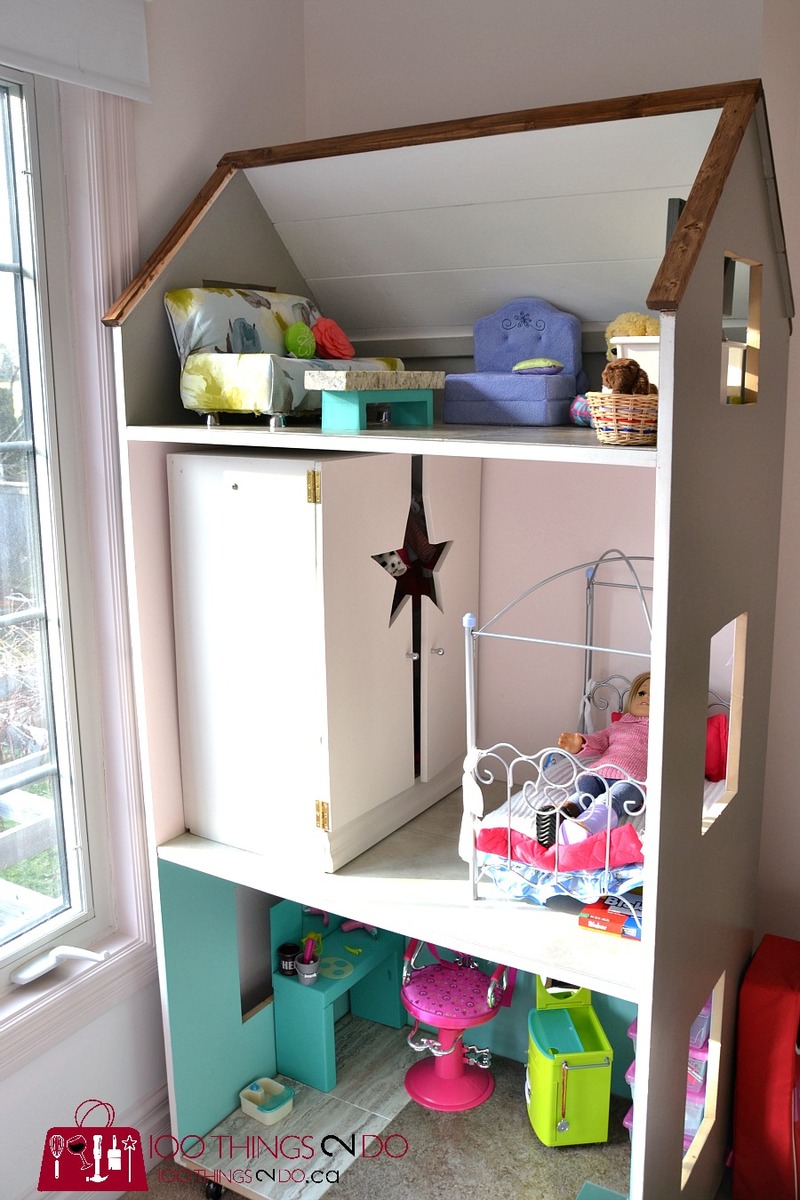
DIY Dollhouse for American Girl Dolls

Submitted by Anonymous (not verified) on Fri, 02/12/2016 - 12:11

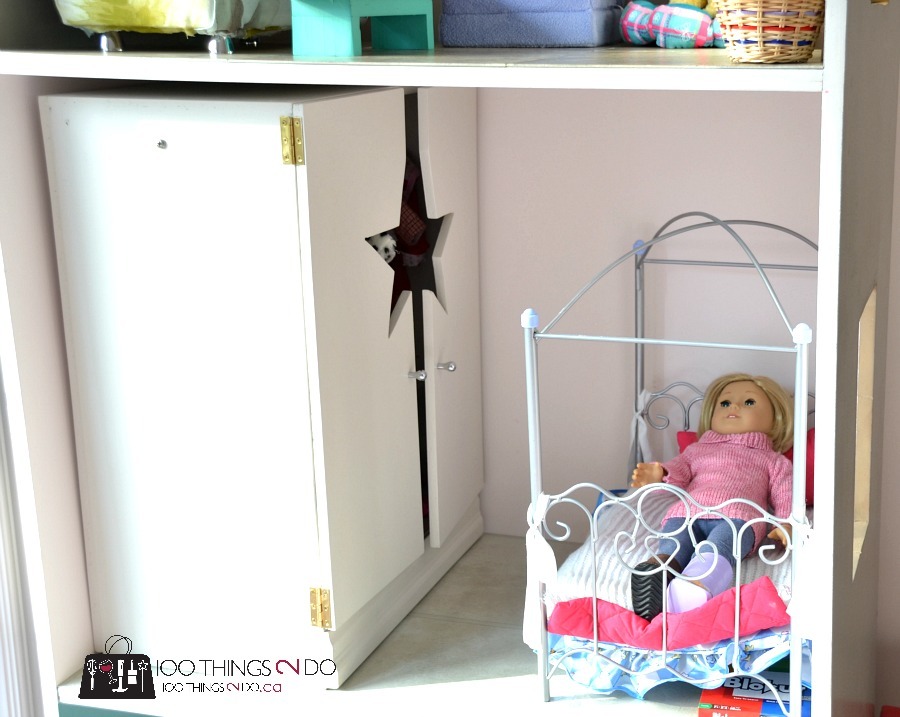
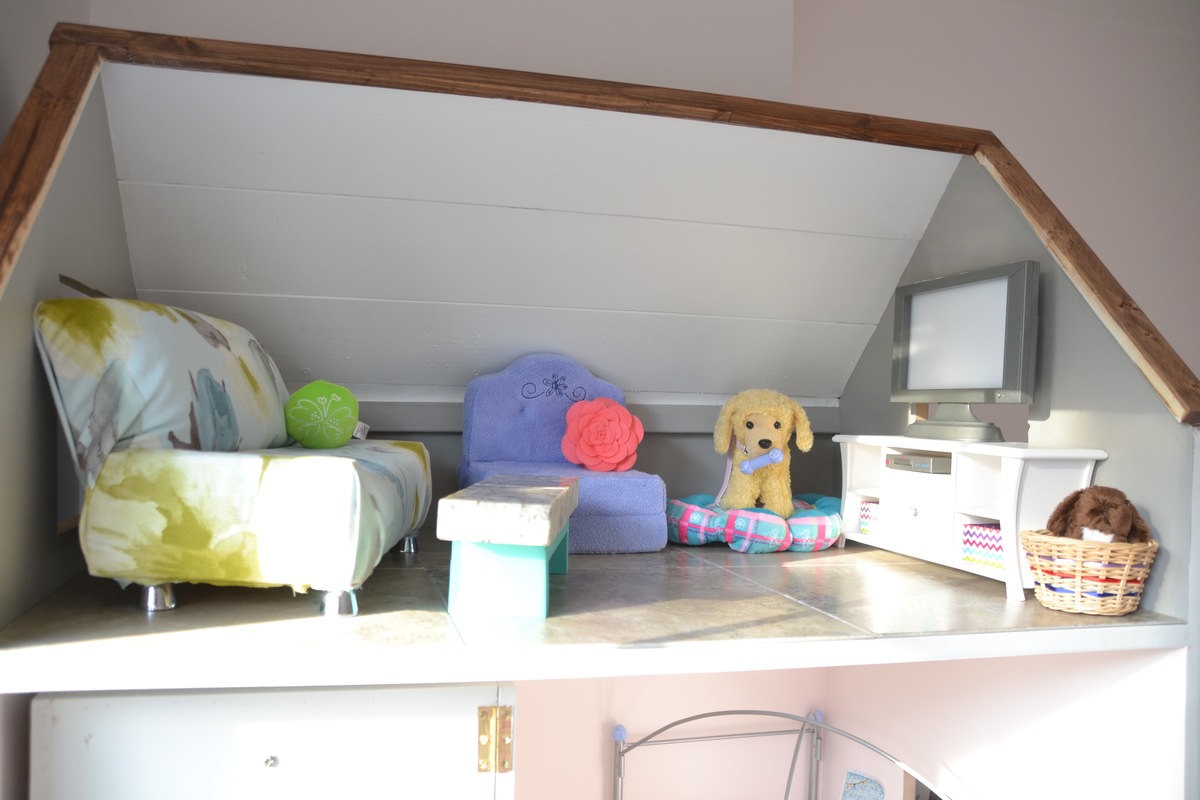
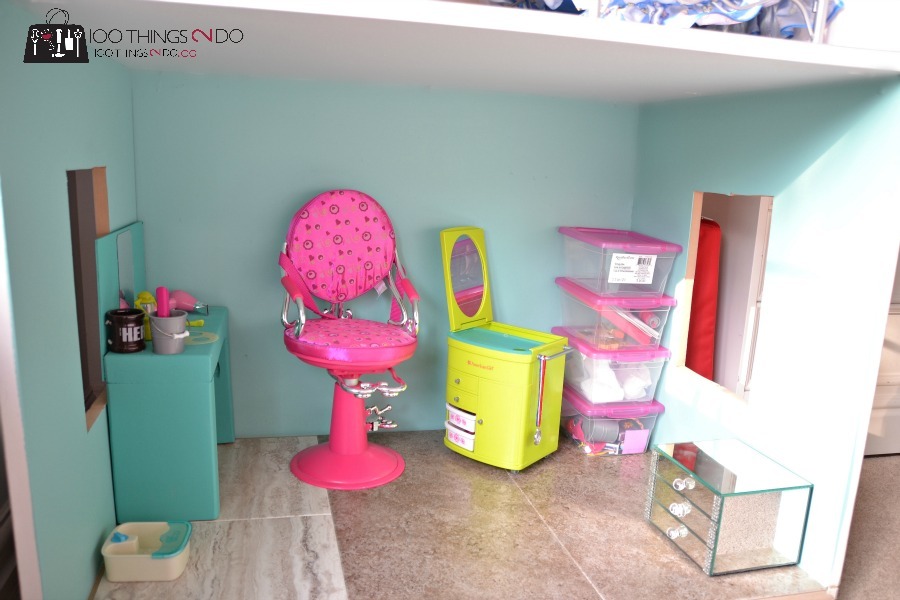
Using Ana's three-storey dollhouse as a foundation, I amended the measurements to create a narrower dollhouse (36" wide) to fit our space.

Estimated Cost
This dollhouse - using MDF and 1 x 6" boards for the roof, came in at $100 Canadian. (Less wood since my plan was both narrower and didn't include the centre dividers. Remember when buying castors to choose ones that will hold at least 150lbs - this sucker is heavy!
Estimated Time Investment
Day Project (6-9 Hours)
Finish Used
I used some small mis-tint containers from our local Home Depot which came in at $1 per container. The flooring is peel-and-stick tile which range in price from about $0.60 to $1.34 each.
Recommended Skill Level
Beginner

Tress Beam Table

Submitted by Billzair on Sun, 09/29/2019 - 11:48

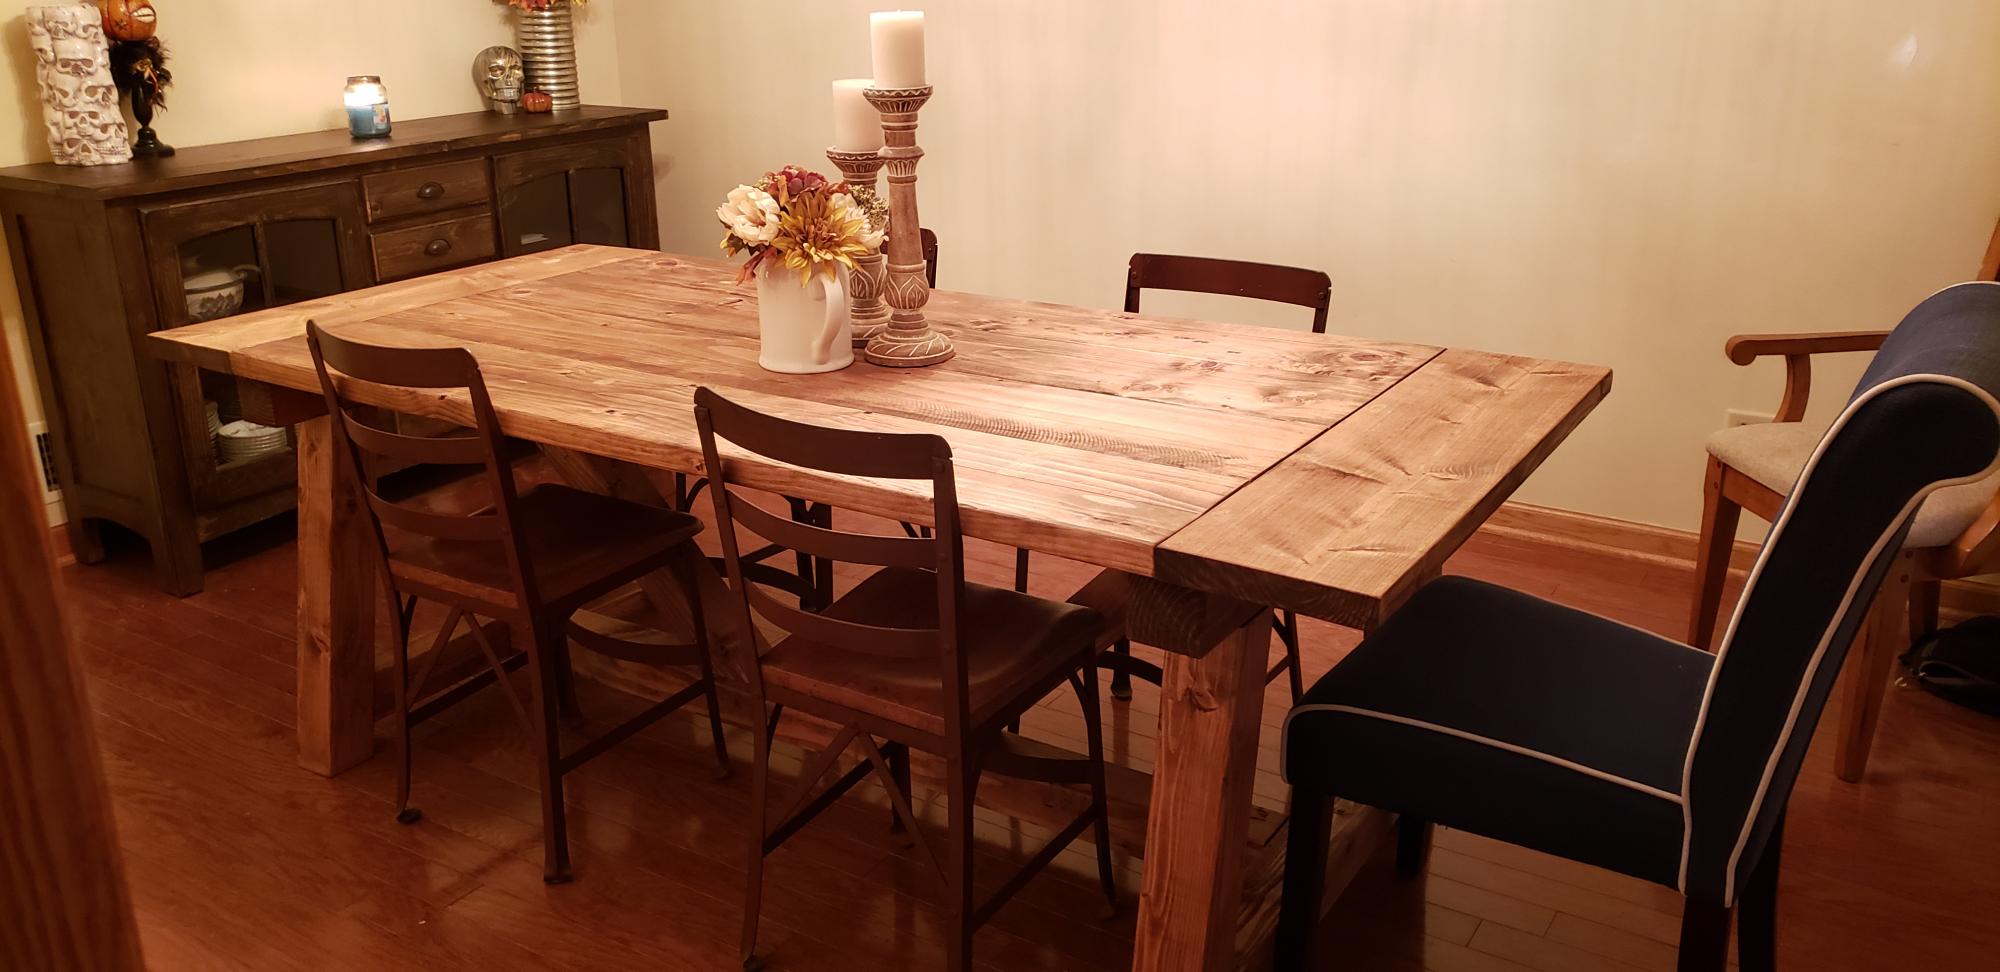
Put this baby together in 3 days and I just LOVE it! I cannot wait to pick my next project.  Thank you,  Ana White, for your inspiration!

Estimated Cost
$125
Estimated Time Investment
Weekend Project (10-20 Hours)
Finish Used
Golden oak
Recommended Skill Level
Intermediate

Potting Table

Submitted by Anonymous (not verified) on Tue, 05/23/2023 - 06:59

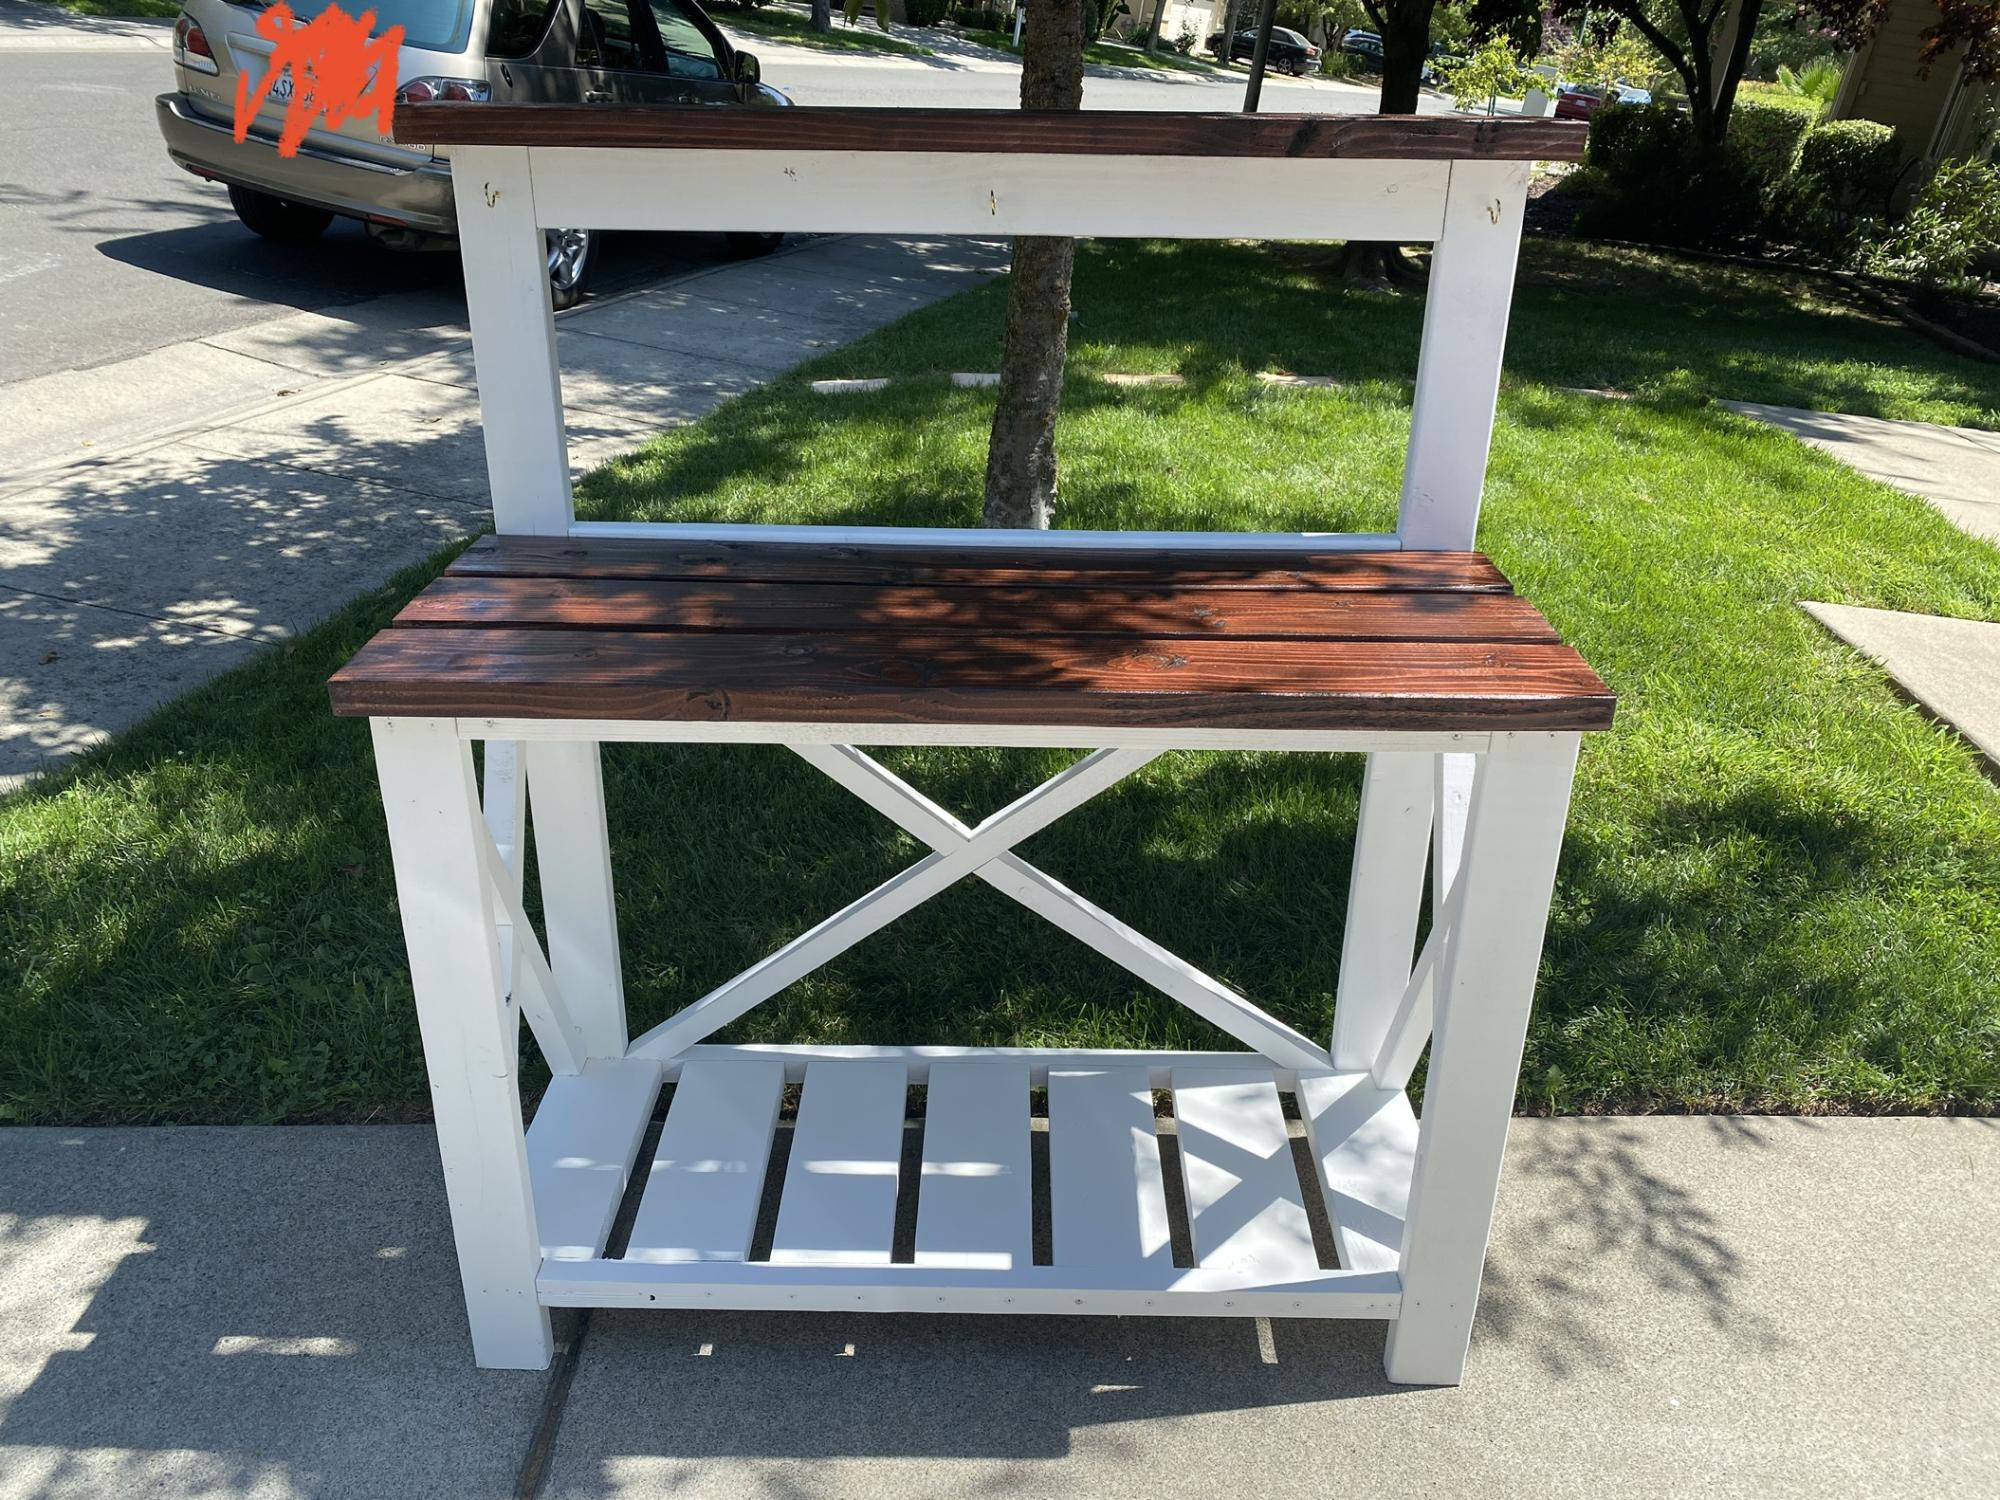
I really liked your design so I decided to make one for my mom for Mother’s Day and she loves it. Just painted it white before adding the 2x6’s and stained them a walnut Thank you ..!!!!

Built from Plan(s)

Comments

Doll Crib

I did it! Using your plans I made the doll crib. I had to improvise on the drawer as the drawer in the plans was to tall to go under the bed and I had already put it together before checking. Oh well. I also made the mattress, reversible blanket and 2 pillows for the bed. As this was my first woodworking project I am so proud of how well it turned out. Thank you Ana for this site. It is amazing and I am HOOKED.

Estimated Cost
under $50
Estimated Time Investment
Day Project (6-9 Hours)
Finish Used
White paint, and "homemade" Pink. (Red and white mixed)
Recommended Skill Level
Beginner

Comments

reclaimed timber farmhouse table - first build

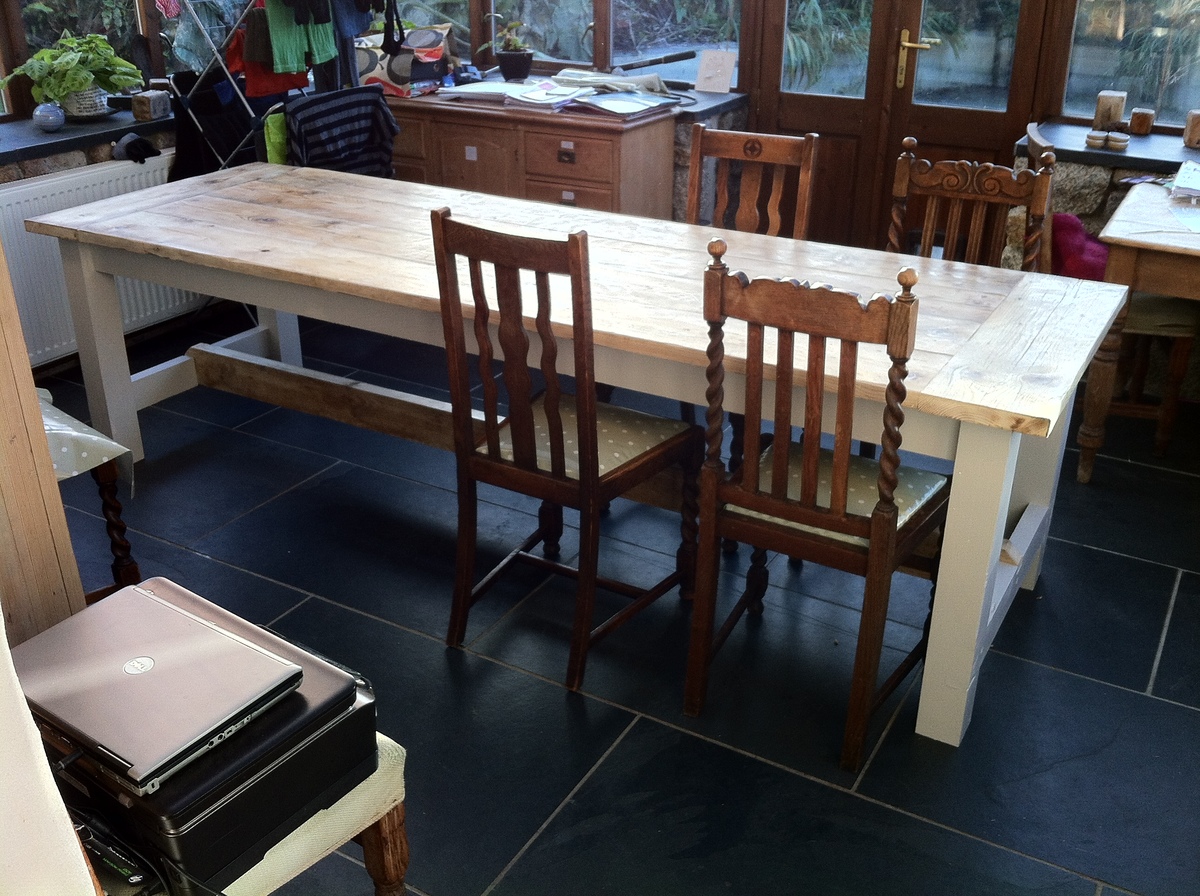
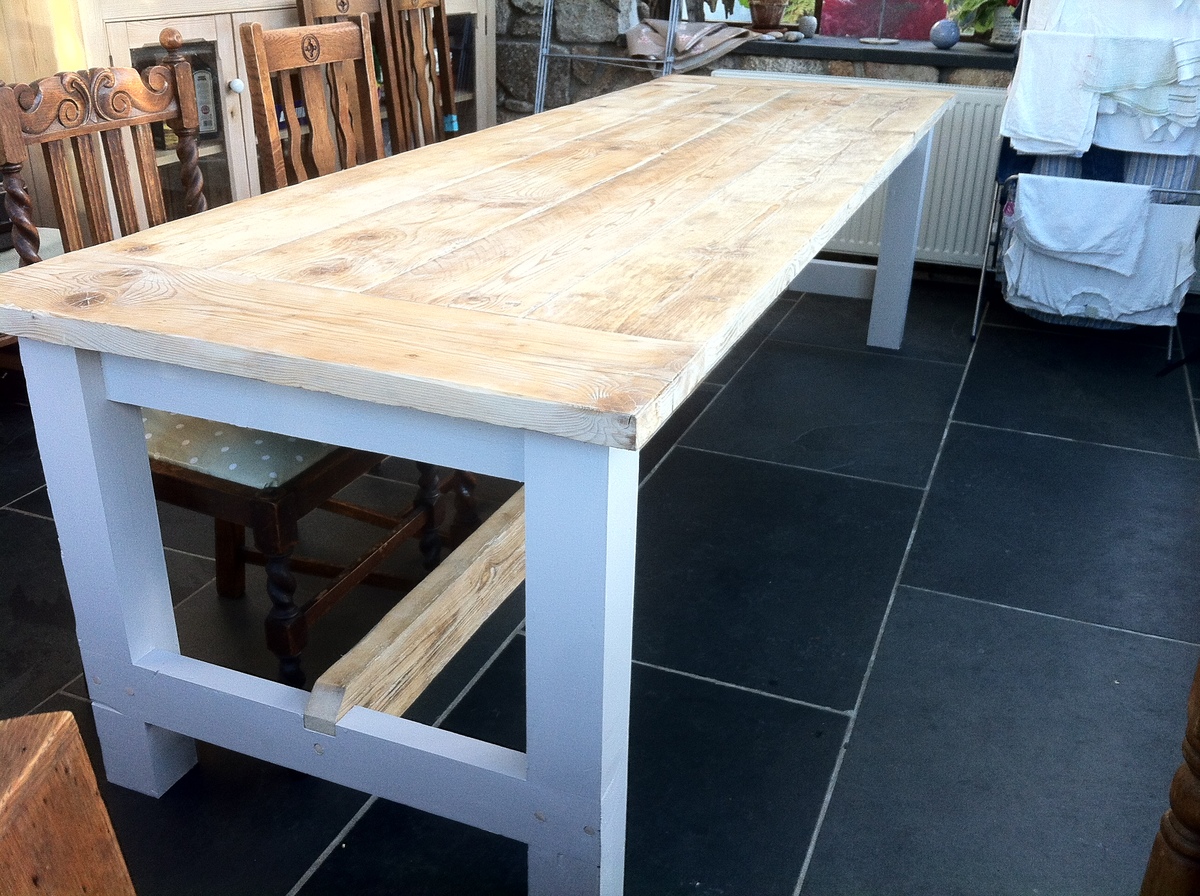
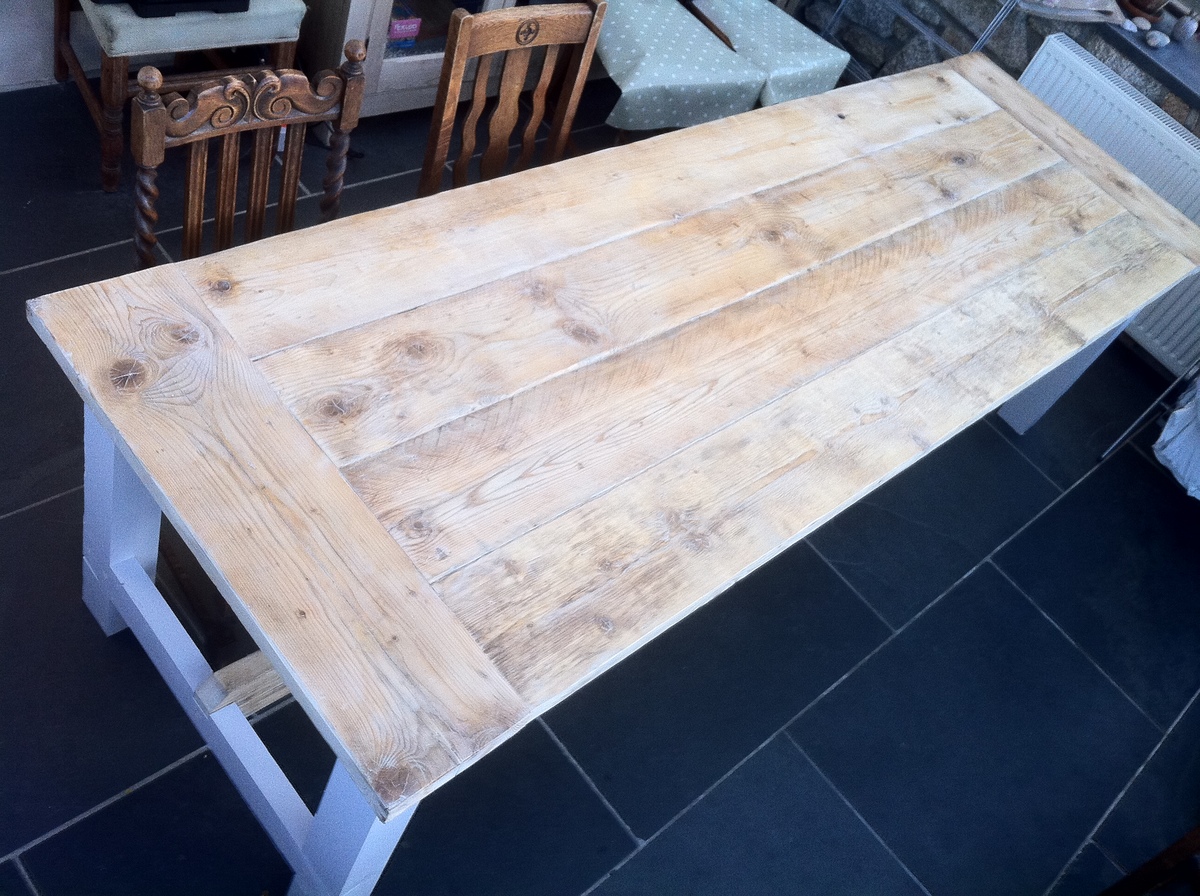
wanted a big table for christmas, this is over 8 foot, and we couldn't afford a table like that so having seen the site thought i'd try and build one. thanks for the plans absolutely great
first project, no real woodwork experience but competent diy-er

made mainly out of reclaimed wood, the top and side apron are made of old scaffold boards and the main brace a chunk of wood form my neighbours shed.

i did have to buy some 2x4s for the legs and the cross braces

sides painted and the top waxed, looks a bit patchy in the photos but the finish is good.

all in all cost about £70
Estimated Time Investment
Week Long Project (20 Hours or More)
Finish Used
paint and wax
Recommended Skill Level
Starter Project

Farmhouse Table and Bench

Submitted by Anonymous (not verified) on Mon, 02/15/2016 - 11:31

Here is our first stab at building funiture...not too shabby. We built 2 benches with the table!

Built from Plan(s)
Estimated Cost
$125
Estimated Time Investment
Weekend Project (10-20 Hours)
Finish Used
Used Minwax Jacobean Stain!
Recommended Skill Level
Beginner

Kitchen helper

Submitted by Chef Sowa on Tue, 01/17/2012 - 17:51

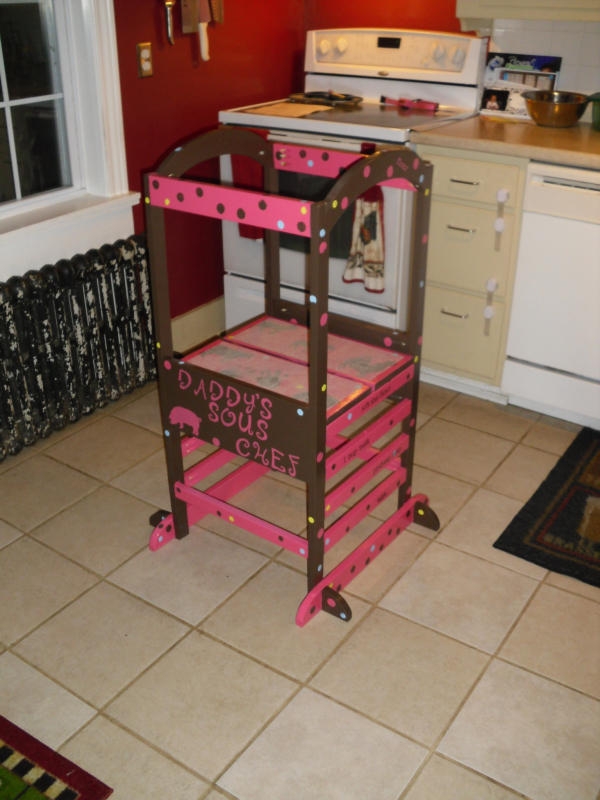
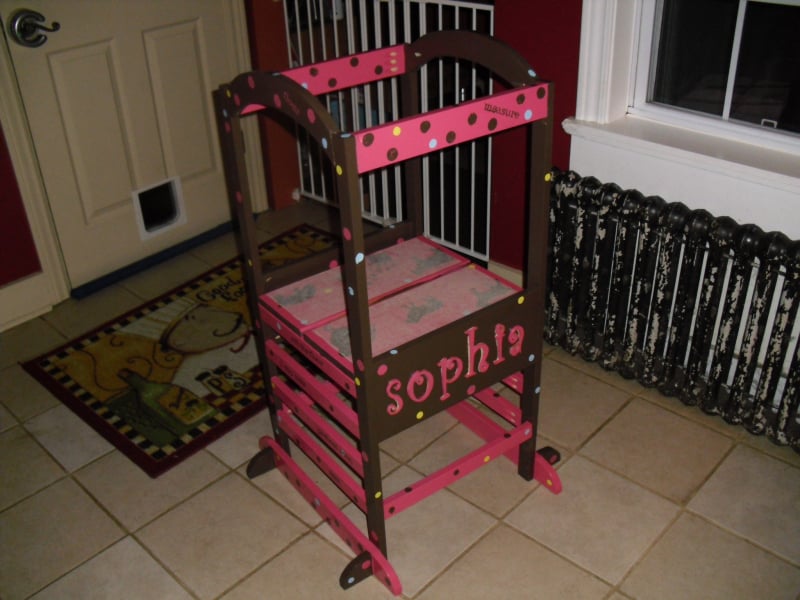
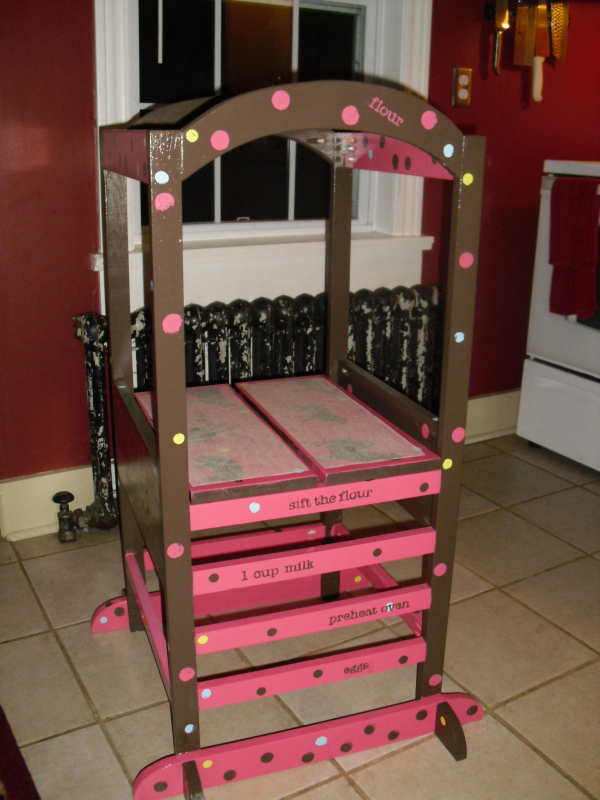
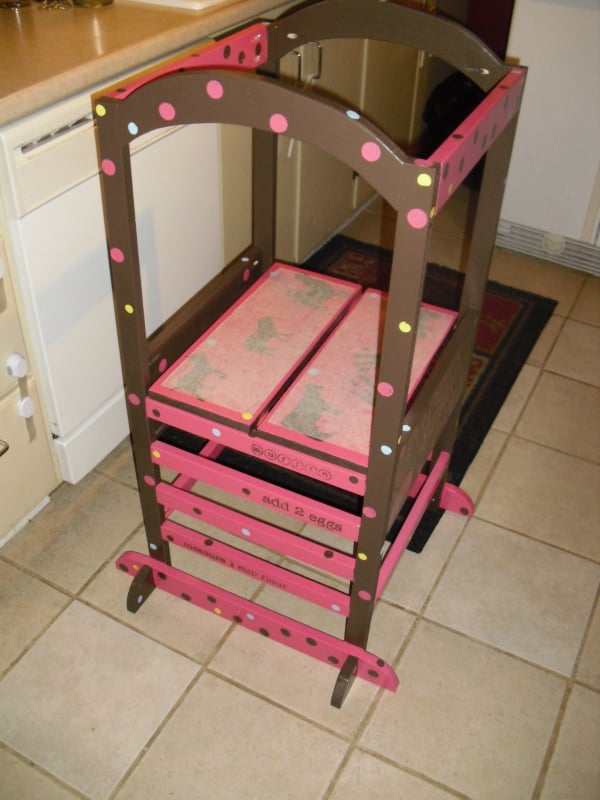
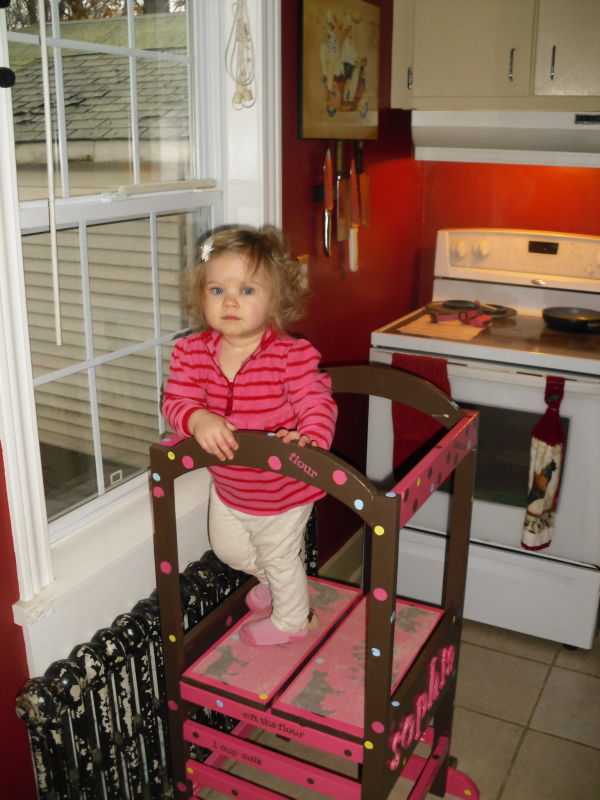
My first project build from Ana-white.com. My wife had been looking at these towers online for a while until we saw they were upwards of $200 online... So I was like, "I'm sure I could make one.". So I found Ana's website, and here it is... My 19 month old daughter loves it, she climbs in and out of it with no problems, she calls it "uppy". This is my first of many projects to come from this very helpful site. The plans are all so helpful and very detailed. Thanks Ana!

Built from Plan(s)
Estimated Cost
$40
Estimated Time Investment
Afternoon Project (3-6 Hours)
Finish Used
Paint
Recommended Skill Level
Beginner

Comments

cfgenie

Wed, 04/04/2012 - 01:28

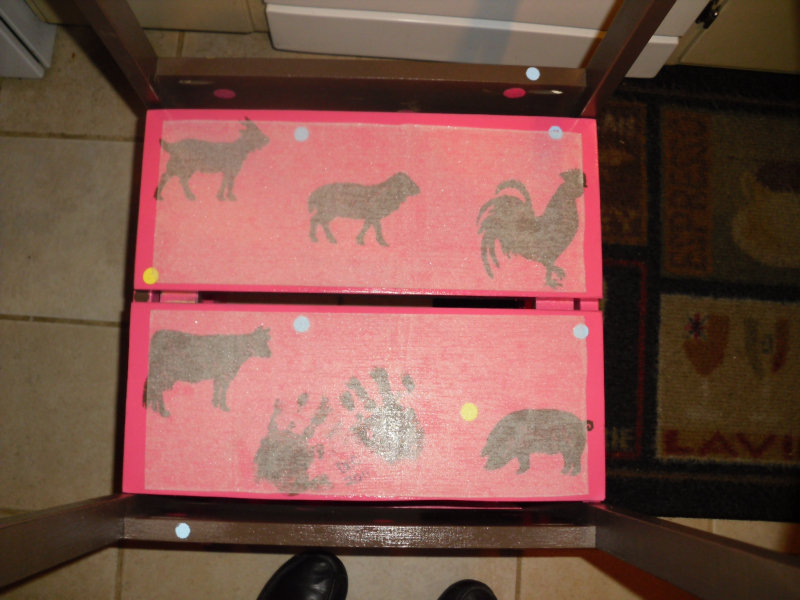
you did such a great job on this helper tower! I love the way you finished it with her name, the fun colors, the dots, the kitchen lingo... soo much fun!

American Girl Canopy Bed

Submitted by sraper2 on Tue, 12/03/2013 - 17:01

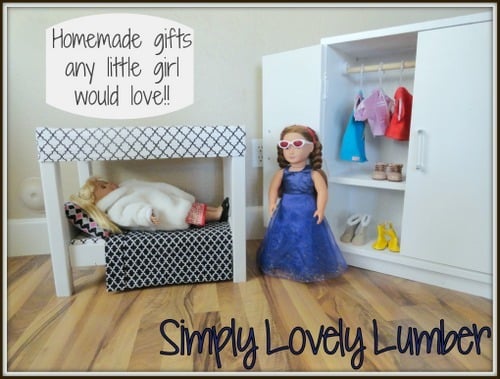
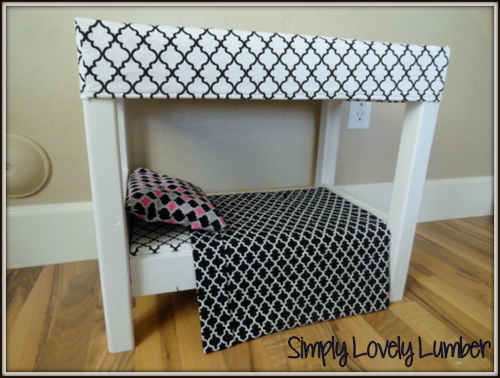
I built the American Girl canopy bed and closet for a family friend for Christmas. This plan was so much fun to make! I will definitely be making a few more for Christmas. I put a tutorial for the mattress I made and will be adding tutorials for the rest of the bedding on my blog tomorrow. Thanks so much!!

Estimated Time Investment
Afternoon Project (3-6 Hours)
Finish Used
Primer, white pain
Recommended Skill Level
Beginner

Cottage Bench

Submitted by Anonymous (not verified) on Wed, 02/17/2016 - 18:37

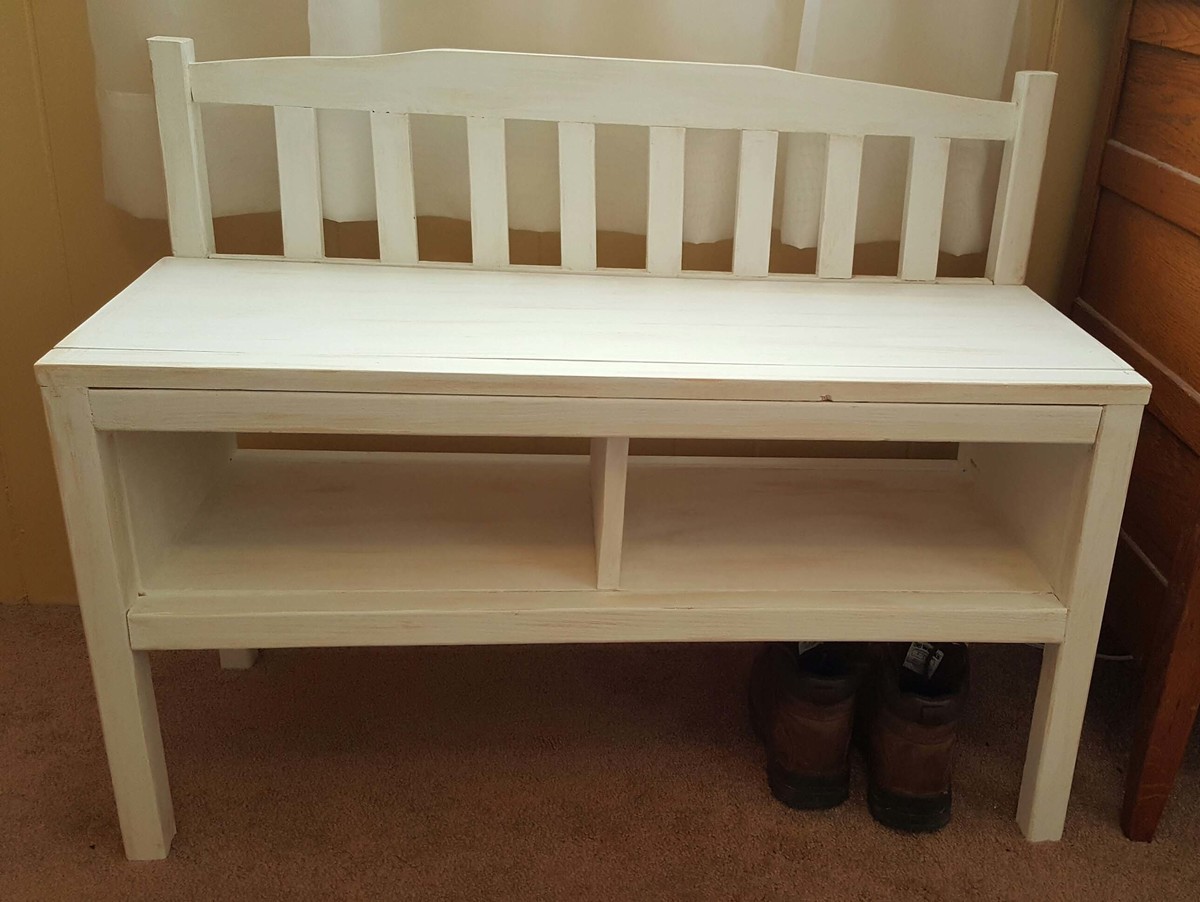
My first project using Ana White's plans.  Love how easy the plans are and how great the bench turned out.

Estimated Time Investment
Weekend Project (10-20 Hours)
Finish Used
White Chalk Paint with Dark Brown Wax then sanded for a distressed look
Recommended Skill Level
Intermediate

Modern Farmhouse Queen Bed

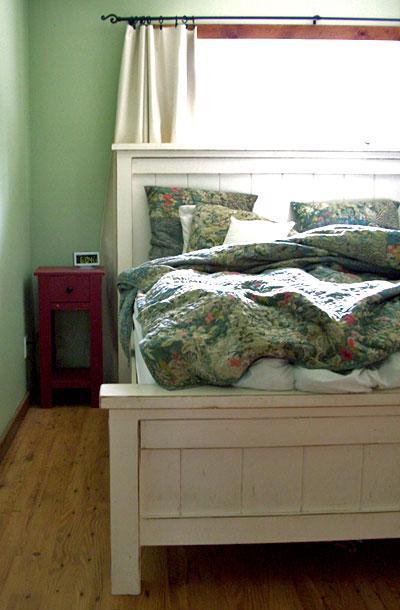
Submitted by Anonymous (not verified) on Wed, 10/02/2019 - 07:47

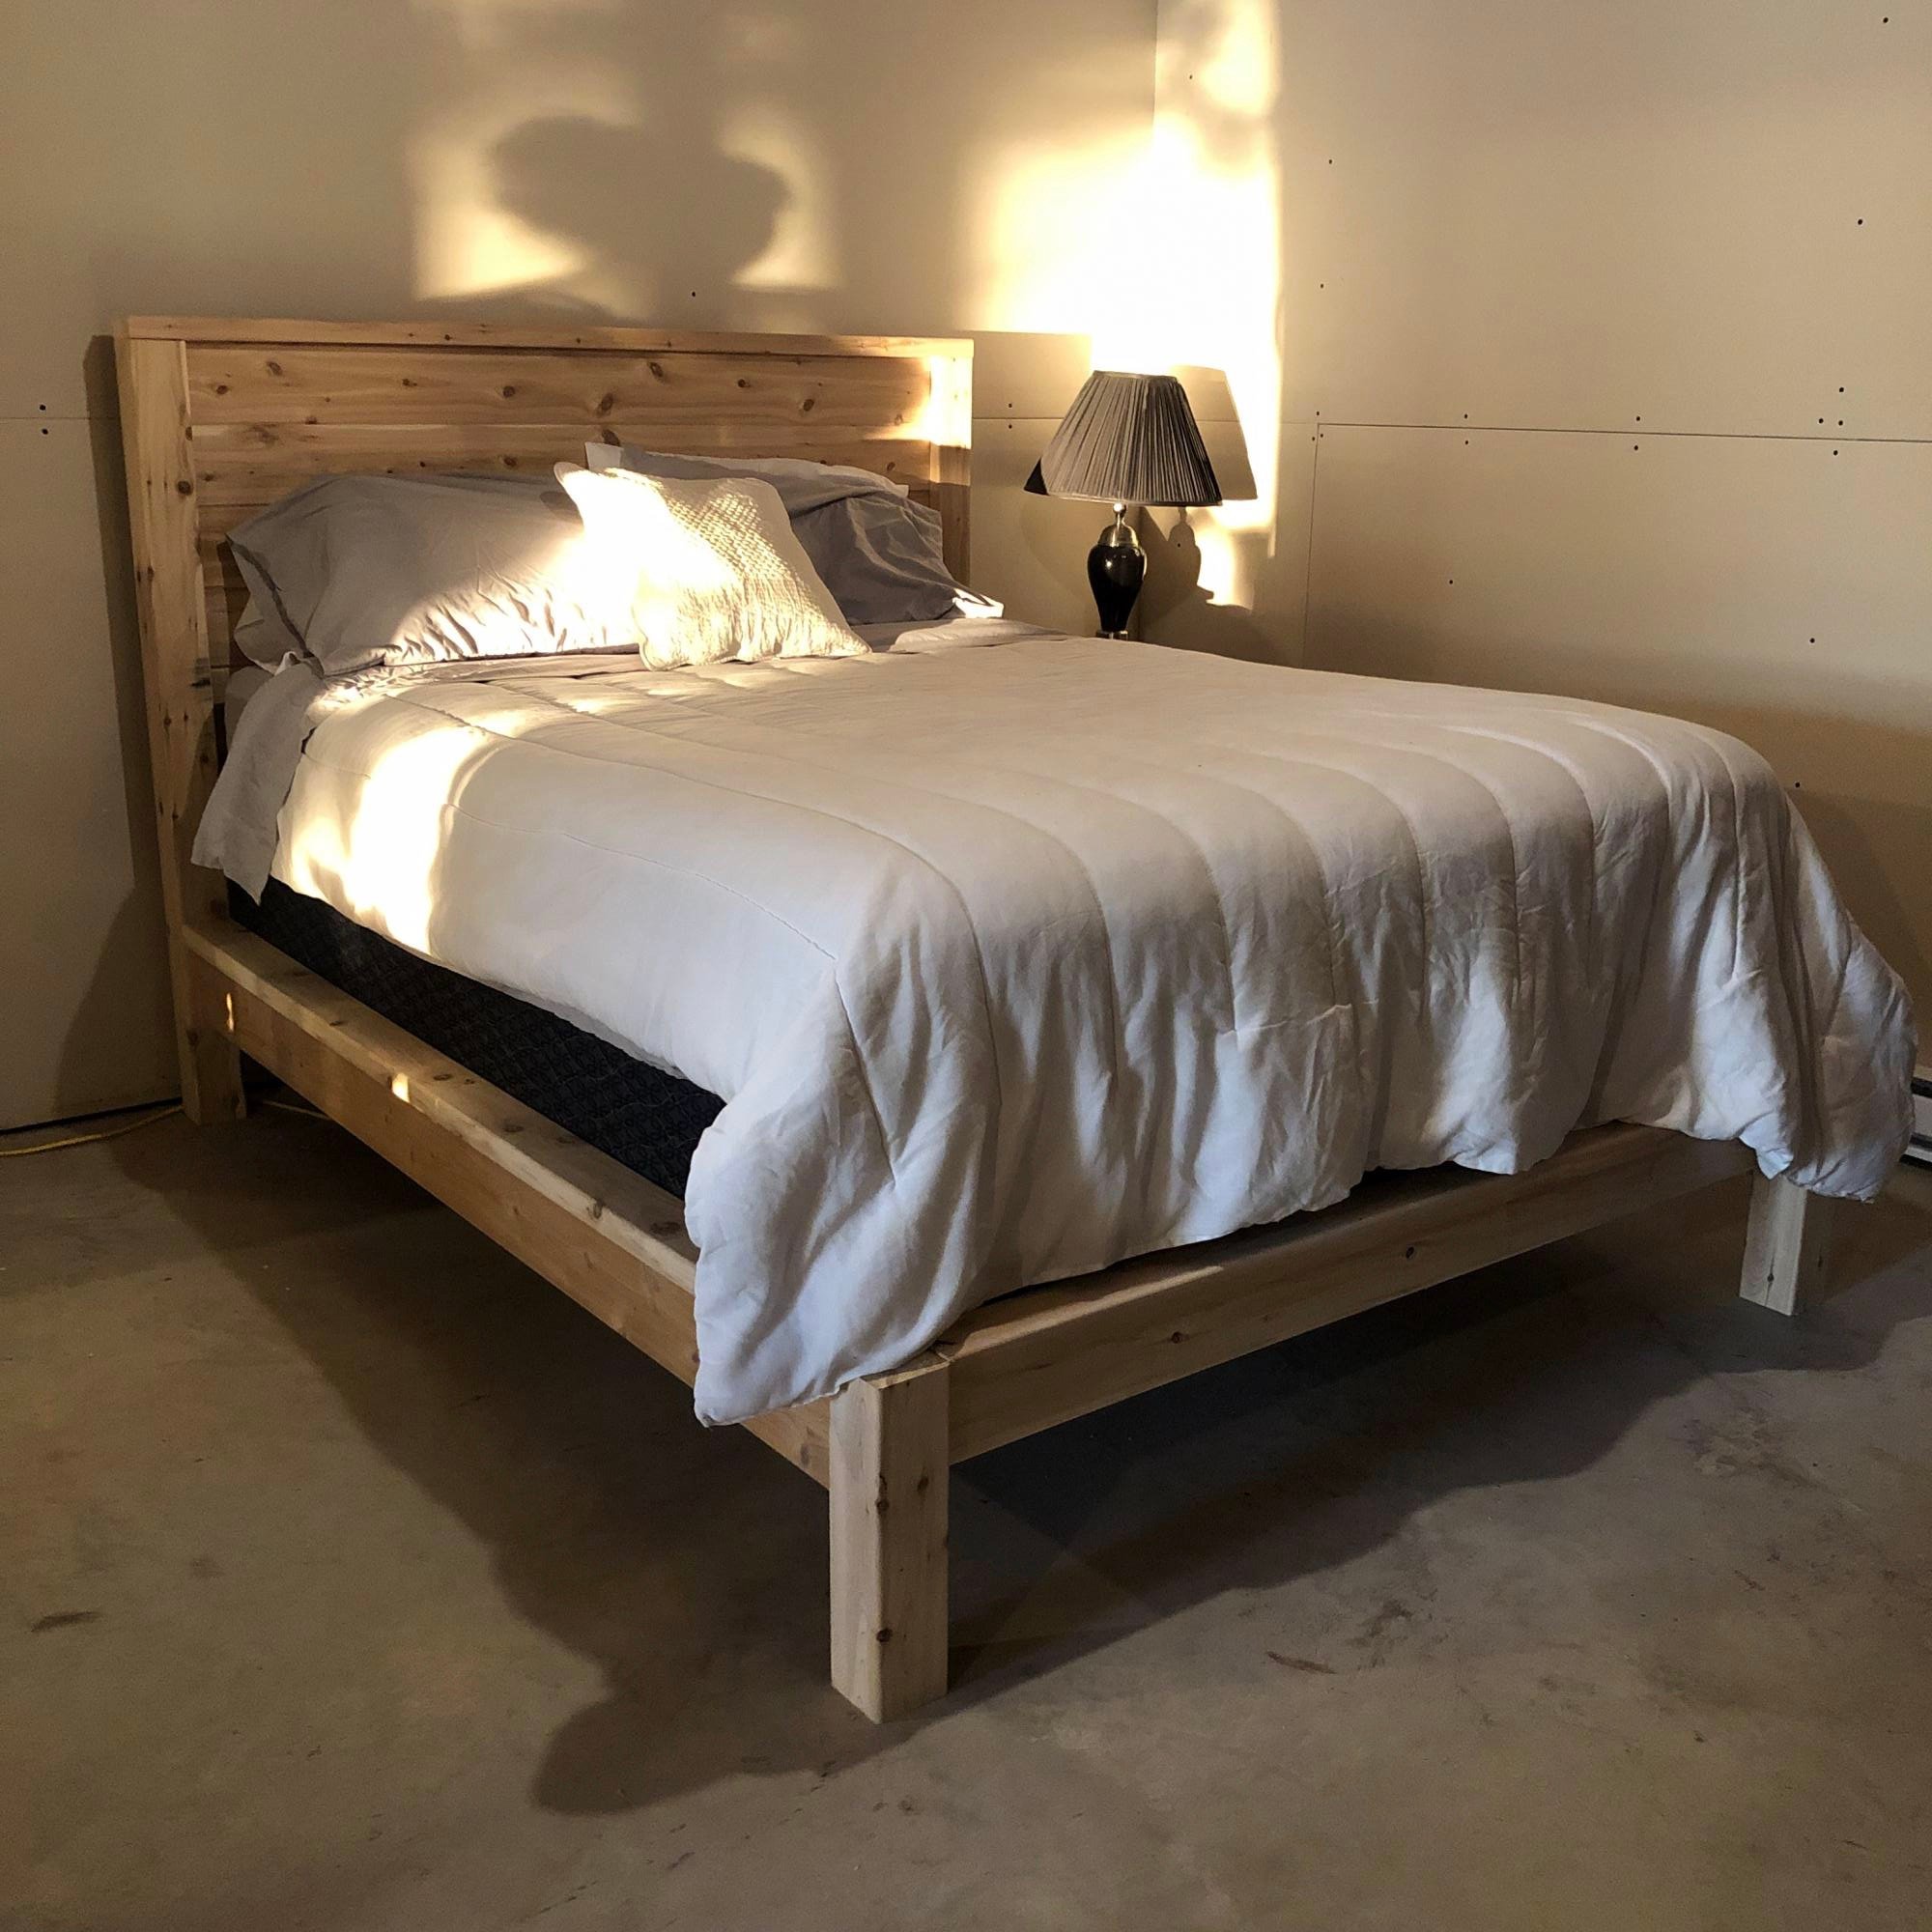
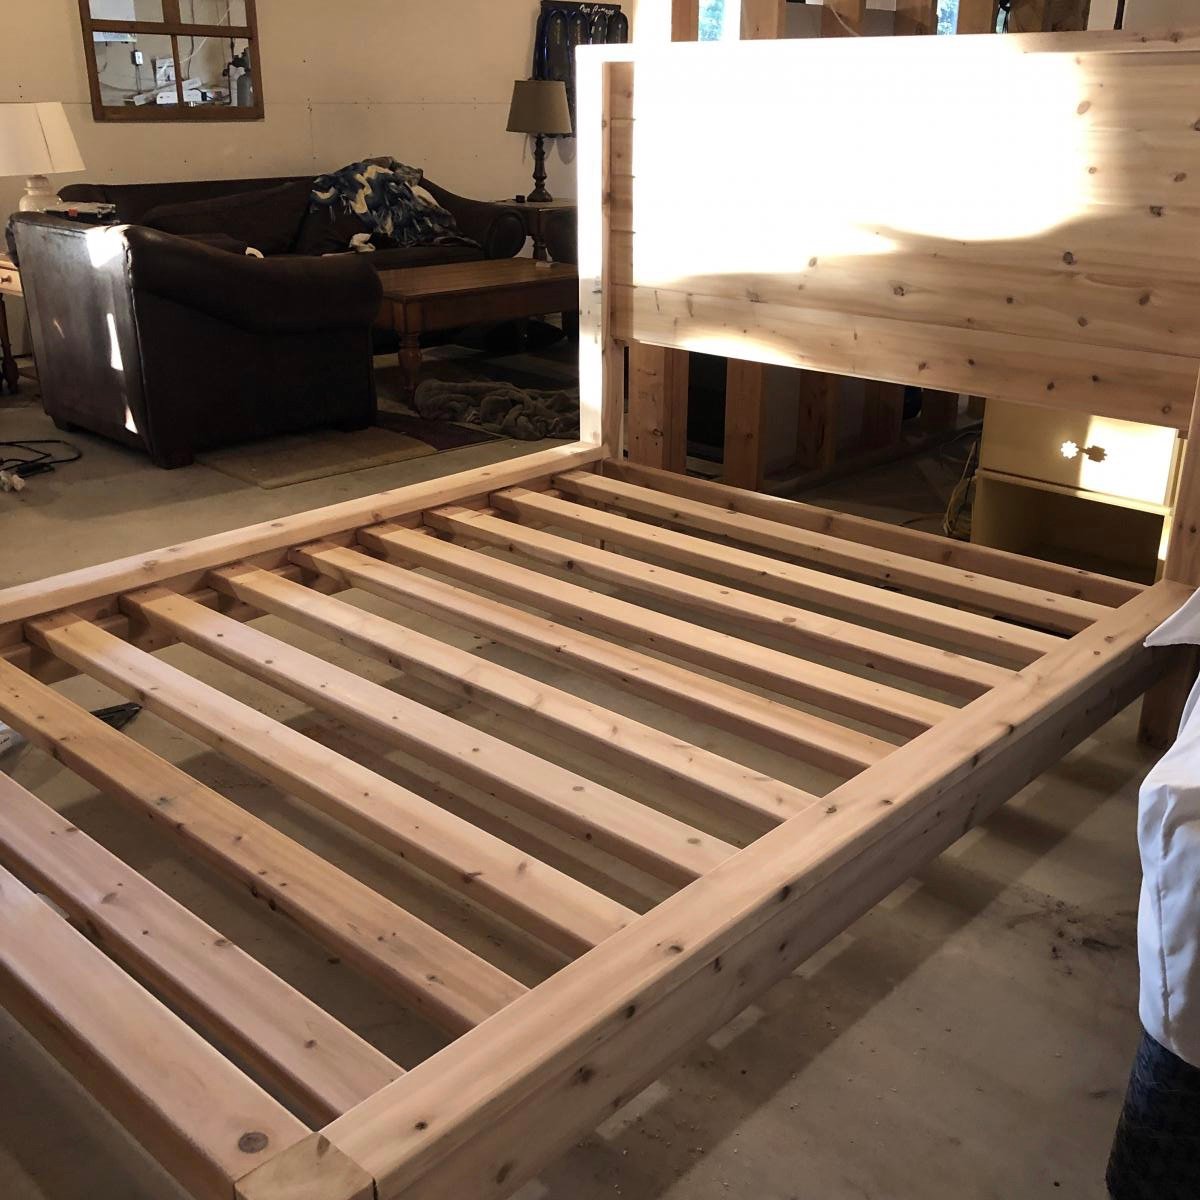
Love this bed so much, we plan to build another 3. Used local white cedar milled just down the road from our cottage.

http://www.ana-white.com/woodworking-projects/modern-farmhouse-bed-frame

Built from Plan(s)
Estimated Cost
$300
Estimated Time Investment
Afternoon Project (3-6 Hours)
Finish Used
Unfinished. Love the cedar smell.
Recommended Skill Level
Beginner

Comments

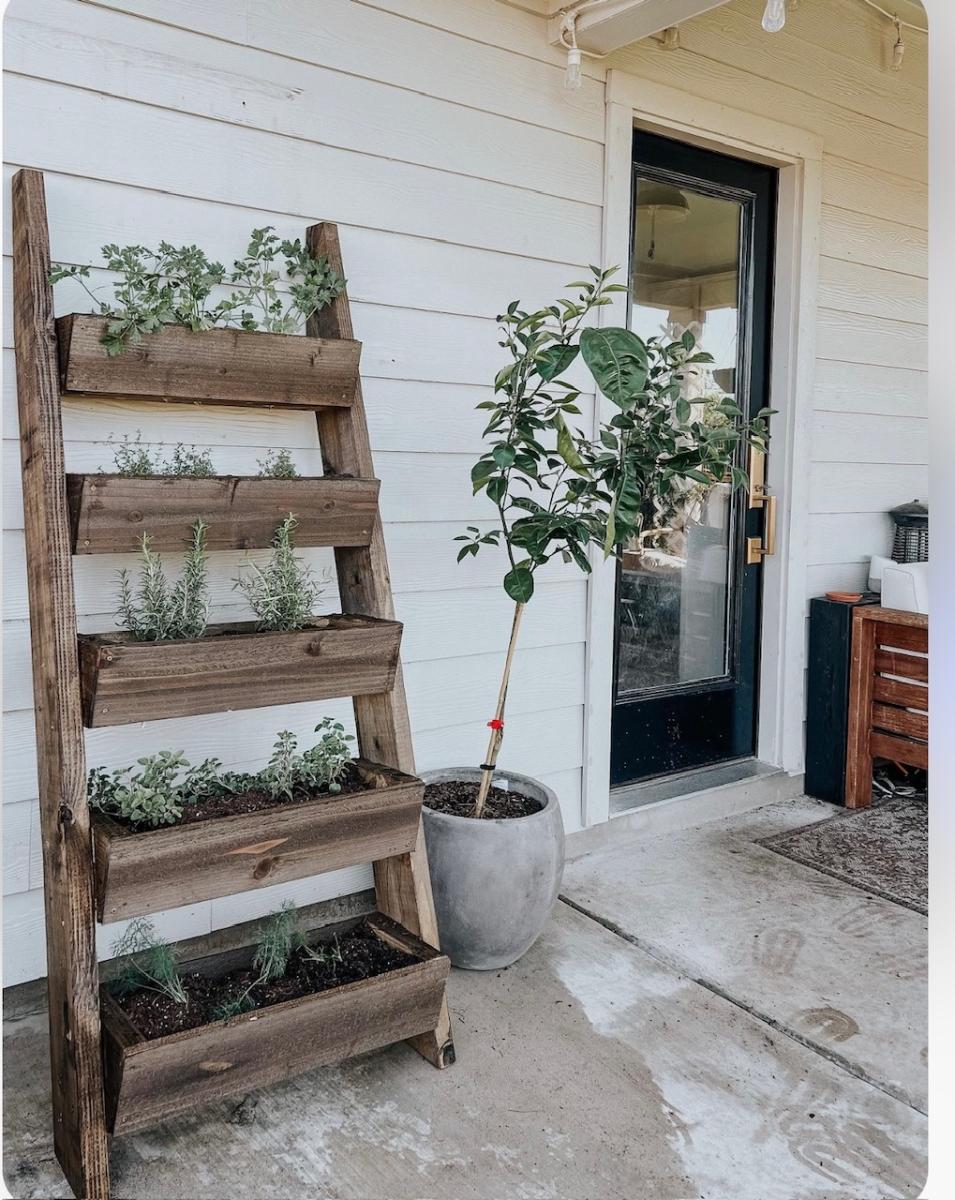
Leaning Herb Garden by Love & Renovations

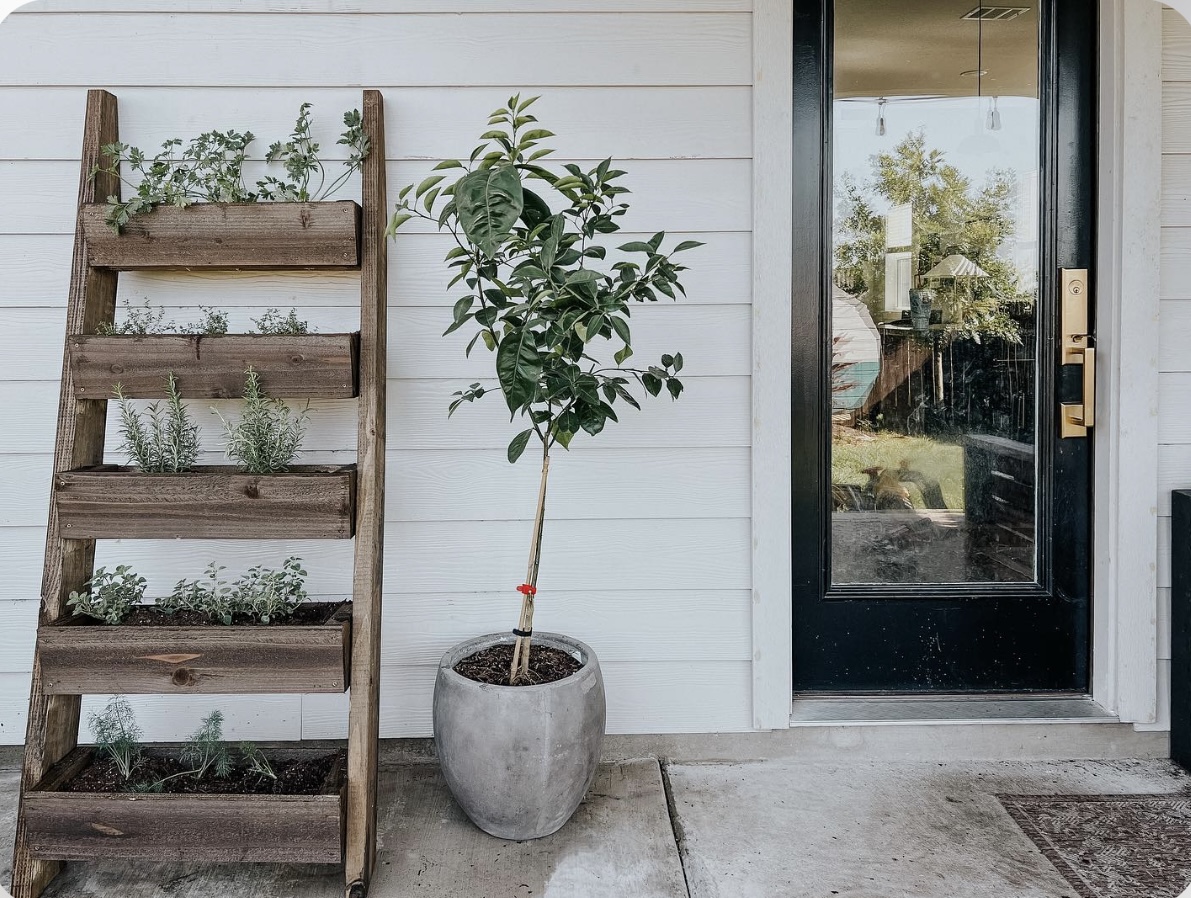
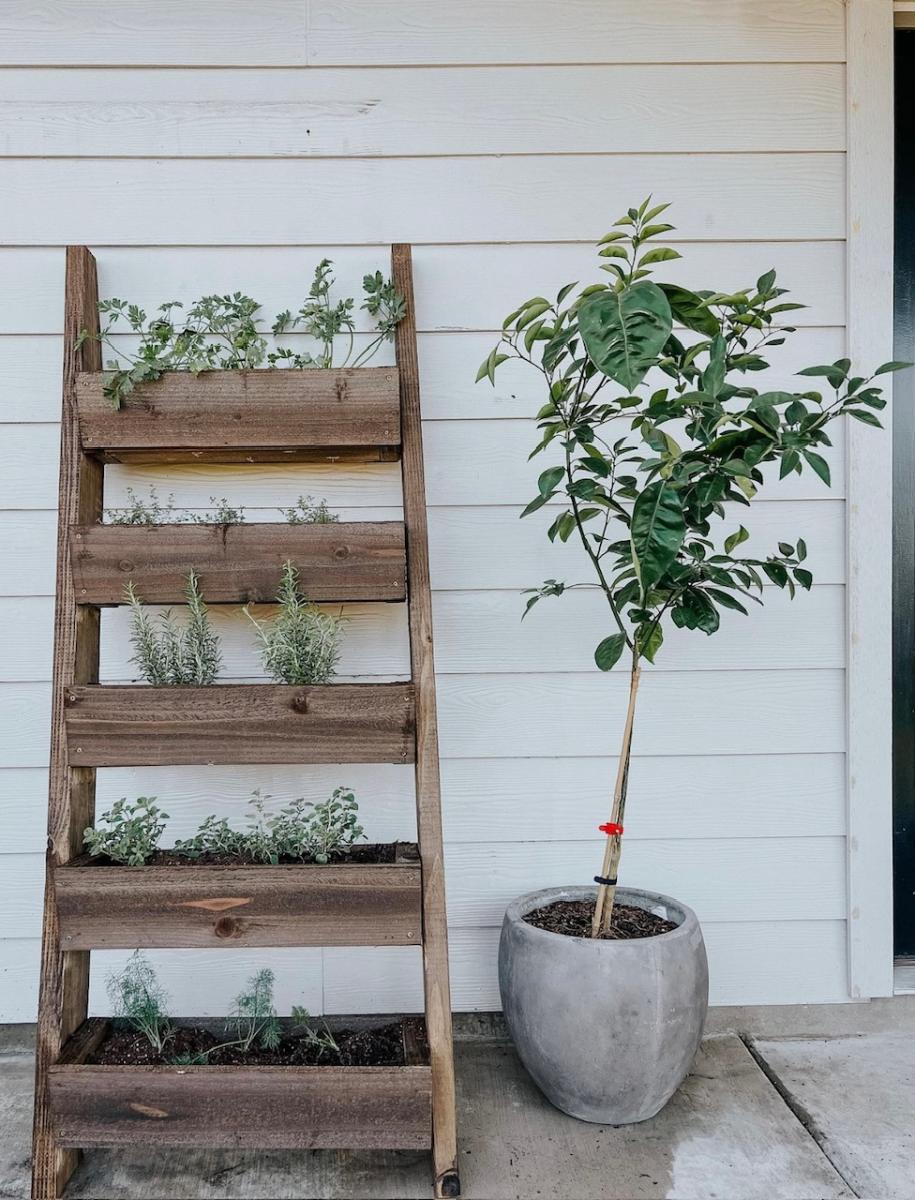
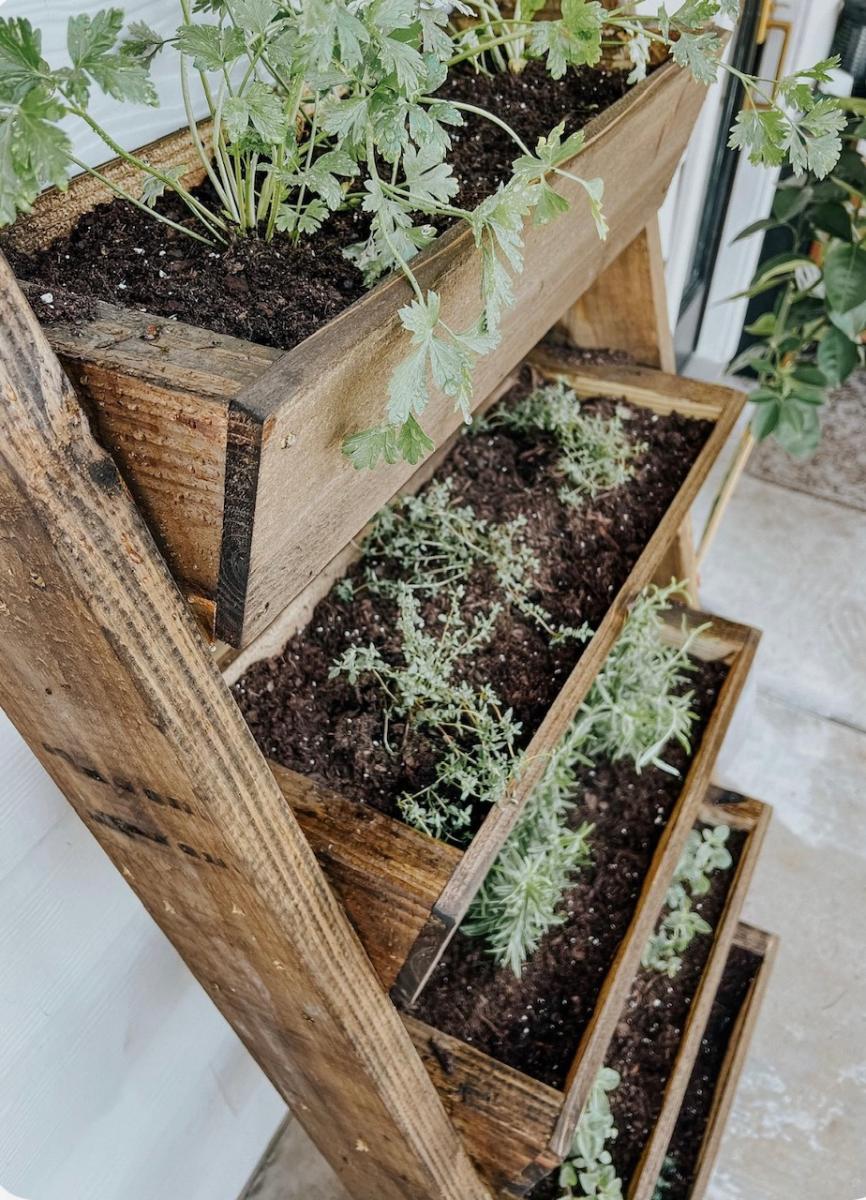
"For this project, I decided to lean on the expertise and creativity of someone else, and I followed a tutorial from Ana White It was incredibly easy to follow, really well written, and a super simple build. It took me just a few hours to build the leaning planter, and cost about $45 in wood." - Amanda


Seasonal And Holiday

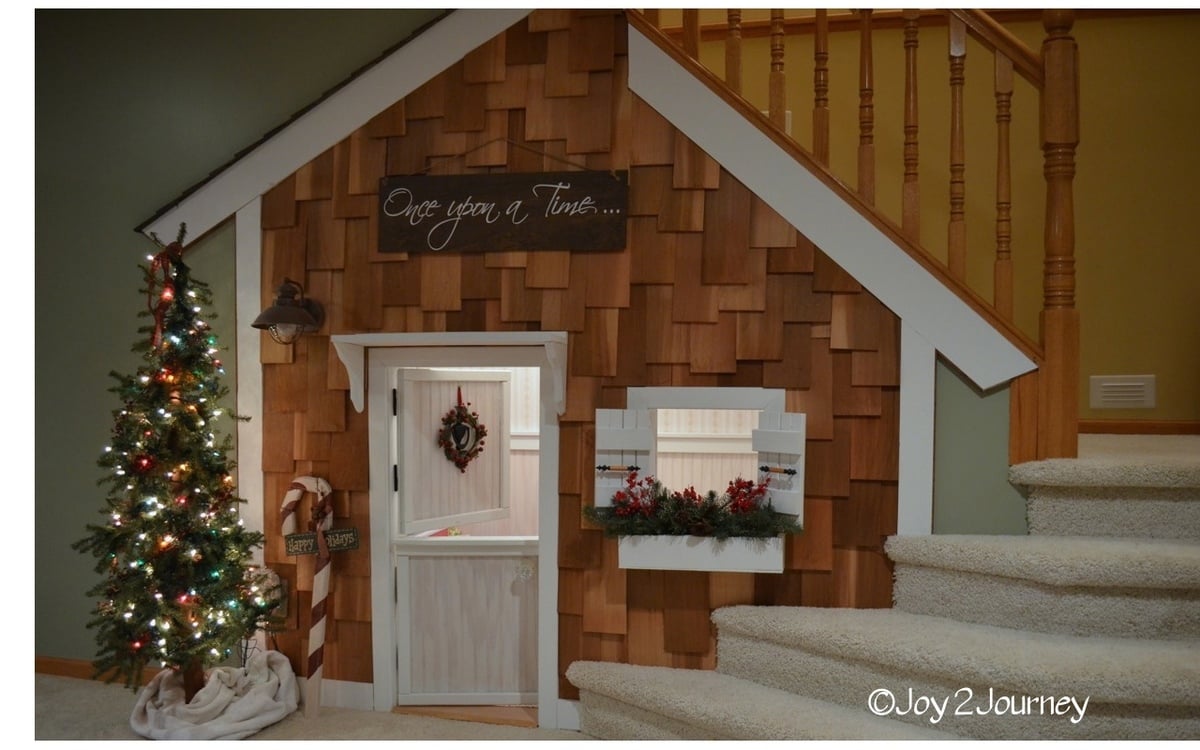
Under the Stairs Playhouse

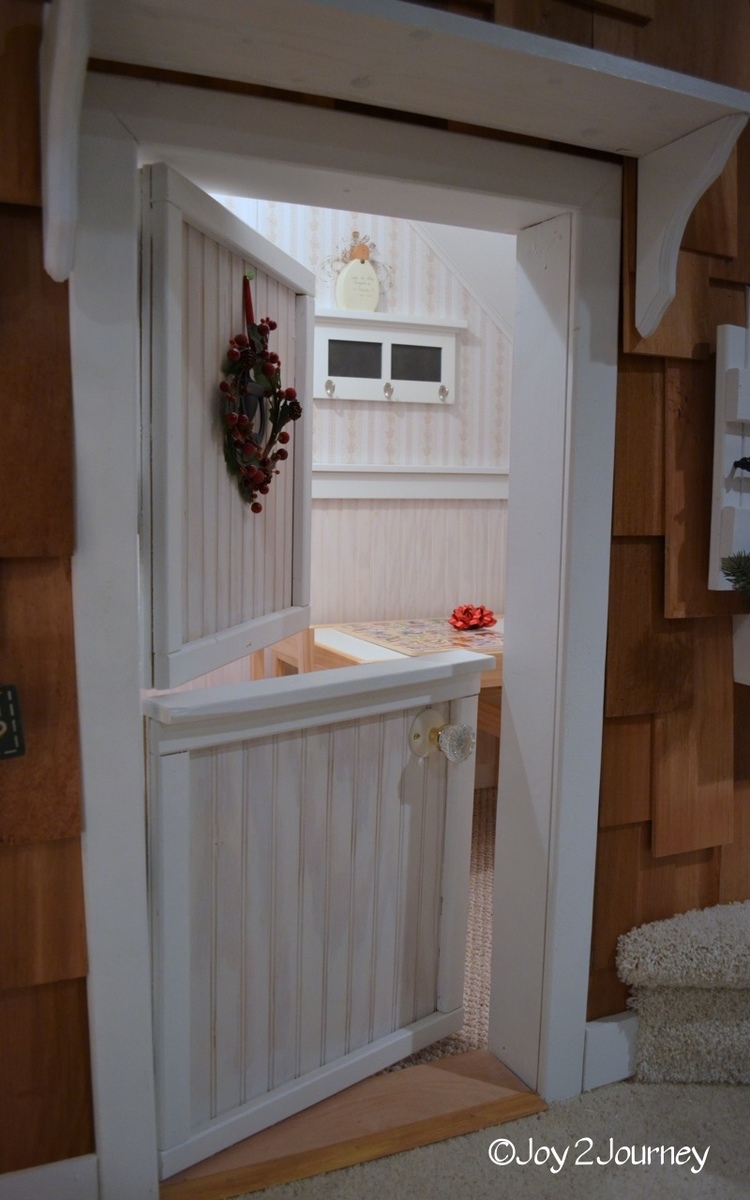
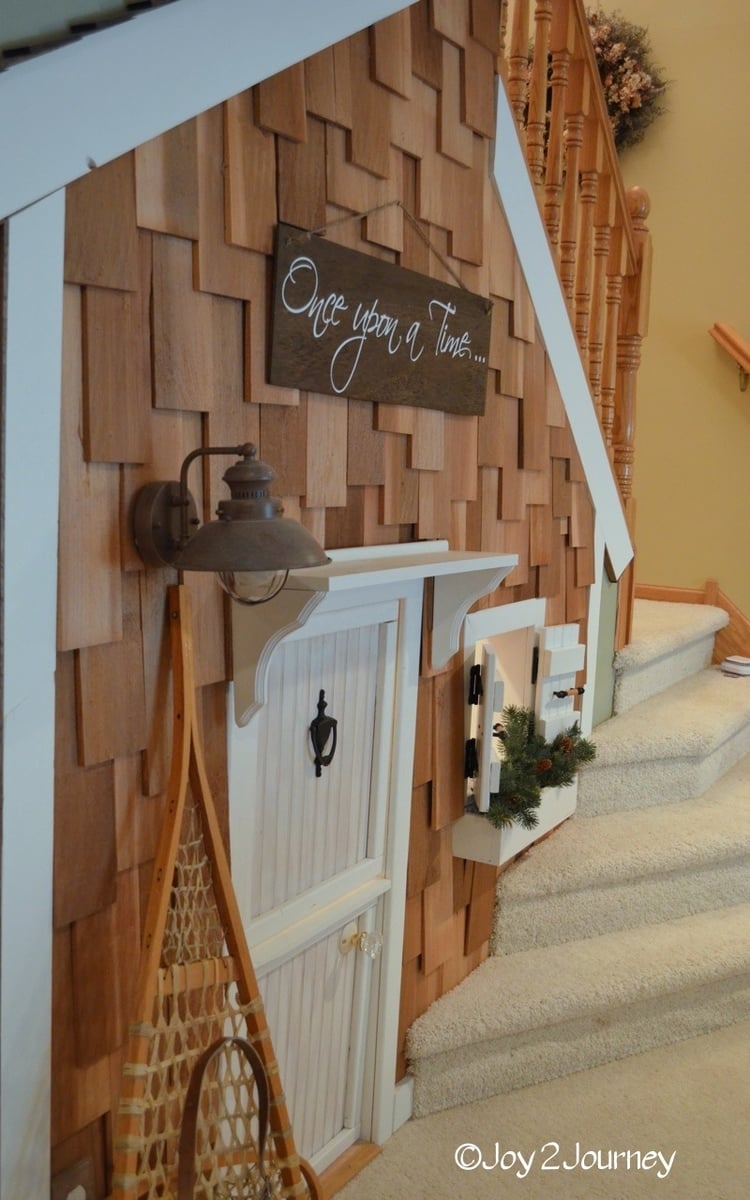
Submitted by bjhoove on Sat, 01/21/2012 - 20:01

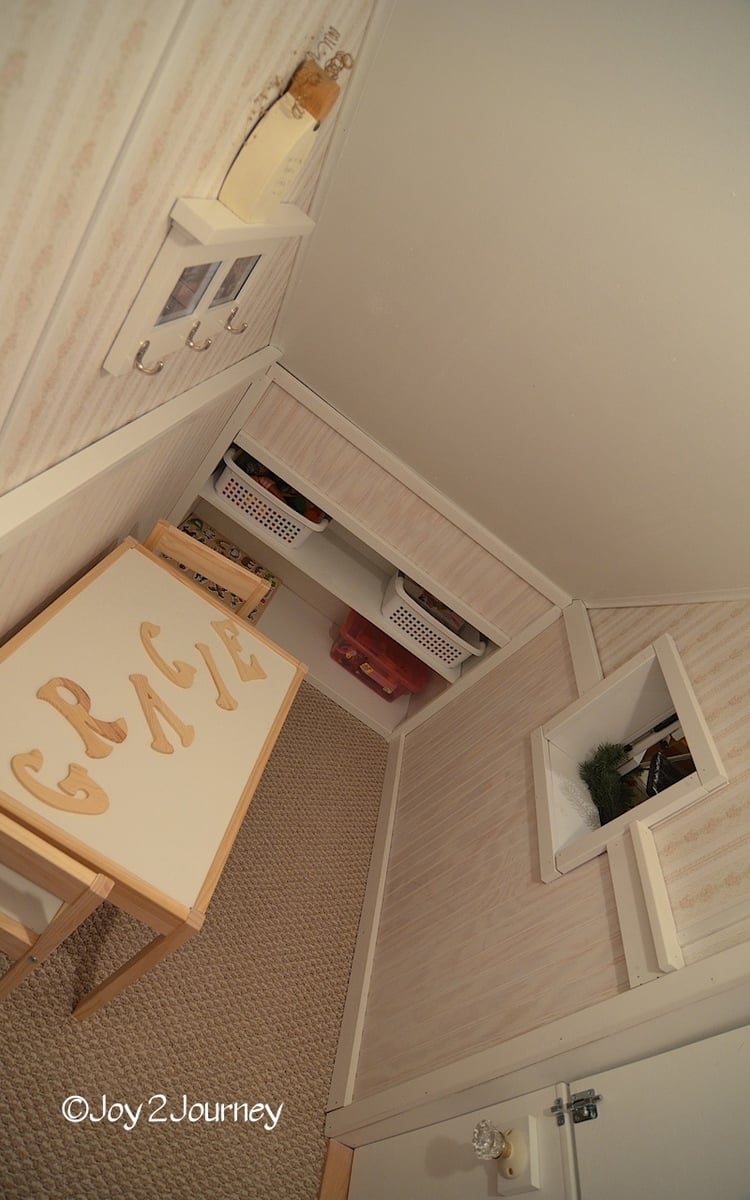
A Playhouse Under the Stairs for the Grand babies! A really fun space :) A fun project for me to build ... It lets the creative thoughts take shape. I had the perfect space for a playhouse under the stairs in the basement and thought that since we live in a cold climate it might be good to have an indoor play space. Inside I put down carpet to keep that area warmer since it is on the cement floor. I also installed bead board, chair rail and plywood with wall paper on it. I didn't use any plans from this amazing site but did see other plans that inspired me! I will be using some plans on this site soon. Look for a Murphy Bed soon from me :)

Estimated Time Investment
Week Long Project (20 Hours or More)
Finish Used
Primer, Paint
Recommended Skill Level
Intermediate

Comments

Cindy from Indiana (not verified)

Sun, 01/22/2012 - 10:39

That is an amazing play space for your grand babies! Makes me wish I had stairs so I could build one for me! LOL

Guest (not verified)

Sun, 01/22/2012 - 14:16

That is an incredible play space. We have a one story house, but now I want to install some stairs!

niecey

Mon, 01/23/2012 - 16:42

This is magical. Must have been a lot of work! It looks incredible.

Upholstered daybed

Submitted by Anonymous (not verified) on Sat, 02/20/2016 - 11:41

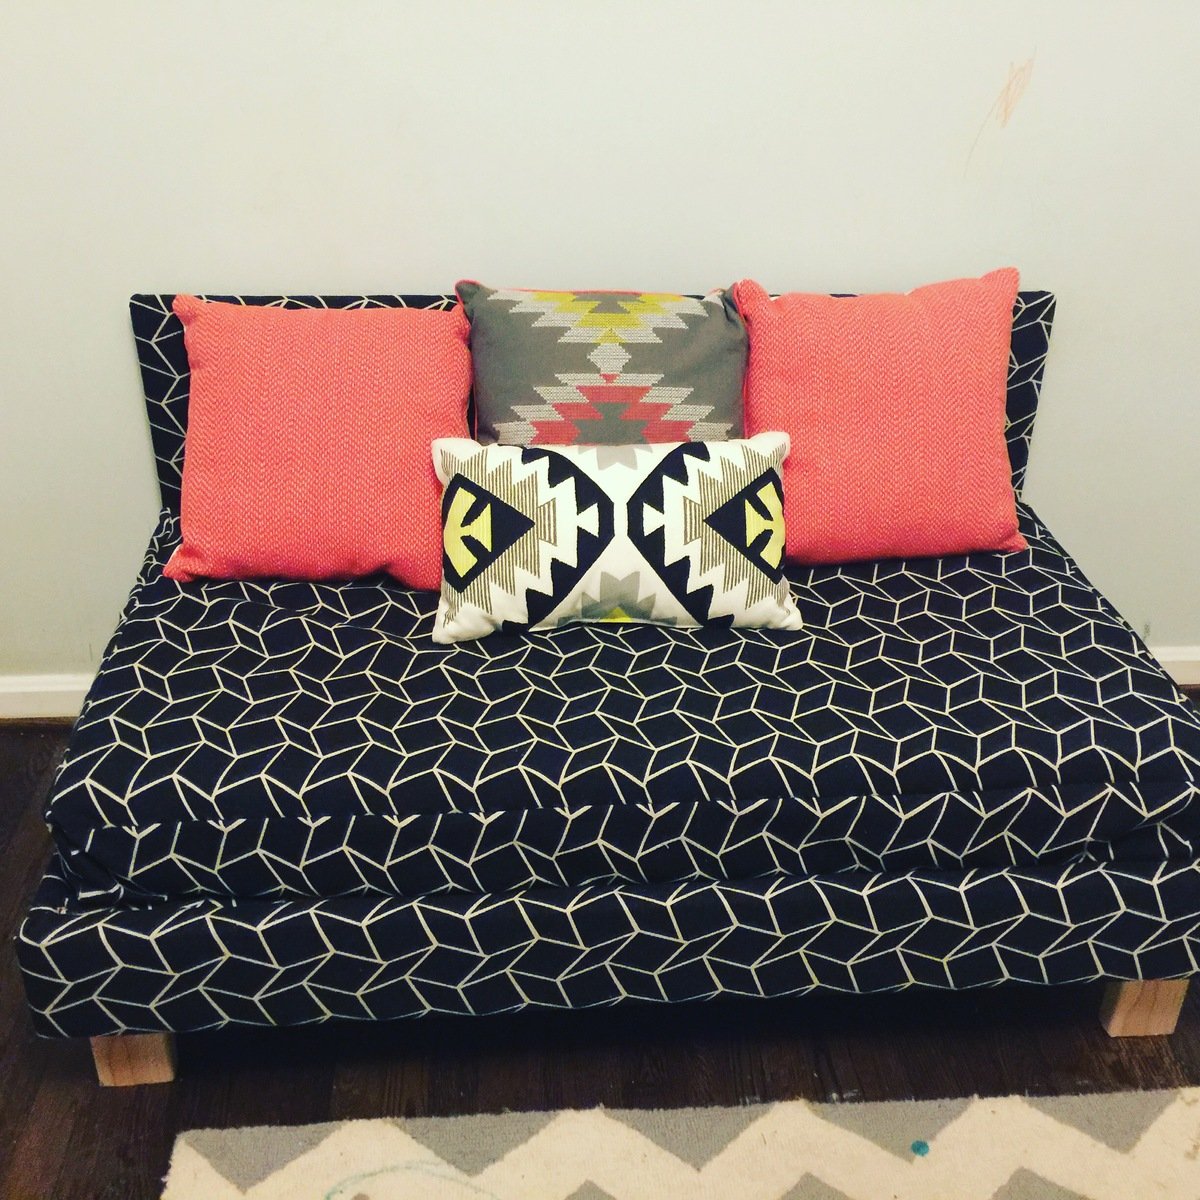
Fun day project. Had toddler mattresses left over after my boys moved to big boy beds. Used the mattress and upholstered it to look similar to a couch. Now it lives in their playroom complete with throw pillows from target. I built some of this with scrap wood on hand to save cost. All in all, a very fun project!

Built from Plan(s)
Estimated Time Investment
Day Project (6-9 Hours)
Recommended Skill Level
Beginner

My first build ever !

Submitted by Anonymous (not verified) on Sun, 10/02/2022 - 05:04

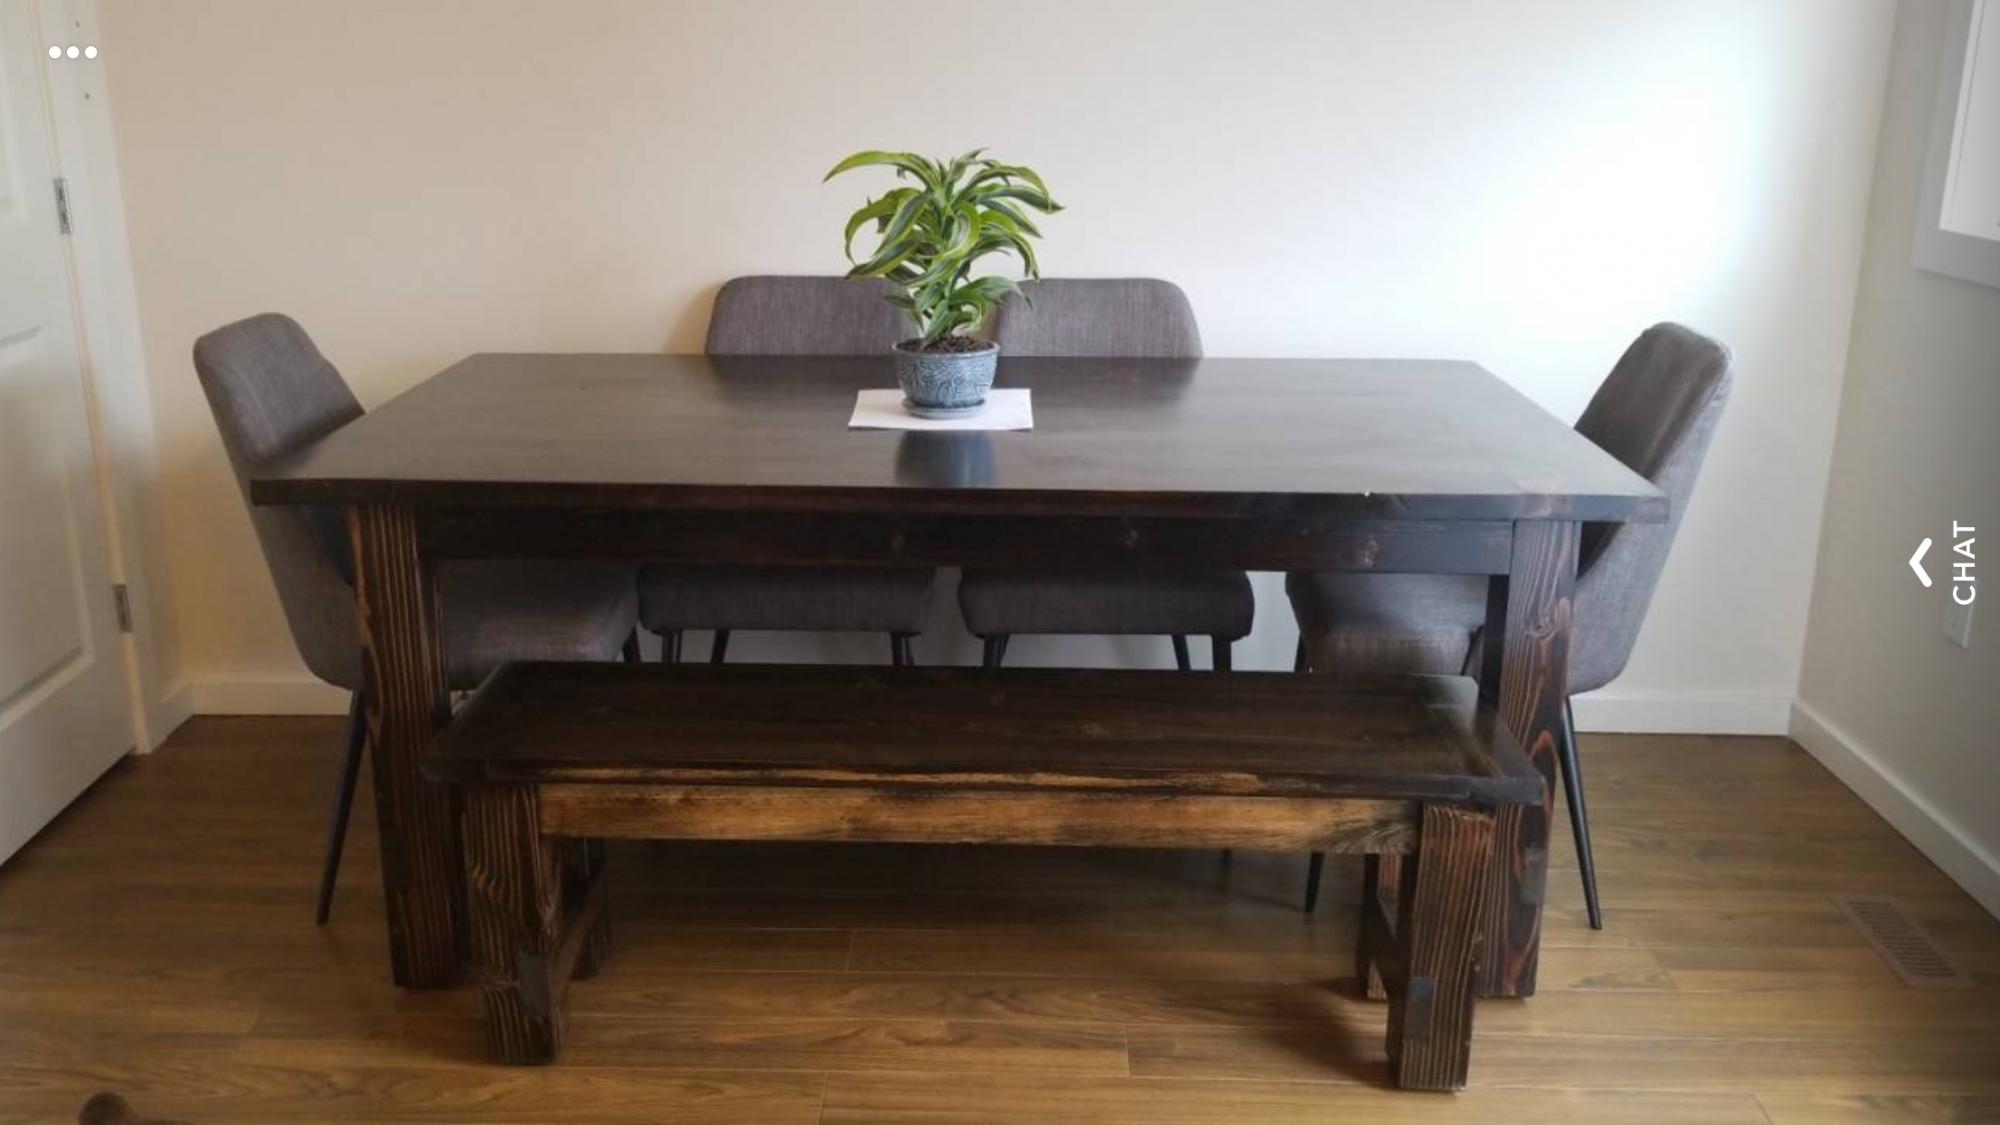
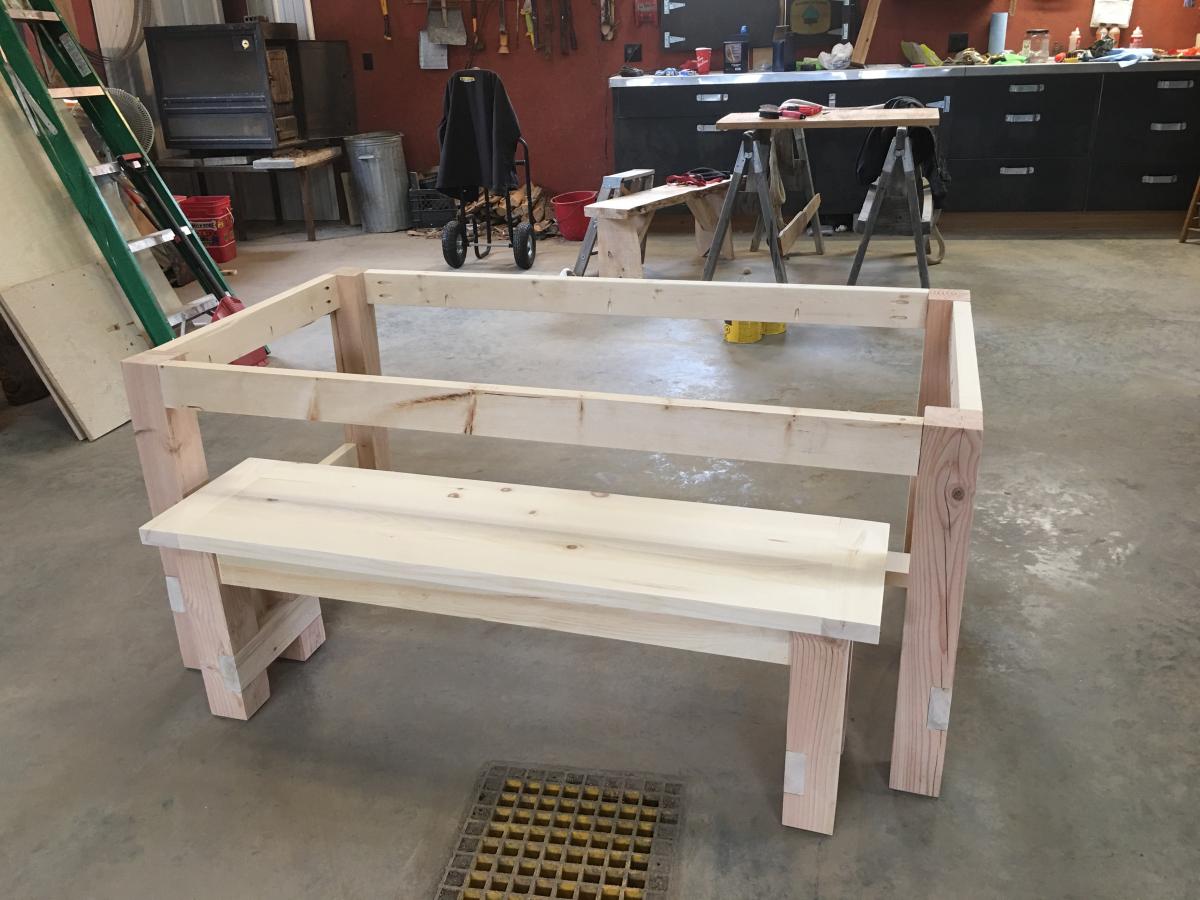
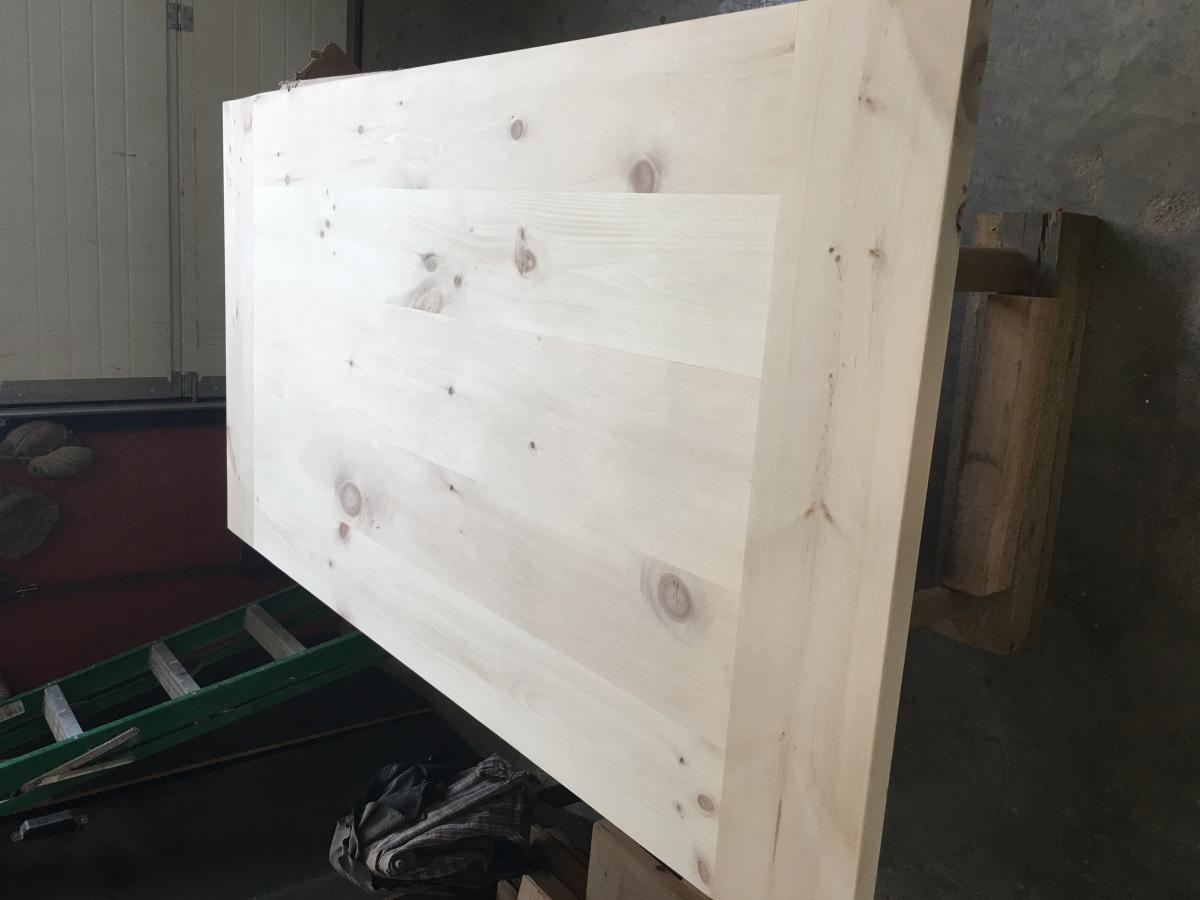
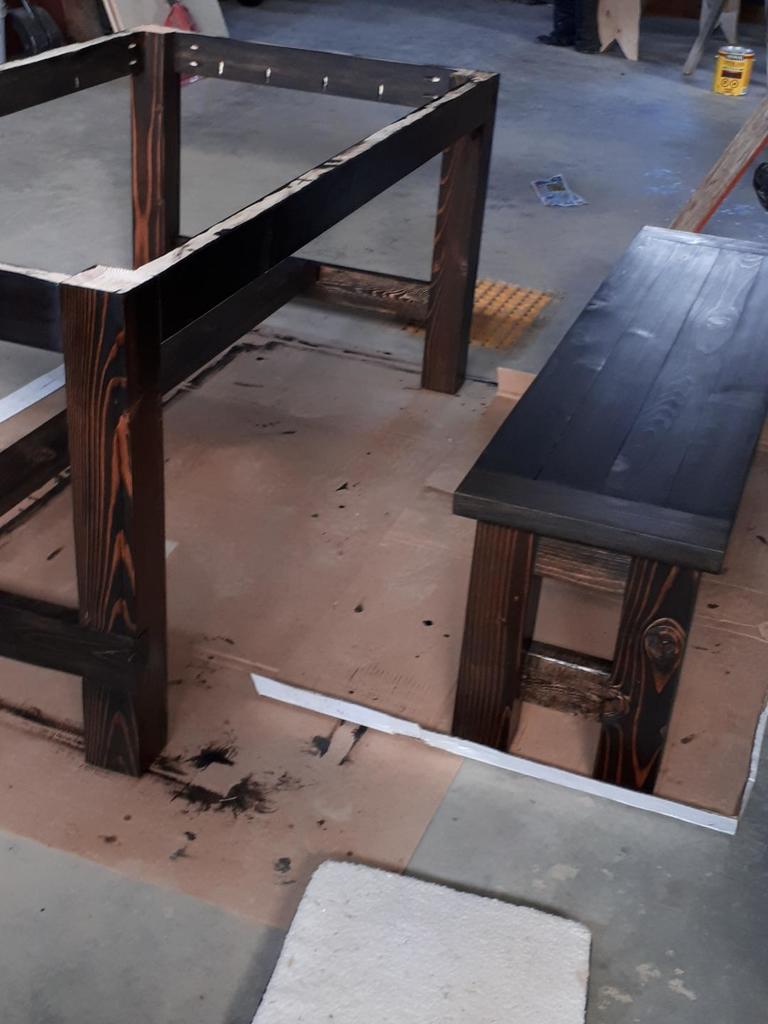
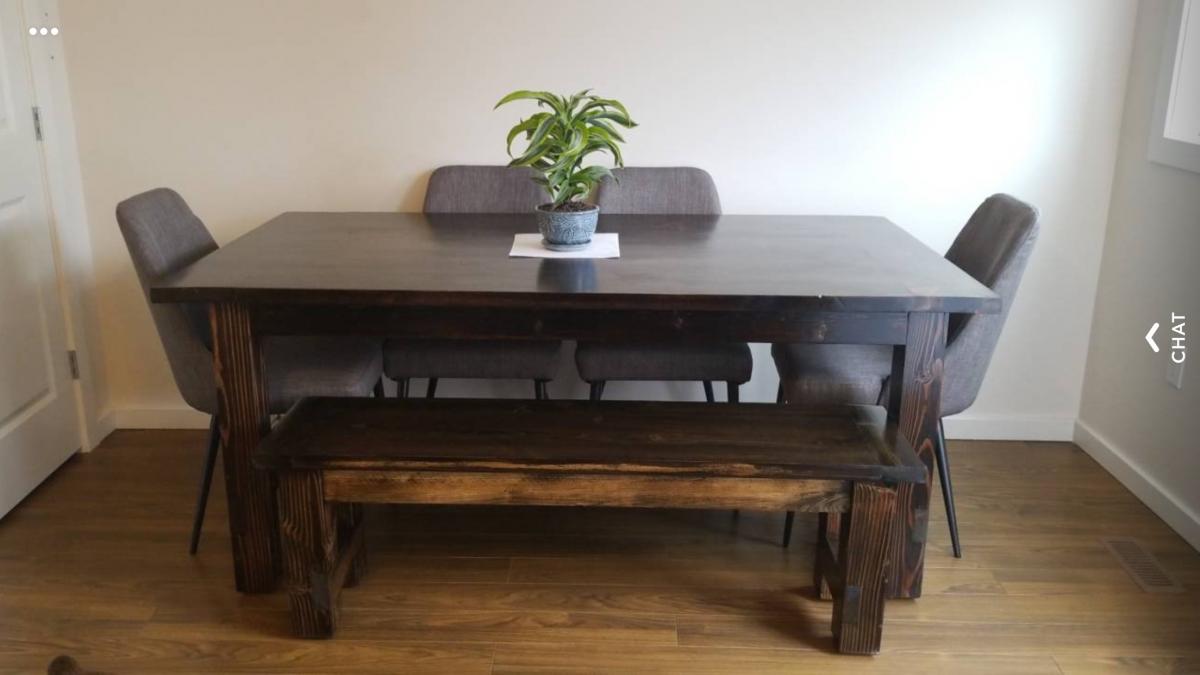
My daughter needing a dining room table. After discovering Ana White’s web site and building plans, I figured I could do this ! I have a background in quilting so I was thinking , cut the material , piece it together....simple !!!! It was definitely the plans and YouTube videos that made this achievable. I had never run a miter saw or table saw in my life ! I still can’t properly read a measuring tape !!! I had the basics down and away I went !!!
It turned out beautifully and best part of all is I could gift my daughter a table and bench made with love from mom !!

Estimated Cost
300
Estimated Time Investment
Week Long Project (20 Hours or More)
Finish Used
Minwax dark walnut stain and sealed with minwax polyurethane
Recommended Skill Level
Beginner

Comments

Outdoor Sofa

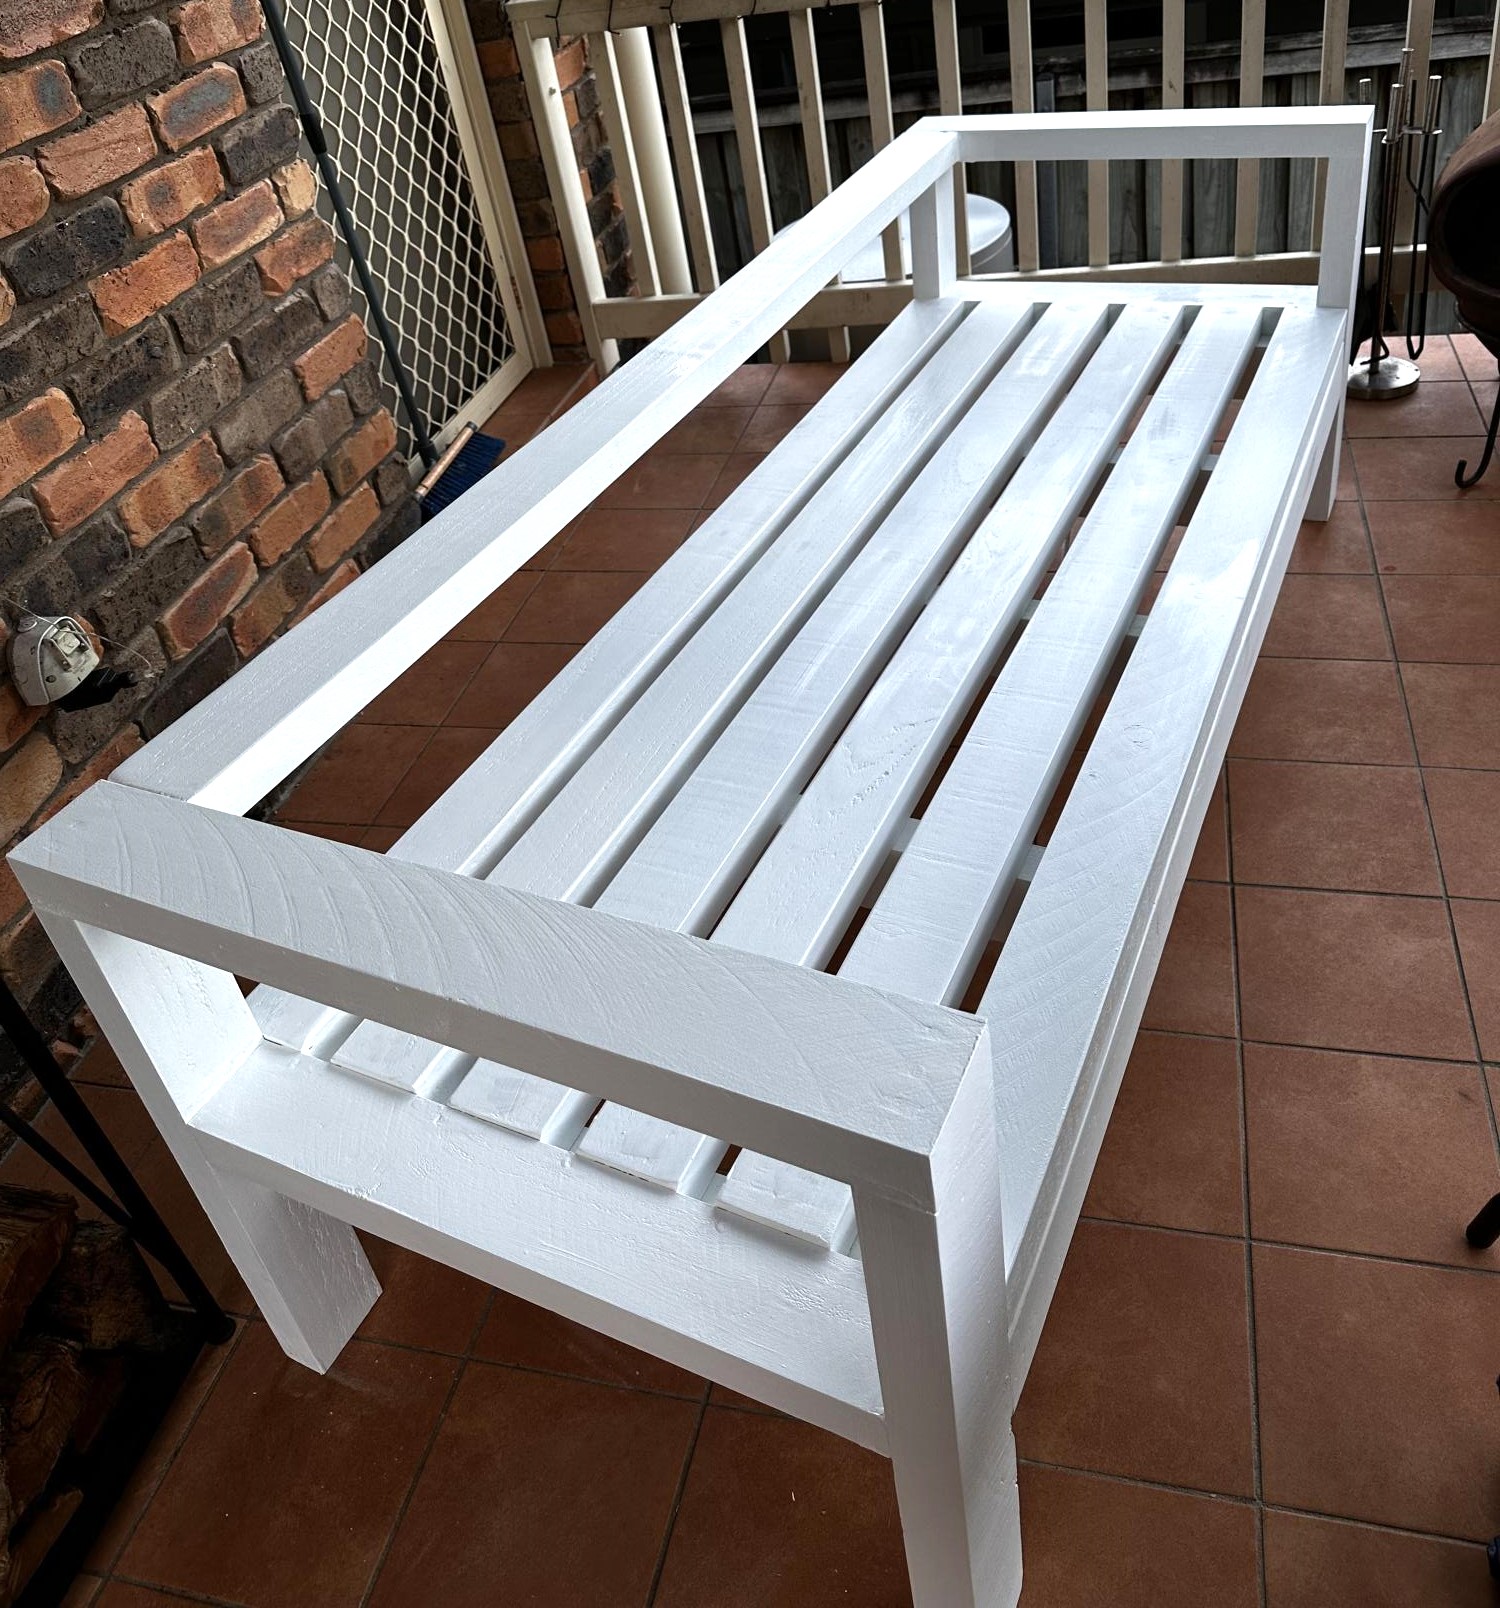
Submitted by Anonymous (not verified) on Fri, 06/09/2023 - 15:46

Choose the equivalent of 4 x2 here in Australia but as you can see the Depths were different. Painted in Dulux outdoor paint in Vivid White

Built from Plan(s)

Comments

Workbench Console and Hutch

Submitted by AlohaMama on Thu, 01/26/2012 - 12:11

We needed space, display space as well as gadget space. The Workbench Console and Rustic Hutch fit in well with the dinner table I modified from Ana's Farmhouse table. Instead of adding the 2x6 on the front and towel bar, I opted to leave the face clean with just a 2x4 and add some reclaimed antique drawer pulls on the side for decoration.

Instead of plywood or 1x4's for the back of the hutch I used the ever handy bead board. Same feel, but cut to size. We also raised the shelf up 12" from the bottom so that I could easily vacuum under it and it would be a great place for a basket or 2 just to hide linens.

Thank you Ana...my house is transforming one project at a time...

Estimated Time Investment
Day Project (6-9 Hours)
Finish Used
Danish Oil
Recommended Skill Level
Intermediate

Comments

Jarrah

Fri, 01/27/2012 - 11:25

I like this a lot! You did a fabulous job! I can see a ton of applications where I could use something like this around the house.

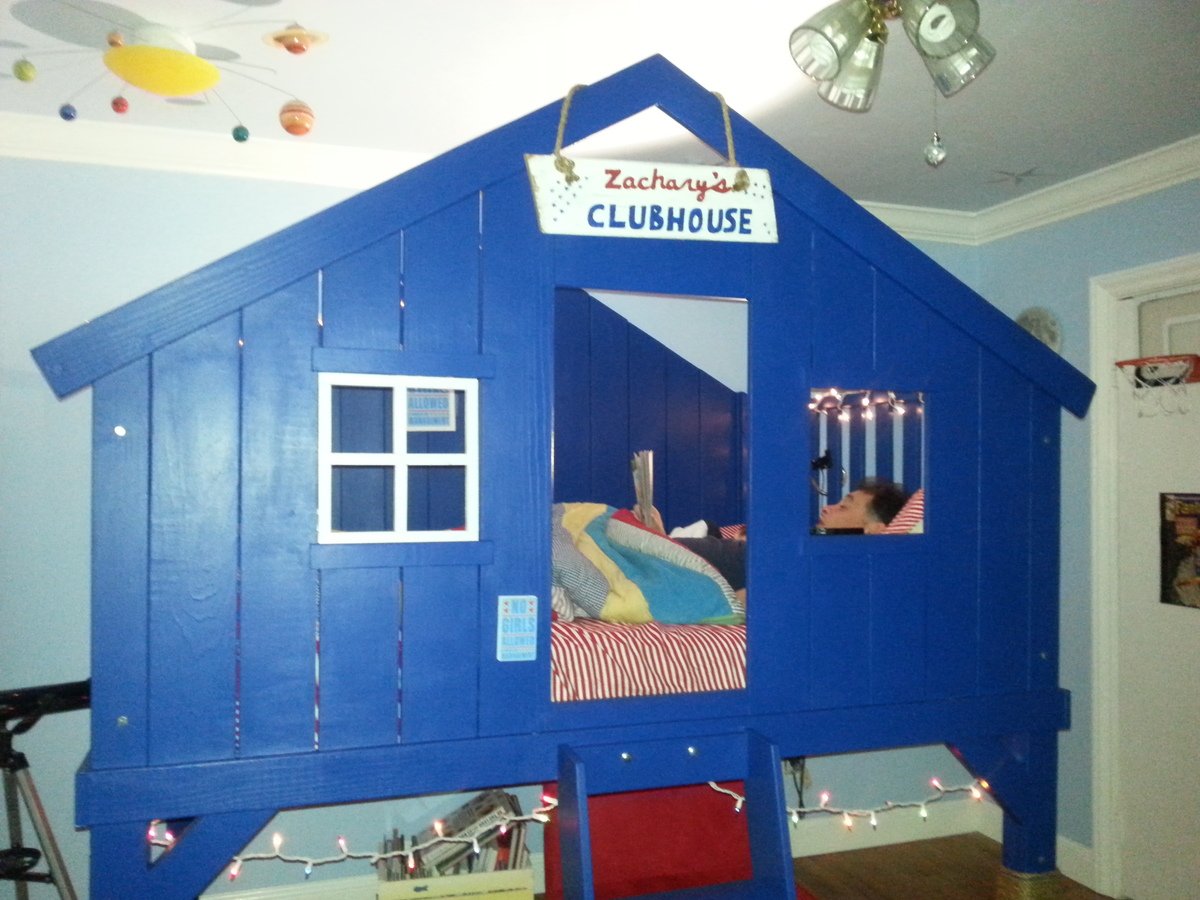
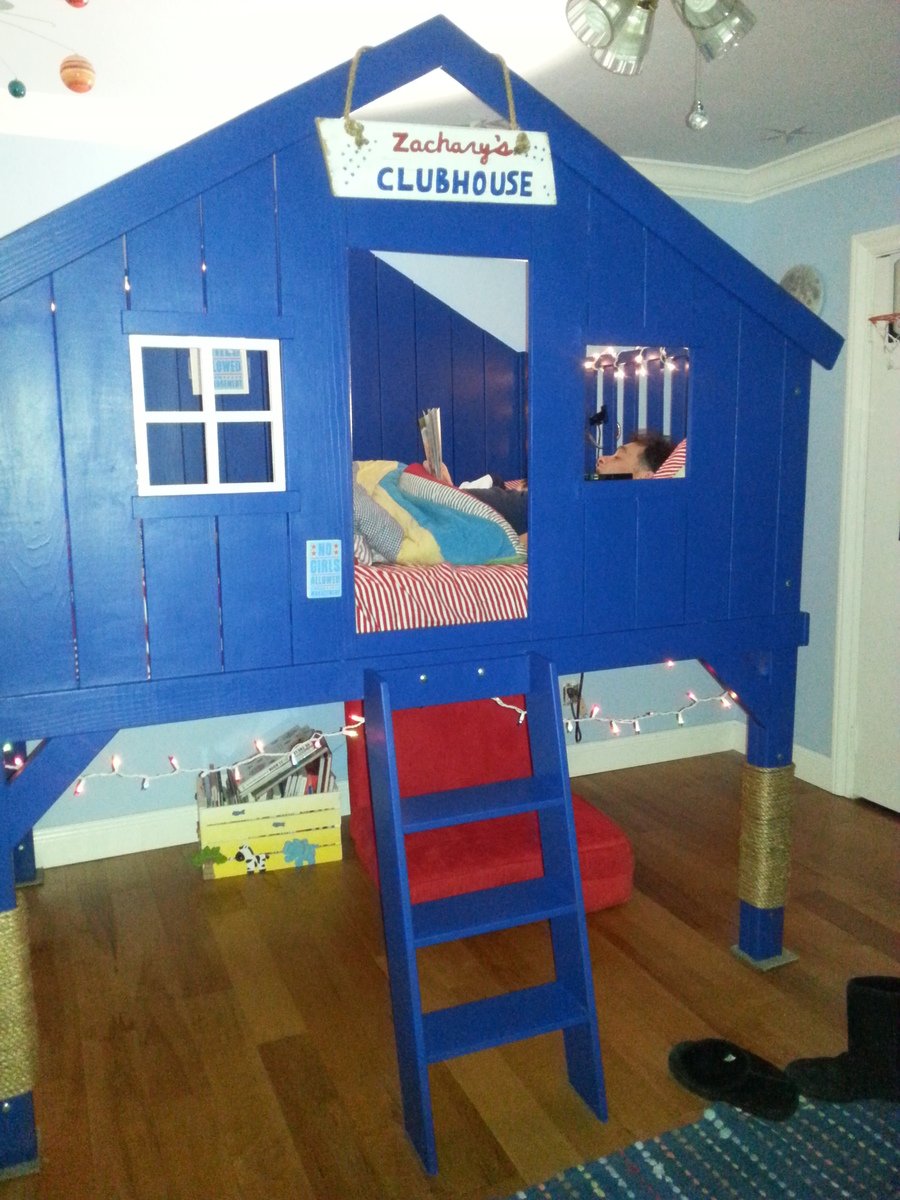
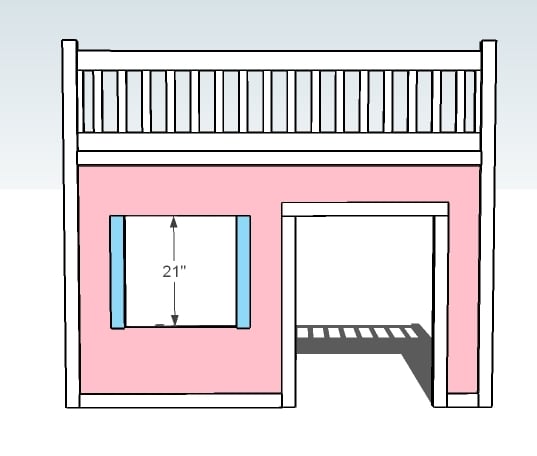
Clubhouse bed!

This took me for-ever to build but mainly because I have an infant plus two other children. I think the actual time in hours was about 15 for the build and about the same for finish work. We modified the plans to fit my sons full size mattress. We also spent a lot on lumber because, initially, I thought I would stain but ended up painting.

Built from Plan(s)
Estimated Time Investment
Week Long Project (20 Hours or More)
Finish Used
Primer and 4 (yes 4!) coats of water based paint. DO NOT use Valspar.
Recommended Skill Level
Intermediate

Comments

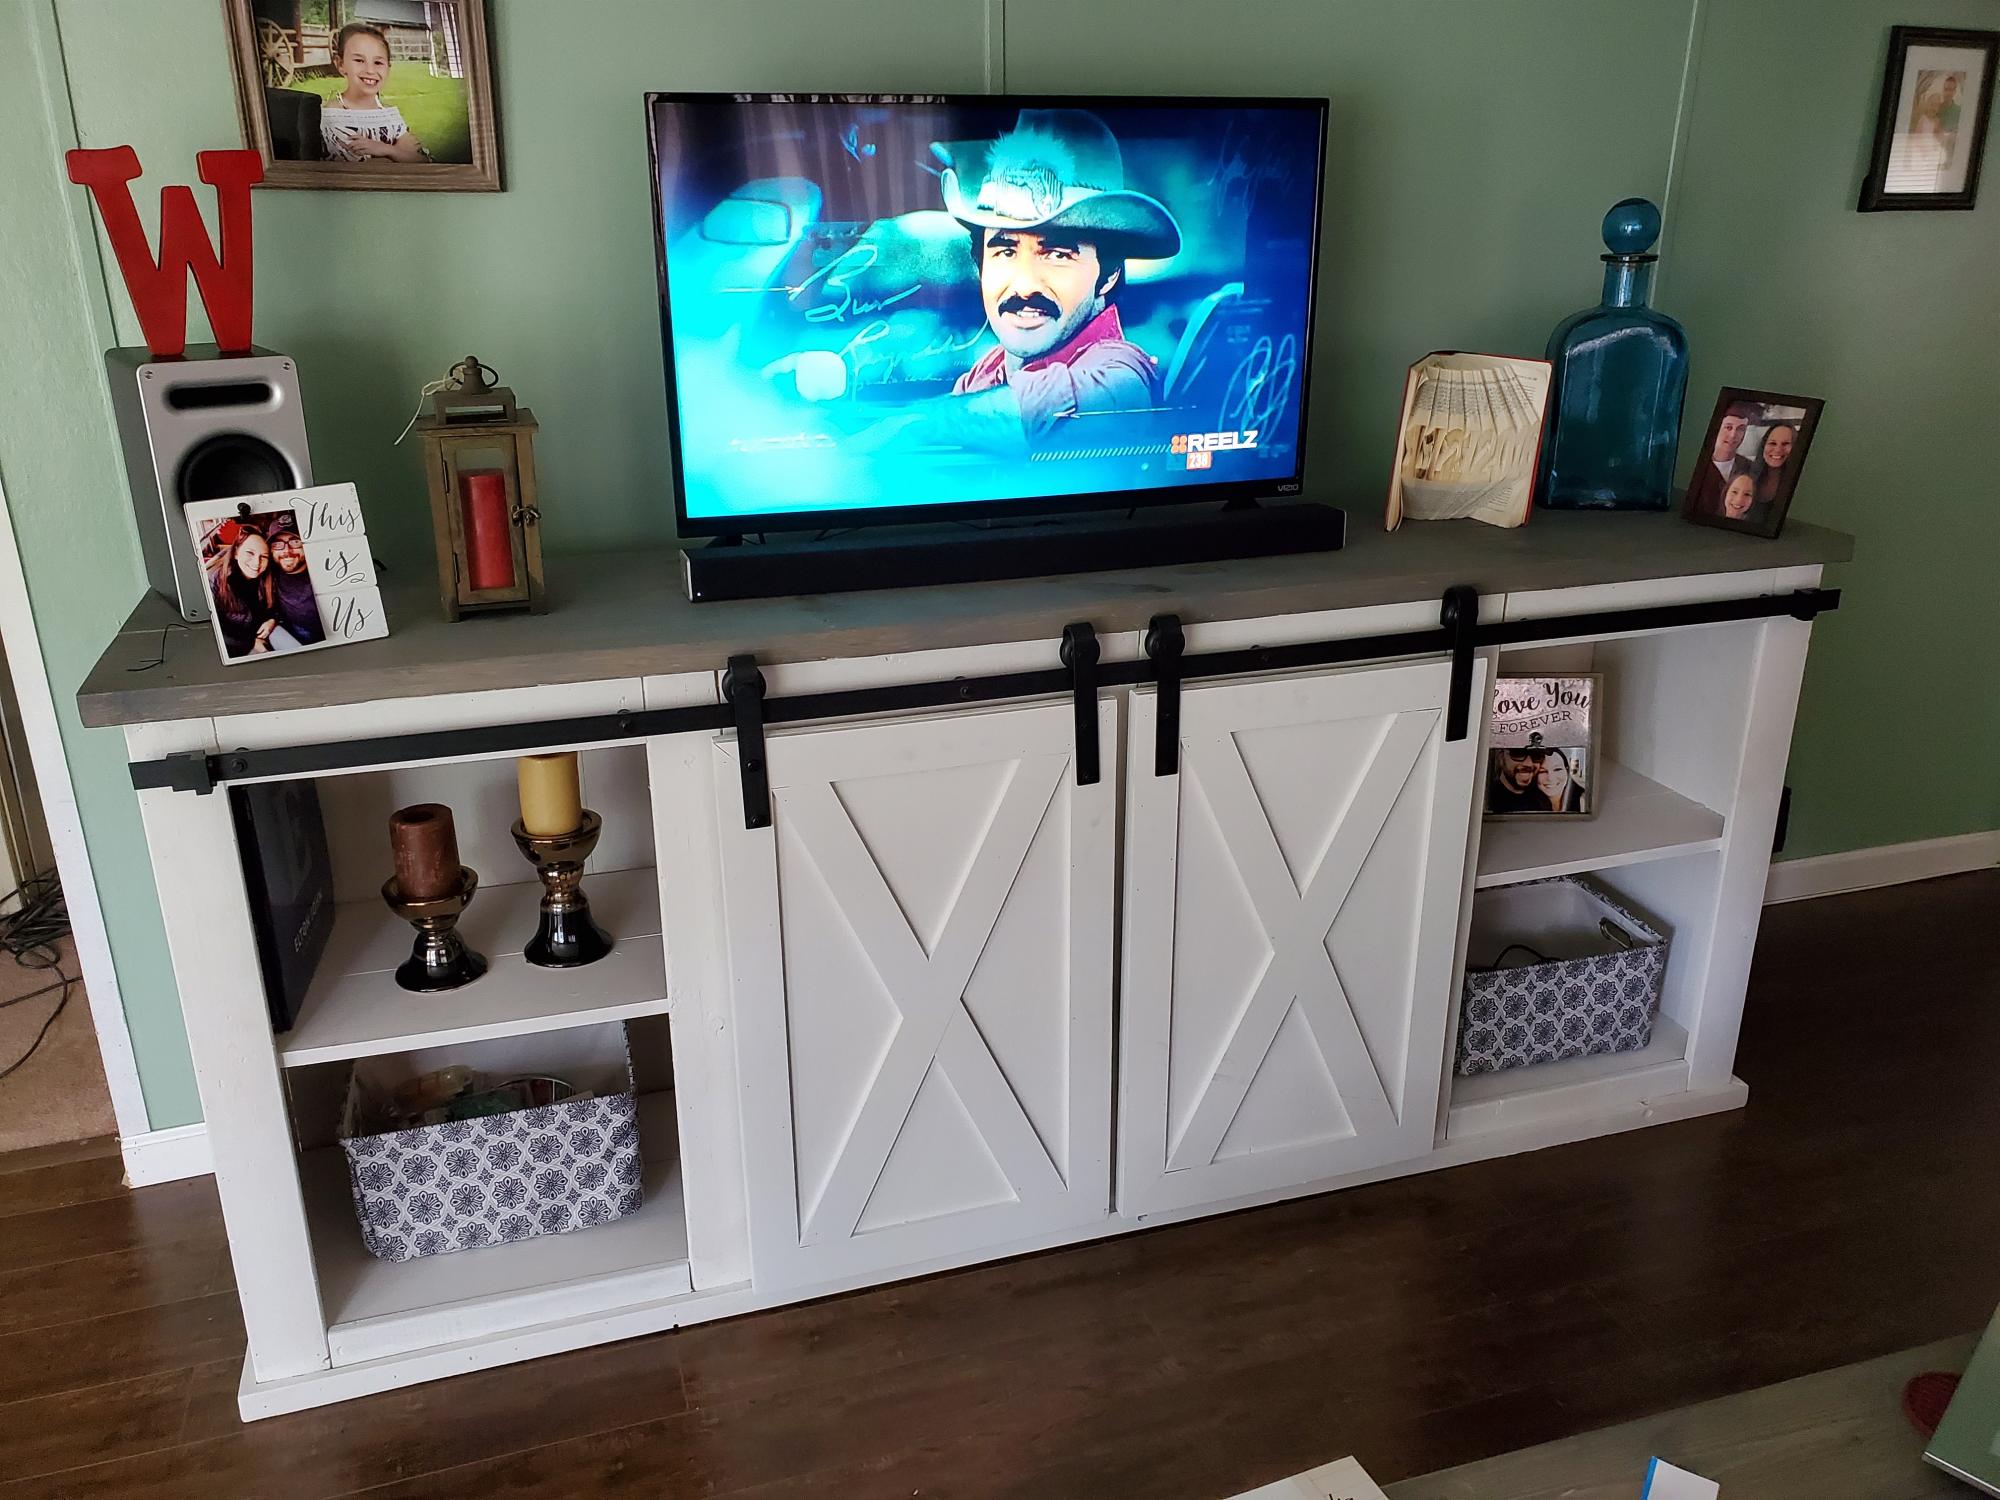
Grandy TV Stand

Submitted by imsomark on Mon, 02/22/2016 - 12:34

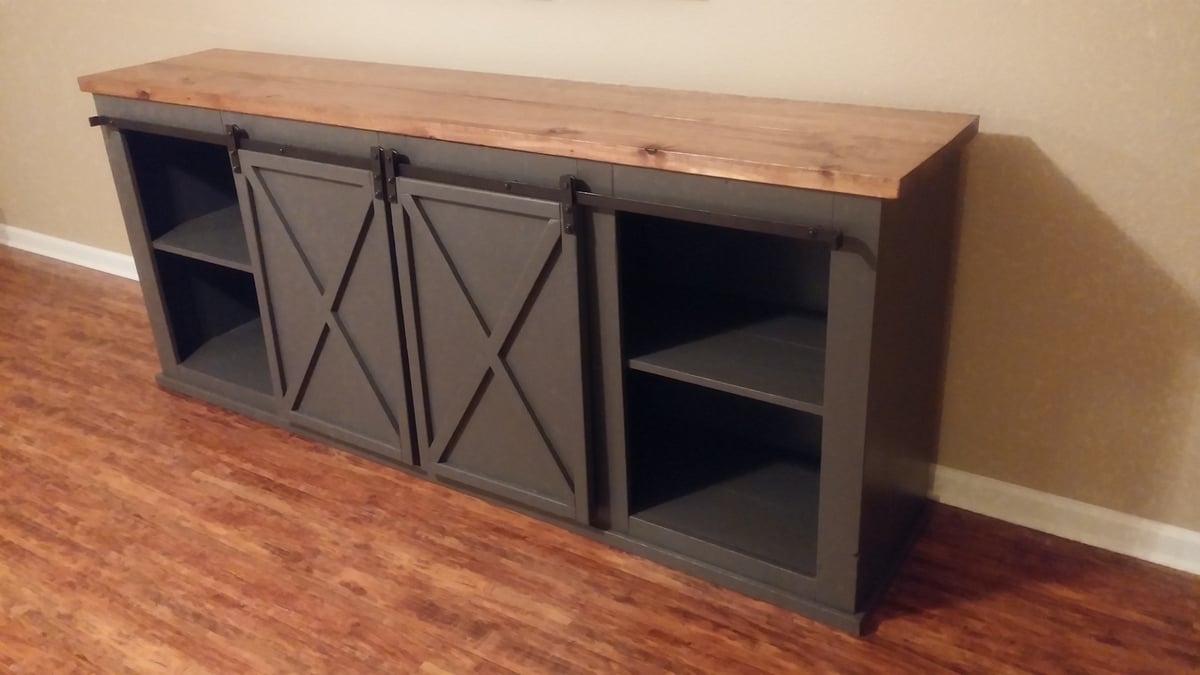
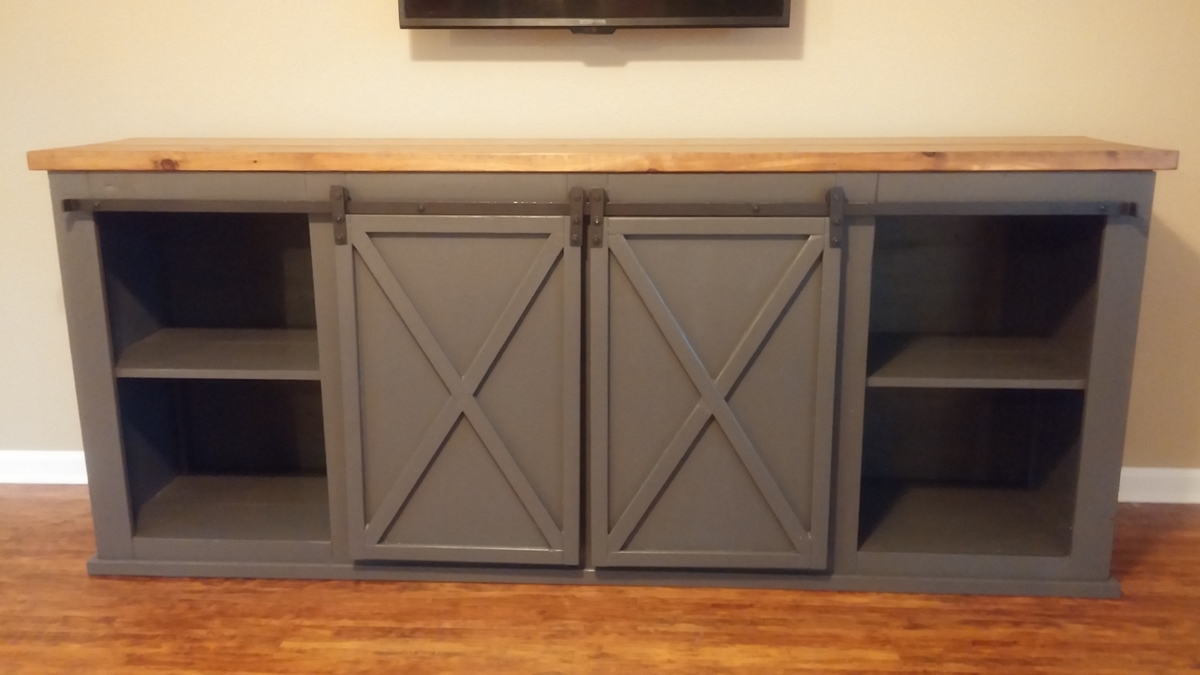
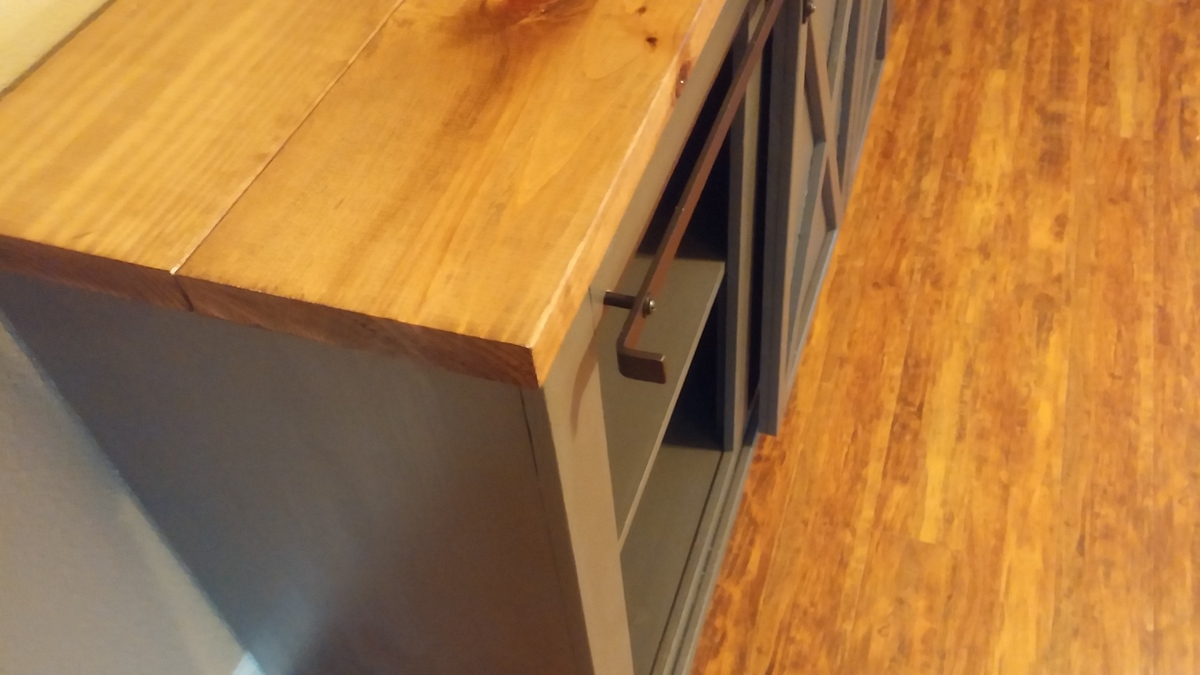
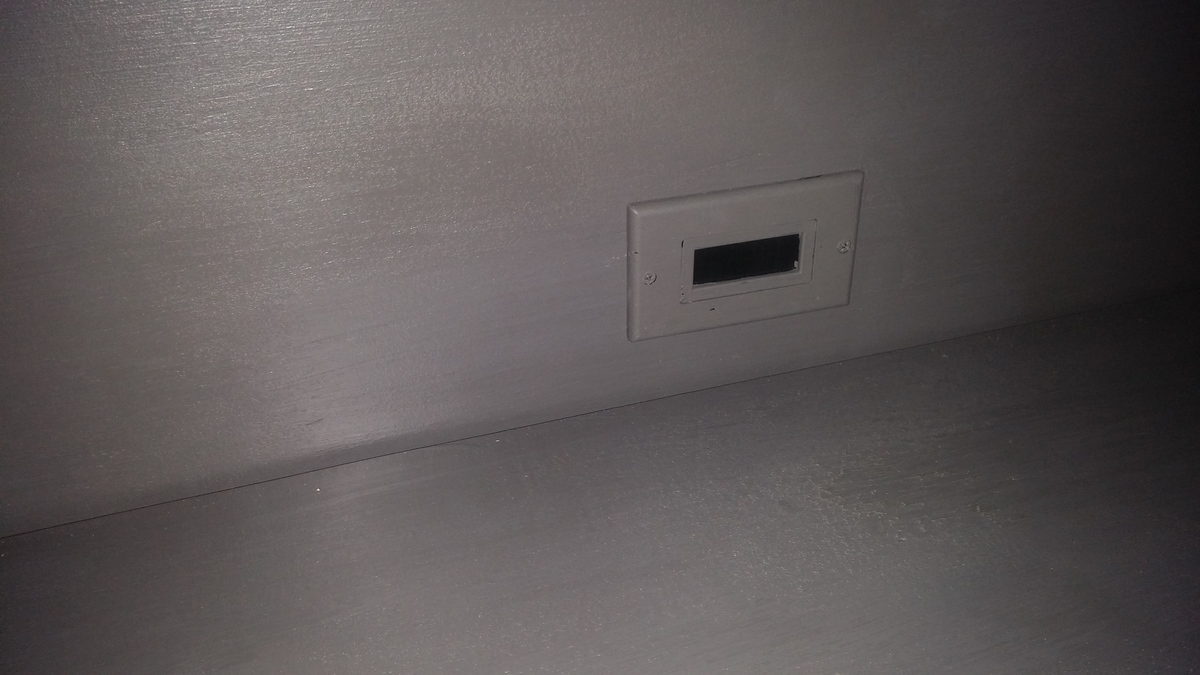
This was my first woodworking project and I really like how it turned out. The instructions for building the unit were pretty clear and I only deviated from them in two ways: 1) Since I am using this as a tv stand, I added a port (pictured) for xbox / cable box HDMI cables. I painted the port the same color as the unit so it blends in well. 2) To attach the top two stained pieces of wood, I used pocket holes instead of drilling down from the top. That way I didn't need to use any wood filler. I think I used 7 or so pocket holes per board and it seemed to be held pretty well. For the paint color, I copied kbdesigns' unit and used 'Intellectual' by Behr. I don't remember the stain for the wood but the stain is a darker color than it shows in the pictures. As far as the hardware, I modified those plans as follows: 1) I used a vise to bend the aluminum flat bar to provide stopping points for the doors, so they don't just slide right off the bar. I think I bent about 1.25-1.5 inches at the end. I just used a hammer and a vise and the metal bent fairly easily. 2) I drilled four holes instead of three for more support. 3) For the bar pieces on the doors, I made them 4.5 inches instead of 8.5 inches. I liked the shorter look in the original Grandy examples. 4) I used the clevis pins from the pulleys I bought to attach the wheels to the bars. Note: her instructions for the pulley wheels seemed very difficult. I was able to find pulleys on clevis pins that could easily be removed from the wheel casing, or whatever it is called. I found them at Home Depot. I think they were 1.5 inches.

Built from Plan(s)
Estimated Cost
300
Estimated Time Investment
Week Long Project (20 Hours or More)
Recommended Skill Level
Beginner

Honey Do

Submitted by Anonymous (not verified) on Thu, 10/03/2019 - 11:45

After moving, my wife informed me that I would be building her a new TV console. This is the end result. Now we need a bigger TV!

Estimated Cost
$400
Estimated Time Investment
Weekend Project (10-20 Hours)
Finish Used
White paint and Minwax stain.
Recommended Skill Level
Intermediate

Comments

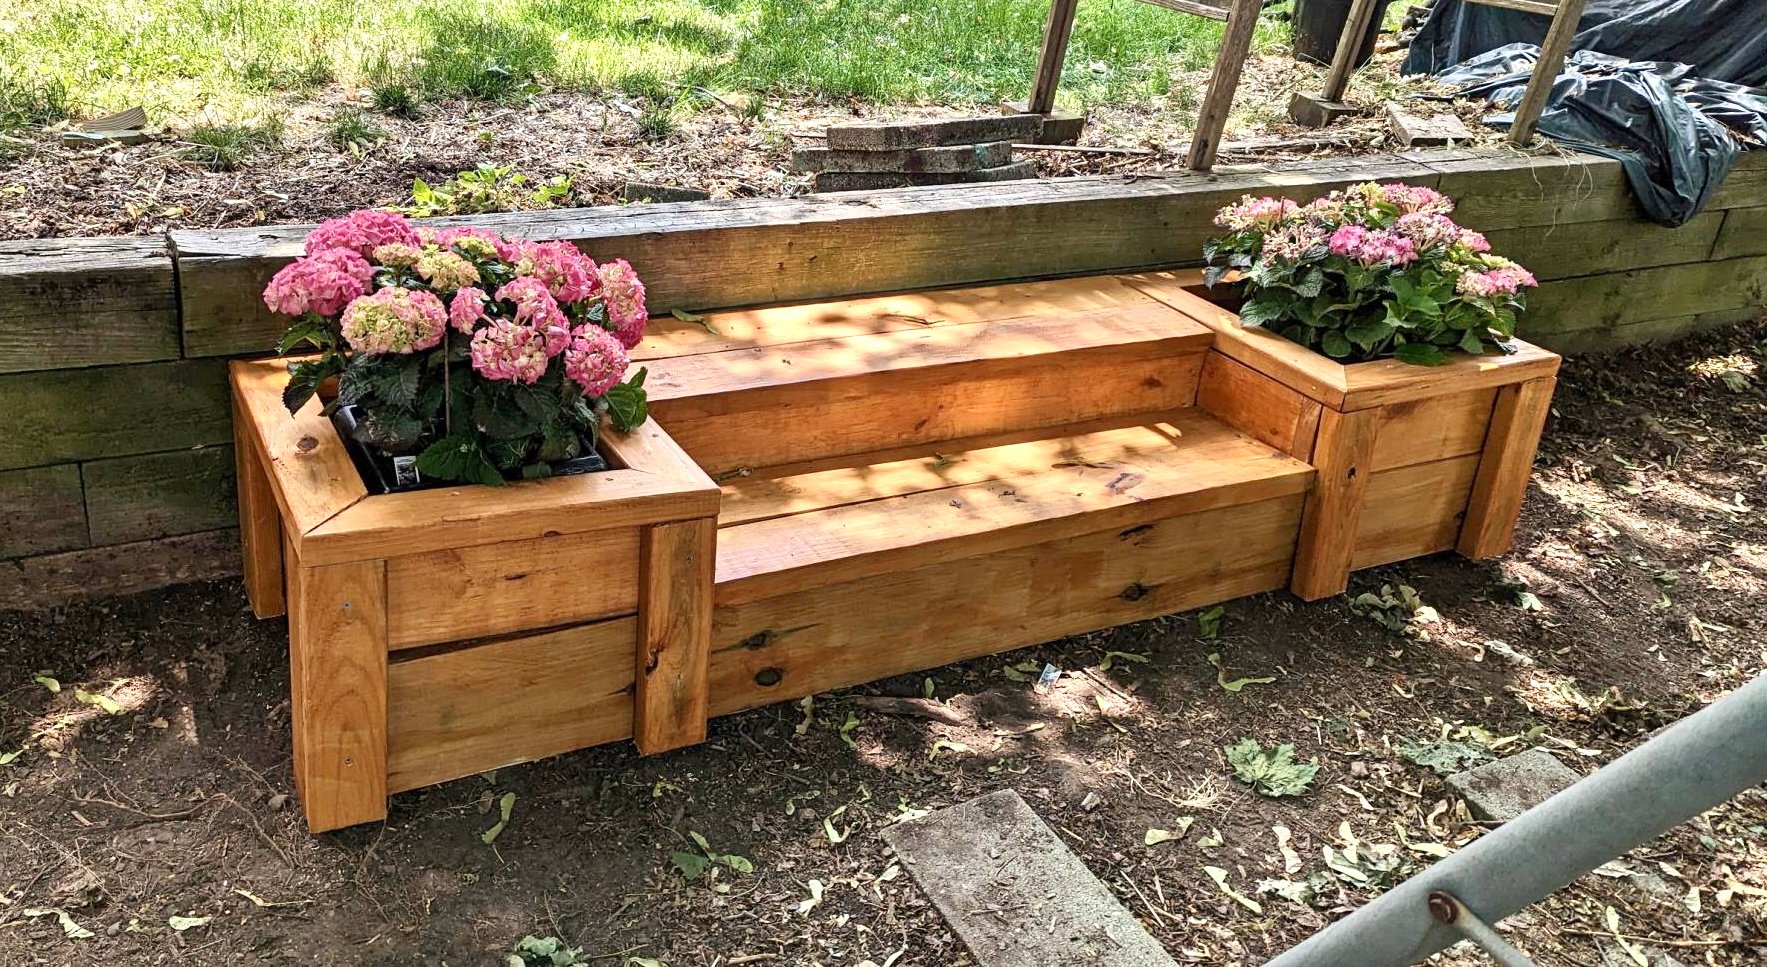
A beautiful spot in a less than perfect yard

Submitted by Anonymous (not verified) on Fri, 06/16/2023 - 13:43

When my husband left he left behind an entire tier of our yard that he'd used to throw sticks, branches, clippings, dead plants, you name it for years. I cleared the mess last spring and am excited to make it beautiful this season!

Comments