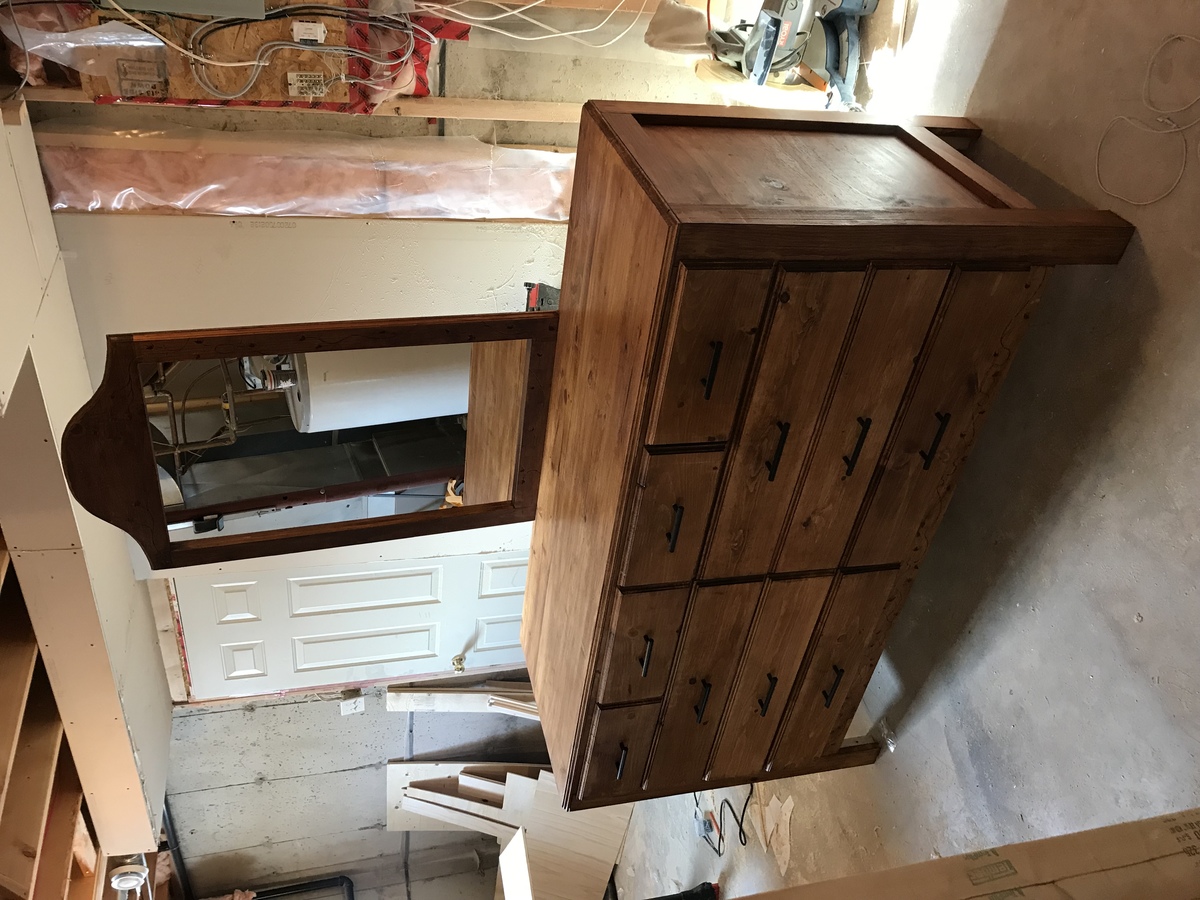
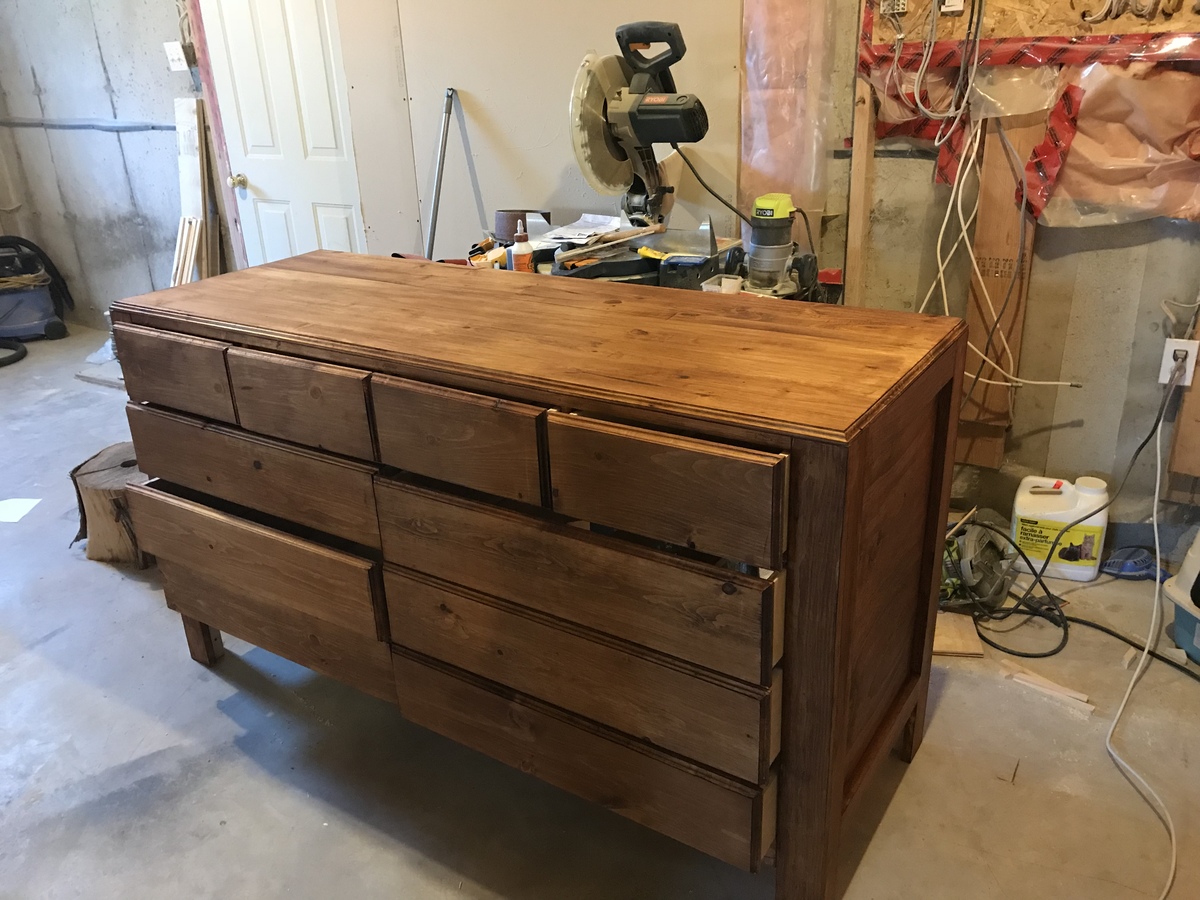
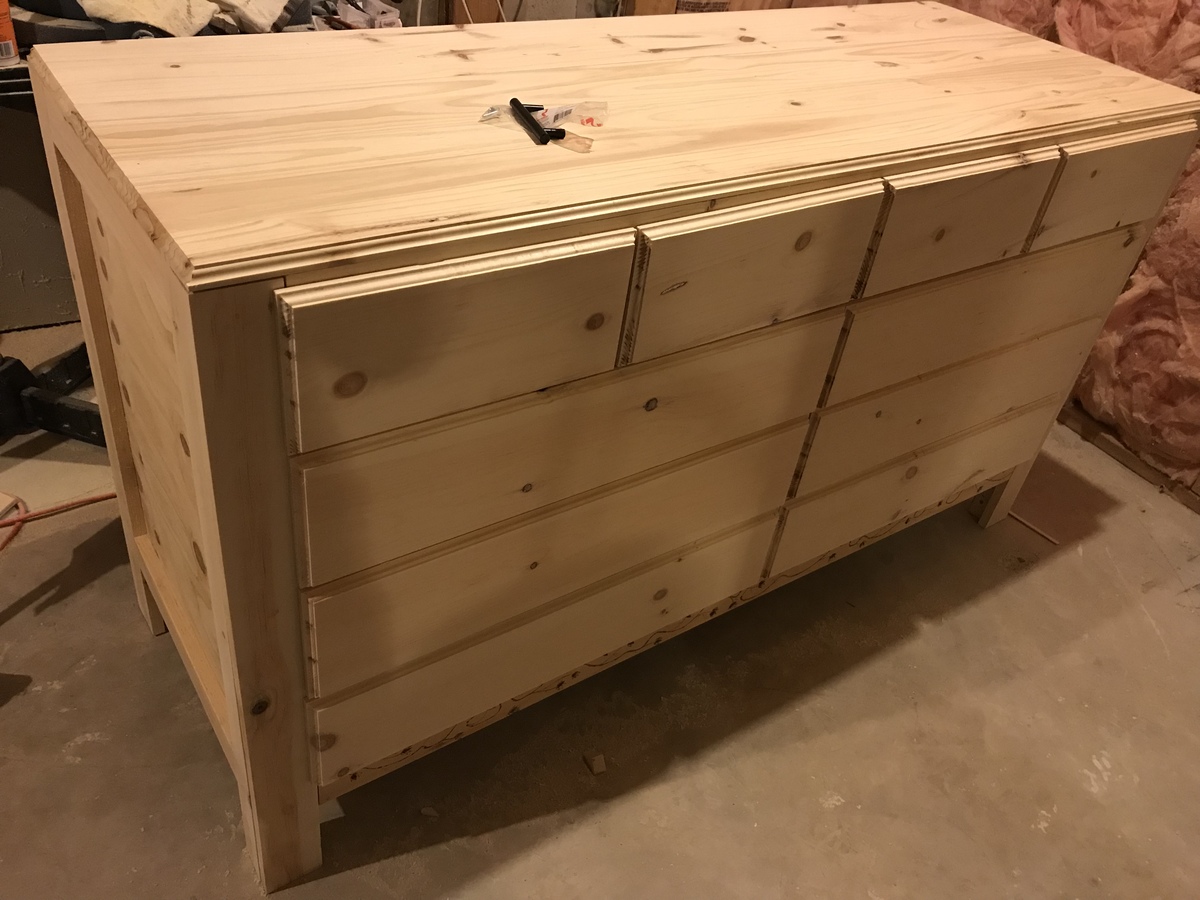
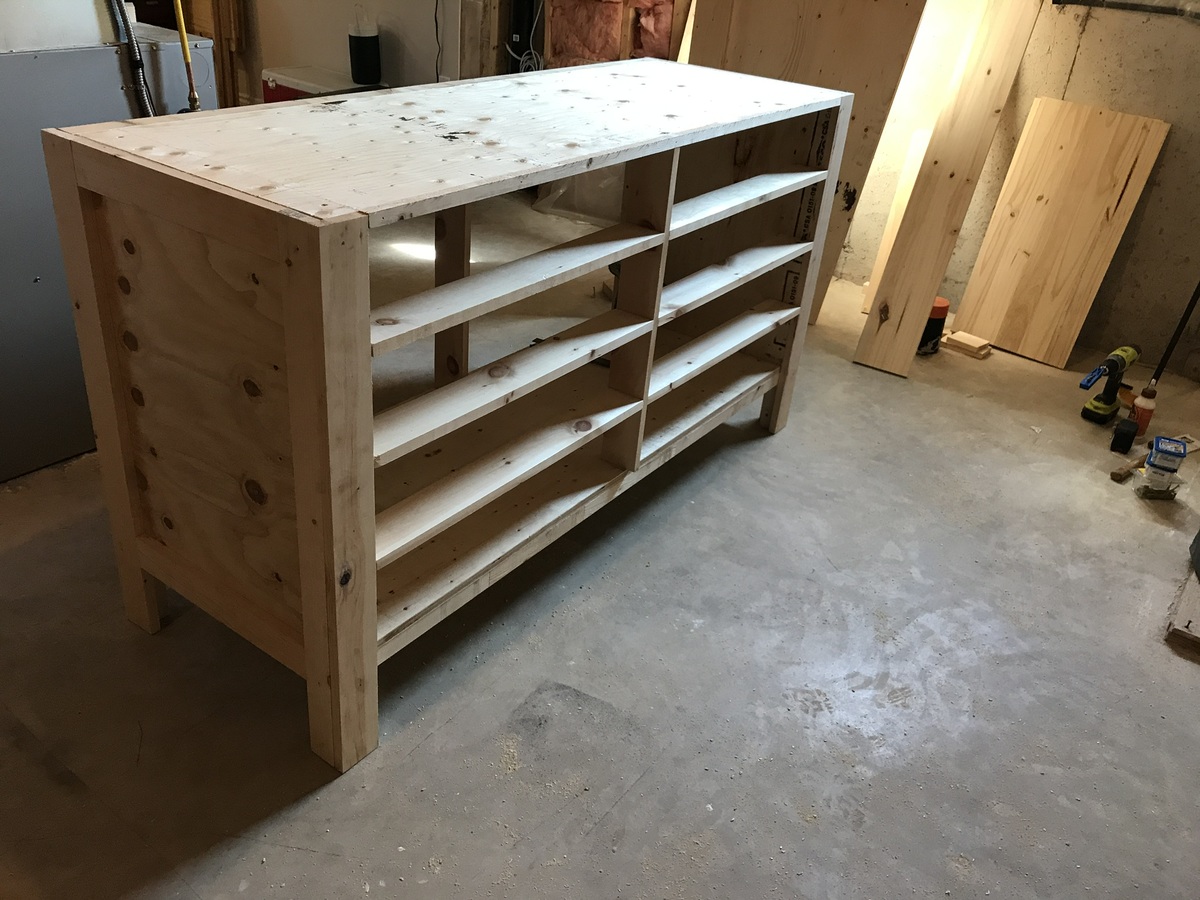
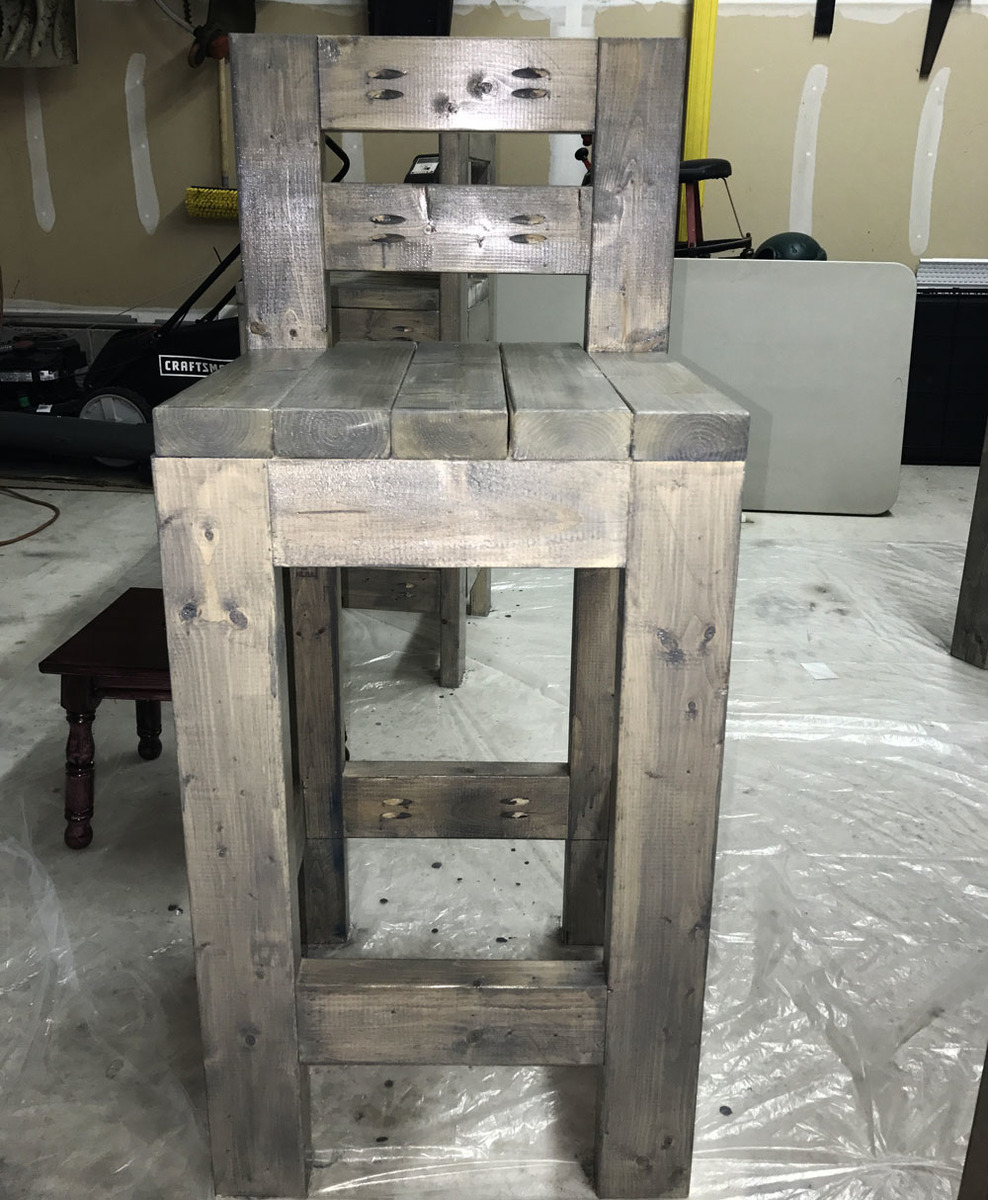
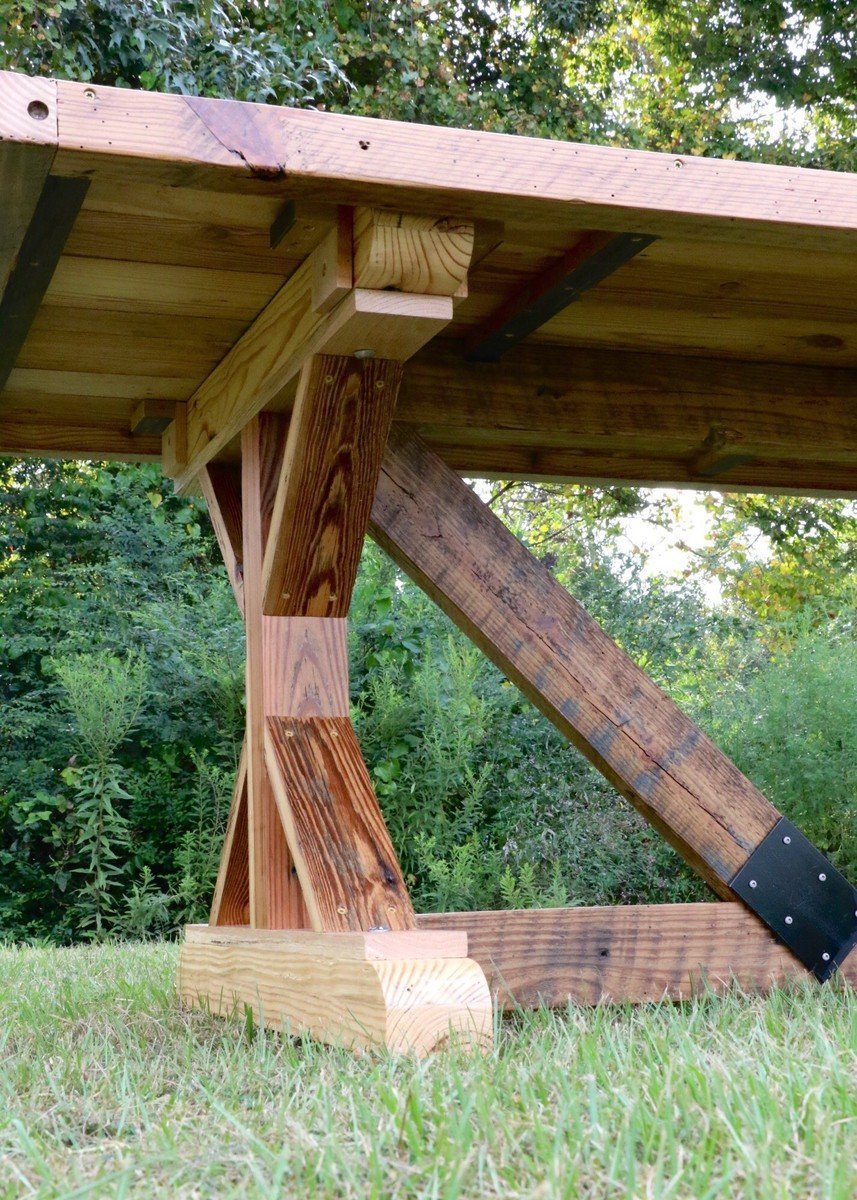
Workbench
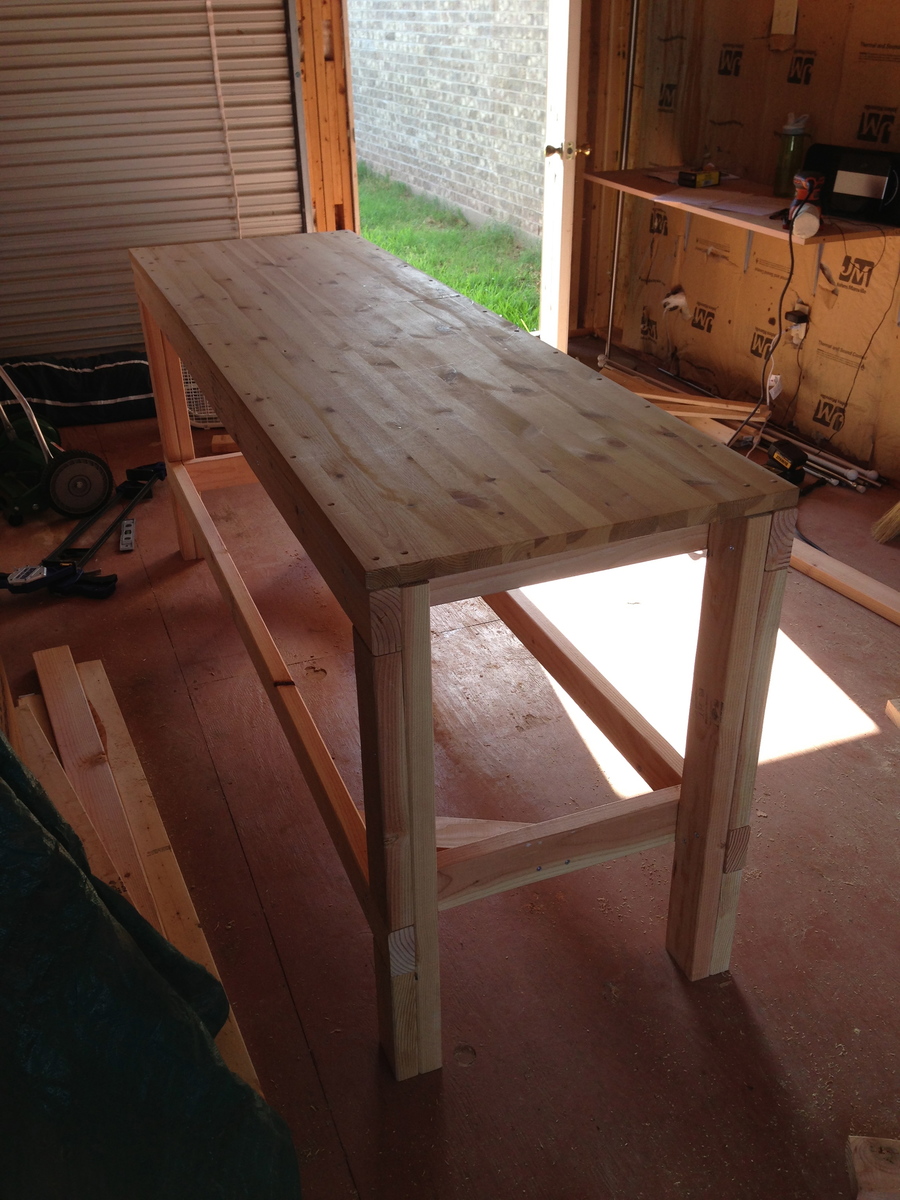
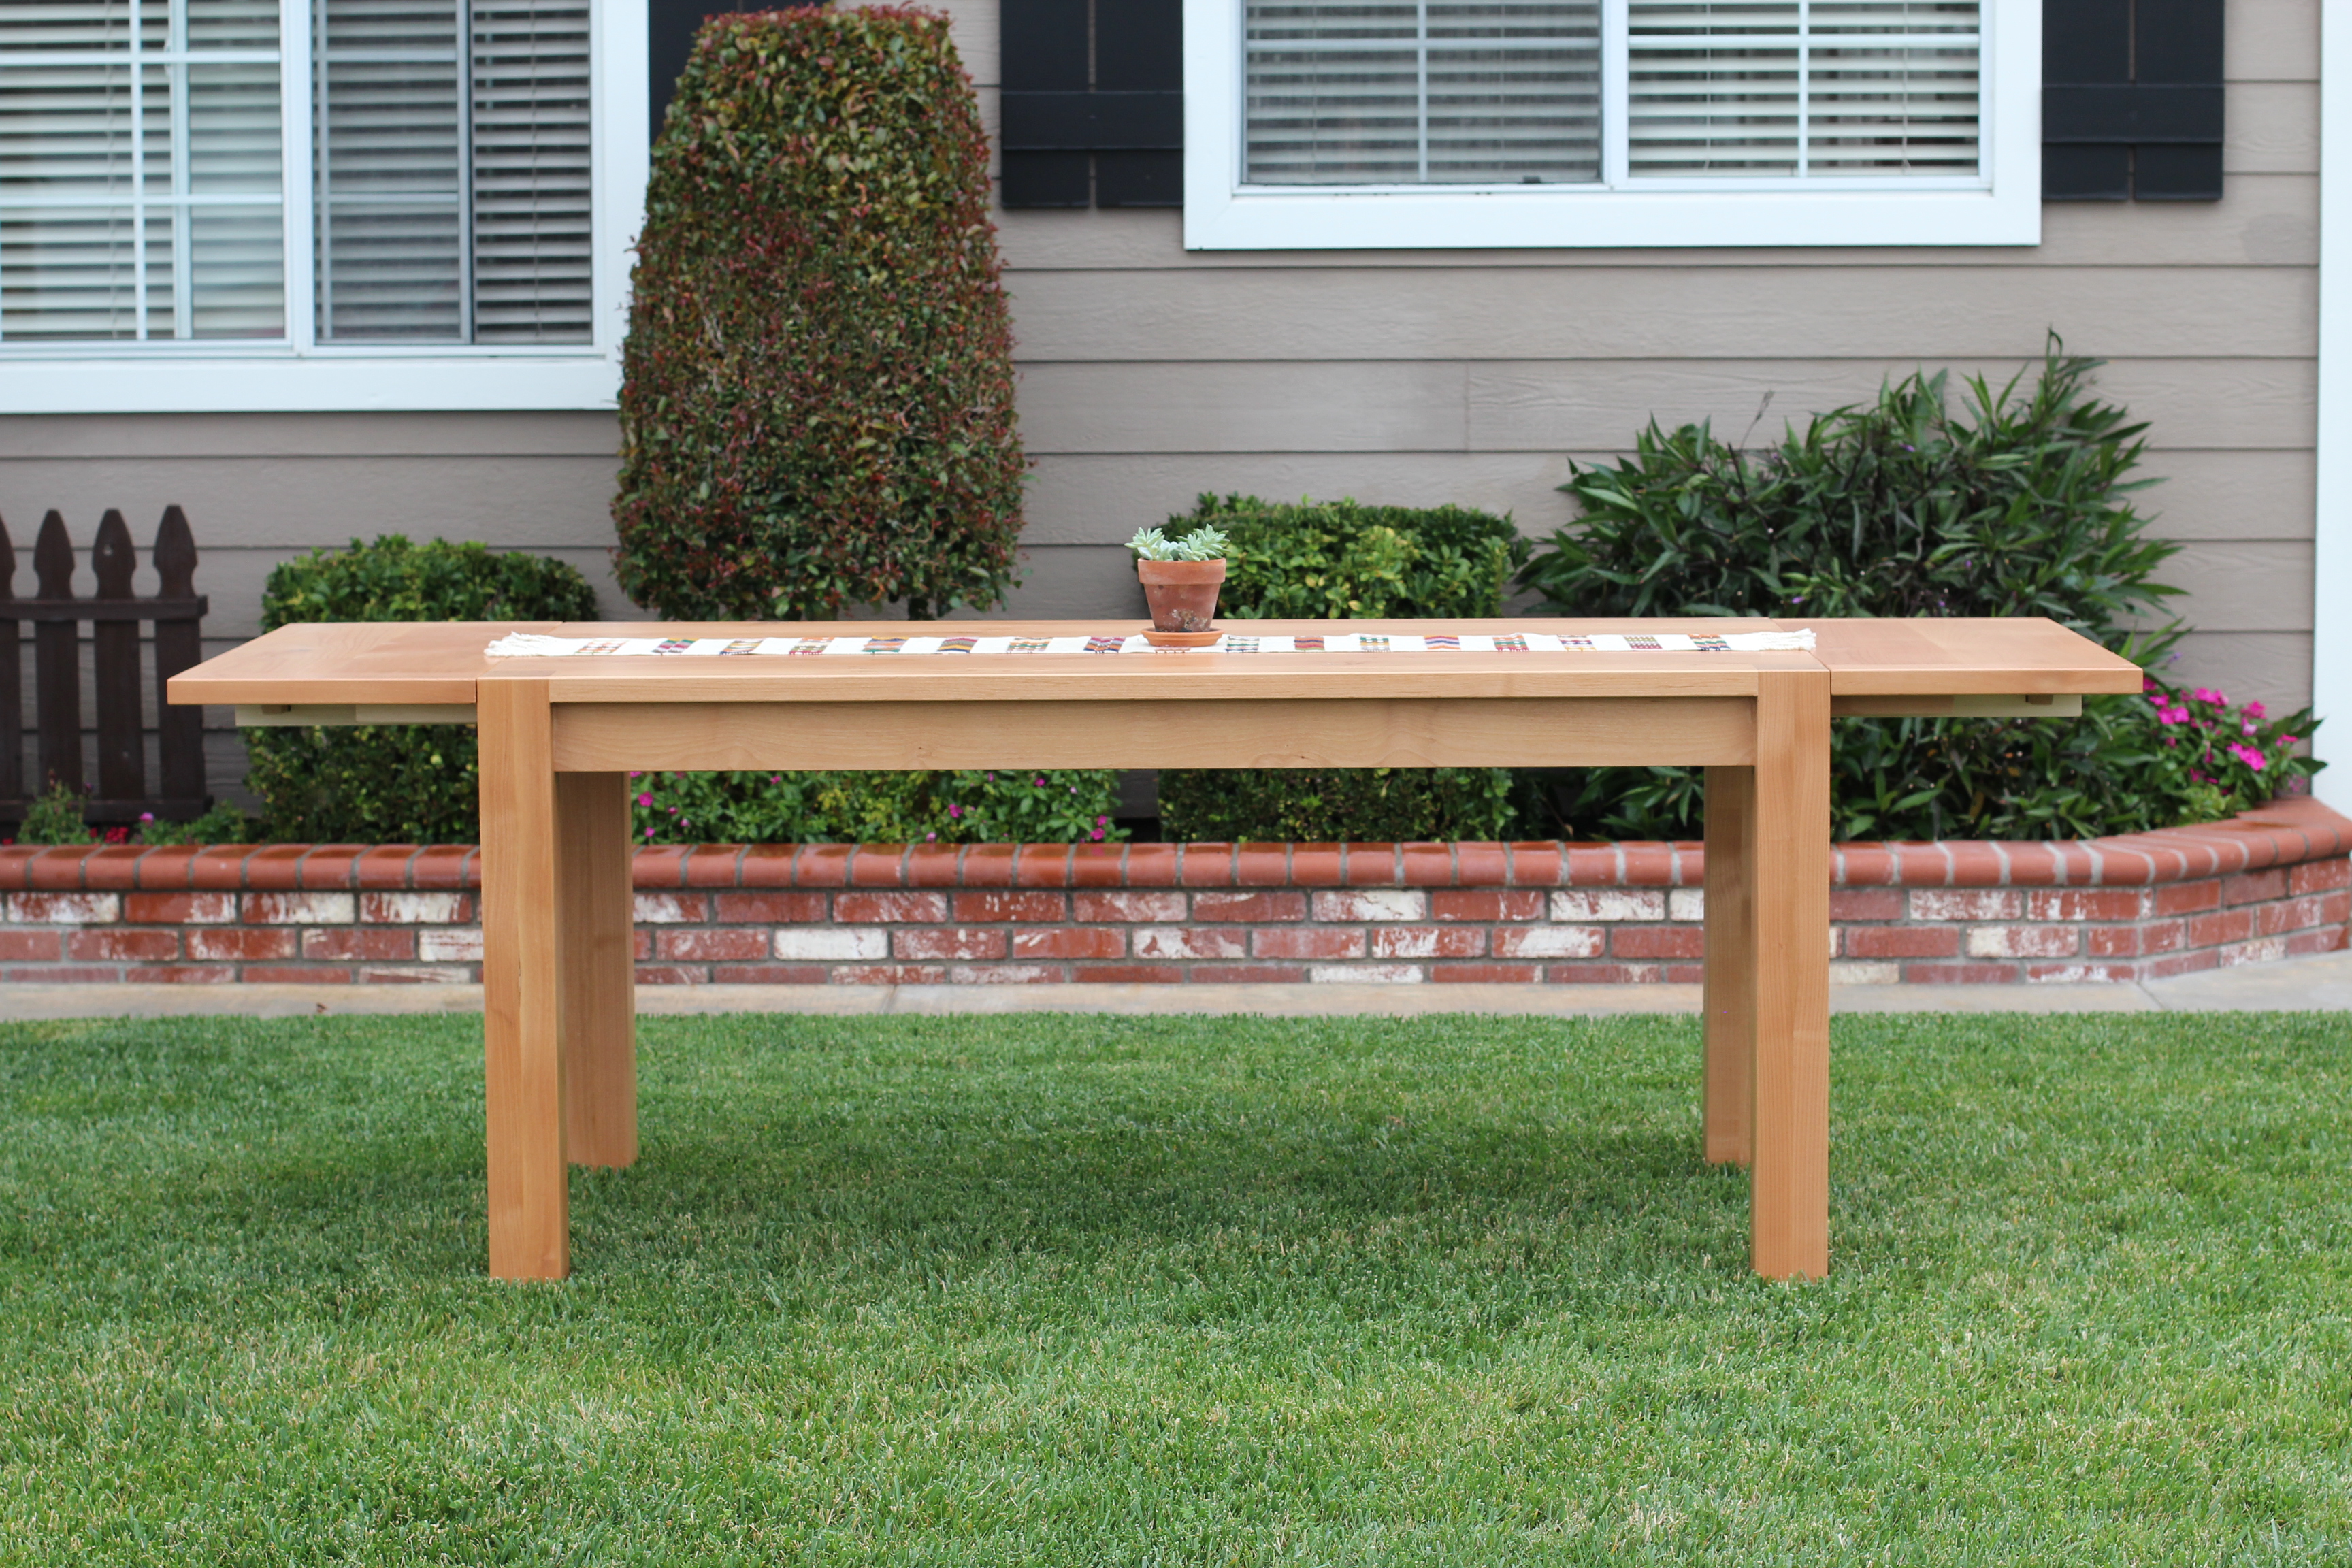
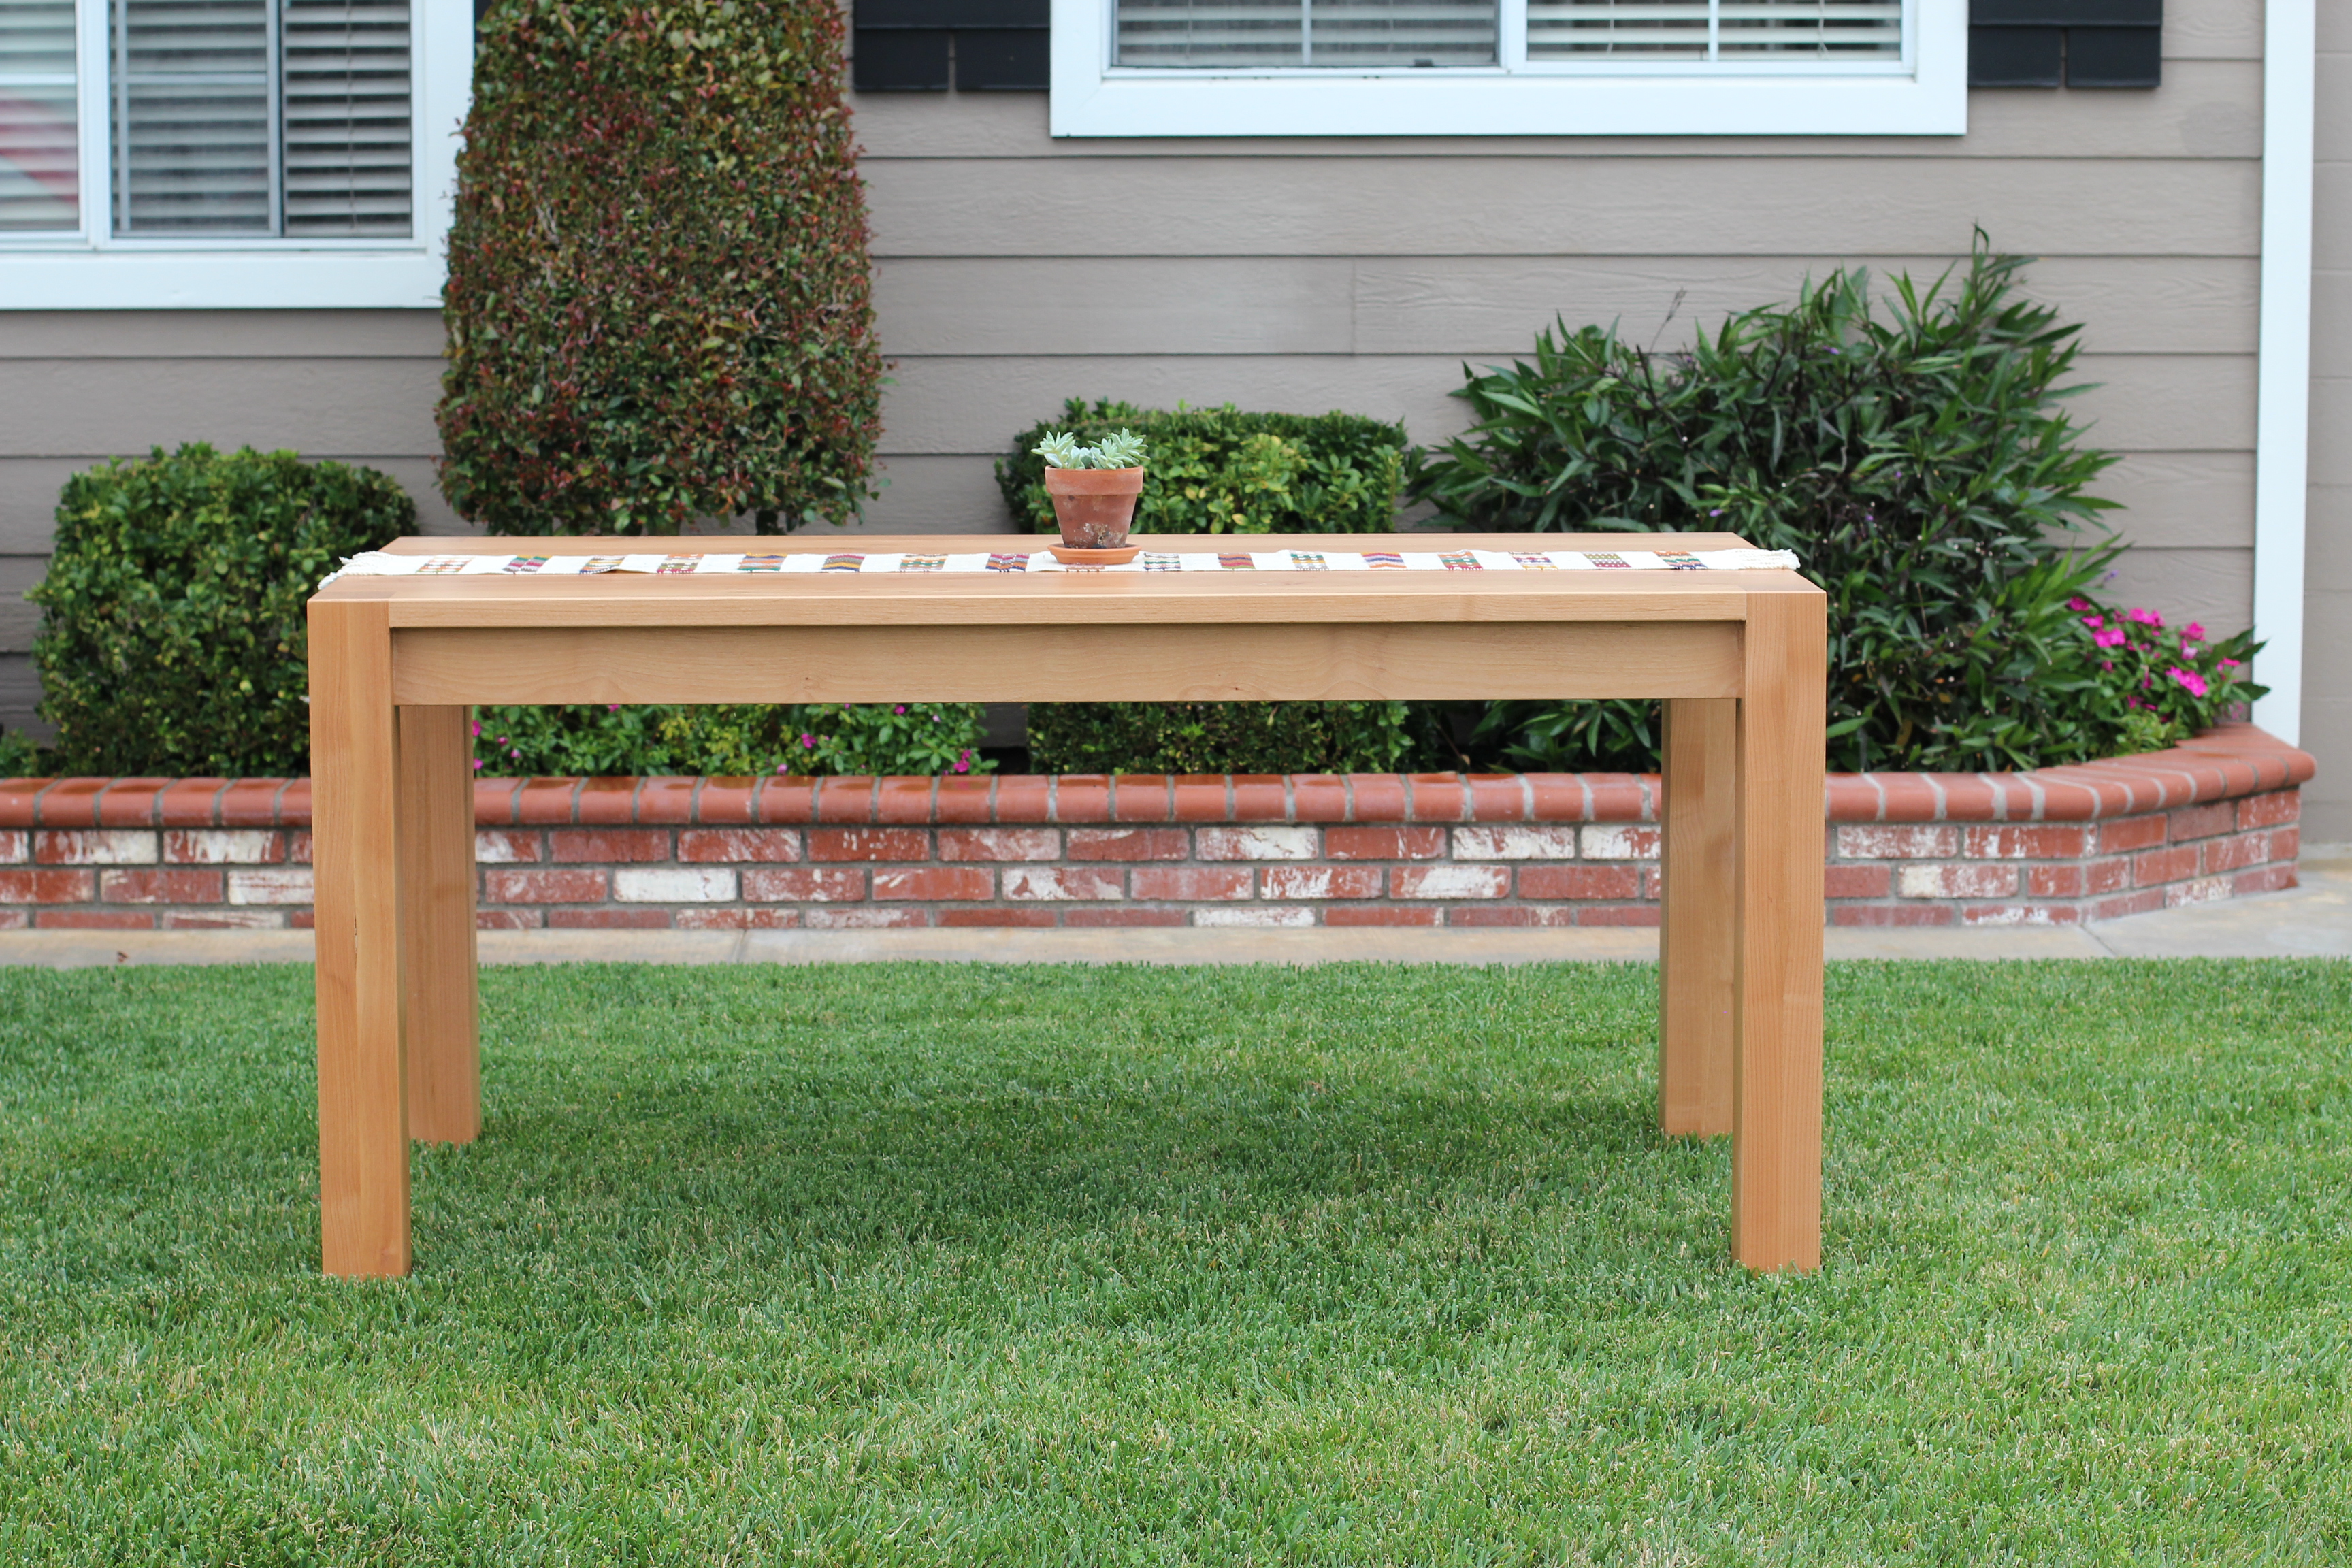
My husband and I just bought a home that has a fantastic shed/barn in the backyard. I've been wanting a workshop ever since college and this is finally my time to make that dream come true. Enter ana-white.com!! My sister had recommended this site after her husband created an unbelievable loft bed for their 6 year-old. Looking through all the plans I became ecstatic and couldn't wait to get my first project under way. I've printed out MANY plans and can't wait to work on them all, however I realized very quickly that I did not have a space to actually "work" on in the shed. When I came across this workbench plan I knew it was the right one for me.
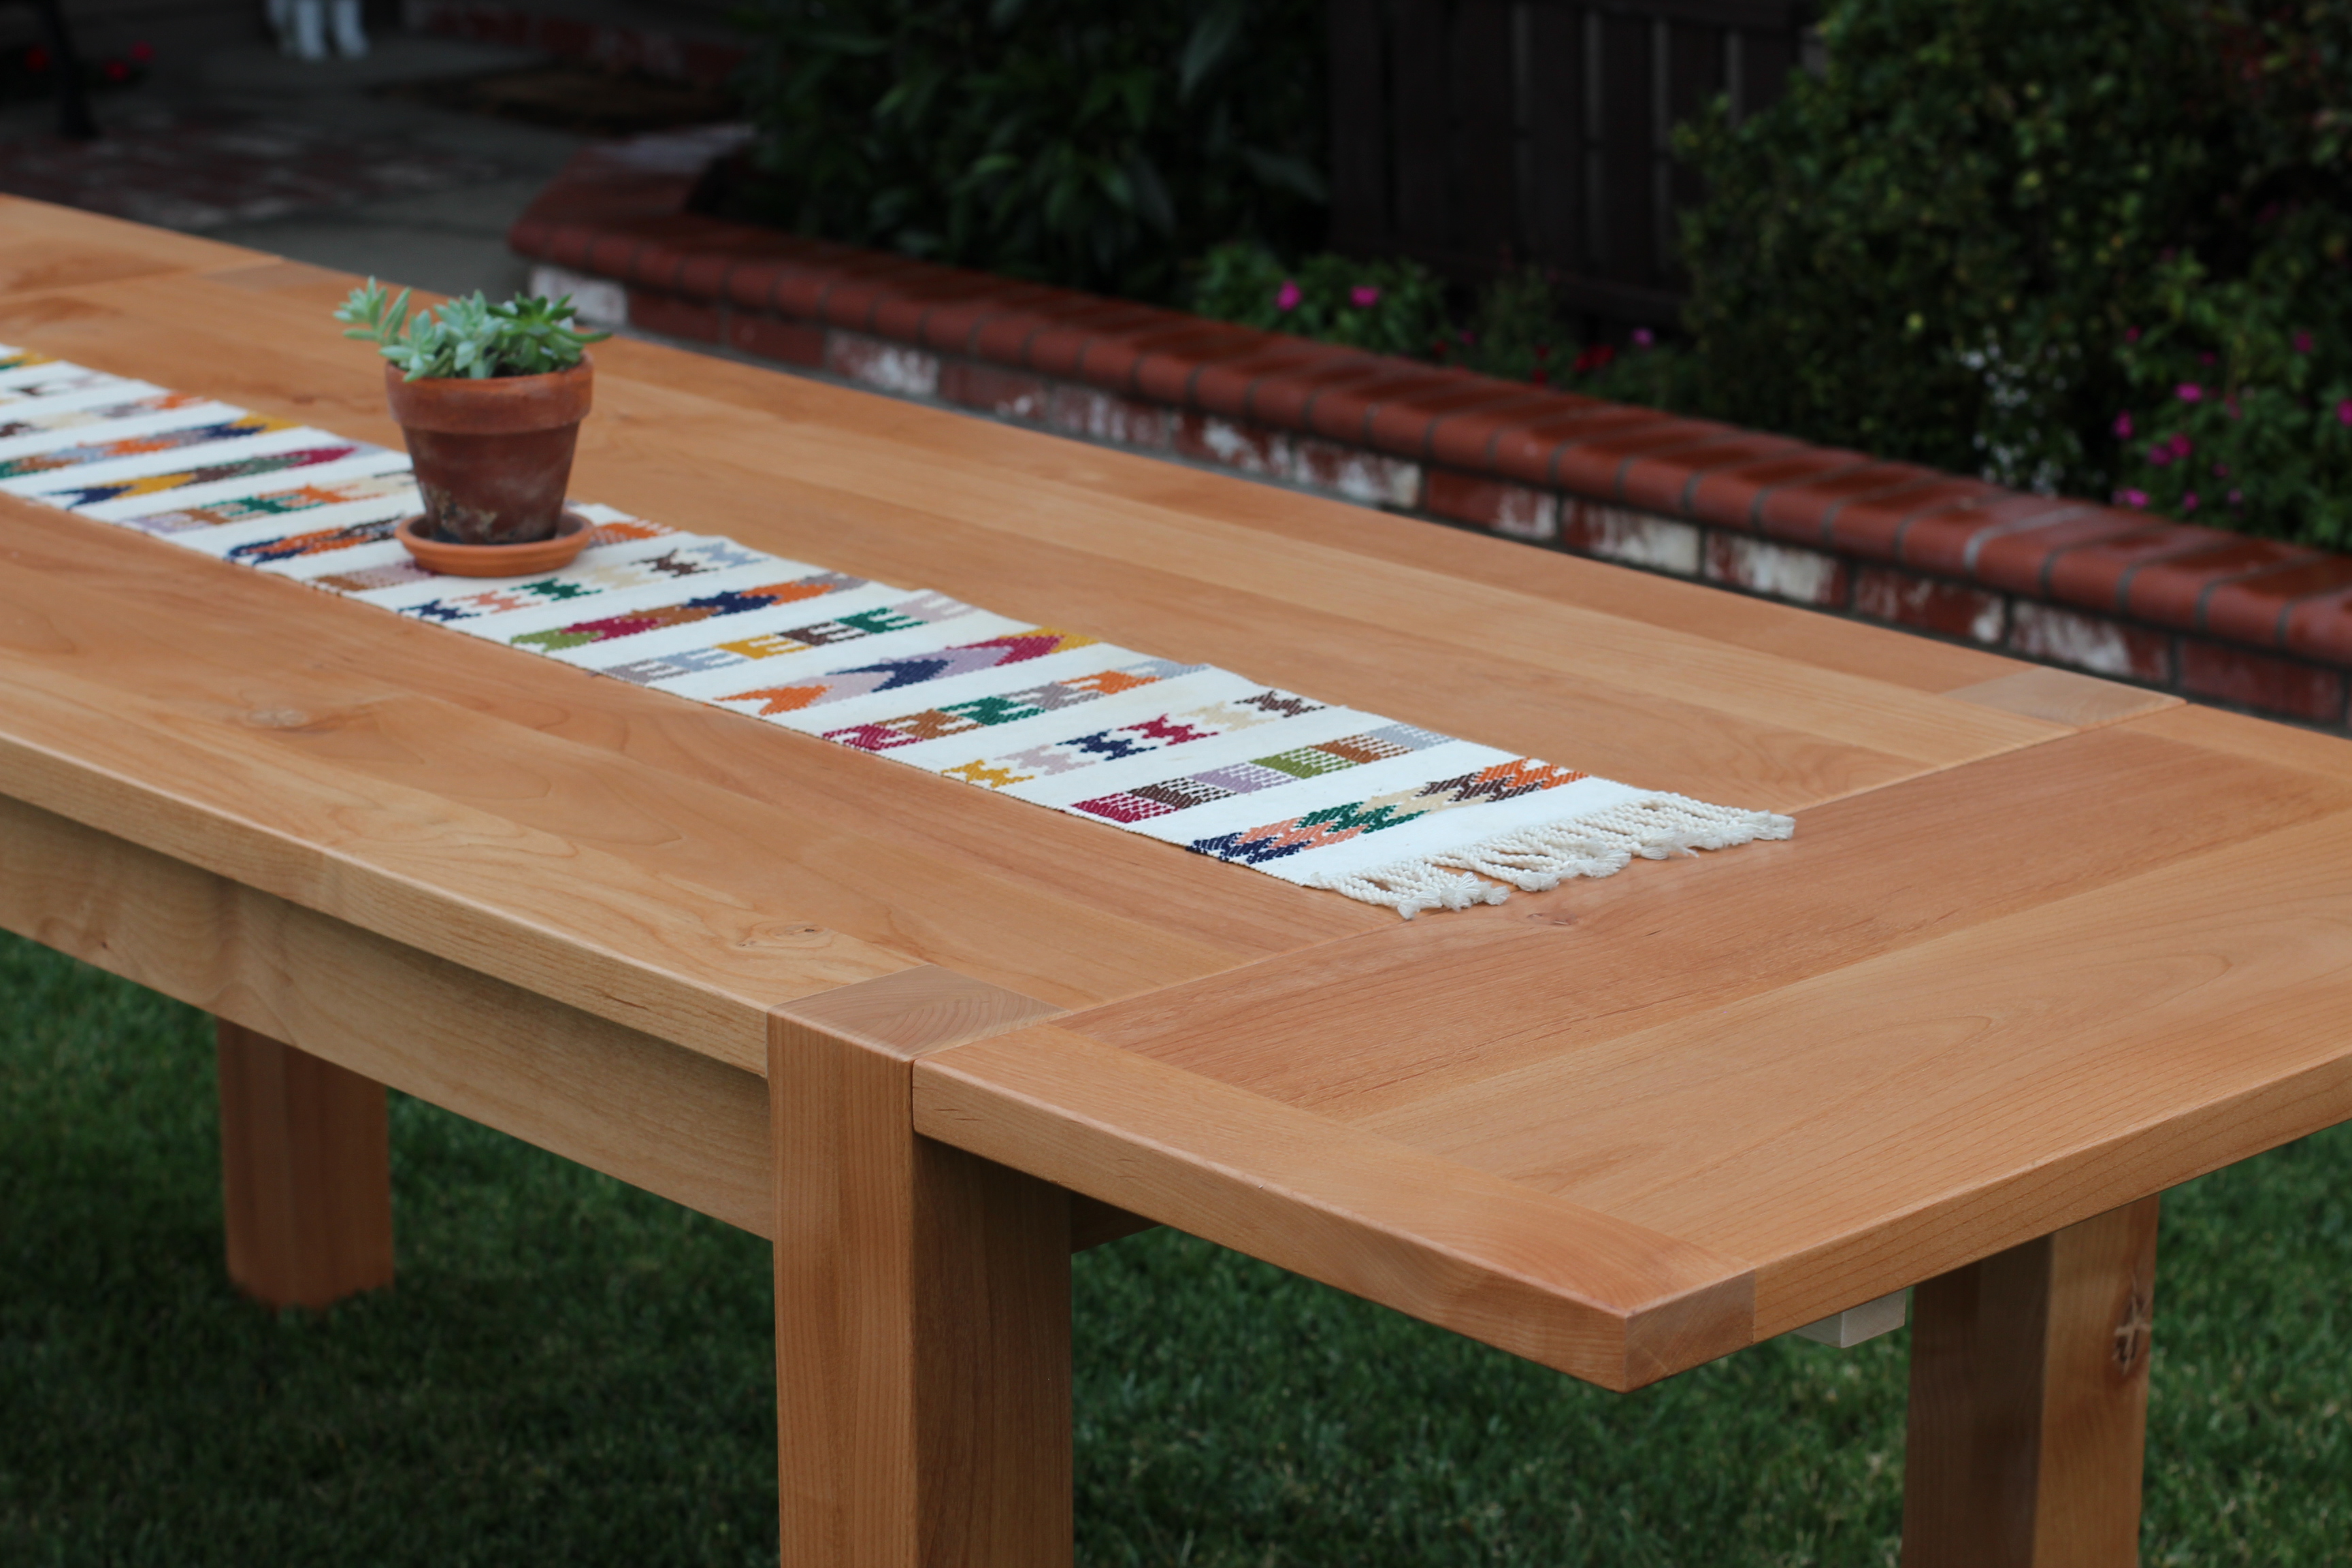
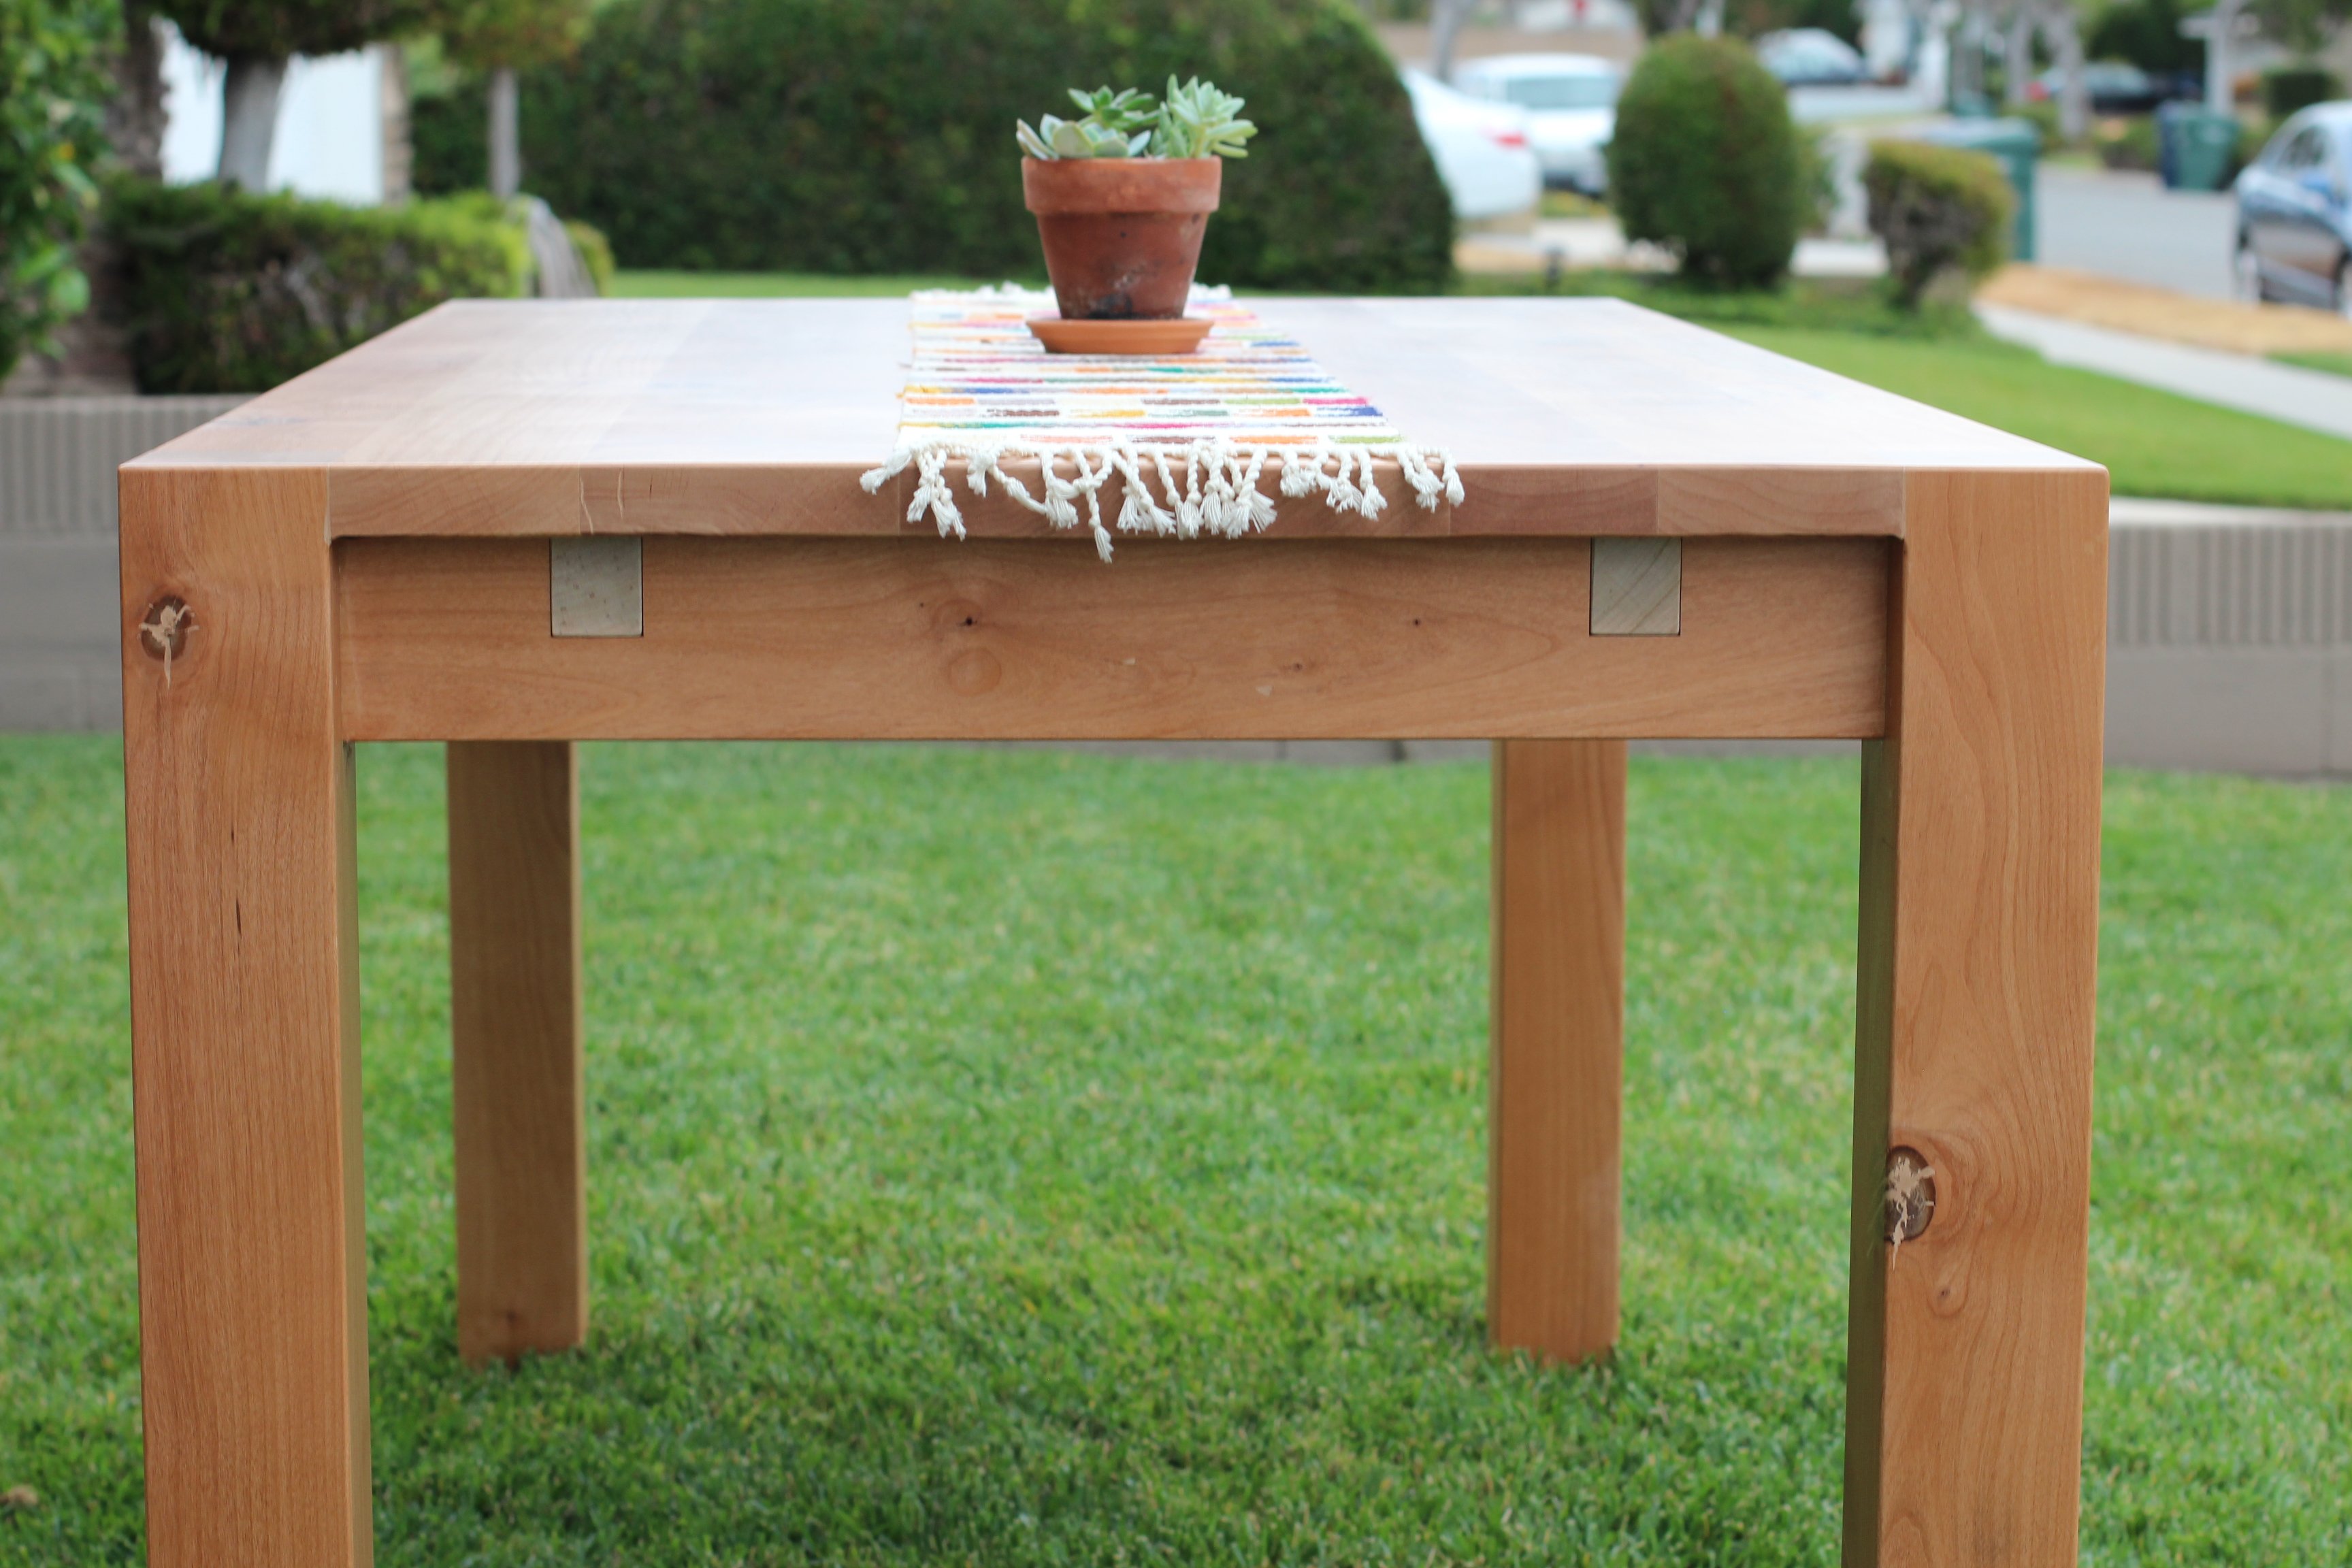
Some changes were made, since I already had a perfectly good table top that I purchased from IKEA years ago. The top came out to be 23 1/2 x 78 3/4" so I had to make many adjustments in the cuts. I also left the bottom shelf free of plywood since I couldn't fit a piece that large in my Toyota Corolla. All in all, I couldn't be happier with the table. It's sturdy, reliable and provides a TON of workspace for me. My back is already thanking me!!


Comments
bullitt453
Tue, 06/25/2013 - 05:58
Nice work
Good job on the workbench. Since you can't fit the piece of ply in your car, I would recommend cutting a 2x4 support to go between the leg supports. Then cut 1x4s to place perpendicular to the supports to create the shelf. Believe me, that shelf will come in VERY handy, so I would definitely recommend adding it. Its nice to be working on a project and simply reach down for the next tool/supply instead of walking away from your work area to get it.