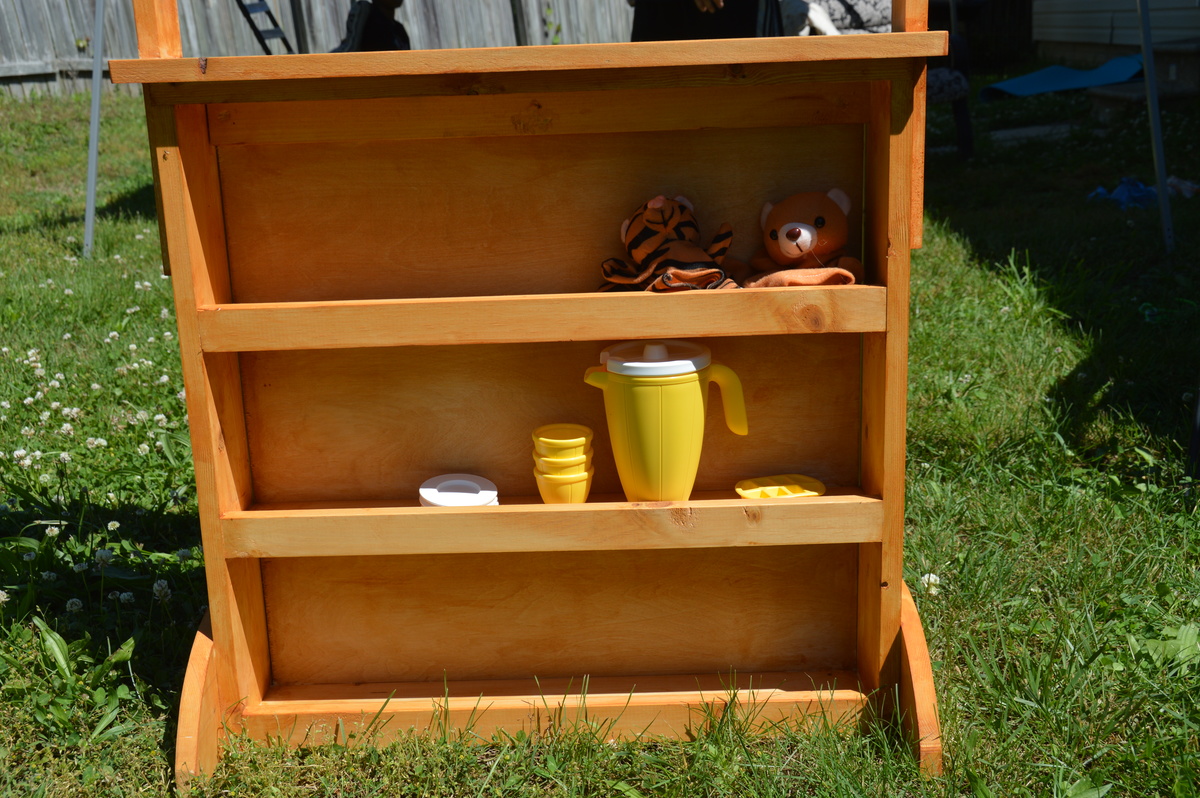
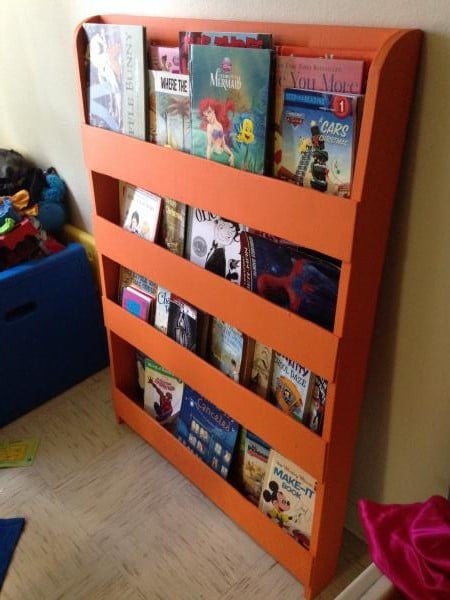
Mini Flat BookShelf
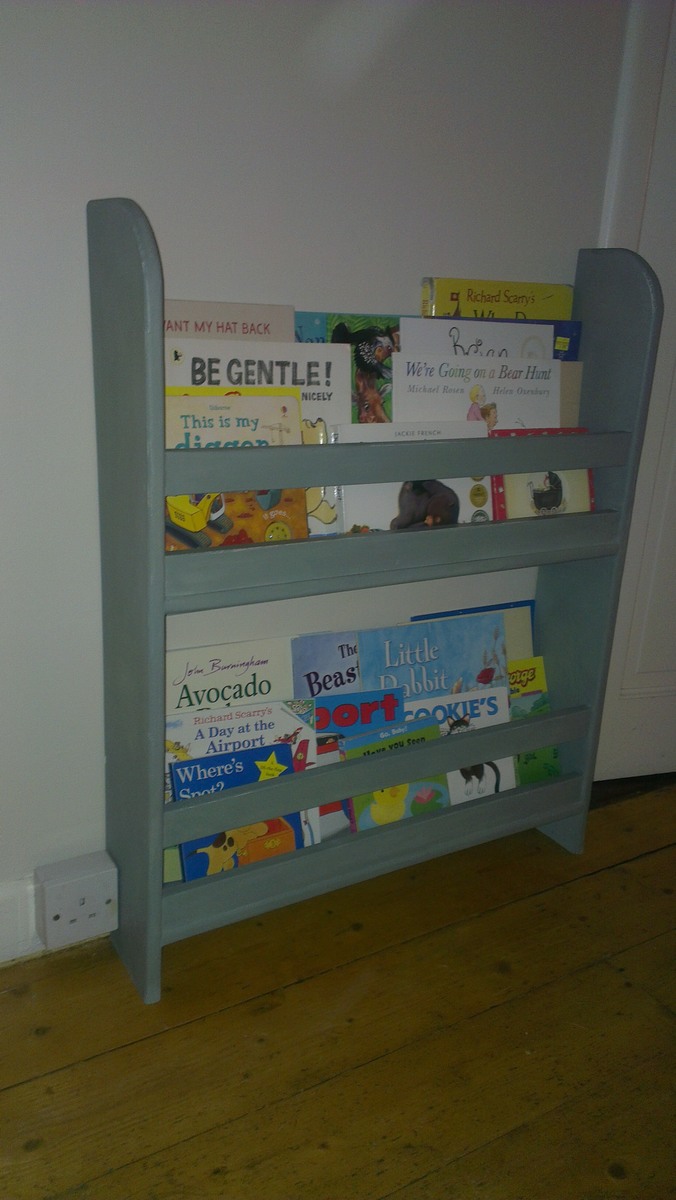
A mini flat shelf for my daughter. Initially sized to fit on the landing until I realized I had just built her a ladder to climb the banisters, so relocated it to the hall.
Width increased to 630mm between uprights to allow 3x A4 books side by side. Height is 830mm to fit initial planned location.
Painted with Annie Sloan Duck-Egg Blue distressed at the edges and waxed with Annie Sloan soft wax.
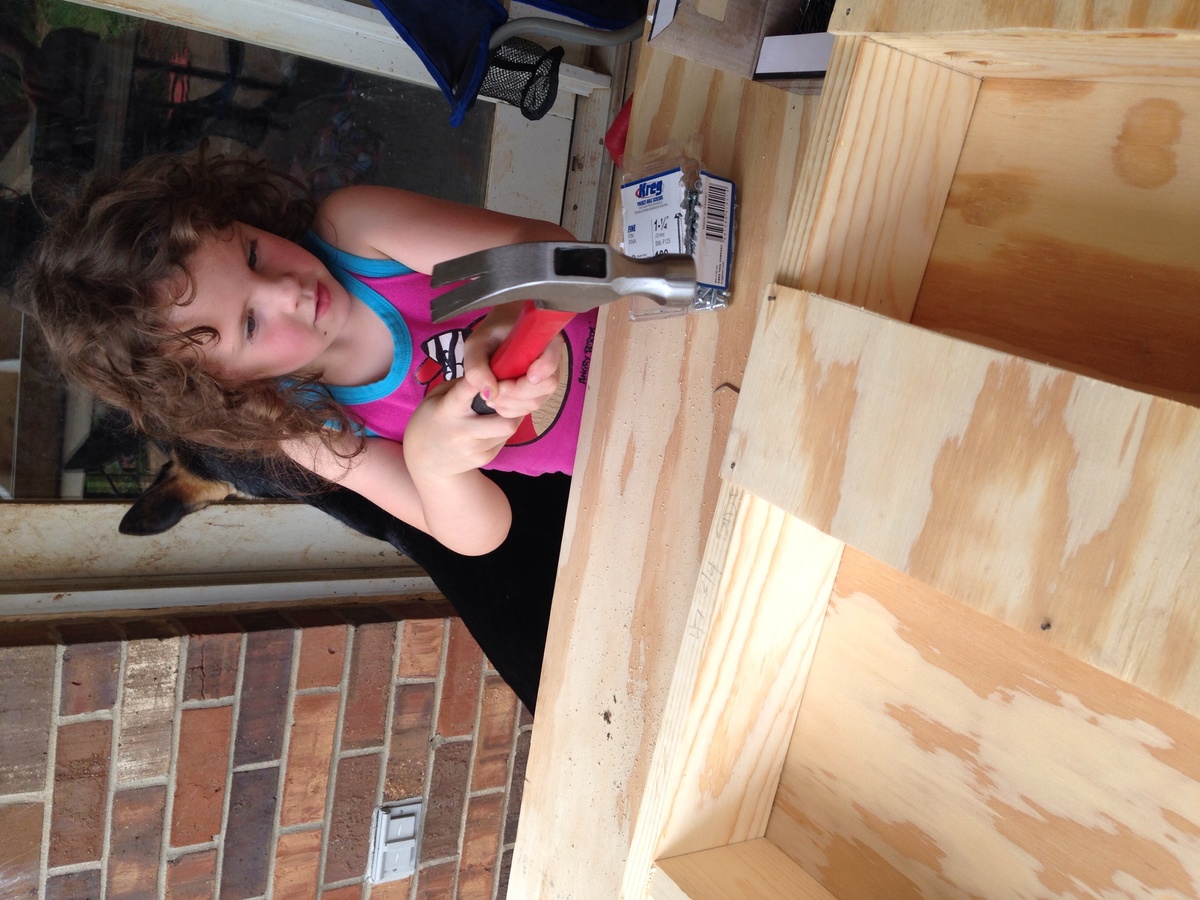
Built from Plan(s)
Estimated Cost
€20-€25
Estimated Time Investment
Day Project (6-9 Hours)
Finish Used
Annie Sloan Chalk Paint and wax
Recommended Skill Level
Starter Project