Outdoor Octagon Table
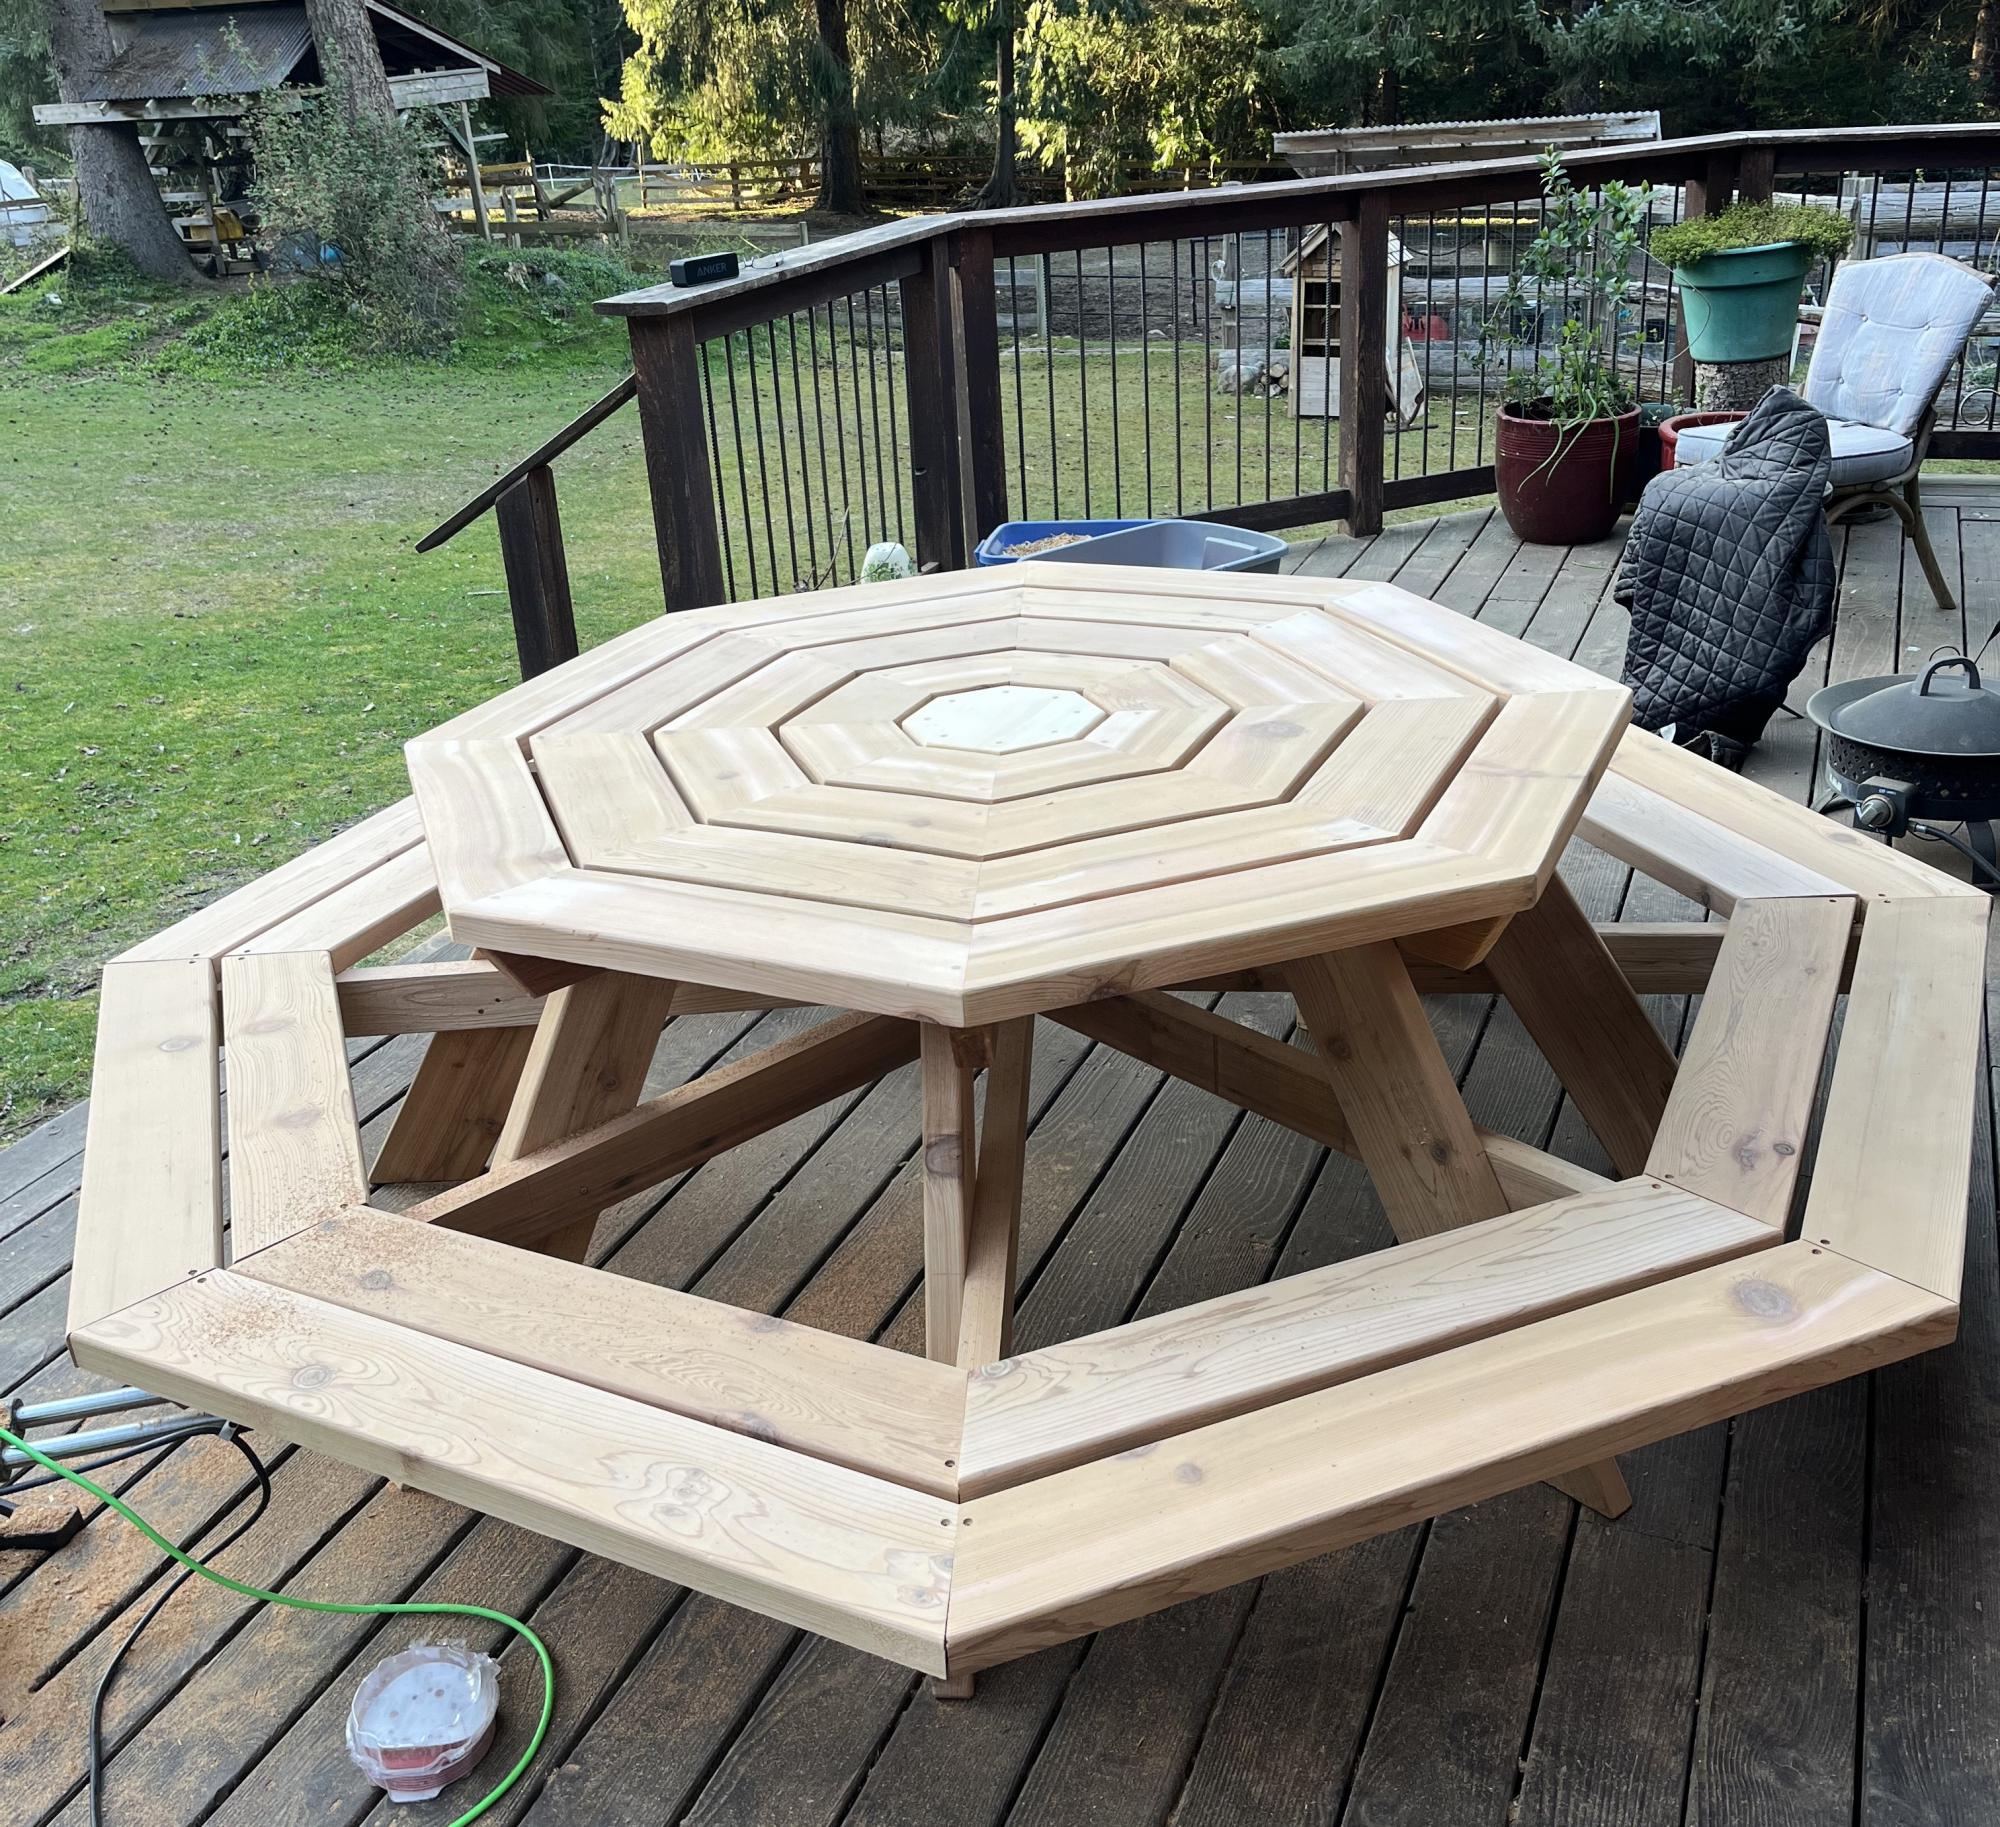
DIY Octagon Picnic Table

DIY Octagon Picnic Table
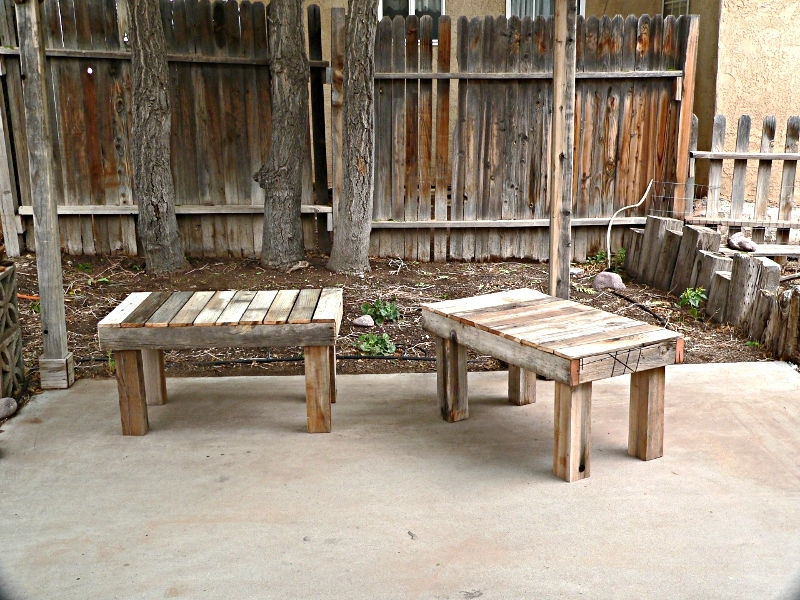
These are made from the 4x4 posts, 2x4 rails, and slats from an old wooden fence that weren't good enough to re-use when we repaired the fence.
It's close to the Simple outdoor bench, but I simplified the plan even more to take advantage of the pile of free lumber. Or maybe it's the Simple Outdoor Dining Table ... but a lot shorter.
CAUTION: Be careful to remove ALL nails, screws and bolts from the lumber you are reusing. If you can't get the metal out, mark that area and figure out a cut that won't hit it.
TIPS FOR RECLAIMED LUMBER:
* Trim the ends of the lumber square before you measure.
* Don't try to salvage split or rotted wood. Trim it off and see what you can do with the good bits.
* Plan your cuts so you have the least waste.
TOOLS:
10" Miter saw
Wood glue
Nail gun, with 2 1/2 and 1 1/4 inch 16gauge nails for gun (You could use deck screws if you have them)
Surform Pocket plane (wood rasp from Stanley tools)
CUT LIST:
For one bench, 21x36
NOTE: To cut a 4x4 cleanly with the 10" miter saw, put a thin shim behind each side of the 4x4
4 4x4 post scraps, 18 inches long (legs)
2 2x4 18 inches long (sides)
2 2x4 36 inches long (front and back rail)
10 fence slat pieces, 21 inches long (cut to fit the top after it is assembled)
ASSEMBLY:
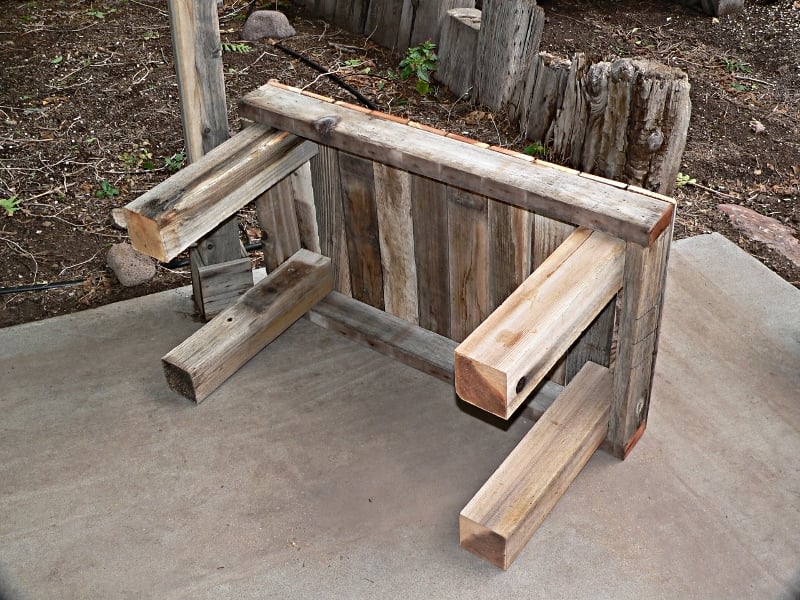
See the picture of the underside of the bench:
1 - Square up the legs with the end pieces, glue and nail.
2 - Square the sides with the legs, so the legs are inside the 2x4 apron, glue and nail.
3 - Align the 2 end slats with the edges of the bench and nail through them into the 2x4 apron
4 - Space the rest of the slats on the top, leaving 1/8 inch or so etween the boards for drainage. Nail them to the 2x4 apron.
FINISH: Use the wood rasp to round the cut ends of the slats and 2x4s. Rasp with the grain to avoid raising splinters. Lightly rasp the tops of the slats to smooth any really rough spots.
A table or maybe a buffet is planned, with the same construction method, but a bit taller. Tables are 26-29 inches, most buffets are 36". It depends on what will make best use of the remaining bits.
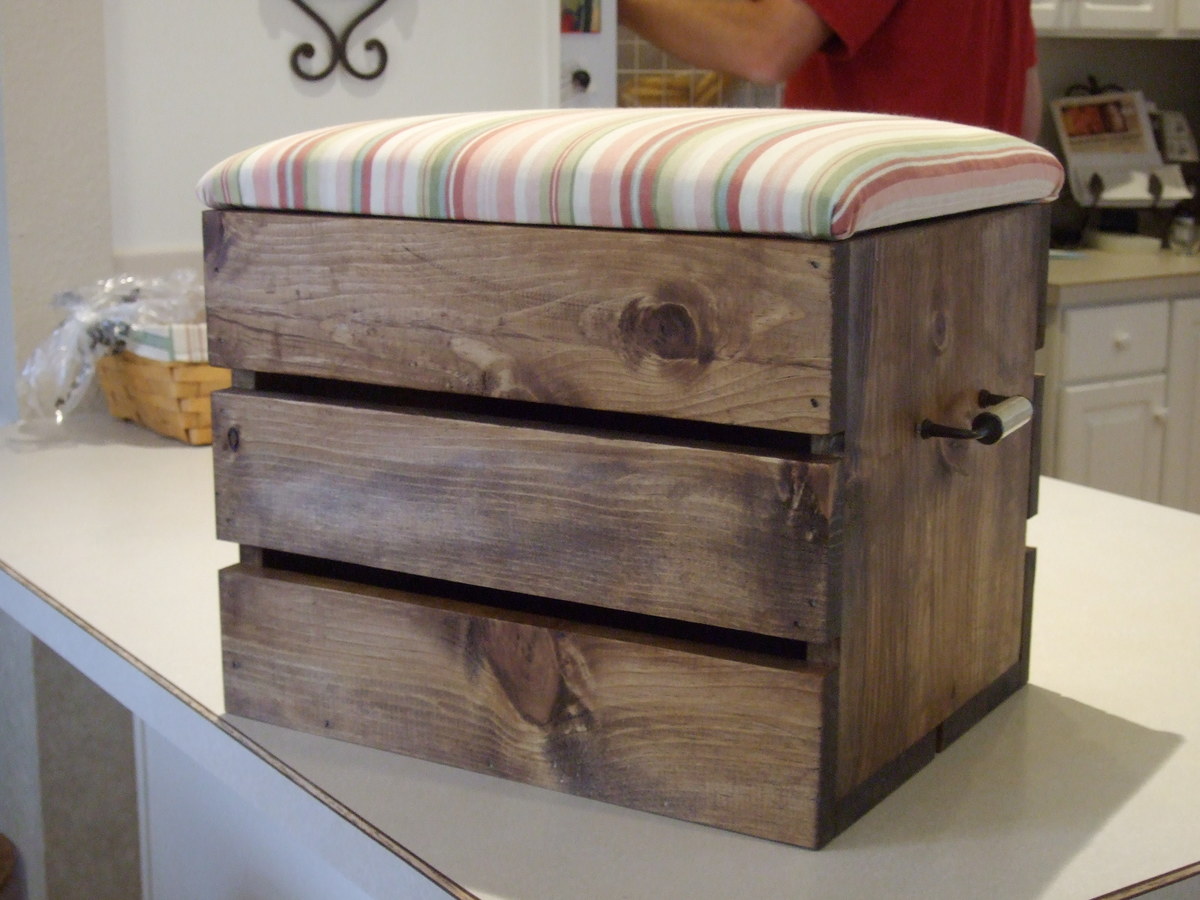
I left off the casters, but added a one inch foam pad covered with outdoor material to make an ottoman. I made sure the top was removable so we could also use it as storage. I've got a little material left over to make a matching throw pillow.
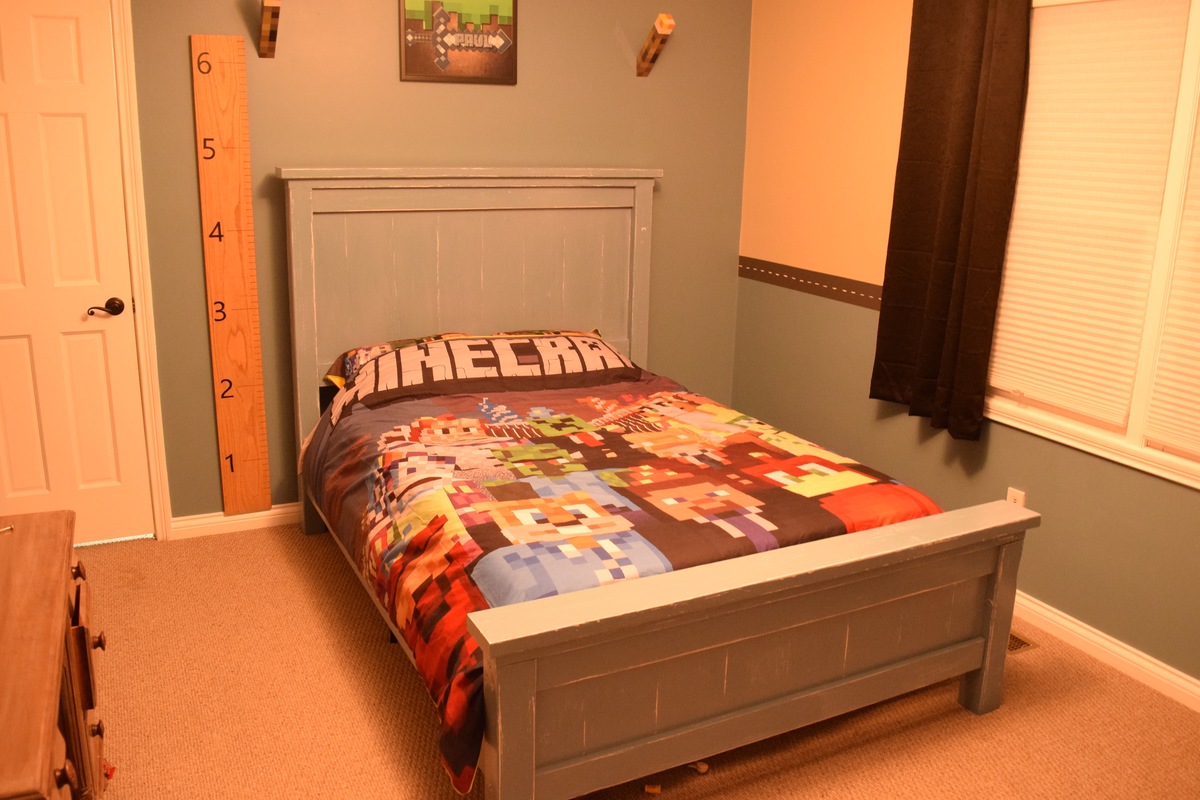
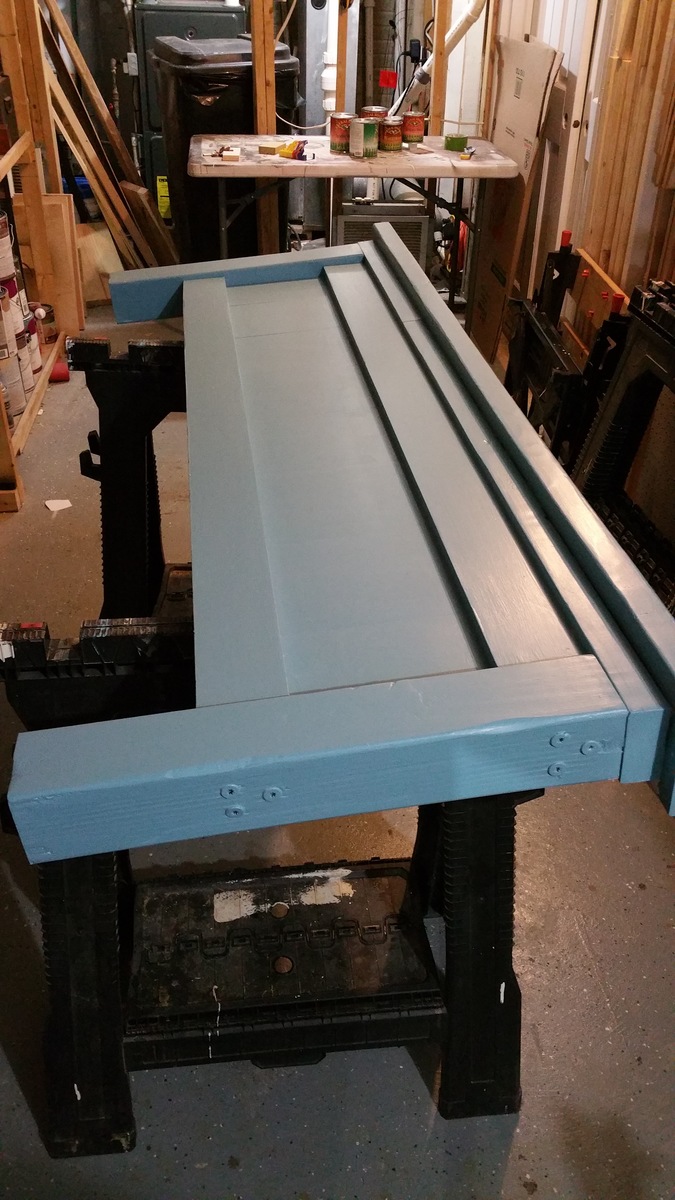
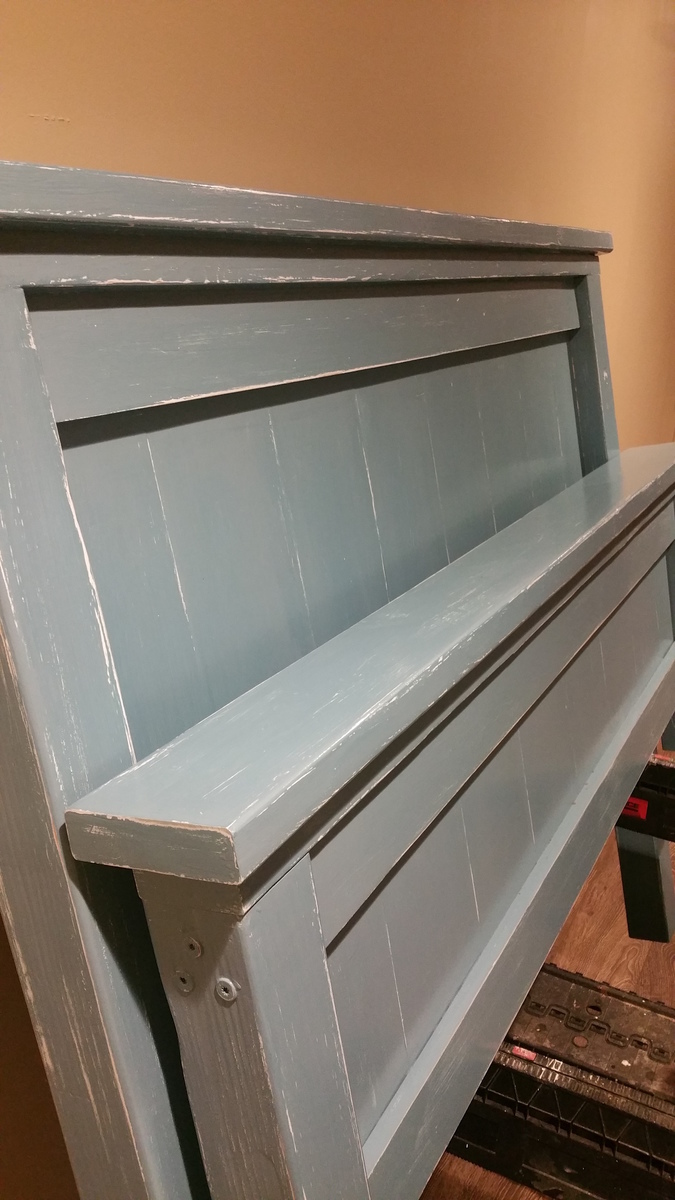
Built using the Farmhouse Bed - Queen plan, making adjustments for the Full size matress. The finish is a blue milkpaint over a white base and distressed with a sanding pad.
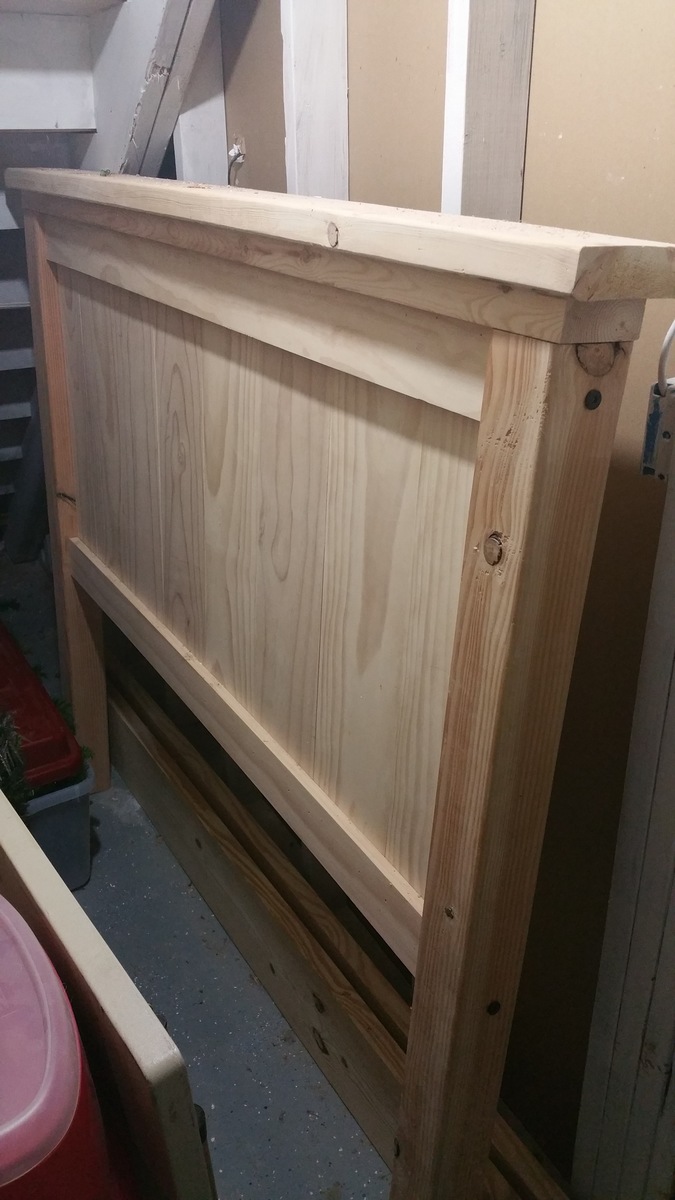
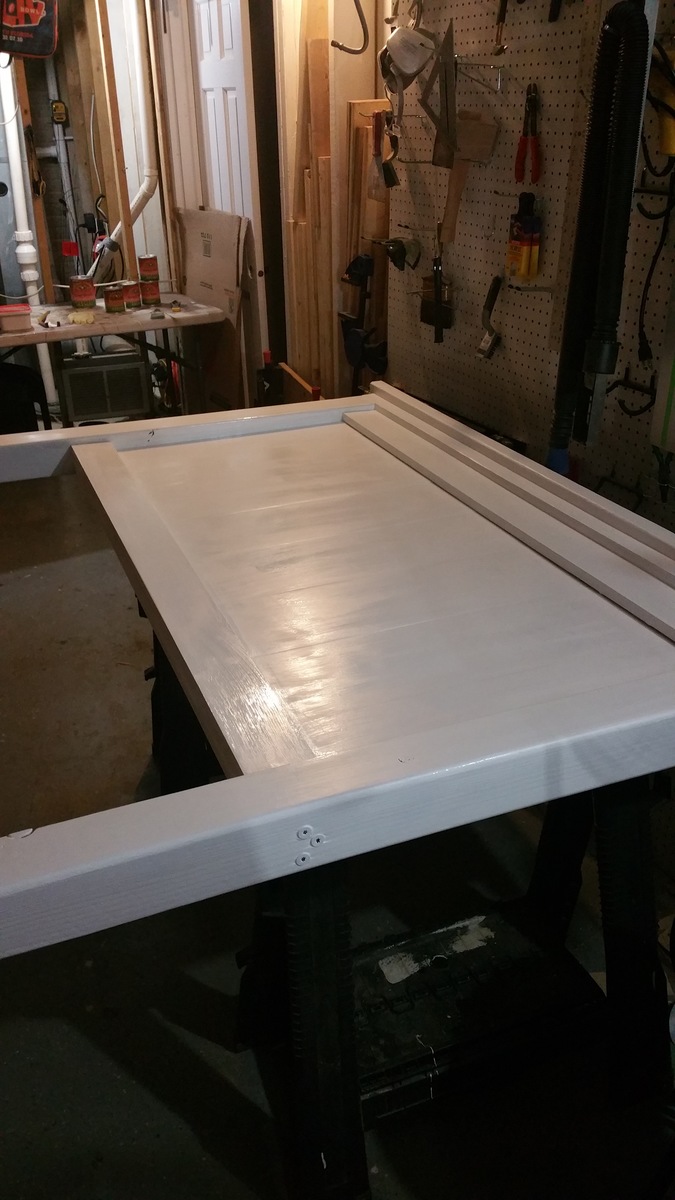
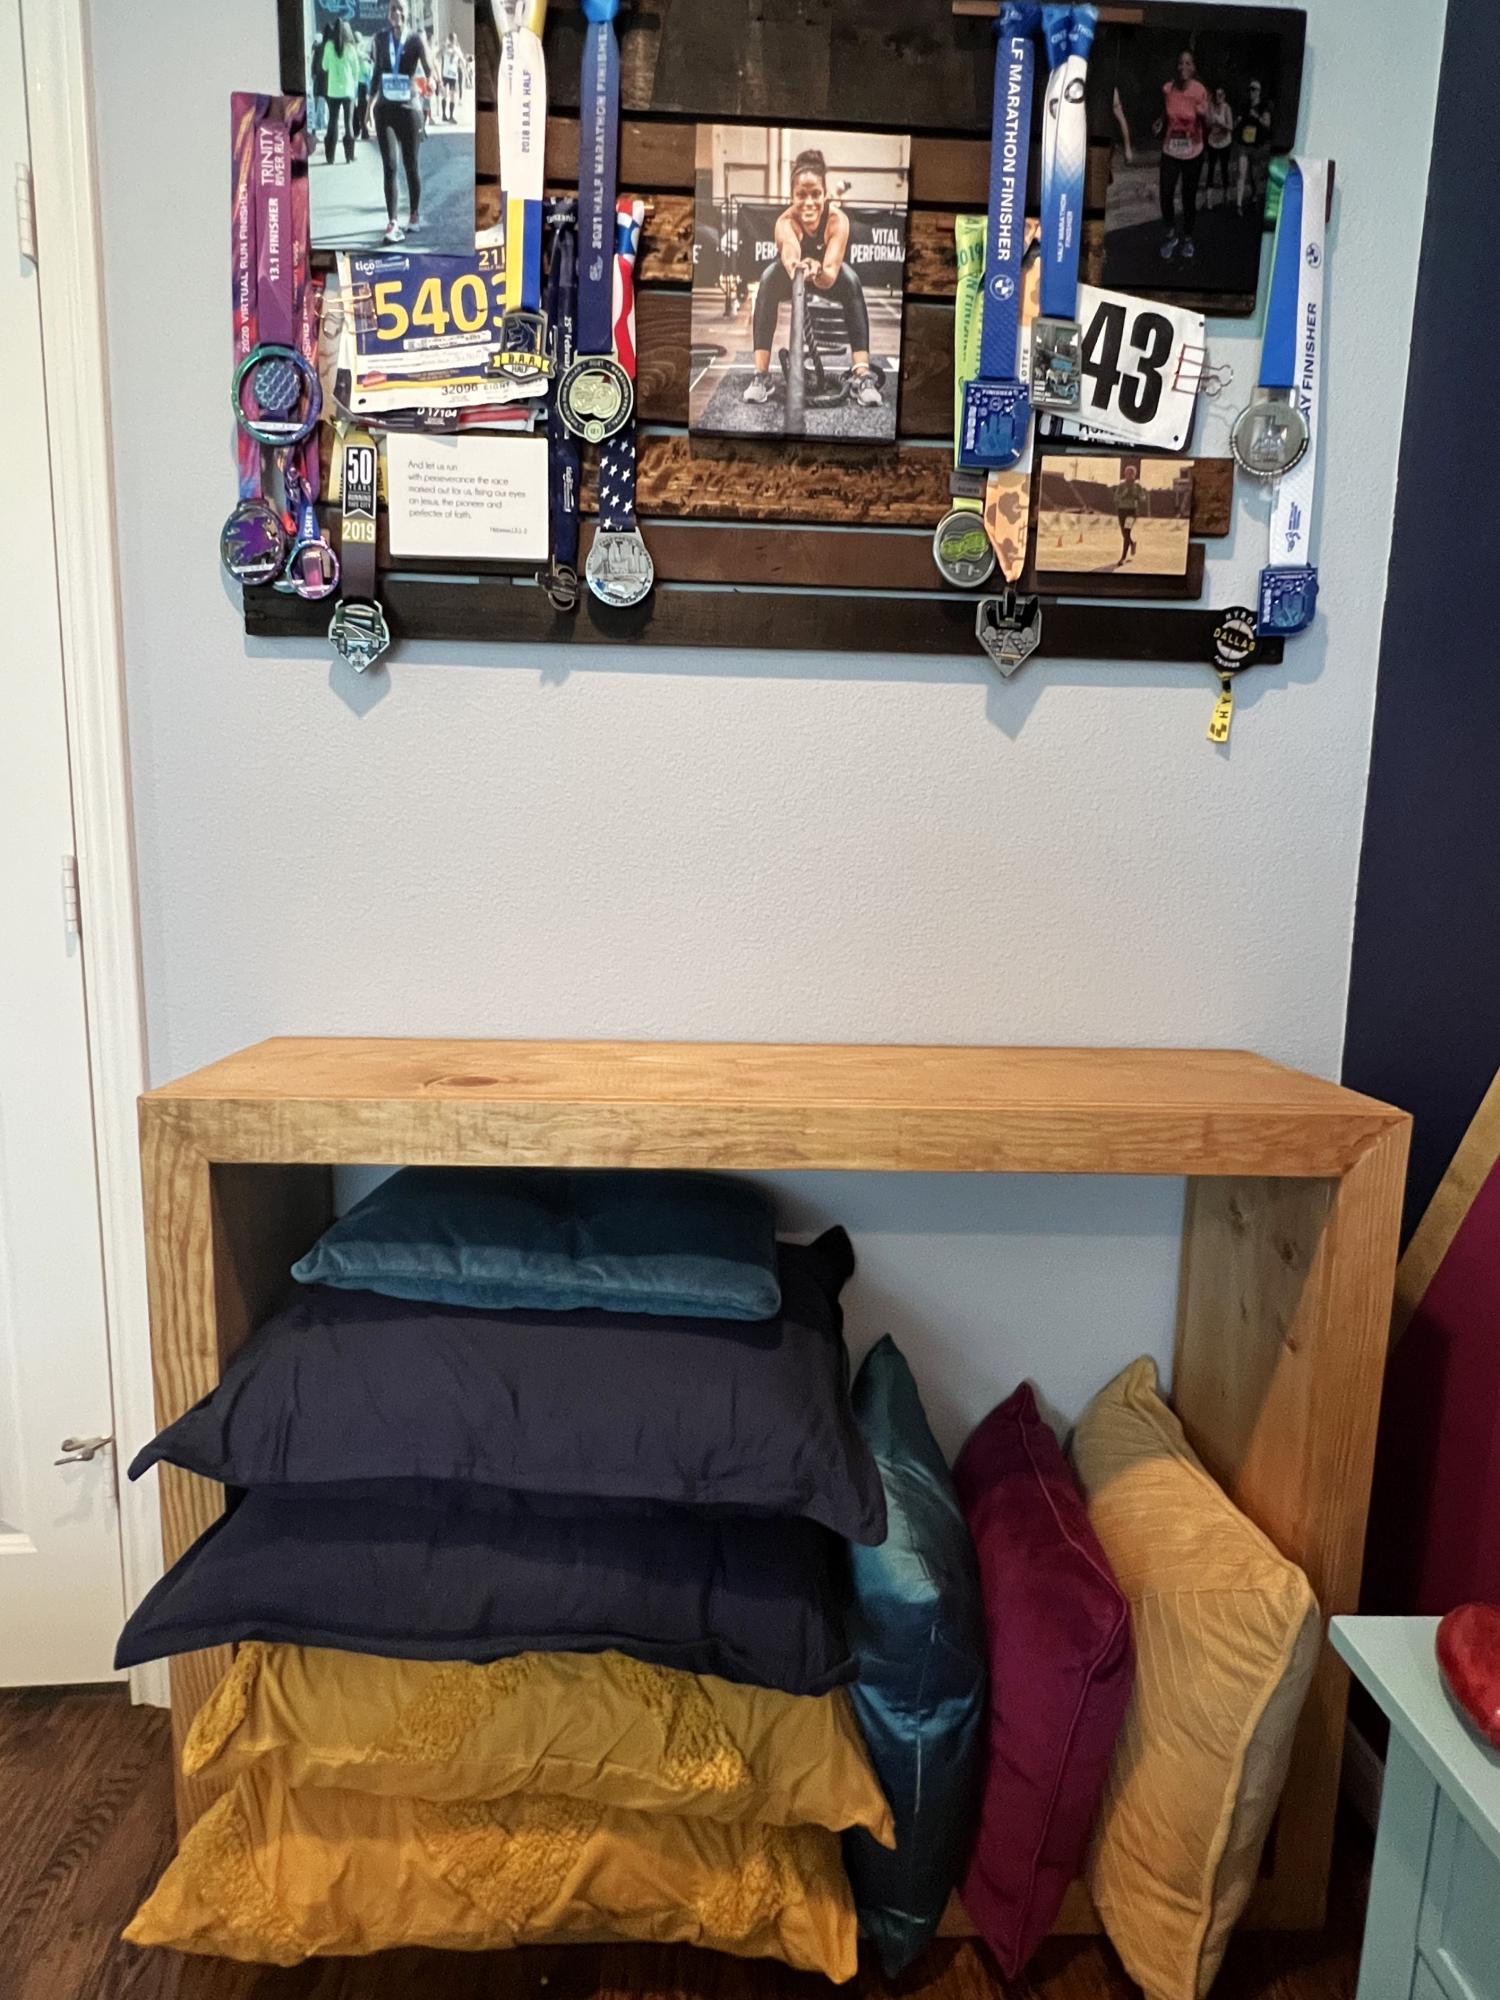
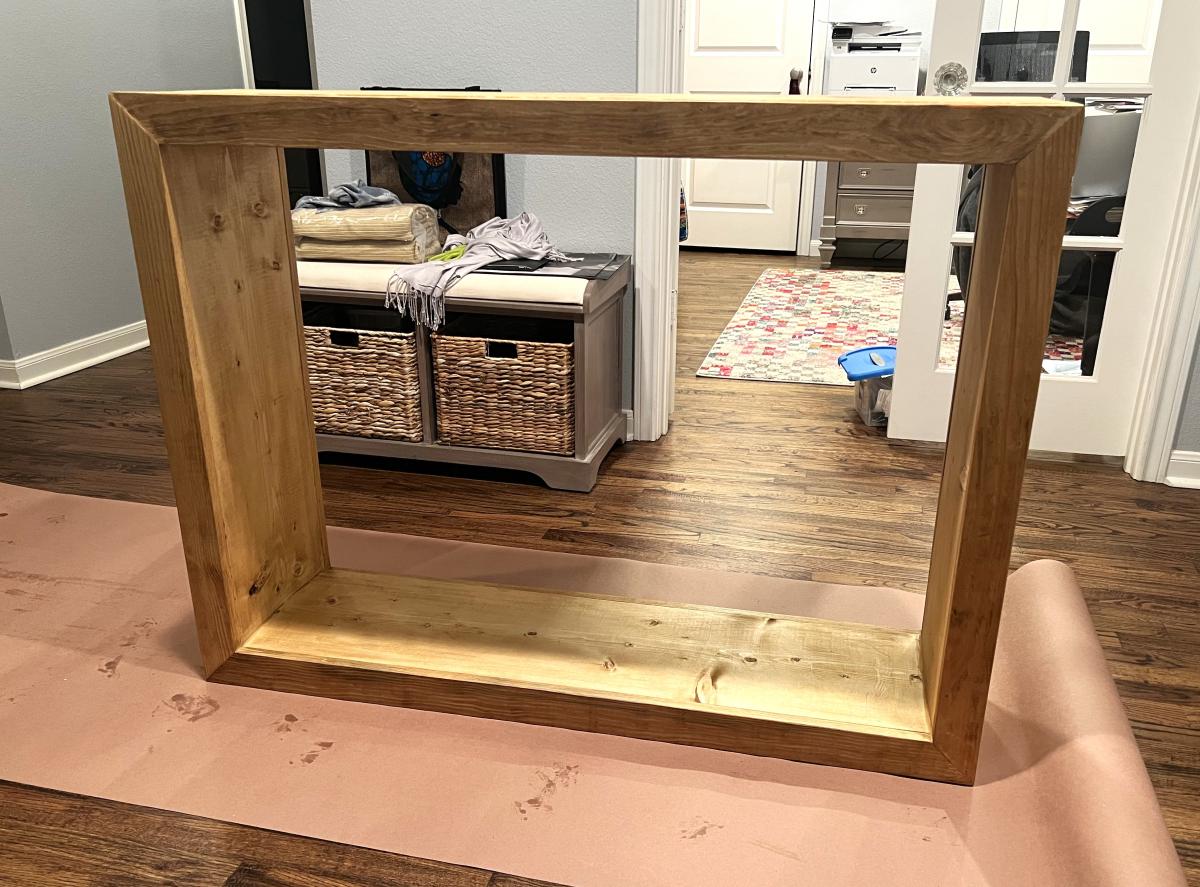
This is the 52 inch waterfall console. I fell in love the it and thought it might be a great way to store my bed pillows when they aren’t in use. I modified it to be shorter and taller, to fit my space and needs. This was my first time using a kreg jig and brad nailer… tutorials on those would be great, but I figured it out! And I’m so excited I did - this is a game changer for my building projects!
Ashlie Alaman
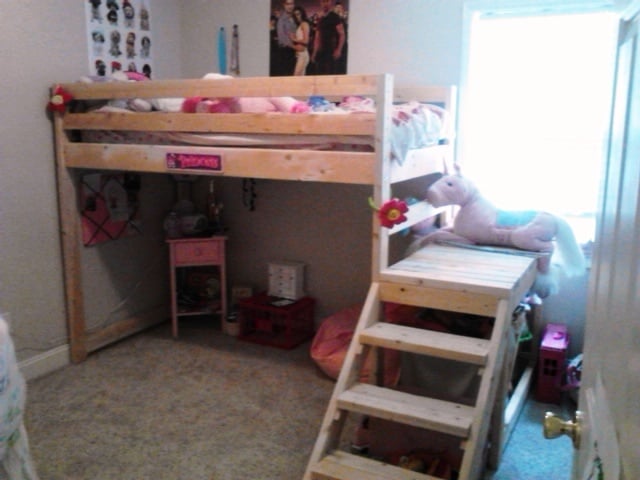
Thank you for this plan! We had a blast building this project and watching our daughter's expression once she saw it complete made it all worth while! She has a very small bedroom and this bed allows her so much more floor space now plus it has the "fort" feeling. She loves it! Thanks, Ana!
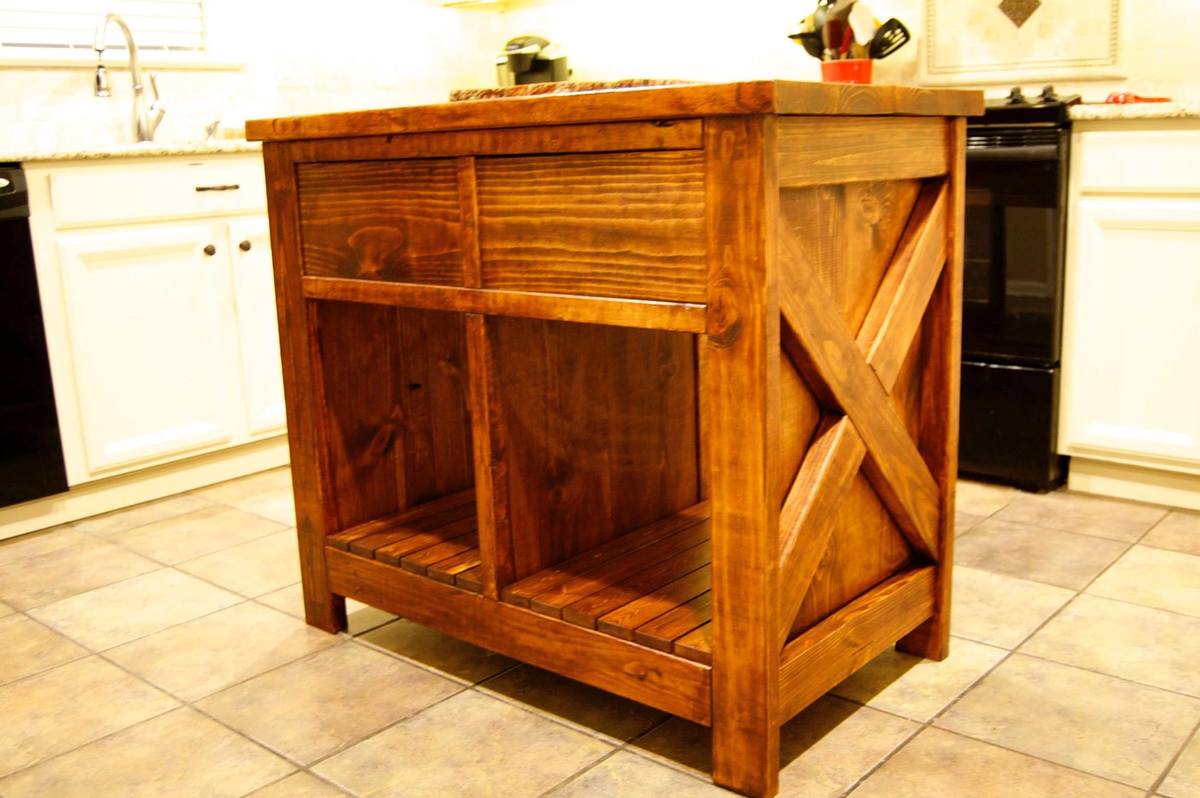
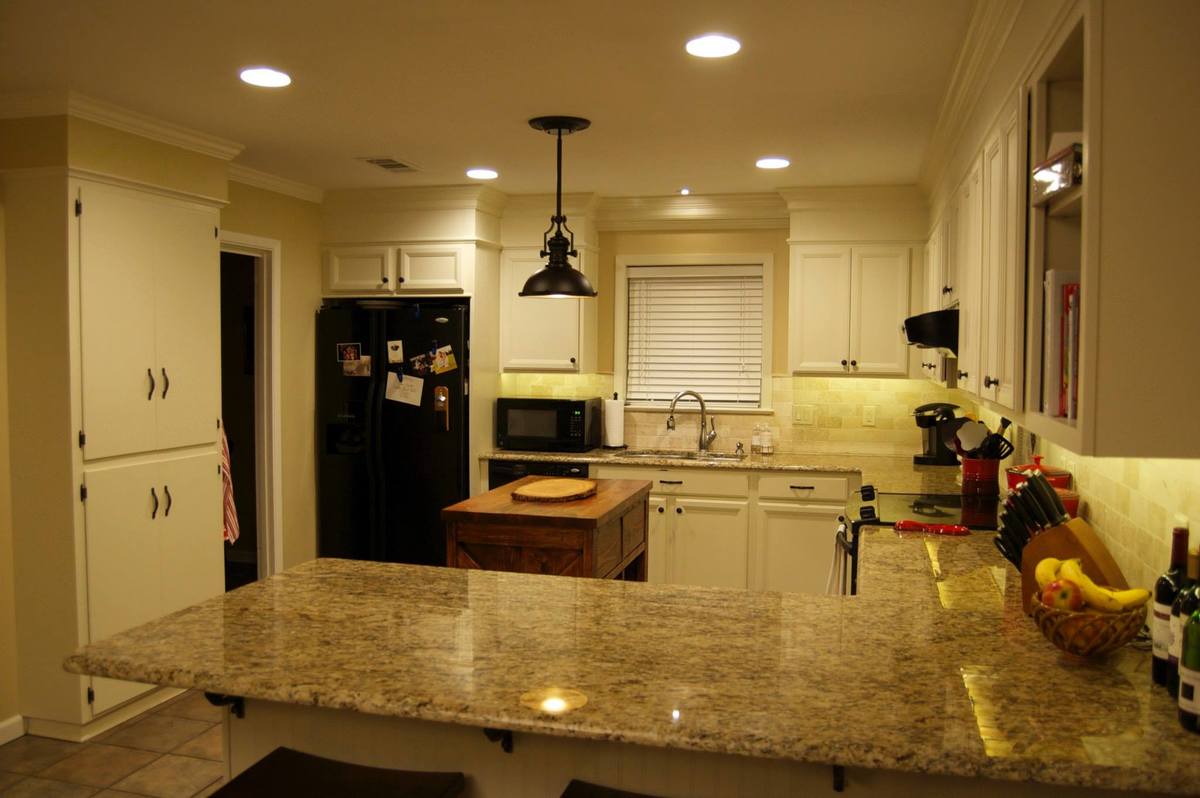
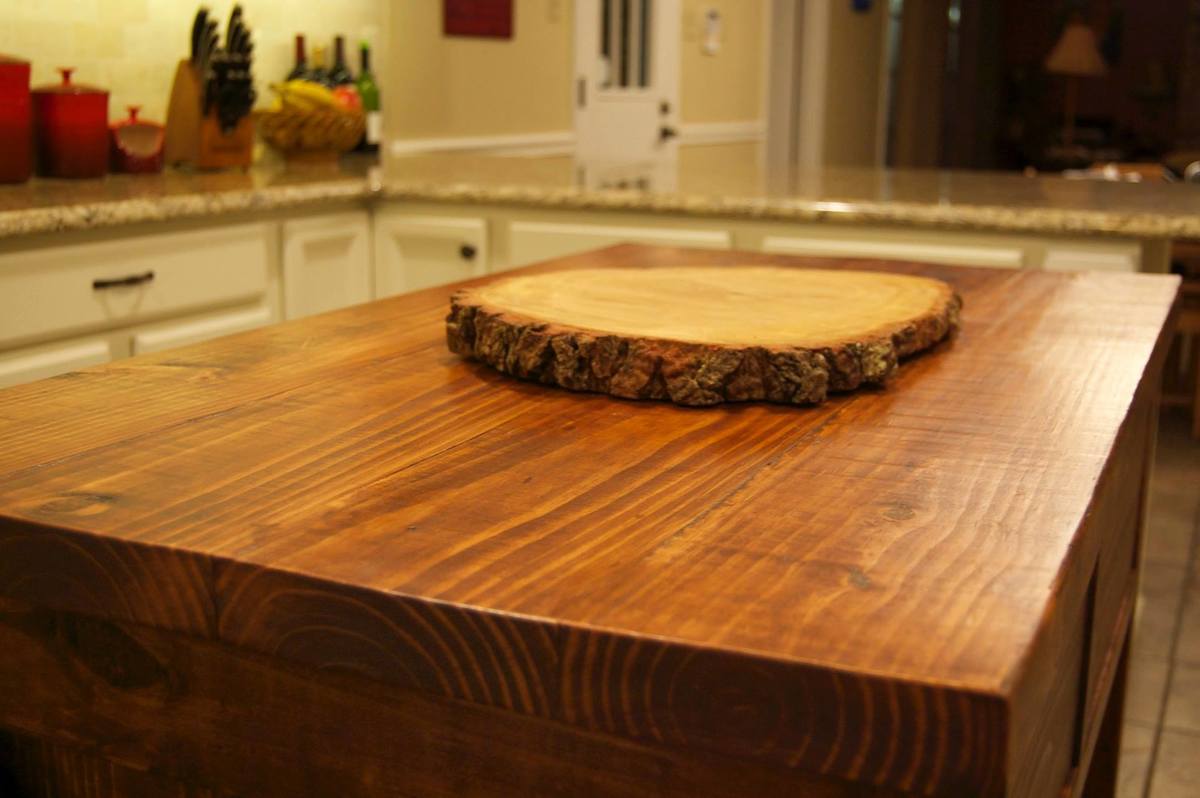
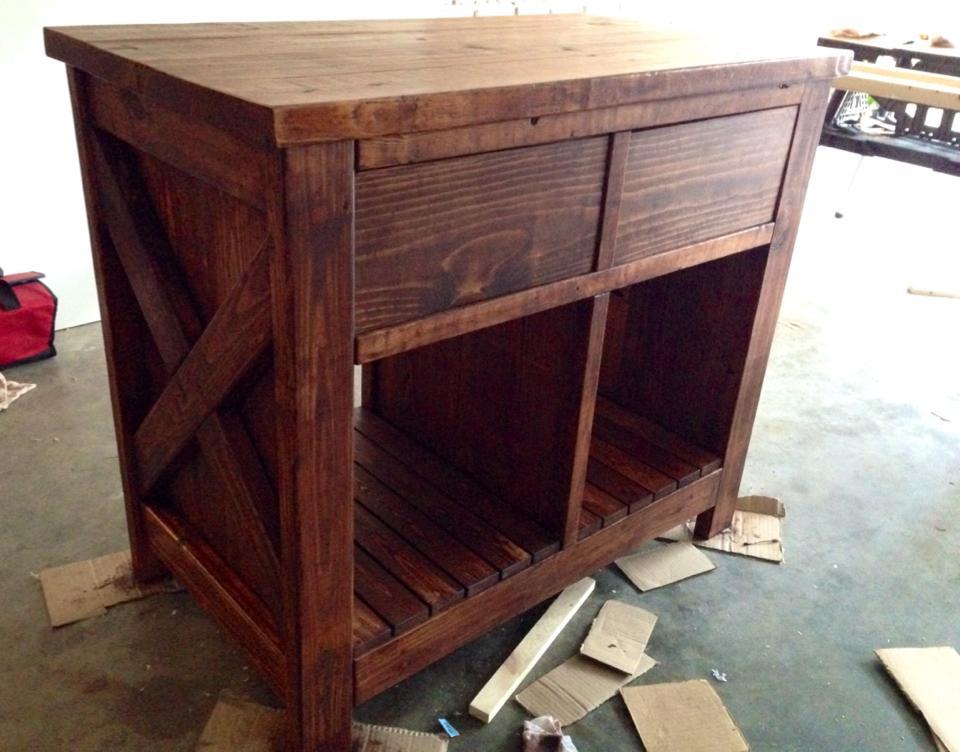
This is a my take on the Rustic X Kitchen Island. I couldn't find an island that was the right size for my space, so I modified this plan to fit. It is 24x42. I built the slat shelves, drawers, and side boards to go the full width of the piece. I also made the top by ripping 2x8's, and joining them with Kreg pocket holes and wood glue. Instead of using casters, I just cut the legs a little bit longer. This thing is pretty heavy and does not move. After it was in use, I added some additional 12" deep shelves. I finished it by hand rubbing with General Finishes Gel Stain in Brown Mahogany and their Gel Topcoat.
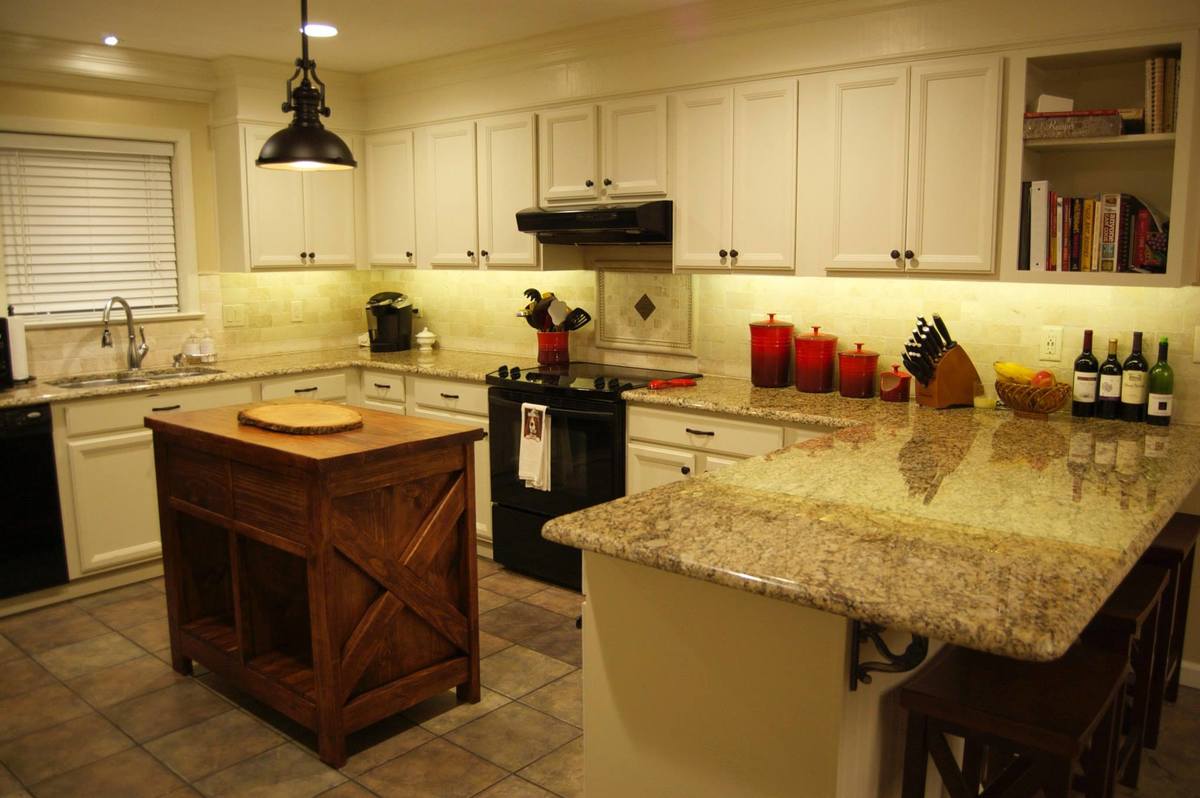
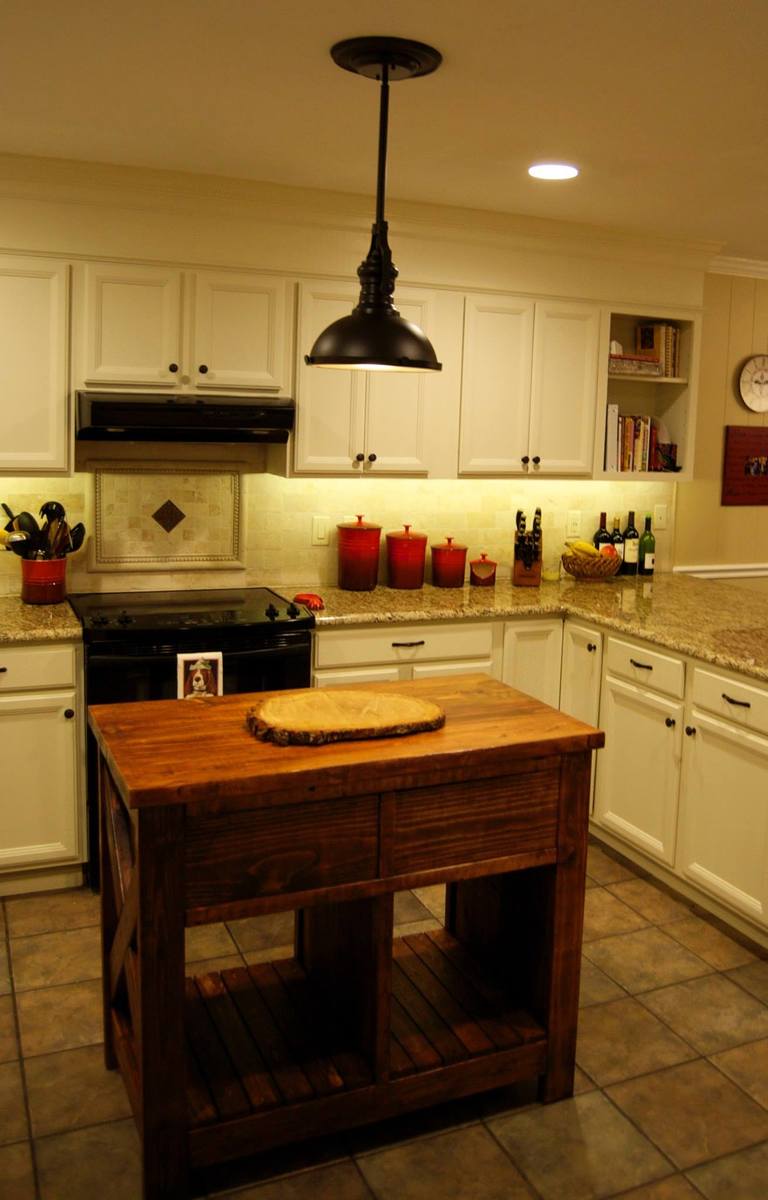
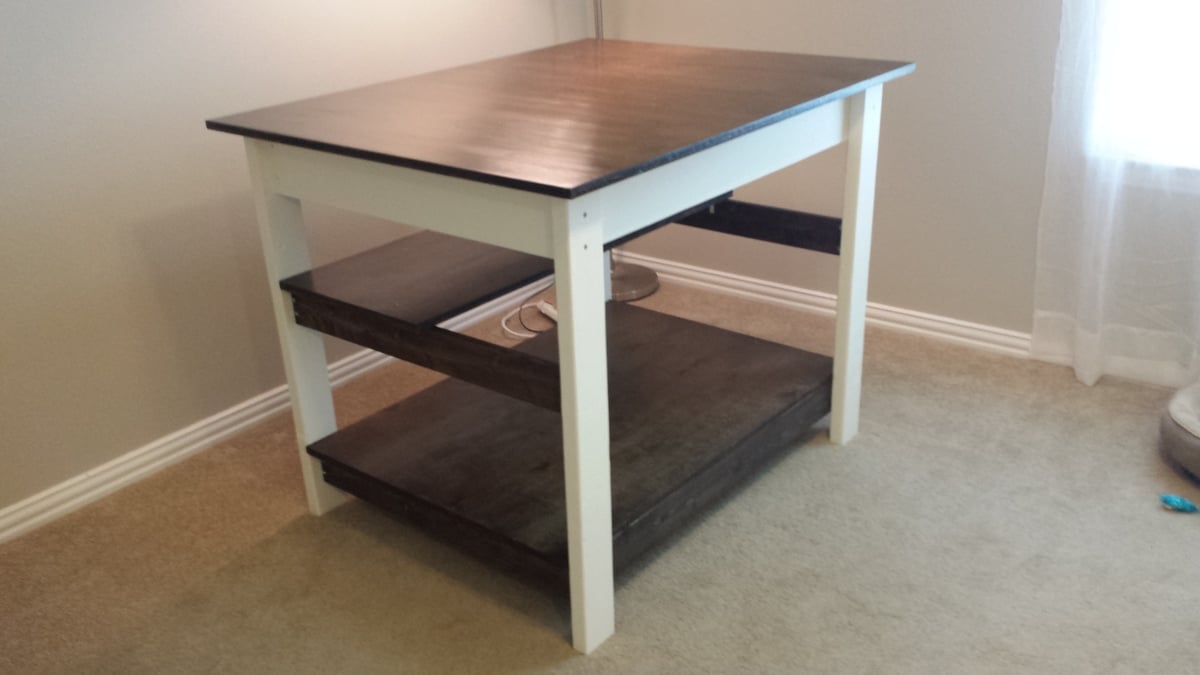
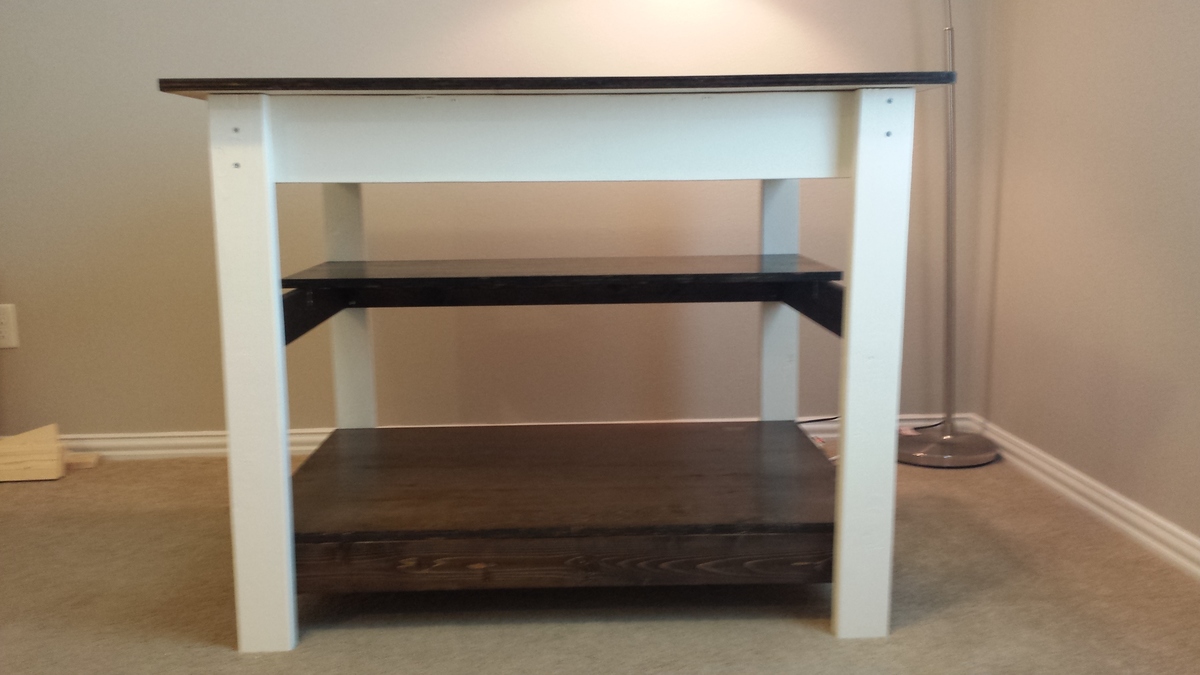
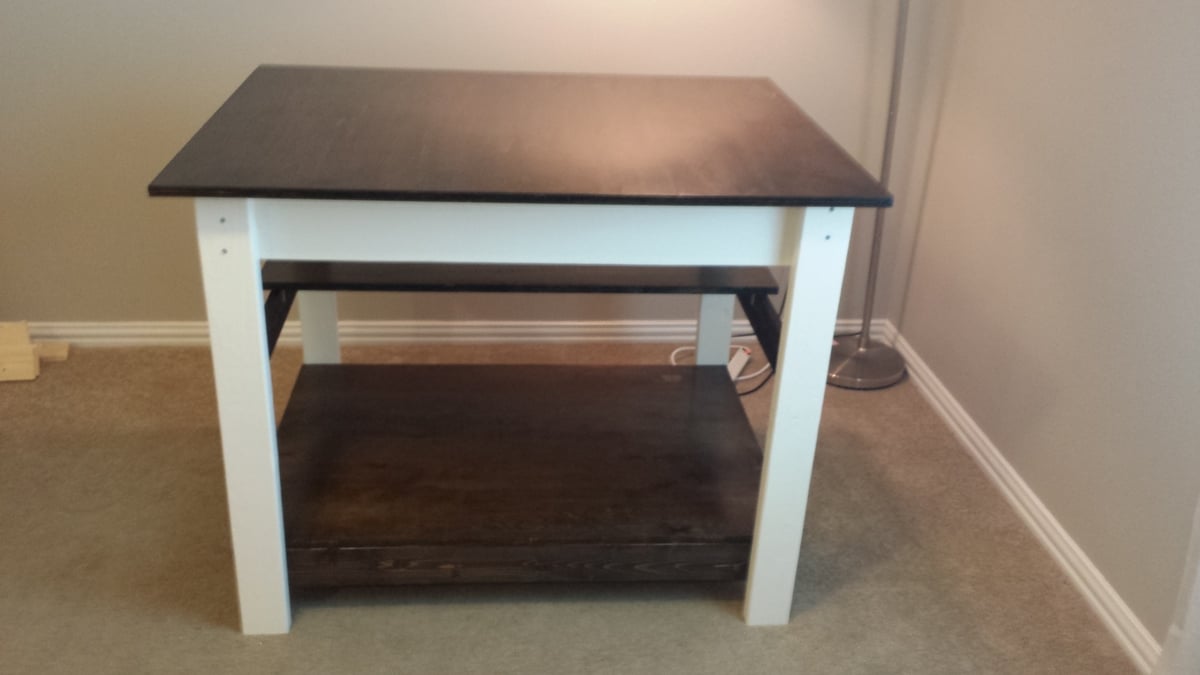
This was inspired by the easy kitchen island and the easy garage workbench plans. I saw what another person had done so I modified it to my specifications to work as a craft and fabric cutting table. It is 37" high so I can stand and cut fabric comfortably without bending over. I chose 37" because I have long legs and needed a little taller than normal countertop height.
The top is 48"x38" so my cutting mat fits both directions and a yard of fabric fits completely on top. The frame is slightly smaller 44"x34" to allow a 2" overlay on each side. The bottom shelf is 44"x31" and the middle half shelf is 44"x17". I ended up doing a half shelf because I used the leftover scraps from the 4x8 plywood. It works great because I will be able to pull up a chair and put my knees underneath.
The 2x4 legs are set out 1" from the ends. I attached the shelves and table top using L brackets. Due to bad math I ended up with a 1" overhang on the shelves along the 44" side.
The paint I used is Behr brand Spun Cotton in satin finish. It is an offwhite / cream color.
The stain I used is Minwax dark walnut and finsihed it with 4 coats of Minwax polycrylic.
I had an awesome guy at Home Depot do allt he cuts of wood for me.
Wed, 09/21/2016 - 15:00
I can hardly belive this is DIY! That birch plywood was worth it, it is lovely! Thanks so much for bragging, really enjoyed seeing your project! Ana
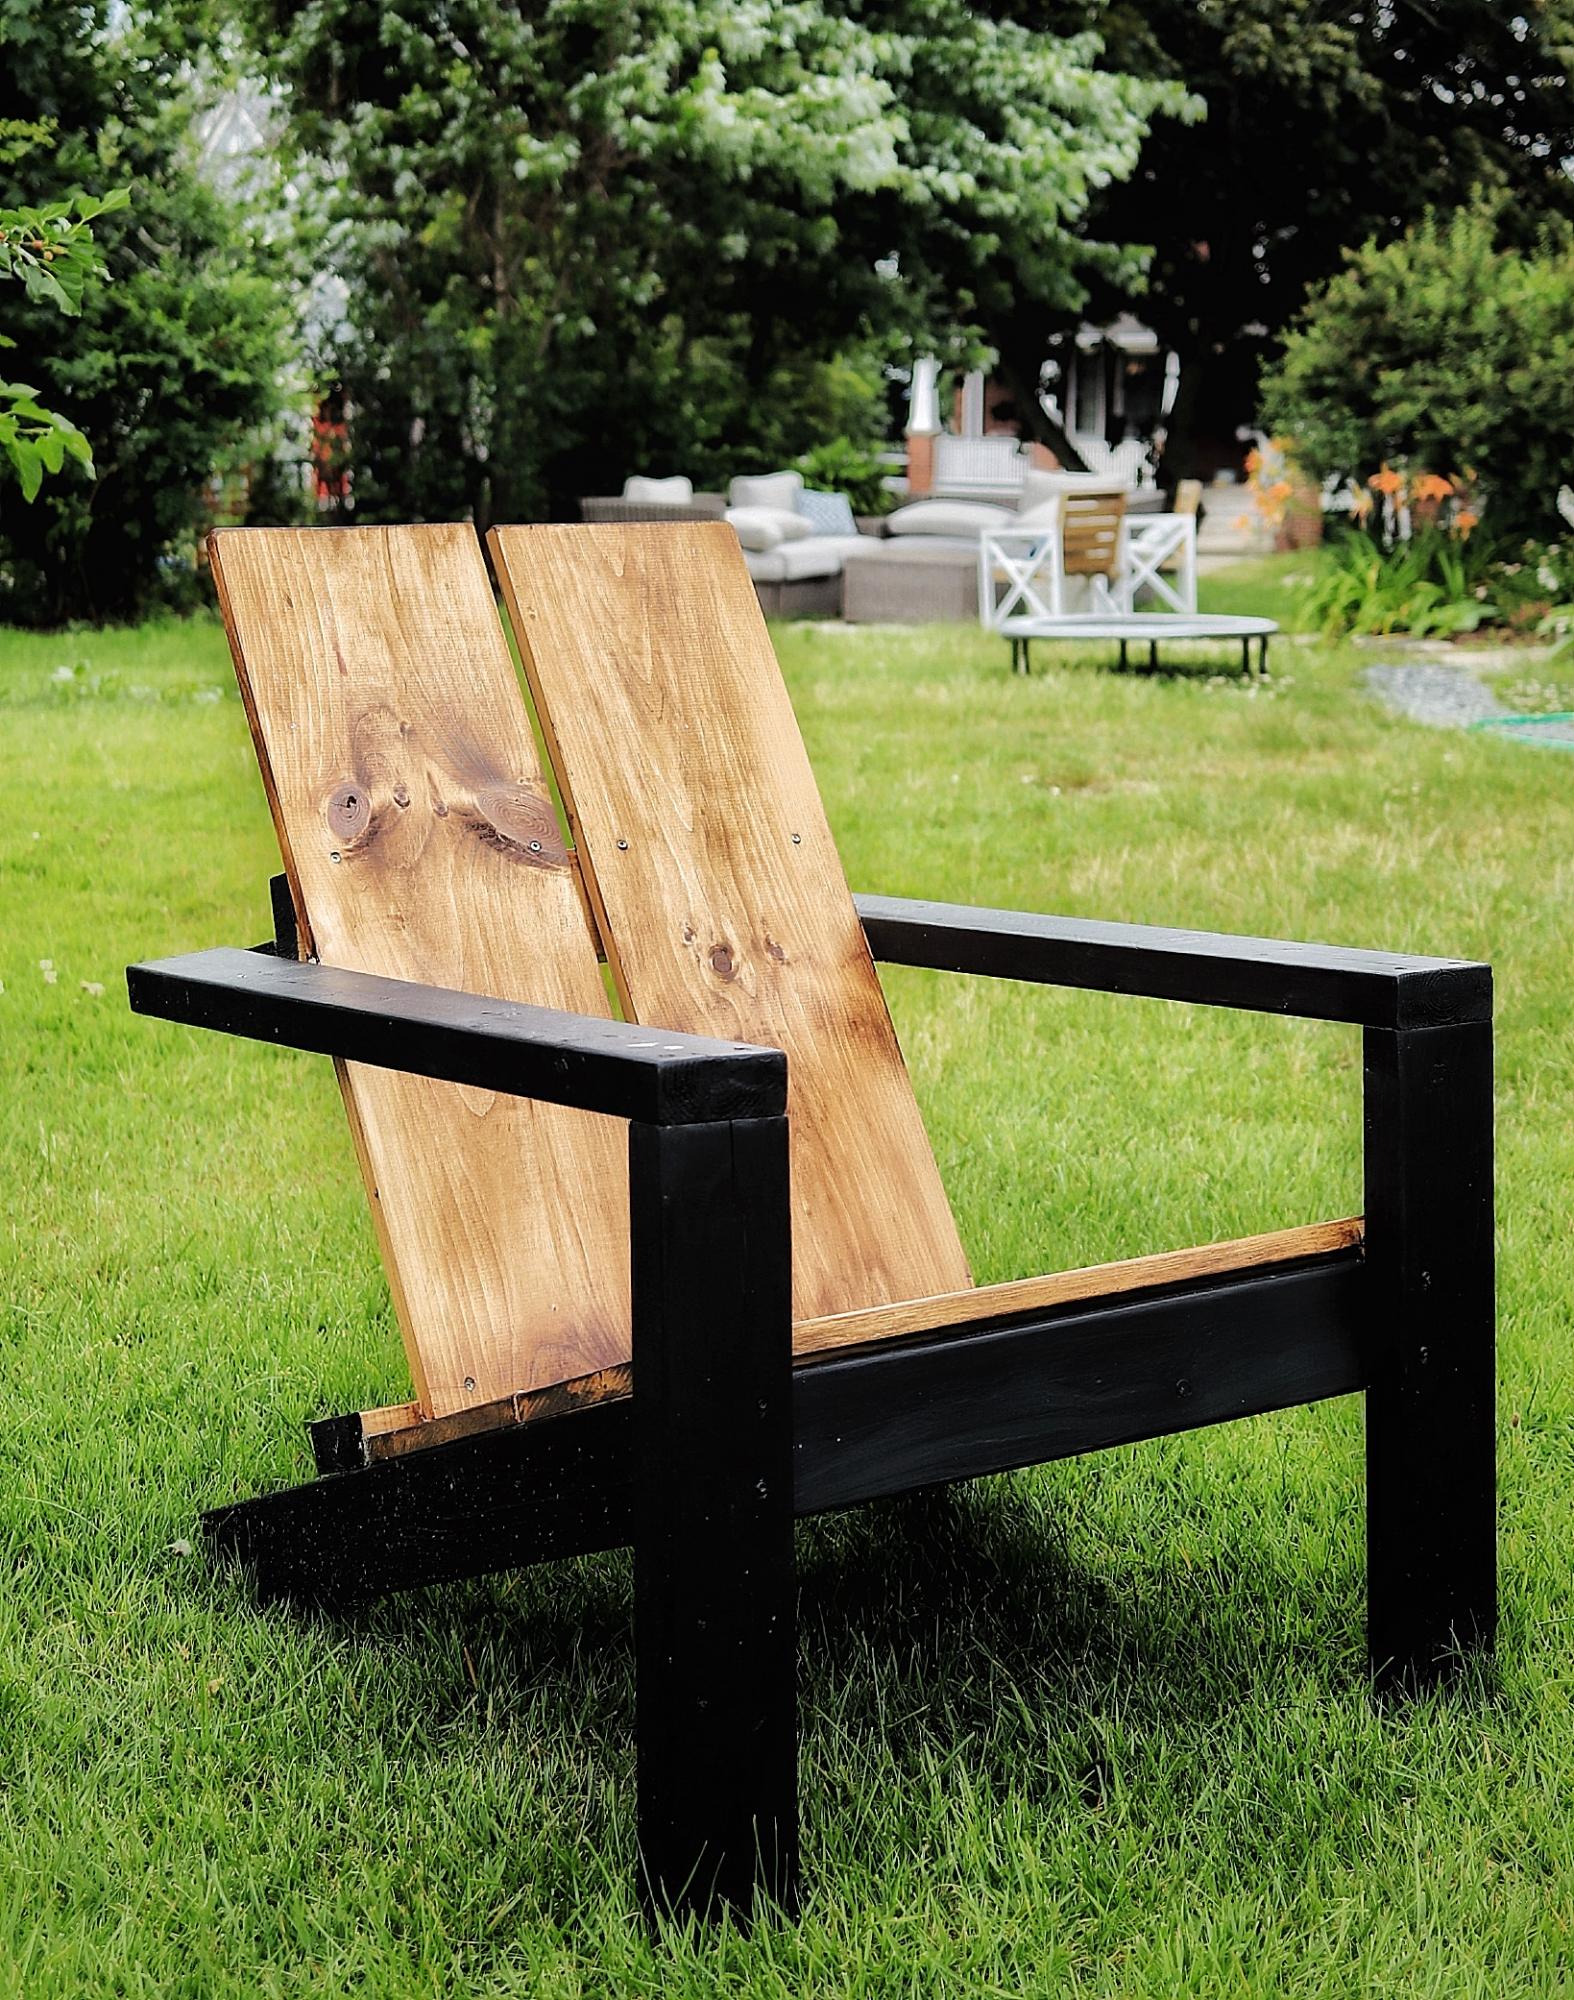
I was so excited to find the plans for these awesome chairs, I’ve built 7 this season already—the modification happened as an accident, but I loved the result !
Thu, 03/04/2021 - 10:59
This is absolutely gorgeous! I love the modification!
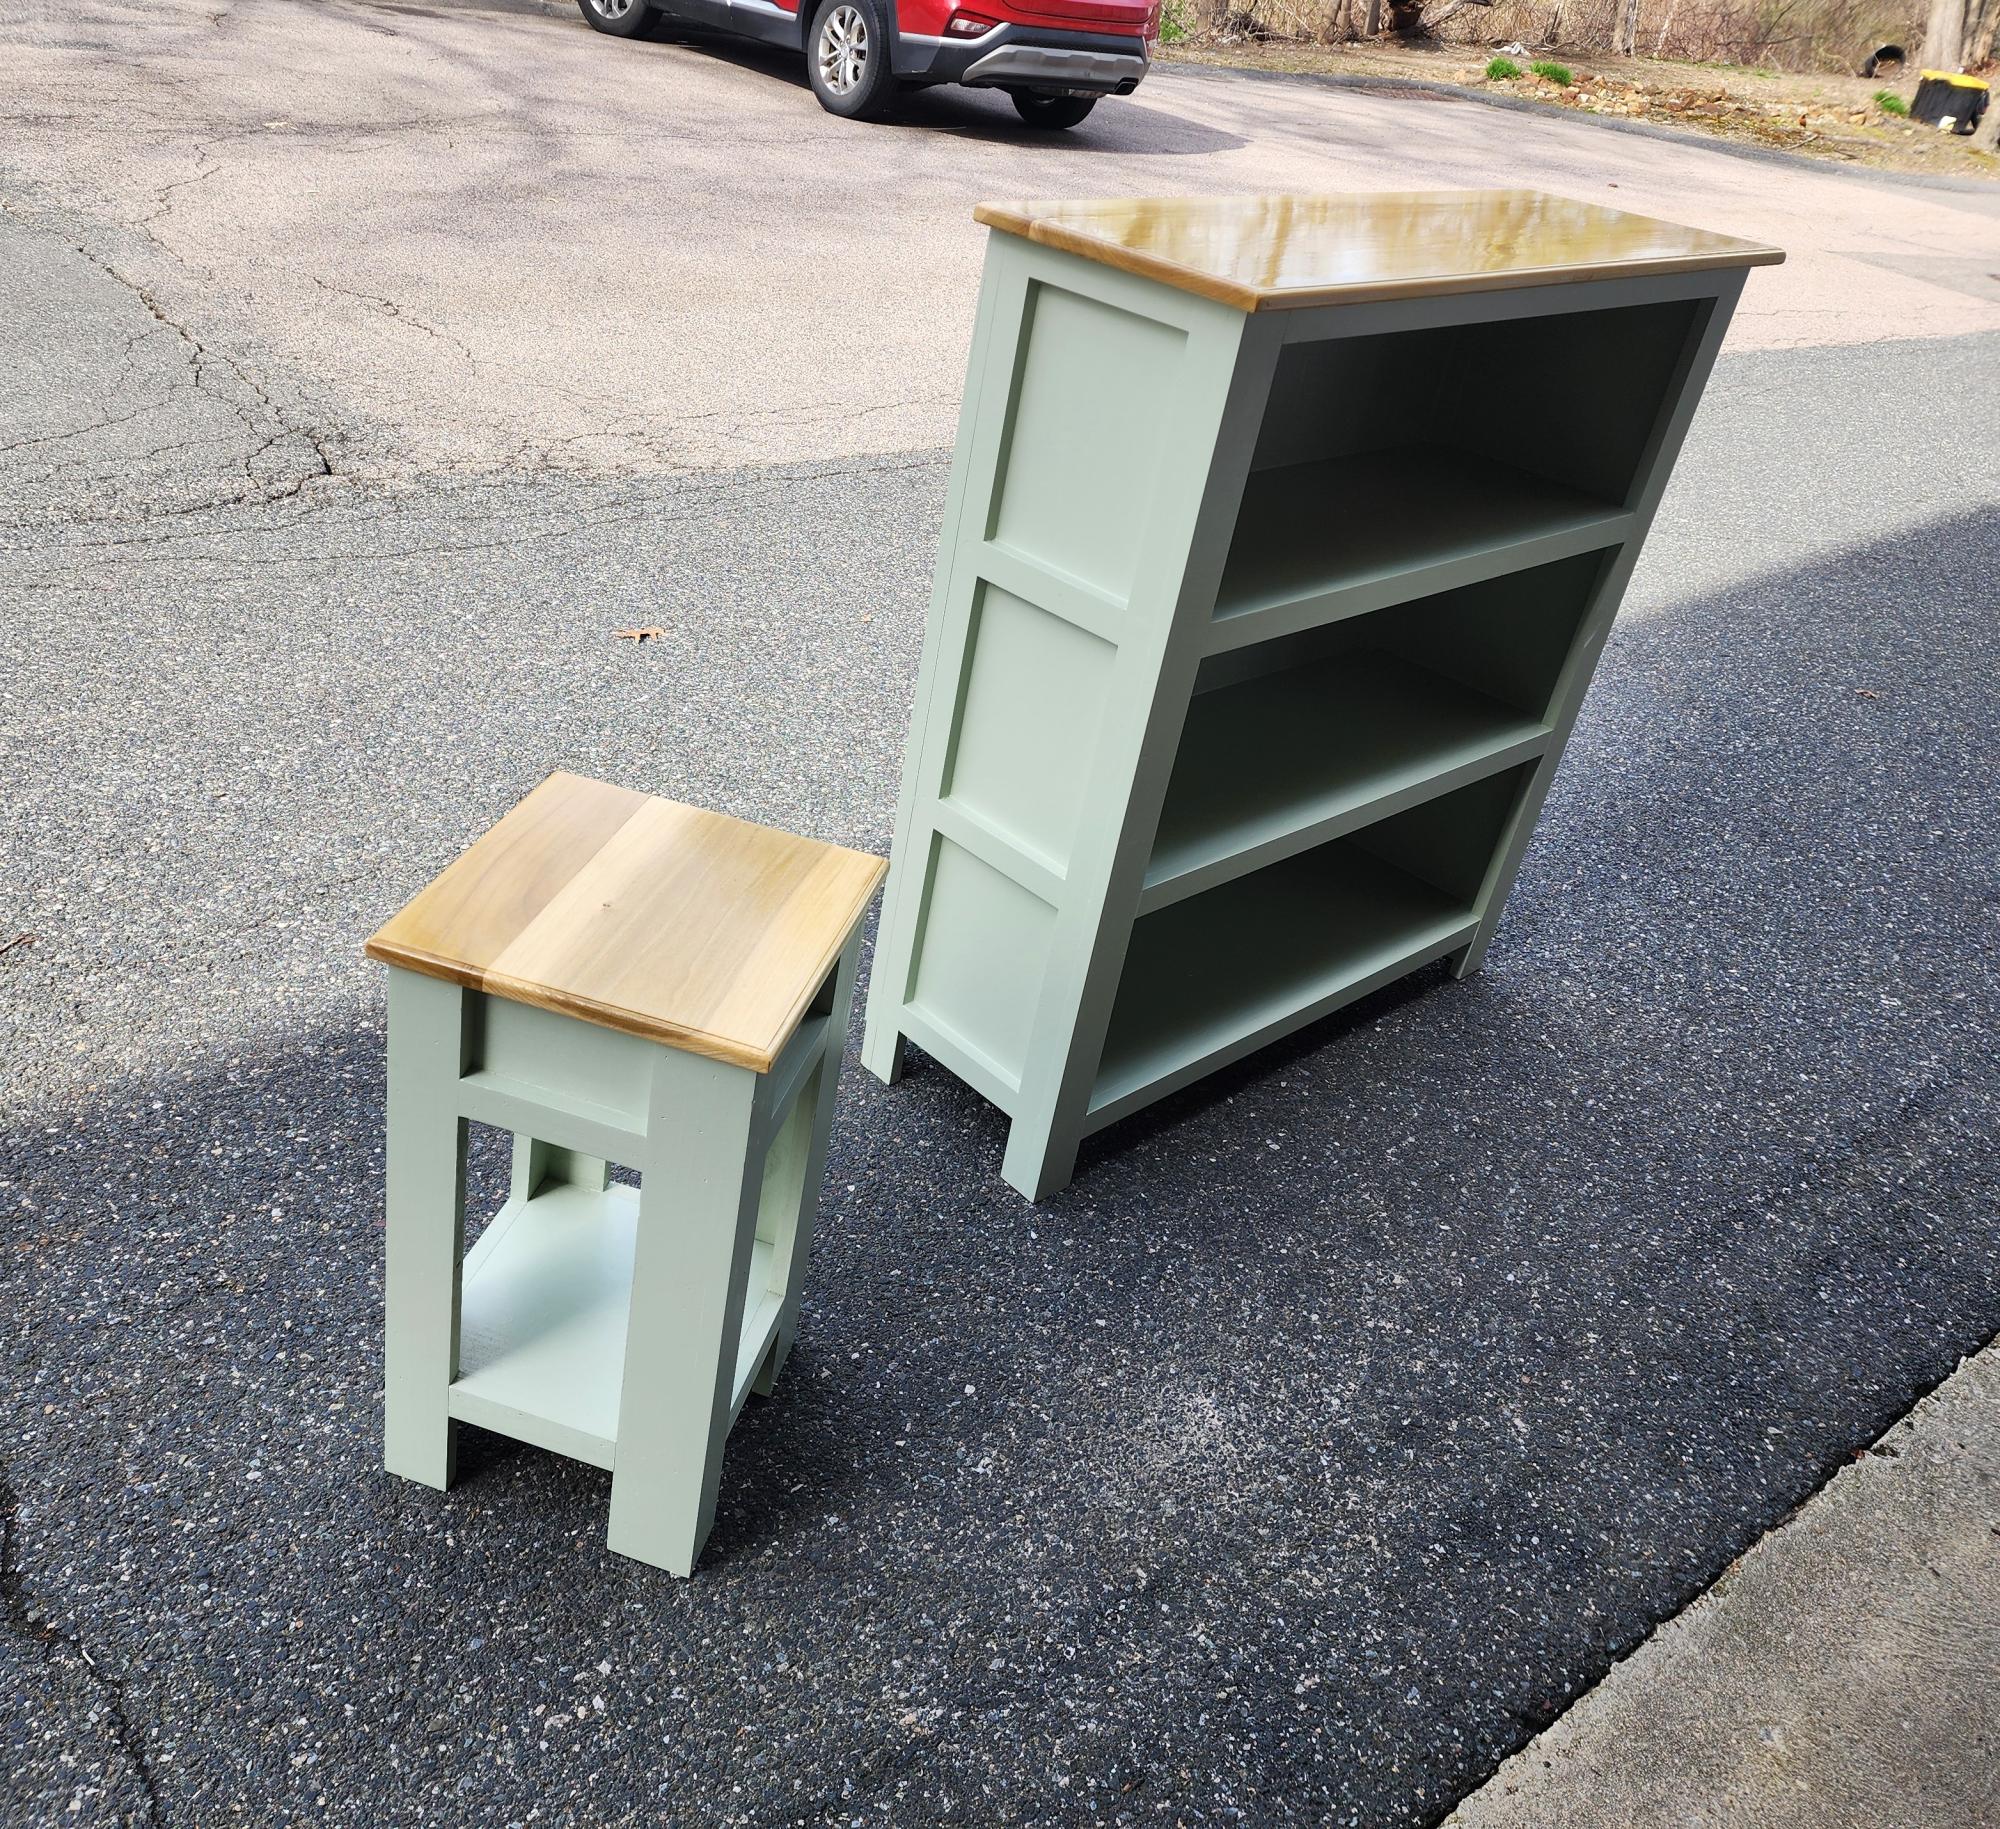
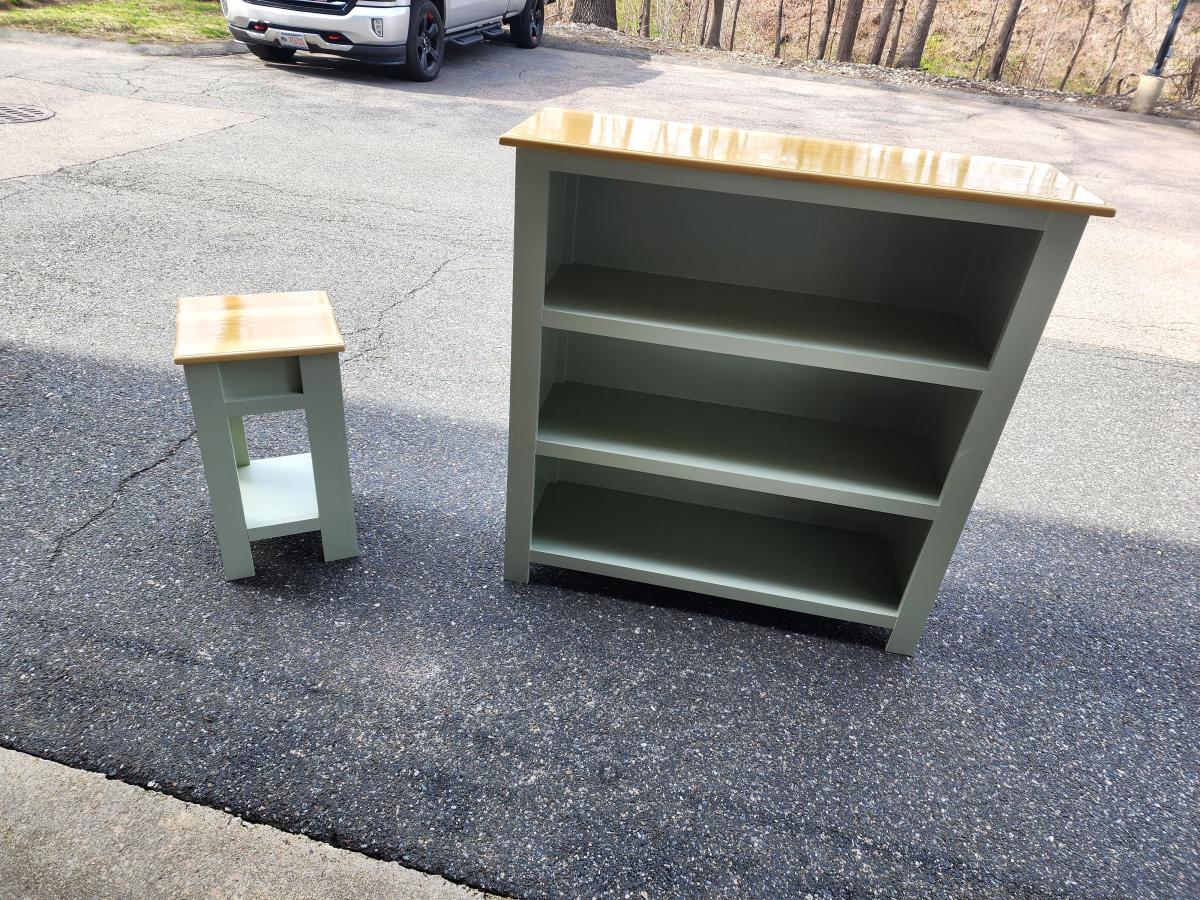
Madethe framed three shelf bookshelf with plans from Ana White. It was a gift for new baby in the family. I added a matching side table I designed based off Ana's plans! I used poplar 3/4" plywood, pine trim and poplar top for both pieces. Used Sherwin Williams Emerald trim paint in light green. Love the way these turned out!
Ray Bruhn
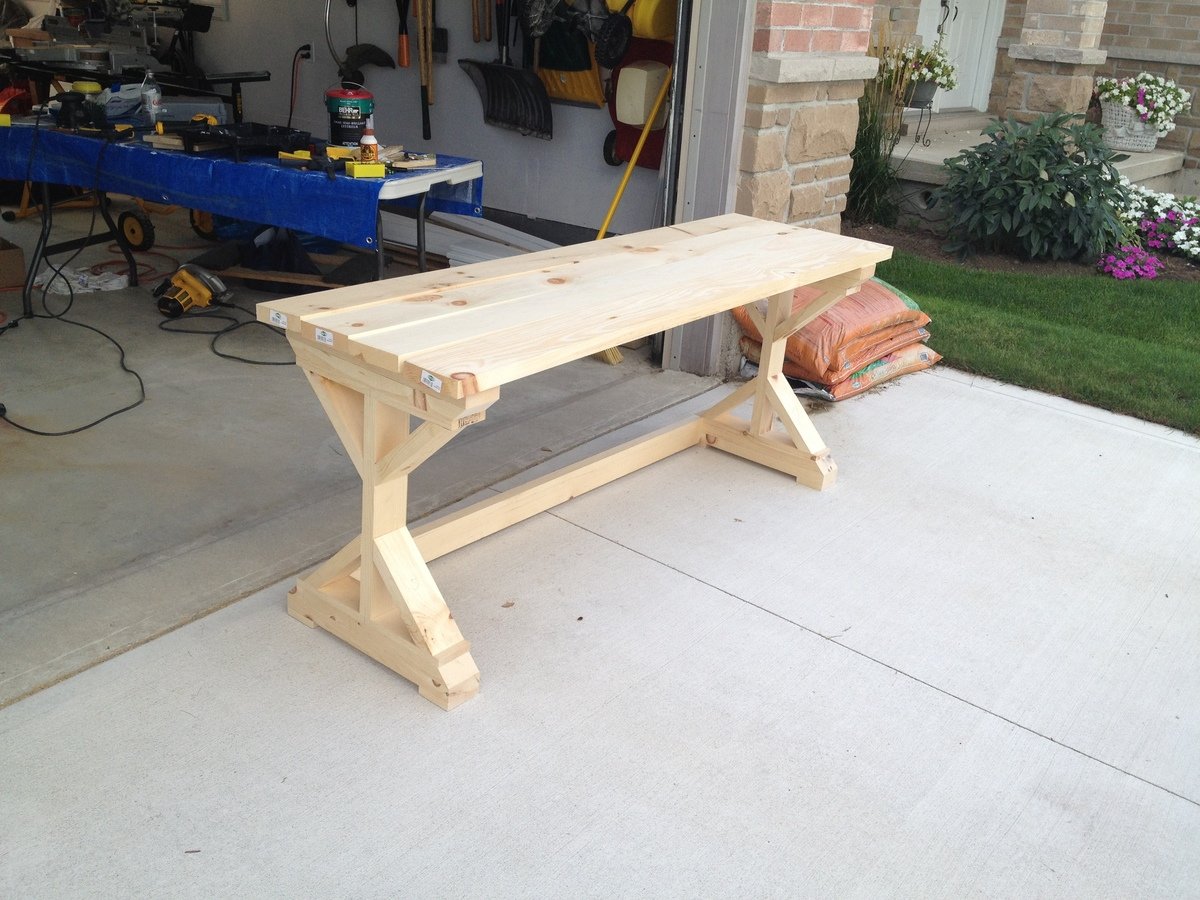
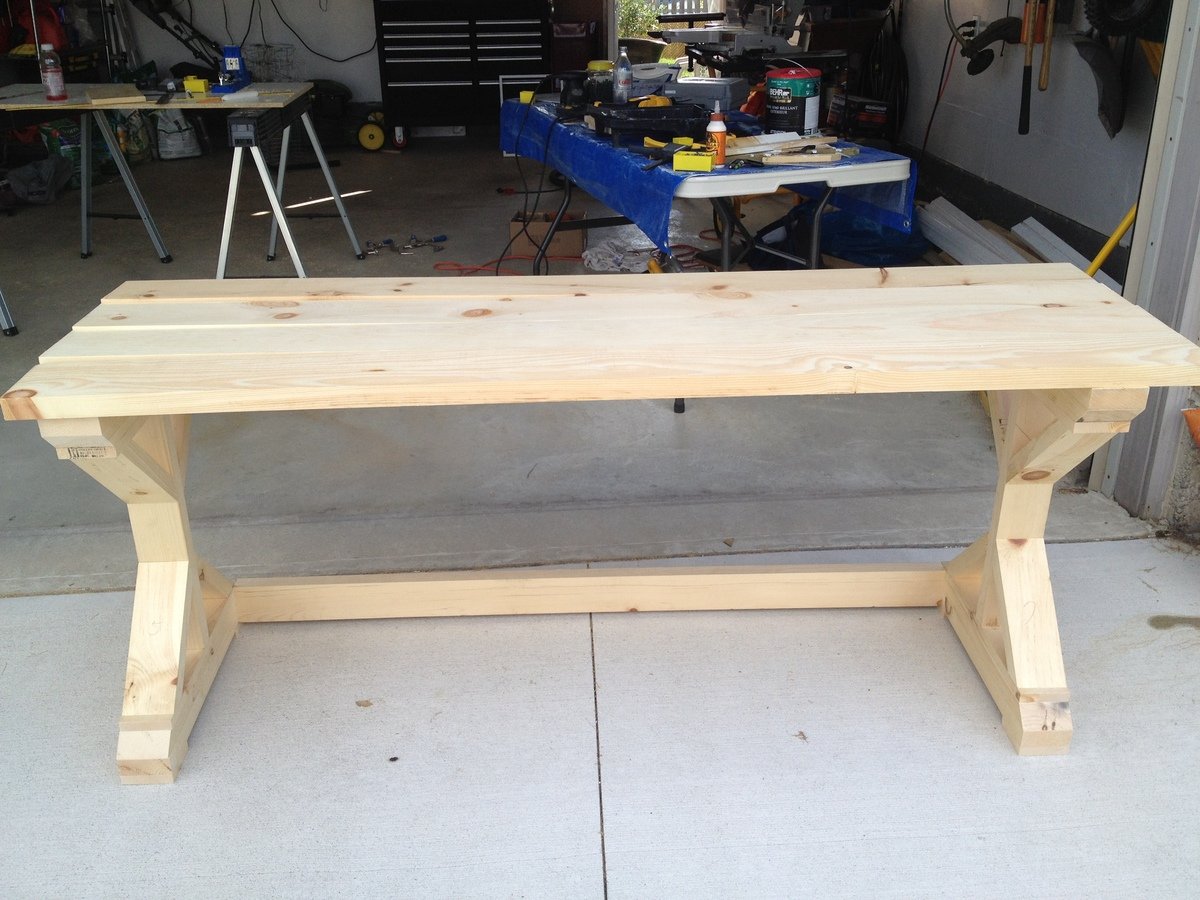
These are the shots from my dry-fitting assembly. I have yet to instal the back supports and to secure the top 2x6s but that will be done shortly.
I did run short of 2x4, I needed 1 more probably because of my inexperience with maximizing my cuts and minimizing waste. I plan on testing out my cuts in SketchUp for future projects and see if that helps. I find it much easier when the cut plan is already worked out before I get to the saw.
I cut and dry-fit the whole thing in 1 day although it would have been faster if I worked out the regional dimensions first. Again, SketchUp to the rescue!
I plan on adding pocket holes in the inside top piece of the leg assembly as well as the tabletop supports to secure the table top assembly.
This was a great build, I built it for my husband as a 25th anniversary present and he absolutely loves it.
I used knotty pine S4S and we plan to stain it to show off all those pretty knots.
This is only my 4th build, if I can make this anyone can!
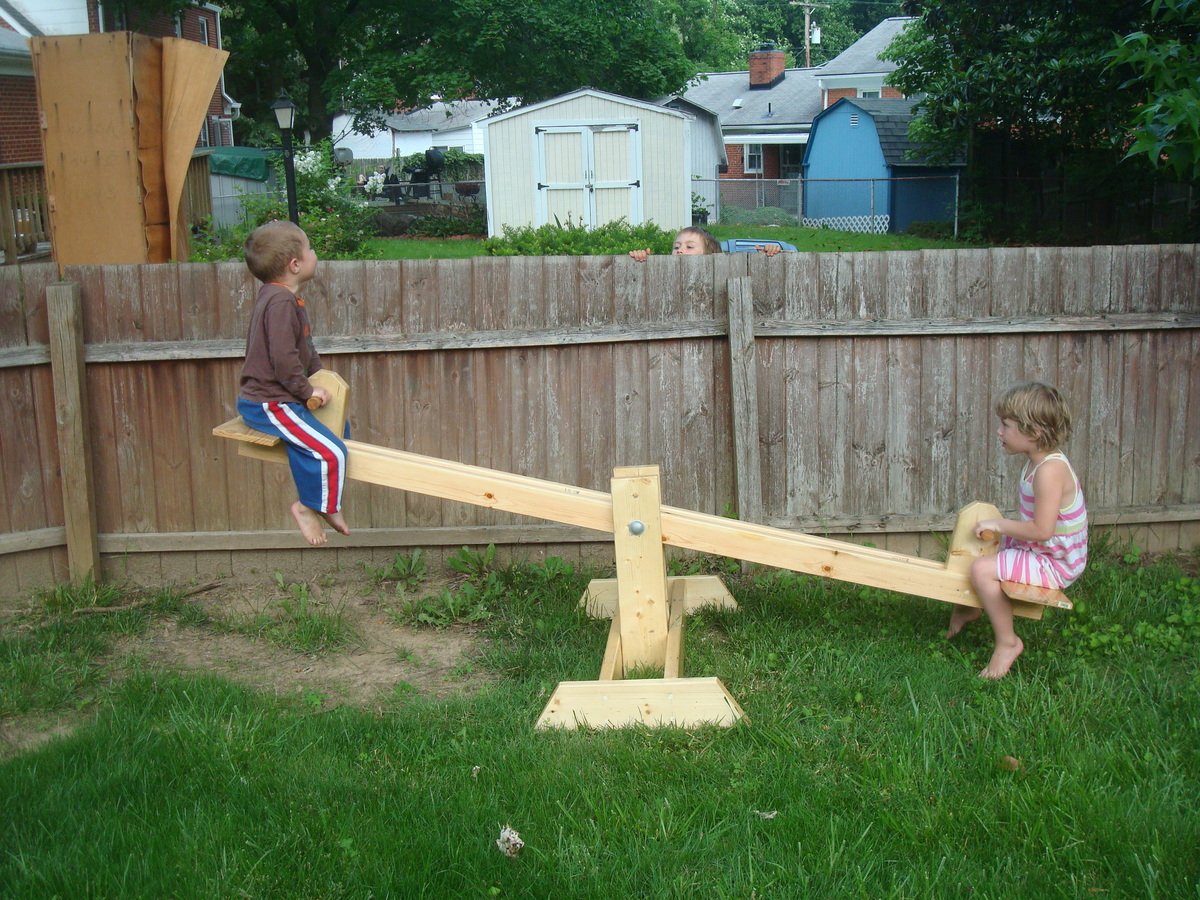
This was our first foray into a built-it-yourself Anna White project, and WE DID IT!!!
(and you can see from the picture that it's structurally sound!)
It took a little longer than the 45 minutes in the plans, but was finished before the birthday party :-) Our kids ( 5 and 7) even had ownership in this project and enjoyed helping sand.
Only modification we made to the plans was to turn the seats 90 degrees to make a bit more of a seat so that our 2 year old could seesaw too.
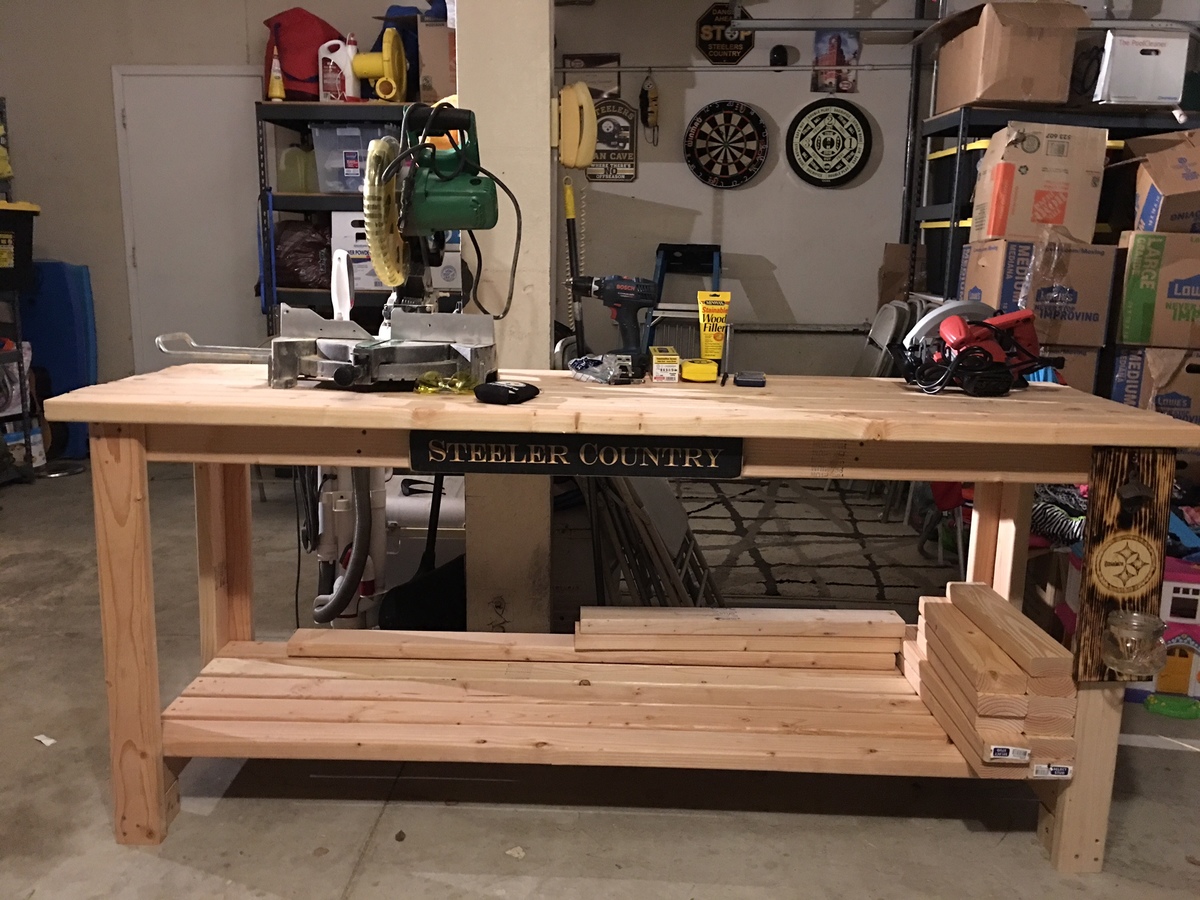
Thanks for the awesome plans. Read a lot of feedback from people saying it was too small. Just make it bigger! Used same plans but 6 1/2 long and 4 inches wider. Added extra support to the table top and used all 2x4s. Lovin it
Sun, 09/25/2016 - 12:23
Love the bigger size, what an awesome project! Thanks for sharing it! ana
I built two 3 person outdoor sofa's and a coffee table as per your plans. It is sitting nicely inside the pergola we build last fall. I built a grill table too, to match the others. Thank You.
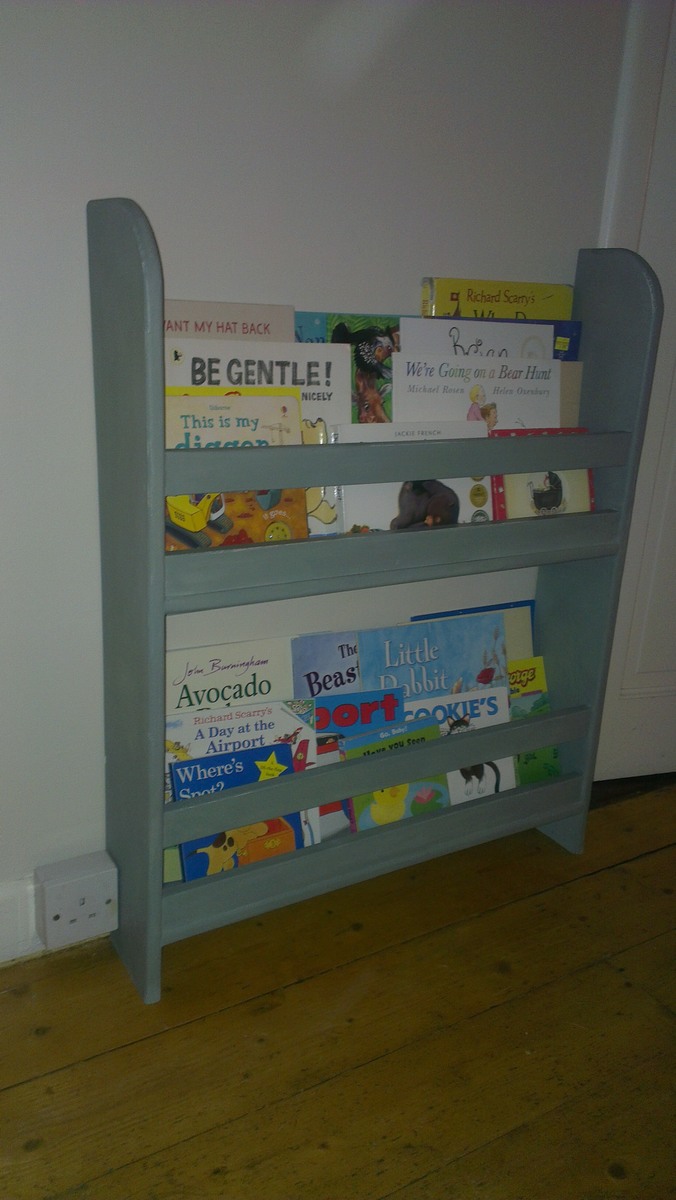
A mini flat shelf for my daughter. Initially sized to fit on the landing until I realized I had just built her a ladder to climb the banisters, so relocated it to the hall.
Width increased to 630mm between uprights to allow 3x A4 books side by side. Height is 830mm to fit initial planned location.
Painted with Annie Sloan Duck-Egg Blue distressed at the edges and waxed with Annie Sloan soft wax.
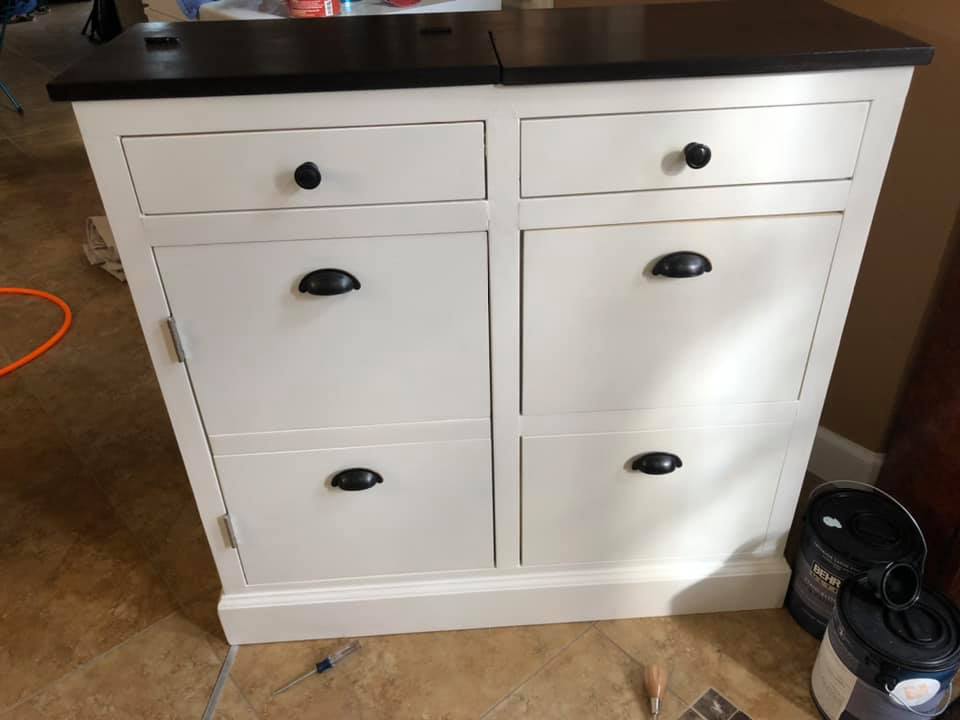
After scouring the internet for a piece of furniture that could hide my shredder and act as a filing cabinet, I decided to look here, and lo and behold, Ana had posted this project the week before. It was literally an answer to prayers!
I had a lot of leftover plywood that I cut to size to build this project. The drawer slides were the most expensive part of this project. It was pretty tough and I made a lot of mistakes, but I am very happy with it. It was just what I was looking for. Installing the drawers was the hardest part of this project. I made the shredder compartment to fit my specific shredder, and it barely fits. I already had drawer pulls and paint.
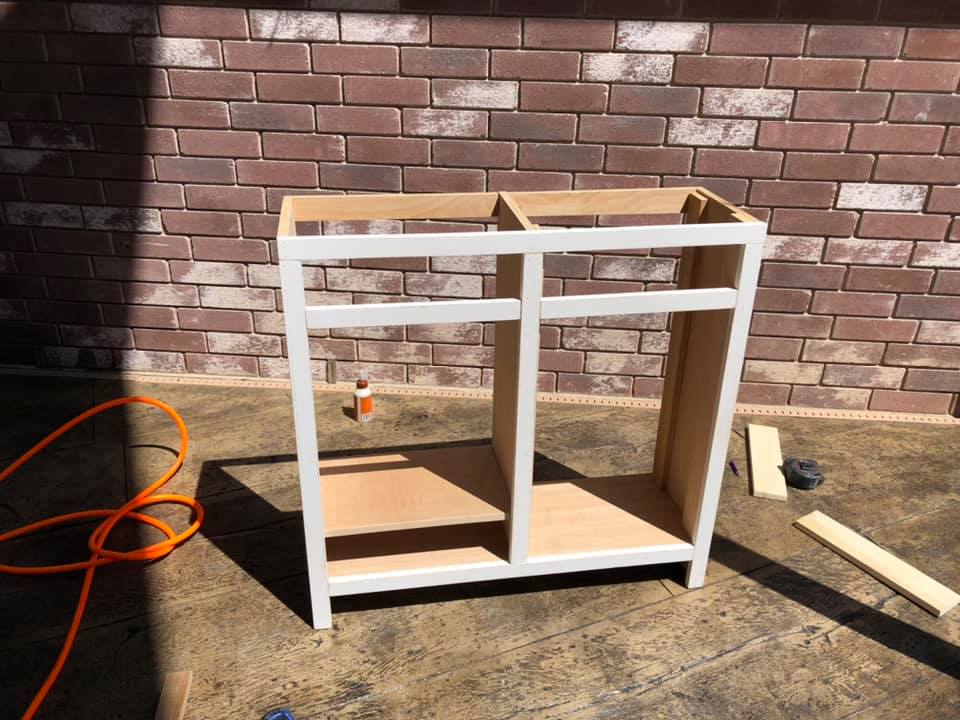
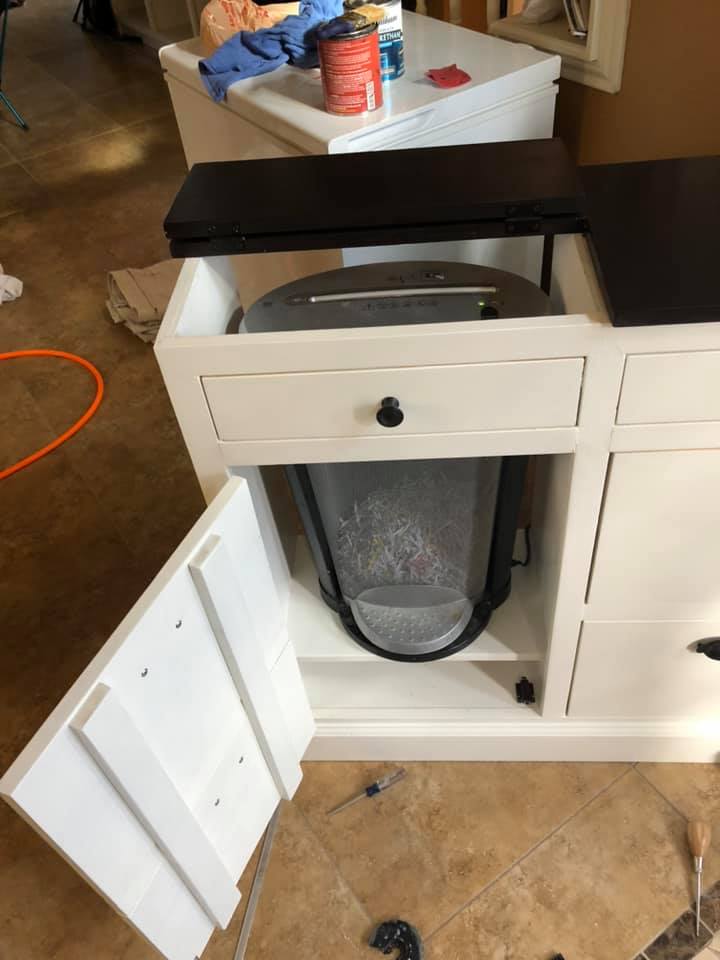
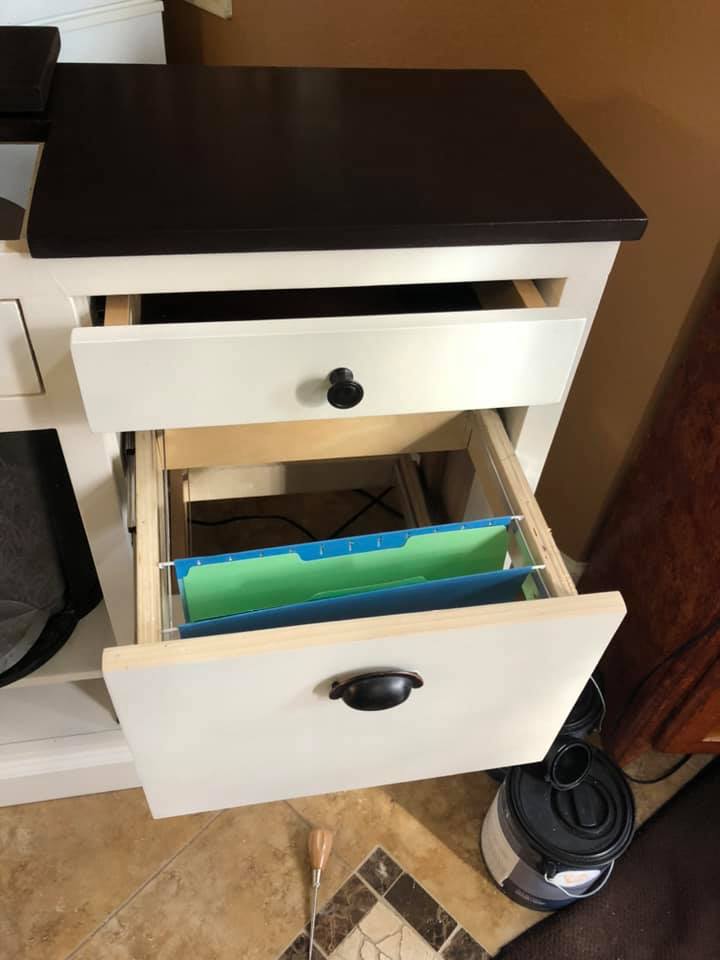
Fri, 12/04/2020 - 21:27
It's a hard working piece and you did a great job! Thanks for sharing:)
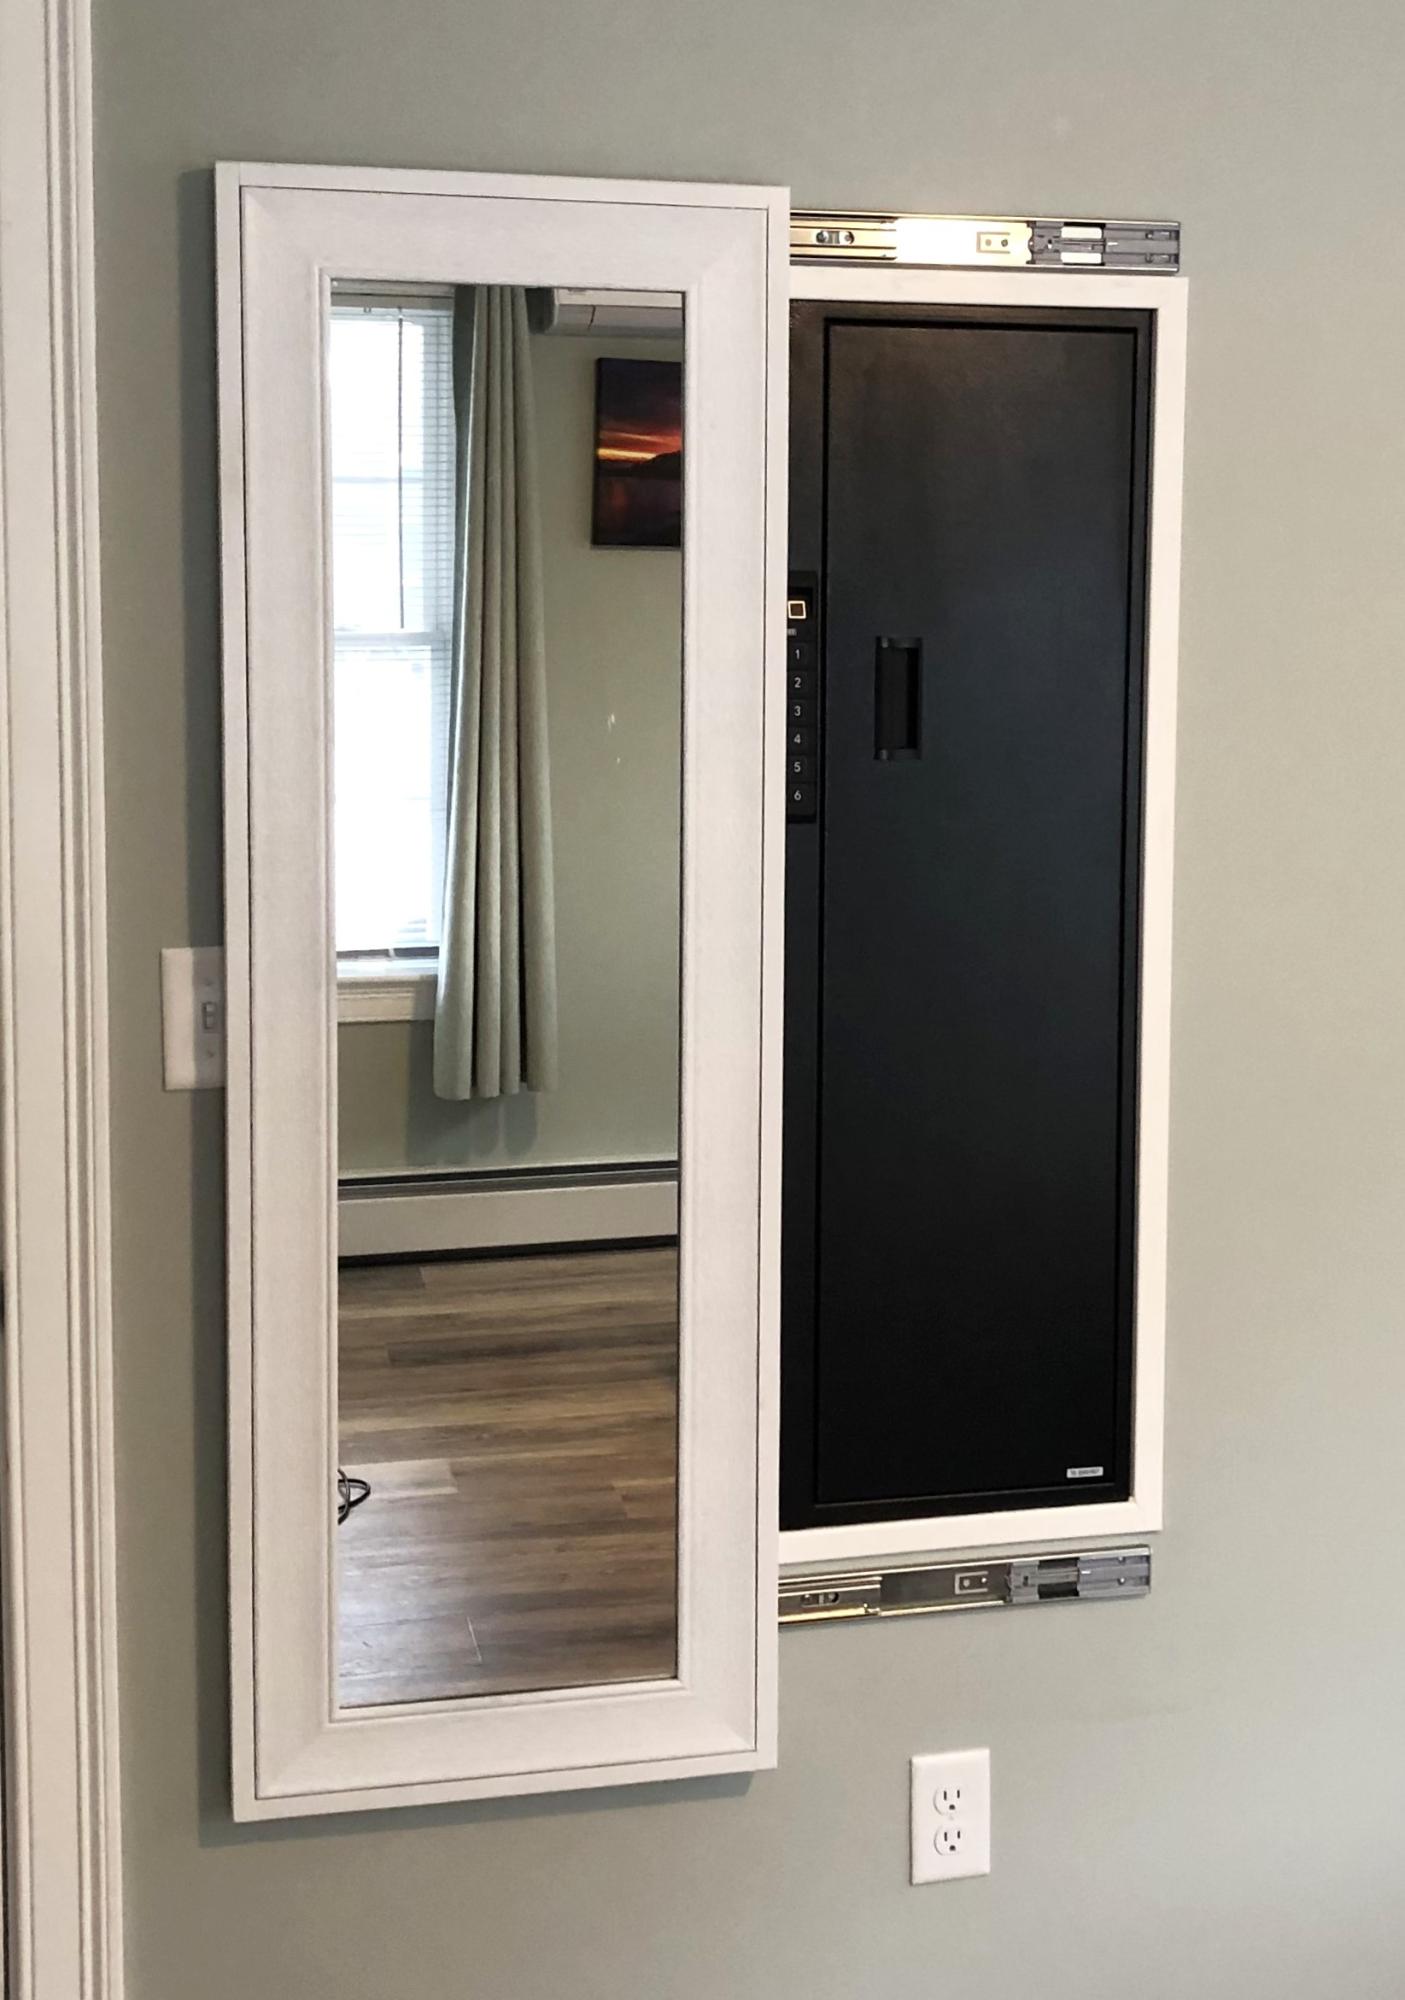
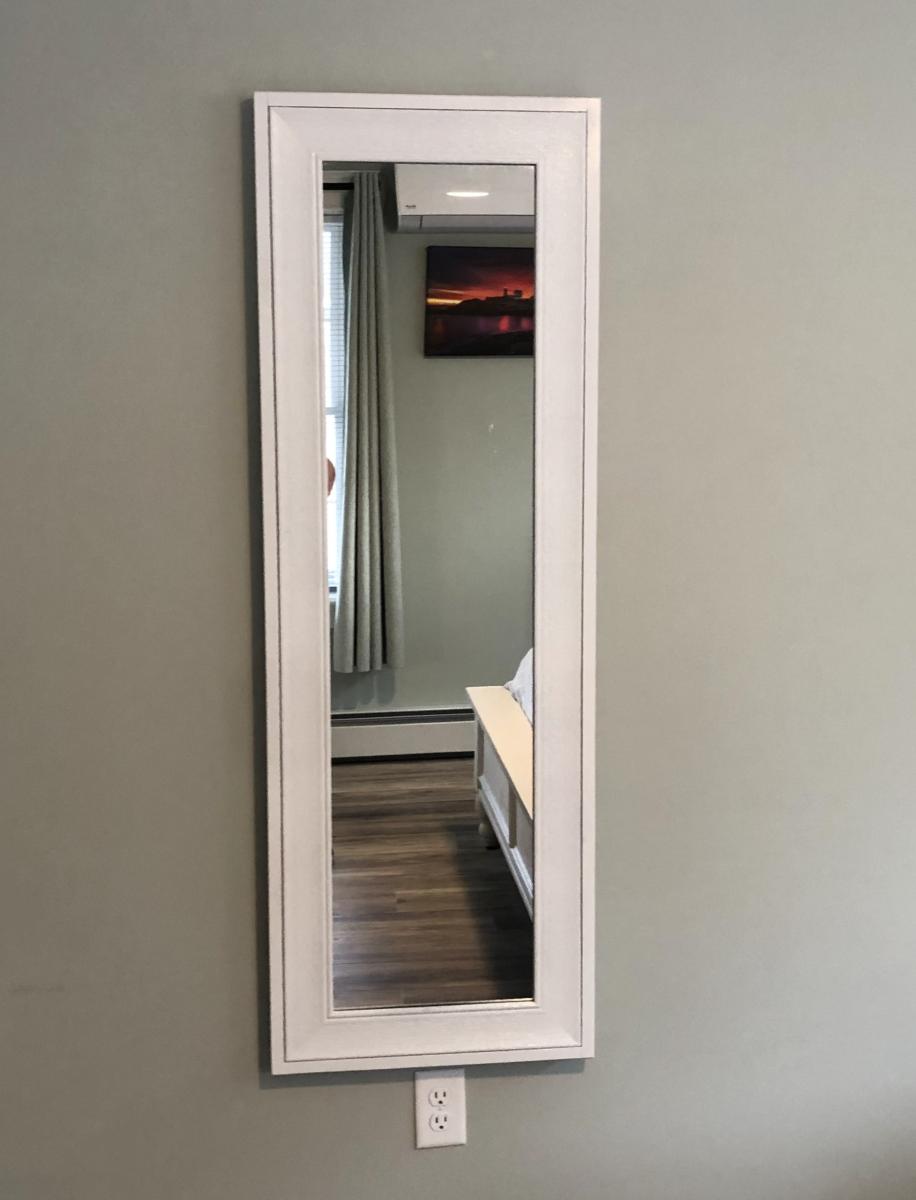
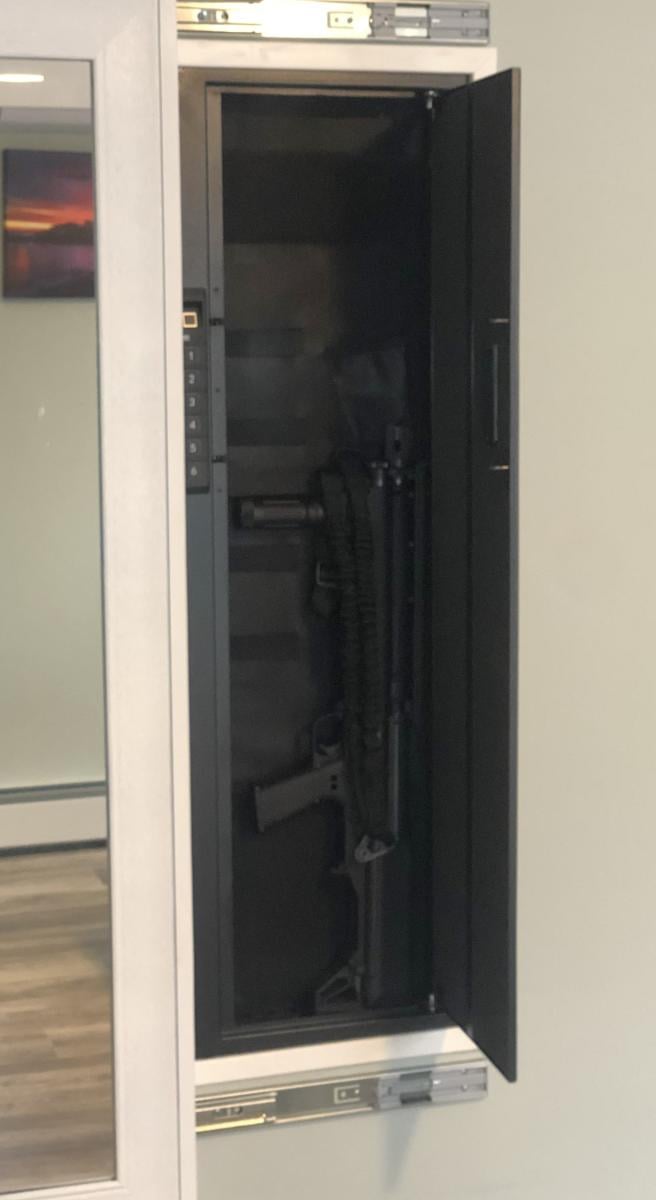
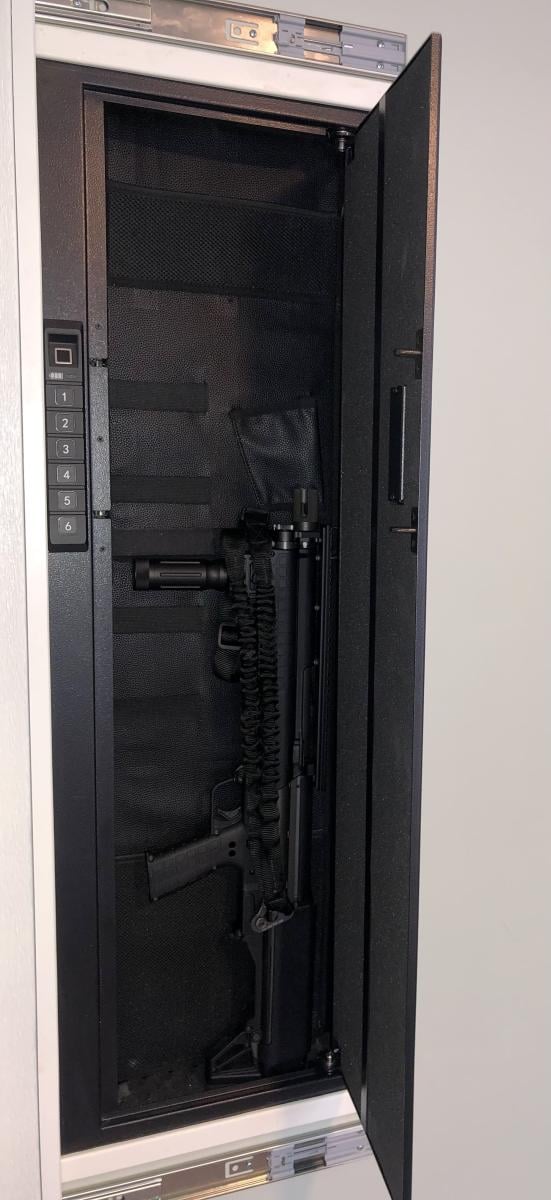
I used your frame idea to install a hidden wall safe for valuables and firearms.
Bill Devereaux
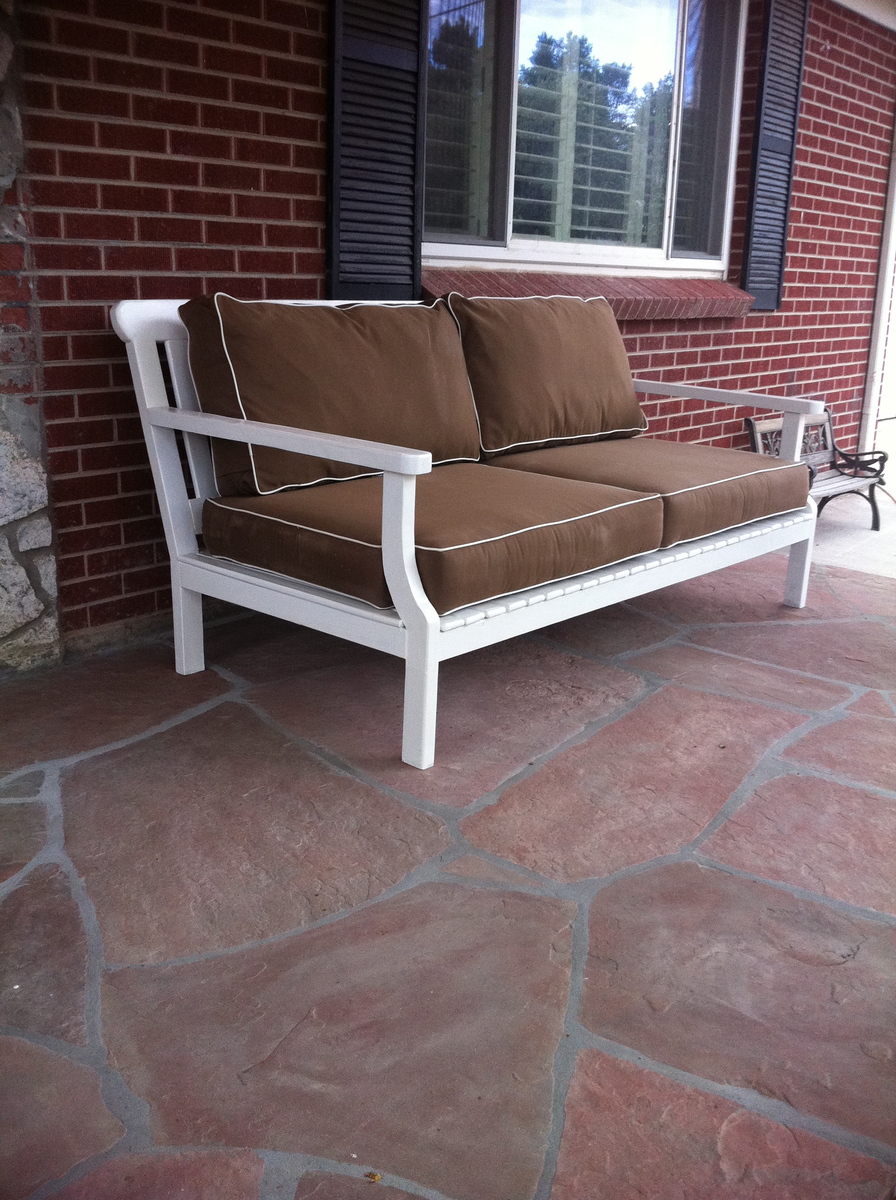
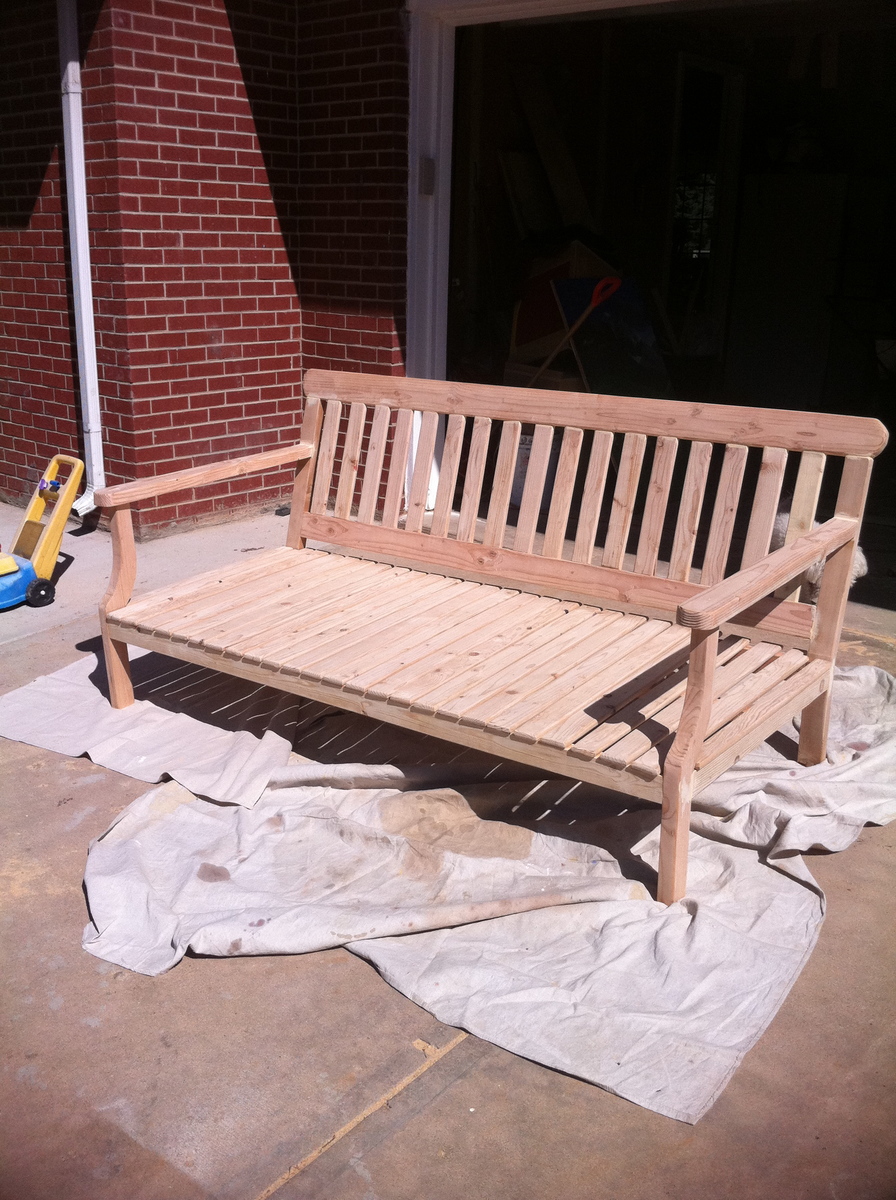
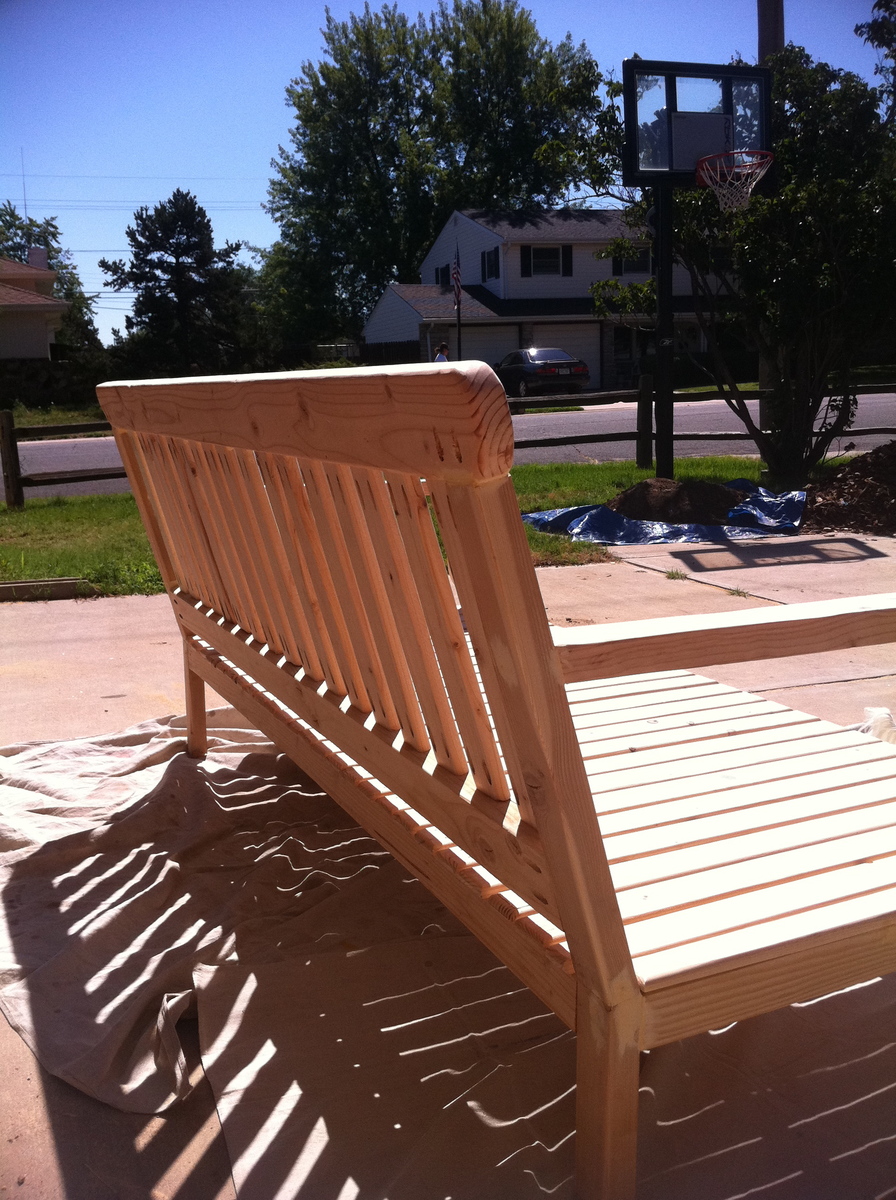
So I love Restoration Hardware but think their prices are exploitative. I found a picture of a couch I really like from there. Turns out it was discontinued so I looked on Ebay and found cushions for it and I just tried to copy the picture as best I could. I considered trying to learn about bending wood for the arms but that would have significantly delayed the process so I just took a 2x6 and cut the curves with a band saw. It worked.
Sun, 05/12/2013 - 09:31
could you please share your instructions for your couch? My email addy is [email protected] thanks!!!
Thu, 05/16/2013 - 11:30
I love your variation!! It looks like a cross between the outdoor sofa and the Bristol? Could you tell us what size wood you used for the different components? I know 2x6 cut to shape for the front leg......but what about the seating area slats (1x3?) and the back rest slats (1x3?) and the back leg/backrest upright (2x4?) and the top of the back rest(2x4? with radius end) and the box for the seating area (2x4?) You did a truly amazing job!!!!!!! I would love to see more pictures if you have any showing your progress through the build! [email protected]
Tue, 05/13/2014 - 12:51
I like the way you curved the front legs.
I am wondering how you curved the back legs/backrest?
Sun, 07/13/2014 - 09:42
Great job. Since its now 2 years later, how are your joints holding up at those
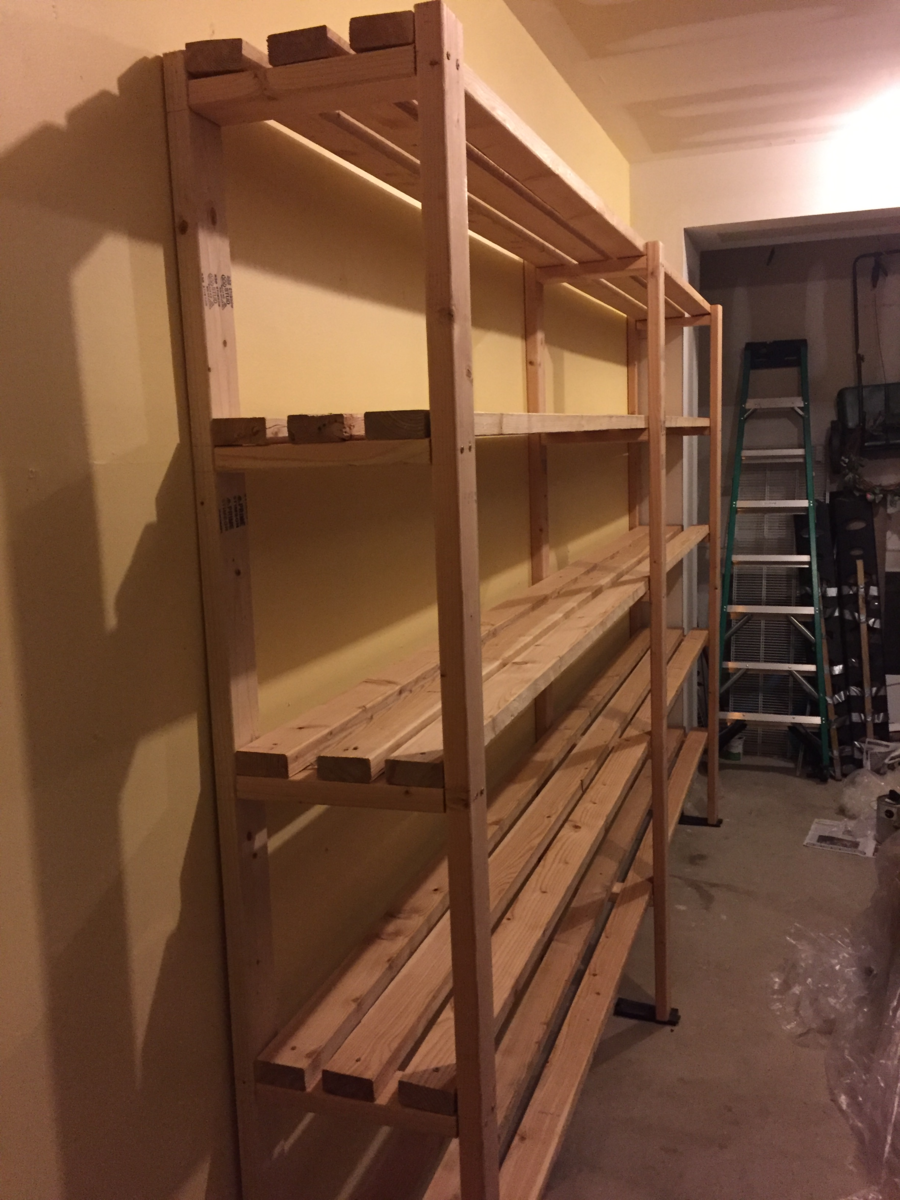
Simply inspired by Ana's Garage Shelving project using 2 By 4s. Thank you Ana. Below are my project details.
1. Shelving Height = 8 Ft, Width = 12 Ft, Depth = 13 inches (Each shelve having 3 pieces of 2 by 4s). All 8 Ft and 12 Ft lumber available in this standard size. Only cutting required (done at Home Depot) was for the 13 inch pieces to build the shelving legs (which in Ana's original plan is 17 inches, and has 4 pieces of 2 by 4s). Able to carry all lumber (multiple trips) in minivan after folding seats.
2. Garage Floor was a bit uneven - so I used Shims (plastic) as suggested by HomeDepot associate.
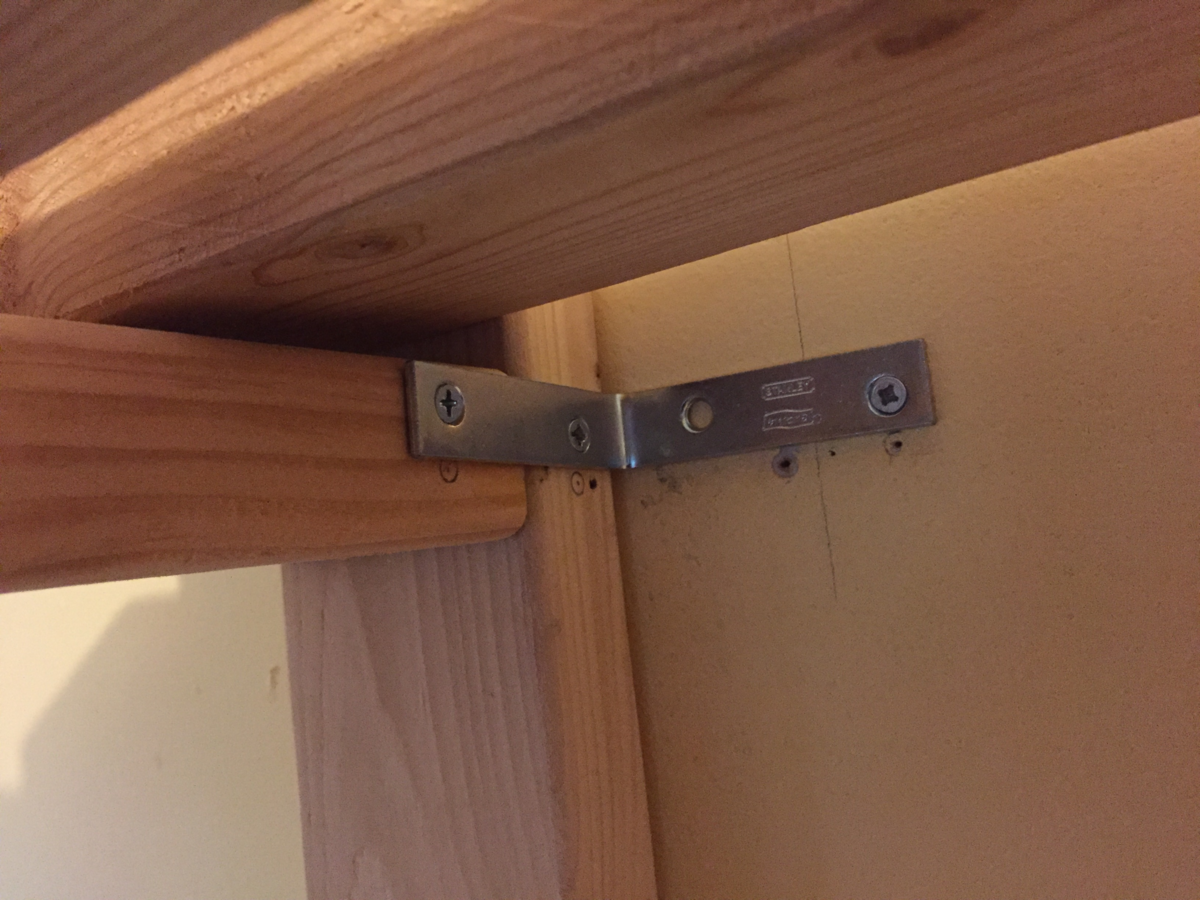
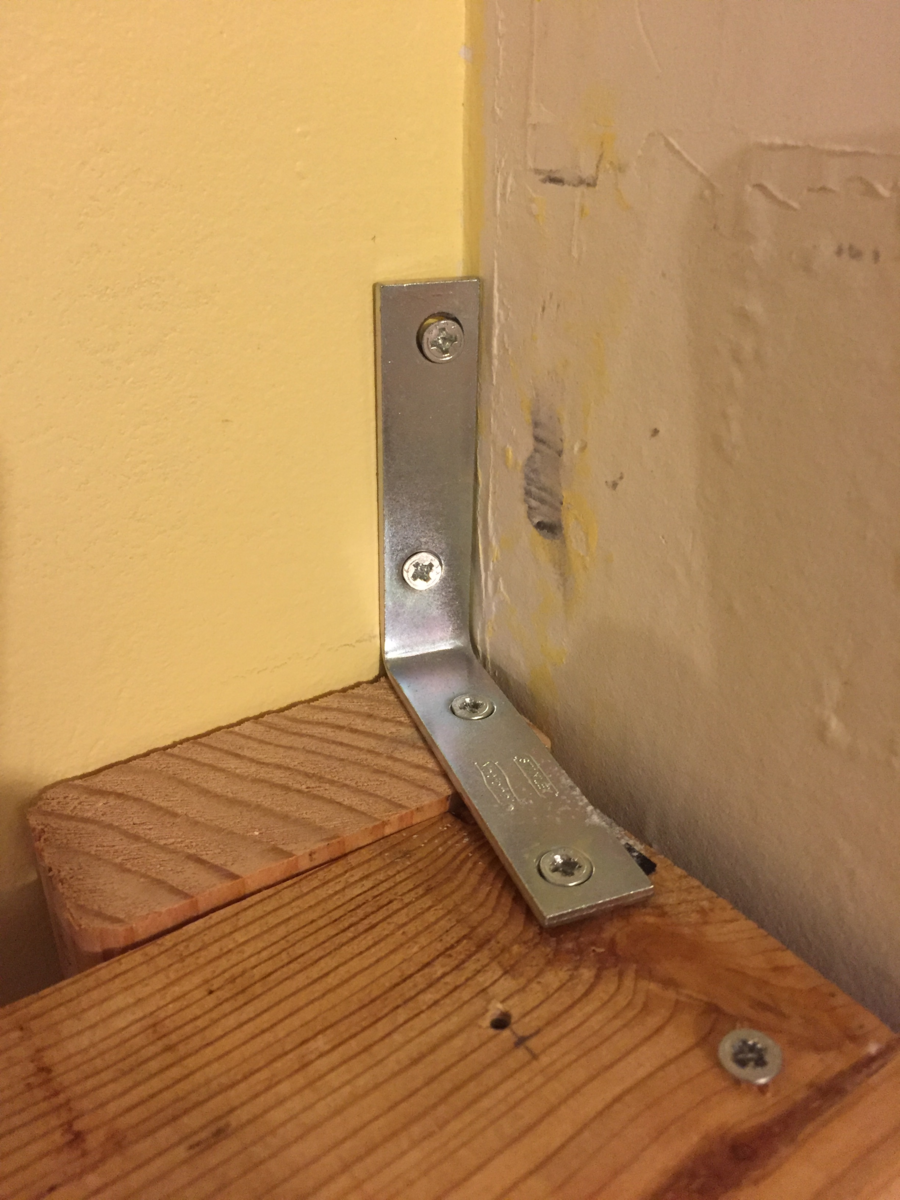
3. To secure the shelves from the top of the wall, I used corner L brackets, 3 inch by 3 inch. I used 1-1/2 inch screws to mount the bracket on the 2 by 4s, and then to mount the other side of the bracket to wall studs, I used the 2-1/2 inch screws (which I used throughout the project as Ana suggested). I mounted two brackets sideways, and one on the top (because the stud was around the corner). Used a thin nail to find the stud as studfinder results were not reliable
4. After making shelving legs, we made them stand next to the wall, and then mounted the shelves (3 pcs each on each shelve) and then put screws. My wife, her uncle, aunt, and cousin helped to mount finally, and it was great fun.
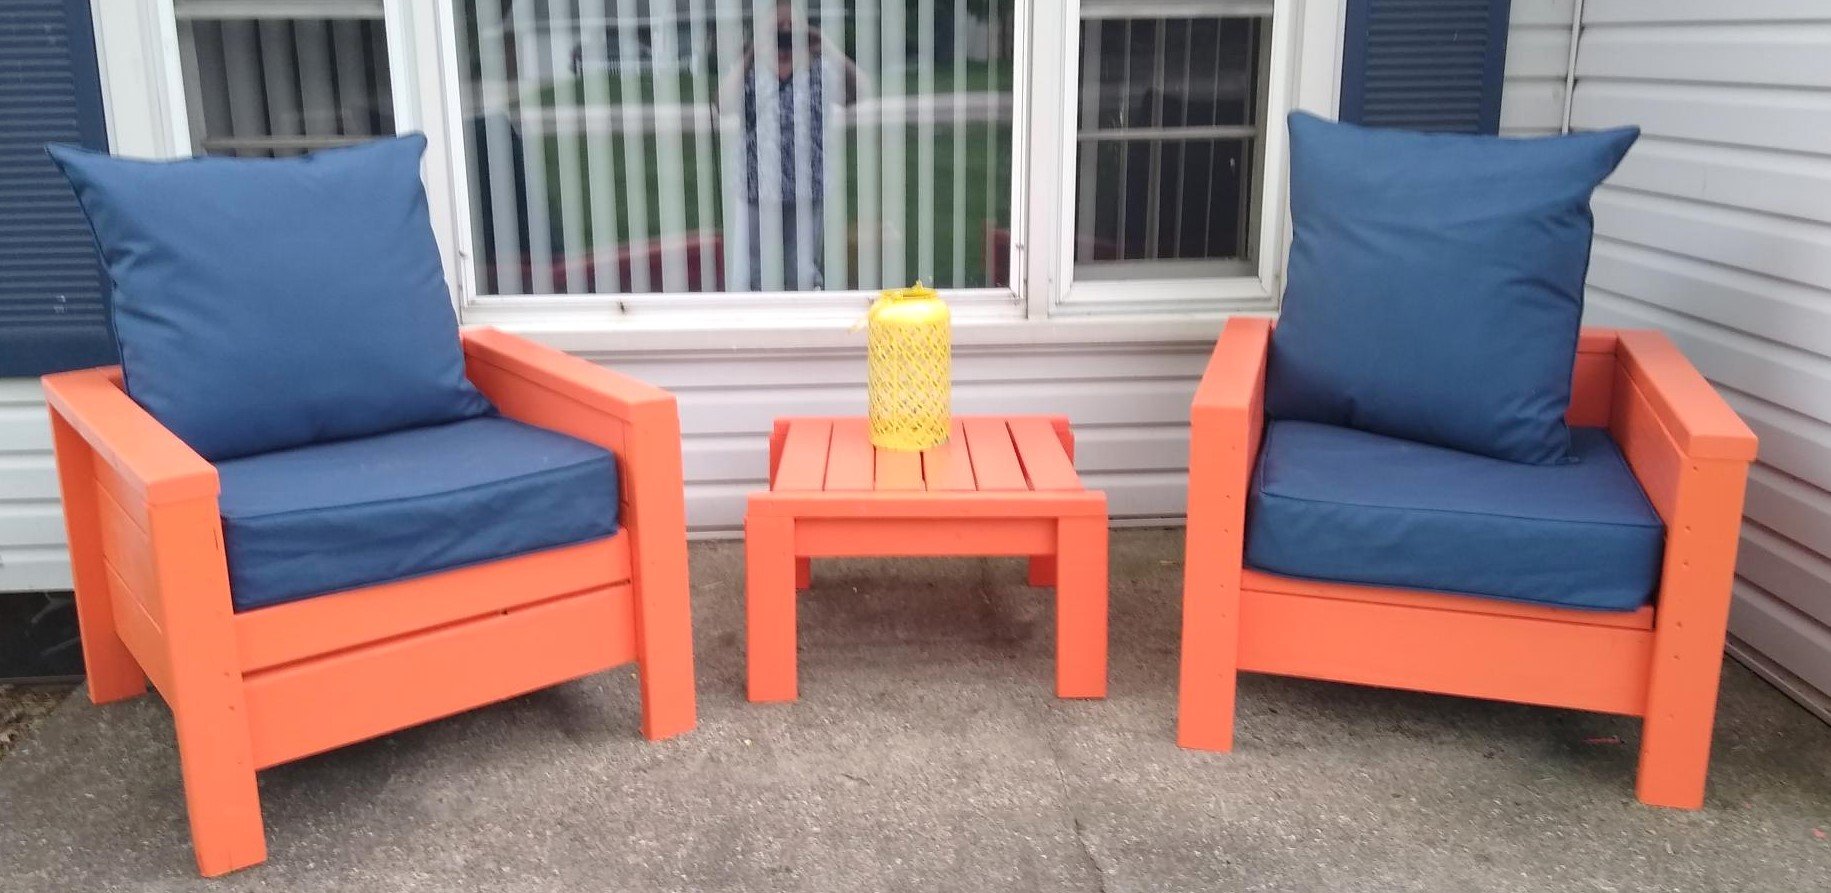
My first project. Good learning experience and they turned out great!
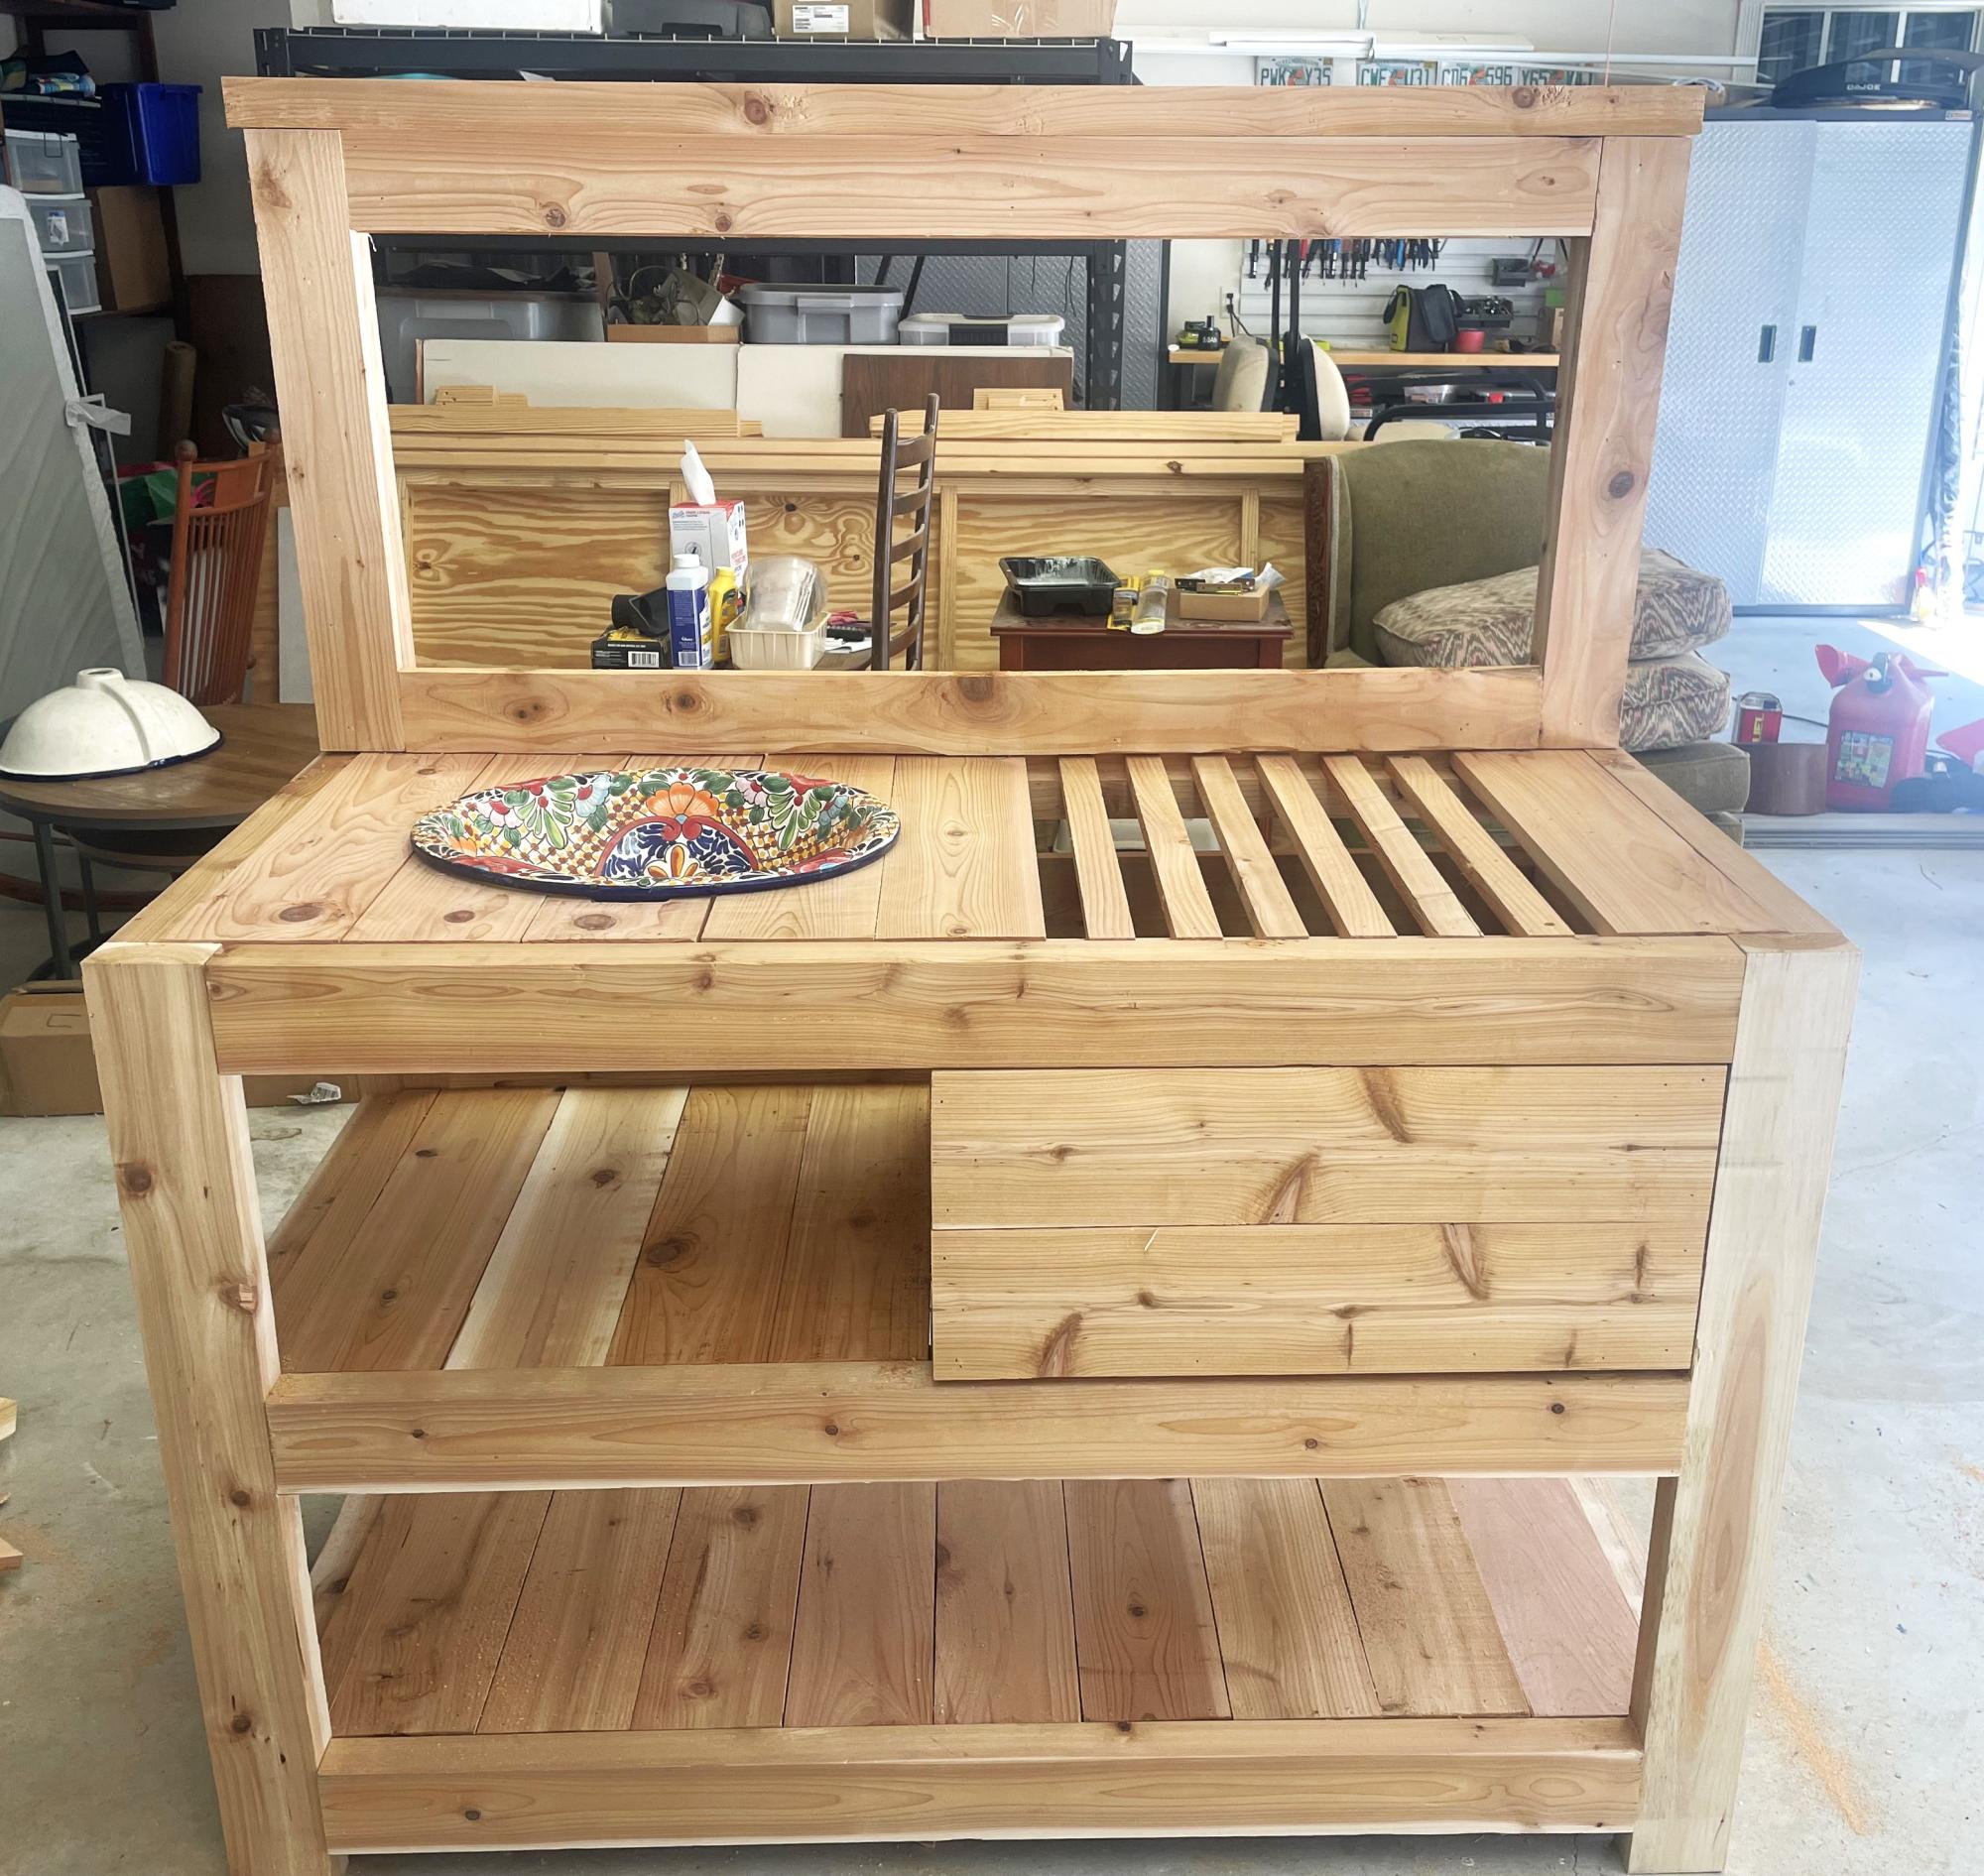
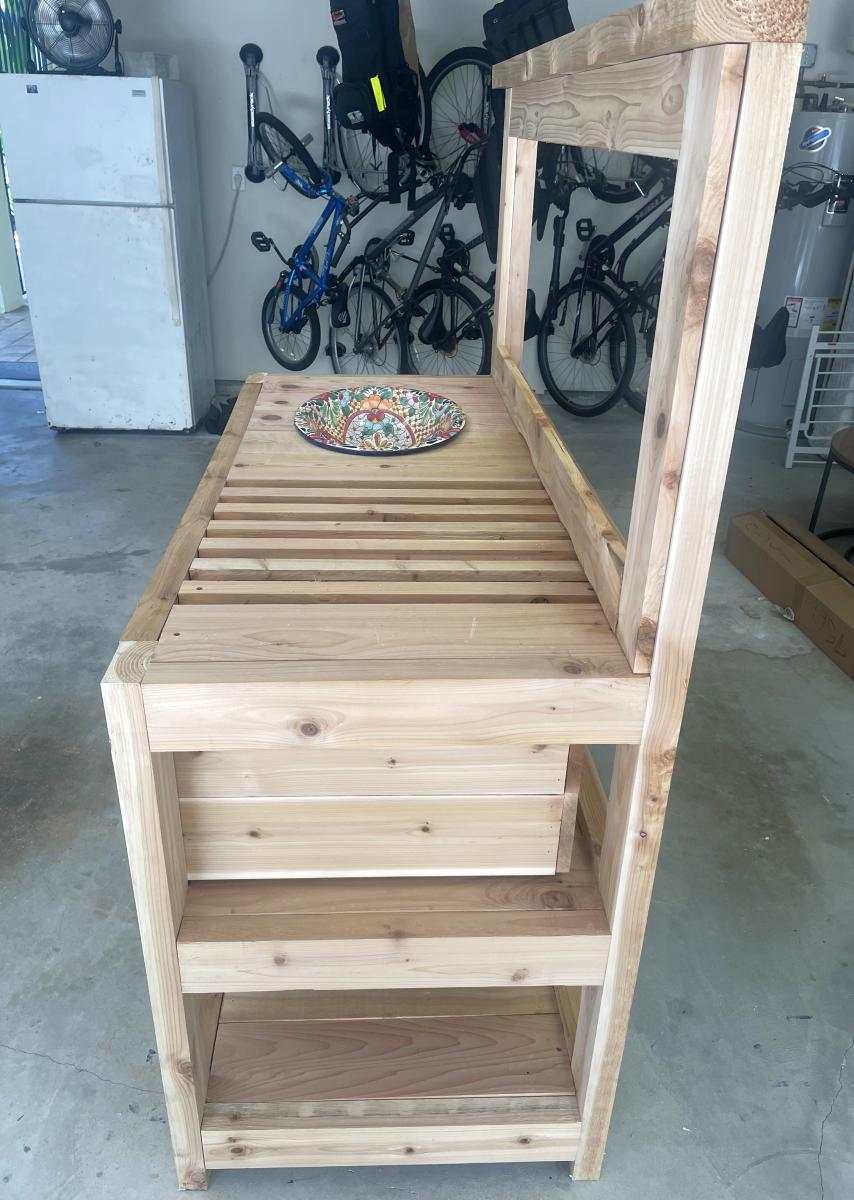
Made this from a great Ana White plan Modified it to fit a small sink that will drain to a water bucket underneath it.
Joe
