Community Brag Posts

Adirondack Chairs

Submitted by rkmau on Thu, 04/15/2021 - 11:06

I made the first adirondack chair, then decided to modify slightly to include drink holders for the second chair. Super easy to make and the instructions were very clear and concise. The cuts were straight forward except for the stringers, which had very specific drawings to follow. I sanded to round the edges and stained the first coat before assembly.

Estimated Cost
$55
Estimated Time Investment
Day Project (6-9 Hours)
Finish Used
Left over stain we had in the shed. I will also use some polyurethane to protect from the elements.
Recommended Skill Level
Beginner

Farmhouse tallboy dresser

I just finished building this dresser and i am very very happy with it. I got the plans from the design confidential http://www.thedesignconfidential.com/2012/03/free-diy-furniture-plans-b… This dresser took me over a month to do from start to finish i mostly just worked on it during the weekends. I have a small work area so there was only so much i could do at once. This dresser is very sturdy and strong, I am willing to bet this will be in the family for many years to come. If I had a router I would have loved to have made the drawers out of solid pine (instead of plywood) and made dovetail joints. I used The kreg jig to build them and there still awesome either way.

Estimated Cost
$200
Estimated Time Investment
Week Long Project (20 Hours or More)
Finish Used
I distressed the wood using various tools and such to make it look old and aged. I then used the tea and vingar stain, but it didnt come out exactly what i had wanted. To fix this i rubbed chocolate coloured stain over top of this then used 2 coats of satin poly. It came out a litter darker than I had originally wanted but am still very pleased with the results!
Recommended Skill Level
Intermediate

Comments

Truss beam farmhouse table

Submitted by Mjh60 on Tue, 02/03/2015 - 19:41

This was my first table I built, very happy I found these plans. The legs were pressure treated 4x4's which made it very heavy one I put it all together. Thanks for the plans Ana!

Built from Plan(s)
Estimated Cost
$120.00
Estimated Time Investment
Week Long Project (20 Hours or More)
Finish Used
Minwax stain and polyurethane
Recommended Skill Level
Beginner

Comments

Weatherly X back

Loved making the Weatherly for the back porch. Extended it out to be a four seater on the long side and 3 seater on the short. Finding a deal on the cushions is the key (I didn't). 

Did make a jig for the X back to make them more exact and consistent. 

Built from Plan(s)
Estimated Cost
The materials were $150. The cushions were about $600.
Estimated Time Investment
Week Long Project (20 Hours or More)
Finish Used
MInwax Ebony stain with Minwax Helmsman Gloss finish. Doesn't show in the picture but the grain shows through. I changed the time investment to week long because sanding, staining, finishing, and sanding, and finishing took a few days.
Recommended Skill Level
Intermediate

Redwood 2x4 outdoor sofa (Cushions on order, due Monday)

Submitted by Anonymous (not verified) on Wed, 04/21/2021 - 15:31

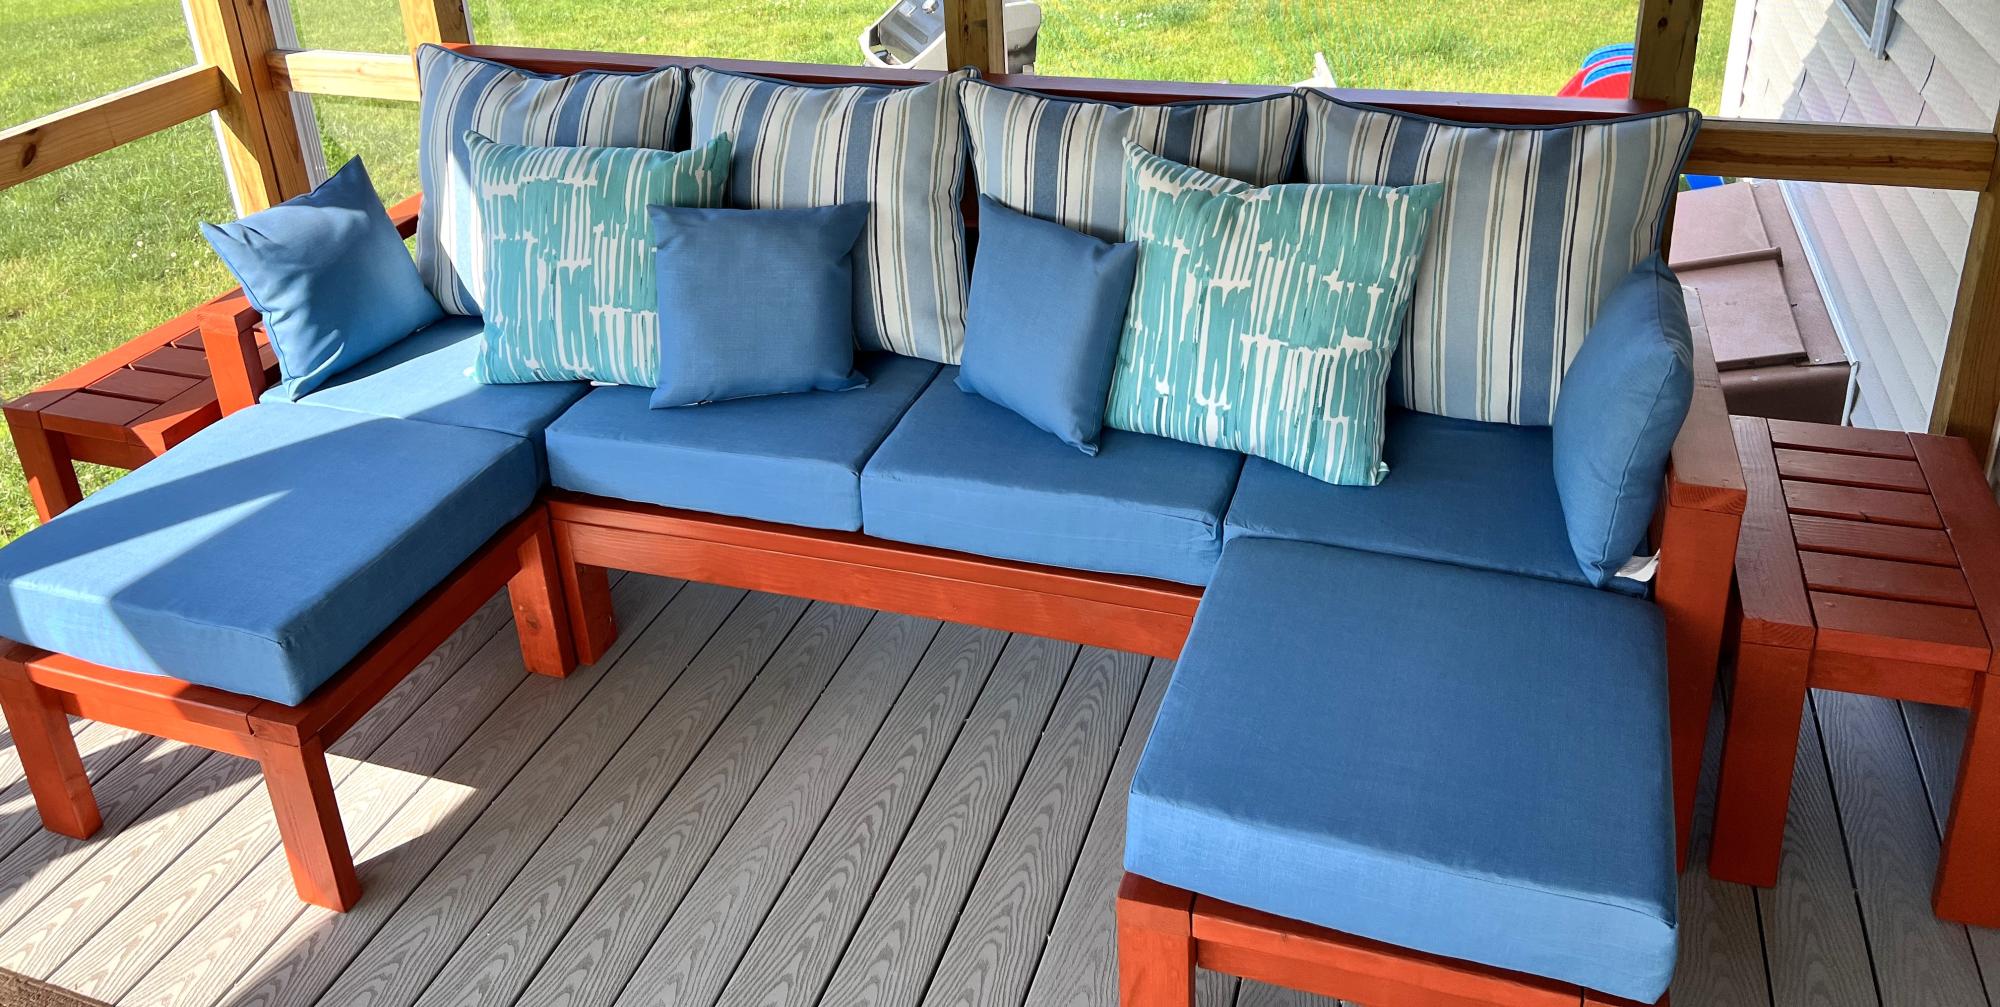
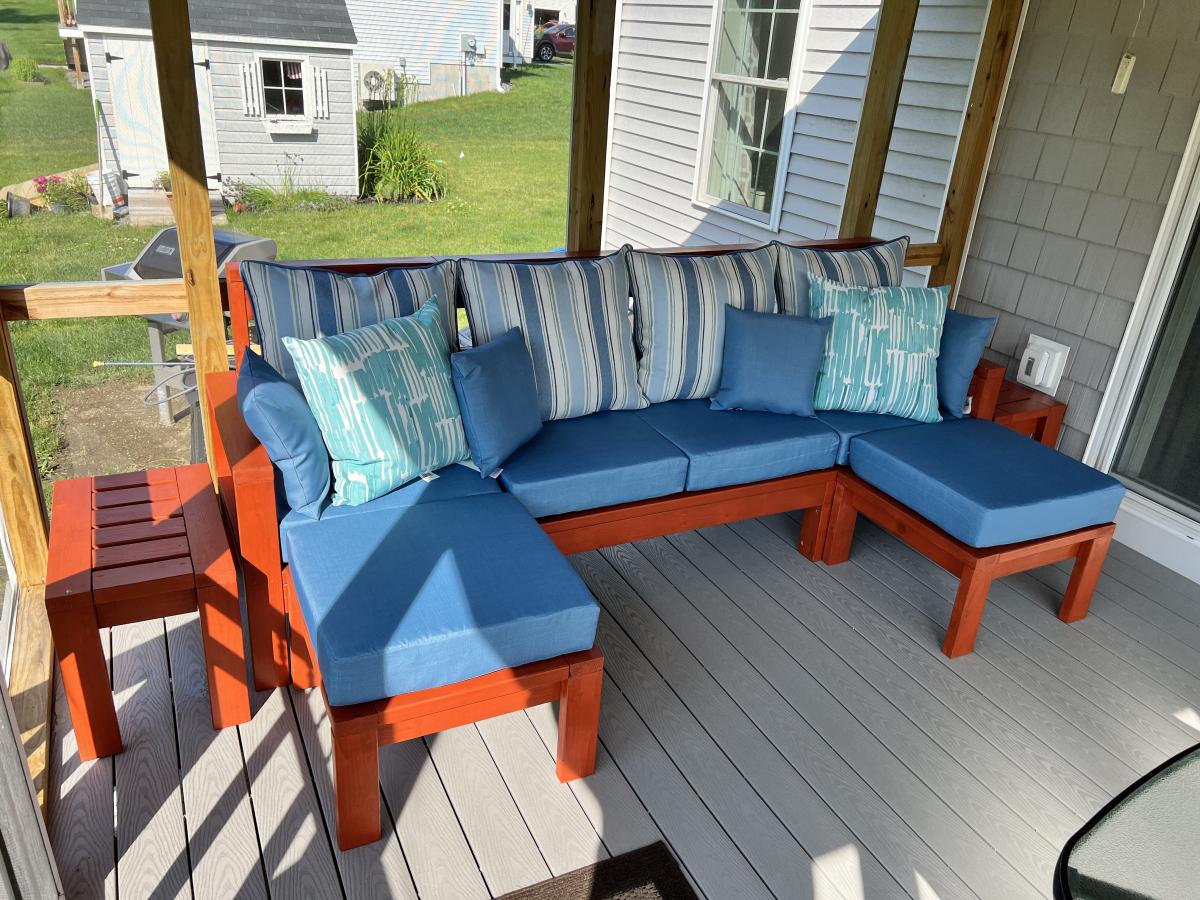
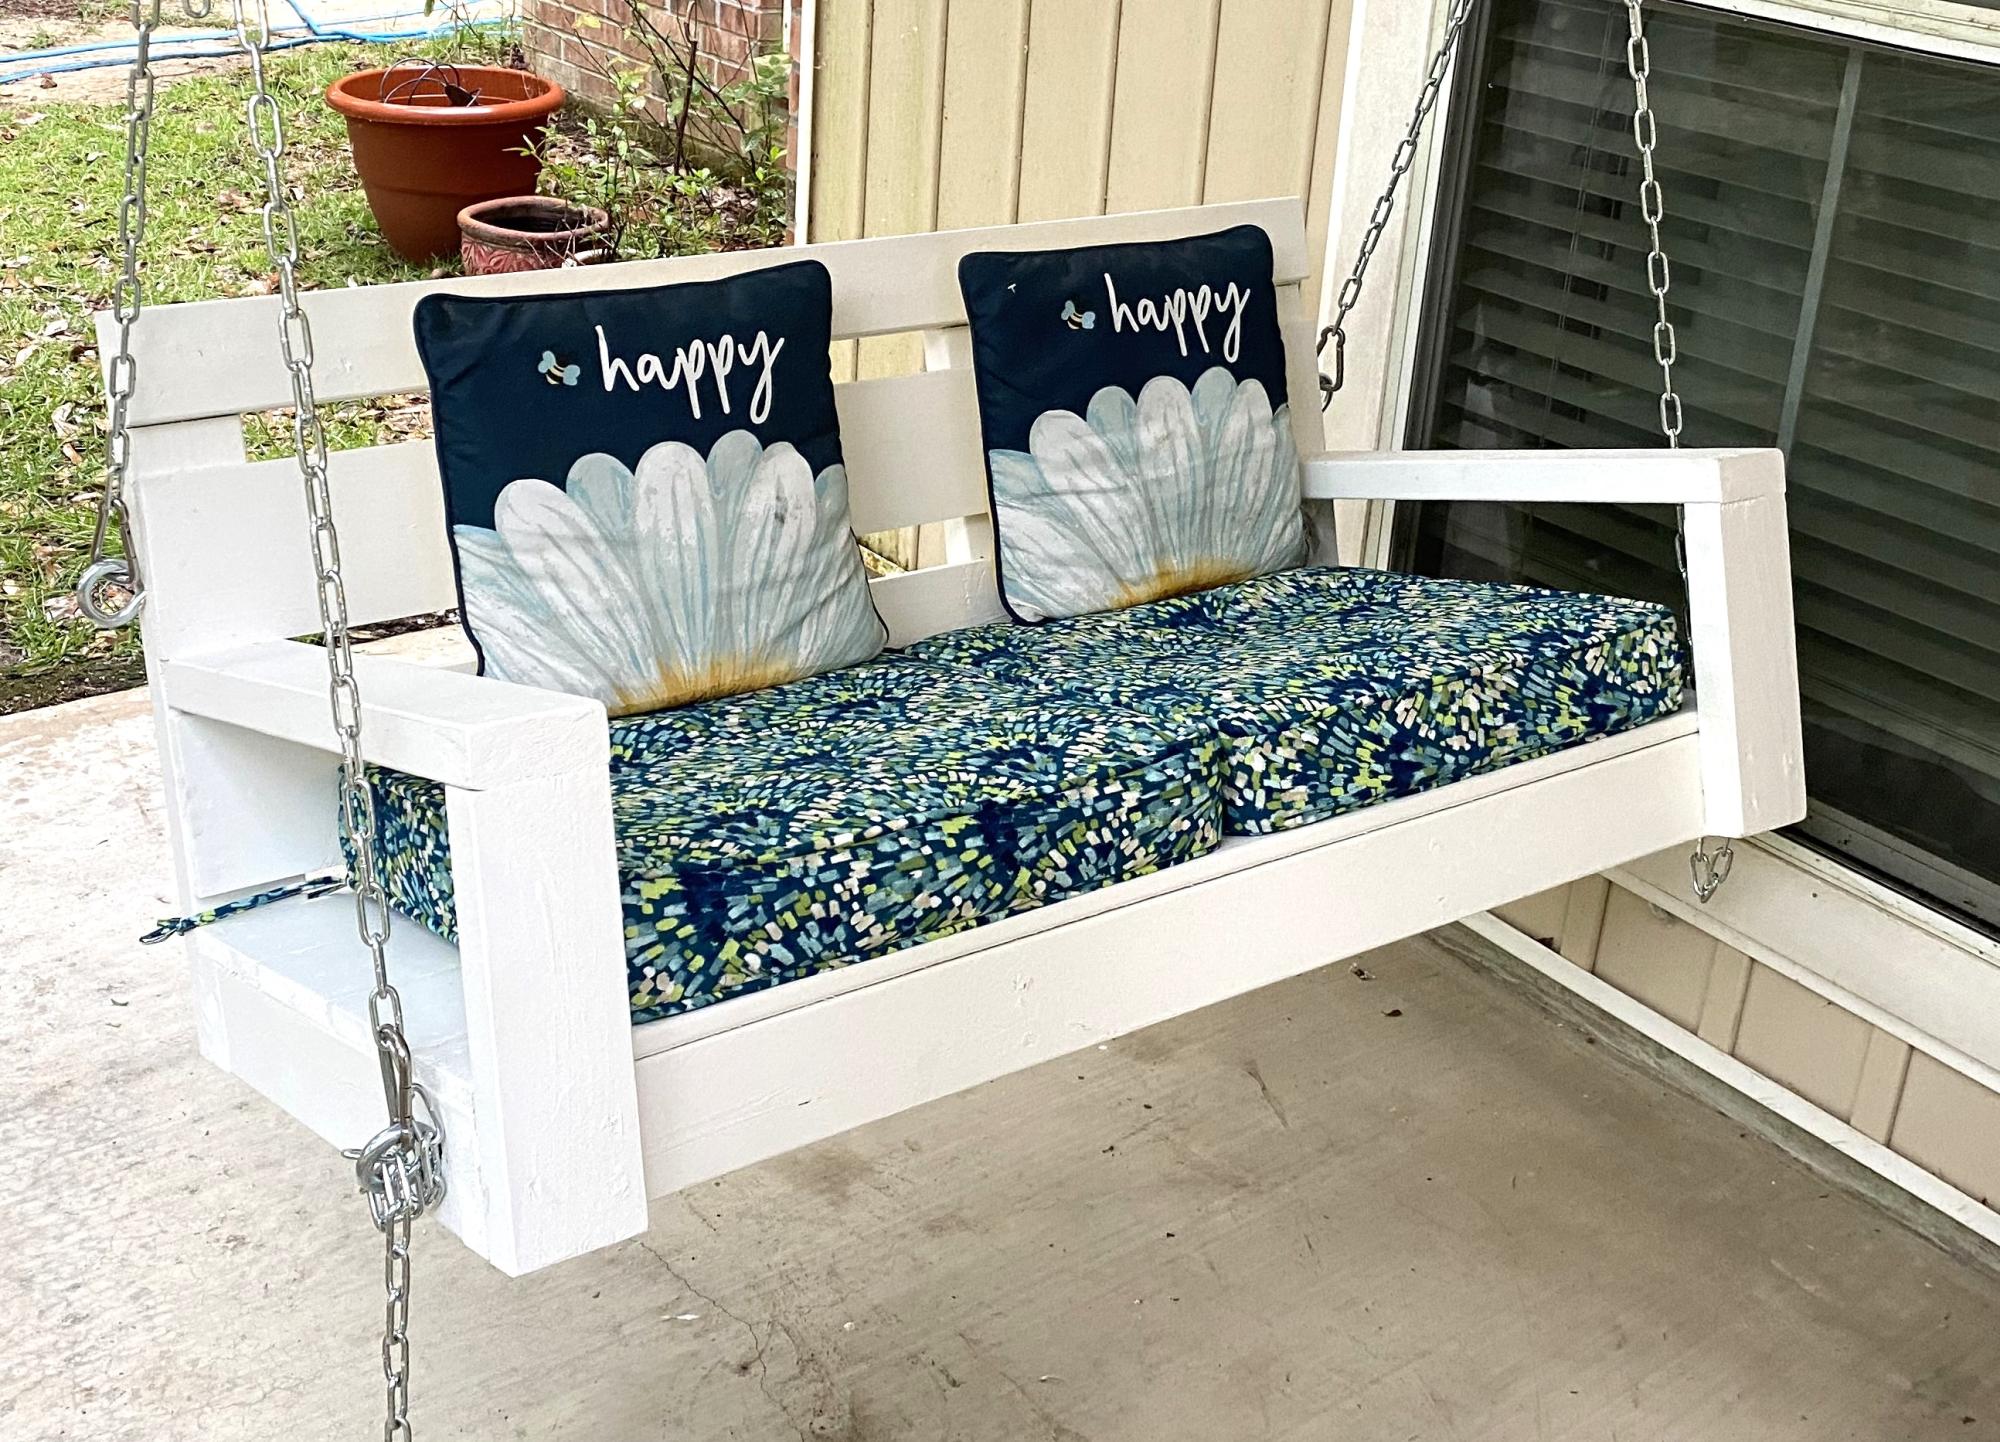
I love Ana White's 2x4 sofa project. I chose a couple of upgrades: bought redwood 2x4's and a pocket-hole jig to reduce visibility of screw holes and, of course, installed the additional side and back rails. I finished with Tung oil and then read the directions on the can afterwards: 'This product is intended for interior projects only!' Oh well.

We ordered these cushions: https://www.walmart.com/ip/Arden-Selections-Plush-BlowFill-Sapphire-Blu…
which were rather expensive but I read too many negative reviews from customers who bought and used cheap cushions.

This was the perfect project for a retiree with too much time on his hands and some basic building skills.

Thank you for this!

Michael Smith

Estimated Cost
$500 with cushions?
Estimated Time Investment
Weekend Project (10-20 Hours)
Finish Used
Tung oil...but I won't make that mistake again.
Recommended Skill Level
Beginner

Comments

Camp Loft Bed with side stairs and landing

Submitted by dmel on Wed, 03/27/2013 - 09:48

I used Ana's camp loft bed plans. Built it directly in the room since I had the kiddo's with me and hubby working late couldn't help carry pieces upstairs. Built this "big girl" bed for my three year old and she loves it. Hubby and Bro-in Law got the mattress and it was a little high for the plans, so I have since added a foldable side rail for extra security. Plans worked great as is, no changes made.

Estimated Cost
70
Estimated Time Investment
Weekend Project (10-20 Hours)
Finish Used
Paint (light pink)
Recommended Skill Level
Beginner

Kid's kit doll bed

Submitted by capt jack on Sat, 02/07/2015 - 18:11

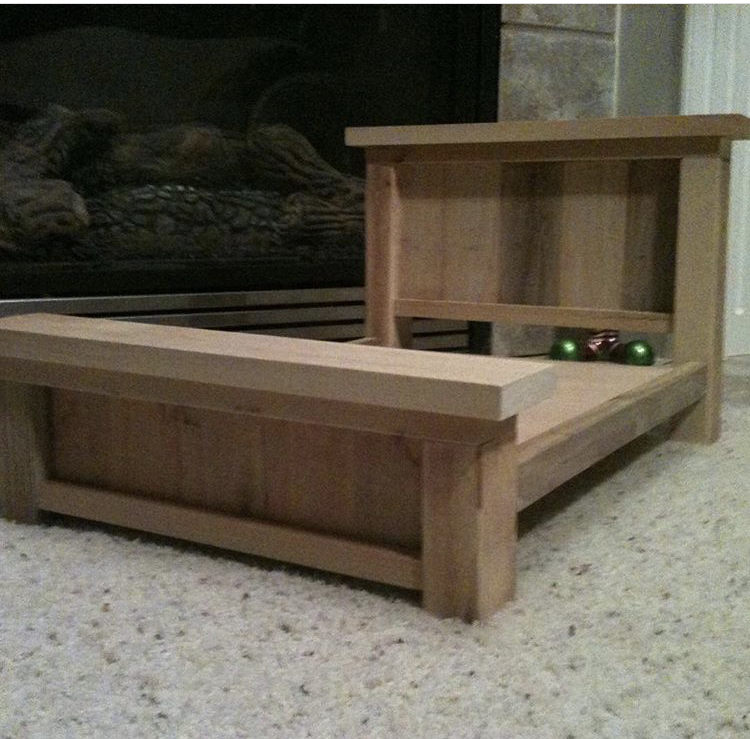
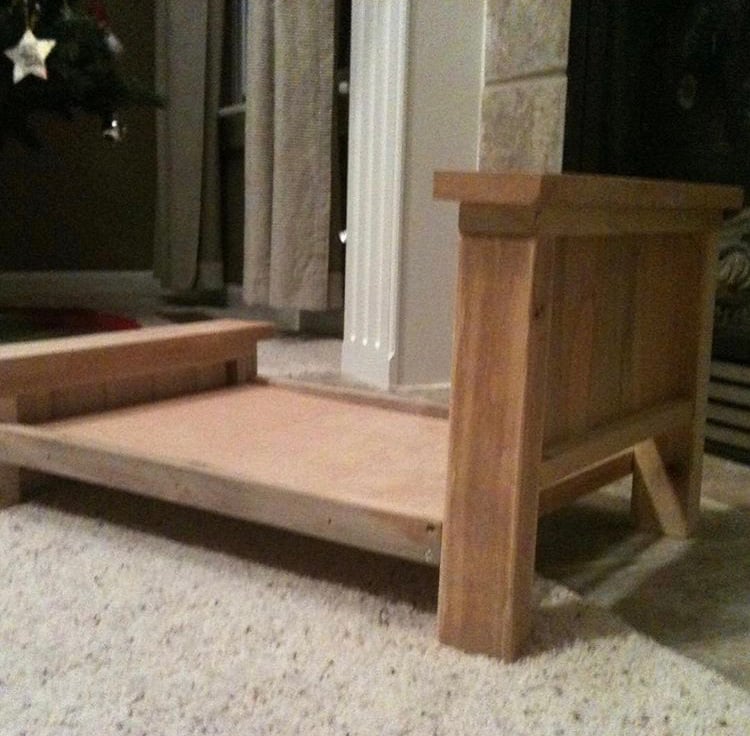
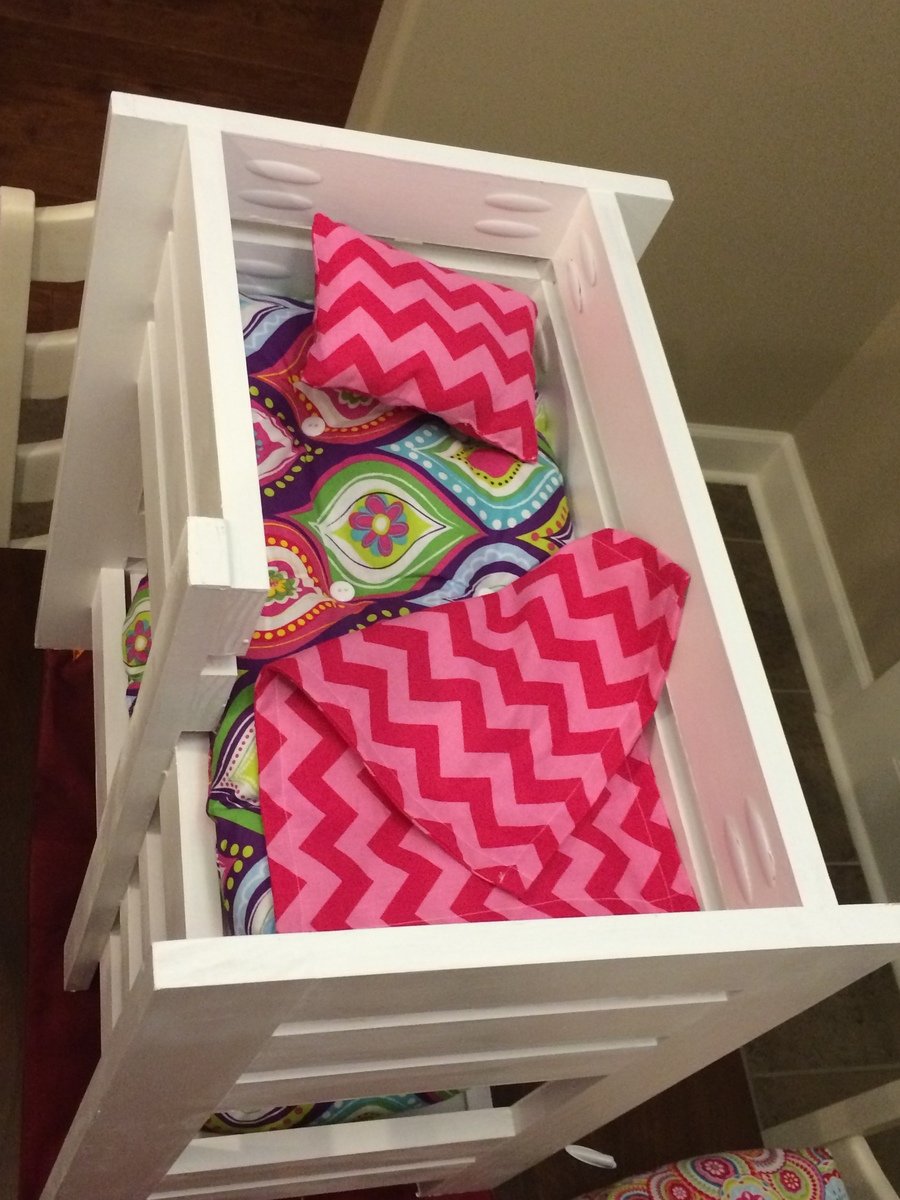
My granddaughters requested beds for their multiple American Girl dolls.  I found this project and it looked like it would be fun to make.  Well, the girls have friends so the order soon totalled 19 beds.  After making a prototype I realized this would be time consuming and the results erratic if I didn't fashion some jigs for constructing the beds.  The jigs added speed and precision to the project.  Also, after building a few and puttying the screw countersinks, I tried connecting side rails to the head and foot boards using pocket screws.  This works great..Pictures of the jigs are attached.

Estimated Cost
$15
Estimated Time Investment
Afternoon Project (3-6 Hours)
Finish Used
Satin finish latex paint
Recommended Skill Level
Beginner

X Entertainment Stand

Submitted by Anonymous (not verified) on Sat, 05/06/2017 - 03:48

My friend and I made this together and it was my first time using the Kreg pocket hole system. I was very impressed. The base of the piece is pine finished with a white-wash stain so the grain is still visible. The top is a restored piece of walnut finished with a simple clear coat of polycrillic. Thank you so much for the design idea! My friends love it in their living room!

Estimated Cost
60-80
Estimated Time Investment
Weekend Project (10-20 Hours)
Recommended Skill Level
Intermediate

Comments

DIY Board Game Cabinet

We tweaked the Ana White Barn Door bookcase plan for a bathroom linen closet, made it a hair too wide (it was soooo close), and decided to use this for board games instead. It's PERFECT for storing long games like Monopoly, as well as puzzles, cards, and more. I decorated it with vinyl cut with my Cricut to give it that "game night" feel.

The project ended up being fairly time consuming because painting the shelf took a lot of time... if I did it again, I'd probably use a paint sprayer. I just don't have a great space for spraying furniture builds.

Built from Plan(s)
Estimated Time Investment
Weekend Project (10-20 Hours)

Comments

Farmhouse Toddler Bed

Submitted by SkyGold on Fri, 03/29/2013 - 18:58

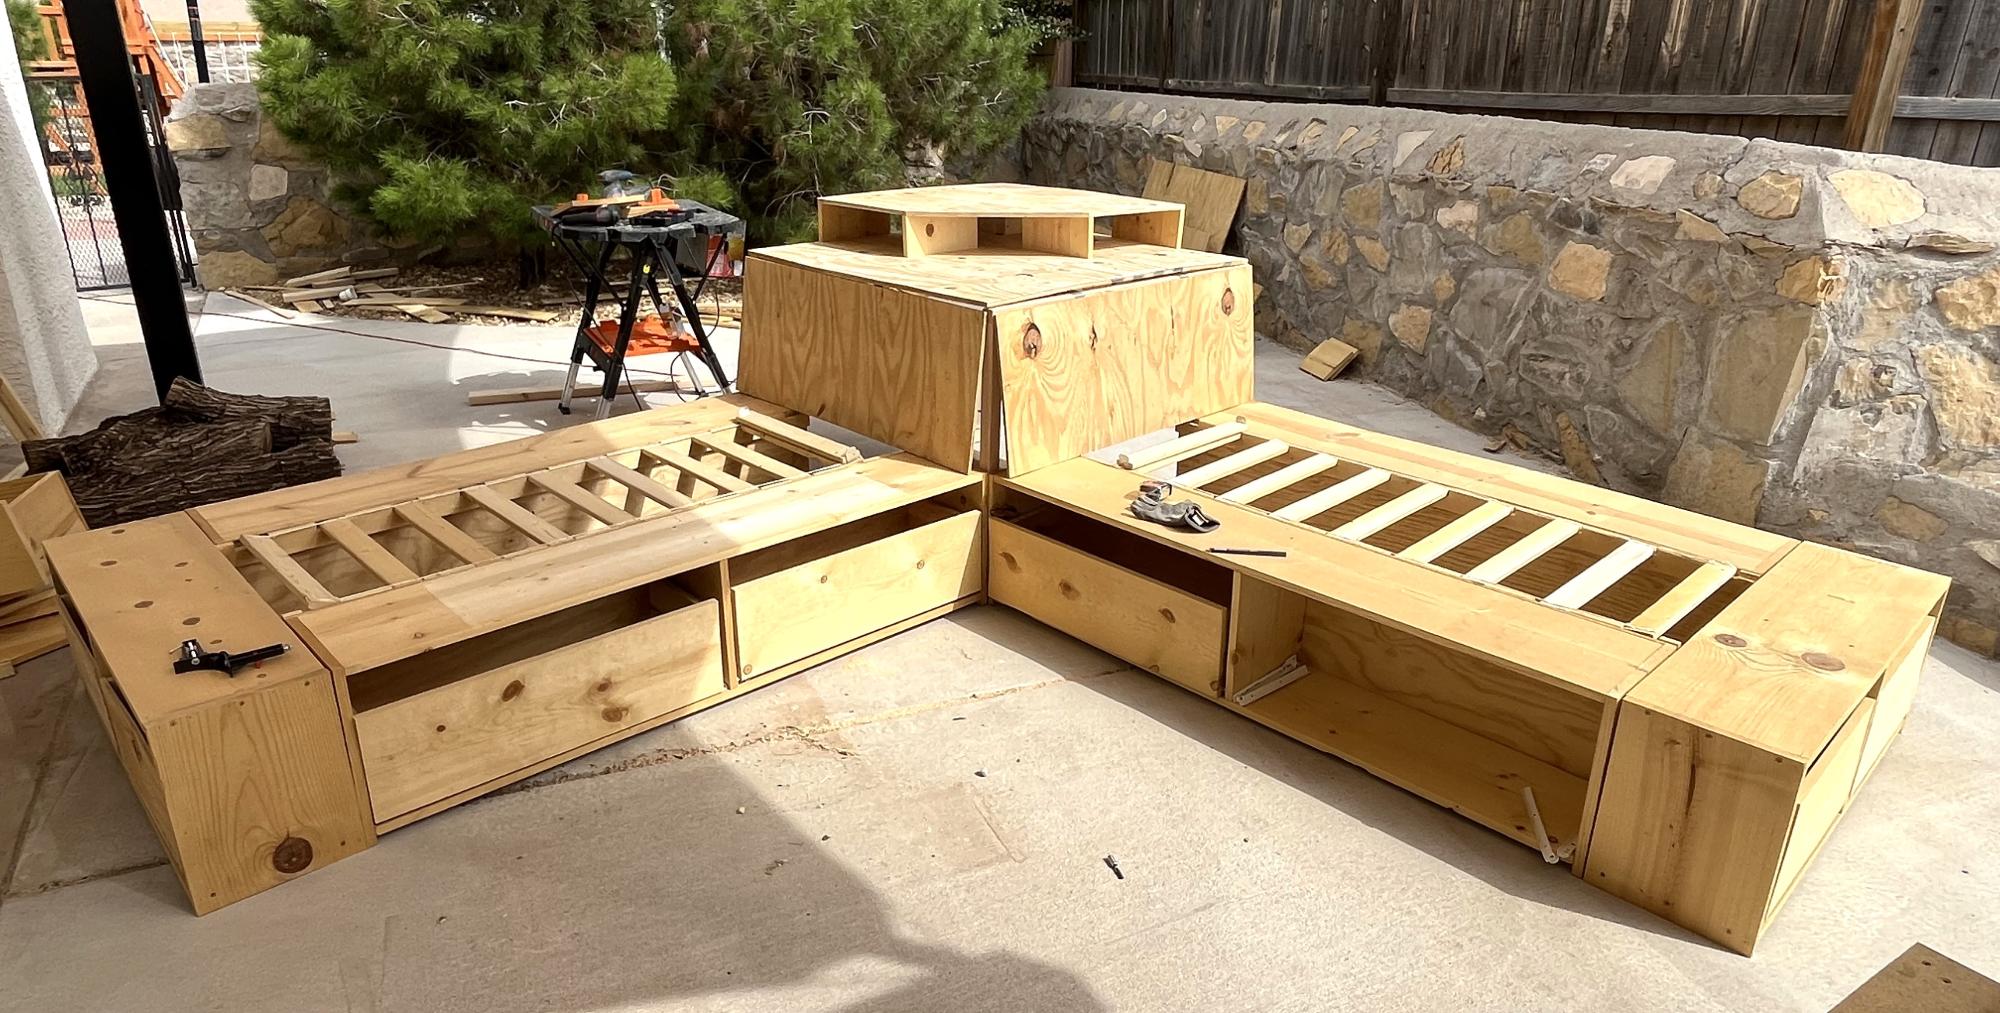
This is a cross between the Farmhouse toddler bed plans and the Brookstone storage bed. My youngest son's bedding was all western stuff that I had made and wanted a bed that did it justice. We combined the headboard from Brookstone with the Farmhouse plans. I think it looks pretty good considering it was our first project!

Estimated Time Investment
Weekend Project (10-20 Hours)
Finish Used
Minwax Dark Walnut
Recommended Skill Level
Beginner

Bare Legs and Milk Paint

Submitted by KiraLynne on Tue, 02/10/2015 - 12:01

Hey, y'all. Here is how our milk paint dining table turned out. We are proud of it. Keep checking the blog and I will have more pictures of our complete dinning room flip posted. 

Thanks,

Kira

Estimated Time Investment
Weekend Project (10-20 Hours)
Recommended Skill Level
Beginner

Rolling canon shelves.

Submitted by Anonymous (not verified) on Tue, 05/09/2017 - 13:14

Free wood from a local builders "trash pile" (I did ask) kreg Pocket Jig ($120, I needed it) 2 dollys from Harbor Freight $7.99 each.  2 handmade tennis ball shooting canons.  6x3x6. Thanks so much for the confidence! My first build ever!


Estimated Time Investment
Afternoon Project (3-6 Hours)
Recommended Skill Level
Starter Project

Tip out garbage/storage cabinet

This little space by the back door has always made the kitchen look messy. We put the garbage can there, and other random stuff we didn't have a place for. I got the idea to build Ana's Tilt Out Trashbin cabinet, but I also wanted a place we could put things like pet treats, etc. to get them out of sight. I made the upper horizontal space to house cans of dog and cat food, and bring the cabinet up to the same height as the countertop. The right hand side has adjustable shelves with bins for things like onions and potatoes. Left side is the tilt out trashbin. Top is butcher block stained black to match my countertops.

Estimated Cost
$120
Estimated Time Investment
Week Long Project (20 Hours or More)
Finish Used
Latex paint, food safe stain and poly varnish.
Recommended Skill Level
Beginner

Comments

Twin Over Full Bunk Bed

Submitted by sapperstan on Mon, 04/01/2013 - 14:47

My 4 year old kept asking for a bunk bed, so my wife and I went to the furniture store and saw we would be paying close to $1000 for a junkie bunk bed. We told him it cost too much and left it at that. Then he started bringing us pennies, dimes and all the change he could find to pay for the bed. So I found this website and decided to attempt to build him one. I started building it after work on Monday, continued for a few hours every evening and finished Saturday morning. It turned out amazing, and both the boys love it. It is extremely sturdy, and will last beyond my lifetime. It's just a good quality design. Total Cost was about $300. Not bad for what we would have been paying for a lesser quality bed. Changes I made: I added the railing on the front of the upper bed to match the headboards and railing on the back side because my wife is a worrier. I also designed and built the stairway and bolted it to the lower bed. I am no professional carpenter, a novice at best. Most people with a little carpentry knowledge can build this. Thanks Ana, we all love it!

Estimated Time Investment
Weekend Project (10-20 Hours)
Finish Used
Sanded with 220 grit
Applied wood conditioner
Applied Minwax Aged Oak gel stain
Applied Polyeurathane for protection
Recommended Skill Level
Intermediate

Comments

spiceylg

Tue, 04/02/2013 - 05:17

Wow, you did a wonderful job! What a sweet story with your son bringing you any change he found. Adorable. I'm sure your sons are so proud of you and it means so much more than just store bought. In looking at that first smaller picture of just the top part, it looks like a view from the back side of a day bed. You can take apart the bunk beds when they get older and you have one full bed and one day bed. Awesome!

Shirley Table

This is 2 different shirley console tables .  I did both out of pine boards and golden oak stain.  One I used wax on and the other poly.  

Built from Plan(s)
Estimated Time Investment
Weekend Project (10-20 Hours)
Finish Used
Golden Oak, Poly on one of them. Wax on the other.
Recommended Skill Level
Intermediate

Pub table

Submitted by Anonymous (not verified) on Sat, 05/13/2017 - 07:07

A full write up of this build, including photos & dimensions, is here: http://imgur.com/gallery/YyawW

Built from Plan(s)
Estimated Cost
The wood cost $40.
The Kreg K5 pocket hole jig cost ~$130.
The stain & polyurethane cost ~$15 total.
The lag bolts + washers + nuts cost ~$10 total.
Estimated Time Investment
Weekend Project (10-20 Hours)
Finish Used
1) Sand all individual pieces (prior to assembly) by hand. I believe I used only 60 grit sand paper, because I wanted to retain the look of lumber.
2) Varathane brand stain; color "Early American." Applied with a rag, not a brush.
3) Varathane brand Triple Thick Polyurethane; satin finish. Applied with a rag, not a brush. Polyurethane applied to the 2x6 table top surface boards only (i.e. I did not apply polyurethane to the table's skirt or to the table's legs).
4) Lightly sand the dried polyurethane by hand with 300 grit sand paper to obtain a smooth-to-the-touch surface finish.
Recommended Skill Level
Beginner

Farmhouse Desk with Wormy Chestnut

Submitted by csolanzo on Mon, 05/17/2021 - 10:37

I just completed my first build (#AnaWhiteFarmhouseDesk). It has a ton of mistakes, but they are my mistakes to learn from.
1. Measure twice cut once not measure once cuss twice.
2. Cutting 2x4s in half does not make a store bought 2x2. Which is really 1 1/2 x 1 1/2. Who determined that we would measure wood (used in carpentry which requires very precise measurements) and just round up? Awwe, they'll figure it out!
3. Steelwool & vinegar stain with a black tea conditioner provide a beautiful aged wood appearance, but when using different types of wood it is nearly impossible to match (maybe even store bought stains are like that, too.)
4. When your 95 yr old grandfather (how freakin' cool is it that I have a 95 yr old grandfather... With a planer no less) tells you to catch the "wormy Chestnut planks" on the other side (okay... I'm bragging about getting my hands on wormy Chestnut for my desk top) remember to bring you own PPE because at 95 he doesn't require ear protection and doesn't give a frog's fat a$# if sawdust shoots in your eyes & nose... What's the problem???? He never had a new pair of shoes until he was in the military serving in world war 2 so what's a little sawdust?
5. Sometimes you just need to ask for help from your trusty uncle! Thanks to my uncle Nathan (Lord do I love this man!) I finally, with his help, completed the build by assembling the desk top yesterday. I was so afraid of screwing up my gold desk top (aka wormy Chestnut)
6. Mistakes... Do not fear them, but rather embrace them because that is life's playground where learning happens.
7. Learn from others. Thank you Ana White, Woodworking for beginners members FB group and YouTube!

Built from Plan(s)
Finish Used
Steelwool & vinegar stain with a black tea conditioner provide a beautiful aged wood appearance for the body.

Desktop and shelf hardwoods were given a few layers of had rubbed poly.

Red Hen Home's Farmhouse Table and Bench

This is the third farmhouse table I built, although it is trifle smaller to fit in a smaller space. I think this one is just about 62” long. I also built a 48” bench to go along with this table, and I think they look so cute together!

Estimated Cost
100
Estimated Time Investment
Day Project (6-9 Hours)
Finish Used
Custom mix of Minwax Antique Walnut and Weathered Oak. Finished with hand-rubbed polyurethane, followed by paste wax.
Recommended Skill Level
Beginner

Comments

smitty22

Tue, 04/16/2013 - 08:59

I love your farmhouse tables! Did you make any changes to the plans when you took away the stretchers? I really want to make a table like this soon!

Shorted 4x4 Truss Beam Table

Submitted by ClayCox86 on Mon, 02/16/2015 - 13:19

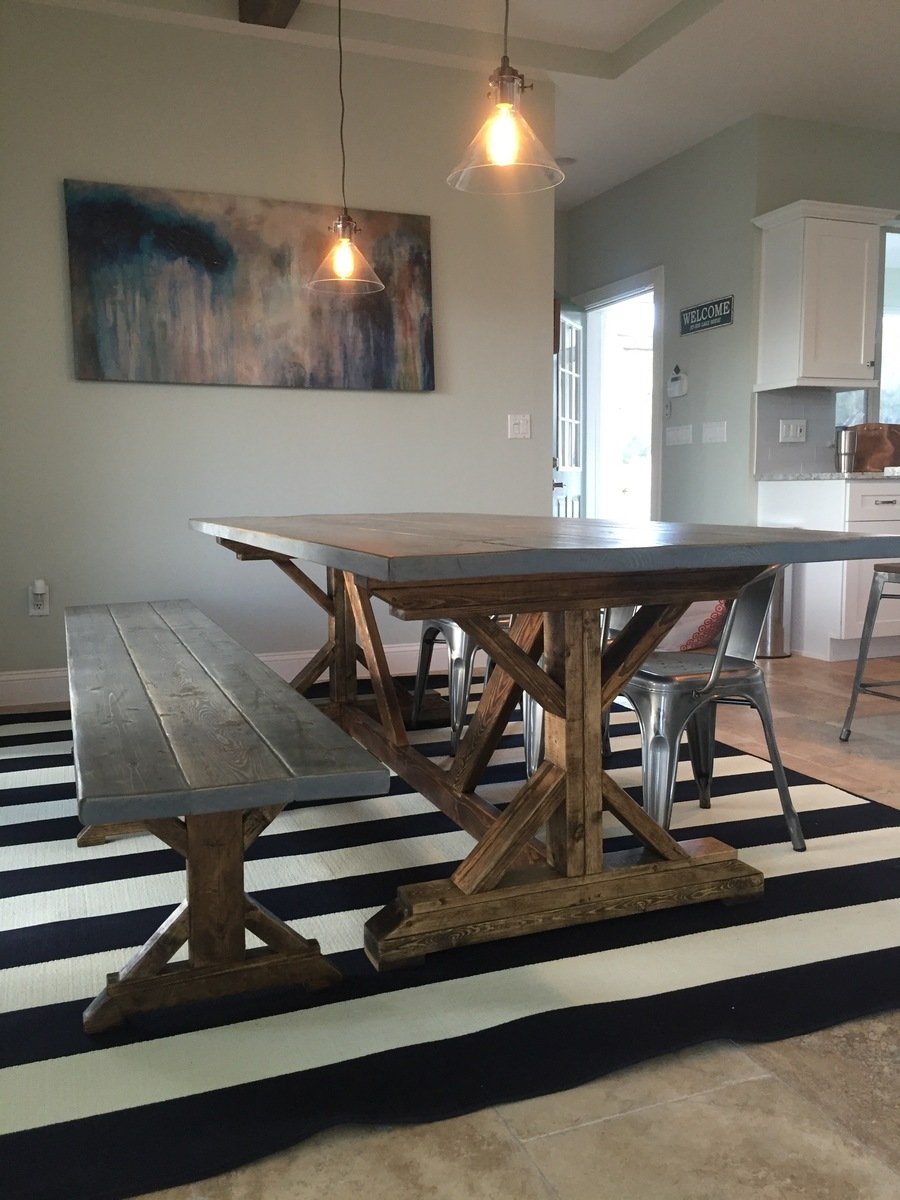
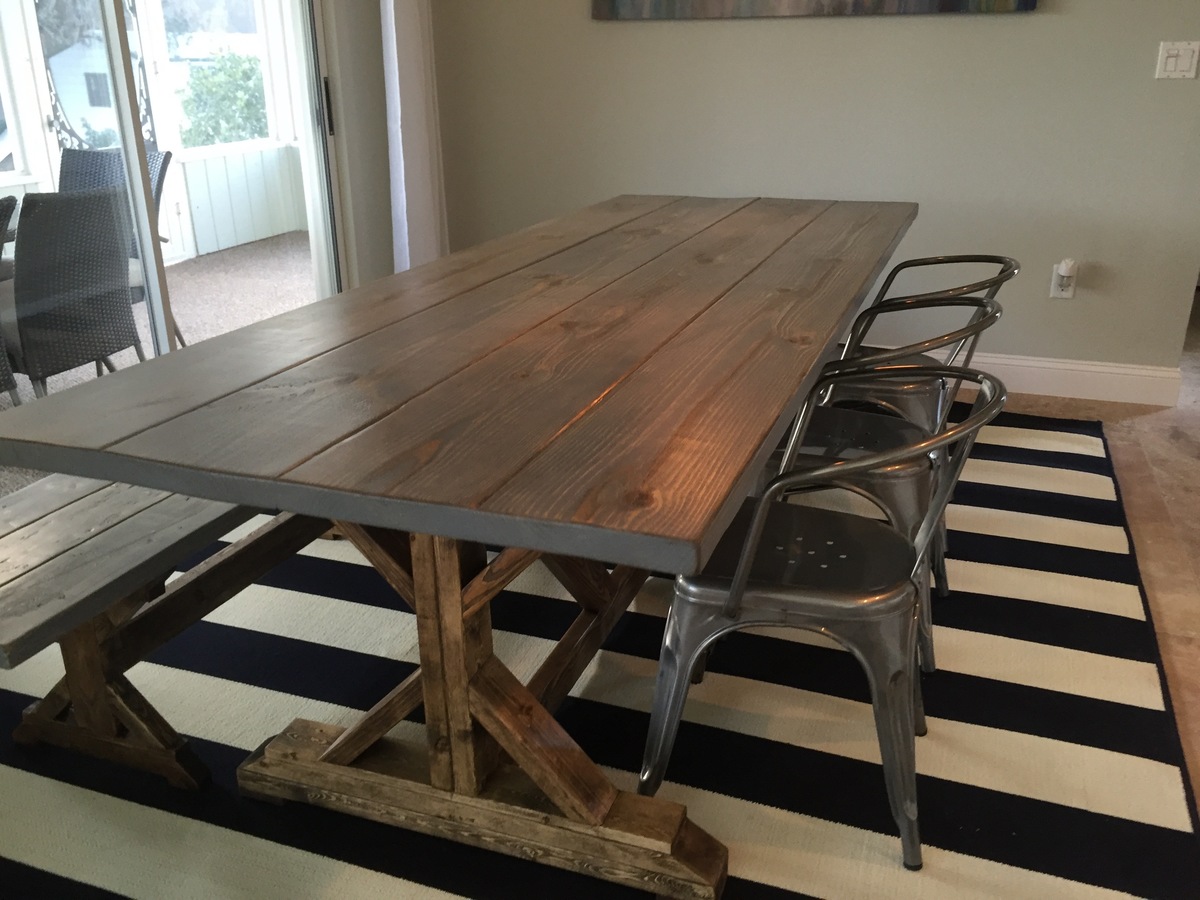
Shorted this length of the table by 6 inches to fit the available space. Came out great. Tip: If using pine, after stain dries, gently sand again with high grade paper to remove raised ridges after wood has absorbed stain, but not hard enough to remove stain. This will help make the eating surface much smoother to the touch. 

Built from Plan(s)
Estimated Cost
$110 dollars in wood. $50 in new equipment, sandpaper, stain, and gloss.
Estimated Time Investment
Weekend Project (10-20 Hours)
Finish Used
1st coat: Steel Wool (grade 0) and vinegar (Let sit 3 plus days, the longer the better);
2nd coat: MinWax: 1-qt. PolyShades Antique Walnut Gloss Stain and Polyurethane in 1 Step;
Last coast: 2 coats of Rustoleum Ultimate Polyurethane in Matte
Recommended Skill Level
Intermediate

Comments

Simple Paver Coffee Table (patio)

Submitted by Anonymous (not verified) on Tue, 05/16/2017 - 09:15

Ana,

I was looking for a Mother's day project that I could build with my 14 year old son. When I saw your share on Pinterest, I figured this would be perfect.  There were a limited number of pieces (in terms of sizes/lengths) and the construction was pretty basic.

We purchased our pavers at Lowe's and found that they only sold 11 7/8" pavers (after our build).  However, the 1/4" reveal around the border of the pavers turned out to be a terrific little detail. You would think it was on purpose.

As always, keep up the great work and sharing. 

WoodworkCity

Estimated Cost
$20
Estimated Time Investment
Afternoon Project (3-6 Hours)
Finish Used
Polyshade
Recommended Skill Level
Beginner

Comments

slamarca

Wed, 09/13/2017 - 07:12

Hi Ana,

Could you please tell me if you sealed the pavers. 

Thanks so much for all the inspiration you have given me!!! I am going thru a very difficult time and don't see it getting better anytime soon, you helped me find myself and my passion. When I feel like I can't take another day, I go to your webisite and find one of your projects. Building gets my mind off of everything and a little break in all the worring.  I just can't thank you enough!

Thank you Ana,     Susan 

Farmhouse table

Submitted by lilh_18 on Thu, 05/27/2021 - 20:42

Adjust the height slightly. Easy to follow plans, quick project.

Built from Plan(s)
Estimated Time Investment
Weekend Project (10-20 Hours)
Recommended Skill Level
Beginner

Comments