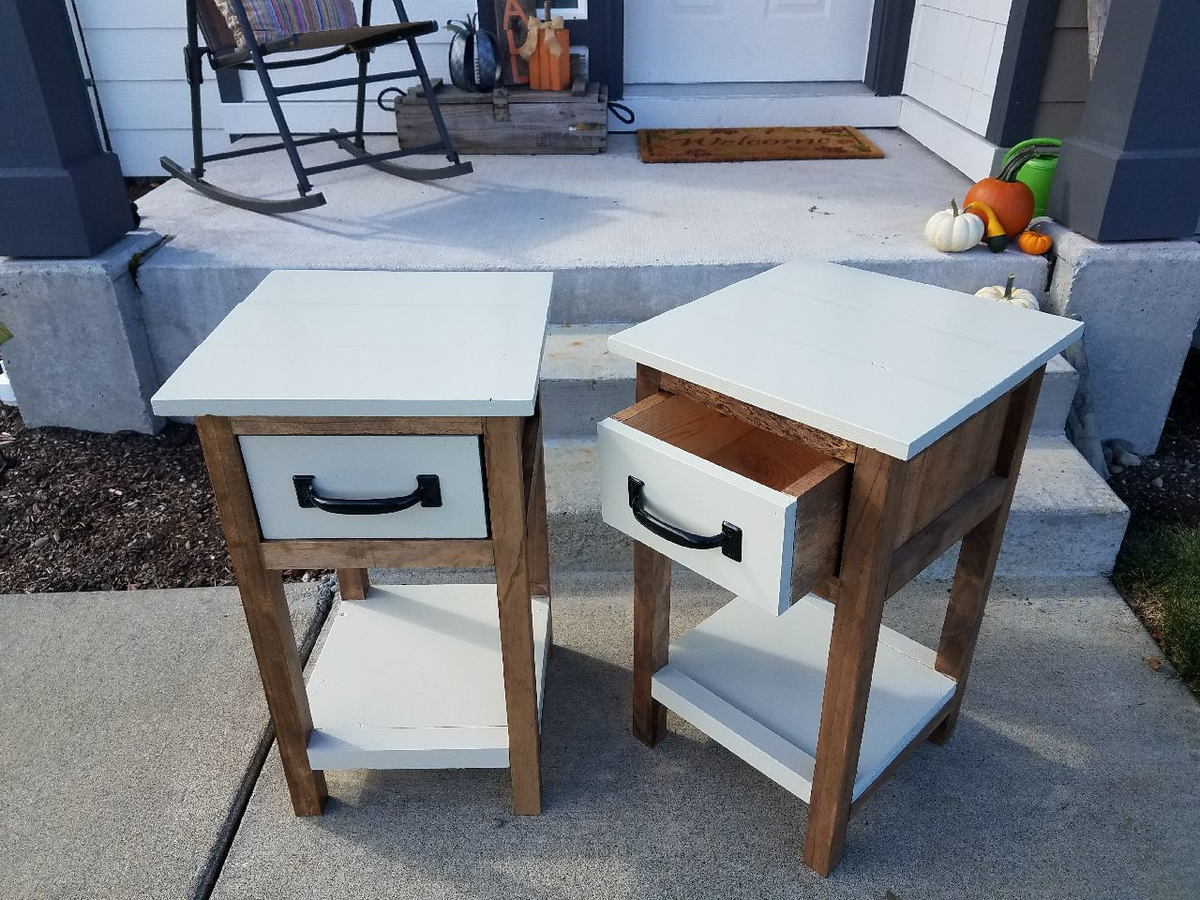
Mini farmhouse night stand
Super easy, super fun

Super easy, super fun

Adapted from the Harriet Chair found at ana-white.com, this simple and comfortable pine chair is equally at home in the kitchen and home office. Built to last, it can be custom designed for small or tall customers alike. The chair pictured here is finished with red mahogany stain and matte varnish.
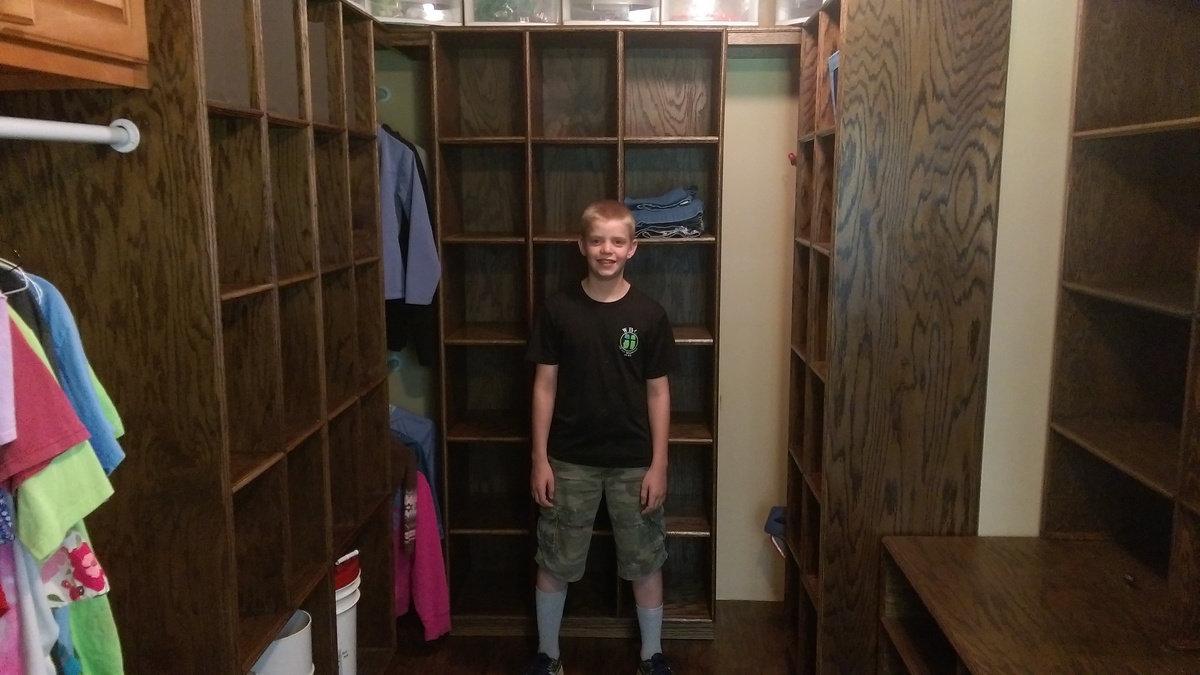
Our son built this based off of these plans. He had to make the corner hanging areas smaller to fit our area, but we were still able to use this space for hanging items.
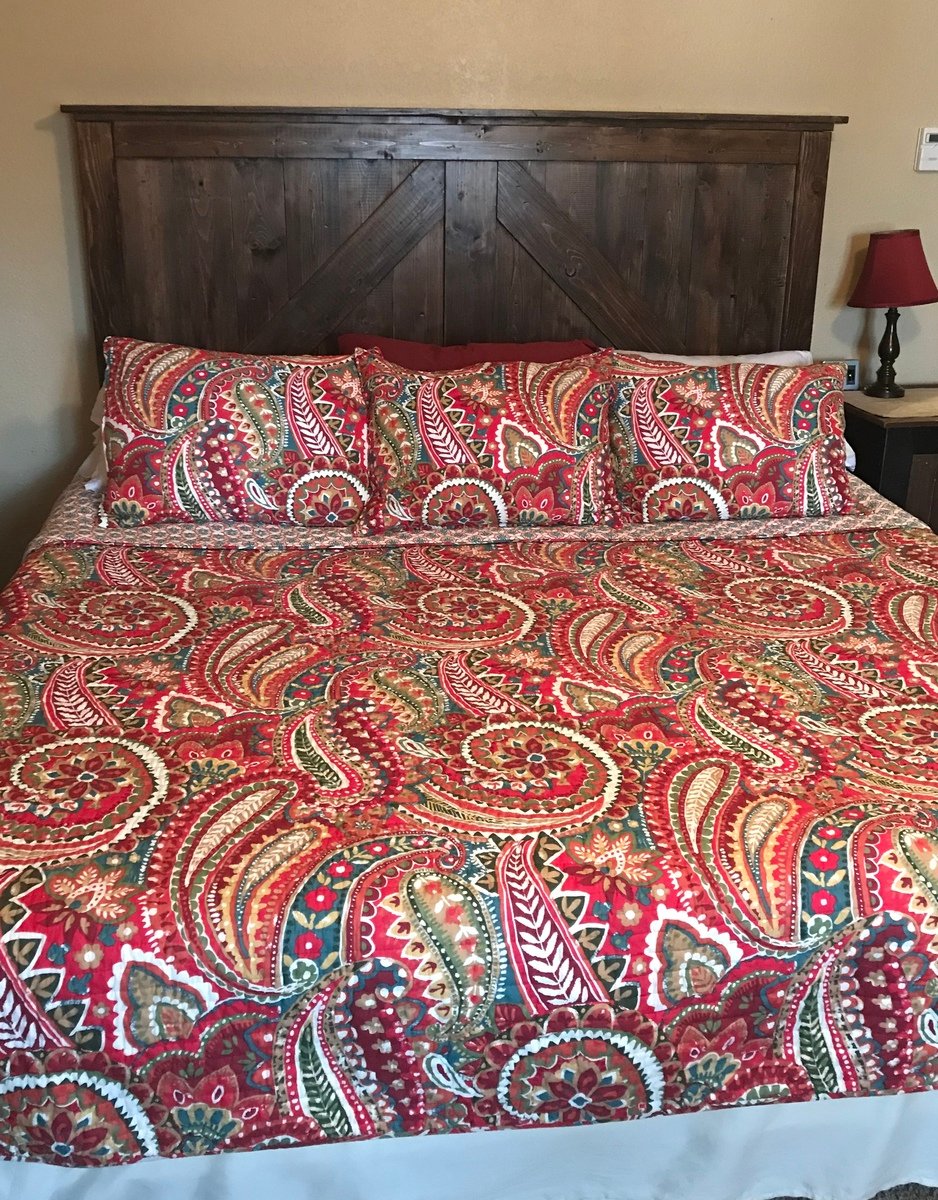
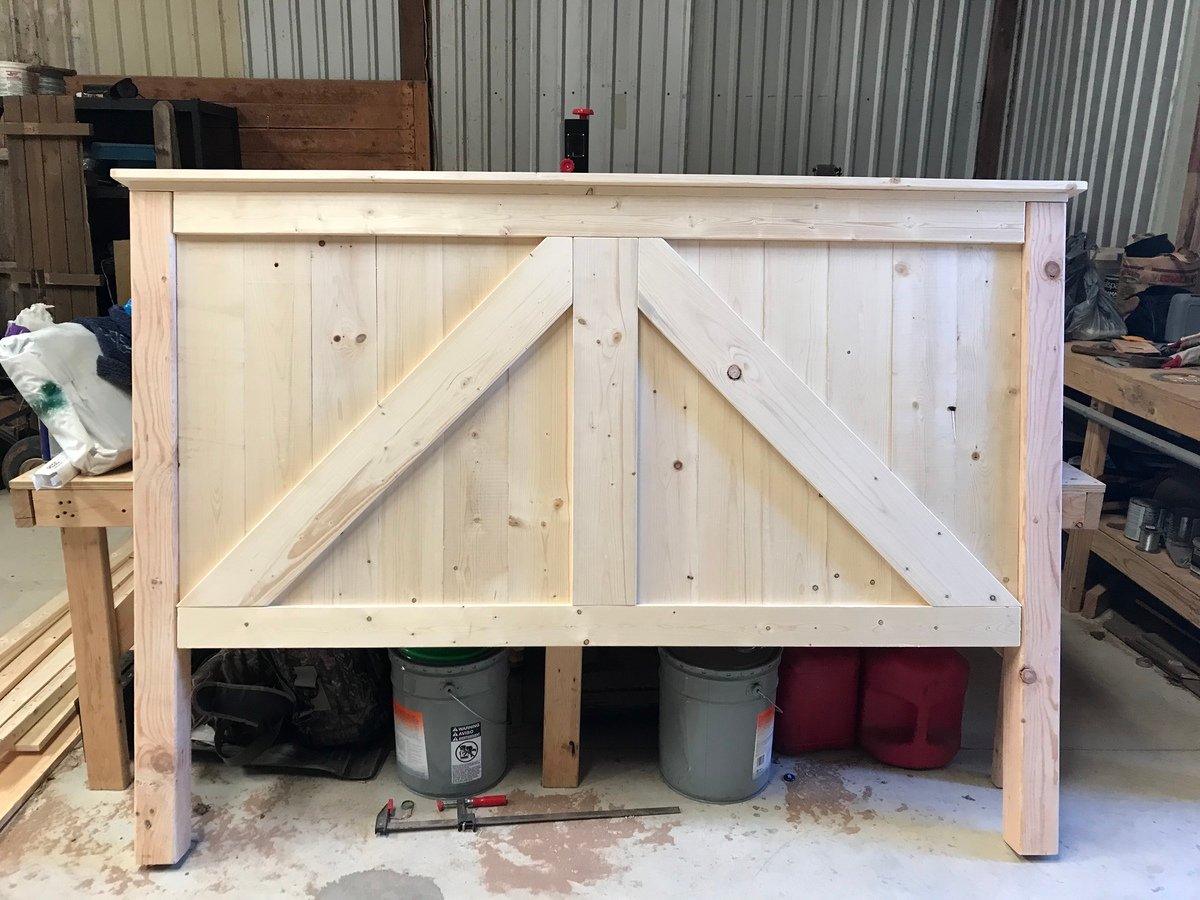
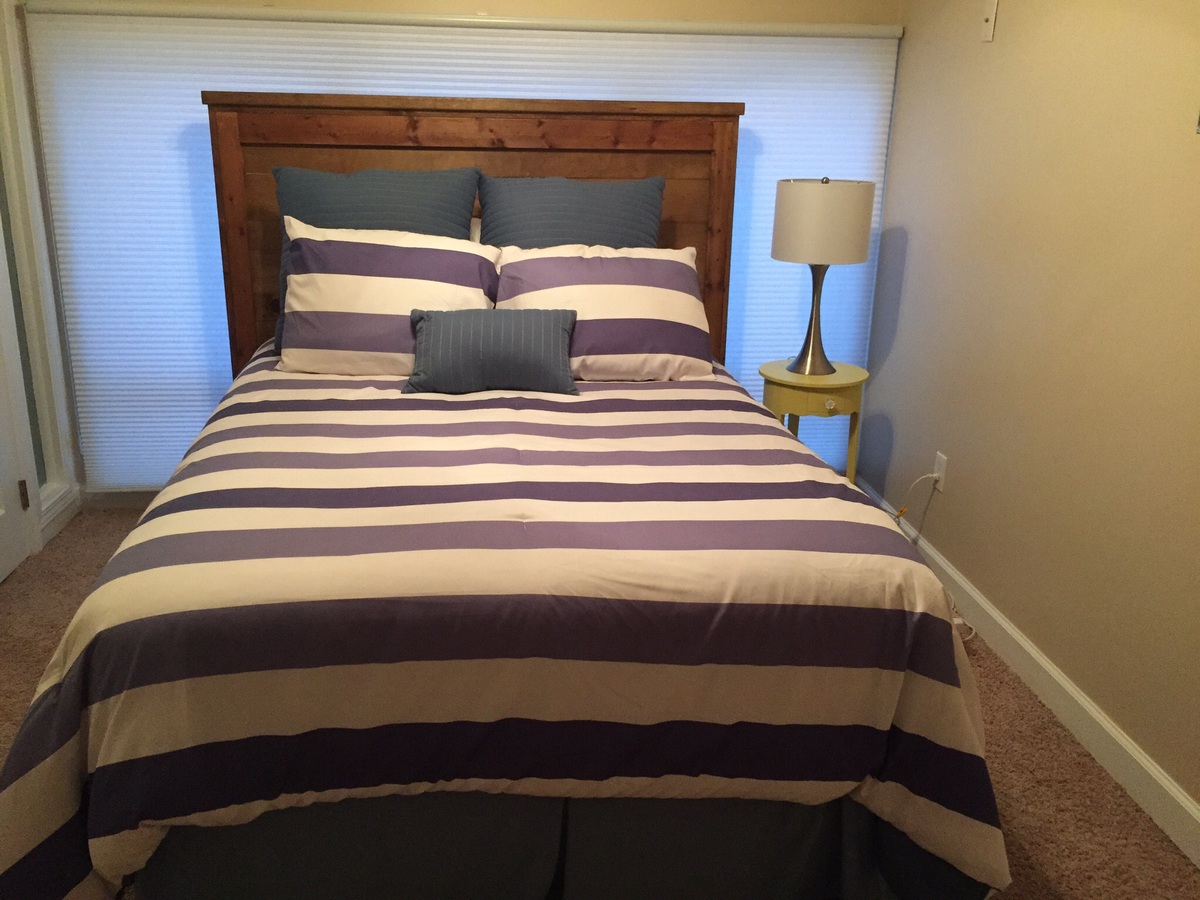
I found a barn door headboard in a rustic furniture store years ago. They wanted $2700 for a Queen size....no thank you! I followed the plans for the Farmhouse King Bed and added cross pieces for barn door look using instructions from the Brookstone Headboard. I cut the legs at 56” to add some height and I set the bottom of the back panel at 18” above the floor to make sure no gap is seen with our thinner, memory foam mattress. I couldn’t be happier with our headboard and the total cost, including screws & stain, was about $150! Boom! Thank you Ana White for sharing plans! I’m working on the Mini Farmhouse Bedside Table now & feel like I can build anything! I would highly recommend Power Pro Premium Interior screws (no splitting or stripped heads, no pre-drilling & they counter-sink great in soft wood). For the 4x4 posts I used GRK UberGrade R4 multi-purpose 4” screws, which had the same quality, all from Lowe’s.
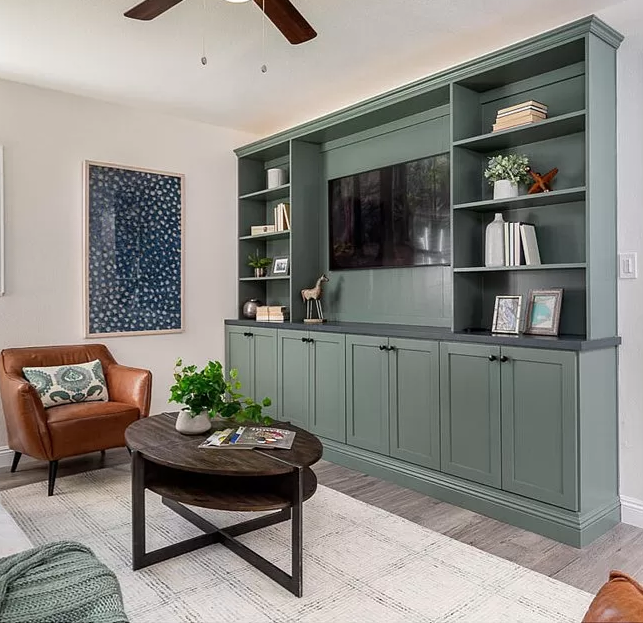
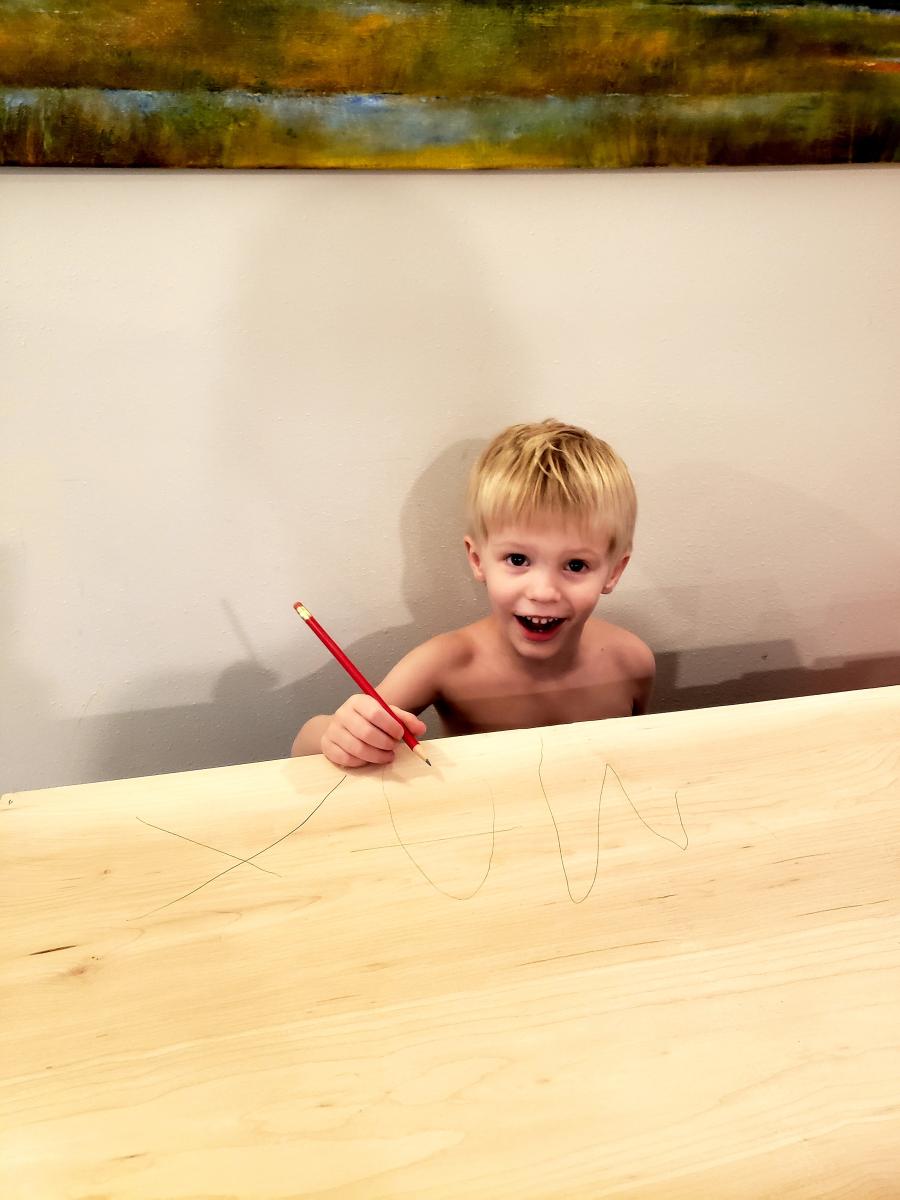
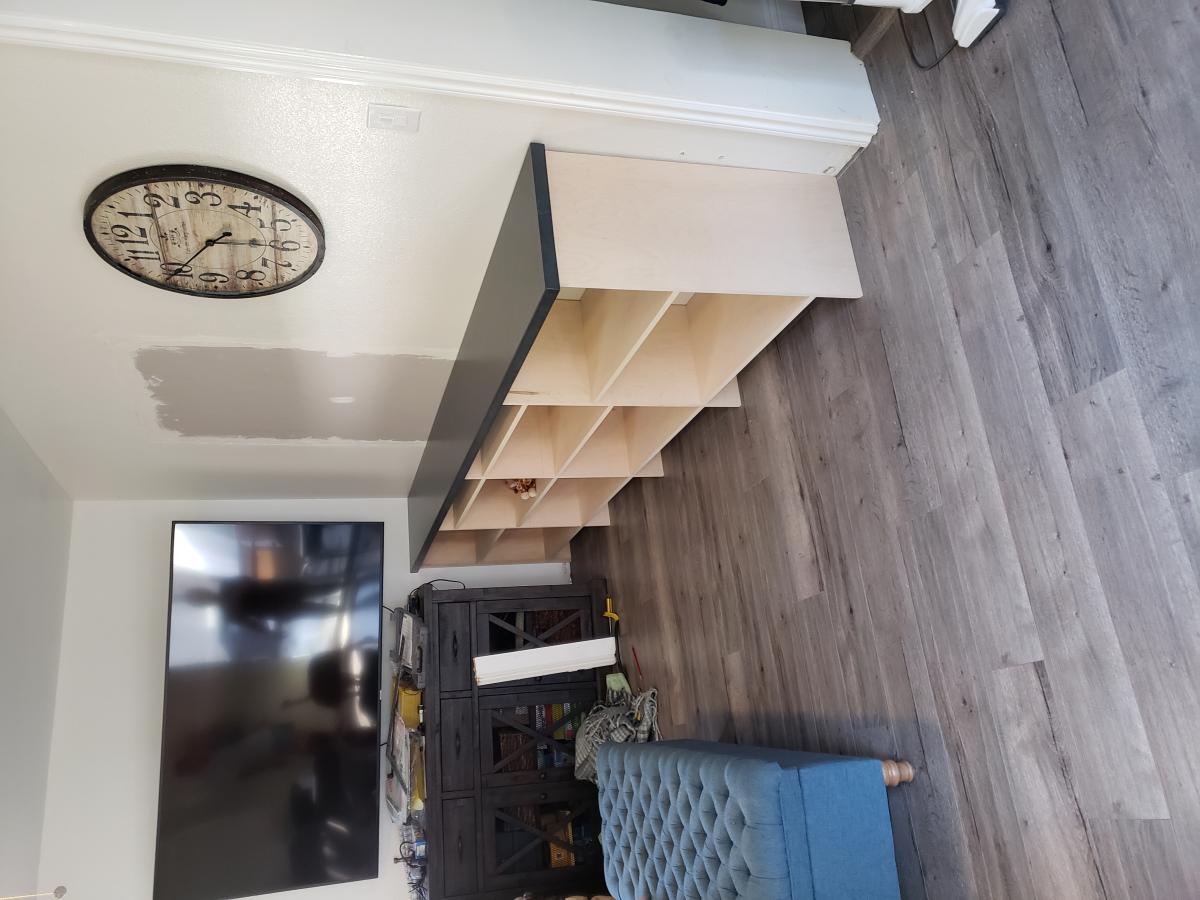
We had an awkward family room with a second front door which rendered the layout less functional than it could have been. My sister mused, "I wonder what would happen if you took out the second entry and added built ins?," and this project was born. With a 4 year old and a 2 year old and limited tools and workshop space, we were excited to find ShelfHelp, which allowed us to create custom built ins at a fraction of the cost and time they otherwise would have required (utilizing the "Frameless Built-Ins, All in One Method" plan) . Including the custom soapstone top that we had made from a local shop that was advertising remnants, the project came in under $1000, and we were thrilled with the results. SO MUCH TOY STORAGE, an unobtrusive TV, and a much more functional layout. Thank you, Ana White!
Wed, 04/06/2022 - 09:55
WOW, this is gorgeous, thank you so much for sharing and trusting us with your huge project!
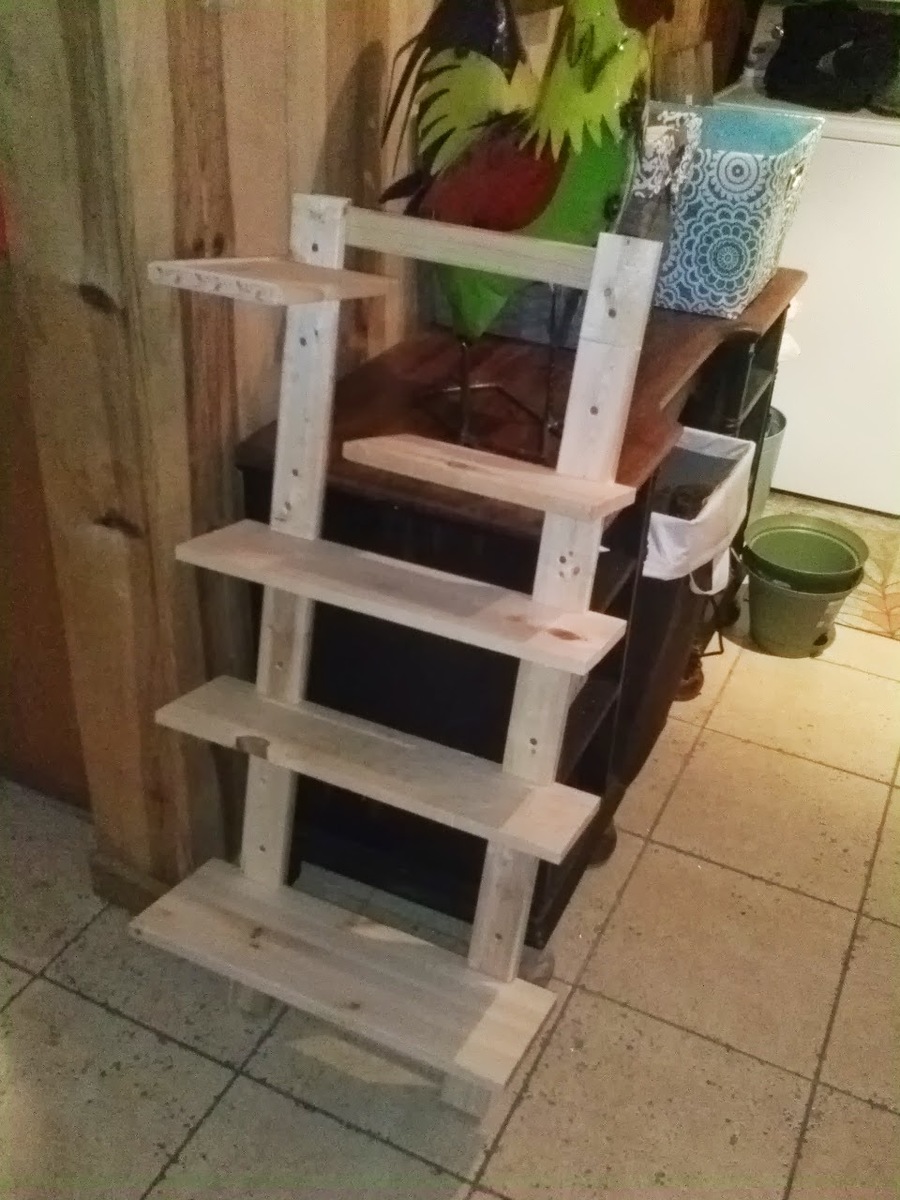
Made these shelves for my mom.
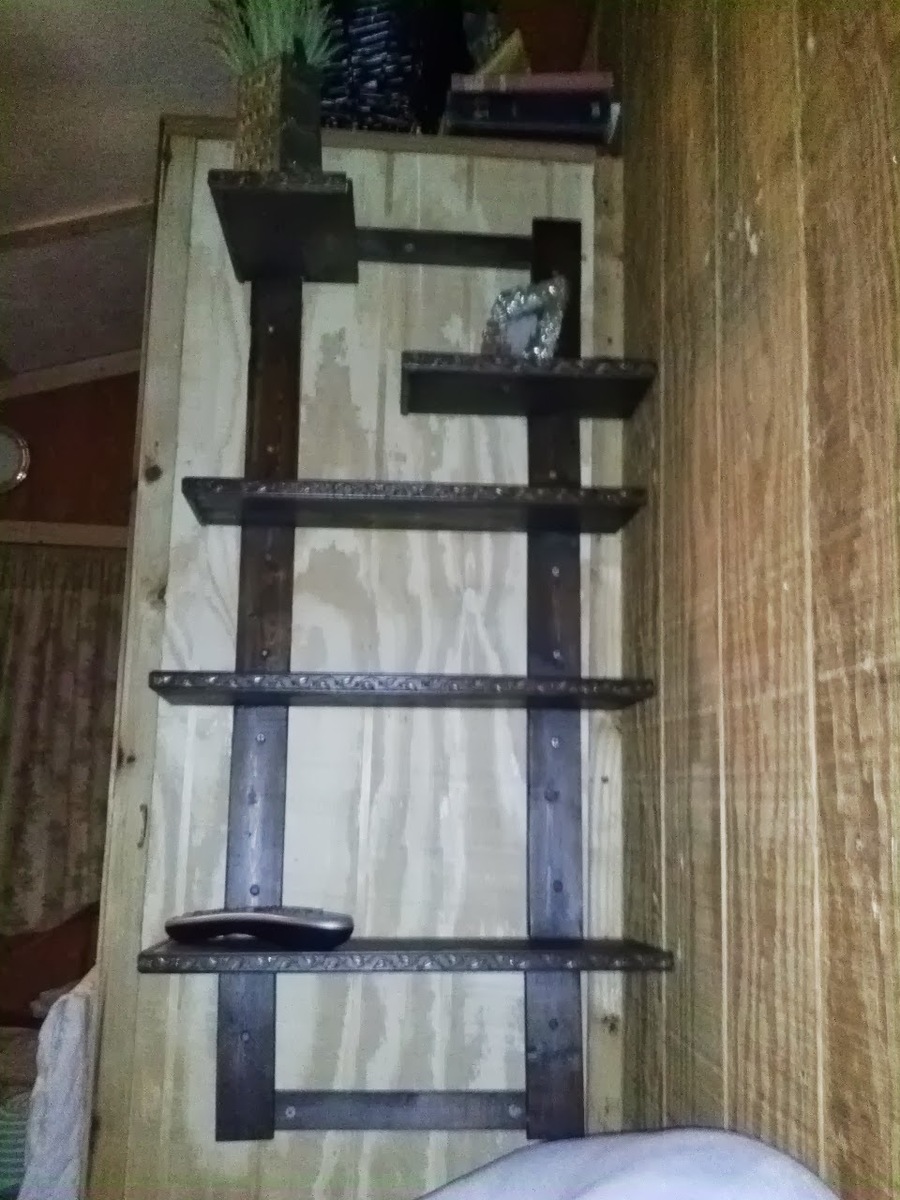
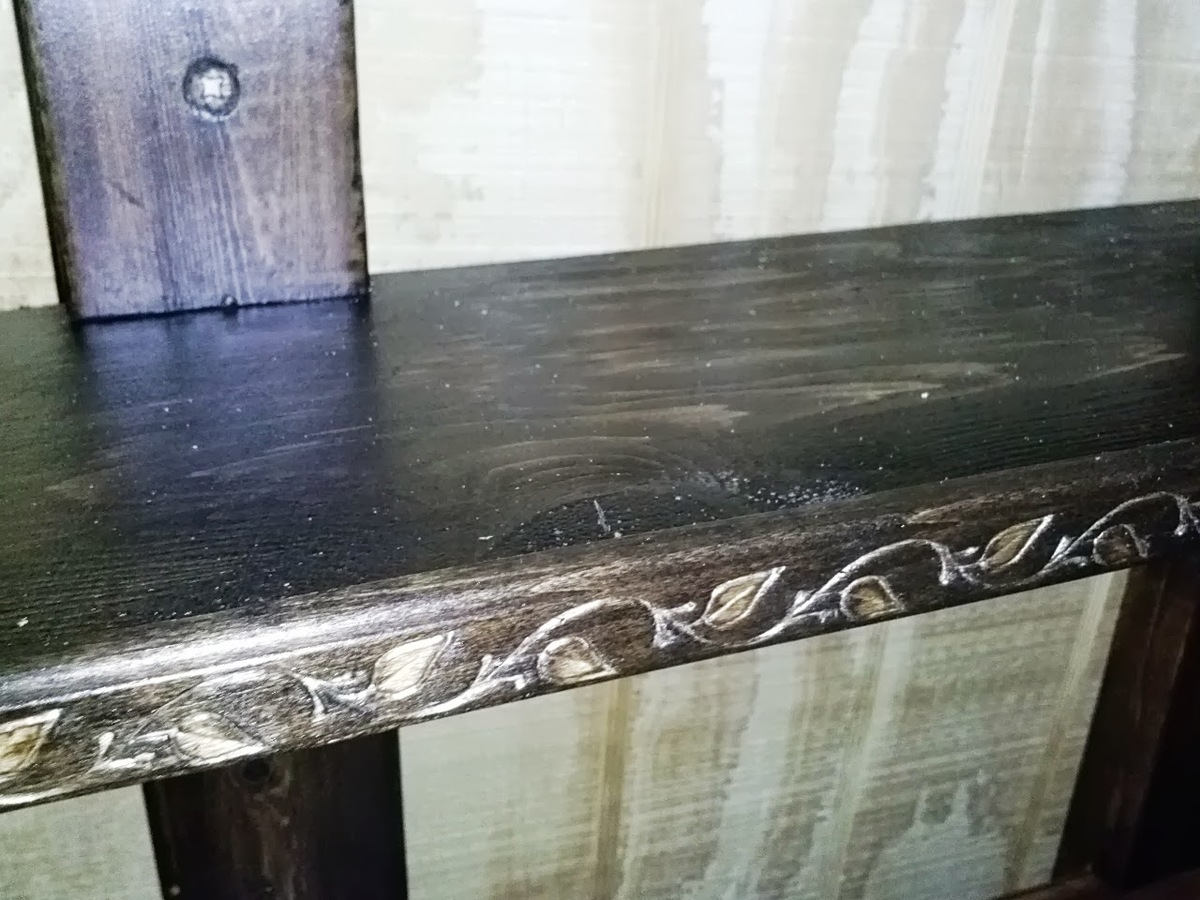

Used a vinegar and steel wool solution. Also put some six inch 1x6 3 inches from the bottom as a bracket to mount to a full bed frame. If I later upgrade to a queen I will but the wood bracket flush and reattach
Wed, 08/05/2015 - 05:44
Your finish really compliments the wood. Very impressive.
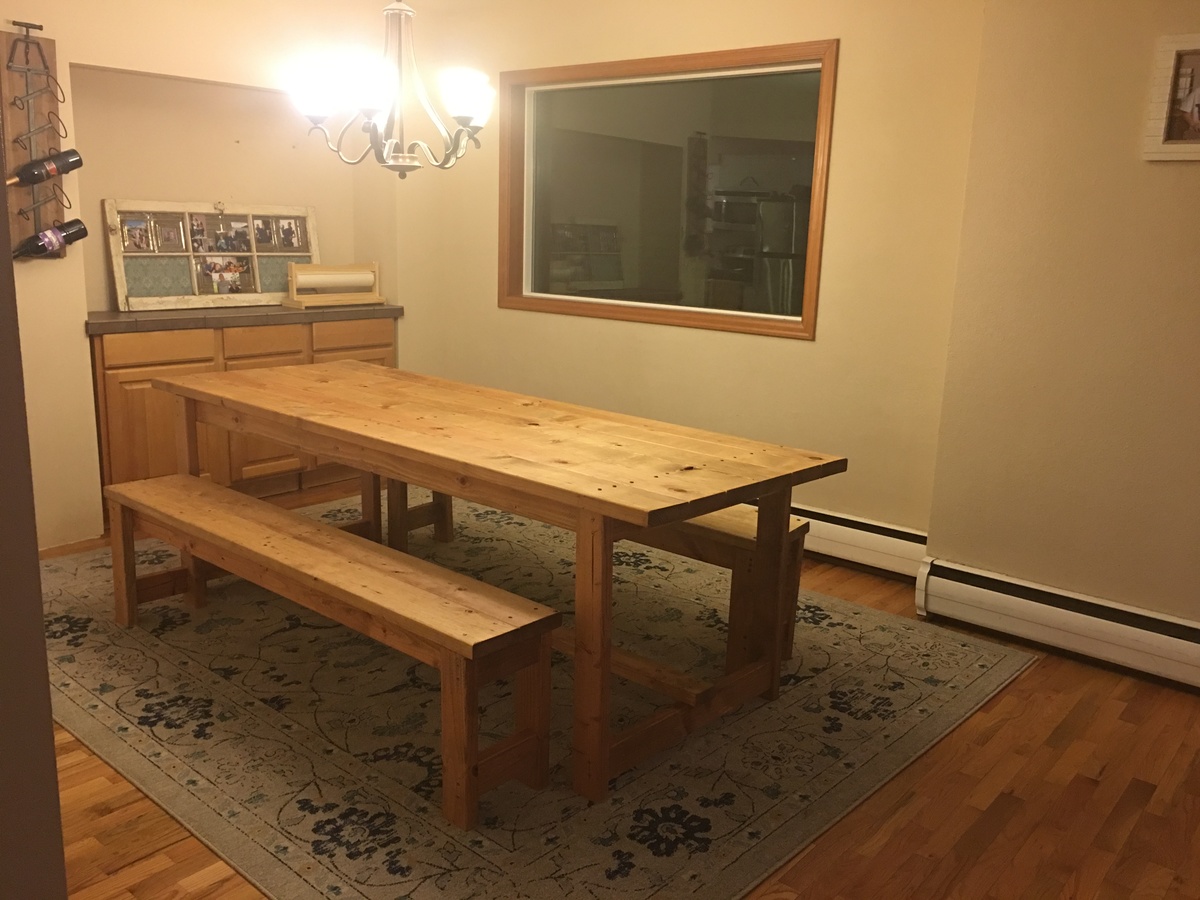
Very sturdy table and benches!

Starting the slow process of creating a backyard oasis. Was looking at Adirondack chairs, and plastic ones seemed to have issues with breaking, and don’t want to spend $150 per chair or more for wood. Found this post, and just completed my first chair. I used some of my wood decking that I just replaced, so probably $30 per chair, so really happy. Very comfortable as well, so thank you for the time to figure out things.
Mon, 04/11/2022 - 10:43
Great use of material and it looks fantastic too, thanks for sharing!
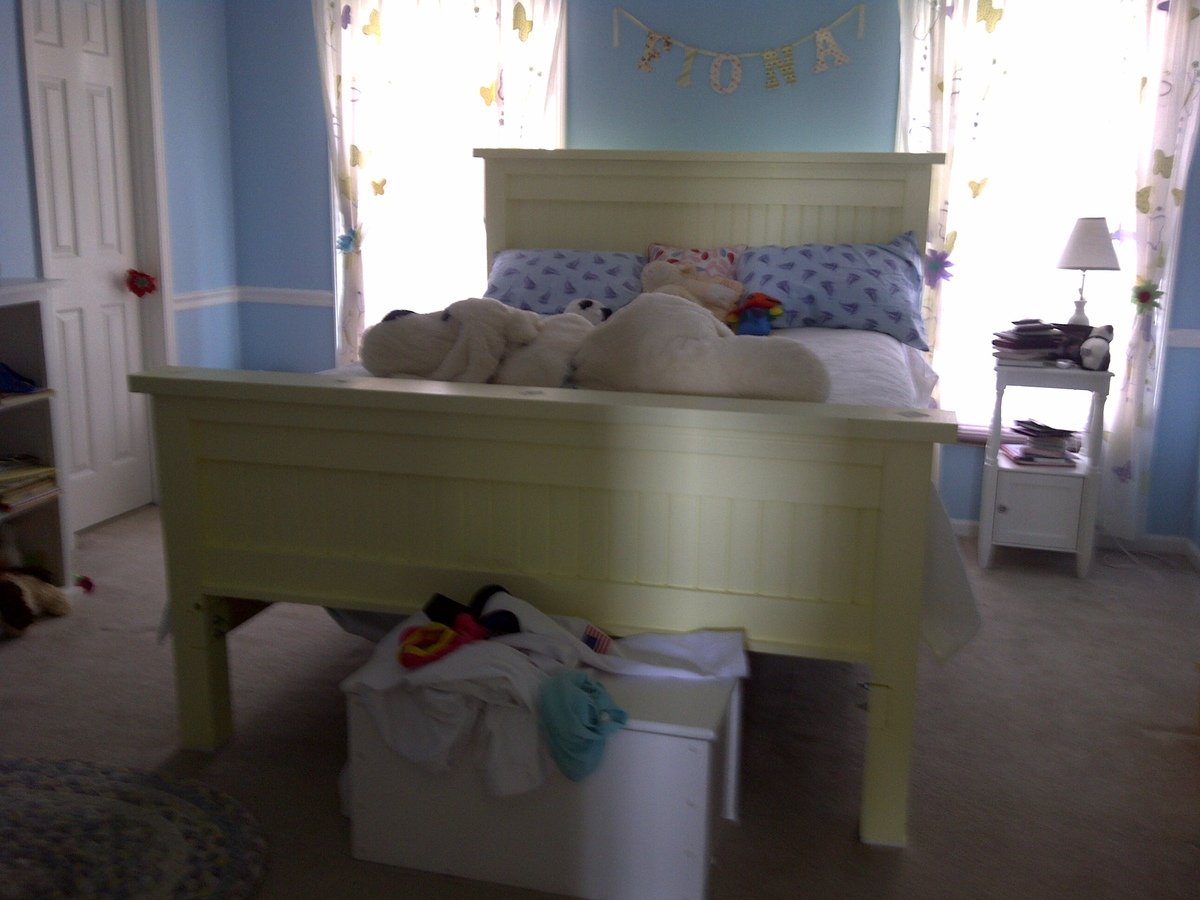
This took about 10 hours, including prime and paint. I raised the side rails 3 1/2 inches to dado the posts to accept a 2x4 siderail on the inside of the post, with 1x8 covering it at the center of the post. The siderails are bolted with 4x5/16" bolts, washers and nuts. We chose to leave it more rustic, showing the siderails at the ends and the bolt holes. It is all pine, bought new and along with a 1" forstner bit to recess the bolts, cost $198. It can be repainted at any time. Tools I used were a compound saw for ease of cutting straight cuts, a cordless and corded drill, 1/2" socket and box wrench, easy square and a circular saw for the 1x8's. We painted it with left over paint. Because its pine, we primed with BIN,
Sun, 06/05/2011 - 20:23
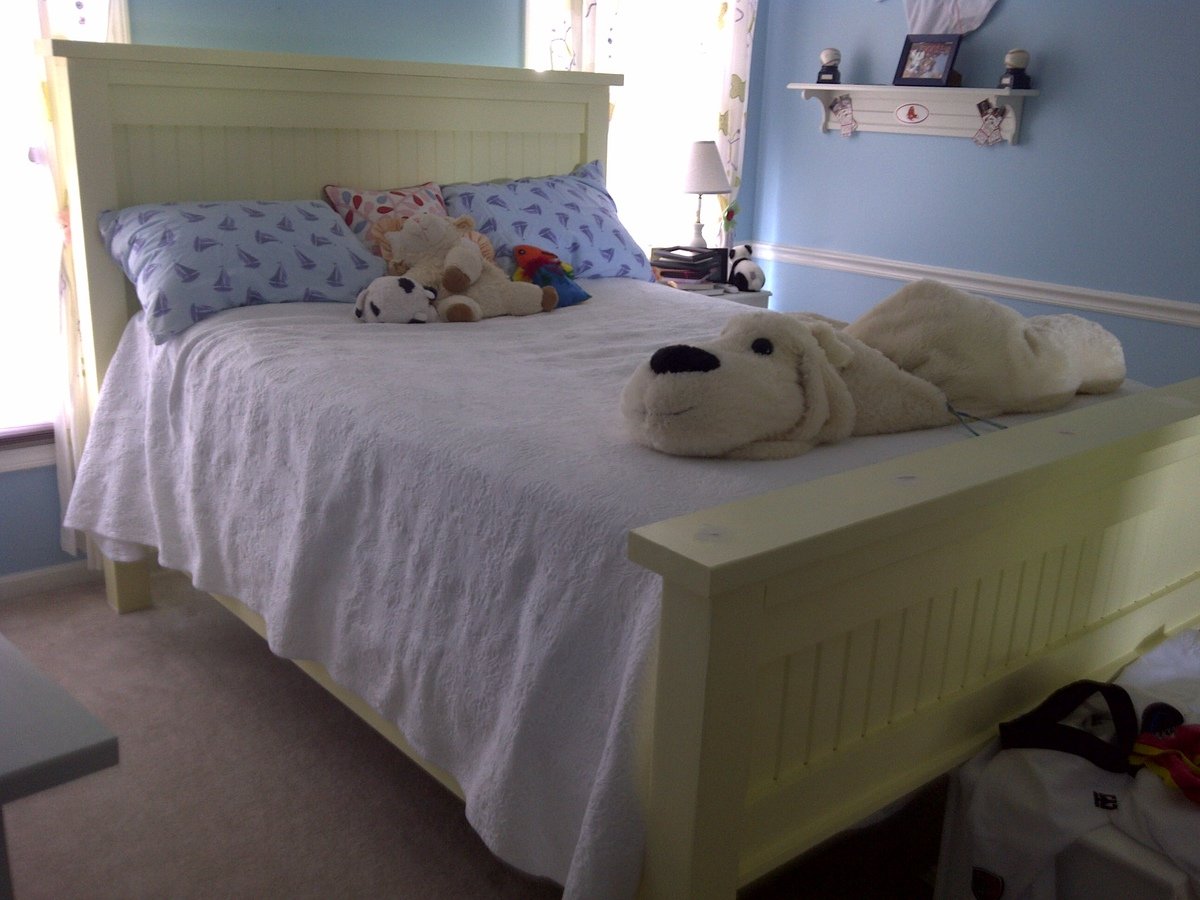
It is 1x5 bead board (pine). Some places call it match board. It is v-groove, tongue and groove and has a smooth (flat) side and a two inch flat, bead, two inch flat side. The plans called for a 61" wide panel but I made it 58" with the dadoed posts (1 1/2 inch each cut).
If you want to do the panel using the T&G bead board, make sure to lay your 1x4's out the distance of what ever height you want your panels and center the first piece of T&G bead board on both the top and bottom panel. Then you work your way out fitting the T&G and screwing in each piece. When you come to the two end pieces, they are going to ned to be ripped but by starting at center, they will be even at the end when ripped.
Another tip is when screwing the panel, you will want to get at least halfway into the 3 1/2" post. measure the distance you want to cut on the drill bit and put a piece of tape on the bit. Then drill until you get to the tape.
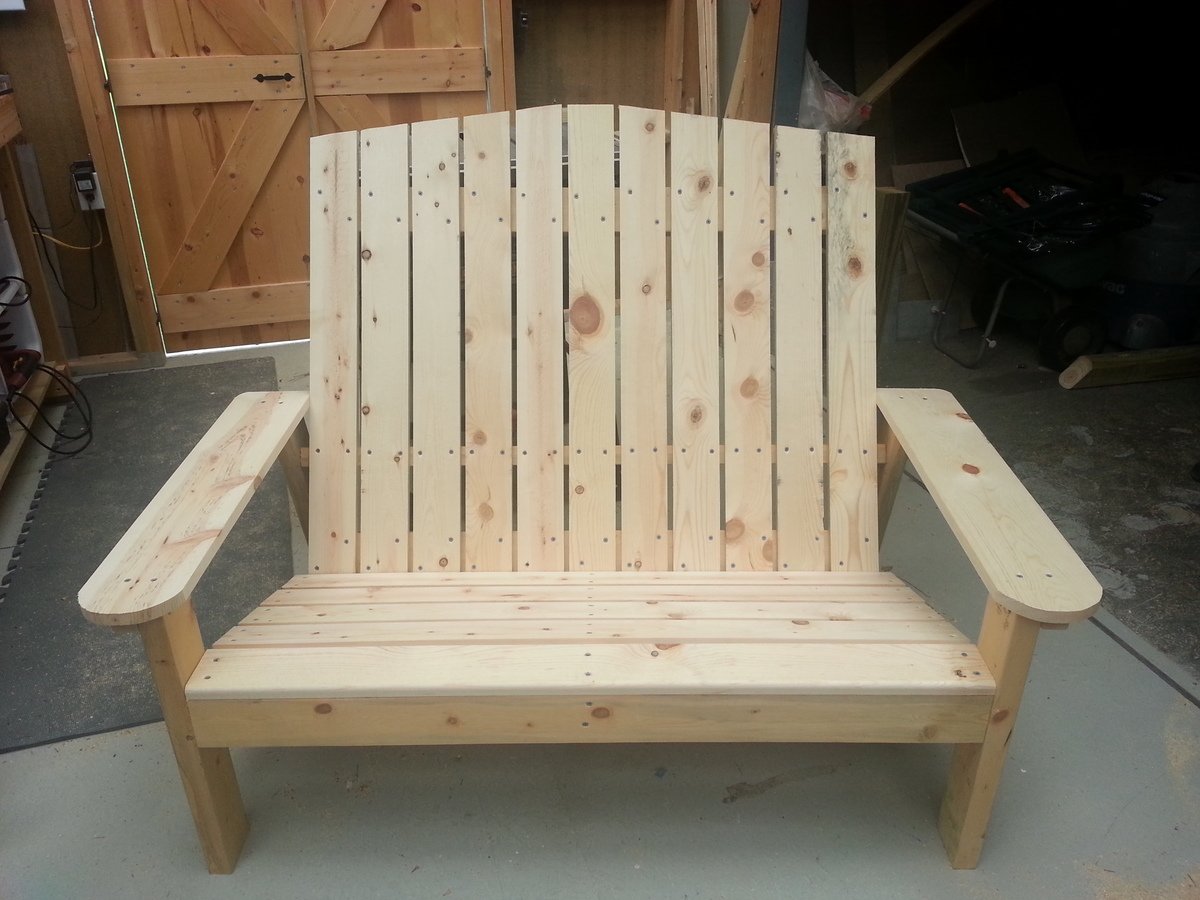
Modified from Ana's Home Depot DIY, using all pine lumber w/1x6 for the arms.
Sat, 05/03/2014 - 19:40
Actual plans for this loveseat/bench are not showing unfortunately :(

We modified the size slighly 54x16x29 and added a 1" reveal at the front. The top is made of 1" cedar planks. All the wood we used for this project was free recyled wood. The top color is expresso satin and the support structure is pure white.


I got tired of wrestling with my old filing cabinet and decided to build one that would stand up to regular use. Based on the AW plan noted, I build this out of 3/4" plywood. The drawer faces are 1/2" birch plywood and the hardware is salvaged from old kitchen cabinets. Overall dimensions are slightly modified to fit my space. Painted the cabinet box flat black and because the birch faces have such an interesting swirl, I used clear poly for the drawers. Fun project that works well and looks great.
Thu, 04/21/2022 - 14:48
Thank you for sharing, that looks so much better than the alternative file cabinets, well done!
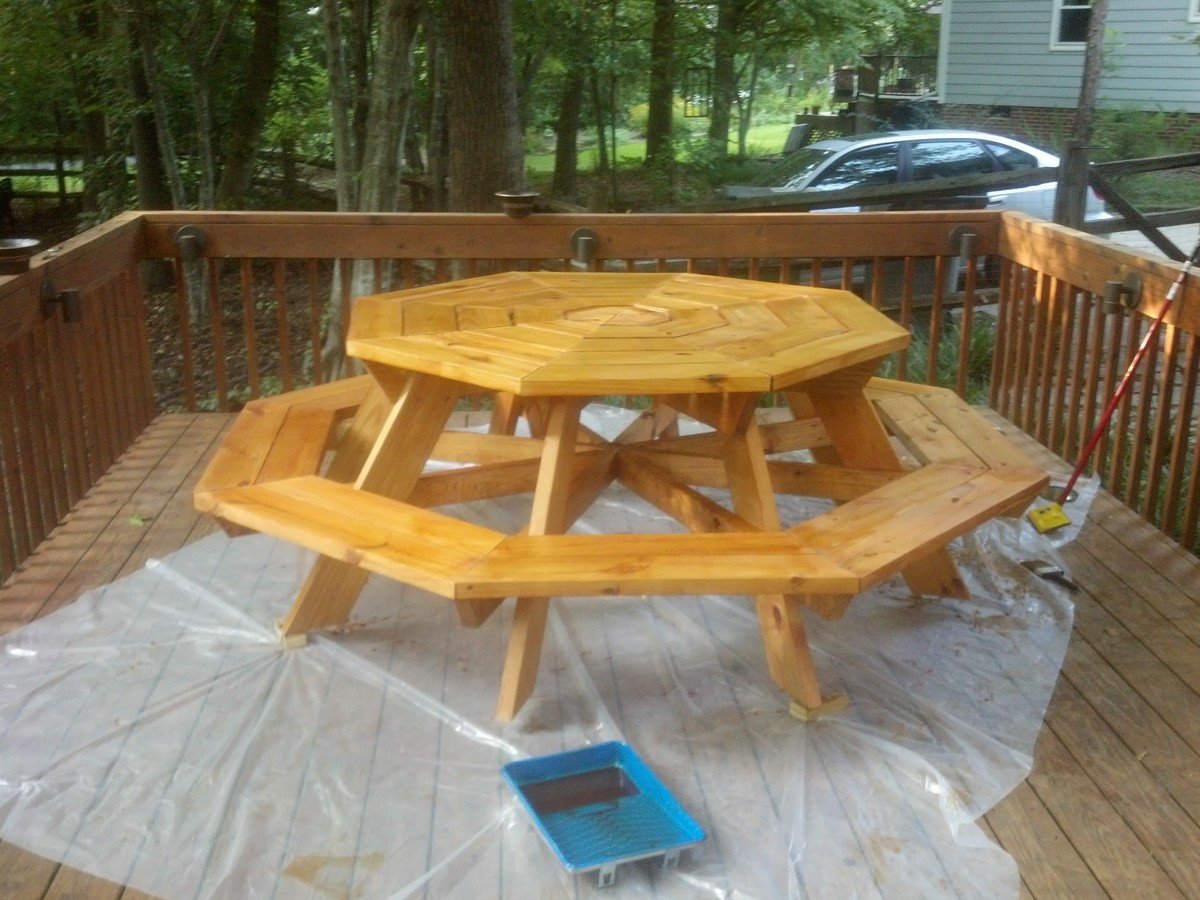
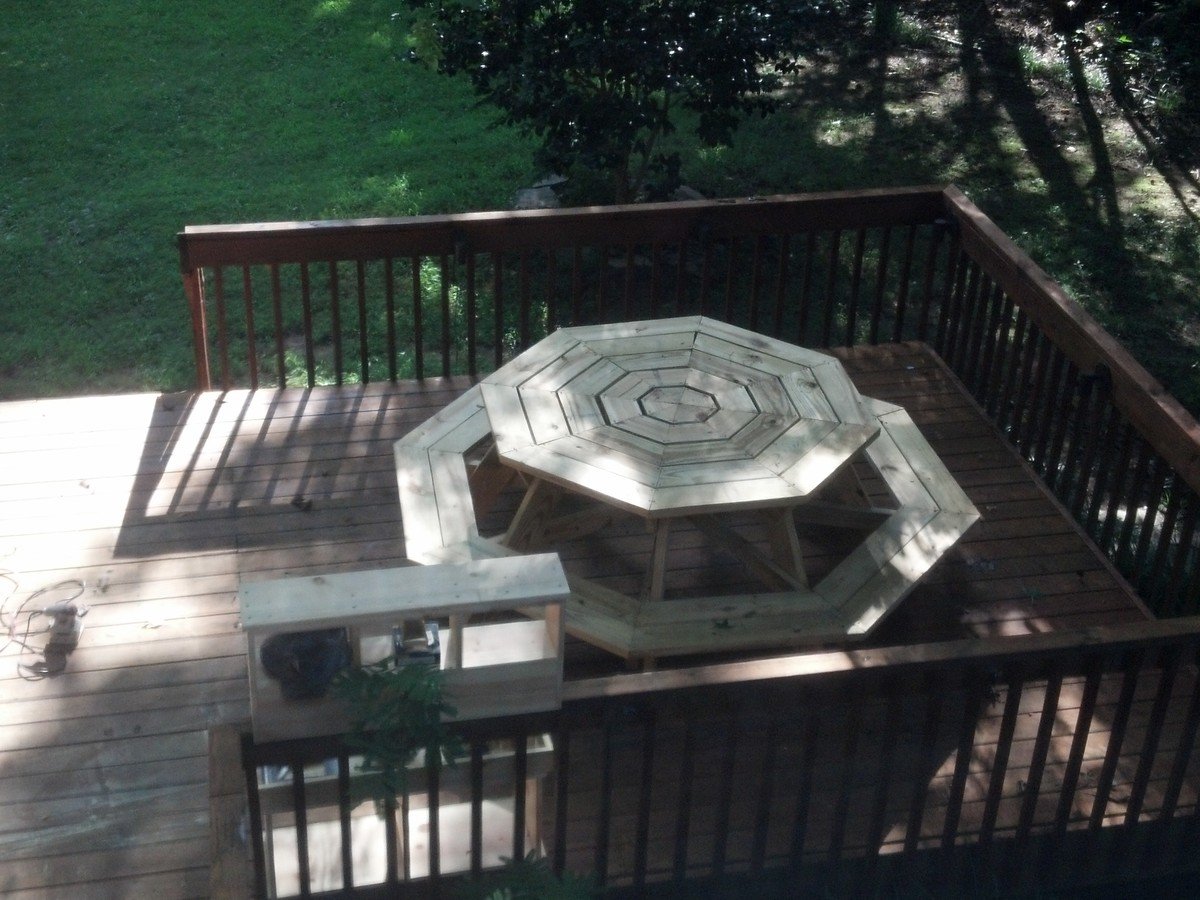
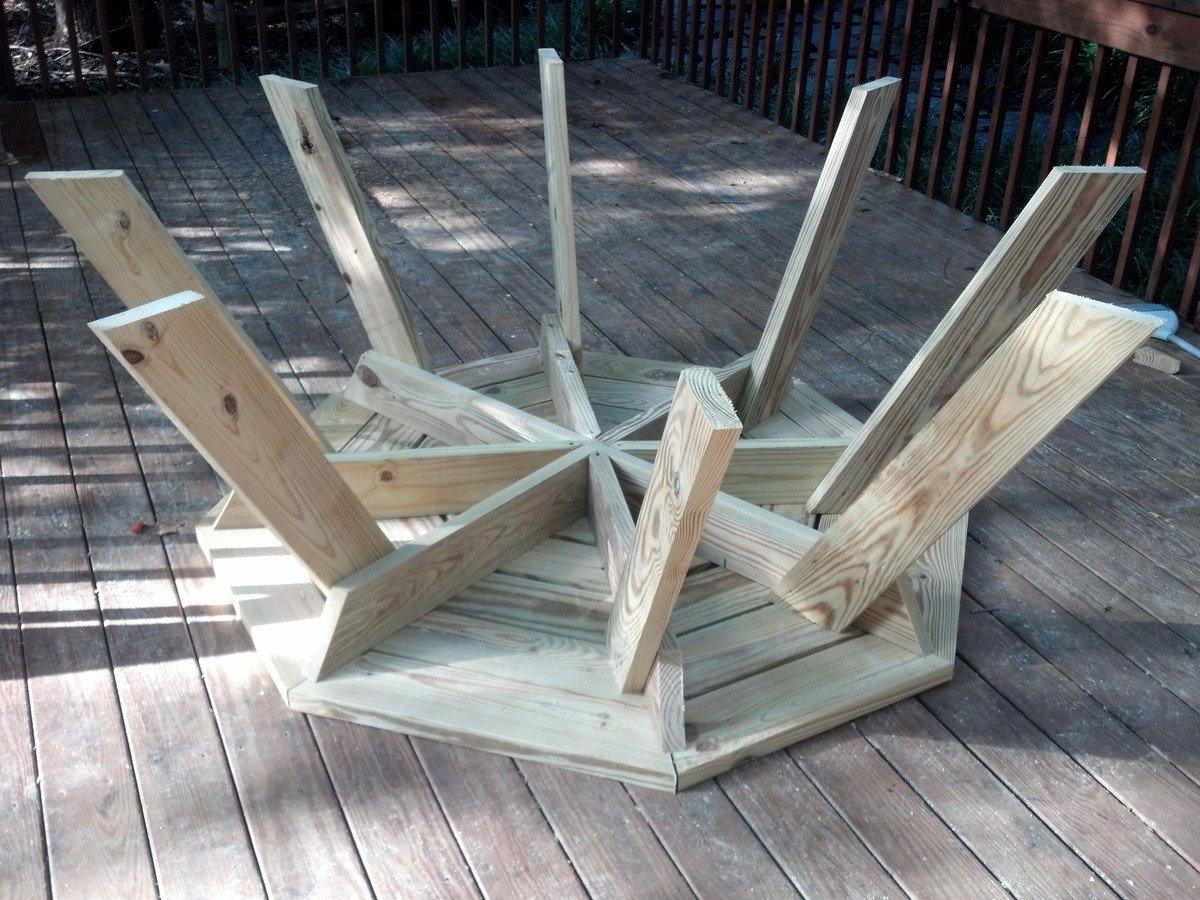
I stumbled upon the octagon picinic table almost by mistake. I set out to just find a blueprint for a standard picnic table to know how much materials I needed and this came up in the top of the Google search. As soon as I saw it I knew it would be perfect for my backyard. It looks great and the neighbors are quiet jealous!
In the first additional photo you will also see the entry way bench and storage shelf (http://ana-white.com/2009/11/plans-for-entry-storage-benchshelf_2314.ht…) that I worked on when I wanted a break from the table.
Went a little crazy on the pipe project, but love it. My favorite thing is the bench. My husband loves the toilet paper holder.
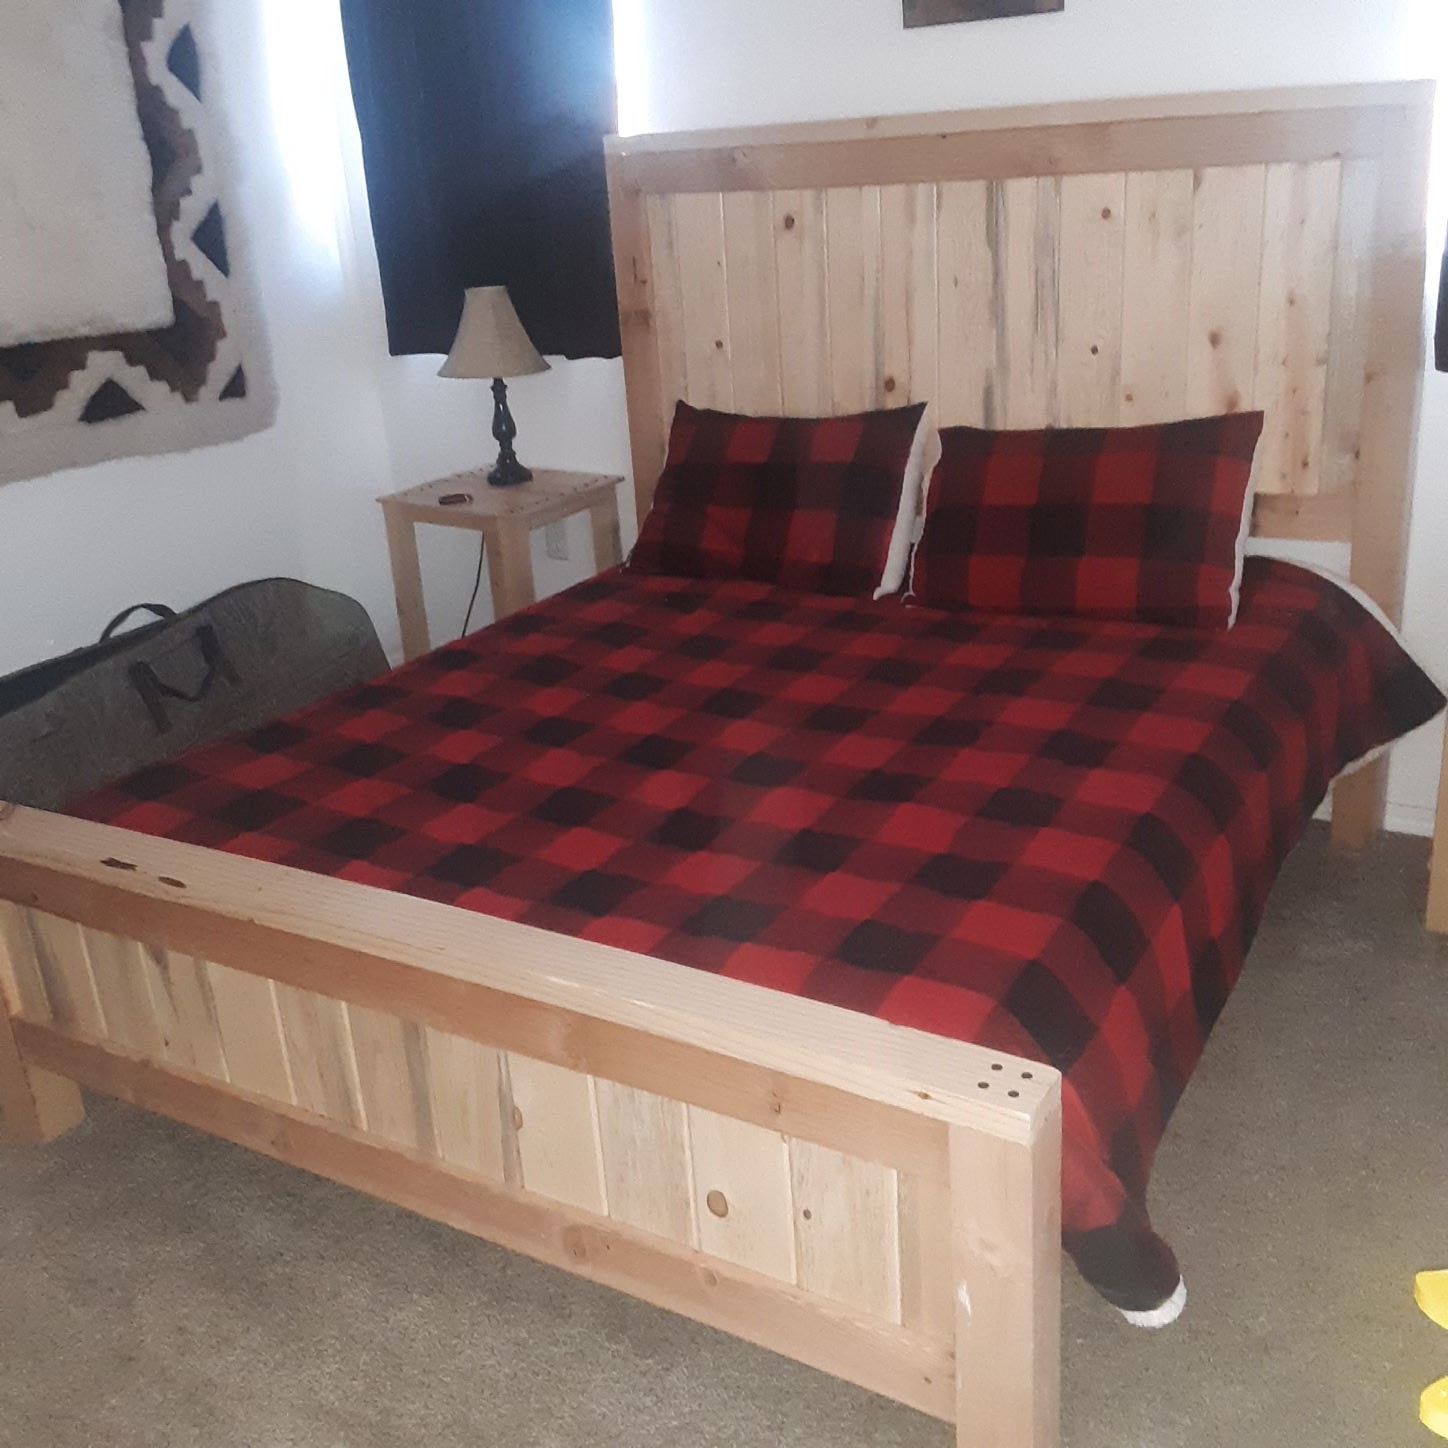
Made this bed using 4x4's and 2x4's from some large pallets we acquired. The rest of the wood I had to buy. I had to make some adjustments as our mattress was not a true queen. I loved making this project. This is a great plan.
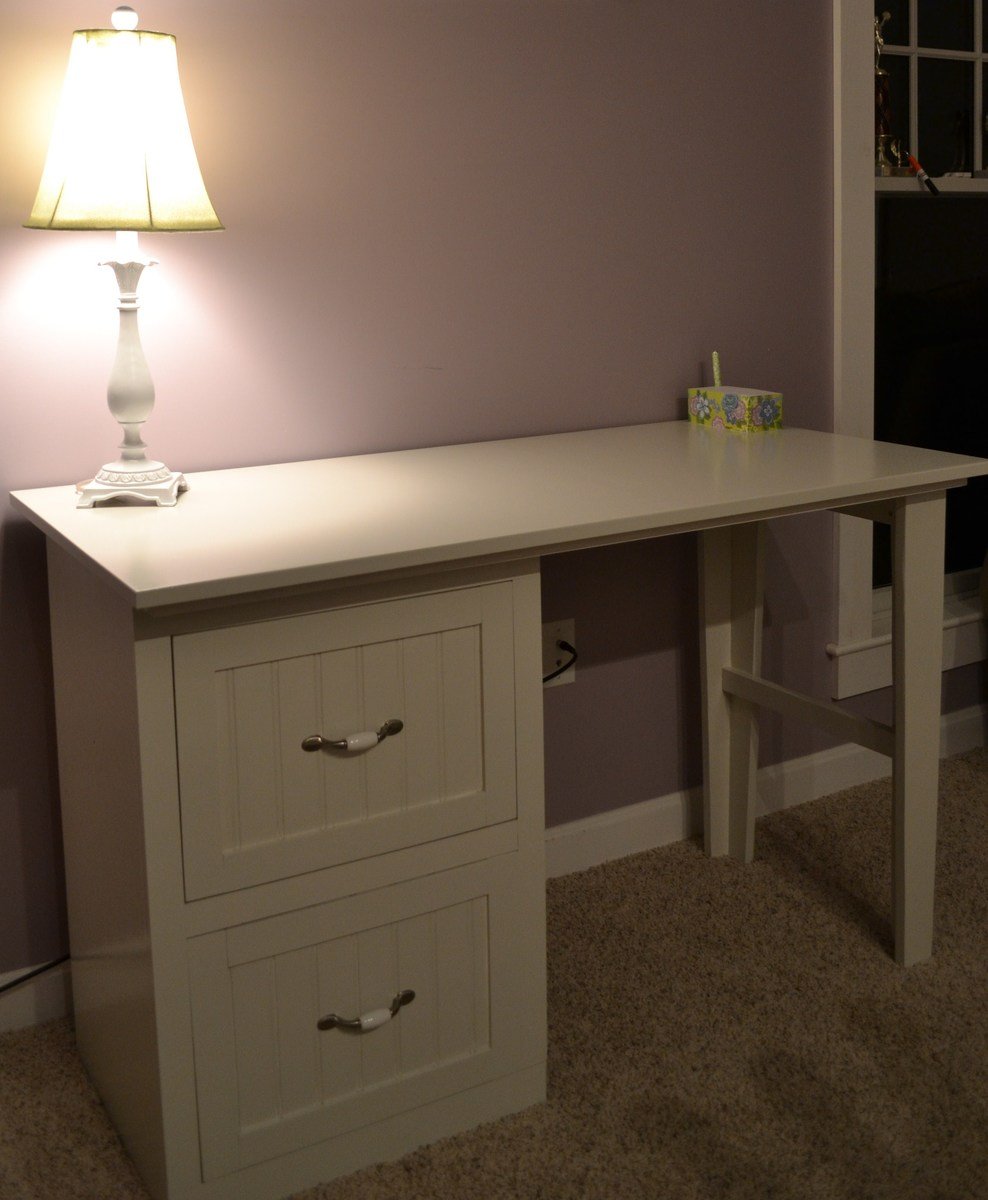
Combined the modular office small desktop with the Narrow file drawer base unit to suit my needs/space requirements. Used the legs from the narrow farmhouse table because I just loved them! Added beadboard for the drawer faces because it matches the rest of our house.
Mon, 04/28/2014 - 22:18
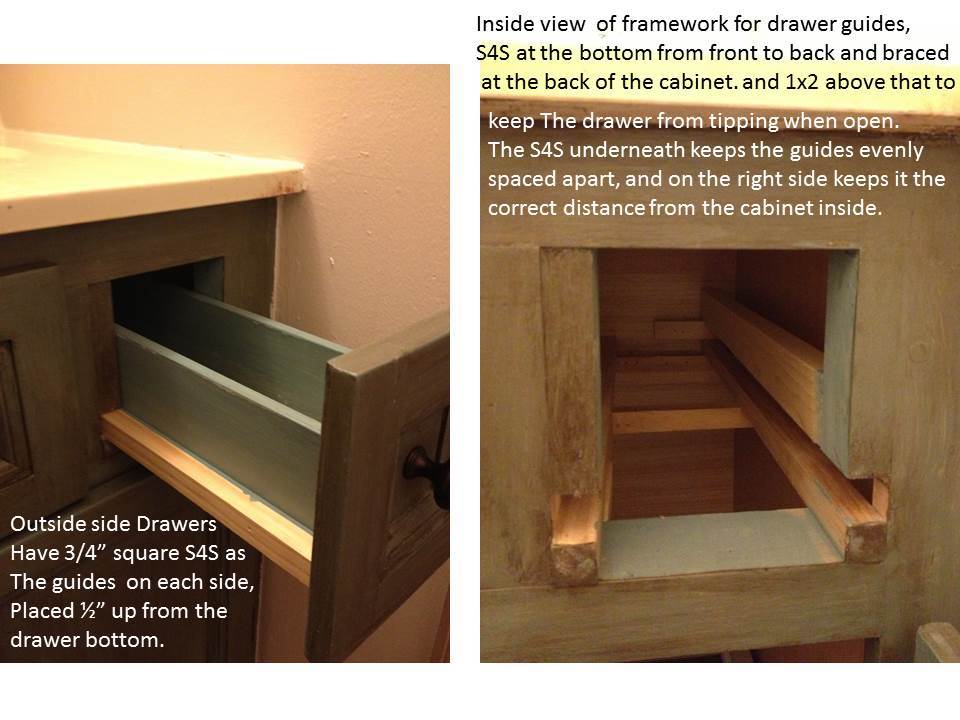
I am about to start on a very similar 4 draw version of this, do you have any more information? In particular I was wondering how the drawer slides were fitted - are the side or bottom fitting? Cheers and well done!
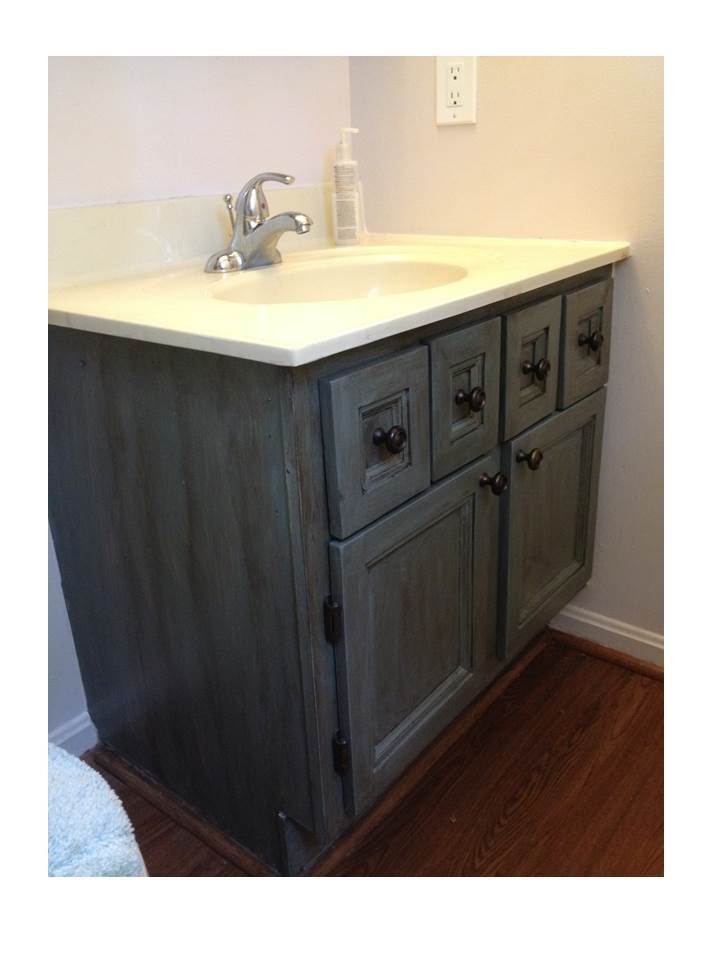
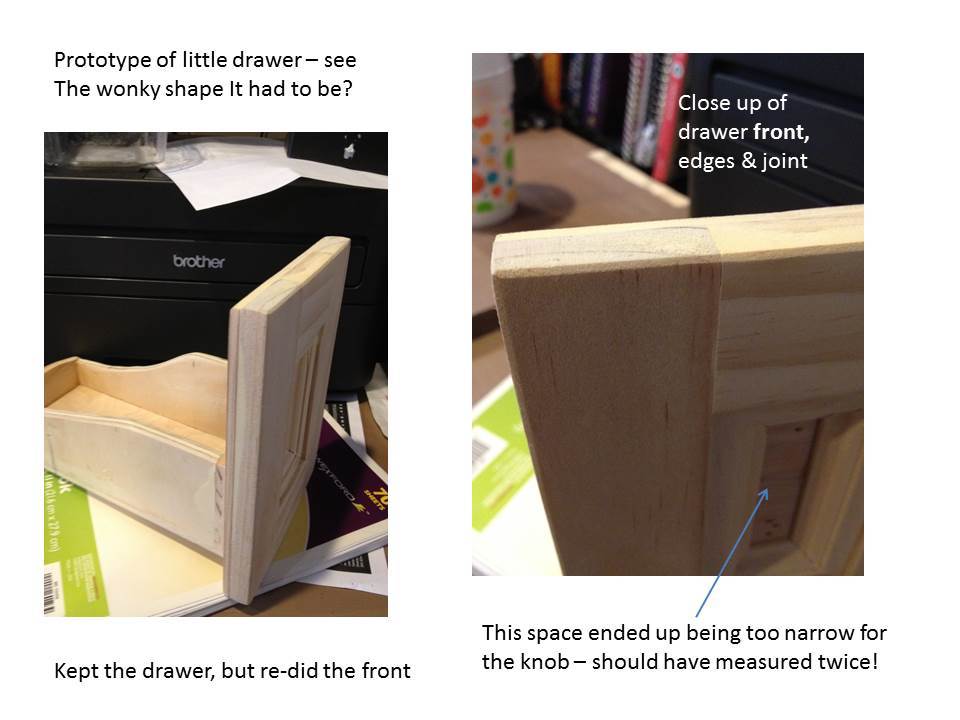
Converted an ordinary bathroom vanity into a Napoleon sink console/vanity. This is the second one I’ve completed, the first was in the hall bathroom which Hubby calls “his” bathroom. Since this one for the master bath is more feminine, I’m calling her Josephine! This was approximately a day and a half project, but spread out over several weekends. I had originally planned to put a faux drawer in front of the sink, and had the drawer front made, but then decided I’d like to try to make some custom drawers in front of the sink to utilize that space. I ended up doing the center drawer fronts twice – on the first try the space in the center was a little too narrow for the knob once the trim was in place. Since the vanity is in a corner, the sink doesn’t fall exactly in the center of the vanity cabinet, leaving it left of center by about an inch. This required different middle drawer sizes with interesting shapes.
The drawers are made from a combination of 3/8” craft boards and 3/8” plywood, ½” craft board, and some ¼” plywood for the bottoms (all of them except the one right of center – that has ¾” plywood for the bottom). The 2 outer drawers also have ¾” S4S as guides.
The doors and drawer fronts are ¼” birch plywood cut to size, with ½” x 1 ½” craft boards glued to the fronts for rails and stiles (I added a few pin nails from the back side also). Inside these, mitered pieces of mini-stop moulding were glued in place. The whole thing received some putty on the edges and joints, and thorough sanding with 80-grit, then 220-grit.
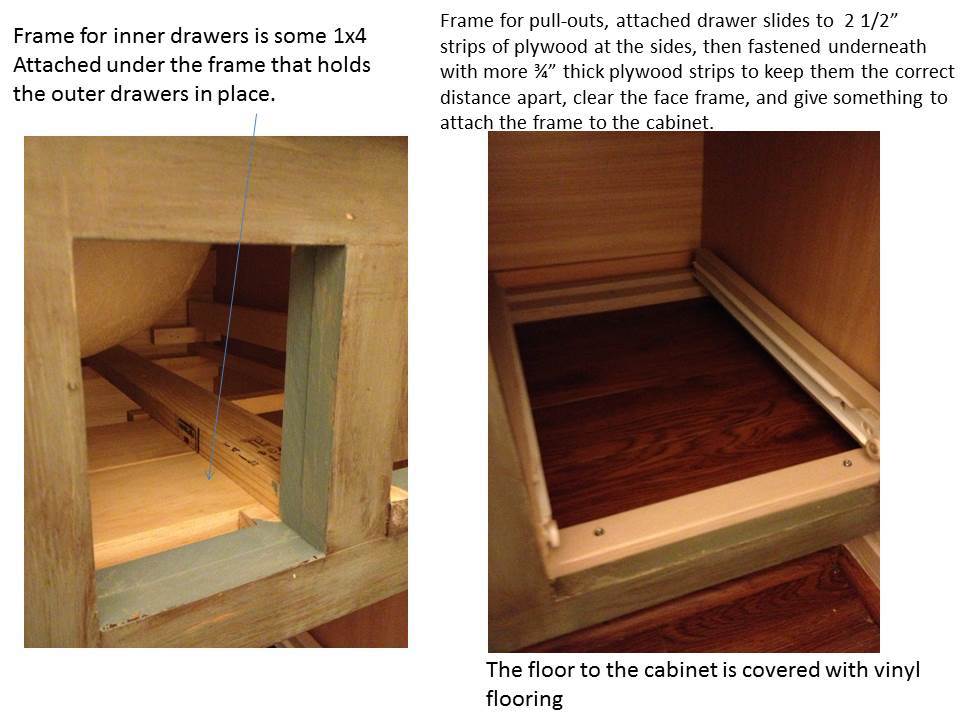
The inside frames are made from S4S, 1x2, and some scraps of 1x4 cut to size. If I were doing this in a newly constructed vanity without the sink already in place, the setup for the drawers would have been much simpler. But, we weren’t ready to buy new yet, so necessity was the mother of invention and we have this. I re-used the hinges and 2 of the knobs from the original, and I bought 4 more and the hardware for the drawers.
The pull-outs in the bottom are made from plywood scraps, thoroughly sanded and painted. These are based on Ana’s wood pull out cabinet drawer organizer, with added supports across the bottom to make the drawer clear the lip of the face frame, keeping them the correct distance apart, and giving something to attach to the cabinet floor.
For the inside floor of the cabinet, I got this Idea from Yvonne at Sunnyside Up-Stairs in this post:
http://sunnysideup-stairs.blogspot.com/2013/06/progress-installed-dishw…
Left over flooring was placed on the cabinet floor to give it a fresh new look and protect the cabinet bottom. Our house is 21 years old, so you can imagine the floor of the vanity cabinet had seen some wear and tear. Now it looks new!
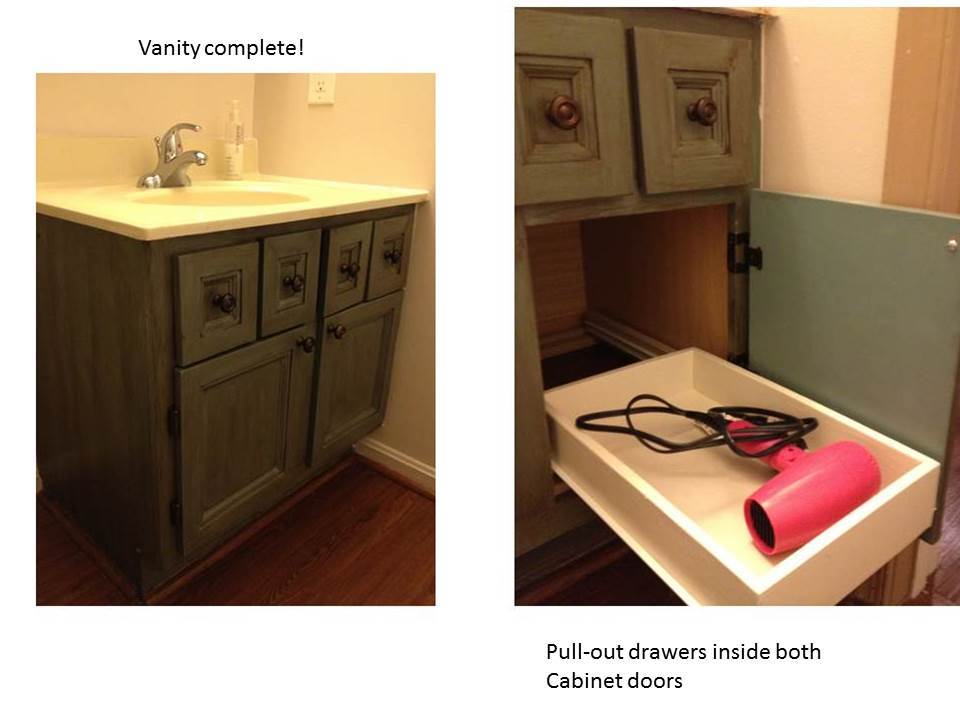
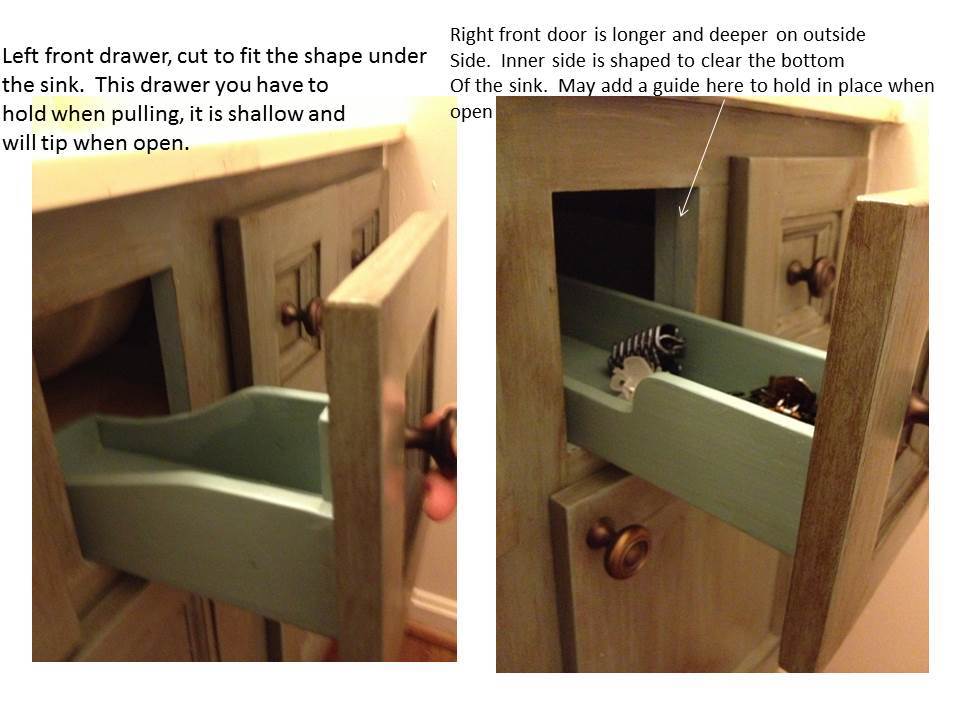
Sun, 07/28/2013 - 12:25
I love your vanity. Something about it helps me imagine a British nobleman's home, or since she is Josephine, I suppose it would be in the home of a French duchess. =D I really do like the idea of having that pull out drawer on the bottom of the vanity.
I am definitely going to give glazing and distressing a try sometime. I just have to find the right project for the look. Lest I forget, thank you for sharing the link to my site. :)
Sun, 07/28/2013 - 15:57
Thank you so much for the nice comments! I love the idea of a Duchess, I think I'll nickname this finish Duchess Blue! :) I was happy to share your blog link, the idea about the vinyl flooring in the vanity worked like a charm, I'm going to do that in my kitchen and the other bathrooms too.
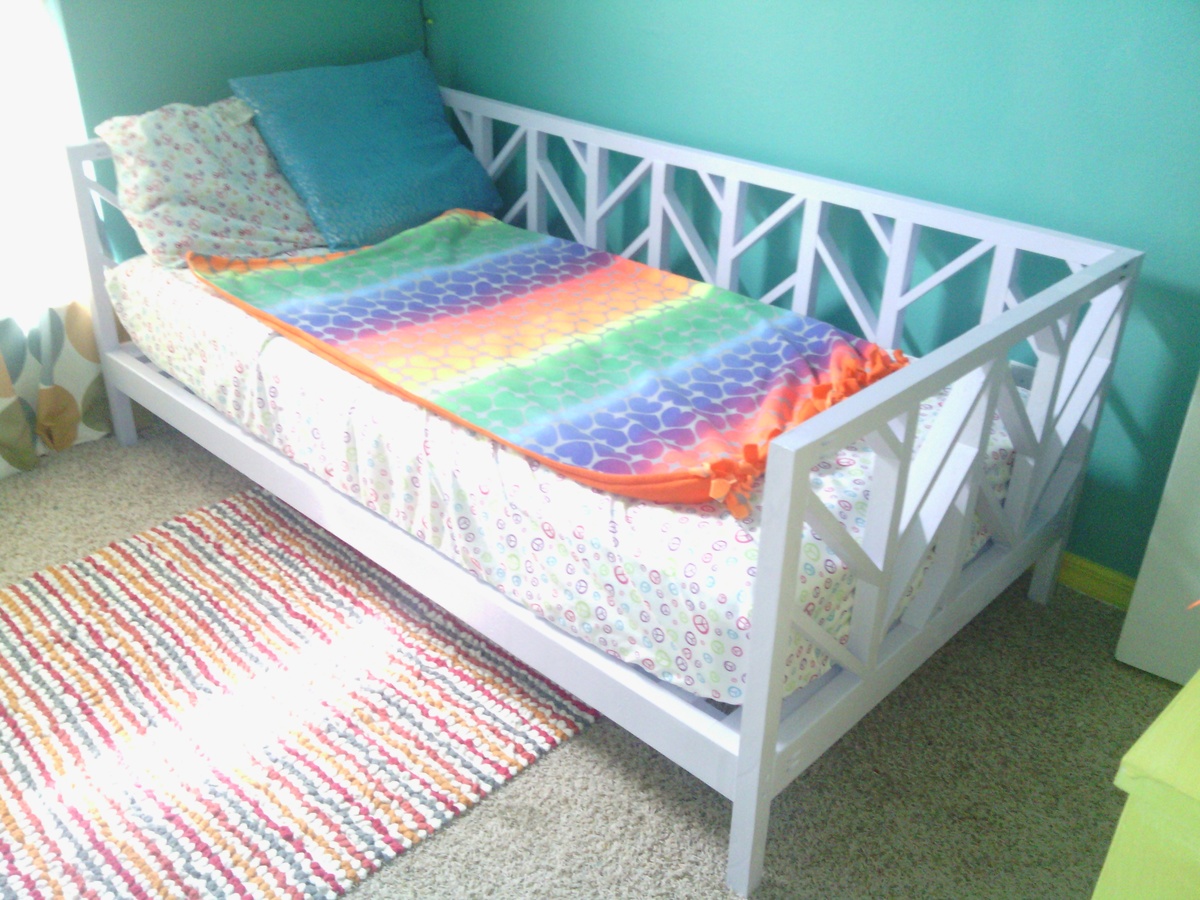
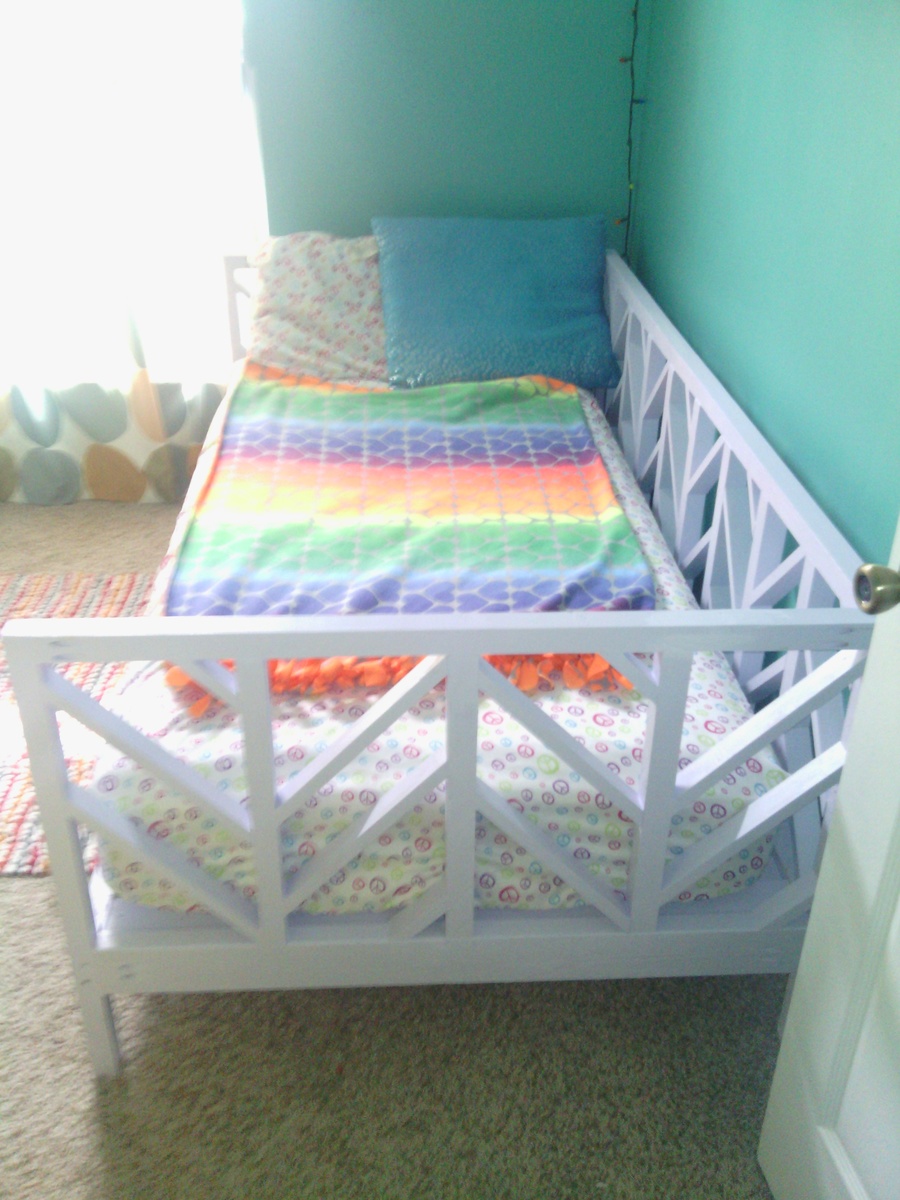
I build this last minute for my daughters room makeover. I worked through the night, but got it completed and painted just after sunrise. (I slept good the following night!)
