Community Brag Posts

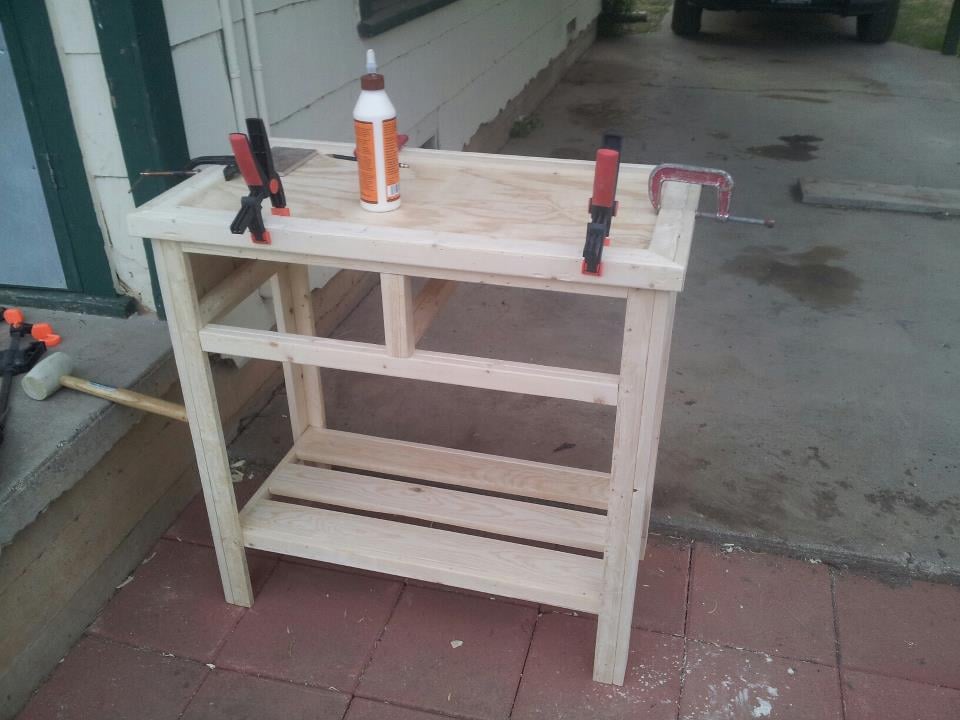
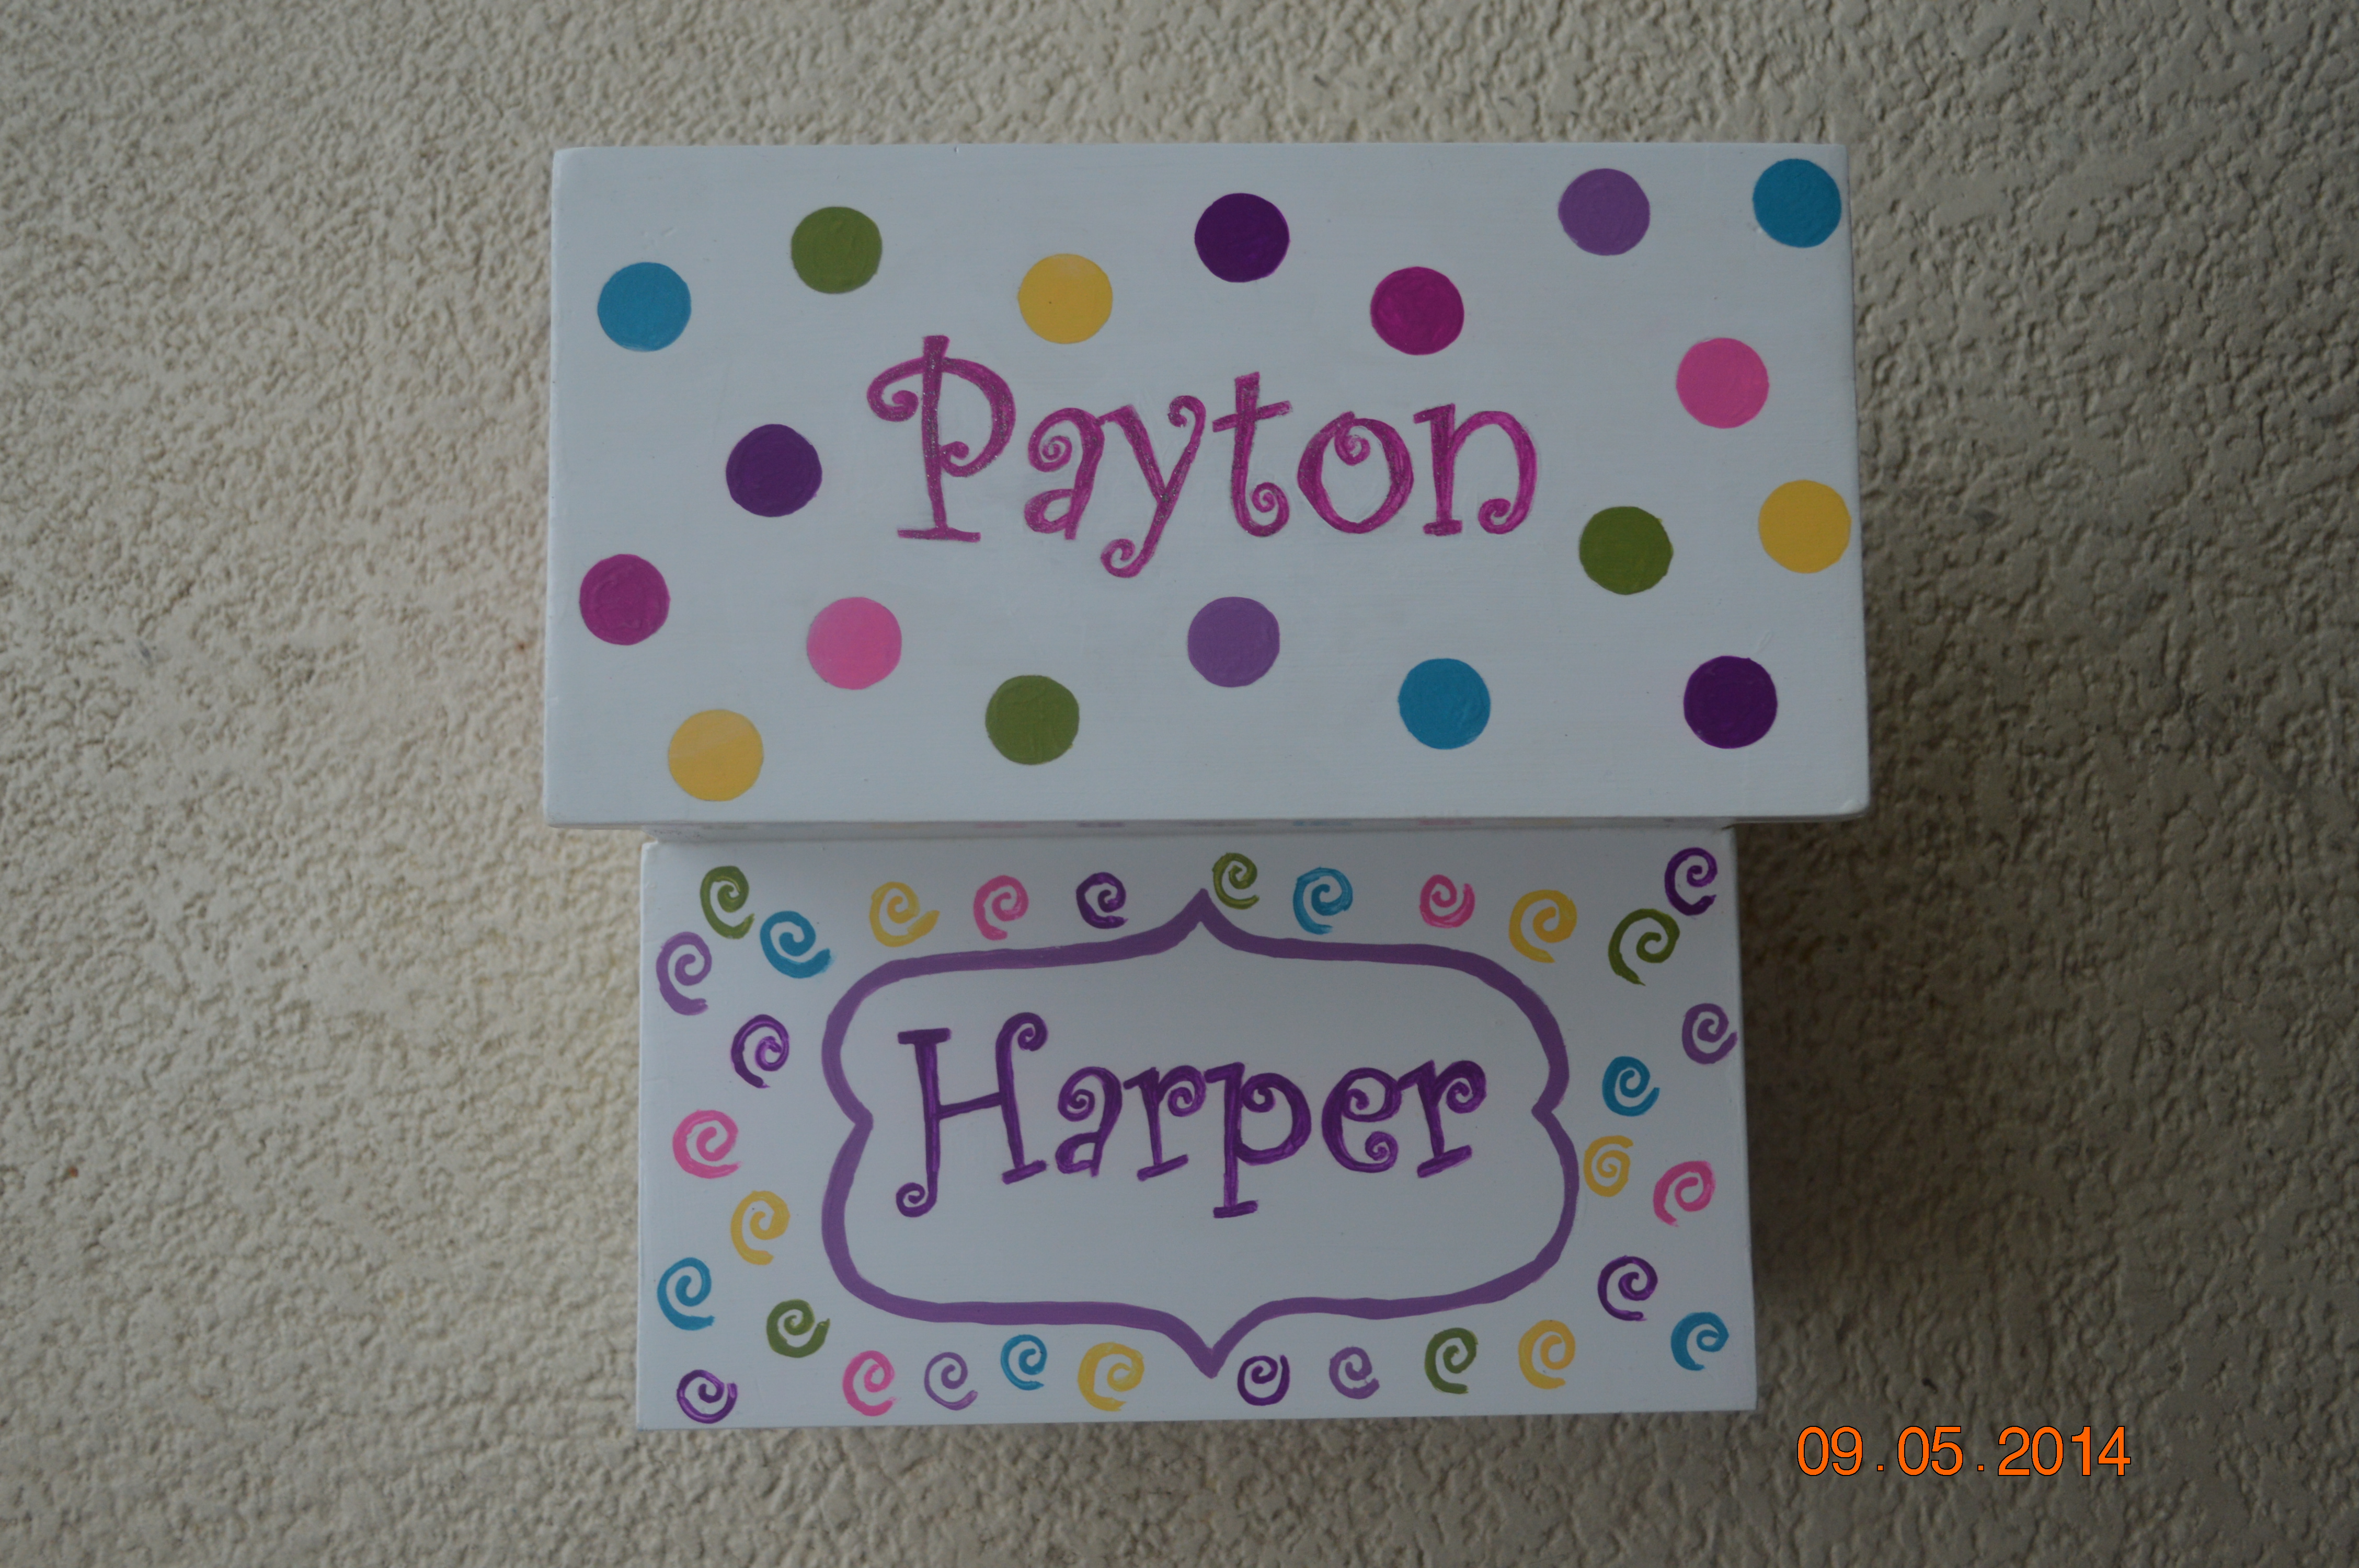
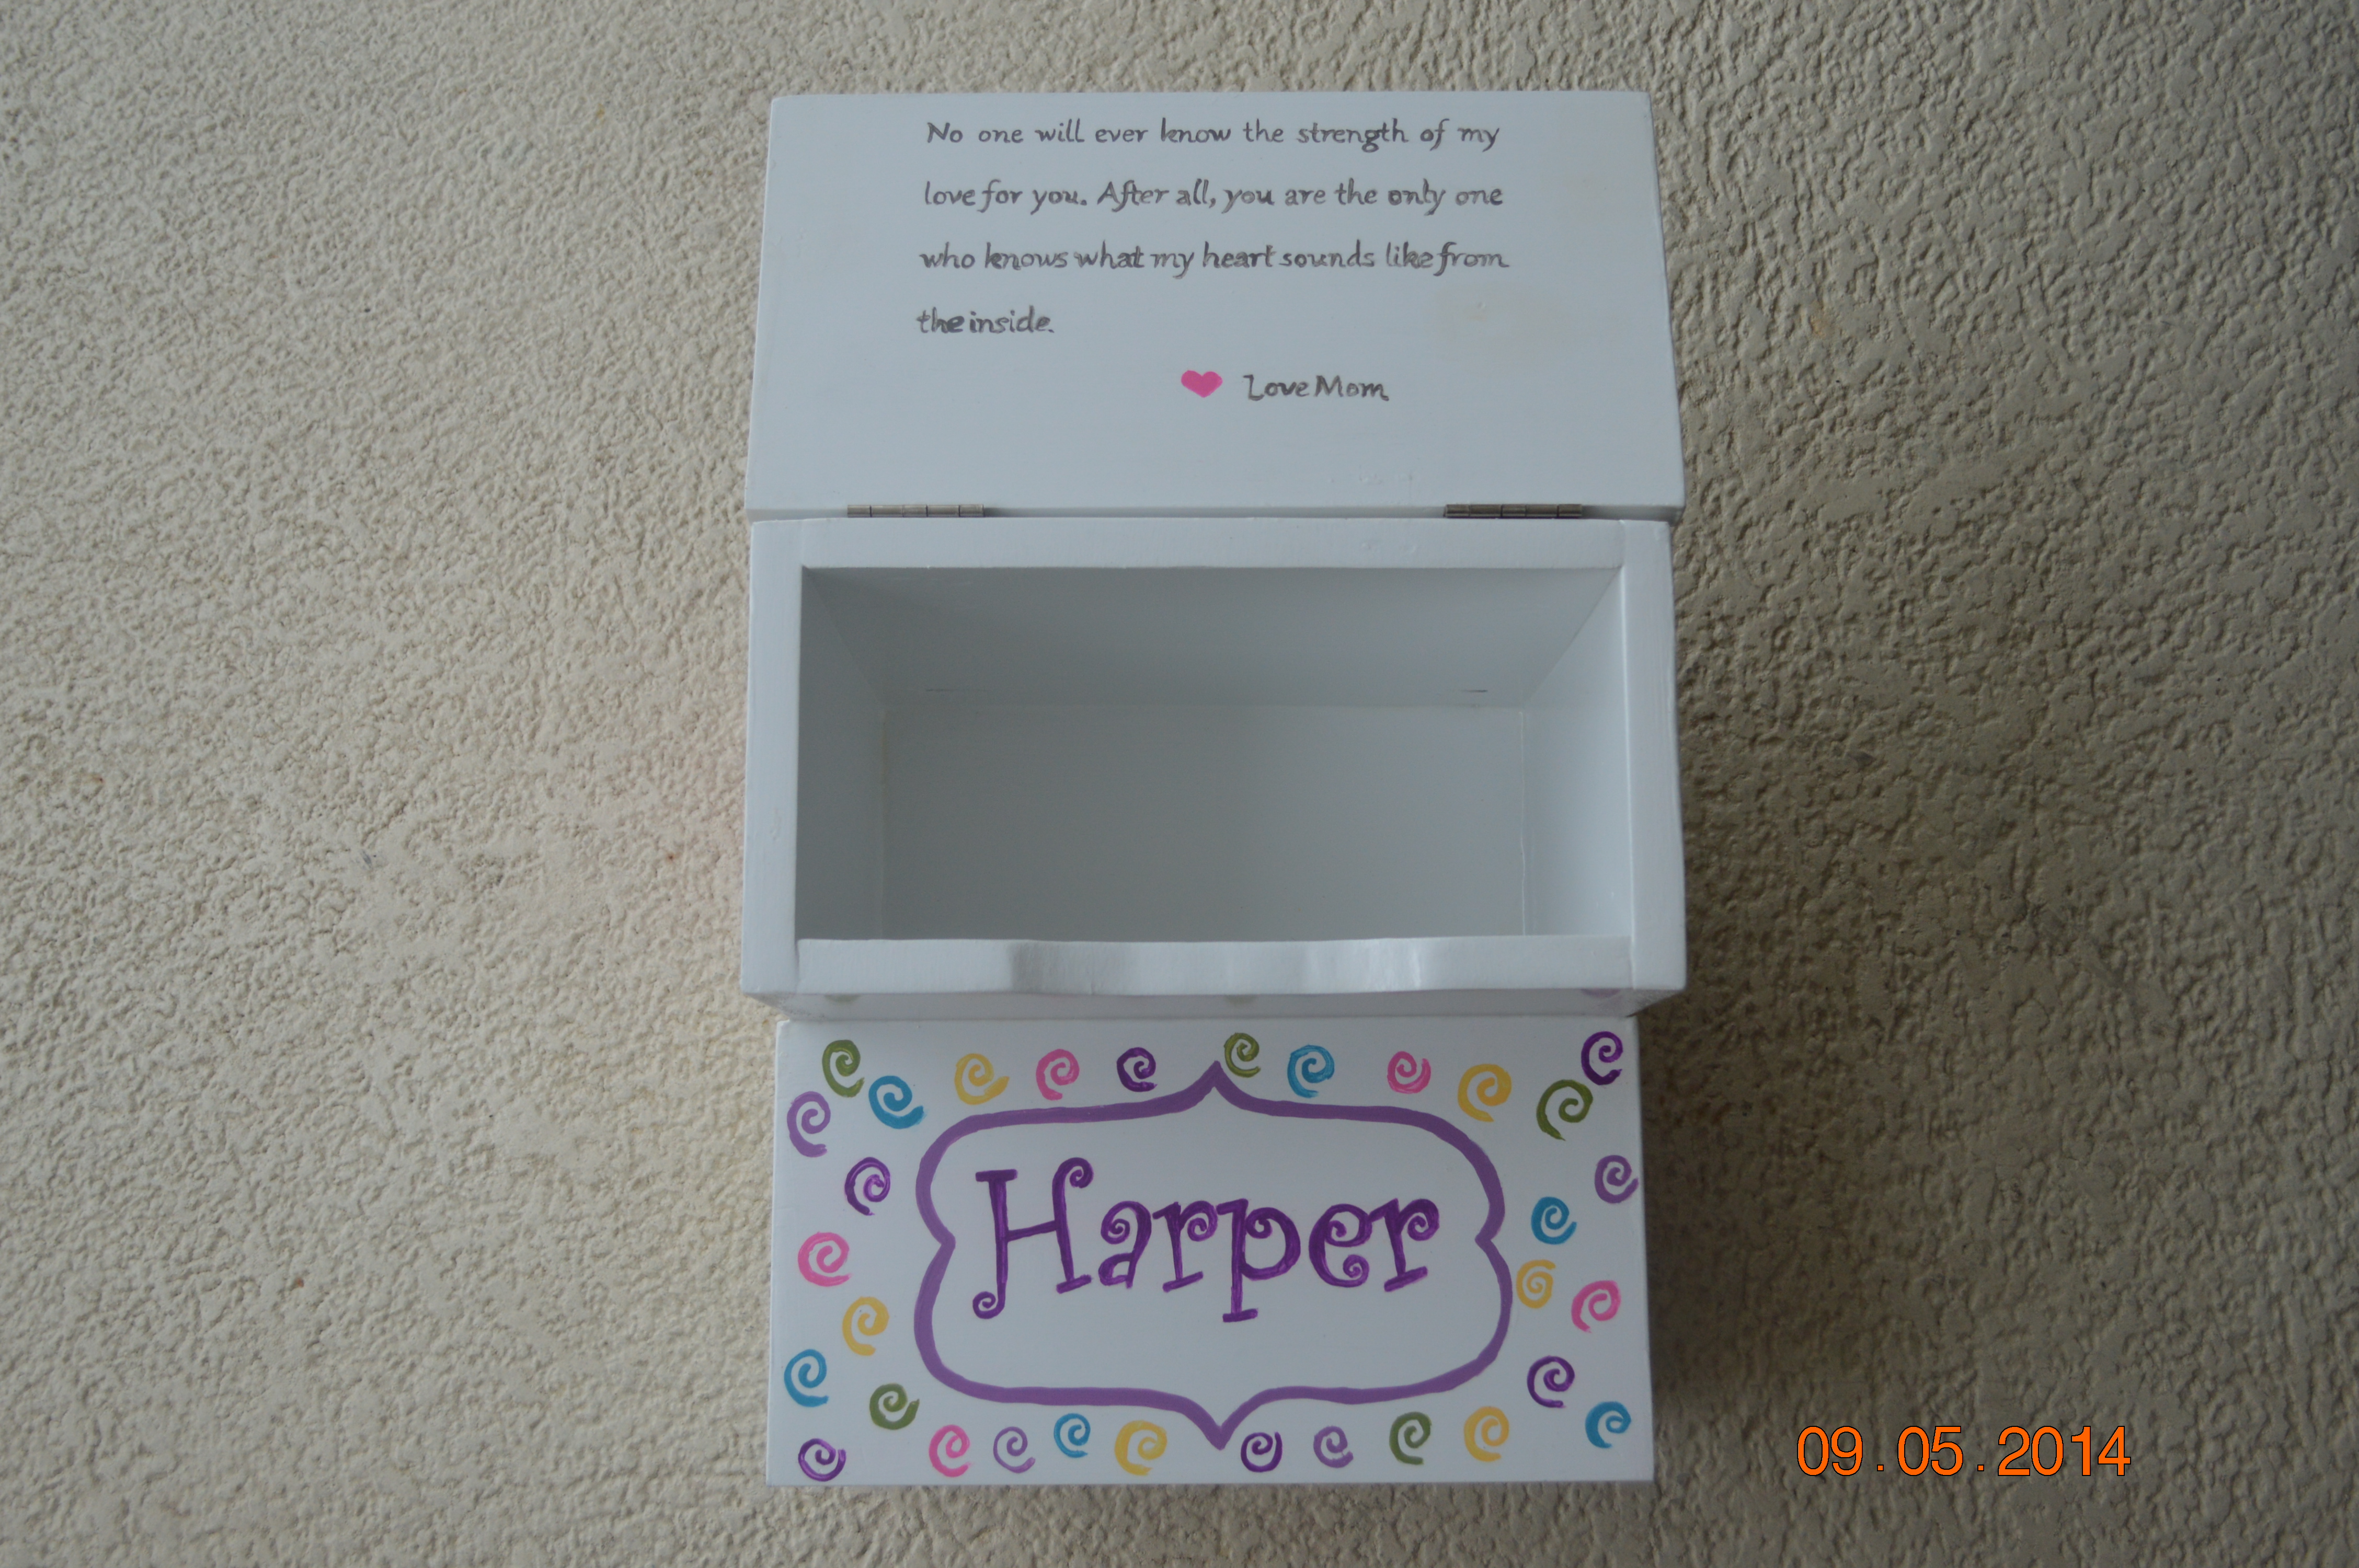
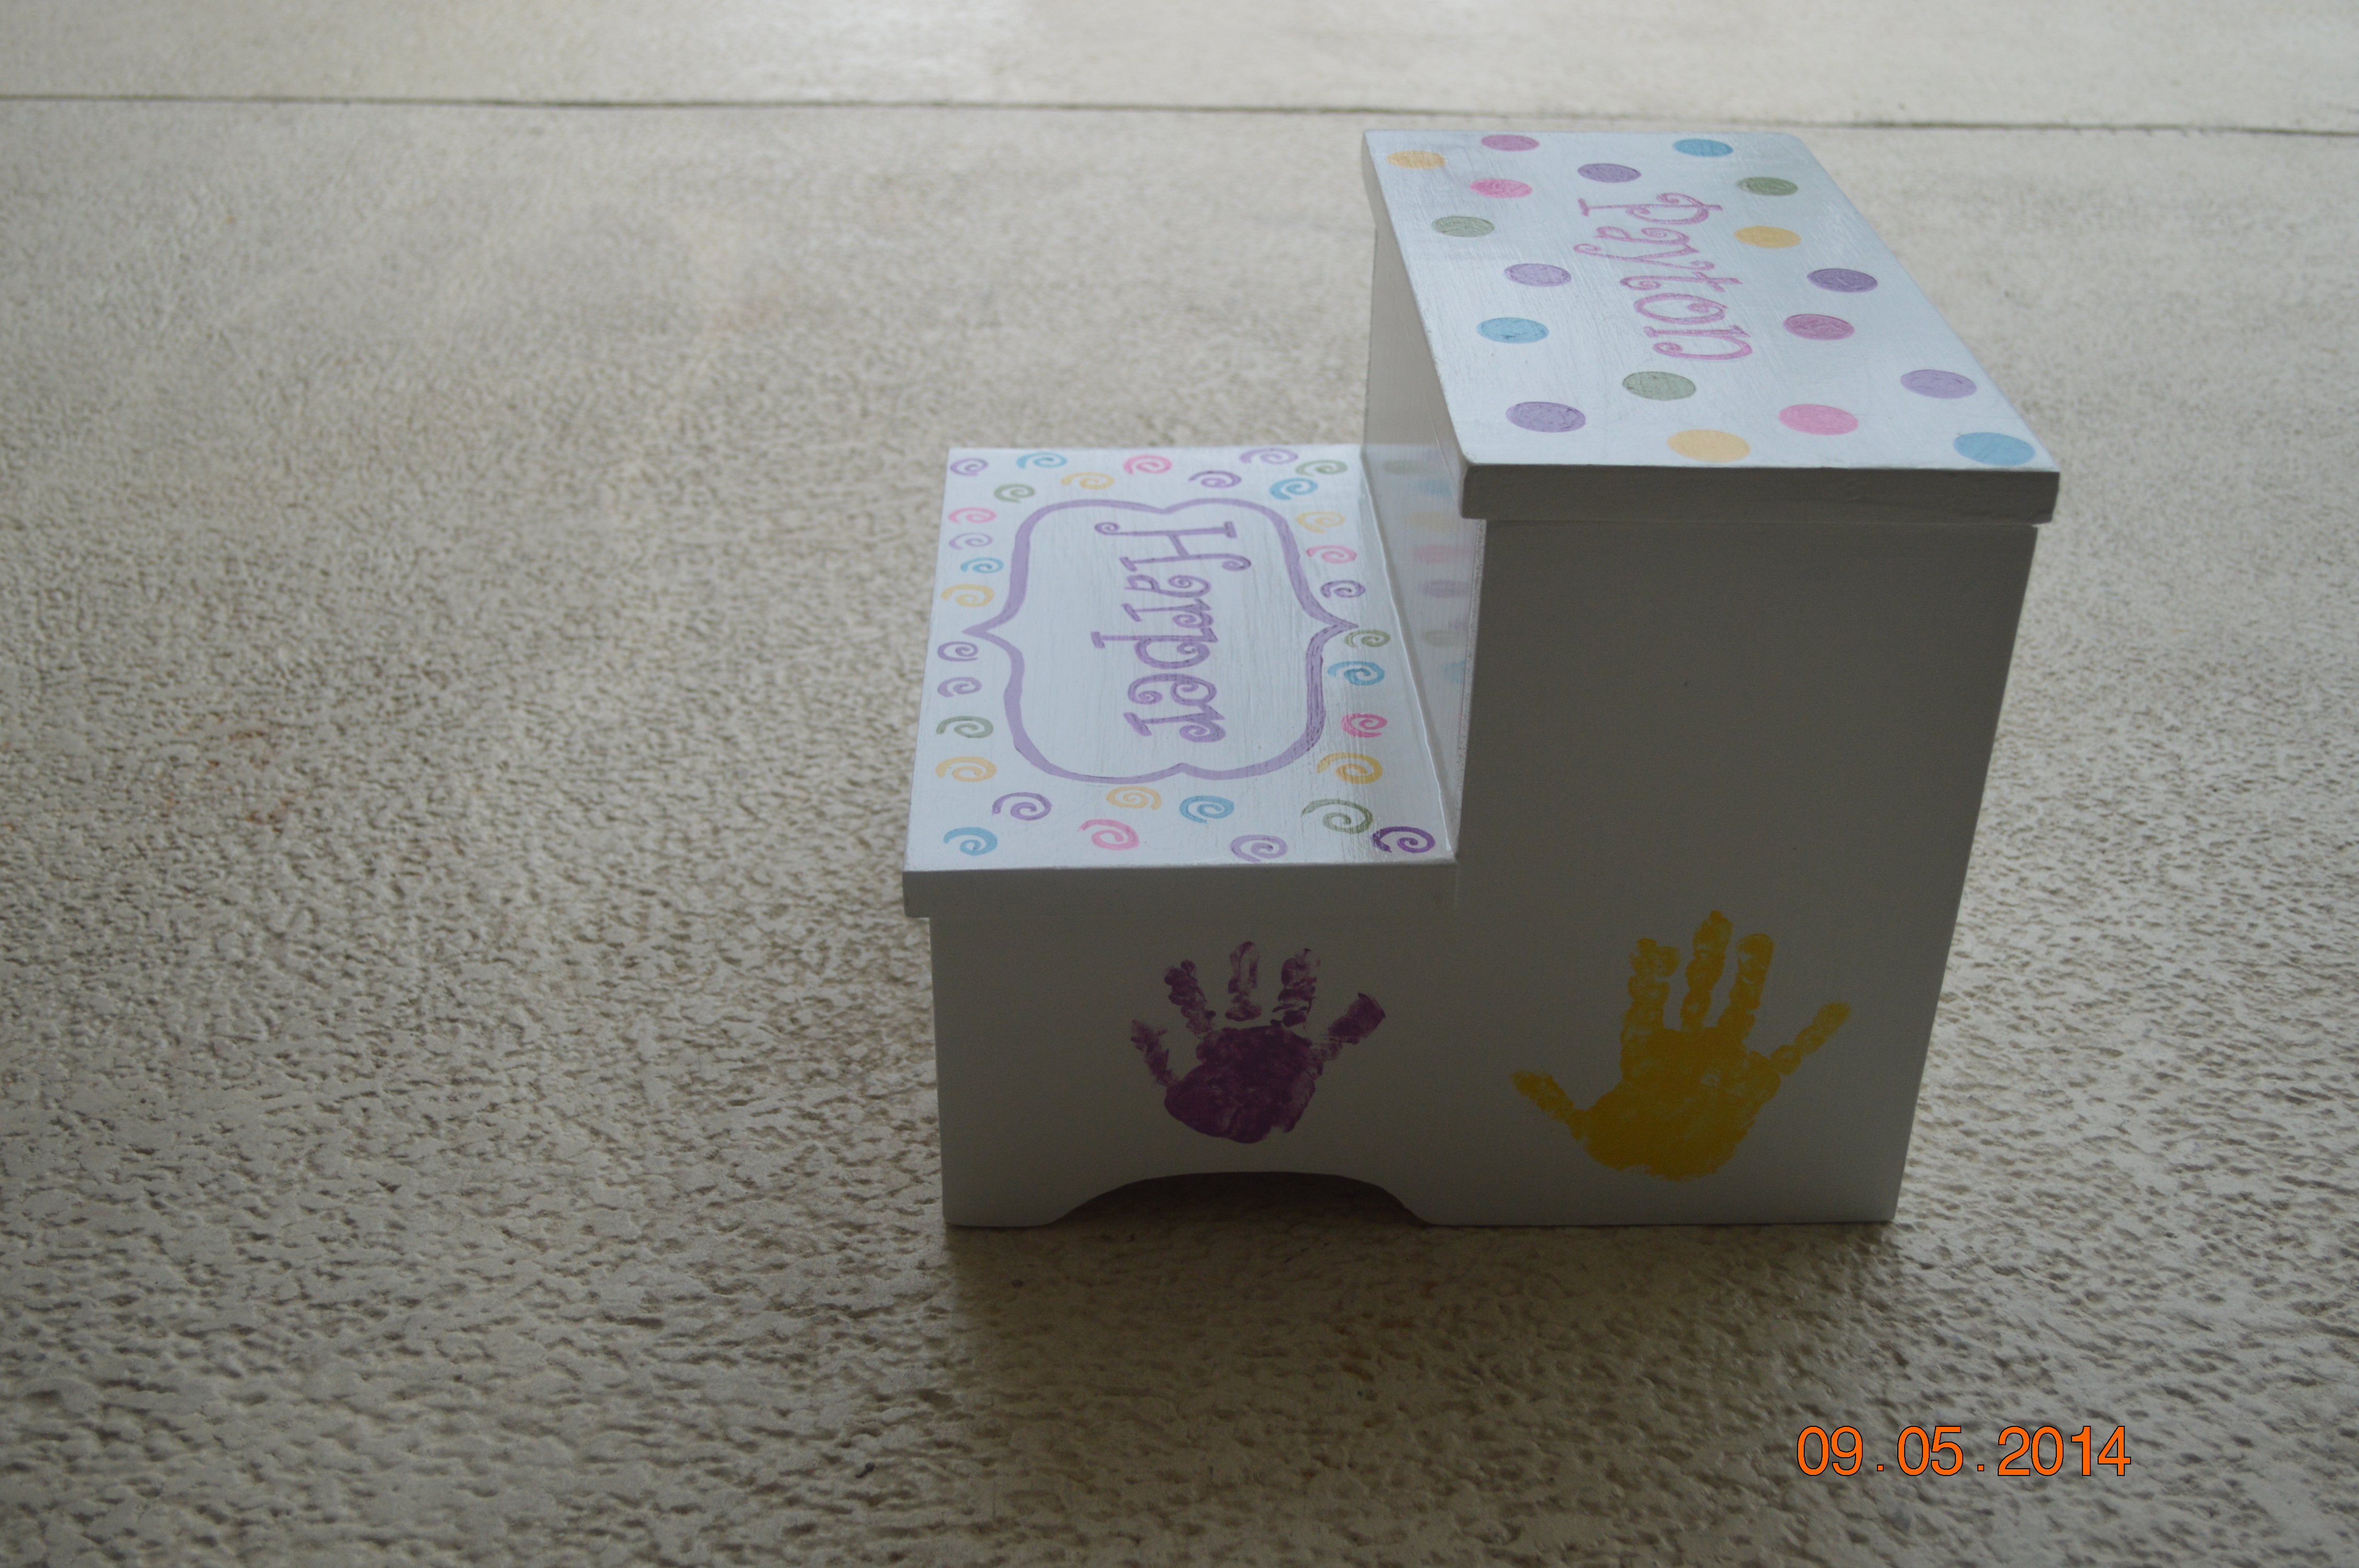
Kids Storage Step Stool
Purchase poplar wood from Home Depot, was unable to find all pieces of wood in pine. Cut according to plan, sanded, used kreg jig for joints, (forgot wood glue until last piece).

Built from Plan(s)
Estimated Cost
49$ in wood/supplies and about $15 in acrylic craft paint
Estimated Time Investment
Afternoon Project (3-6 Hours)
Finish Used
White semigloss latex paint, acrylic craft paint colors, used microsoft word for letters (enlarged to size 200 and printed, took paper and either use pencil on opposite side or carbon paper, tape to stool, trace letters with pen). Used clear polyacrylic for topcoat.
Recommended Skill Level
Starter Project
Birthday seesaw
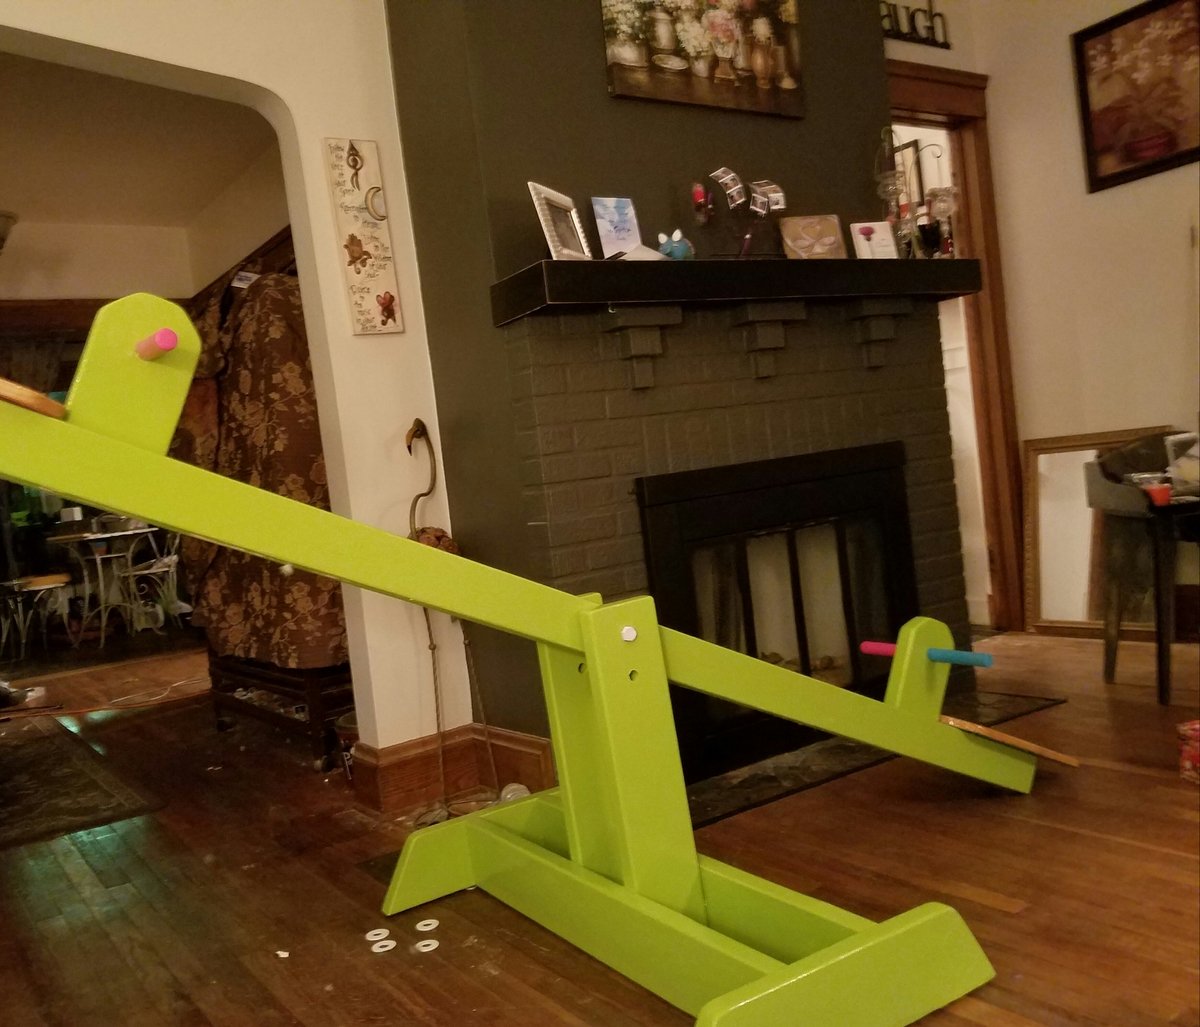
Built this for about $16! Fun wonderful project! Thanks Ana
Built from Plan(s)
Estimated Cost
$16
Estimated Time Investment
Day Project (6-9 Hours)
Finish Used
Oil based outdoor paint
Recommended Skill Level
Beginner
Farmhouse hall tree
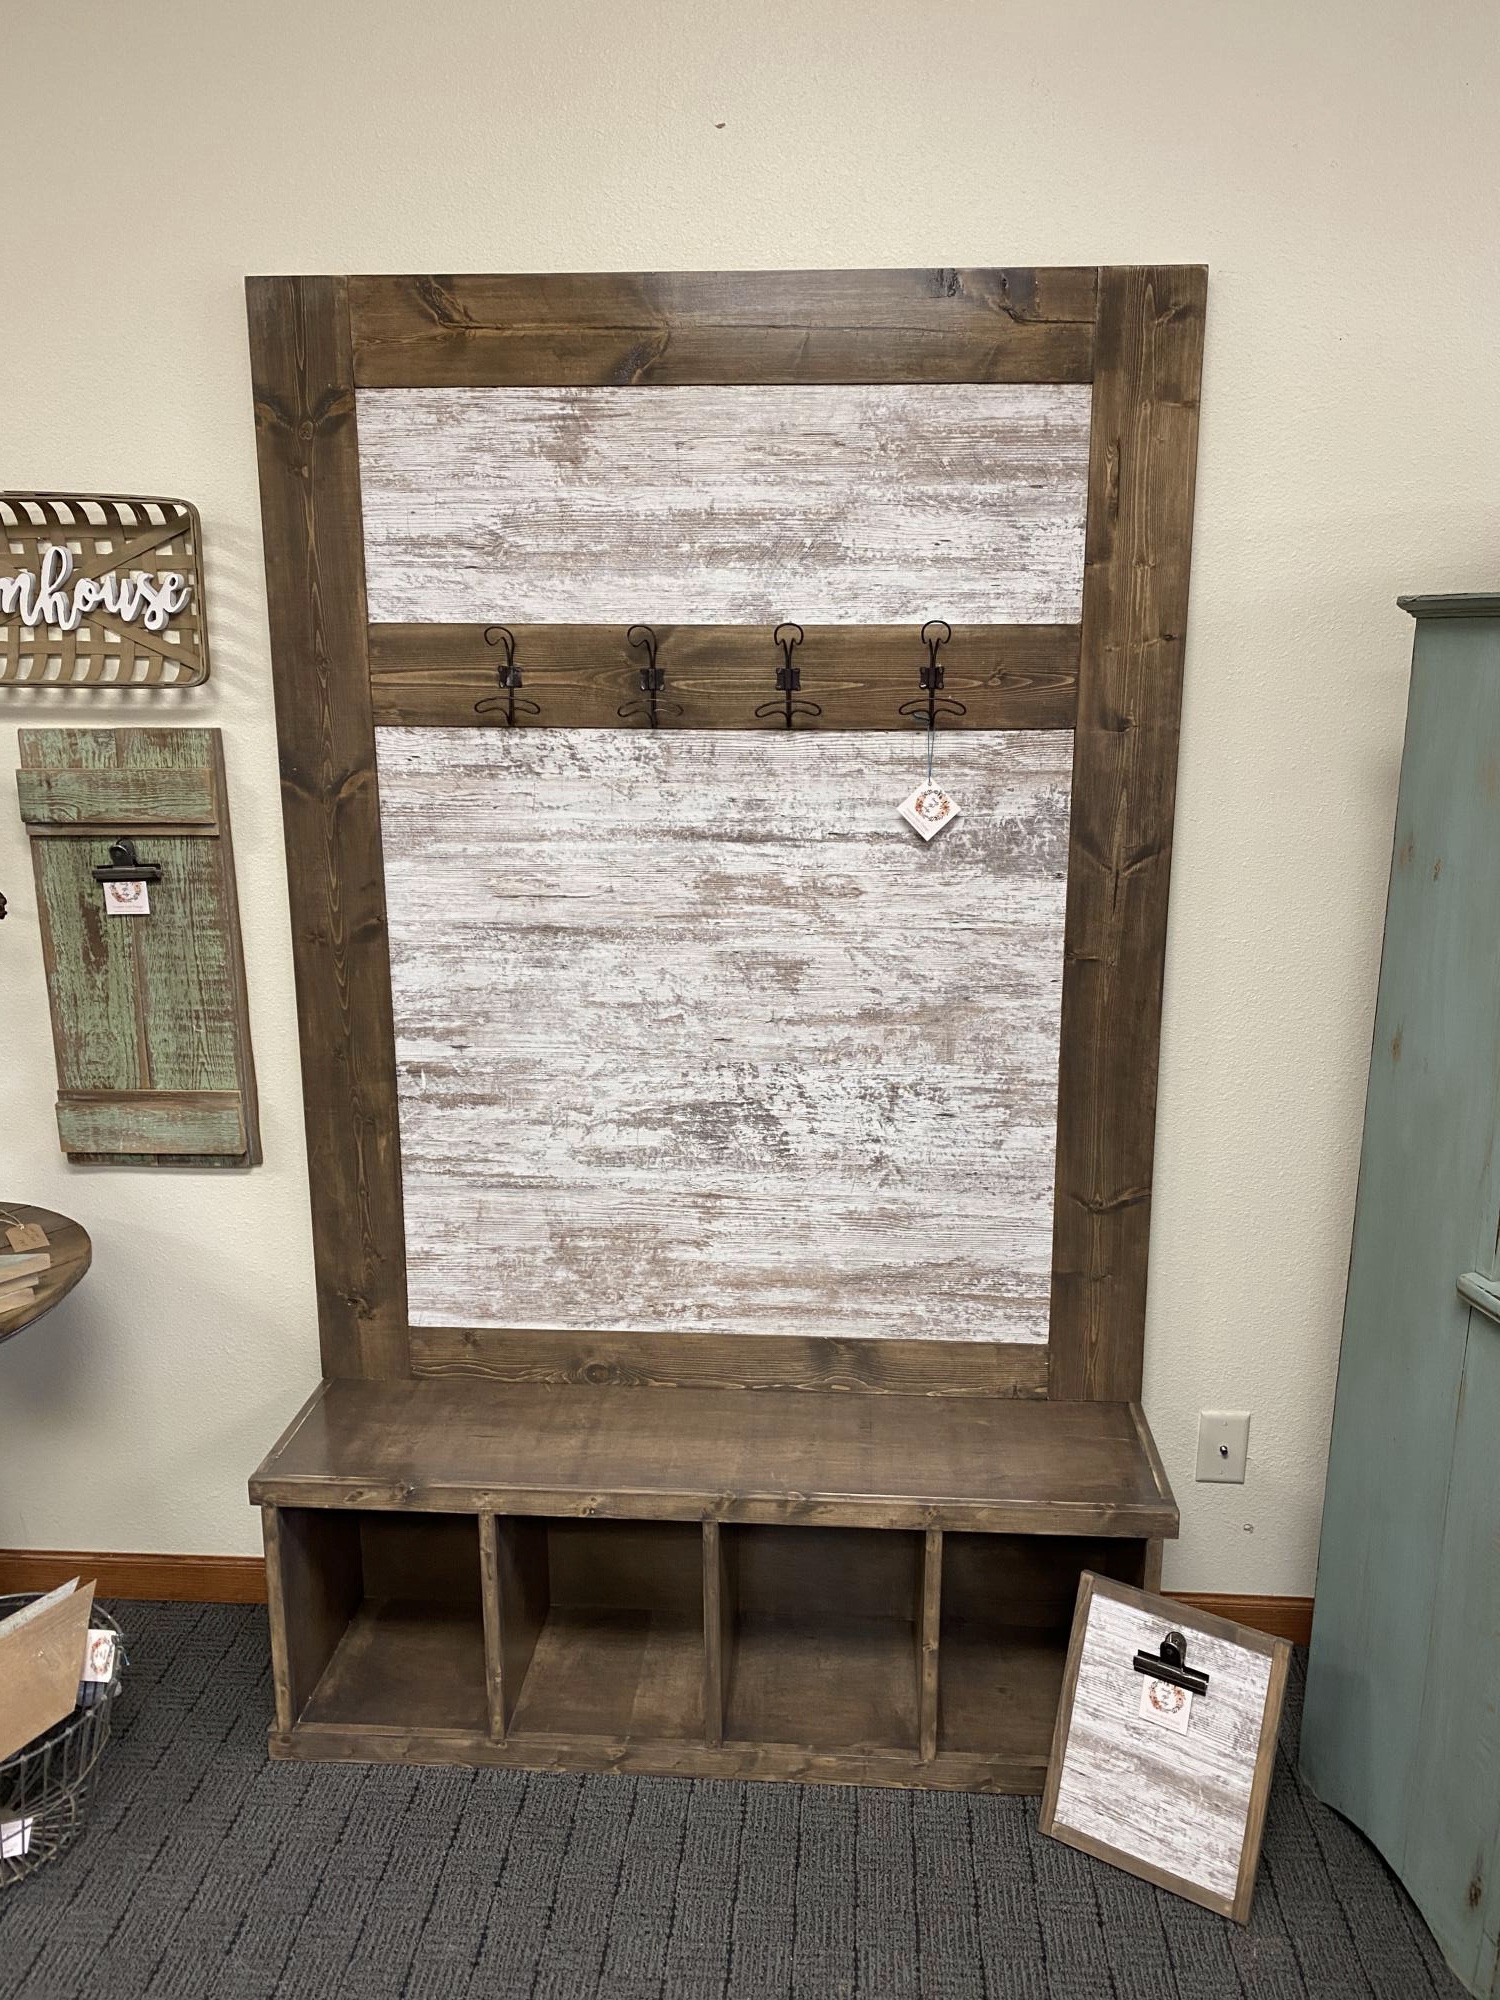
I put my own twist on the Ana White “farmhouse hall tree”. I used 1- sheet of 1/2” project panel (4’x4’), 2 1x6x10’ boards and 3. 1x4x8’ boards. The bench was 3/4” hardwood plywood, trimmed out with scraps. I stained with a mix of briarsmoke and Kona.
The project panel was so easy to use. I bought this one at Menards.
Built from Plan(s)
Estimated Cost
100
Estimated Time Investment
Day Project (6-9 Hours)
Finish Used
Briarsmoke stain mixed with a third Kona. Polycrylic in satin
Recommended Skill Level
Intermediate
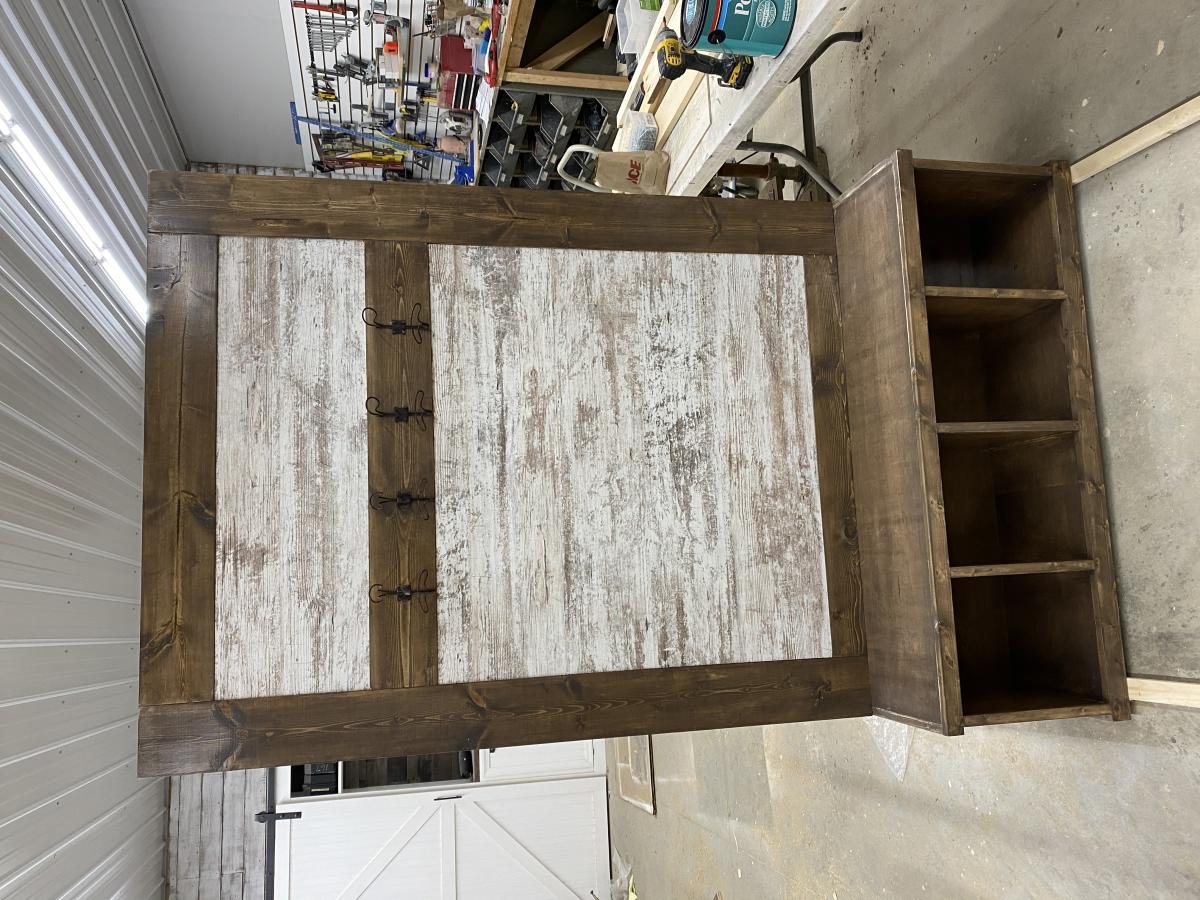
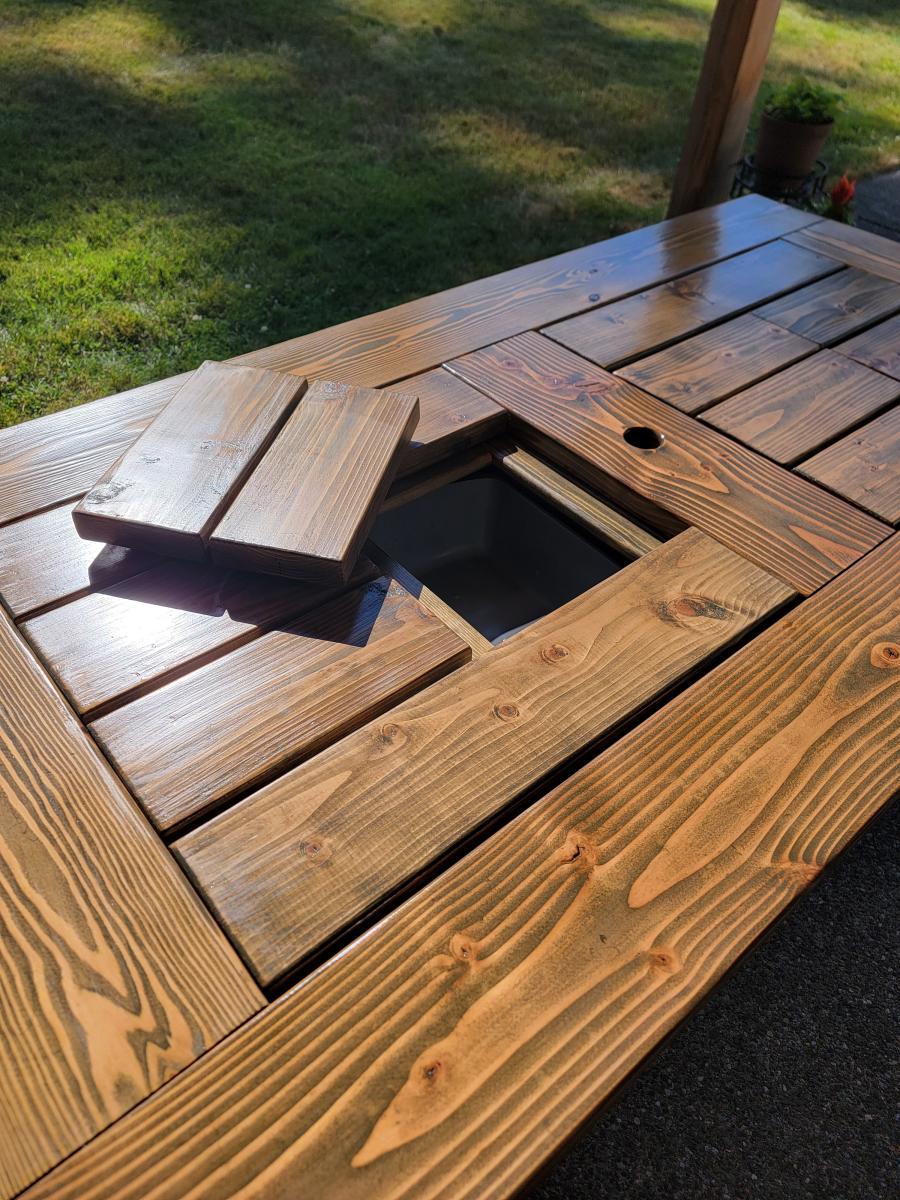
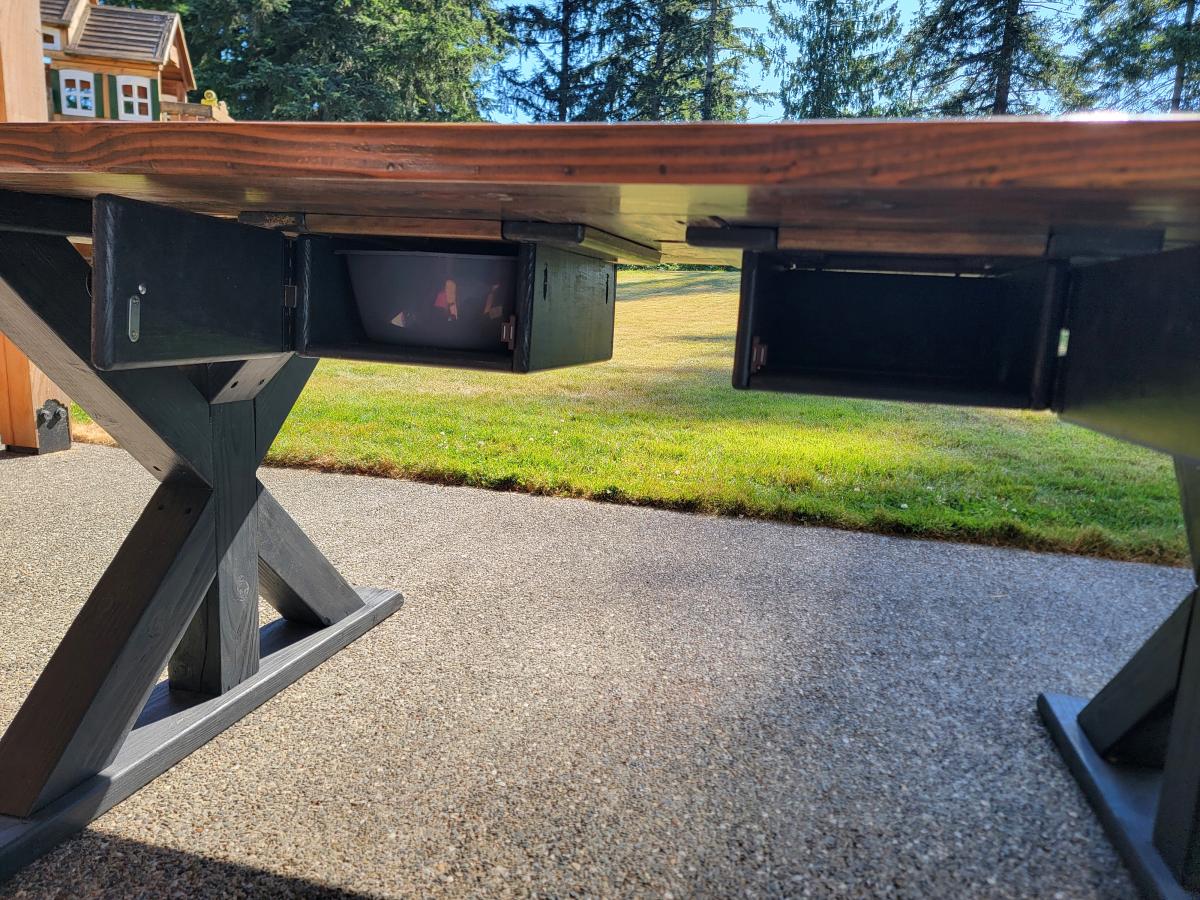
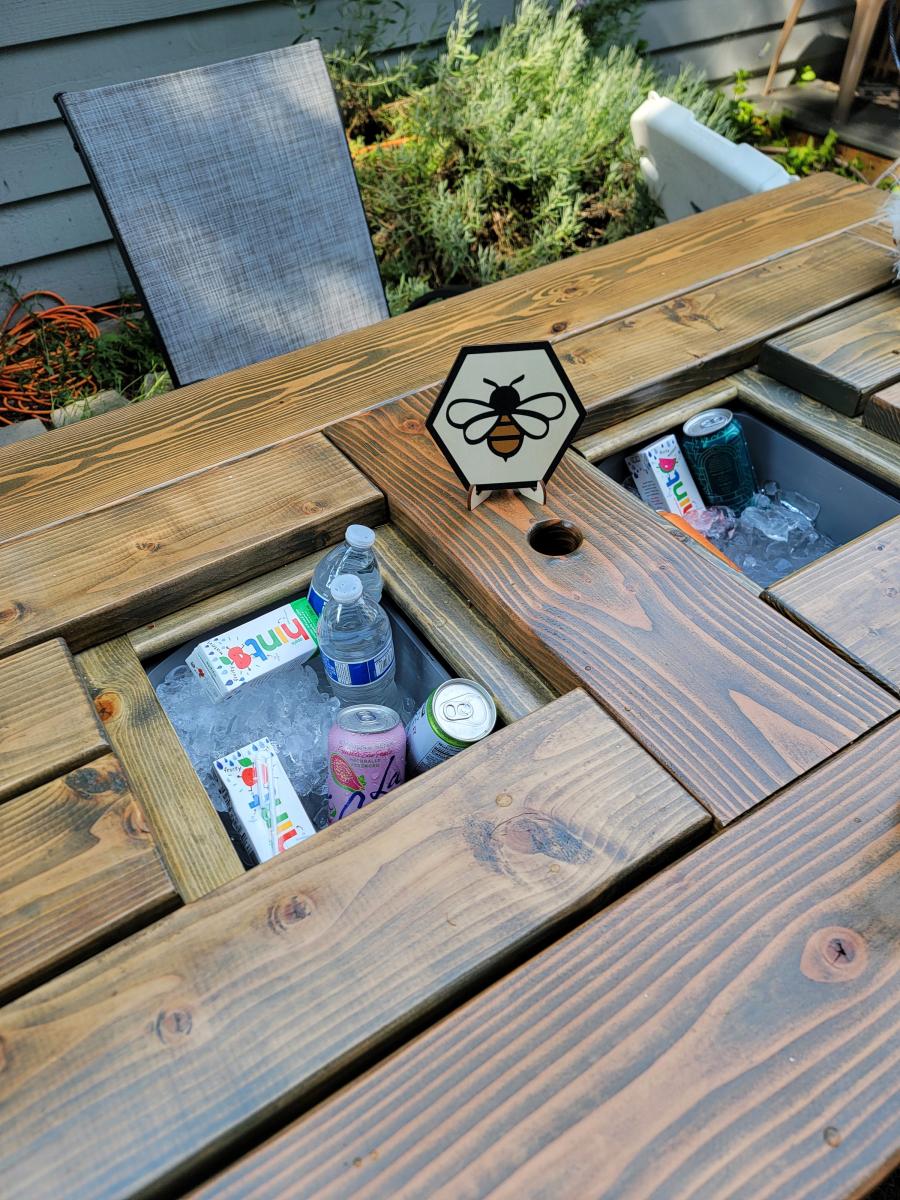
Farmhouse Cooler Table
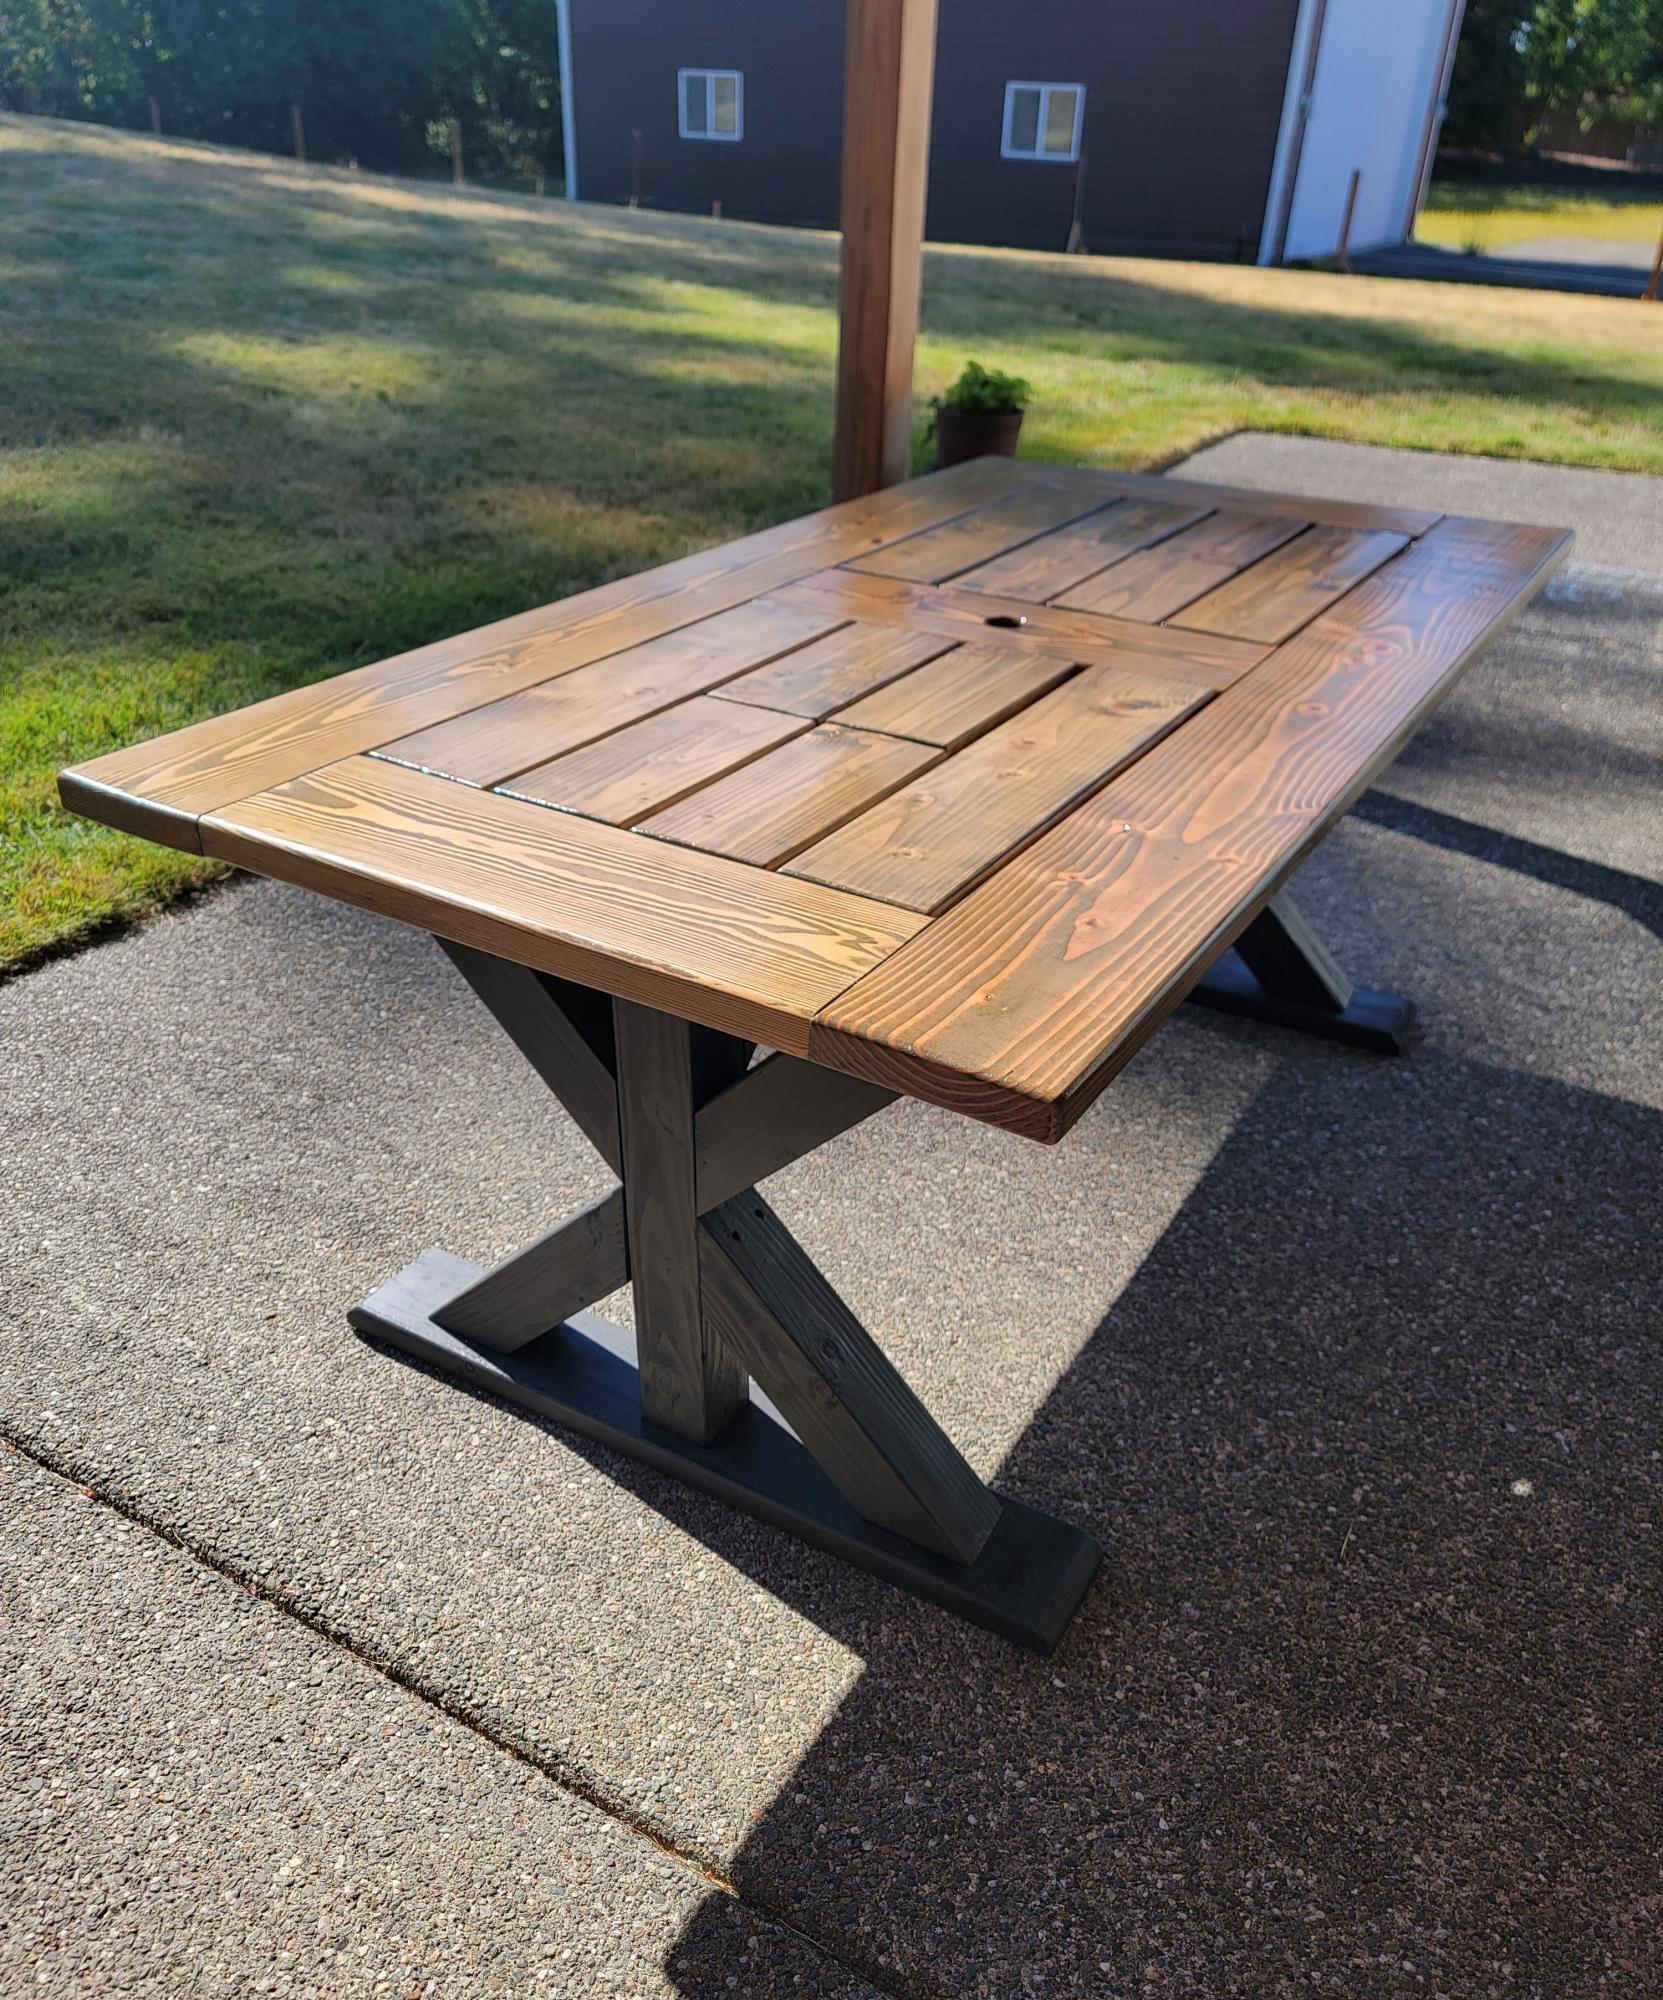
I built this table for a friend using 4x4s instead of the doubled 2x4s and incorporated built-in cooler tubs below. Finished with Varathane "Aged Barrel" stain and a few coats of spar varnish. - Ryan S
Built from Plan(s)
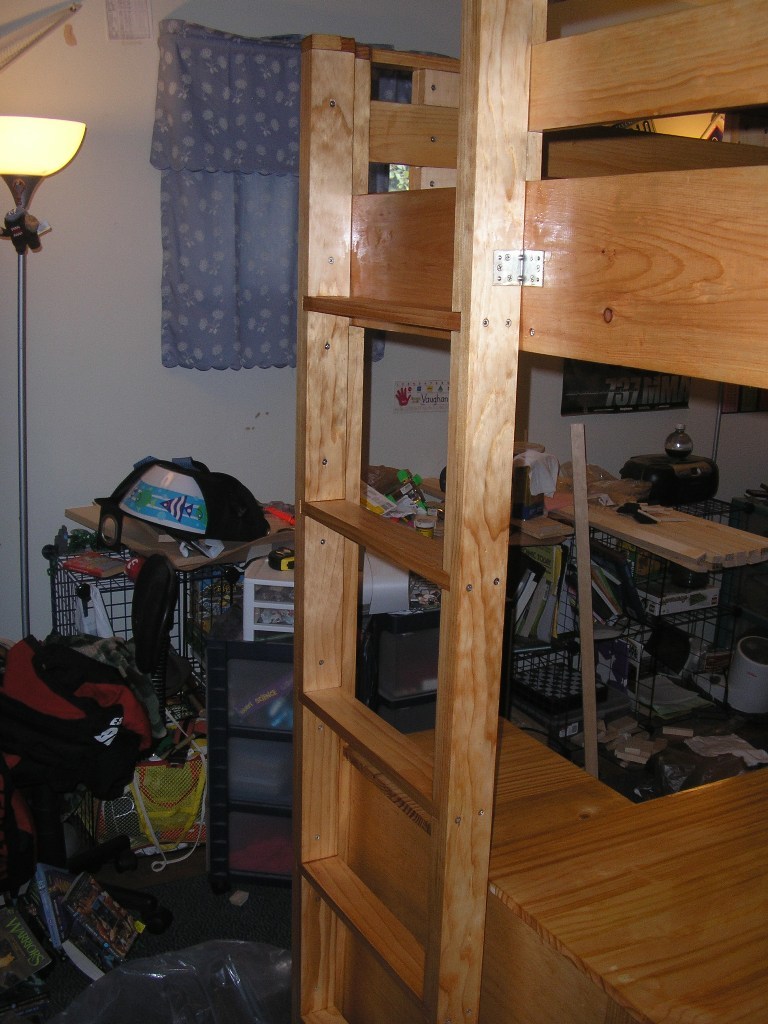
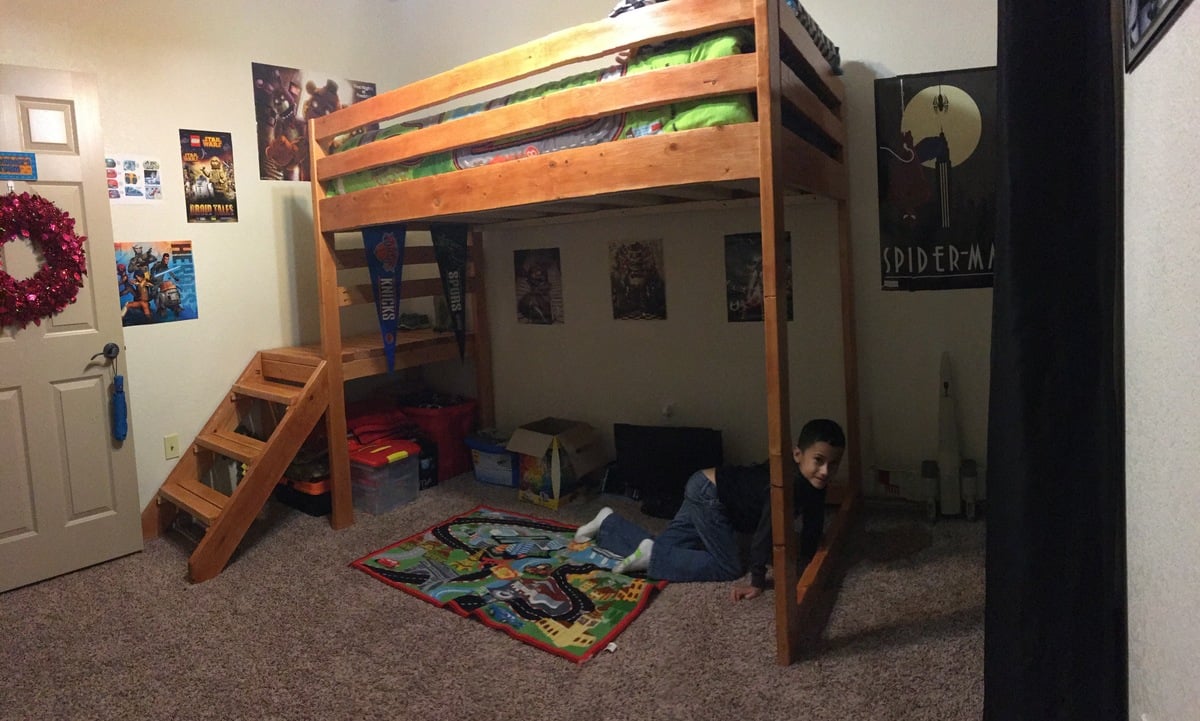
My modified loft bed
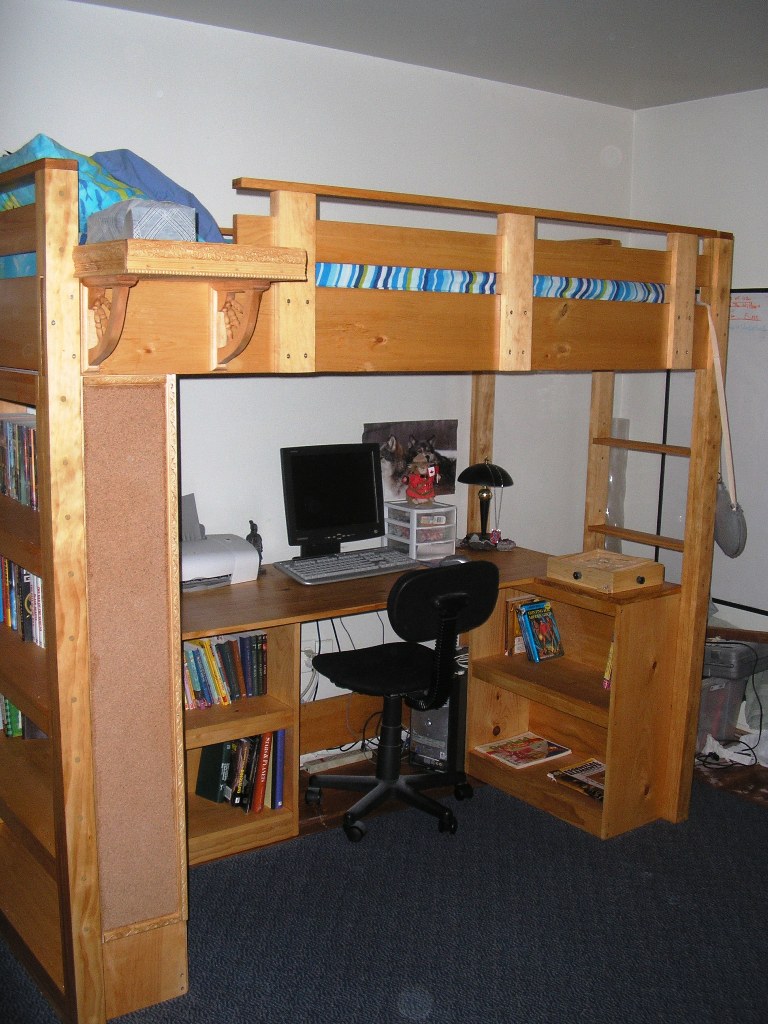
After building a small dinghy, and a slightly longer pirogue, I was ready to build something else. I was looking at another boat, but to save my marriage my lovely wife suggested something more... practical. So my summer project was a surprise loft bed for my 12 year old son. He was staying with his grandparents for most of the summer so I had a month or so to work on it. This was my first piece of furniture and I'm very proud of it.
I did modify the plans a bit. I added a shelf to use as a nightstand, because you need a place for your water bottle, book, tissues, etc.
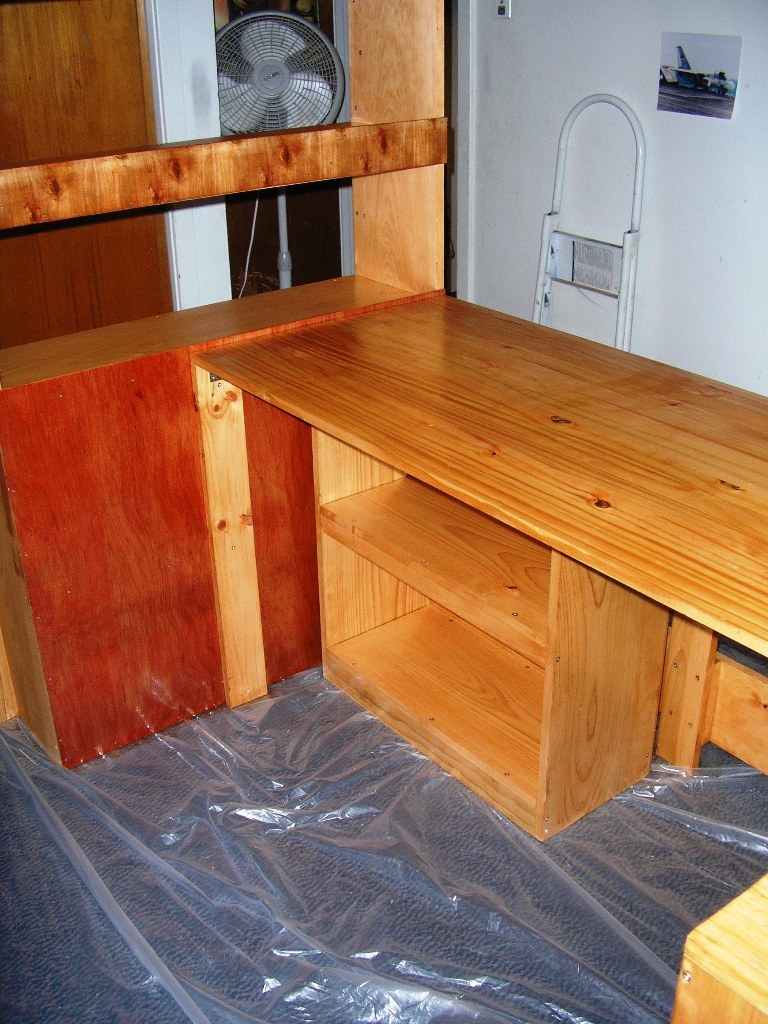
I made the desktop significantly deeper so that it was more useable.
I moved the ladder to the end of the bed and made it wider.
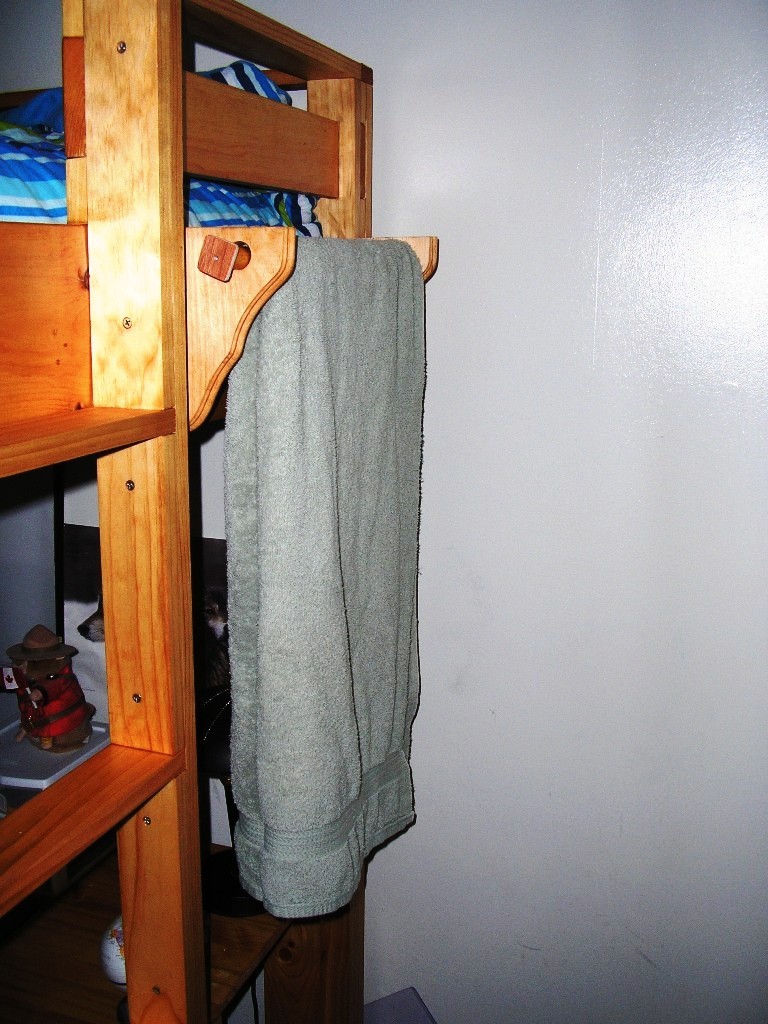
I added a towel bar to one end.
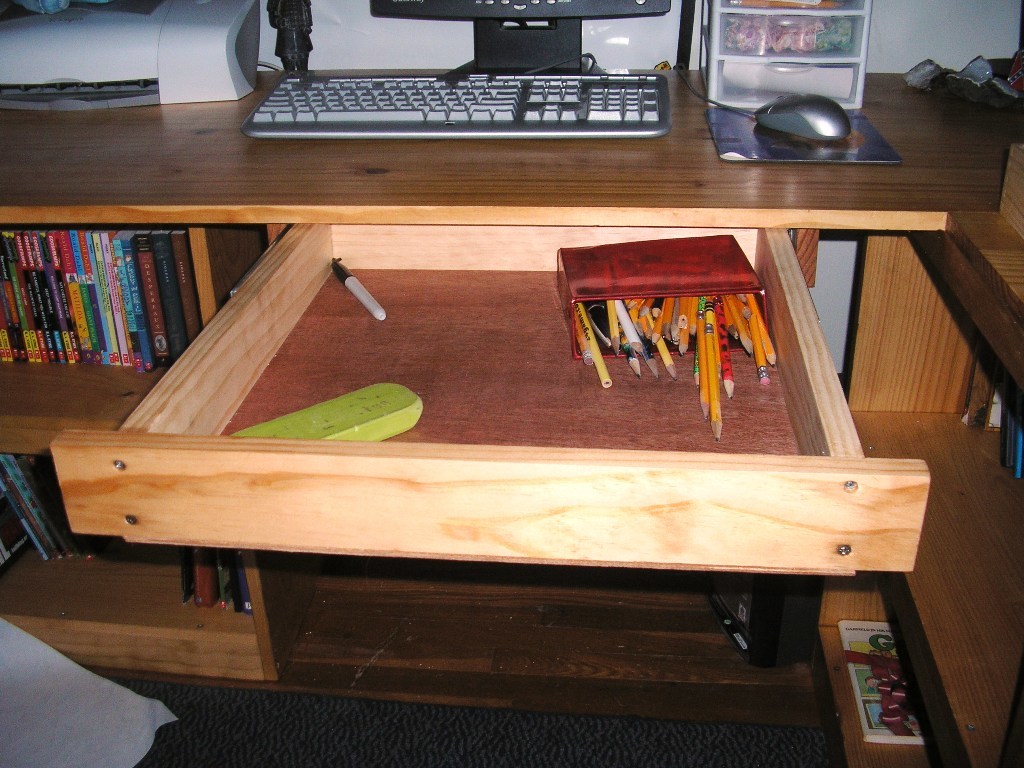
I added a drawer under the desktop.
and lastly I put corkboard on the side of the bookcase.

Built from Plan(s)
Estimated Cost
I think I spent about $350 for the whole project.
Estimated Time Investment
Week Long Project (20 Hours or More)
Finish Used
Two coats of Pecan stain, and four coats of spar varnish.
Recommended Skill Level
Beginner
Comments

Sat, 11/24/2012 - 09:23
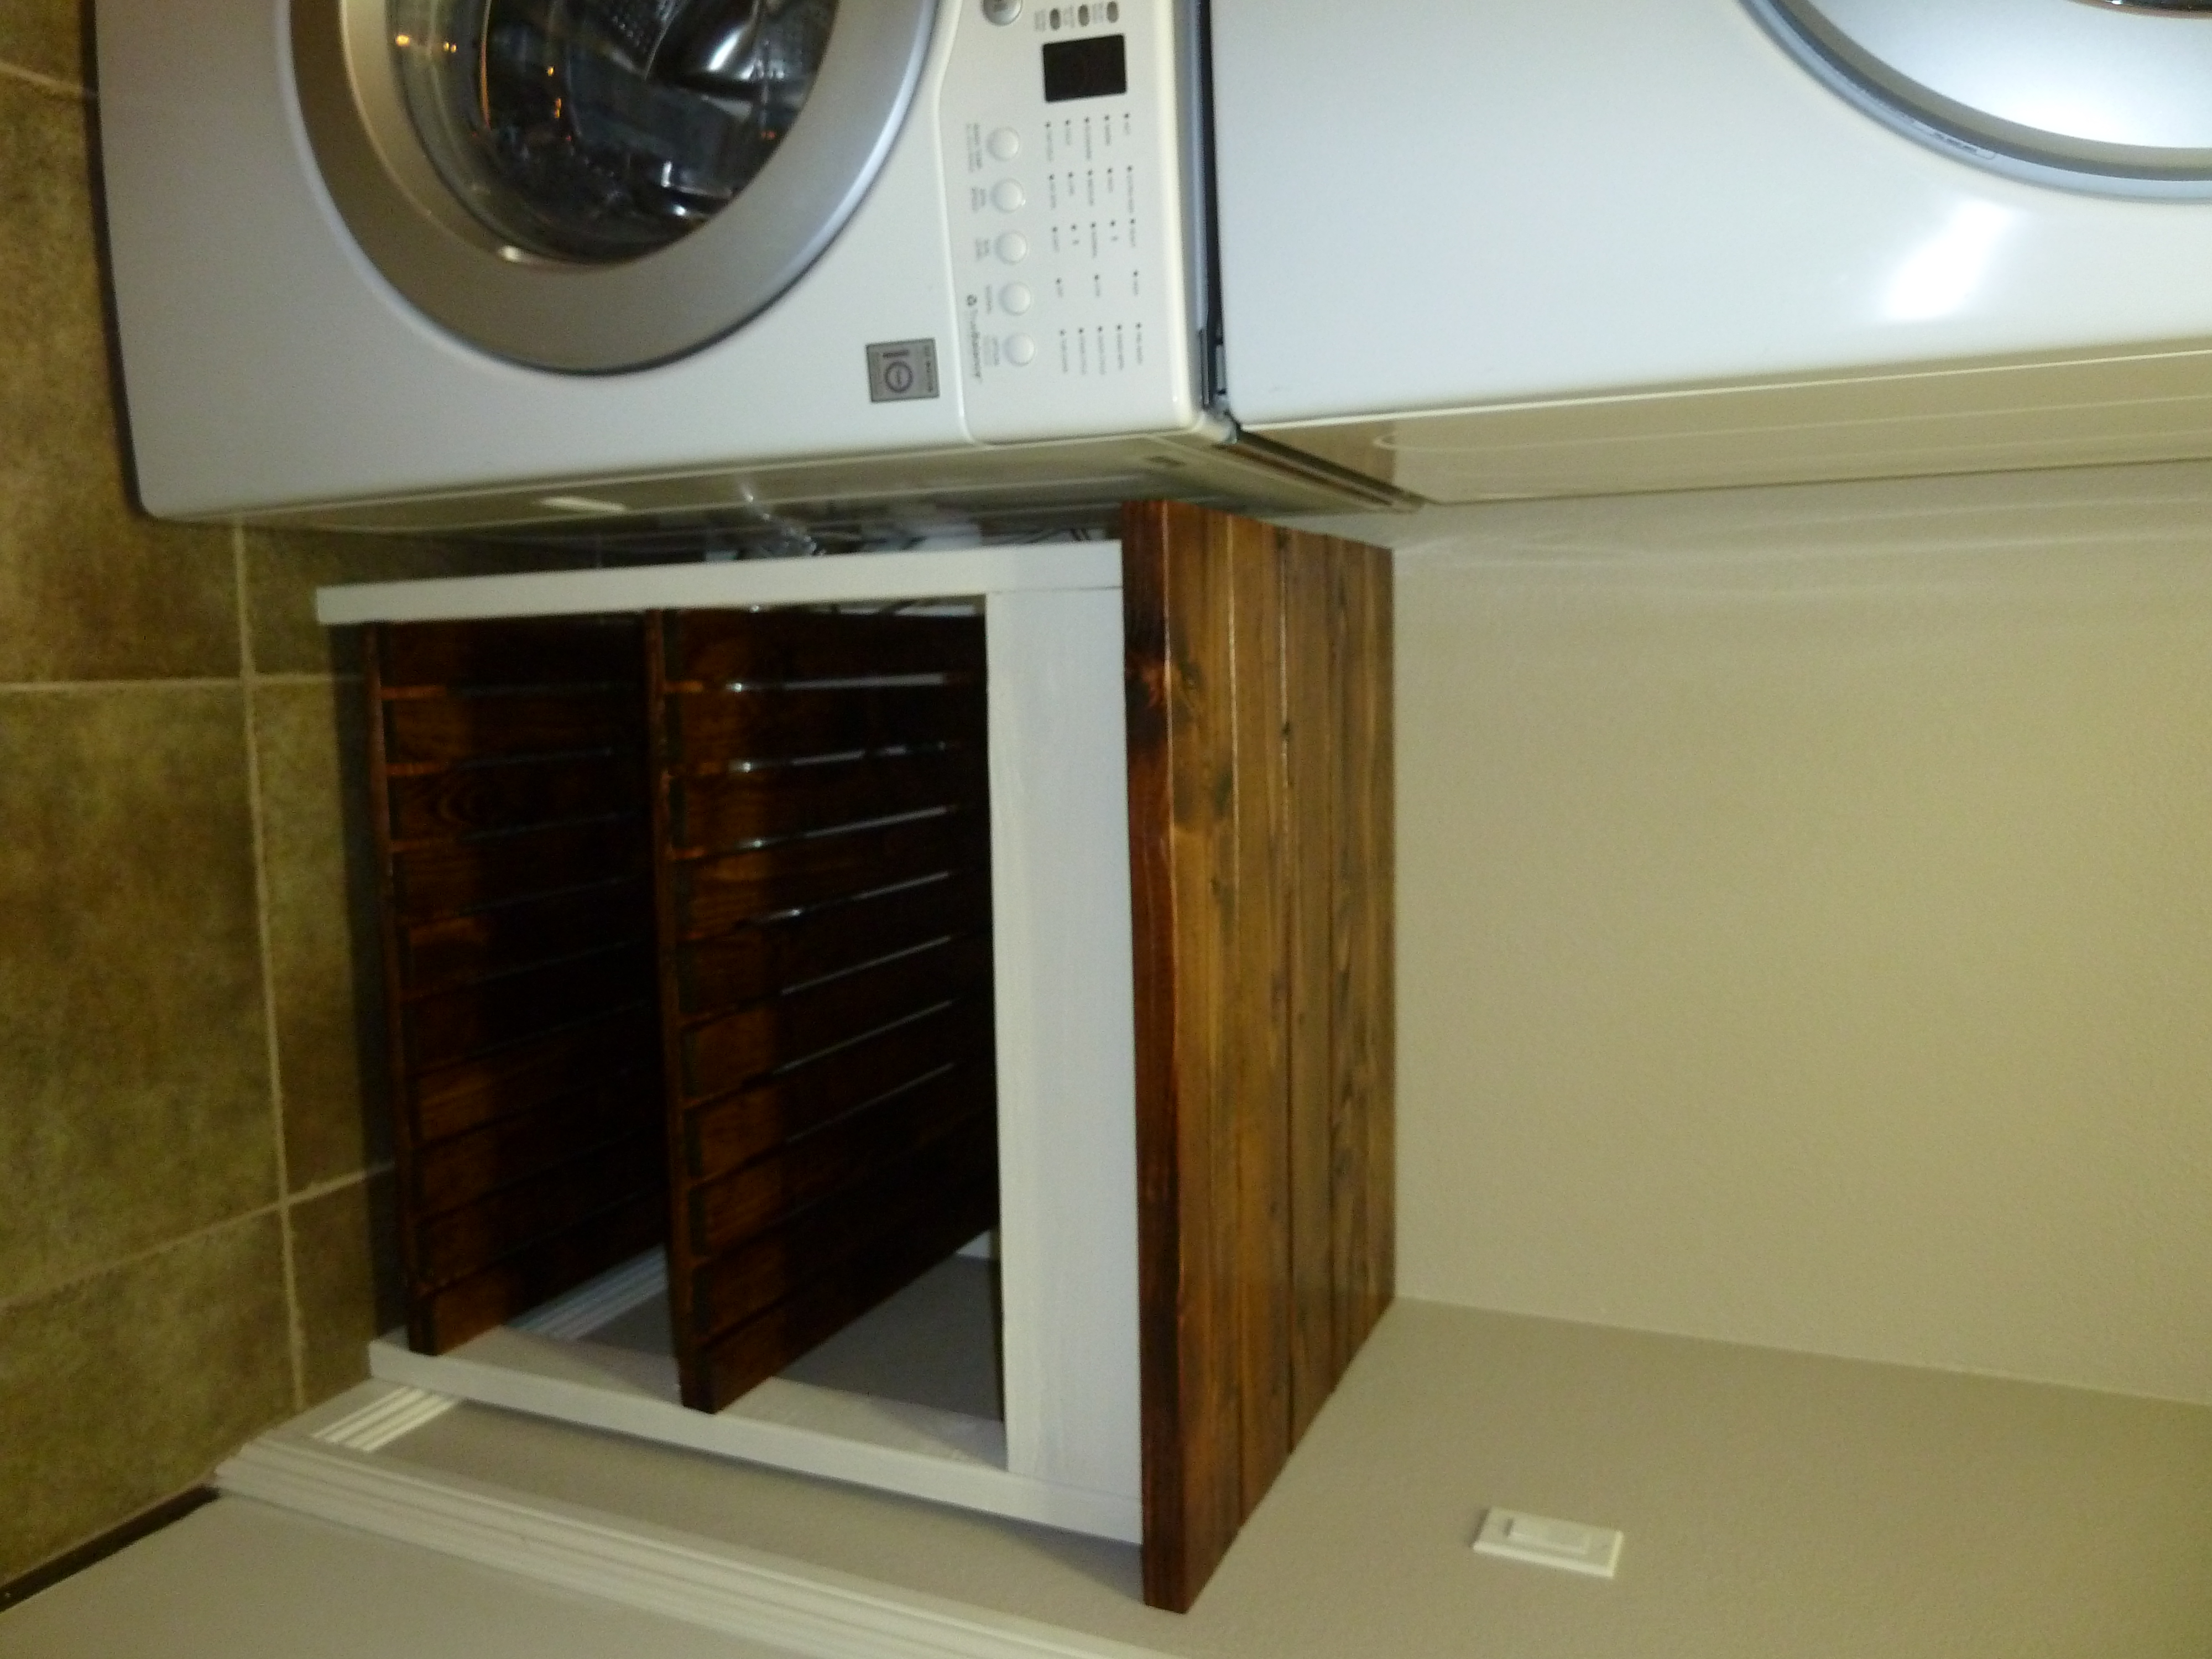
He loves it.
He was excited. It replaced one of those cheap metal loft beds you can buy at Wal-mart. The old bed was kind of wobbly and made creeky noises every time he moved. he loves having bookshelves and a nightstand. I'd have posted his exited face photo but I ran out of photo slots. =)
I also made him a locker to go with it. So there were no excuses for not hanging up his jacket.
I love this site!
Sun, 03/08/2015 - 10:20
beautiful
I am getting ready to build my 5 yr old a loft bed. I have been searching for a design I want to use and I would like to more or less use yours, if that's okay? I don't want to use one of the kids designs because I want it to grow with her. I want to add stairs and a higher banister. I'll probably paint it white or something.
Ladder shelf
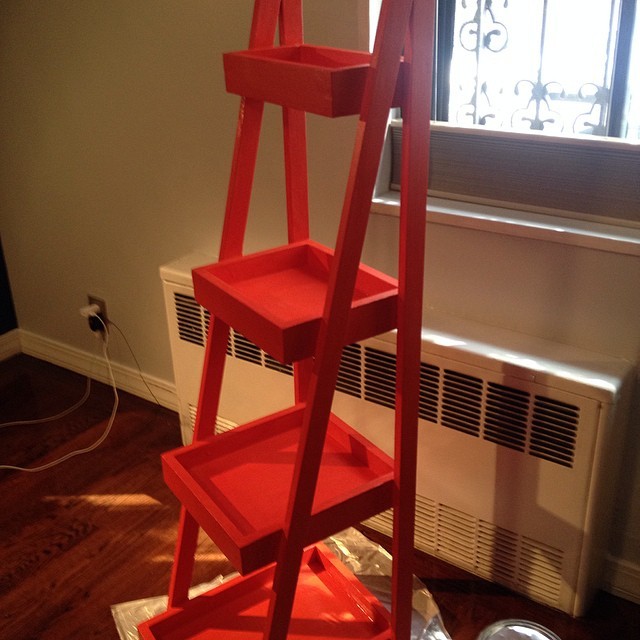
First project, so fun!
Built from Plan(s)
Estimated Time Investment
Afternoon Project (3-6 Hours)
Recommended Skill Level
Beginner
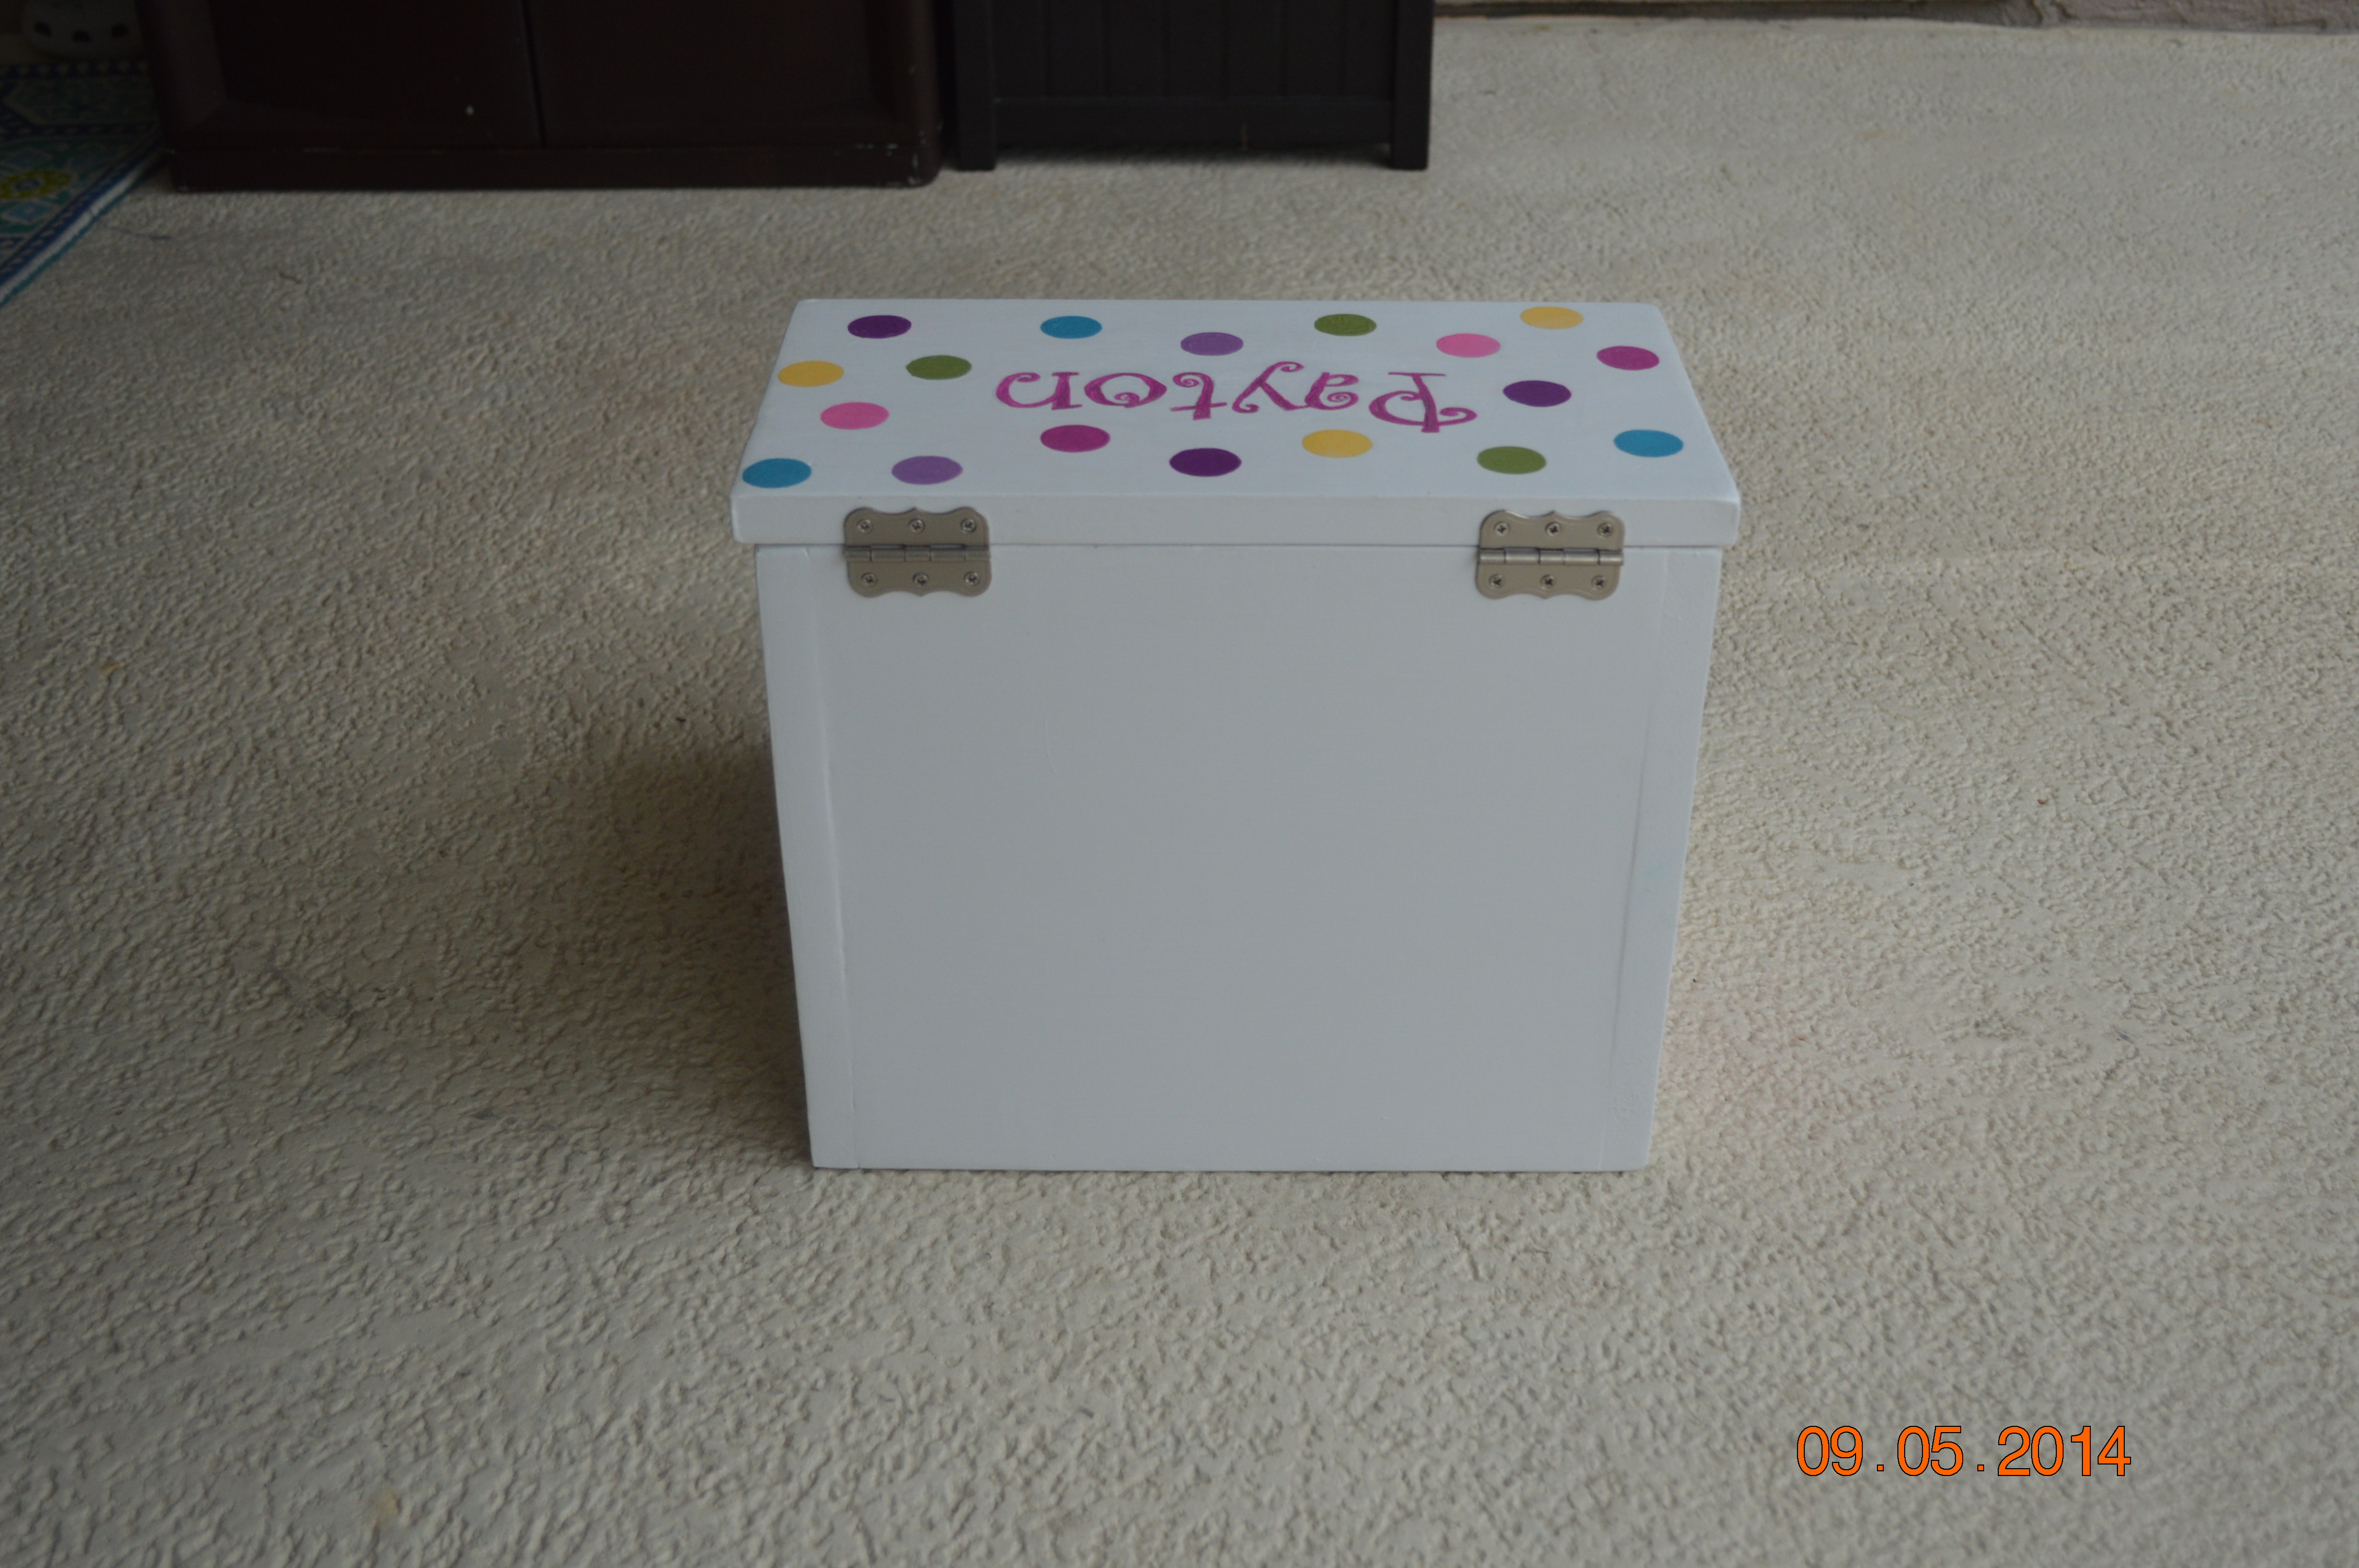
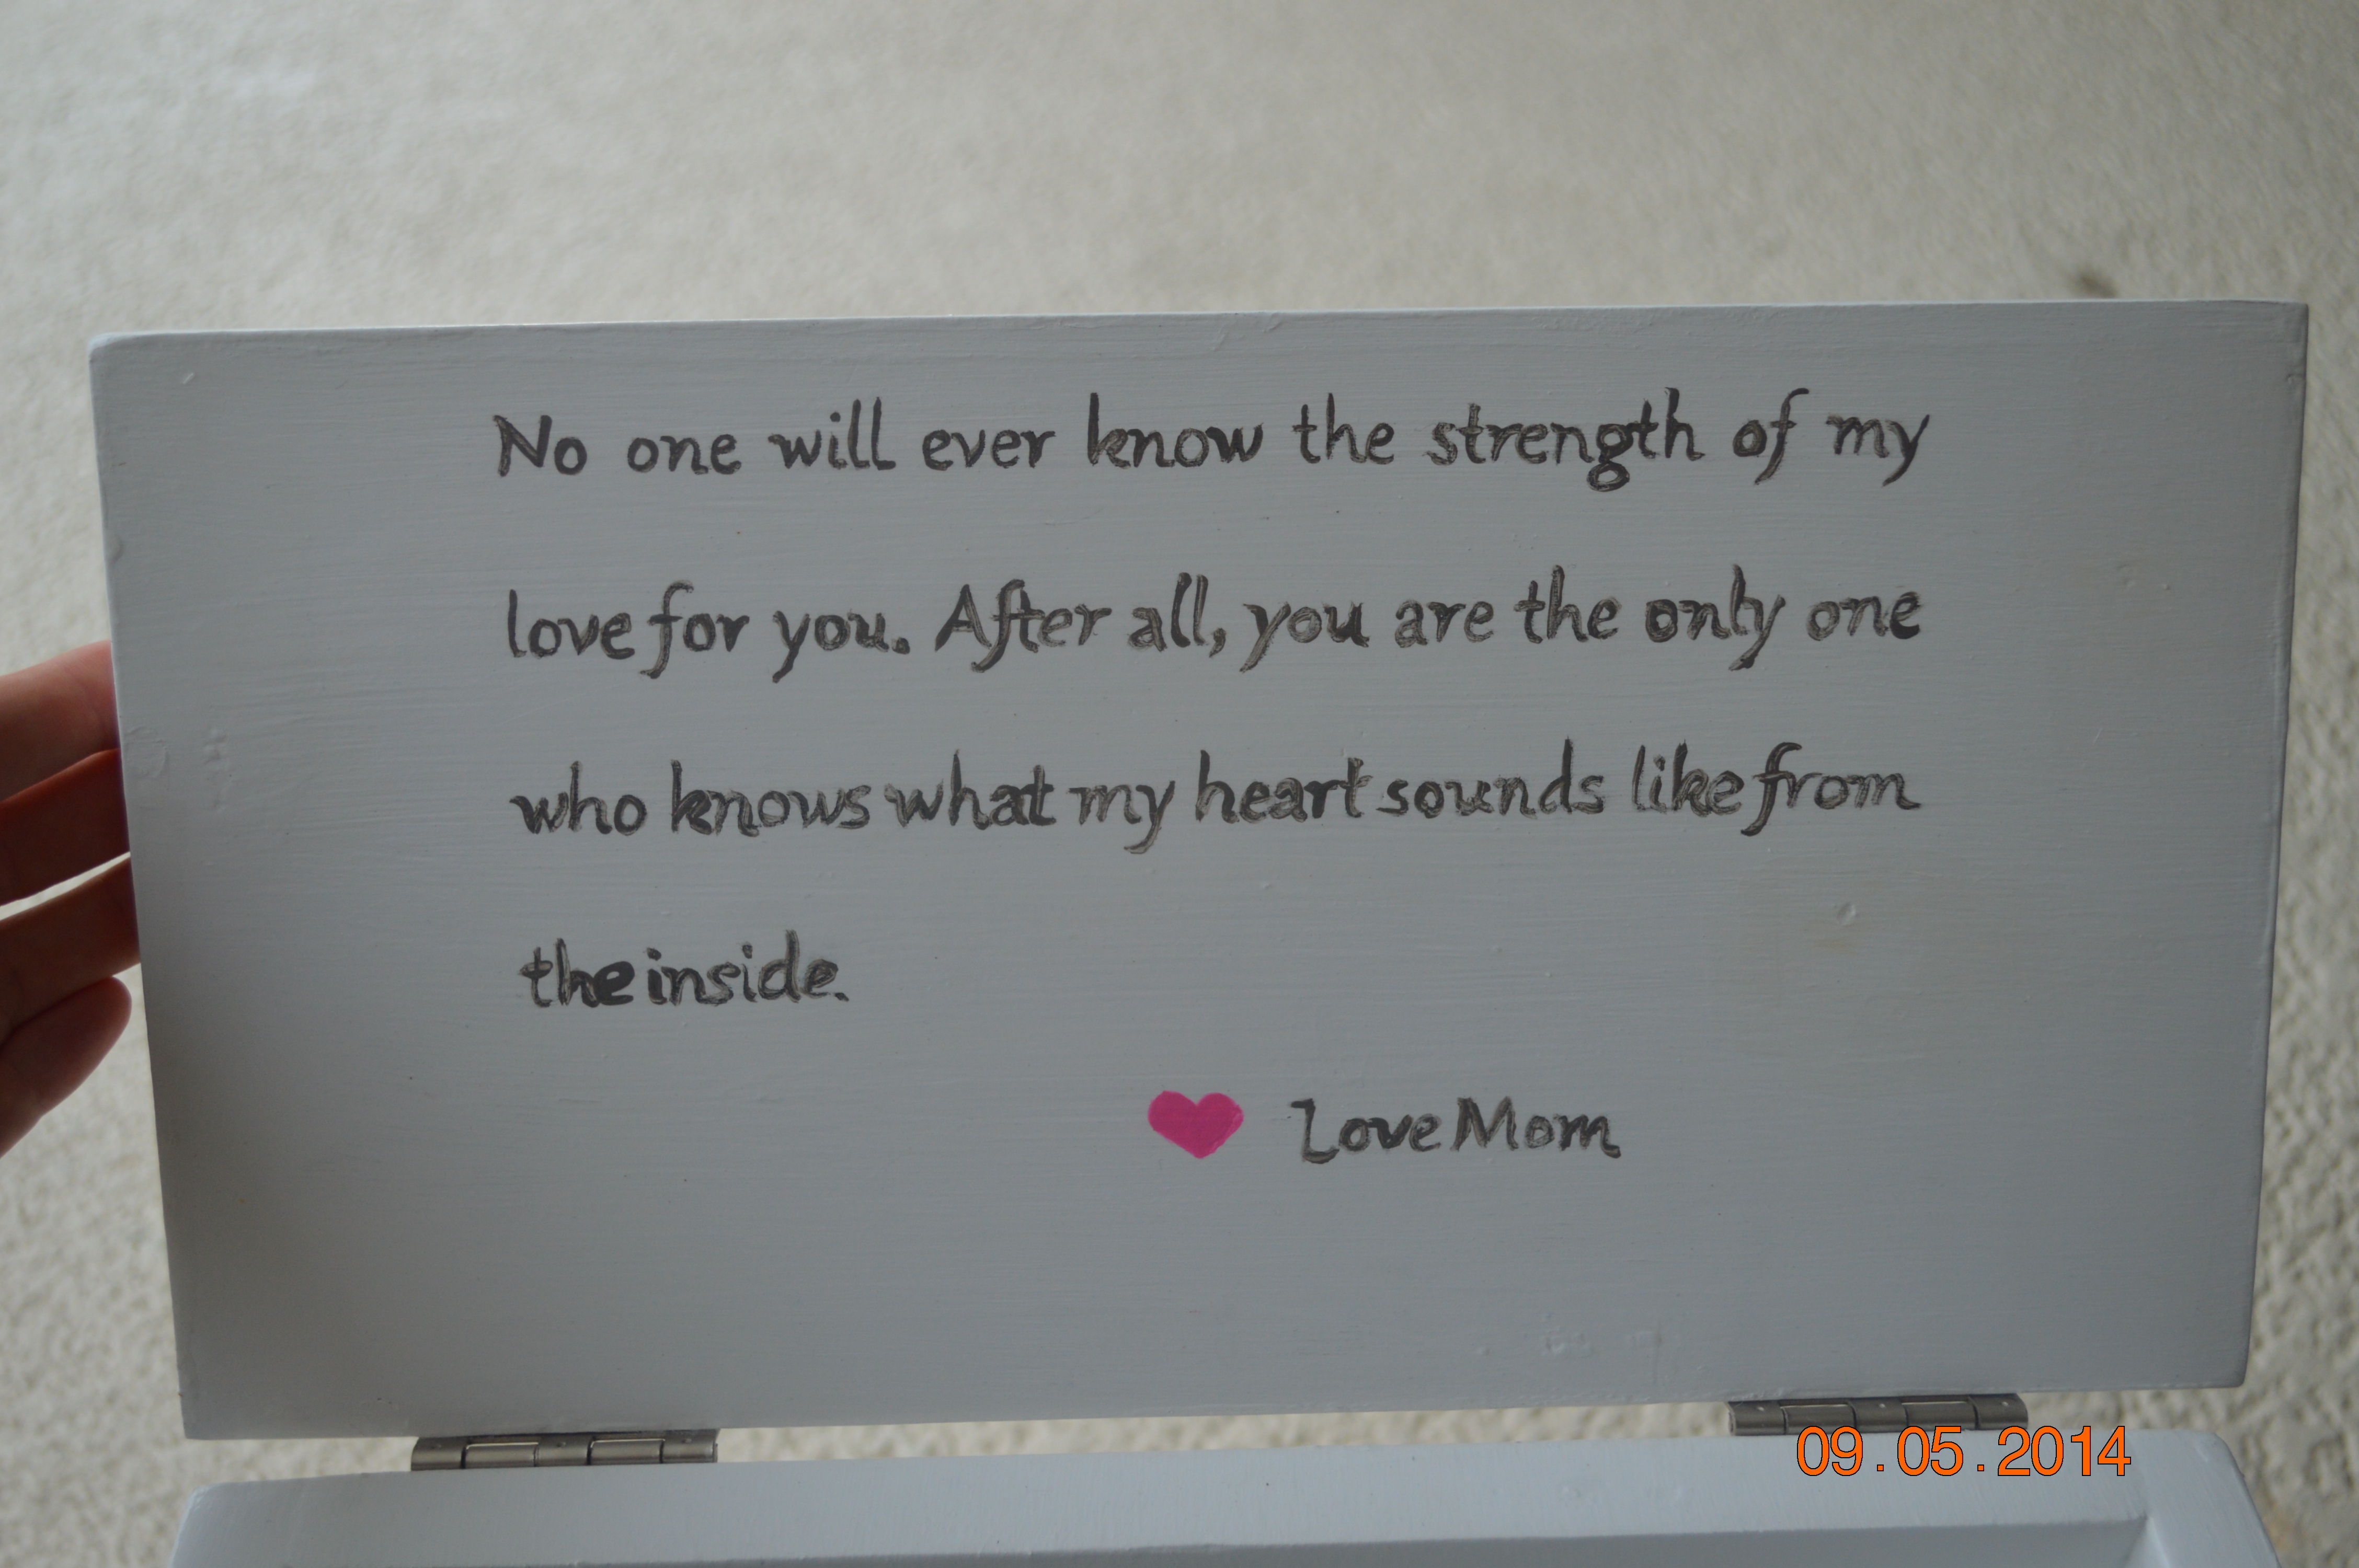
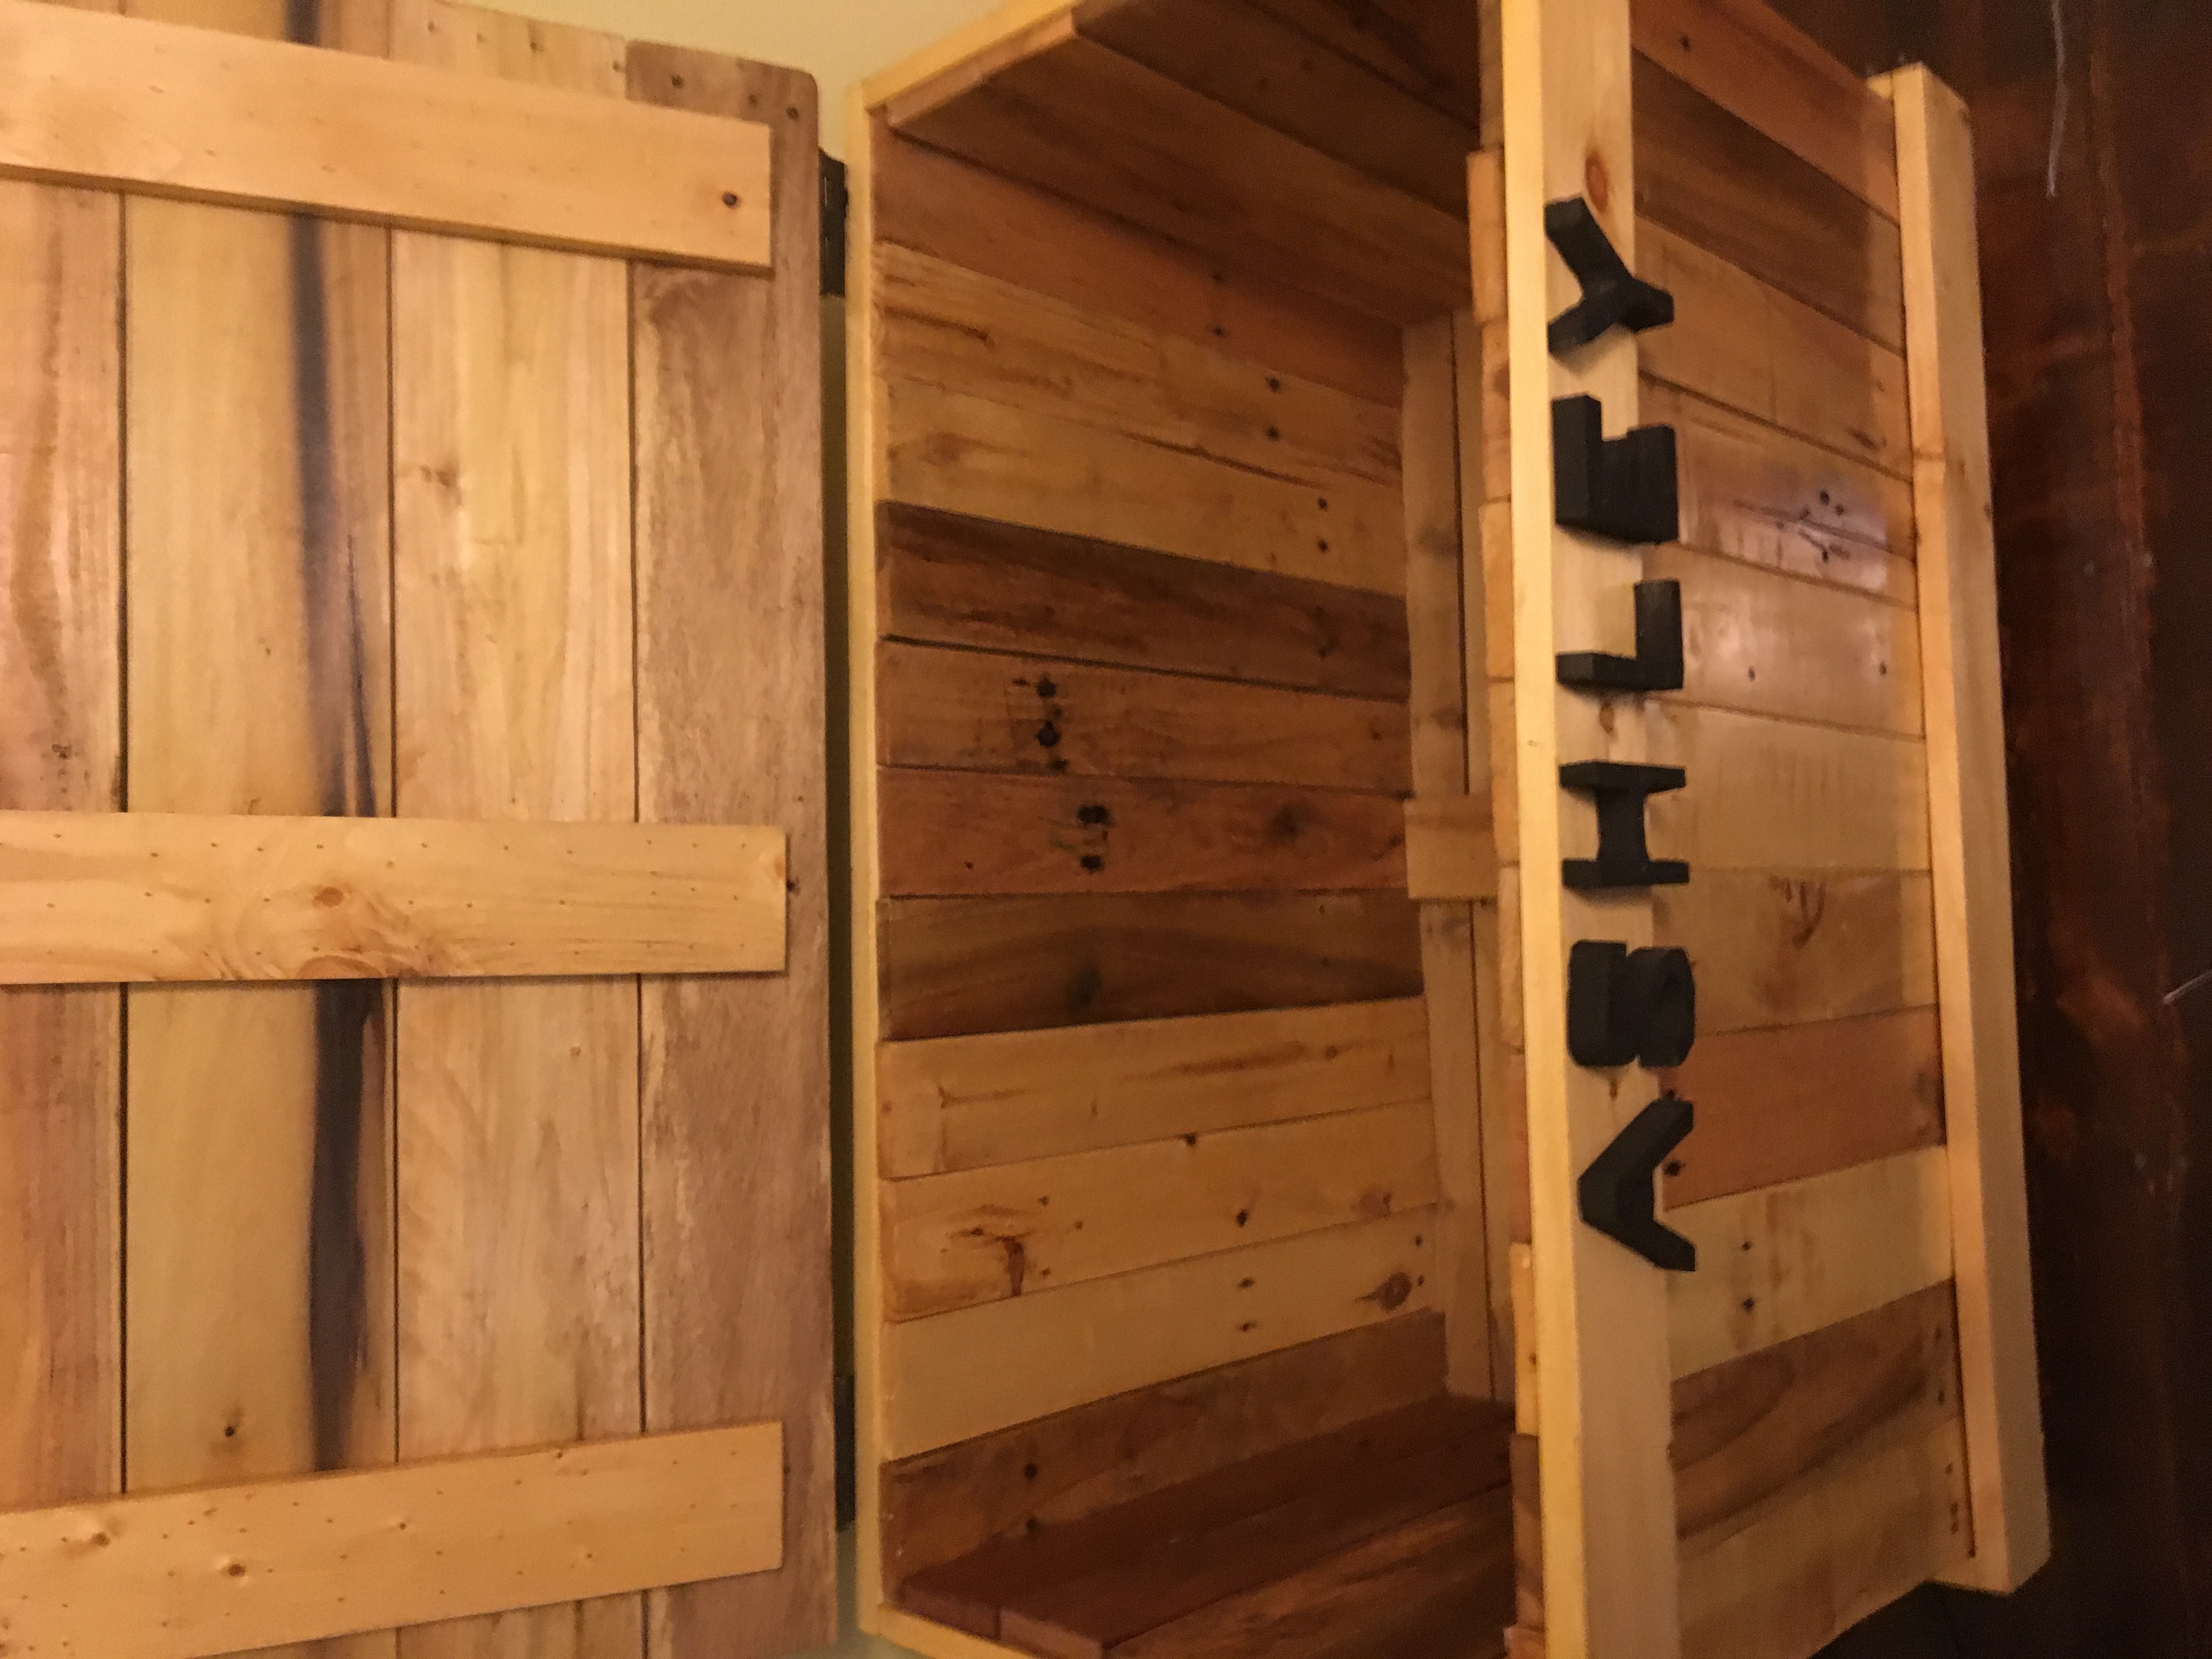
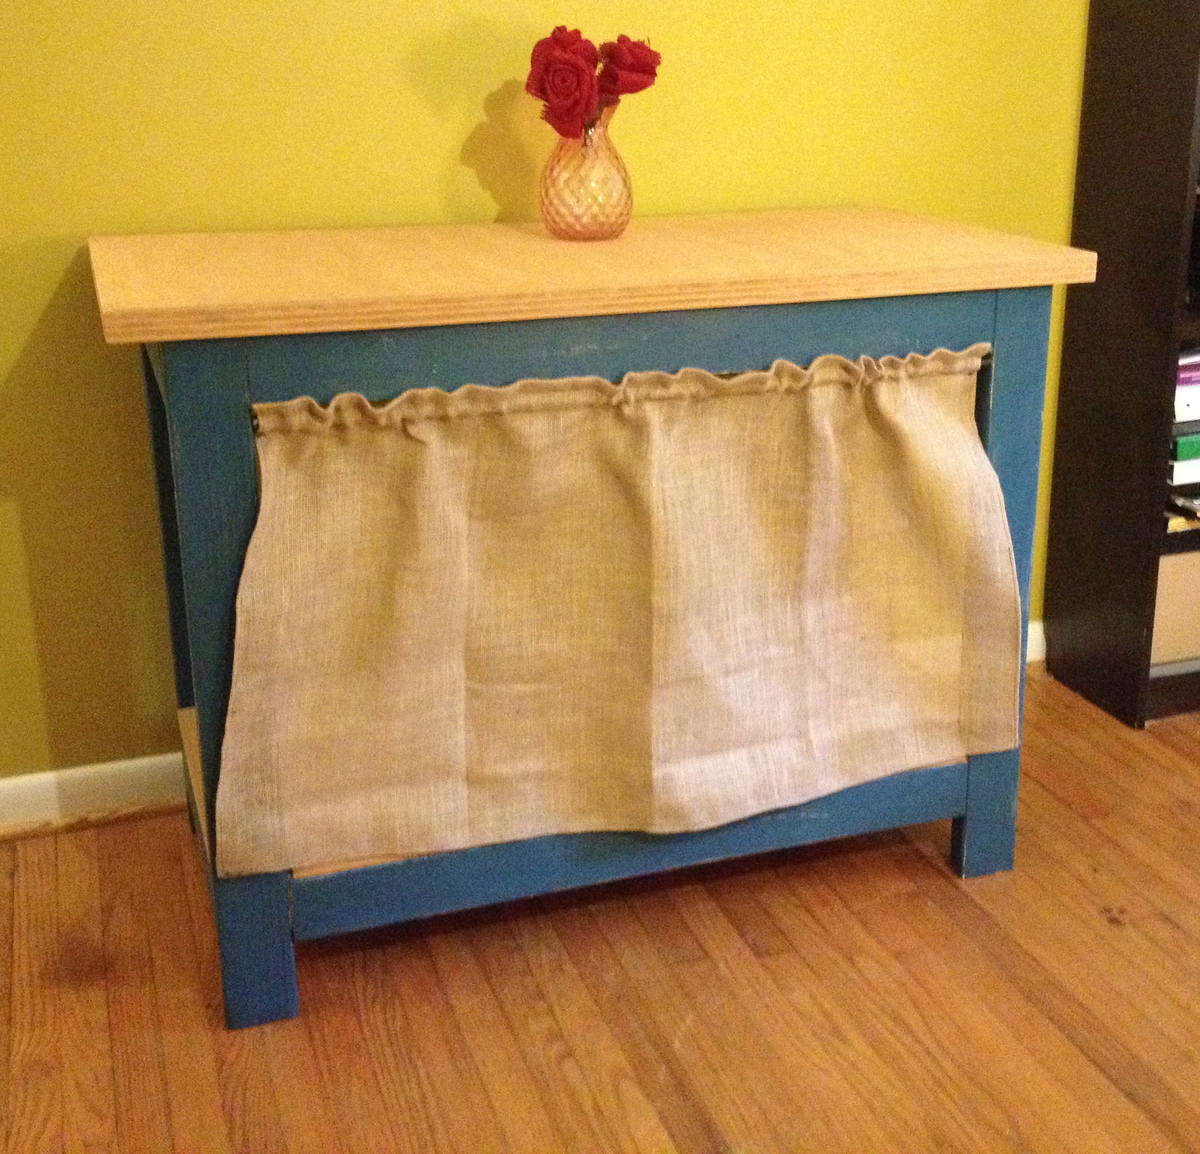
Pallet hope chest
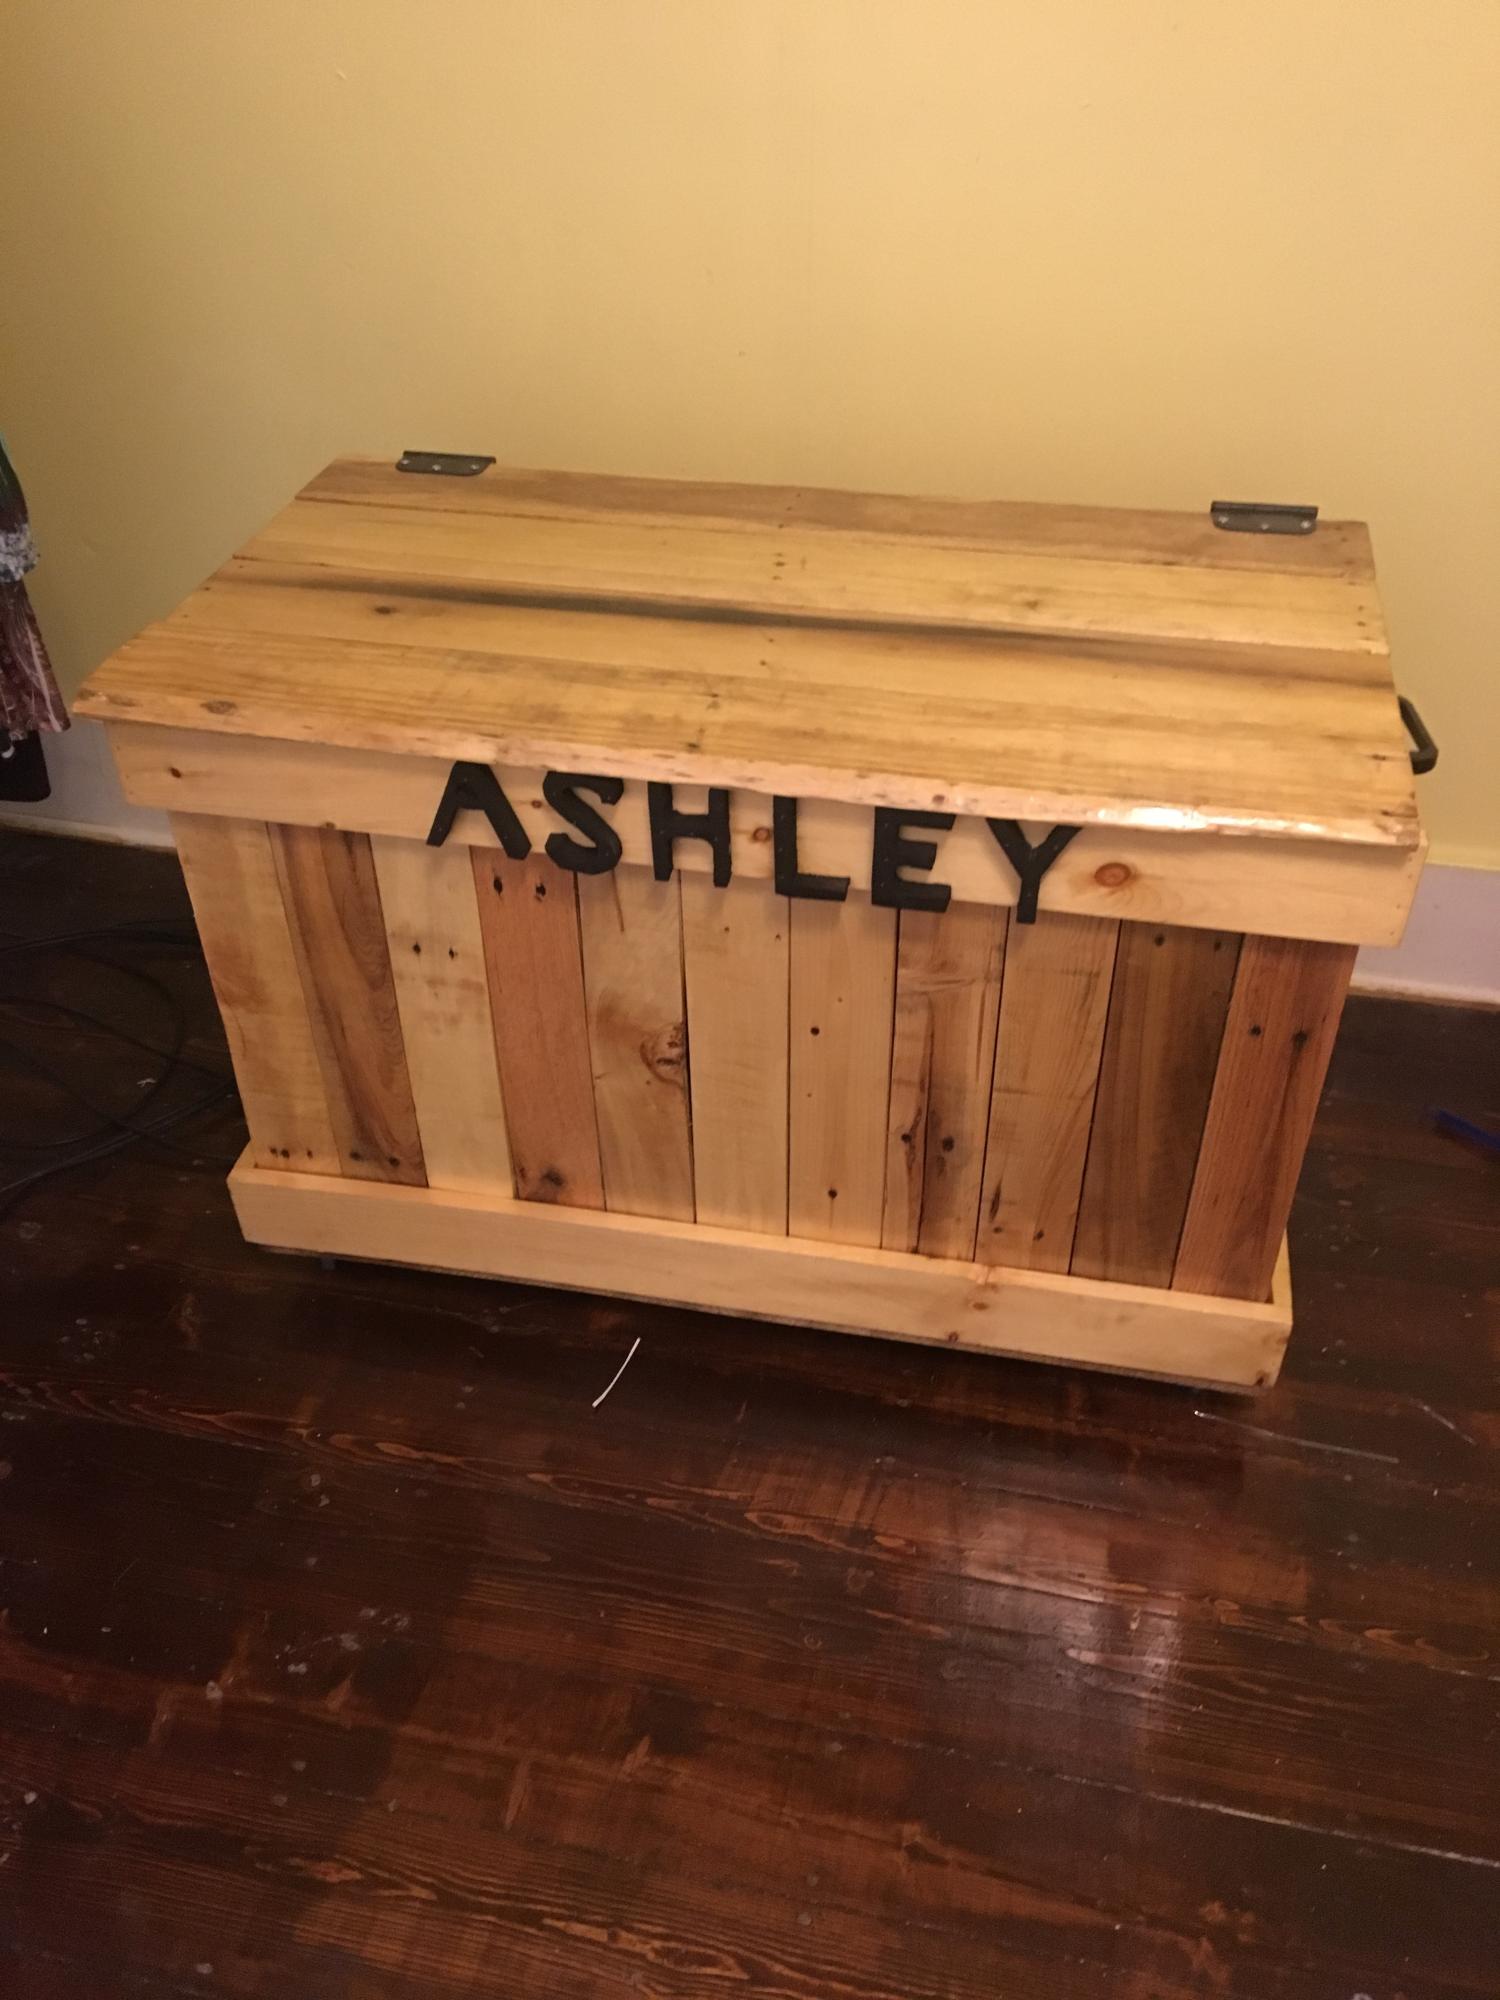
This is a hope chest I made for my step daughter this Christmas it is made intirely out of pallet wood except for the frame which I used 1by4 by 8 pine board
Estimated Cost
20.00
Estimated Time Investment
Weekend Project (10-20 Hours)
Finish Used
Glossy polyurethane
Recommended Skill Level
Beginner
Mini farmhouse Bedside Table, football style
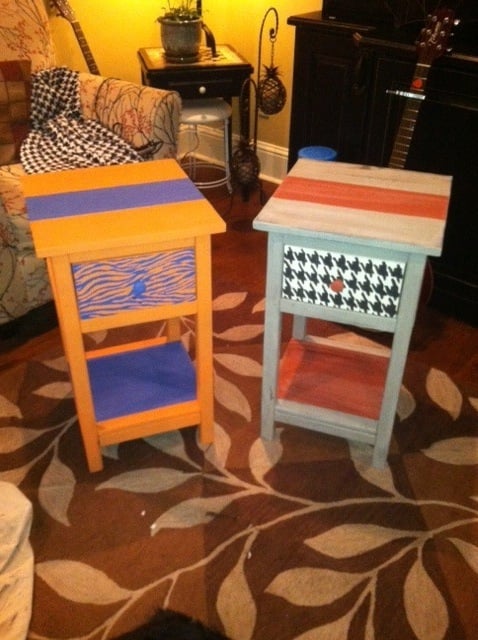
These mini farmhouse tables are great examples of a creative way to personalize plans. They both cheer for thier college team! And as fall in the south is here, college football is king. Please go to www.ourhomemadefamily.com for my thoughts on how the finish is the personality of all my custom builds.
Built from Plan(s)
Estimated Cost
$18
Estimated Time Investment
Day Project (6-9 Hours)
Finish Used
annie sloan chalk plaint, cc cal dwells chalk paint, annie sloan clear wax, I used carbon transfer paper to trace the tiger stripes and houndstooth.
Recommended Skill Level
Intermediate
Truss table
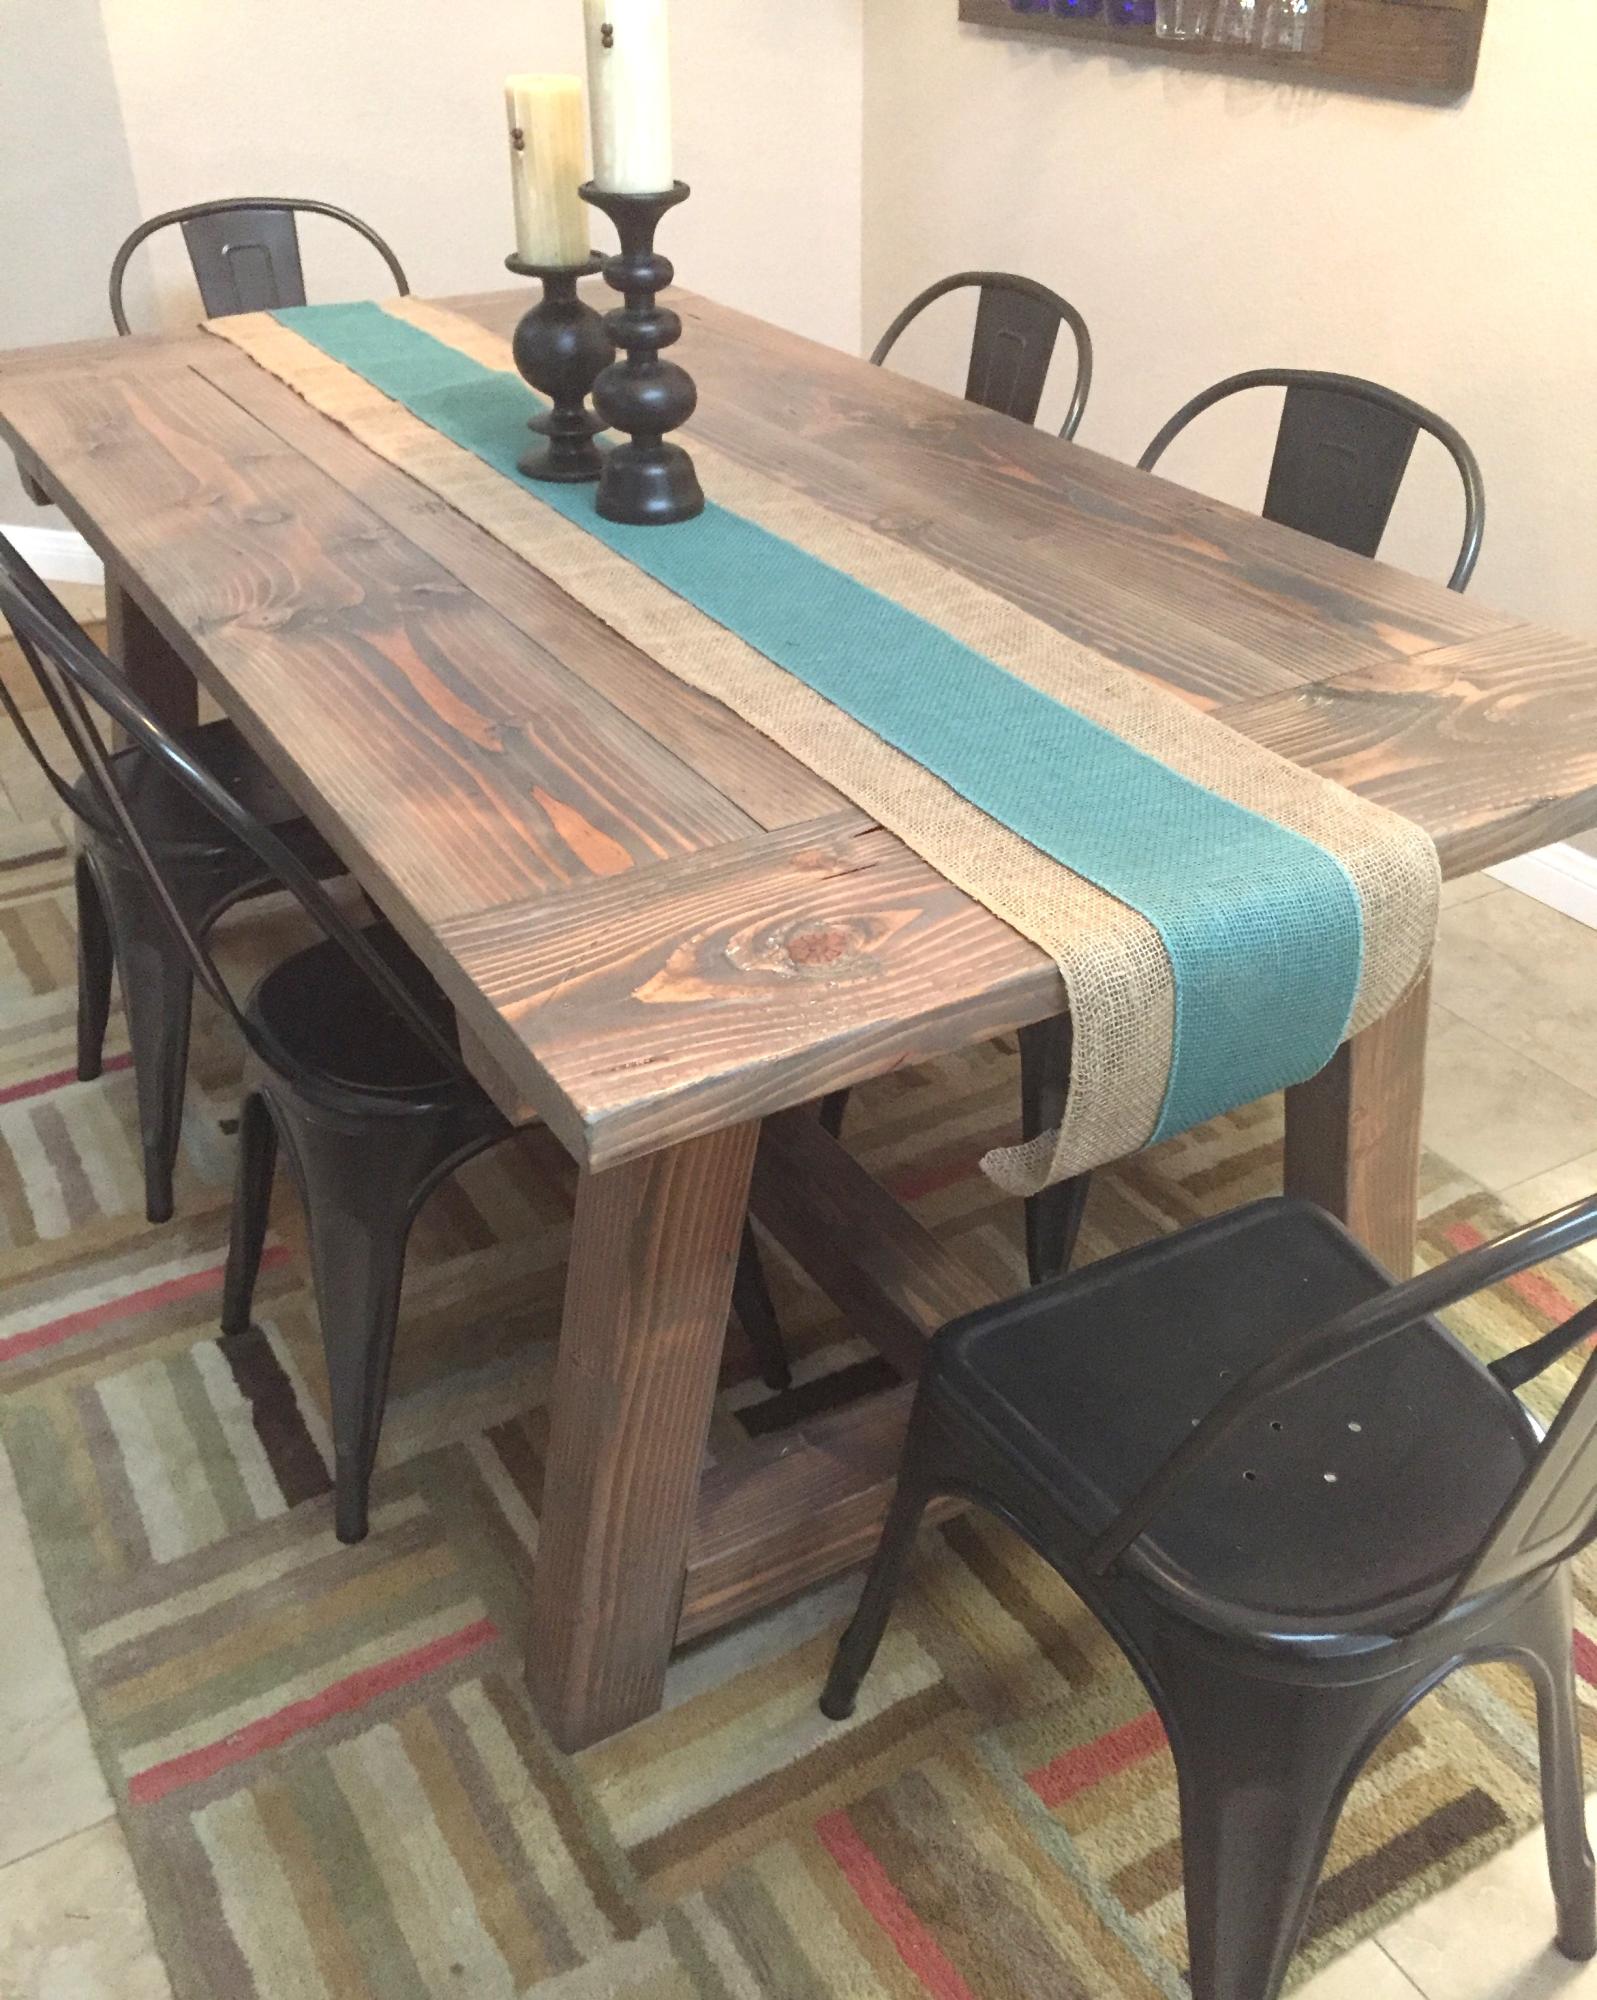
I reduced the length by 12 inches to accomodate my space, and I ripped the boards on the table saw so they would be more flush when I assembled the tabletop. Otherwise, I followed the plan exactly. Distressed tabletop before staining.
Built from Plan(s)
Estimated Cost
$125
Estimated Time Investment
Weekend Project (10-20 Hours)
Finish Used
Multiple stains including pickled oak and jacobean by minwax. 2 coats of poly on tabletop only.
Recommended Skill Level
Beginner
Patio Furniture
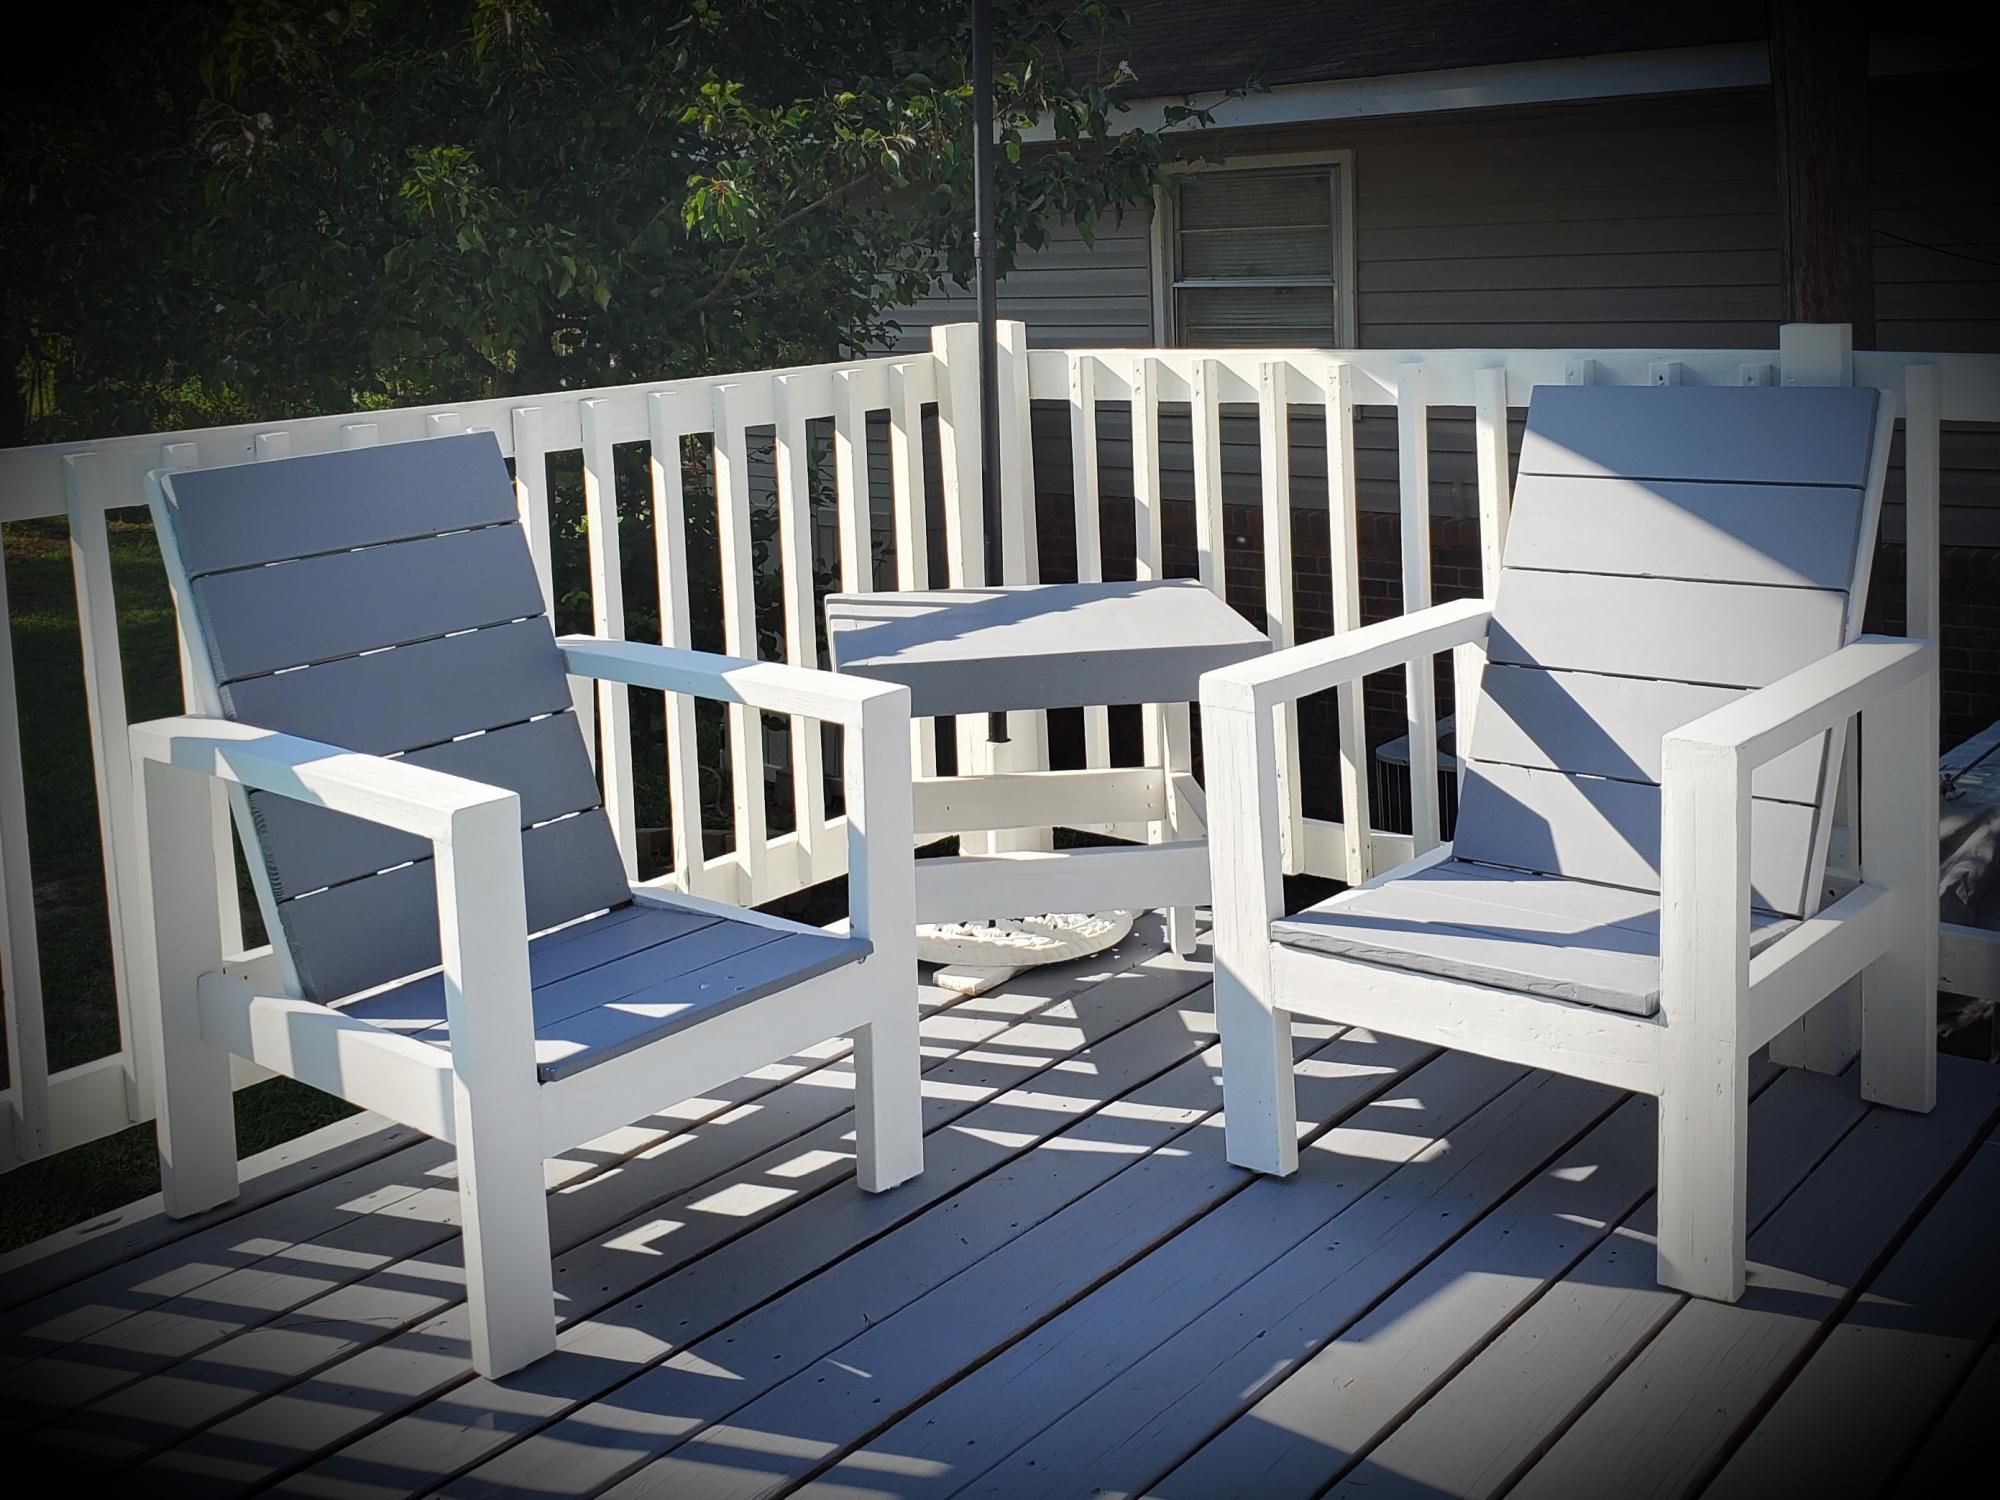
With a mix of the 2 attached plans, I found the perfect design! Plus, I was able to build them both, including the table, out of the scrap from the deck I built!! Thank you so much!!!
Built from Plan(s)
Comments
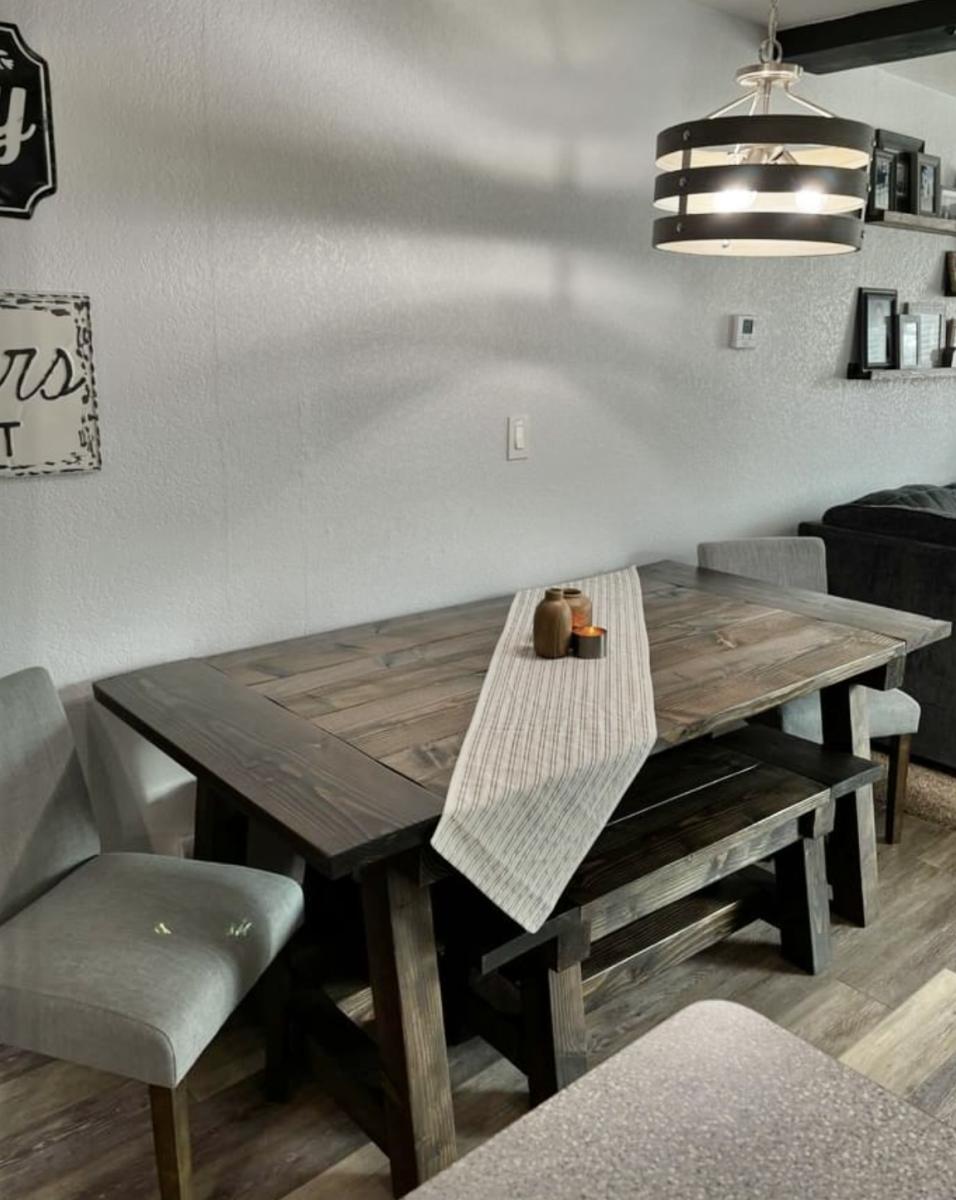
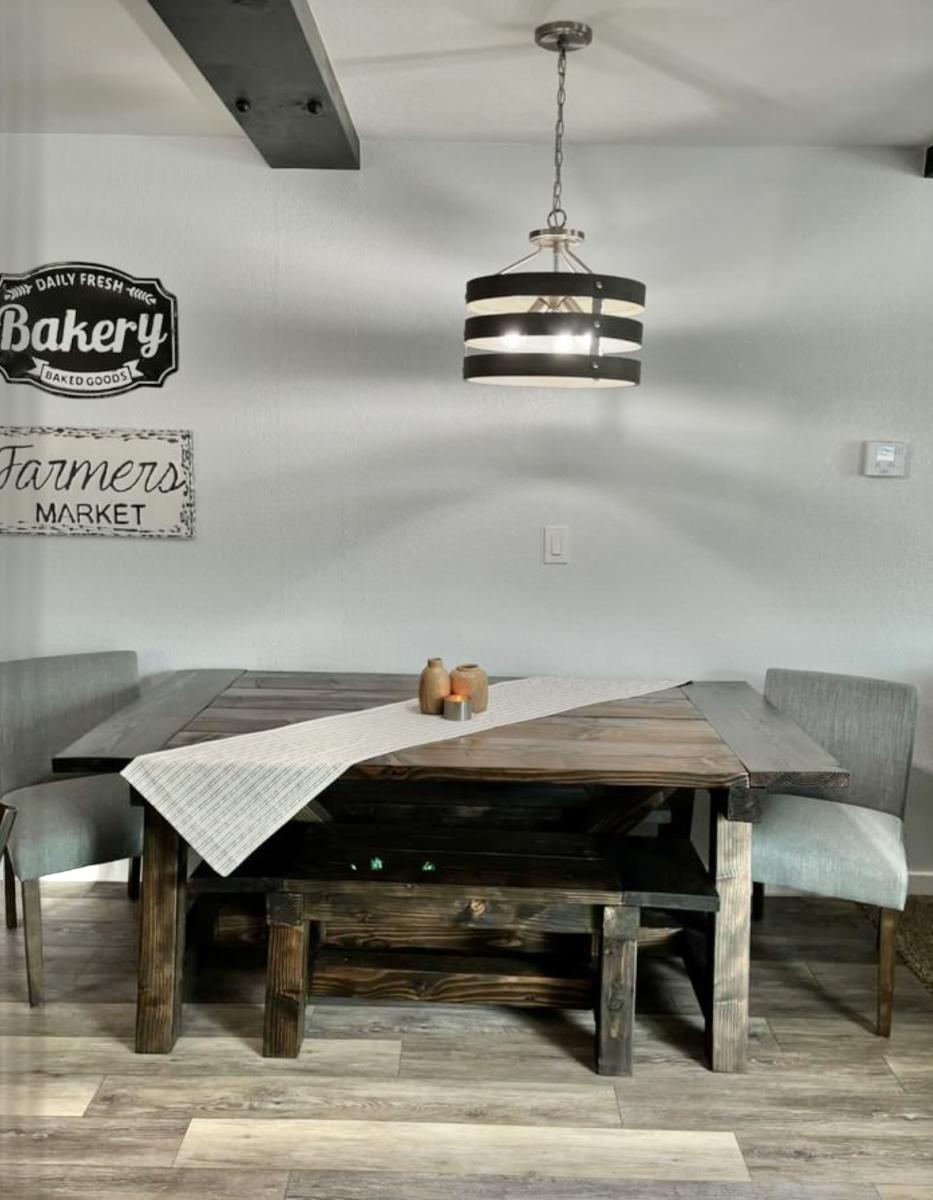
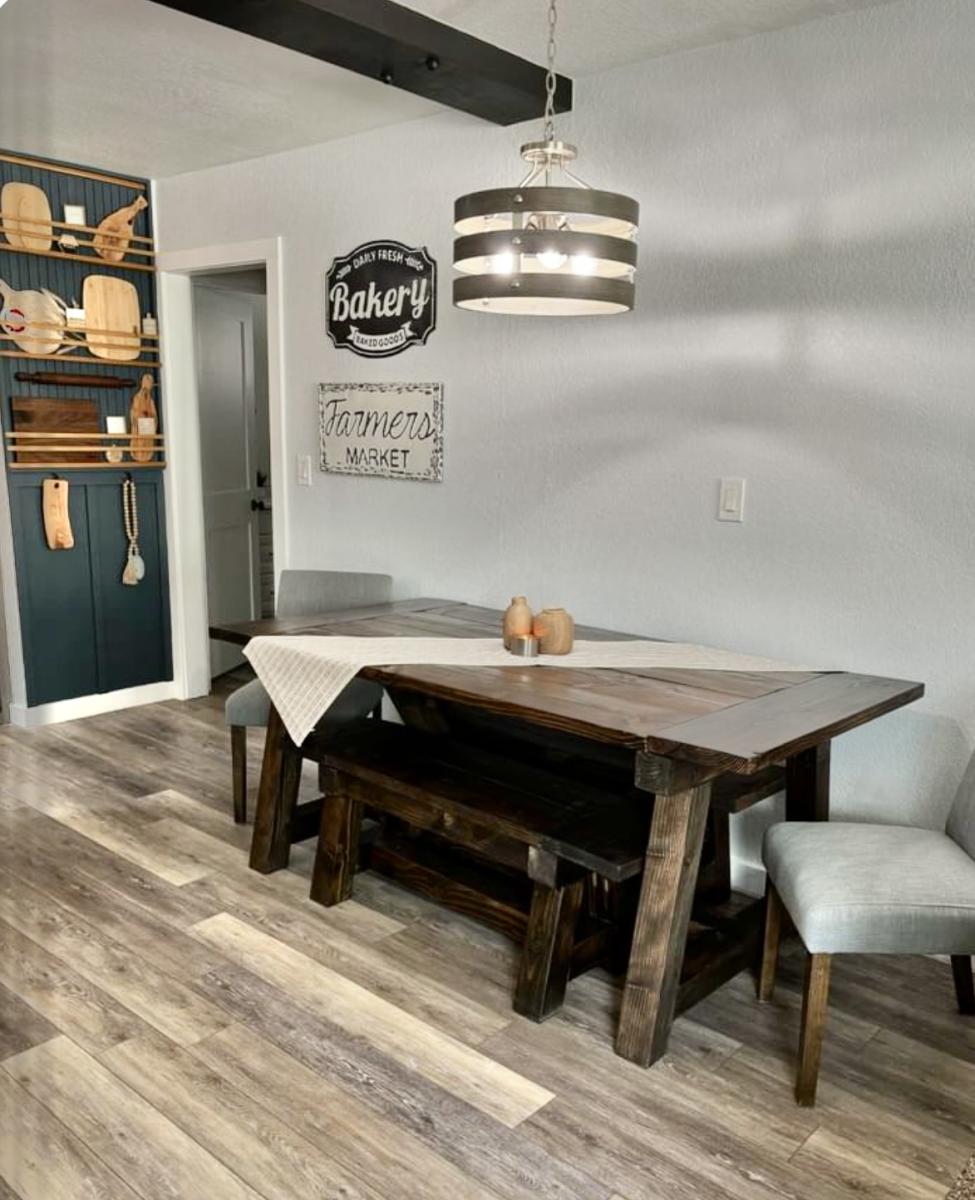
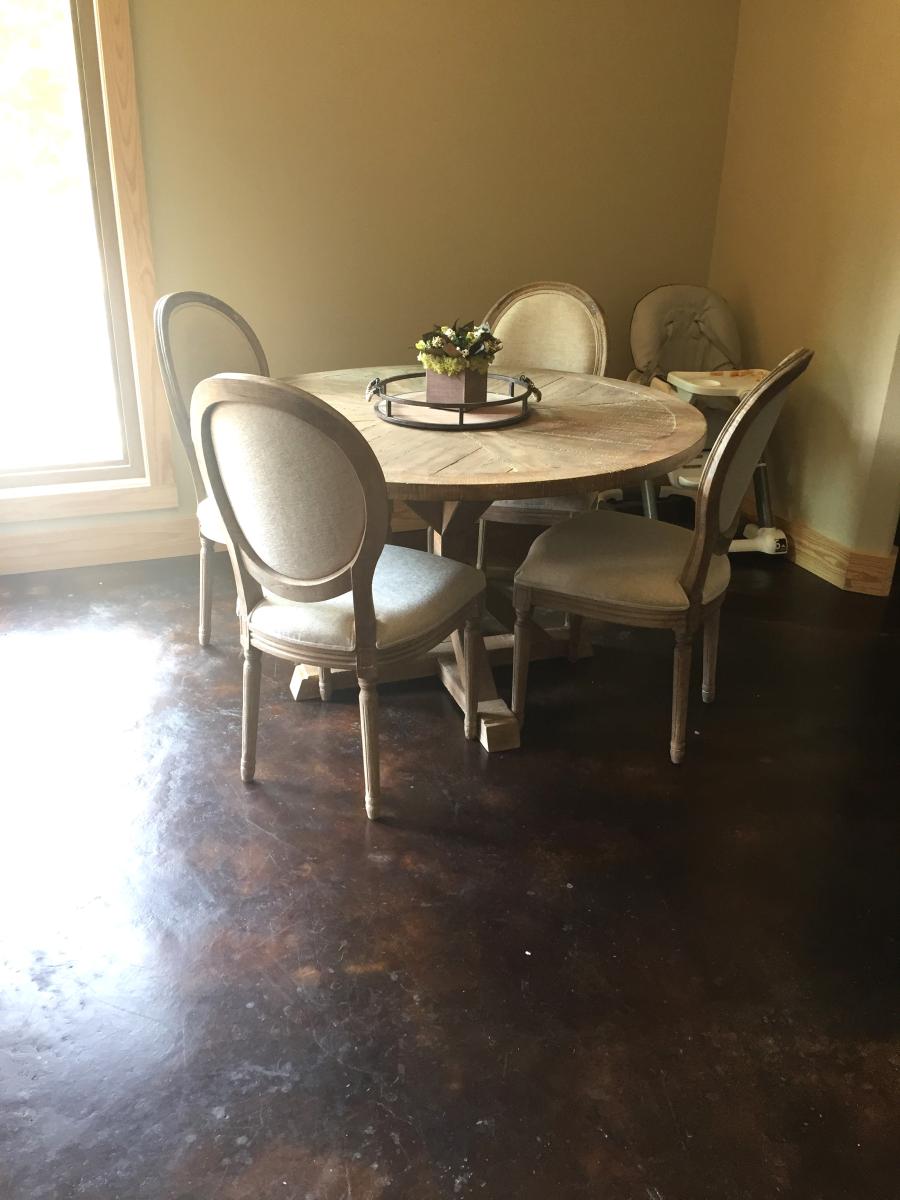
Rustic Farmhouse Dining Table
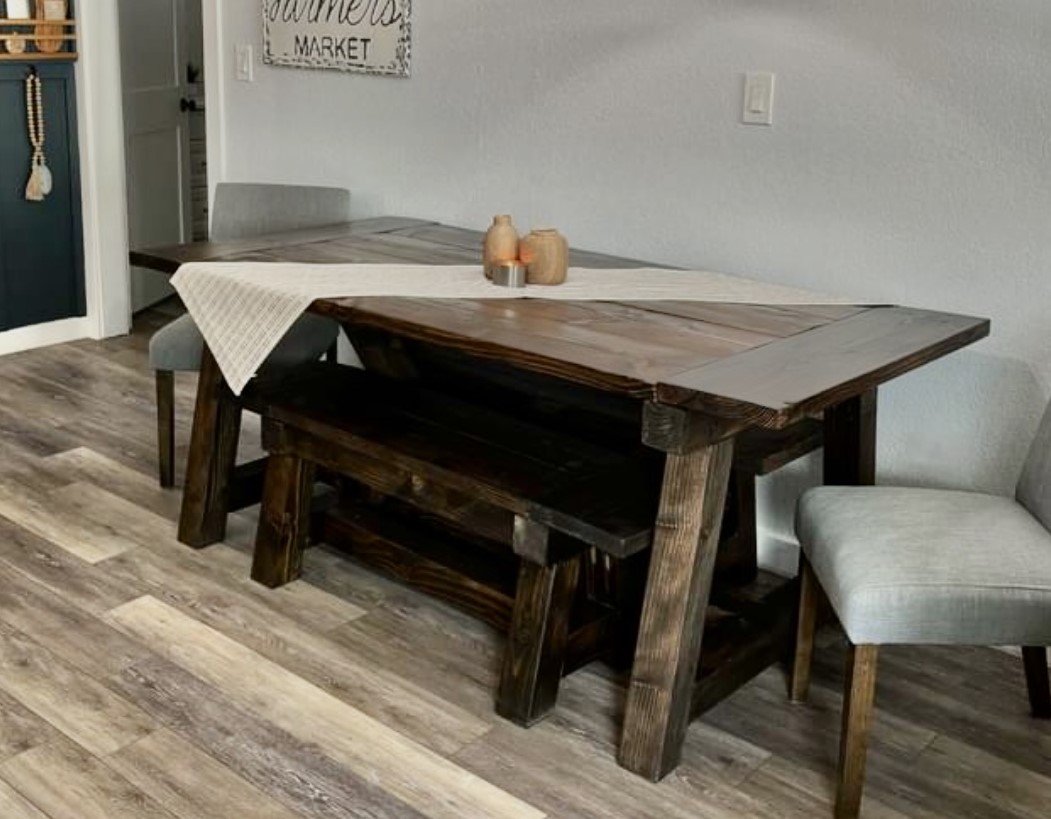
My latest project. I made adjustments in the length and I made the benches smaller to slide under the table. - Debbi Hernandez on Facebook
Built from Plan(s)
Footboard cubby bench
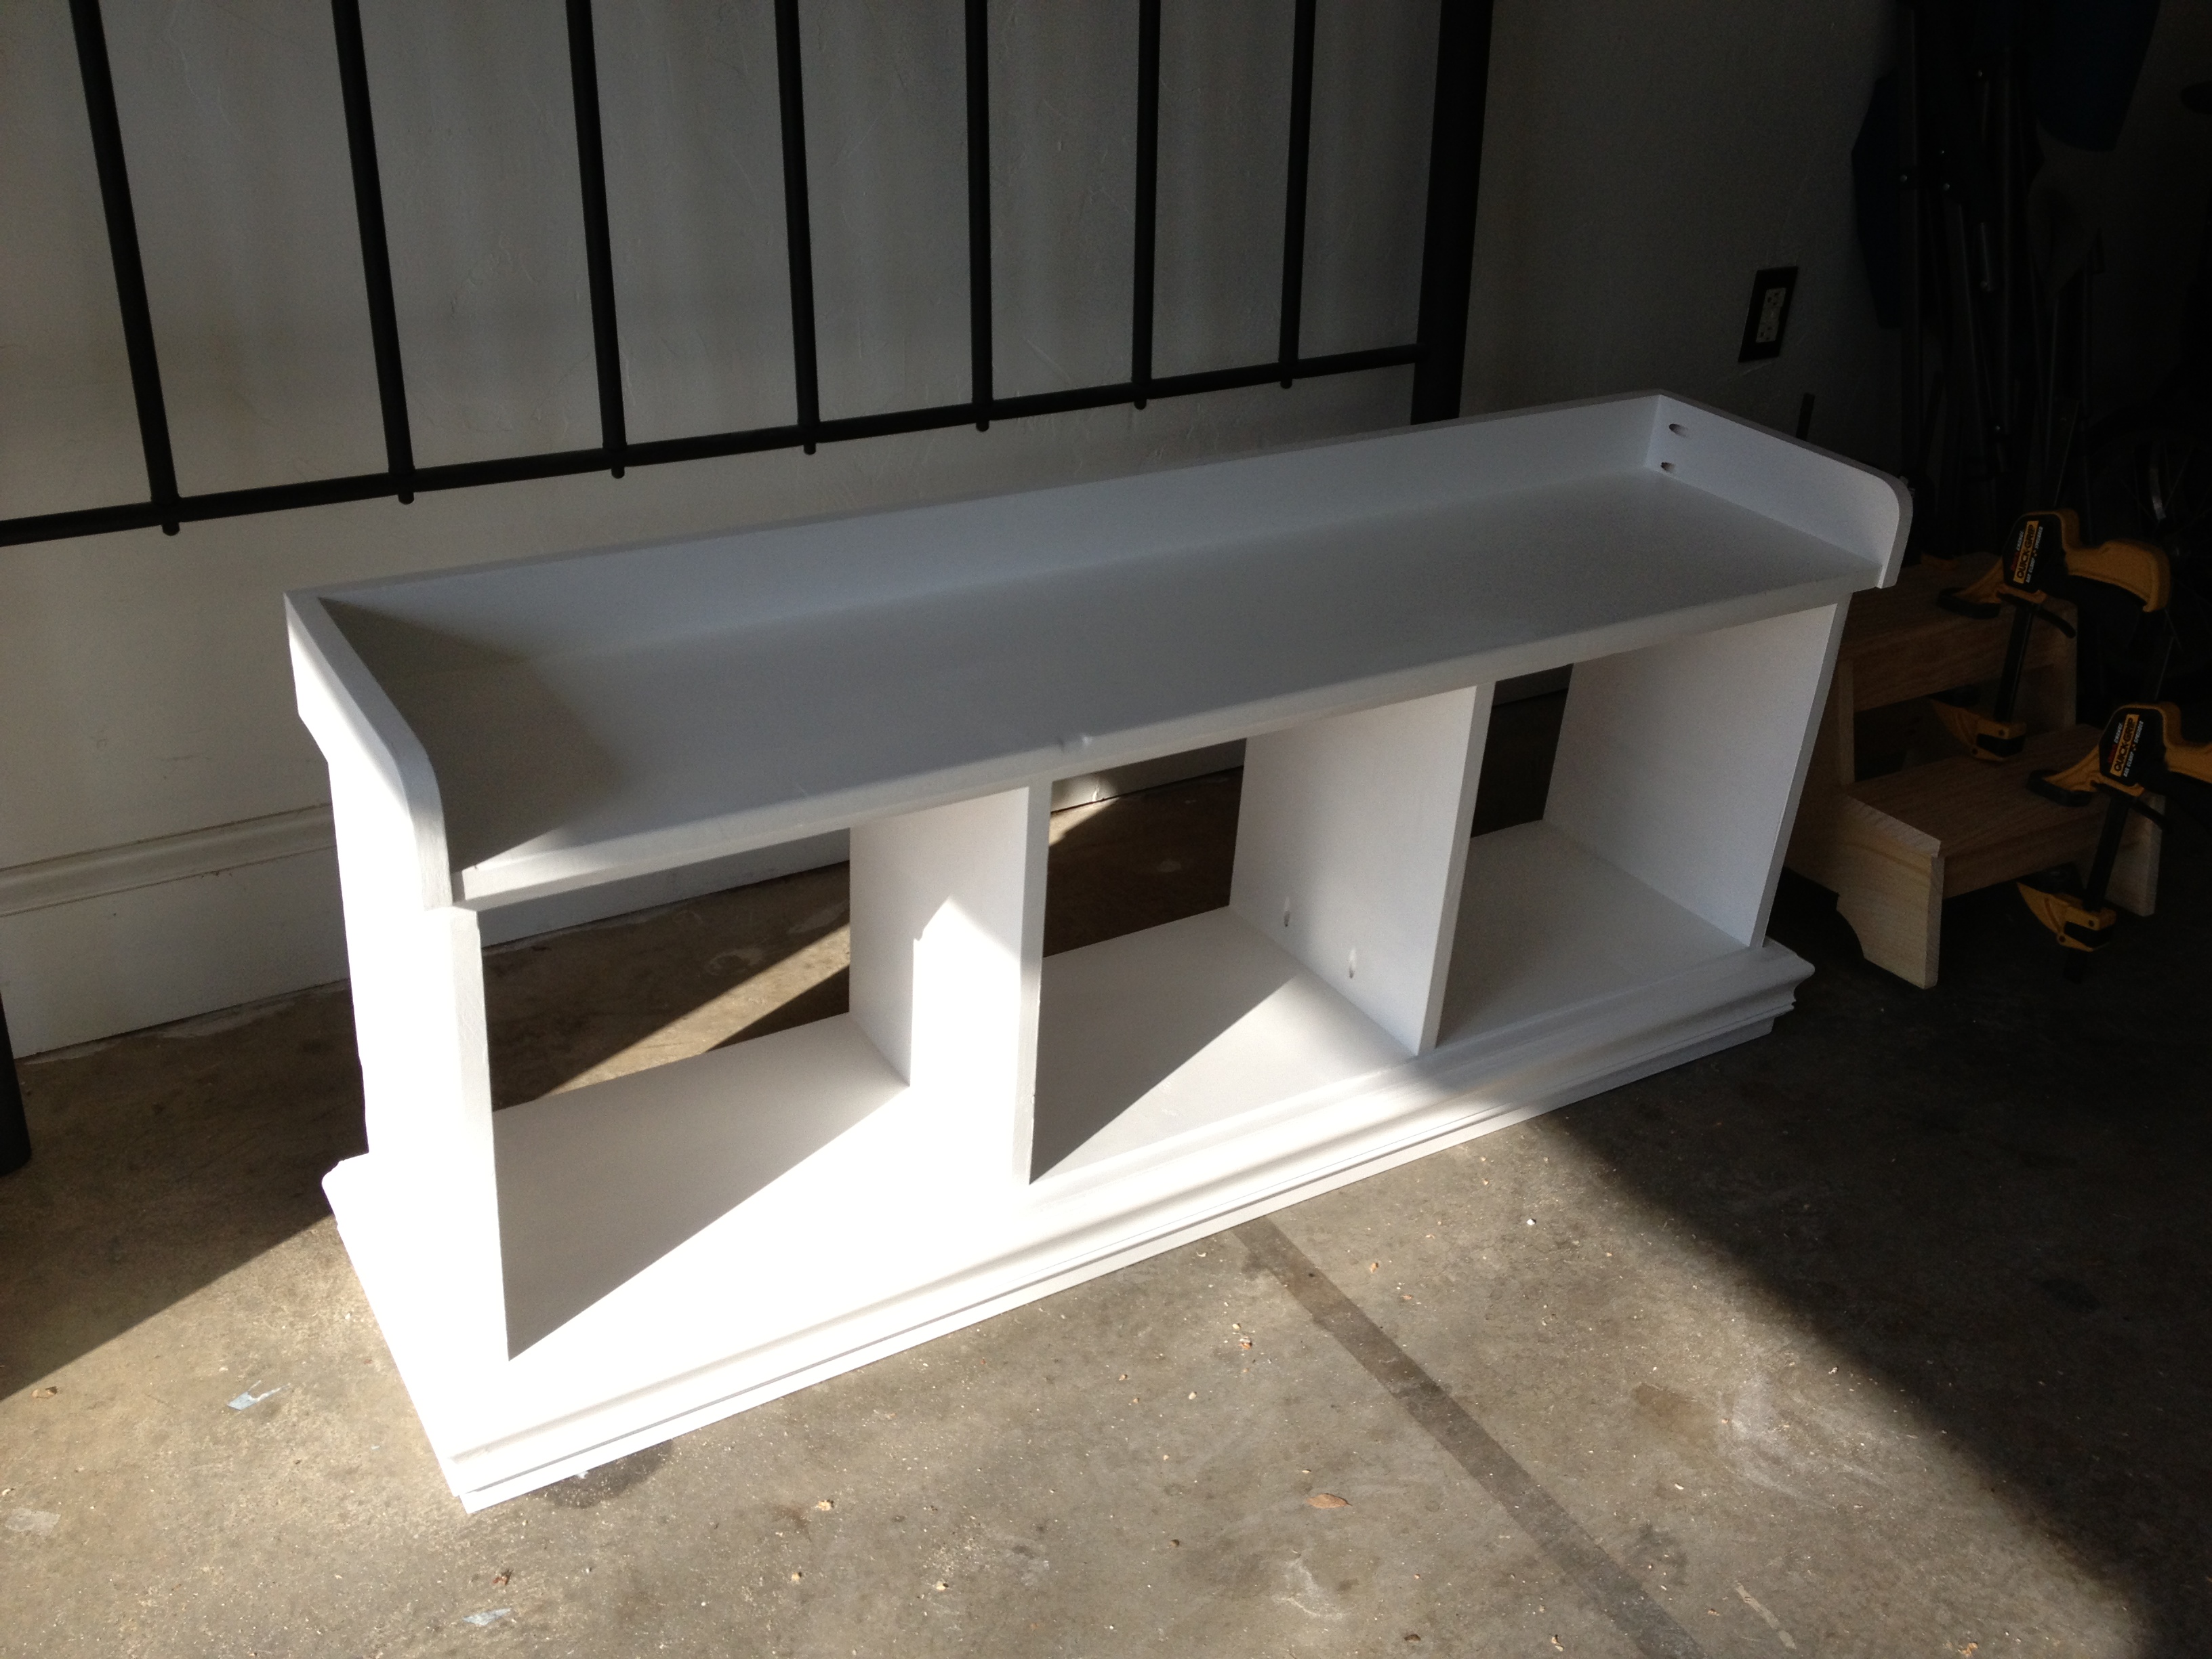
This was basically half of the entry way palns (I didn't make the top piece). I am yet to have a cushion made for the top but it looks great at the foot of our bed.
Estimated Cost
$65
Estimated Time Investment
Weekend Project (10-20 Hours)
Recommended Skill Level
Starter Project
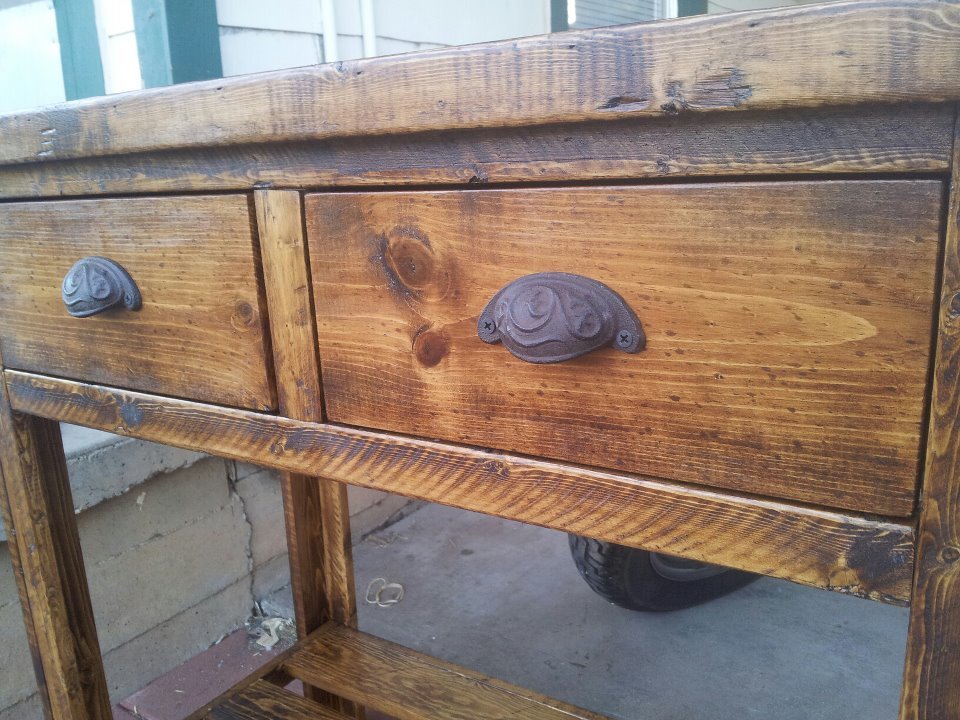
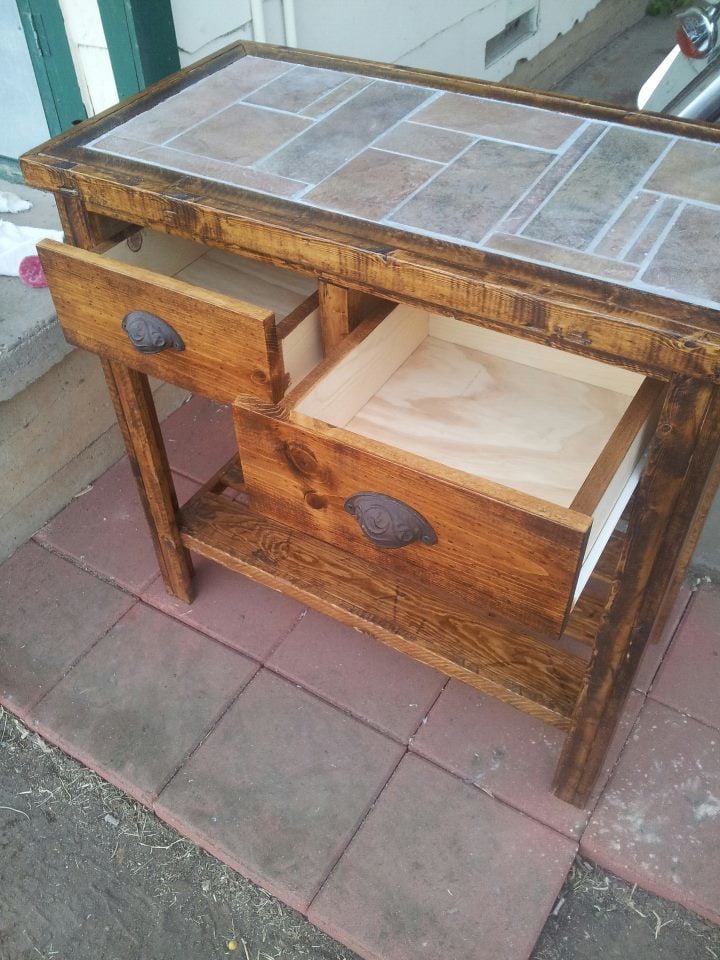
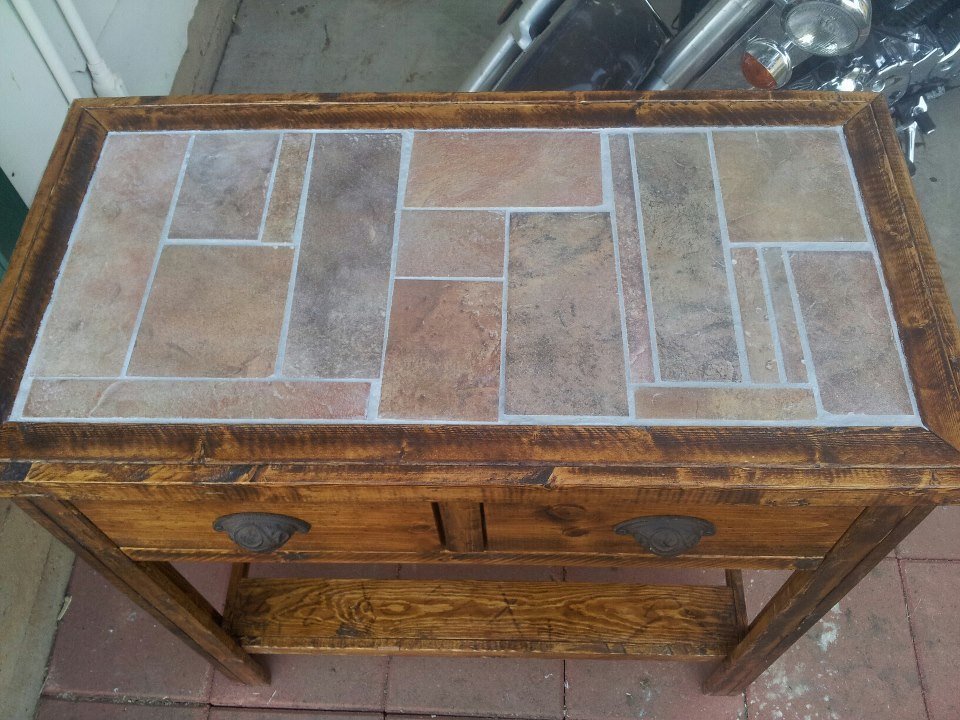
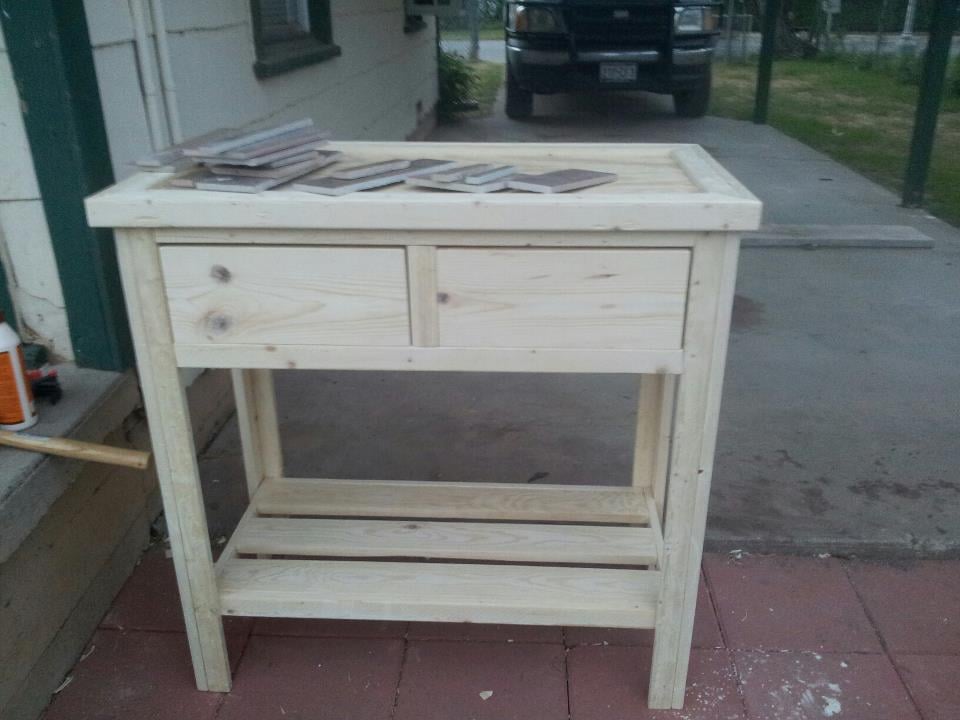
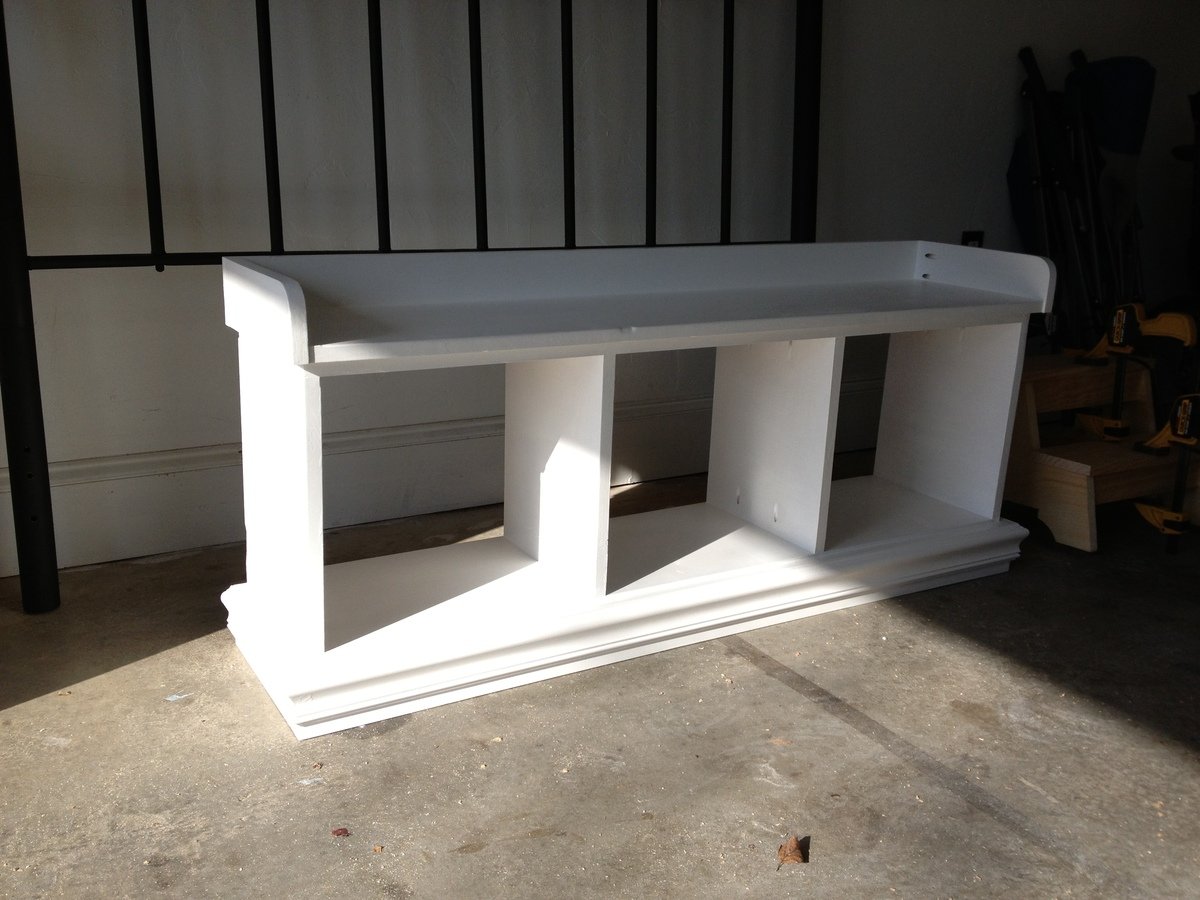
Simple Console - First Build!!
Ana's simplest console inspired my first build. I decided to make it a bit wider like one I saw on Shanty 2 Chic's website, and this is what I came up with. So excited about my first build - can't wait for the next!
Built from Plan(s)
Estimated Cost
$50
Estimated Time Investment
Weekend Project (10-20 Hours)
Finish Used
Minwax water based stain in Latte. Olympic indoor paint in Brigade.
Recommended Skill Level
Beginner
Kid extremely happy
This project took us four days. The biggest job that took us awhile was sanding and painting.
Built from Plan(s)
Estimated Cost
156.27 this included paint, wood, screws and glue
Estimated Time Investment
Week Long Project (20 Hours or More)
Recommended Skill Level
Beginner
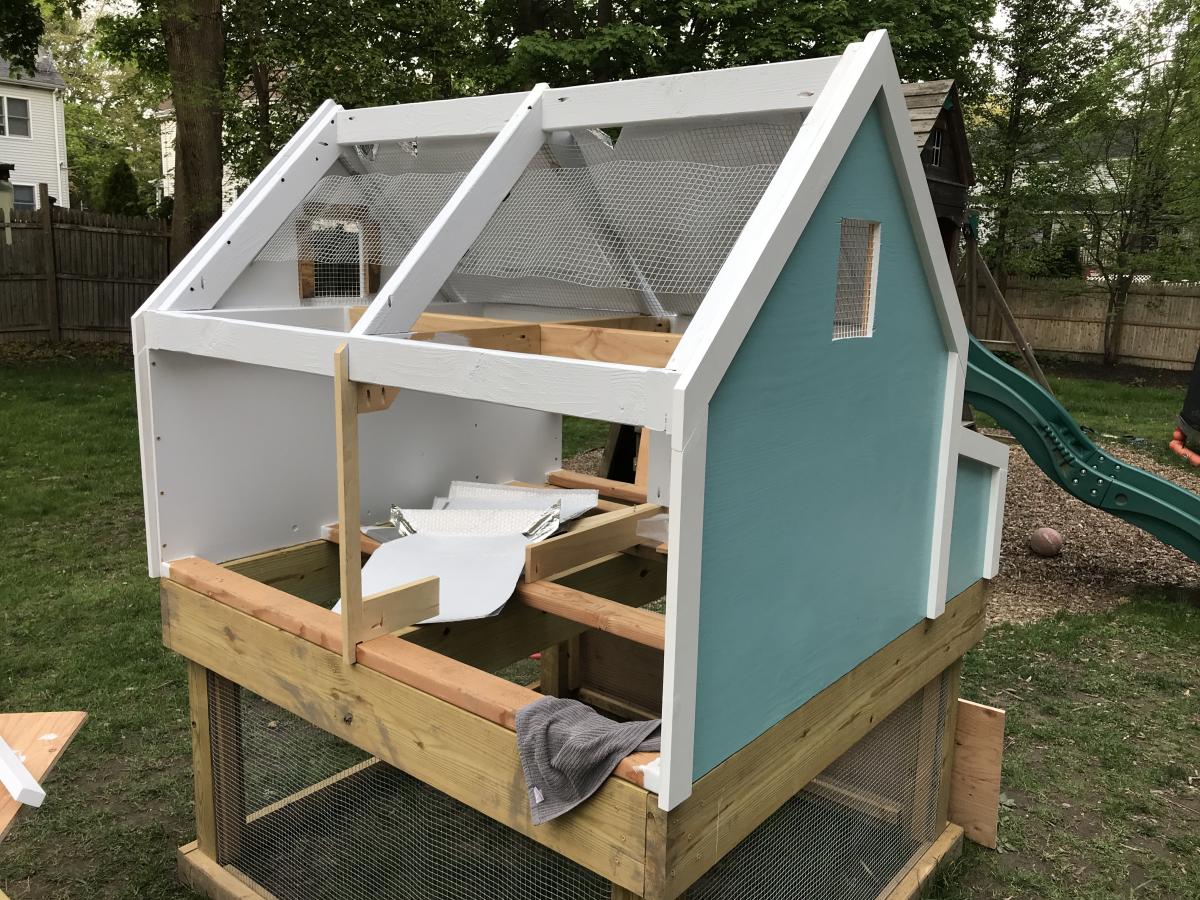
Double-wide Chicken Coop
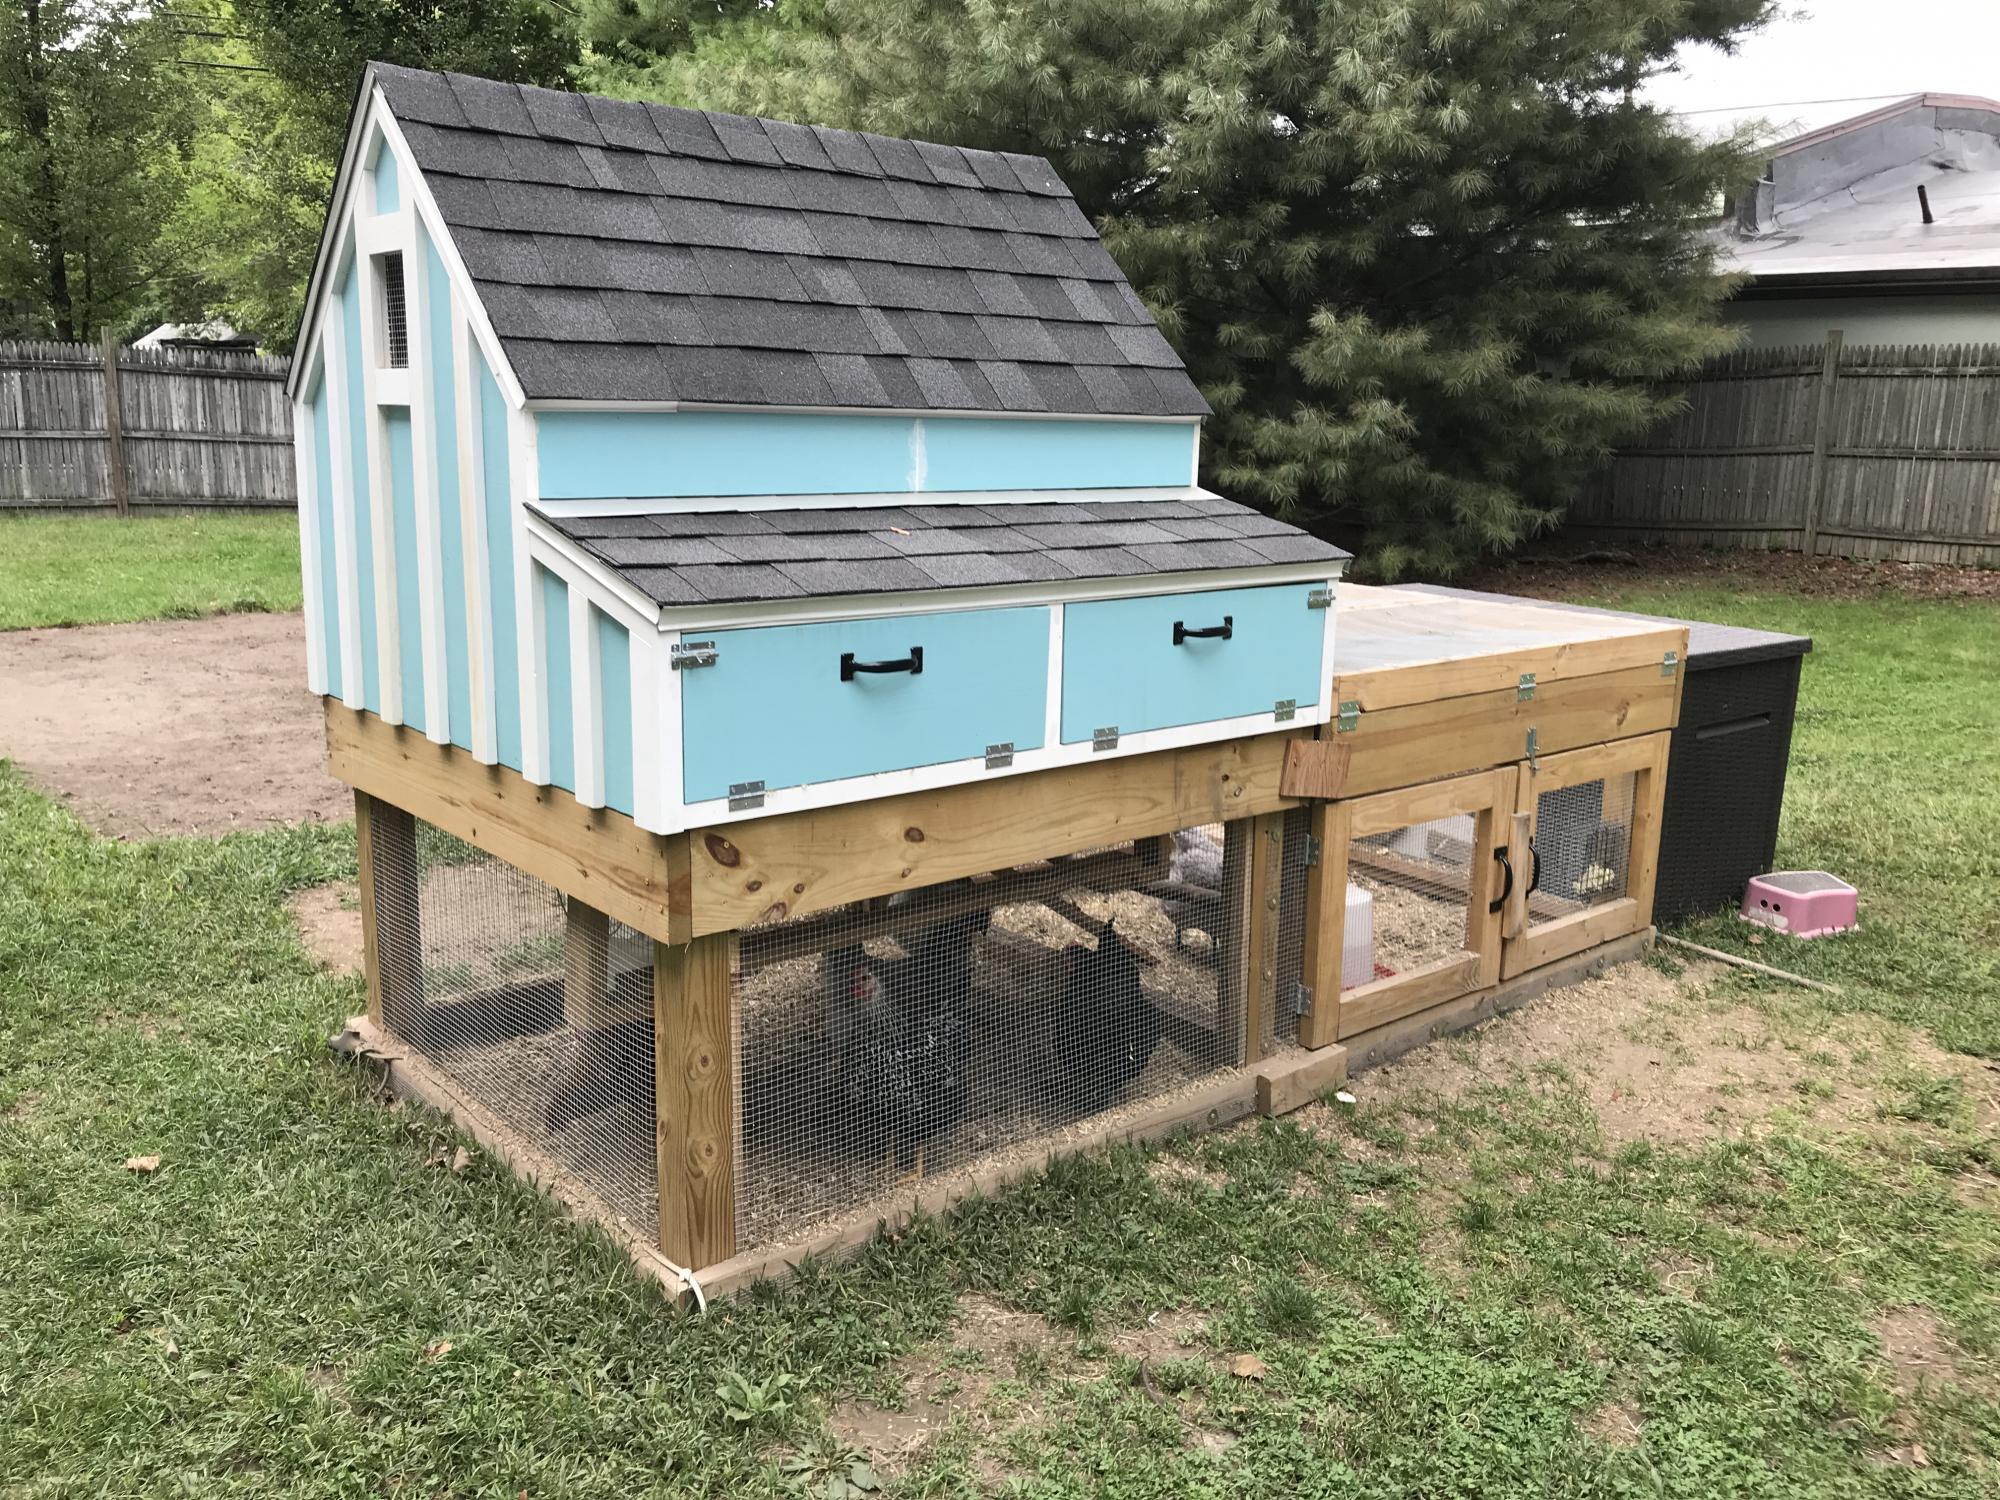
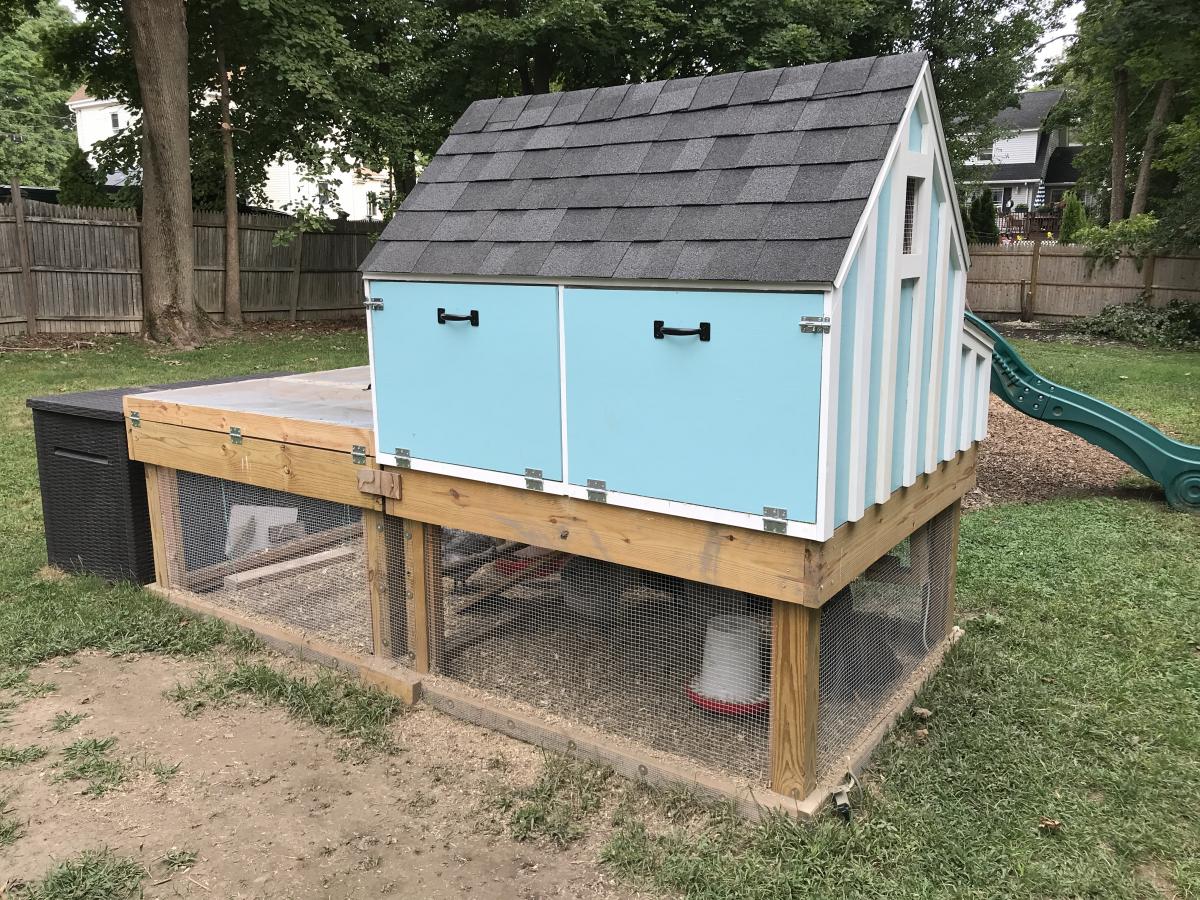
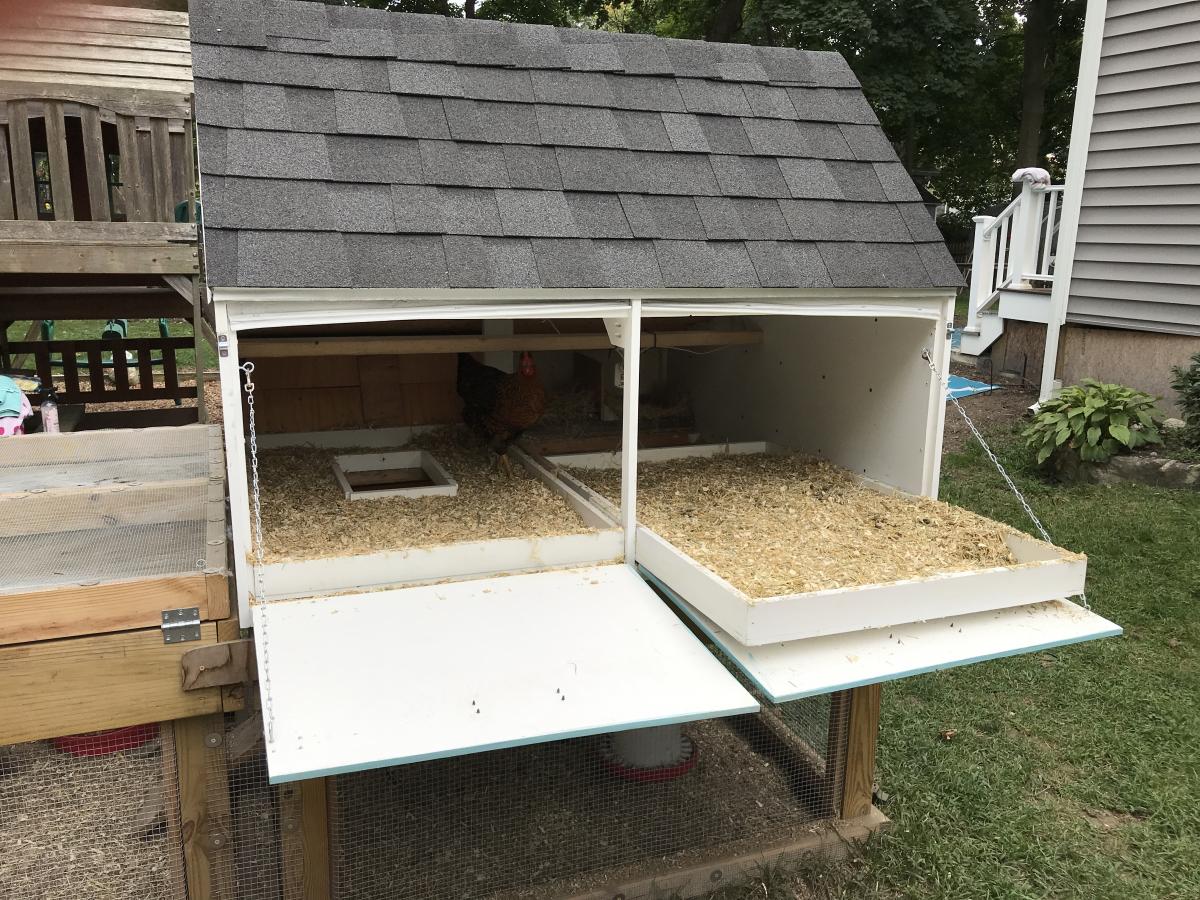
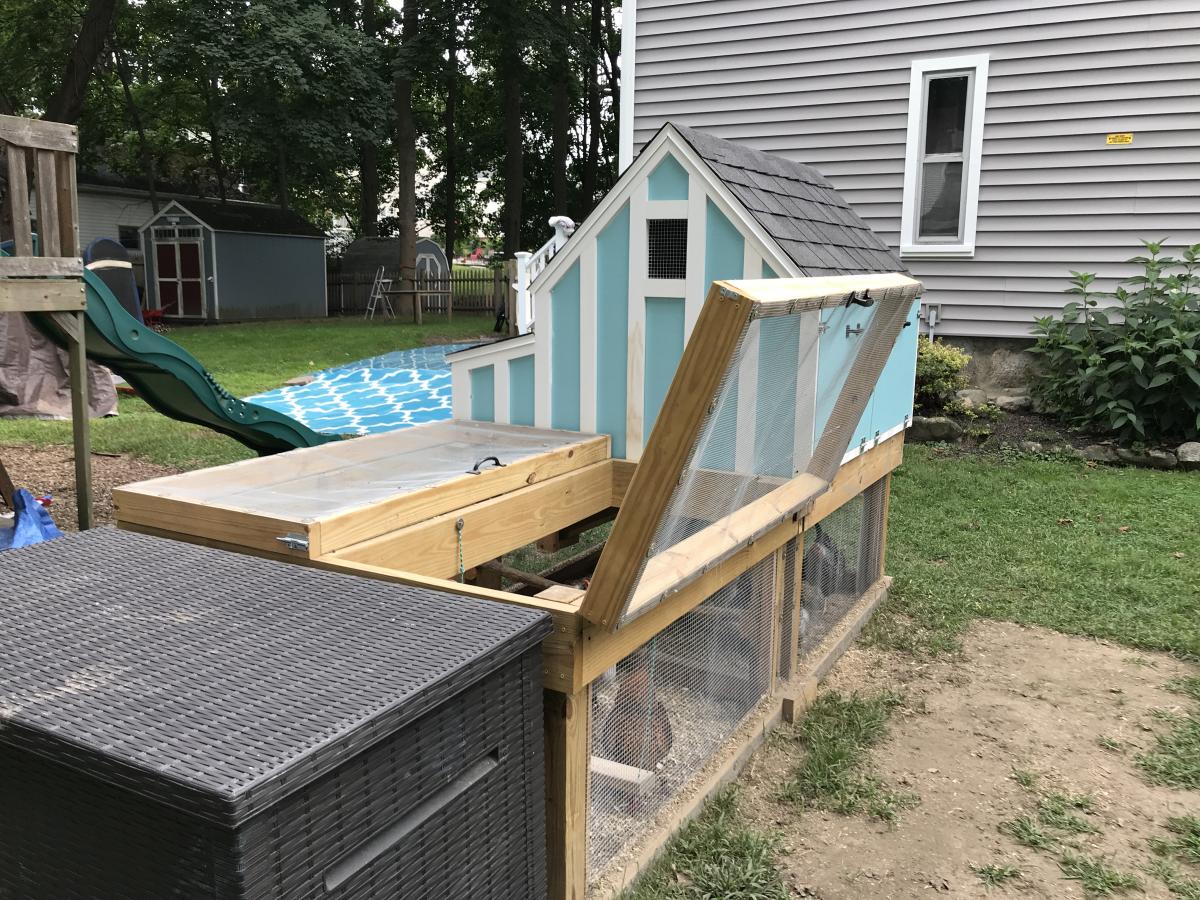
This was a fun build, though it took me quite a while because I decided to paint the interior. I ended up making it twice as wide to accommodate our six chickens. It took some planning but in the end I had essentially two coops side by side with no dividing wall between them. I also doubled the size of the run.
I cheaped out on the plywood and went with 1/2" - there was a big difference in cost as plywood was hard to find at the start of the pandemic. Using 1/2" turned out to be a big mistake. The 1/2" plywood warped quite a bit after I had painted it making it difficult to use the doors. I may have to replace the doors eventually with 3/4".
Overall I'm very happy with the end result. It's been easy to clean and maintain and the girls seems quite happy in it. This is one of the best looking coops I've come across. Thank you for these fantastic plans!

Built from Plan(s)
Estimated Cost
$1200
Estimated Time Investment
Week Long Project (20 Hours or More)
Finish Used
Exterior Benjamin Moore Aura/Regal leftover paint from previous projects.
Recommended Skill Level
Intermediate
Comments
Sun, 09/13/2020 - 11:25
Great Mods!
Love the double wide modification plus the extra work on finishing it, is the cherry on top! Thanks for sharing!
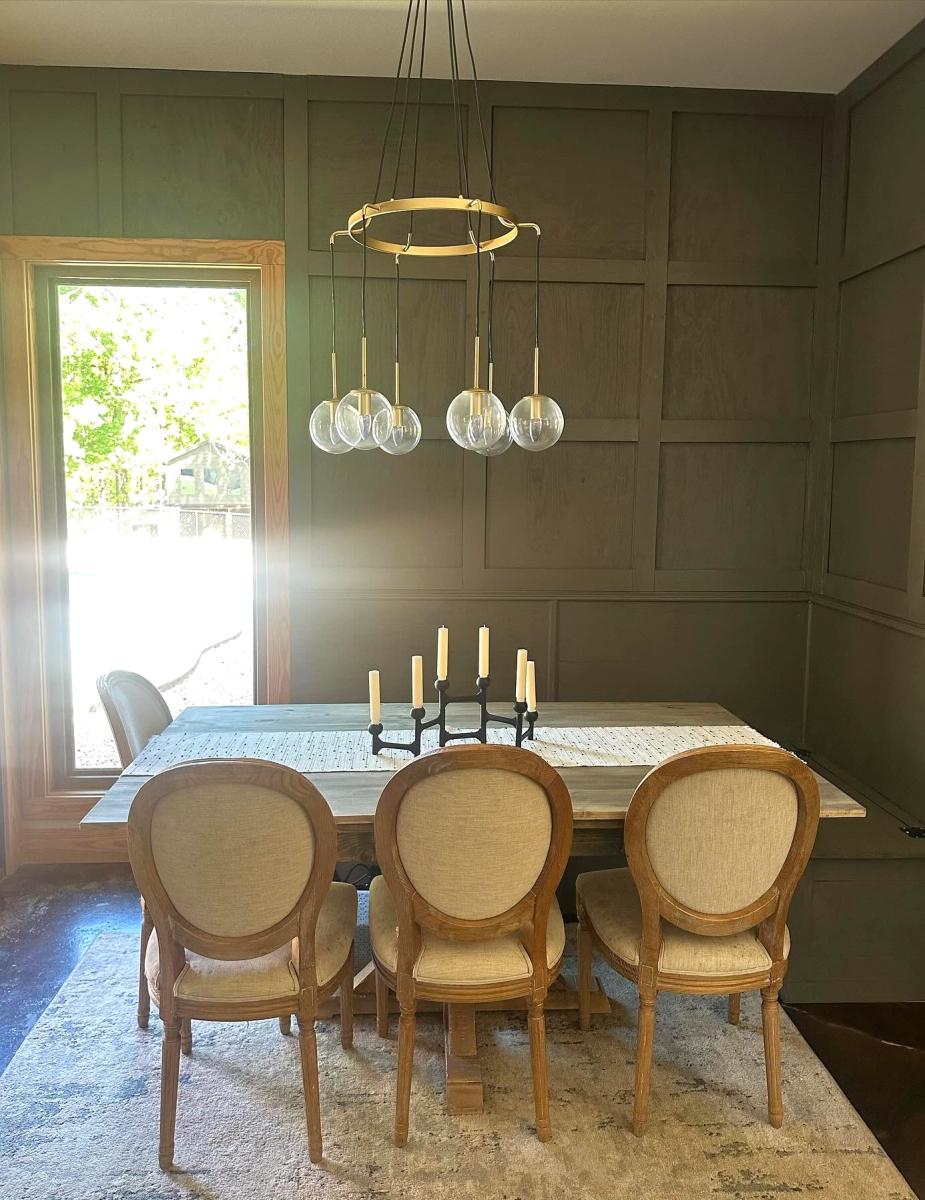
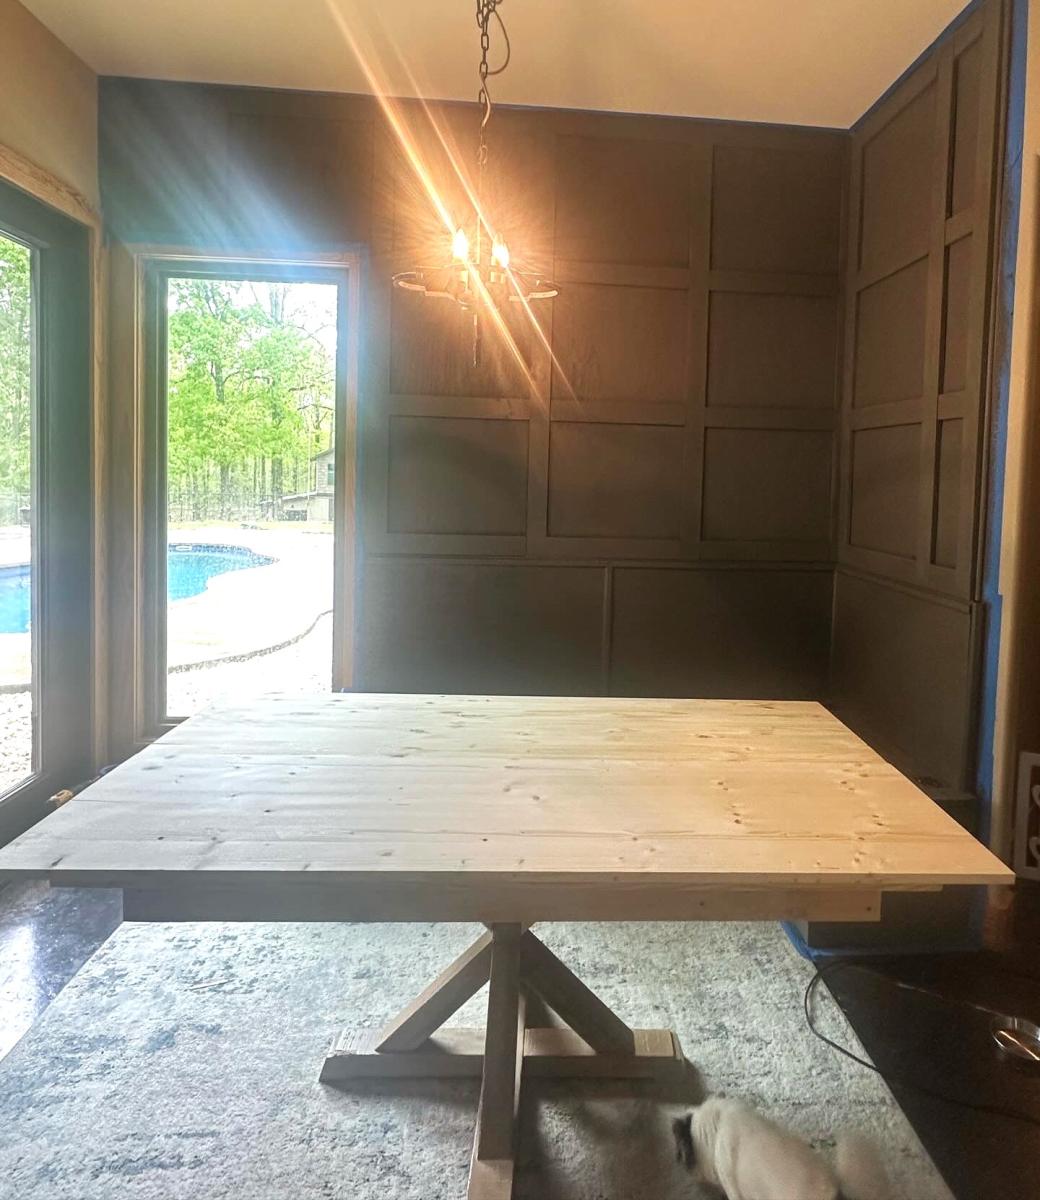
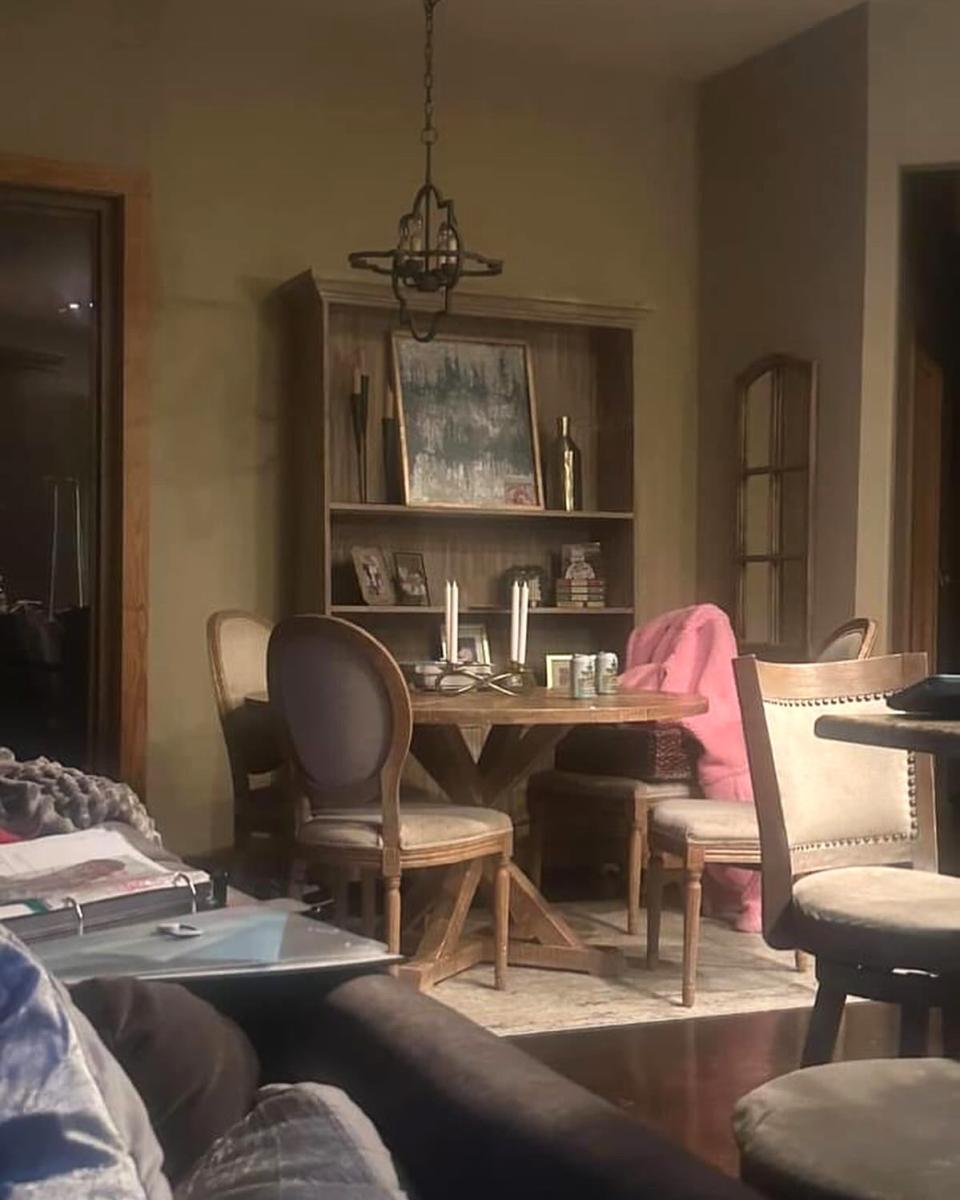
DIY Banquette Wall
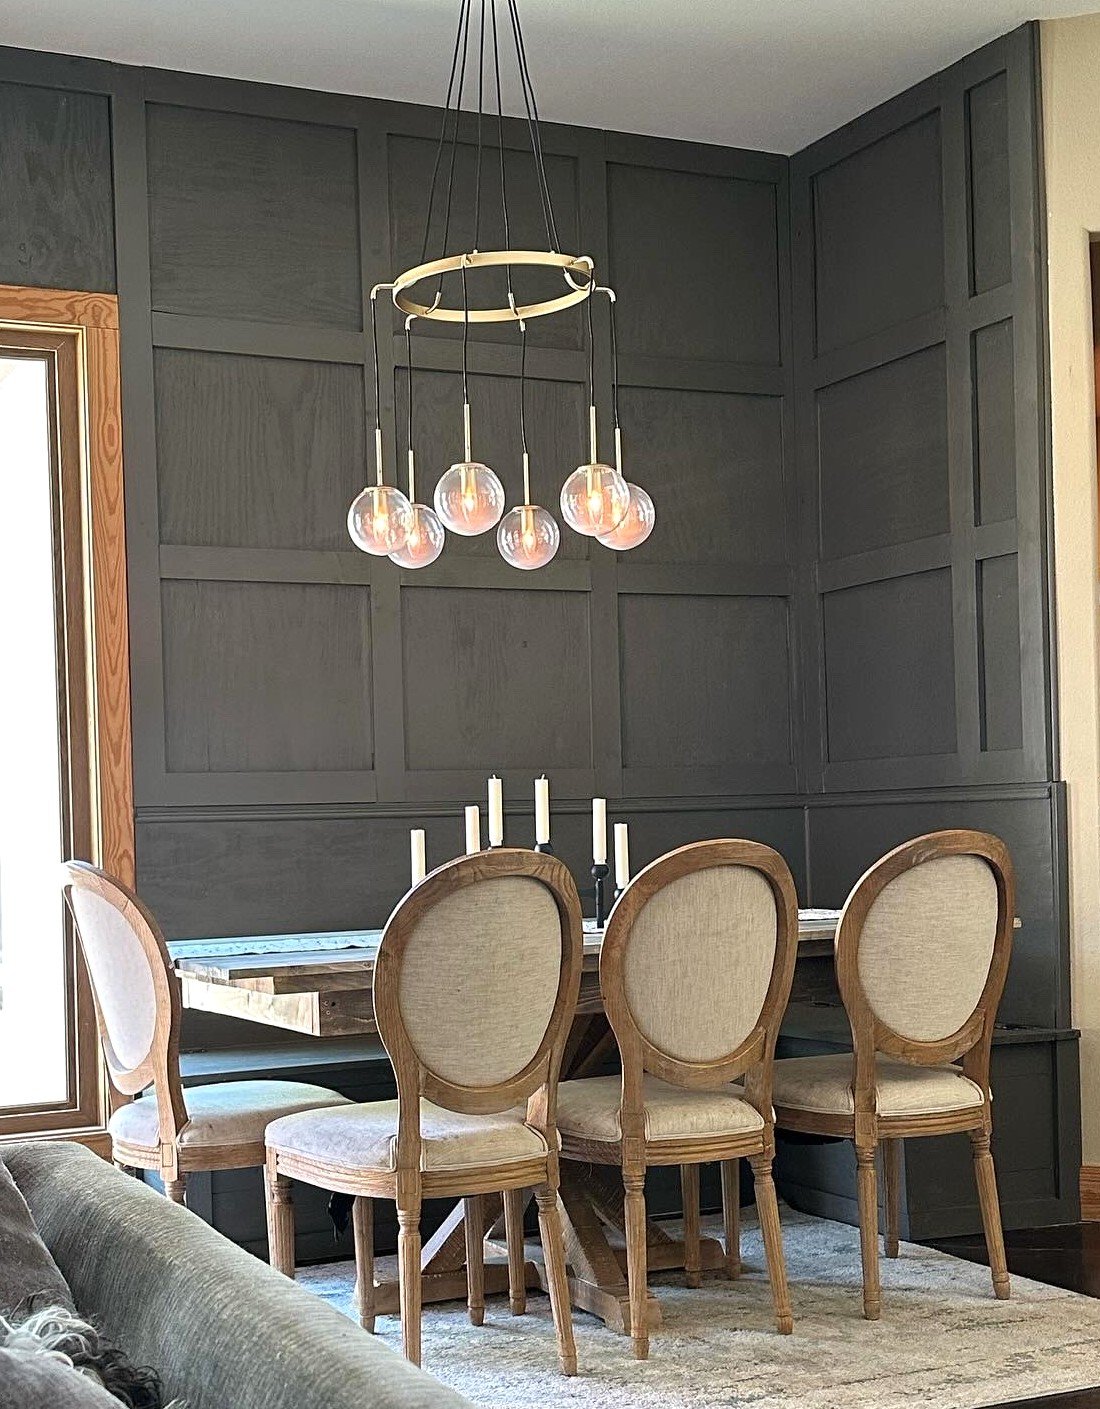
I started with the banquette….then thought, 🤔 hmmm. Let’s do an accent wall too. I included before and after’s of the space. Thank you!!
Built from Plan(s)
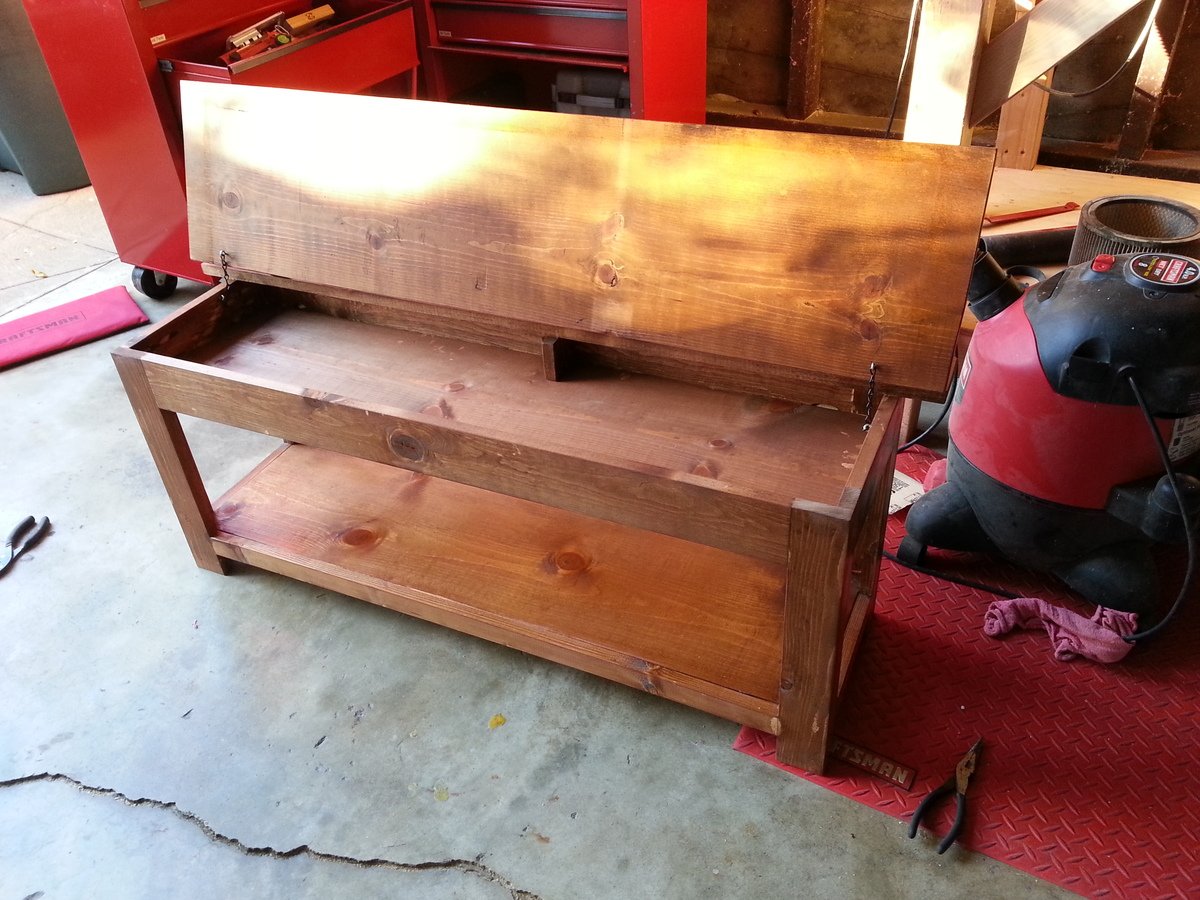
Flip Top Storage Bench
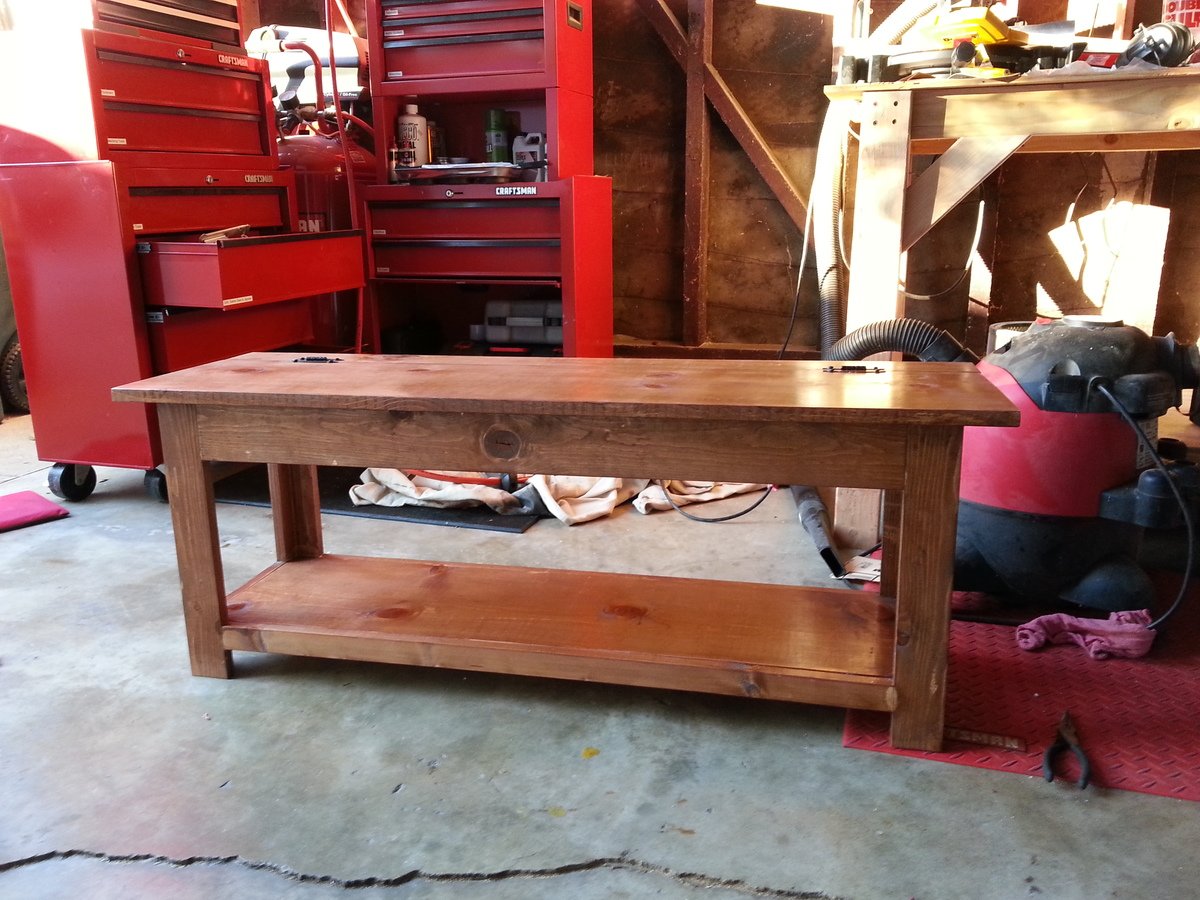
This bench works great as a piano bench with storage inside for all of the sheet music. I added one little 4x4x.75 piece of wood inside in the middle because I found that the 1x12 seat would flex in the center but after adding that piece of wood it was solid. I also added eye hooks and chain for the top so that it does not flip all the way backwards.
Built from Plan(s)
Finish Used
Started with two applications of Minwax wood sealer, then a coat of Minwax English Chestnut and then some spray on polyurethane.
Recommended Skill Level
Beginner
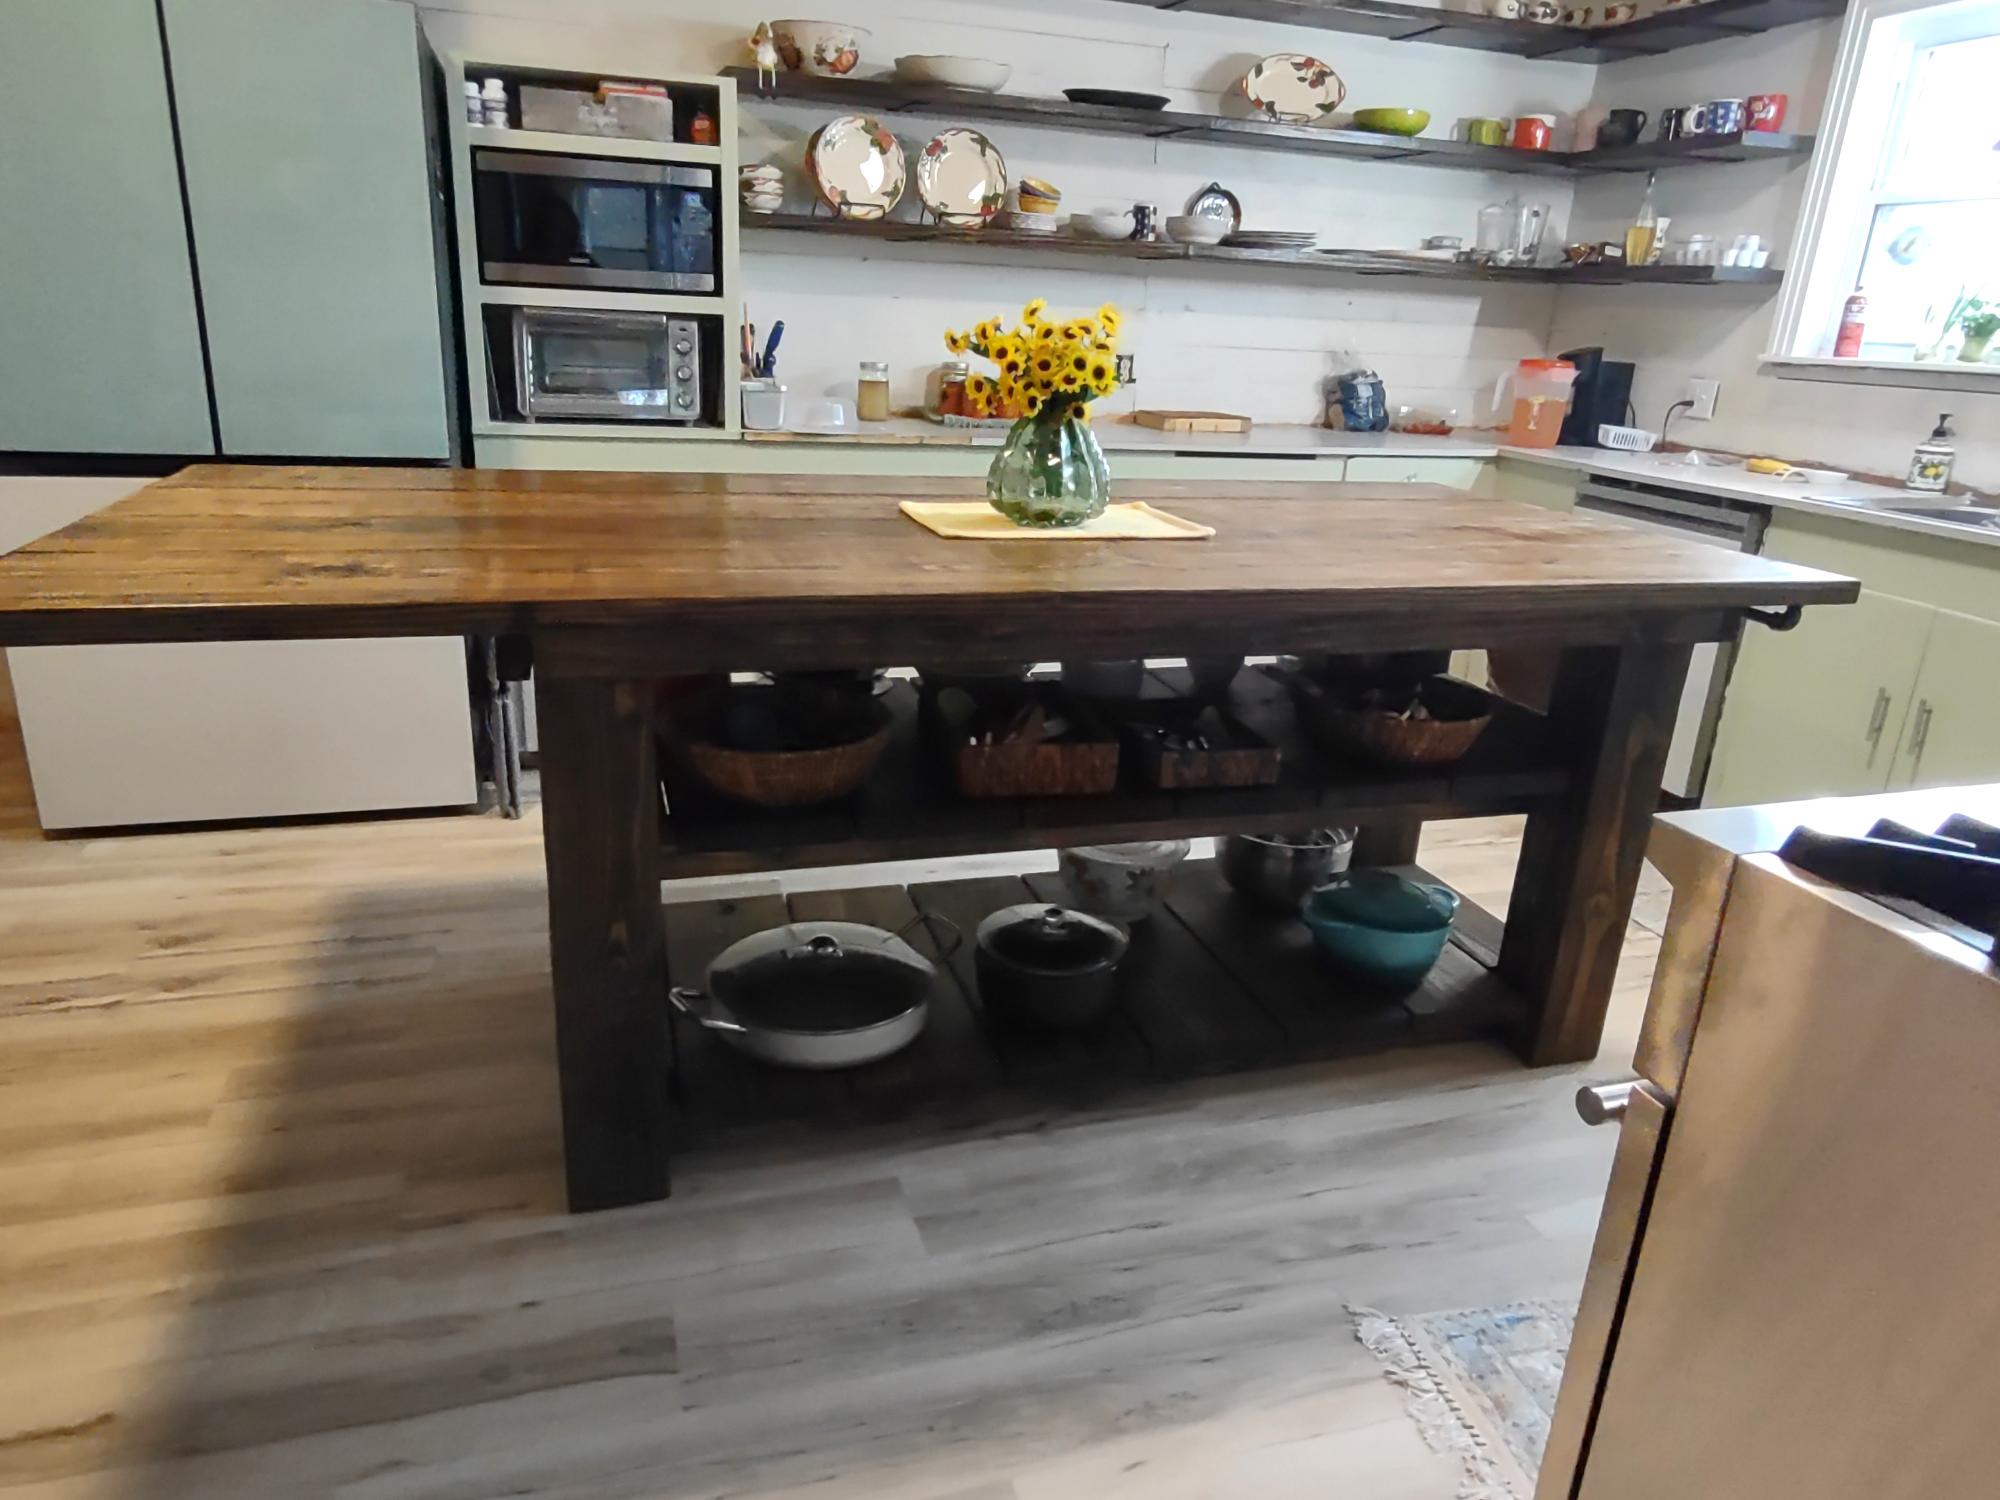
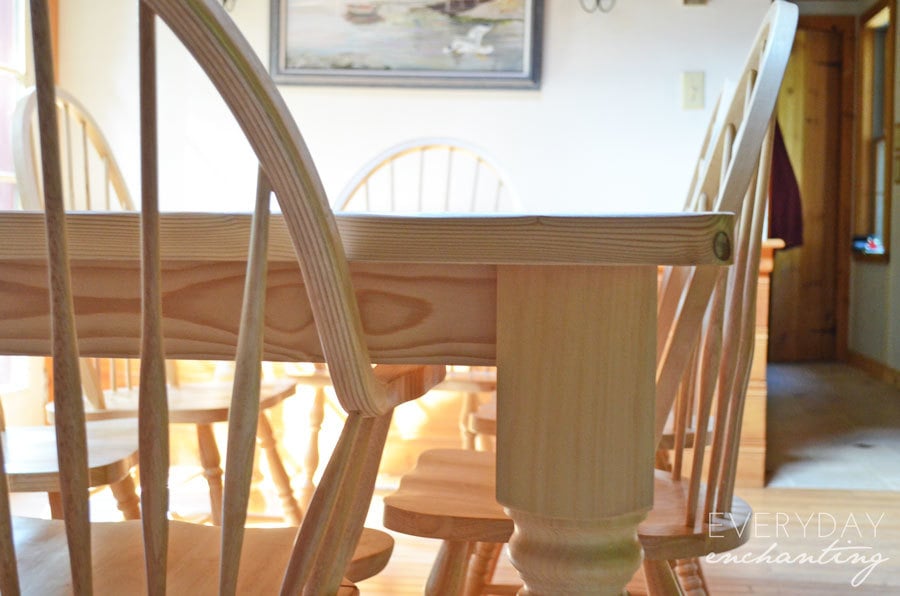
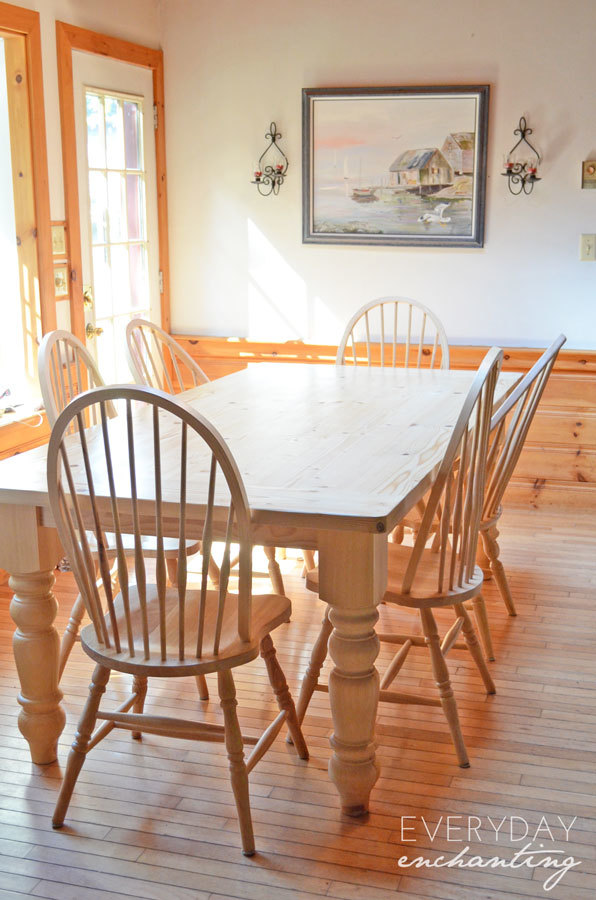
Modified Husky Farmhouse Table
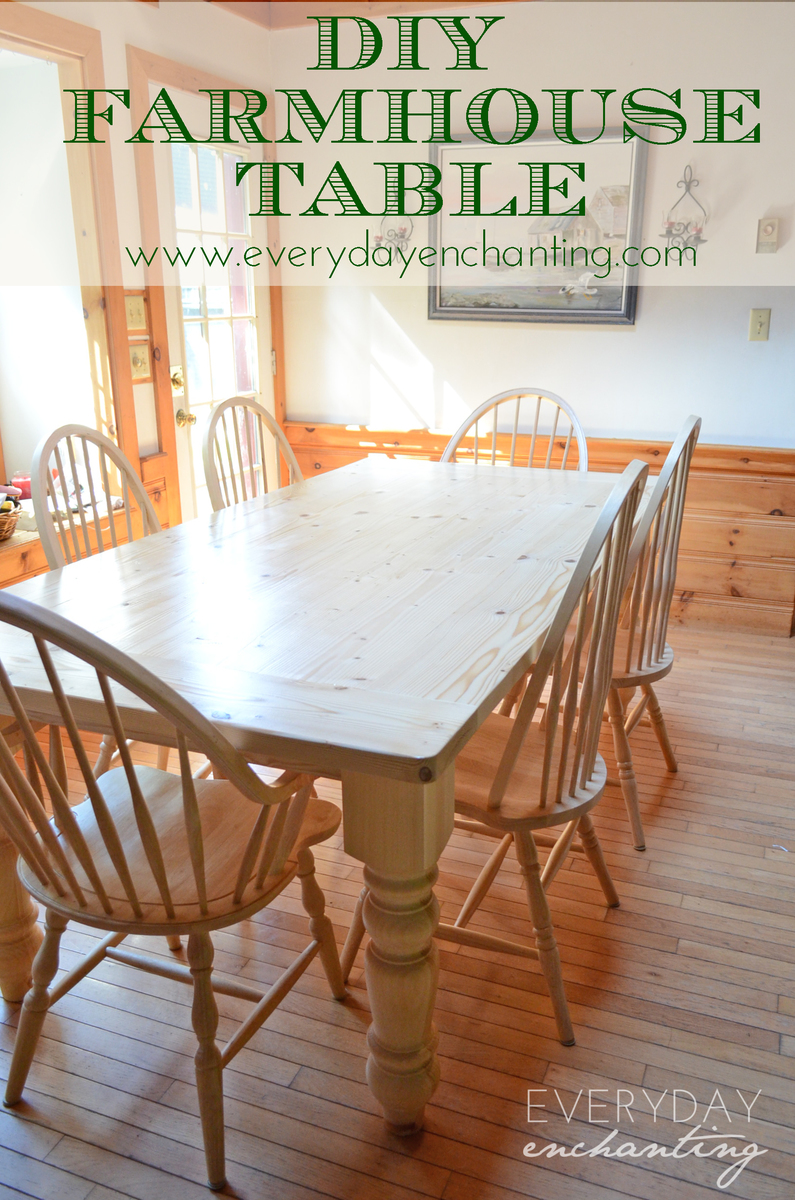
We built this farmhouse table for my Mom's house, to create a space big enough for our growing family to gather at holidays and birthdays. We added to the size- the final dimensions were 82″ (long) x42″ (wide) x 30″(tall). It is a huge, chunky table! My parents prefer natural finishes, so we gave the natural wood several protective coats of polycrylic.

Built from Plan(s)
Estimated Time Investment
Afternoon Project (3-6 Hours)
Recommended Skill Level
Beginner