Community Brag Posts

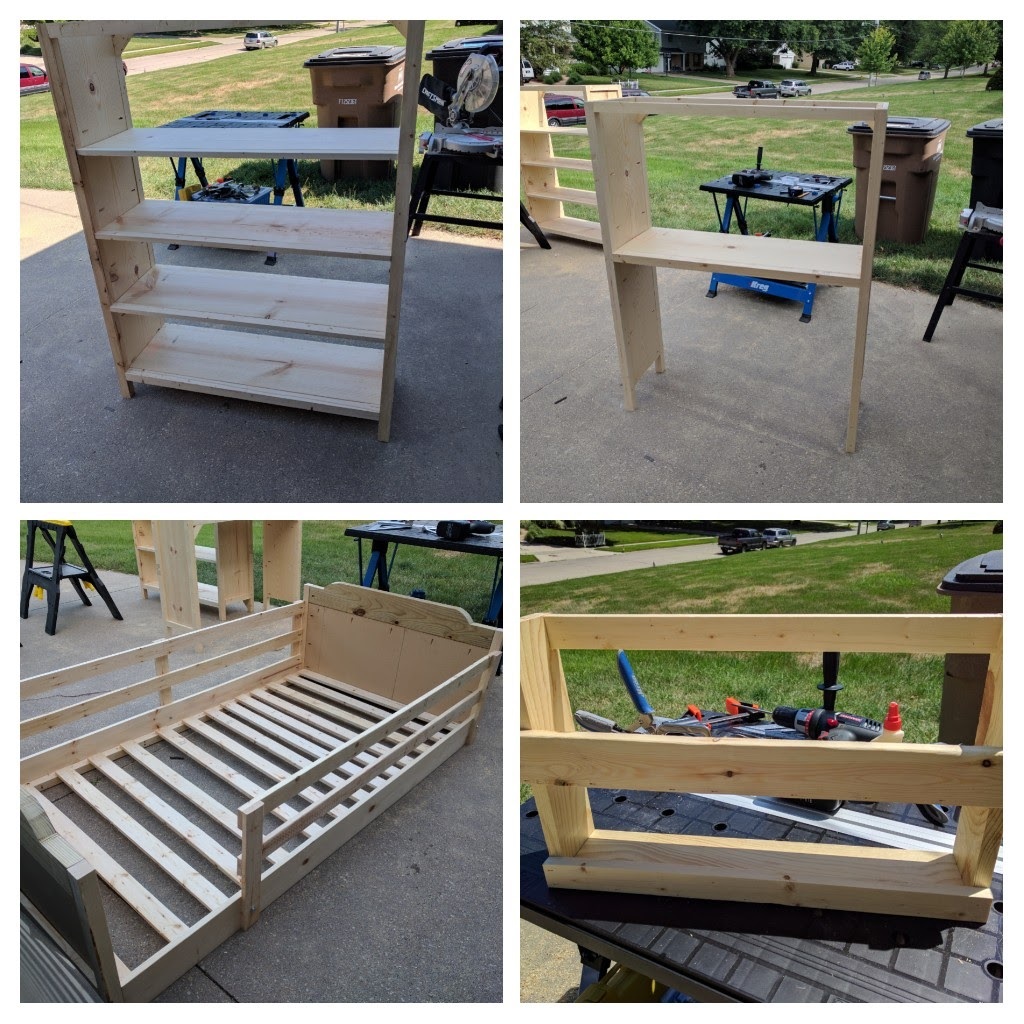
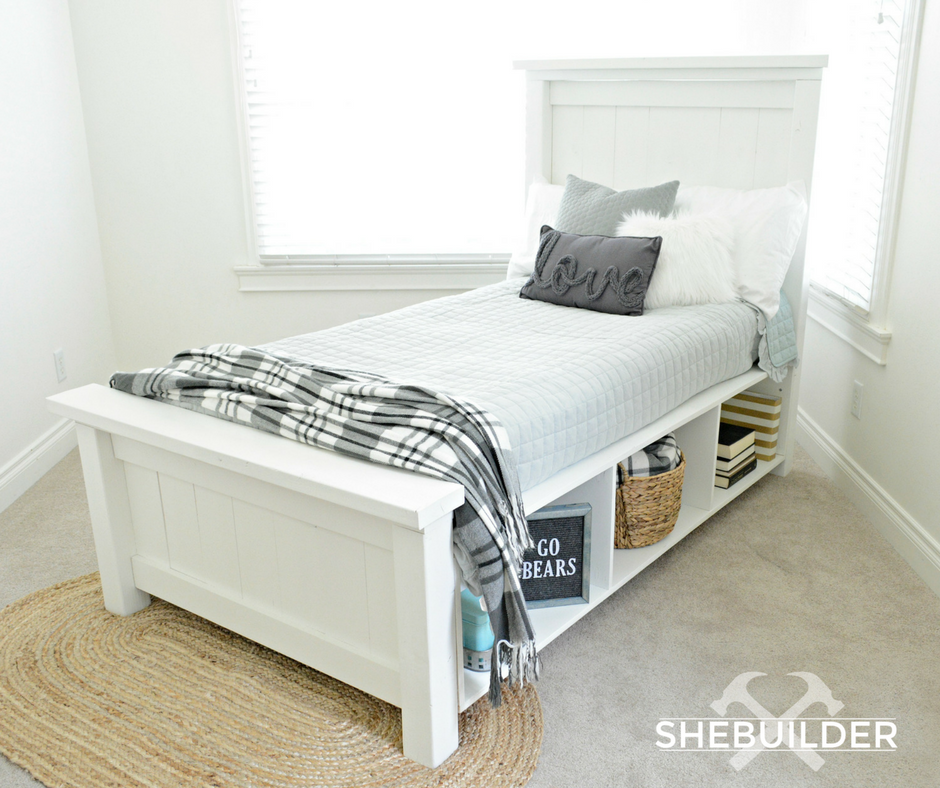
Queen Size Day Bed

Submitted by Anonymous (not verified) on Fri, 03/15/2019 - 05:45

This is such an easy plan to make. It was my first time making ANYTHING but I was motivated by saving money. The original bed like this from a store was 1700 dollars. I did make a few beginner mistakes but figured it out.  I changed some of the measurments to fit my queen size mattress and of course its for my actual bedroom and not patio... I get so many compliments!! Hope you like it.

Estimated Cost
400.00 it was only so expensive because I had to by all the tools... worth every penny
Estimated Time Investment
Weekend Project (10-20 Hours)
Finish Used
Mahogany stain with a satin finish

Recommended Skill Level
Beginner

Kids Picnic Table

Submitted by Anonymous (not verified) on Mon, 02/06/2023 - 14:00

Fun and easy project!

Built from Plan(s)

Comments

Storage Shelf

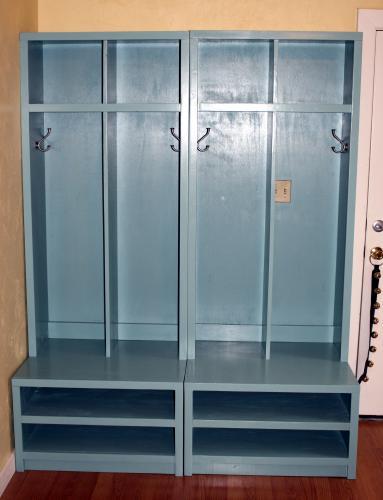
After replacing that trashed out IKEA dresser with the fire fighter style locker in the boys room I started taking apart said dresser to put out on heavy trash day. It was then I realized that while it wasnt the BEST materials, the top and sides were actually not all that bad. As it was the piece was too wide for the space I was looking to fill, so I did a little trim of the top, replaced the supports and framing and rebuilt this into a shelving unit.

I bought a couple 1x2s to frame shelf supports and actually used the base of the drawers as a shelf.

My neighbor across the street is a DJ and has about 100 million plastic crates in his garage that he is getting rid of (they used to hold his vinyl). So I took a few and have been finding uses for them. I spray painted 2 of them red and used them as the basis for where to attach the shelves.
I also had a couple of other baskets for toys that were just the right size for the small top shelf. I just need to go back and paint those red too.

Estimated Cost
just a couple bucks for those 1x2s
Estimated Time Investment
Afternoon Project (3-6 Hours)
Recommended Skill Level
Beginner

Rustic X Console Table

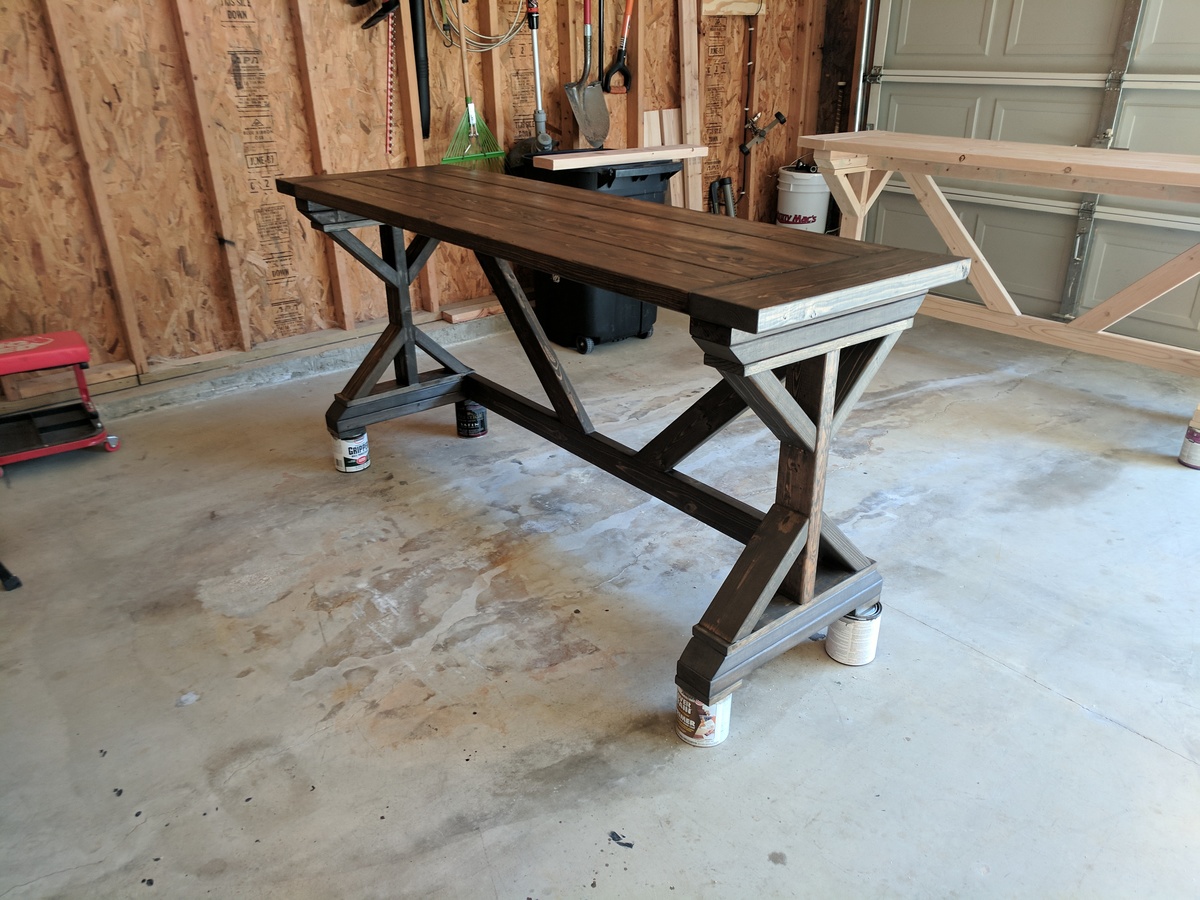
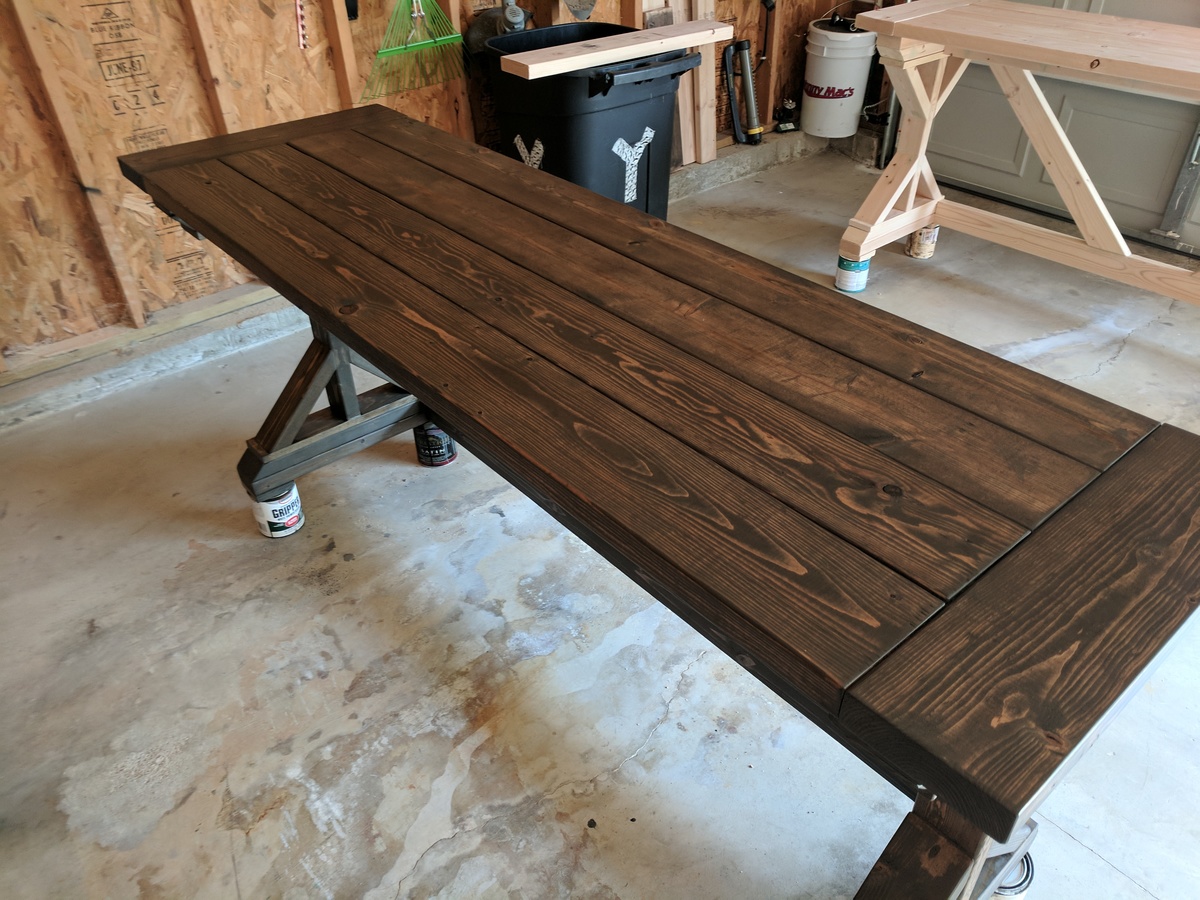
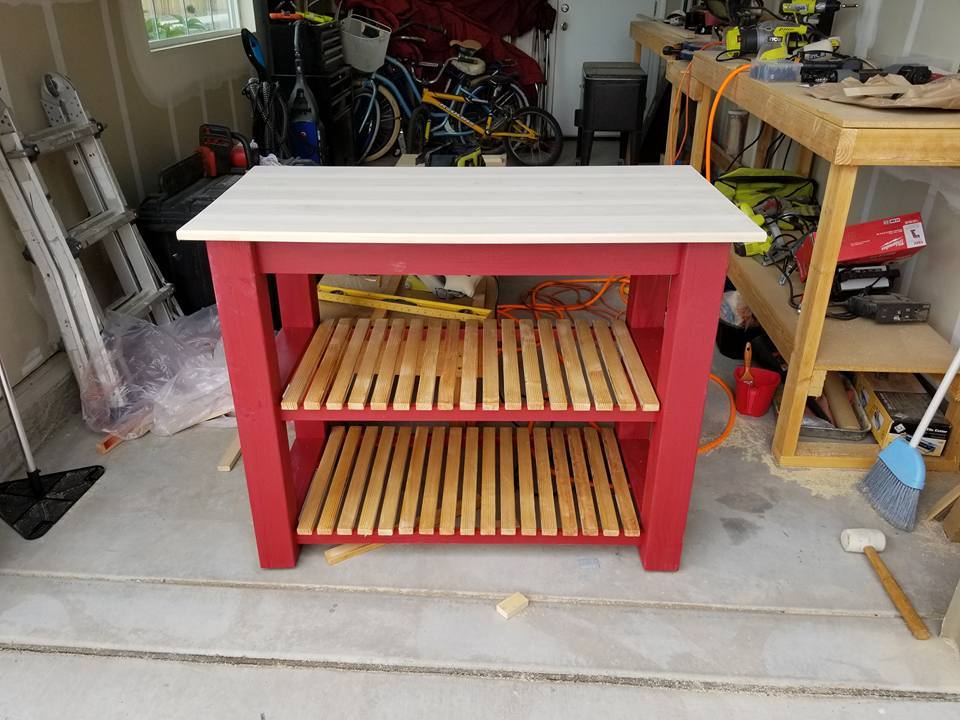
We built this console table after the rustic X coffee table and end table. We have learned from previous experience to cut the "X" last, marking them against the frame instead of measuring to cut. This time, my husband made a suggestion to leave the X's out and it was great! The console table still goes very well with the rustic X coffee table and end table, but without the X, it also fits well into other rooms we can use it for. In the end, we are very happy with the result!

Built from Plan(s)
Estimated Time Investment
Day Project (6-9 Hours)
Finish Used
Conditioned, stained in Kona, and matte finish
Recommended Skill Level
Beginner

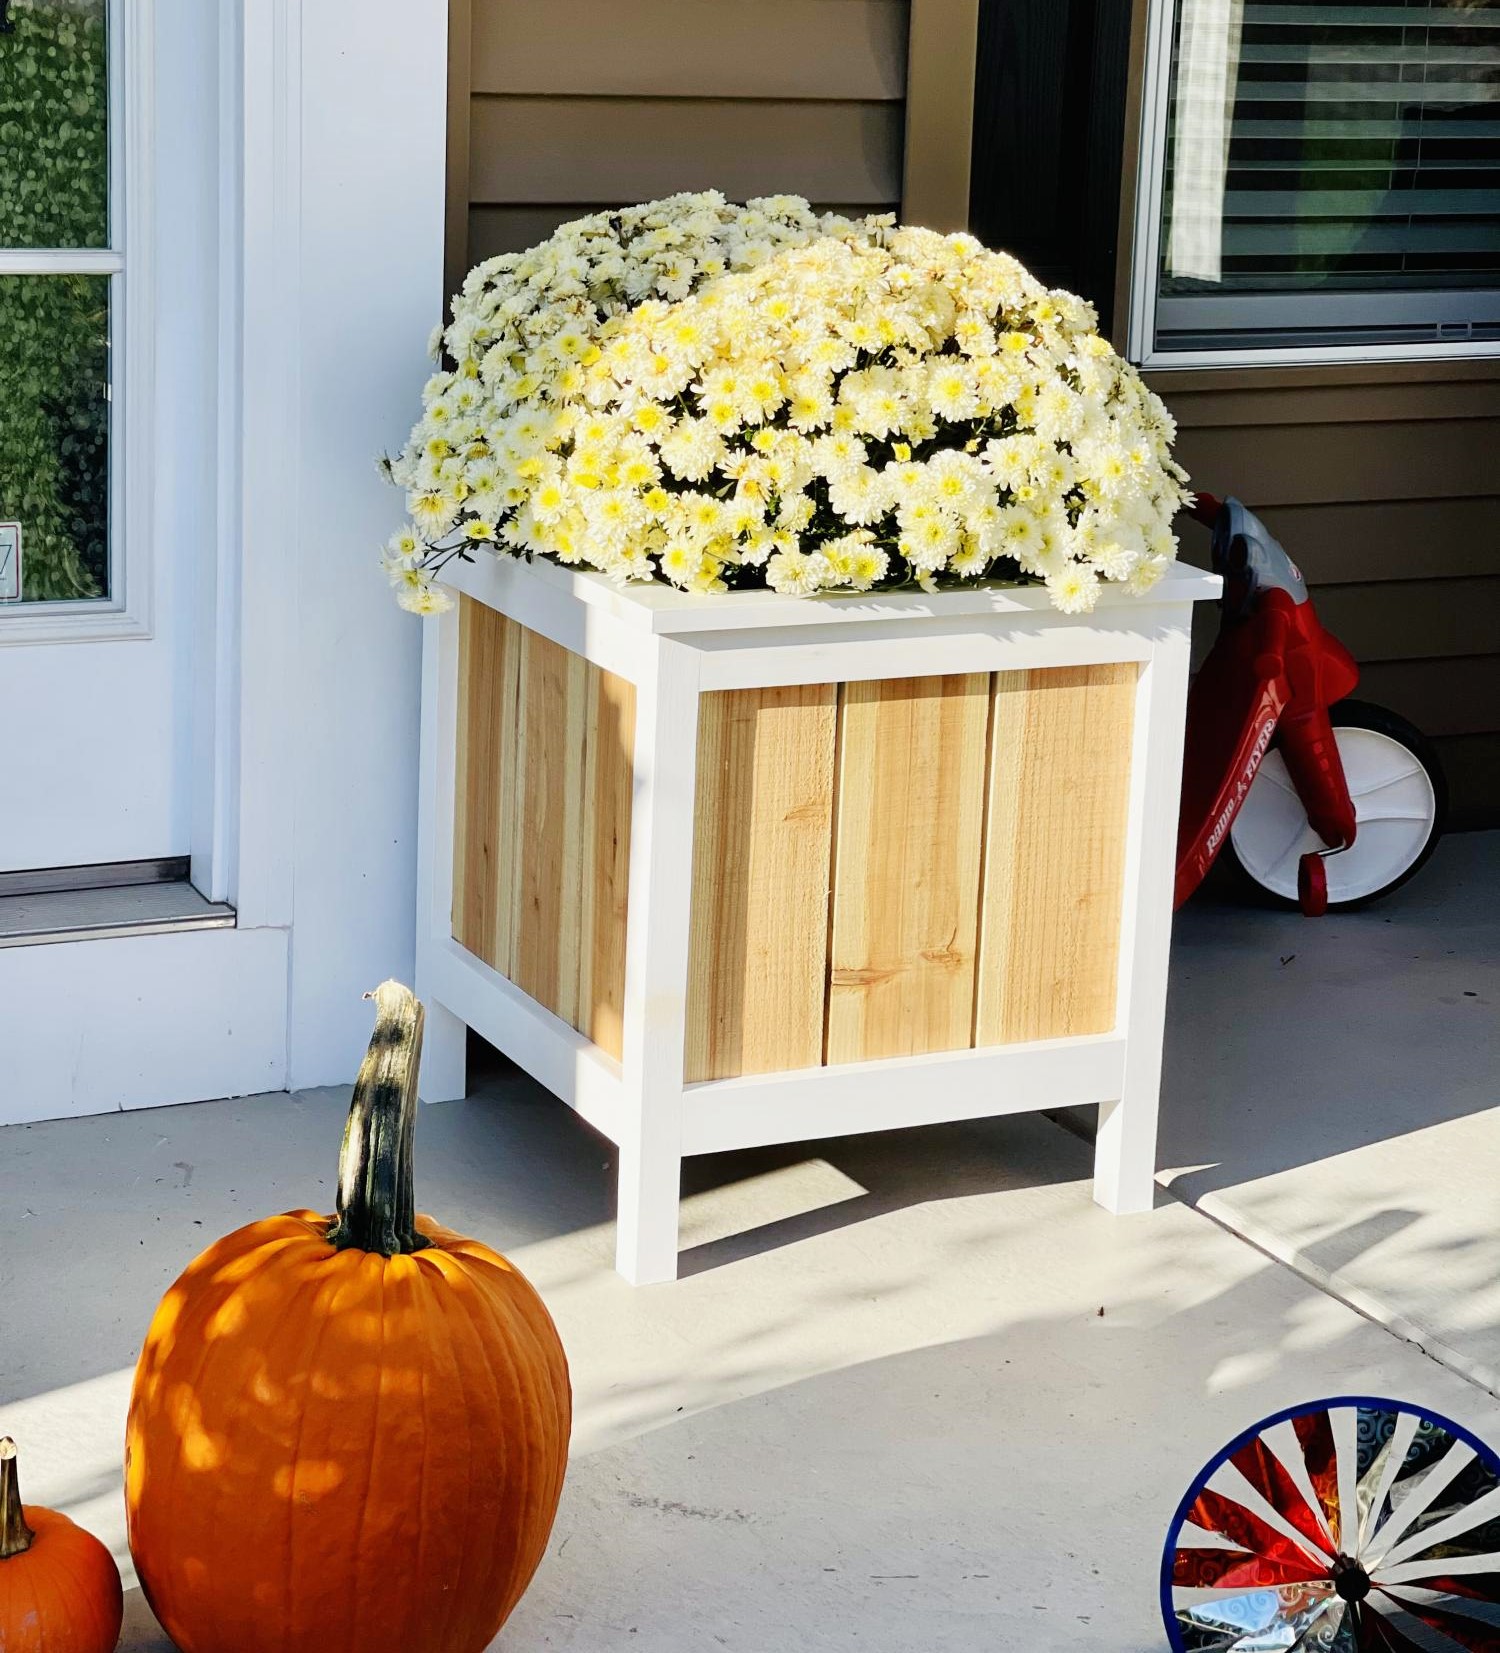
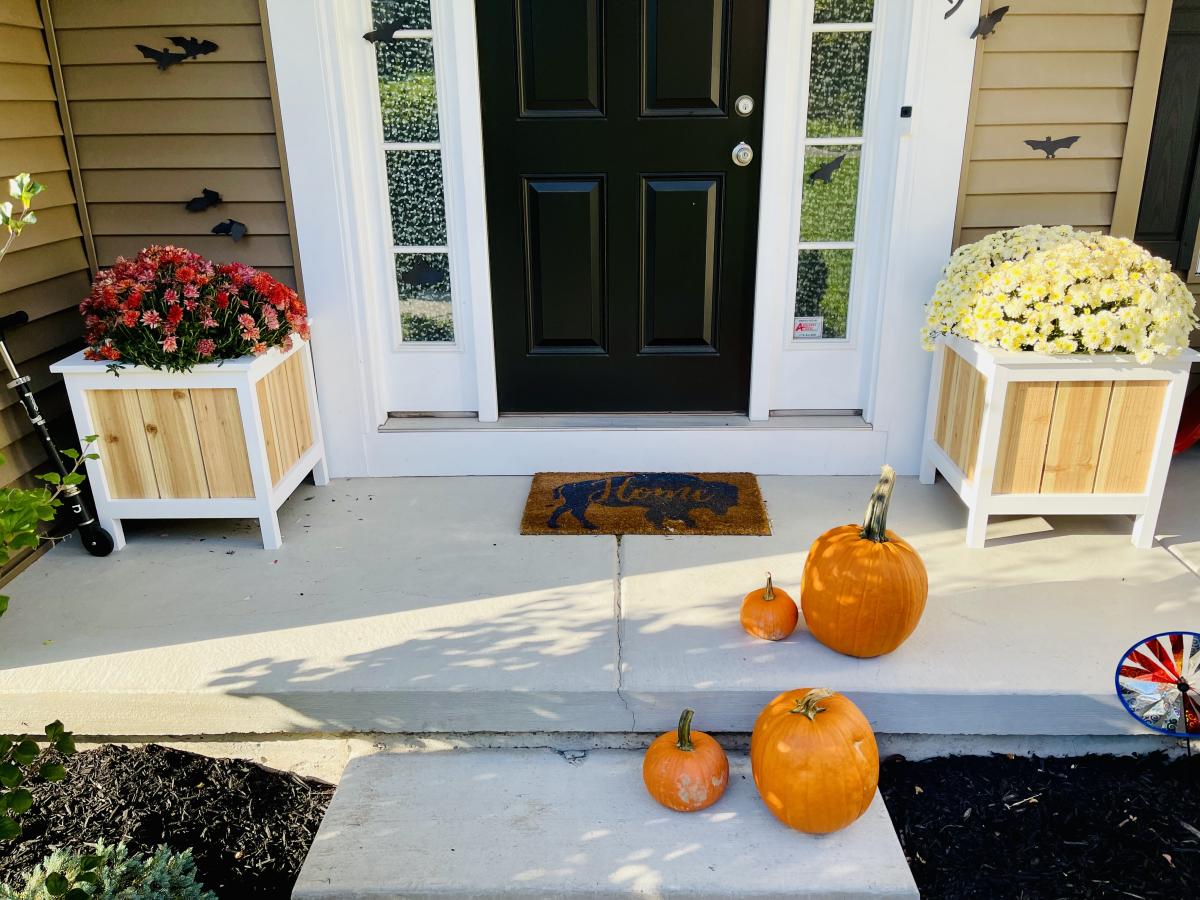
Planter

Submitted by Anonymous (not verified) on Sun, 01/03/2016 - 09:35

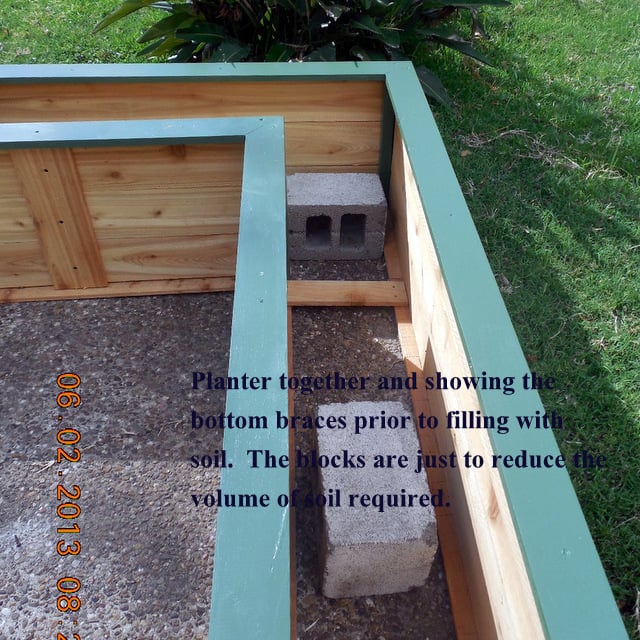
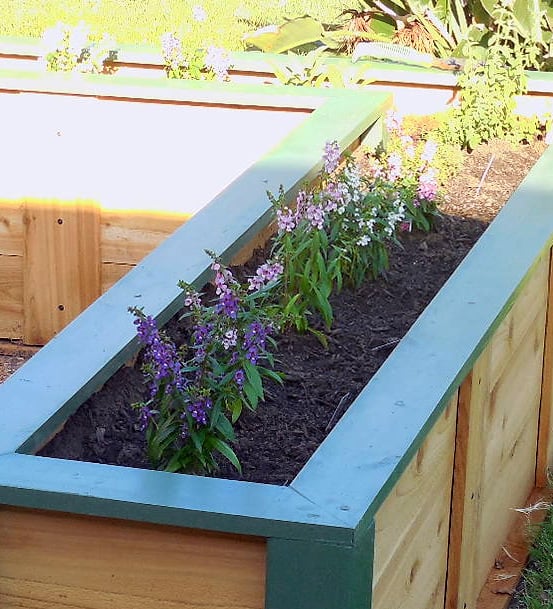
Tripled the dimensions, filled with mums for the fall. Now pine boughs and fairy lights! Love!

Built from Plan(s)
Estimated Time Investment
Weekend Project (10-20 Hours)
Finish Used
Outdoor stain, poly
Recommended Skill Level
Beginner

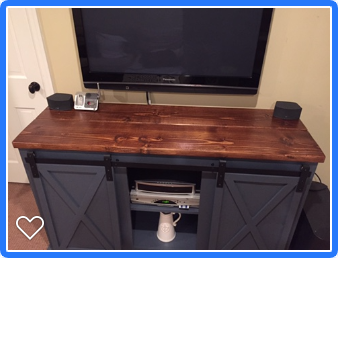
Grandy barn door console

Submitted by Anonymous (not verified) on Thu, 03/21/2019 - 20:38

I had a different idea for the barn door hardware. I used 1/2" black pipe and fittings for the rail . I found rollers on eBay that were perfect for this application. It went together great and I love the industrial look .

Built from Plan(s)
Estimated Cost
300.00
Estimated Time Investment
Week Long Project (20 Hours or More)
Finish Used
Minwax dark walnut

Recommended Skill Level
Intermediate

6 Cube Bookcase

We are redoing our almost 3 year old girls room to a big girl room and we started with this! The Bed is almost finished and I can't wait to share it! I think adding the moulding to the top makes it look very pretty and professional. Our other two rooms have real PBK furniture in it but I honestly think this is going to look better!

Built from Plan(s)
Estimated Time Investment
Afternoon Project (3-6 Hours)
Finish Used
White Paint
Recommended Skill Level
Beginner

Comments

C. Tyson (not verified)

Tue, 02/07/2012 - 06:15

This will look just perfect in my kid's room. I can't wait to try it out. Going to my local Lowe's in 30 minutes.

Mikey's Clubhouse Bed

Submitted by Jenga on Mon, 01/04/2016 - 17:41

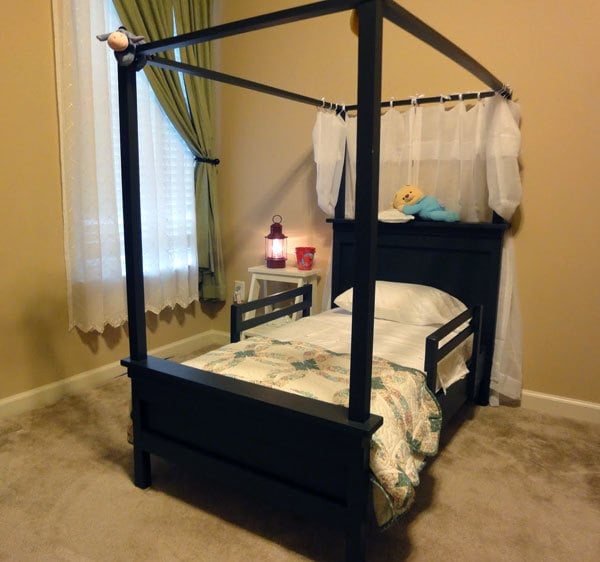
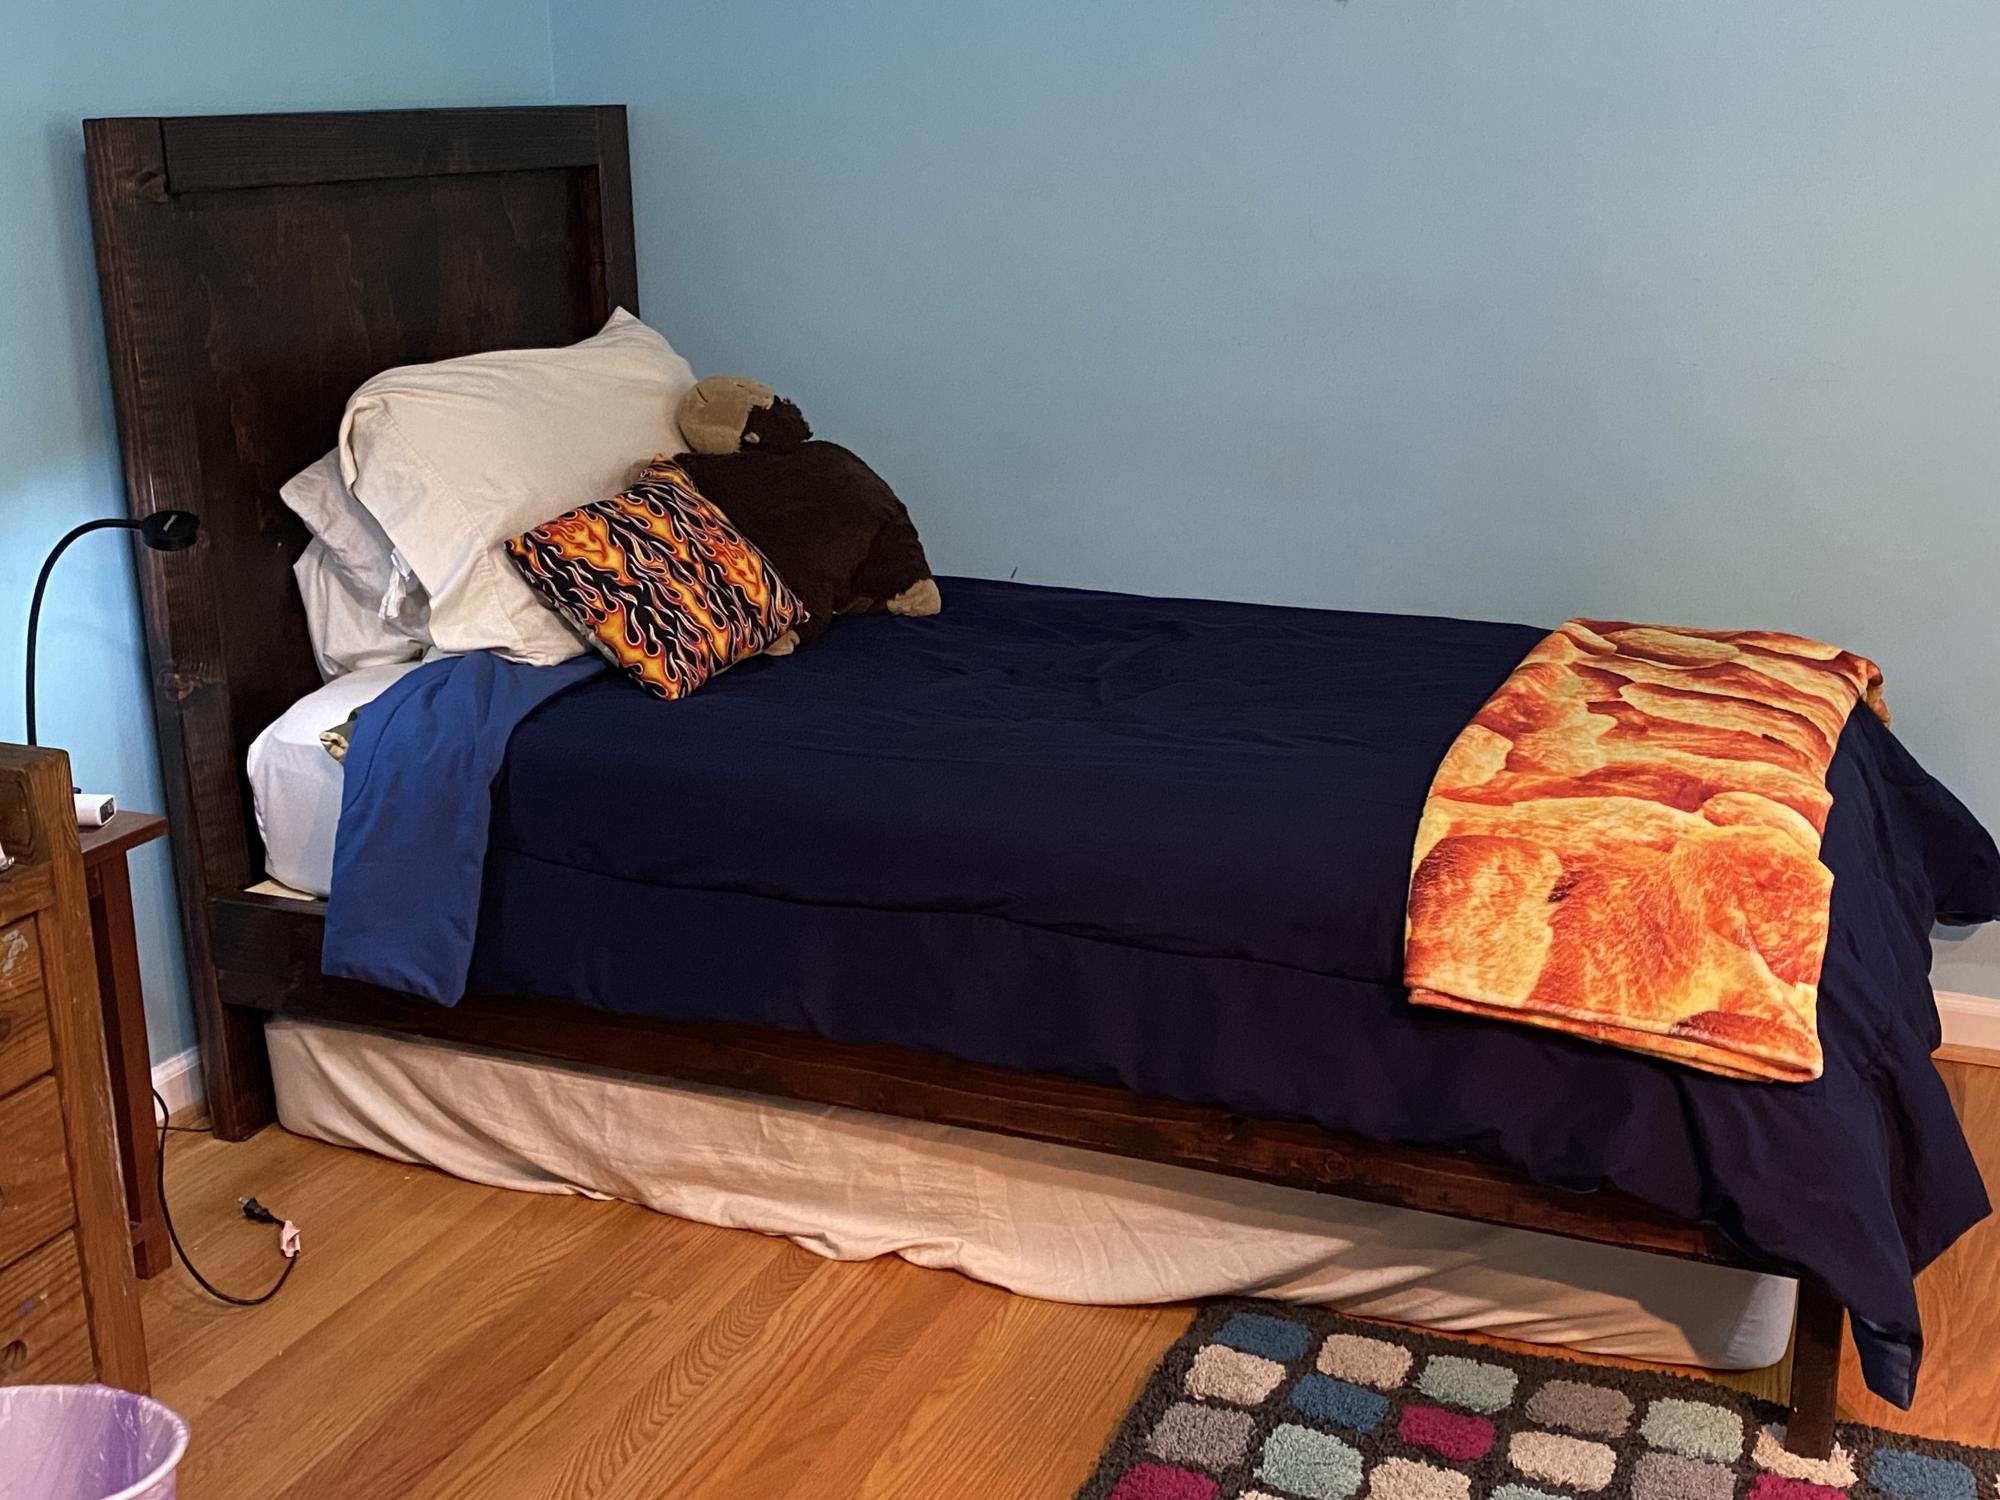
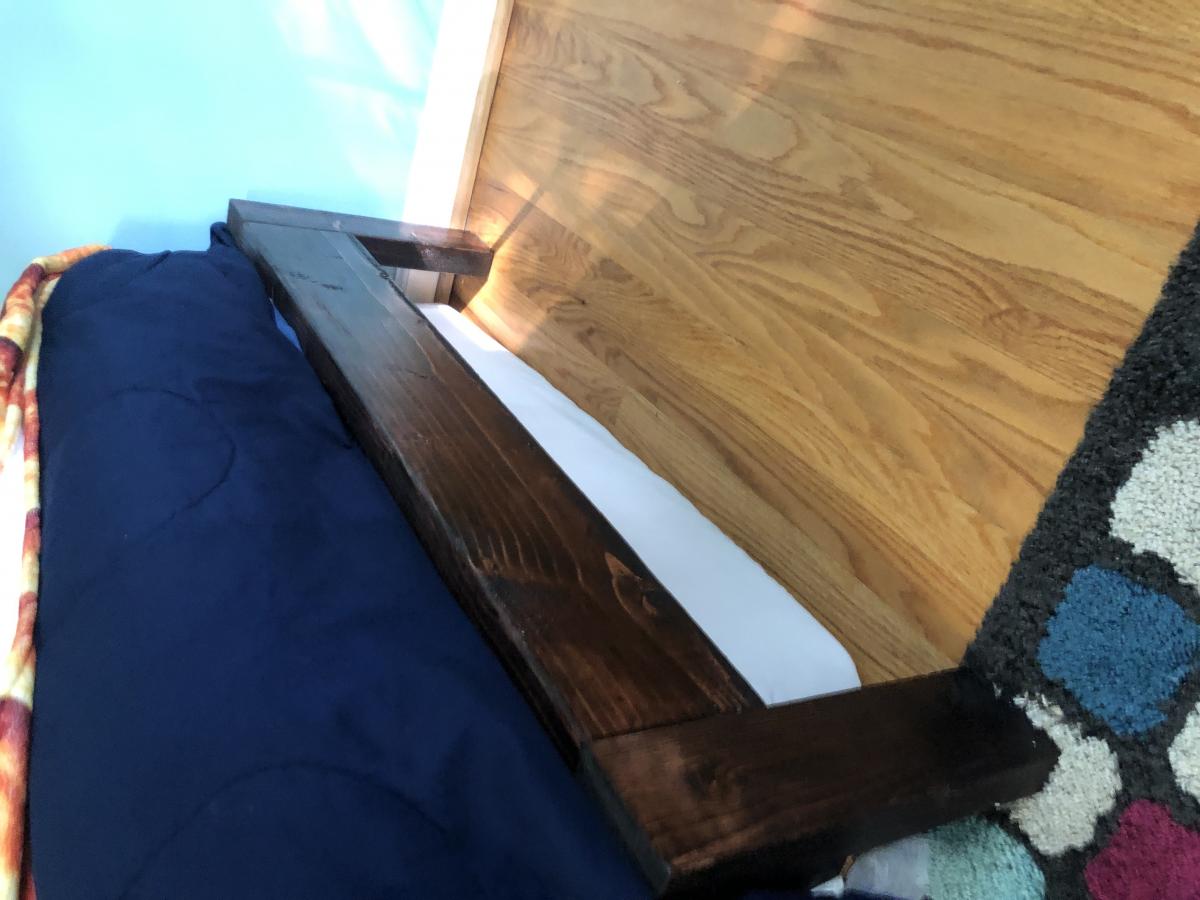
Finished project for Mikey's bed.
Built from Plan(s)
Estimated Time Investment
Week Long Project (20 Hours or More)
Finish Used
Dark Maple after burning for a antiqued weathered looked
Recommended Skill Level
Intermediate

Desk X Build

Submitted by Anonymous (not verified) on Tue, 03/26/2019 - 07:07

Full timelapse and thoughts are in the imgur album.

Estimated Cost
$120
Estimated Time Investment
Weekend Project (10-20 Hours)
Finish Used
Behr Moonquake grey, Luck of Irish green. Polyurethane on top and drawer.
Recommended Skill Level
Beginner

Rustic X coffee table

Submitted by Anonymous (not verified) on Sat, 02/18/2023 - 02:39

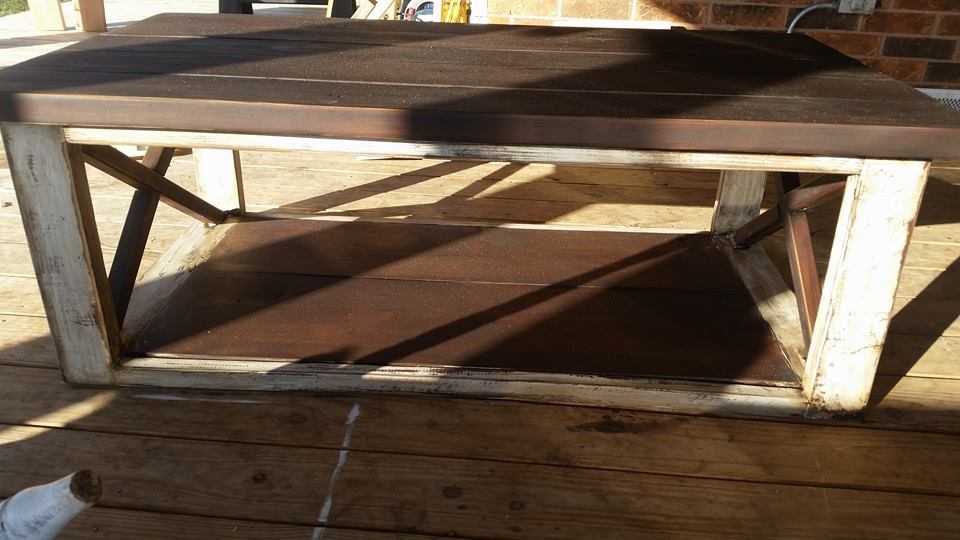
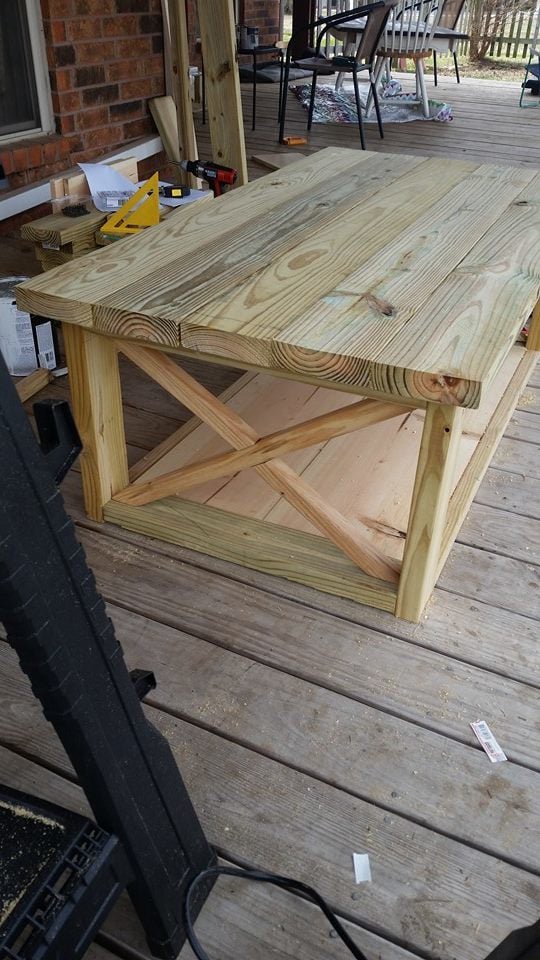
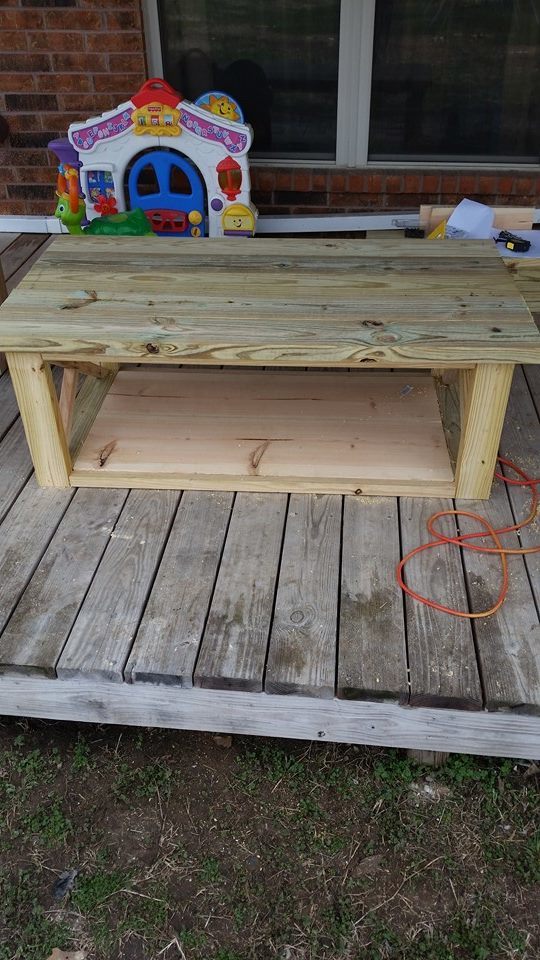
Wanted a new coffee table and loved the plans for this. I wanted something slight different though with a solid hardwood top.
I used only reclaimed timber. The frame is from old construction lumber which I planted and squared off. The top and bottom slats are iroko and sycamore sourced from commercial wood recycling project.
I had a little bit of wood left over so made some matching coasters and coaster holder

Built from Plan(s)

Comments

Rustic Farmhouse Bench

Submitted by kylihoot on Sat, 10/29/2011 - 10:48

This is one of my favorite things i've built yet. Its cute, small, and sturdy!

Built from Plan(s)
Estimated Cost
$15
Estimated Time Investment
An Hour or Two (0-2 Hours)
Finish Used
I painted the frame white, sanded heavily and rubbed on walnut stain over it. For the top, I just sanded with heavy grit so get the dirt off the barnwood, and then put a water-based polyurathane on it. Two coats, I think lol.
Done!
Recommended Skill Level
Beginner

Comments

Bedside Table

Submitted by thurm12 on Mon, 10/21/2013 - 09:55

Had to adjust the size of the drawer to fit inside the gap. Chose to lay the shelf on the bottom and attached a 1x2 to the front of the shelf perpendicular to the ground to keep the shelf in place.

I chose not to add the plywood backing because it's not visible, but I may in the future.

Overall a great and simple project, and I'm very pleased with the results.

Built from Plan(s)
Estimated Cost
$50-60
Estimated Time Investment
Day Project (6-9 Hours)
Finish Used
Minwax PolyShade Dark Espresso (3 coats)
Recommended Skill Level
Beginner

Providence Bench

Submitted by Anonymous (not verified) on Wed, 01/06/2016 - 13:07

I LOVE this bench. It's simple and rustic, yet absolutely beautiful. I modified the plans slightly to exclude the long support board along the bottom of the bench and found that the bench is still very sturdy and stable. I love that this bench is a relatively easy and quick to complete project, with such a gorgeous end product!

Built from Plan(s)
Estimated Cost
$25
Estimated Time Investment
Afternoon Project (3-6 Hours)
Finish Used
I used Minwax brand stain in Provincial for the color and finished it with Varathane brand varnish in a matte finish.
Recommended Skill Level
Intermediate

Baby Valet for a baby on the go

Submitted by blasiansky on Sat, 04/20/2019 - 09:34

Made it for a friend who will be on the go with her new baby.  I included screw hooks to either hang bags or separate. Tray & box are removable also. Bottoms are chalkboard paint. She wanted to paint it so i will stop here.

Built from Plan(s)
Estimated Cost
$25
Estimated Time Investment
An Hour or Two (0-2 Hours)
Recommended Skill Level
Beginner

Lemonade Stand

Submitted by ckwarr on Thu, 10/24/2013 - 11:45

A 1x16 was used for the top and sides to give it a little more depth.
We cut the sides at 29" tall so that it is just under 30" high and can be used with a regular chair.
The shelves are 1x6's since we made it a little deeper.
The banner posts are 1x2's that are 6' tall.
Beadboard and some extra trim were also used.

Estimated Time Investment
Day Project (6-9 Hours)
Finish Used
White semi-glass paint
Recommended Skill Level
Beginner

Rustic open bathroom vanity

Submitted by Anonymous (not verified) on Wed, 03/01/2023 - 13:22

The plumbing underneath was a bit wonky, so we needed something that was open on the side against the wall and could be built in place around the plumbing. Added a few shelves to hide said plumbing.

Comments

Rustic Headboard

Submitted by beingbrook on Wed, 11/09/2011 - 08:26

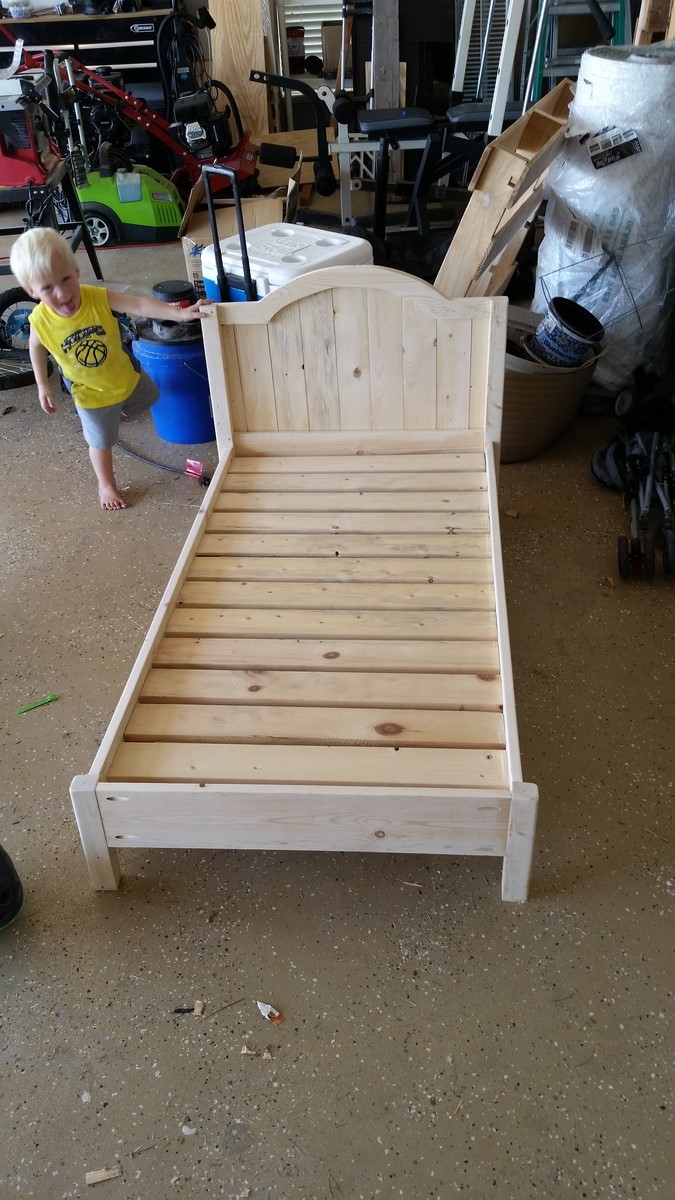
Rustic headboard built in an afternoon. Total cost was only $35!

Estimated Cost
$40-60
Estimated Time Investment
Afternoon Project (3-6 Hours)
Finish Used
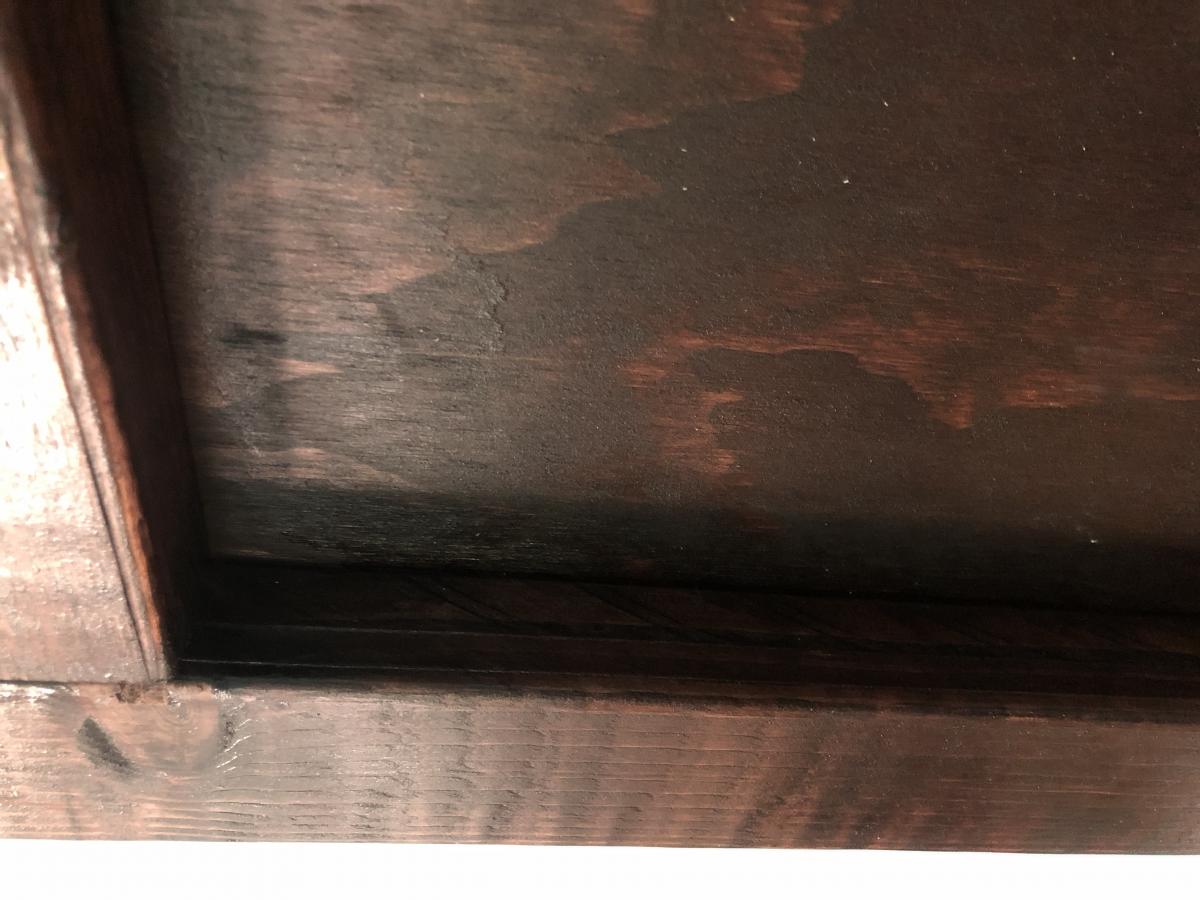
Oxidized the wood using tea followed by steel wool/vinegar mix. Finished with Annie Sloan clear wax. A detailed explanation can be found at my blog: http://beingbrook.com/rustic-headboard-aged-wood/
Recommended Skill Level
Starter Project

Comments

scott56

Wed, 11/09/2011 - 12:46

I thought the 56 in headboard was a little excessive. So I cut it down a foot. If you decide to do this take 6 inches off the top and the bottom so it looks portionally correct. Another thing I did that was not mentioned in the what I have read so far was use kregs joints to connect the inner panel. If you build it from the back you will not see any joints except the top ones on the foot board. I patched them with that elmers patch stuff and are no longer visible. Minus all the sanding I built two beds in a half day.

Ava-Drew

Wed, 11/09/2011 - 15:52

I was thinking of doing this headboard for the farmhouse storage bed. Did you use 4x4s or build the legs the way they are in the plan? I have several 3x3s for legs that I was planing on using with the kreg. How easy was it to get the boards lined up with the kreg?
Guest (not verified)

Tue, 11/15/2011 - 10:34

how much did you sand this headboard?

thanks

Brook@BeingBrook (not verified)

Tue, 11/15/2011 - 10:39

We sanded the boards before building since we got the cheapest grade of lumber they had. I also sanded it about 10 minutes after I removed all the paint stripper.

Brook@BeingBrook (not verified)

Tue, 11/15/2011 - 11:51

No just used a power sander. Was going for a rustic wood look so didn't worry about the sanding being perfect. Just wanted it smooth enough not to snag anything.

Mario (not verified)

Wed, 06/06/2012 - 12:37

Congratulations !!! and thanks for inspiring us by posting these photos of a terrific job!

I was just wondering..how did you manage to get the perfect light brown - chocolate tint shown on these photos??

I've followed the process described (oxidized the wood using tea followed by steel wool/vinegar mix) to the point. However, the result is grey tinted. even tried applying the process to different types of wood and applying less mix..even sanding it after the project dried and applying the clear wax..Same GREY result..
Please help!!

Brook @ BeingBrook (not verified)

Wed, 06/06/2012 - 13:26

Different woods will give a different finish. This project turned out a little browner than the other times I've used the tea/vinegar treatment. Probably because it was previously painted and then stripped. You can also buy dark wax that will help change the color. You might try finding a stain that is the color that you want and staining your project. Good luck!
Ante

Wed, 07/10/2013 - 12:53

where does the white come from in your wood. did you strip pre primed pine then tea and oxidation? thanks,ante

Hall tree

Submitted by Brad Wills on Sat, 10/26/2013 - 14:13

We had a table in the entryway that seemed to catch everything, bags, mail, etc. so when I found the Mimi hall tree I had to build it. This was my second build, so I was a little nervous. I wanted to paint it white , but my wife talked me out of it. I am so glad she did. Fun build, and now we have a place for all the stuff when we get home every evening.

Built from Plan(s)
Estimated Cost
75.00
Estimated Time Investment
Weekend Project (10-20 Hours)
Finish Used
Valspar Kona stain, Martha Stewart Baha bliss (2.49 sent small sample can) valspar polycrylic 3 coats on tops and 2 on the rest.
Recommended Skill Level
Beginner

Comments