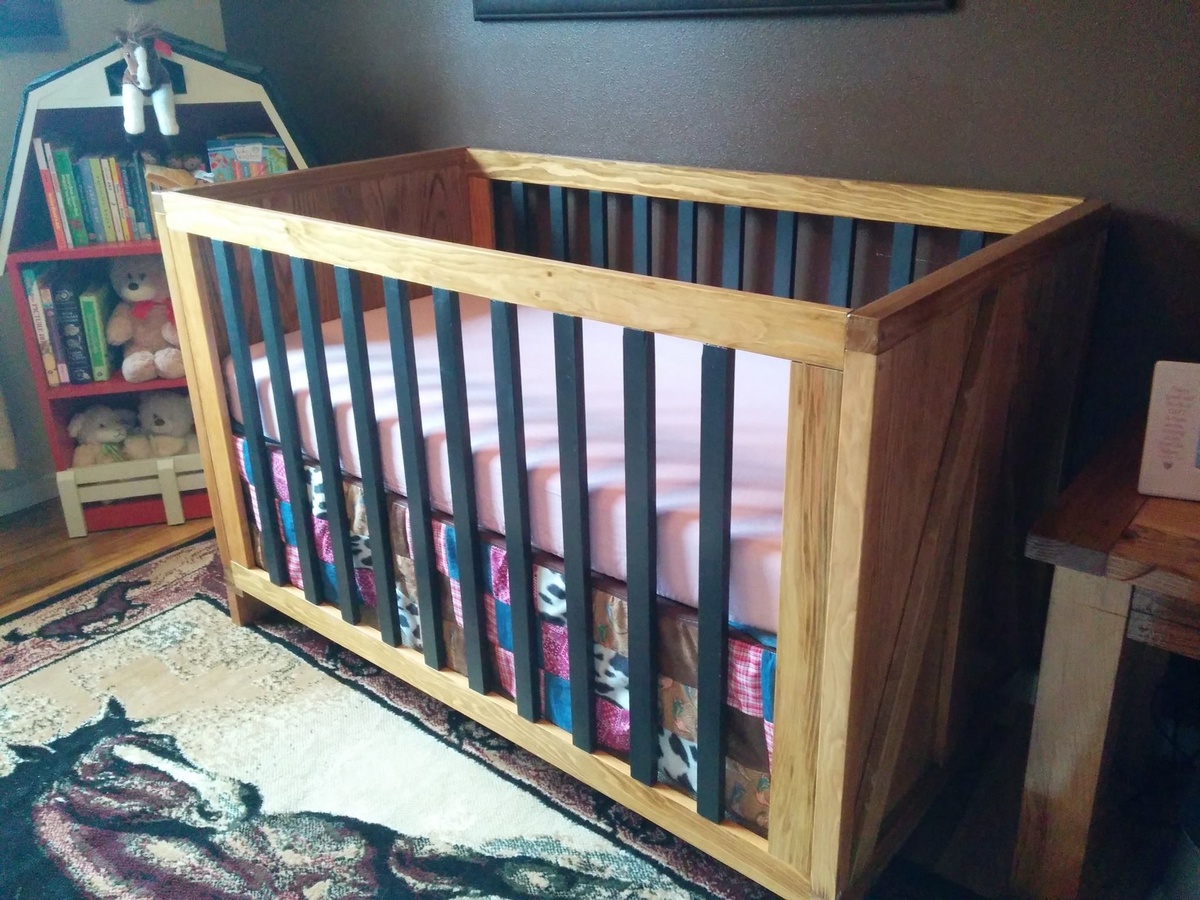
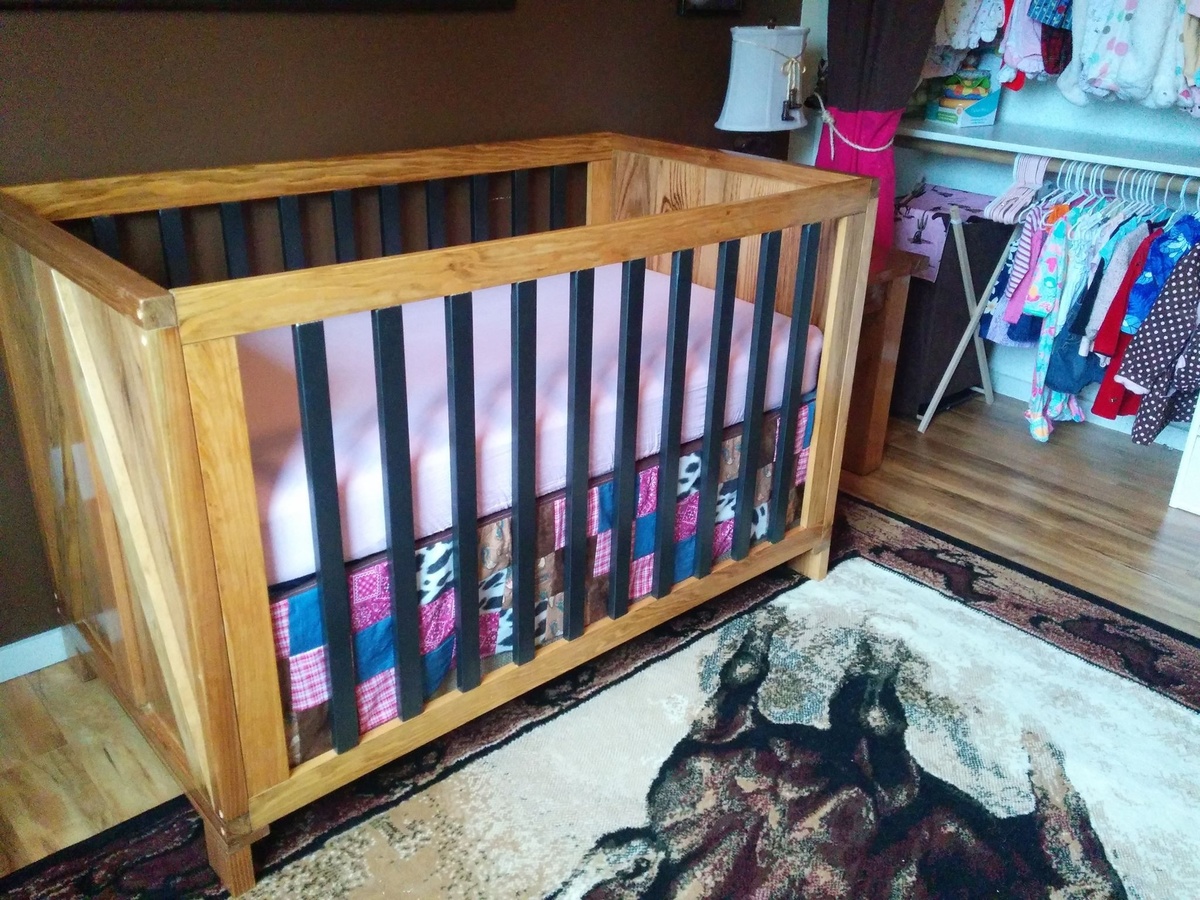
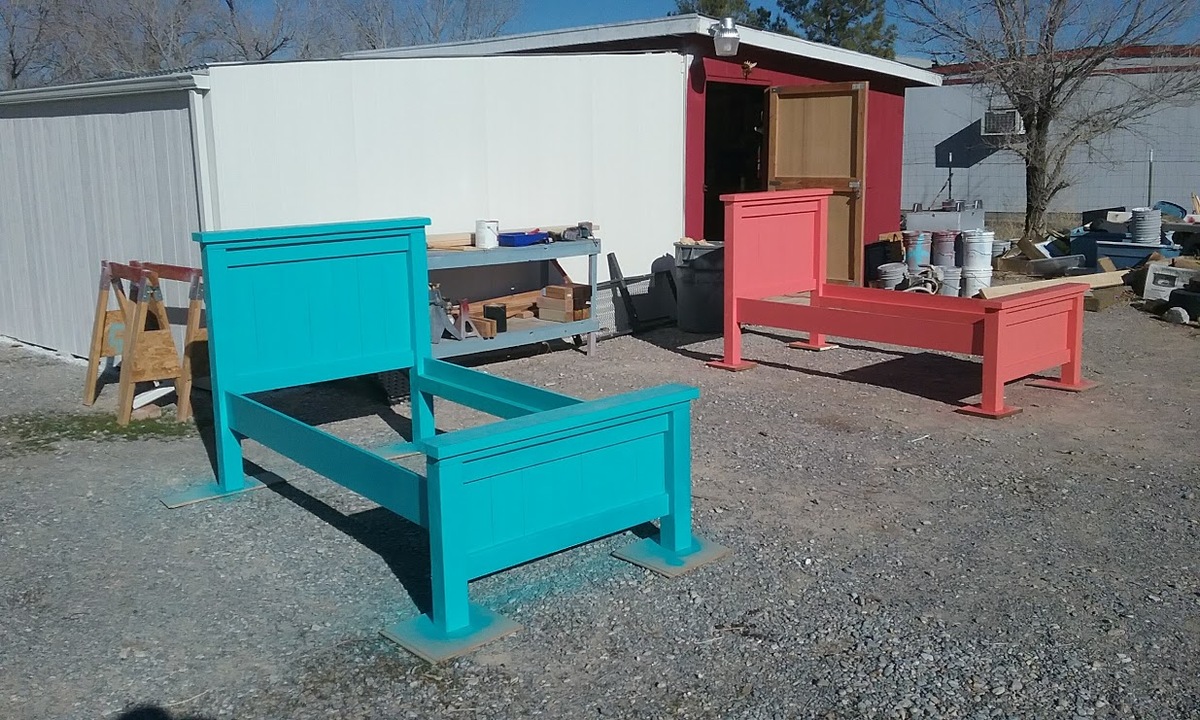
The crib was our last build project for our daughter's cowgirl nursery. My husband knew he wanted to build the crib long before we knew we were pregnant.
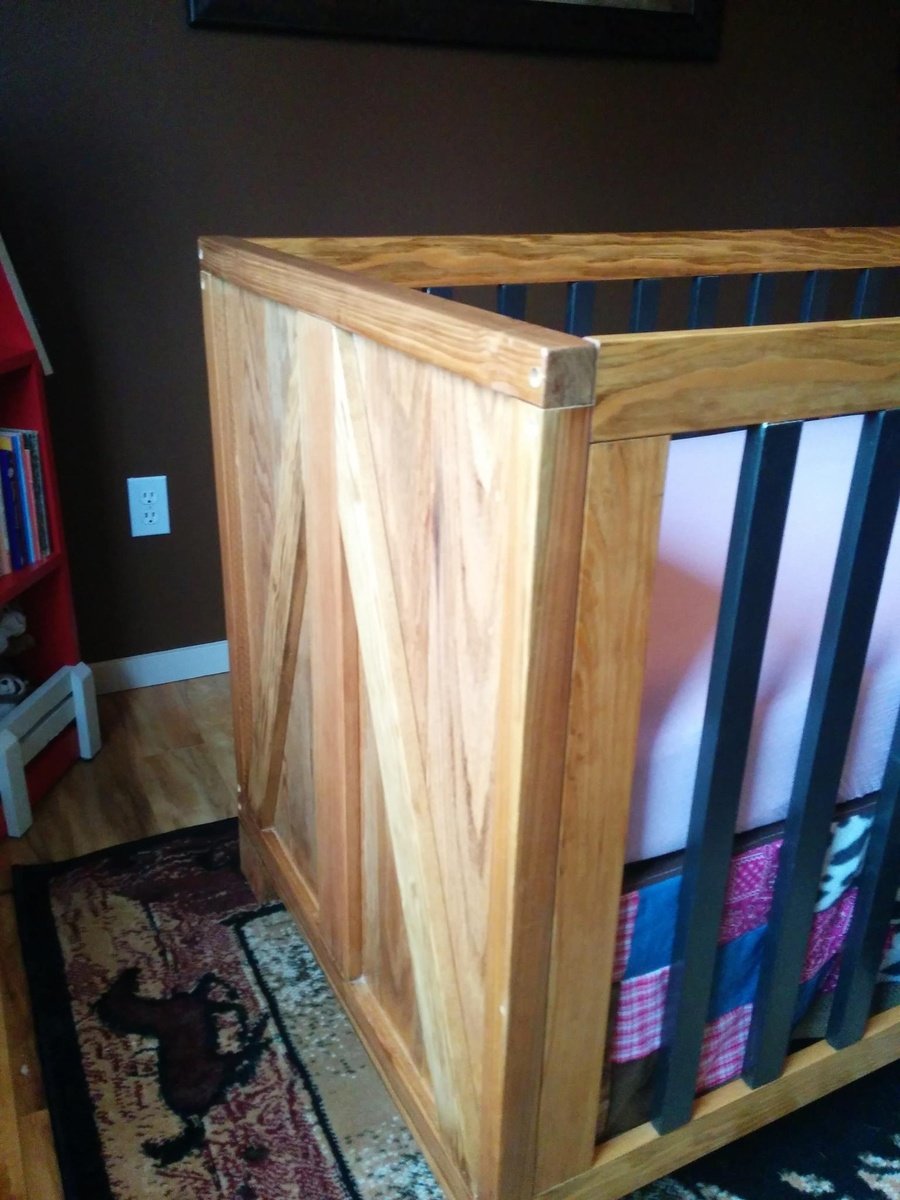
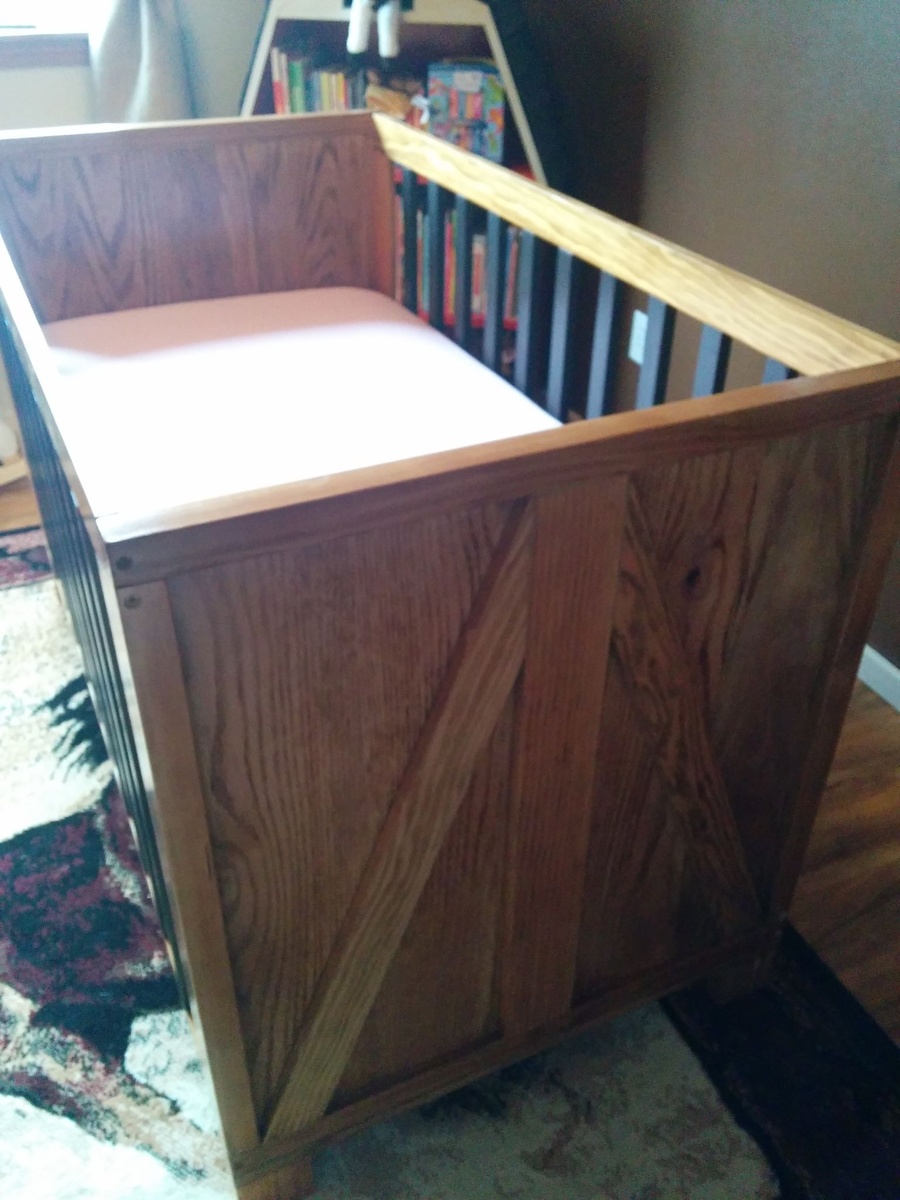
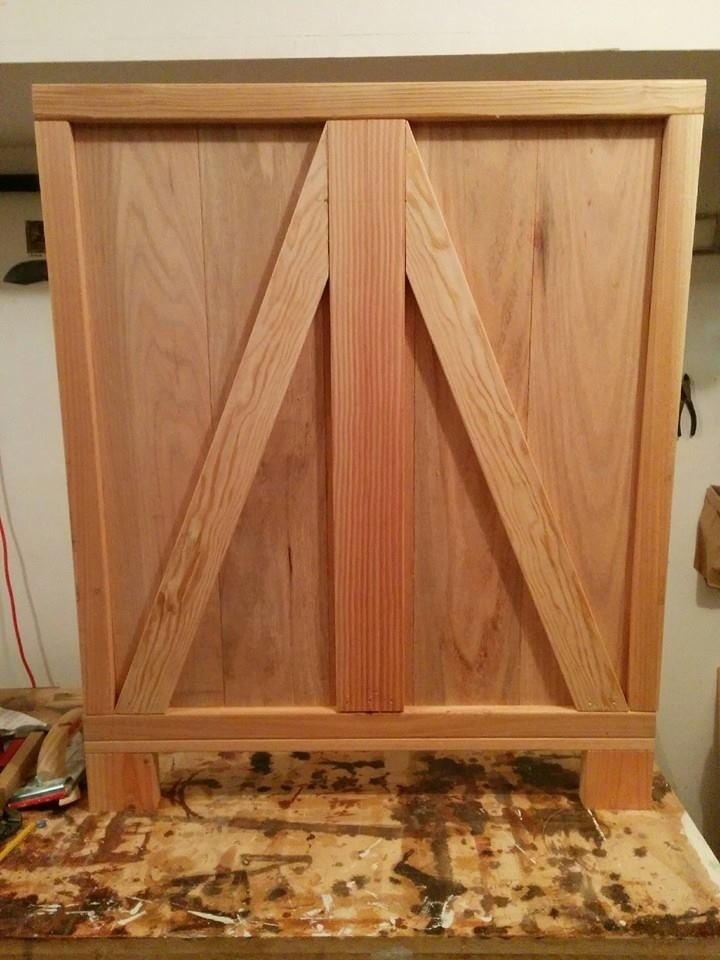
As a mechanical design engineer, he found crib dimensions online that put together a design of what we wanted in CAD. We wanted the end panels to look like barn doors. We also wanted the slat sides to look like the metal on a horse stall. This gave us the overall look we wanted for our cowgirl room!
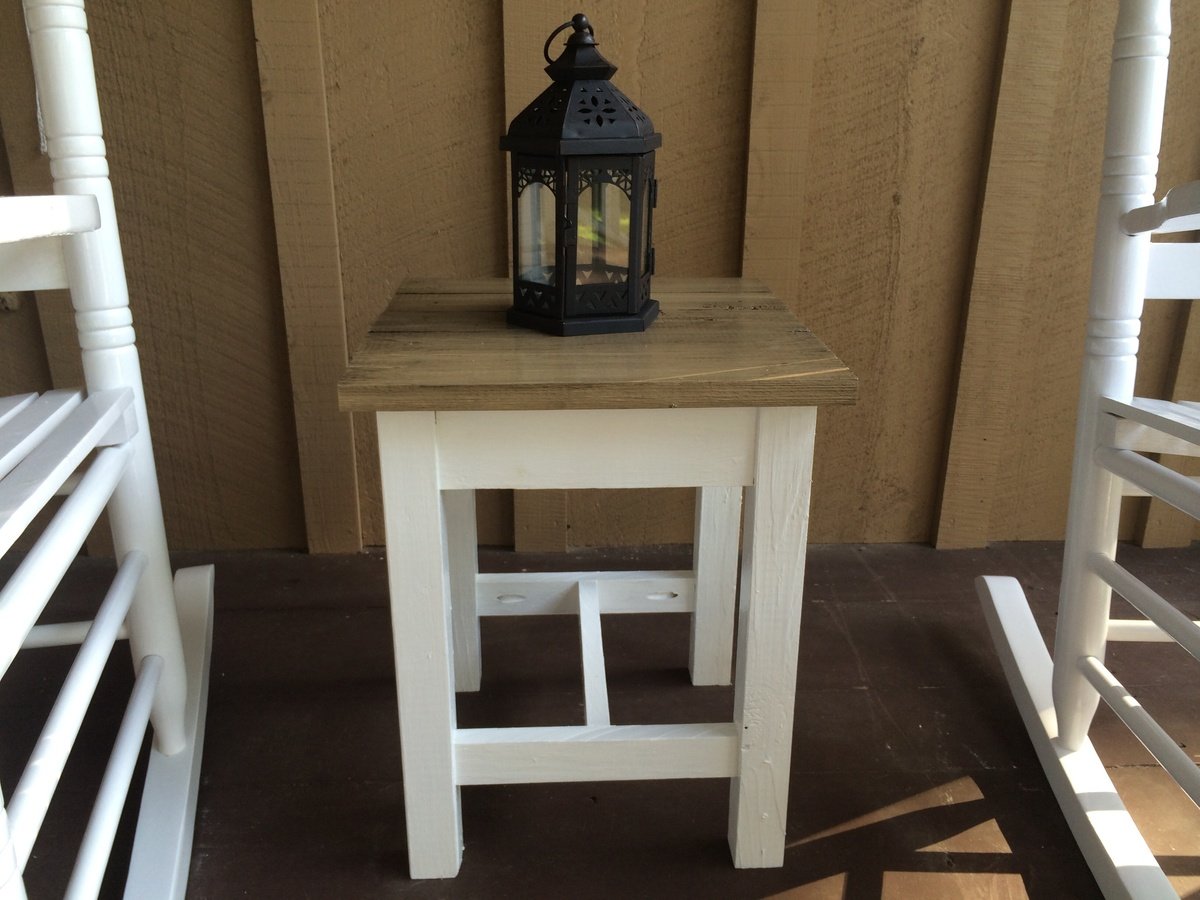
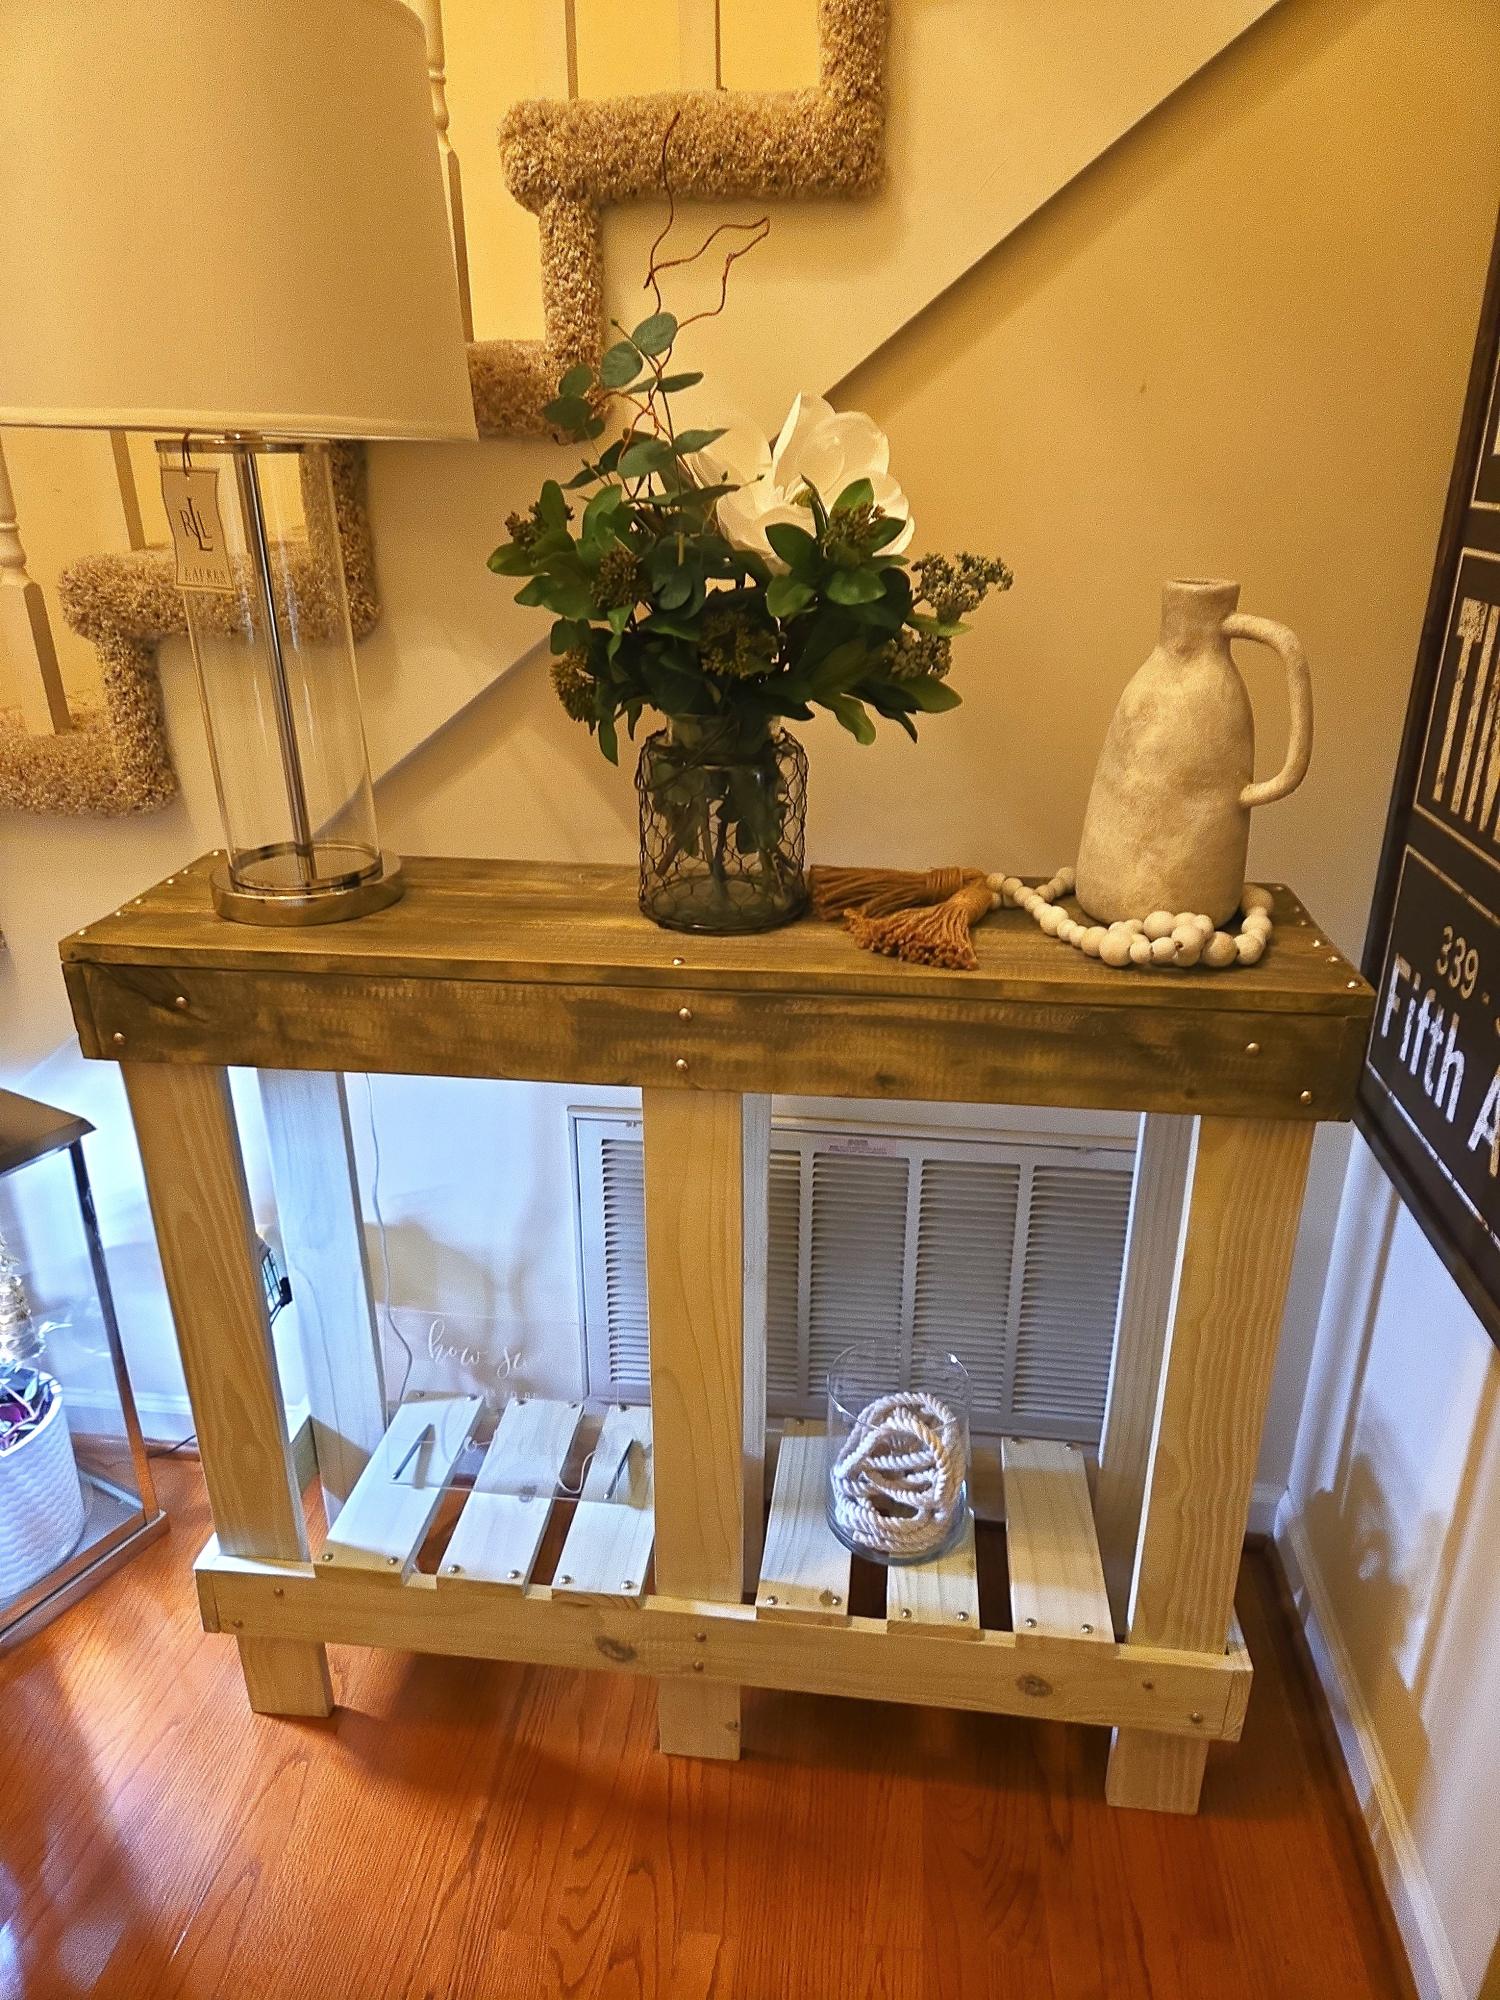
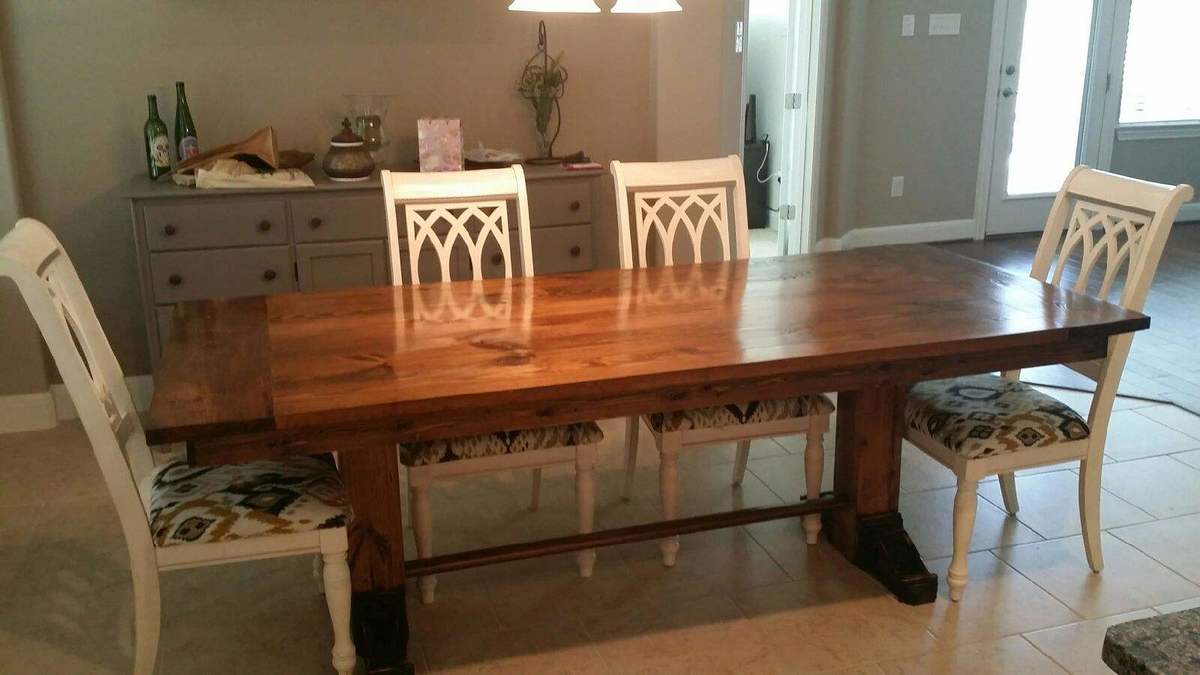
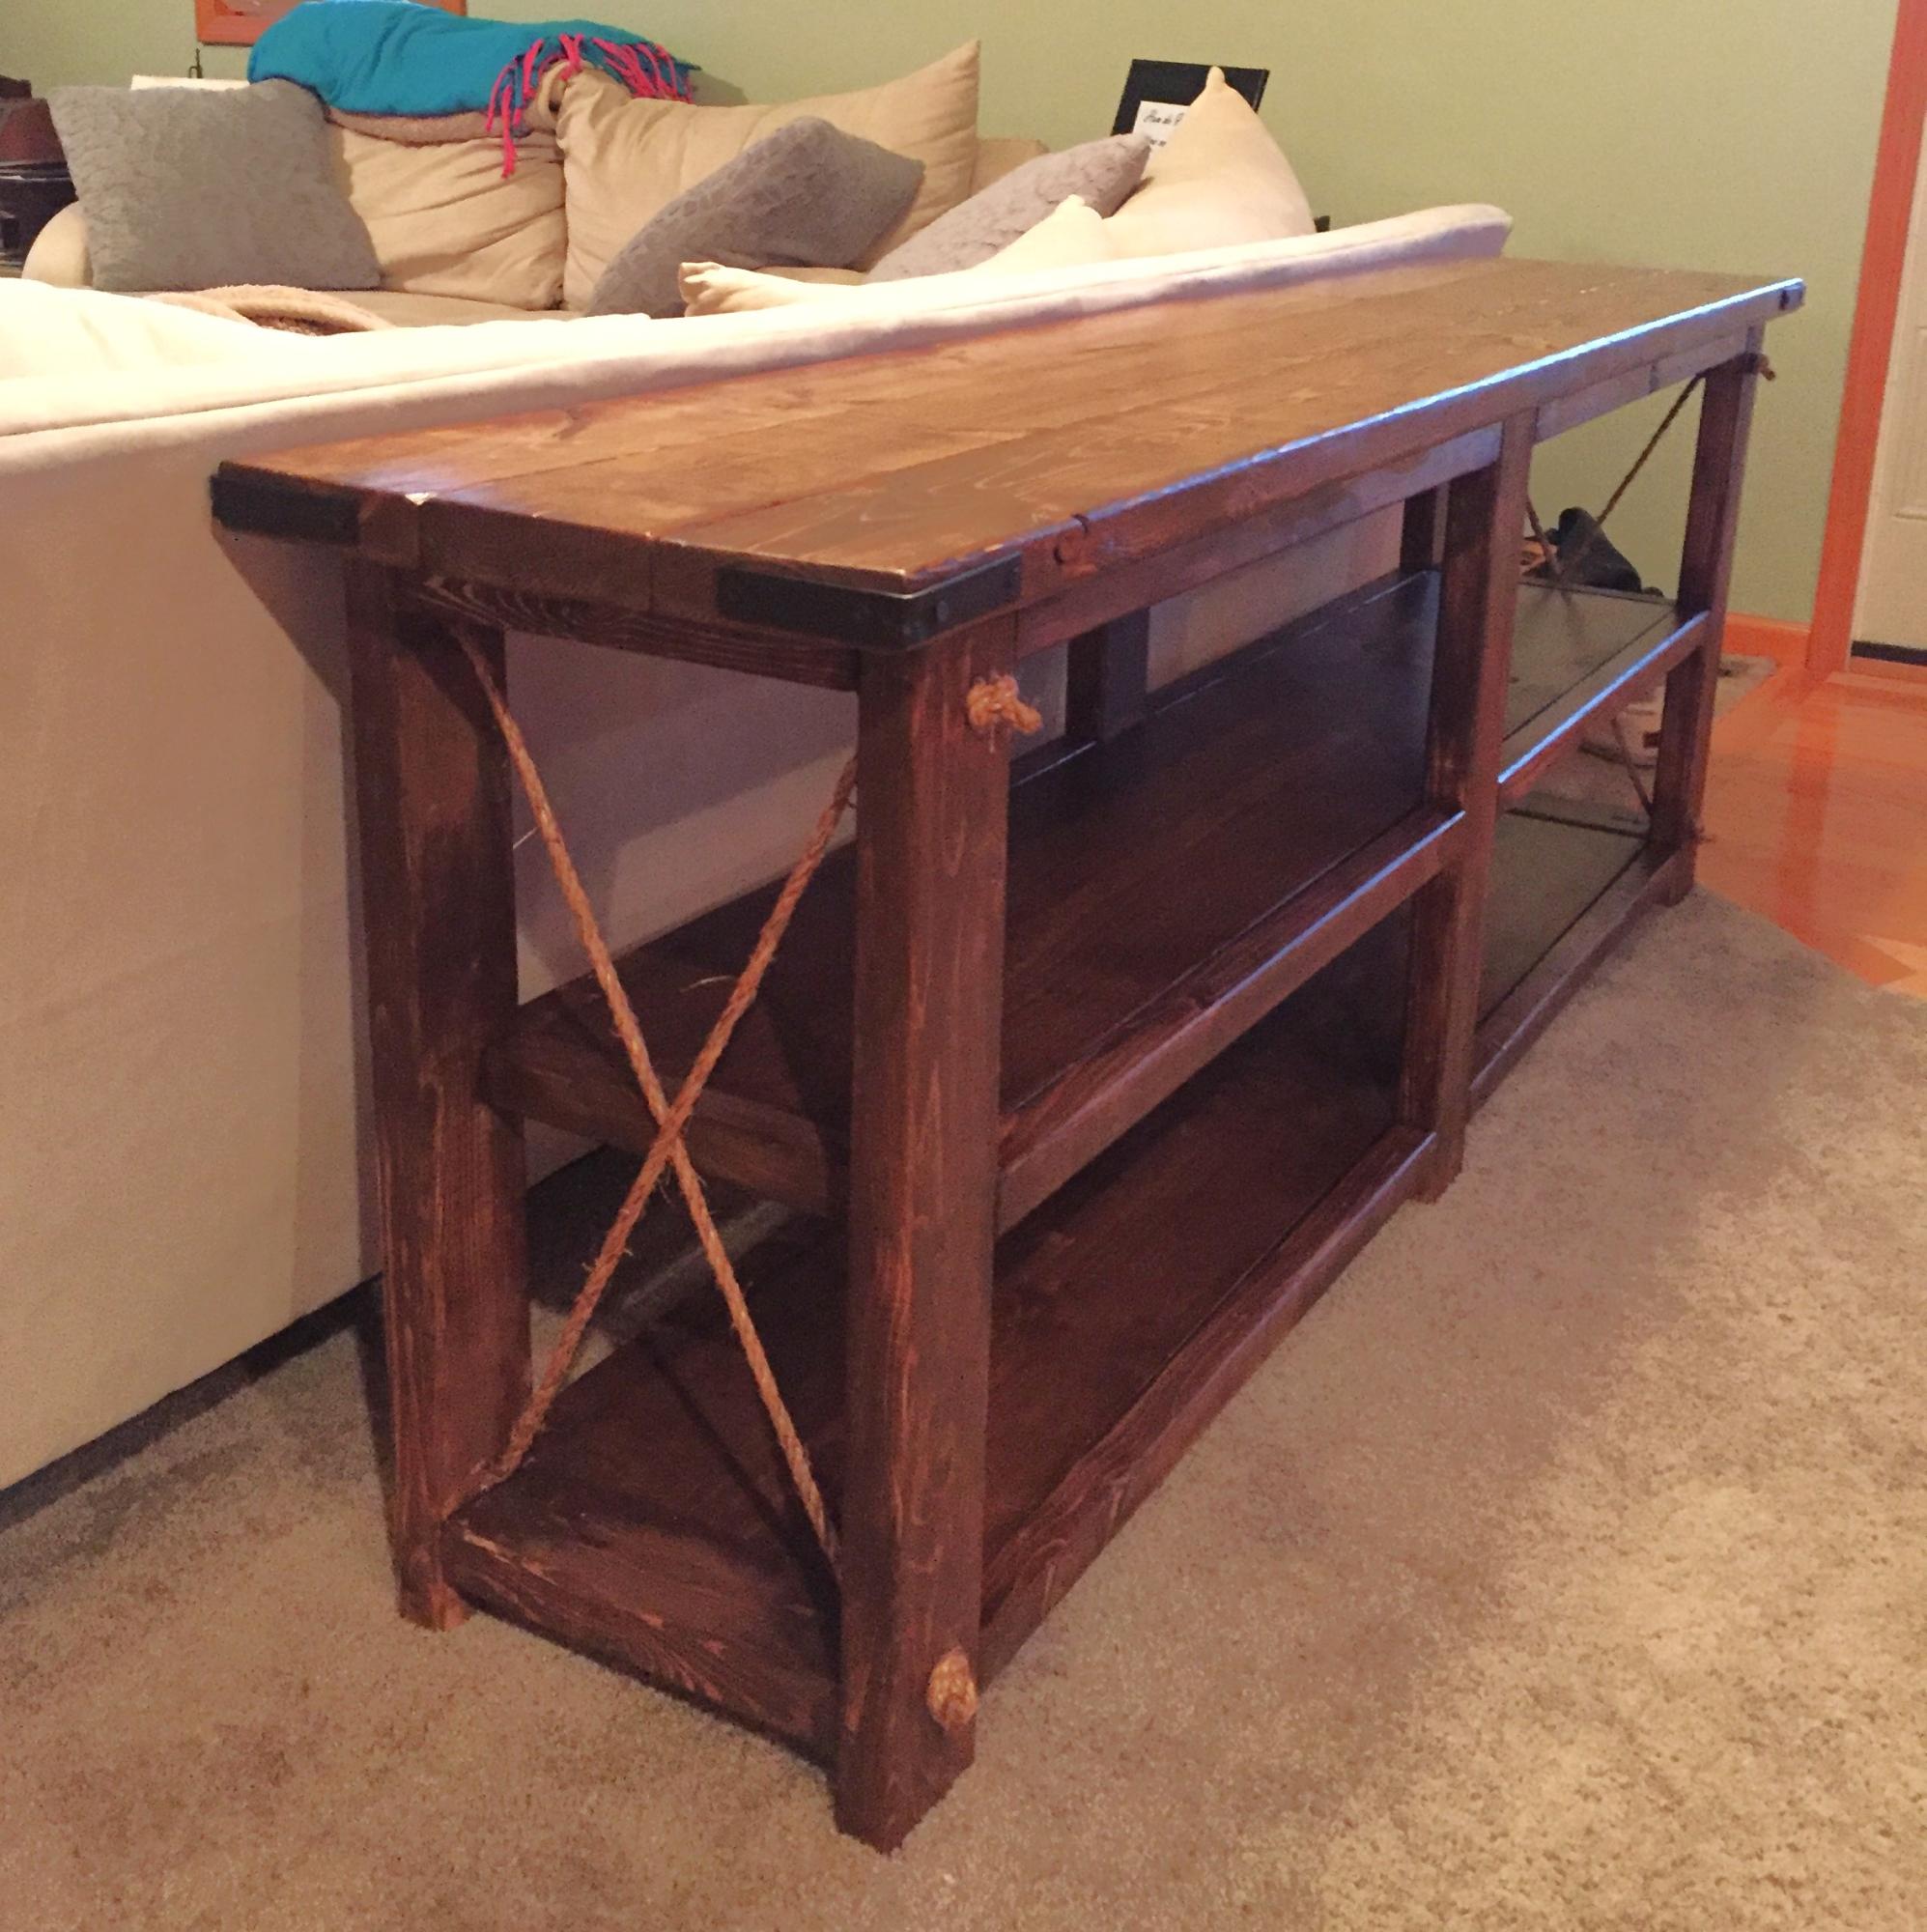
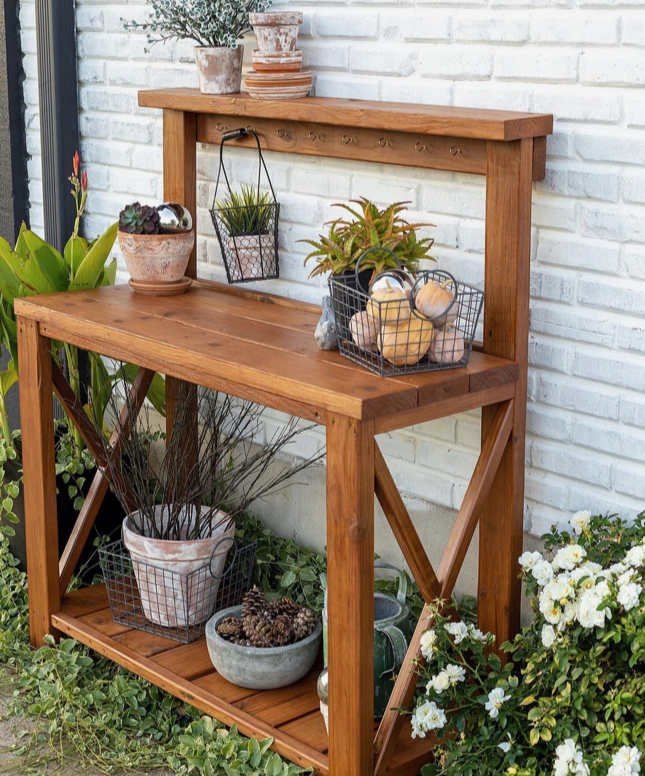
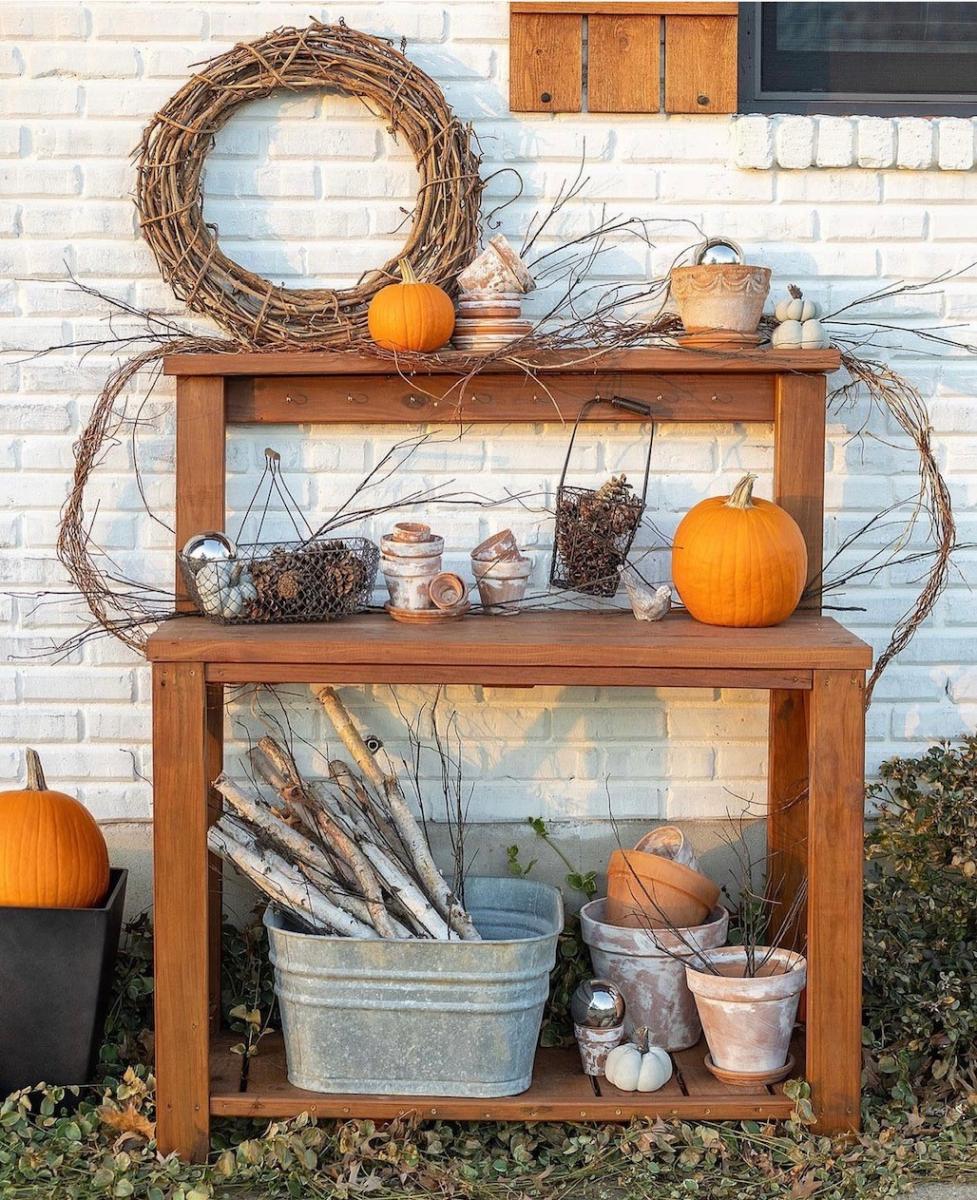
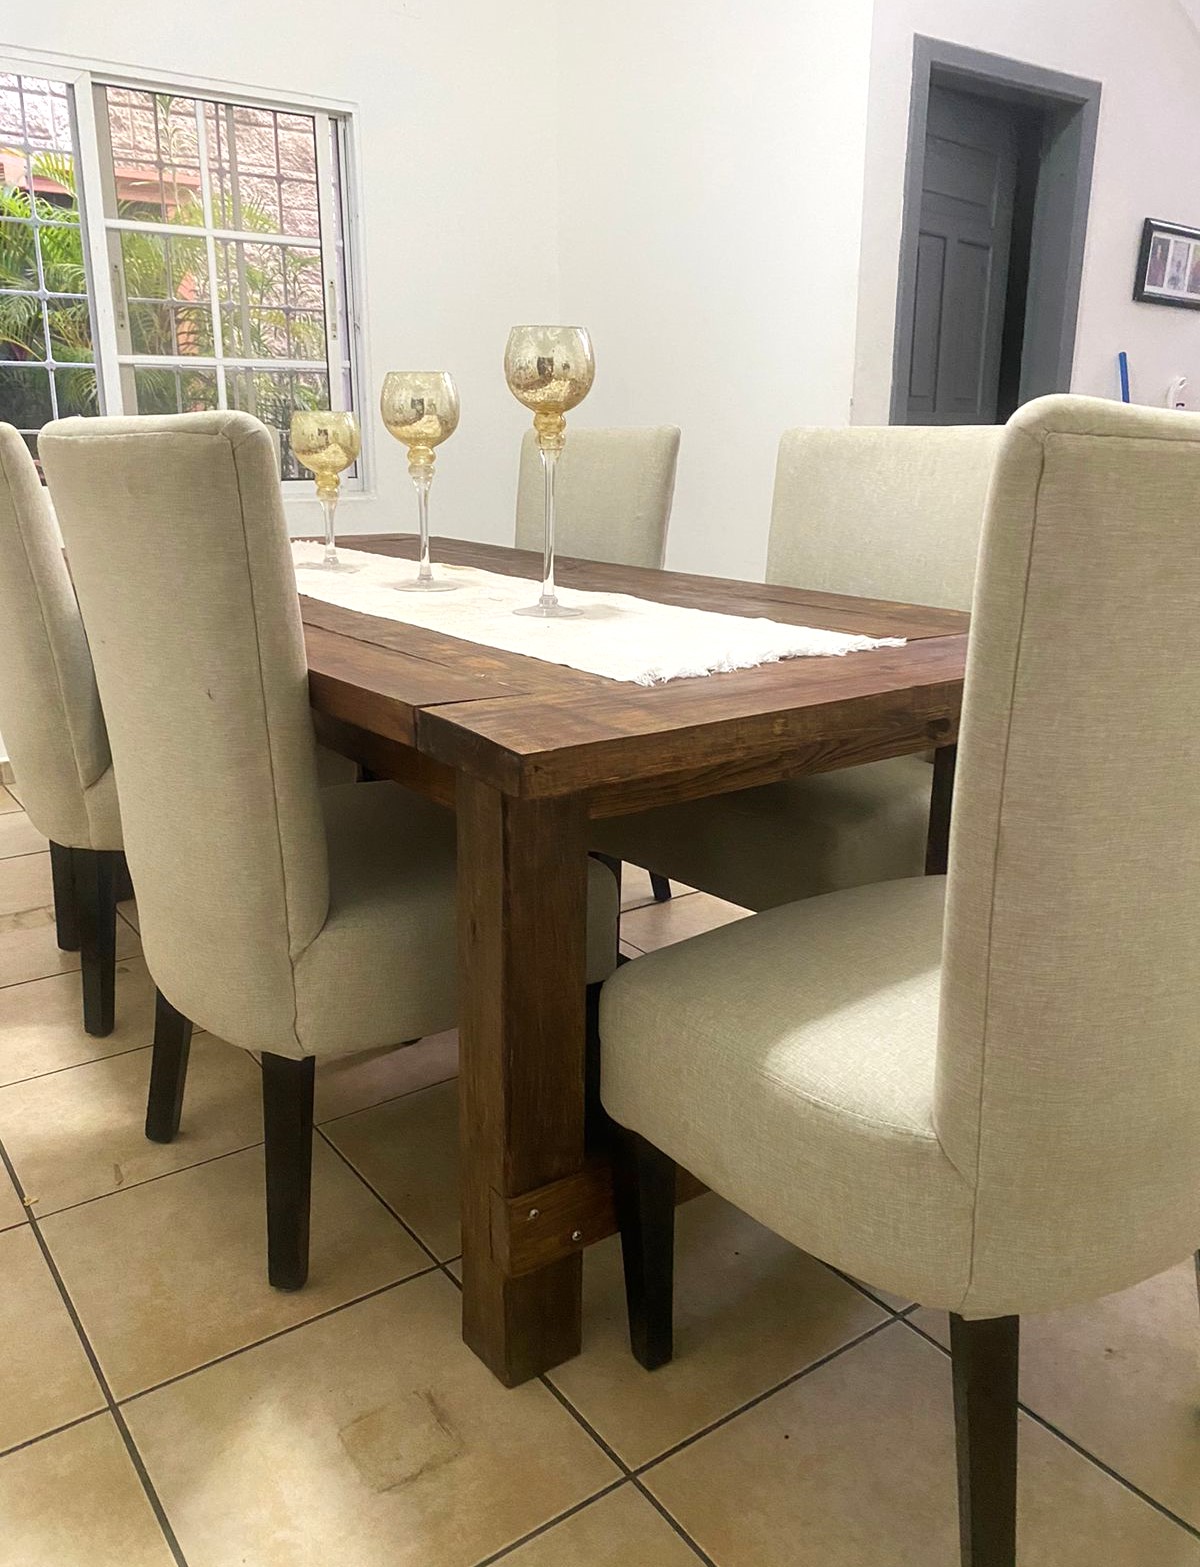
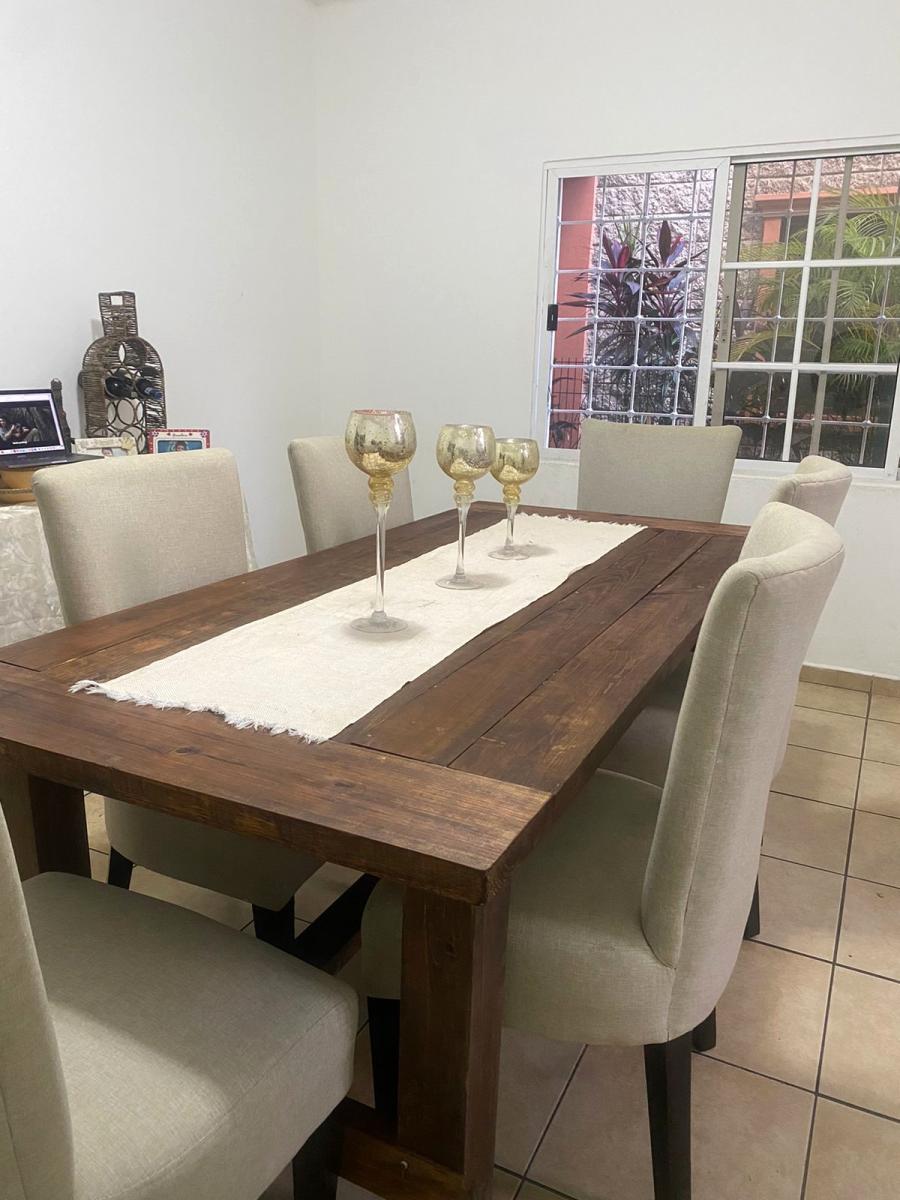
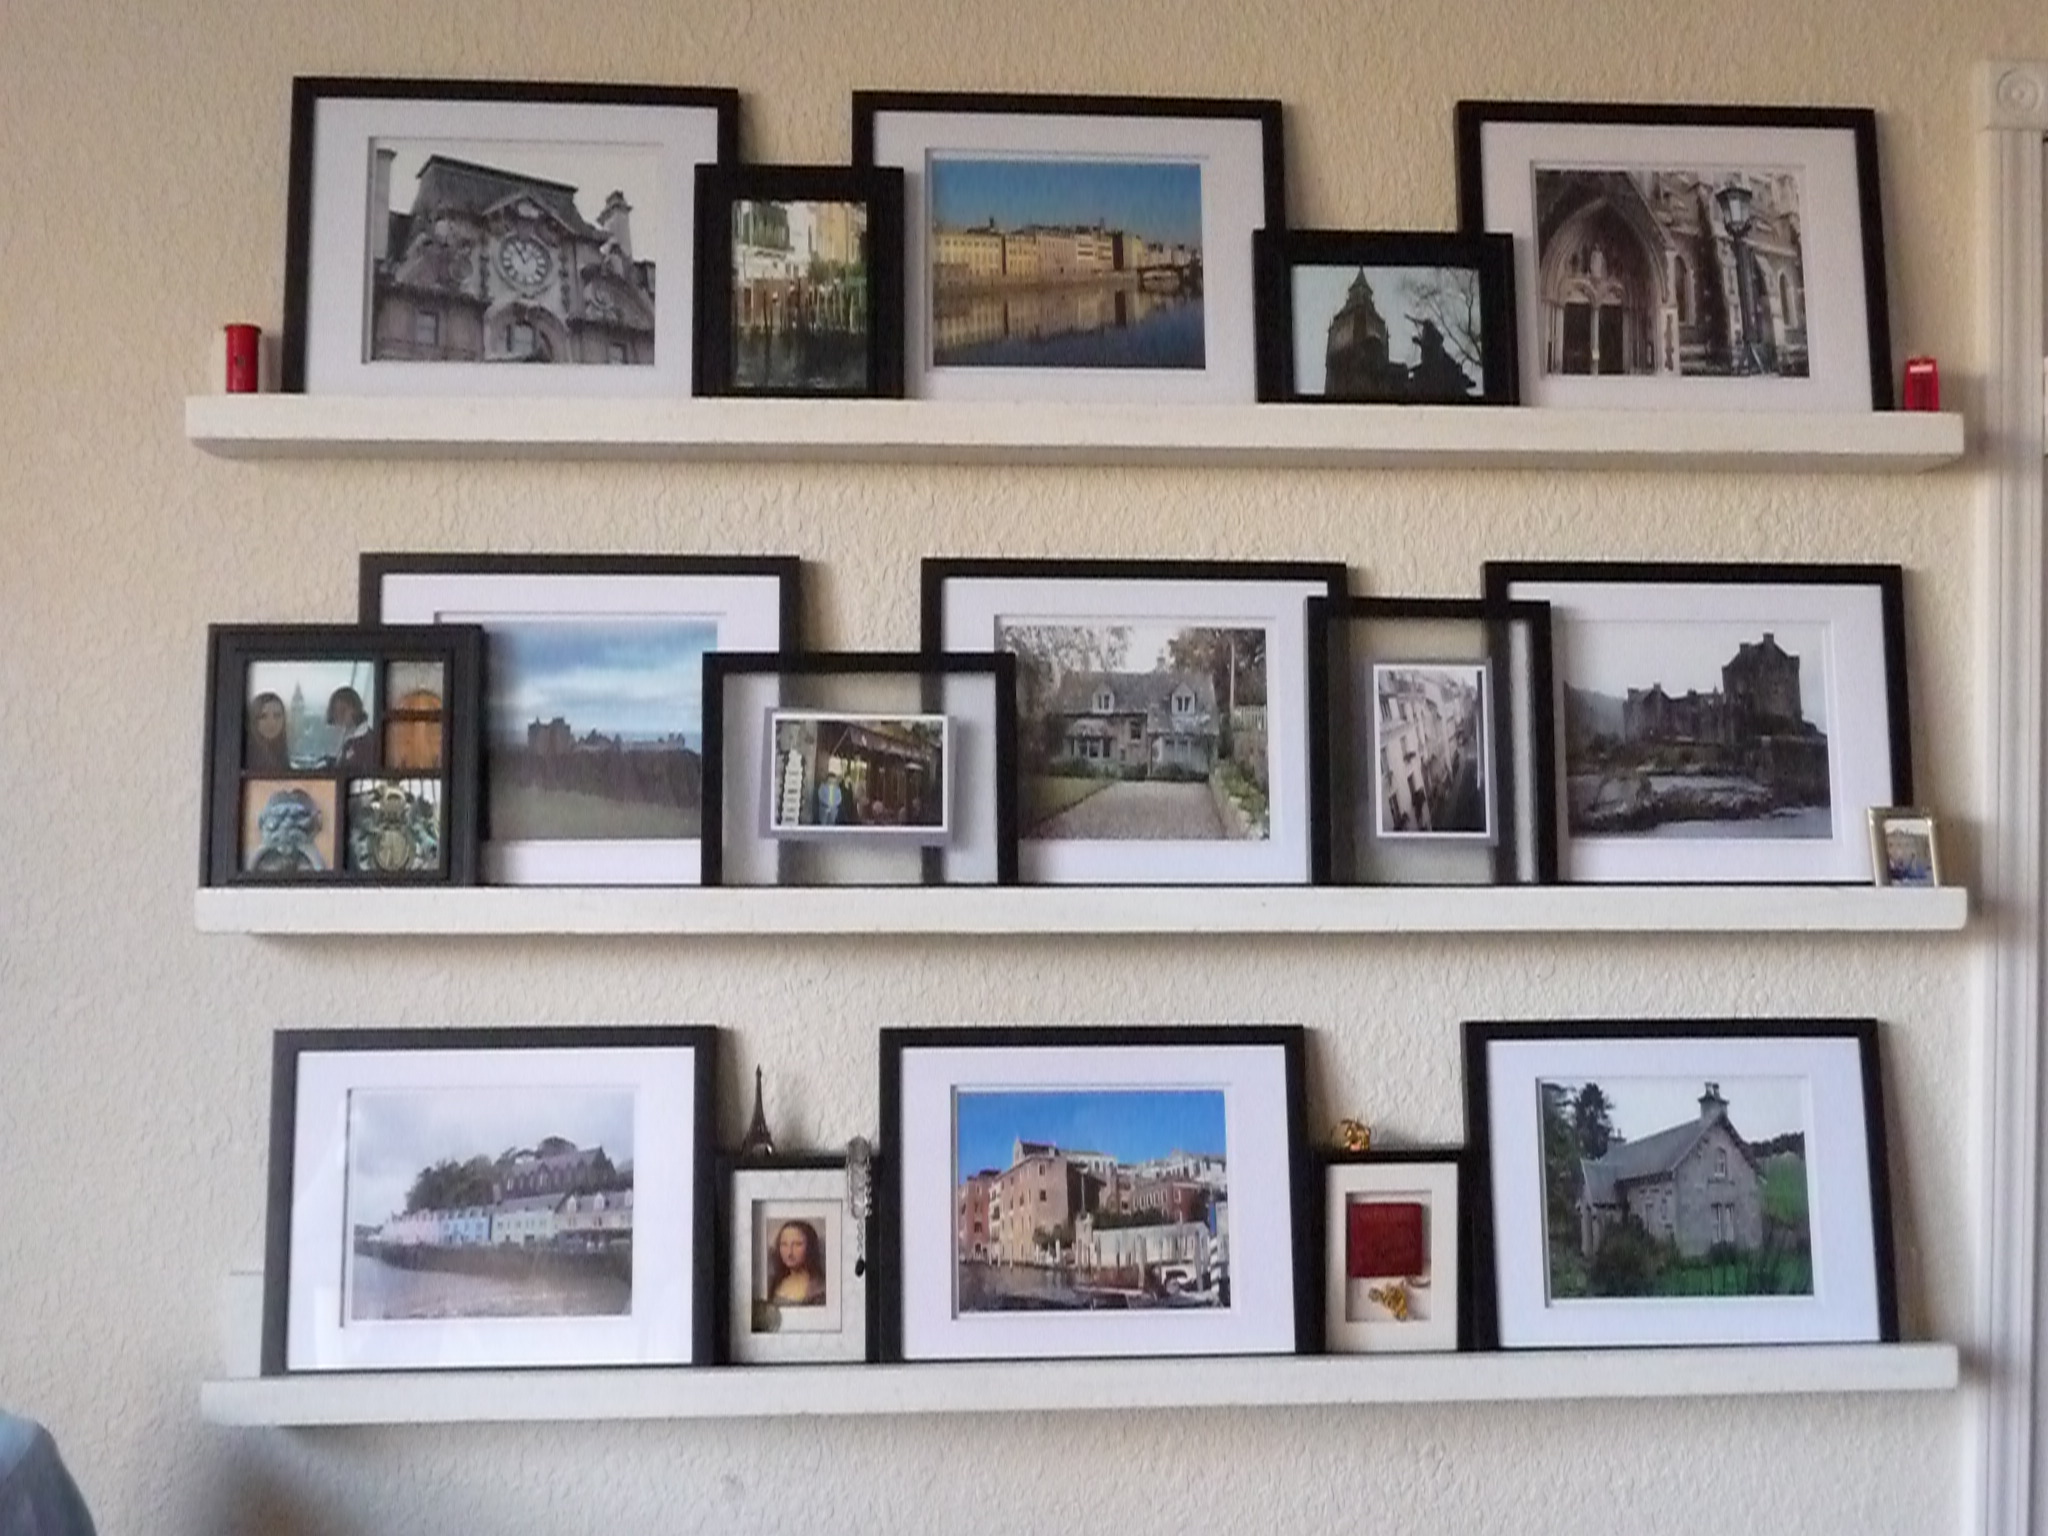
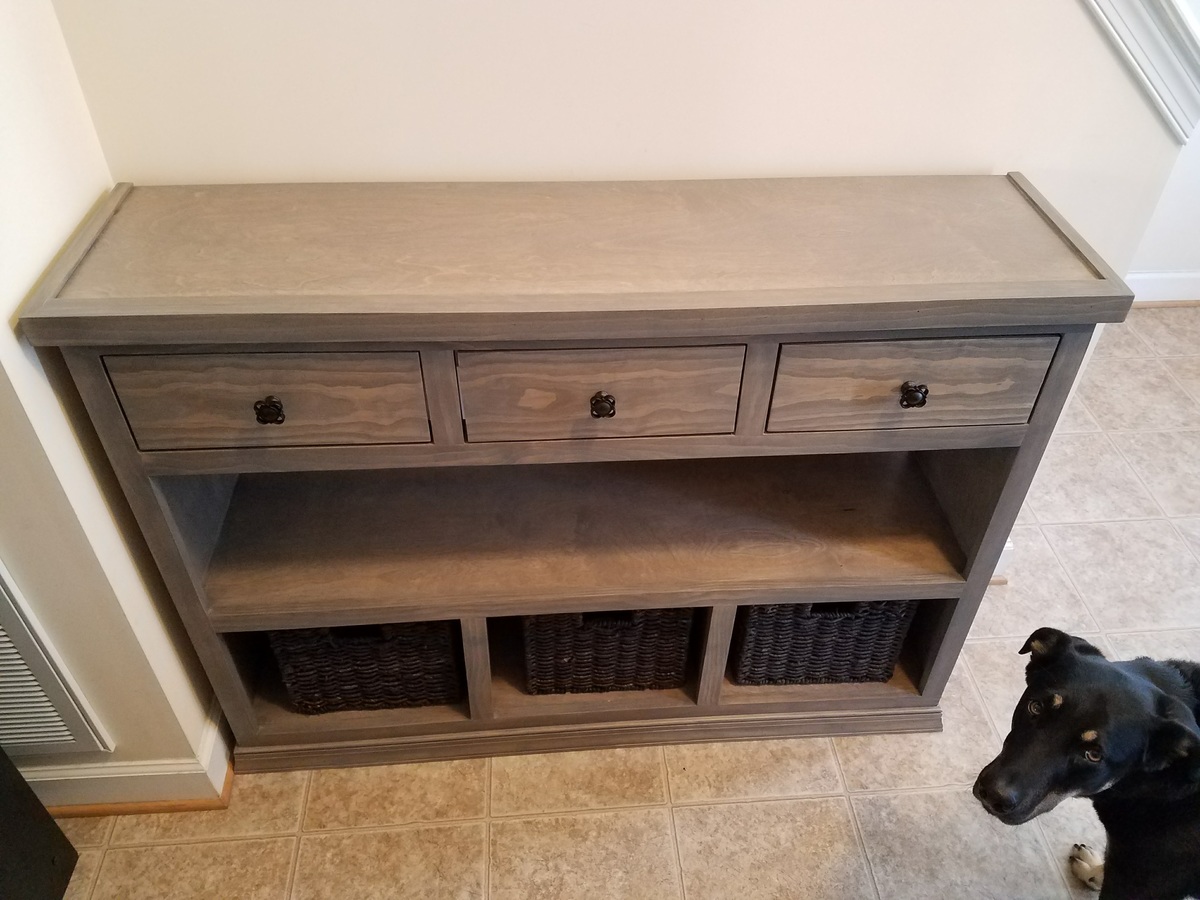
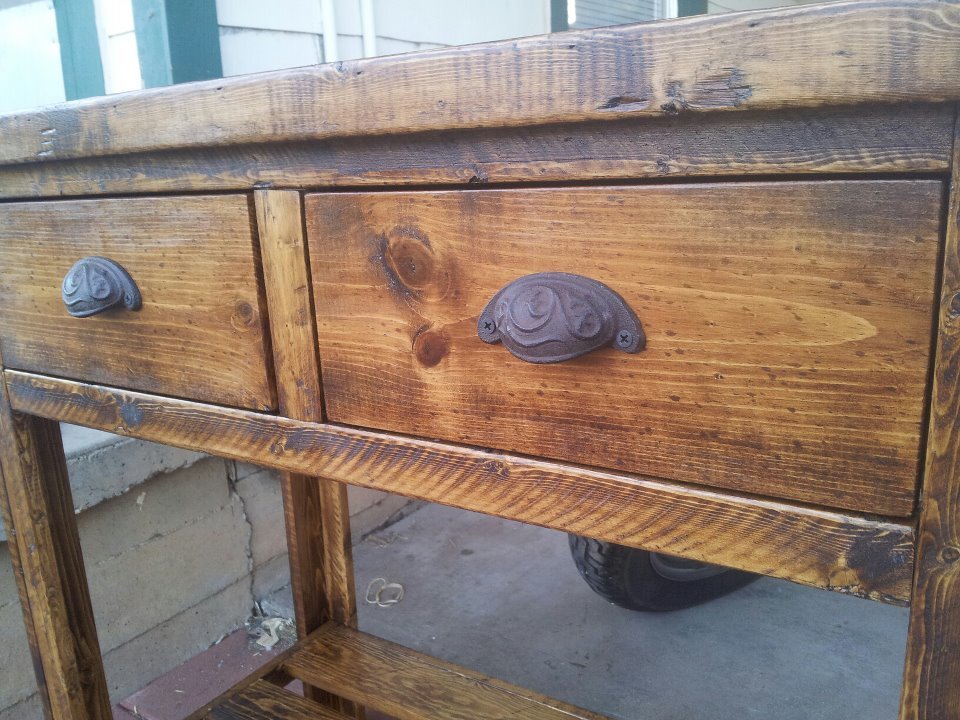
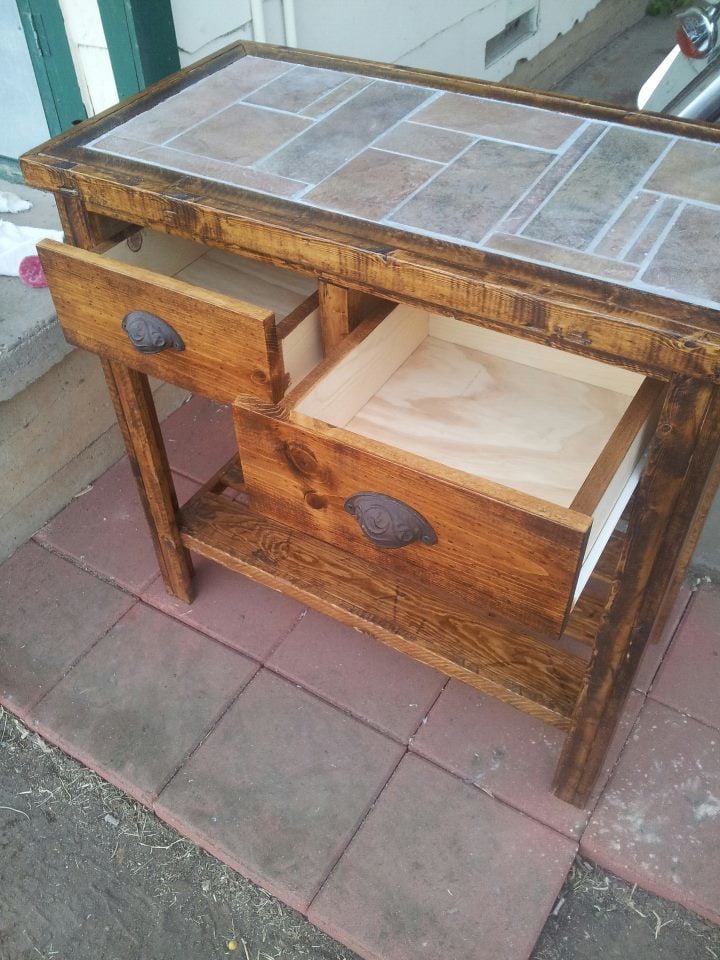
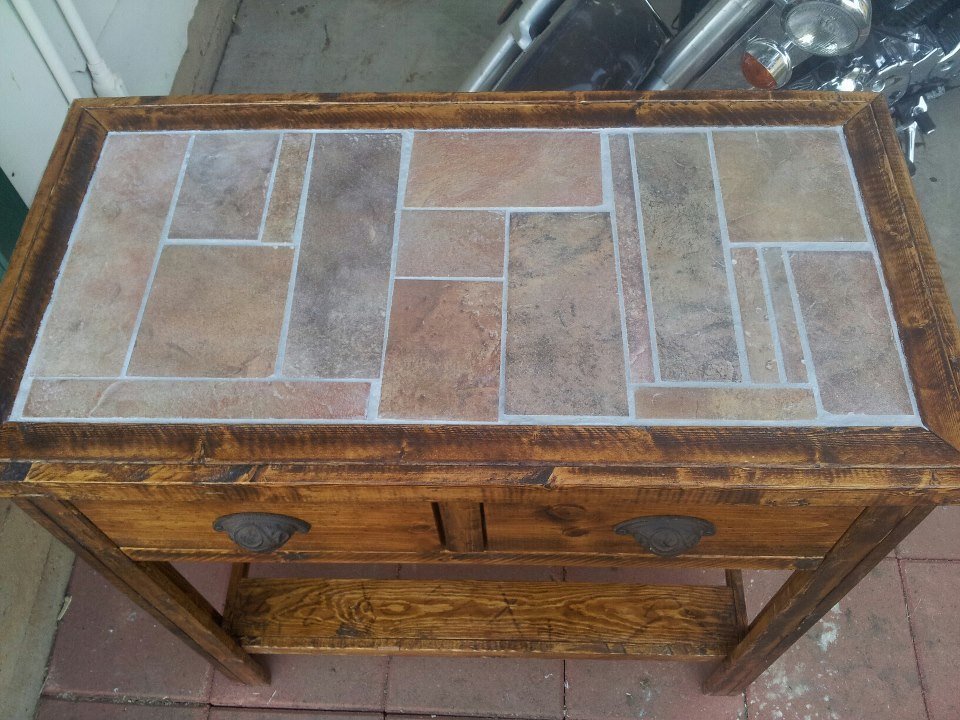
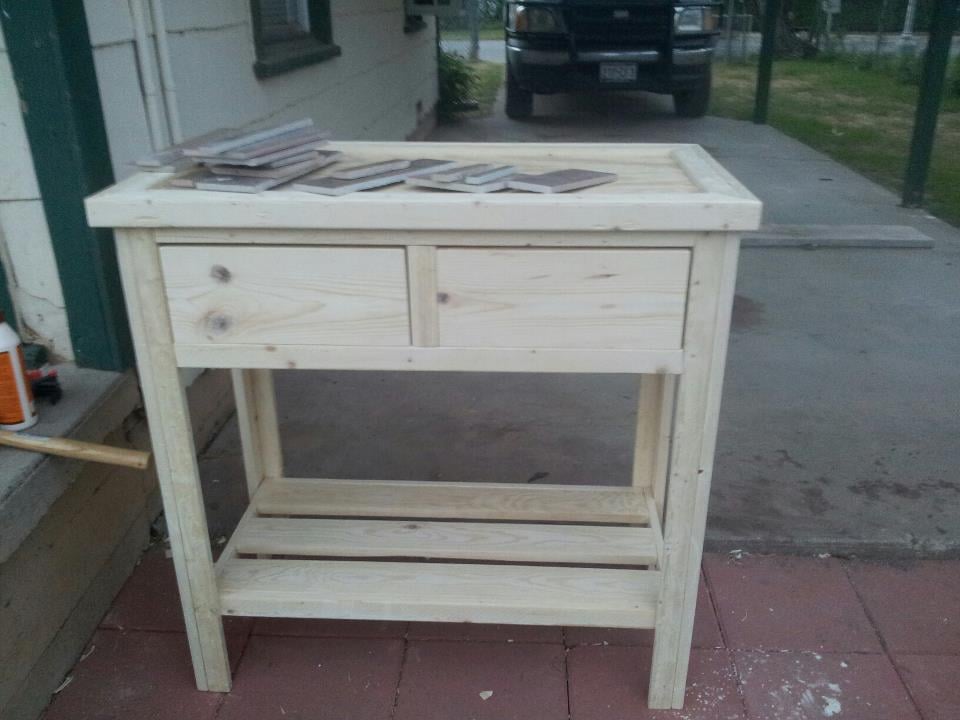
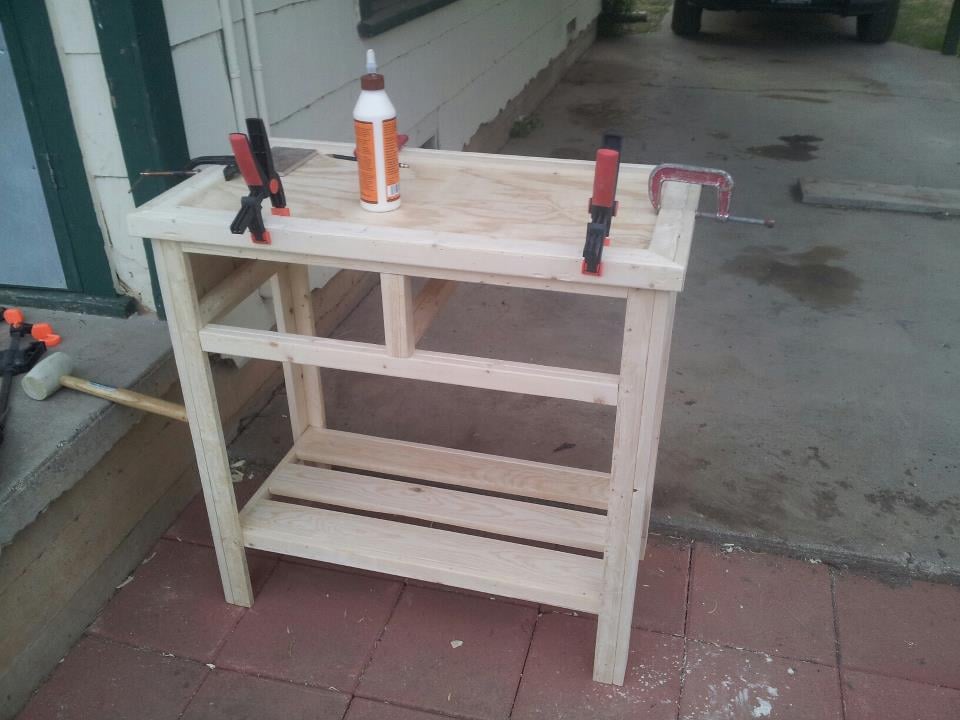
We also built together a side table, closet system, barm bookshelf, and dresser/changing table. I cannot take any credit for the crib. This was all my husband's work. Excited to bring our daughter home to her complete nursery soon!


Comments
JoanneS
Wed, 08/27/2014 - 16:36
Awesome build!
Congrats on an awesome build! Great job, and I LOVE the finishes you used!
Carly Underwood
Tue, 09/02/2014 - 16:41
Thank you!
Thank you!