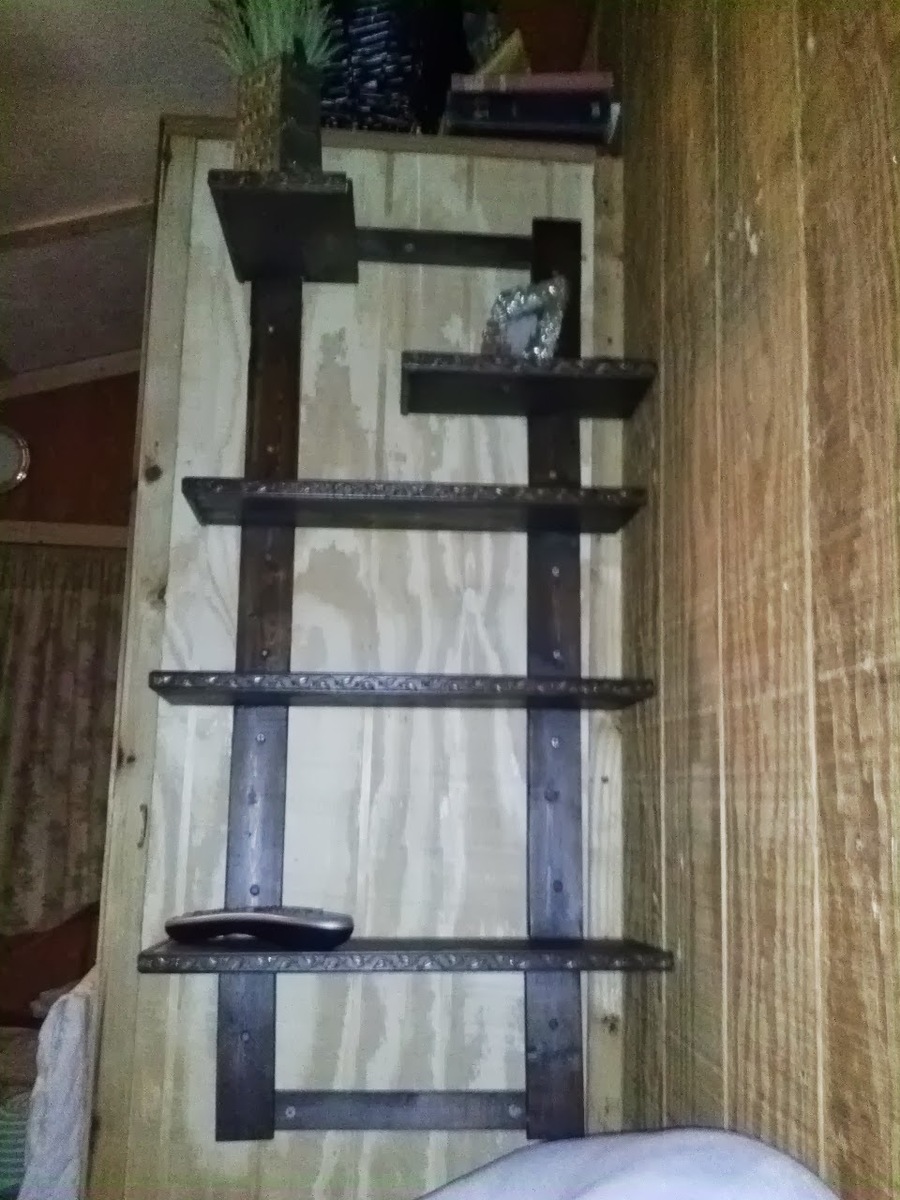
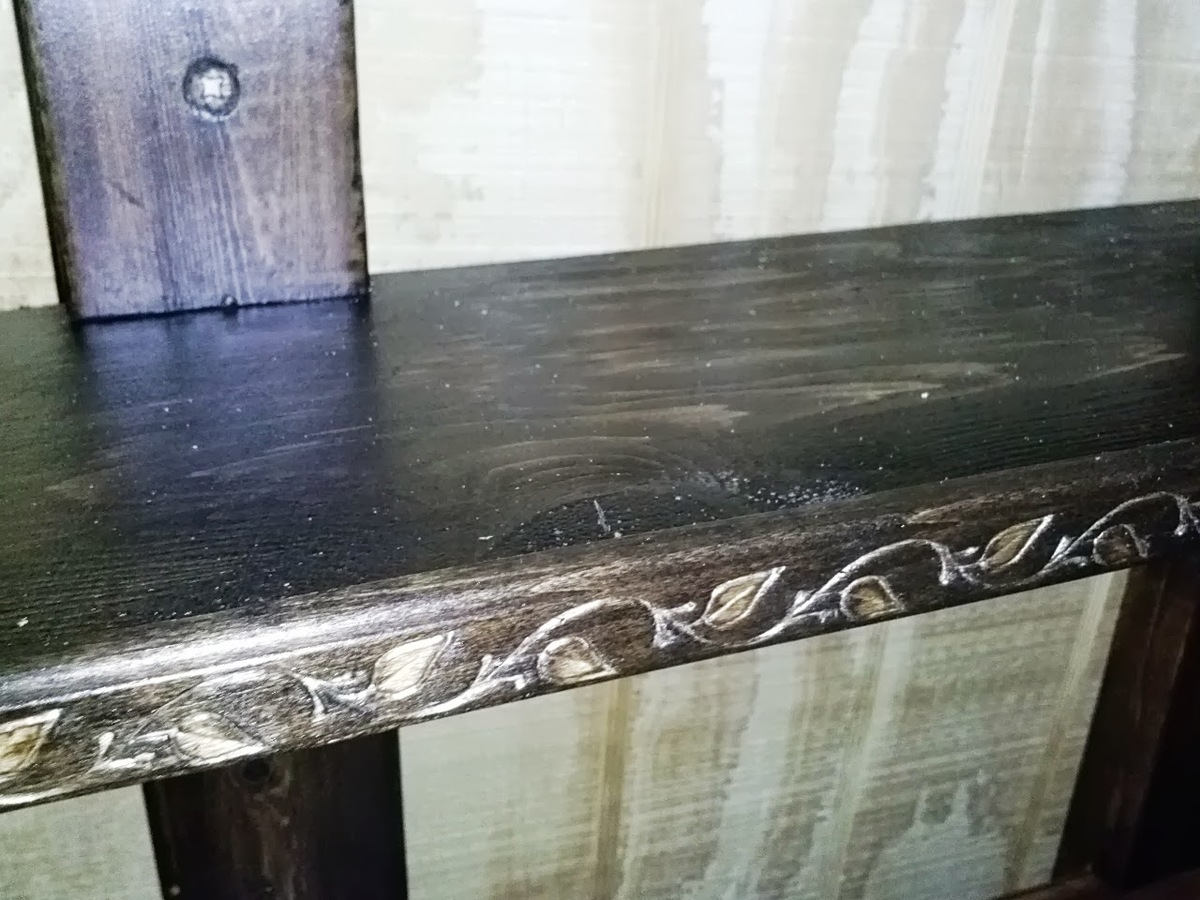
X End table
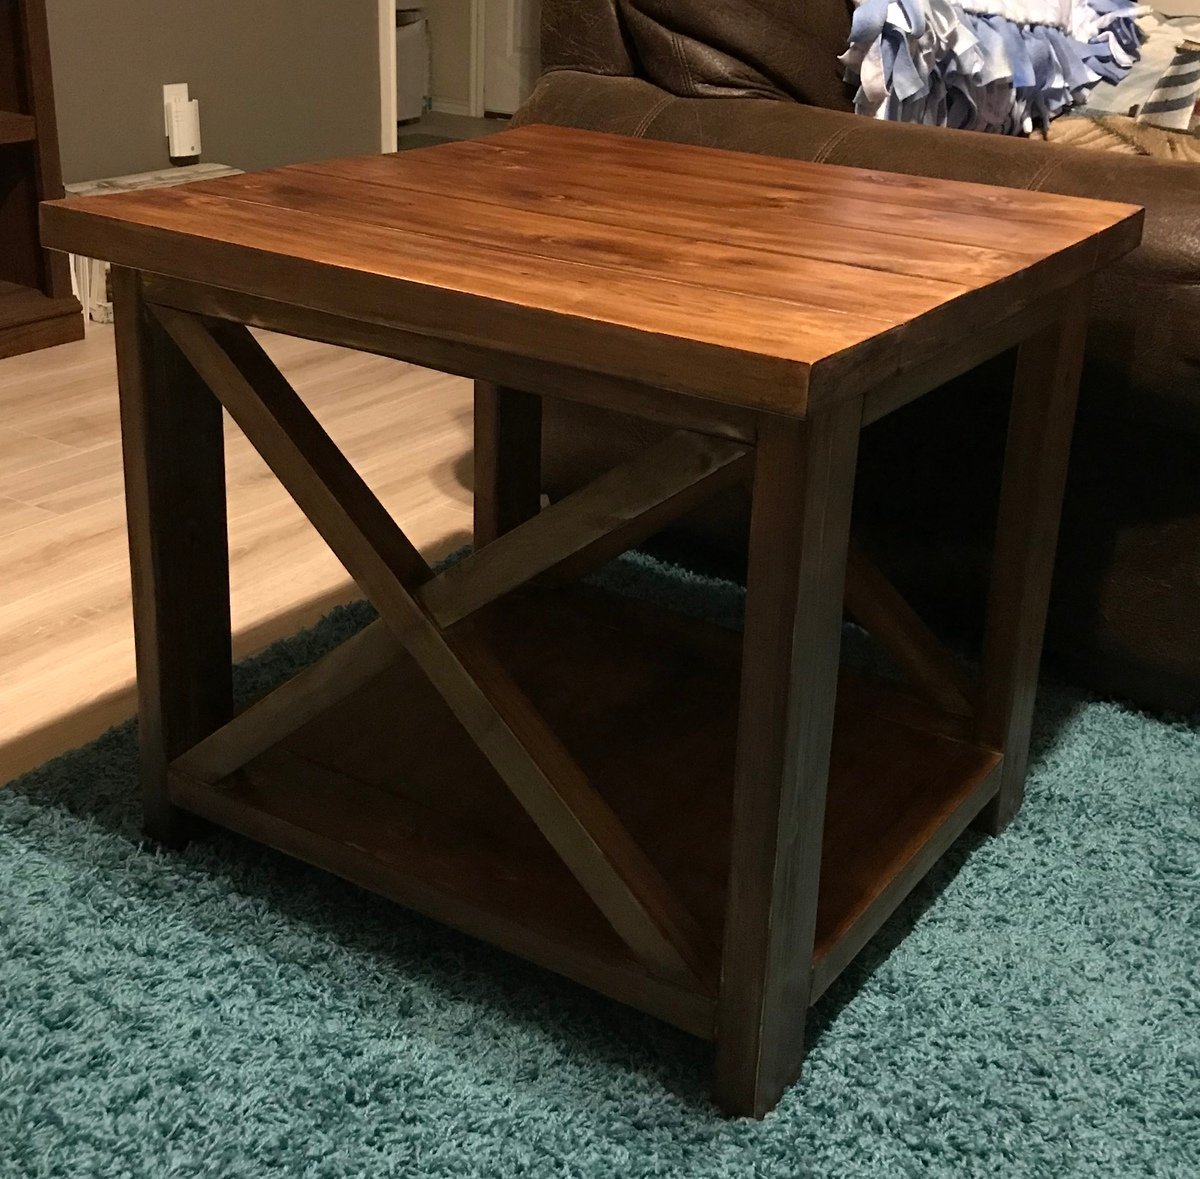
One of my first pieces of furniture I built.

One of my first pieces of furniture I built.
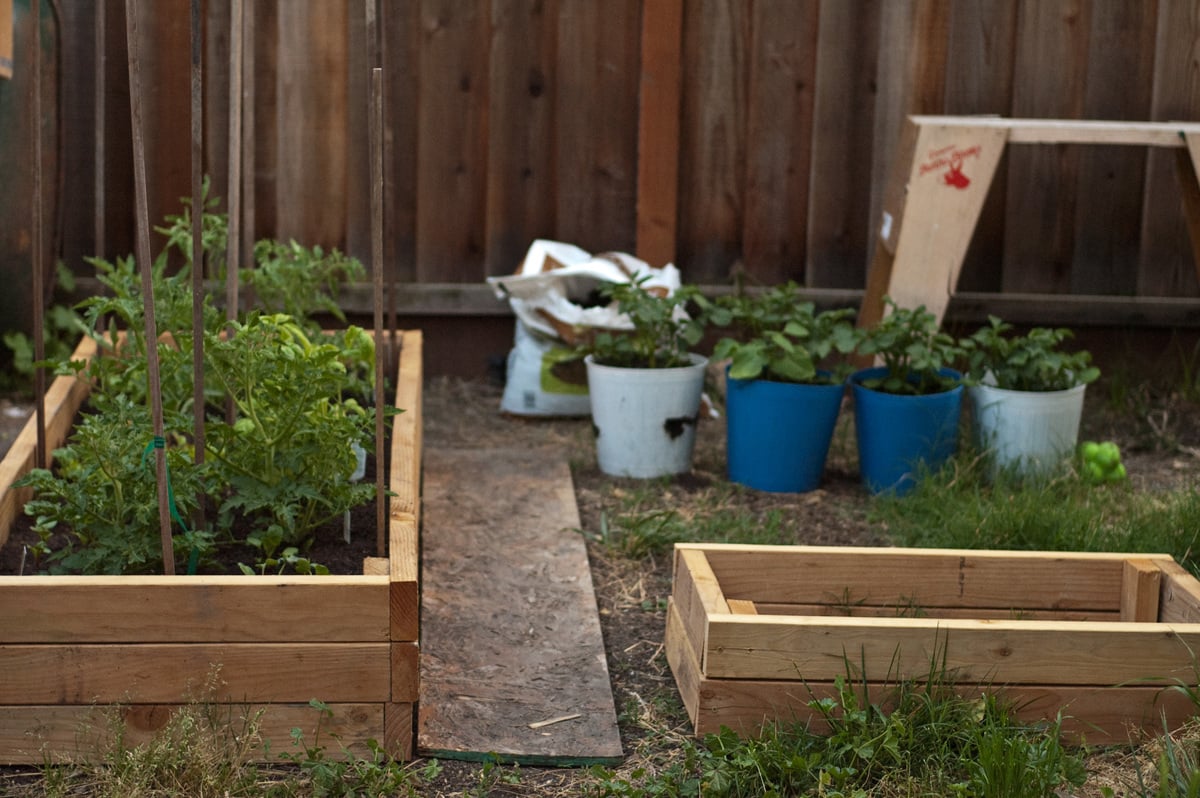
My husband and I were inspired by Ana's plans, but needed to use up some wood we had laying around the garage because it was starting to bend and warp. We made the large box 2x6 ft and the smaller one is made from scrap and is about 15in x 2.5 ft.
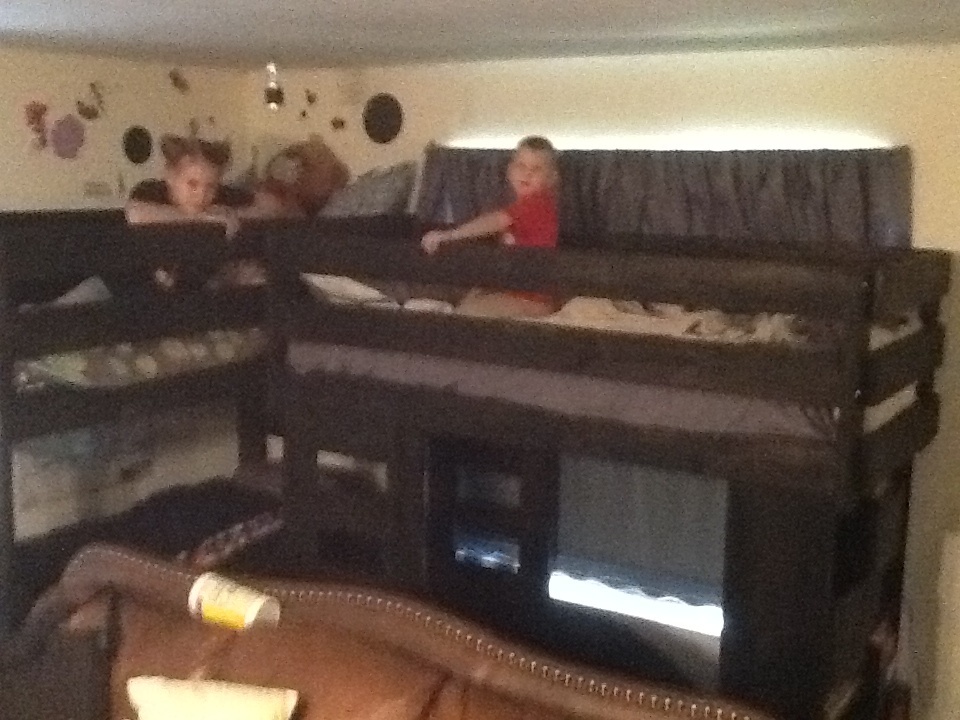
I designed and built these beds with the help of my husband and daughter. We spent about $350 on the materials and about 4 days in the Texas heat to build it. My kiddos absolutely love them, especially my 7yr. old. His is the loft bed with a ladder system and a bookshelf, and area to play underneath. The bunk bed is for my 18yr. old and my 14yr. old, so it had to be extra sturdy. We built everything out of 2x6s except the bookshelf. It was built from 1x12s and plywood.
This was my first project from Ana's website! She does such a wonderful job making the plans easy to follow for the novice builder.
I really needed a rustic coffee table for my new living room. All of the retail stores expect you to pay hundreds of dollars for a table less than half of the quality. I am so happy with how the table turned out! I already have a list of other furniture that I want to add to my home. Thanks so much for all you do, Ana!
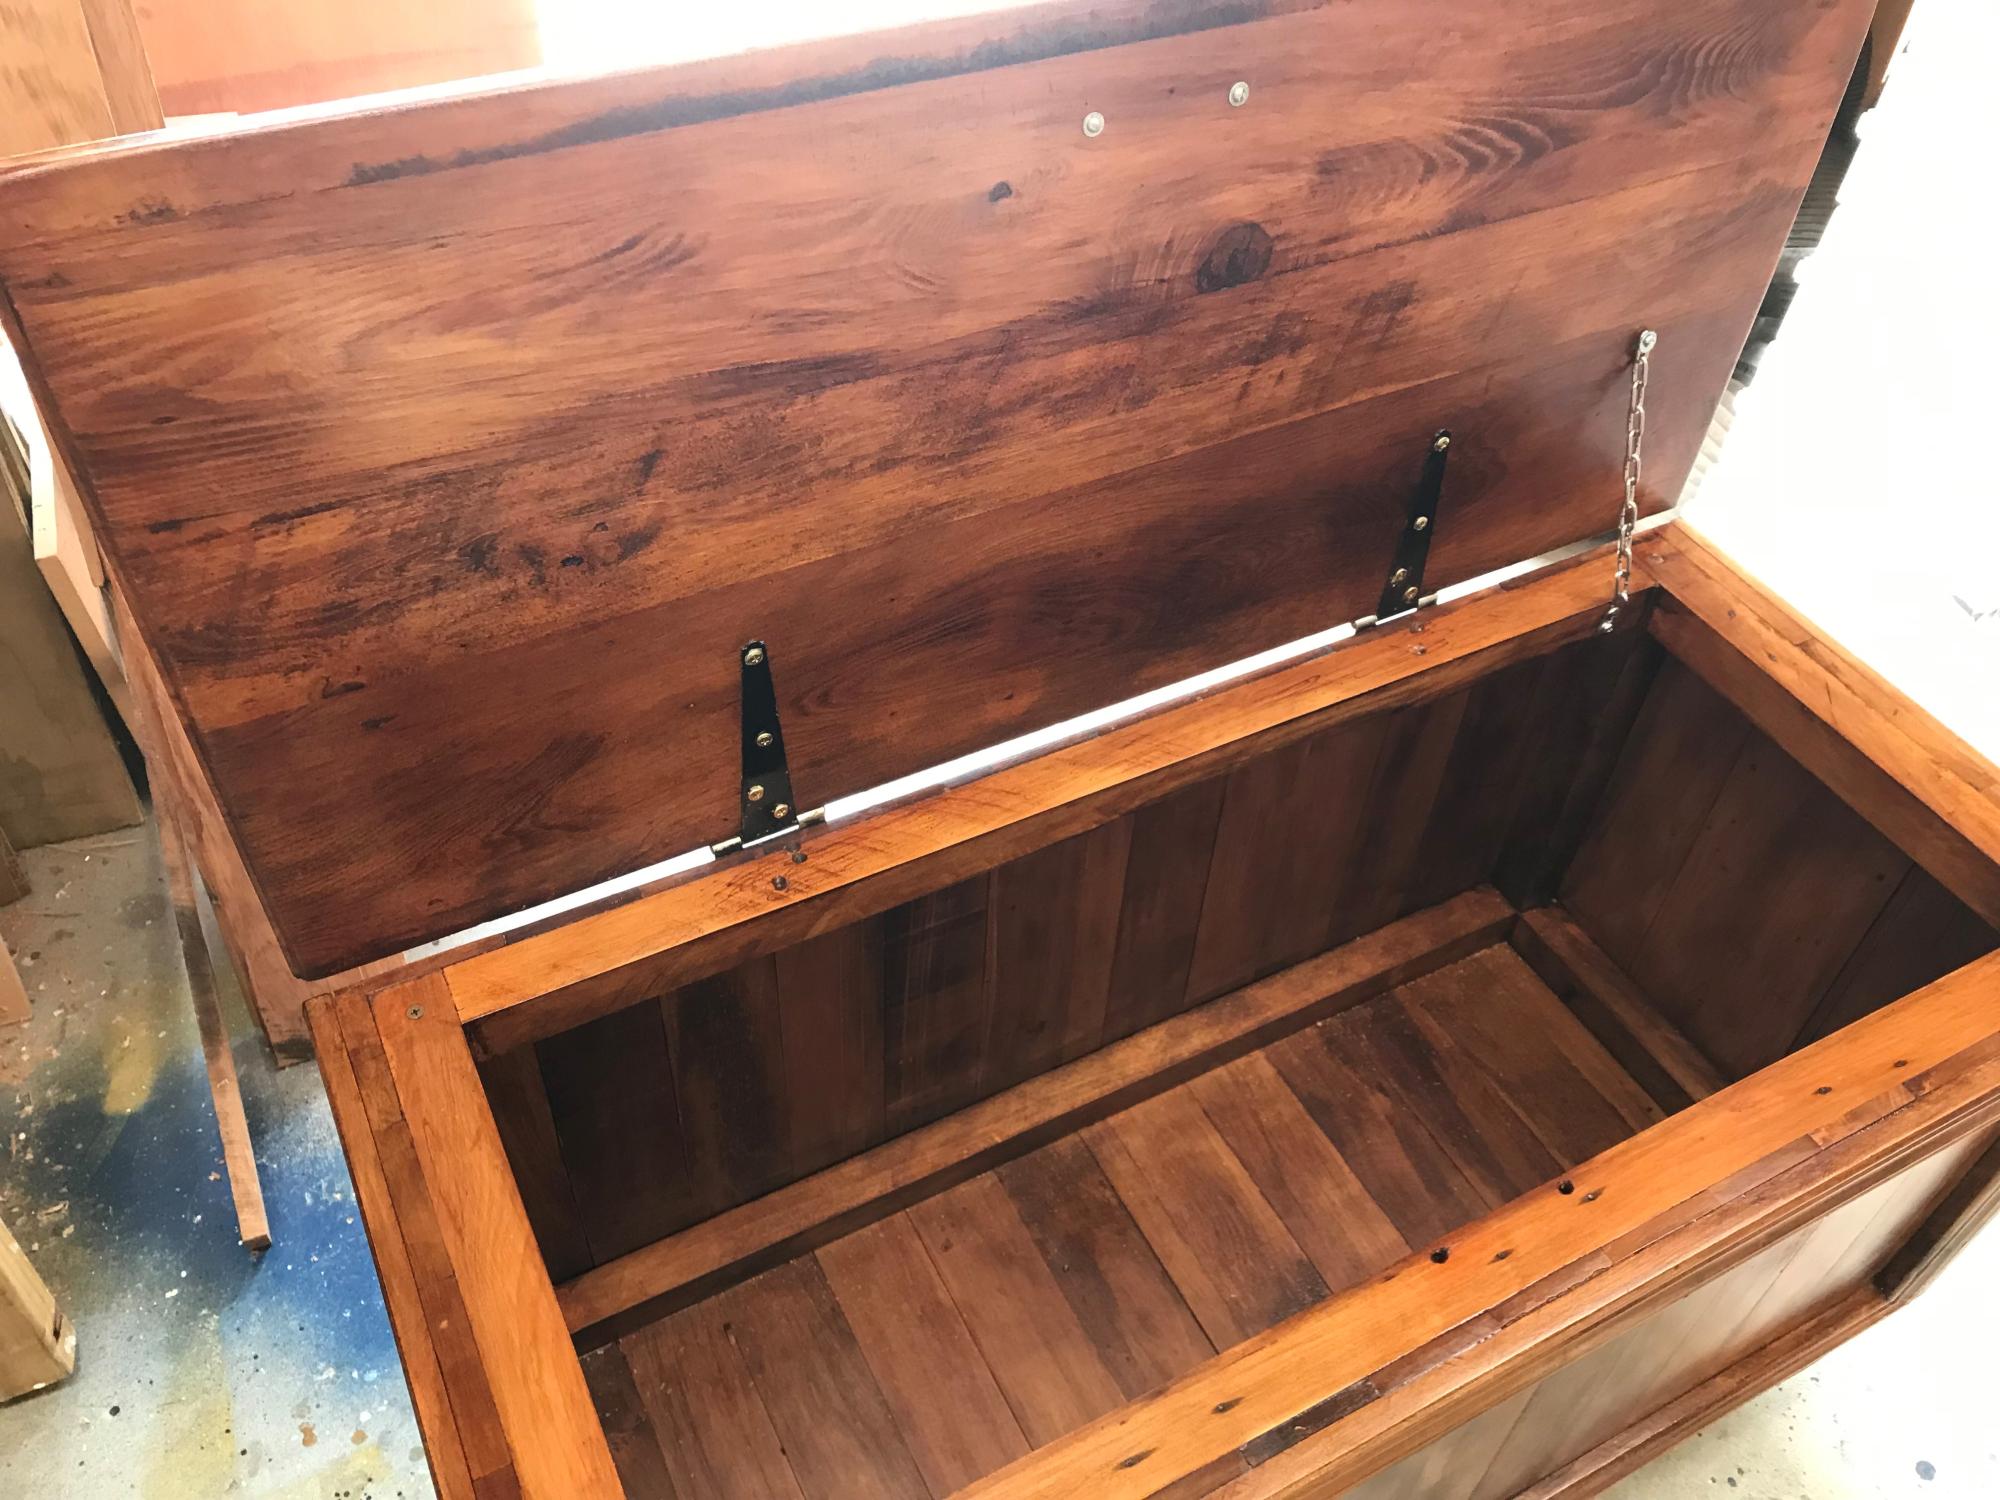
I built this for the DIL ( Daughter in Law) for combined Christmas/Birthday present. Made entirely from recycled Rimu (NZ hard wood) that was at least 150 years old when milled, I wanted to preserve some of that history so some original sawmill marks are there in the top. Finished with Briwax (Rimu) wax & 4 coats of enamel satin poly. The main framing was from Rimu 4x4 posts that were very solid when trimming to actual needed size (40mm x 40mm). Used half lap joints, reinforce with screws.
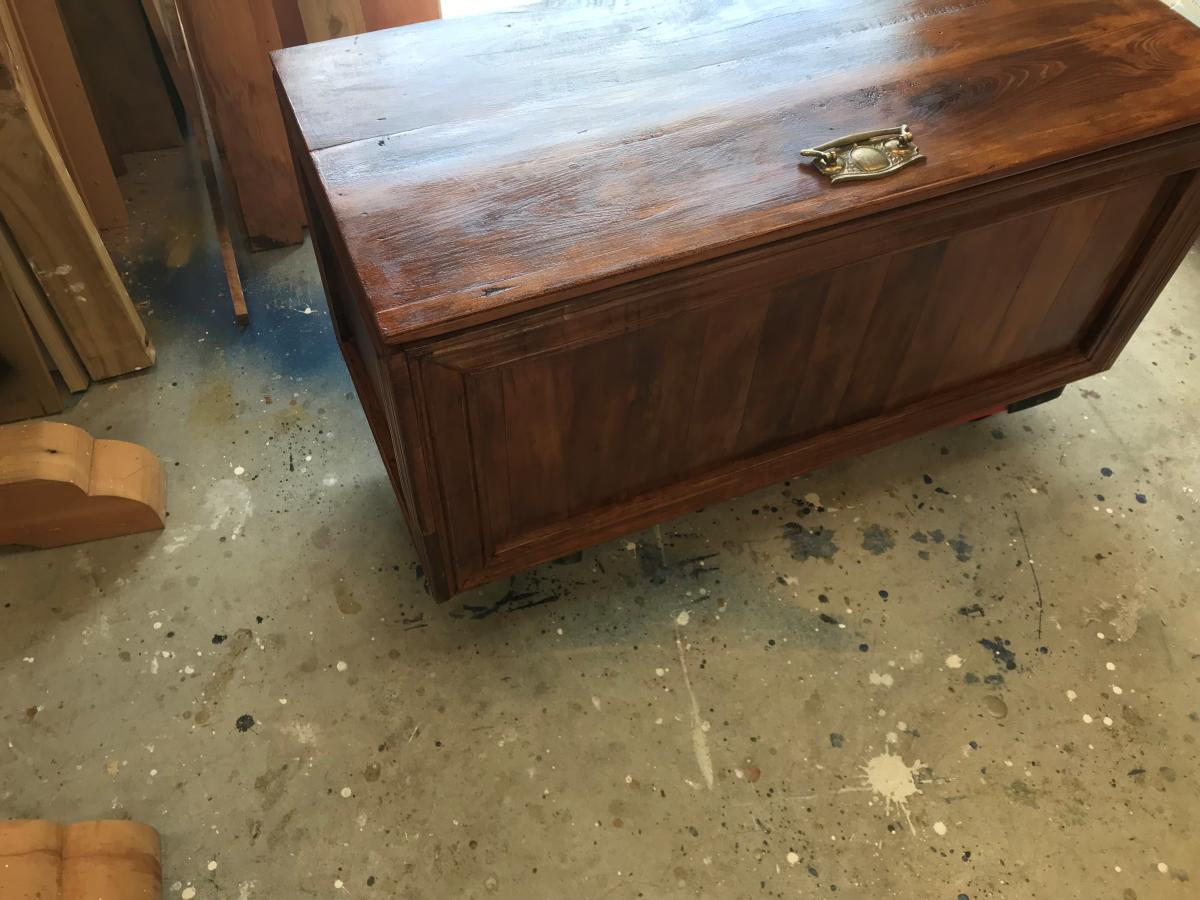
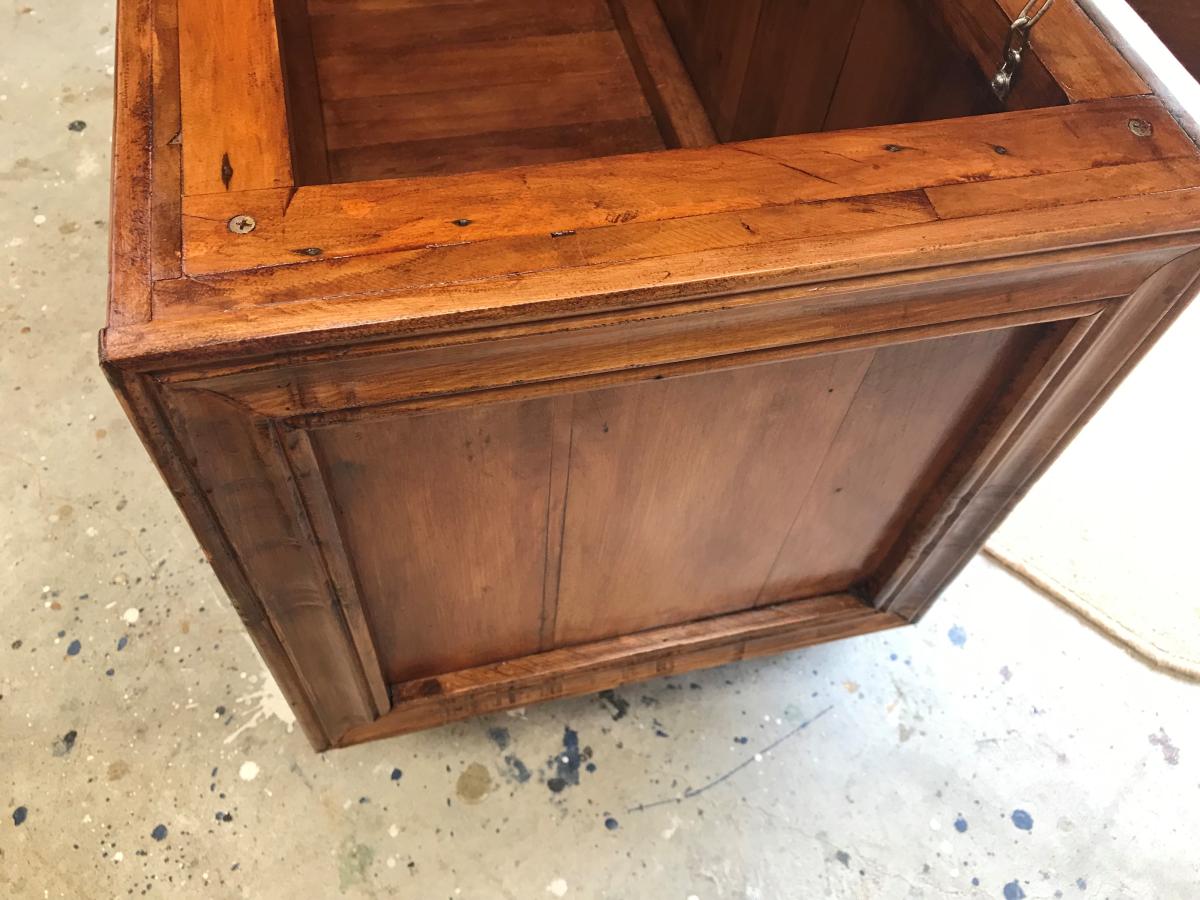
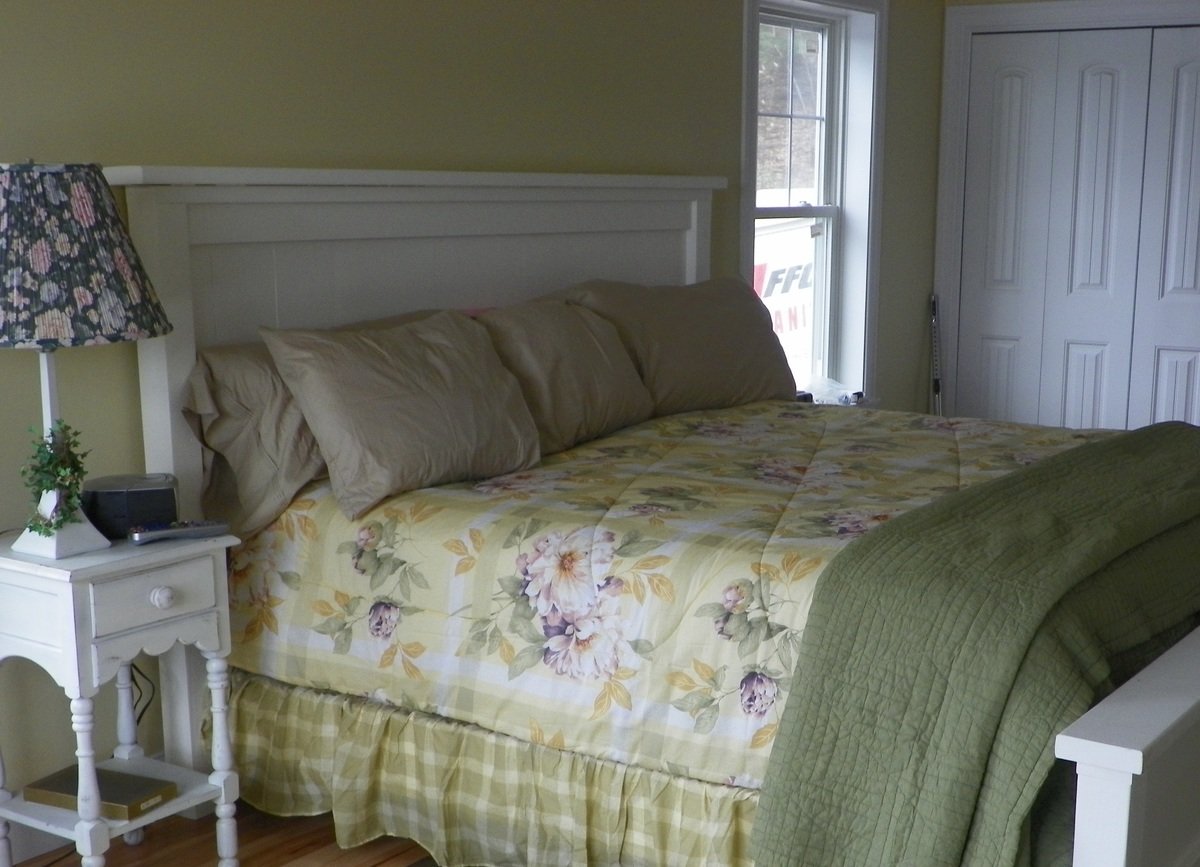
My dear husband built the bed and I painted it. He found that it was easy to make. Thank you Ana, we love it. We are waiting for our new mattress!
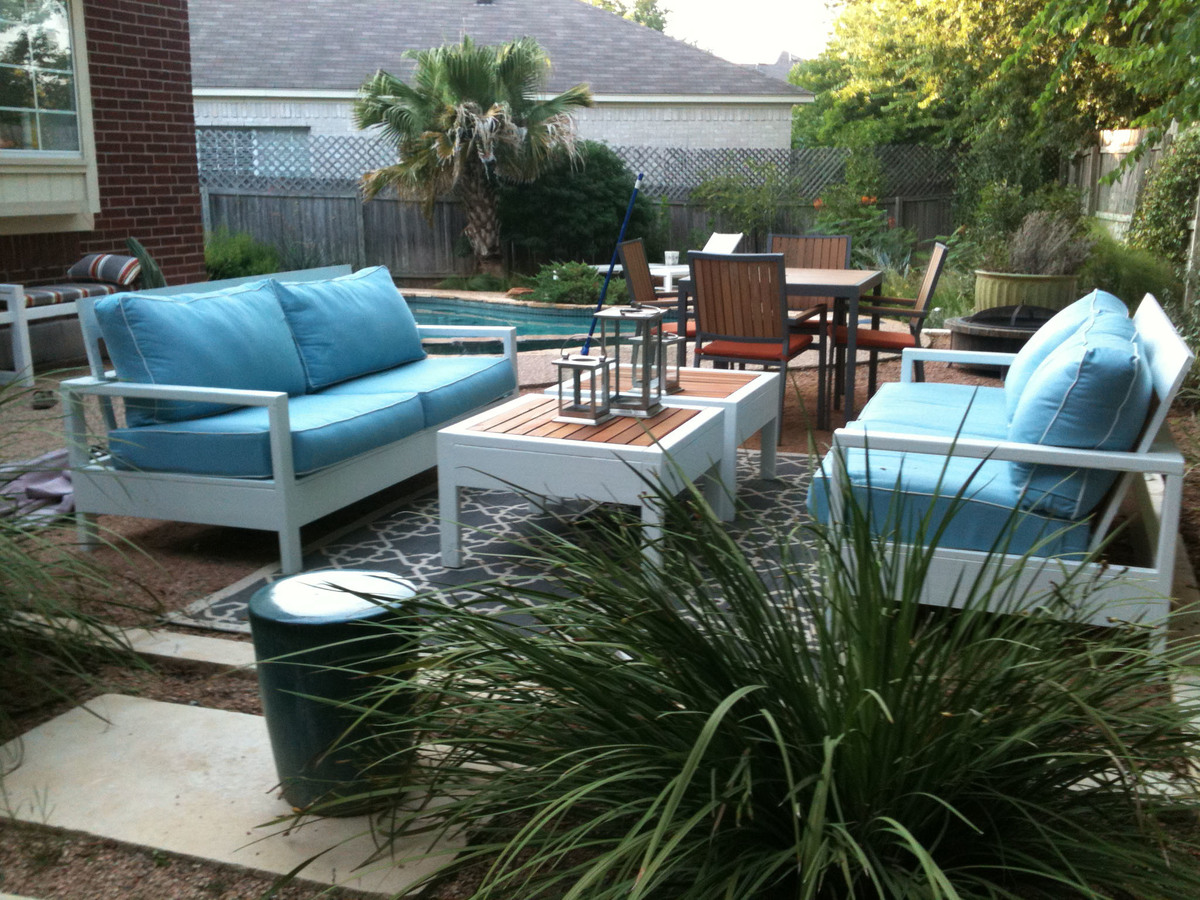
I bought two sets of Restoration Hardware cushions on clearance and they worked out great. I had to adjust the measurements a little bit but that went pretty quickly. I came up with a plan for the tables to match the couches.
The tables are both 30x30. This way I can use them as 2 tables, one large table, ottomans or seating.
I LOVE the cushions. They are 6.5 inches thick and were dry 3 hrs after a rainstorm. There was no way I could have sewn something cheaper.
Thanks for the plans Ana!
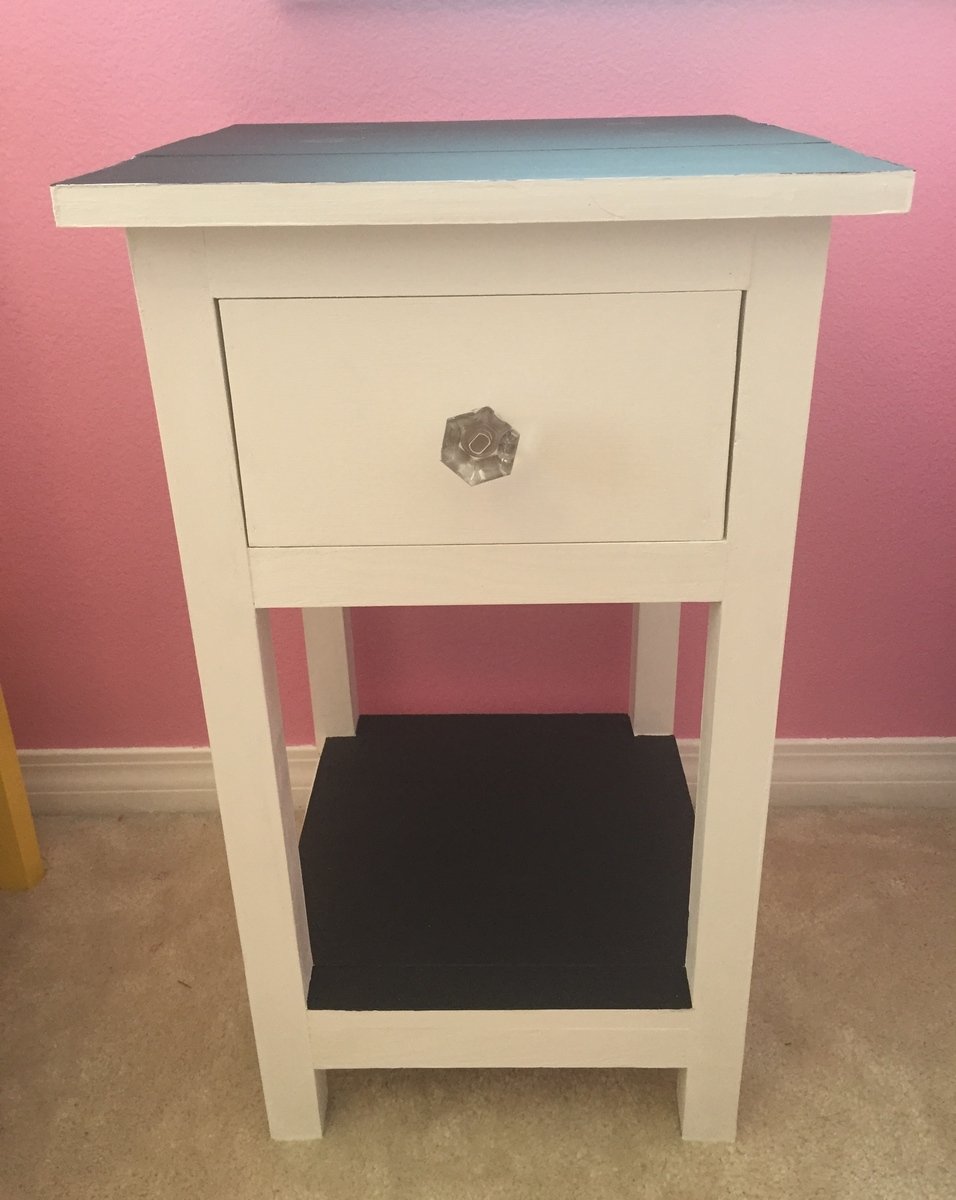
I built this for my daughter's room. It is my second build. It is the perfect size for her room. I used chalkboard paint for the top surfaces. The knob is from Lowe's. Thank you Ana White for providing these fun plans! I am excited to start my next project!!!
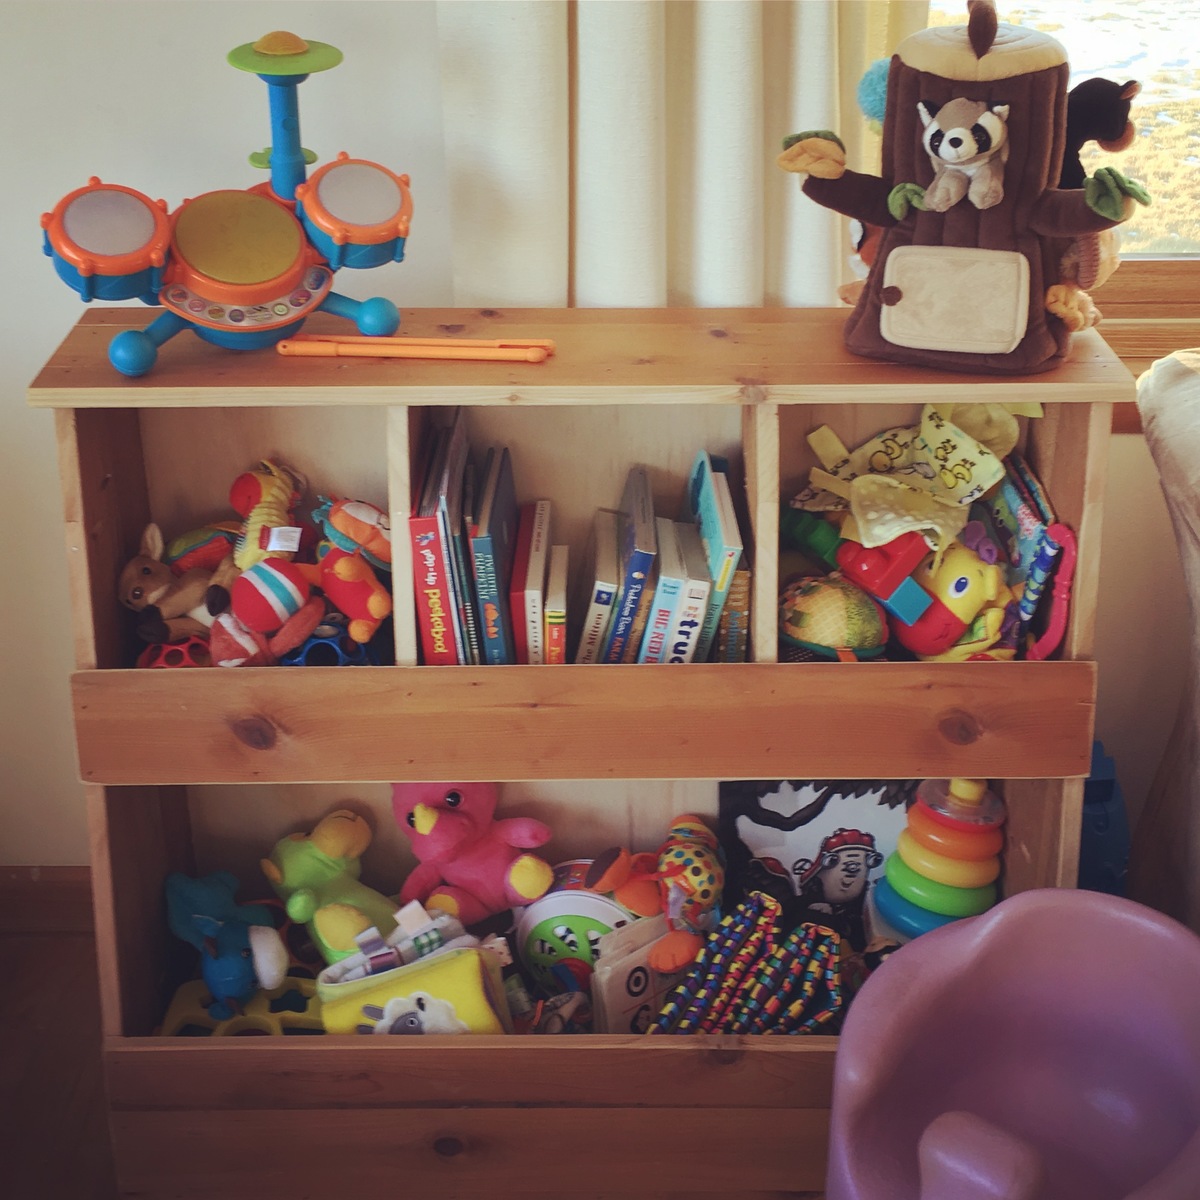
My dad and I built this toybox for my son on a weekend afternoon. We were able to use some tongue and groove boards that my dad had pulled off a job site. We glued them together to get the width we needed then cut them to size according to the directions. Its not perfect, and I think I might paint it this spring, but my dad and I made it for my son and I think that is pretty awesome!
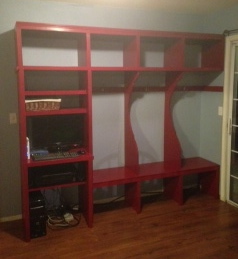
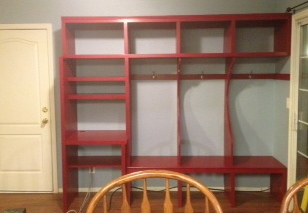
I've been looking for a storage solution for the area next to the driveway we use as our main entrance. The area opens to the kitchen, dining, and living rooms. We had a computer desk here, but it just ended up piled with junk all the time and backpacks and jackets ended up on the floor.
I fell in love with the smiling mud room plans as soon as I saw them, but it took a while to convince my husband we should try to build it. I used the Smiling Mud Room plans and modified to add the computer desk section since we couldn't move our internet cable. It didn't have to be really big since we don't use the desktop computer very often.
I still need to find baskets for the shelves and I'm planning to make a fabric skirt to cover the computer and cords. My kids already got out their old backpacks to test it out, so hopefully they'll use it!
We bought the Kreg jig as recommended and now my husband is planning lots of new projects just so he can use it.
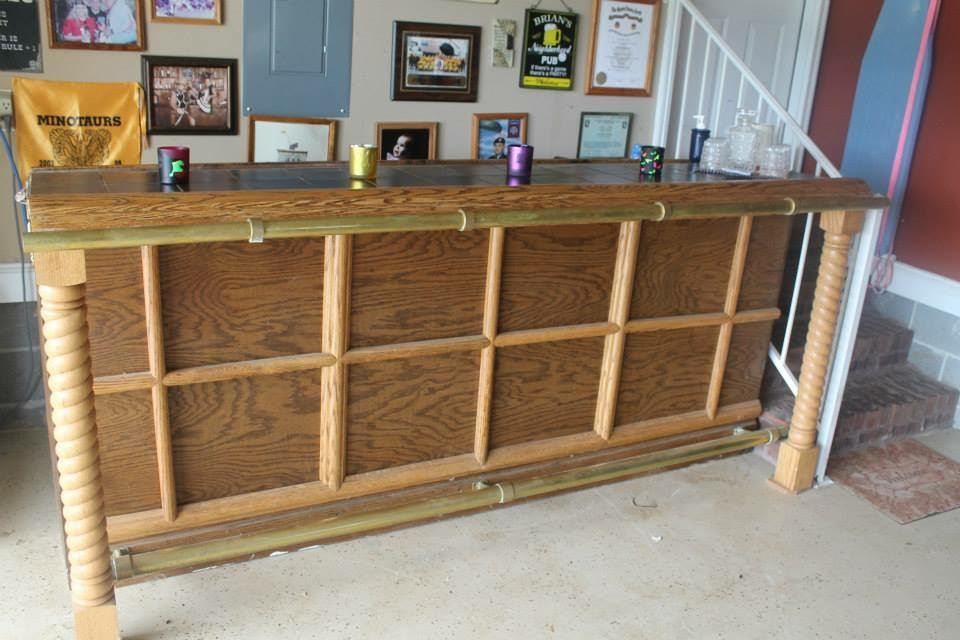
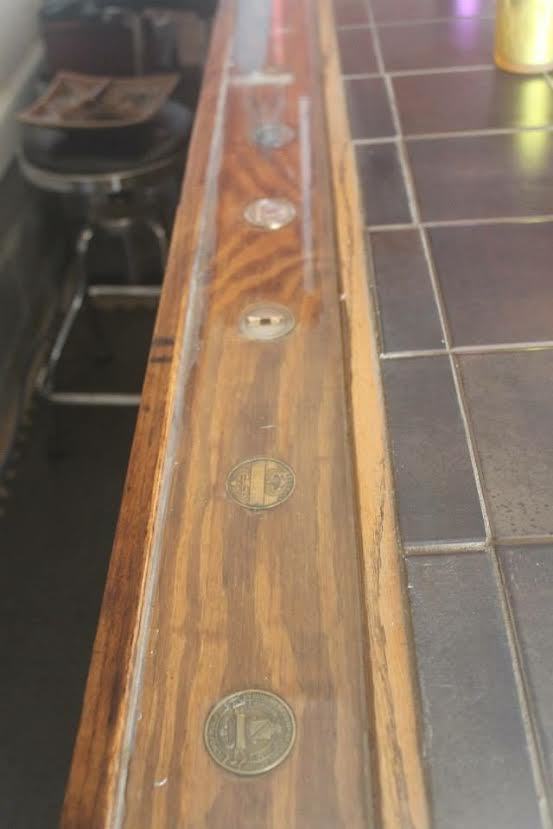
I made this bar several years ago after returning from a deployment to Iraq. I used the spillway as a convenient location for some of my military award coins. At this point I had little in the way of skill so it is rough but everything else being equal, it turned out just fine for the garage man cave.
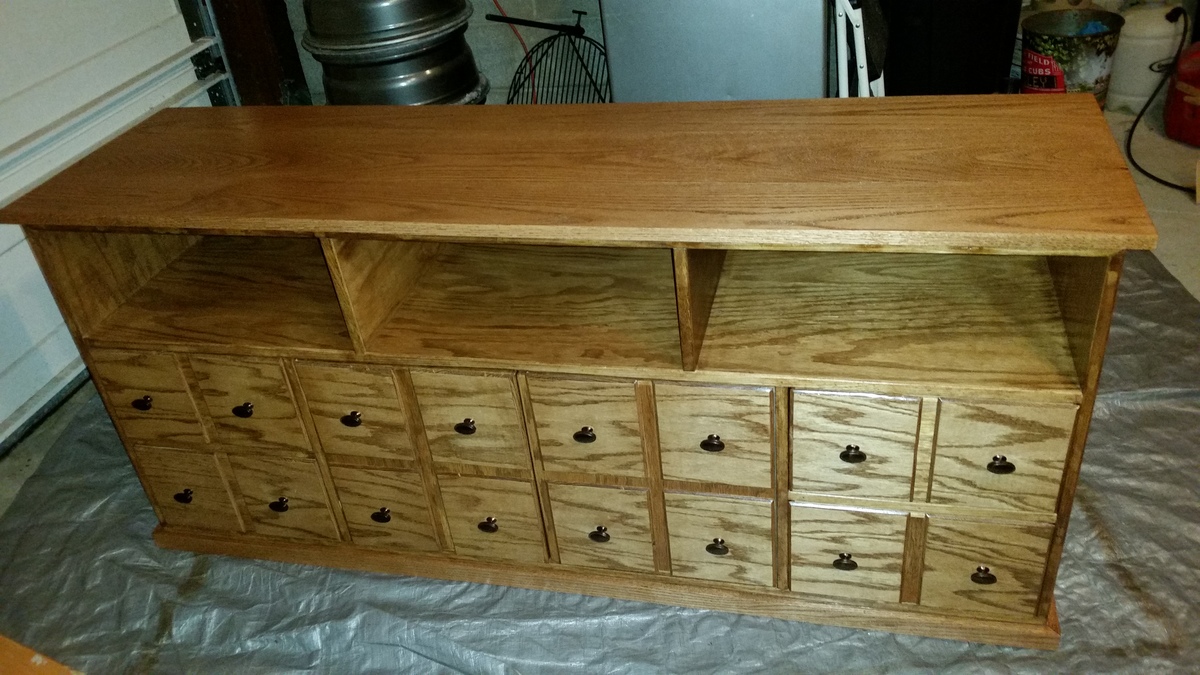
Thank you so much for the plans! My wife is extremely happy with the results and so am I. I am in the process of adapting these plans to make a matching end table. Once again, thank you!
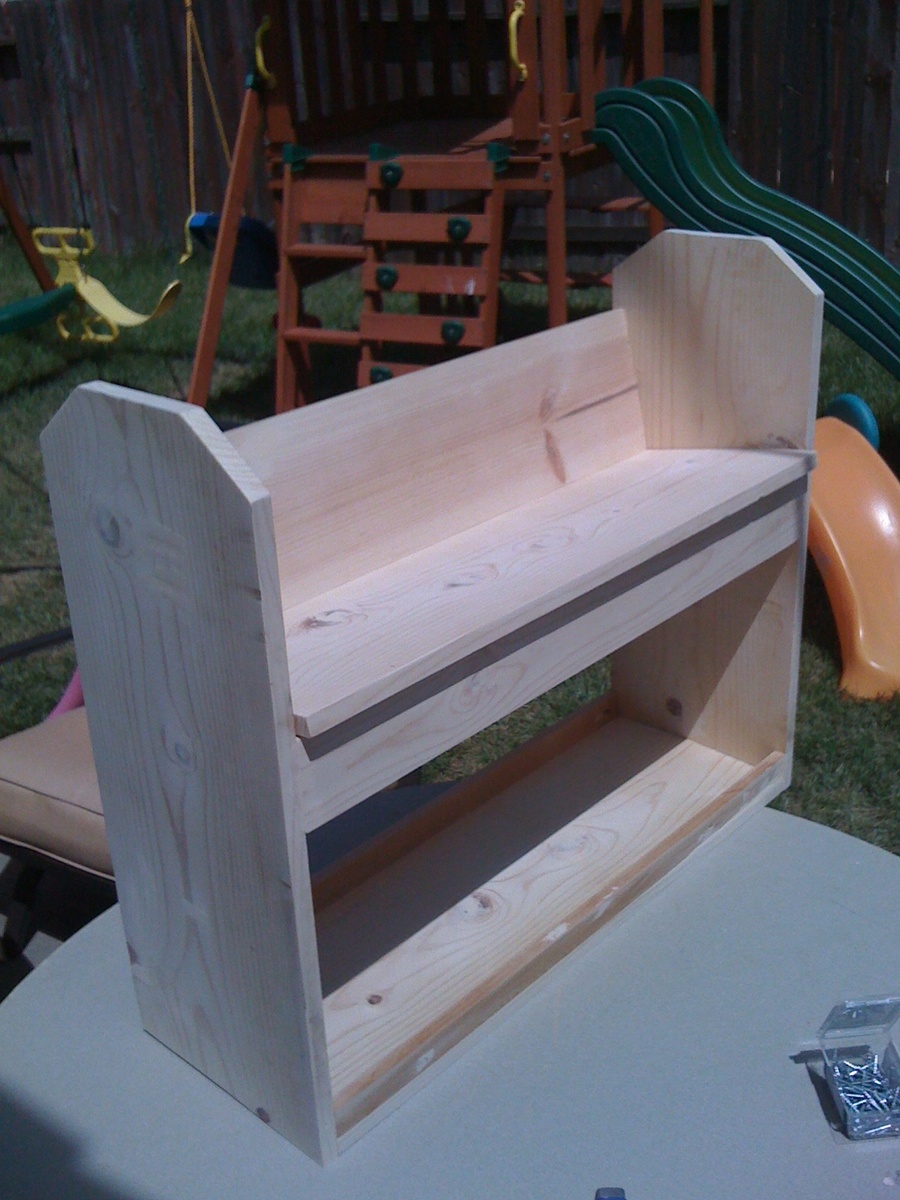
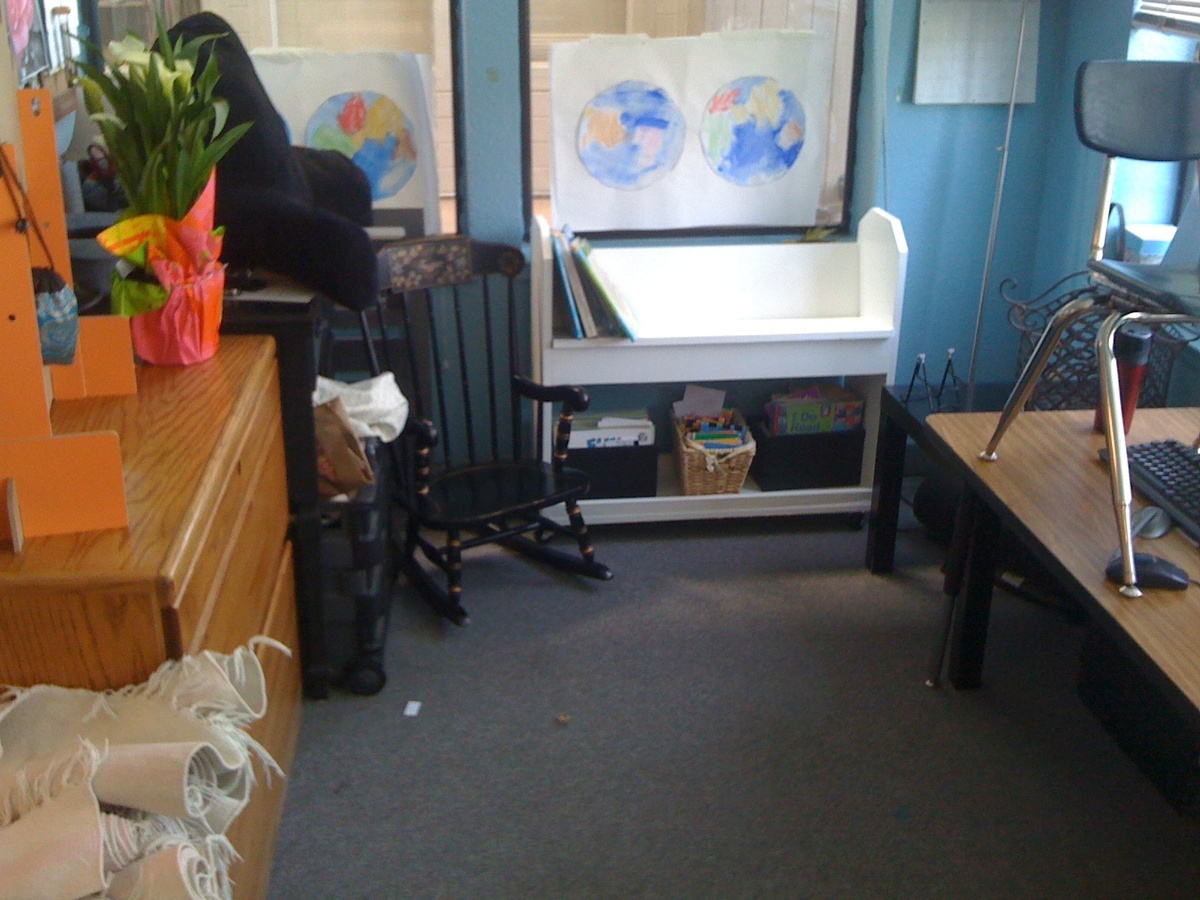
The moment I saw this I knew it would be a perfect teachers gift for my daughters teacher. She loved it.
This was only my second project, the first being the 10 dollar ledges. I'm glad I tried a smaller project before tackling the farmhouse bed. I think it helped with just knowing how to assemble a project a bit better.
I used my Kreg Jig and it worked marvelous! Also I ended up not having a jigsaw so I just cut the top at a 35 degree angle with the miter saw and rounded the edges a bit with the sander. I was going to add handles but the top goes up enough that it's easy to manuever without. I also wanted her to be able to fit it in anywhere and was worried that the handles sticking out would just get in the way.
Overall I think it turned out great. Her teacher loves it. Thank you Anna for such wonderful plans!!
Krista
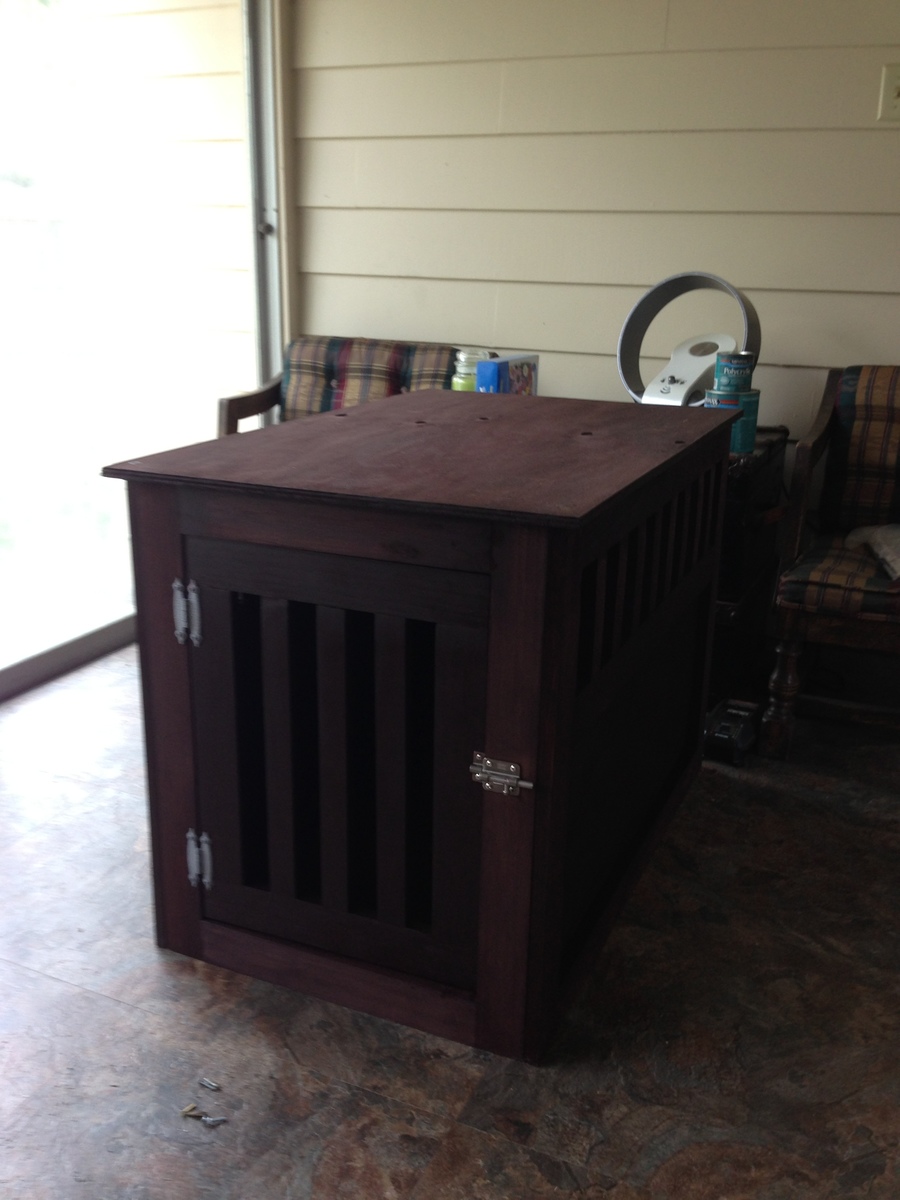
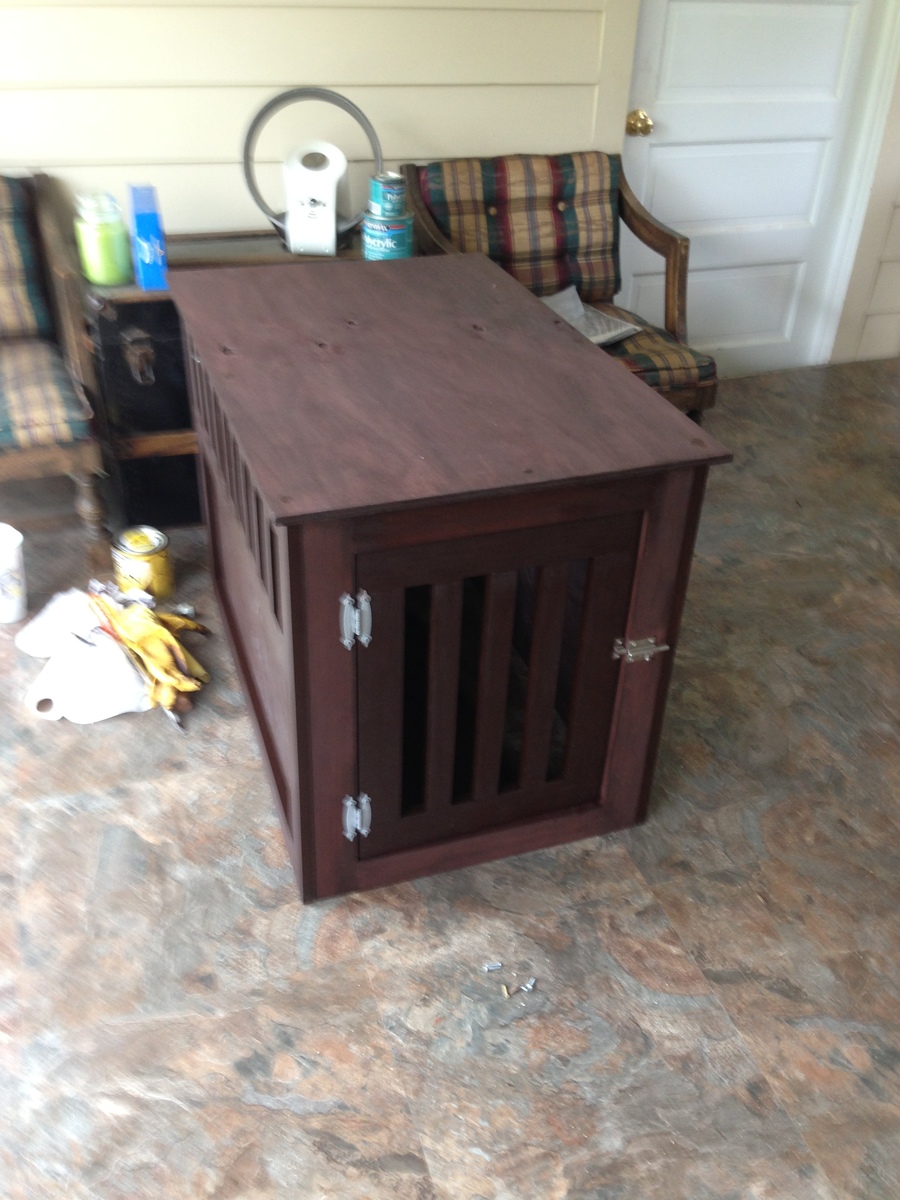
This projected turned out great! I admit, it was a bit of a stretch for me. This was the first project where I had to use the Kreg jig. Yikes! That takes some time getting used to! I chose to stain my Kennell/End Table with Minwax Red Elm. And that took the longest! Everyone always makes it look easy to stain something, I still haven't gotten the complete hang of it after project 50, and the waiting between coats is for the birds. But, I am happy with the overall end product! Thanks Mrs. Ana White!
Thu, 07/18/2013 - 08:48
Hi YankeeBelle,
I used the plans for the "Large Wood Pet Kennel End Table." If you chose to do this project, beware that the cut sheet does not include all of the plywood cuts. There should be two identical for the sides, and one additional one for the back.
Thanks again!

Simple project made from scrap wood.
See Build Instructions here:
http://www.instructables.com/id/Wood-Robot/
Robot Animation:

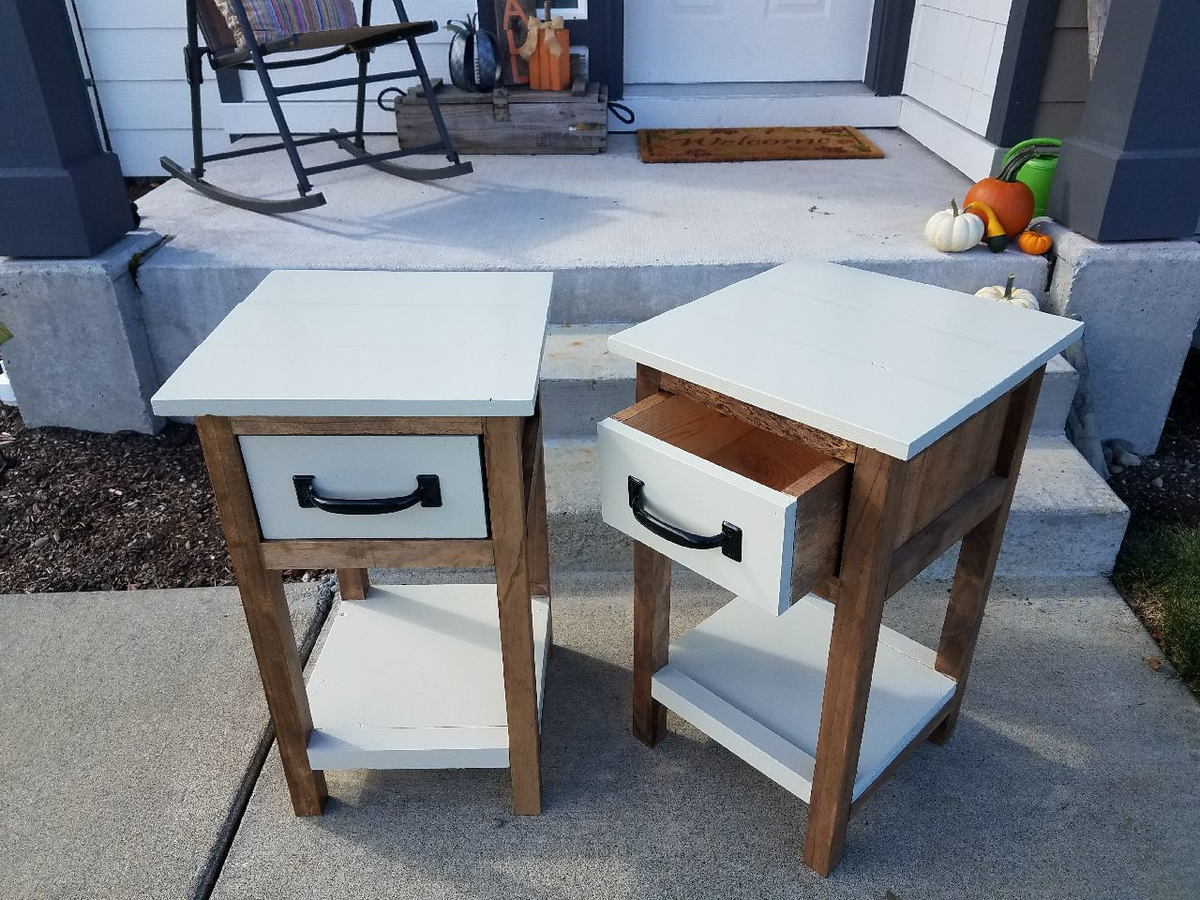
Super easy, super fun

Adapted from the Harriet Chair found at ana-white.com, this simple and comfortable pine chair is equally at home in the kitchen and home office. Built to last, it can be custom designed for small or tall customers alike. The chair pictured here is finished with red mahogany stain and matte varnish.
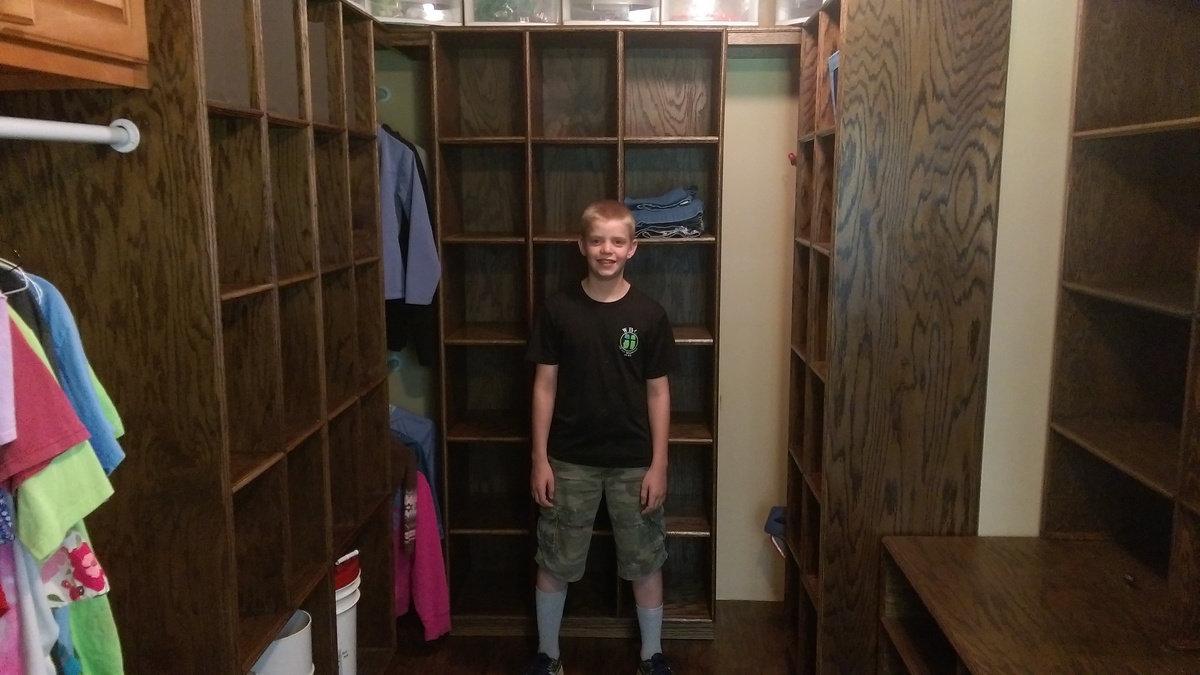
Our son built this based off of these plans. He had to make the corner hanging areas smaller to fit our area, but we were still able to use this space for hanging items.
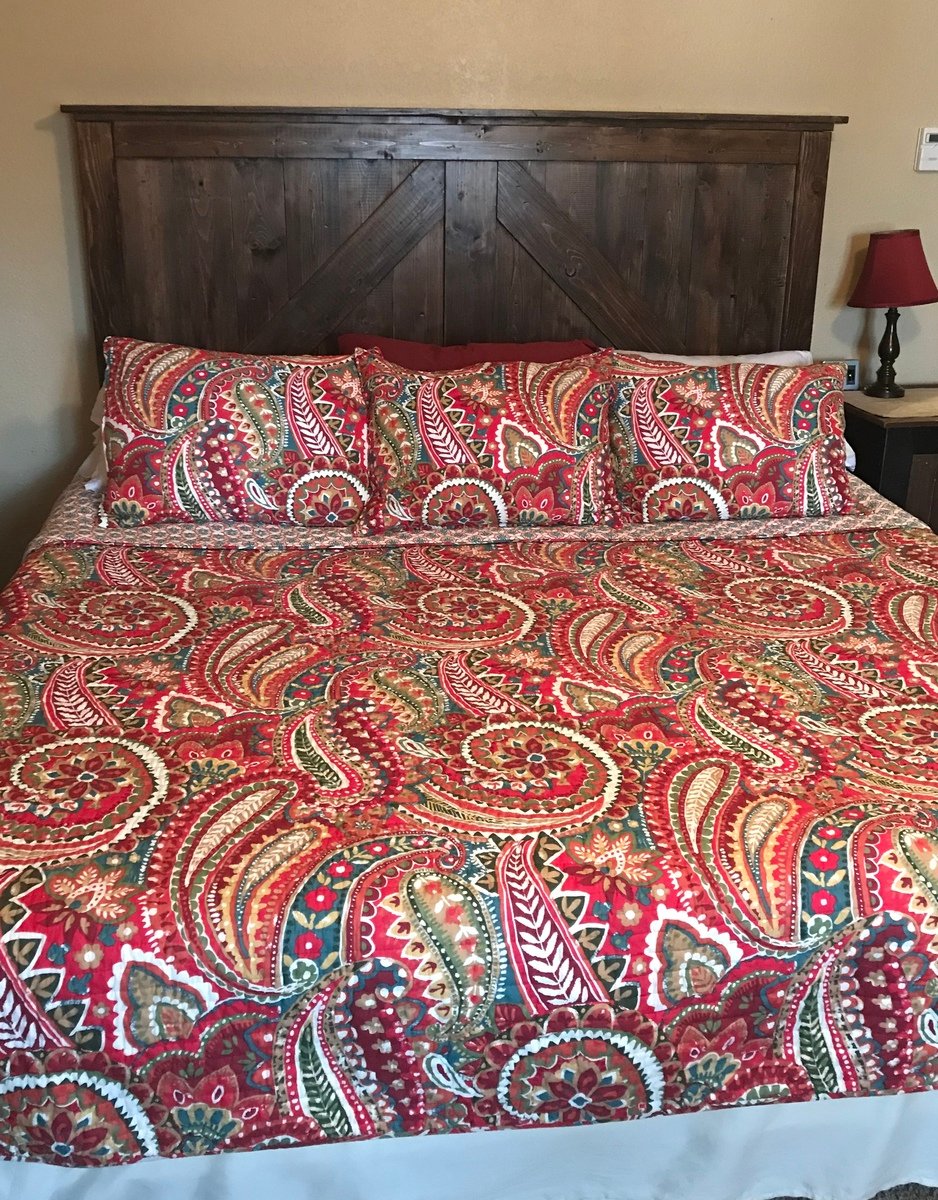
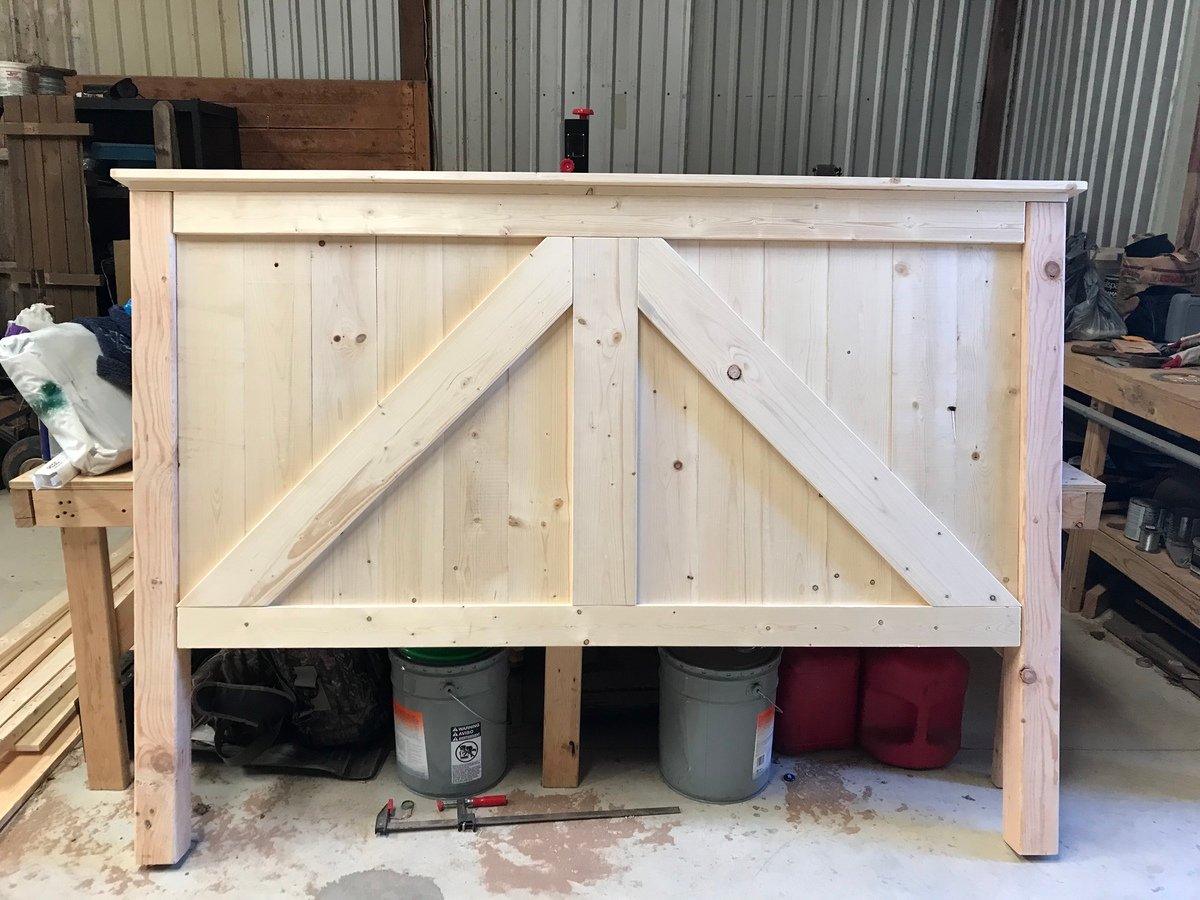
I found a barn door headboard in a rustic furniture store years ago. They wanted $2700 for a Queen size....no thank you! I followed the plans for the Farmhouse King Bed and added cross pieces for barn door look using instructions from the Brookstone Headboard. I cut the legs at 56” to add some height and I set the bottom of the back panel at 18” above the floor to make sure no gap is seen with our thinner, memory foam mattress. I couldn’t be happier with our headboard and the total cost, including screws & stain, was about $150! Boom! Thank you Ana White for sharing plans! I’m working on the Mini Farmhouse Bedside Table now & feel like I can build anything! I would highly recommend Power Pro Premium Interior screws (no splitting or stripped heads, no pre-drilling & they counter-sink great in soft wood). For the 4x4 posts I used GRK UberGrade R4 multi-purpose 4” screws, which had the same quality, all from Lowe’s.
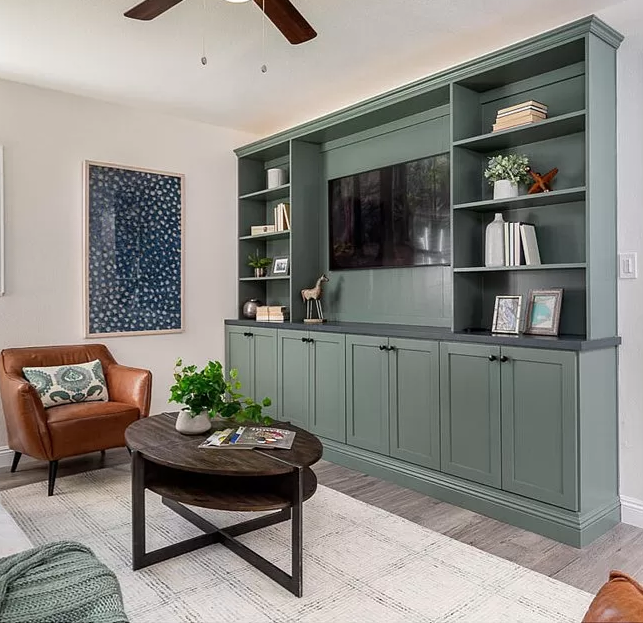
We had an awkward family room with a second front door which rendered the layout less functional than it could have been. My sister mused, "I wonder what would happen if you took out the second entry and added built ins?," and this project was born. With a 4 year old and a 2 year old and limited tools and workshop space, we were excited to find ShelfHelp, which allowed us to create custom built ins at a fraction of the cost and time they otherwise would have required (utilizing the "Frameless Built-Ins, All in One Method" plan) . Including the custom soapstone top that we had made from a local shop that was advertising remnants, the project came in under $1000, and we were thrilled with the results. SO MUCH TOY STORAGE, an unobtrusive TV, and a much more functional layout. Thank you, Ana White!
Wed, 04/06/2022 - 09:55
WOW, this is gorgeous, thank you so much for sharing and trusting us with your huge project!
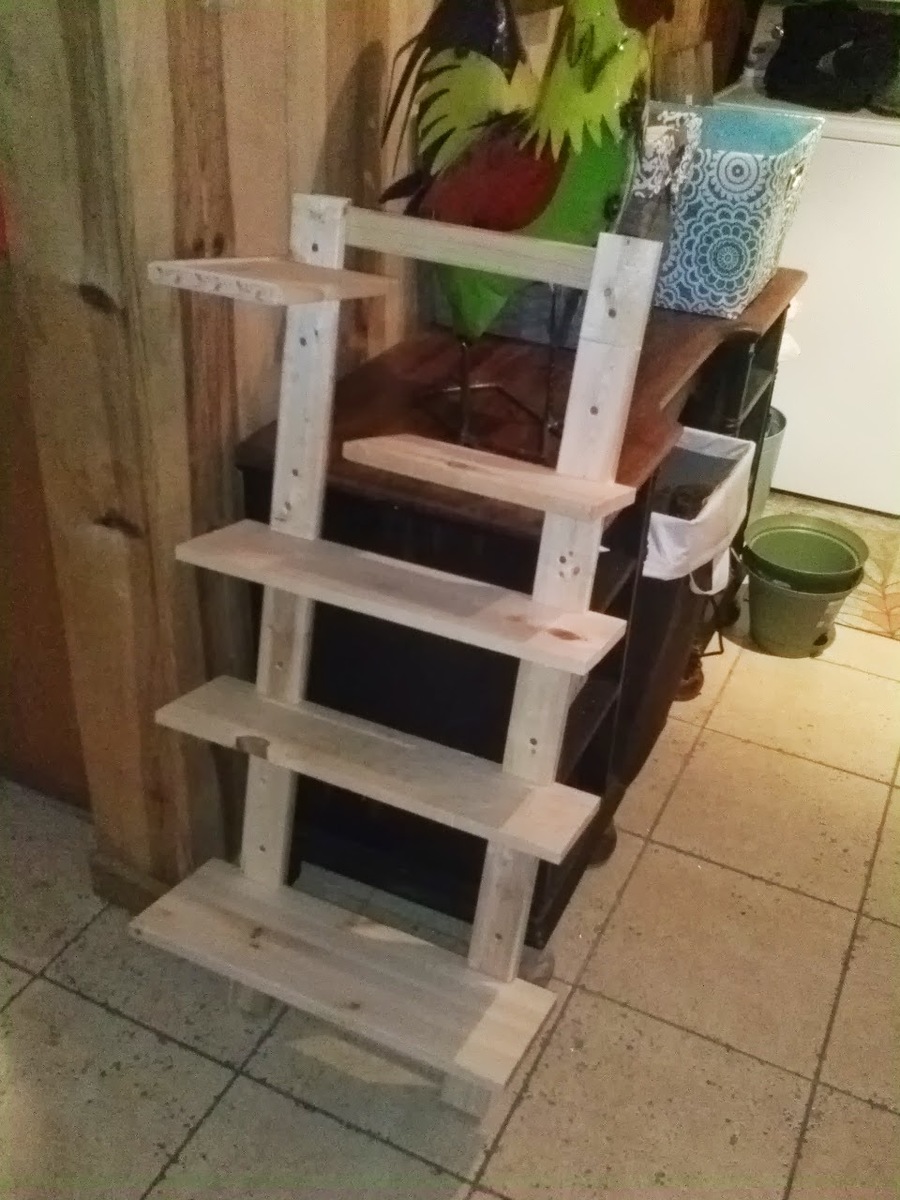
Made these shelves for my mom.
