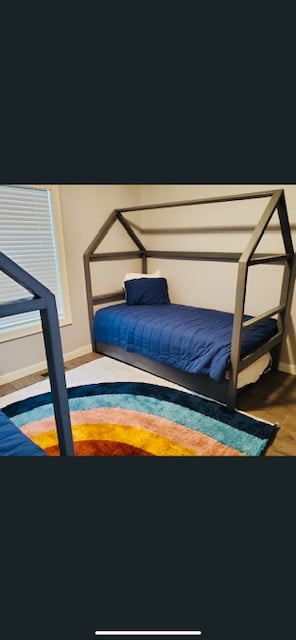
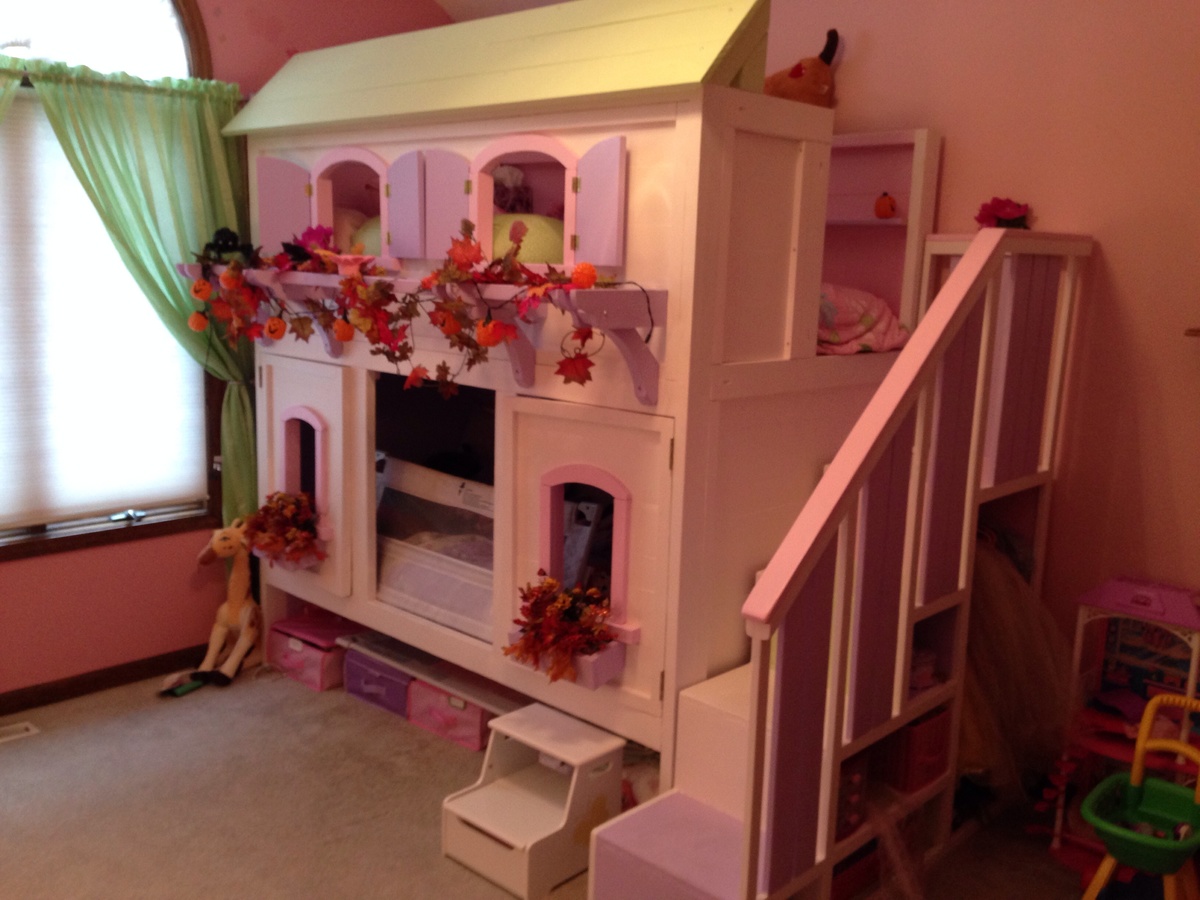
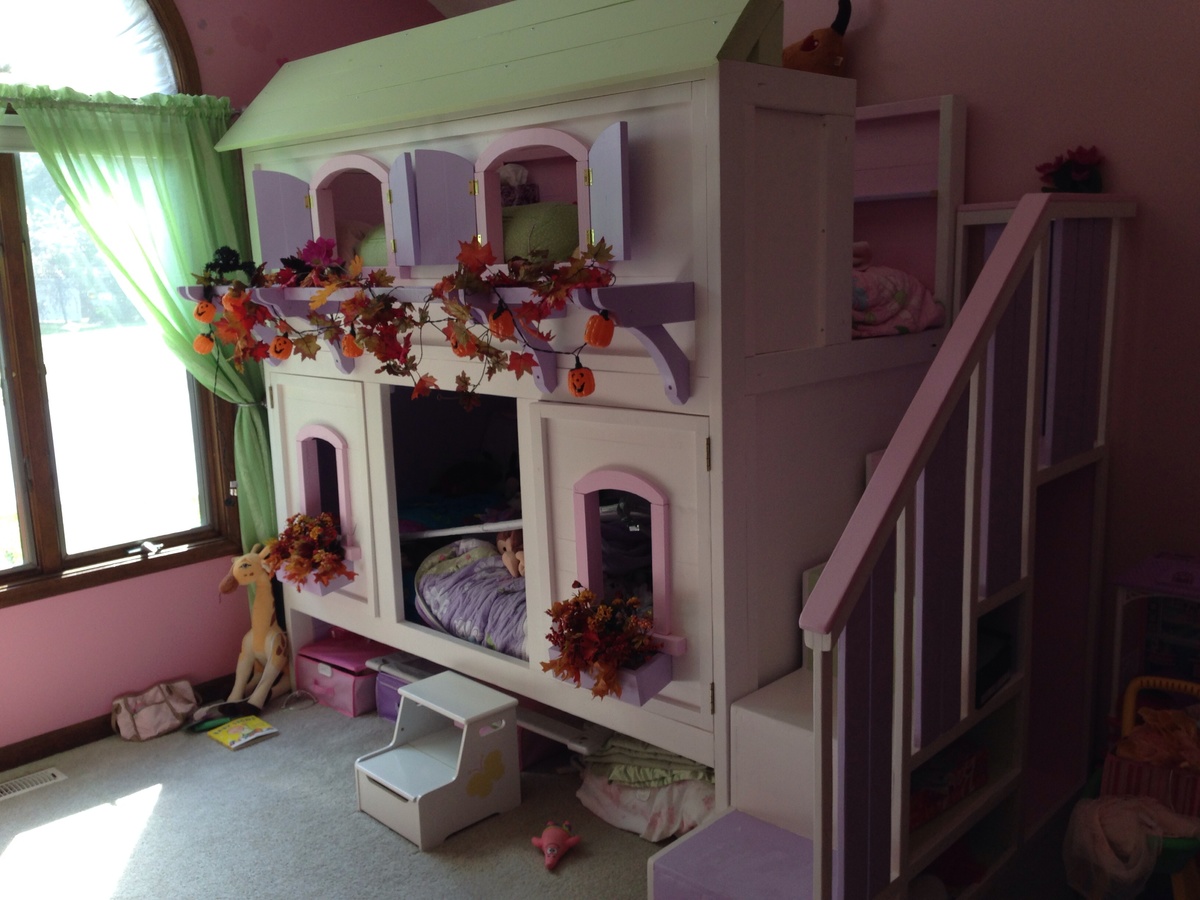
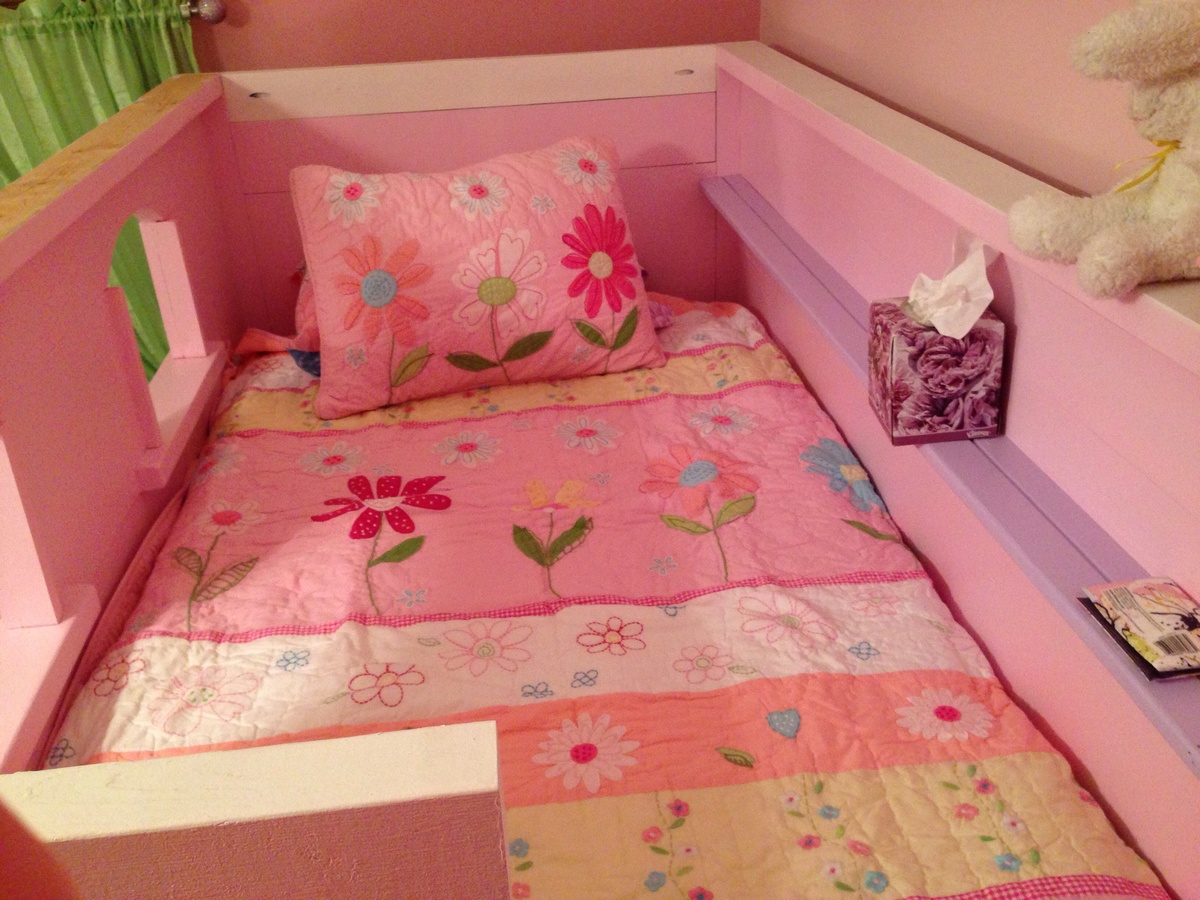
Ella's Doll Bed
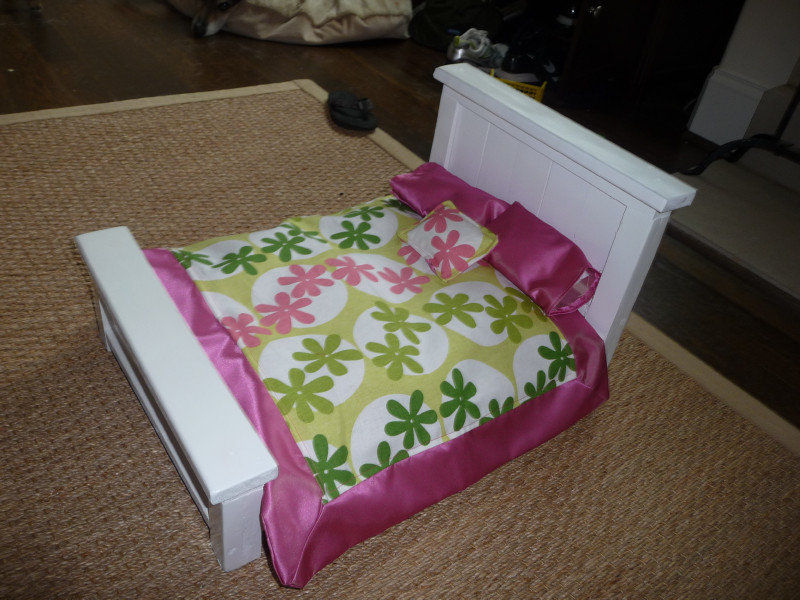
Just finished the American girl farmhouse bed for my sweet niece's birthday & she loved it! The best thing was that it was made totally from scraps and paint on hand - only had to spend $6 for the fabric!
Built from Plan(s)
Estimated Time Investment
Afternoon Project (3-6 Hours)
Finish Used
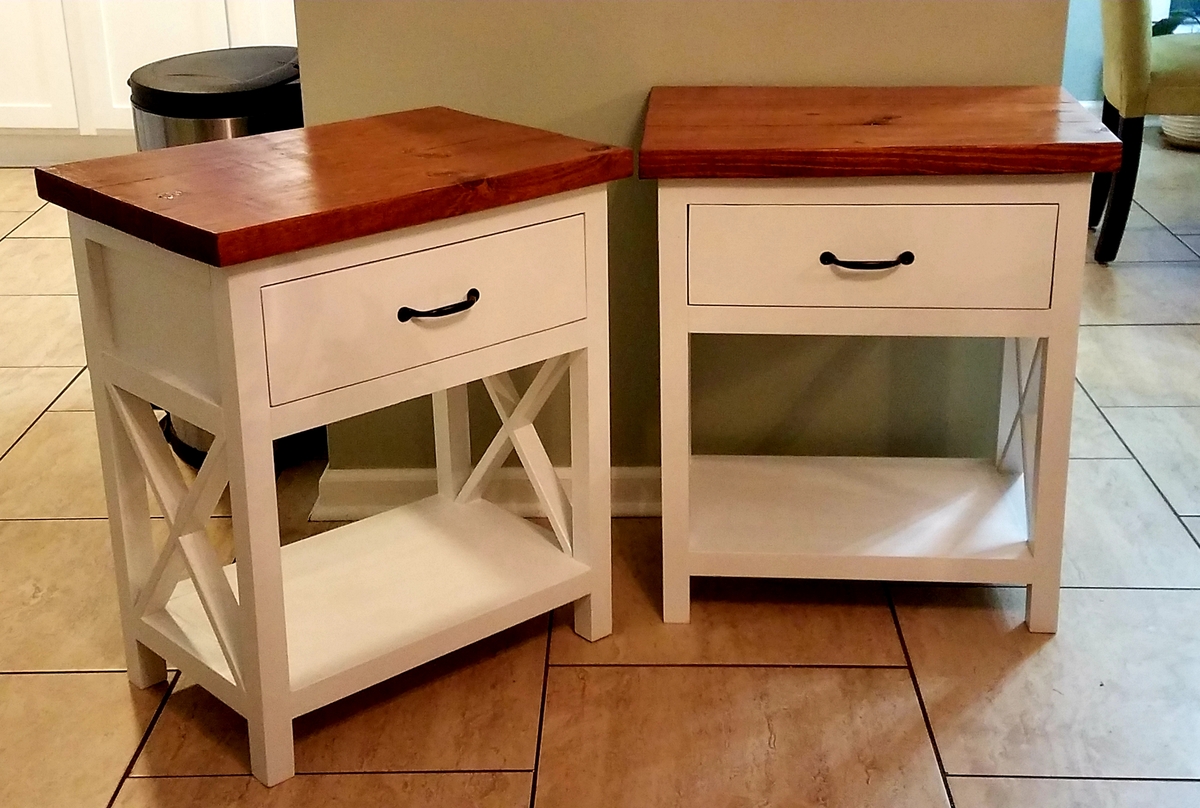
white spray primer; Gloss white spray paint
Recommended Skill Level
Beginner