Community Brag Posts

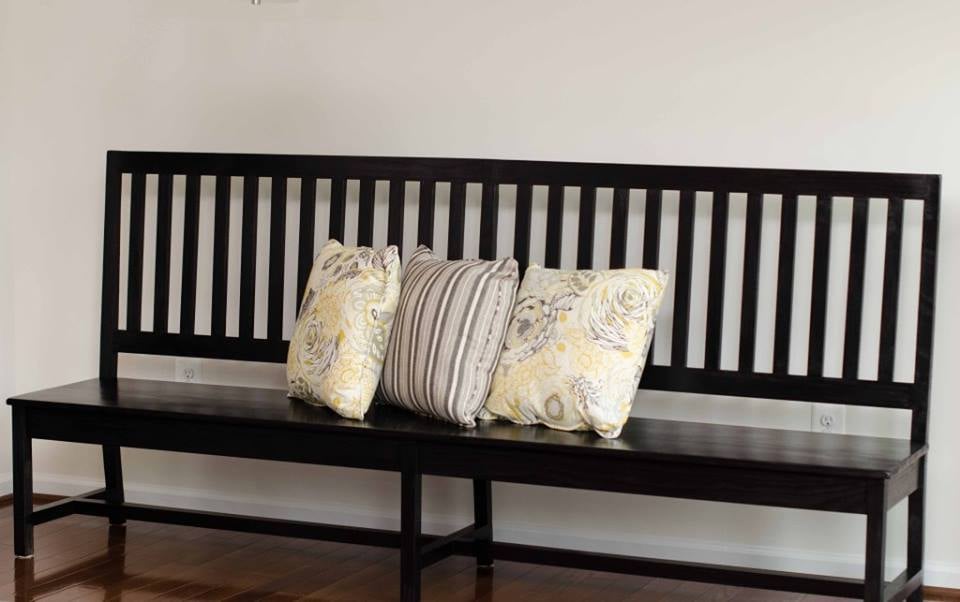
Extra Long Bench

Submitted by lrsummers on Thu, 09/18/2014 - 10:37

This was a custom build for a friend. It's nearly 8 feet long and I used the plans from the classic chair made simple for the back legs and support for the seat. Everything else was customized to fit her needs. =) Lots and lots and lots of pocket holes but this piece turned out better than what was pictured in my head! 

Built from Plan(s)
Estimated Time Investment
Week Long Project (20 Hours or More)
Finish Used
Rustoleum black in Satin
Recommended Skill Level
Intermediate

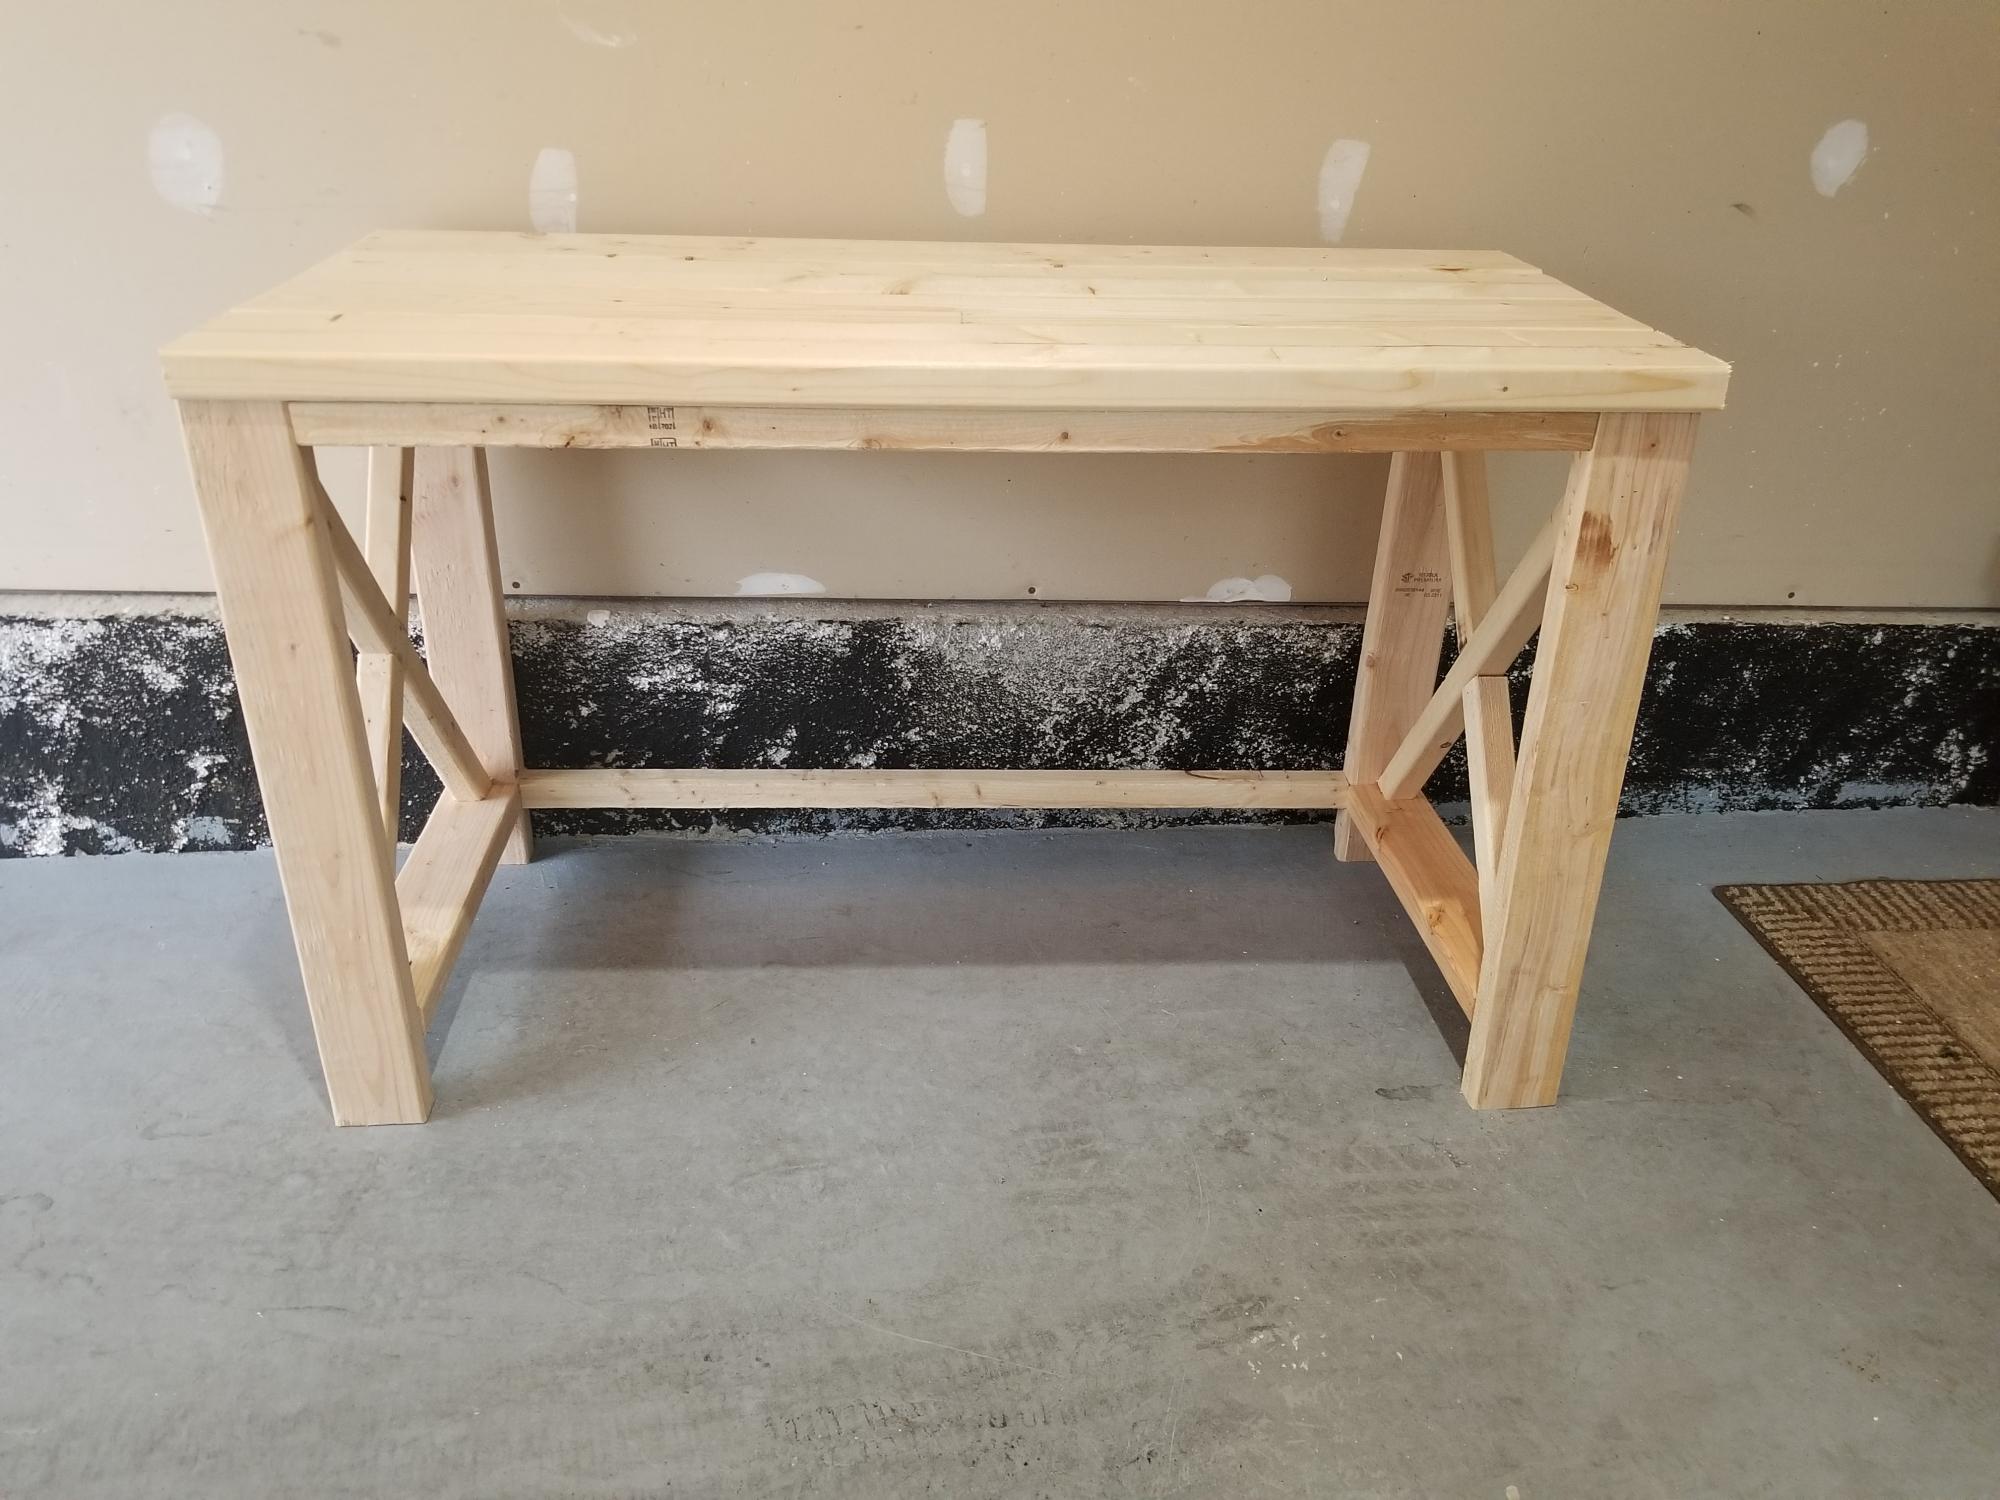
Modified Farmhouse Desk

Submitted by AhmaNaz on Thu, 09/17/2020 - 10:04

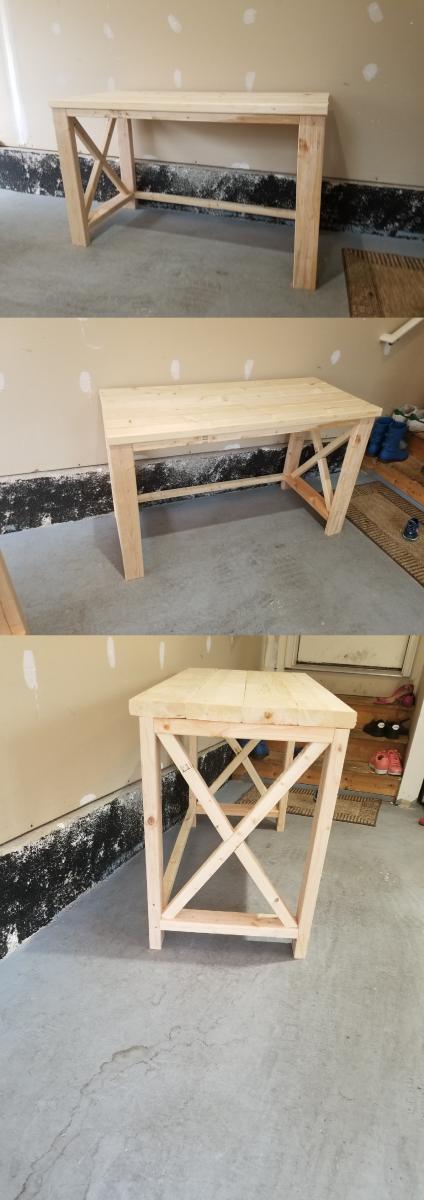
Desk for my sis, build on out of state visit. Left raw for her to finish. The X was a character builder as I only had my circular saw and my first time but decent enough lol

Built from Plan(s)
Estimated Time Investment
Afternoon Project (3-6 Hours)
Finish Used
Raw
Recommended Skill Level
Intermediate

Comments

Home Shiplap Fireplace Update

Submitted by Anonymous (not verified) on Tue, 10/08/2024 - 11:58

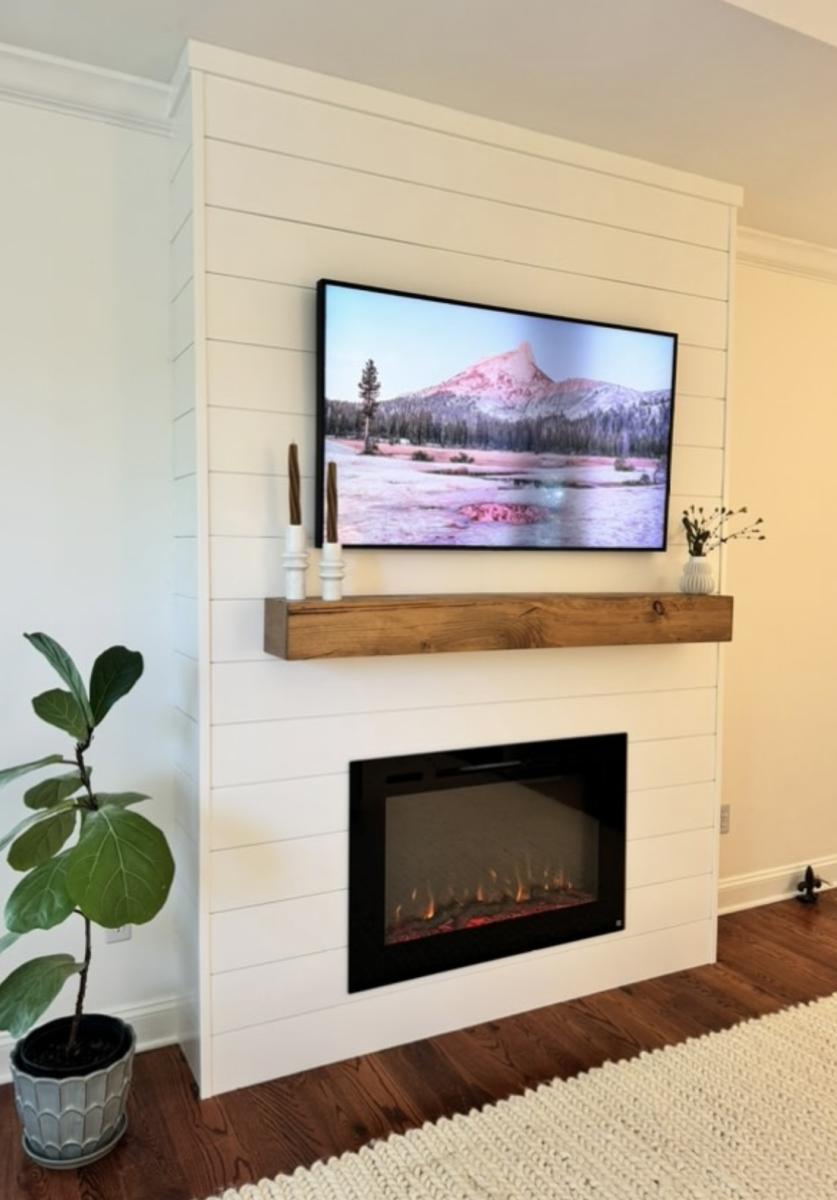
"My husband came up with the idea to build a bump-out fireplace to elevate our master bedroom space… and I’m so proud of him for executing it perfectly we can’t wait to relax here as the weather gets cooler. While contractors have quoted a job like this at $3000-4000+, we spent around $1250 doing the work ourselves (this includes wood, shiplap, paint supplies, electric fireplace, mantle, and recessed TV mount - we used a frame TV we already own)." - Carsonsays_ on Instagram

Cedar Compost Bins

Submitted by AmyJM on Fri, 12/07/2012 - 18:27

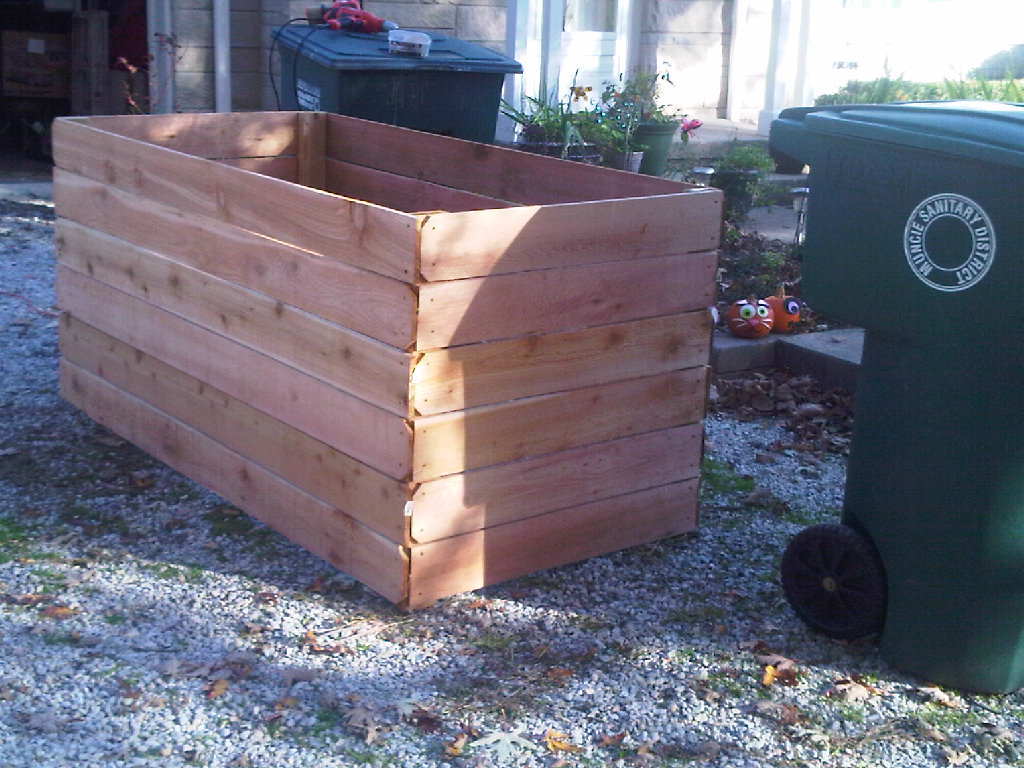
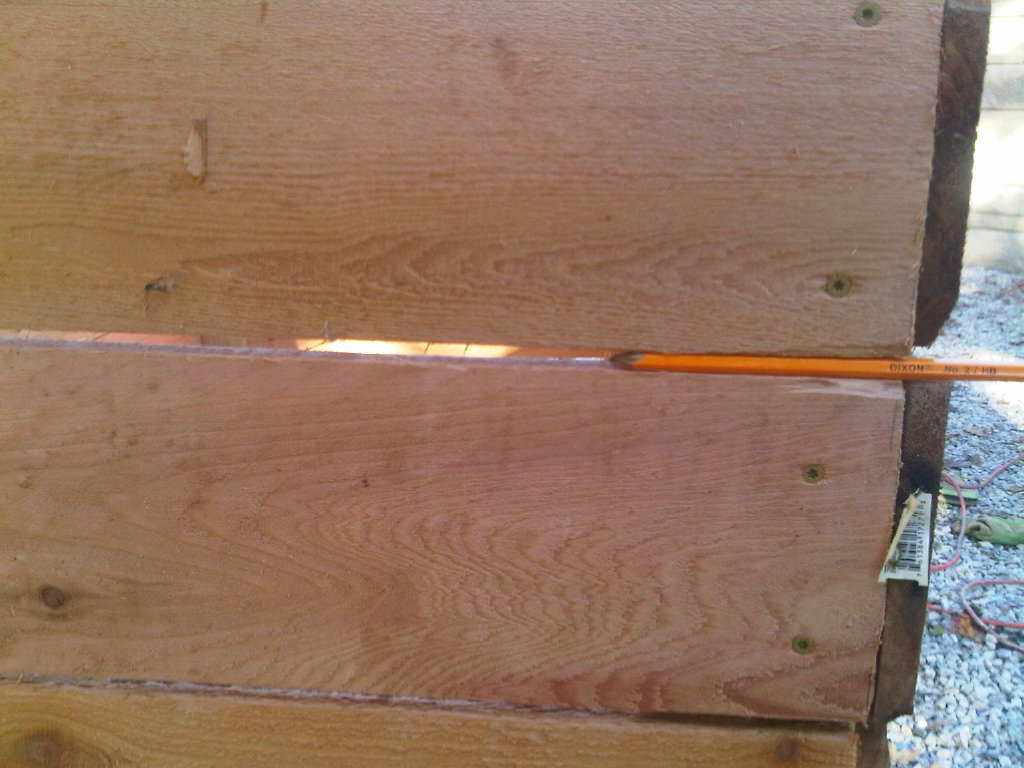
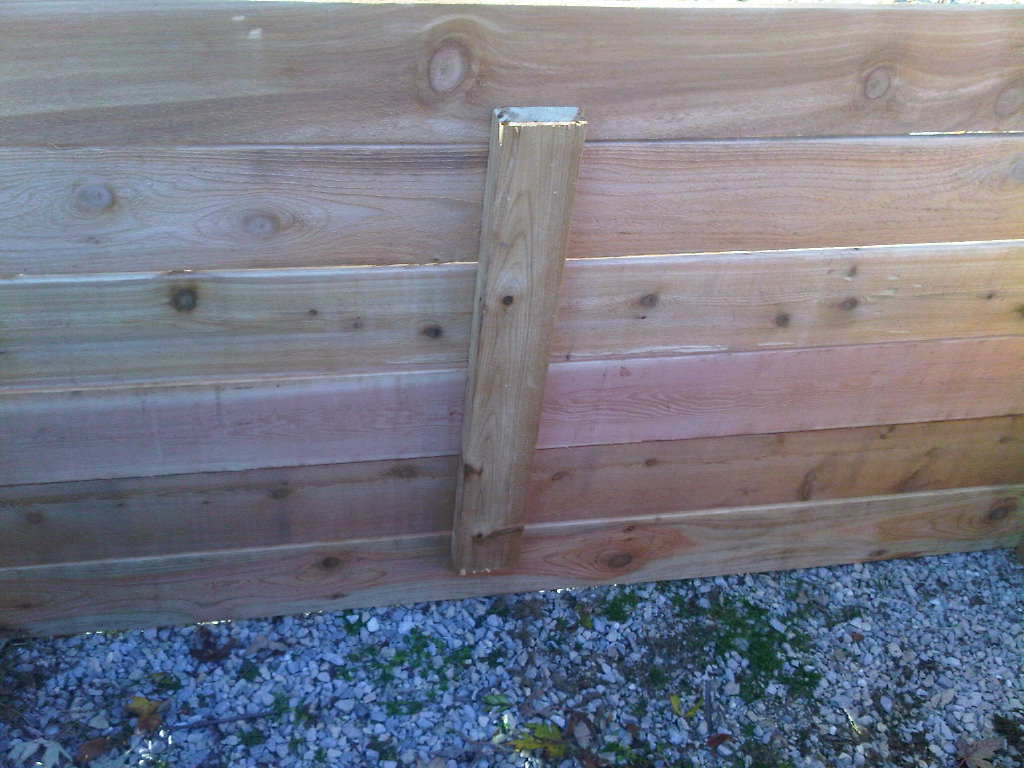
For this project, I used 6 foot cedar fence posts and 8 foot cedar 2x4s. I used a pencil to space the boards and allow extra air flow. More space between boards is acceptable - even to the extent of dropping off one full board and putting an inch between each side rail.

Another option is to make your sides interlocking layers, one or two boards high - http://cedarstackingcompostbin.blogspot.com/

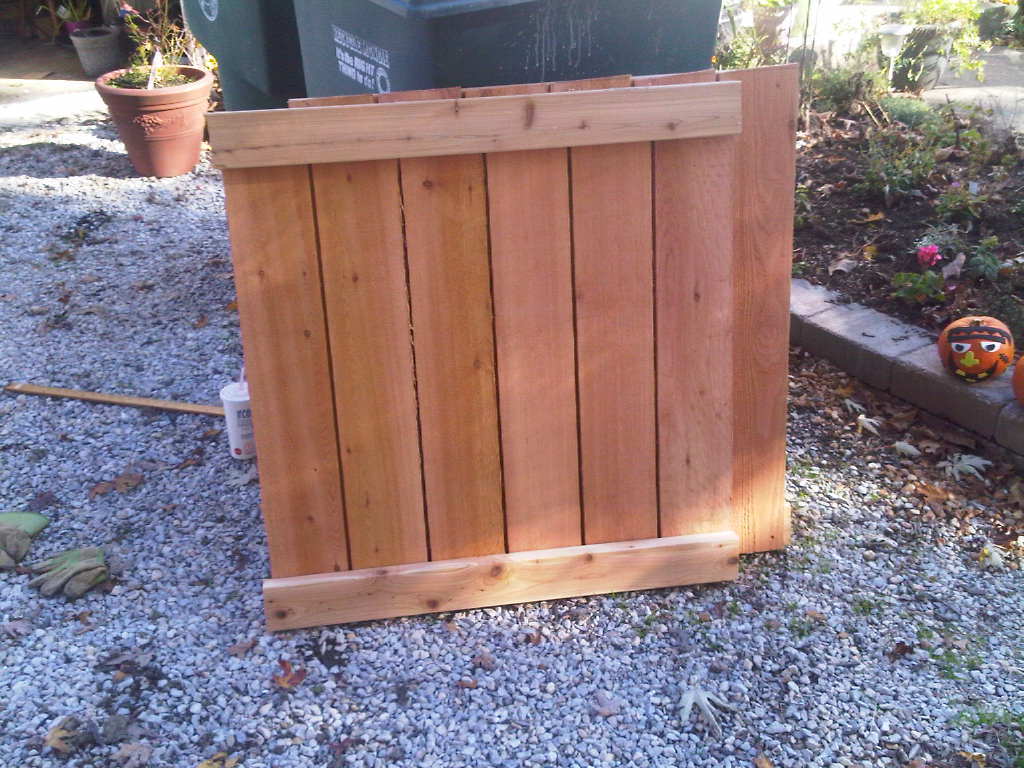
Since I am composting large amounts of leaves and grass clippings, mine is made in one piece. I don't turn my pile often - when I do, I can either lift the whole thing up or move the pile from side to side. I cut the 2x8x8 posts - cut a 3 foot length off of each end. Save the 2 foot center piece to brace the long sides. Affix your 1/2 (3 foot side) and full fence (6 foot side) boards to the 2x4, leaving the desired gap between each board. Affix each board with 2 weather proof screws - I used coated deck screws.

Attach the vertical posts to the inside of the cedar fence boards, including the short 2 foot boards that are just long enough to brace the long sides. I alternated the dog eared sides, so that each corner had one flat and one notched board.

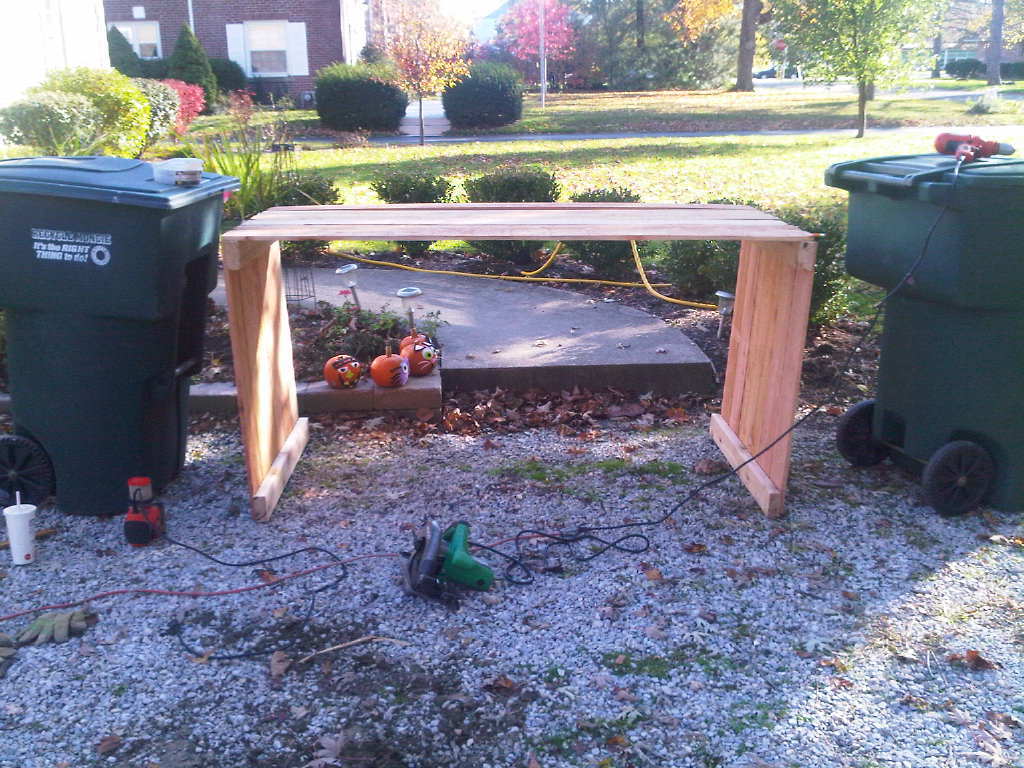
I used 24 cedar fence posts and 16 feet of cedar 2x4. Note, I was able to do this all along. The trash cans acted as supports - no clamps or saw horses needed.
Estimated Cost
$70
Estimated Time Investment
Afternoon Project (3-6 Hours)
Finish Used
Light sanding, no stain
Recommended Skill Level
Starter Project

Comments

AmyJM

Fri, 12/07/2012 - 18:43

This is a little heavy when finished. I can easily flip it over to turn the compost, but after building it and tiring my arms out with the cutting and drilling, it was a long haul to the back yard to position it. You might be happy with a 3x3 bin, in which case, I suggest making it 1 board shorter and leaving wider spaces - if you think through the math, you can probably get it down to 10-12 cedar fence posts and 1 longer 2x4. Cost would be about $35 that way - cheaper than most compost bins.
Gaby Buffet Table

Submitted by zjlawlor on Sat, 09/20/2014 - 10:39

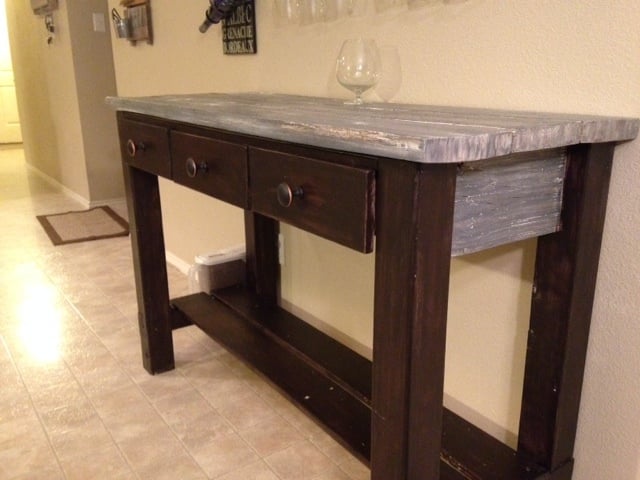
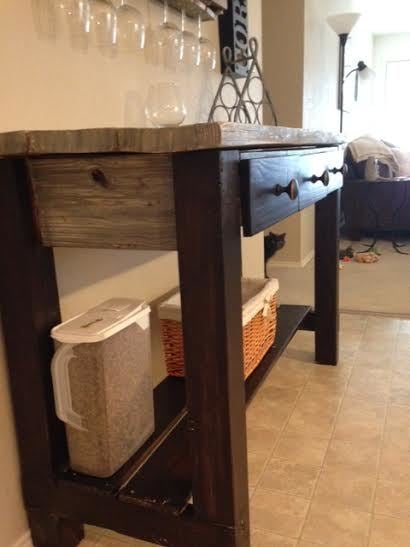
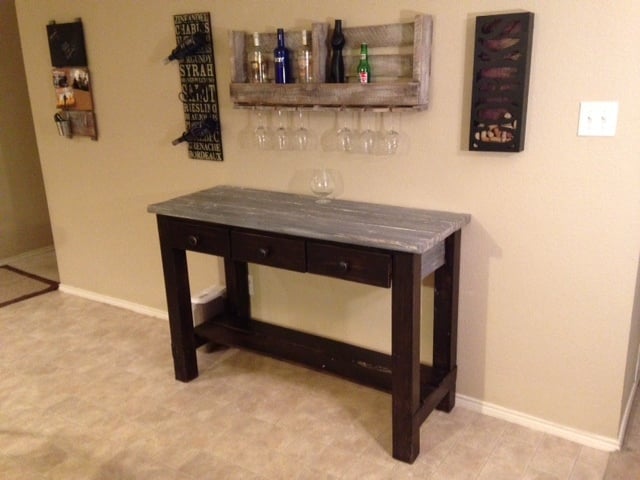
I built this buffet table for our dining room using the Gaby Kitchen Island plans. I used some reclaimed boards I salvaged from a trash pile at work for the top and side aprons. I also used old pallet wood for the bottom shelf boards. This gave it the cool, rustic look I was going for and really helped set it apart. Really fun project. 

Built from Plan(s)
Estimated Cost
Less than 50$ (wood, screws, stain, etc) - I was able to use salvaged wood for much of it and had the tools.
Estimated Time Investment
Weekend Project (10-20 Hours)
Finish Used
Started with light coat of primer, immediately wiping away excess. Dark stain is kona (2 coats) and the top and sides are stained weathered gray (1 coat). We wanted more of the white to show through the grey, and the nature of the reclaimed boards helped with this.
Recommended Skill Level
Beginner

Christmas Present

Submitted by Anonymous (not verified) on Sun, 01/08/2017 - 12:56

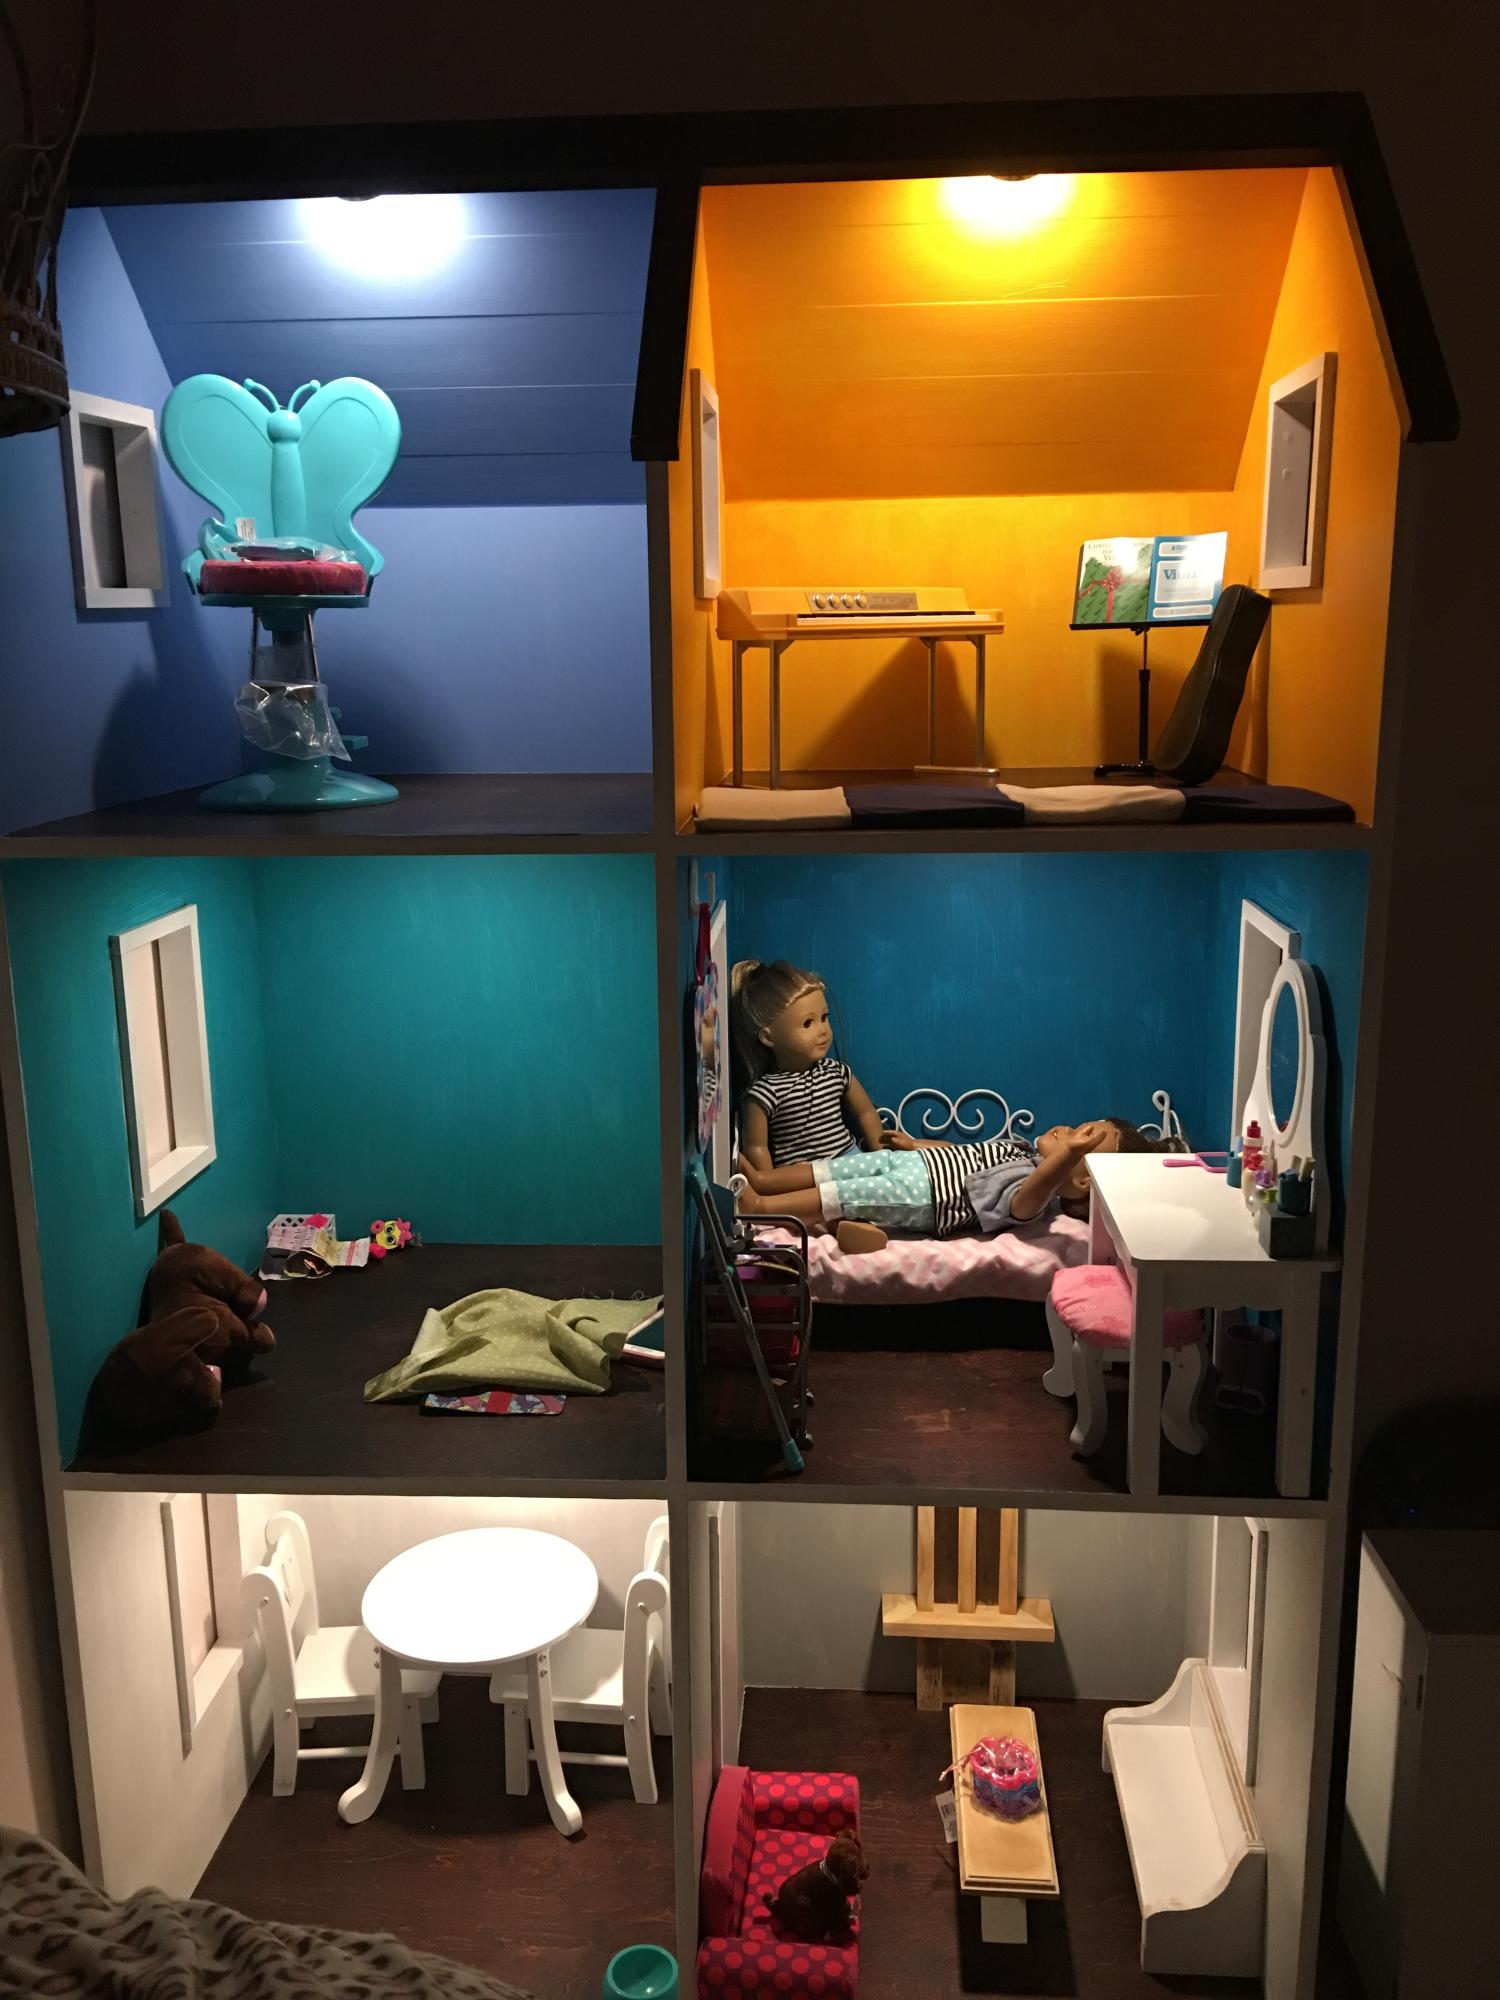
Thank you for the plans. It was a fun build and my girls love it!

Estimated Time Investment
Weekend Project (10-20 Hours)
Finish Used
We used min-wax stain for the floors and major league sports colors for paints from Home Depot. We used flagstaff green for outside paint and textured spray paint for roof. I also added 6 LED lights in the house.
Recommended Skill Level
Intermediate

More Organized Closet Shelving

Submitted by Anonymous (not verified) on Mon, 10/14/2024 - 14:30

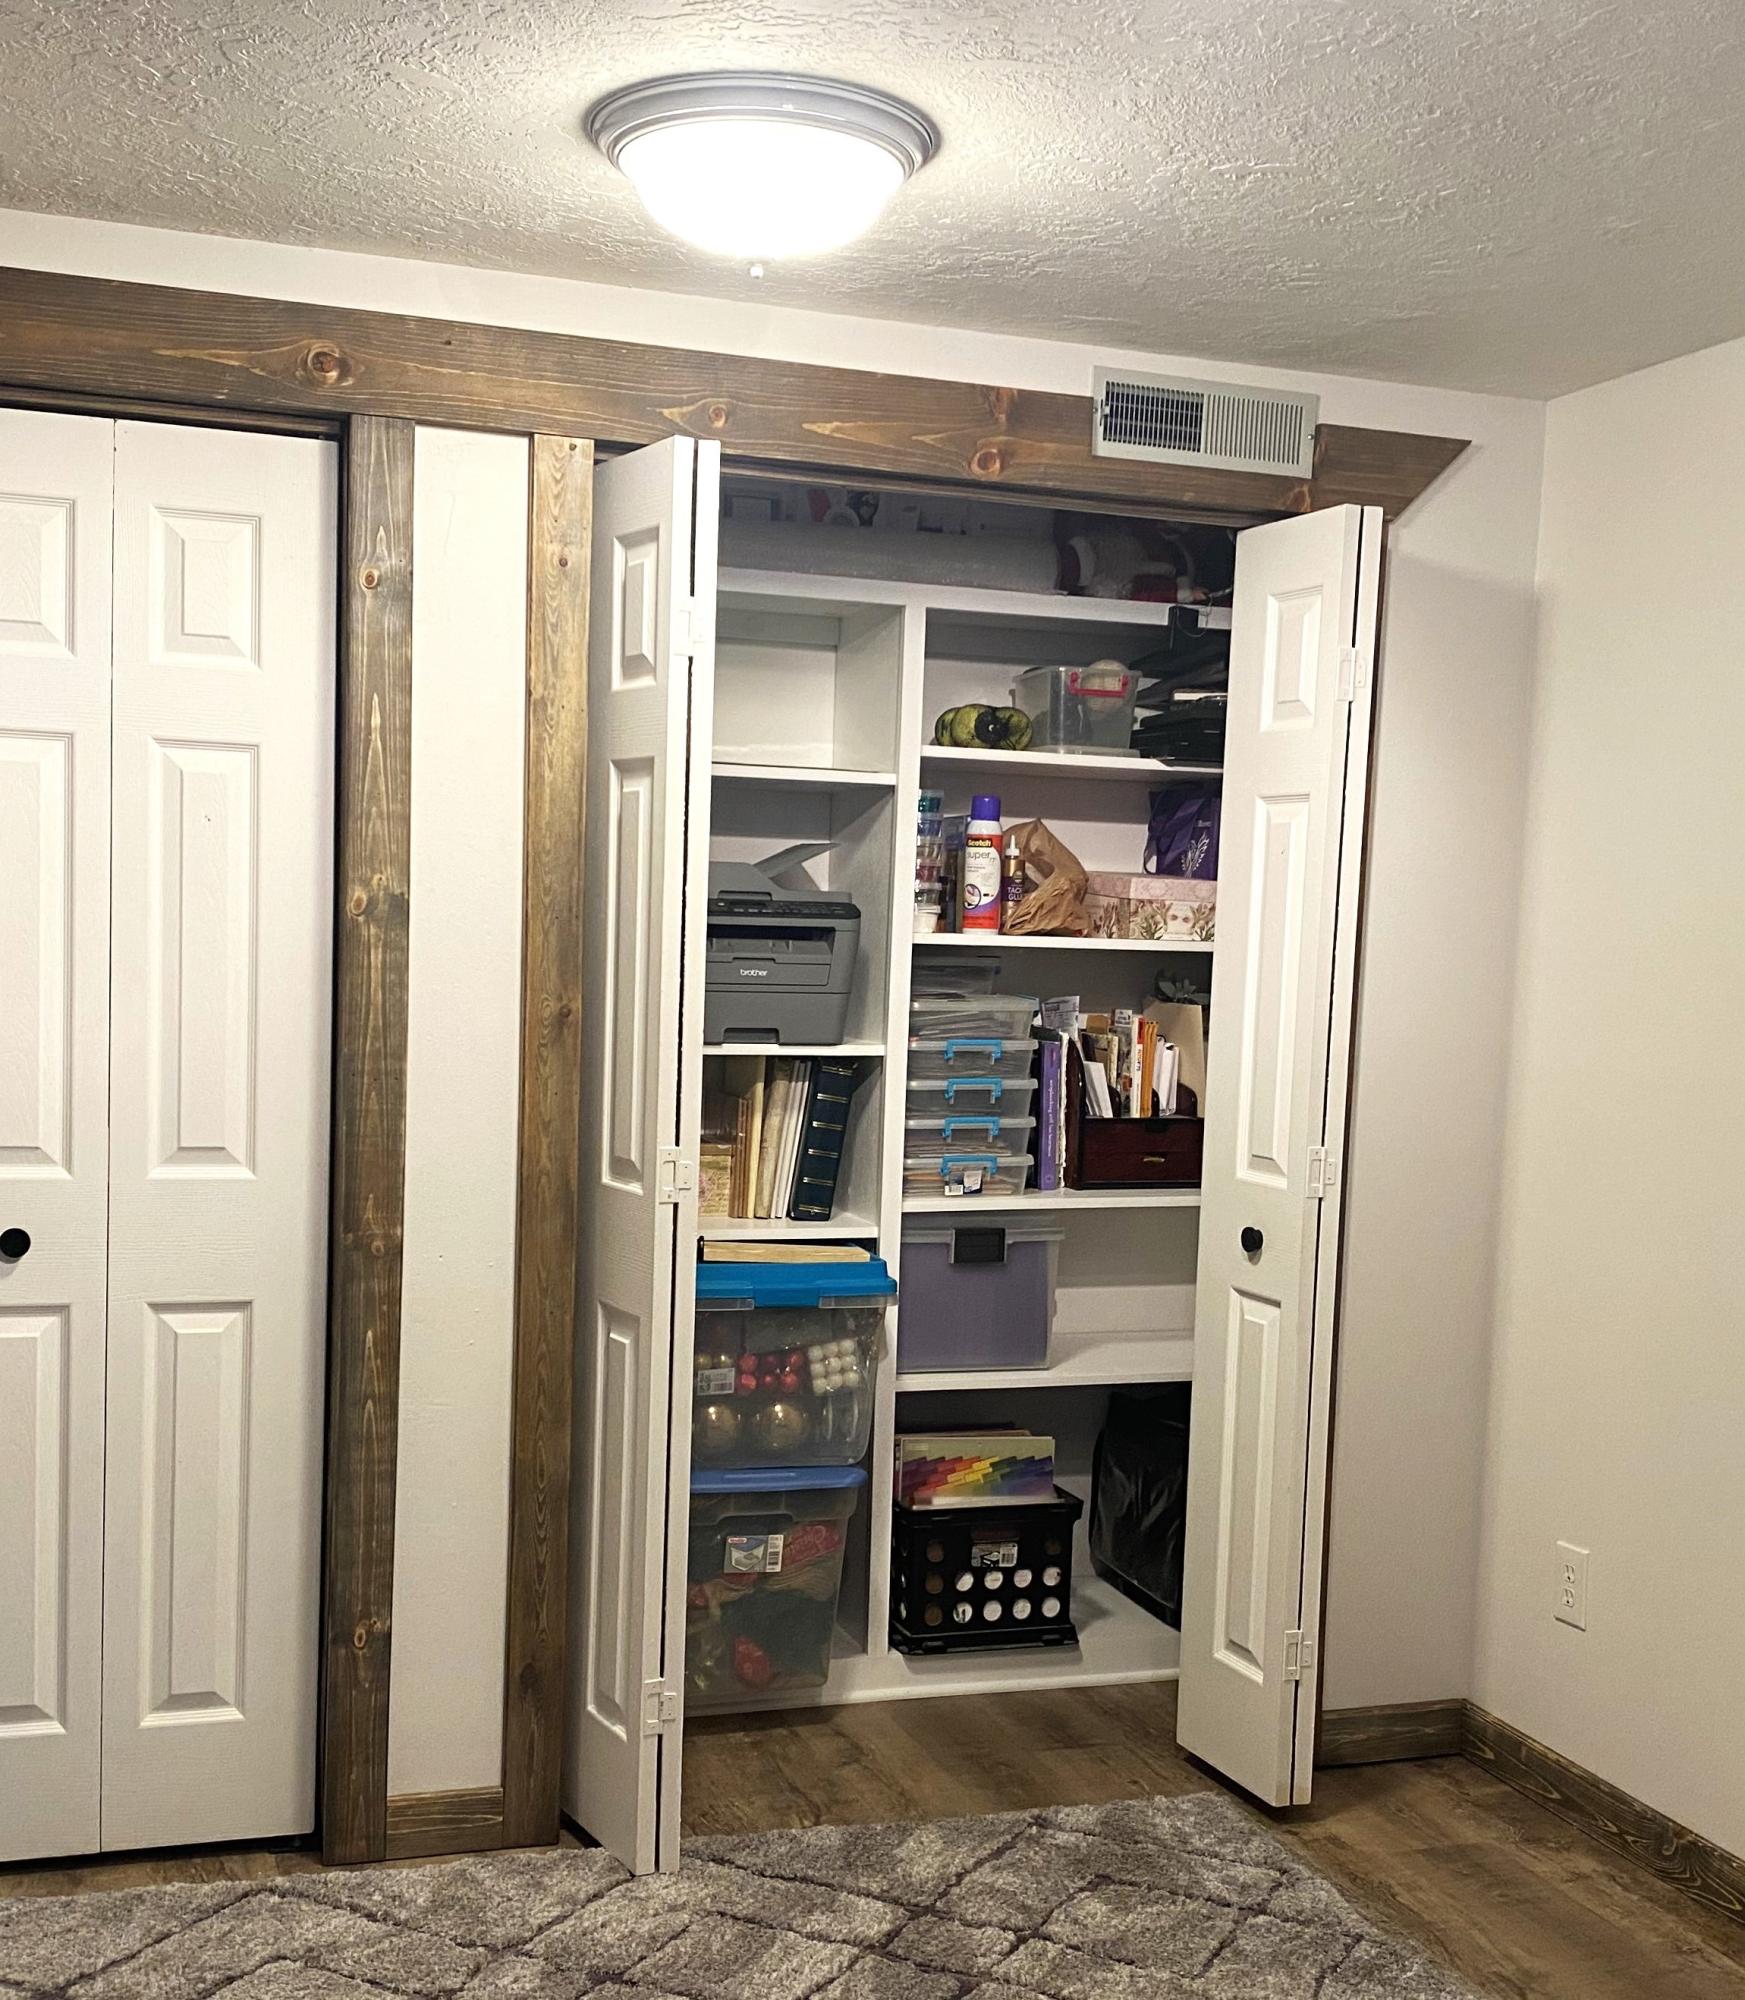
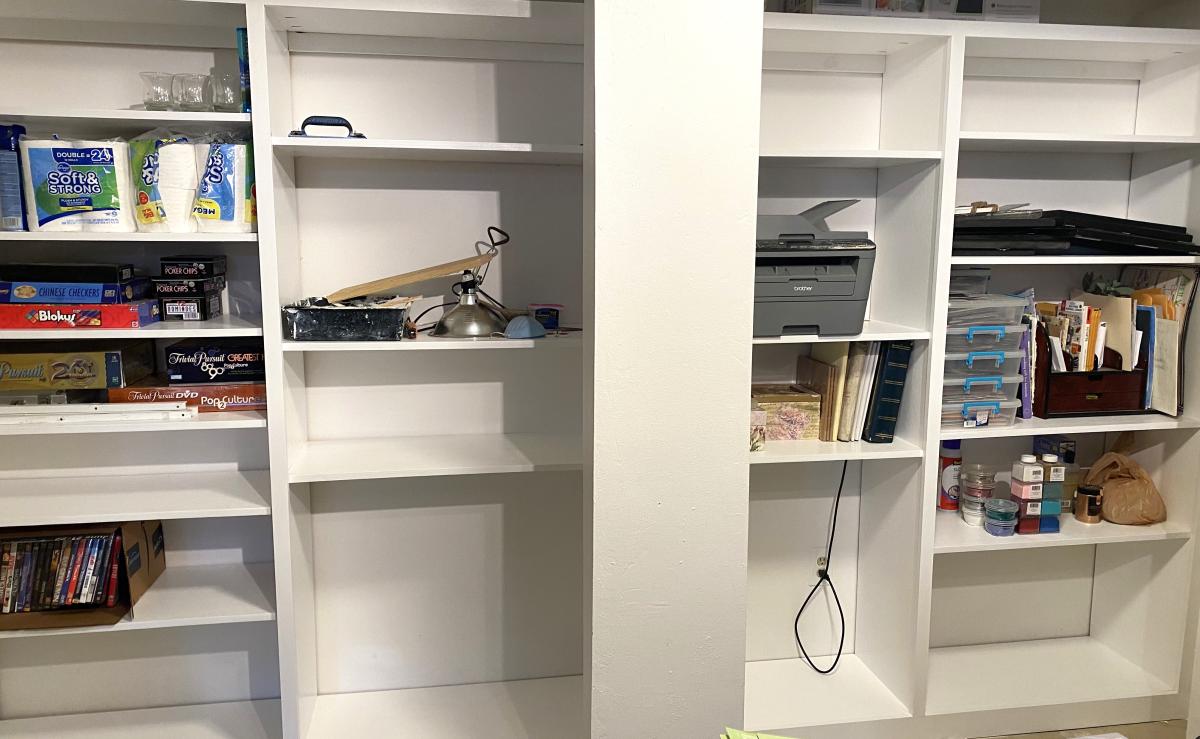
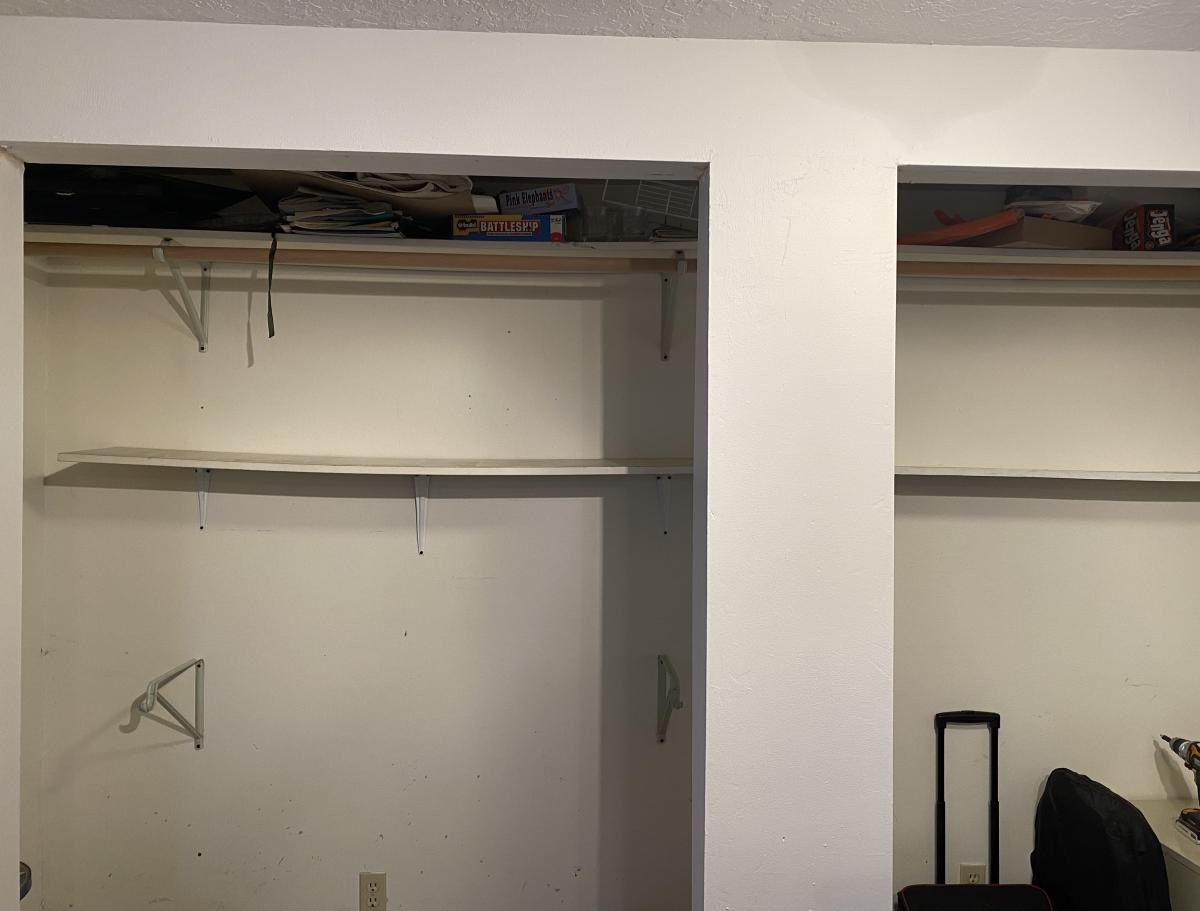
As part of a family room make-over, I wanted to make the large closet more useful. There were three poorly supported shelves that ran the length of the closet and really did not offer great storage options. I used Ana’s free design tool and video for the pantry shelves and built a shelving that is not only very sturdy and useful, but also attractive. Building these shelves tripled the storage capability of this closet.


FREE DESIGN TOOL

Seasonal And Holiday

Tryde Console Table

Submitted by fanofana on Wed, 12/12/2012 - 18:08

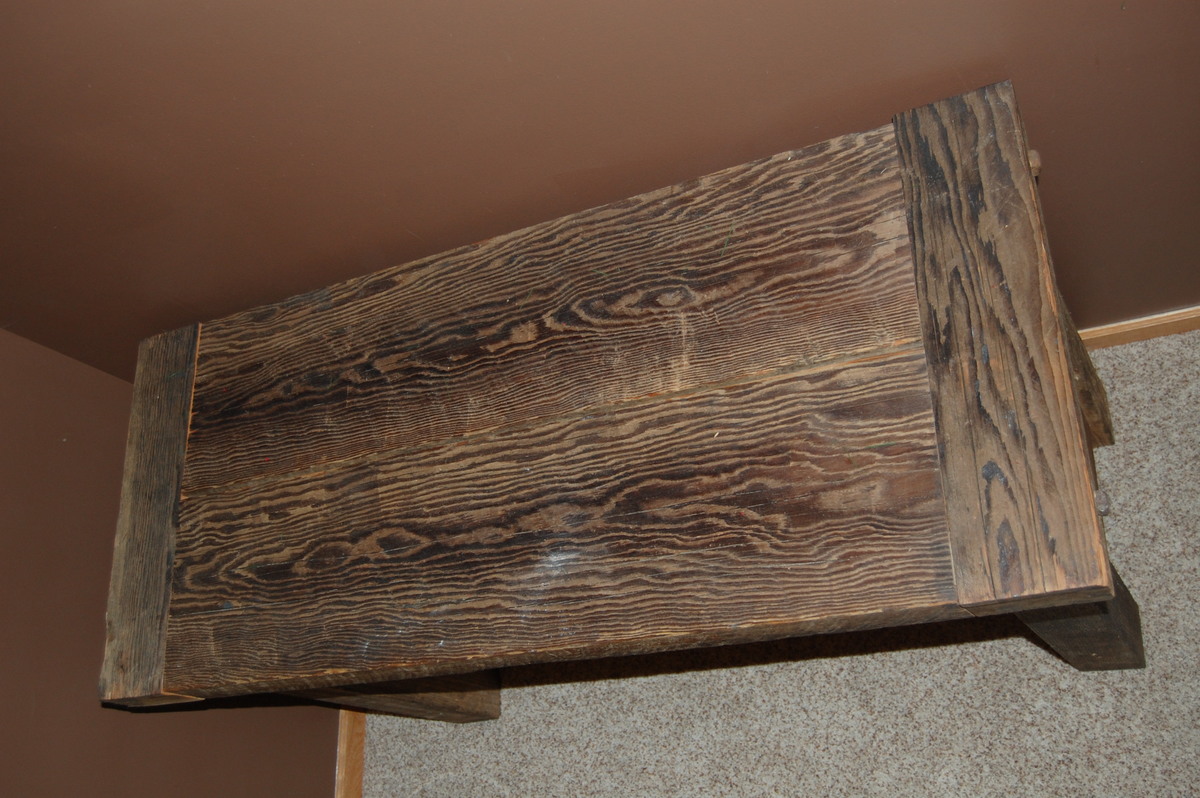
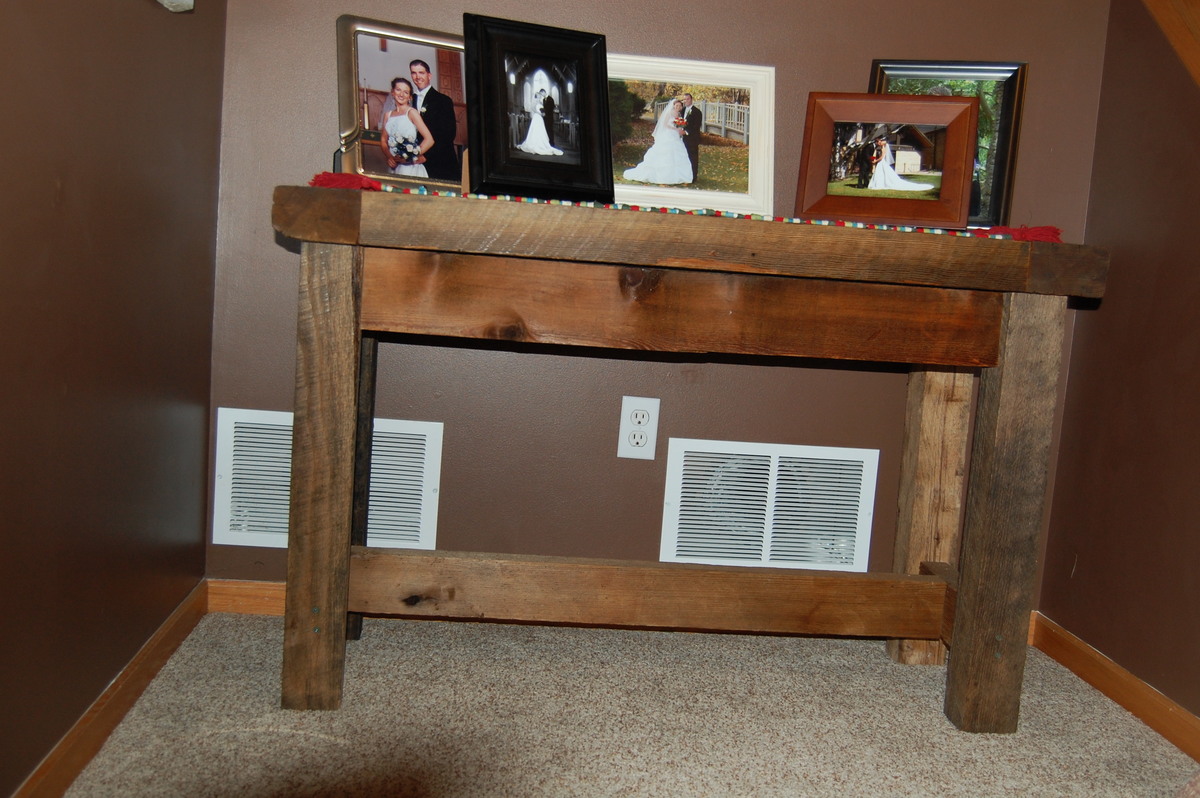
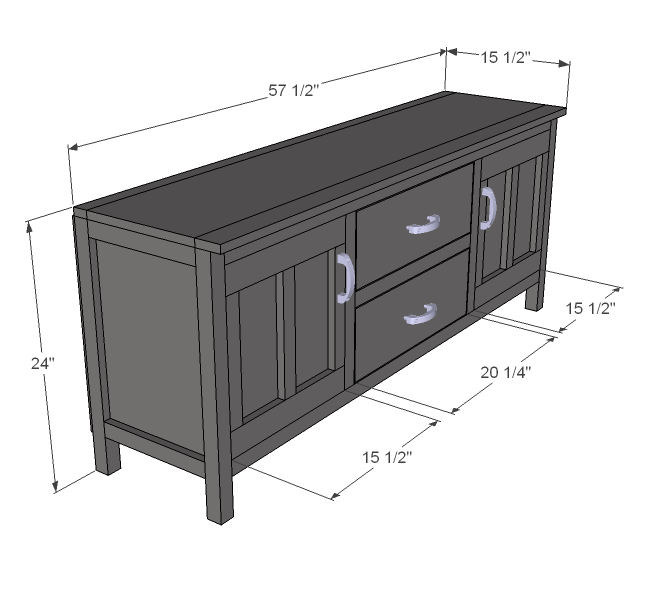
I needed to do something with the empty space at the bottom of our stairs. I was browsing Ana's site and the Tryde Console Table caught my eye. The next trip down to the farm, I scavenged for the wood I would need to build it. I found some beautiful old brigde timbers that were 9 inches wide so we modified the plans a bit to use 2 of the 9" boards instead of the 4 smaller ones the plans call for. The dimensions were close but we needed to tweak the rest of the project a bit as well to make it all work. For the finish, I just rubbed it with Tung Oil as to not cover up the beauty of the old wood.
Built from Plan(s)
Estimated Cost
$20! I used reclaimed wood so I only had to pay for the finish.
Estimated Time Investment
Day Project (6-9 Hours)
Finish Used
Tung Oil
Recommended Skill Level
Beginner

Comments

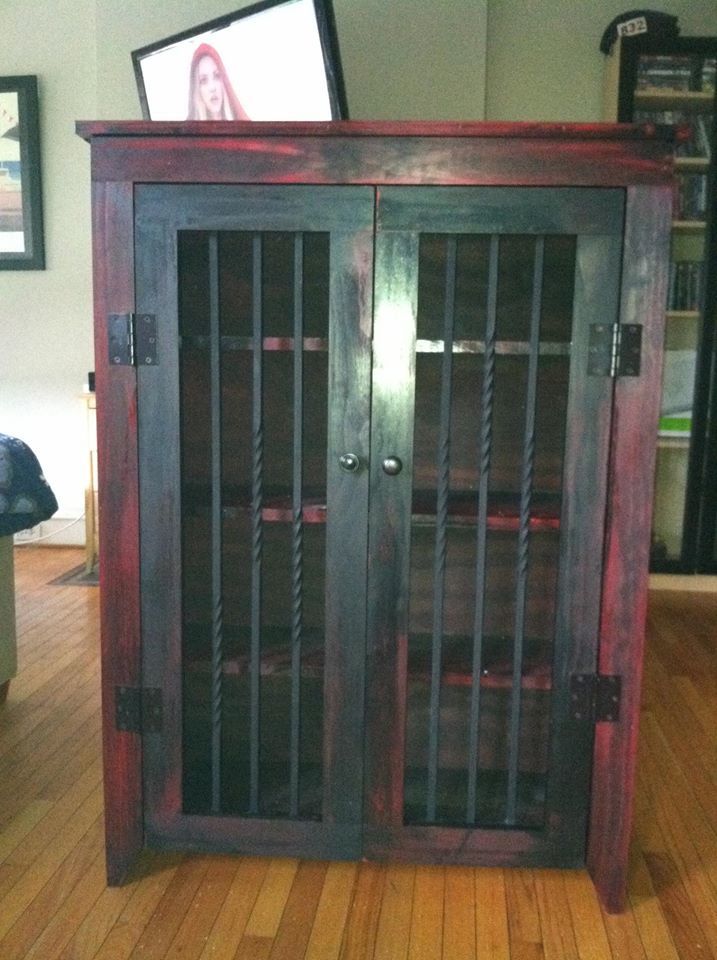
Entertainment jelly jar cabinet

Submitted by rmckenna12 on Tue, 09/23/2014 - 12:39

This was a weekend project , lots of fun !

Built from Plan(s)
Estimated Time Investment
Day Project (6-9 Hours)
Finish Used
red spray paint and black stain
Recommended Skill Level
Starter Project

Comments

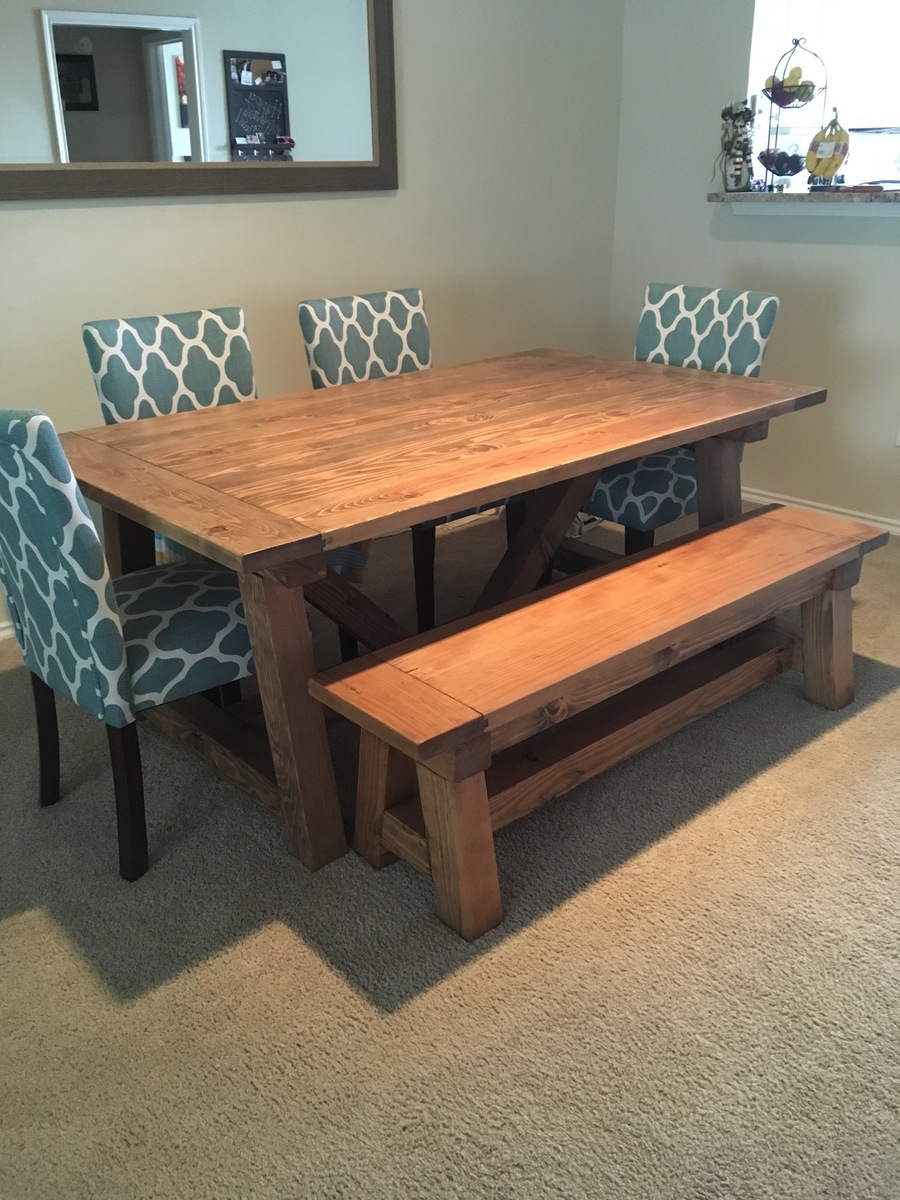
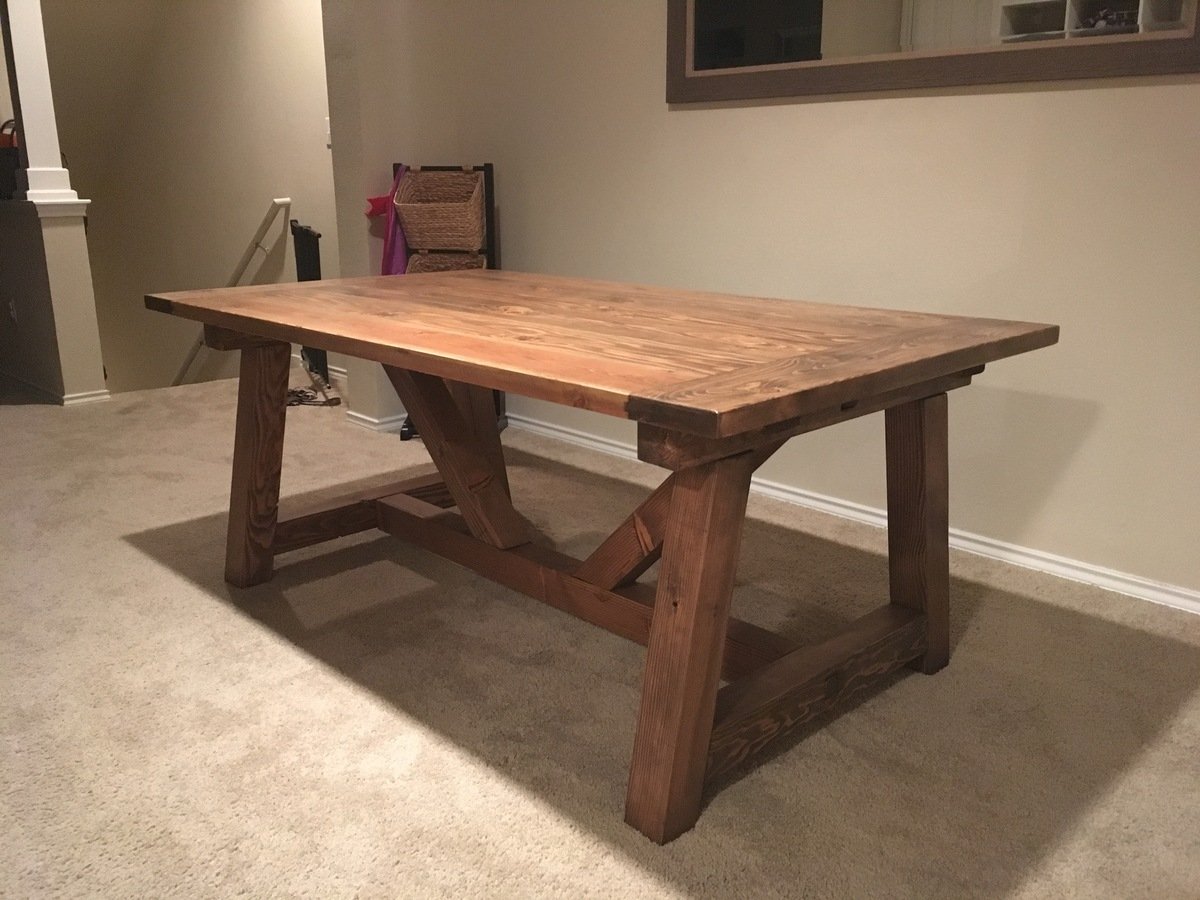
4x4 truss beam table - working breadboard ends and matching bench

Submitted by Anonymous (not verified) on Mon, 01/09/2017 - 16:17

mortise and tenon joints with dado for breadboards

Built from Plan(s)
Estimated Cost
$300
Estimated Time Investment
Week Long Project (20 Hours or More)
Finish Used
Custom stain mix
Recommended Skill Level
Advanced

Comments

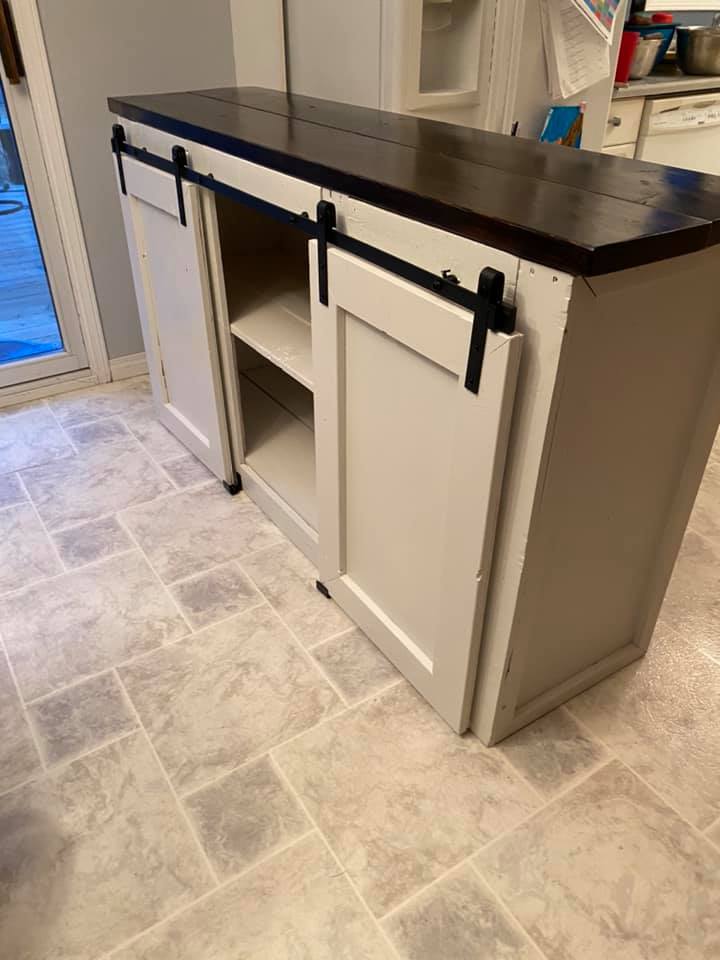
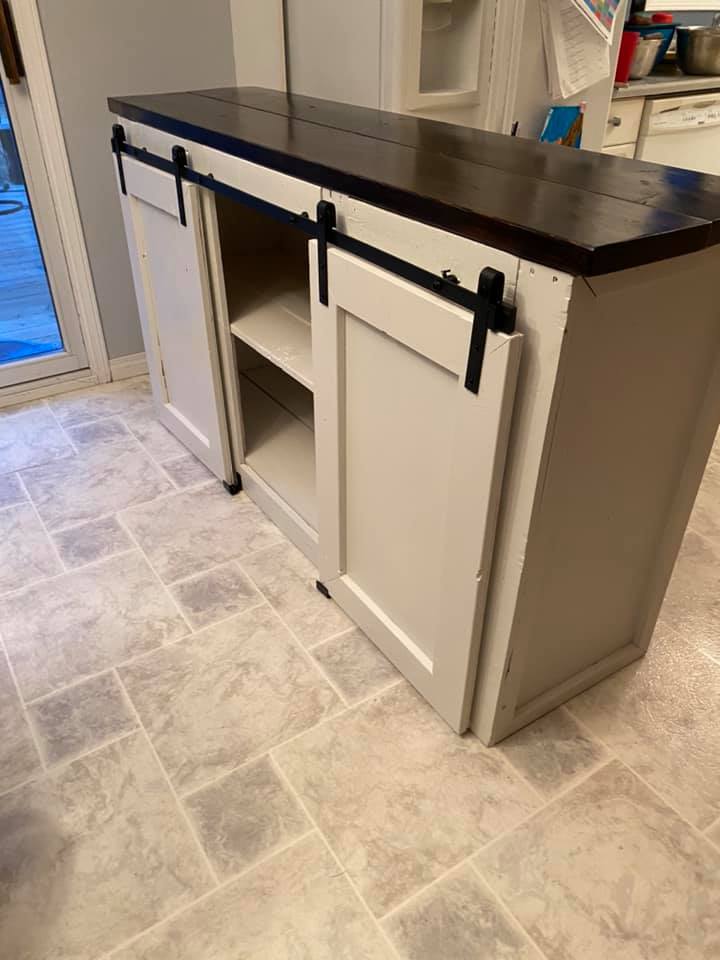
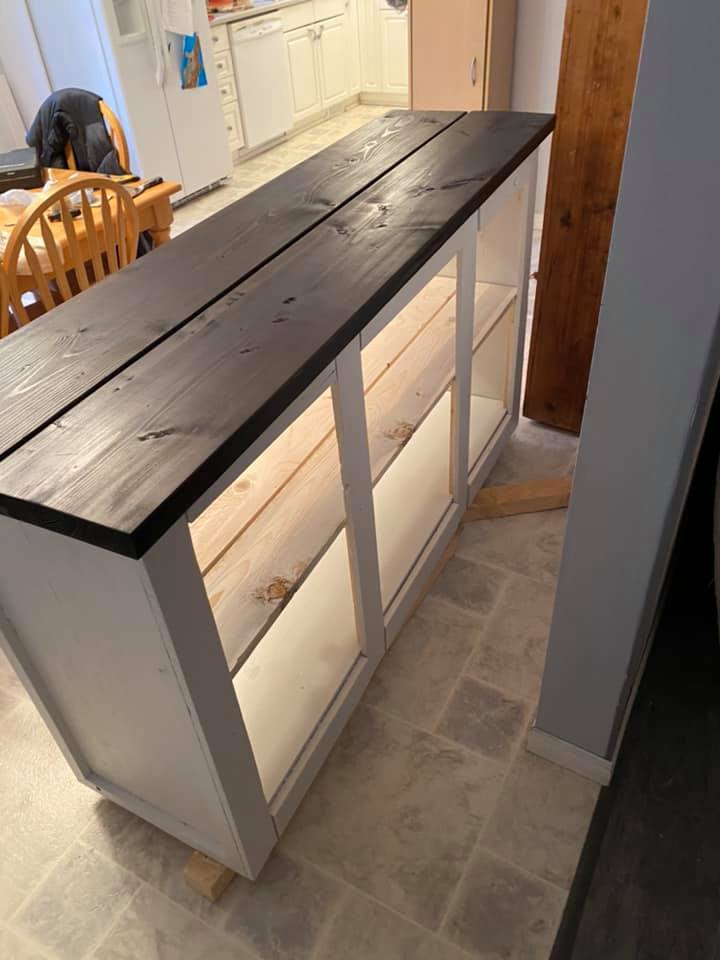
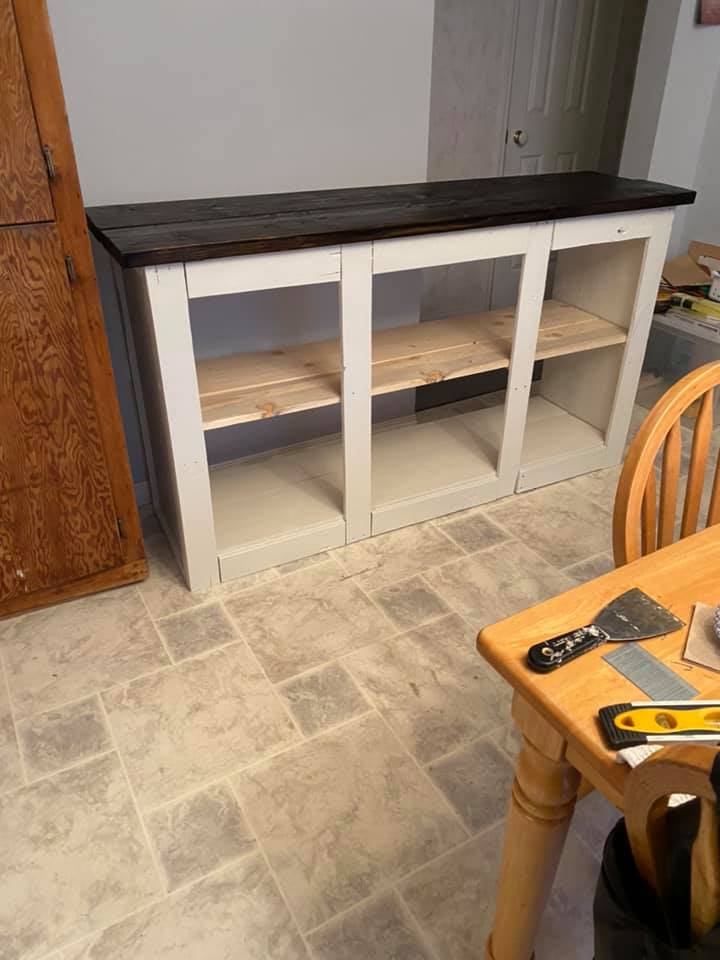
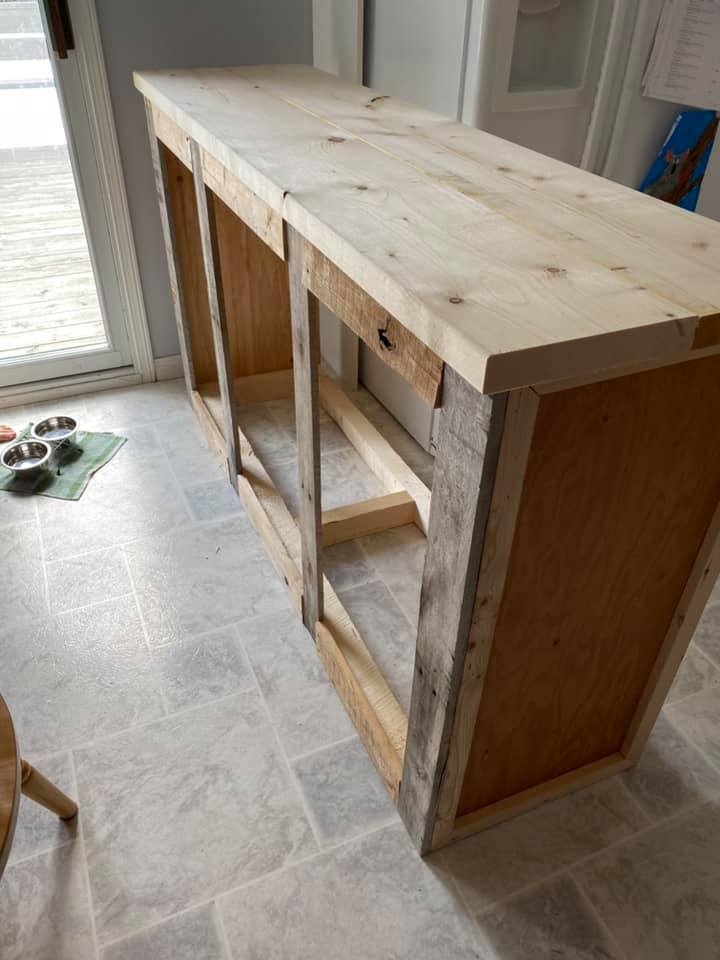
Barn Door Console - 3 Door

Submitted by REDCANVAS on Tue, 09/22/2020 - 17:00

Love this barn door console cabinet made from rough lumber and some old pallet wood. Sanded and painted for about $160 Canadian dollars. Modified plans to fit a specific spot. Thanks for the plans!

Built from Plan(s)
Estimated Cost
$160
Finish Used
Beautitone Worn Cedar
Minwax Dark Walnut
Polycrylic

Comments

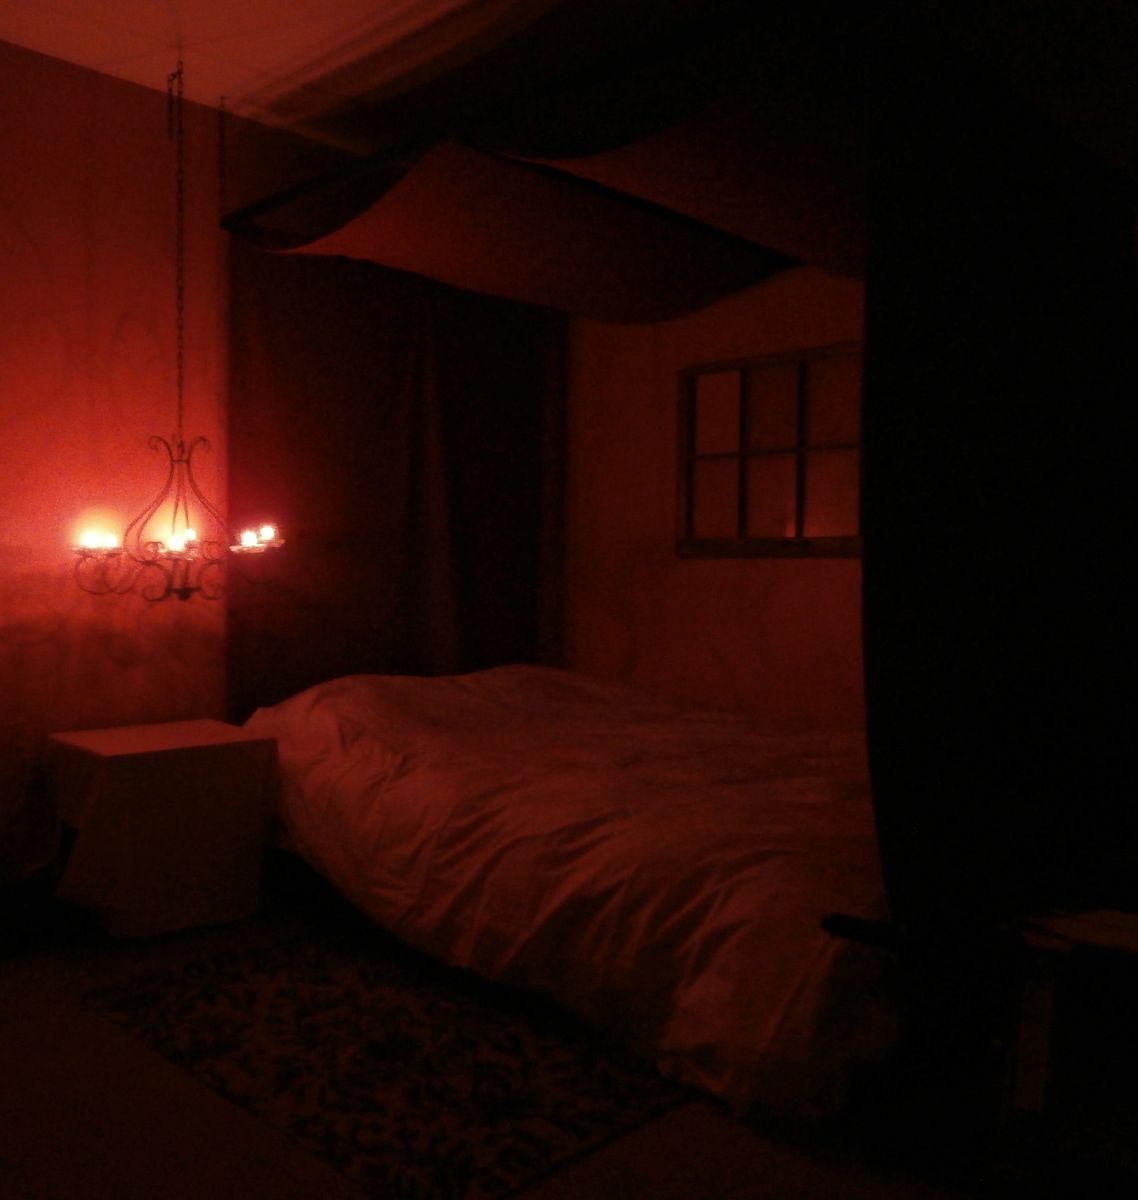
Chestwick Queen Platform Bed

Chestwick queen platform bed! My first building project ever! Altered slightly from original plans in that I left the feet off so it sits on the ground. Added a canopy that hangs from the ceiling. The chandelier is an antique from Great Barrington, MA that I found at an antique shop while hiking the Appalachian Trail. Took the wiring out and sprayed it black. Now it's rigged to use with candles for a super-romantic look. :)

http://ana-white.com/2012/06/chestwick-queen-bed

Estimated Time Investment
Weekend Project (10-20 Hours)
Finish Used
Rustoleum Kona
Recommended Skill Level
Beginner

Comments

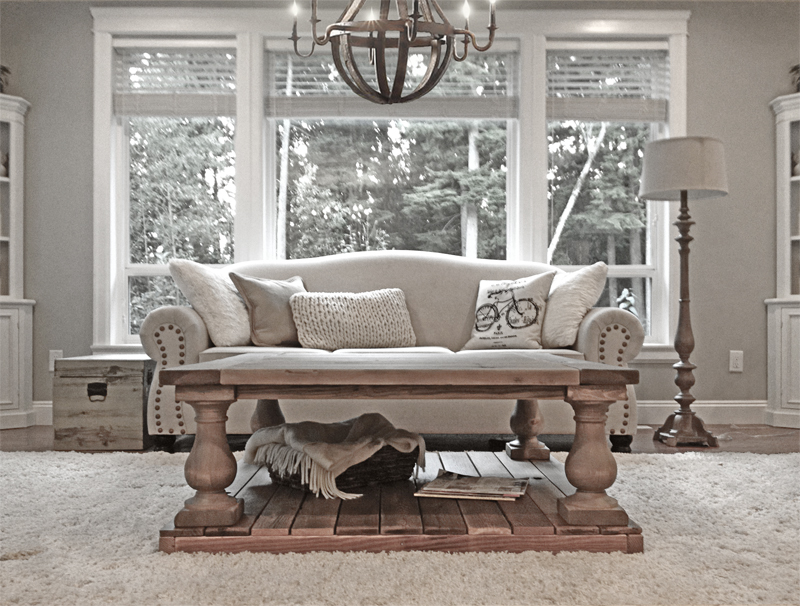
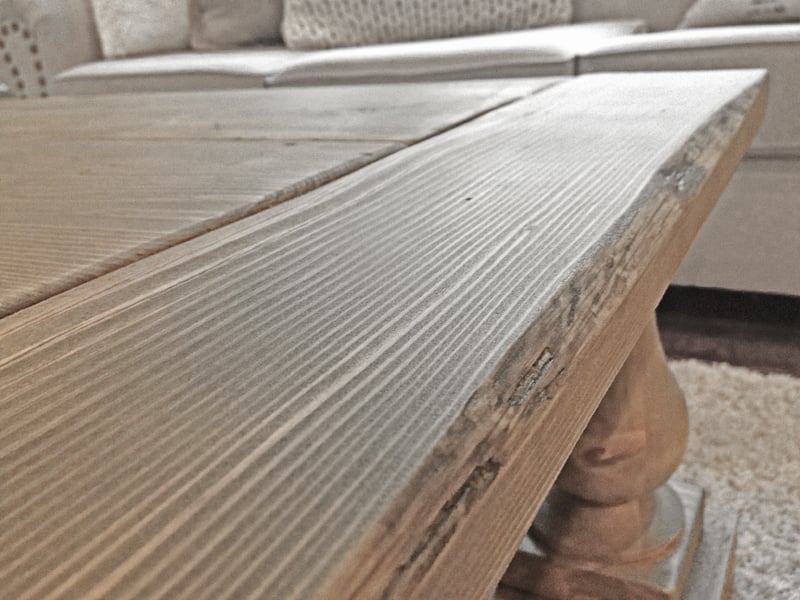
RH Balustrade Coffee Table

Submitted by jhavinga on Sat, 09/27/2014 - 15:31

Loved this coffee table ever since I saw it at Restoration Hardware. Thank you Ana & Jen.

Built from Plan(s)
Estimated Cost
Legs are $30 each. Shipping is $60 (To Sumas, Washington).
Wood was from an old Church.. But my guess would be $100 for HD Wood.
Total of $300 including screws, glue, stain, etc.
Estimated Time Investment
Day Project (6-9 Hours)
Finish Used
A variety. Because it was all reclaimed, some wood I didnt even stain. just sanded and it came out the exact color I wanted. To blend it all together however, I used Minwax Weathered Oak & Special Walnut.
Recommended Skill Level
Beginner

Comments

Mrsfinefettle

Tue, 10/07/2014 - 20:59

I love how your table turned out! Fabulous job! Did you use the knotty pine legs? I also love your couch! Do you mind sharing where you purchased it?

Thanks!

In reply to by Mrsfinefettle

jhavinga

Tue, 10/14/2014 - 10:08

Sorry for the delayed reply.

For the legs I did use the Knotty Pine. Cheapest and still look great.

As for our couch set, we had them custom made from a local Furniture store called Canadian Furniture Manufacturing. If your ever in the lower mainland of BC, Canada, be sure to stop by there!

Cheers,

Justin

Singhs

Sat, 01/10/2015 - 15:08

Since this was reclaimed/barn wood how did you prep the wood for the table ? Plane or Sand etc, and when prepped what finish did you use ?

In reply to by Singhs

jhavinga

Sat, 01/24/2015 - 13:10

A BUTT load of sanding.. no planeing necessary. I used a mix of weathered oak and special walnut stains to balance out all the mixmatched wood as 1 colour. For example the cedar planks for the bottom shelf i didnt stain at all, while the legs are pine and had to make them gray/brown to match the cedar planks.

Cheers,
Justin

Workbench for Beginners

Submitted by Anonymous (not verified) on Mon, 10/21/2024 - 12:23

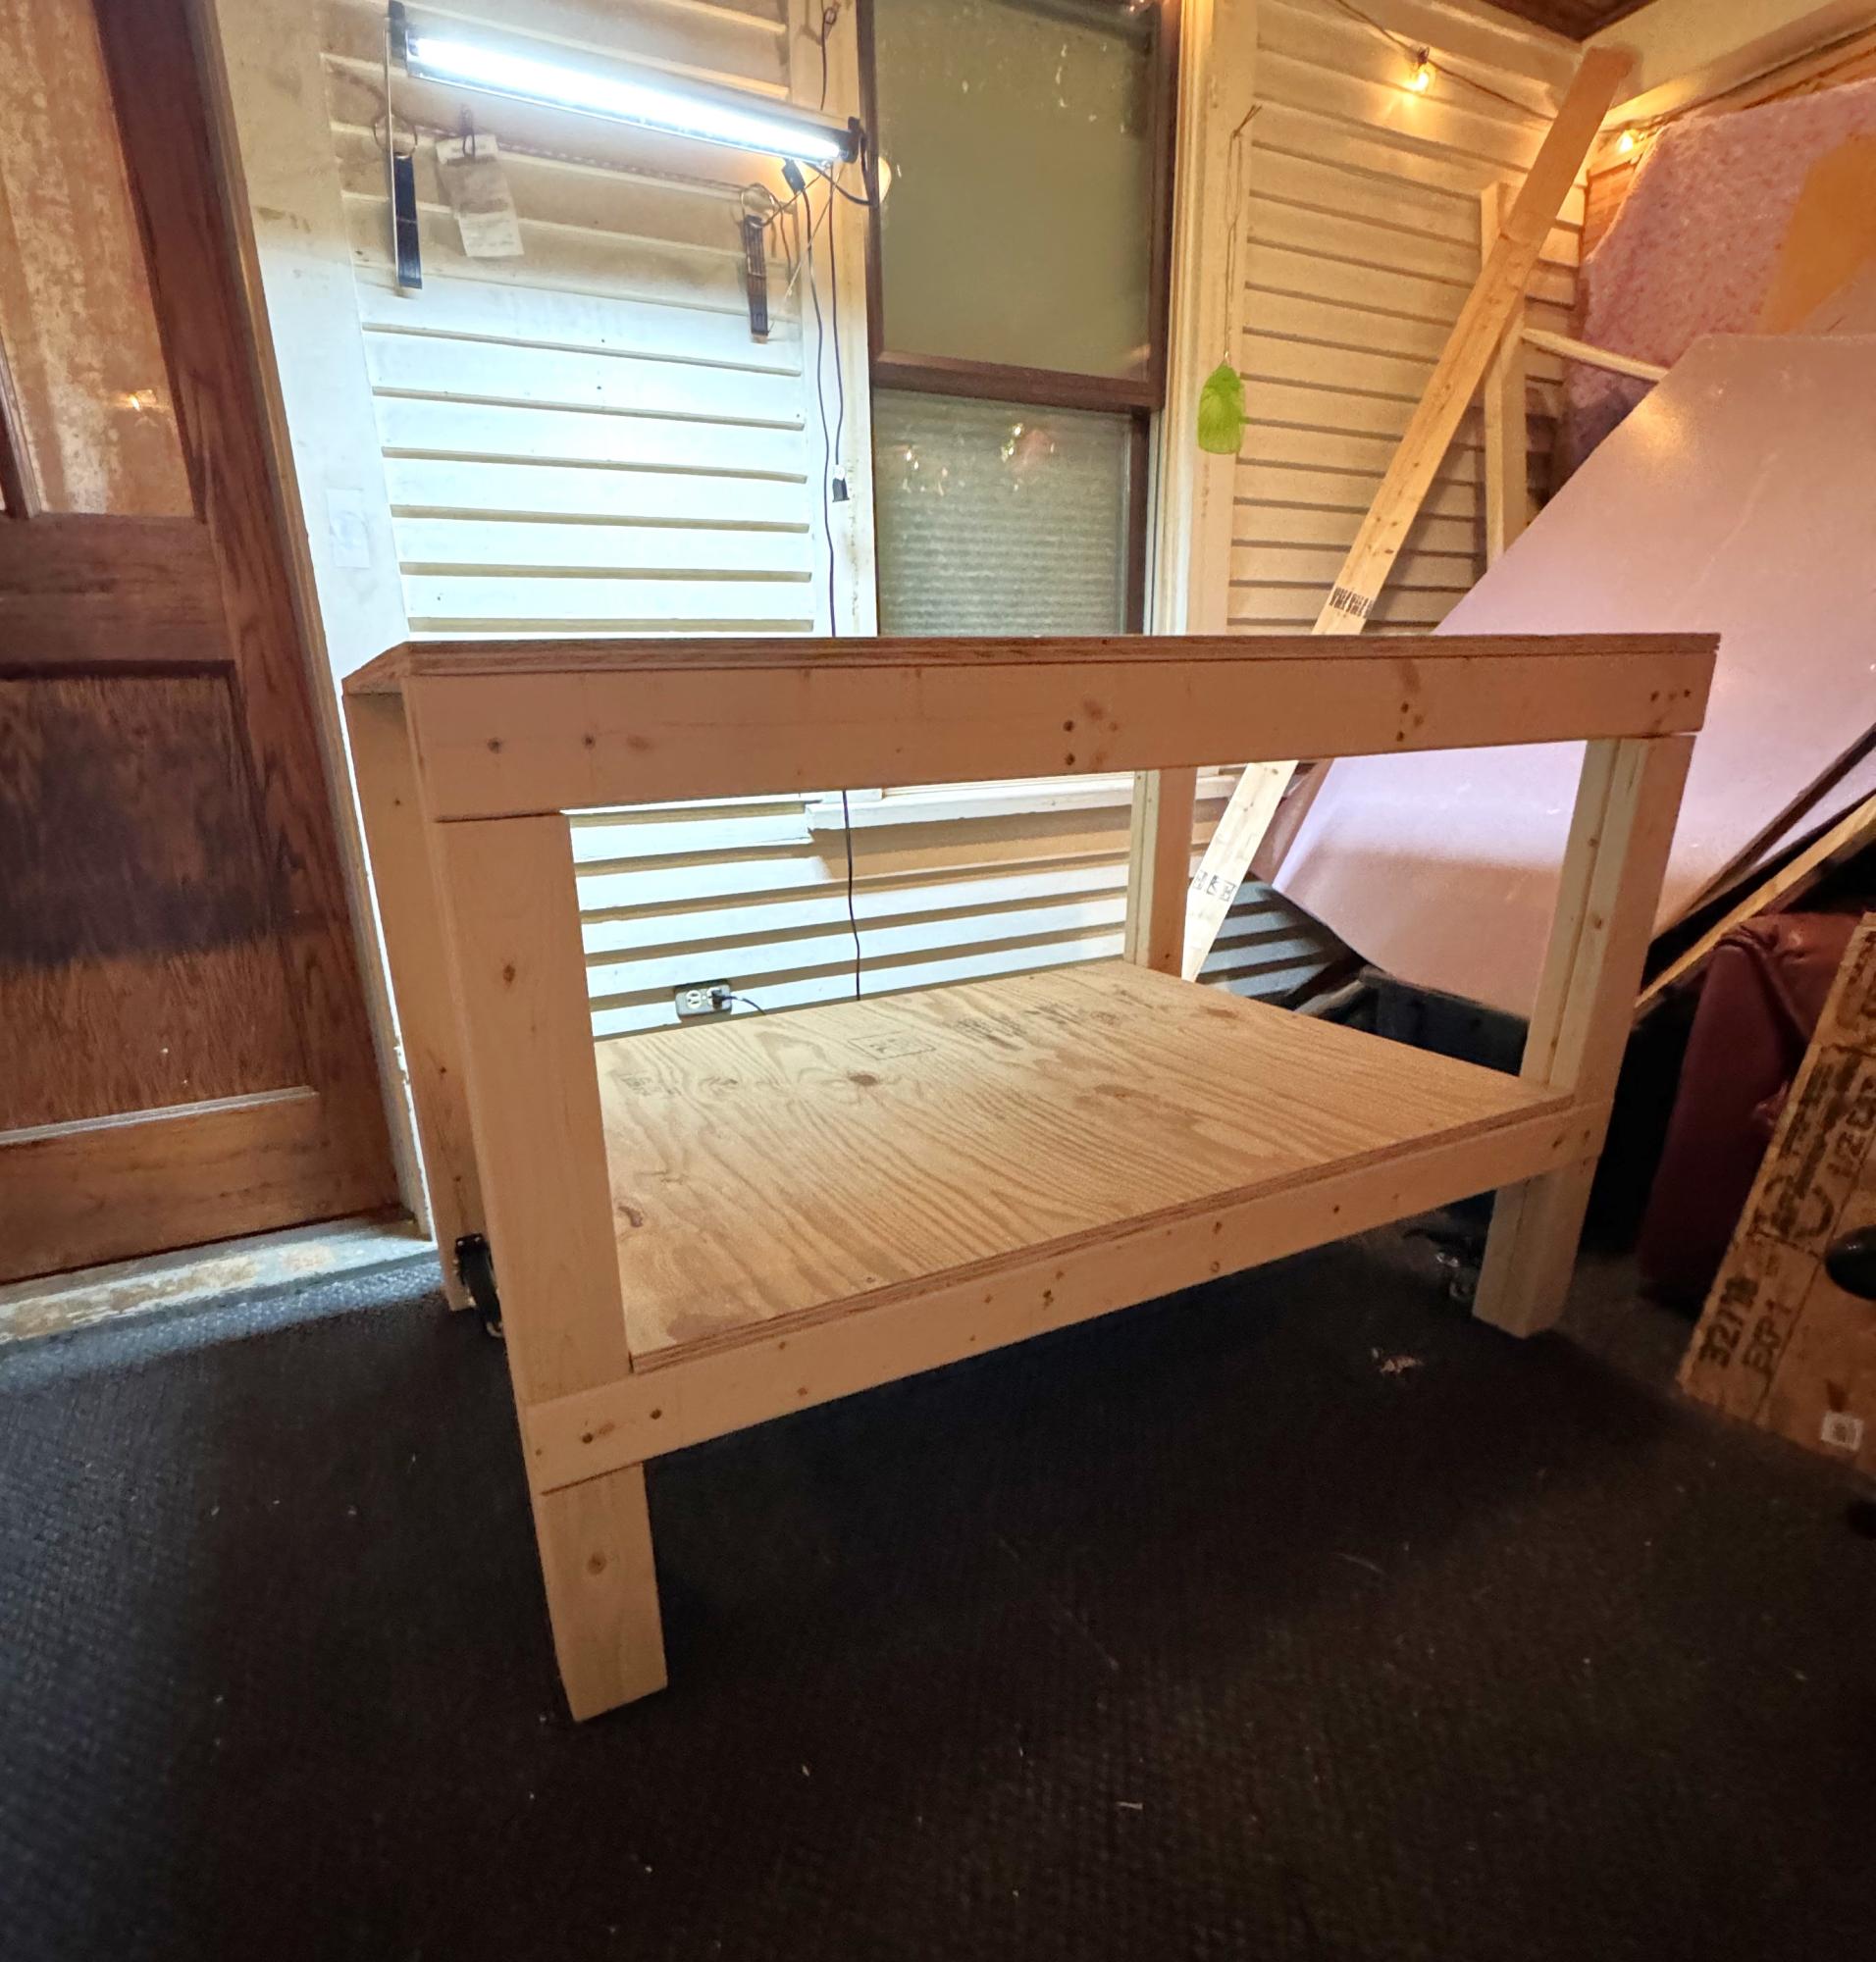
Easy DIY Garage Workbench—My first ever project! I learned how to use a sliding miter saw and circular saw, how to choose wood, how to make a circular saw guide, and how to sand properly! Thank you so much for these plans! I learned from Ana’s website, the beginner woodworking subreddit and, as my mom likes to call it, the University of YouTube :)

If I can do it, you can too!

Half rustic x console

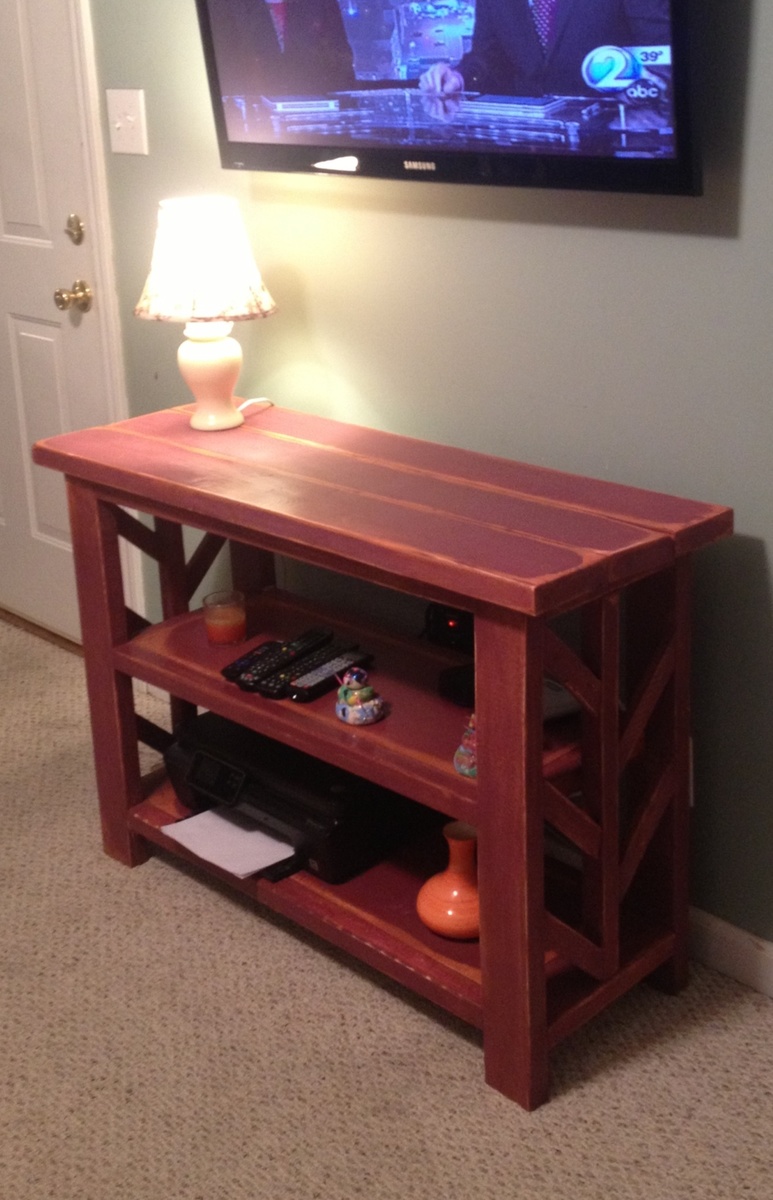
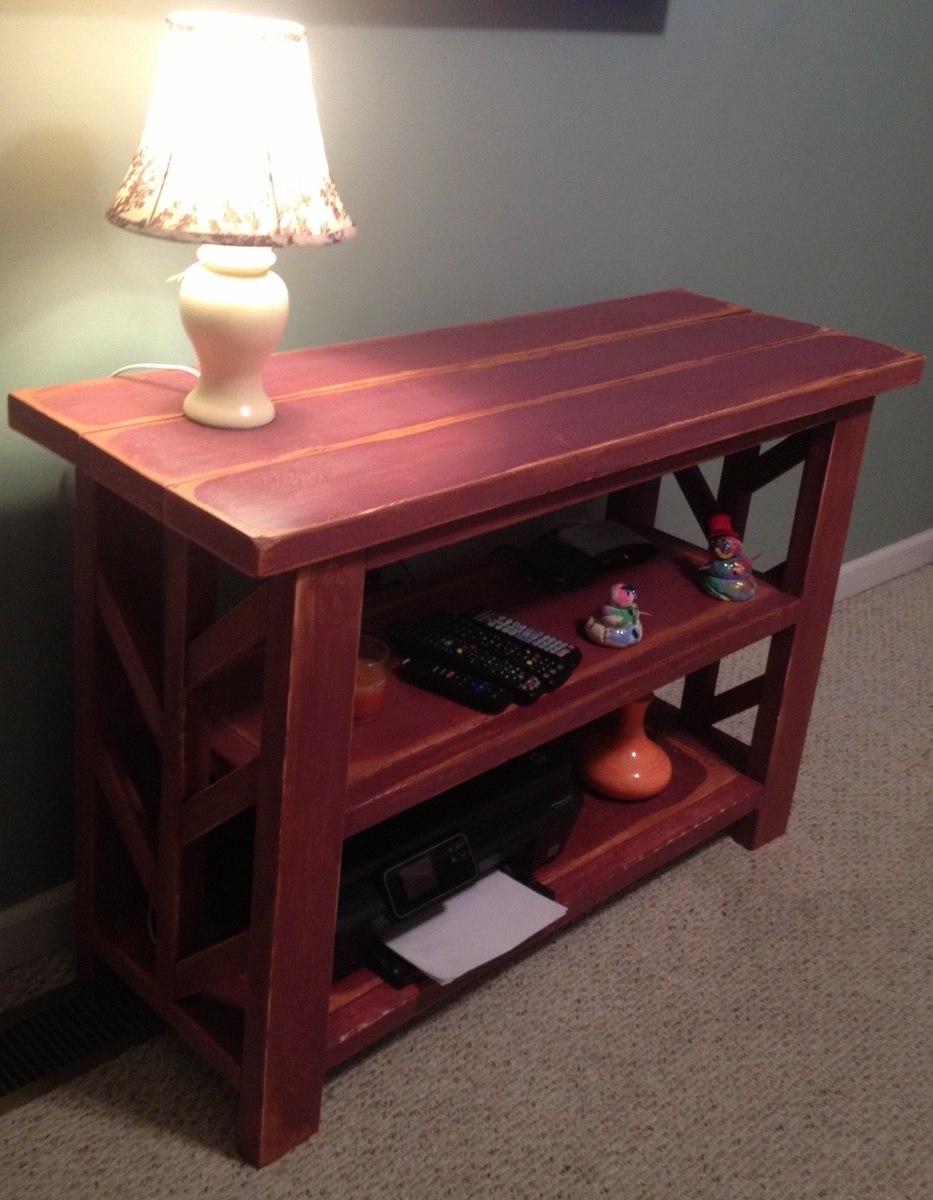
Submitted by abbpim on Fri, 12/21/2012 - 18:06

This was a fan and easy project to build. I wanted the sides a little bit more decorative so I added a tree branch effect instead of the x's. I used a paint samples from lowes and did the under coat of paint in a rusty orange color. I put Vaseline on the parts I wanted to look weathered when the paint was dry. Then I found a diy chalk paint recipe online and did the outer coat again with a lowes paint sample in a reddish color that I mixed to make the chalk paint. When it was dry I sanded the parts tht had Vaseline to let the orange come out. Then I took minwax finishing paste wax and polished the whole thing. I reduced the size of the console to half and added 3 inches to fit perfectly under my tv.

Built from Plan(s)
Estimated Cost
$30
Estimated Time Investment
Weekend Project (10-20 Hours)
Finish Used
Please see above
Recommended Skill Level
Beginner

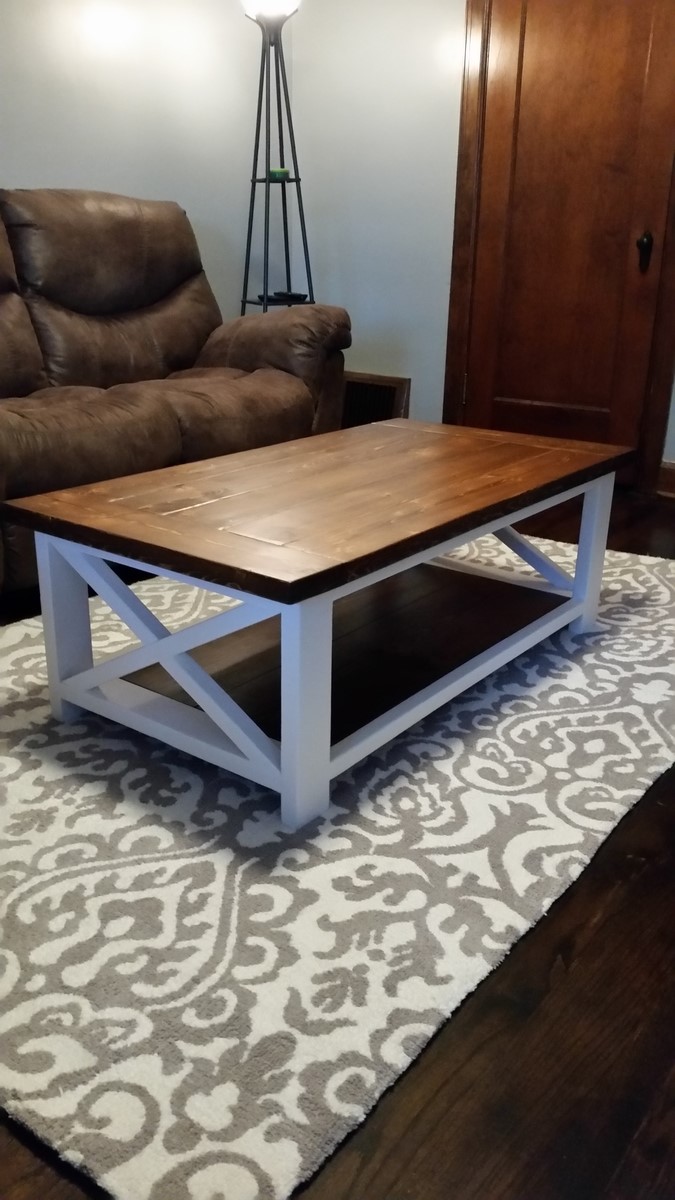
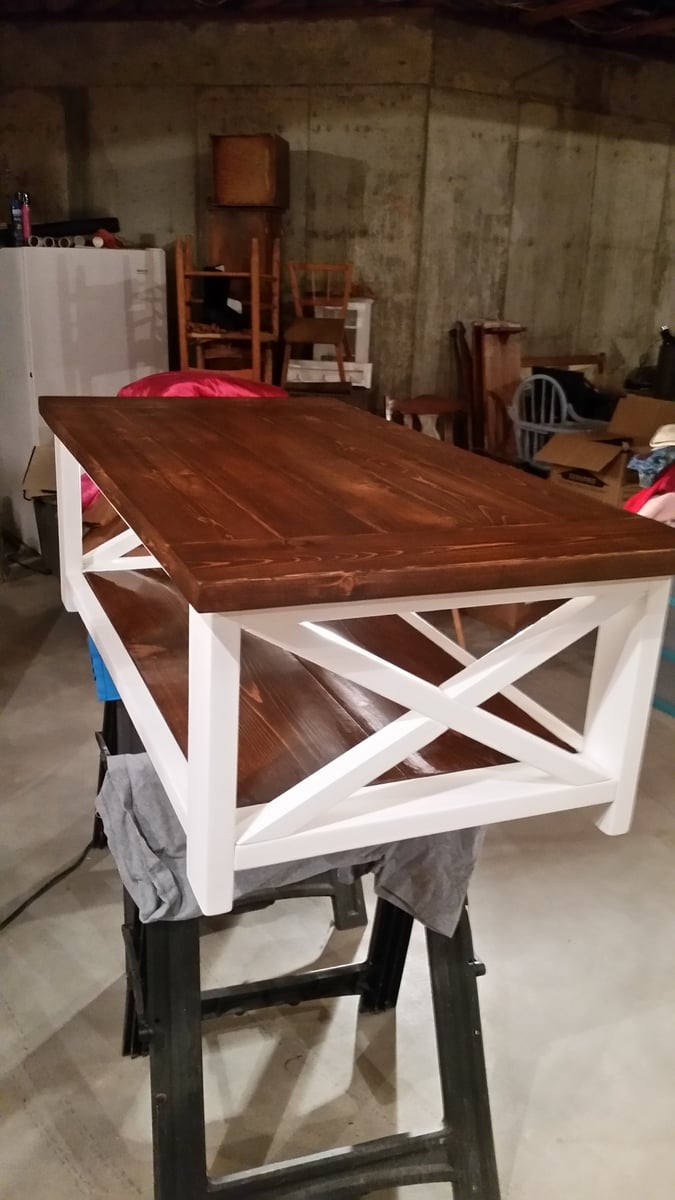
Coffee table

Submitted by Anonymous (not verified) on Sun, 01/15/2017 - 18:09

Thanks for the plans

Built from Plan(s)
Estimated Cost
35
Estimated Time Investment
Afternoon Project (3-6 Hours)
Finish Used
Polyurethane
Recommended Skill Level
Intermediate

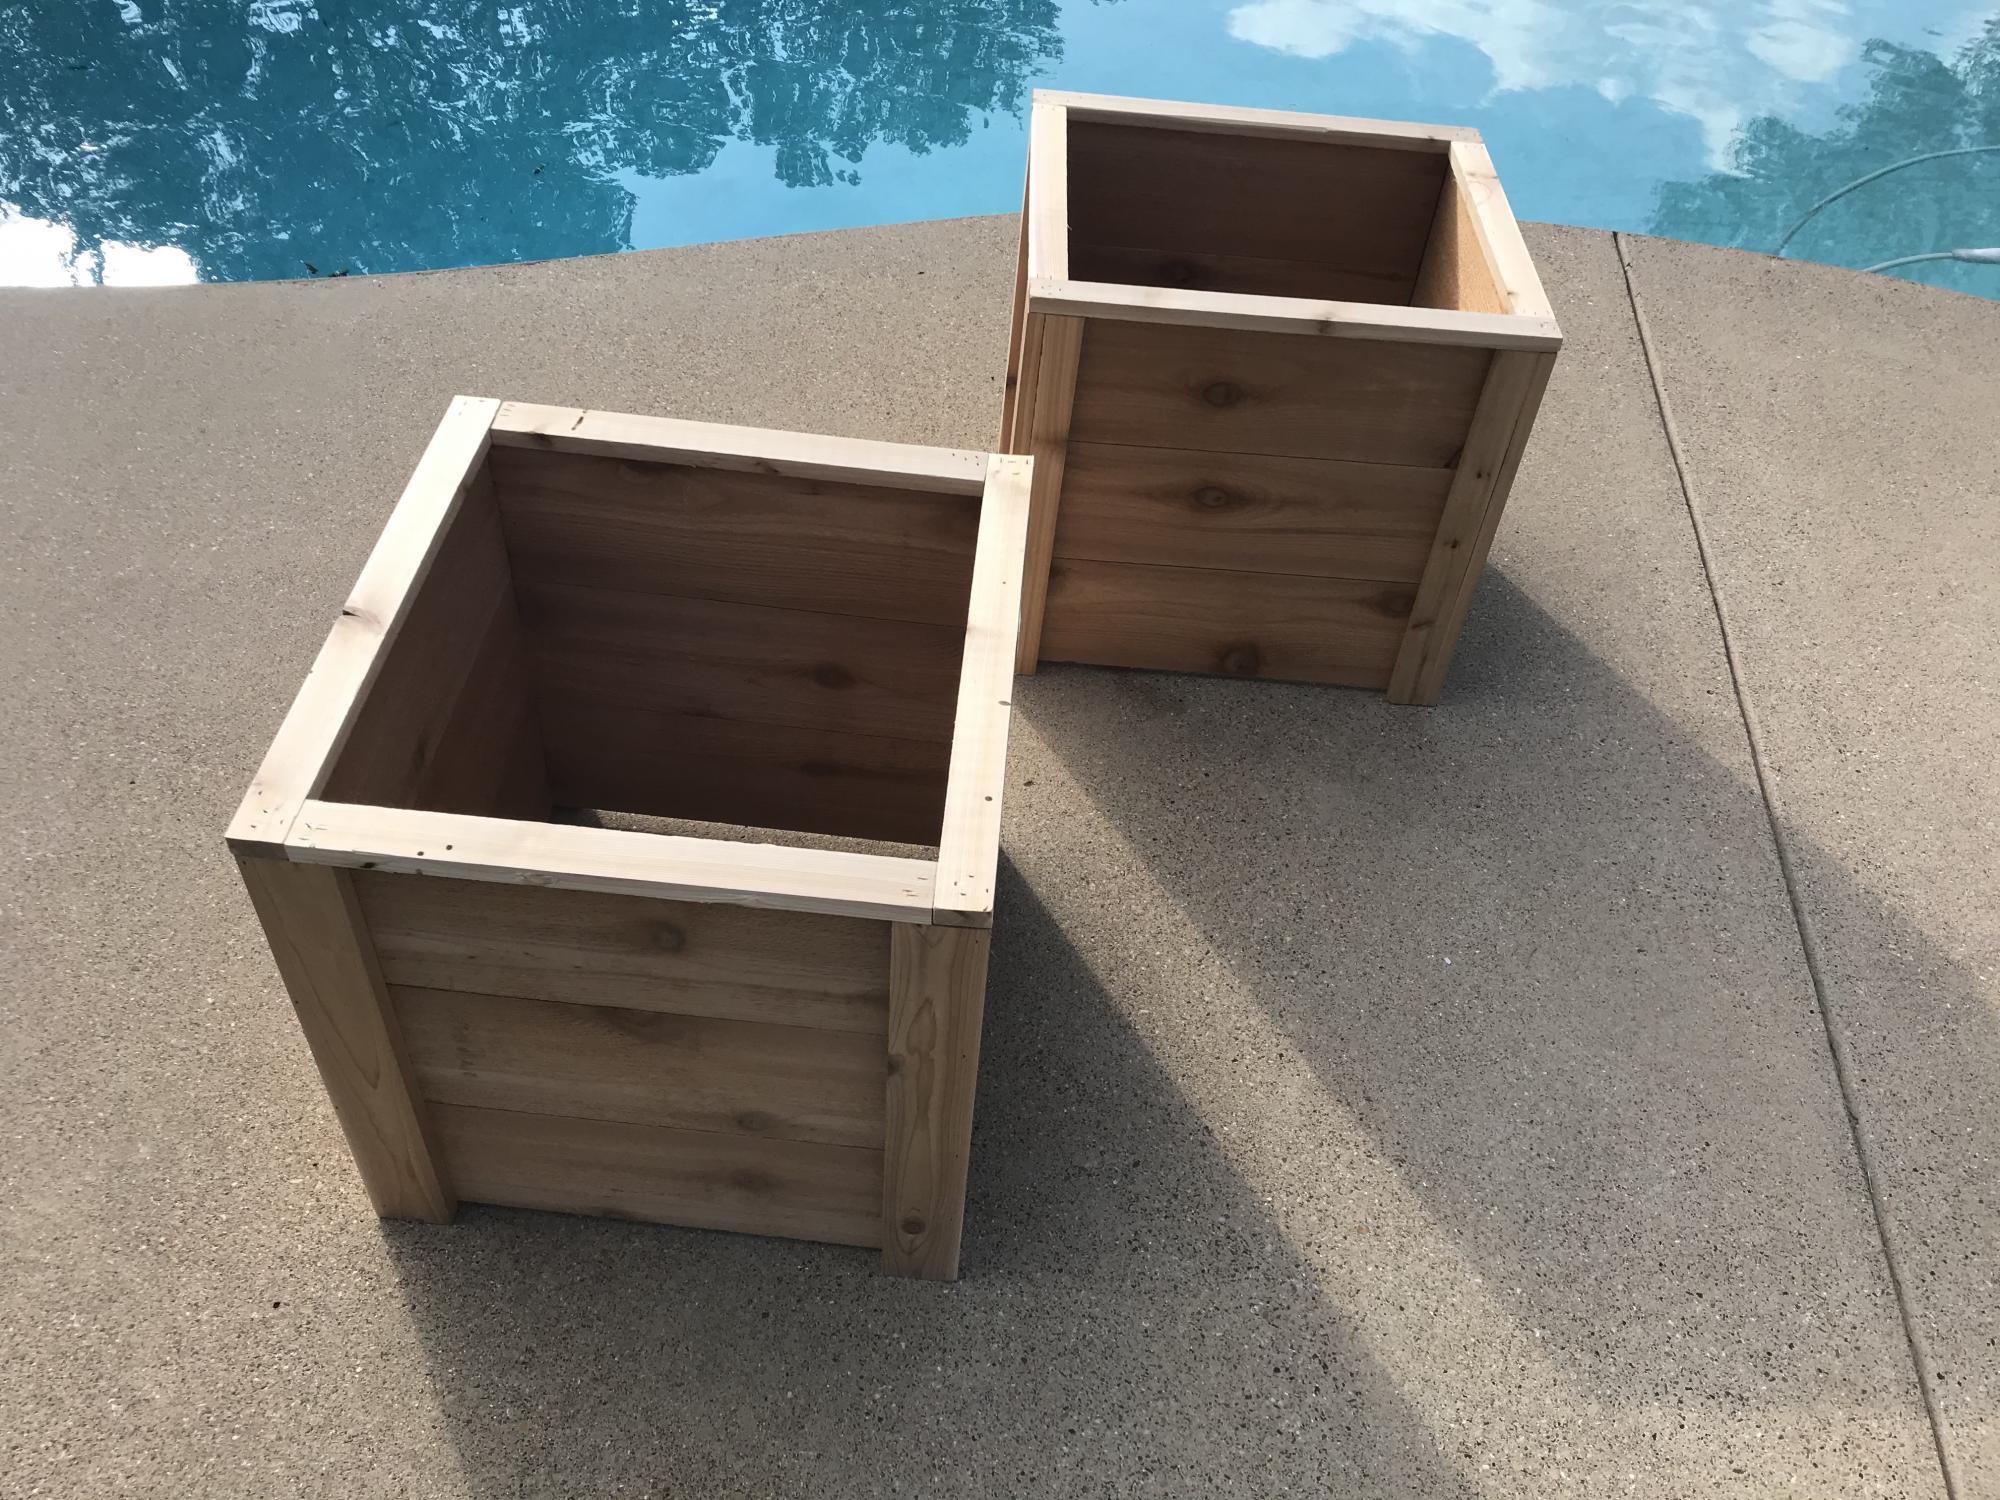
Cedar planters

Submitted by Anonymous (not verified) on Sun, 09/27/2020 - 18:48

I final got around to building the beautiful cedar planters! I couldn’t be happier with them. Thanks, Ana!

Comments

Back