Honey Do
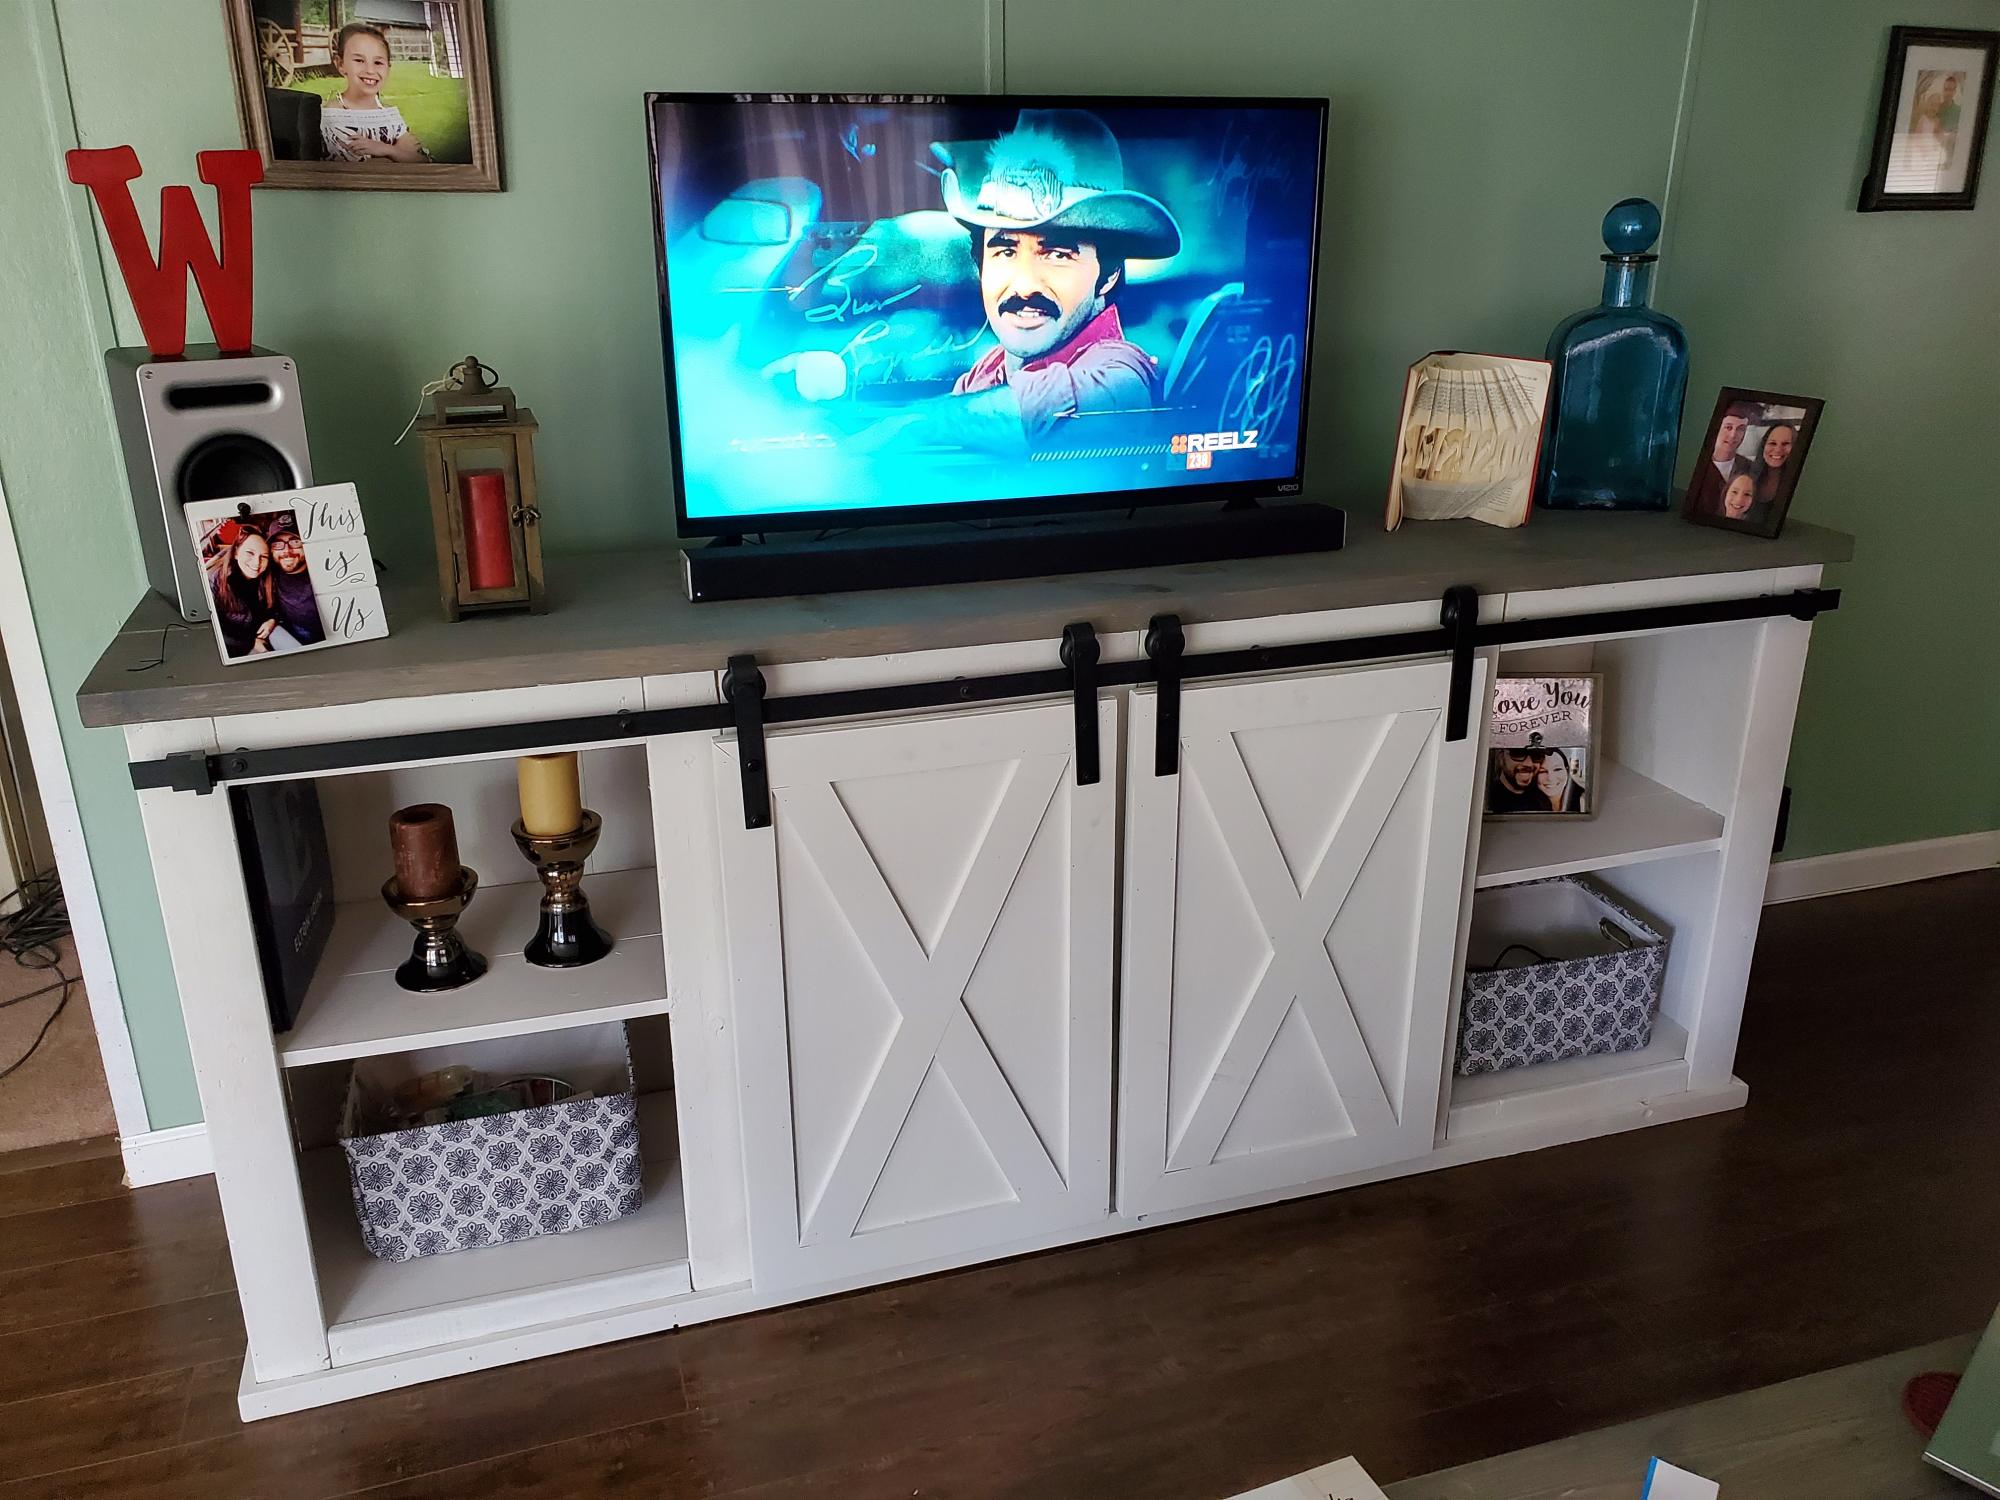
After moving, my wife informed me that I would be building her a new TV console. This is the end result. Now we need a bigger TV!

After moving, my wife informed me that I would be building her a new TV console. This is the end result. Now we need a bigger TV!
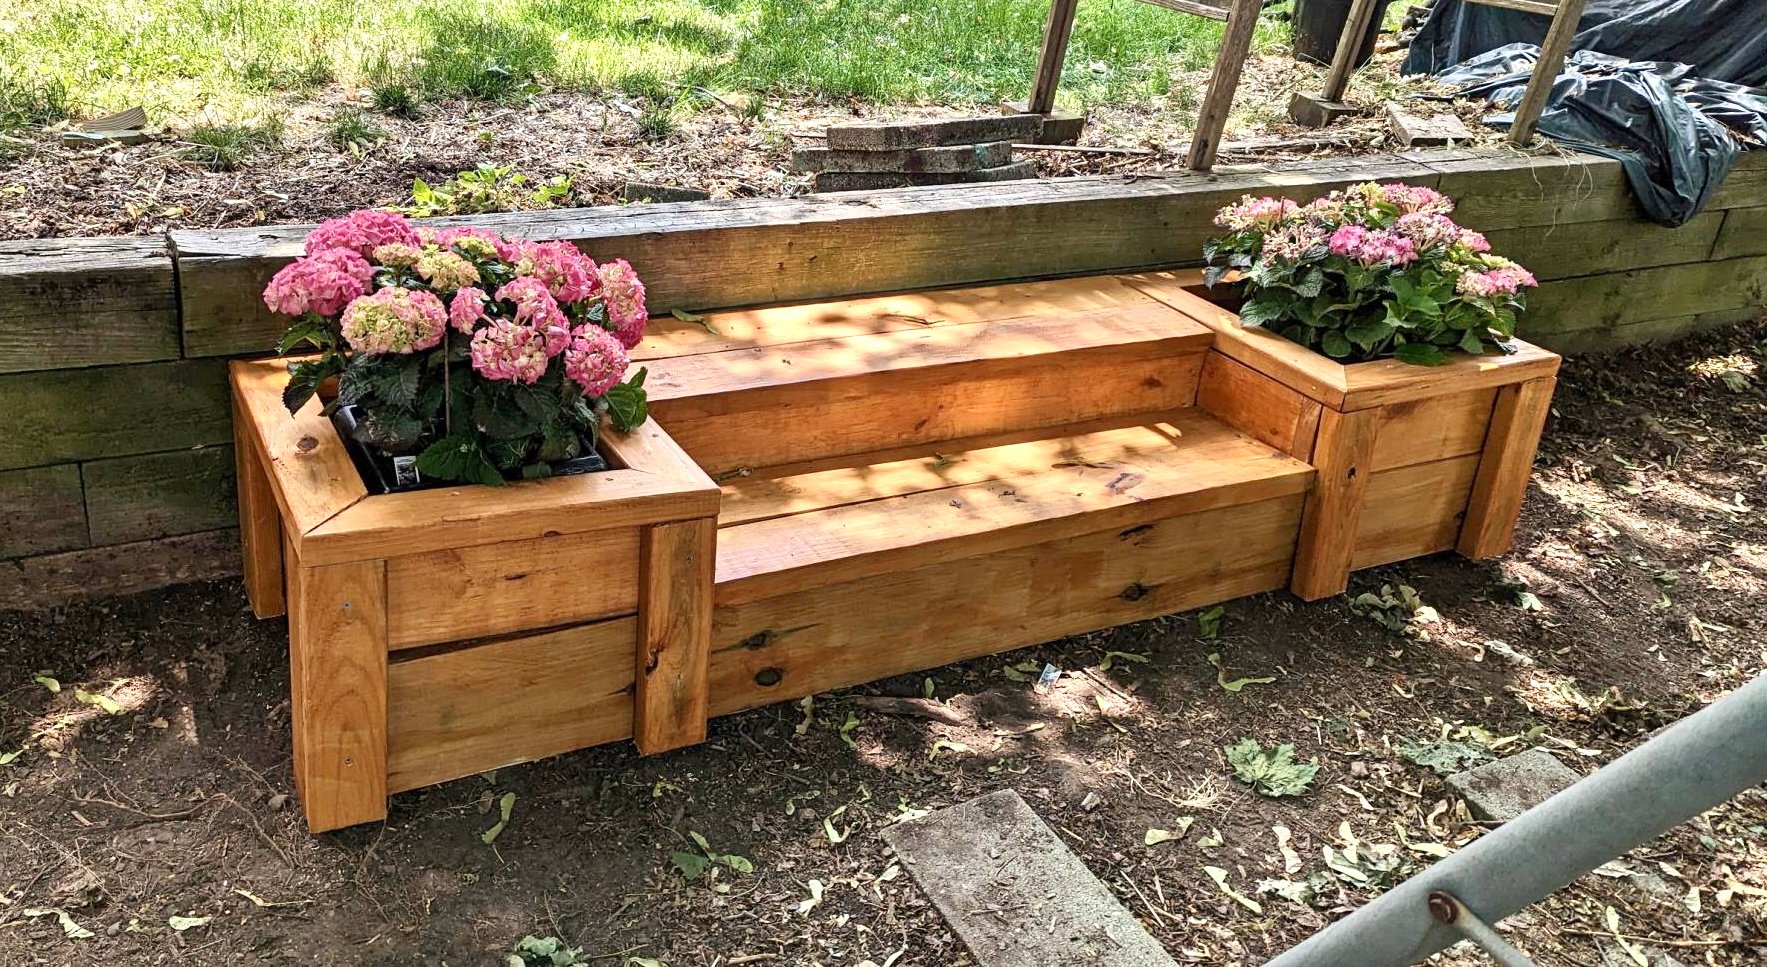
When my husband left he left behind an entire tier of our yard that he'd used to throw sticks, branches, clippings, dead plants, you name it for years. I cleared the mess last spring and am excited to make it beautiful this season!
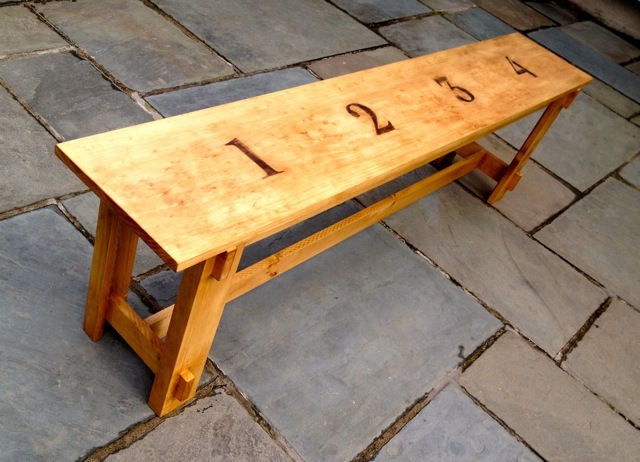
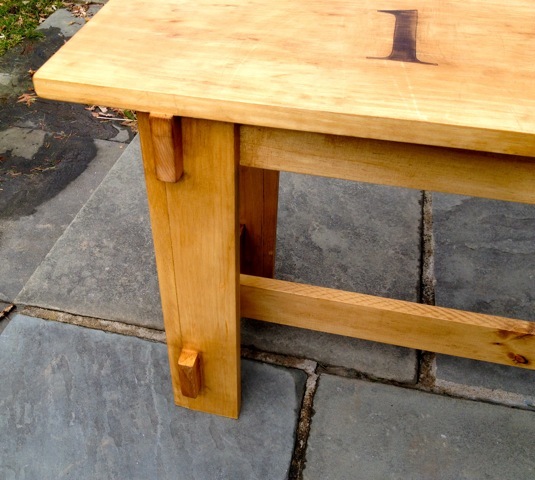
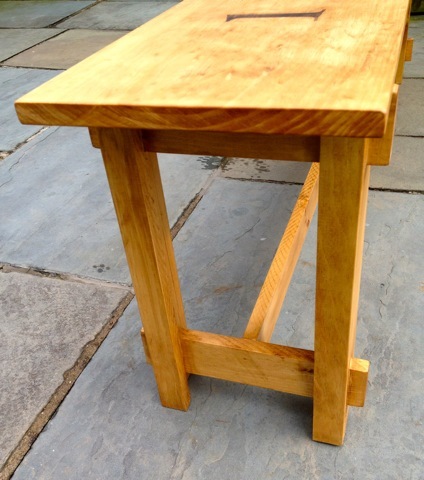
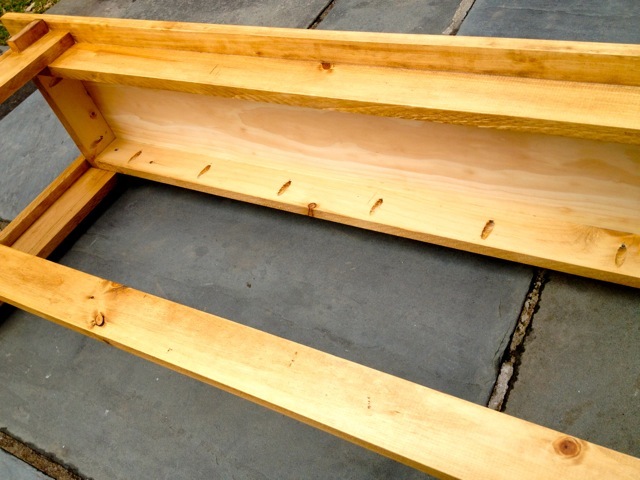
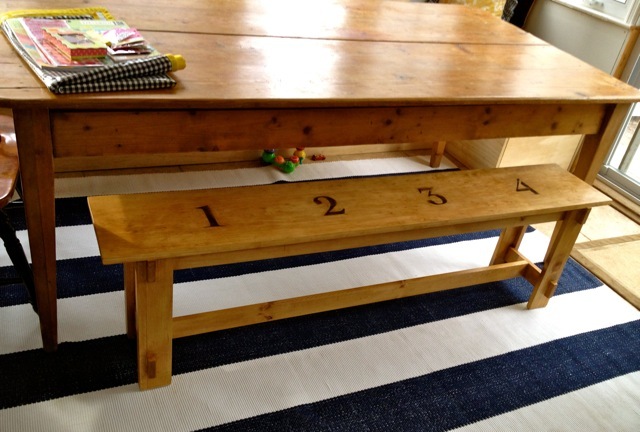
rustic bench, modified length and omitted x detail, painted numbers
Fri, 02/03/2012 - 07:25
C'est une belle réalisation , je veux en faire l'été prochain. Merci pour toutes vos superbes idées. Bisous Isabelle
Wed, 02/08/2012 - 08:27
Sometime I wish I hadn't been handed down such a nice dining table and chair (plus coordinating antique buffet!)set from my parents. I read about this project at your site and would love to build this for my family. We are expecting baby #6 and two benches with 1, 2, and 3 on one and 4, 5, and 6 on the other would be too cute.
I keep hoping my parents will build again, this time in the style that matches their previous set and I can "generously" give them back the heirloom set ;-).
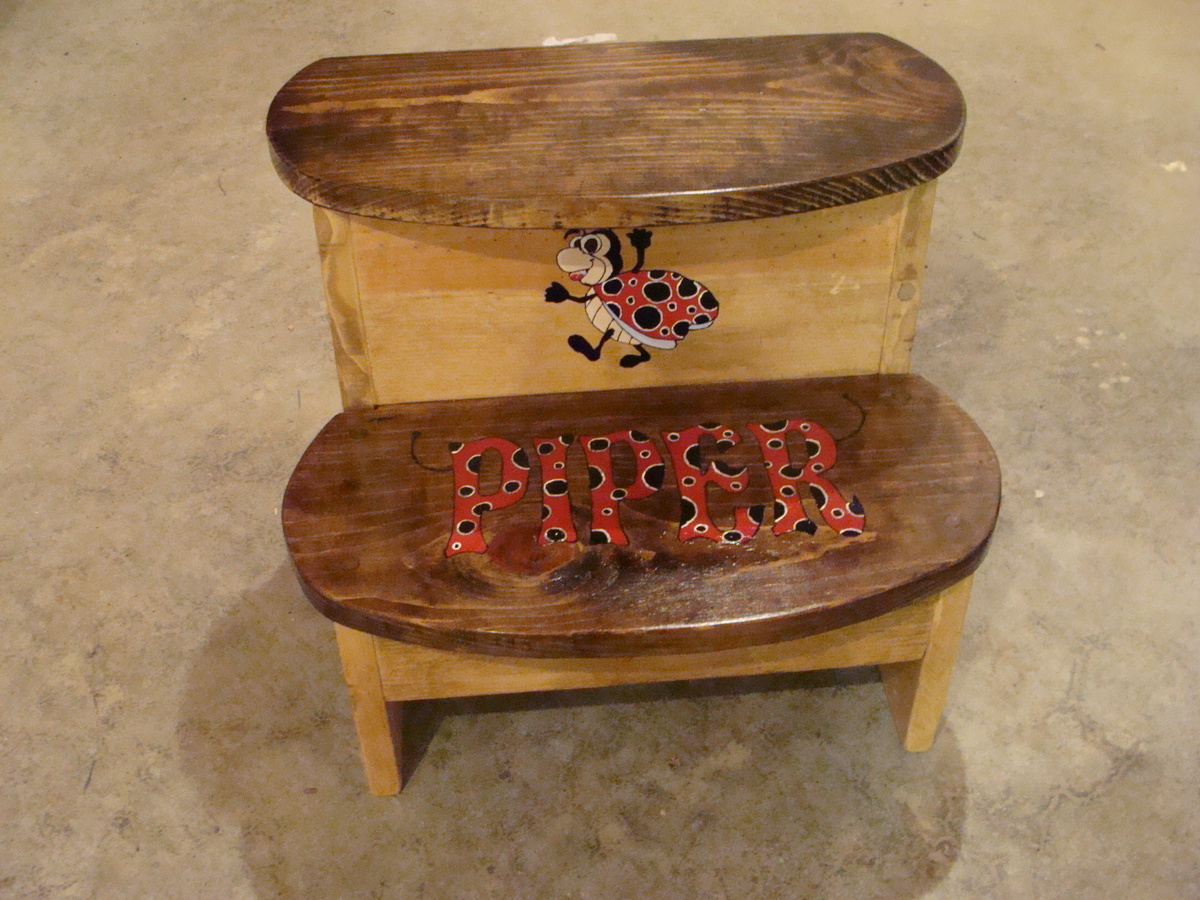
My sister wanted a step stool for her grand-daughter via her daughter-in-law. Like our mother and grand-mother before us, we stood by the sink with our hands in the wash water "helping" with the dishes. She asked it I could build a stool. After searching through several plans, I came across this vintage step stool and changed it up a little for the personal touch. I added the cartoon characters to fit with my great-nieces theme and she now has something that she can "brag" about as she grows.
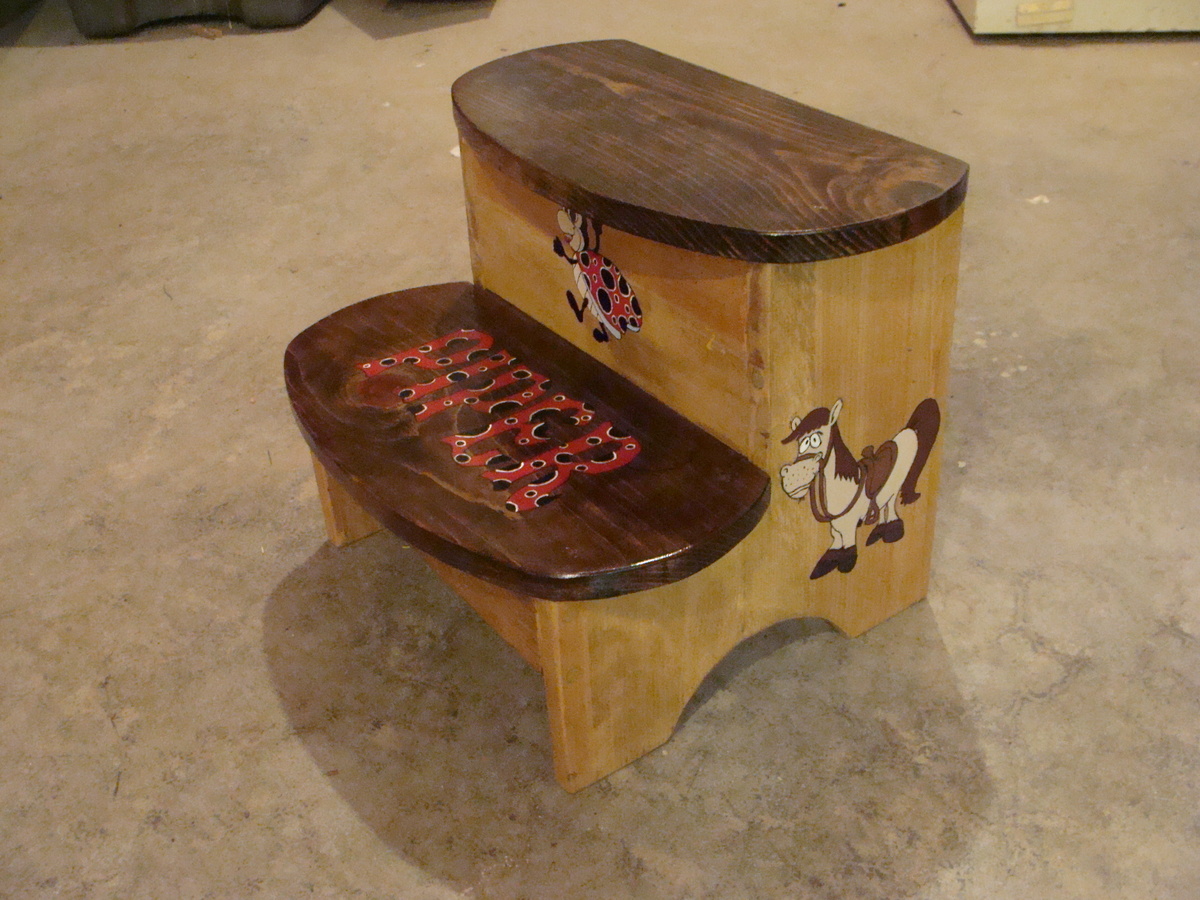
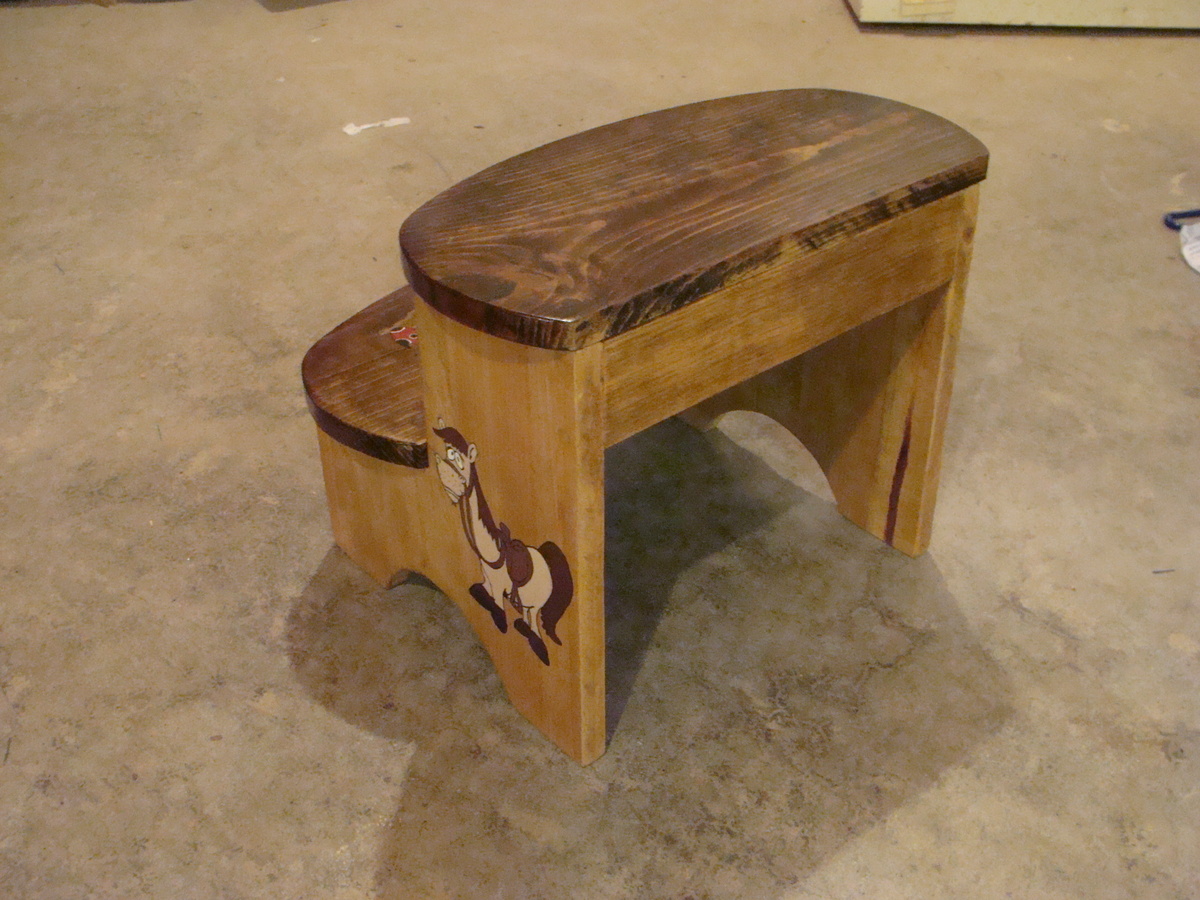
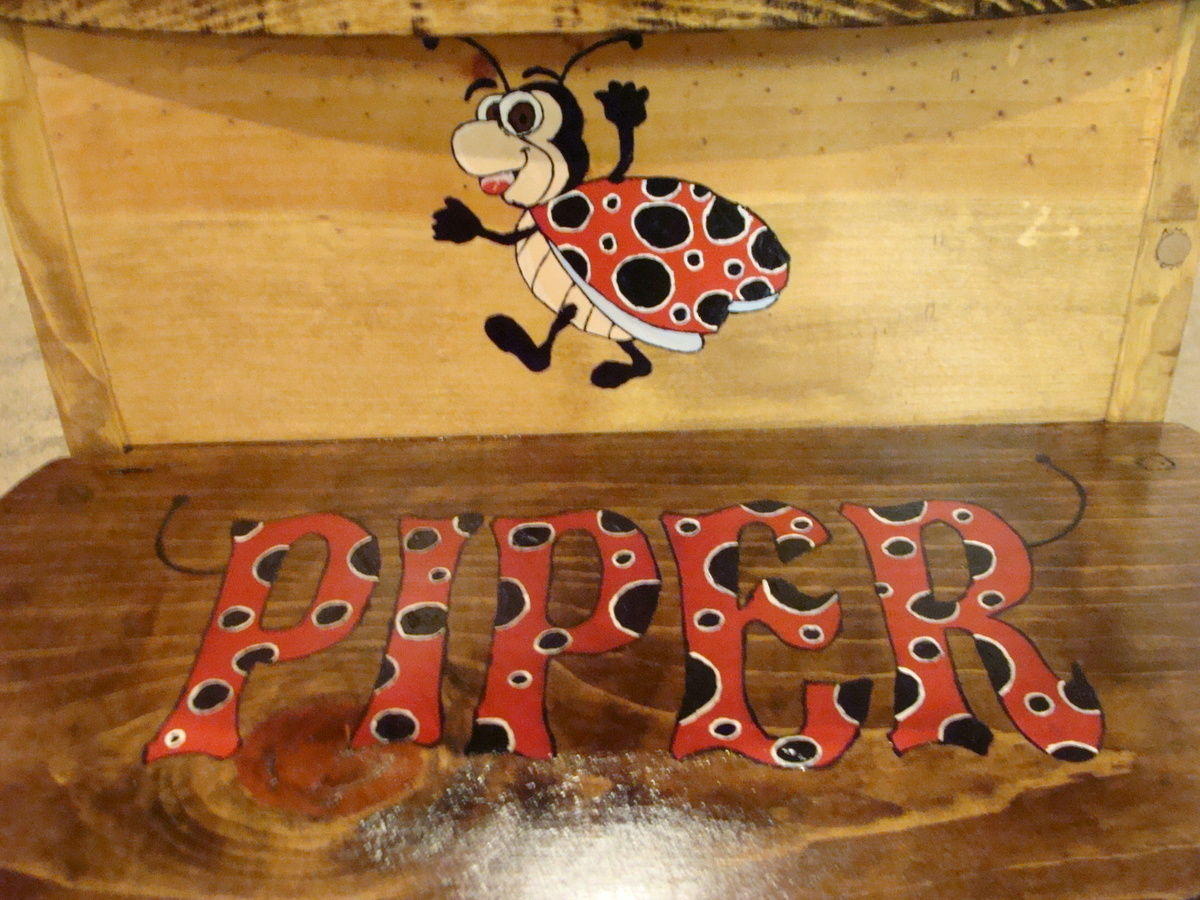
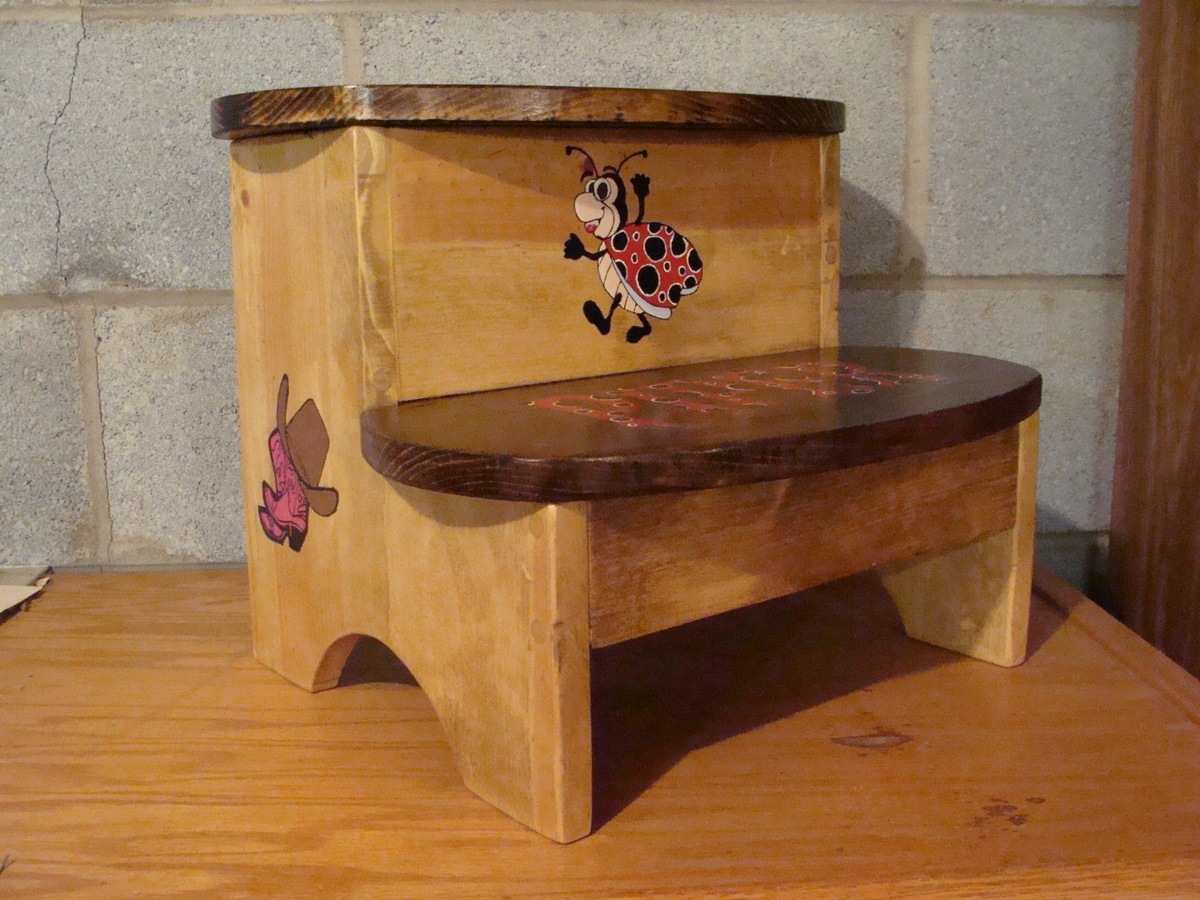
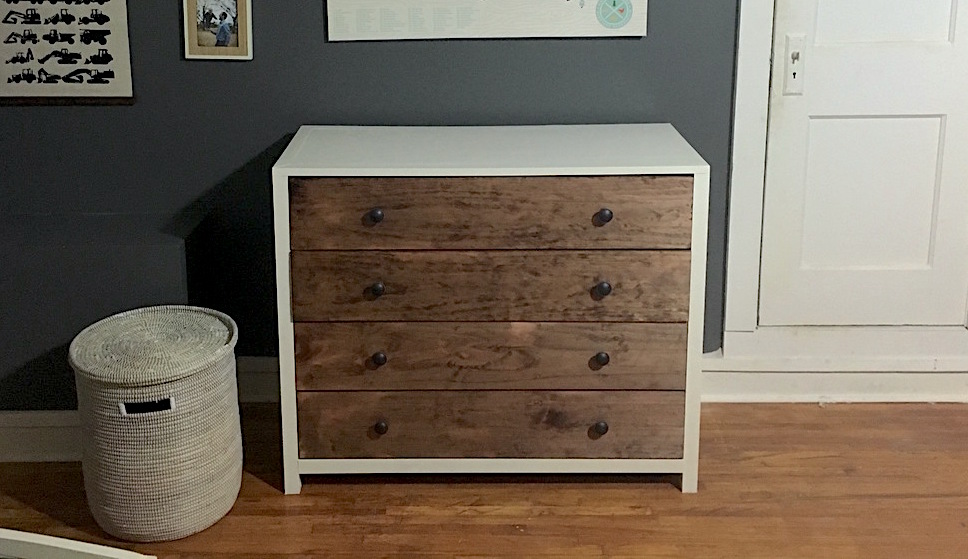
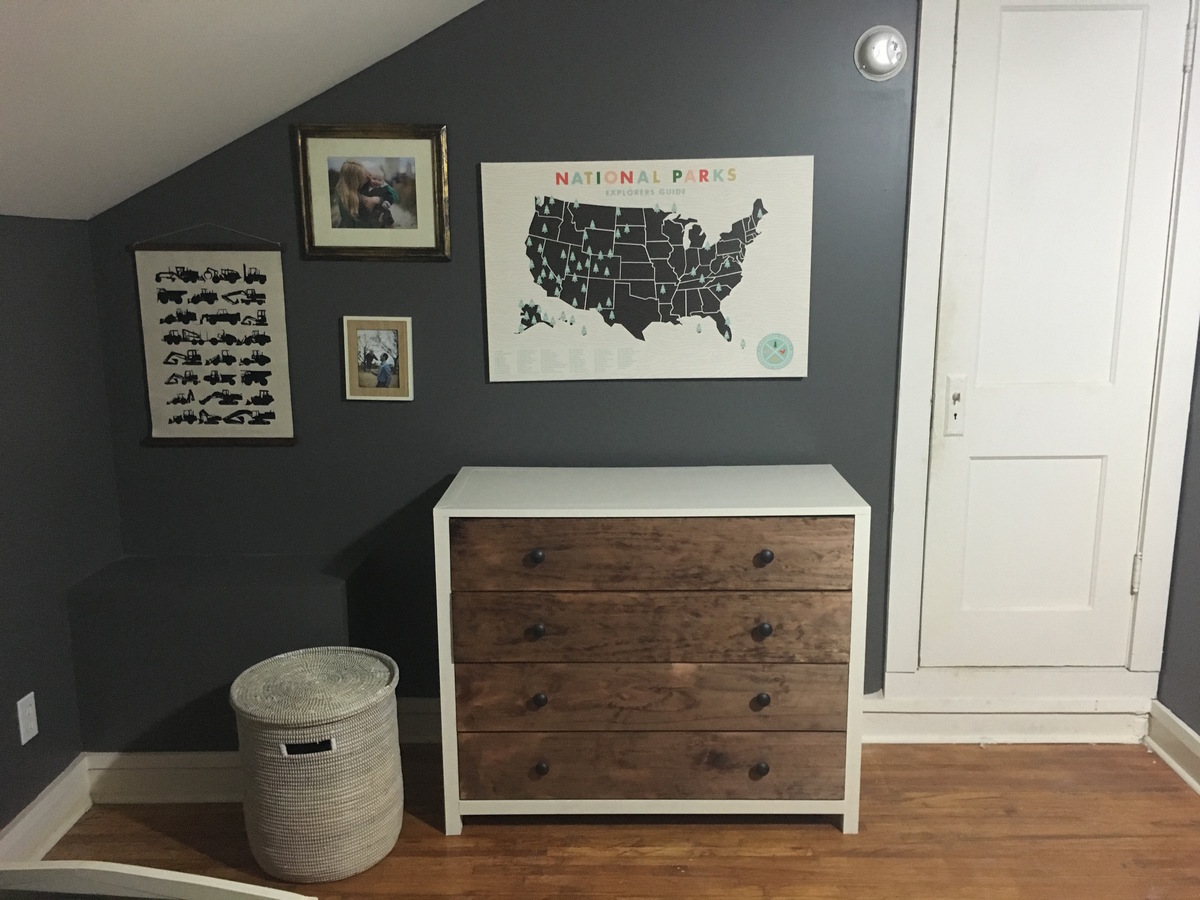
Thanks so much for this build post. We actually were about to purchase the dresser that this is designed after, but I couldn't stomach the 900 price tag. I headed to anna-white.com to see if she had plans for anything similar and voila! the plans for the exact dresser we wanted were here!
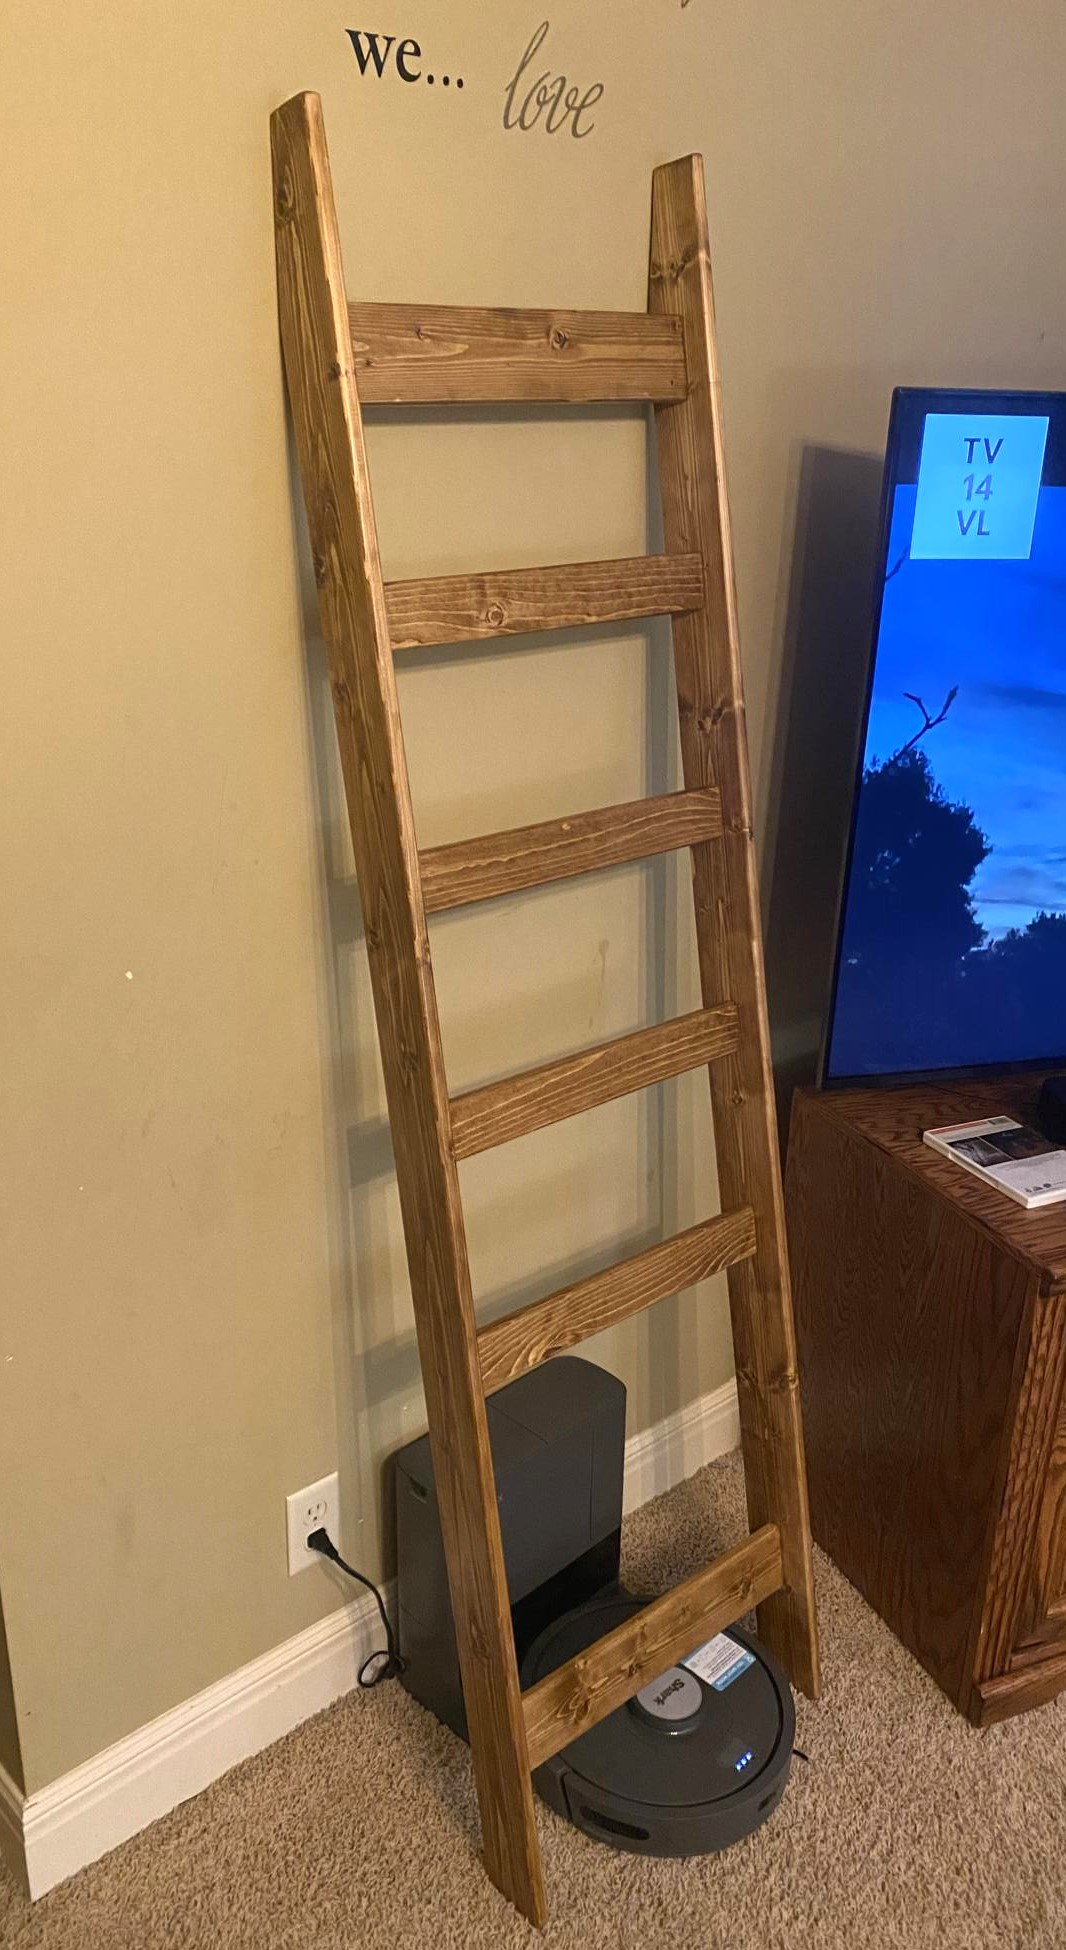
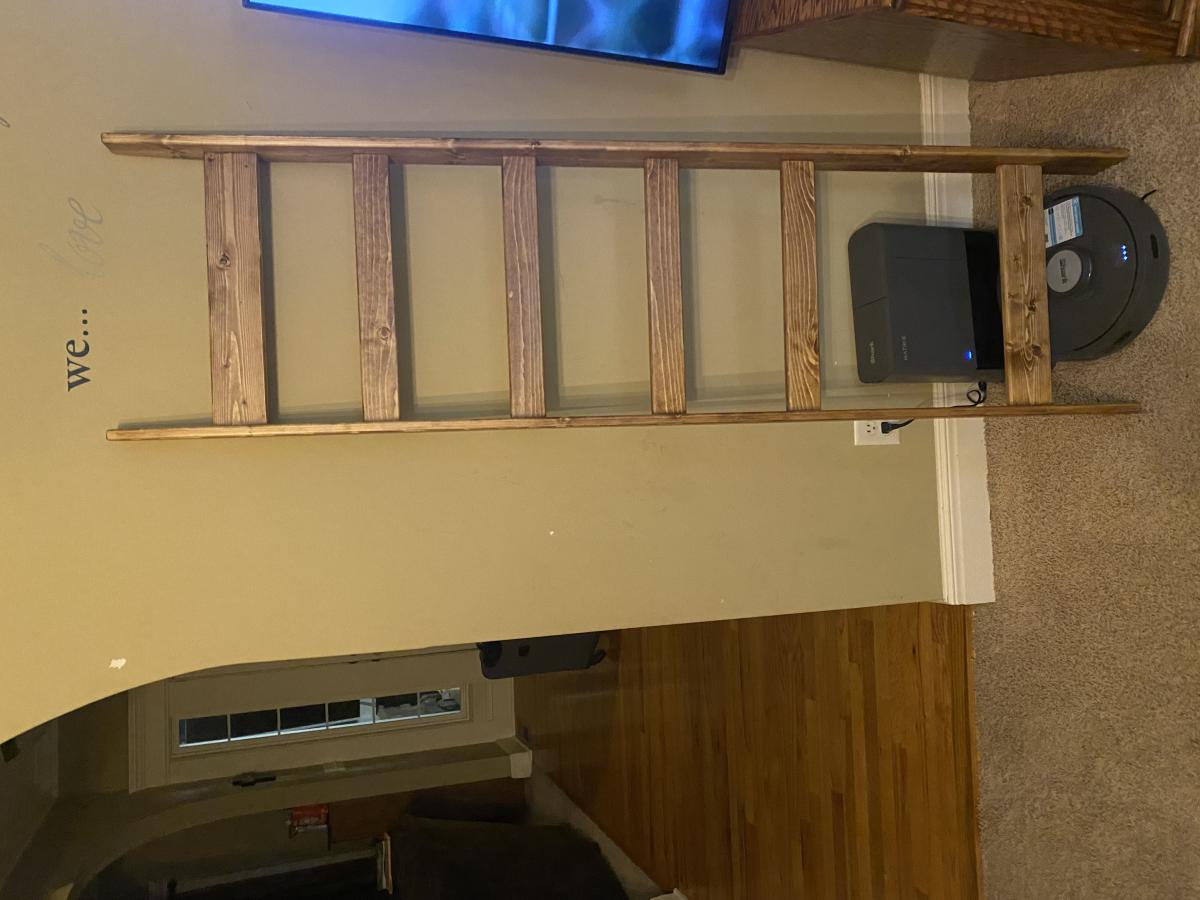
Made this ladder blanket rack and stained it. Only my second project that I have stained. I’m not around the learning curve yet. Works very well and hides our robo vac well. I did have a mishap - lesson learned don’t put kreg screws in for a test fit and then remove them. All of the holes stripped out while doing final assembly after finishing and I had to plug the holes to be able to finish it.
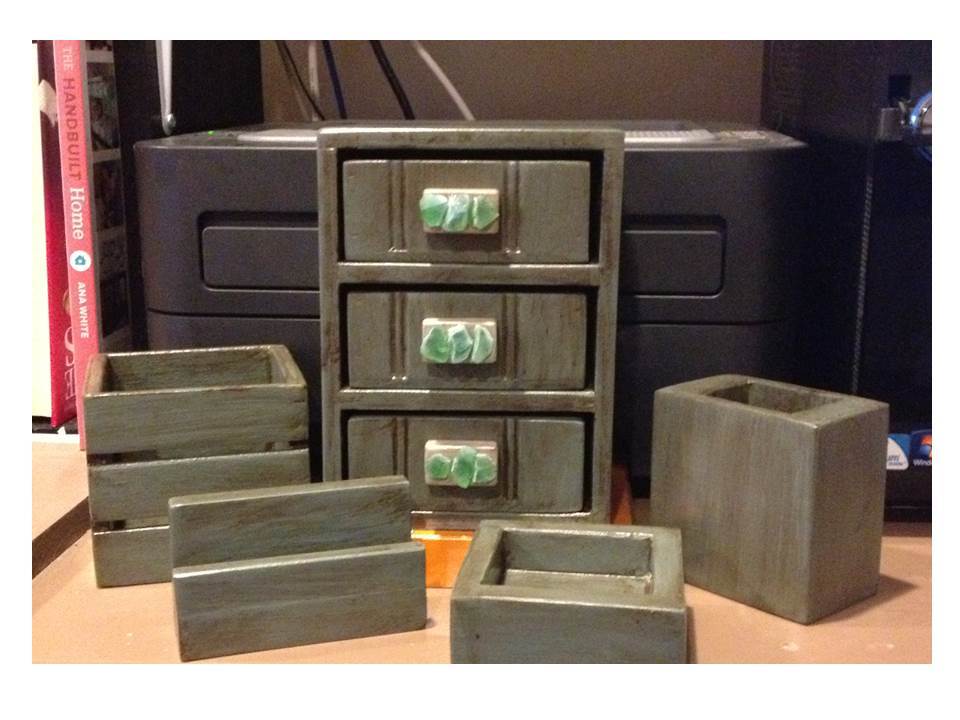
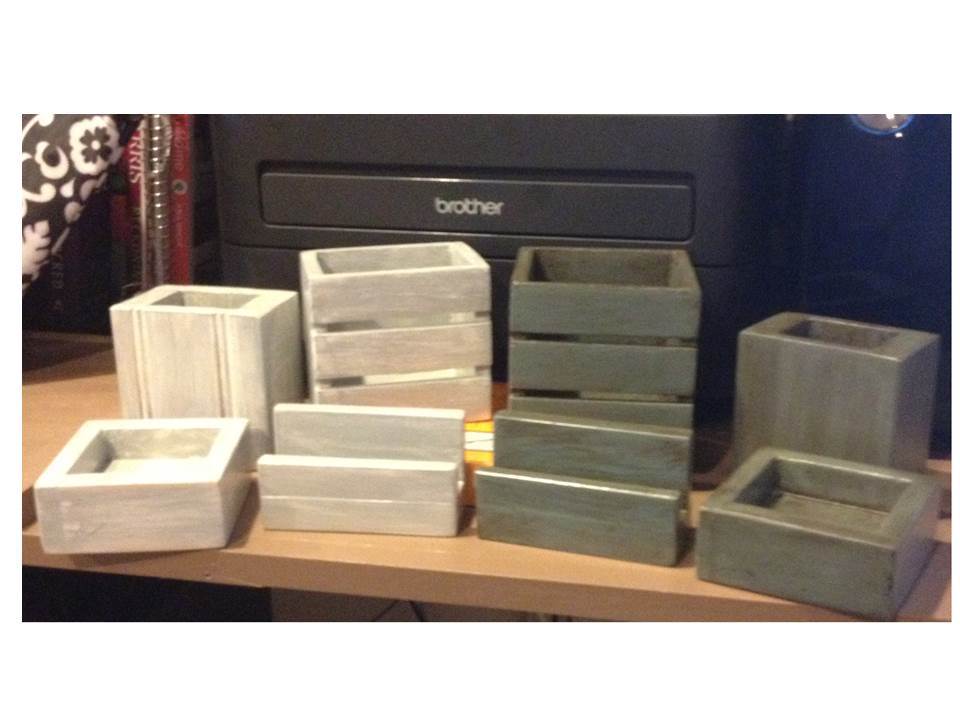
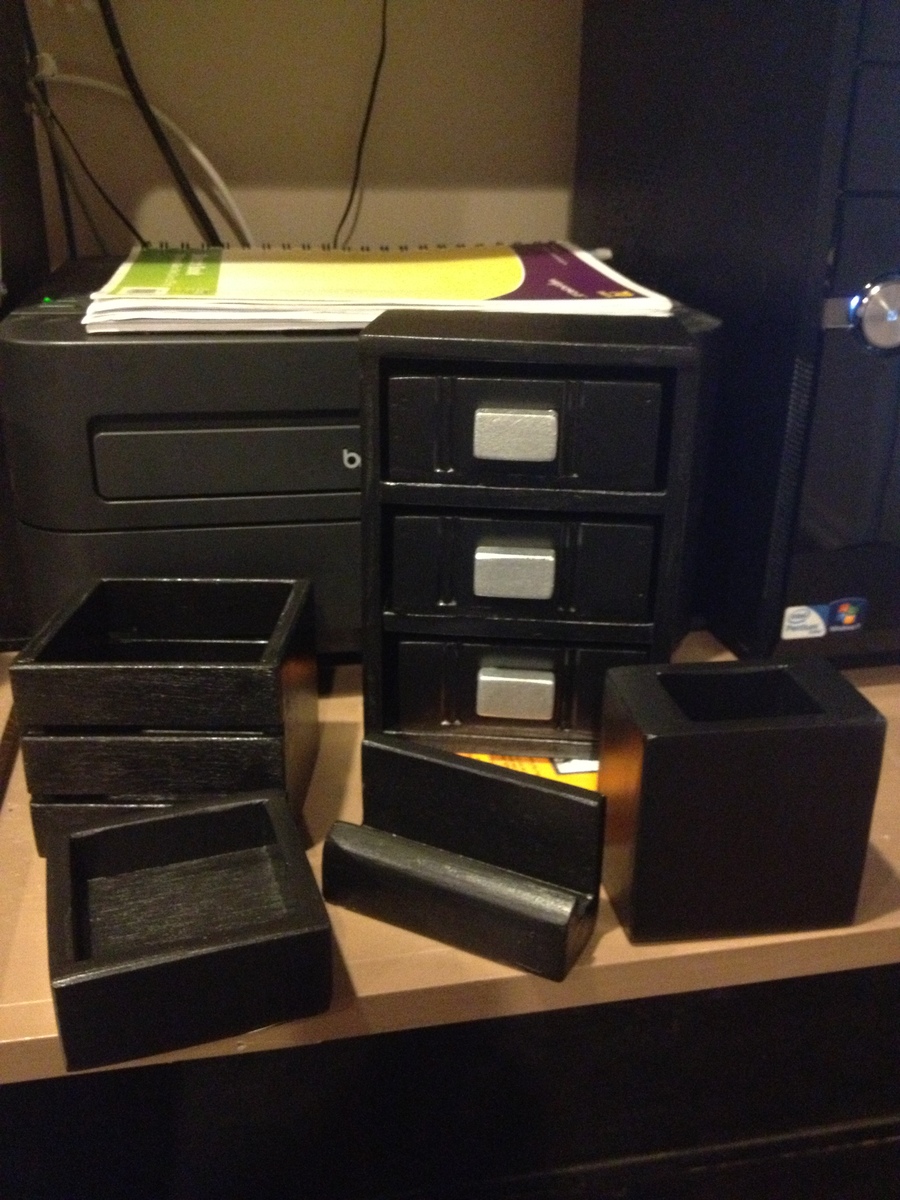
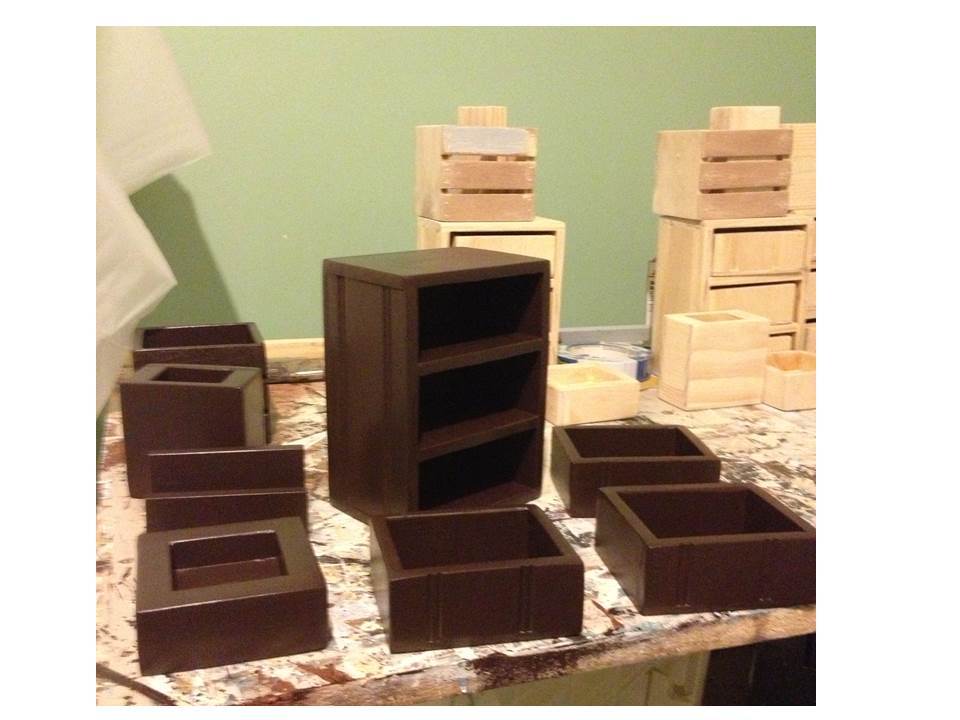
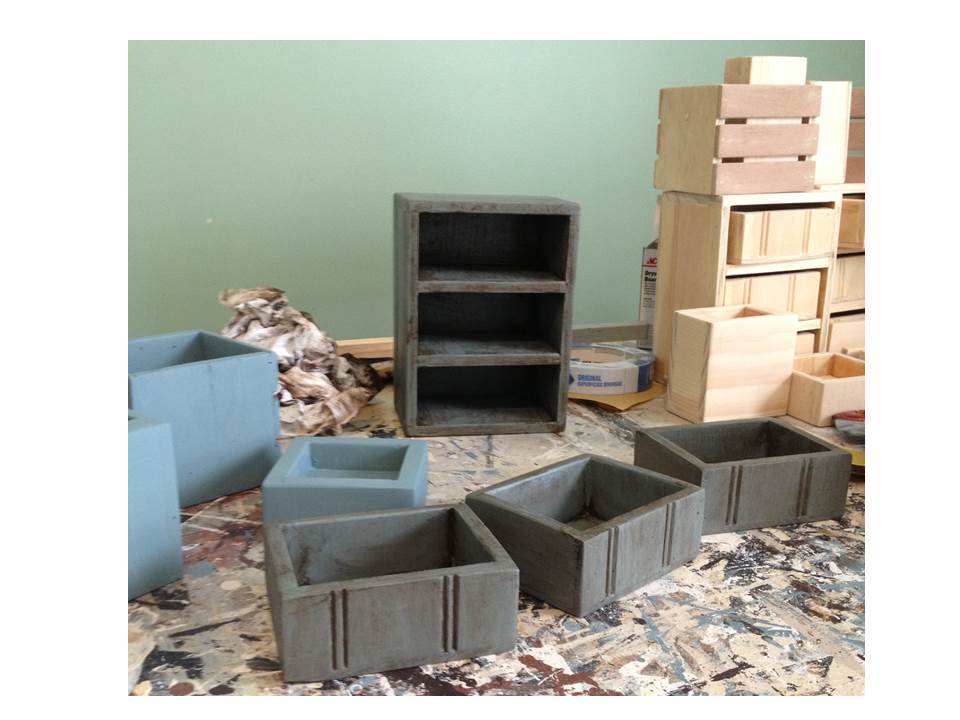
These desk sets were made from scrap wood and left over finishes, and are the inspiration for the desk bling accessory set plan, the cedar 1-board desk accessory set plan, and the 1-board cedar 2 drawer desktop storage cube plan. I had a ball planning and building these 4 sets over the summer, and gave them to the girls at work today as Christmas gifts. They were a big hit!
The cube sides and drawer fronts are made from scraps of wainscoat paneling.
The gray set is a distressed finish (not shown - the matching cube storage included pulls painted in oil rubbed bronze). The Espresso painted set received pulls spray-painted in silver. The Onyx set was stained with Minwax Express color, with pulls spray-painted in silver. The blue set received 2 coats of paint, and a Walnut glaze. Those pulls were done with a gray paint wash, with sea glass pebbles glued on the fronts.
The pulls are all made from pieces of S4S moulding, sanded and then painted. These also received a poly topcoat before attaching with super glue.
Total time for each set is about an afternoon each. Each set received multiple coats for the finishes, but was well worth the effort.
For some added "bling," I raided my stash of sticky-back felt scraps and applied to the bottoms of each piece, along with the drawer bottoms.
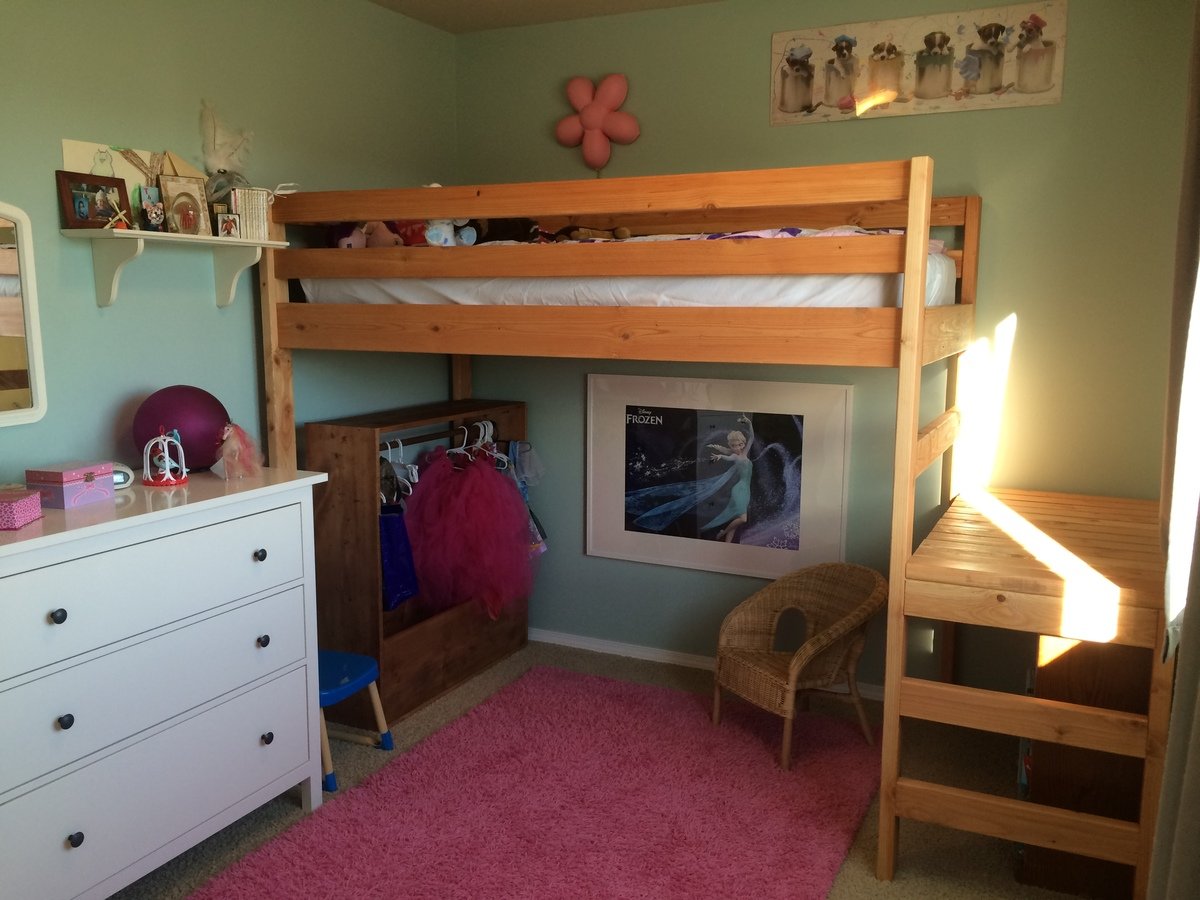
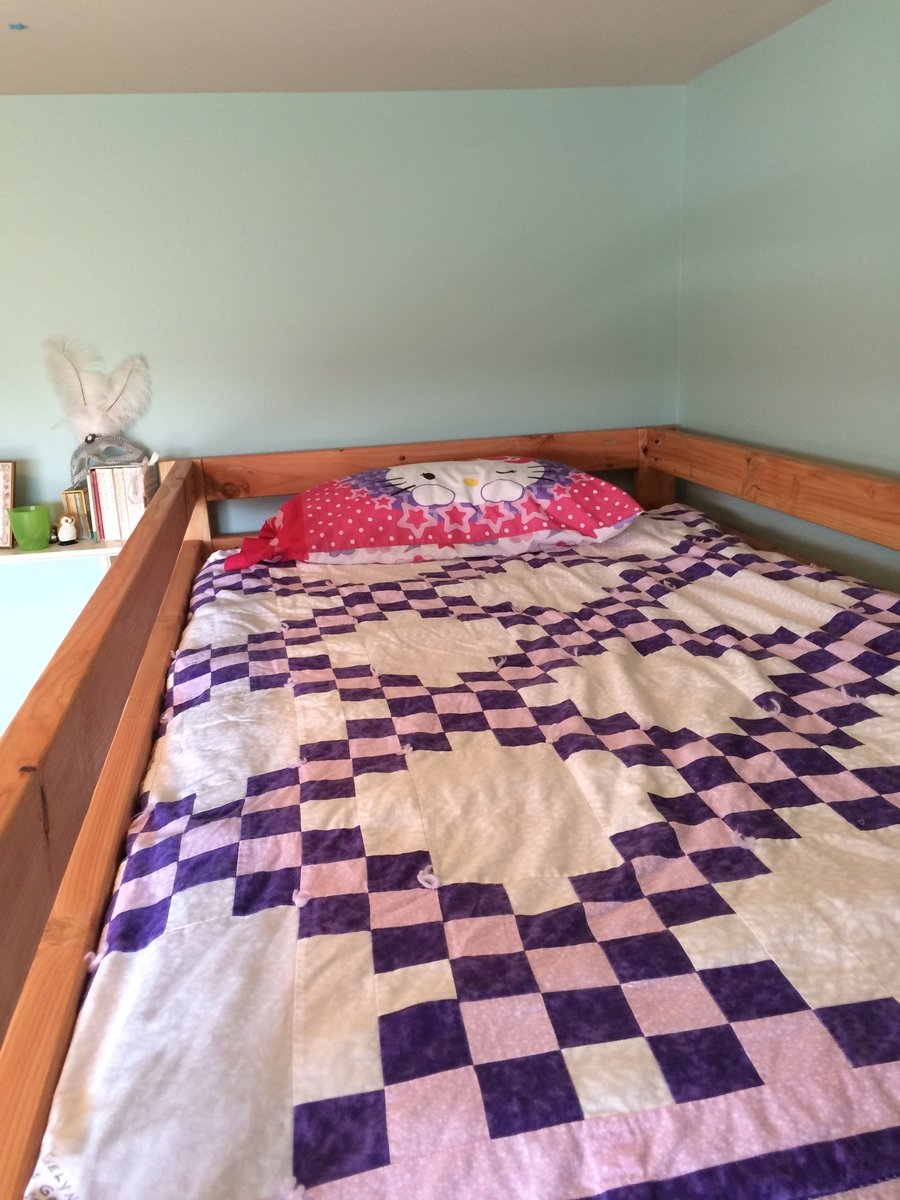
I loved making this bed. This was my first experience using a Kreg Jig and it was great! We added three inches to the height of the bed so that my daughter could stand up for the next two years or so without bonking her head. We opted for rungs instead of stairs to save more space. We also used 2x4s cut to width for bed slats instead of a bunkie board.
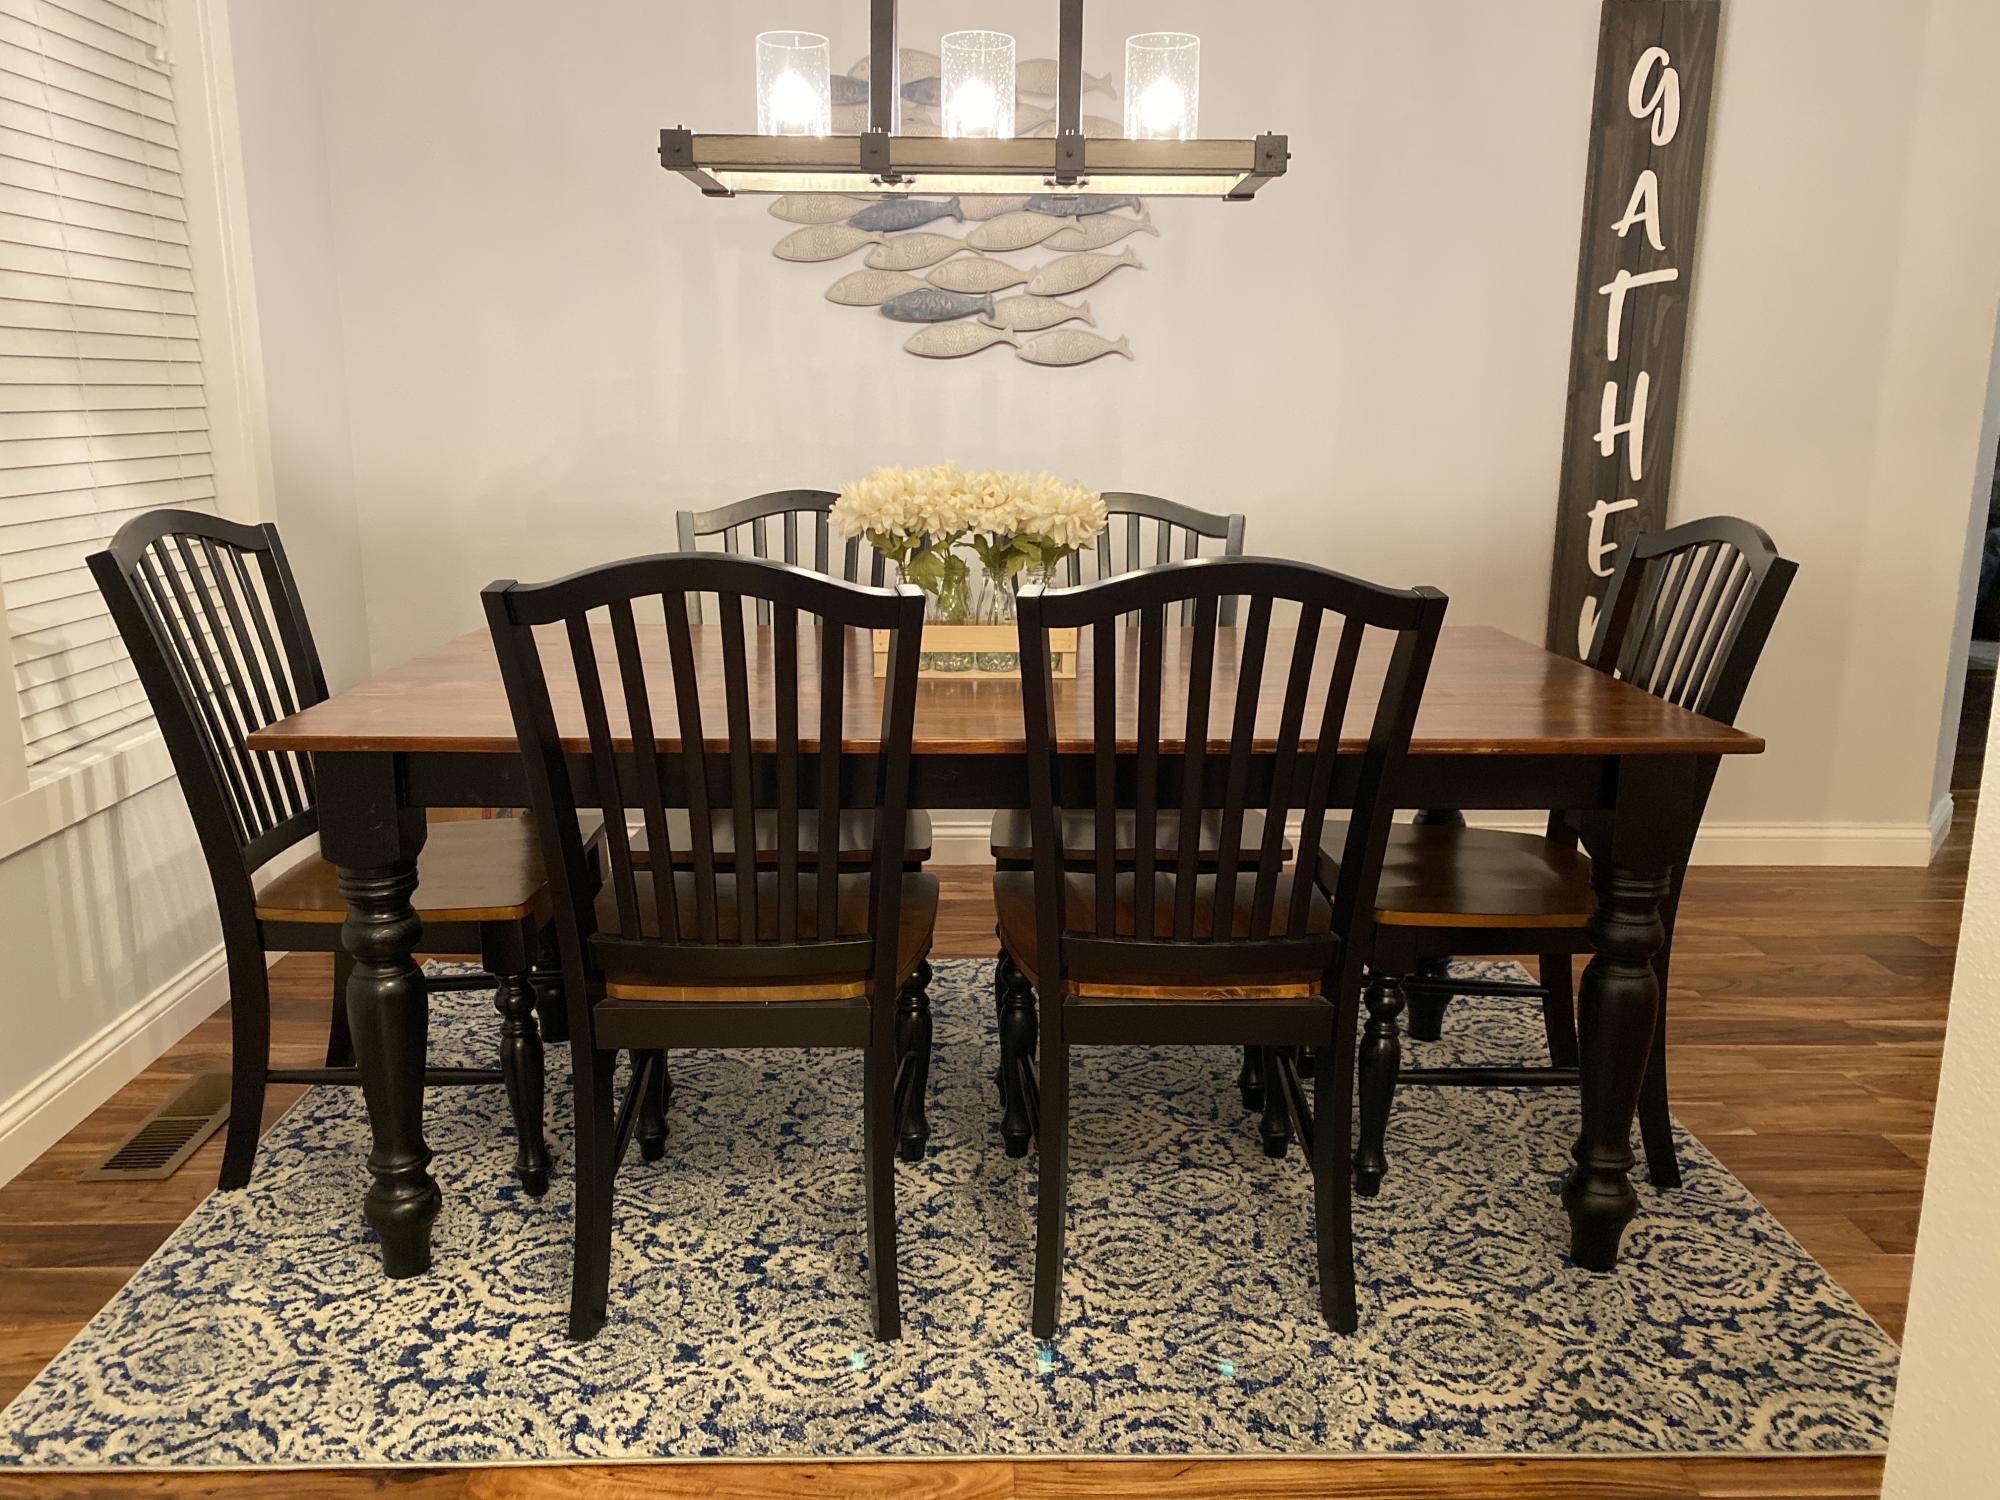
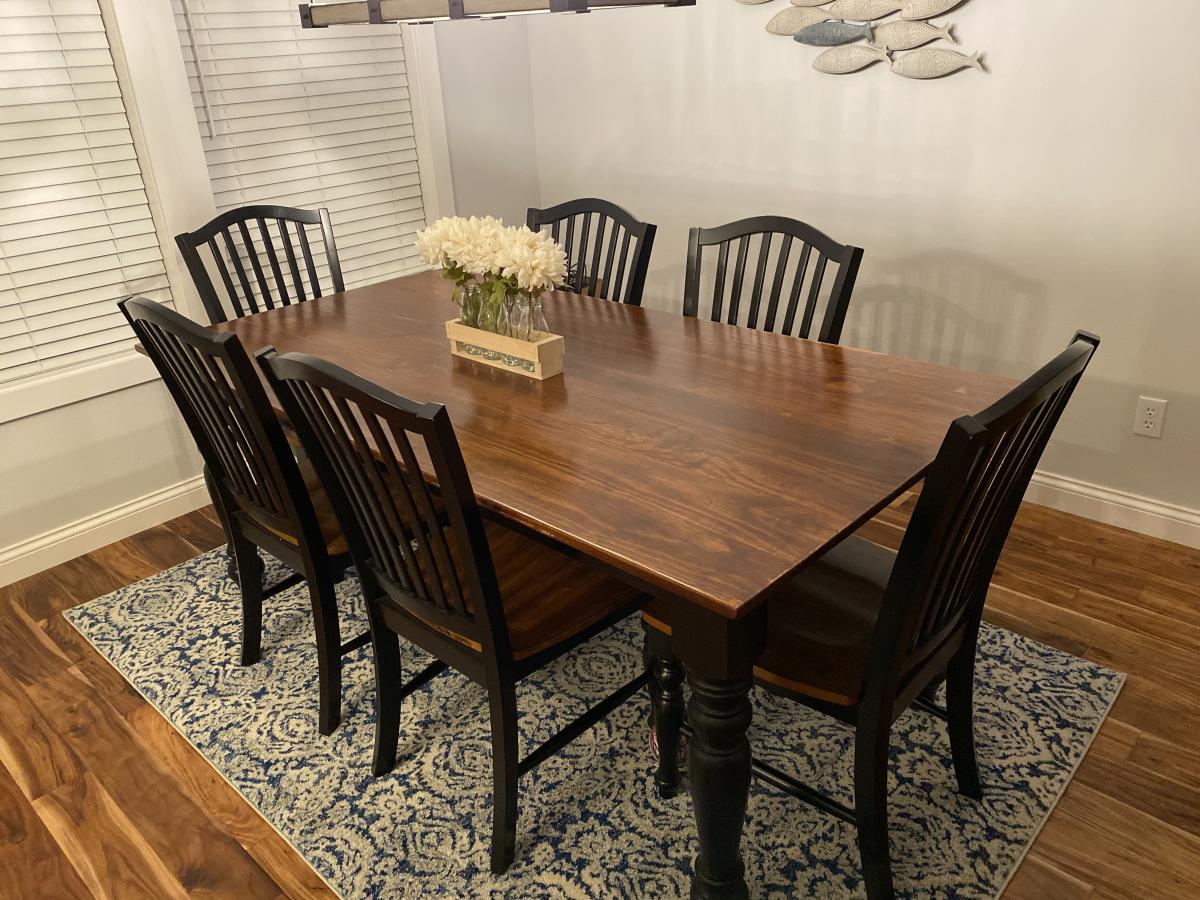
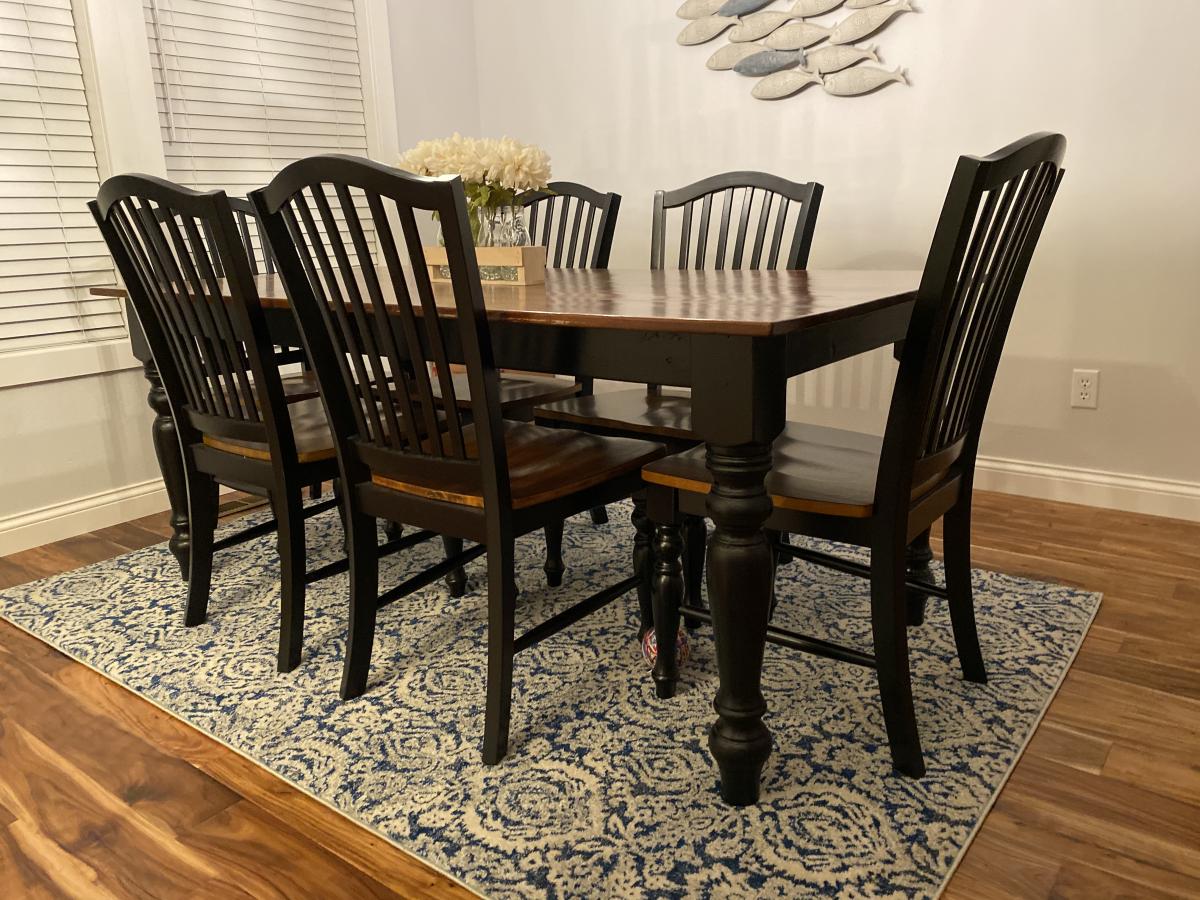
I made this table from the husky farmhouse table plan, I have loved this table since I first saw the plan. I used 4” legs instead of 5” and 1x6’s for the top. It turned out beautifully. I did purchase the Osborne legs as recommended.
Have you checked out prices at framing stores lately? Since I didn't want to pay $250 for a frame, I decided to make one out of some spare 1x4 Douglas Fir that I had. It's a single board with a router cut at the edge for detailing. I routed a rabbet onto the back, and kreg-jigged it together. I distressed the wood by beating it with a hammer and chain.
Prior to completing the frame, I took a sample piece to the framing store (who would be matting it) to make sure they could work with my rabbet size. I ended up having to make it deeper and wider to accommodate them, so I would advise doing this if you're taking it to a framer.
I never dreamed I could actually make a frame, much less a piece of furniture. Thanks so much to Ana for sparking all of this. I've found my creative calling thanks to her!
Thu, 02/16/2012 - 04:32
That is really beautiful! I've been considering the same build for the same reasons. Framing costs are outragous! I've never used a router before and I guess I'm a little intimidated by them. What do you think? Are they too hard to use? Worth investing in?
Thanks!
In reply to Good job! by Becky Smith (not verified)
Tue, 02/21/2012 - 08:11
Becky -- thanks for the feedback. The router is hard for me, but I don't think I know all the ins and outs of how to use it. For making the rabbet on the back, I've found out that a table saw works SO MUCH BETTER than trying to use the router. I believe that a dado blade for the table saw could make the decorative cut (and much easier, faster, and cleaner than trying to use the router).
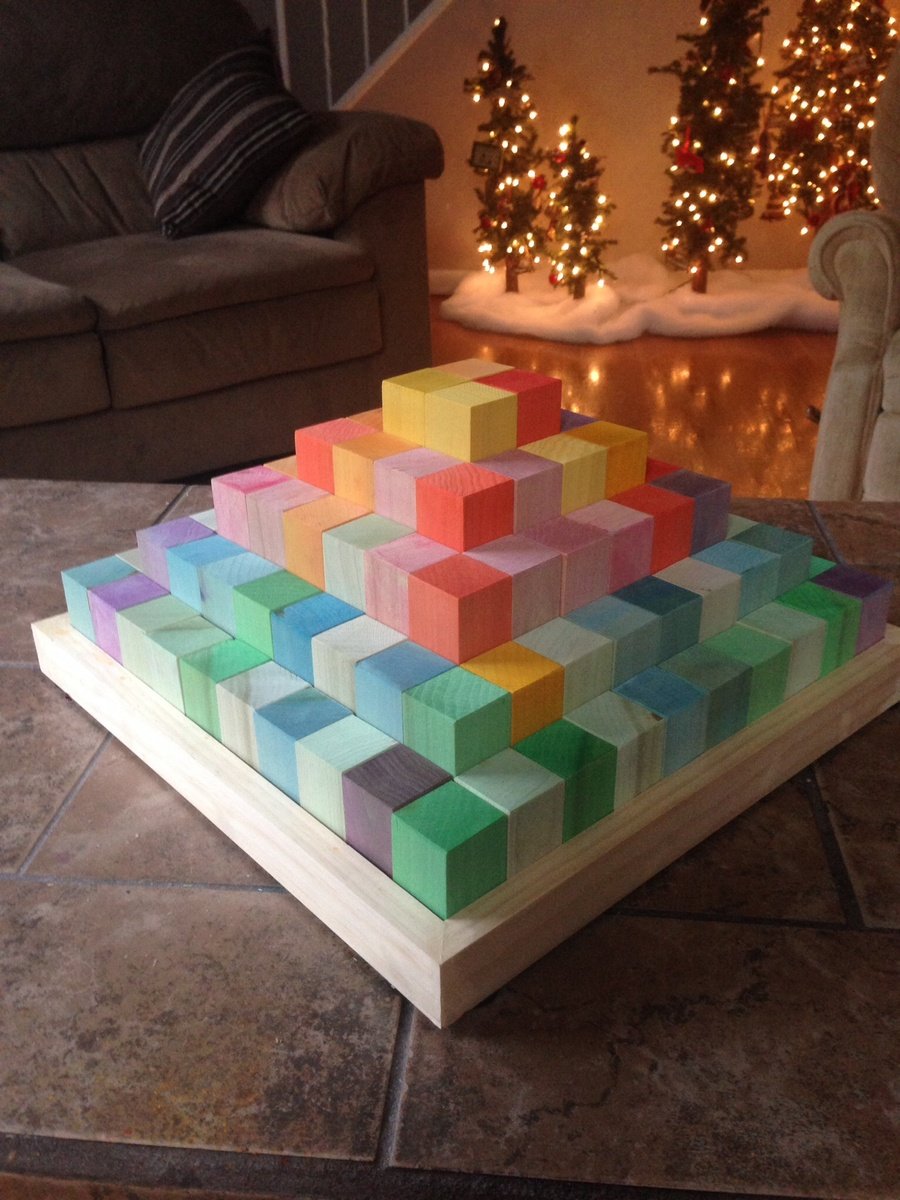
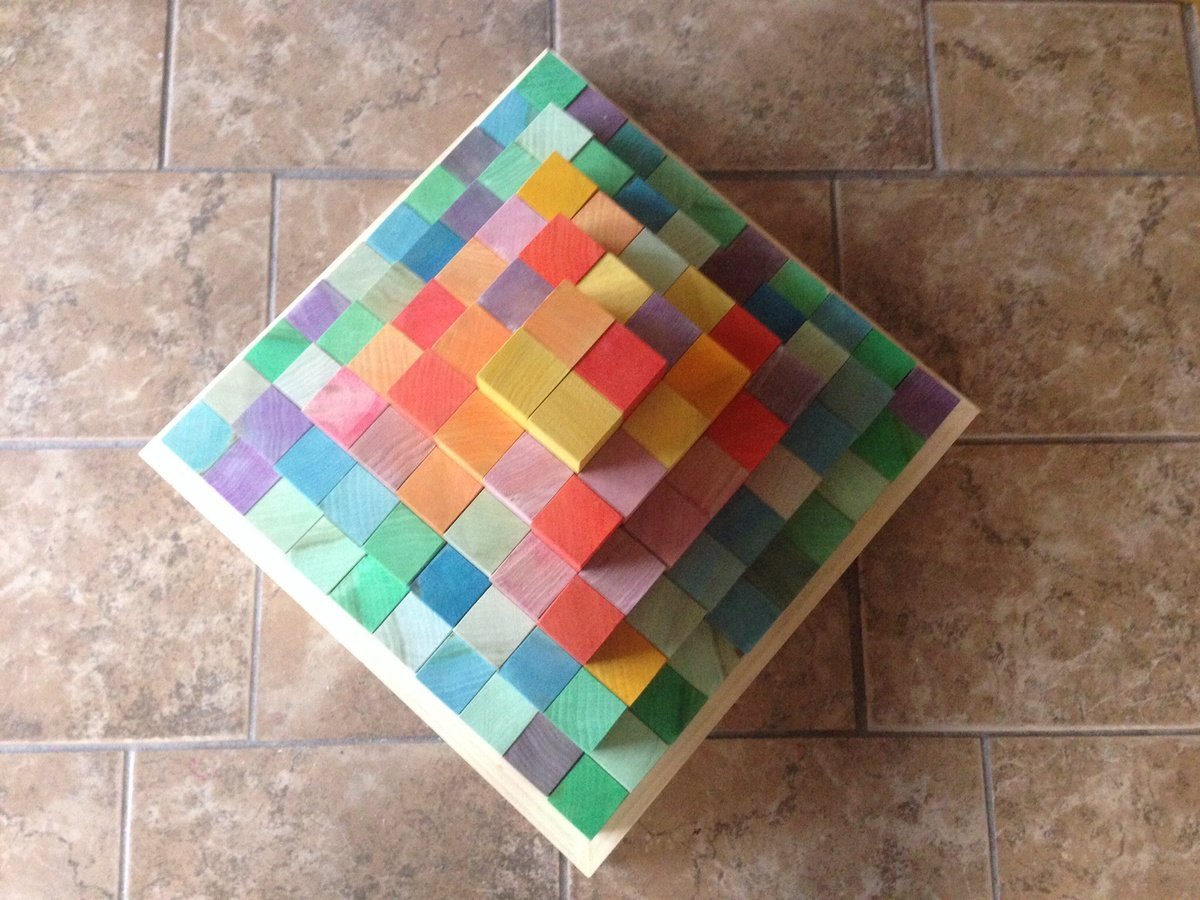
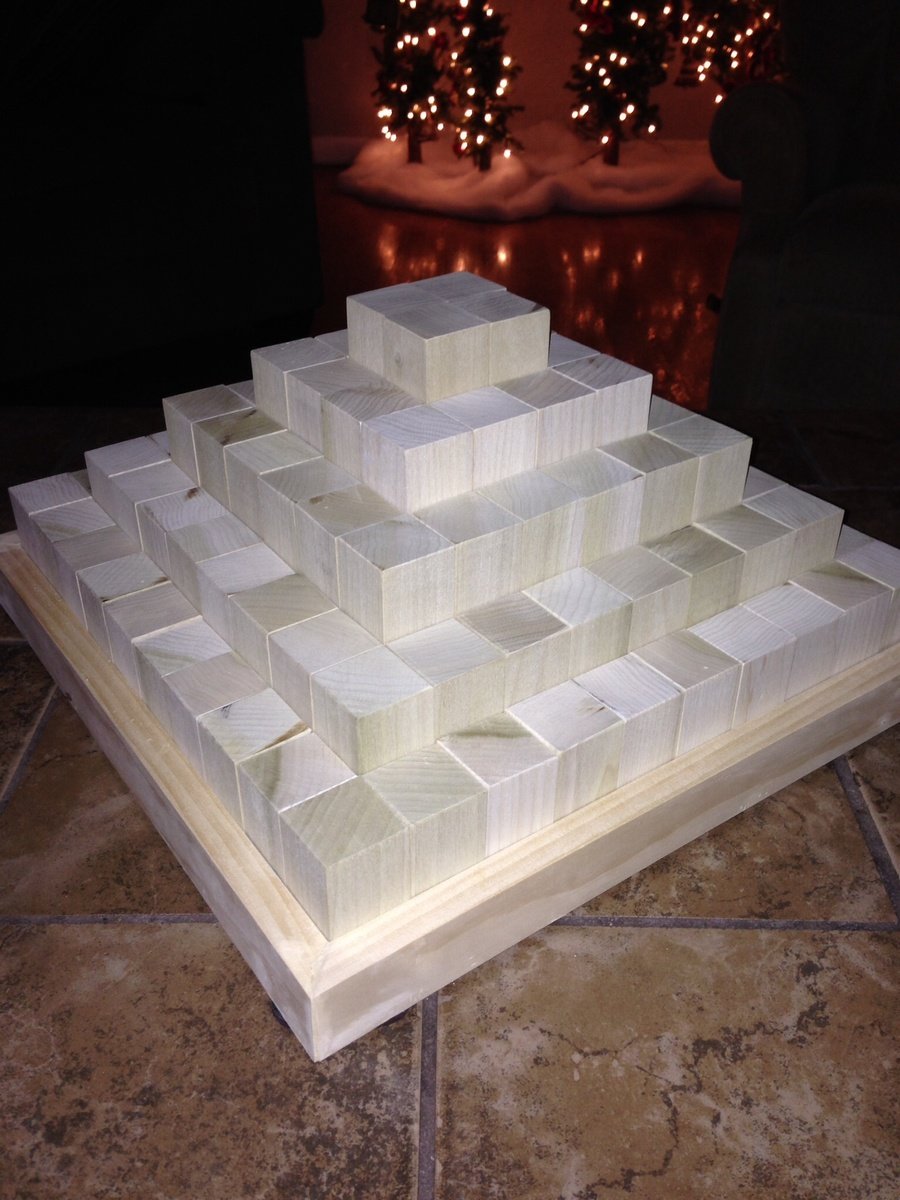
What a great little gift idea and made this in about 4 hours. HD had 2x2 poplar turning blocks that were perfectly straight and pretty smooth to start with. Required minimal sanding. Each board was $1.98 but was 32 inches long. So you have to buy 15. Start with the larger cuts first. The end of each board will produce one or two of the smaller cuts. Used the food coloring and also coconut oil on the blocks.
Great project, had fun doing it.
Tue, 07/21/2020 - 11:16
This is awesome! I cannot wait to try this. Any advice on painting with food coloring?
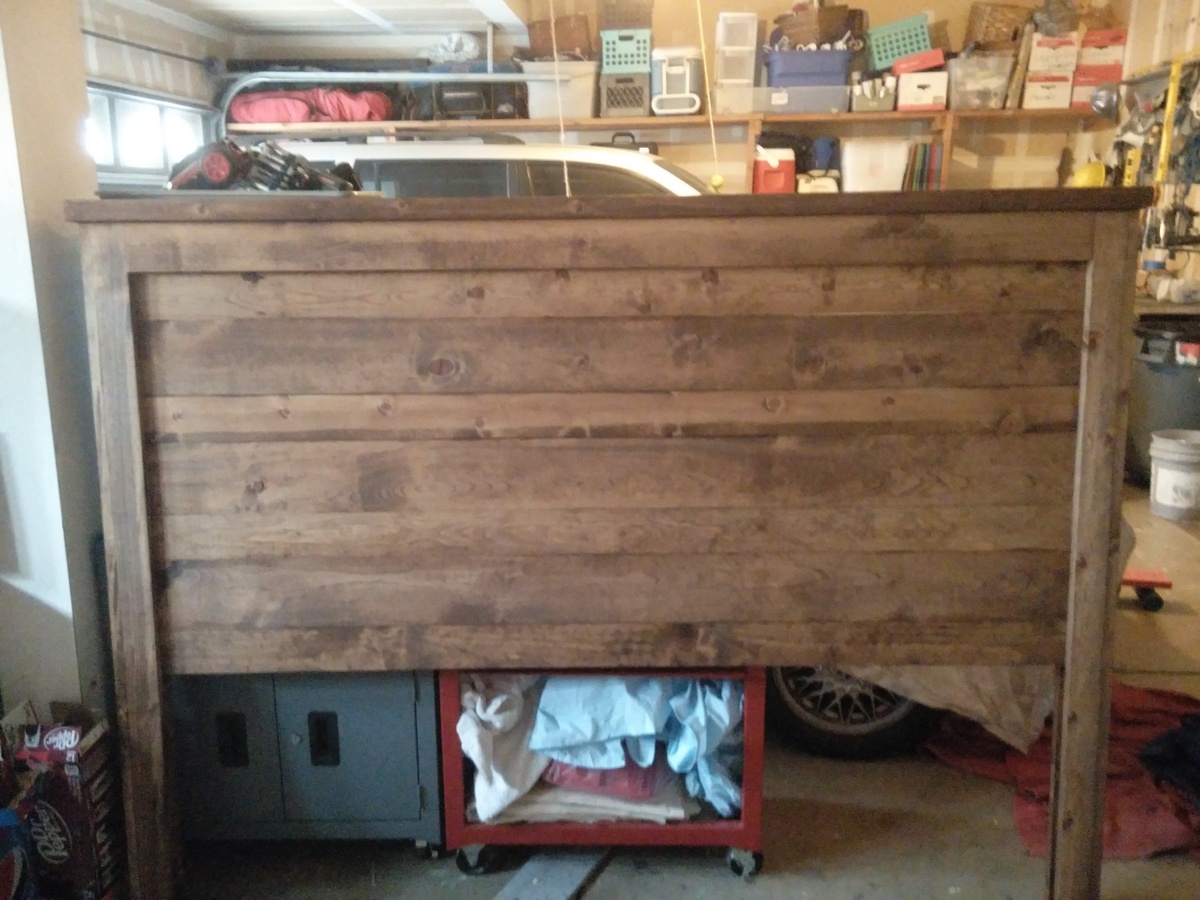
Followed the instructions. Very easy to follow. Made California King size.
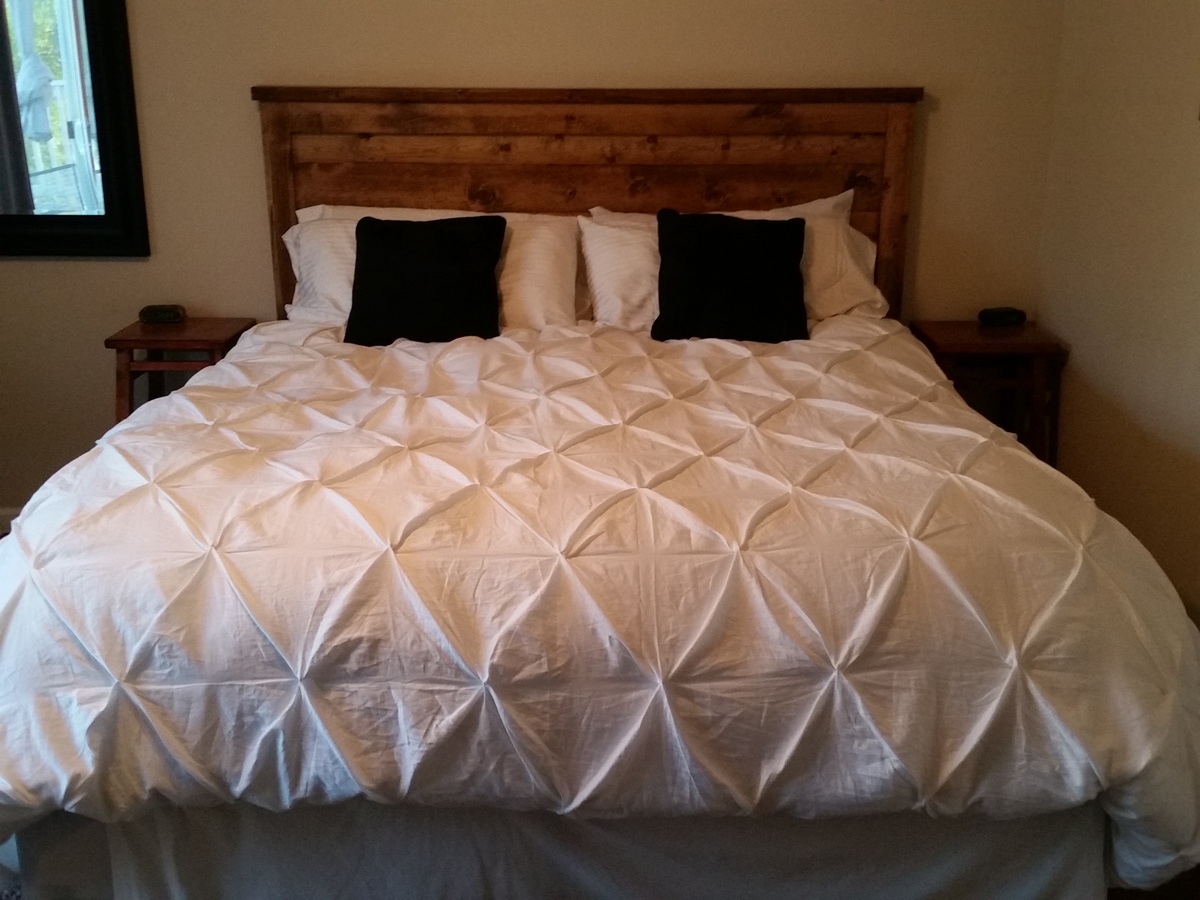
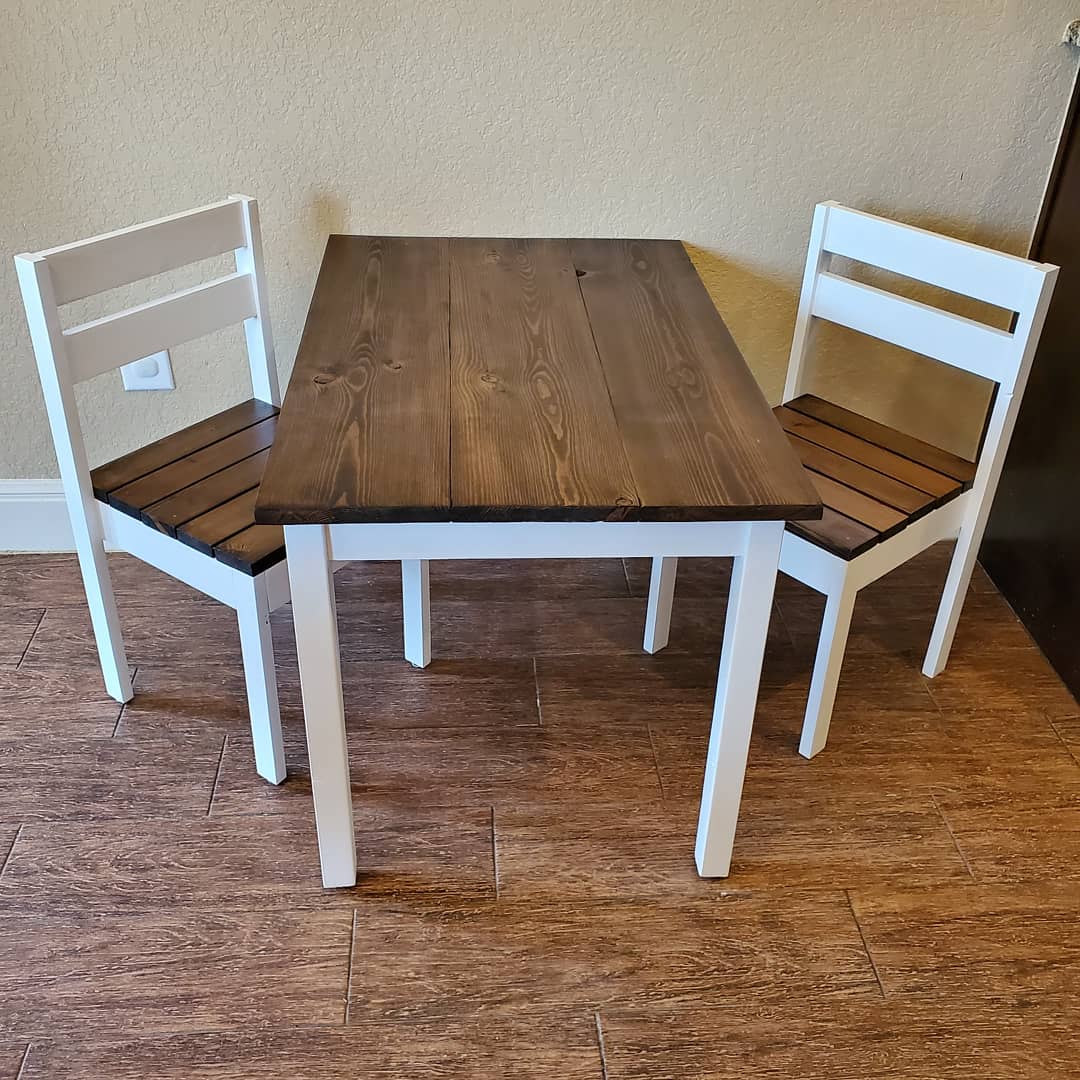
I stained the top with Dark Walnut stain and used perfect white paint.
Fri, 10/11/2019 - 09:38
What a beautiful set!
Thank you for uploading so many brags - love it!
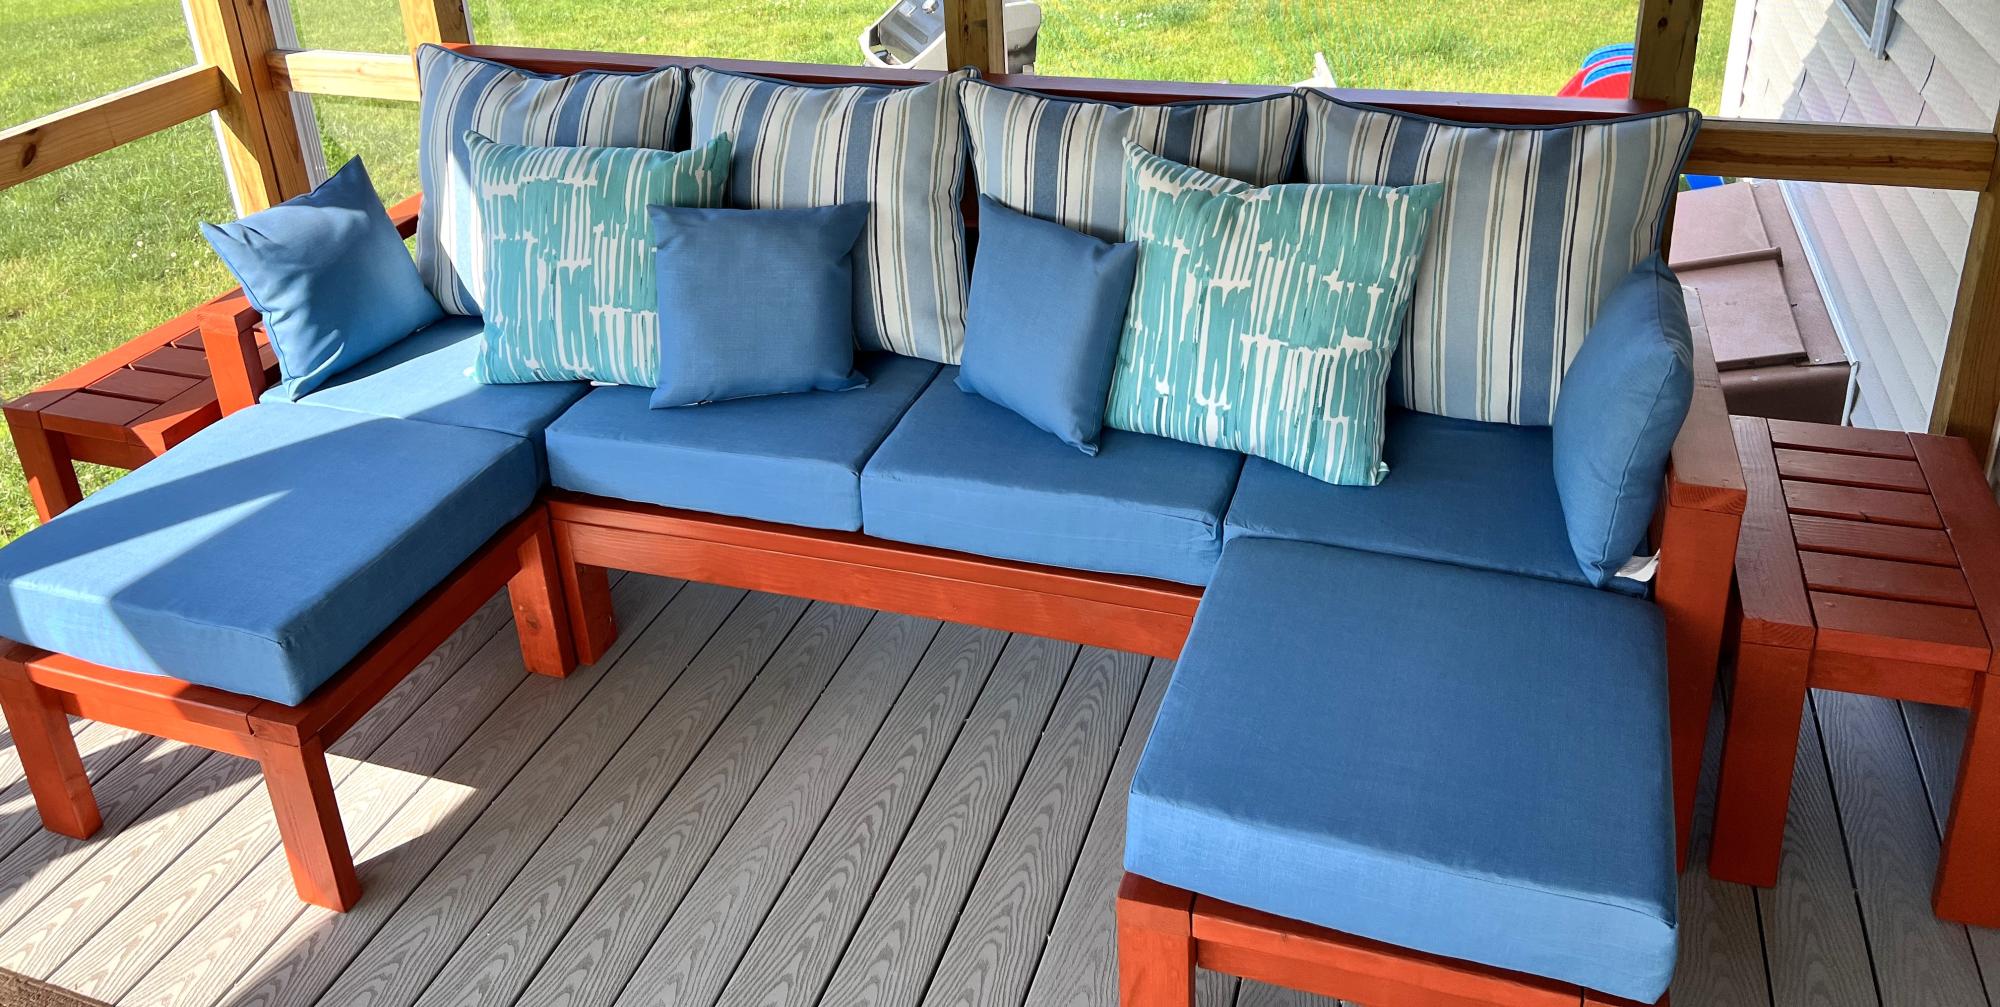
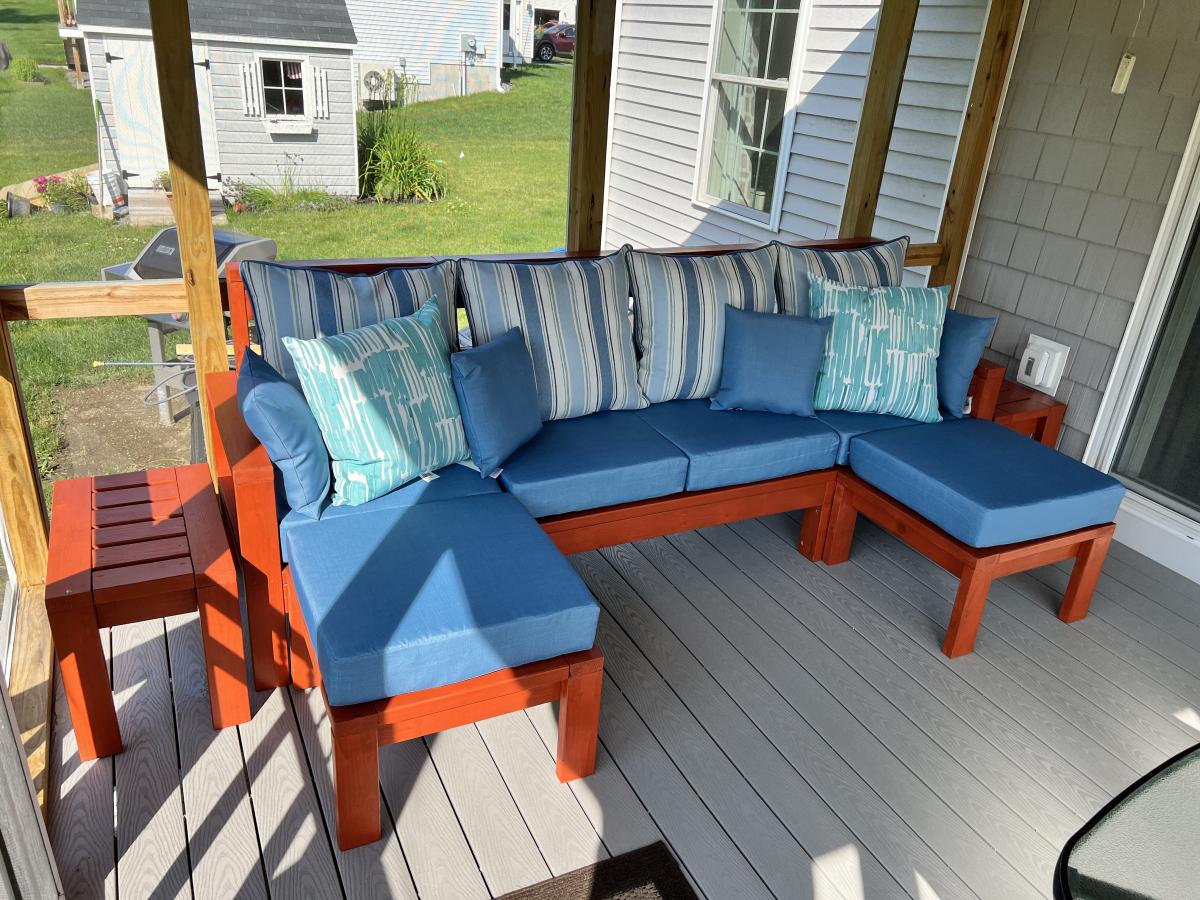
Sofa with 2 ottomans and 2 side tables.
Vinny M
I loved this bench when I saw the plan and had to try it. Thanks Ana!
This was an easy plan to follow! We built these for around our fire pit. The finishes is what took the longest. The tops are stained American Walnut.


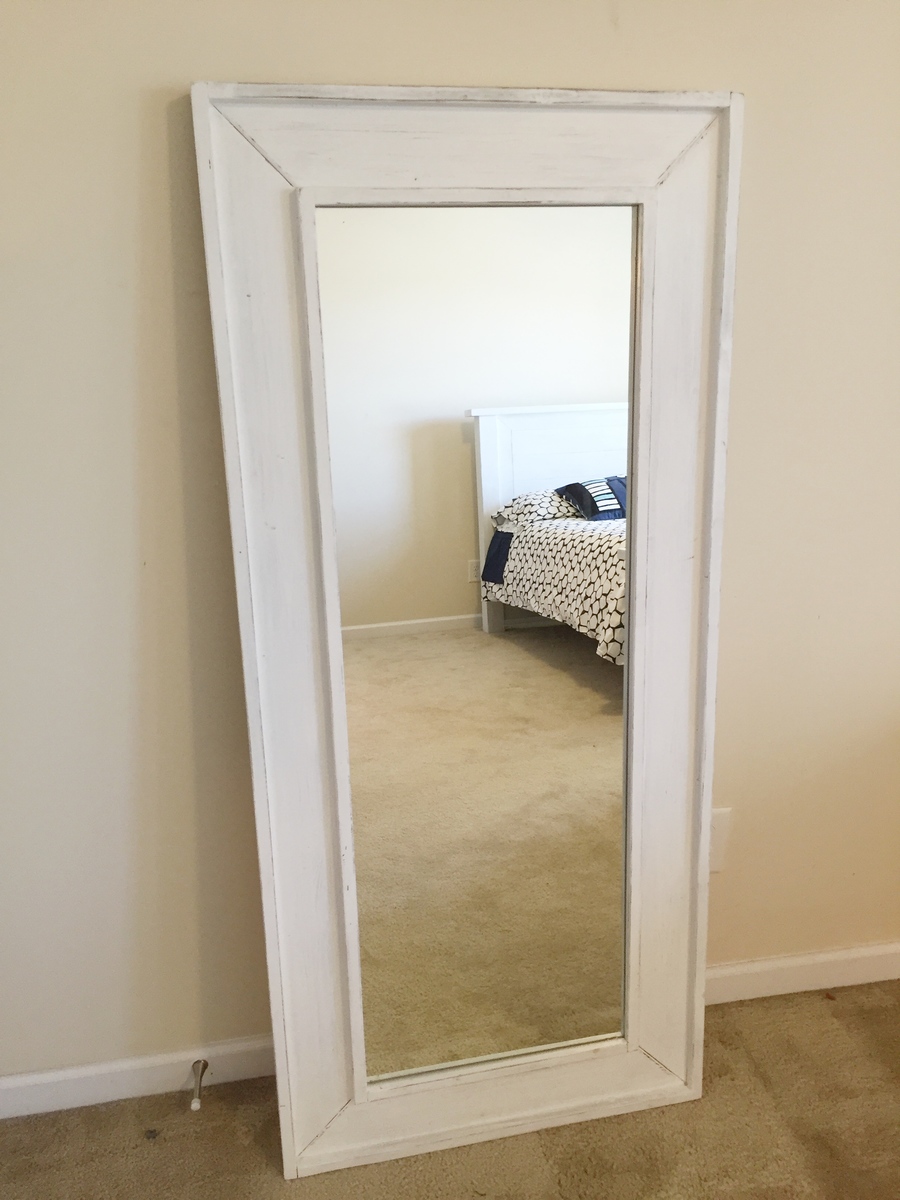
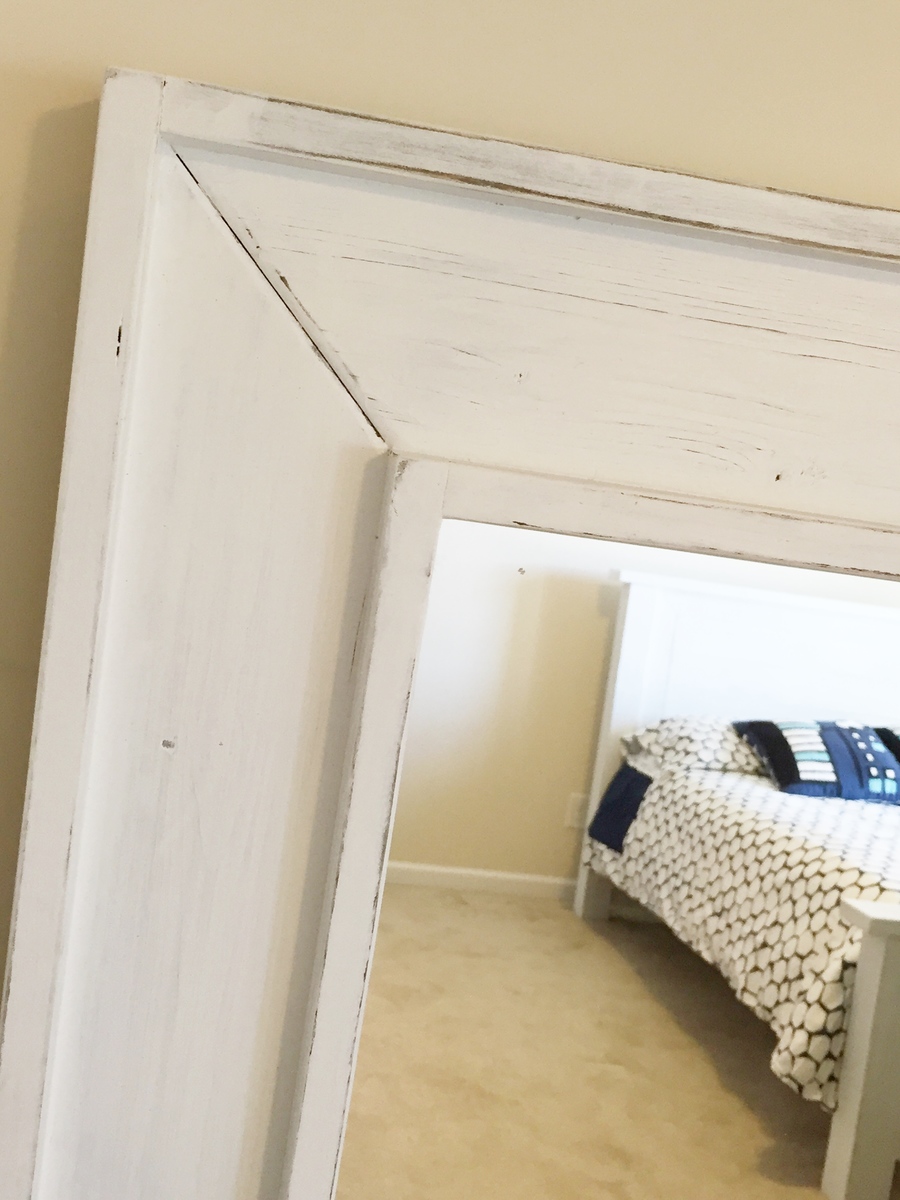
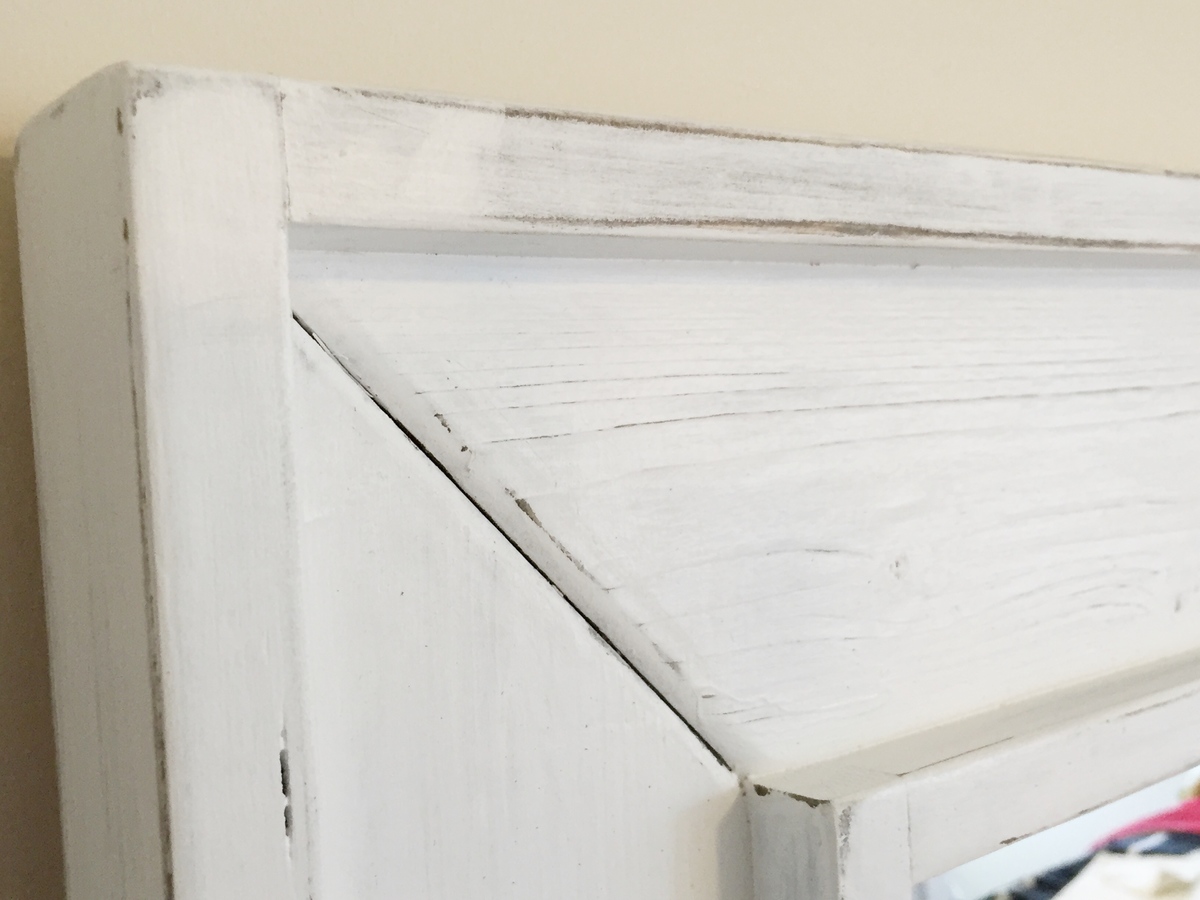
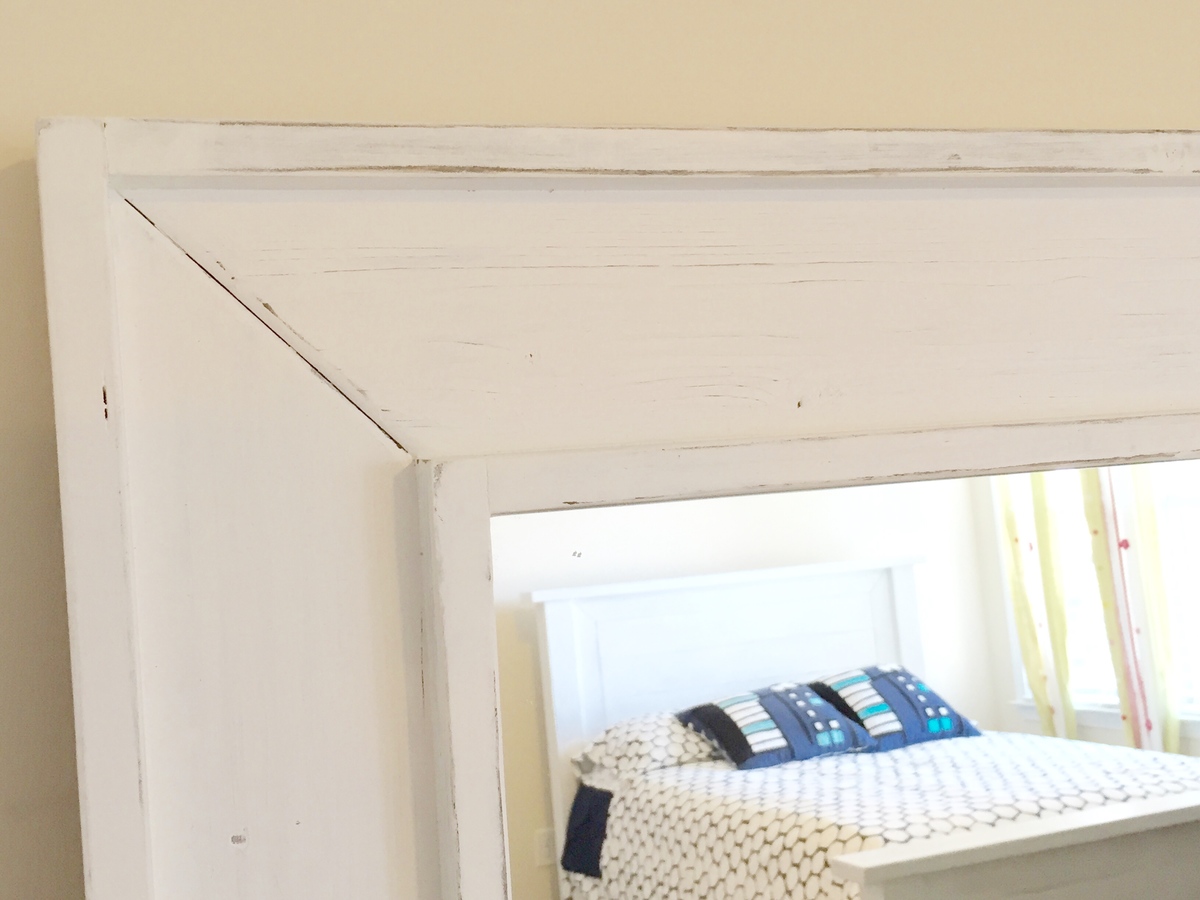
A $10 Mirror framed out with some 1 by 2, 1 by 3 and 1 by 4.
Stained black and then 2 coats of white paint sanding after each to give a rustic/antique look.
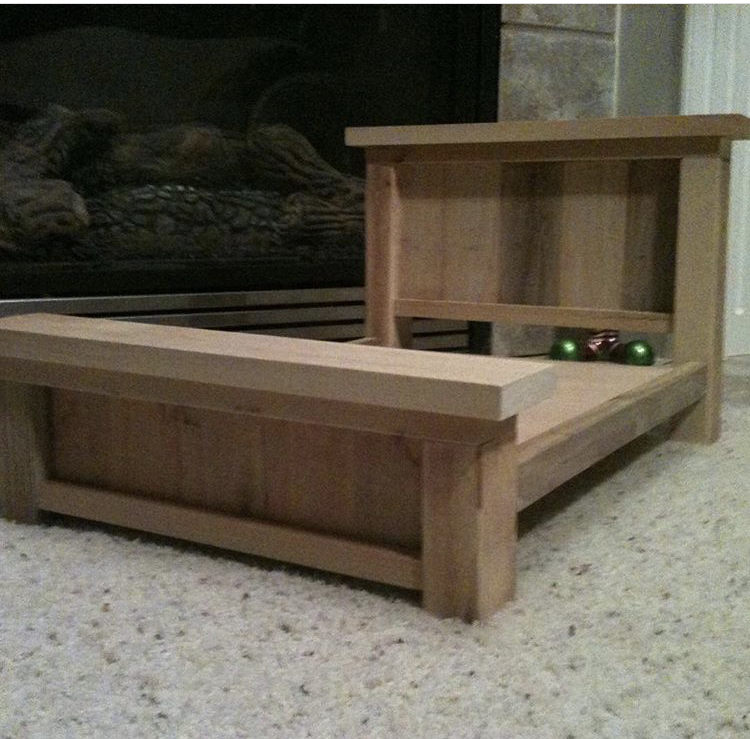
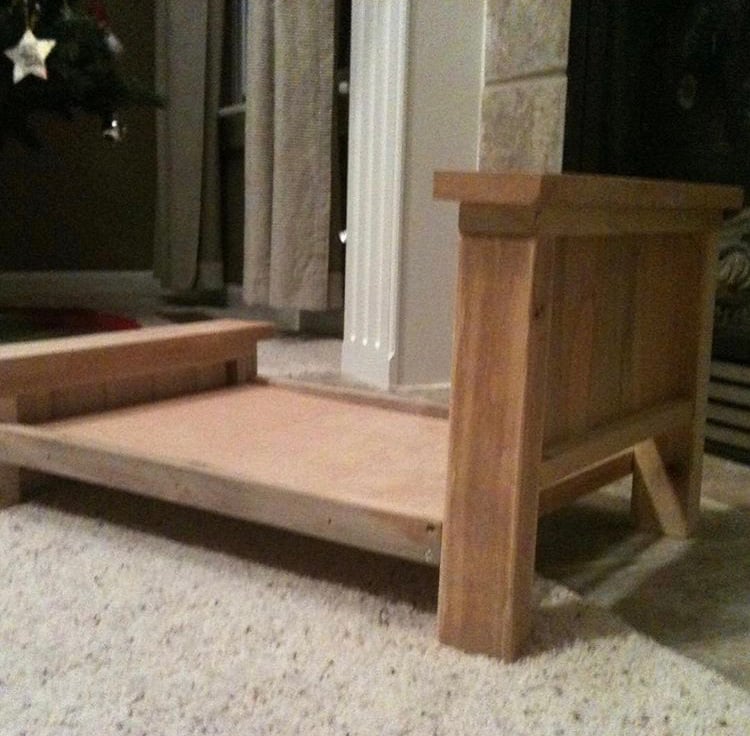
My daughter wanted a bed for her dolls. American Girl Doll Bed beds are outrageous, soI decided to make one out of some scrap wood we had laying around. I modified it a bit and added a trundle bed below.
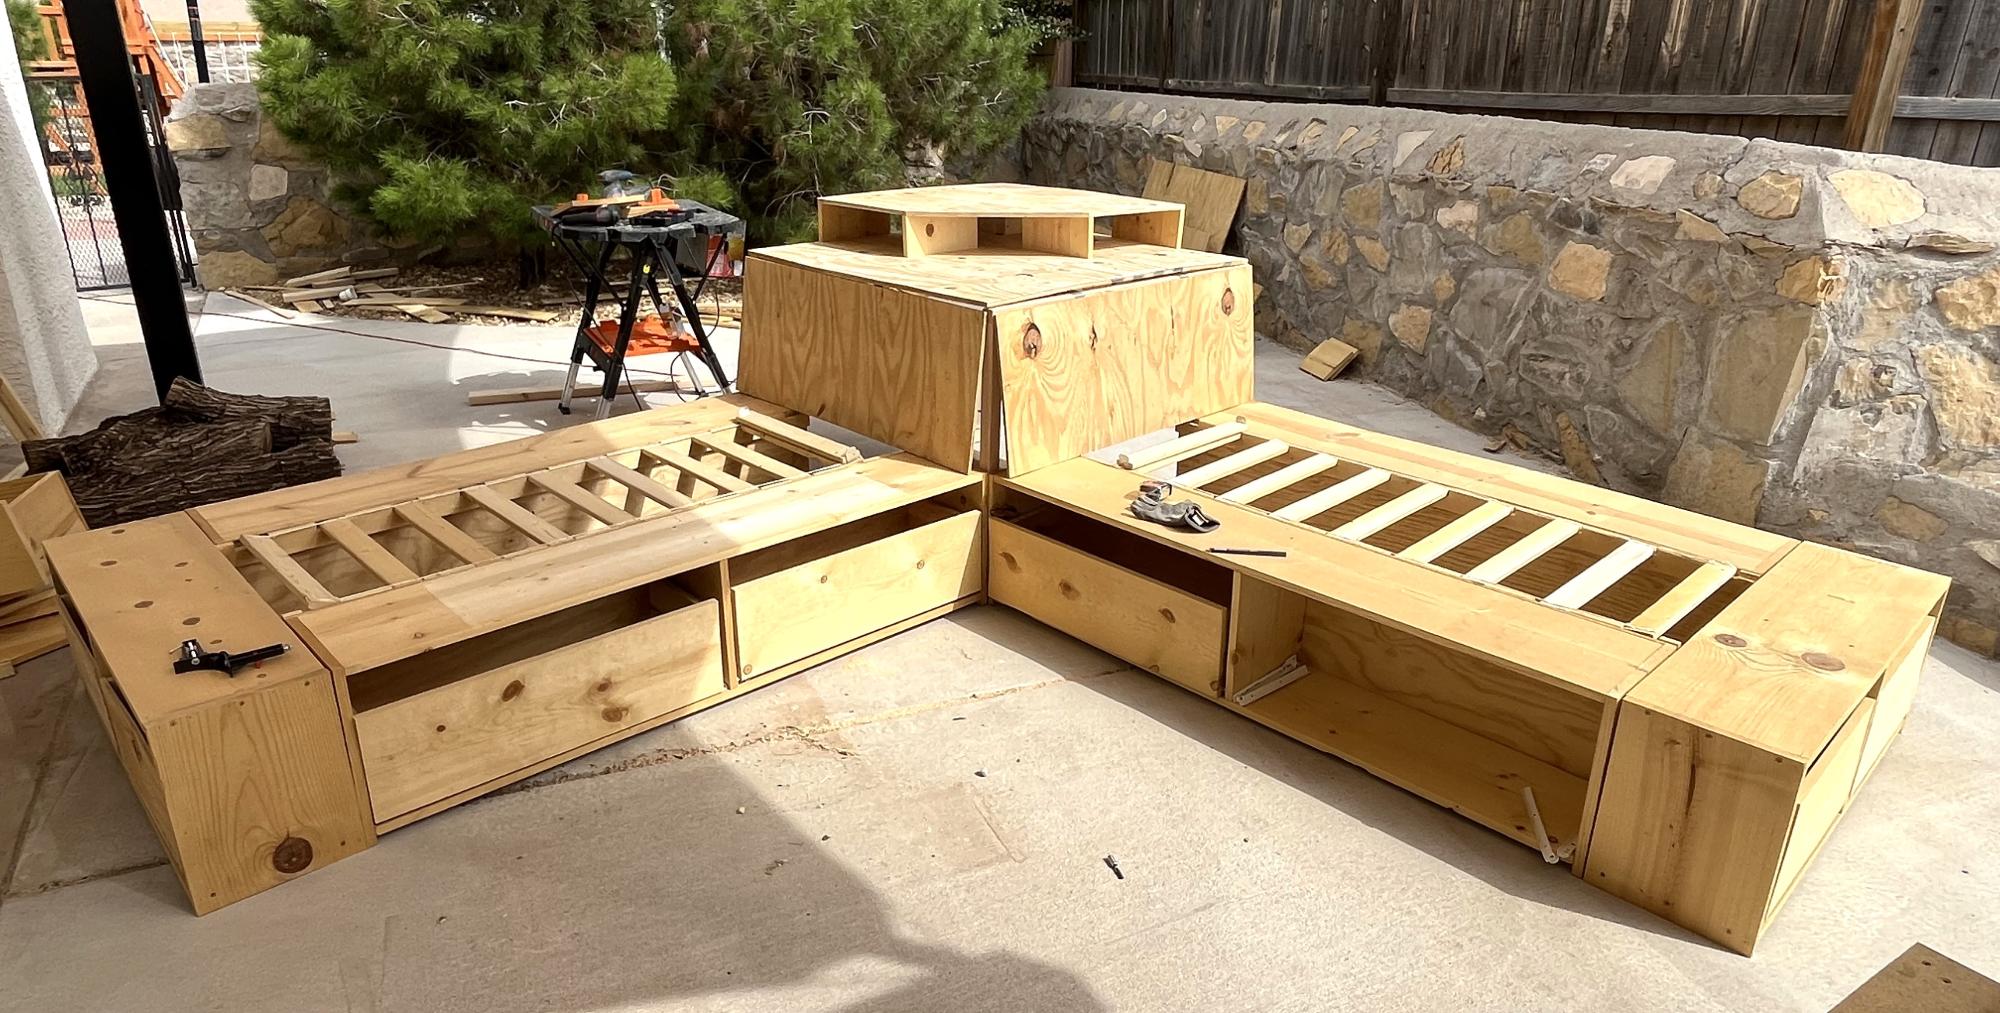
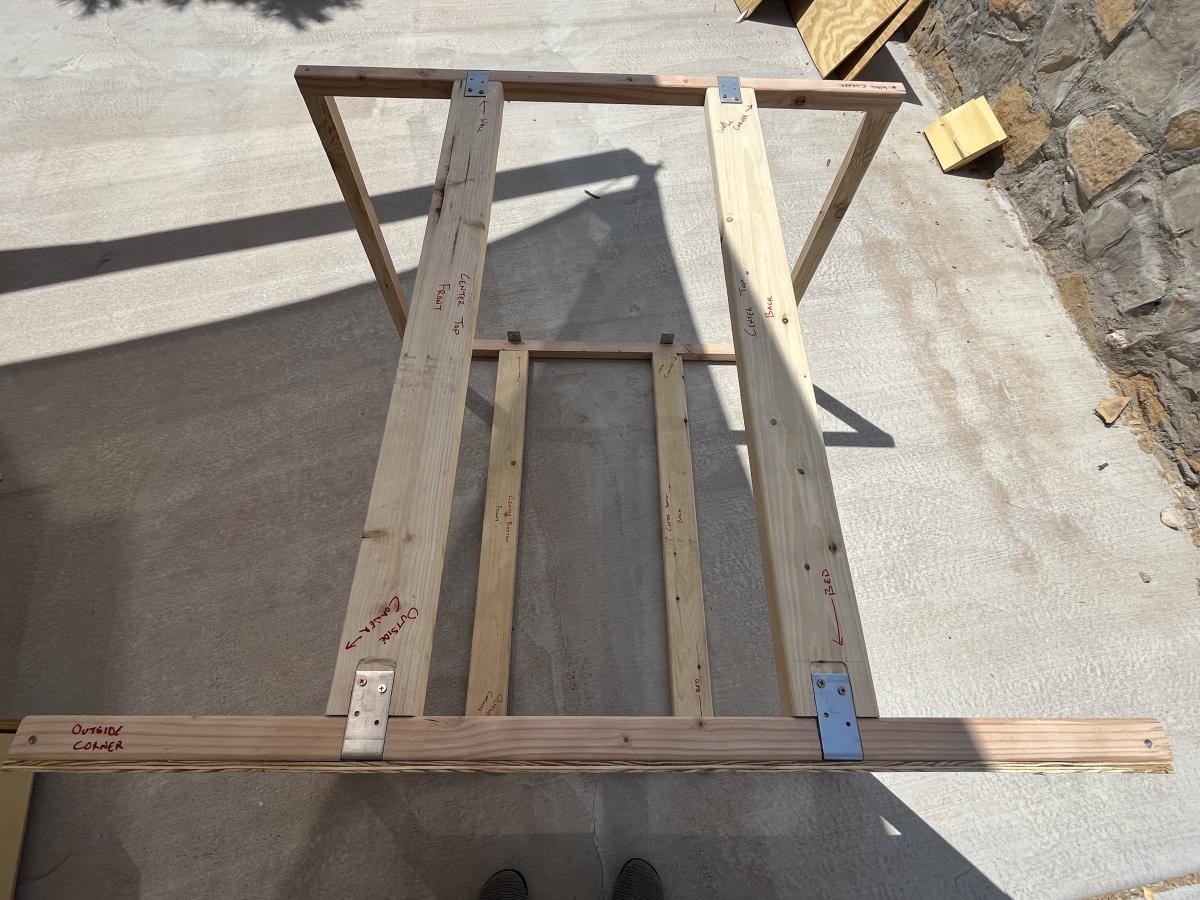
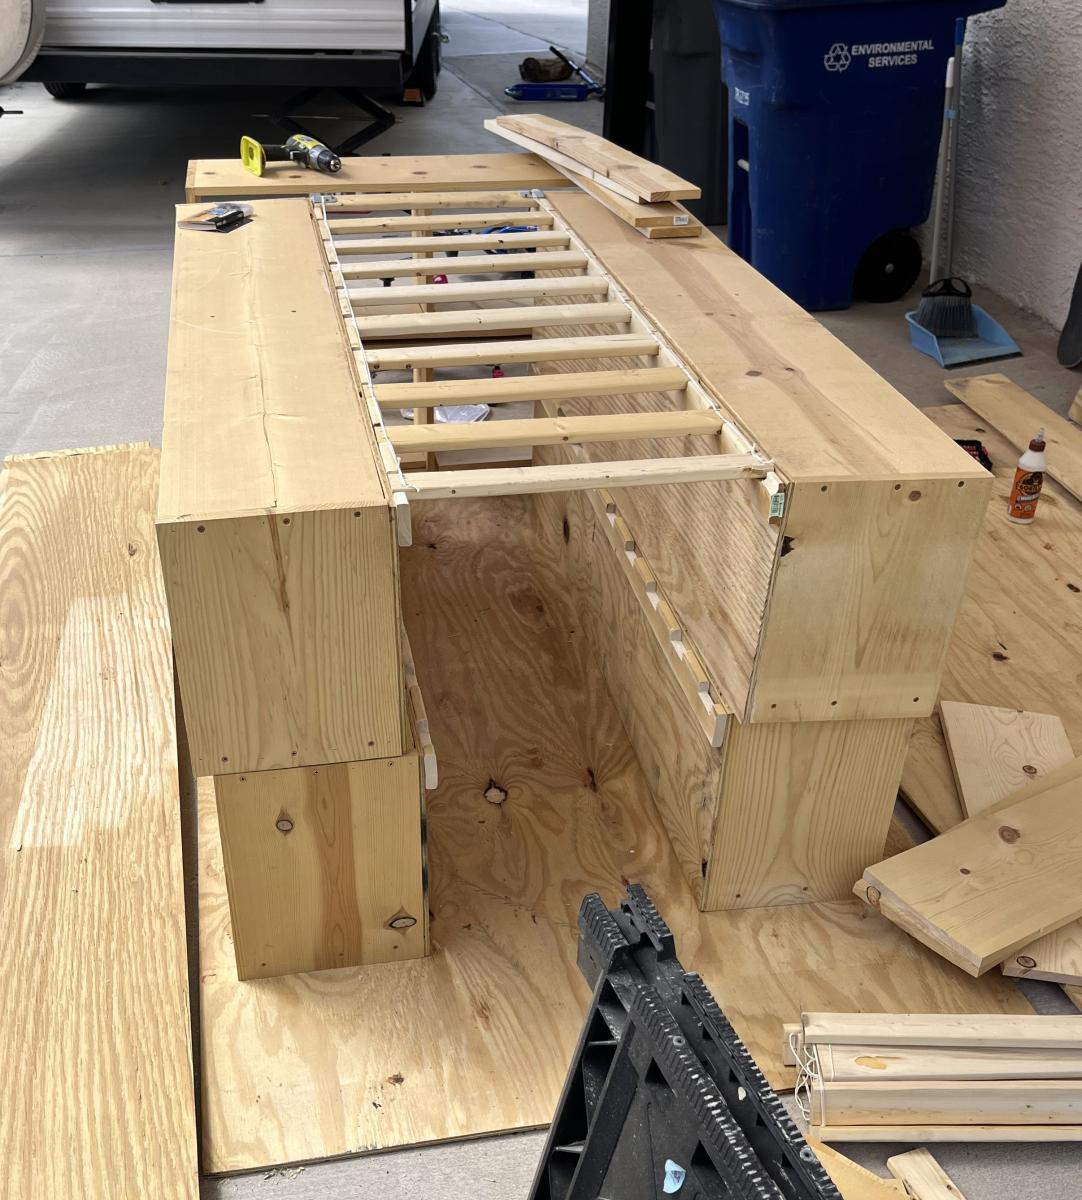
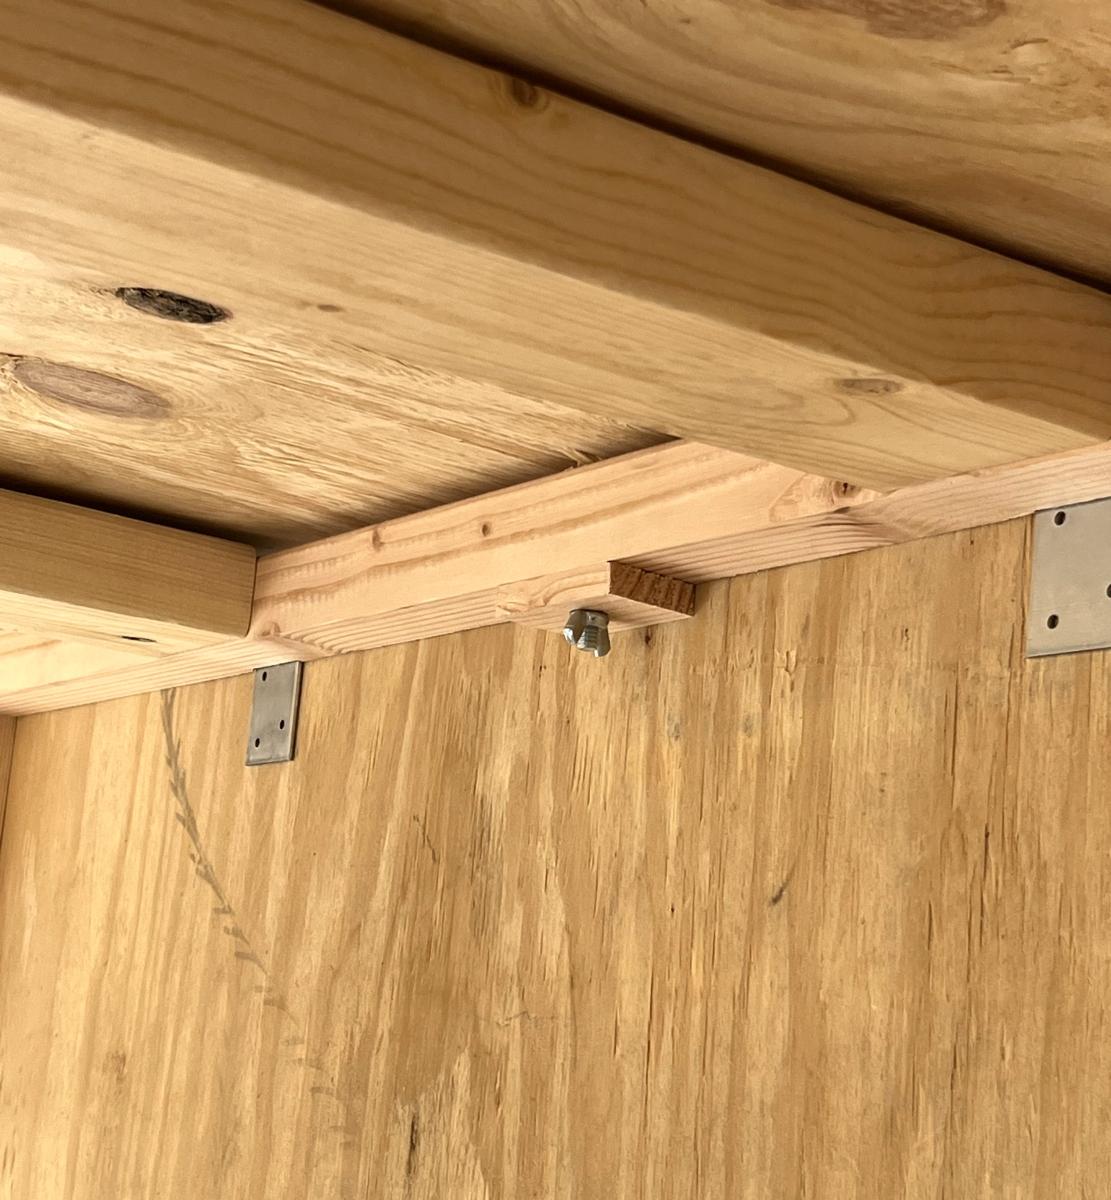
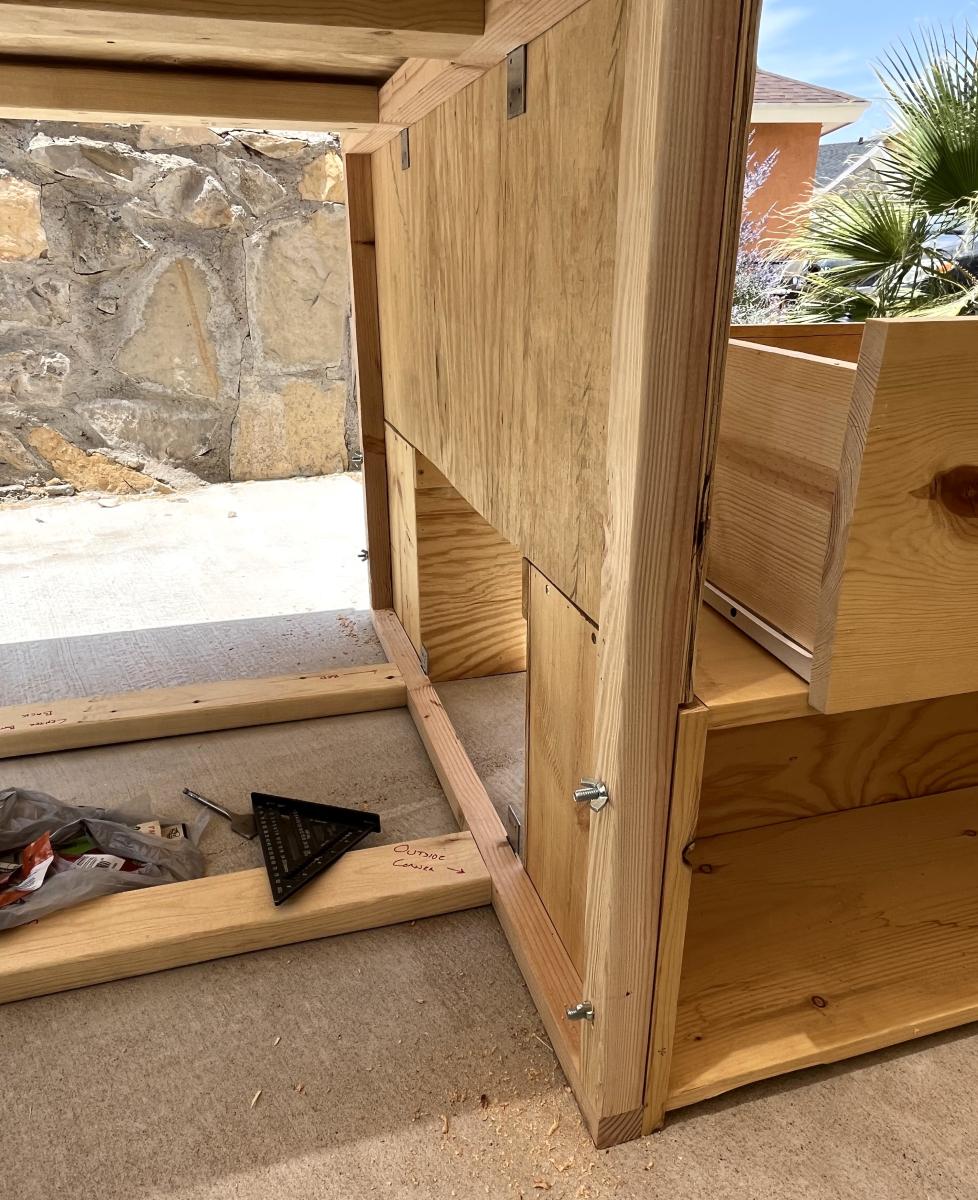
Built this plan, added bolt hangars and flat face mounts, and corner braces to make it easily assemble or disassemble for moving
Comments
Ana White
Thu, 10/03/2019 - 12:08
Great job, it turned out…
Great job, it turned out amazing!