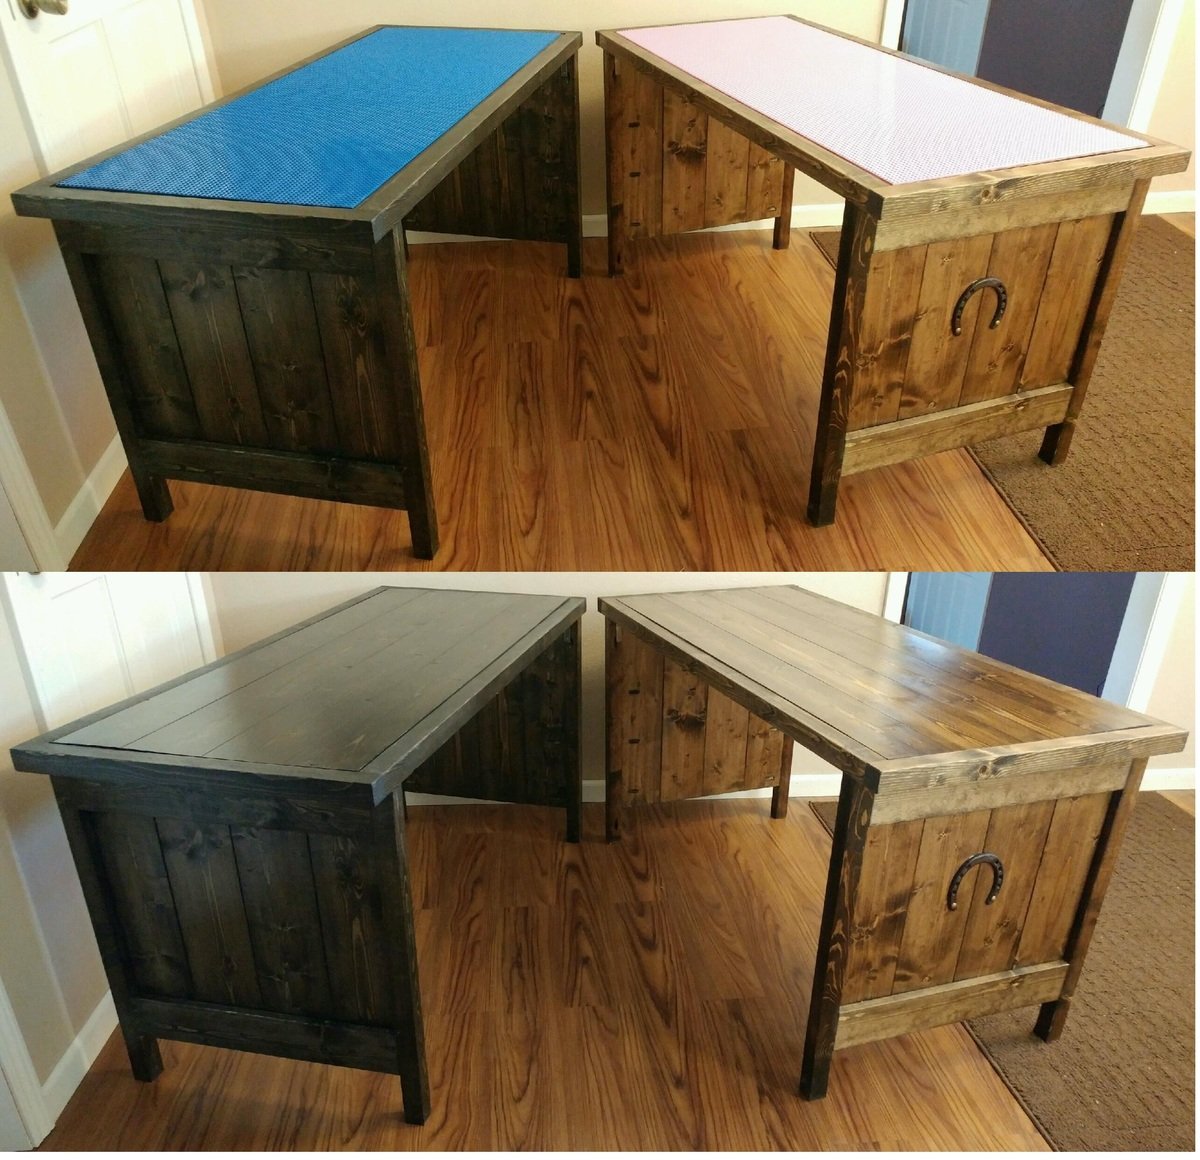
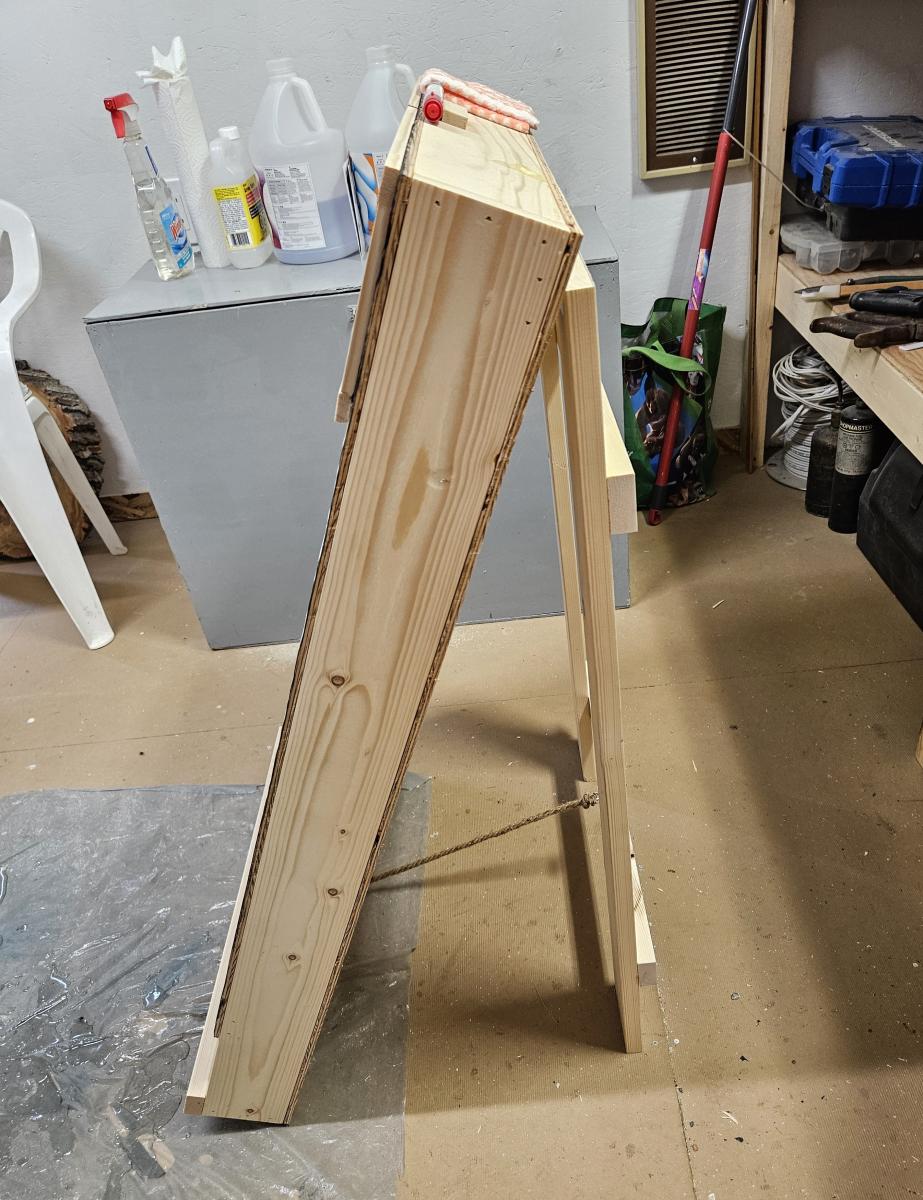
Miter Saw Station / Tools Chest
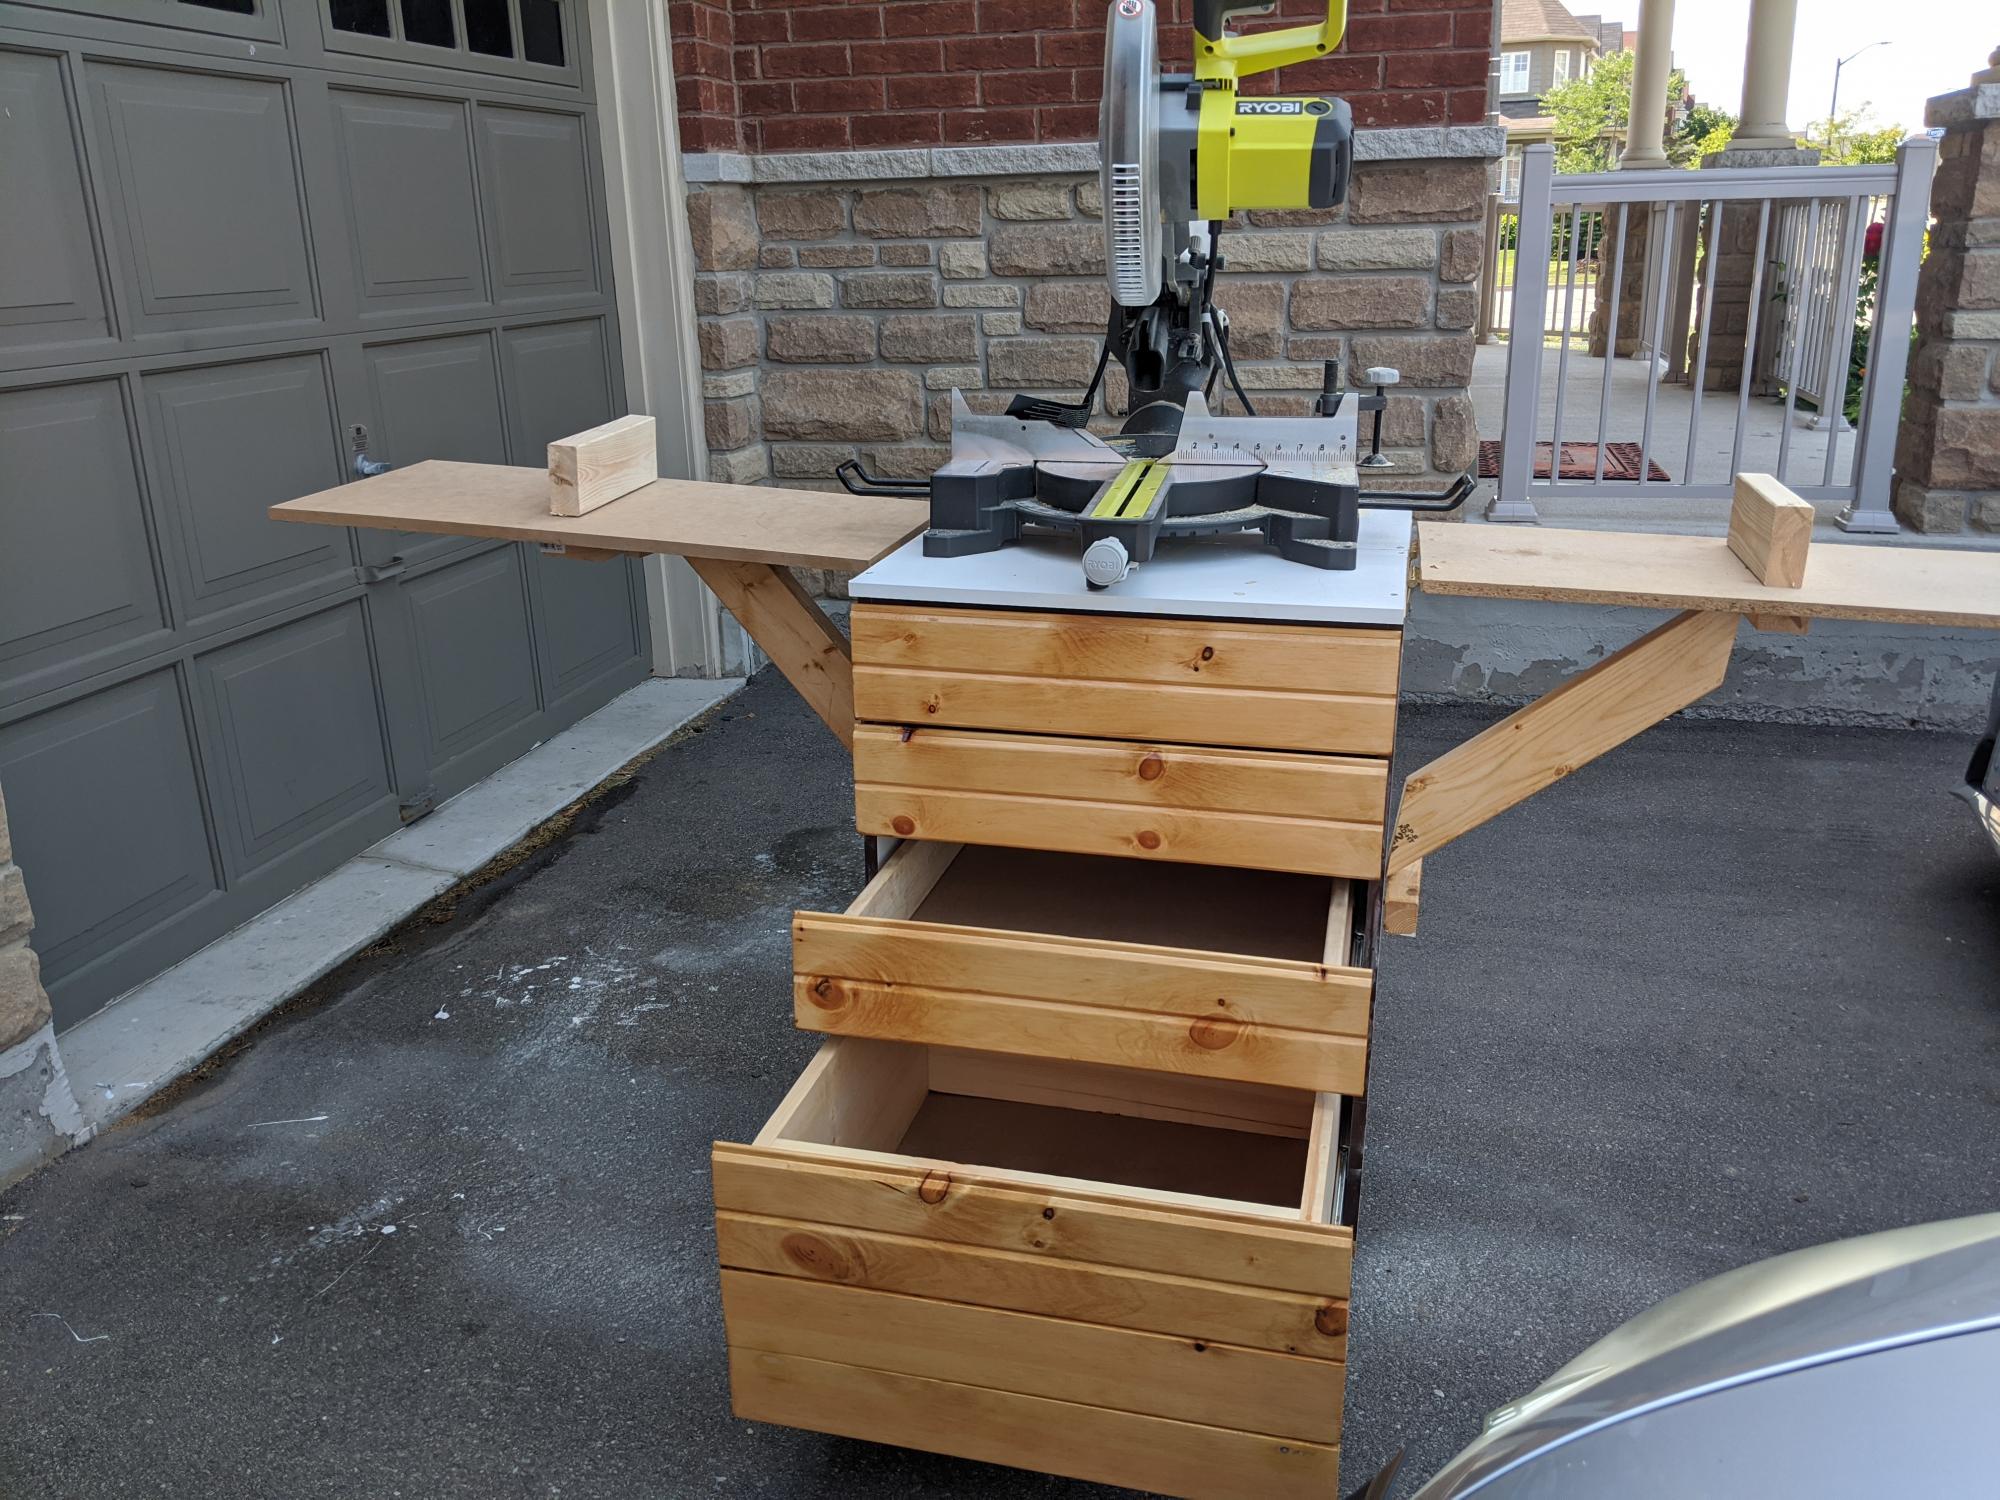
Miter saw cart with tools chest
Built from Plan(s)
Miter saw cart with tools chest
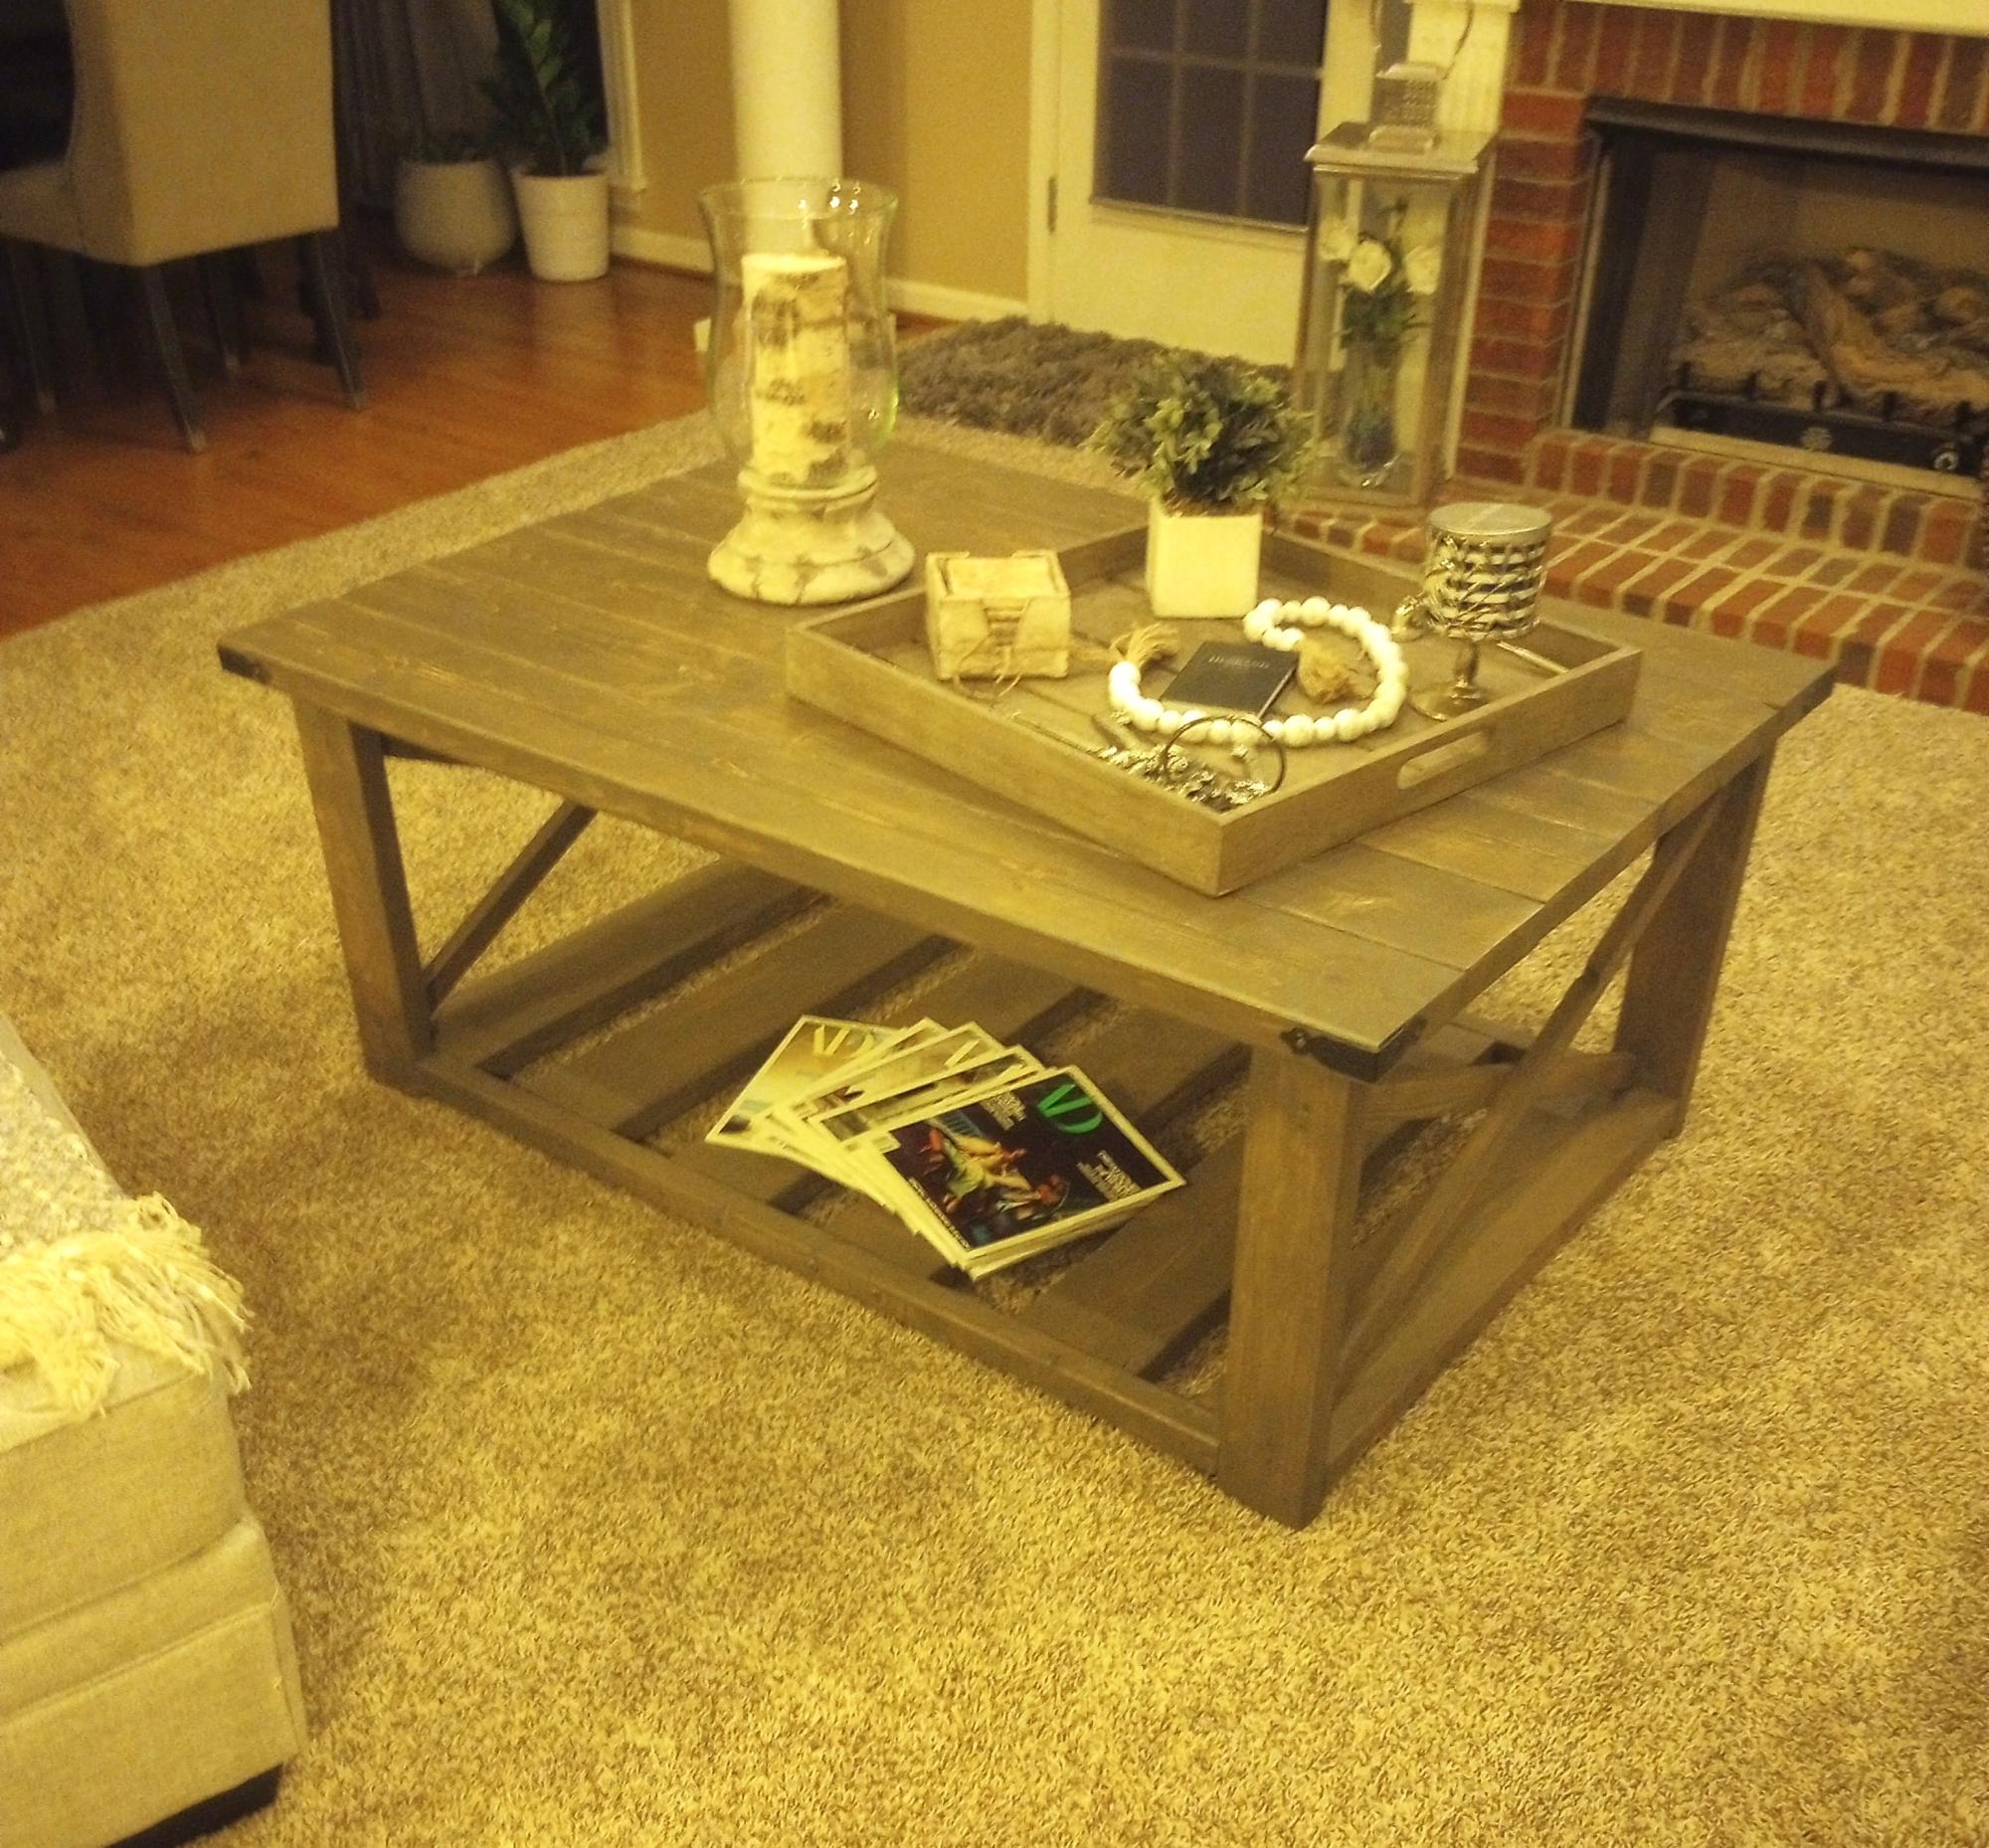
Coffee table I made inspired by you.
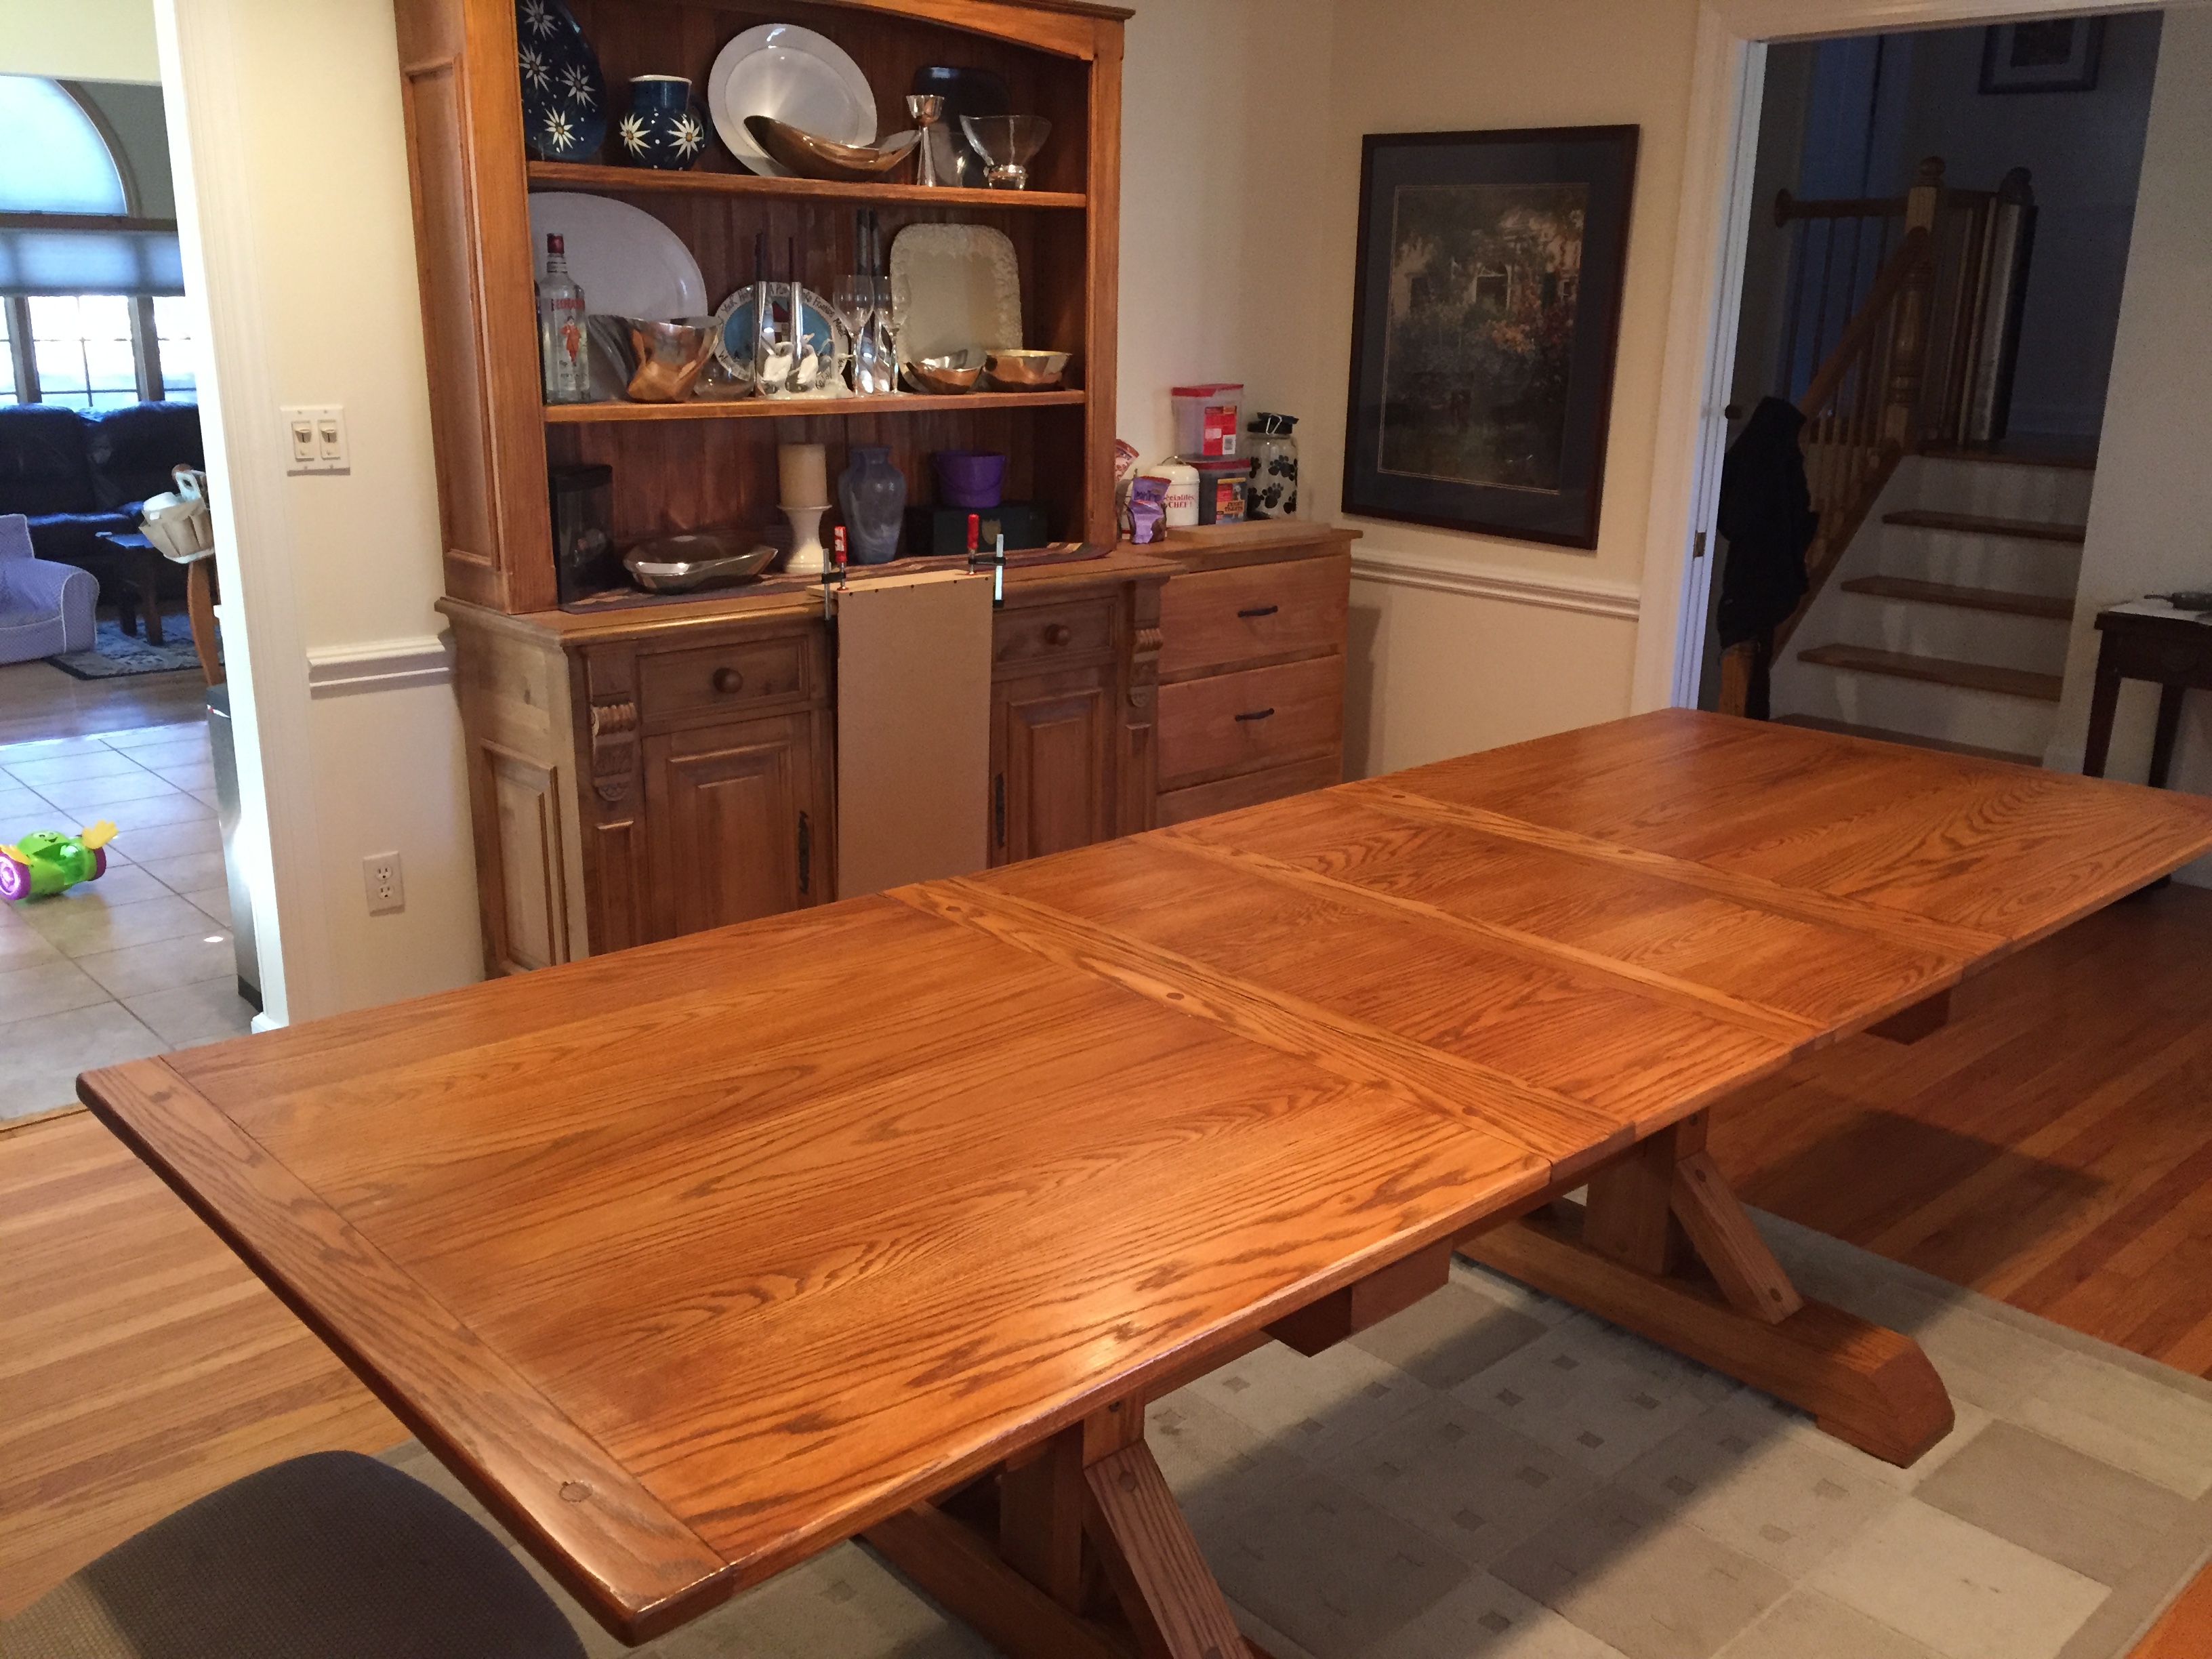
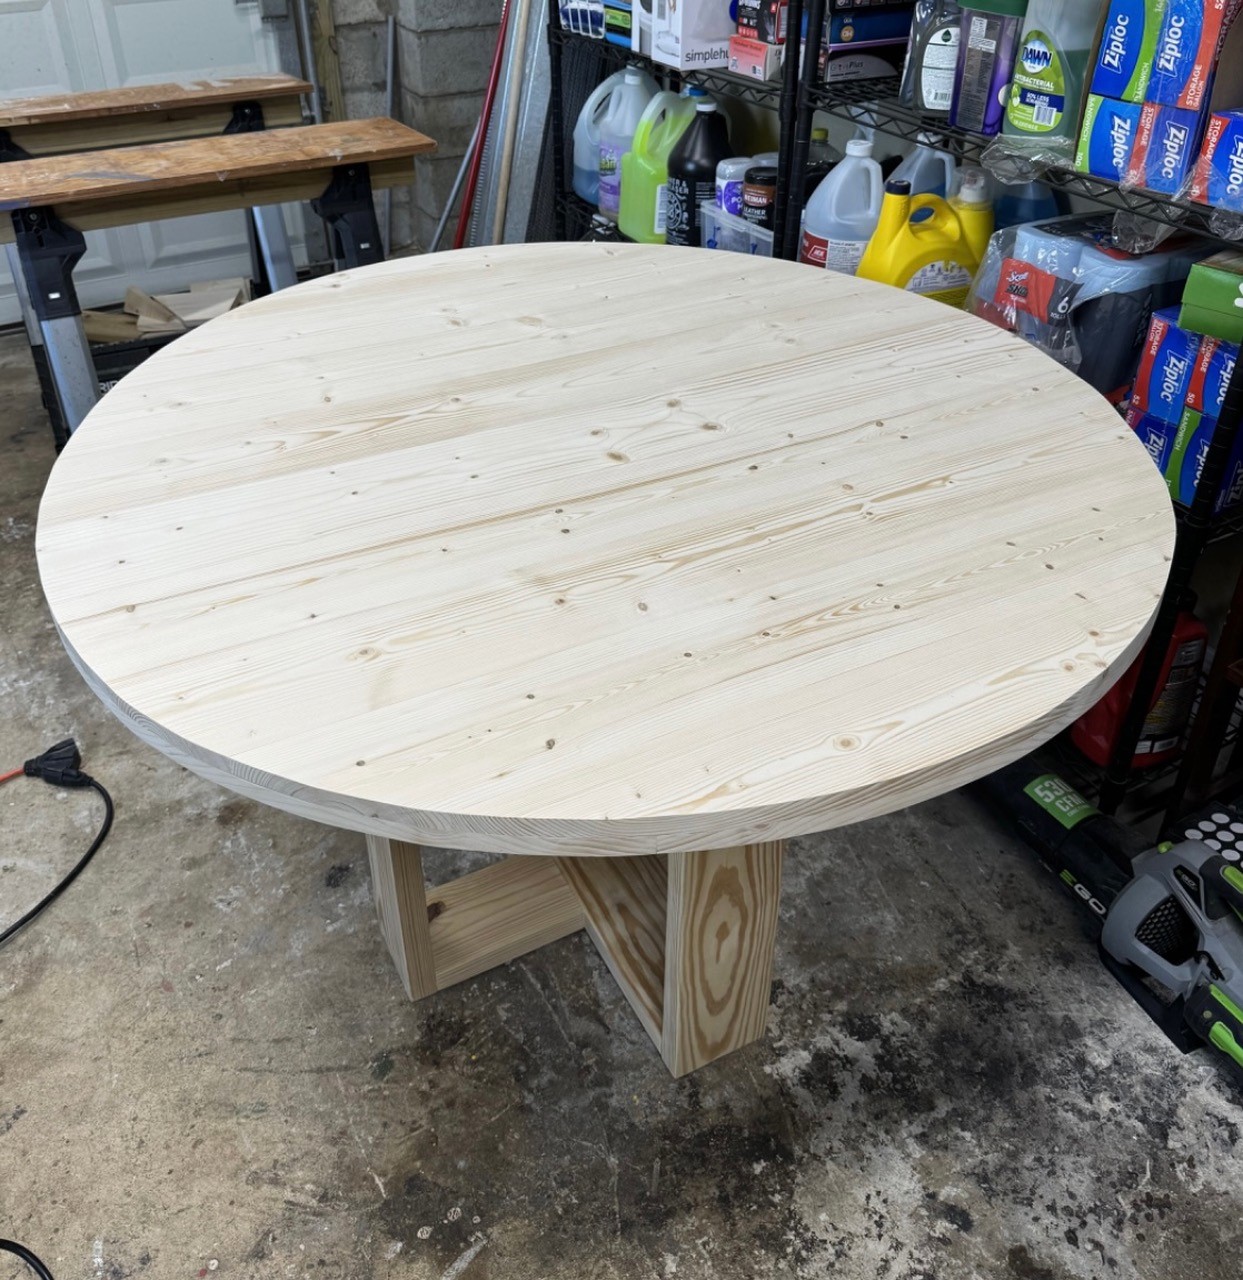
My 40”x80” dining room table with equalizer extension slides that bring it to 110” when both leaves are installed. This was initially inspired by the Farm Hose trestle table. I've got details in some blog posts on my build. It’s not exactly the most complete blog with every detail, but it has a bunch of pictures along the way.

Sun, 11/08/2020 - 09:01
This is amazing and exactly what I'm looking for.. do you have plans for this table?
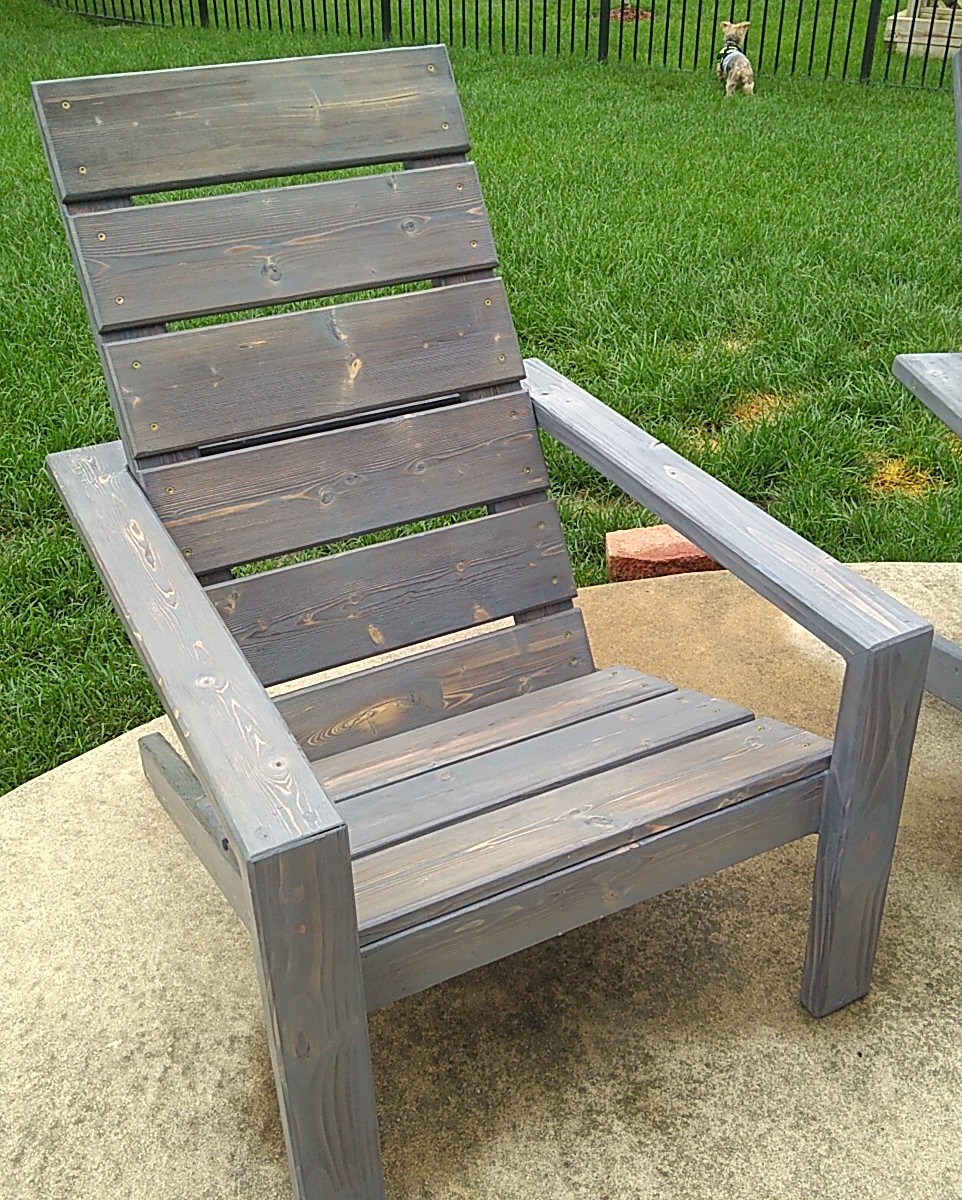
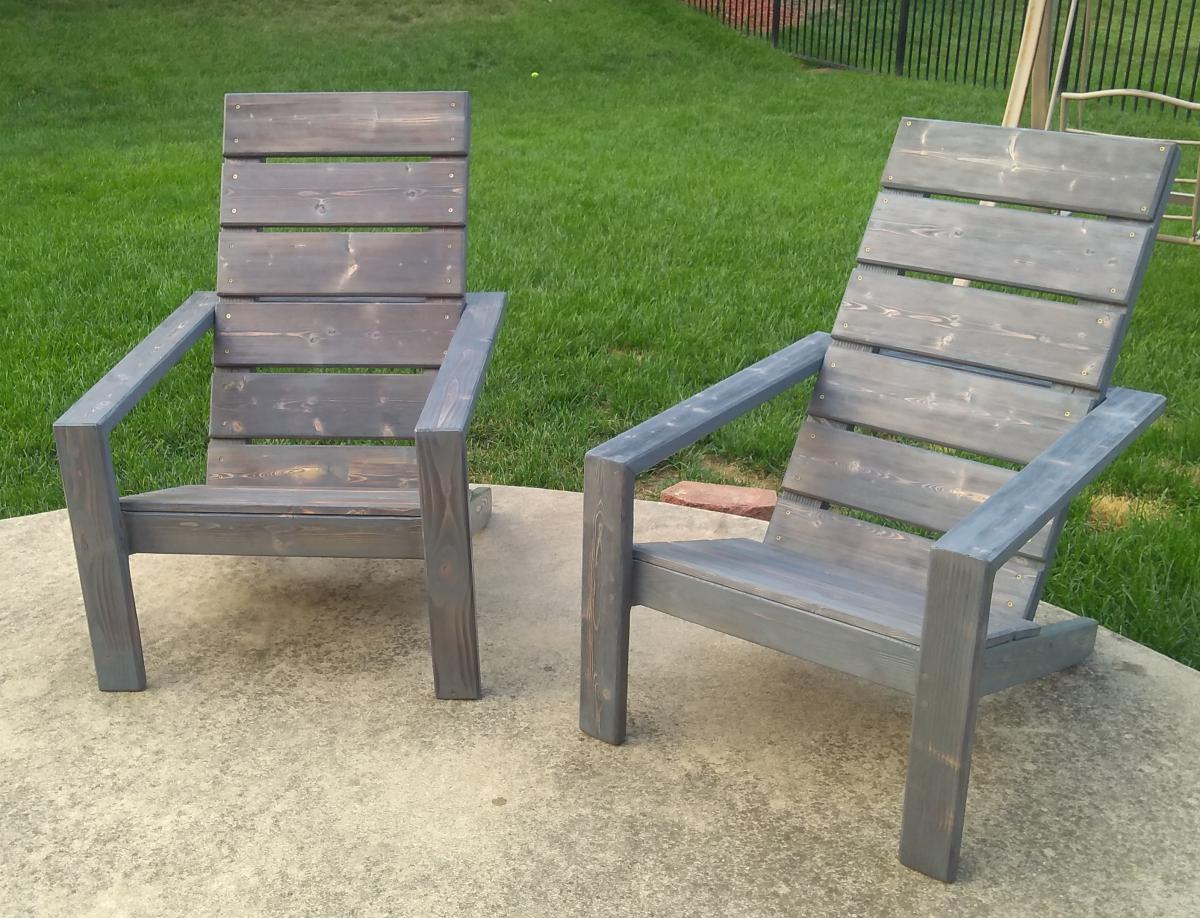
Chose 1x6 instead of the 1x10s in the plan and made the back supports a few inches taller to support my head laying back. 1st chair came out great however the second chair I made the seat wider just under 24in wide (had all the 1x10s precut to 24in at home Depot to easily transport them home.) My knees feel less cramped when sitting down in the wider chair.
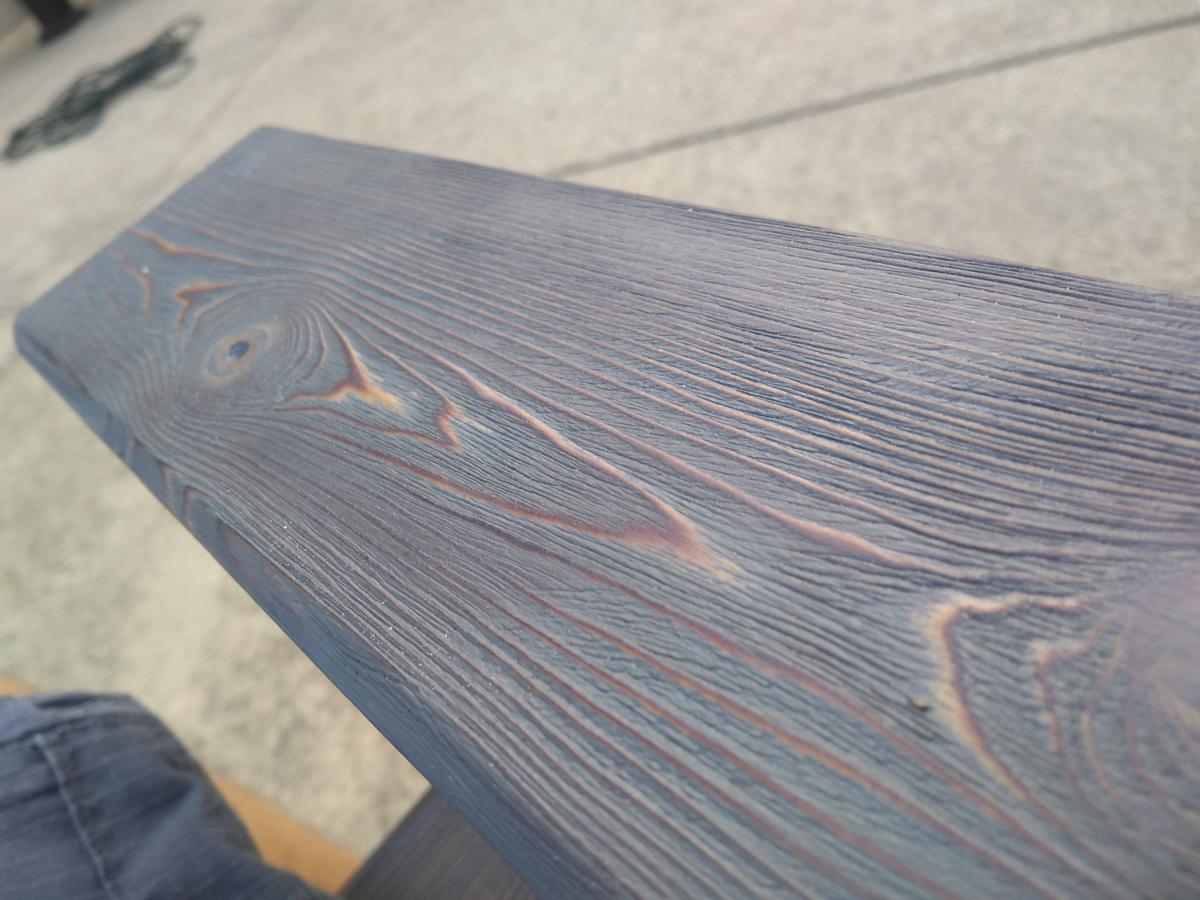
Since I used warped scrap wood I had laying around I milled the 2x4s with jointer and planer. Way too much work honestly.
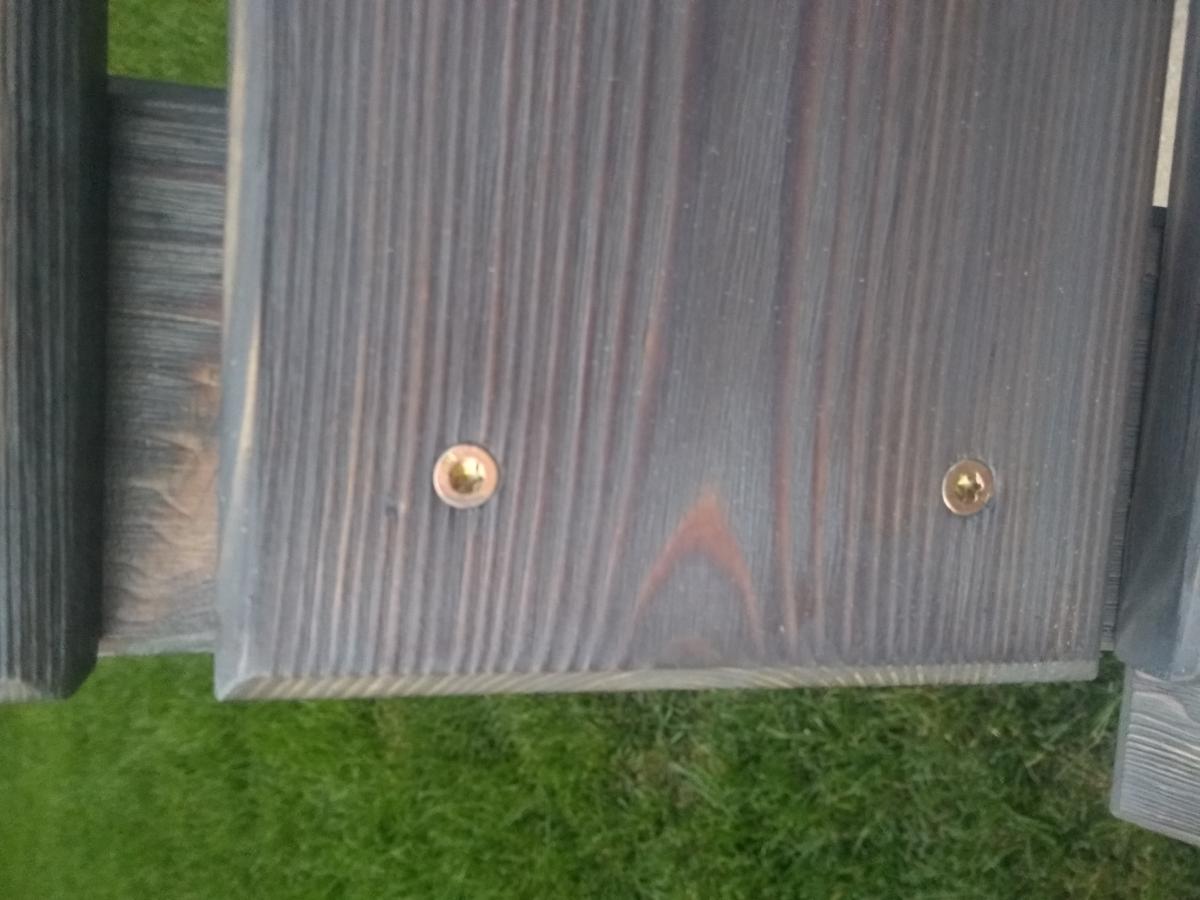
Glued and assembled the frame with dowels, Routed a 45° bevel on all edges then finished and sealed all faces before assembly. I used untreated lumber so I sealed all faces before assembling to give it a better chance of surviving on my uncovered patio. I also used a thick epoxy on the feet base that touch the ground to prevent rot.
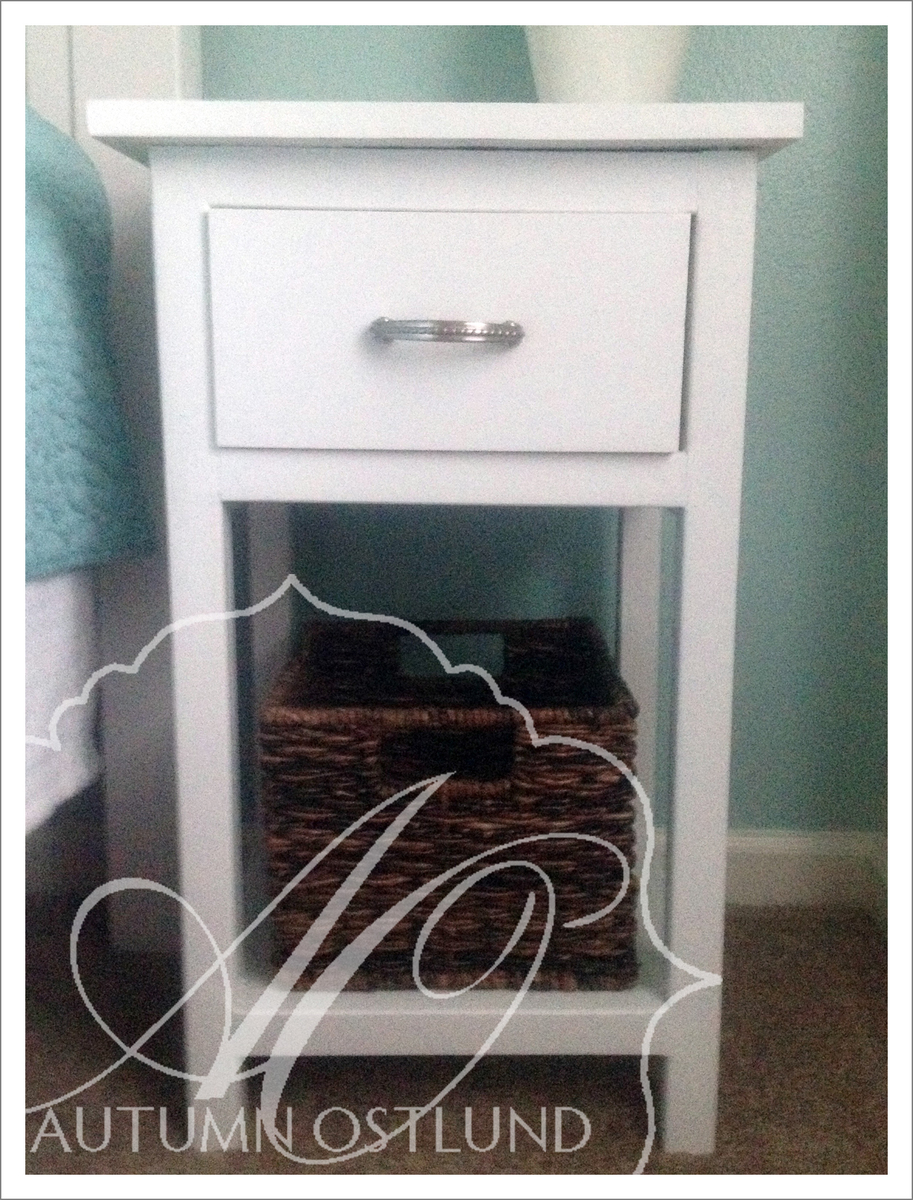
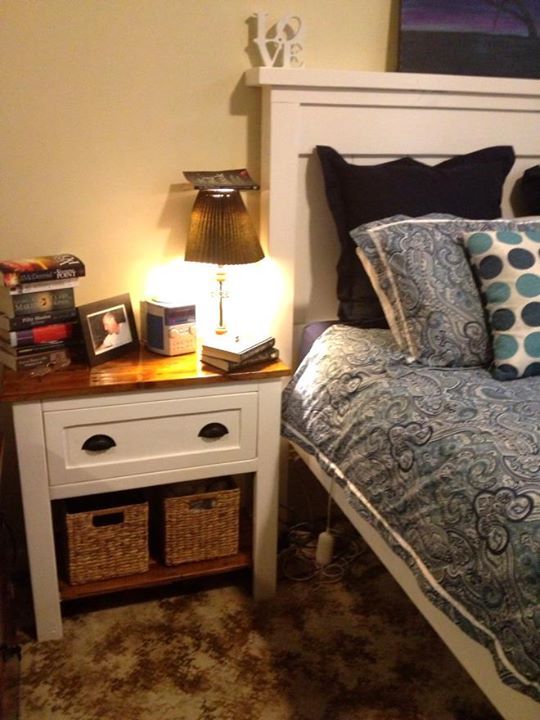
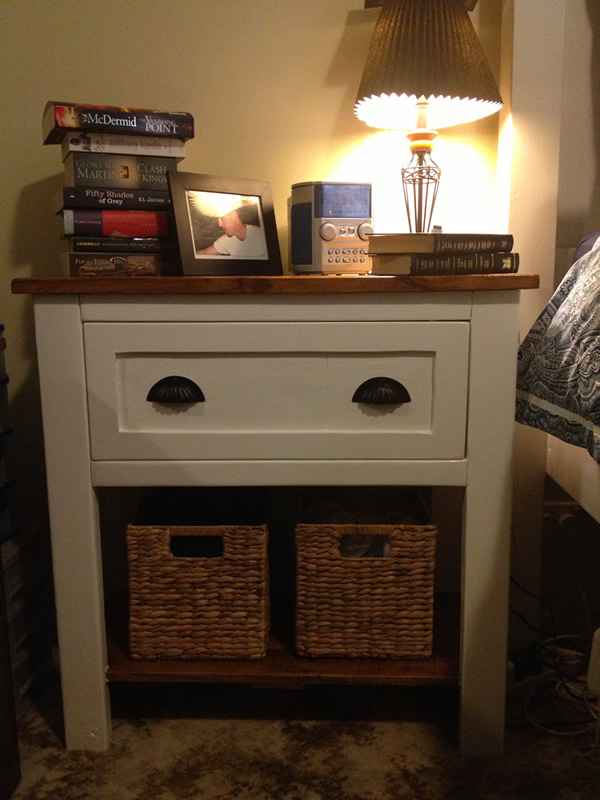
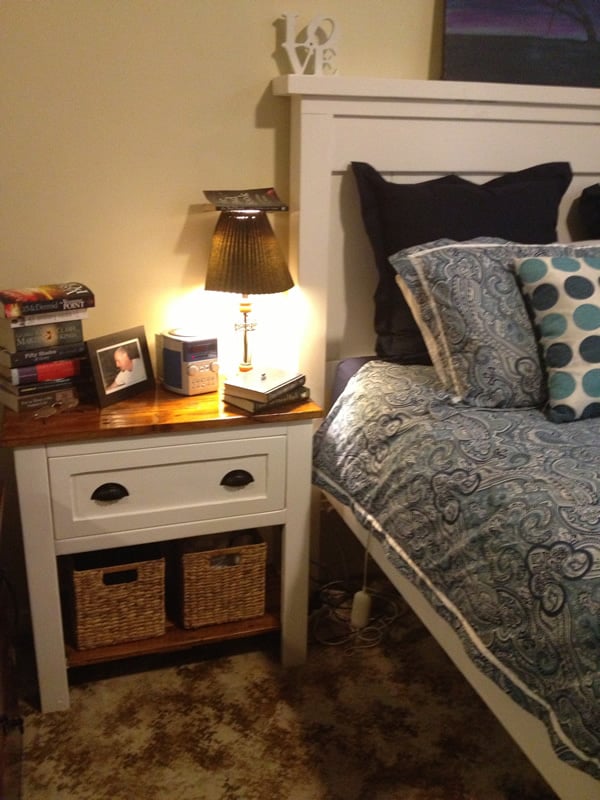
I built 2 of these to go beside my queen farmhouse bed. I think I would put drawer slides on them if I were to build them again.
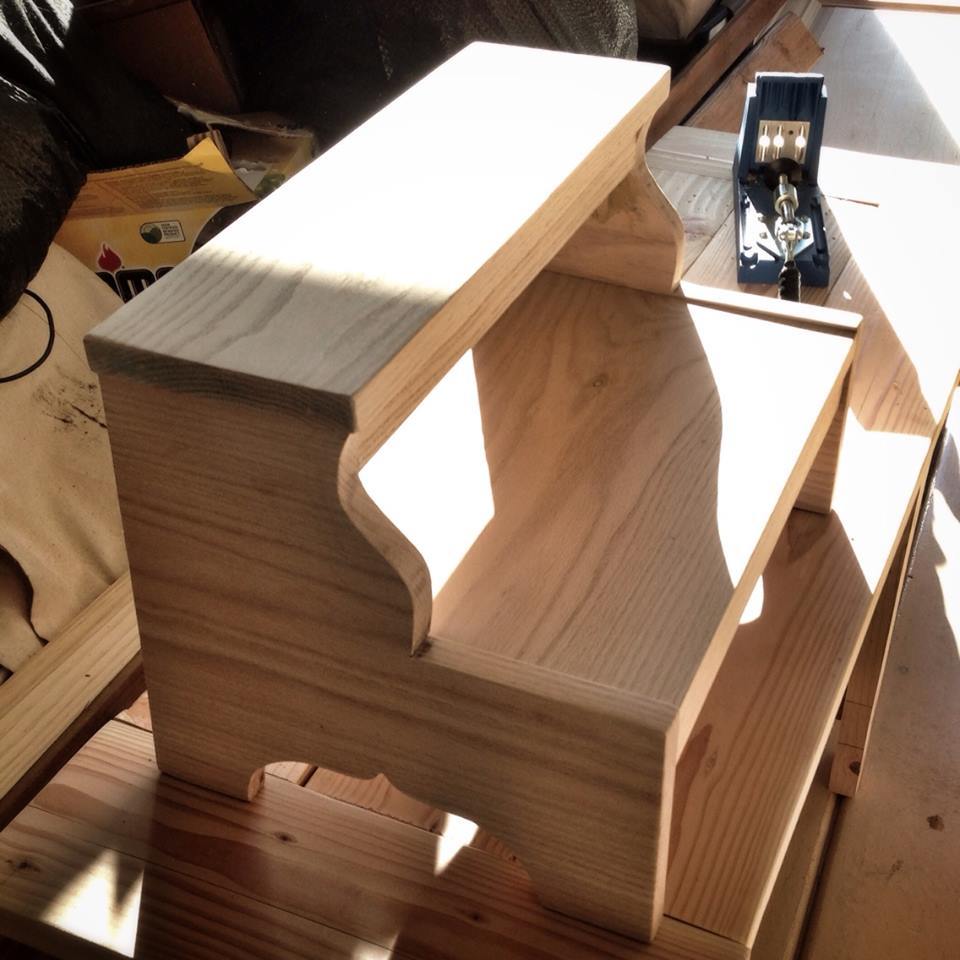
I bought a box of oak scraps from a local lumber store - sold a firewood for $6.00 and I was able to get enough big pieces to make this step stool for my granddaughter.
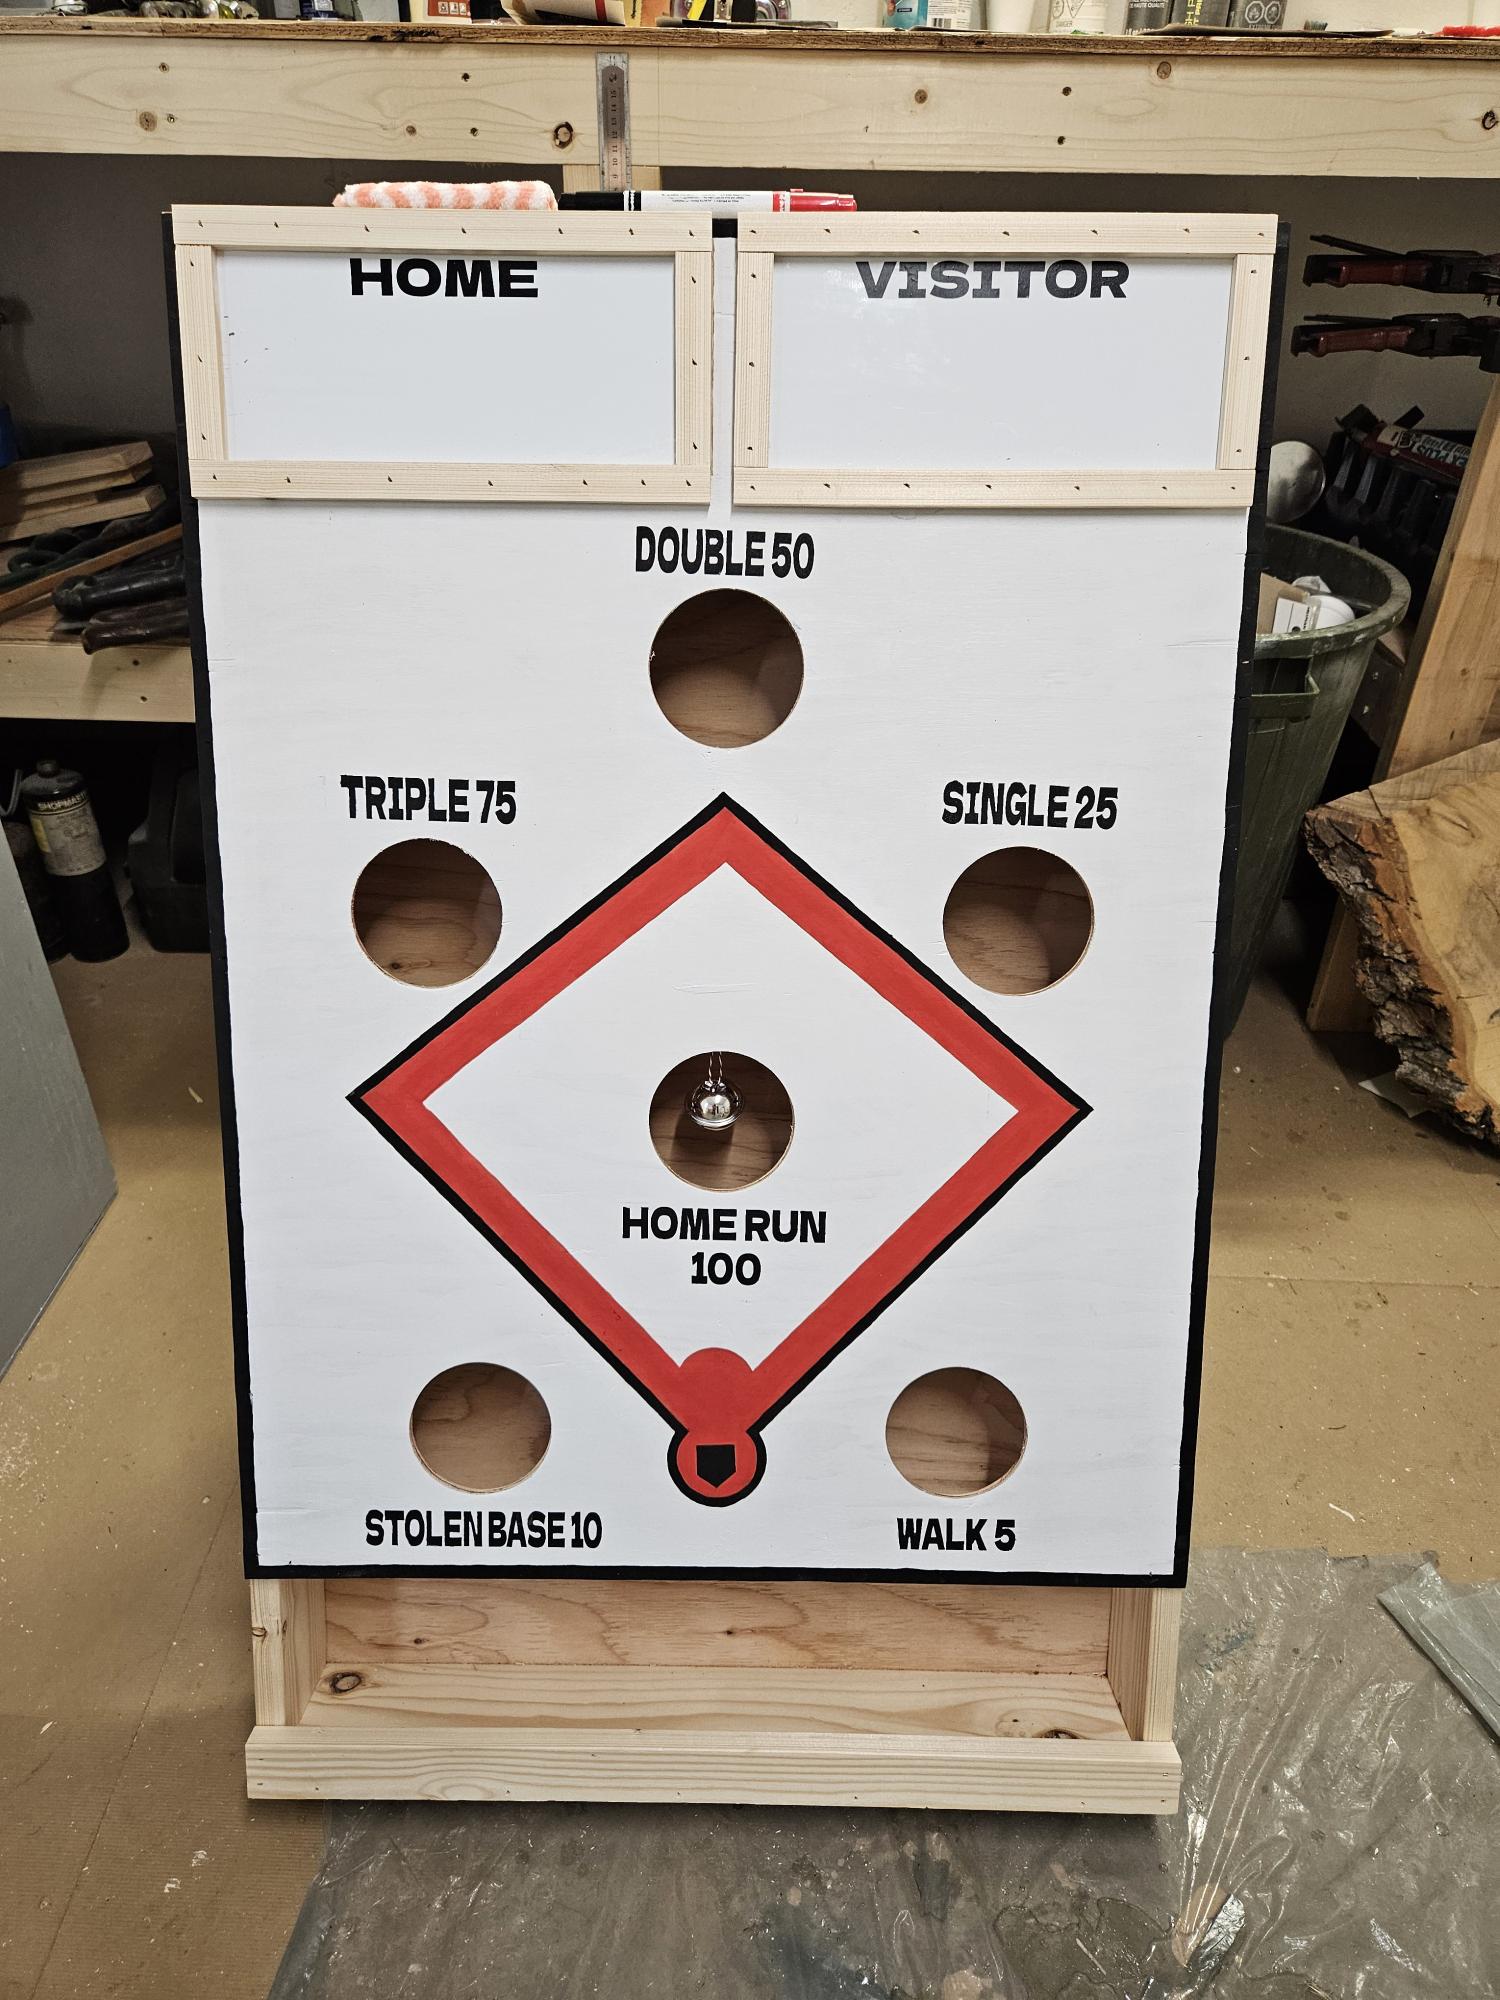
I used your plans to build this one, but I put a back on it and legs instead of hanging it on a wall. This was made for a senior center, so they can use it inside or outside
Donna Brown
Miniota, Manitoba
Canada
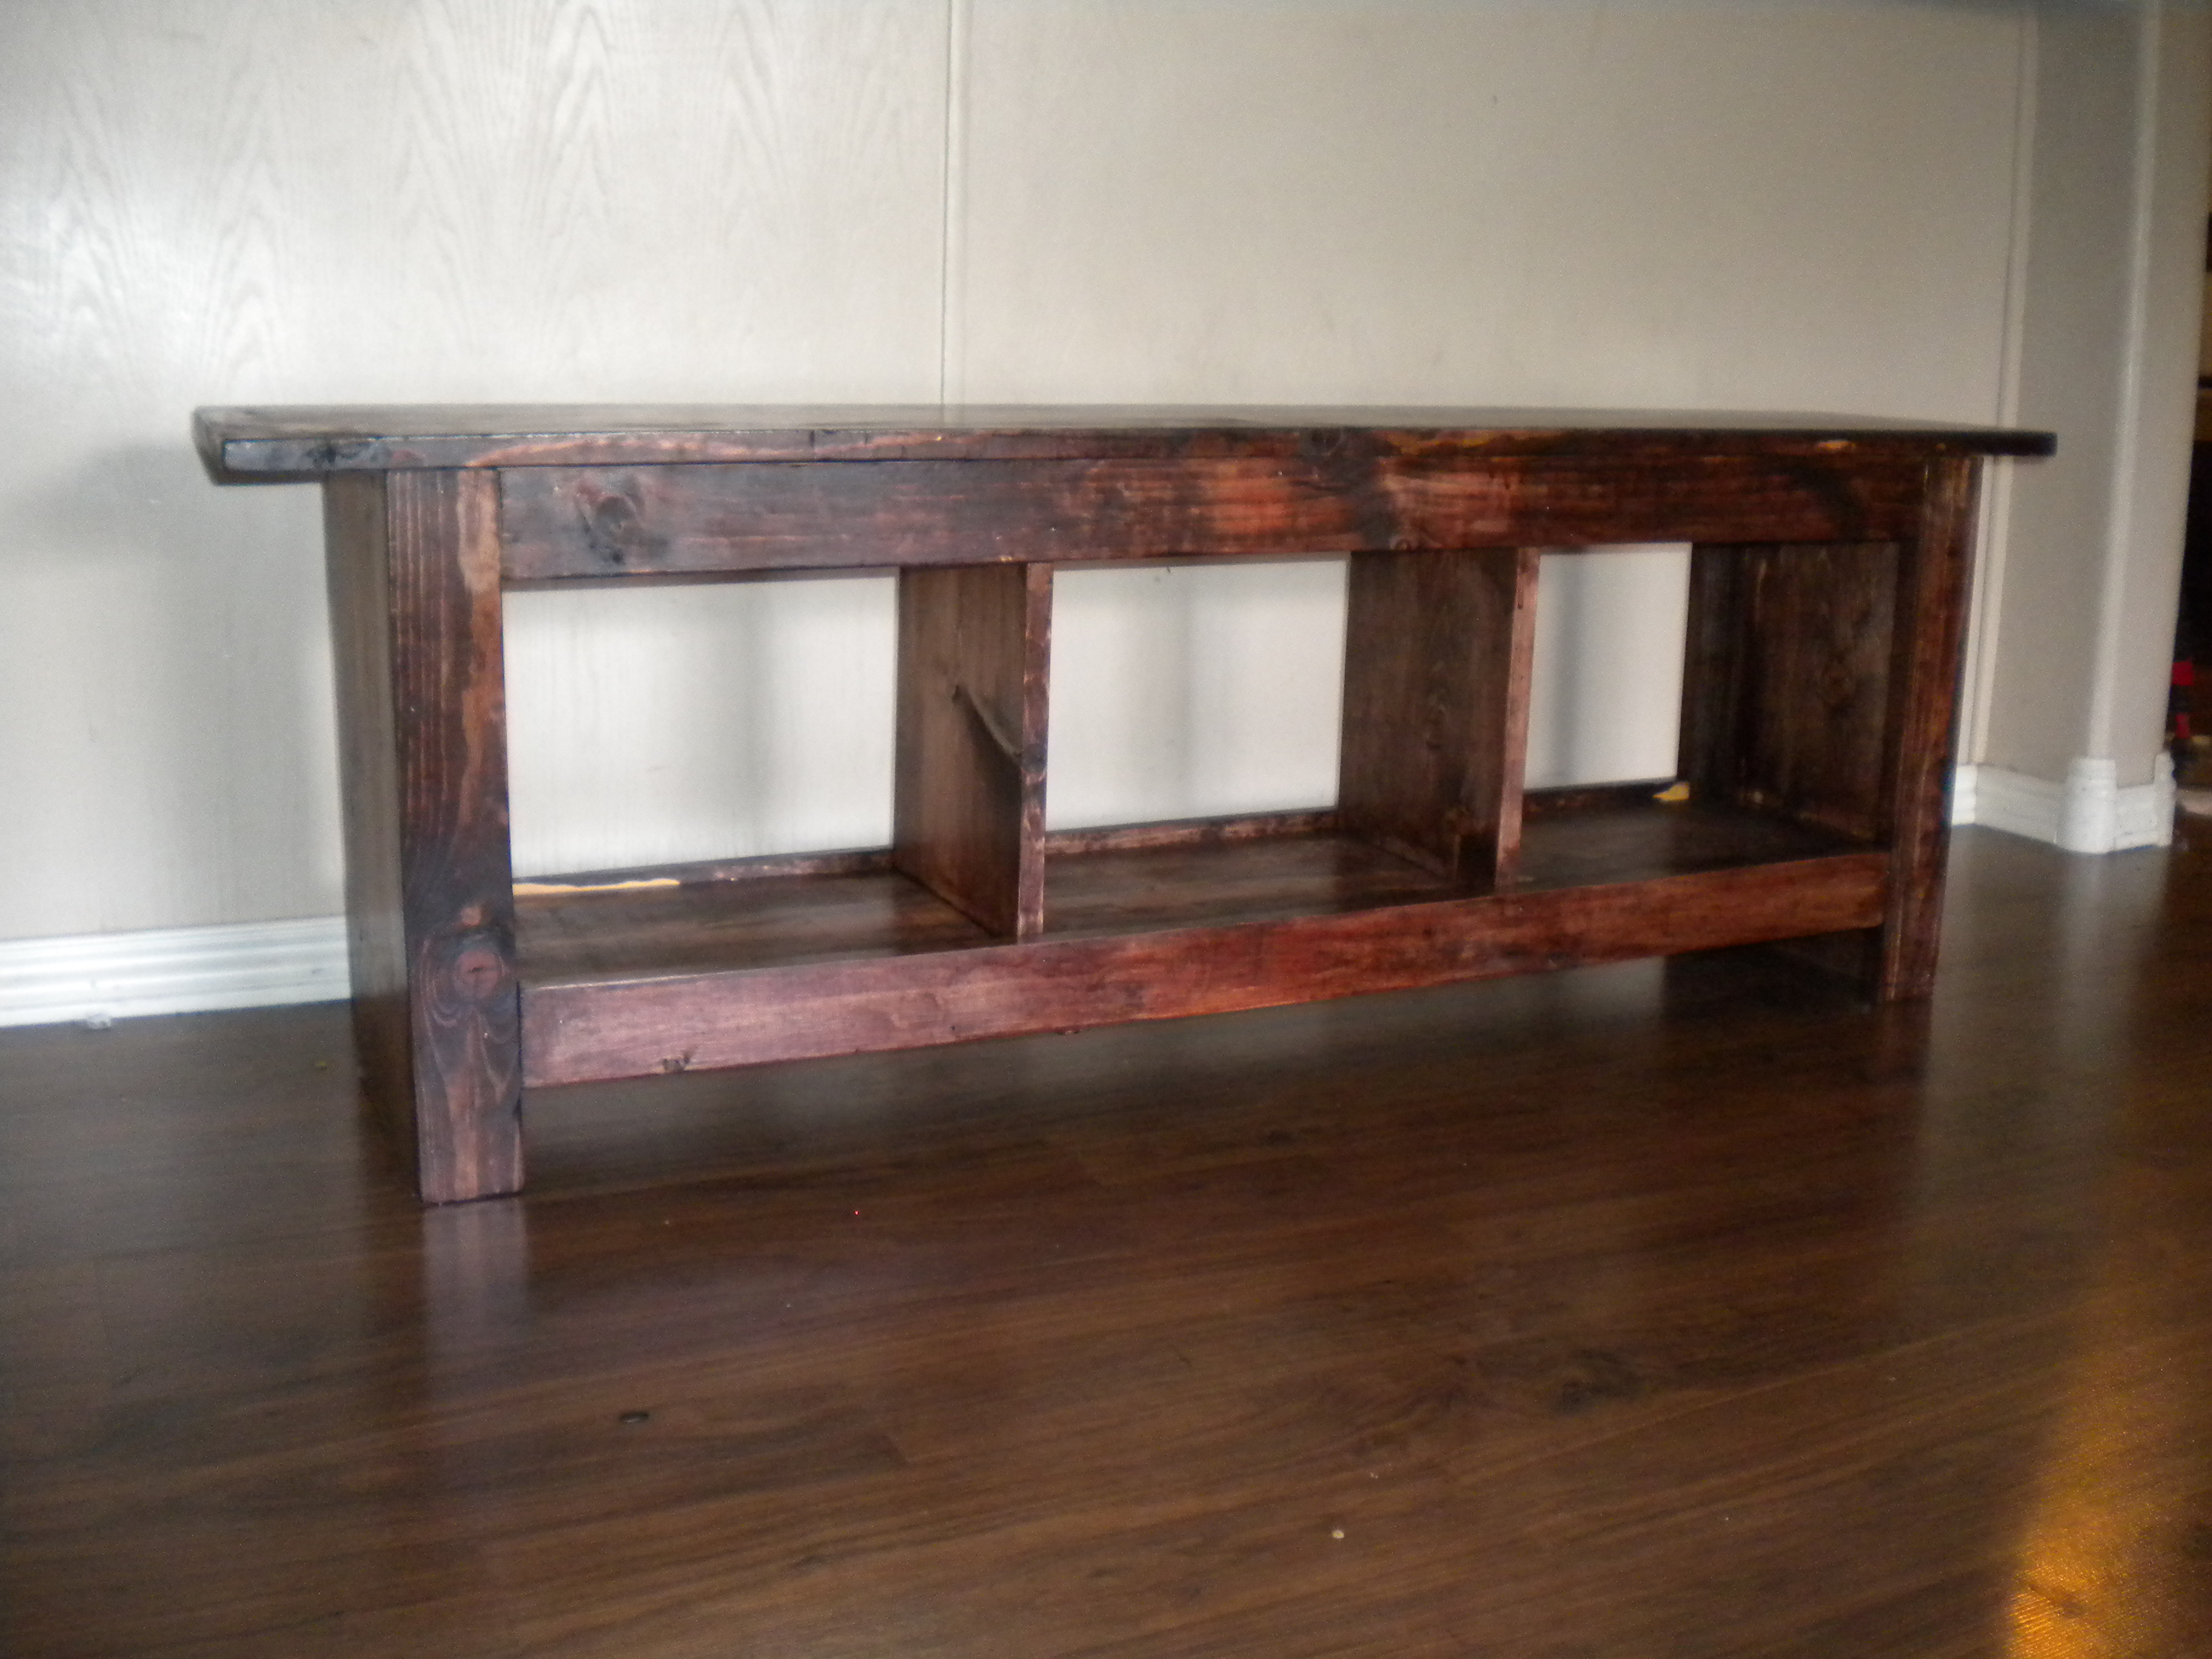
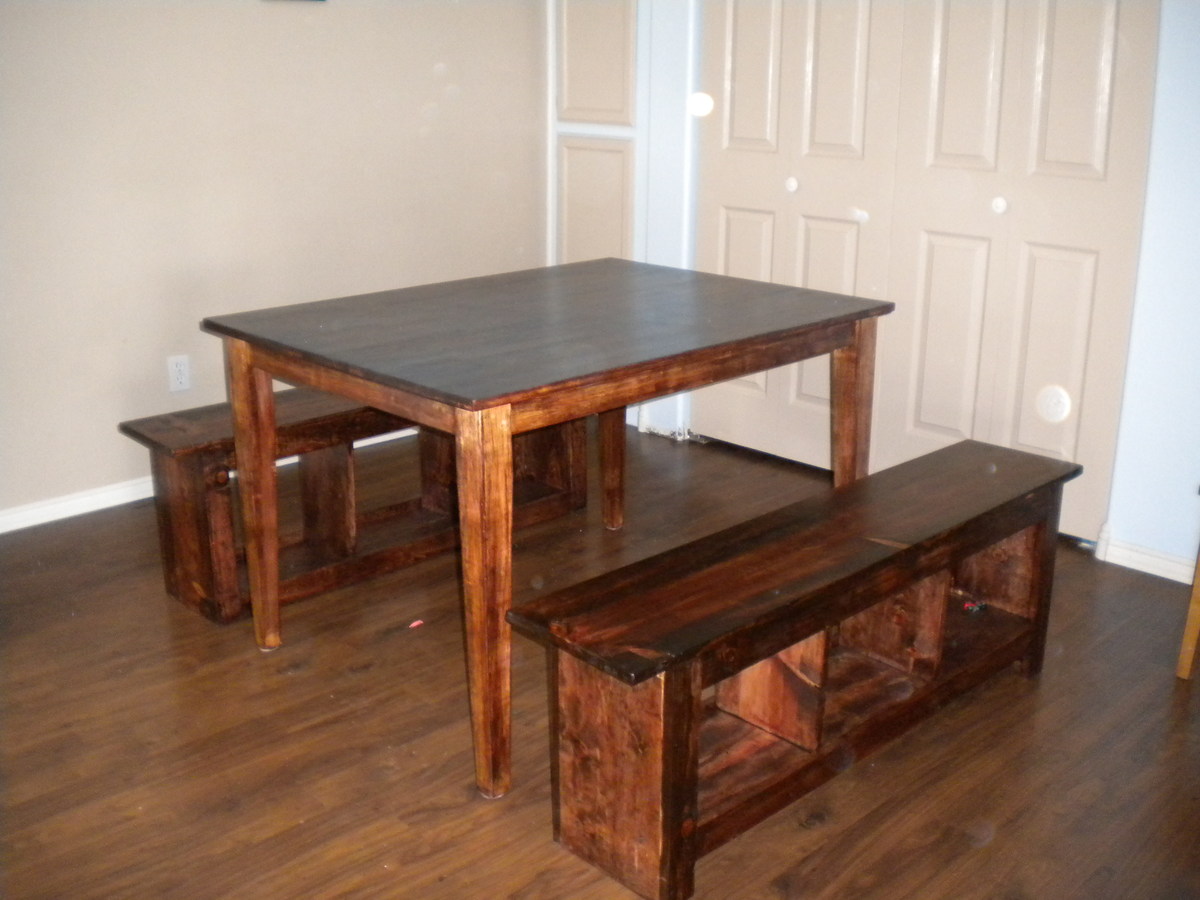
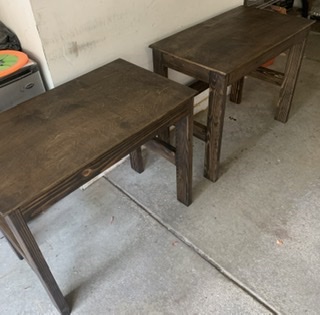
I've wanted to build benches for my dinningroom table for years. When I first saw the plans for the spa bench 2 years ago I bookmarked it, saying thats the one. Now all this time later Ive finaly gotten to it! I modified my benches by making them longer, they are 48 inches, adding the dividers/supports to the inside to make 3 cubbie compartments, (I will eventualy put baskets under there to store stuff) and raising the bottom edging up a half an inch to create a lip to keep the baskets on. I made 2 benches, sanded and restained my table at the same time. the benches took about 3 hours and $50 each to build. Simular benches cost aobut $150 for the cheep particalboard ones, thank you so much Anna White for making this possible!
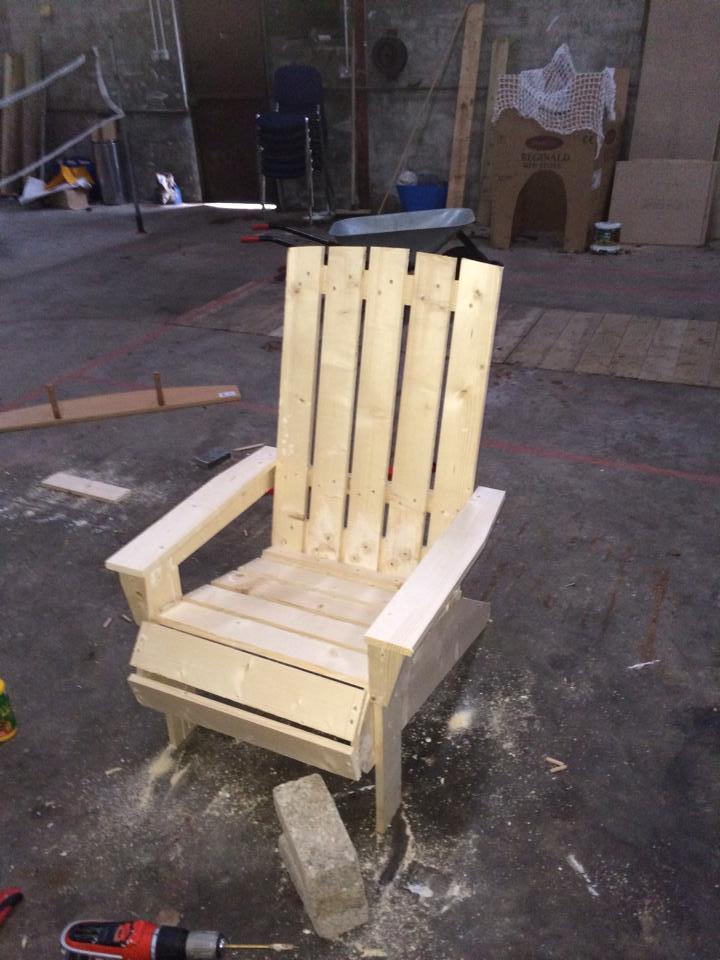
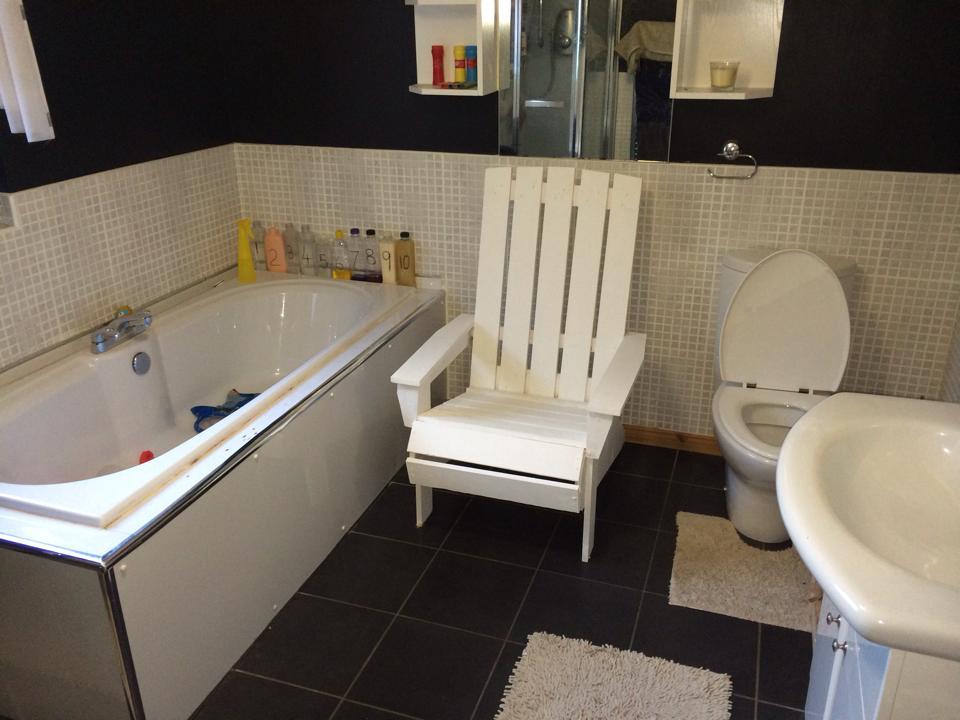
Adirondack Chair
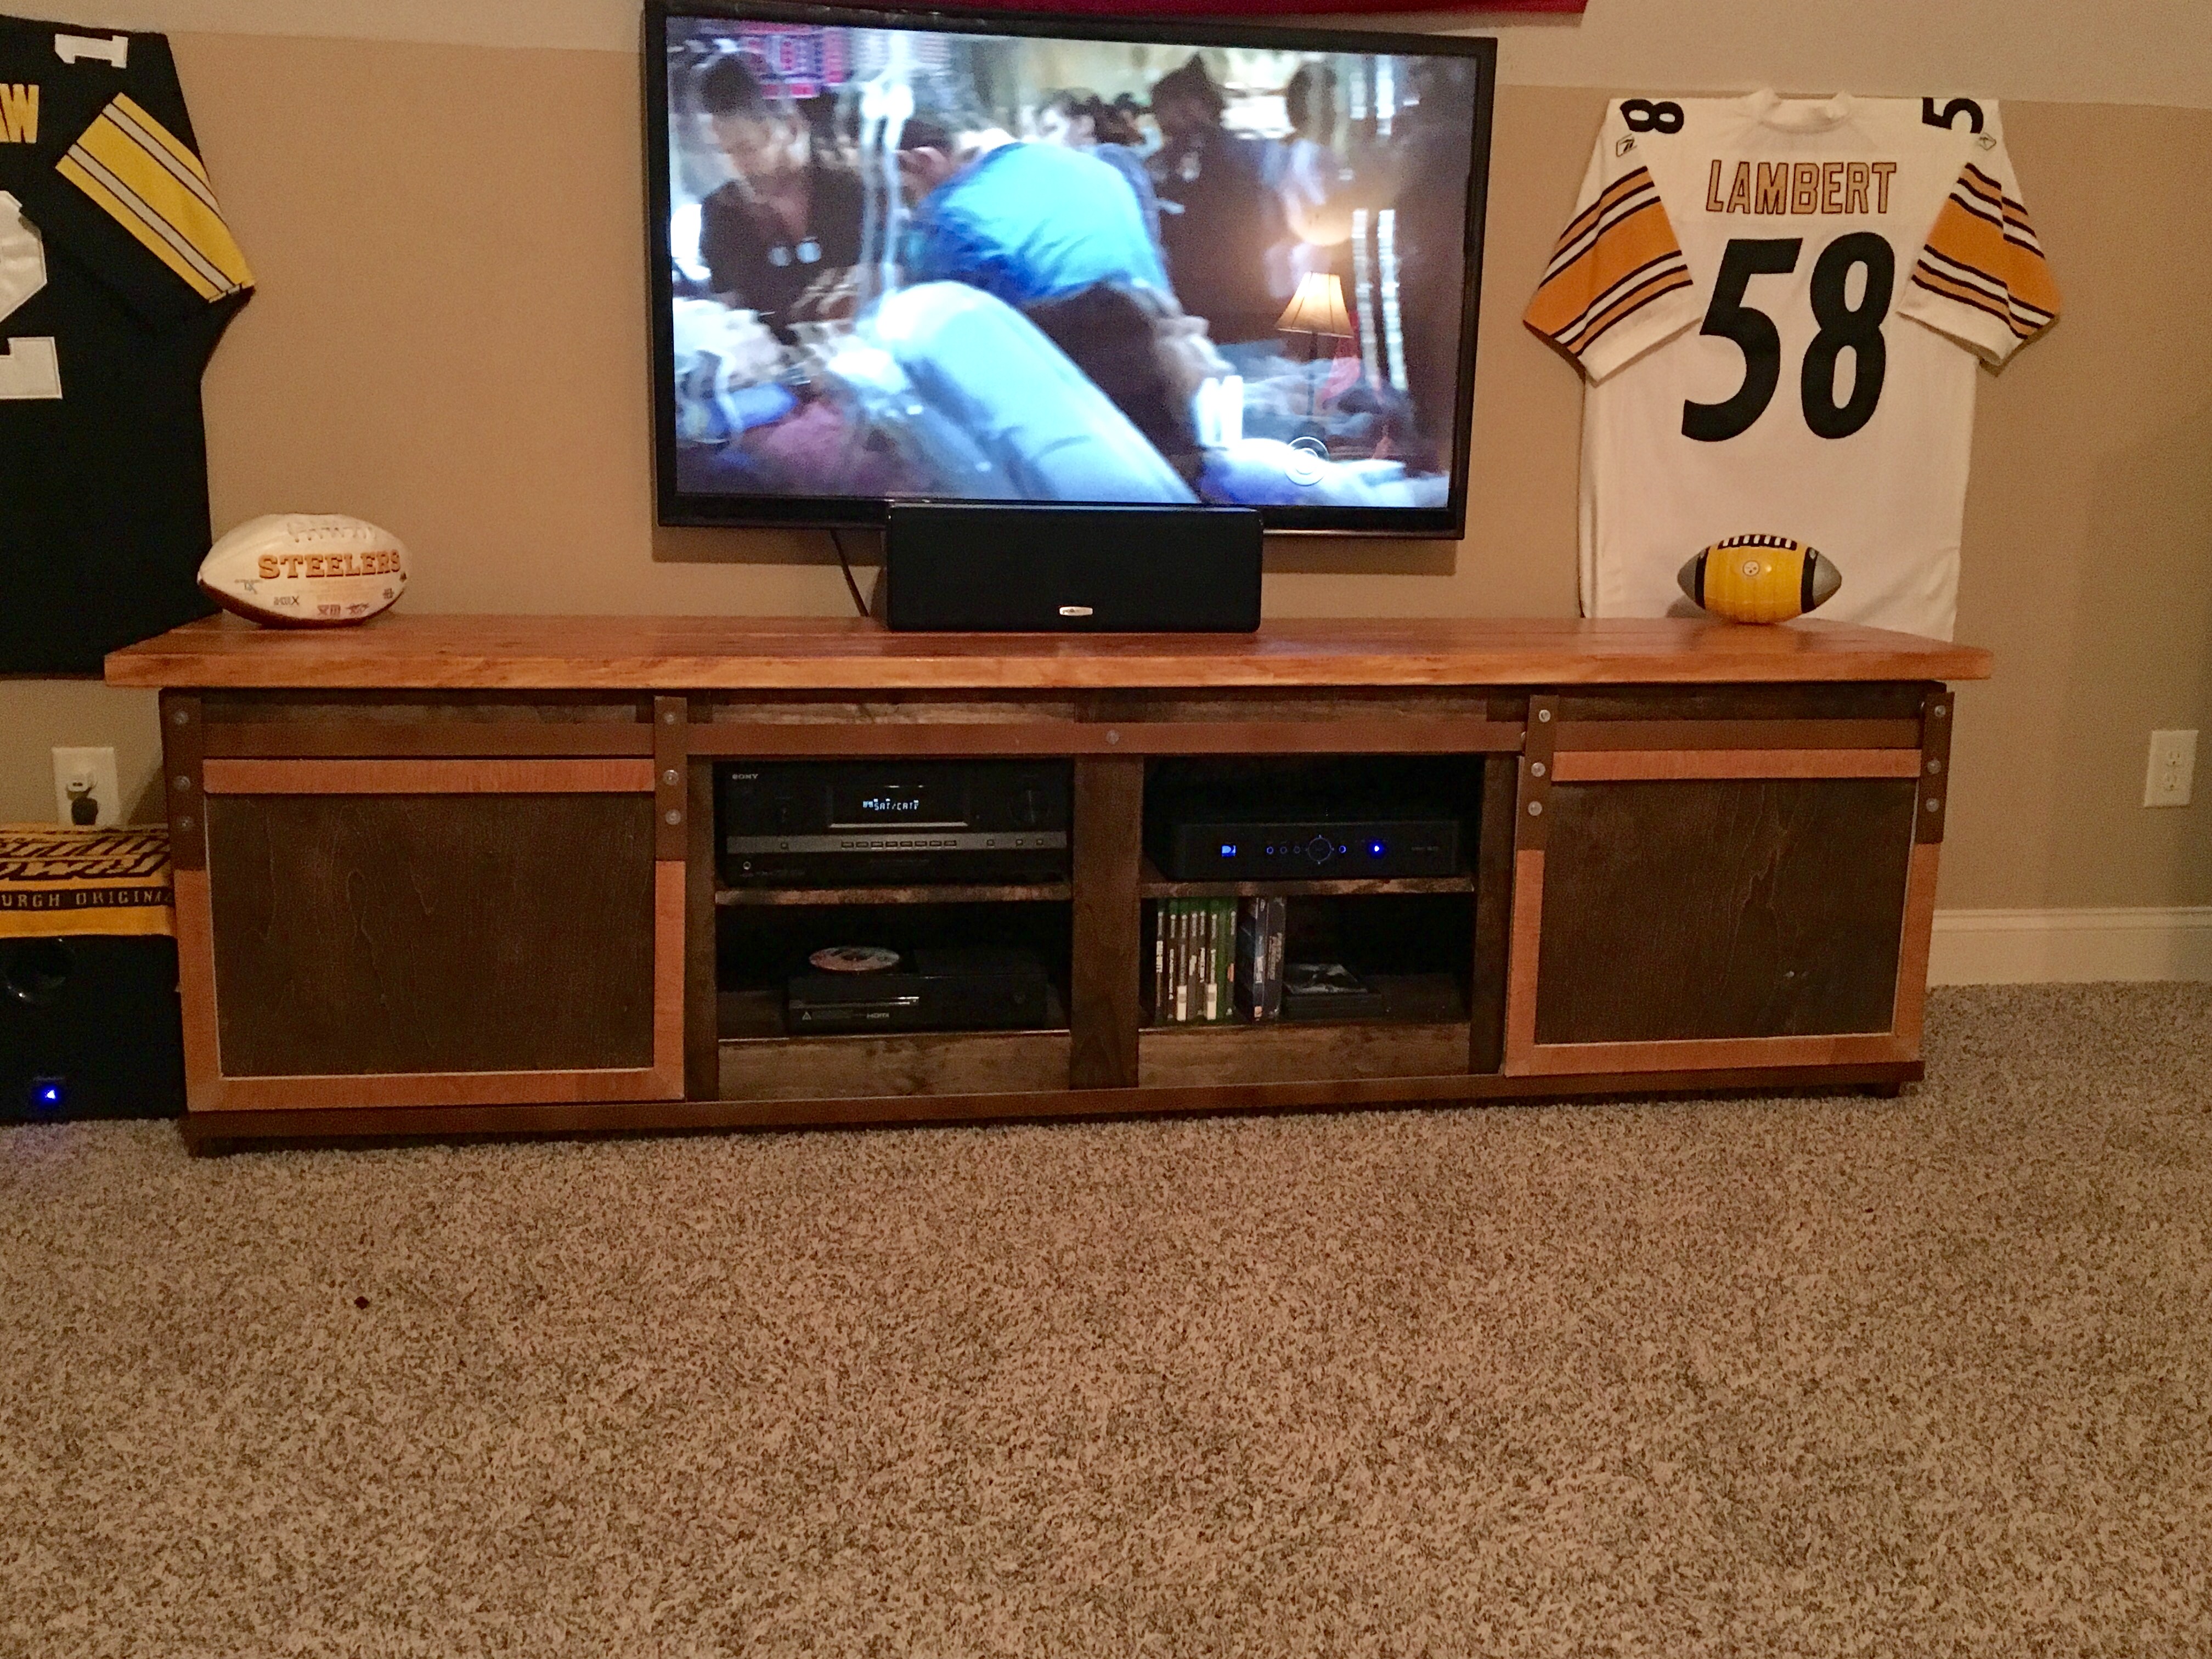
I needed to replace my particle board entertainment center. So here is my final project
This was a build for a client's daughter's new bedroom. The clients added lights to the head board but I could not post the pic. I also built a cute bedside table mostly out of remnants of the bed to match.

1st time making one turn out pretty good.
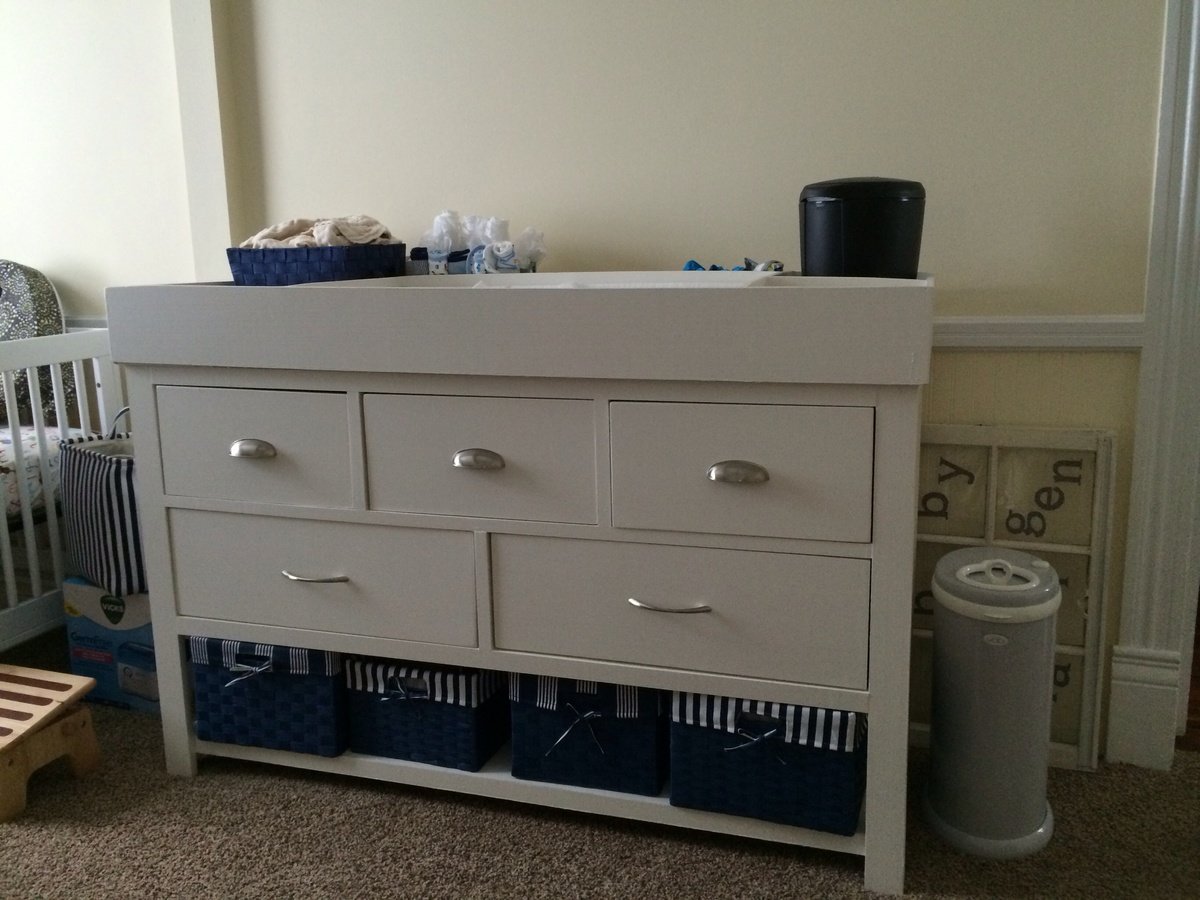
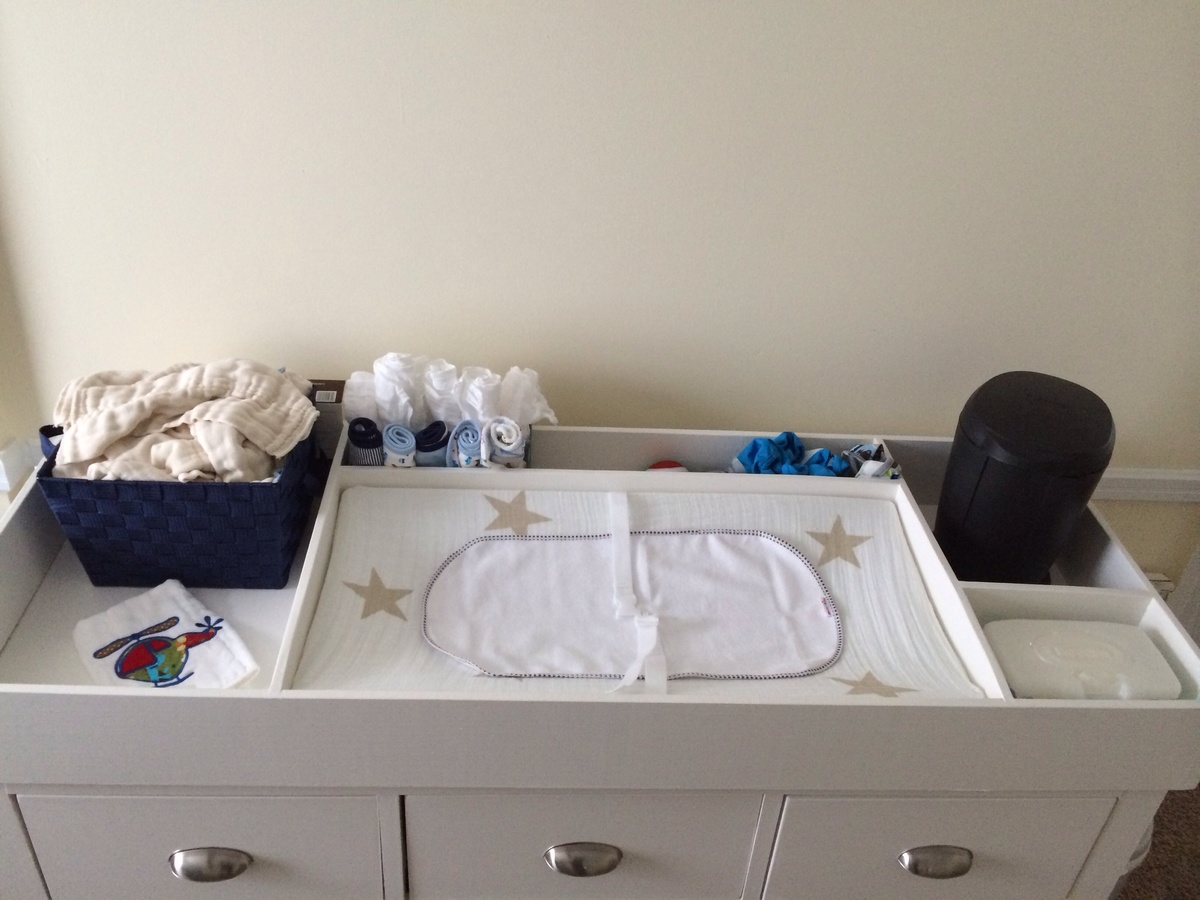
The storage on the dresser is great! I added a changing table top with routed dividers for changing pad and other accessories. I attached the top from above into the dresser frame with recessed screws so it can later be removed and a plain top added (I added a cross bar in both directions to the dresser frame under the top to support the additional weight). I used rough cut poplar from a local lumber yard except for the drawer boxes which are plywood. The legs on my version are made from 2 1x2½" boards cut on a 45° bevel on the table saw. I used full extension side mount metal slides. It was somewhat difficult to attach the drawer slides with a very pregnant belly - my husband helped out with that, not to mention lugging around lumber and painting. It helps to have an extra set of hands on assembly with a big piece like this. Thanks for great plans.

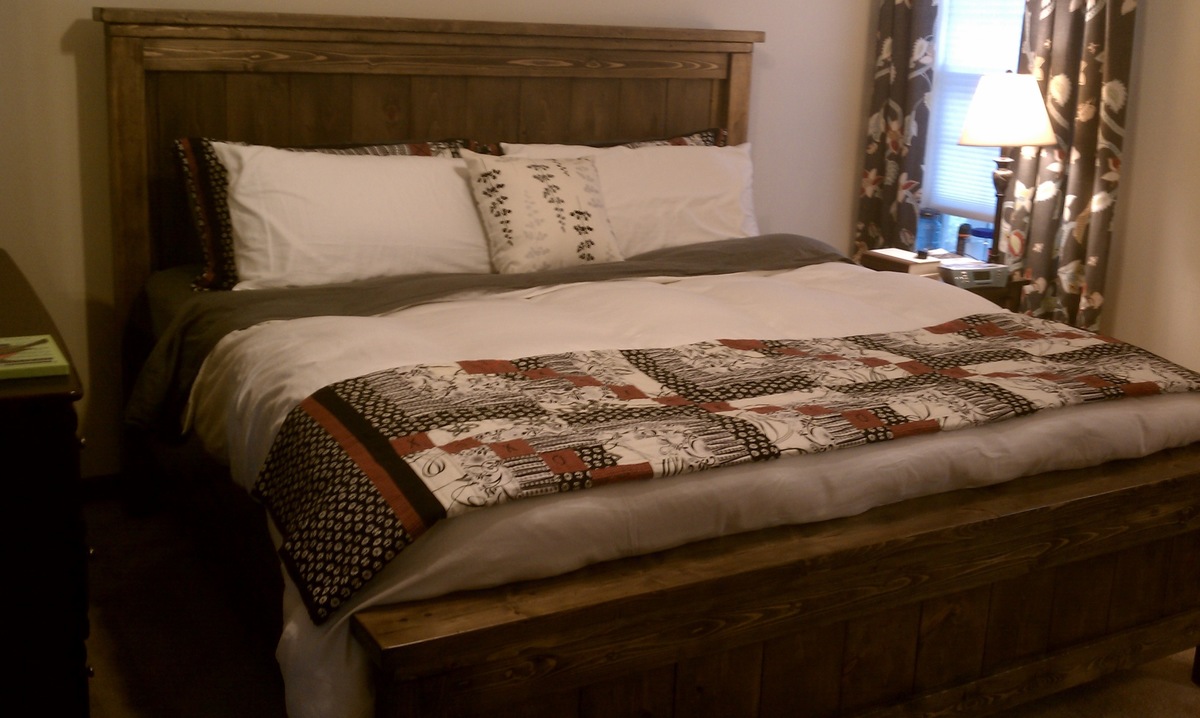
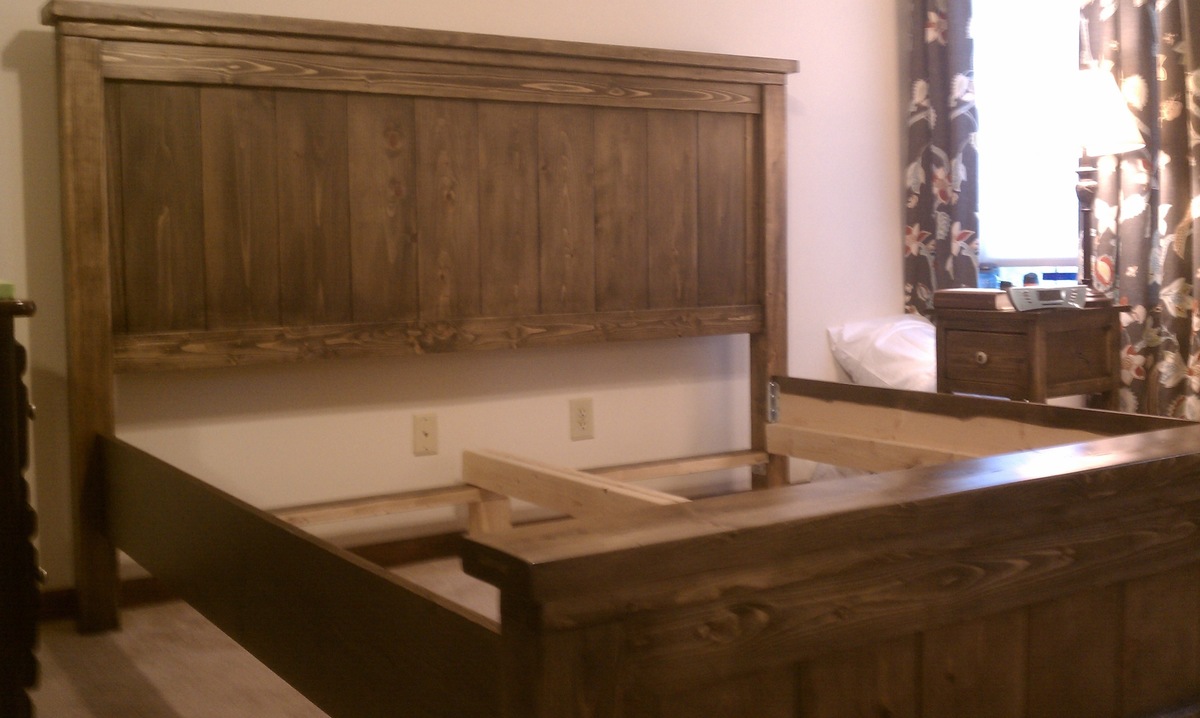
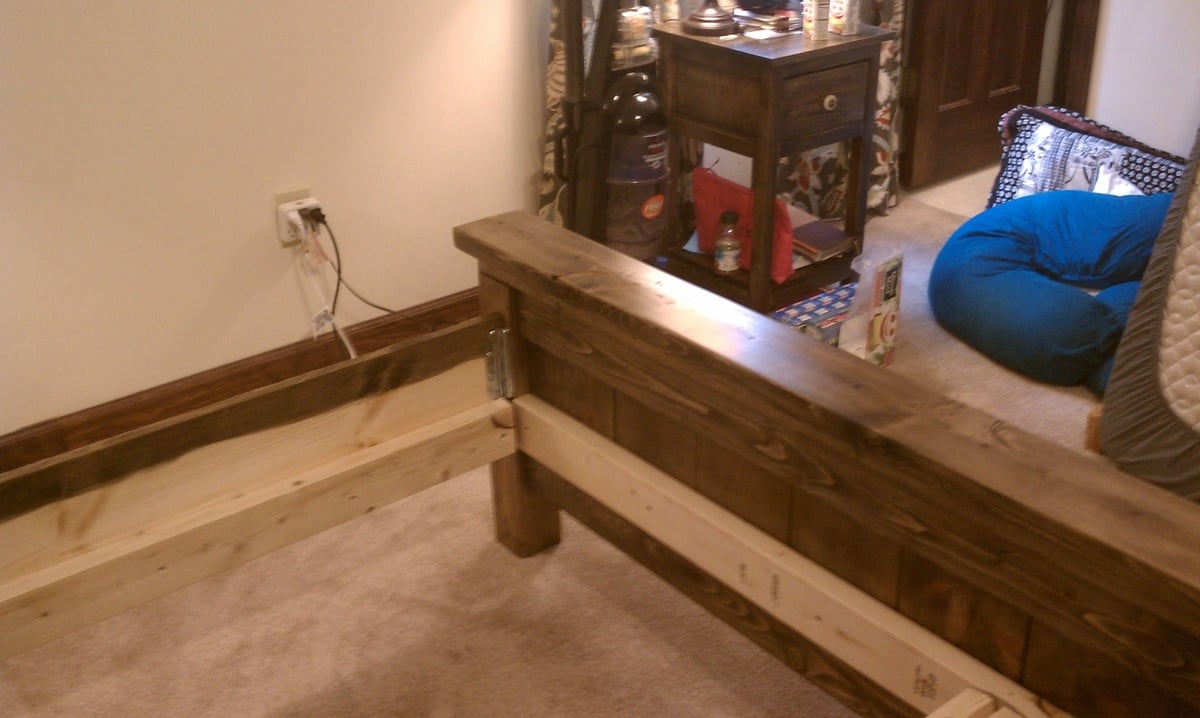
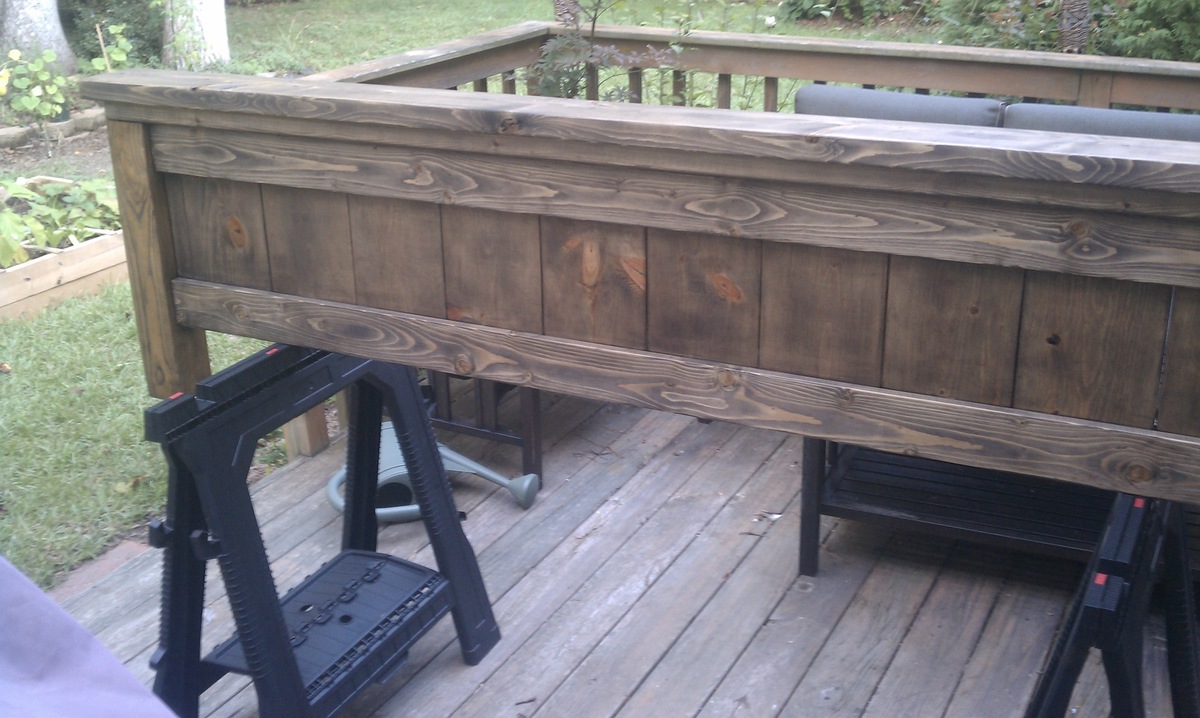
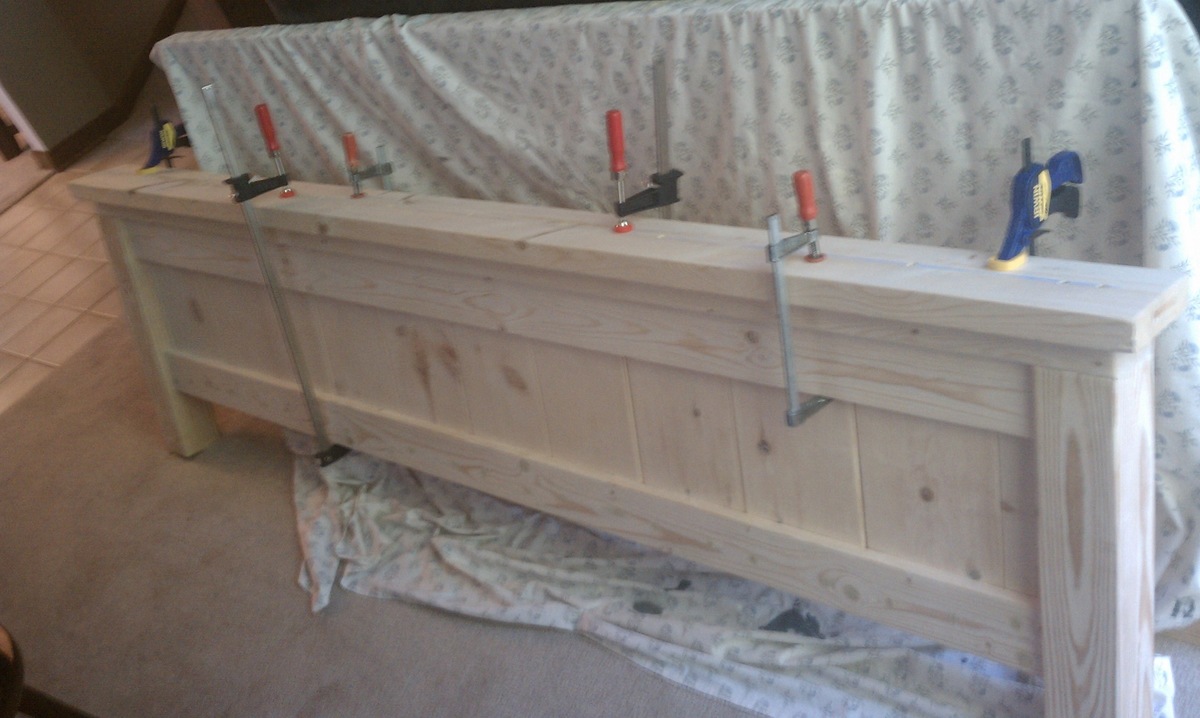
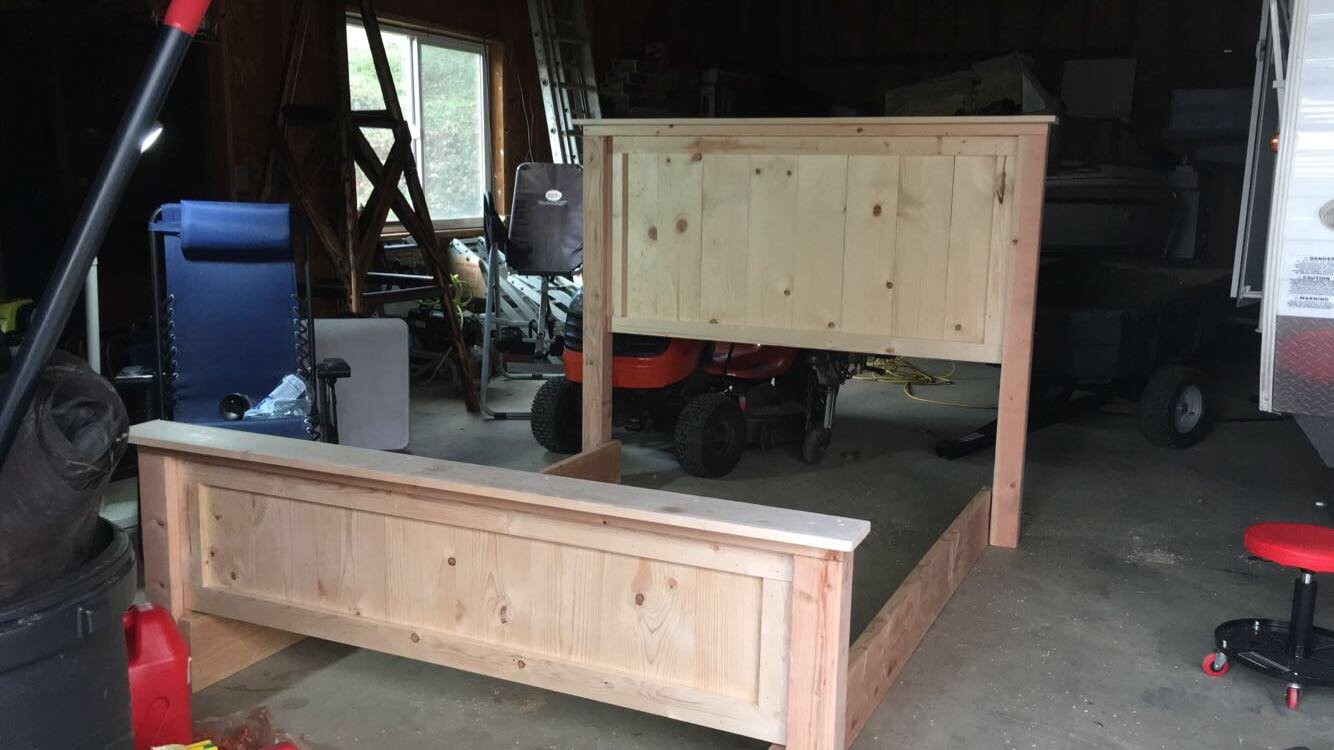
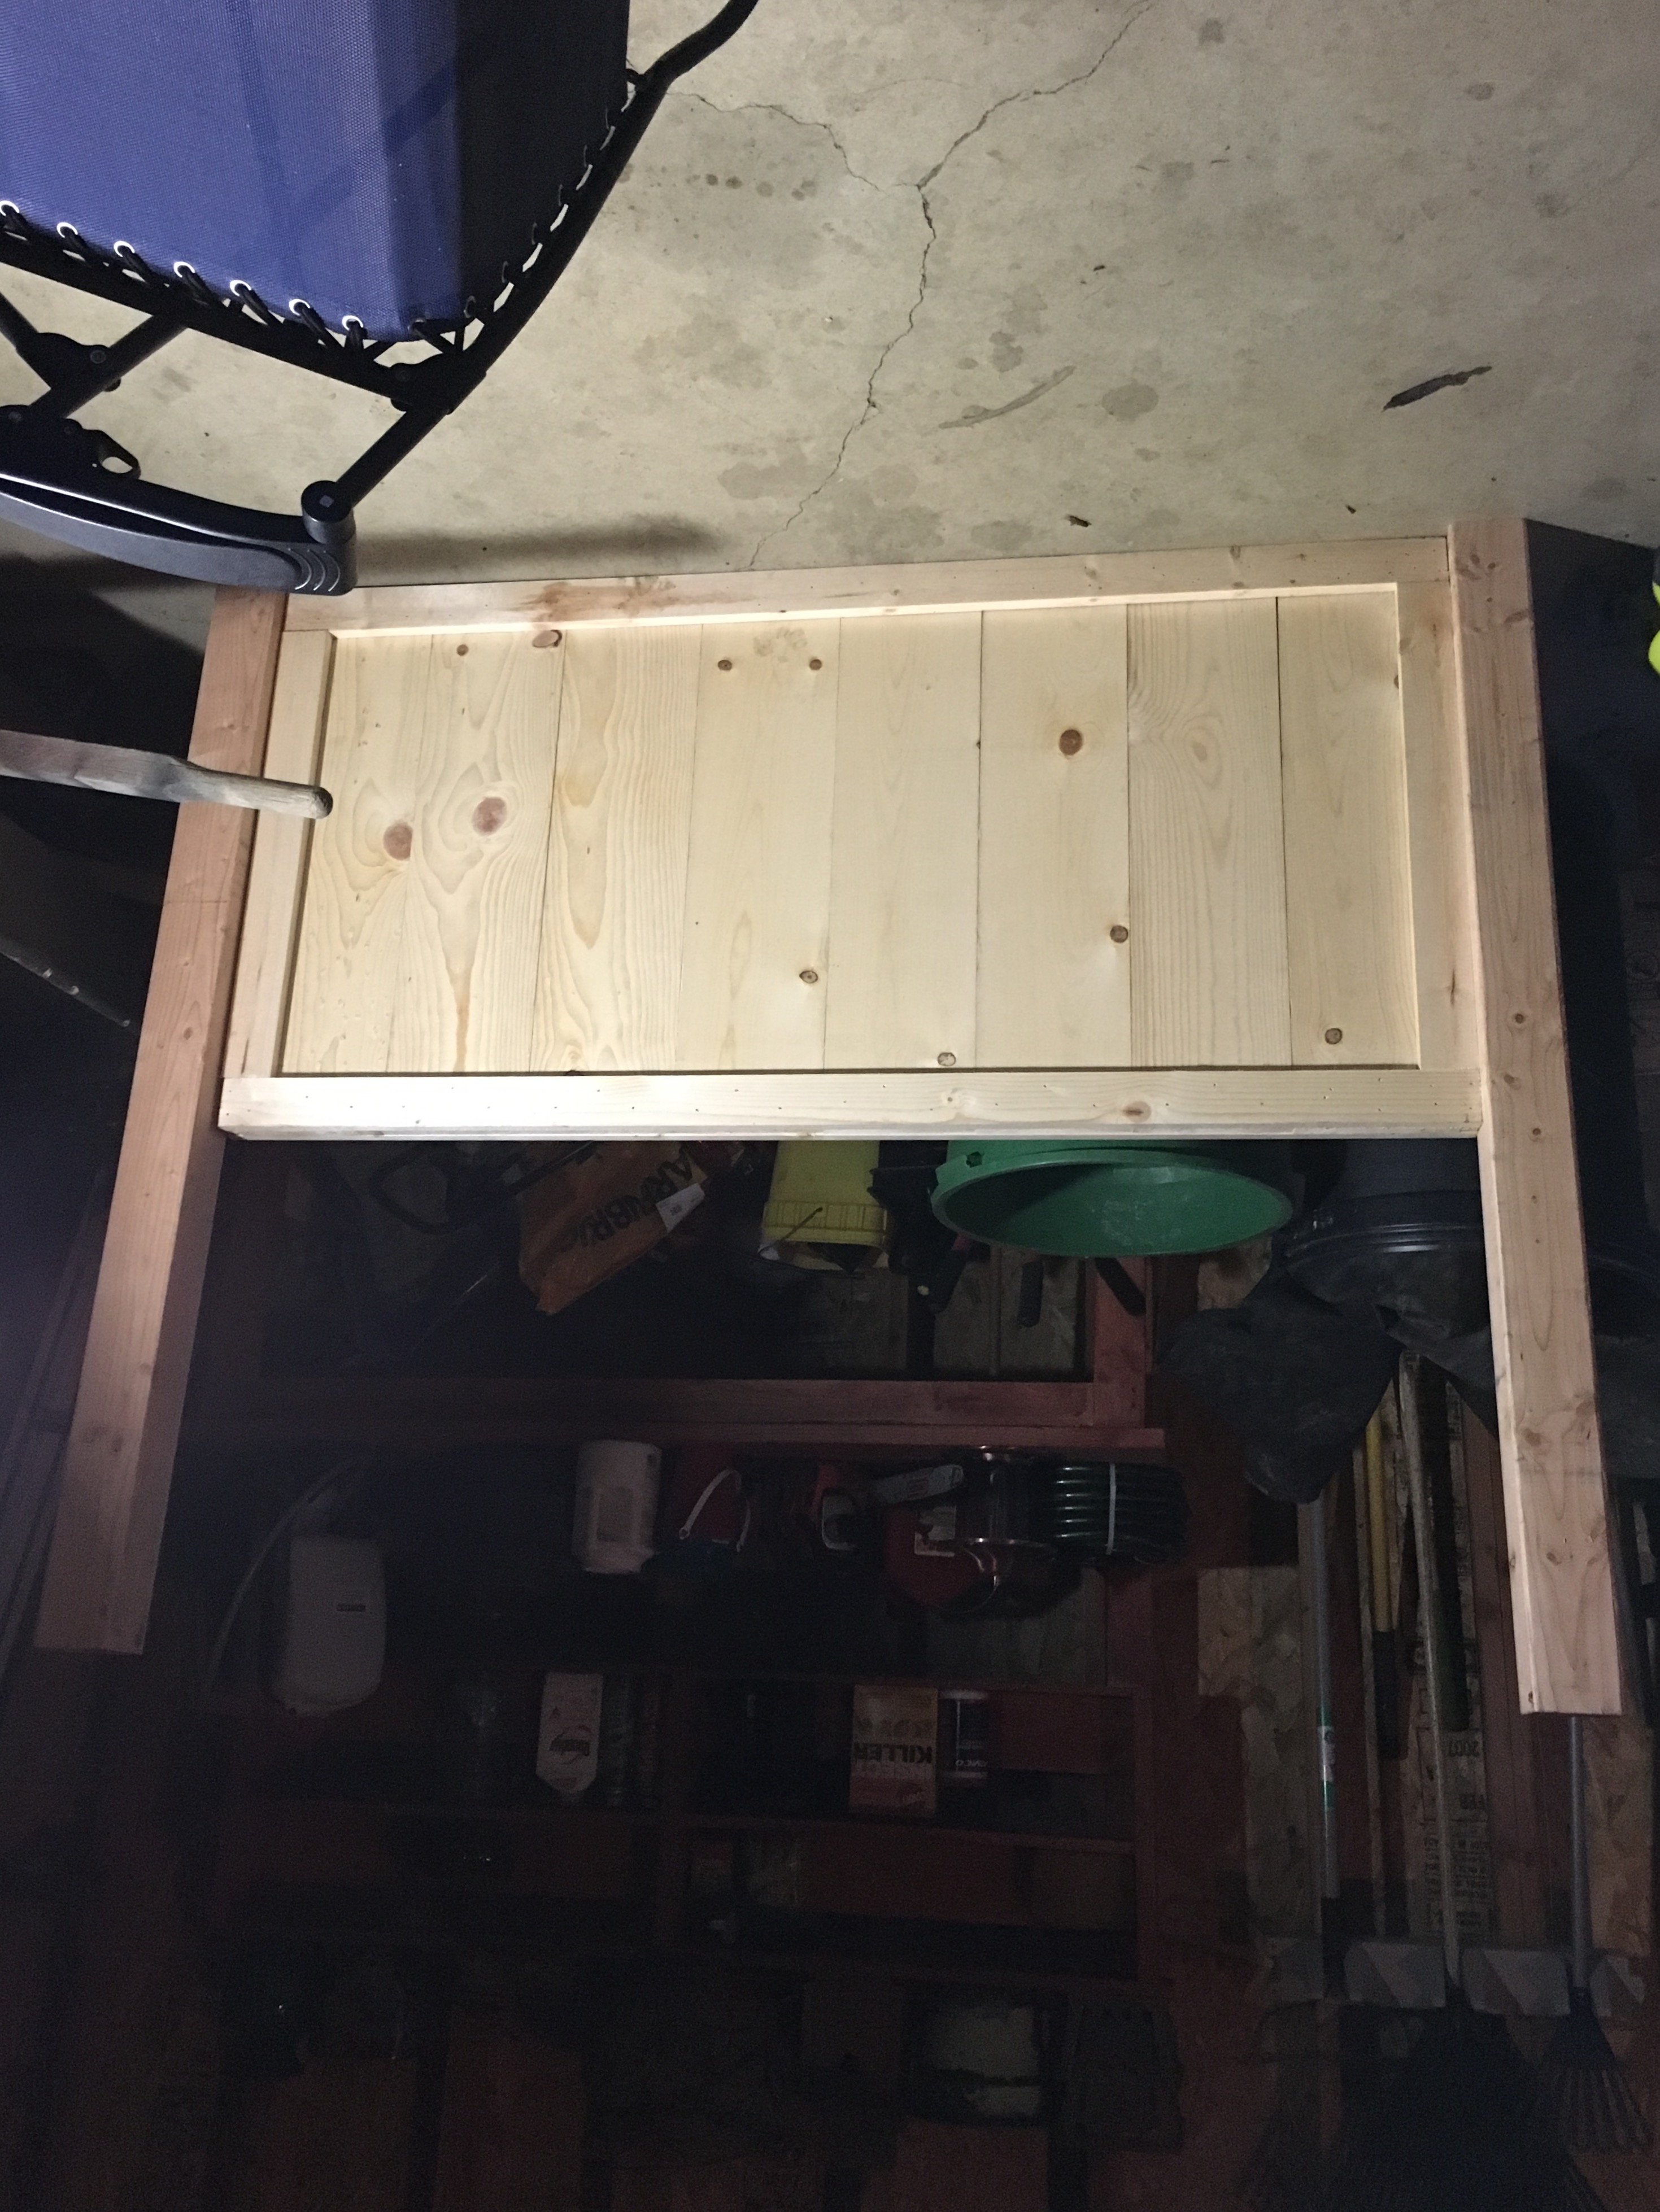
I followed the plans provided by Ana and boy am I delighted. I changed up the color scheme based off a whim. All the stained pieces or cordavan brown semi transparent from Home Depot and the wood is pine. All the white is Douglas fir, (4x4, 2x4, 2x10) and I used a chalked white also from Home Depot. It was fairly easy, I just tweaked the dimension due to our bed height. Great weekend project. Beginner project to certain extent, turned into a intermediate based on tools used and certain finishes.
Measurements were for a queen bed frame and tempurpedic adjustable bed frame (had to adjust post height to be taller, adjust 2" shorter for standard Hollywood frame)

Modified from plan listed. Width is only 36 inches. Height in picture is 30 inches but I cut down before delivery to 25 inches. 25 inches is a better fit for elementary school kids. Top is 1/2 inch birch plywood.
Follows your plans and it worked out well.
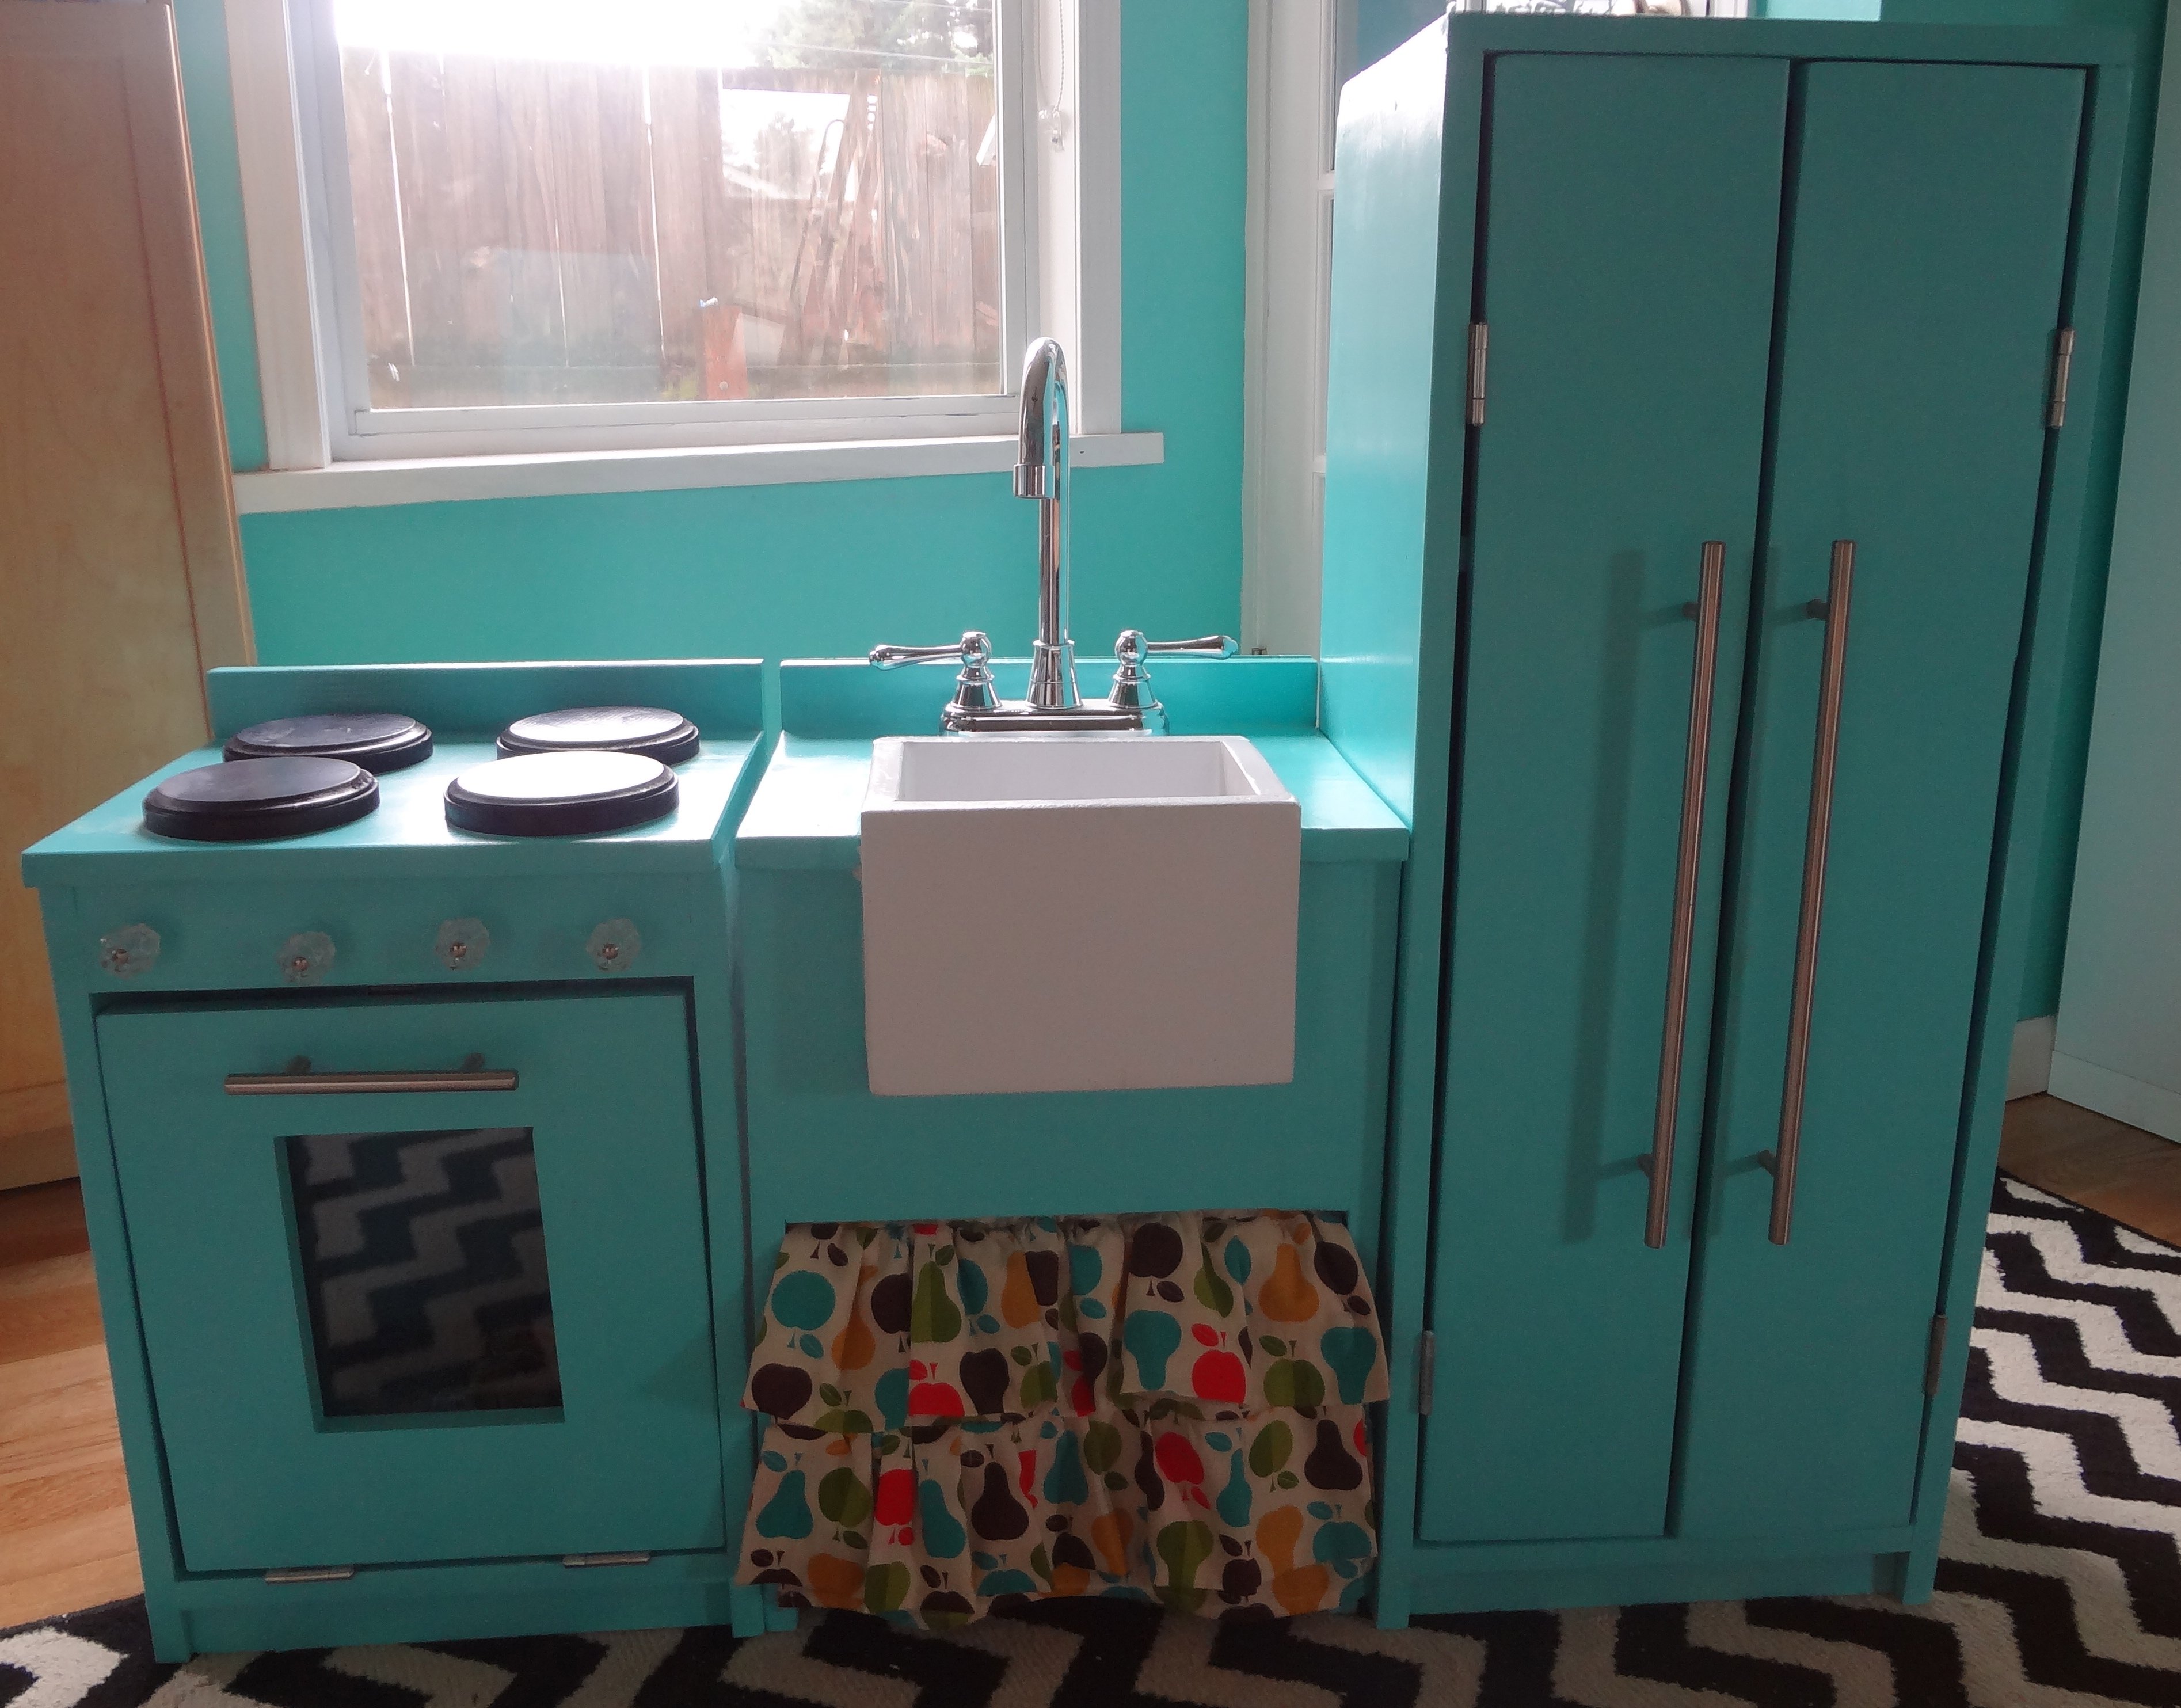
I made this from the Simple Play Kitchen Plan. I recently purchased Ana's book, and it inspired me to finally build something on my own. I am proud to say I got it done within a few weekends, with minimal issues.
Sat, 11/24/2012 - 13:26
The idea for the apron sink I borrowed from this blog. http://www.catdmoore.com/2010/vintage-inspired-play-kitchen/
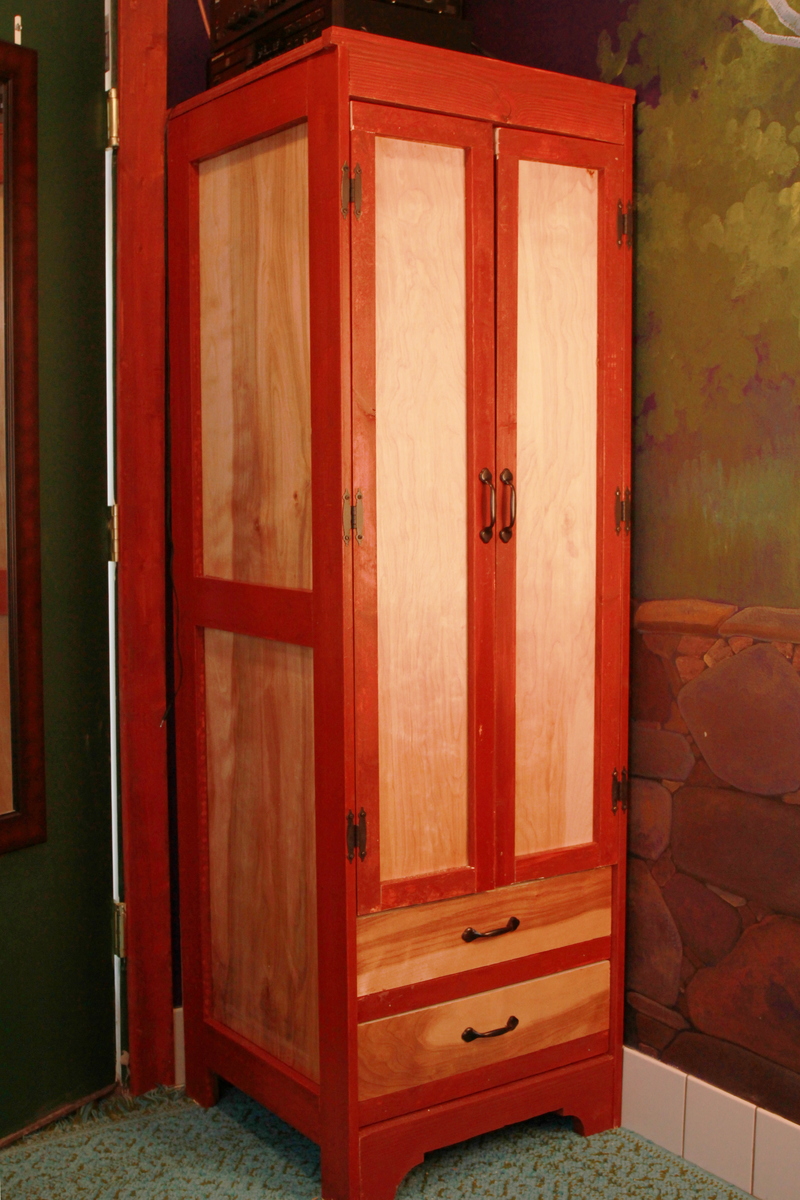
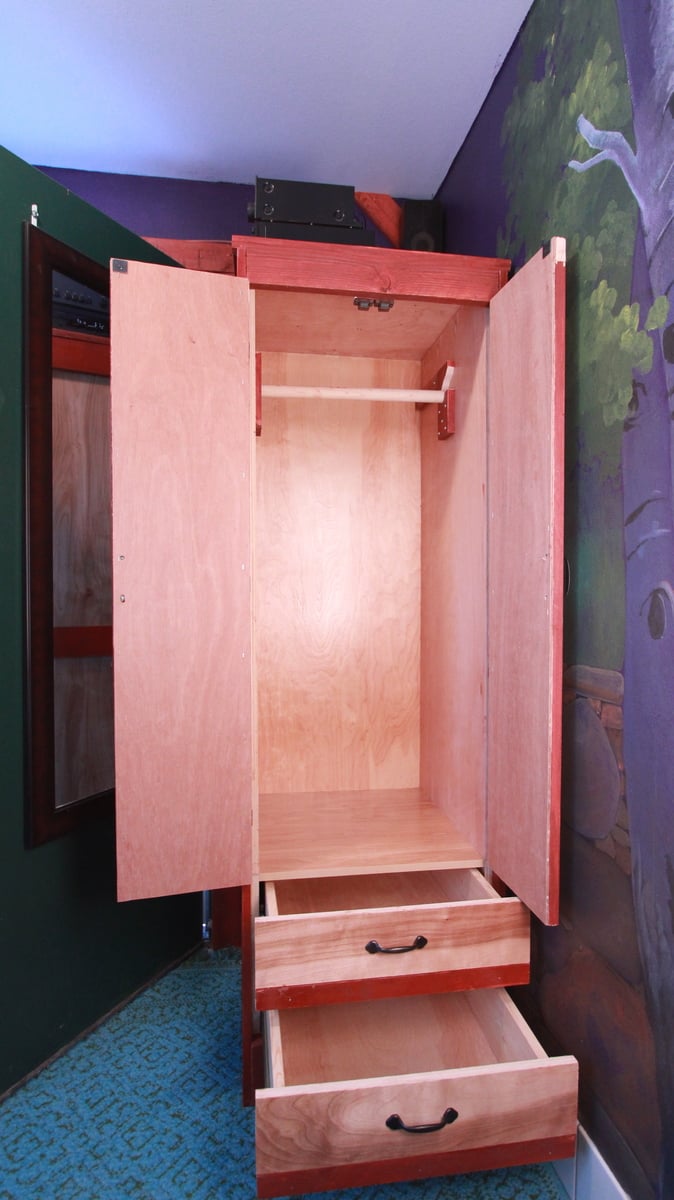
Needed a wardrobe for a 24-inch wide space. Not sure you could buy such a thing -- certainly not in the small town where we live. Glancing at Ana's "Toy or TV Armoire" plans gave me an idea how to proceed.
Didn't plan for drawers, initially, but turned out I hadn't pre-stained enough trim for full-height doors, so decided to add drawers. Glanced at the insert plans, and it didn't look too bad. Decided to build the drawers right in with 22-inch 75lbs sliders, since again, not enough trim for full doors. Also, I think it might be tedious to first open a door or in my case doors just to get to the drawes. Miraculously, cabinet turned out to be square enough (+/- 1/16th inch) for the sliders. Here's to $99 table saws and pocket hole screws!
Thank you, Ana, for this and the other plans I built (craft table). Also, I admire your webmasters Drupal-craft!