Community Brag Posts

Pet Feeder

Submitted by lazyLiz on Thu, 01/26/2012 - 16:48

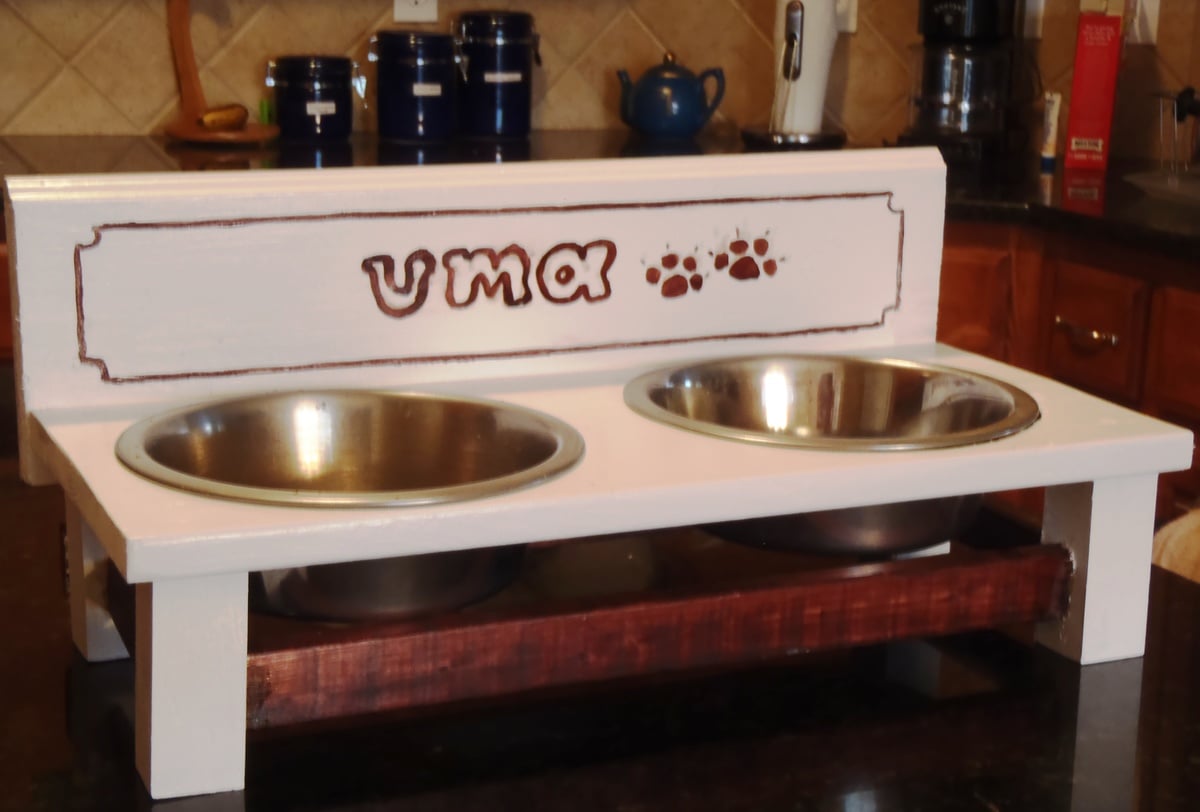
I am building a TV console and hutch (will be posting soon) and I have left over of small cut of boards from this project. While waiting for my media center to dry, I built this pet feeder.

I have this messy eater dog (weimaraner) who slobbers all over my floor moulding. Worst thing...she bangs the wall with her aluminum bowl when she tries to lick every single bits of her food there is! So, with that story to tell, I designed and built her a pet feeder(inspired by the small pet feeder plan). And no more banging and messy wall!

Built from Plan(s)
Estimated Cost
I'd say $ 2.00 to $5.00 (every materials used were left overs from my media center project)
Estimated Time Investment
An Hour or Two (0-2 Hours)
Finish Used
glossy white paint and drops of colored paint for the name and prints
Recommended Skill Level
Beginner

Wall Jewelry Cabinet

Submitted by stdismuke on Tue, 12/10/2013 - 12:38

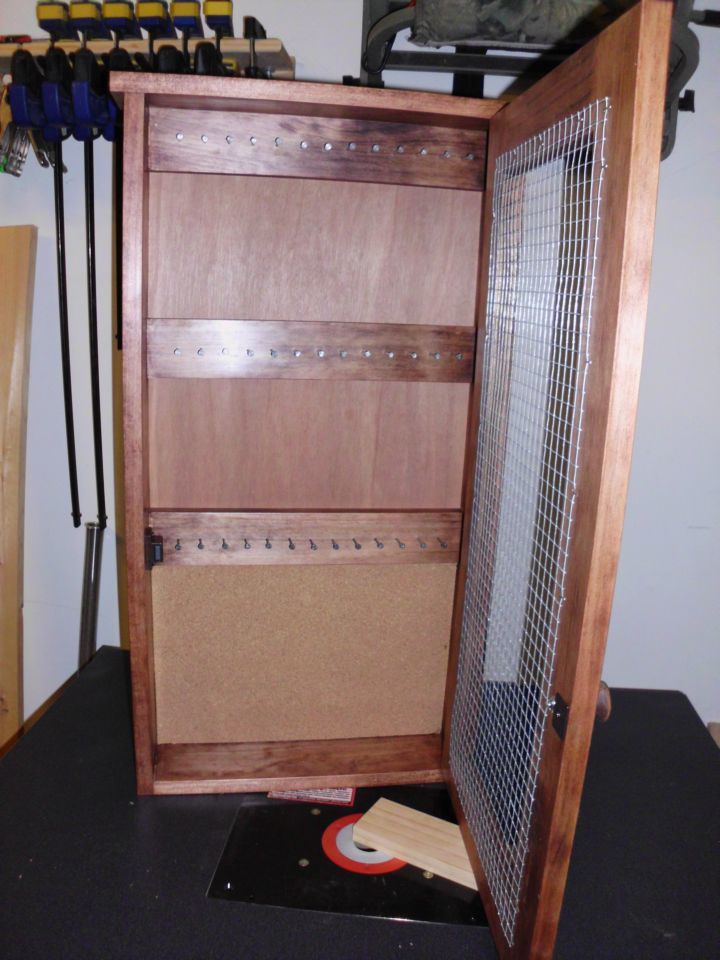
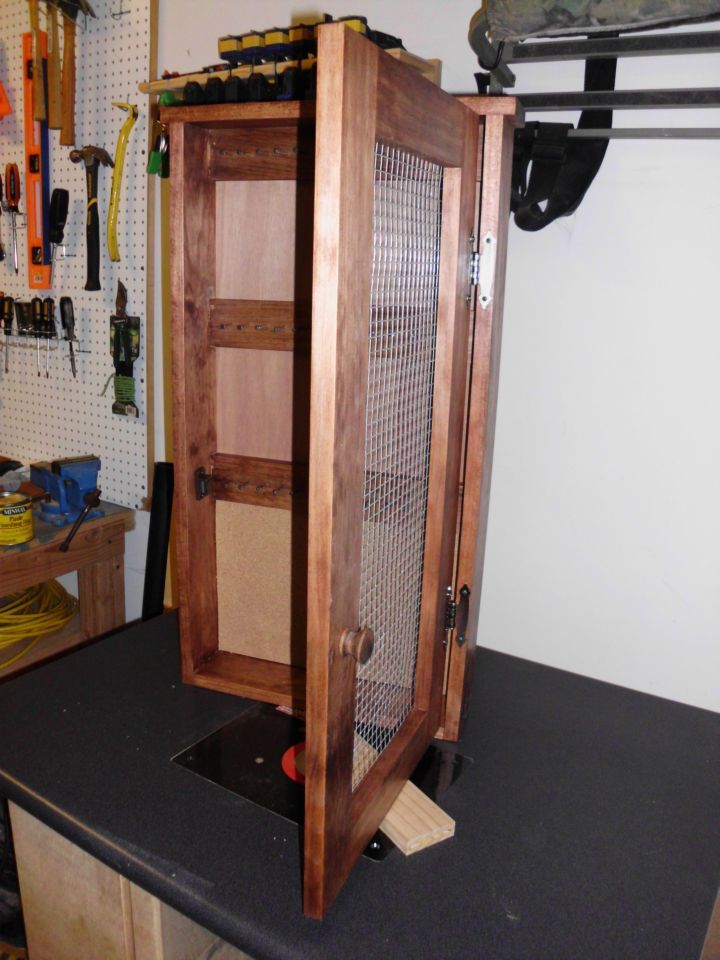
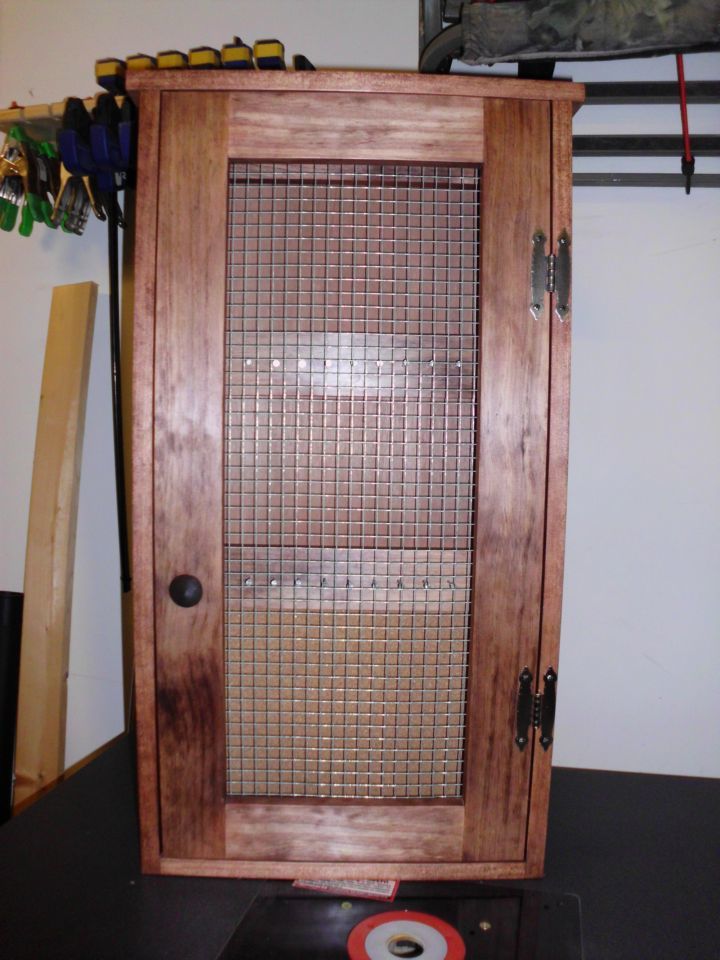
My wife has been looking for a jewelry cabinet at local antique markets so I decided to make her one for Christmas. I mostly followed the original plan but added cork in the bottom section so that she could push in earrings that can't be hung from the front.

Built from Plan(s)
Estimated Time Investment
Day Project (6-9 Hours)
Finish Used
Minwax Red Oak for the stain and Minwax Paste Finishing Wax.
Recommended Skill Level
Beginner

Handmade by Gary

Submitted by Anonymous (not verified) on Mon, 02/22/2016 - 18:35

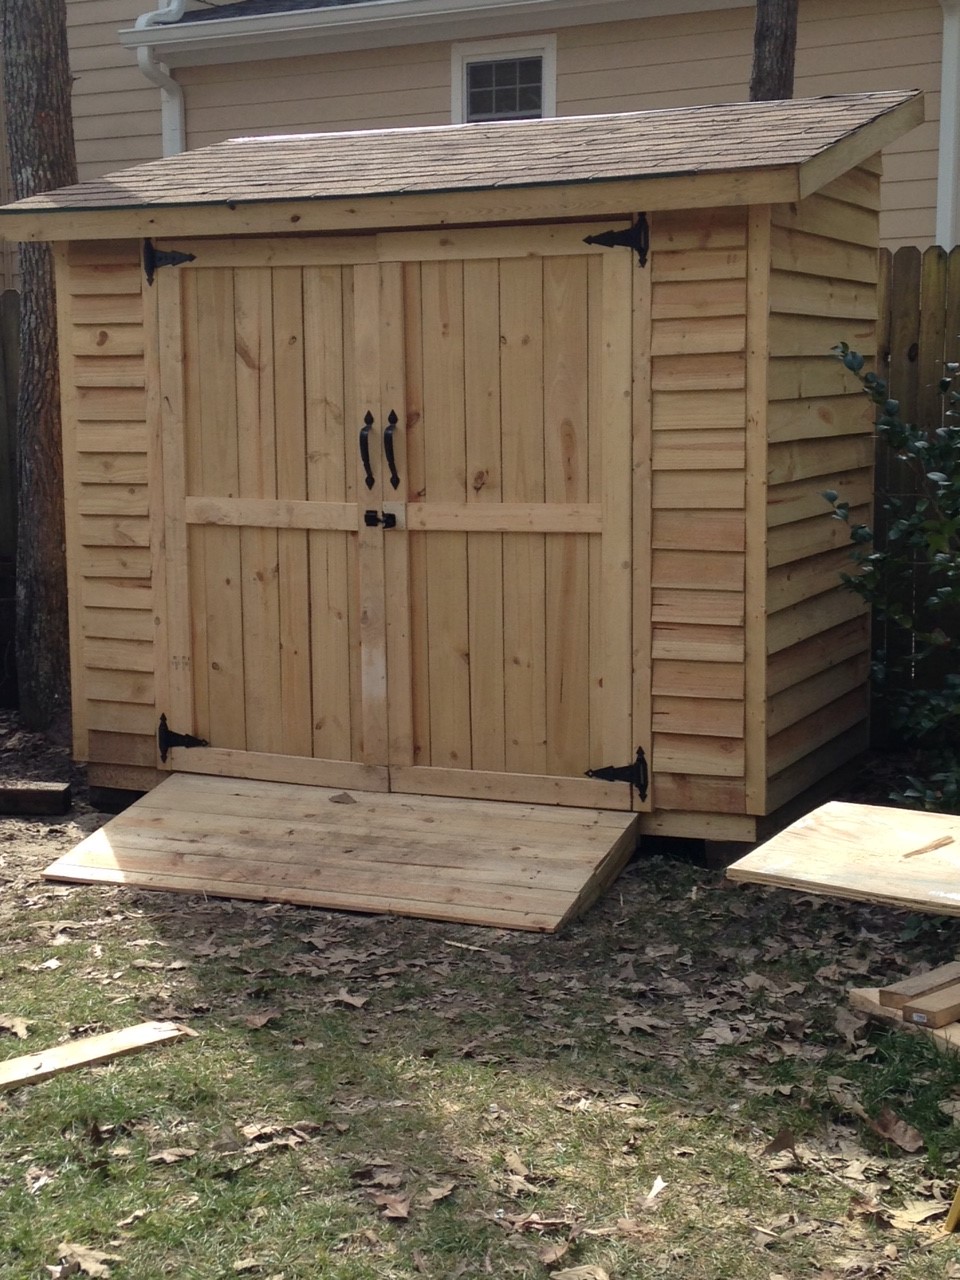
This is a modified version of your plans.  I made it 4x8 and adjusted the roof and front according. For the back wall, I used T1-11 siding and the pickets everywhere else. I added a floor and ramp too.

Estimated Cost
$425
Estimated Time Investment
Weekend Project (10-20 Hours)
Finish Used
None yet.
Recommended Skill Level
Intermediate

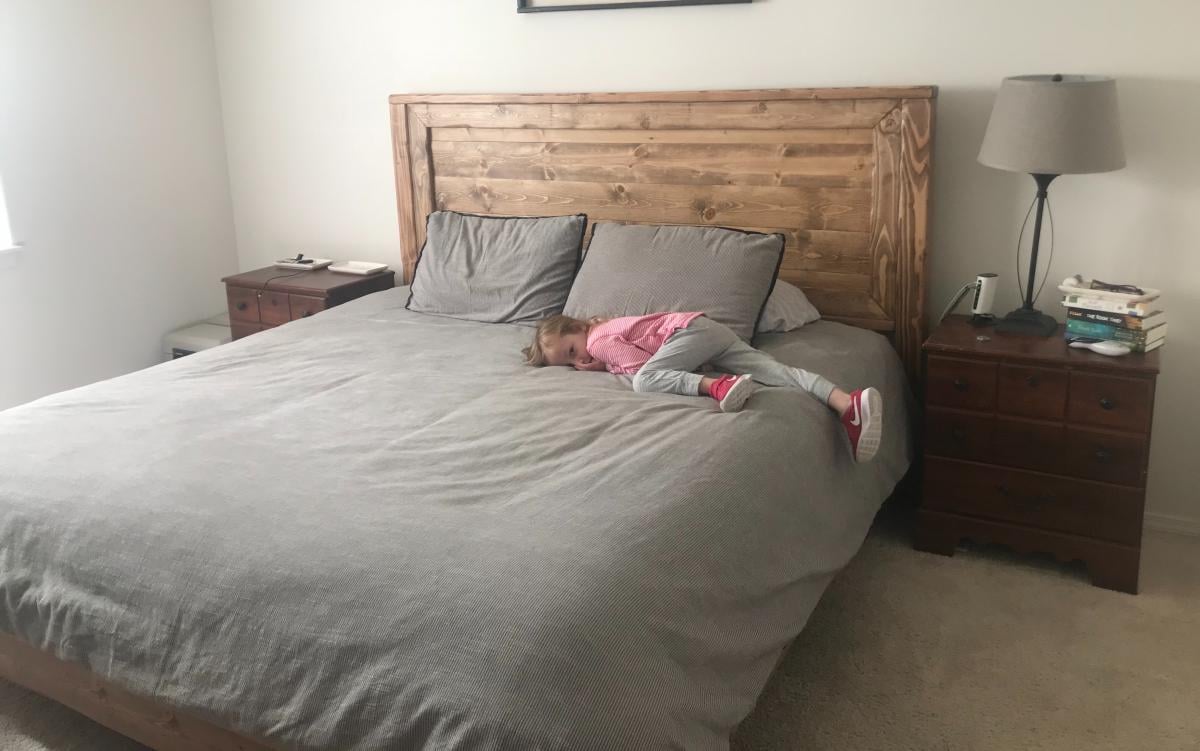
New farmhouse bed

Submitted by Anonymous (not verified) on Thu, 10/03/2019 - 11:51

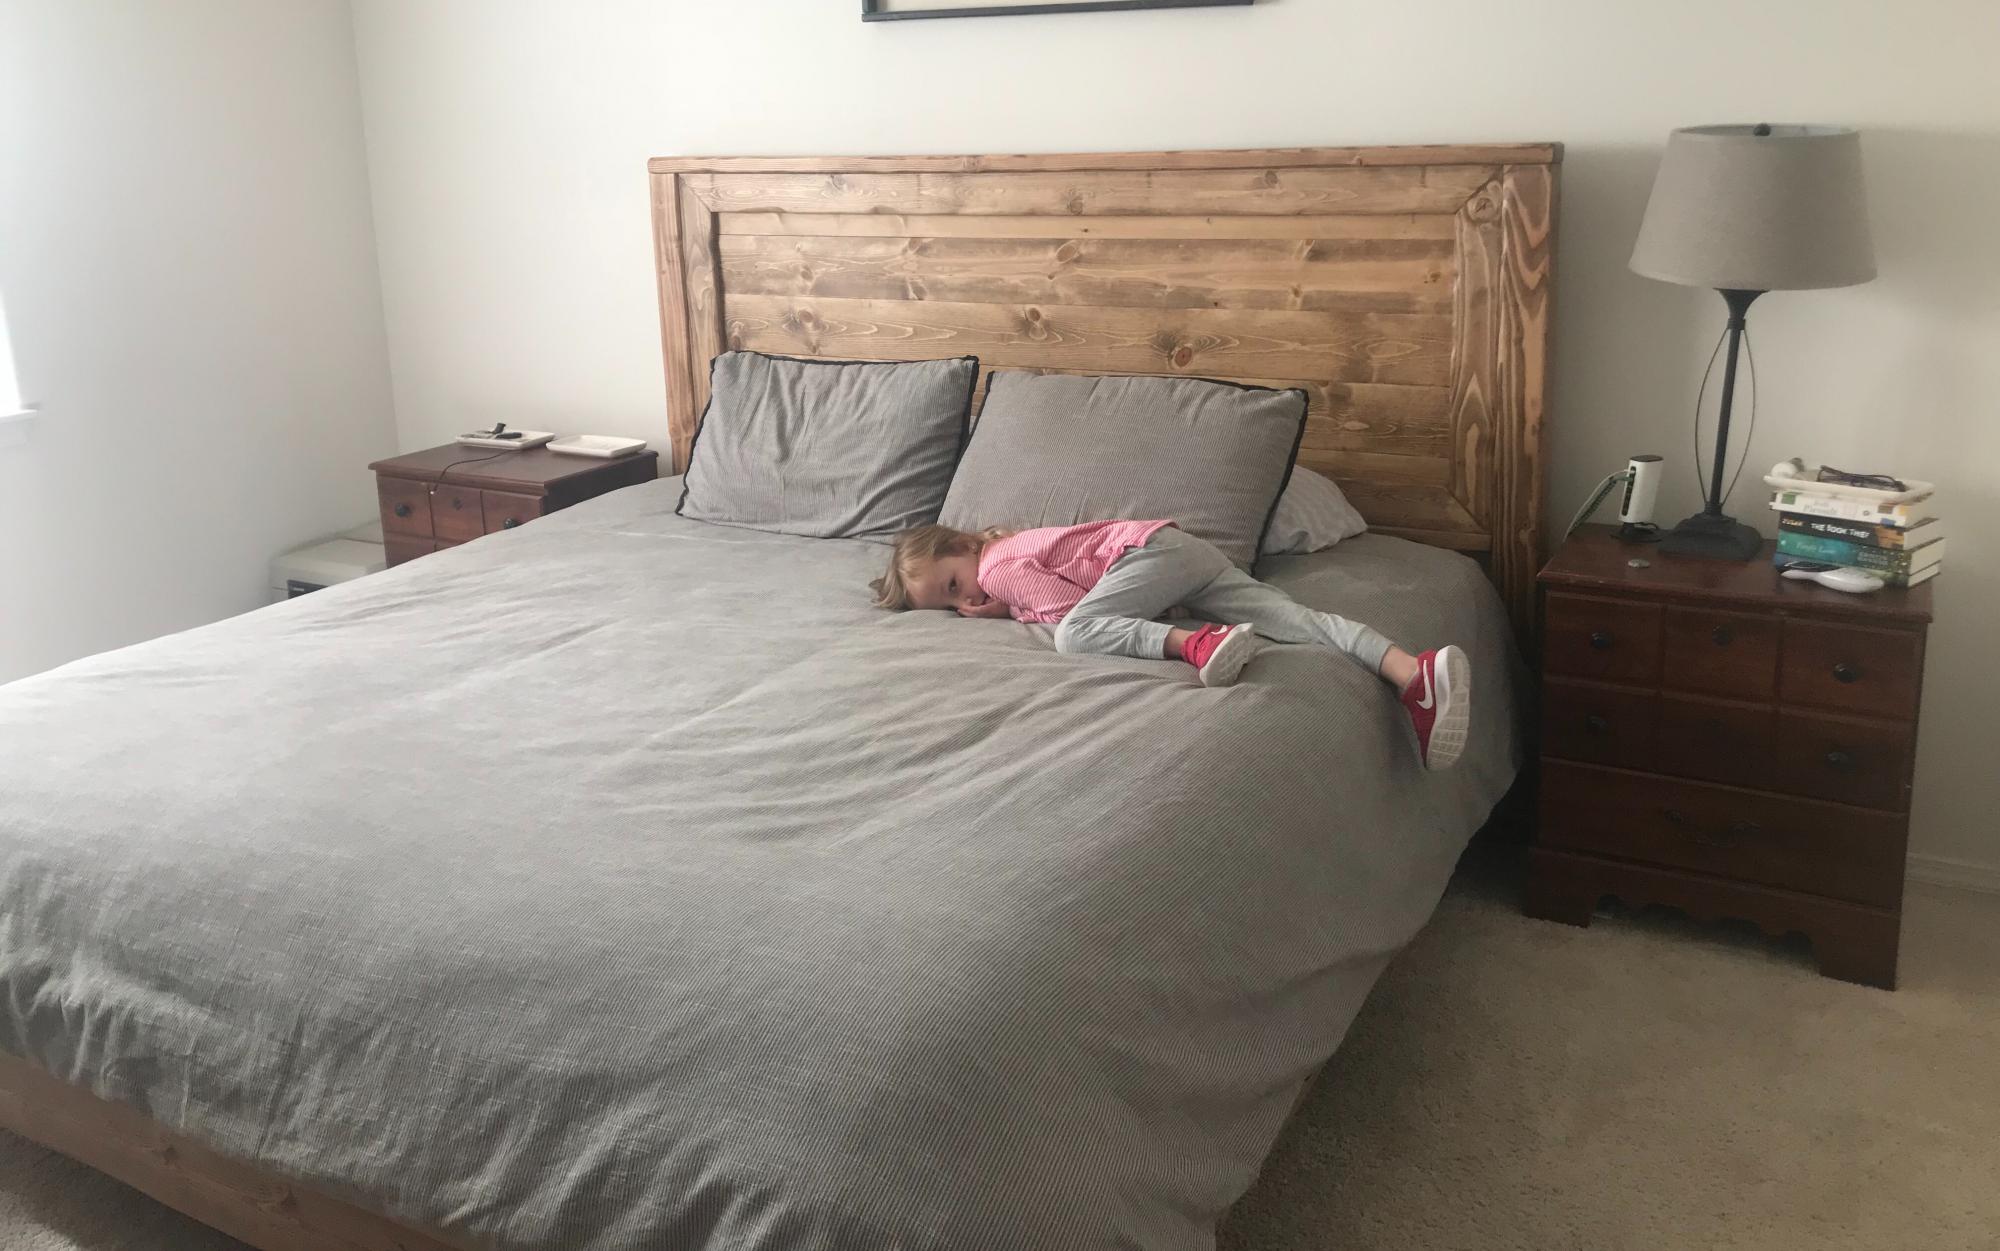
I needed to replace my bed quickly. I could not sleep in my old one anymore. Unfortunately I did not have the money to buy a new one so I turned to Ana white and a short time later I had a new bed and a fresh start. My kids and I love this bed. It’s hard to get them to sleep in their own beds now!

Built from Plan(s)
Estimated Cost
$200
Estimated Time Investment
Weekend Project (10-20 Hours)
Recommended Skill Level
Intermediate

Comments

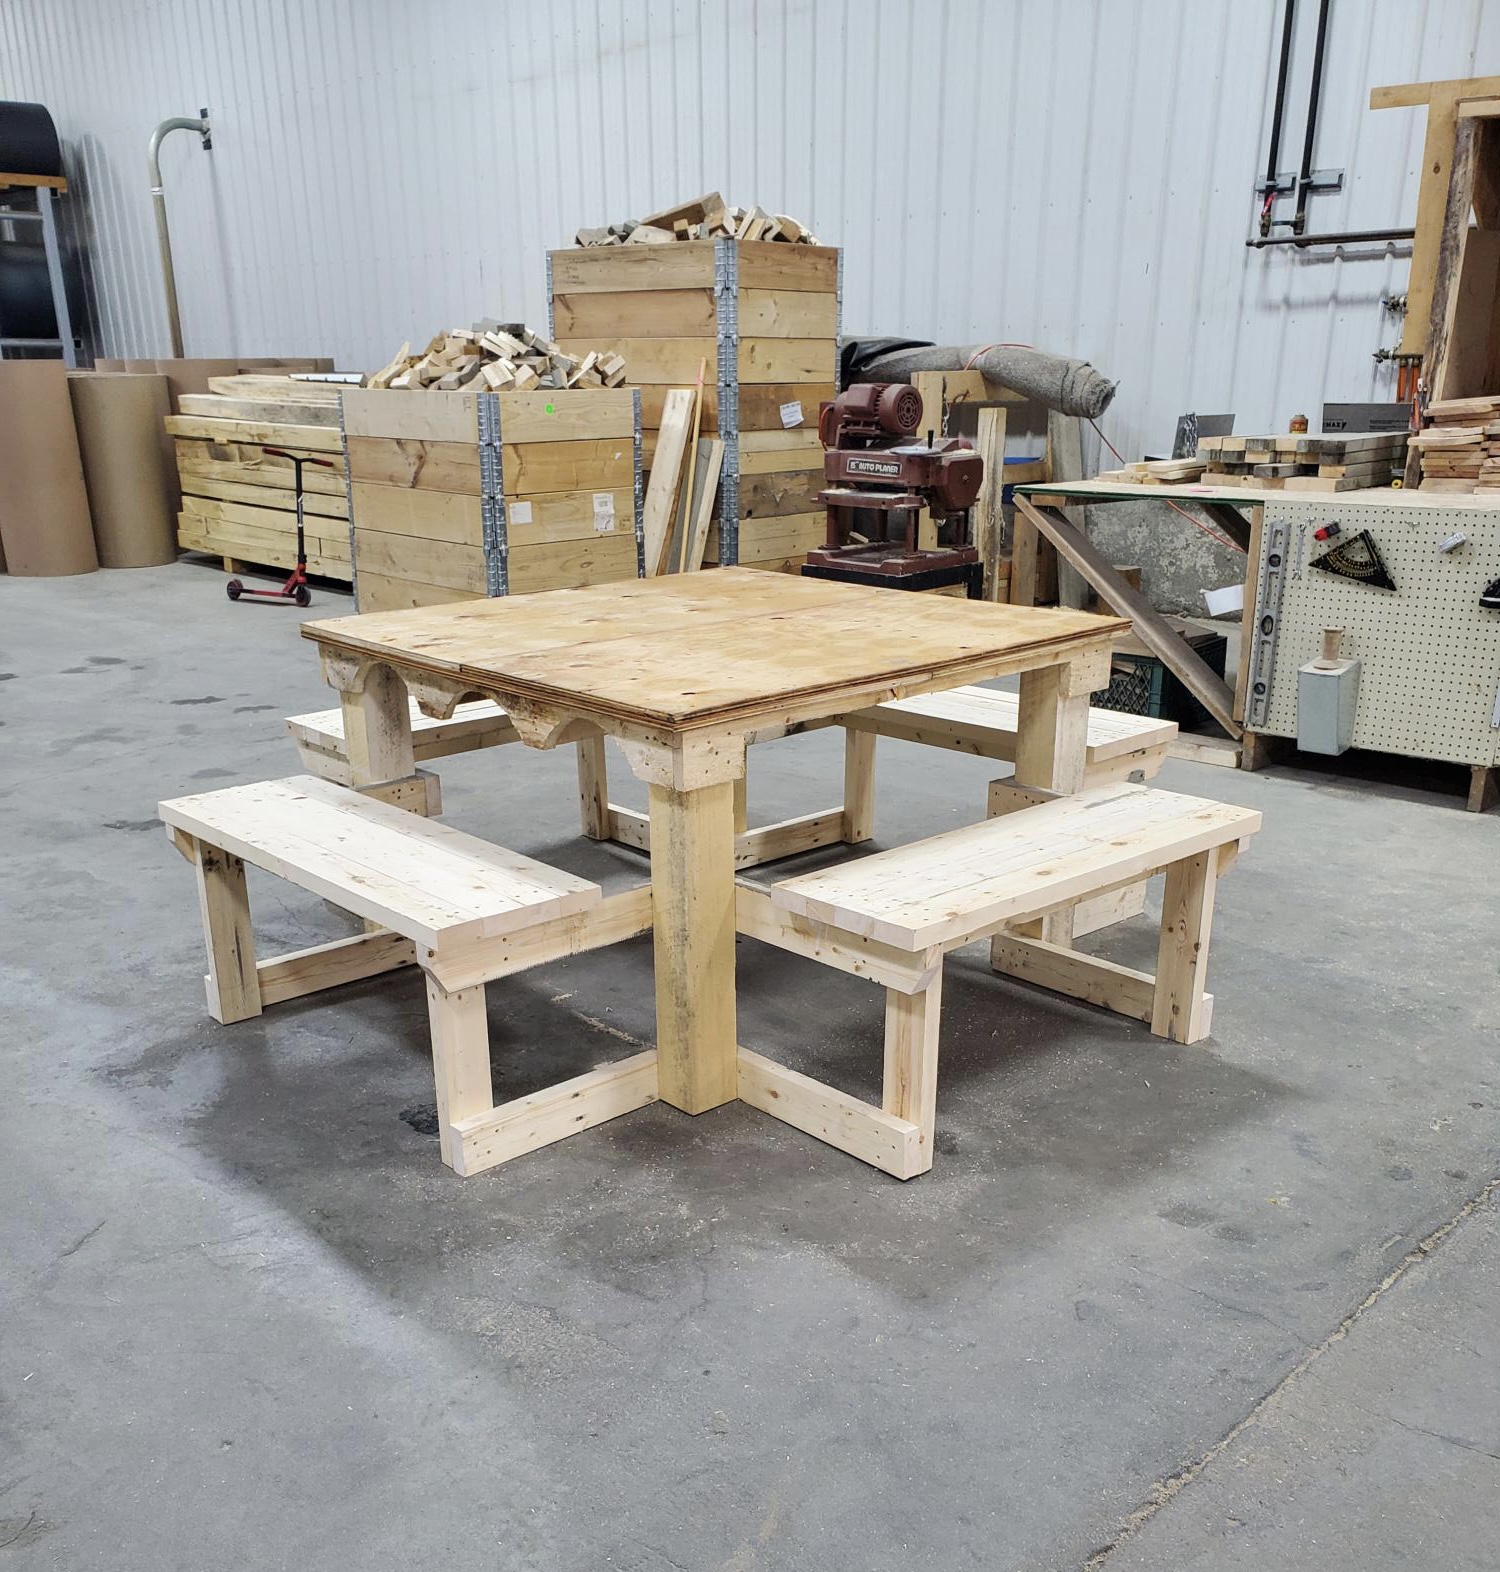
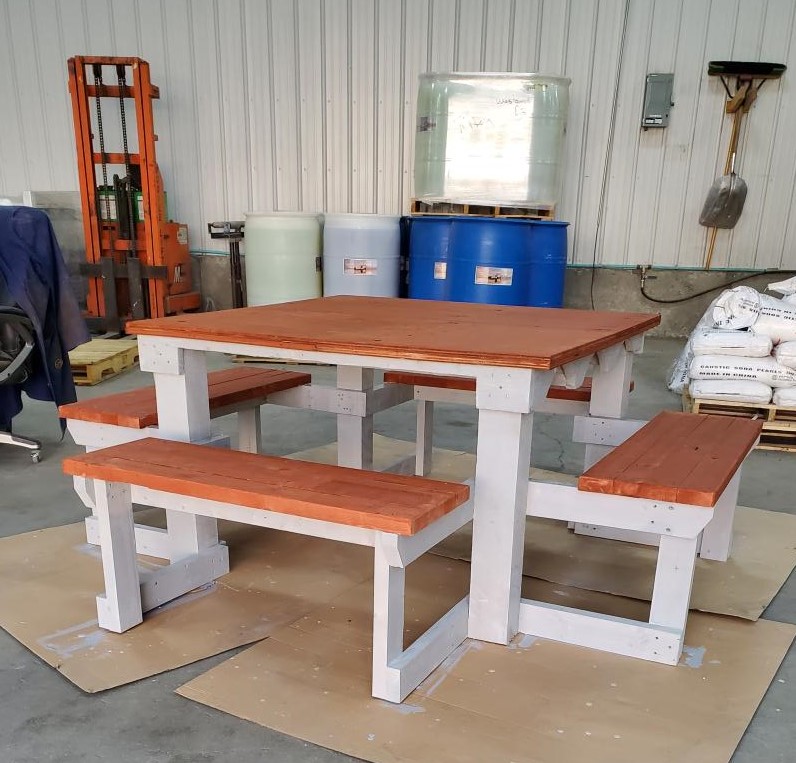
4 sided picnic table

Submitted by Anonymous (not verified) on Fri, 06/16/2023 - 13:59

4 sides for the whole family to sit.

Built from Plan(s)

Comments

Seasonal And Holiday

ipex bookshelf

Submitted by jkolo on Thu, 02/02/2012 - 22:27

Great bookcase. I used a 3" screw through the top center into the wall to add lateral stability. Now it is rock solid. The majority of time was spent sanding and finishing.

Built from Plan(s)
Estimated Cost
$100
Estimated Time Investment
Weekend Project (10-20 Hours)
Finish Used
The all-in-one stain with poly doesn't coat evenly on pine. I ended up stopping half way through, sanding it off, then used a Minwax stain, then Satin poly.
Recommended Skill Level
Beginner

4X4 Truss Beam Table

This was my first project. It's not perfect, but I love the way it turned out! The original plans were too large for my dining room, so I altered the plans to make it a 5-foot table. I actually ended up making it a little bit wider as well by adding an additional 2X10 to the table top to make the table look more proportional. The wider table top has made it perfect for family-style meals! For the finish, I did one layer of Rustoleum American Walnut stain applied with a foam brush and wiped off with a clean cloth after one minute. After the first layer of stain, I sanded the table with a very fine paper and then did two layers of Rustoleum Dark Walnut applied with a foam brush and wiped off with a clean cloth after only a few seconds of setting. Finally, I did three layers of Rustoleum Matte Finish polyurethane.

Estimated Cost
$120
Estimated Time Investment
Weekend Project (10-20 Hours)
Recommended Skill Level
Beginner

Comments

daydra

Tue, 03/06/2018 - 19:15

Your table is beautiful!!! You done a stunning job on it!!! This is the same size that I need for my table but I'm having a hard time figuring out the measurements for the legs and the length of the benches I need!!! My table needs to be 60"x32" would you mind helping me with the measurements of your bench and also of your legs on the table?? I plan to make the table legs the same height as hers but need to make the top board and middle brace to match the 60" top!!

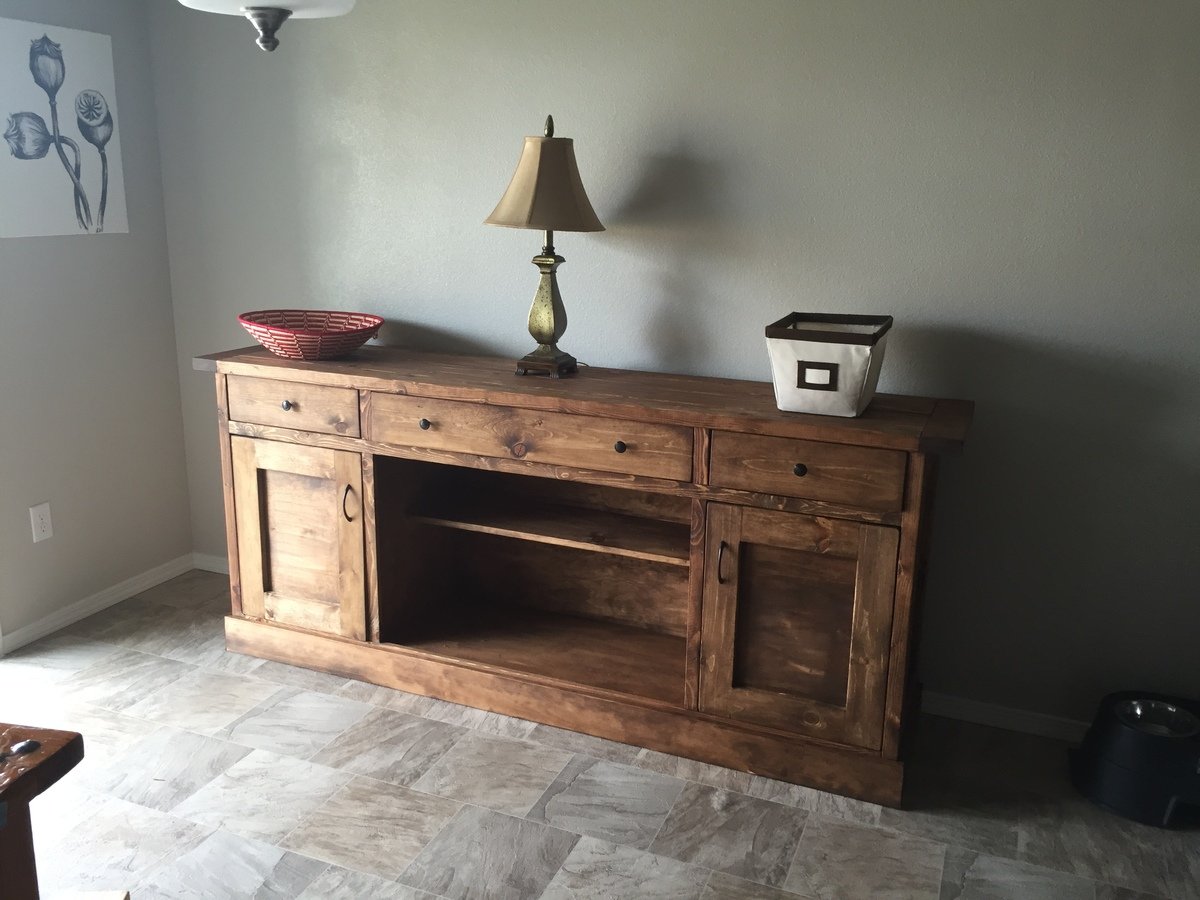
Modified Planked Wood Sideboard

Submitted by Anonymous (not verified) on Thu, 02/25/2016 - 08:41

Built this buffet/sideboard in about a week. Huge, and kind of a pain to move, but beautiful and extremely useful.

Built from Plan(s)
Estimated Cost
$175
Estimated Time Investment
Week Long Project (20 Hours or More)
Finish Used
Minwax Provincial stain with wax finish
Recommended Skill Level
Intermediate

Comments

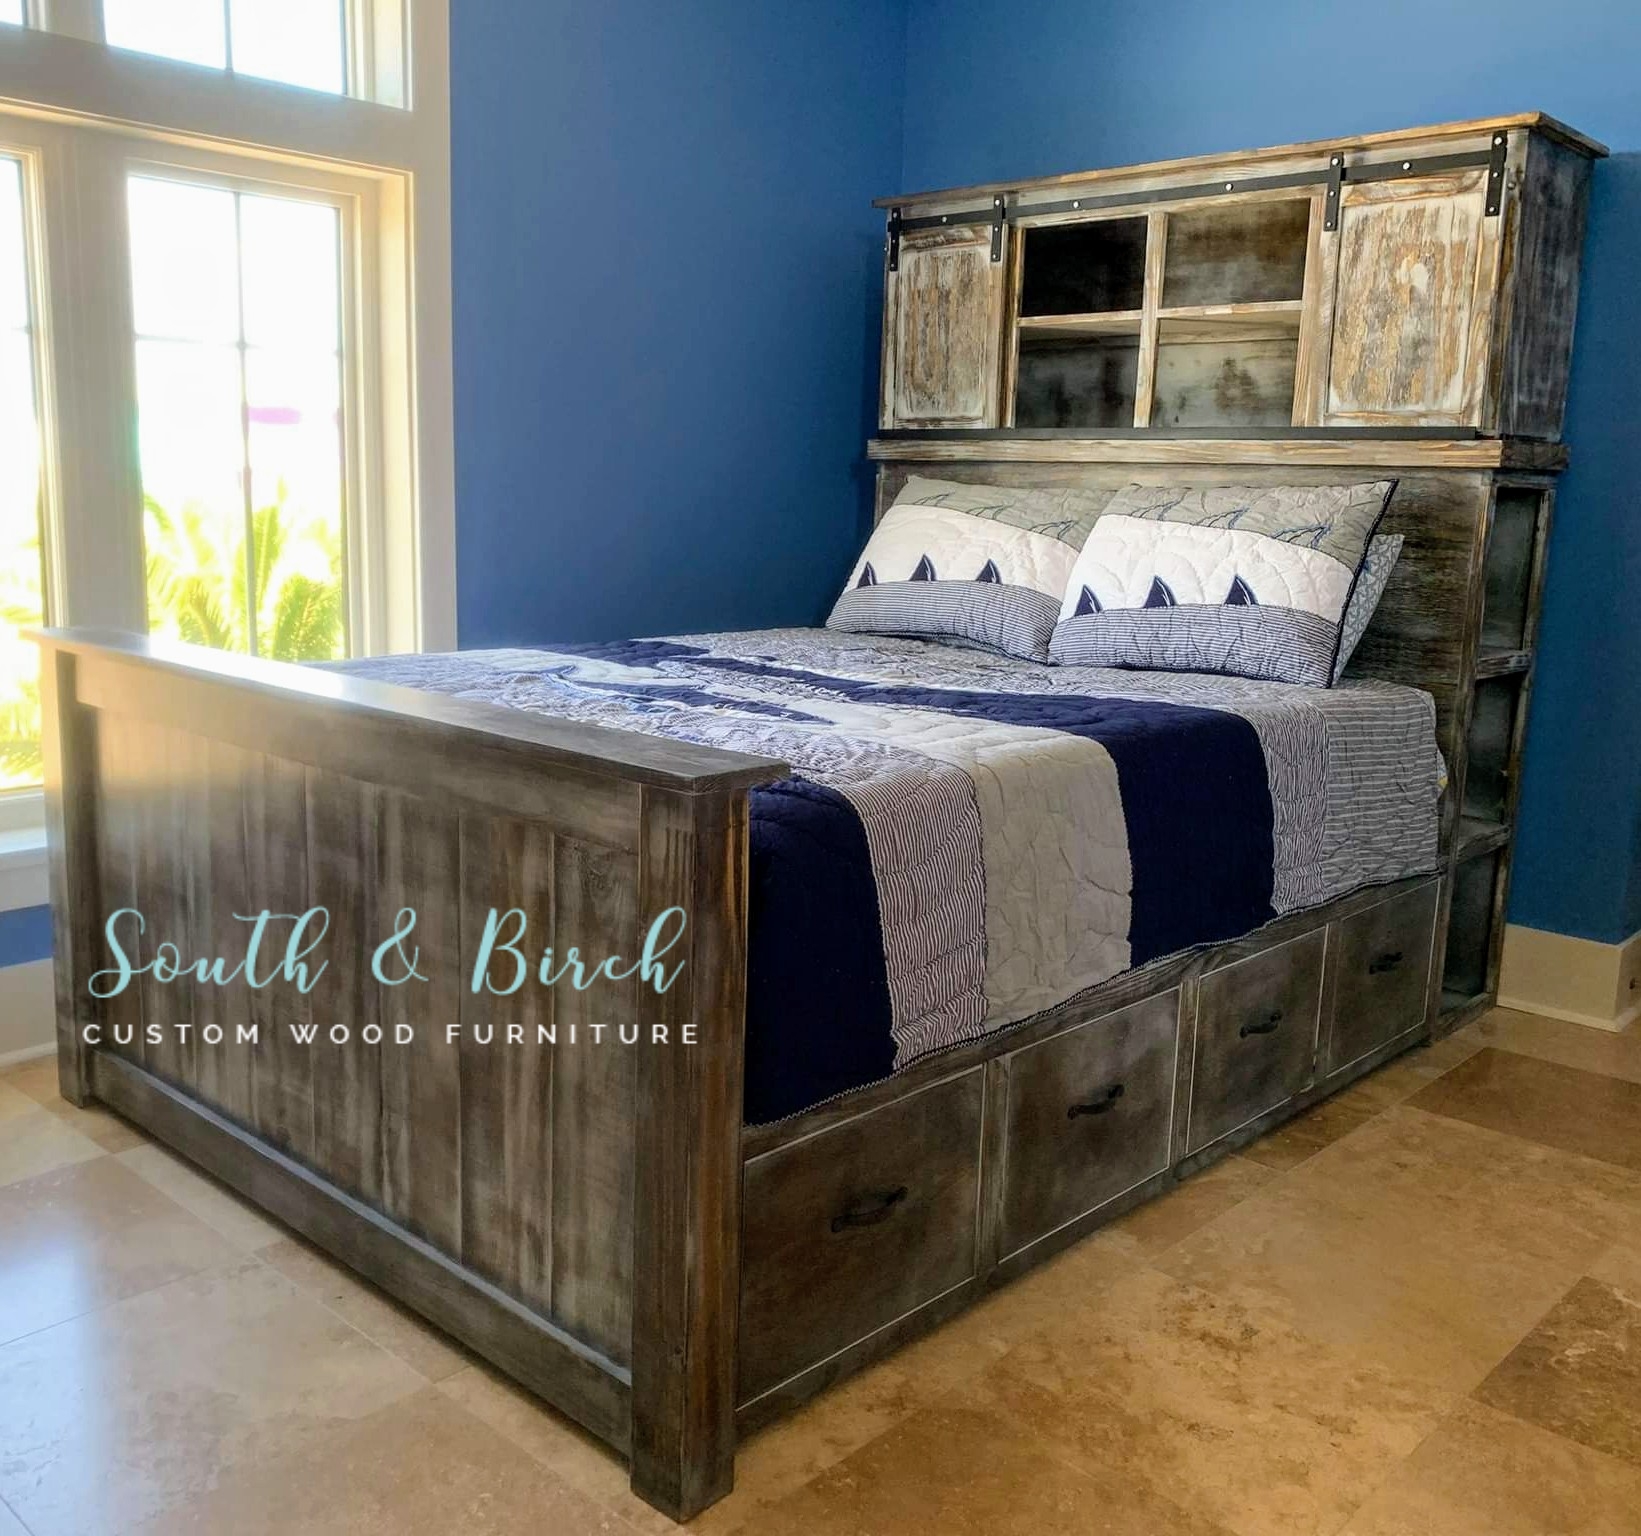
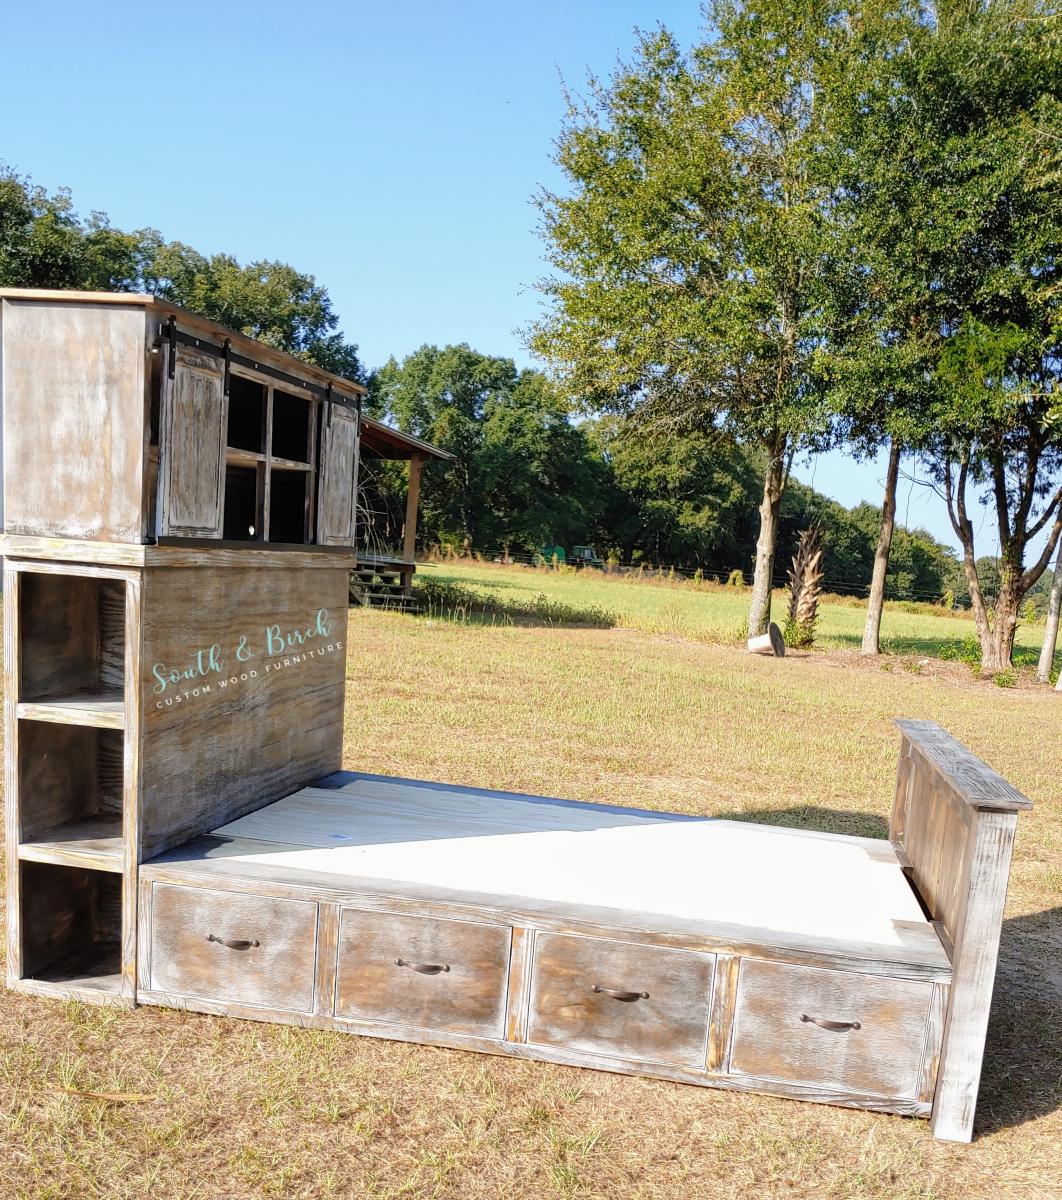
Grandy Barn Door Console Headboard with Farmhouse Storage Bed

This is a really cool build with a few of Ana's most popular builds combined!  I used the Grandy Barn Door Console plans and added the farmhouse storage bed plans for a stunning bed with plenty of storage!

Estimated Cost
$600
Estimated Time Investment
Week Long Project (20 Hours or More)
Finish Used
This is a custom stain I create. I start with a layer of Minwax Dark Walnut. Allow 48 hours to dry. Apply Minwax Whitewash Pickling with a rag. It will streak but that's ok! After allowing 24 hours to dry sand down to desired distressing.
Recommended Skill Level
Intermediate

Comments

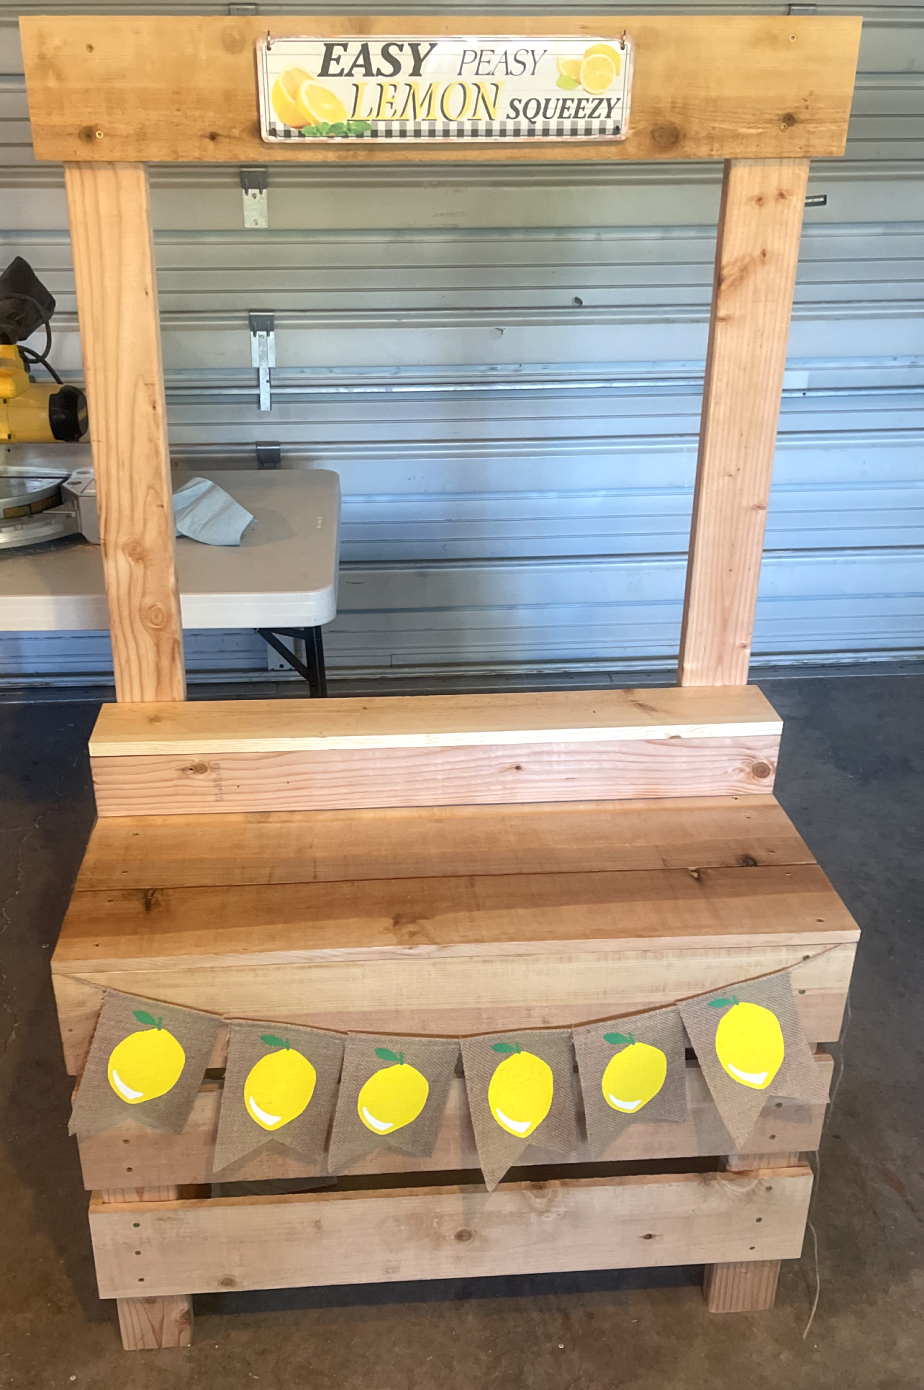
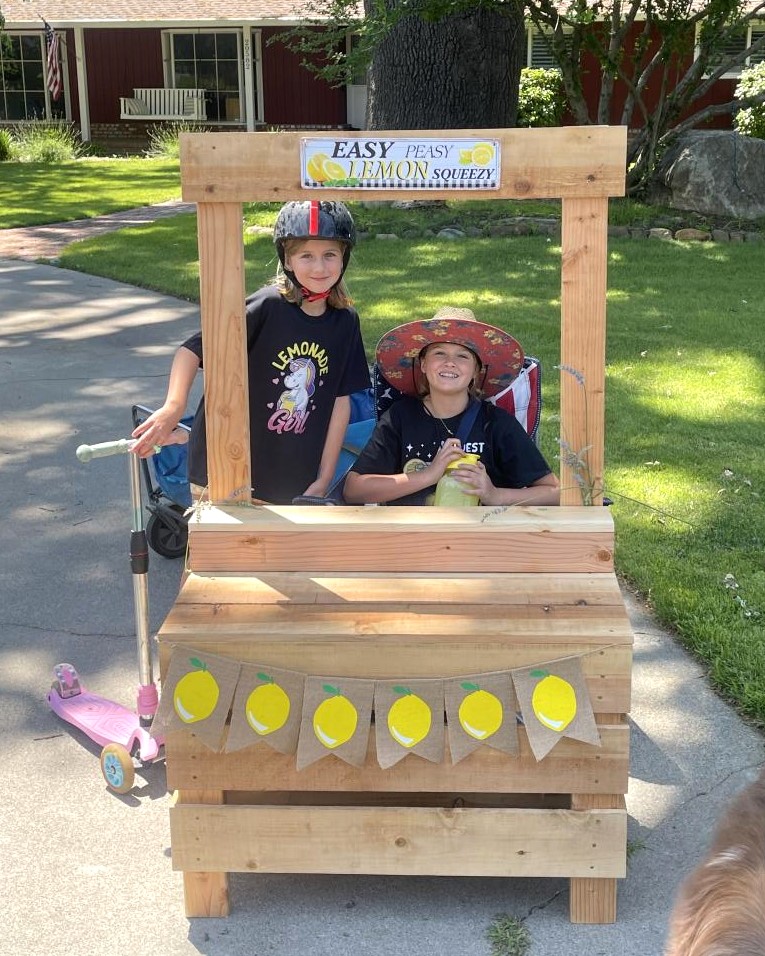
LEMONADE STAND

Submitted by Anonymous (not verified) on Fri, 06/23/2023 - 15:09

My granddaughters took this home today and had a sale right away. SO MUCH fun to build this for them! Can’t wait to start another project! Thank you Ana!!!

Built from Plan(s)

Comments

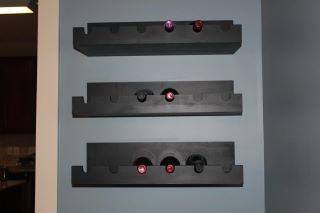
Wine Rack

Submitted by Bredimi on Tue, 02/07/2012 - 15:35

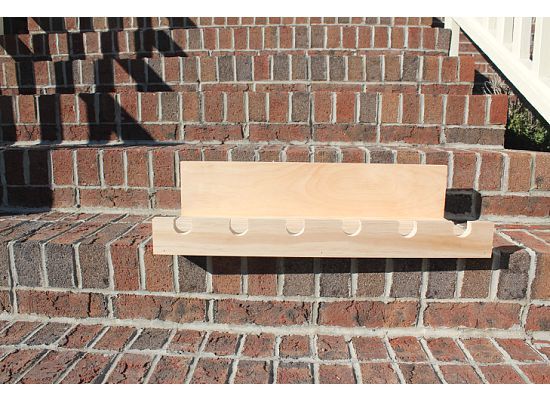
I loved the Holman Entertaining Shleves from Pottery Barn, however, I didn't like the price. Taking the $10 ledge plans and modifying them, I set out to make my own. I used a 1 x 10 (bottom), 1 x 6 (back) and a 1 x 3 (front). They are 23 7/8 inches long to get the 3 shelves out of 6 foot boards. To get the holes to hold the top of the bottle, I used a 1 and 1/4 inch forstner bit. Since I had gift cards left from Christmas I splurged on the wood and bought the select pine.

Built from Plan(s)
Estimated Cost
I had gift cards, but my out of pocket expenses for the 3 shelves was $22.89
Estimated Time Investment
Afternoon Project (3-6 Hours)
Finish Used
I painted them Valspar Lincoln Cottage Black
Recommended Skill Level
Intermediate

Comments

babysteps

Tue, 01/14/2014 - 10:55

I love your adaptation of the original design. I have been looking for an example of someone who made this plan into a wider shelf. Has it held up well? I was worried about the stress on the joints when you make it deeper. Has yours handled the weight of the bottles?

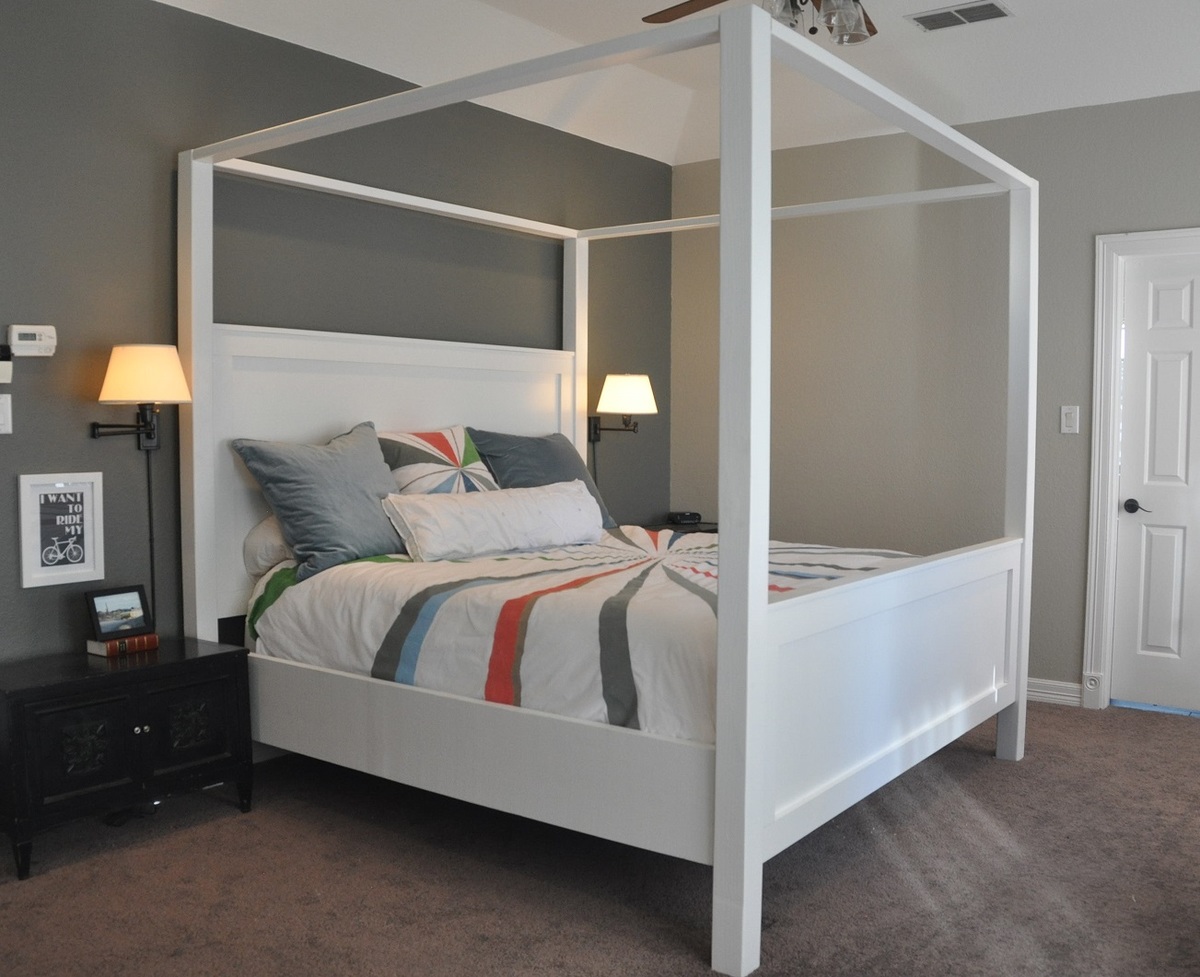
Modern King Farmhouse Bed with Canopy

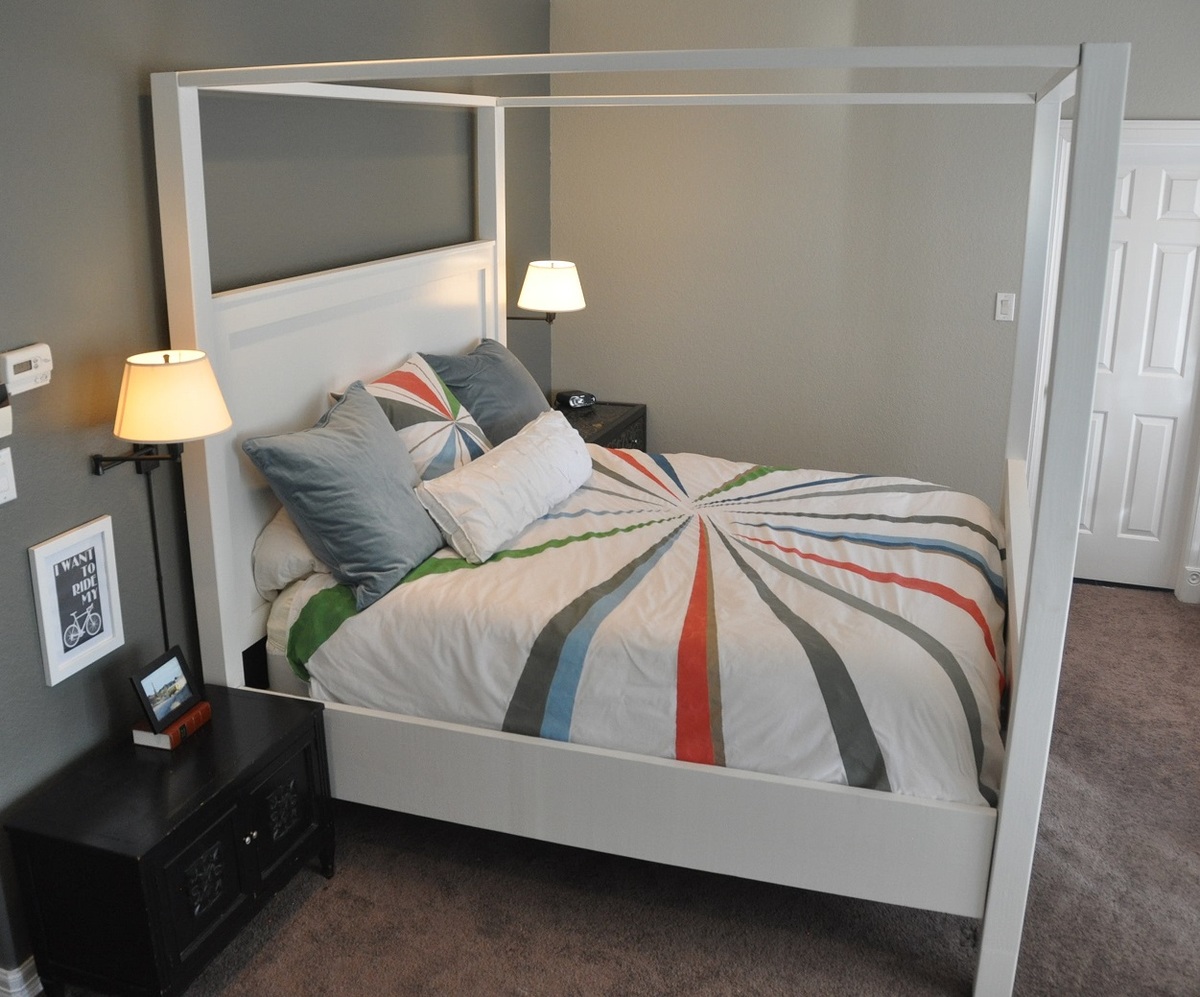
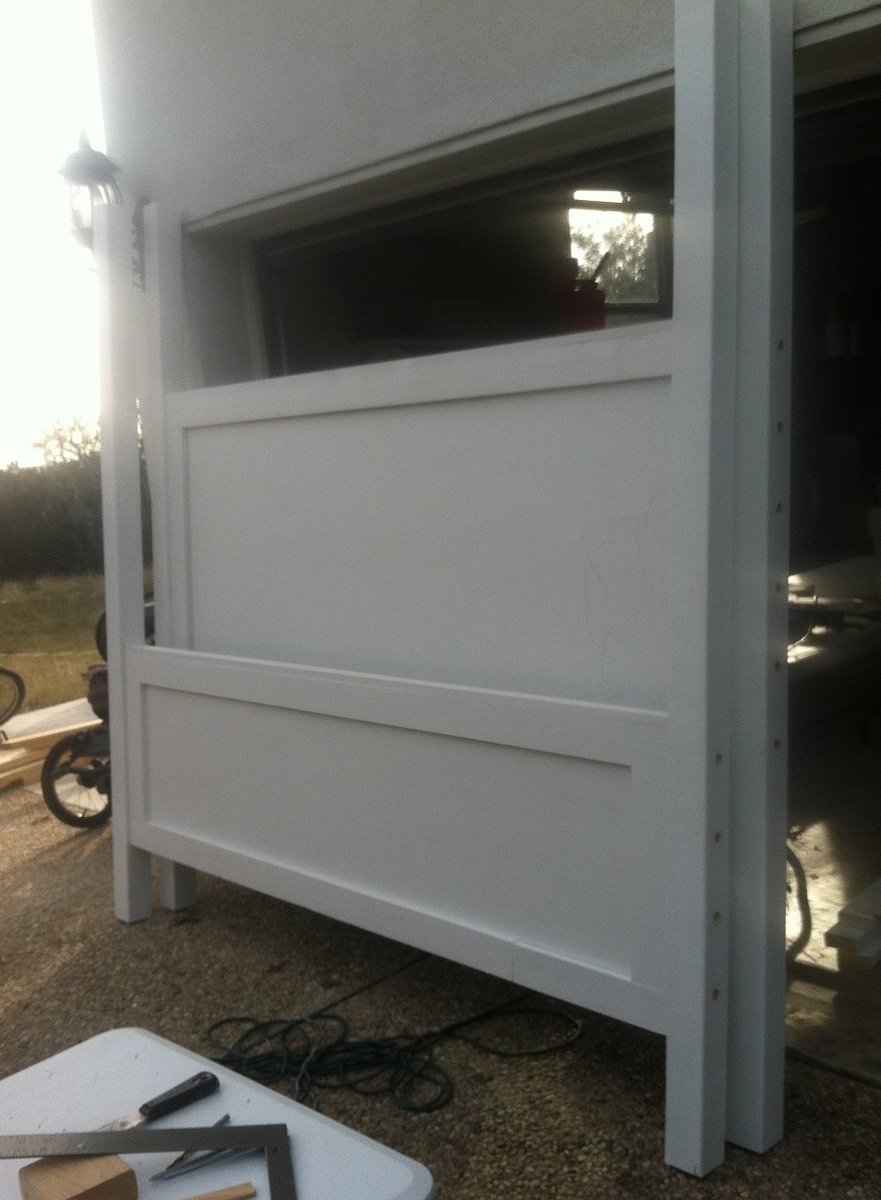
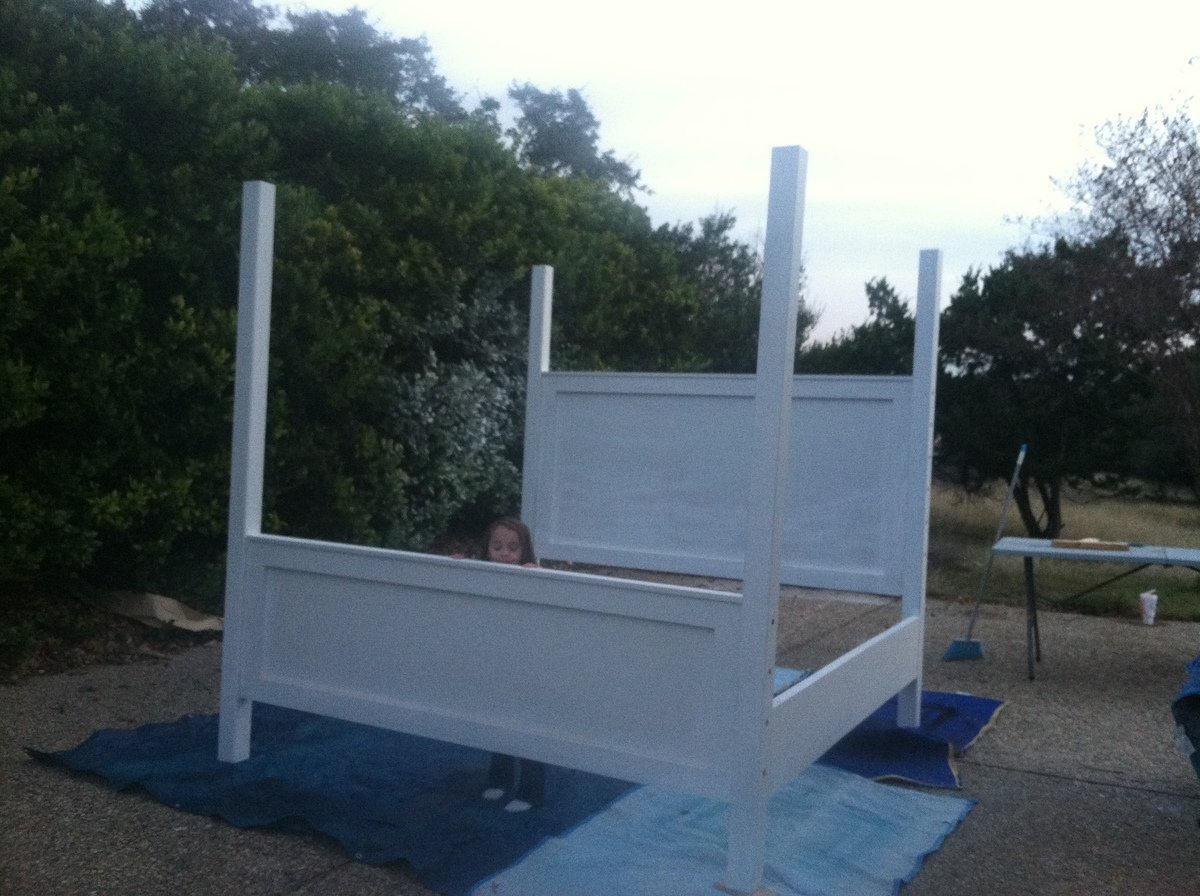
Although I have experience building projects and using tools, this was my first Ana White project. I am a huge fan! I wanted a little bit more modern take on the Farmhouse bed with canopy, so I attached the headboards and foot boards directly to the 88" tall 4 x 4 posts. This was done instead of creating the king farmhouse bed first and adding the canopy on top of it like the plans show. I used solid 3/4" birch plywood instead of the planks for the headboard/footboard for a more streamlined look. I also used 1 x 4's around the entire perimiter of the headboard/foot board instead of just the top and bottom. I am thrilled with how it turned out, it looks exactly the way I wanted it to! Step-by-step information on how I built the bed are on my blog at decorsanity.com. Thank you Ana, you rock!!

Estimated Cost
$350
Estimated Time Investment
Week Long Project (20 Hours or More)
Finish Used
1 sprayed coat primer, 1 sprayed coat Behr flat paint in Polar Bear White, 1 coat sprayed Minwax Polycrylic
Recommended Skill Level
Intermediate

Comments

BeaxBuilt

Fri, 01/24/2014 - 23:28

It looks very sturdy. I like your idea of the 1x4 around the entire perimeters and making the canopy the actual bed frame. Thats what I would have done too. I am always trying to think of ways to use 2 x's or 4 x's instead of 1 x's I like the chunkier look. Great job

My "almost" outdoor sofa

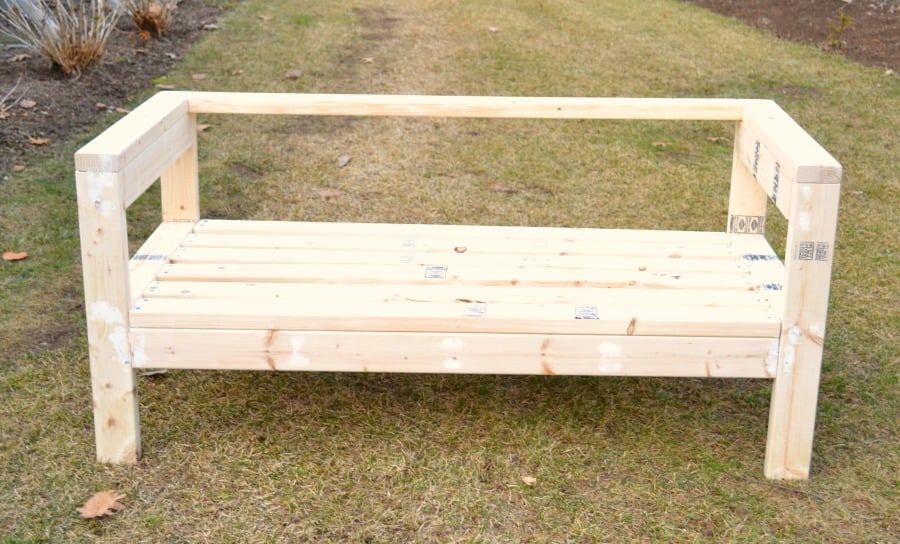
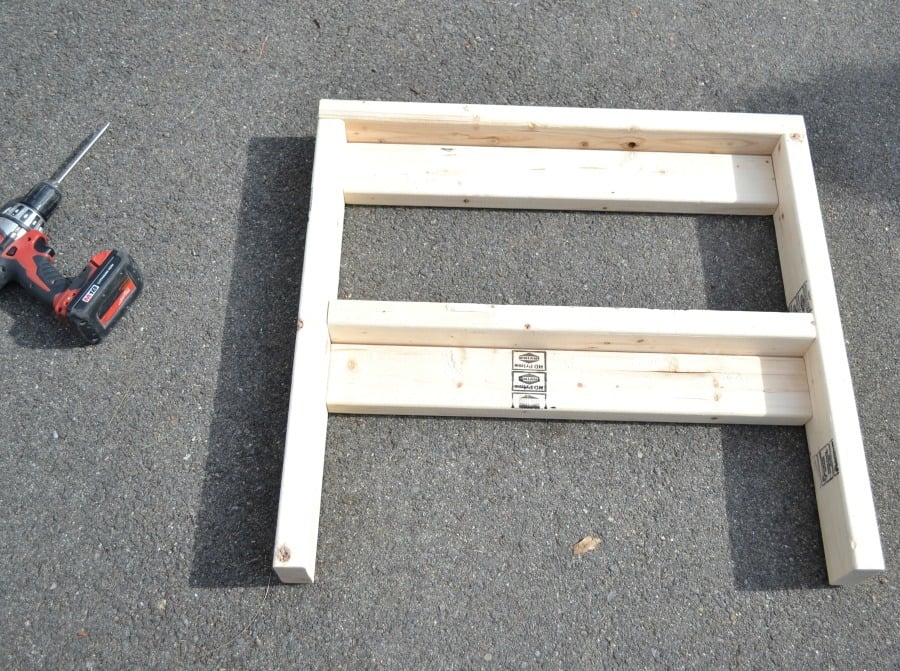
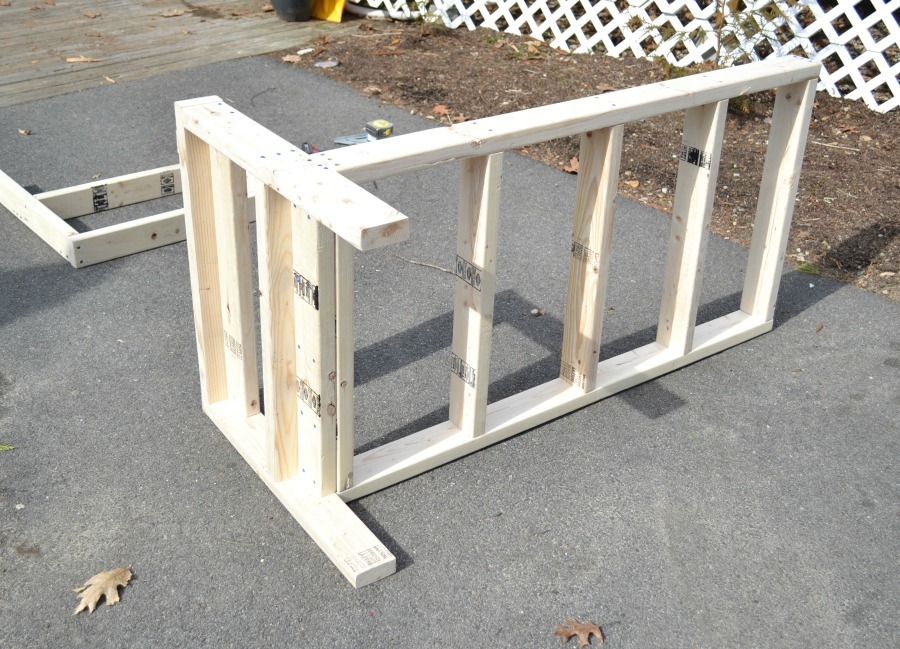
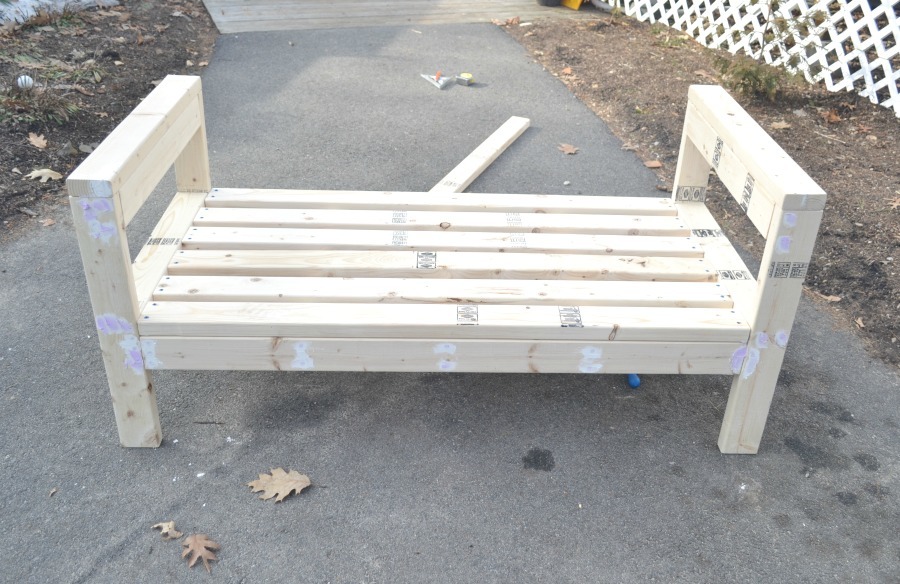
I have been looking for something to add extra seating to my deck while also filling an awkward corner that I have never been able to find prefab furniture to fit. This build reminded me a lot of the large X bench that Ana made for her cabin (that I also built for my front porch.) It is super simple and so sturdy. I can't wait to sew cushions for it and build the second half.

Estimated Cost
$30-$40
Estimated Time Investment
Afternoon Project (3-6 Hours)
Recommended Skill Level
Starter Project

Coffee table and console table

Submitted by Anonymous (not verified) on Mon, 10/07/2019 - 14:07

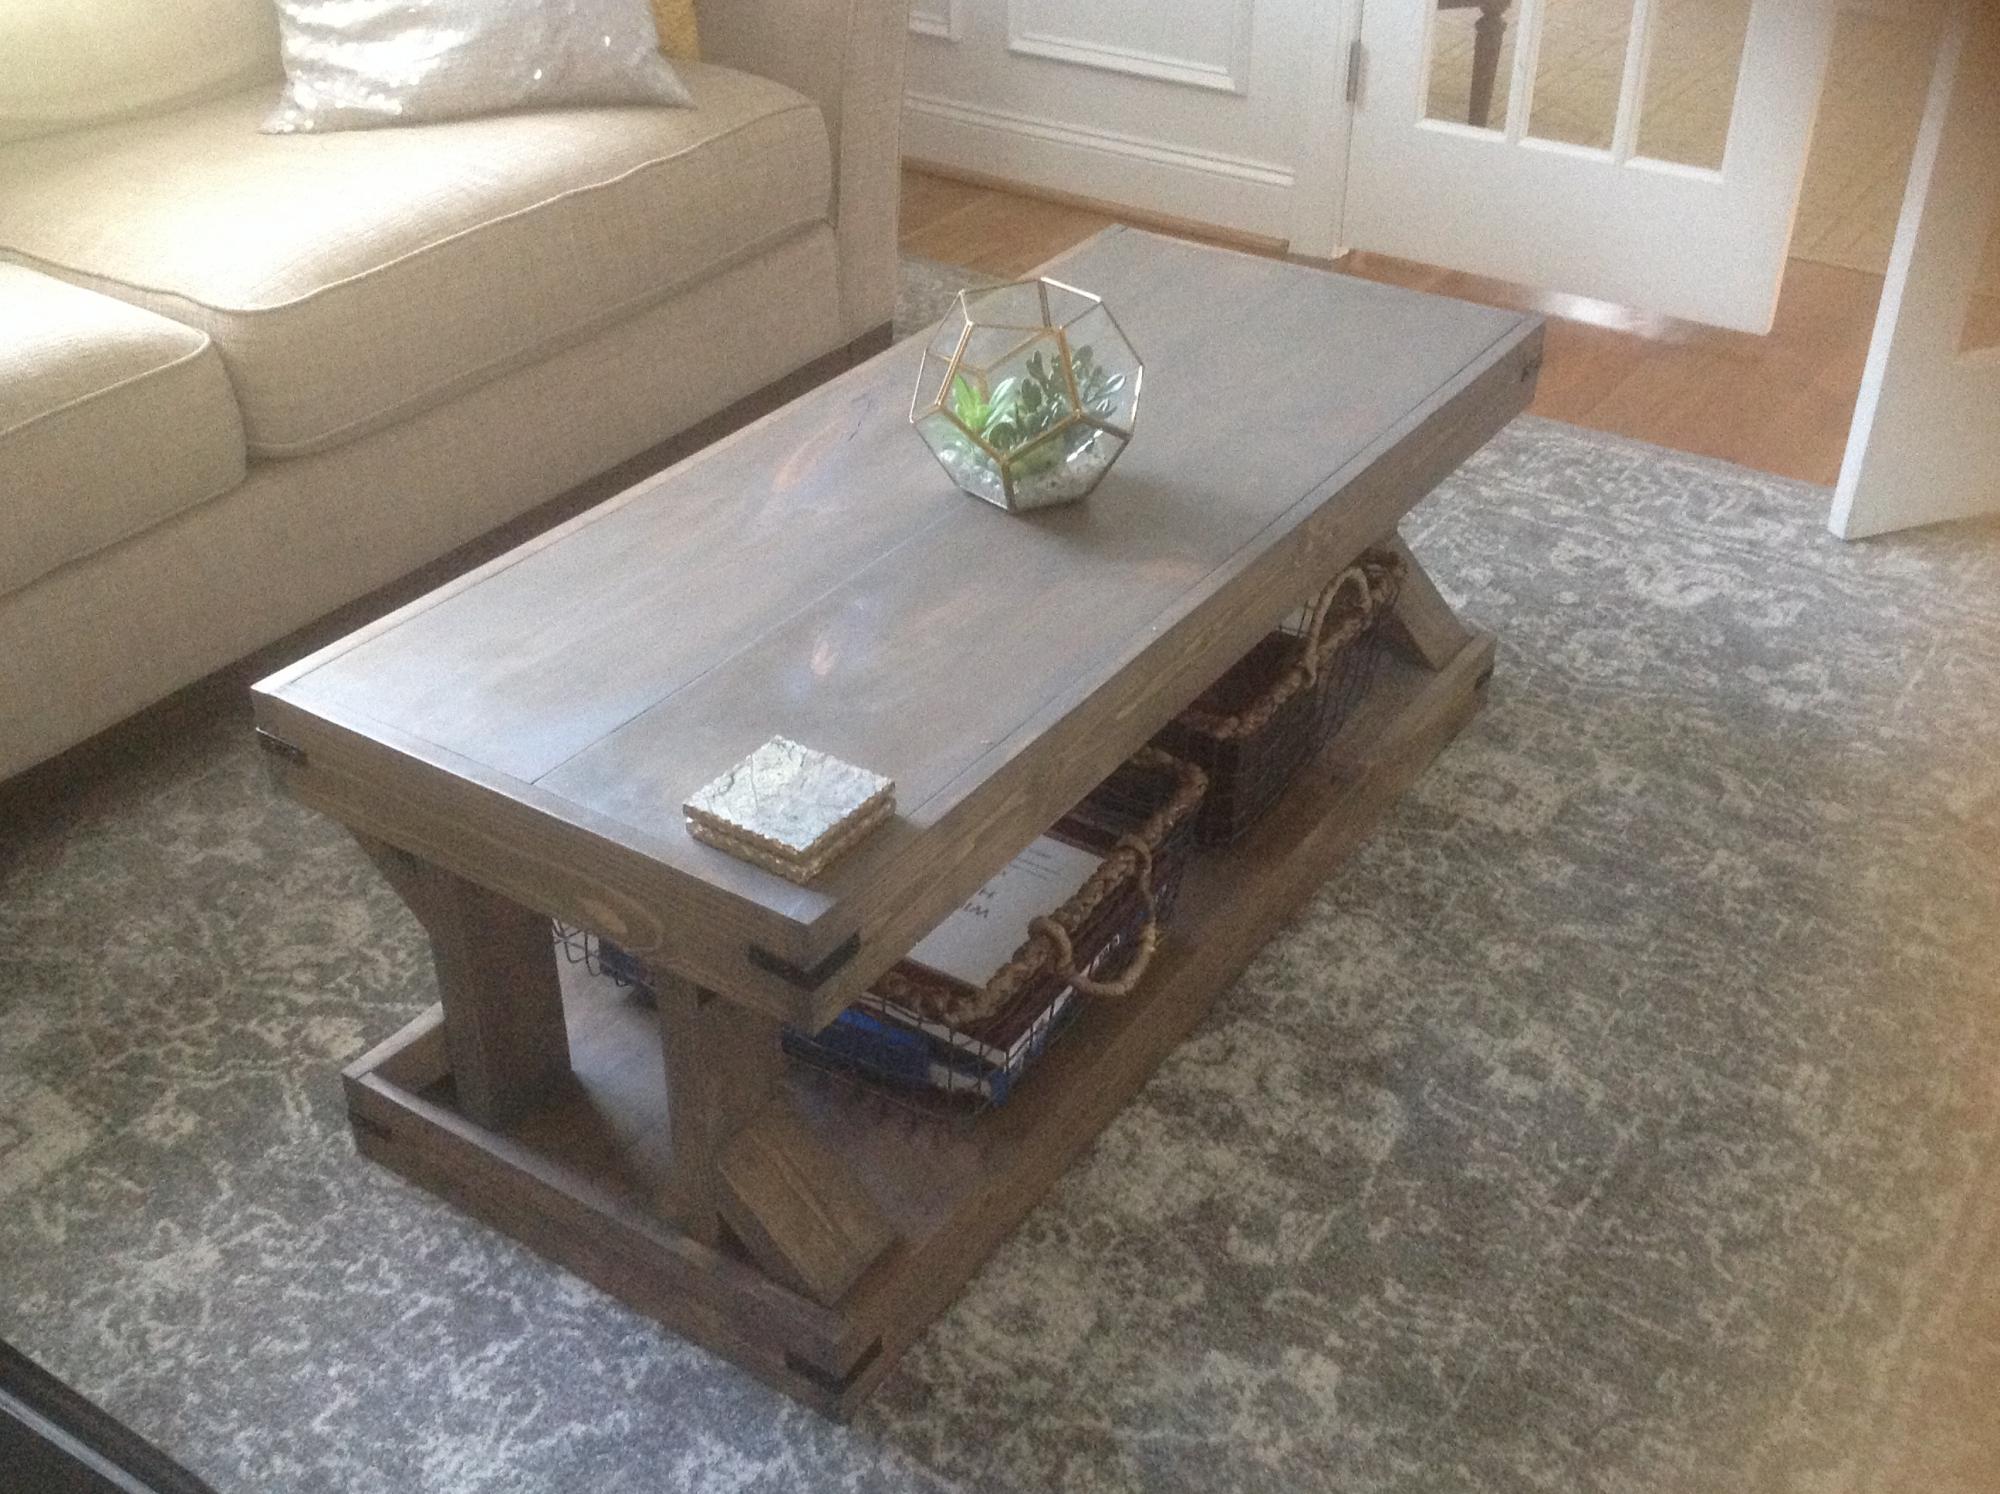
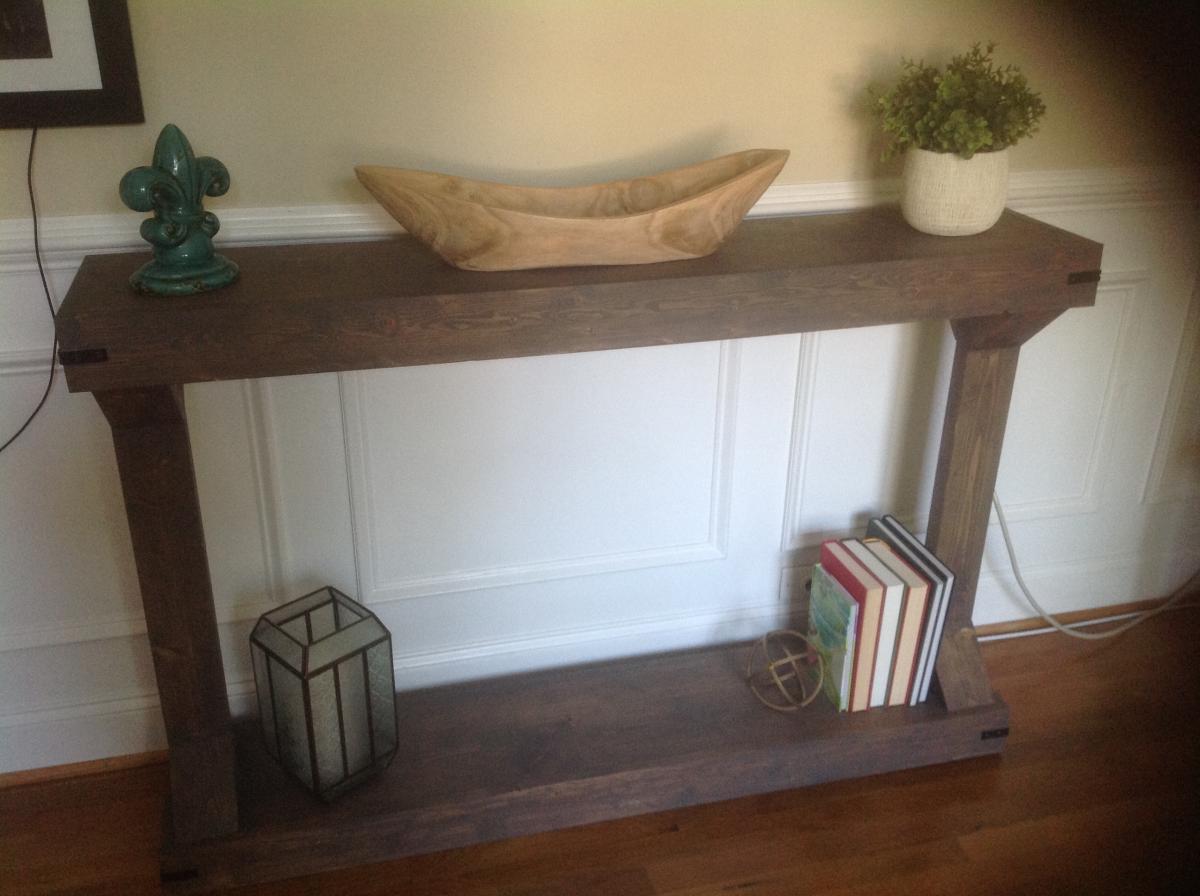
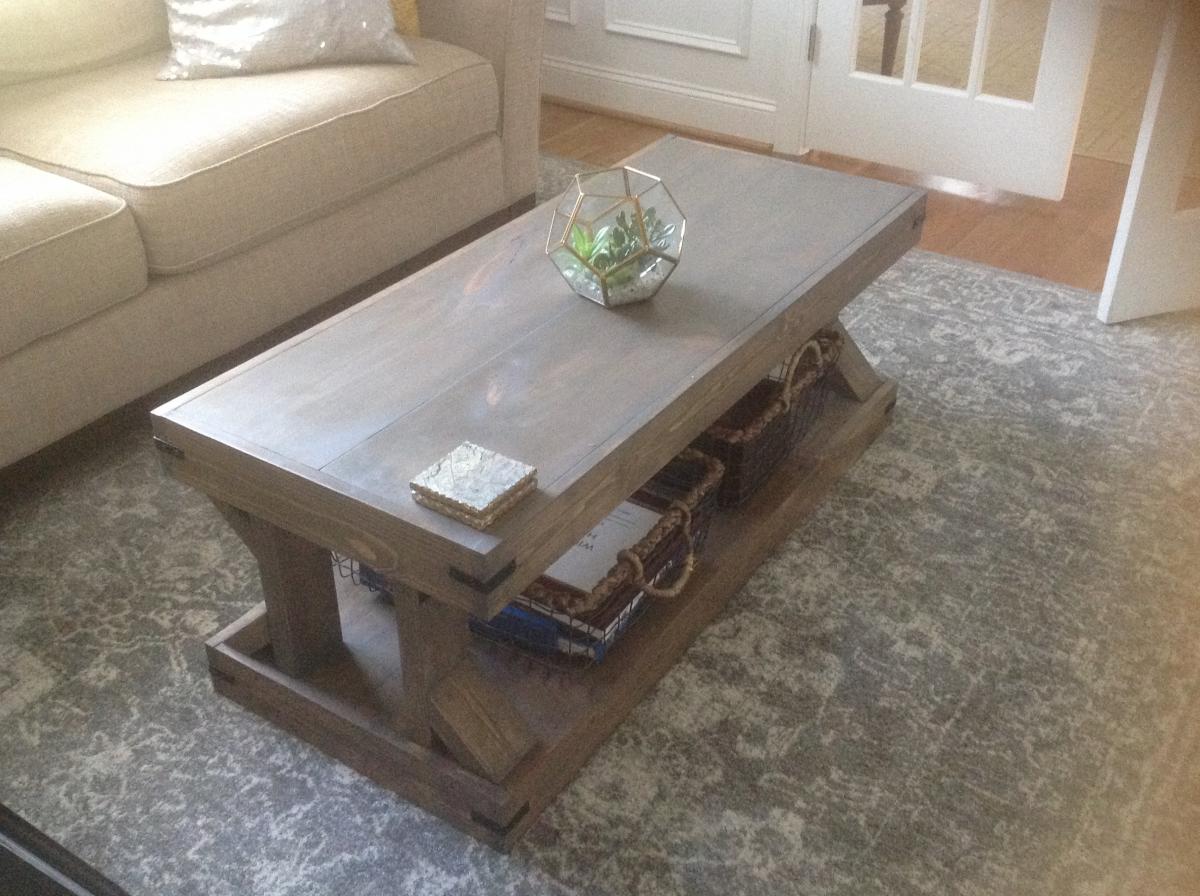
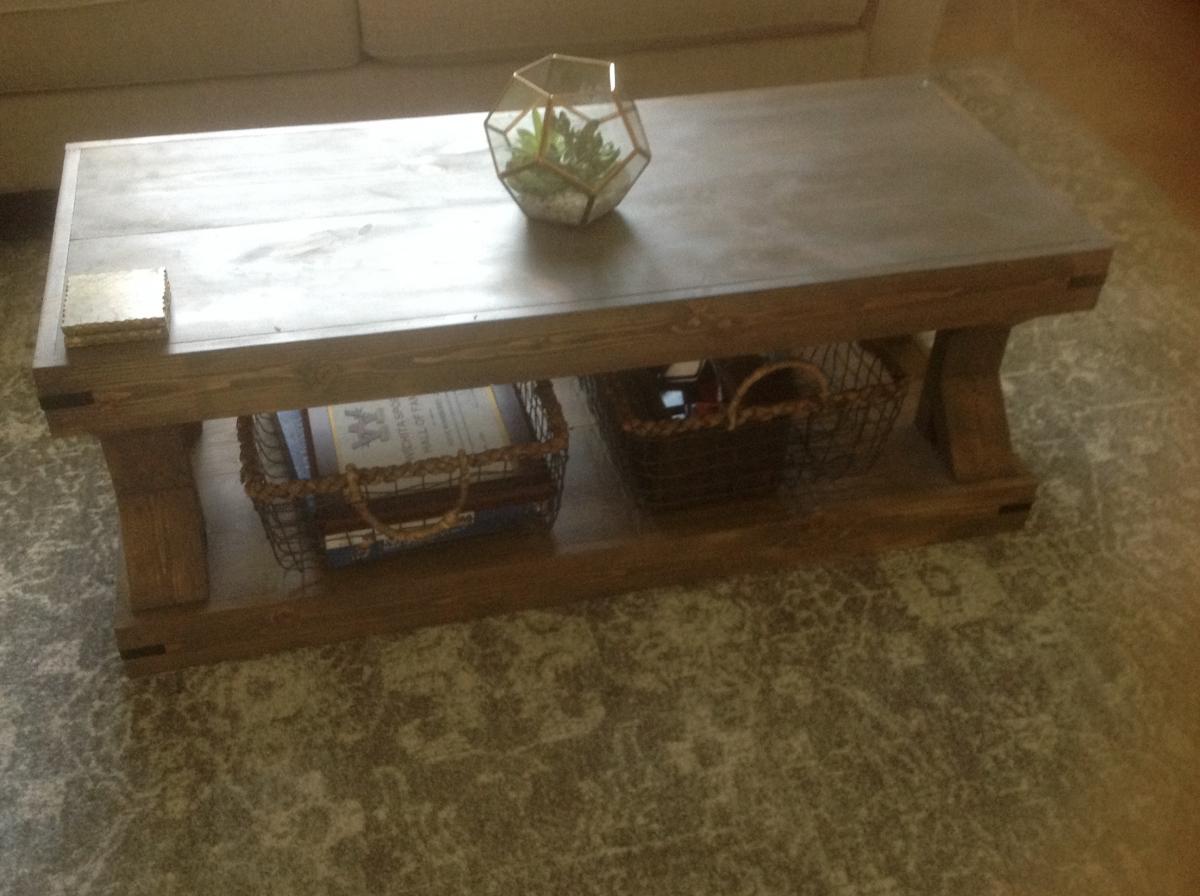
Made for daughter from your plans,made console longer and a little higher.

Estimated Cost
$80 for coffee table,$60 for console table
Estimated Time Investment
Weekend Project (10-20 Hours)
Finish Used
VarathaneBriarsmoke and wax Cloth application one coat then finishing wax
Recommended Skill Level
Beginner

Factory Cart Coffee Table

Submitted by Syndee on Fri, 02/10/2012 - 22:11

(Sorry my photos aren't the best, there is a black spot on my lens which shows up on some pictures.)

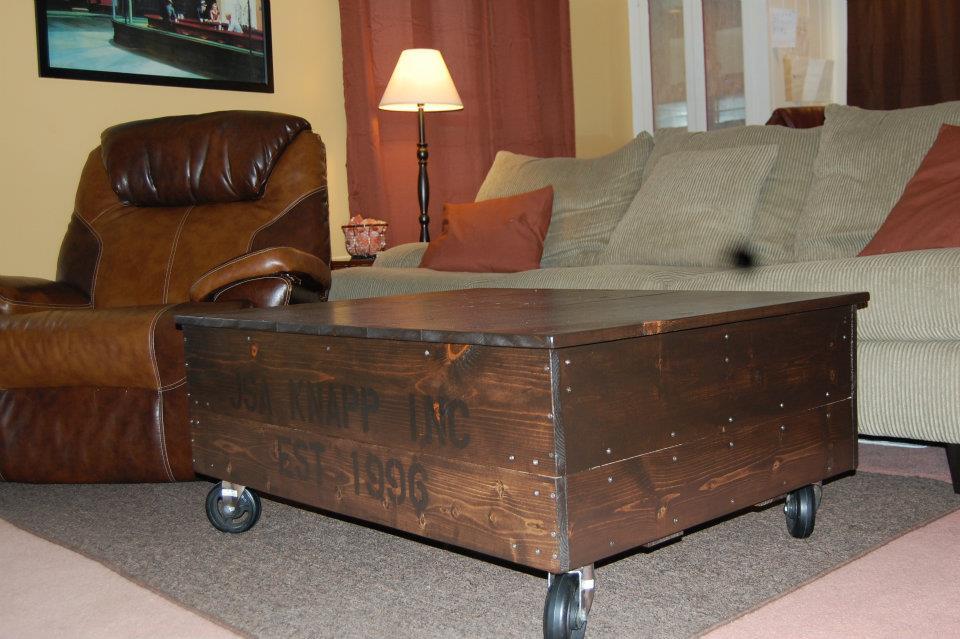
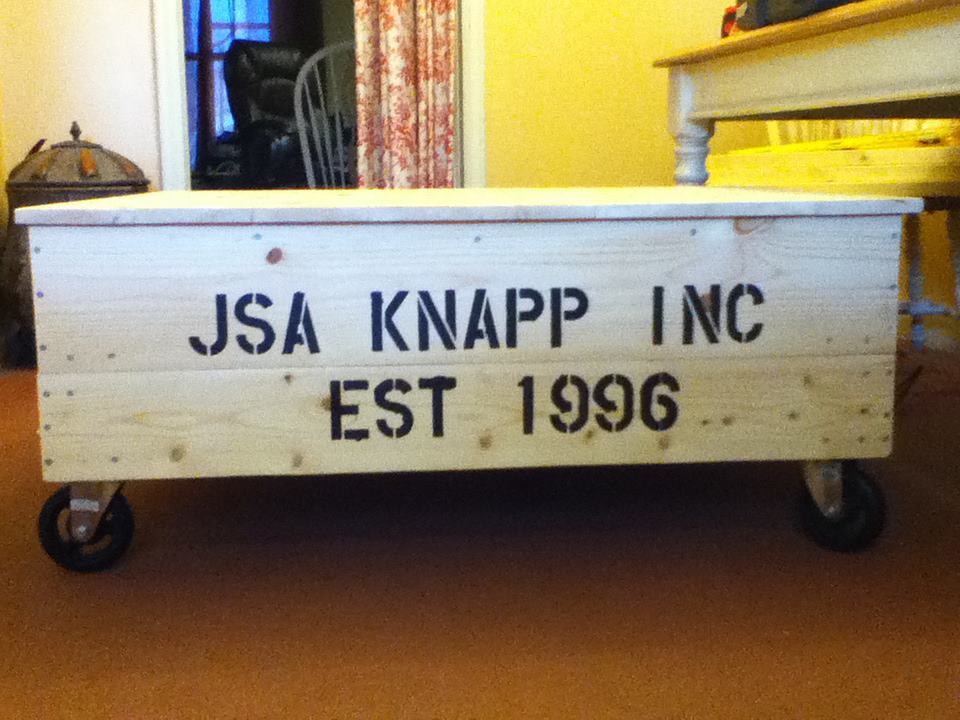
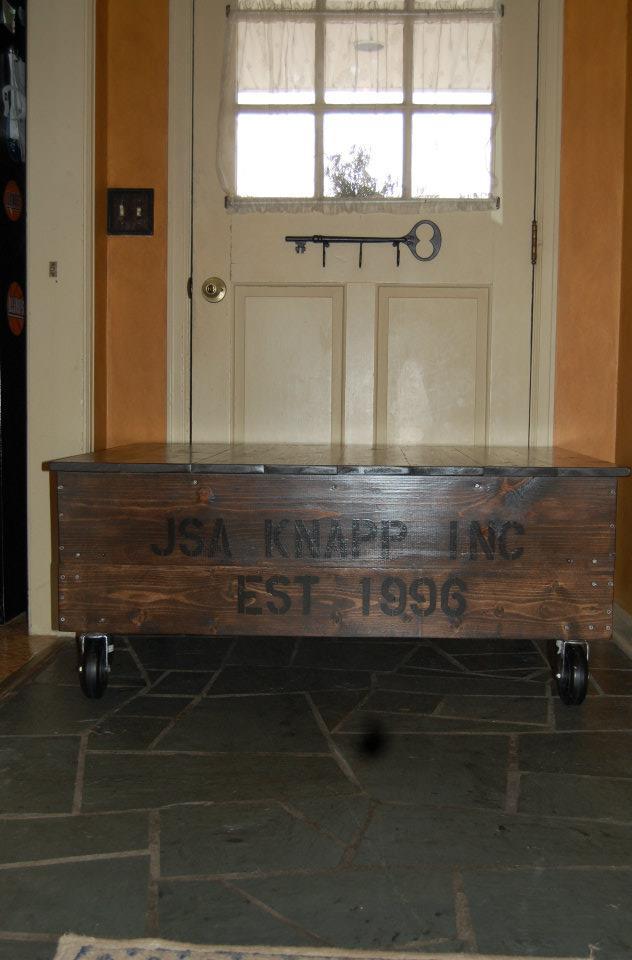
I had a lot of fun making this! I'd been wanting a vintage factory cart for over a year when I found this plan on Pinterest which led me here. I wanted to get a rustic industrial look so I made the table in the picture from the Ana White site that is stained and not the green one. After getting the base built, my husband and I decided we wanted it taller (since we have a dog who would love to sniff at whatever we put on it). And while I'm at it, why not add some storage? So I added more 2x4s and attached them to both the base and additional 1x6s. I put the 1x6s on the front and both sides, leaving the back open. I flipped the whole thing over, put the casters on and added plywood to the bottom of those 2x4s. then added two small boards give support to the plywood, which created a storage shelf. I then sanded and stained it and finished it off with two coats of semi-gloss poly. I did not counter-sink my screws or used wood filler as I was going for the rustic industrial look and I love the way it looks. It is very sturdy, too. I have moved it all around, slid it on its side trying to get some decent pictures and its just as sturdy as ever.
Built from Plan(s)
Estimated Cost
< $100
Estimated Time Investment
Weekend Project (10-20 Hours)
Finish Used
Stain color is Kona. Two coats of poly.
Recommended Skill Level
Beginner

Comments

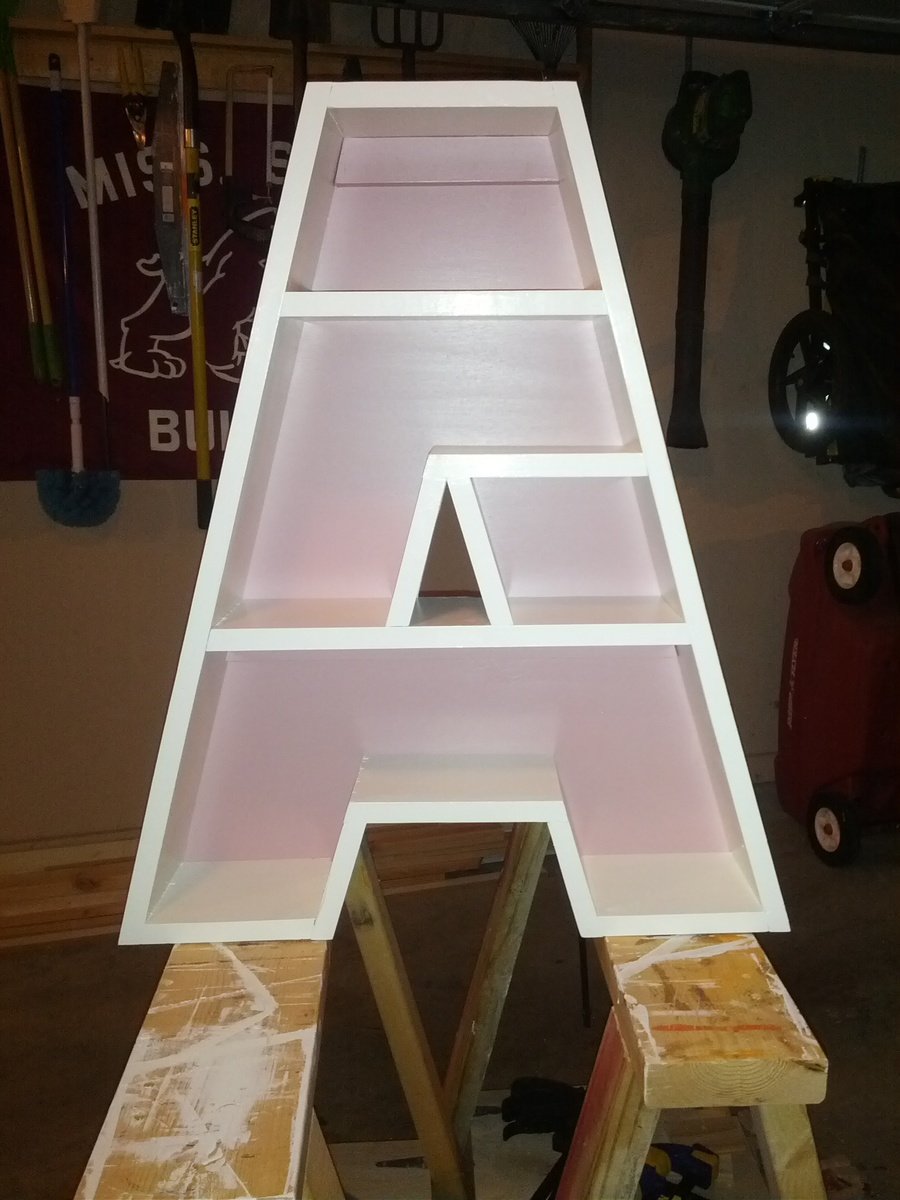
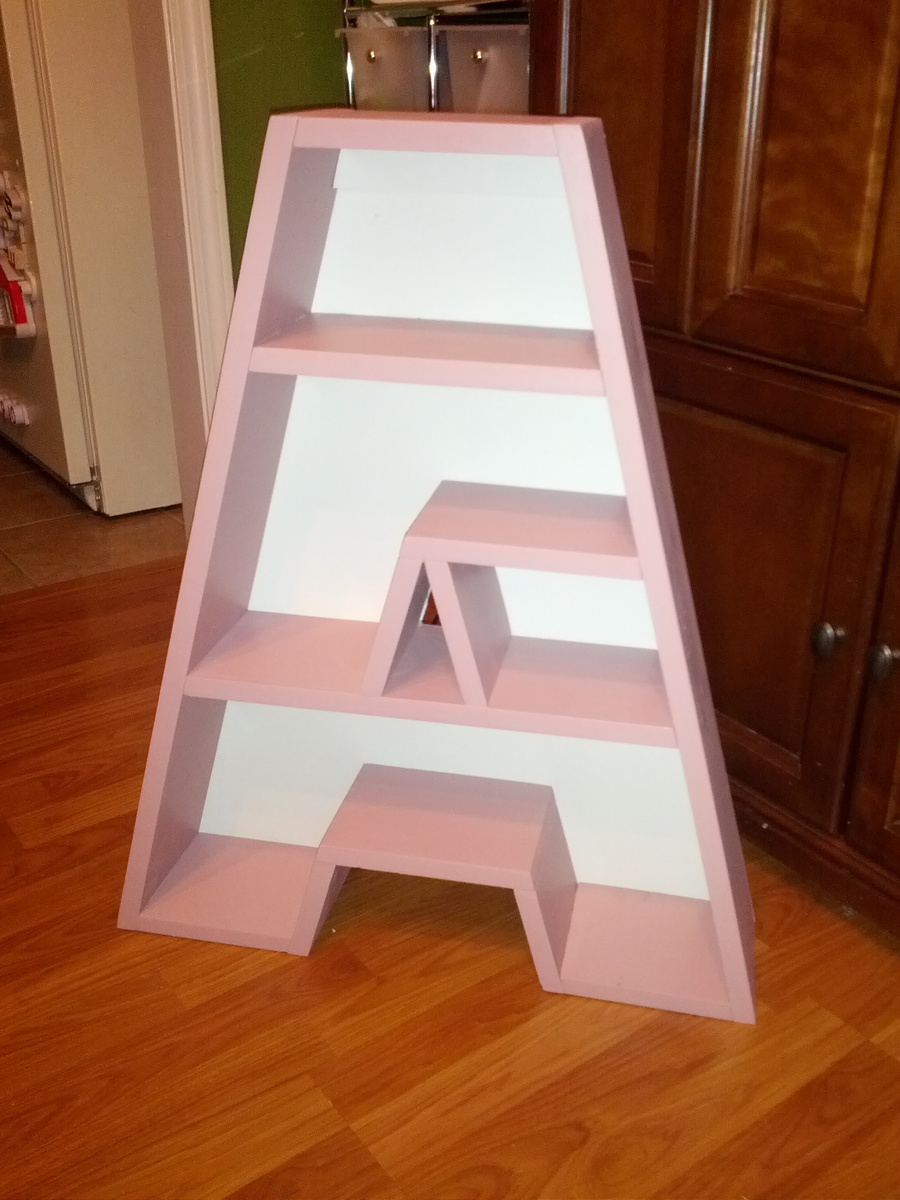
A letter shelf

A built these shelves for my nieces birthdays. I reversed the color schemes to keep them separate. The plans provided are great! I would certainly use the added 1 x 2 supports if hanging on the wall because the shelf is heavy (about 14 pounds).

Built from Plan(s)
Estimated Time Investment
Afternoon Project (3-6 Hours)
Finish Used
Valspar paint sample from Lowes
Recommended Skill Level
Beginner

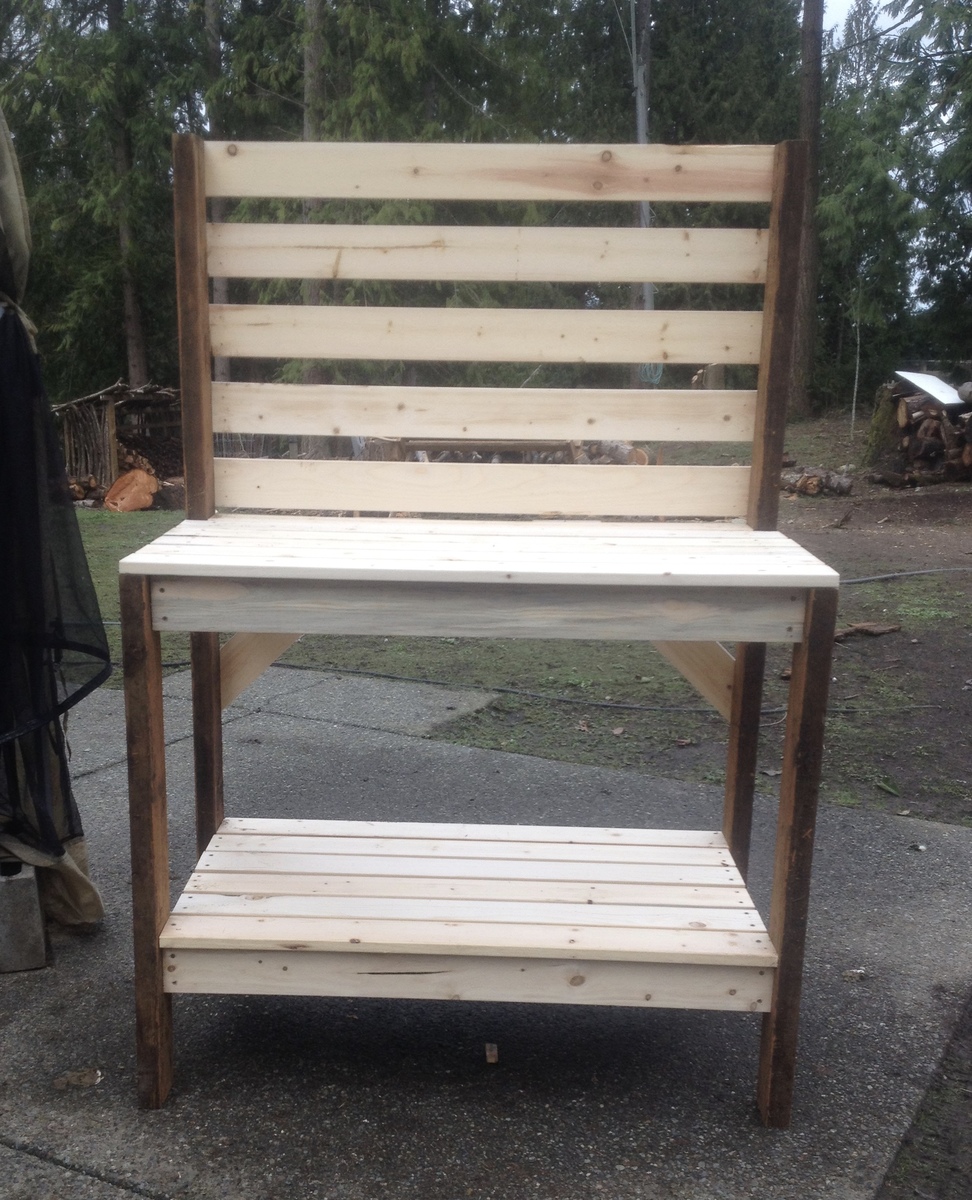
My Potting Table

Submitted by Anonymous (not verified) on Mon, 02/29/2016 - 19:29

Loved making this.  Took less than 2 hours, not including painting, which I haven't done yet.  Plans were easy to follow but I couldn't find a cut list which would have made the trip to the lumber yard a little easier. I used some scrap wood and some new so very reasonable to make.
Estimated Cost
$40
Estimated Time Investment
An Hour or Two (0-2 Hours)
Finish Used
Haven't decided yet
Recommended Skill Level
Beginner

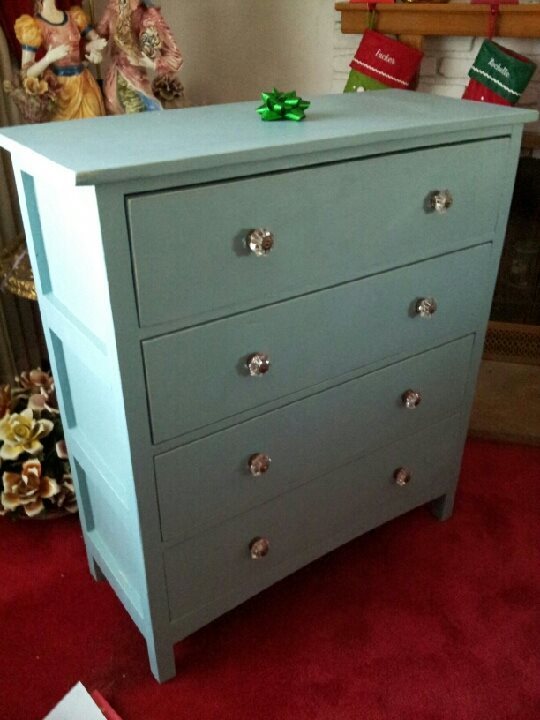
Beach Cottage Dresser

Submitted by Emendia on Mon, 12/23/2013 - 23:18

This was my first dresser. The original plans say to lay the dresser on its back and center the drawer fronts then nail in place; in my opinion it is faster and more accurate to hold them in place and have a helper nail them in place. Also, the original plans suggest a certain jig for installing the slides which requires a locking c-clamp to hold the jig in place. Well, in my opinion the locking c clamp, along with a magnetic small torpedo level is faster and easier than the jig. A six in steel rule with a slider clamp is also helpful.This was fun project - learned a lot!  Thanks Ana & Patrick!
Estimated Cost
$250
Estimated Time Investment
Weekend Project (10-20 Hours)
Finish Used
DIY chalk paint, knobs from World Plus Market, and lightly distressed along edges so antique white primer would show through along edges. Base for chalk paint is latex plus calcium carbonate. Be sure to dissolve chalk in water before mixing into paint! I did two coats of antique white tinted primer, followed by two coats of chalk paint, then sealed with wax Also, the chalk will whiten your final color, so buy paint a couple of shades darker than what you would like your final finish to be.
Recommended Skill Level
Intermediate

Comments

Emendia

Tue, 12/24/2013 - 08:23

Oh, another lesson I learned: The drawers are made by attaching drawer fronts to the boxes. This makes the front 1.5 inches thick - this means most drawer knobs won't fit unless you use a Forstner or spade bit to bore a hole on the back side of the drawer face - in turn you may need to do this before you assemble the drawer!

Big girl bed

Submitted by Anonymous (not verified) on Fri, 03/04/2016 - 18:33

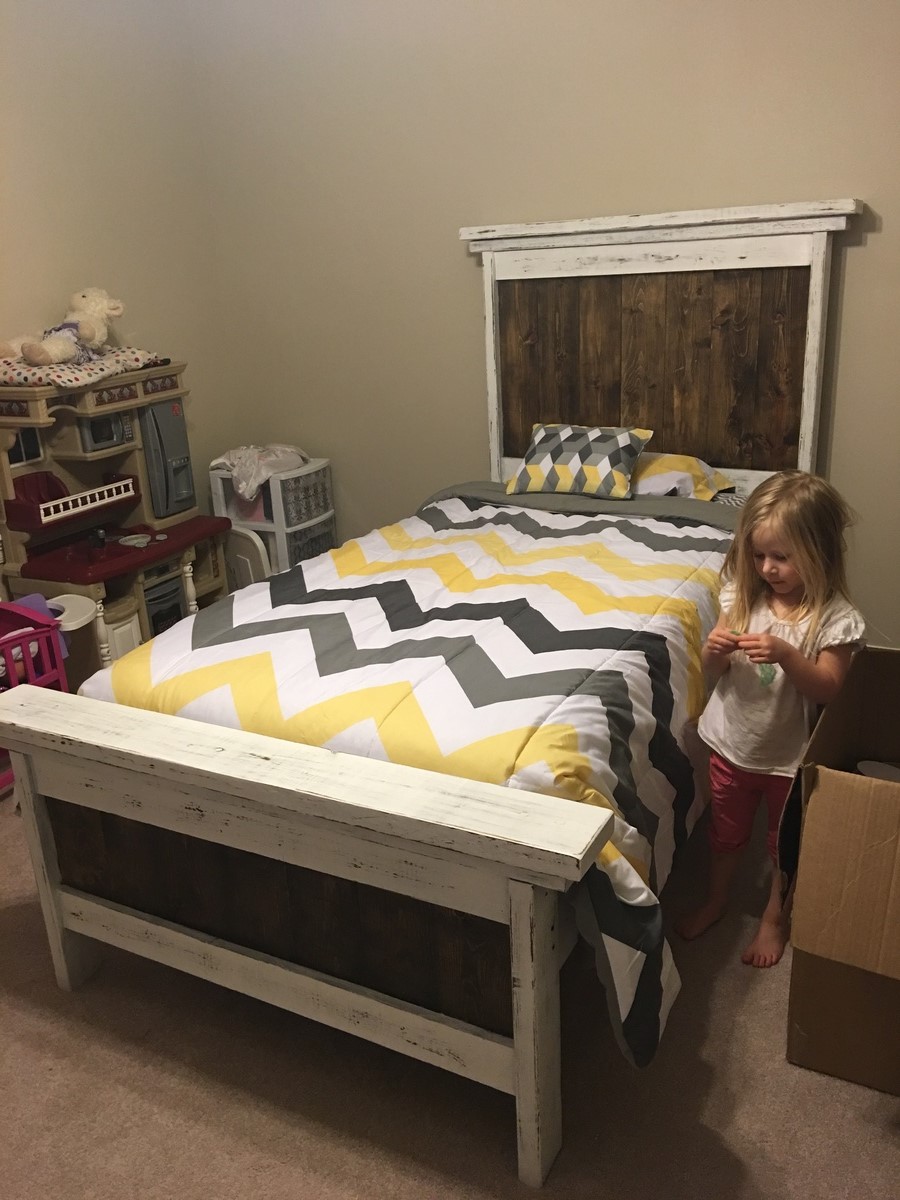
Farm house two toned, rustic twin size bed. 

Estimated Cost
$70-$80
Estimated Time Investment
Day Project (6-9 Hours)
Finish Used
Stain with a top coat of white simi gloss
Recommended Skill Level
Intermediate