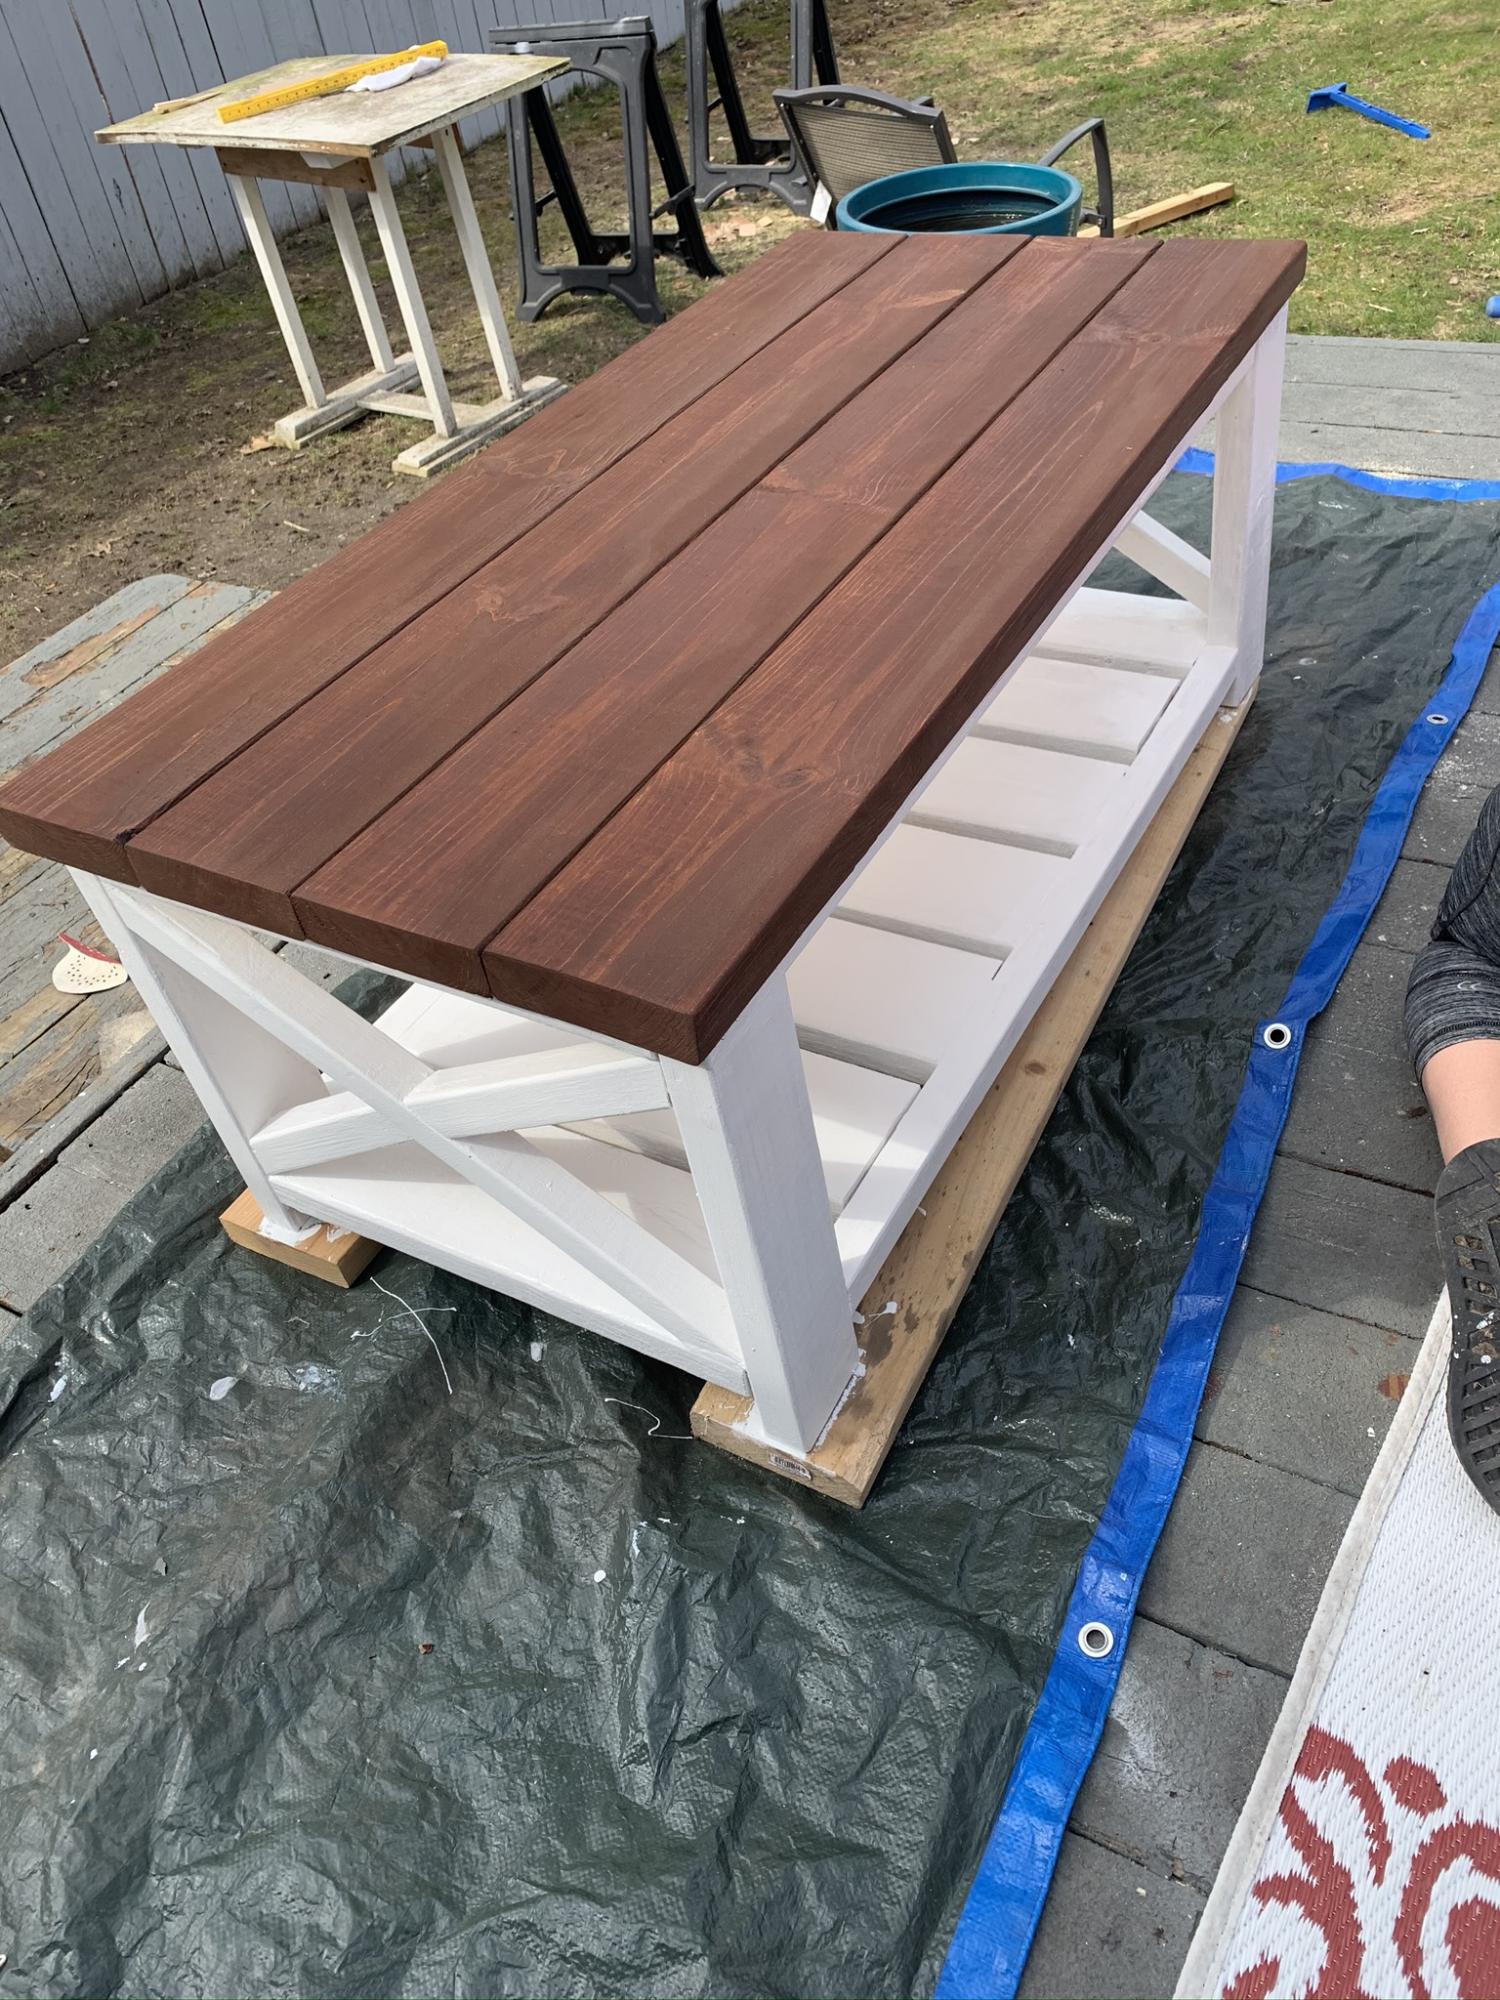
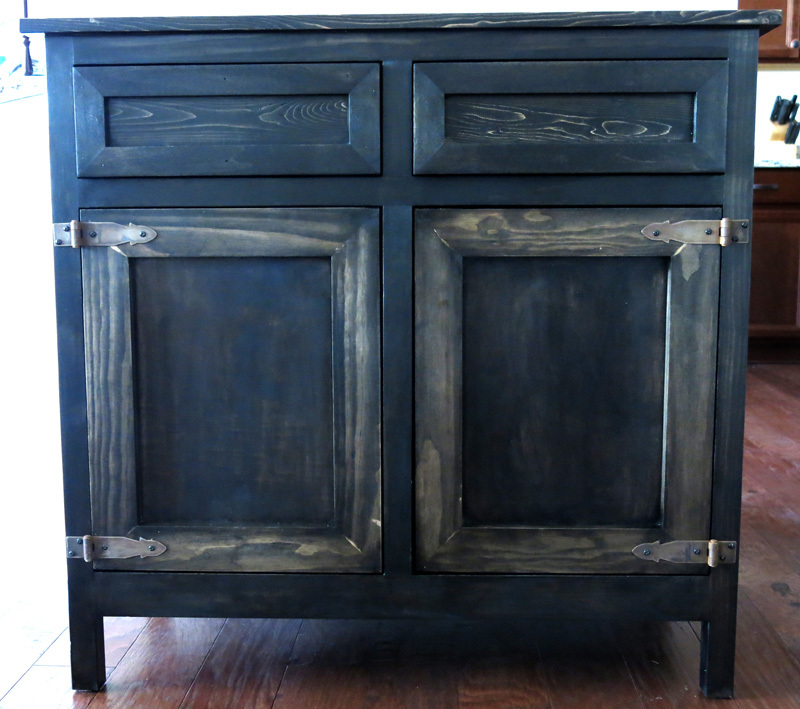
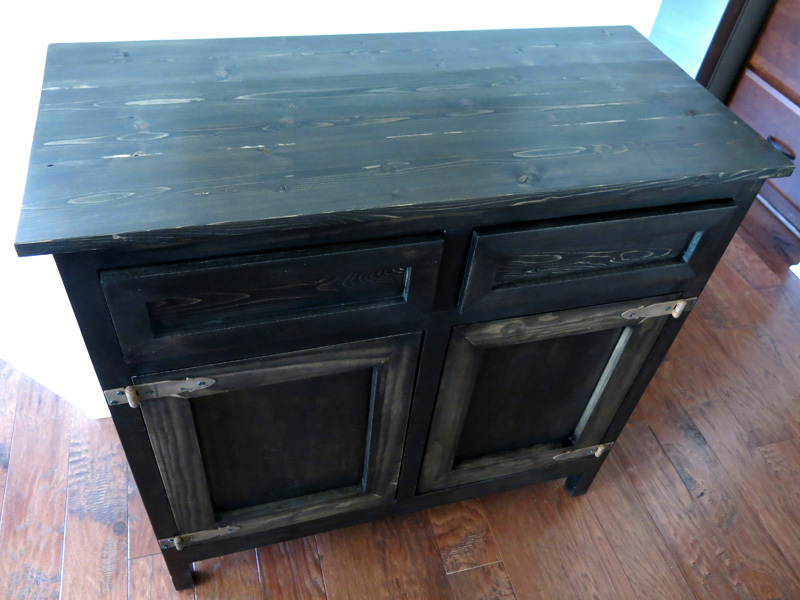
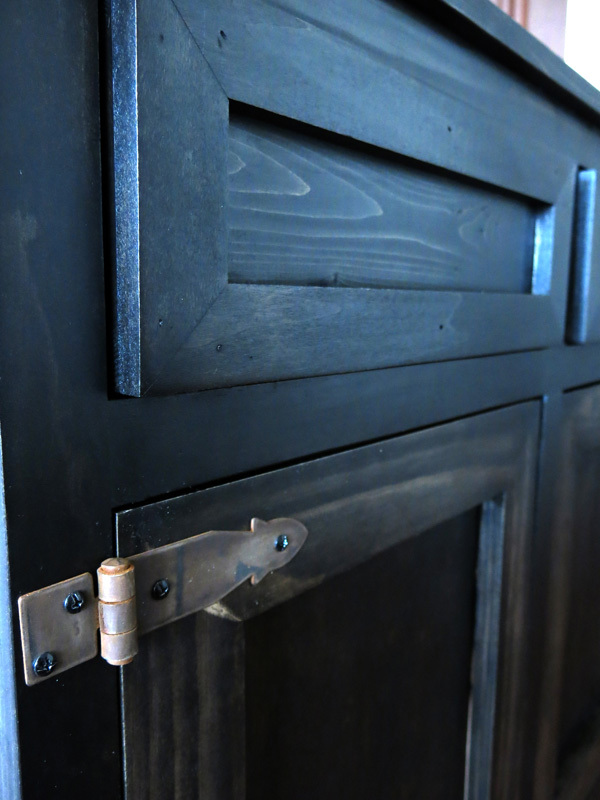
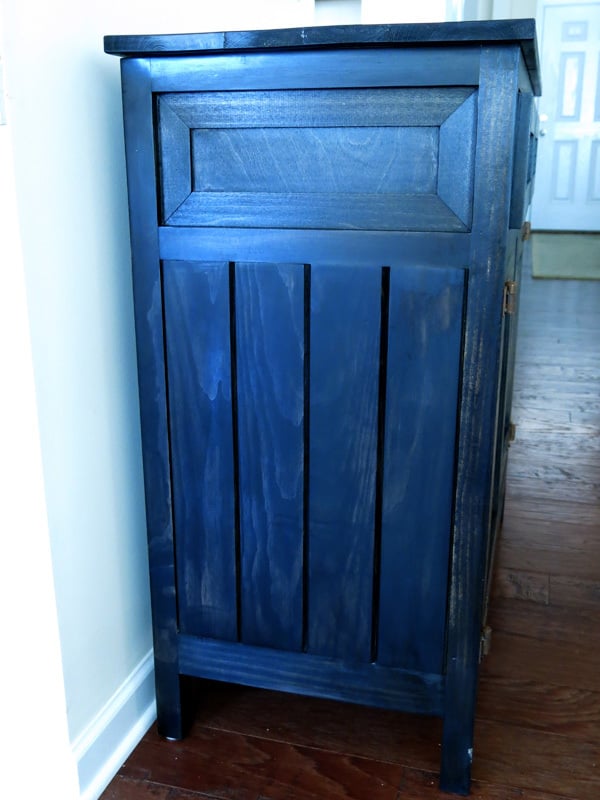
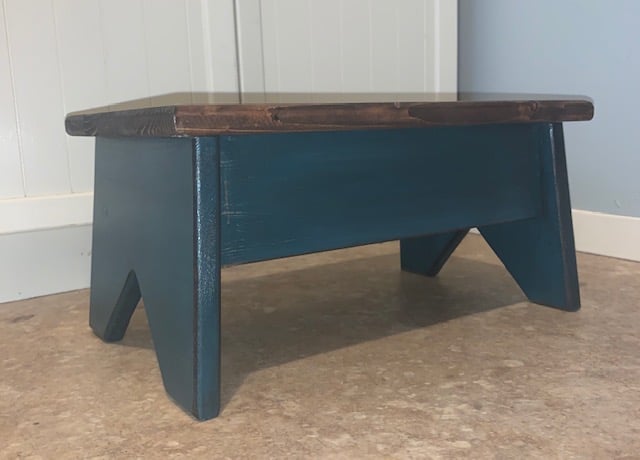
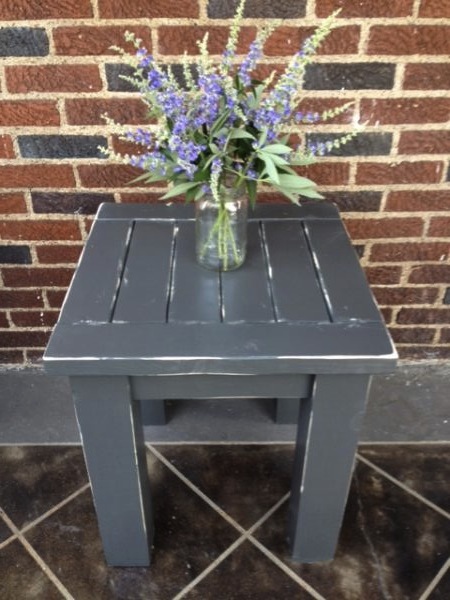
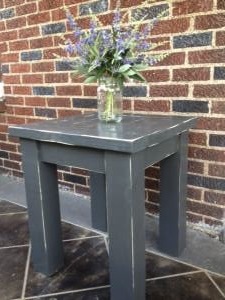
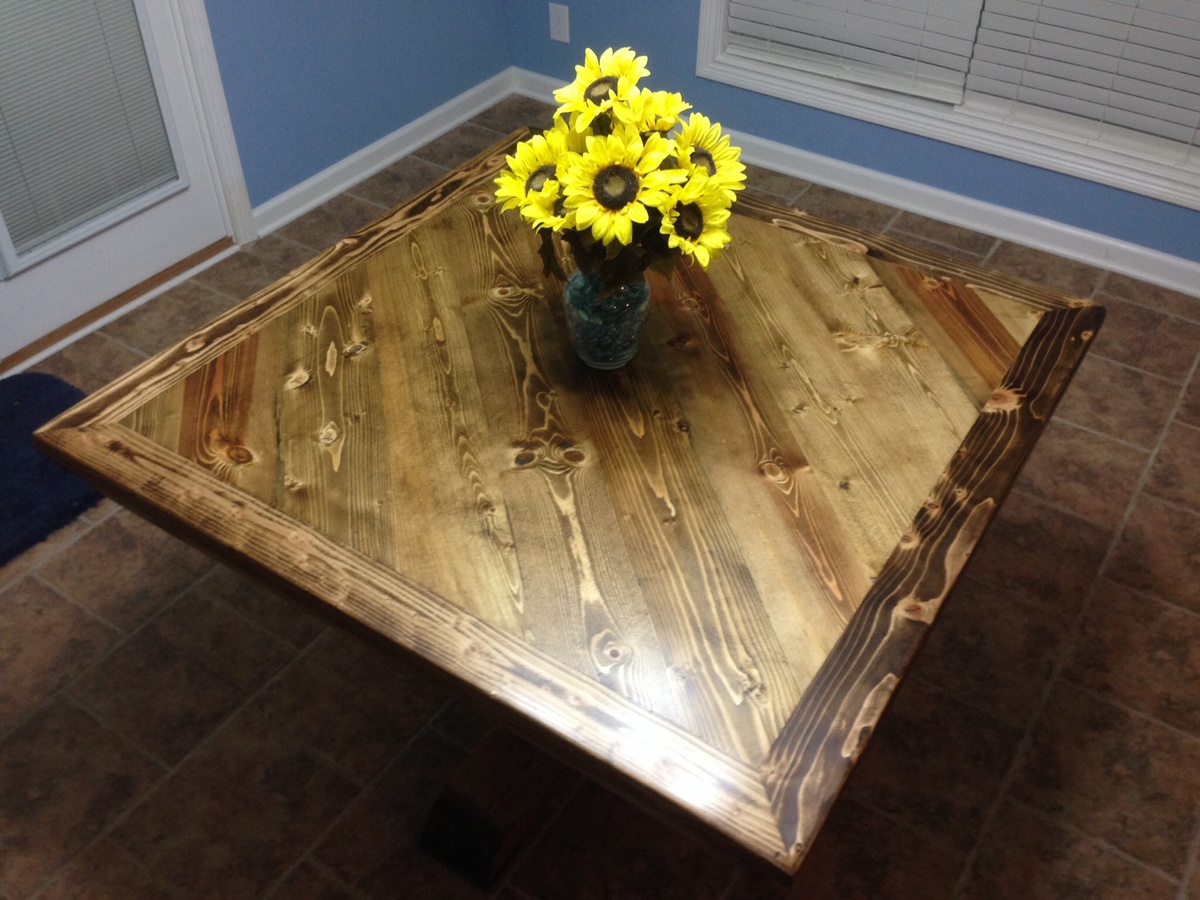
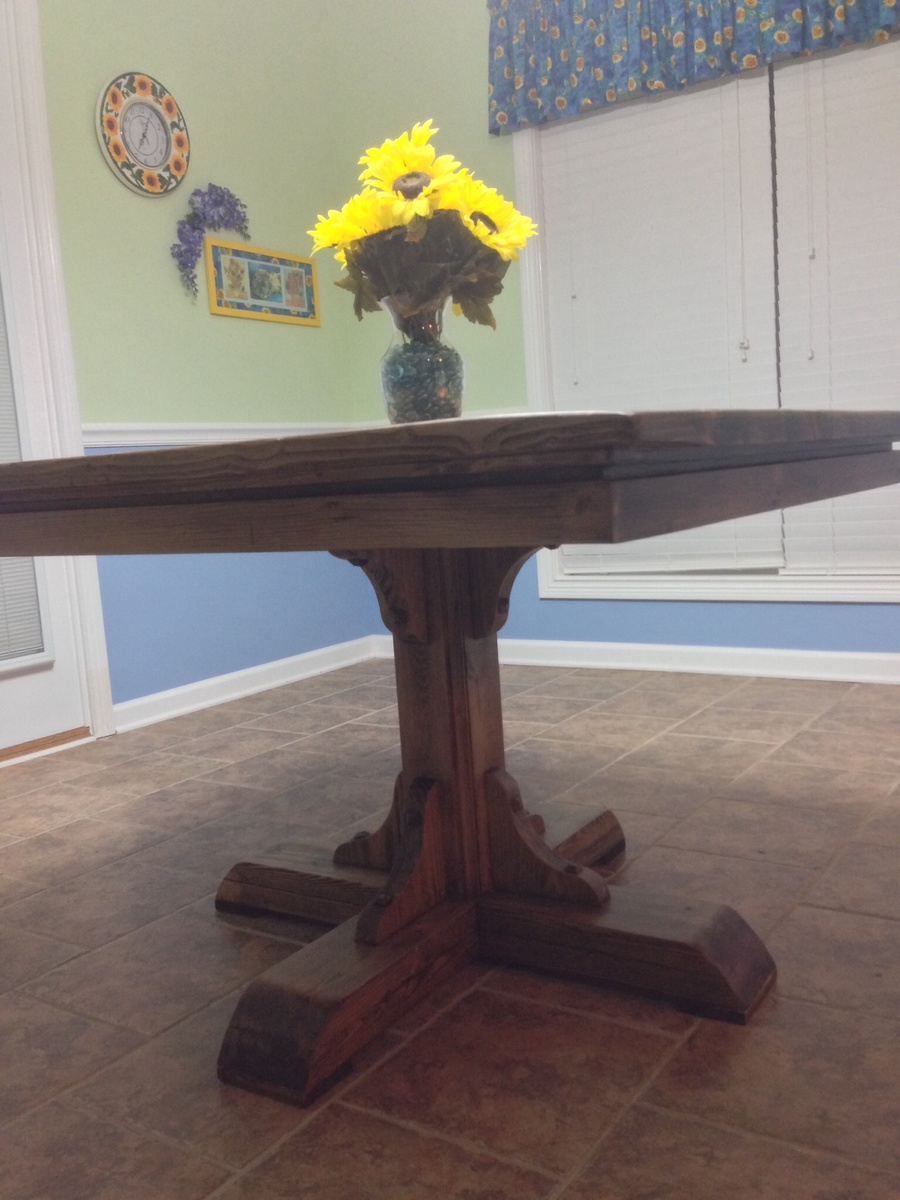
Armless Sectional Bench
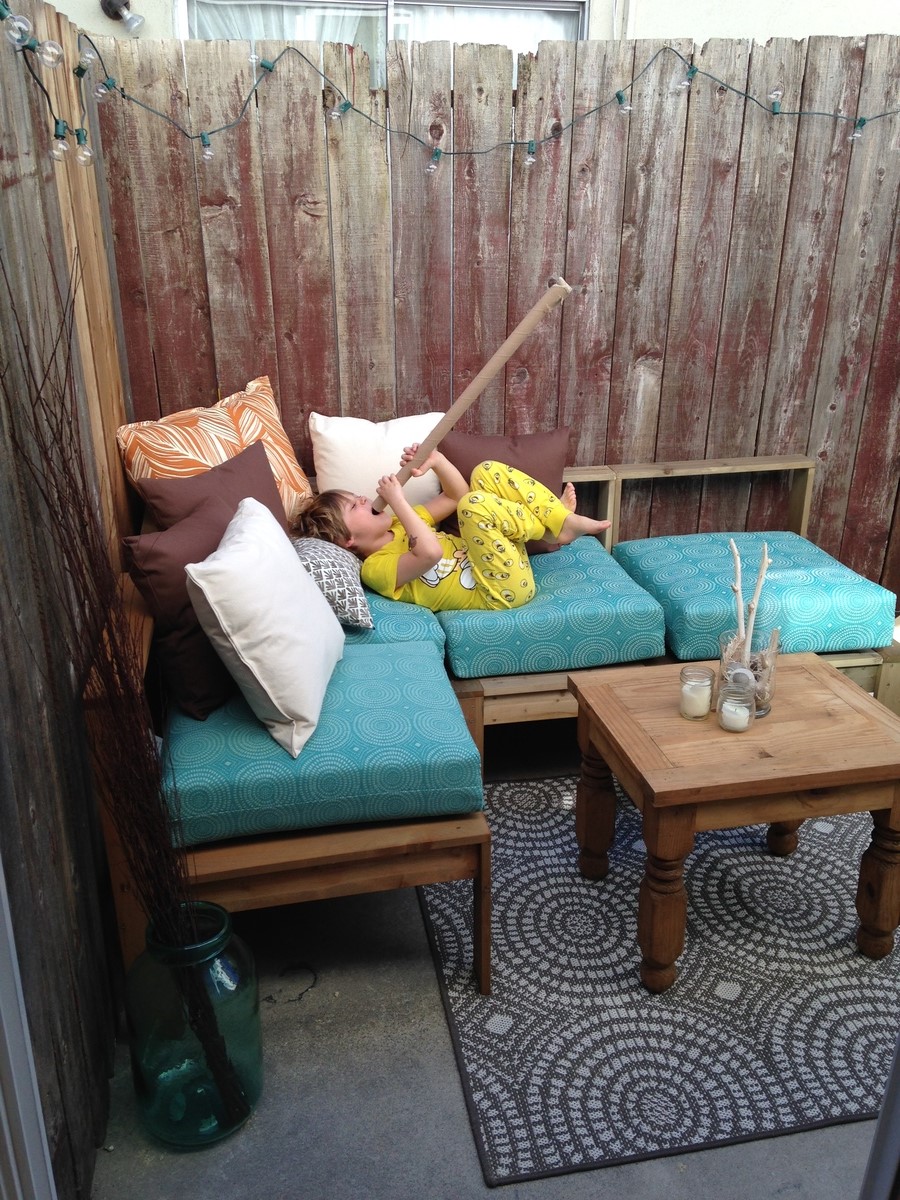
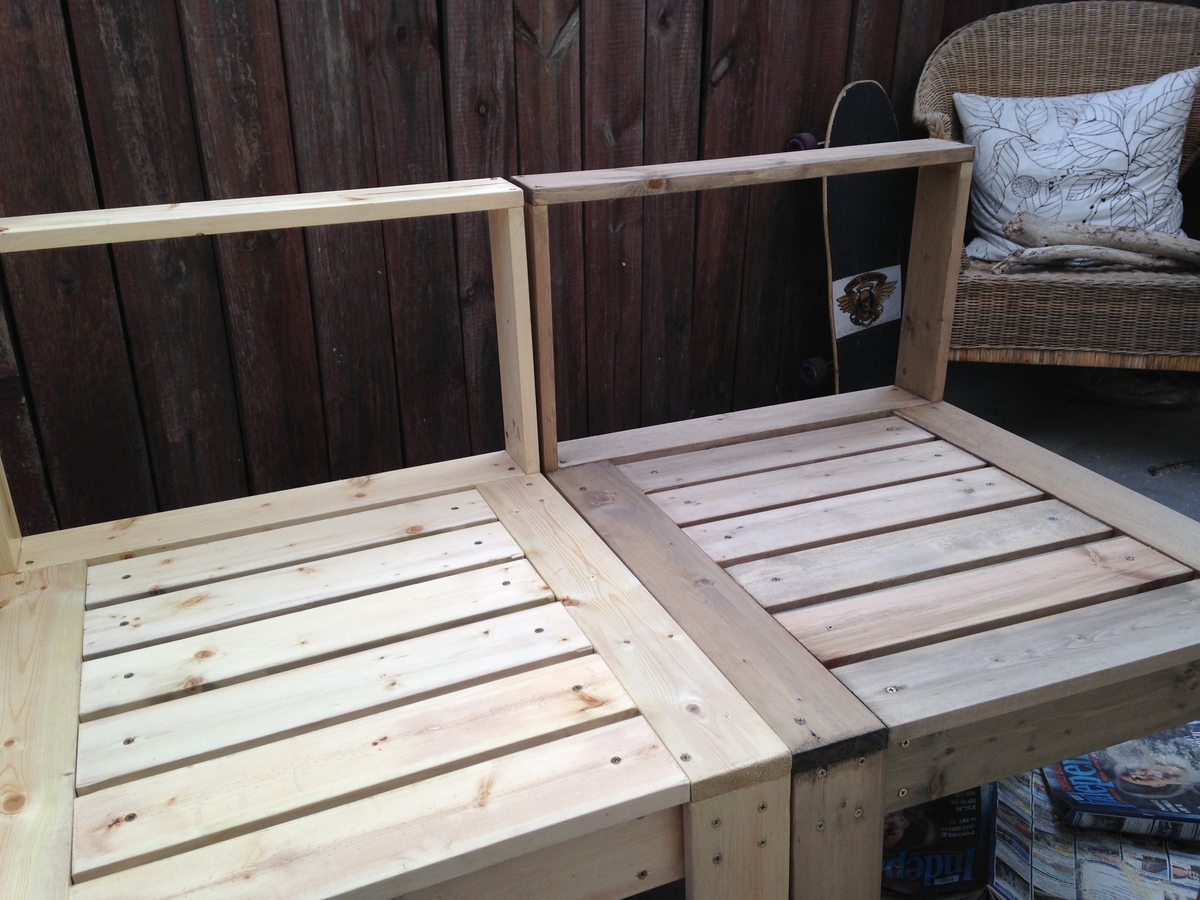
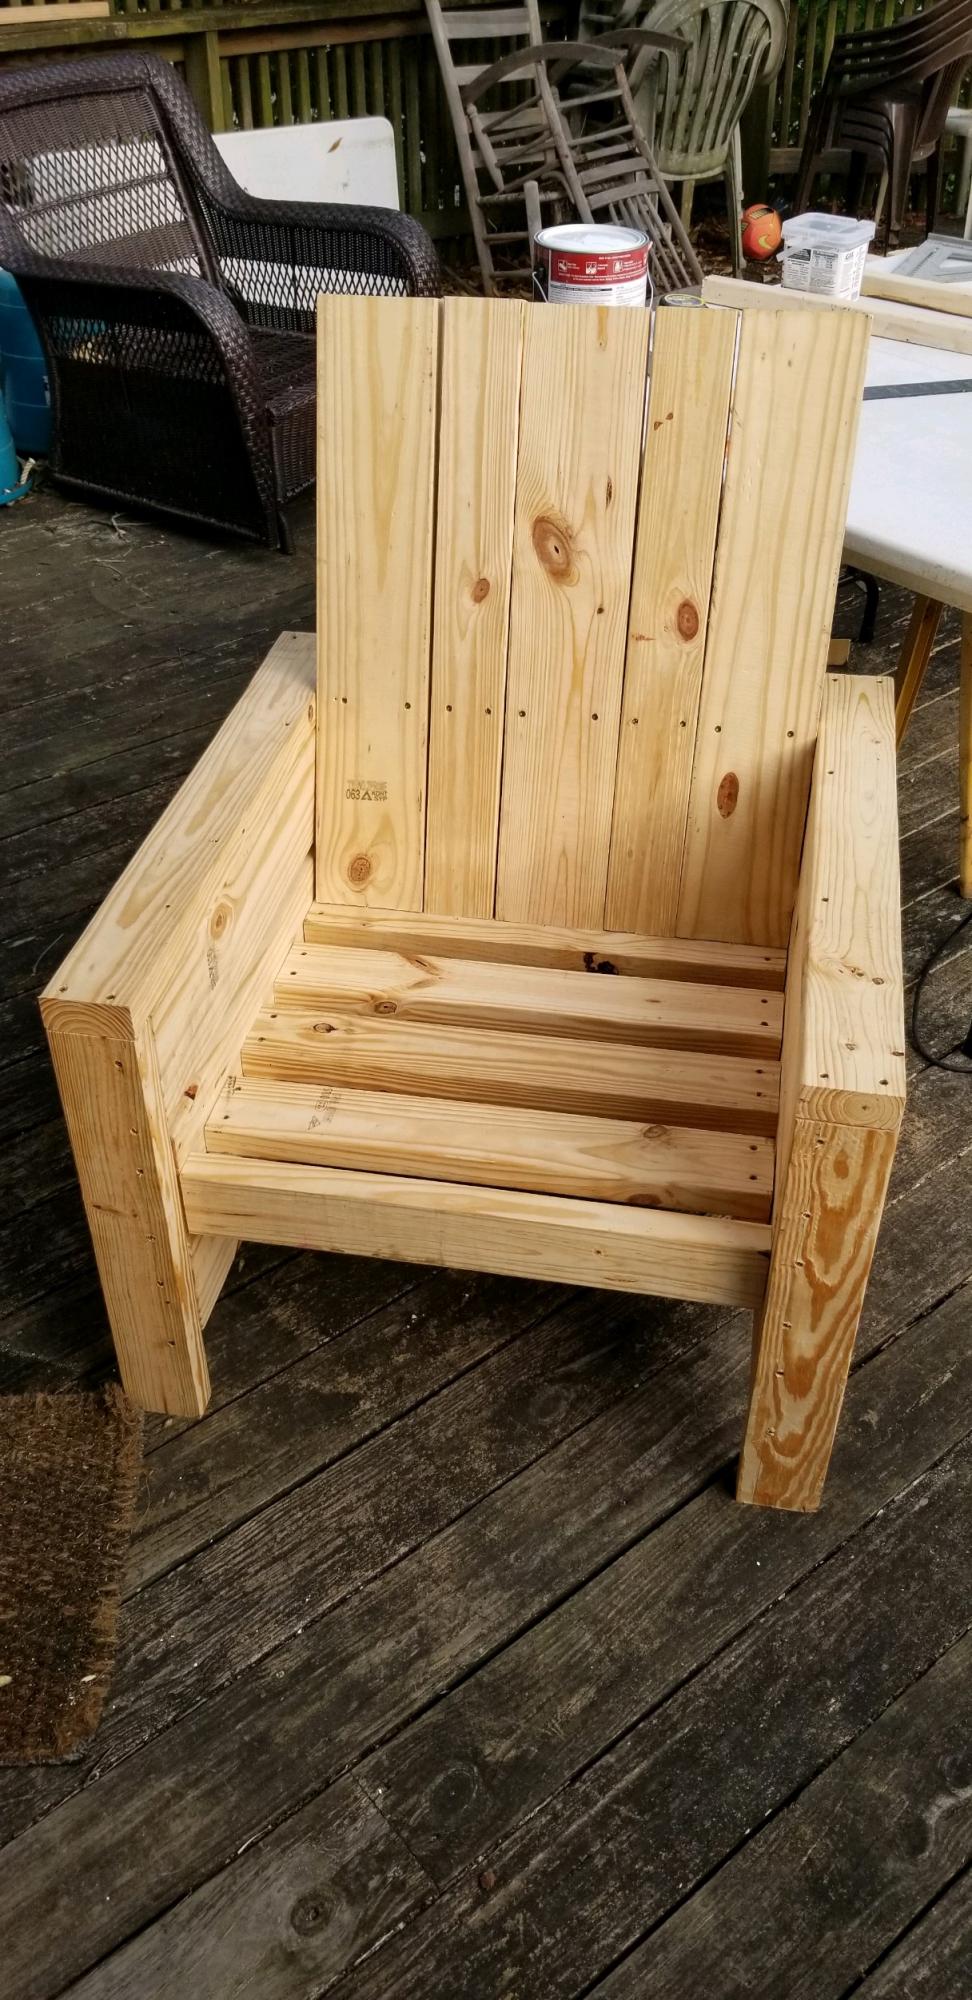
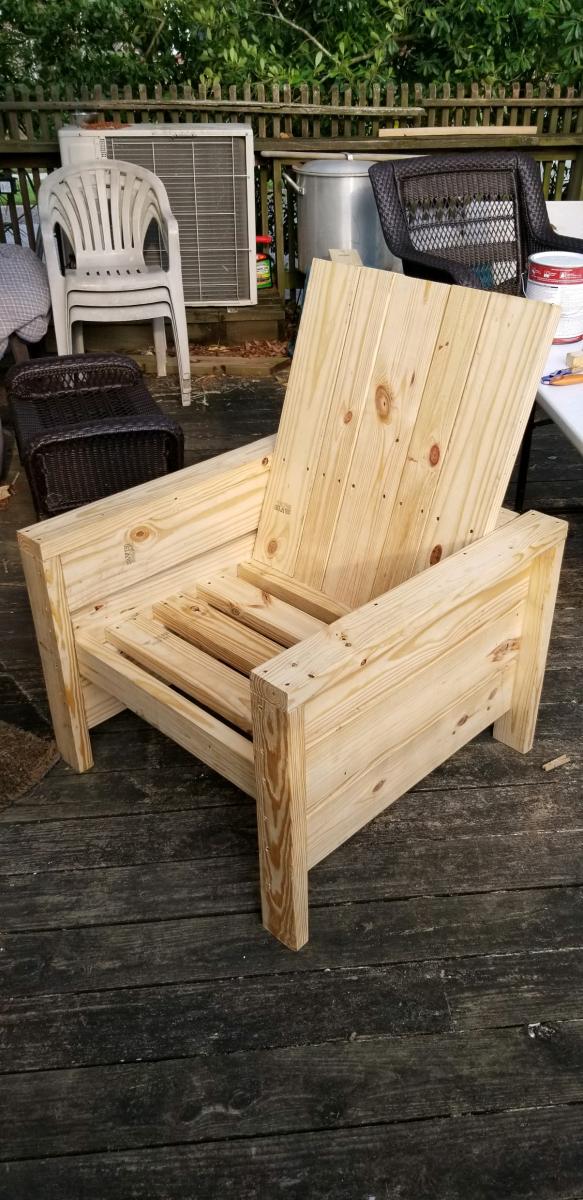
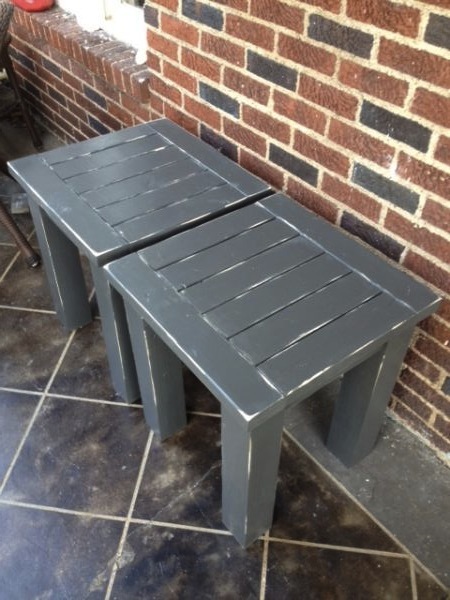
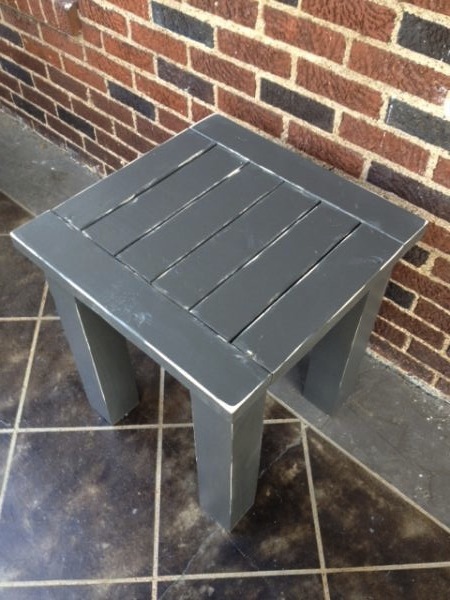
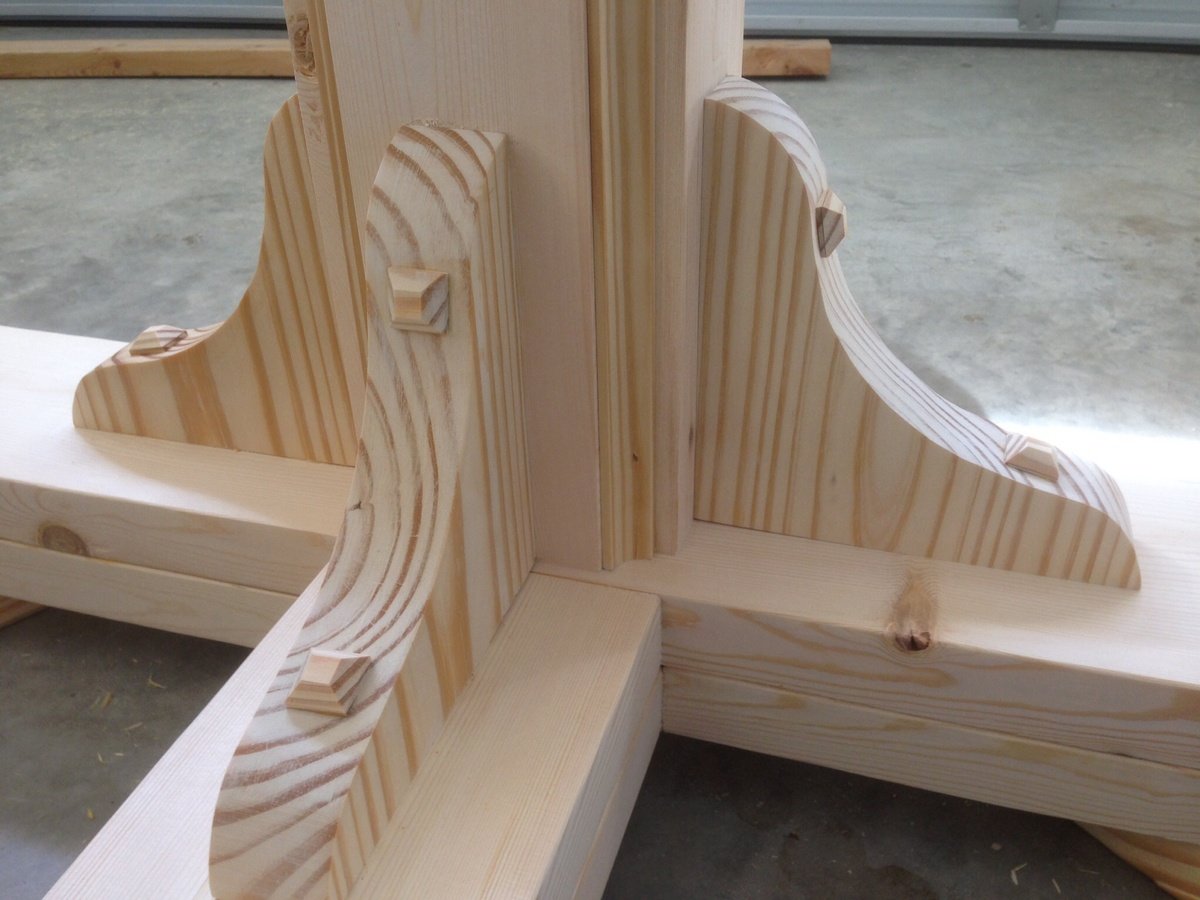
I built four pieces of the sectional (1 corner, 3 reg) It took me a long weekend, I would come and go so actual hours are hard to estimate. For the stain I used steel wool and vinegar, followed up by strong black tea. Teak oil was used for the sealer. The second photo is a picture of one stained chair approx 30 mins after stain applied, the other one has no stain yet. The pillows I sewed myself, outdoor fabric is from Jo-anns (use the coupons!) and inserts are from ikea. The only large investment were the cushions! Pine Wood - FREE. My dad works for a lumber company. Outdoor fabric - Between $6 and $10 a yard Pillows - $3 for small, $6 for large Cushions - $29 each **my picture wont display correctly even though uploaded correctly!!!
Built from Plan(s)
Estimated Cost
$200
Estimated Time Investment
Weekend Project (10-20 Hours)
Finish Used
Steel wool and vinegar, followed by strong black tea. Finished with teak oil.
Recommended Skill Level
Beginner


Comments
seaweed805
Wed, 03/12/2014 - 21:15
smaller pillow
sorry, the smaller patterned pillow is Target as well!