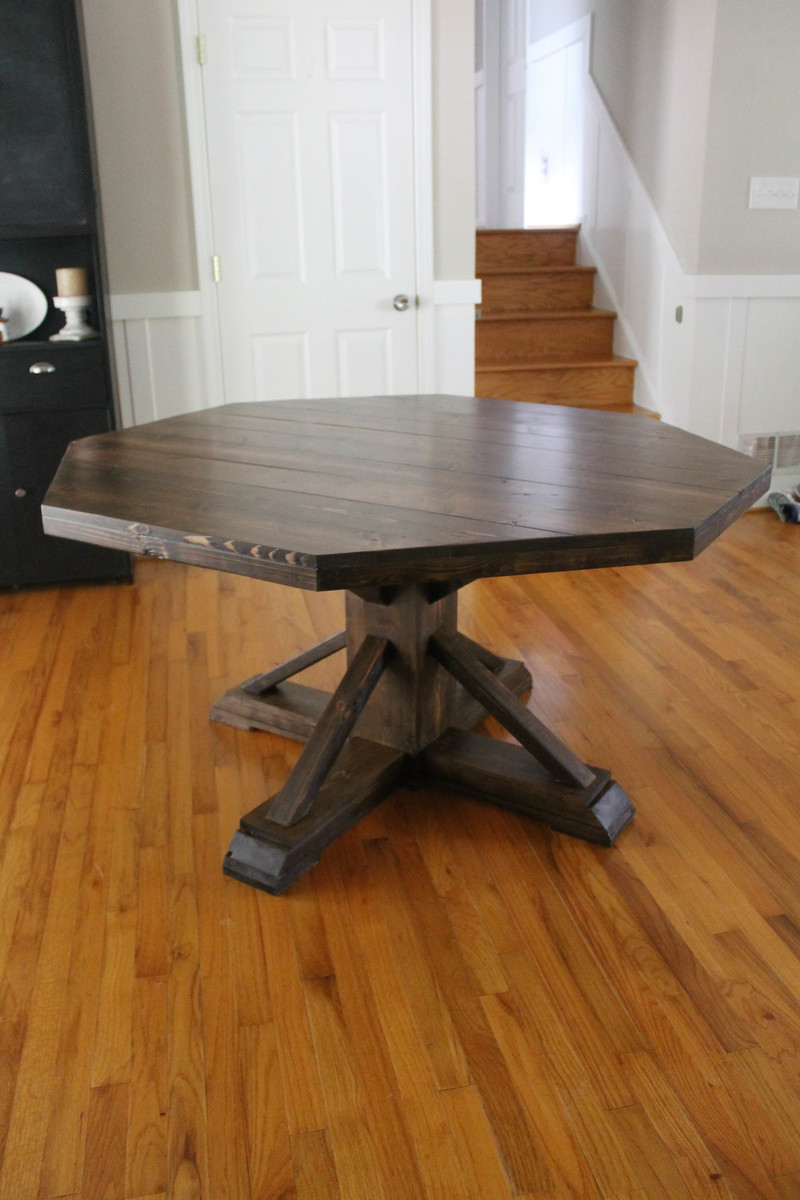
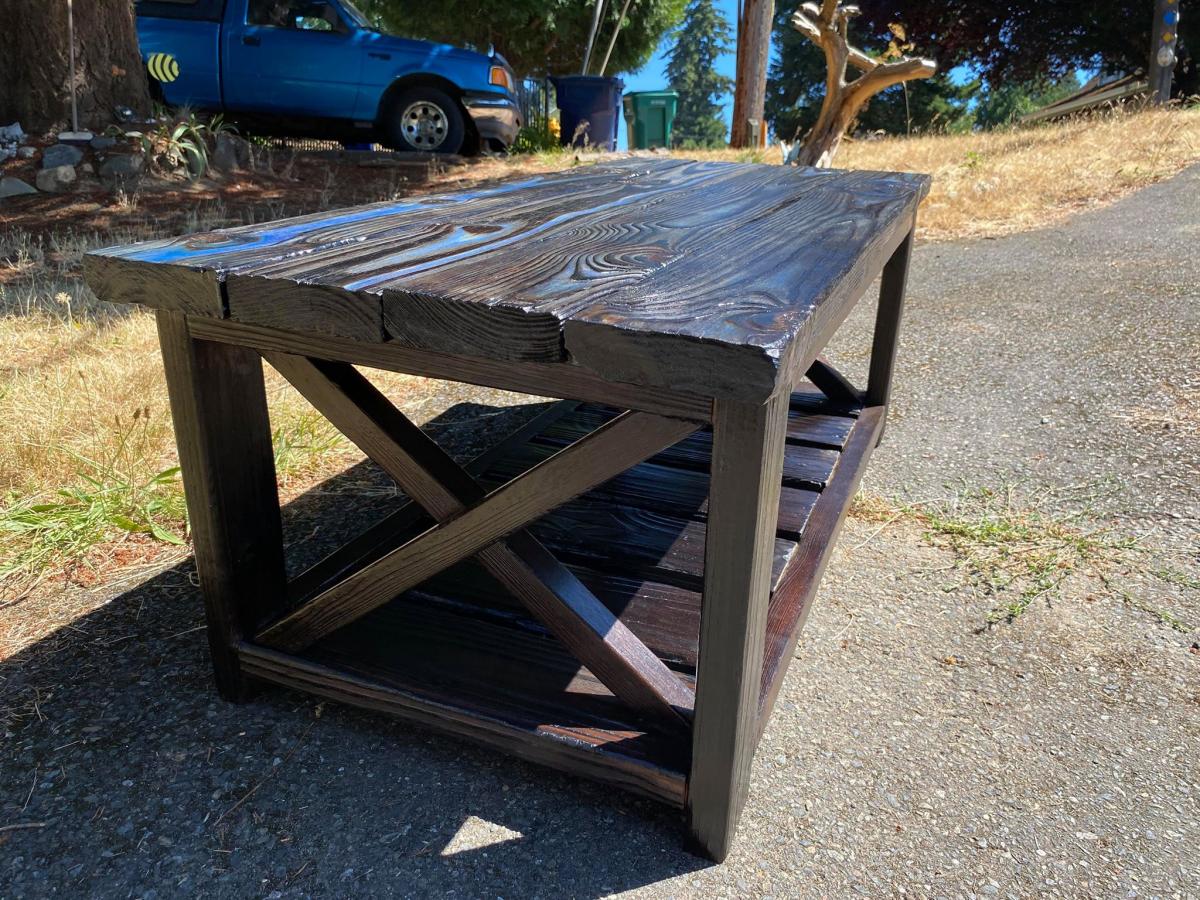
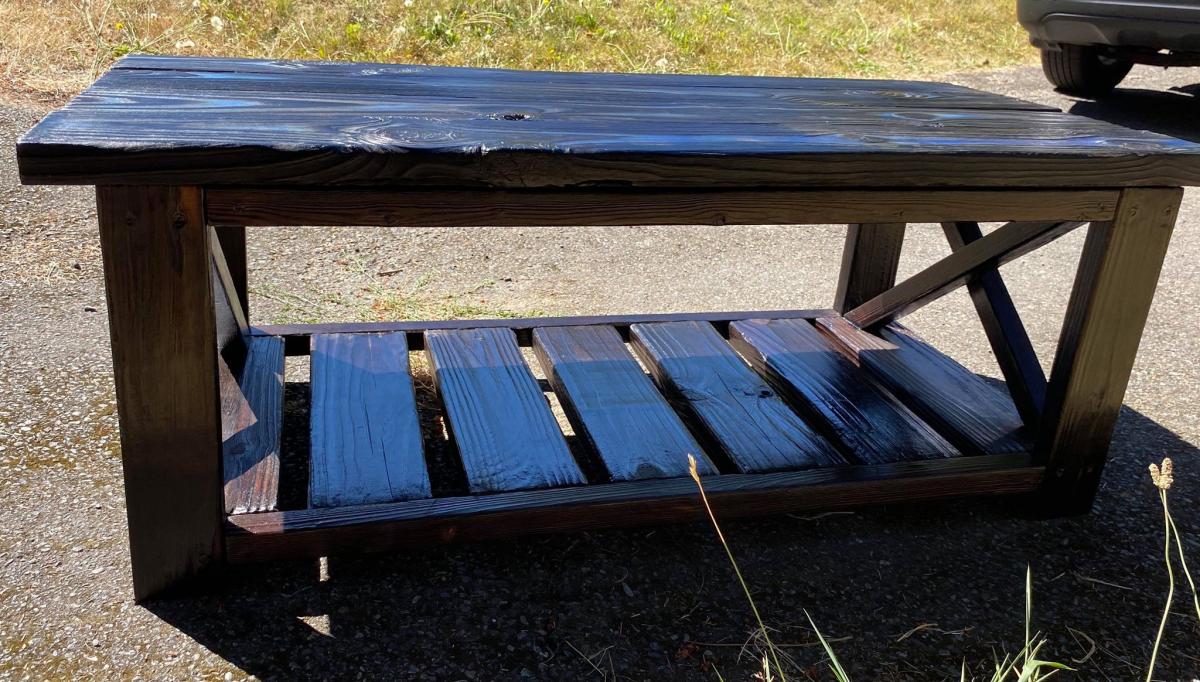
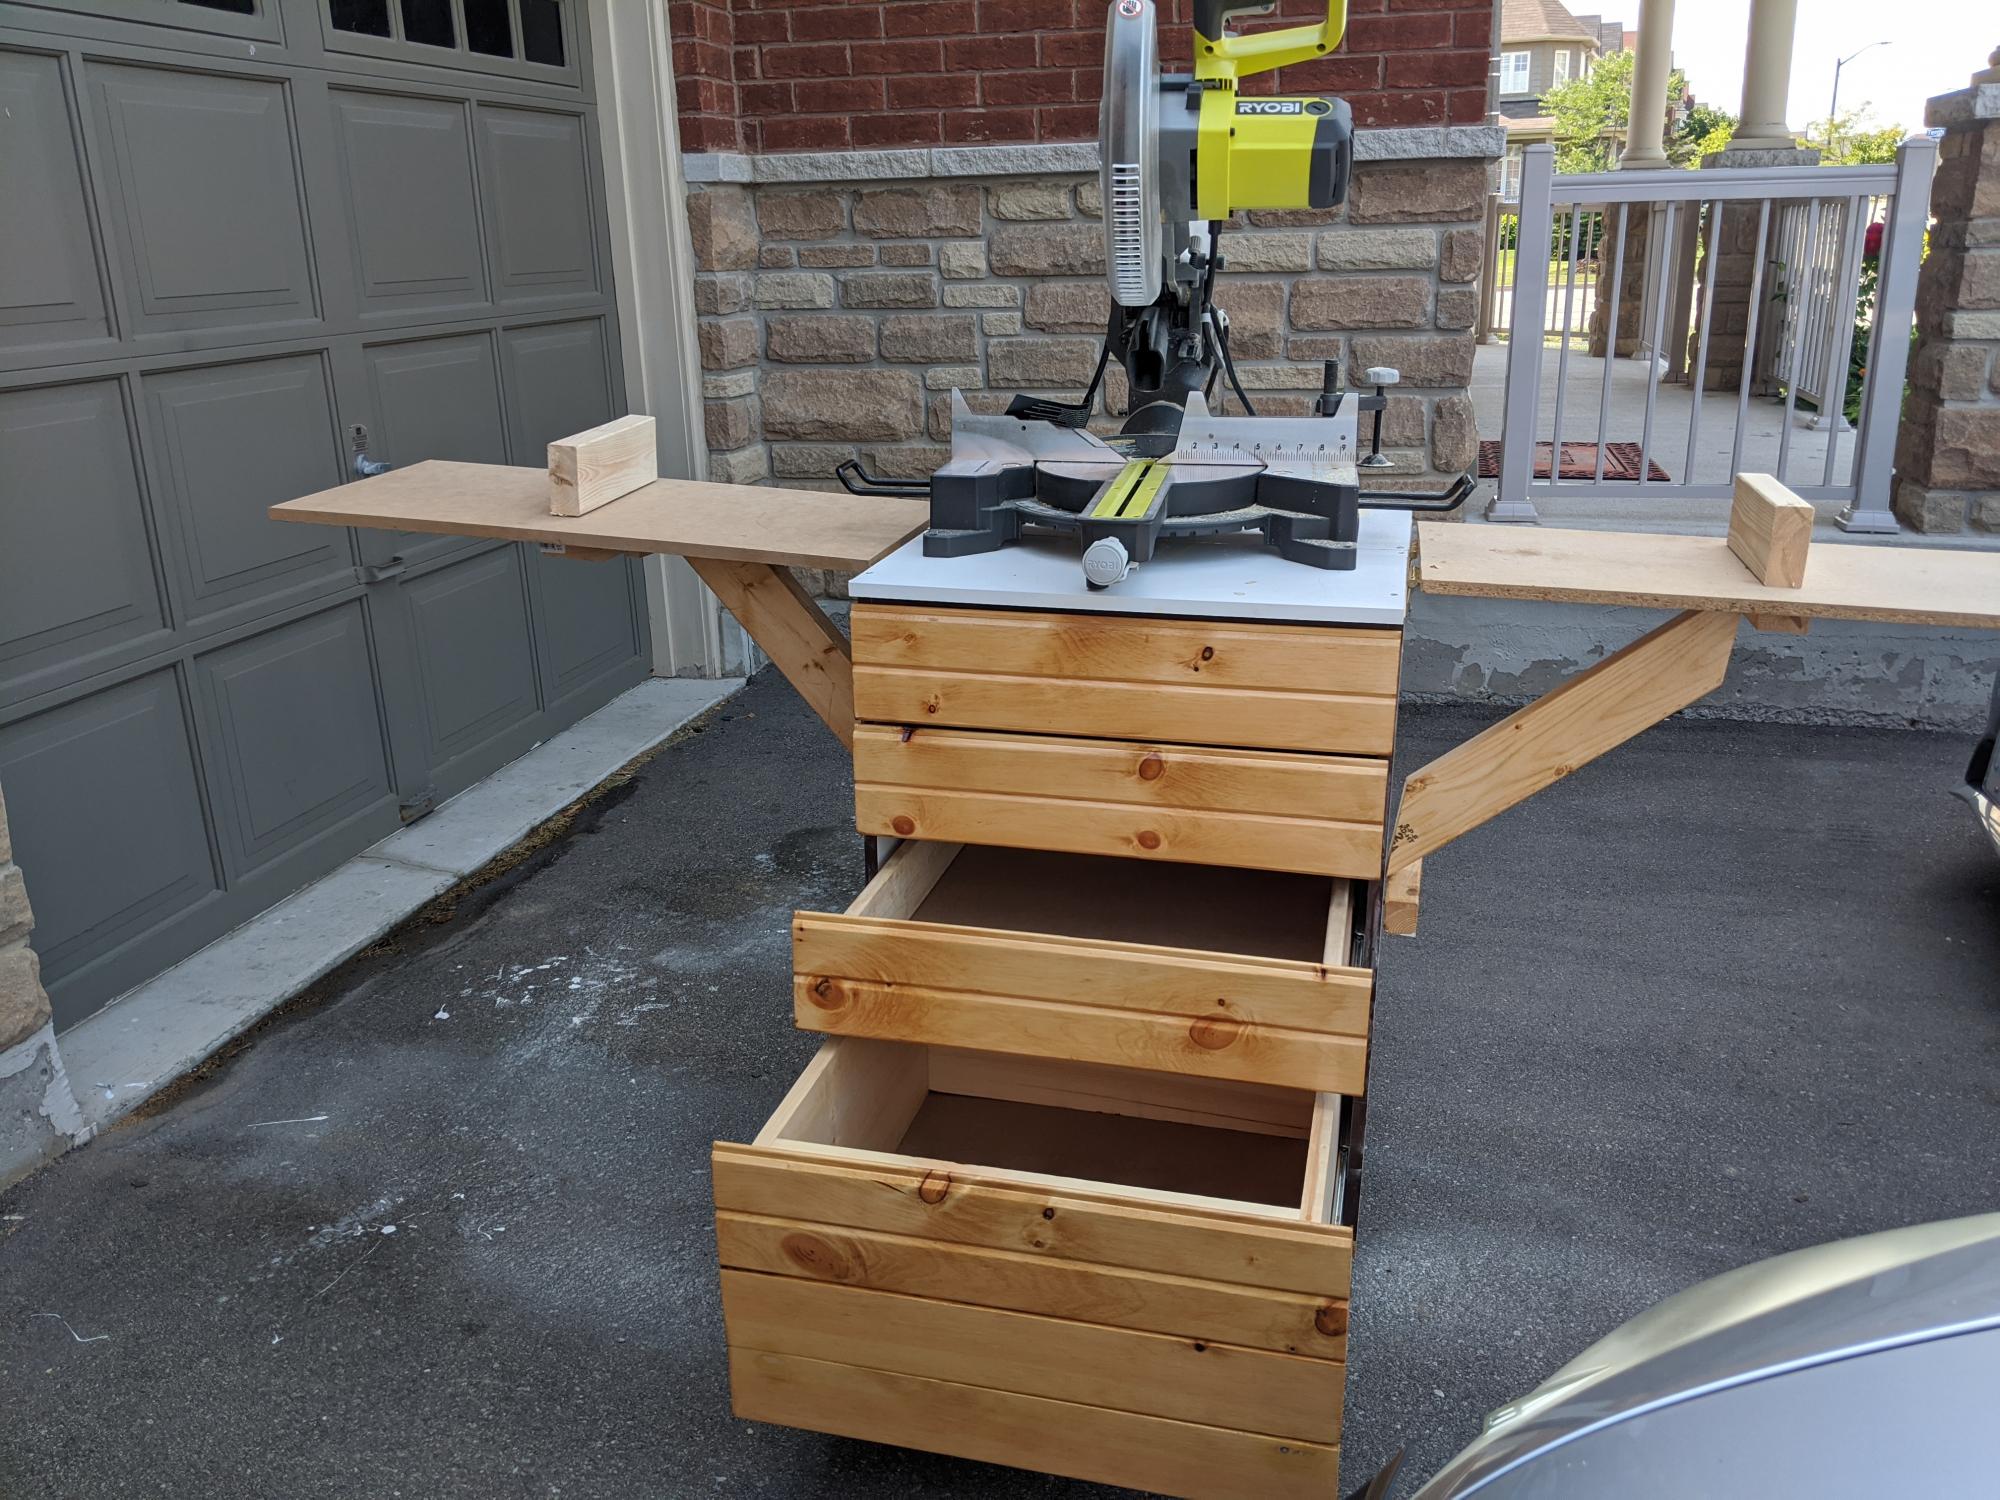
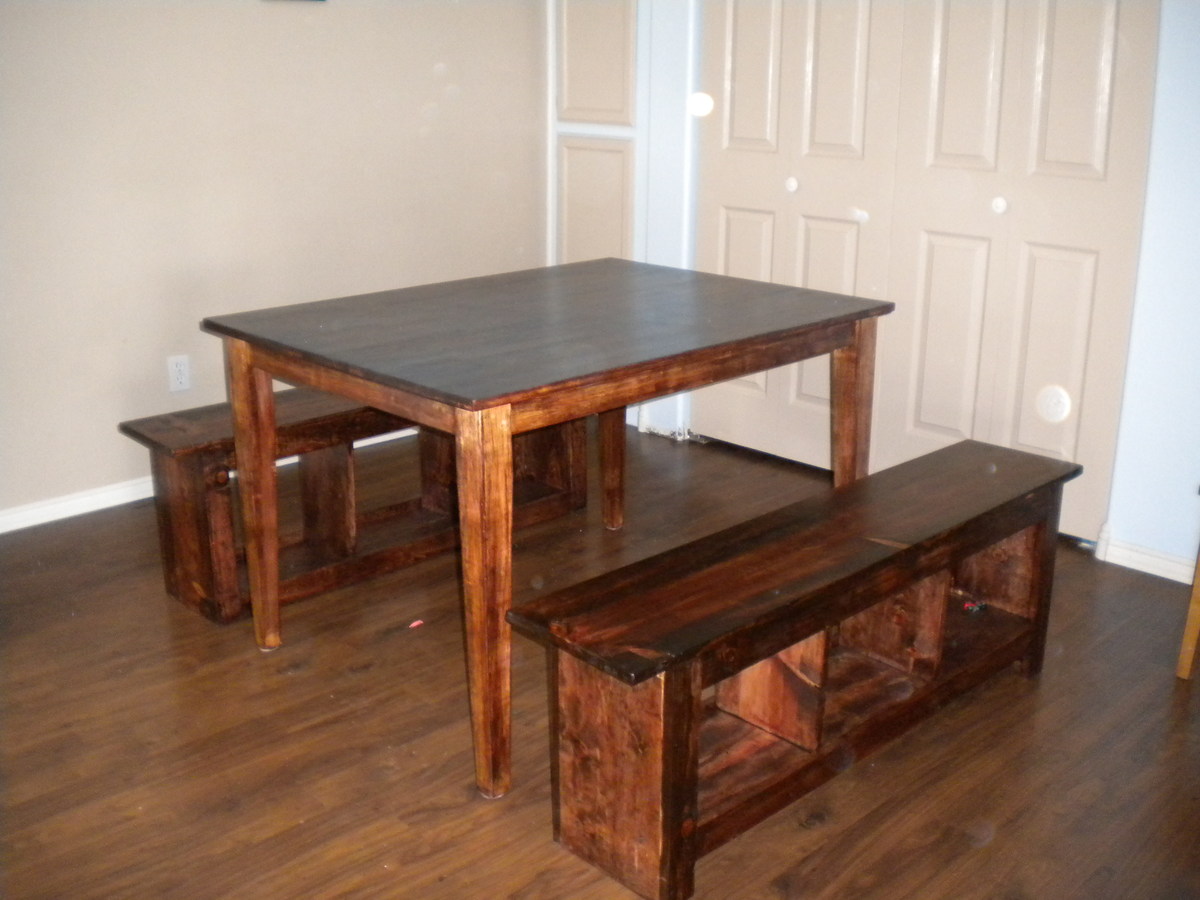
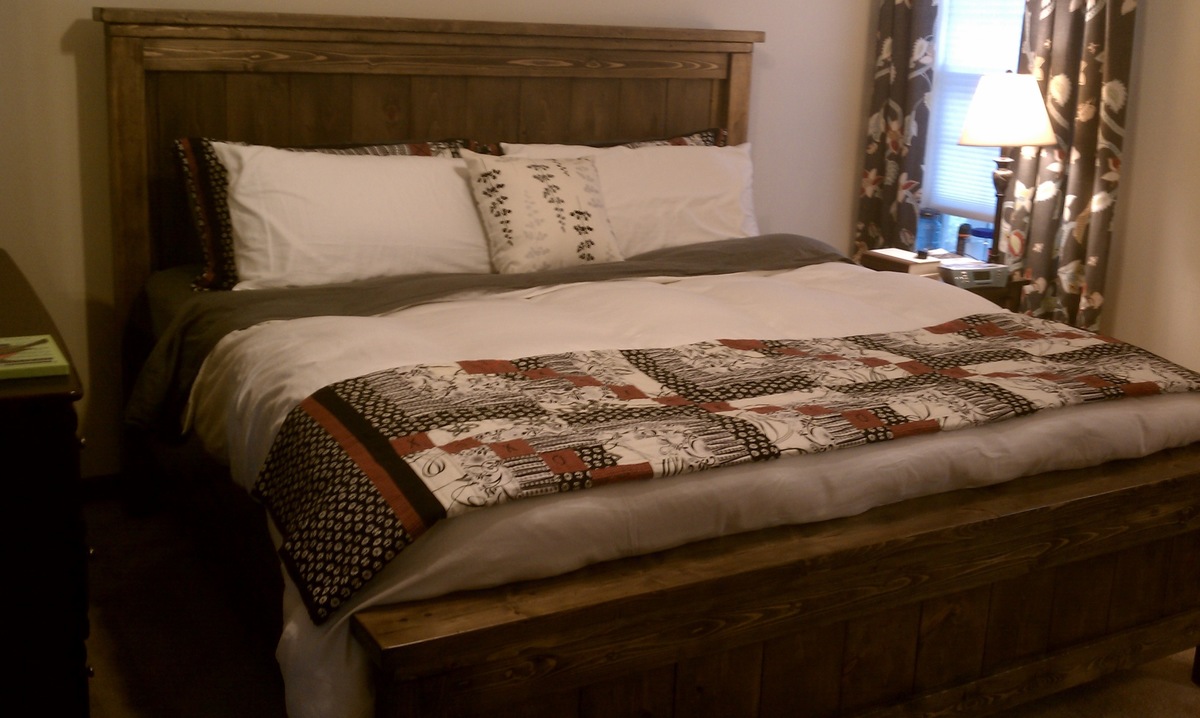
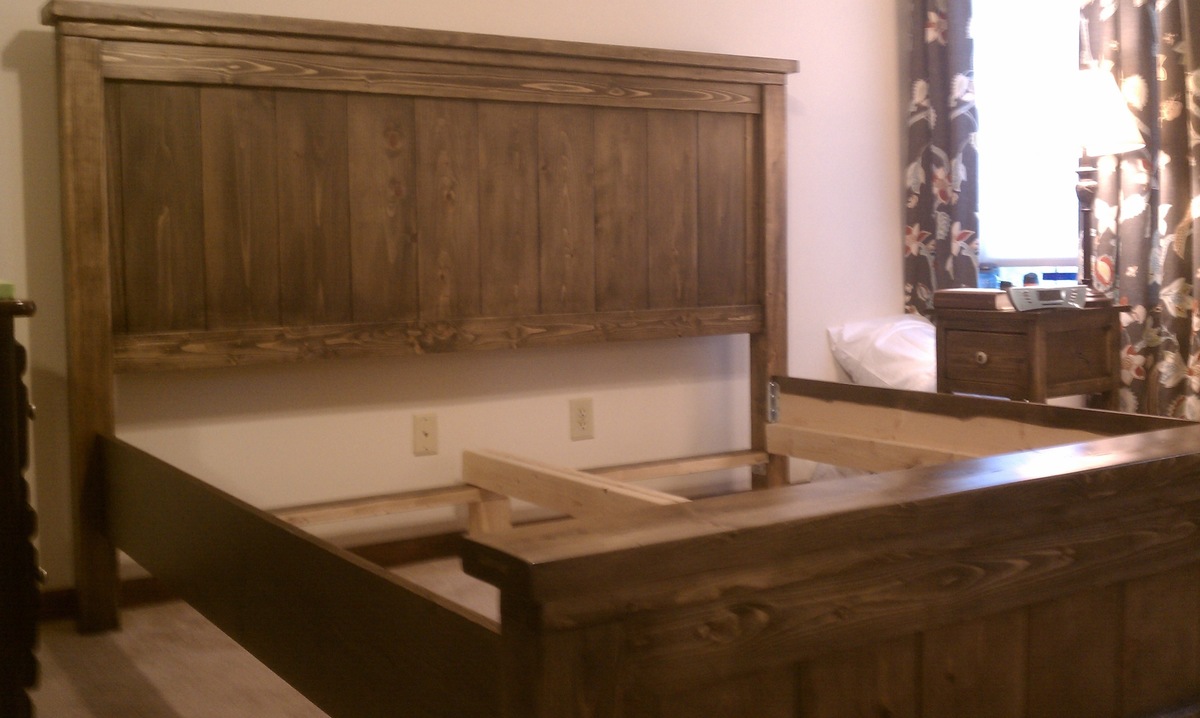
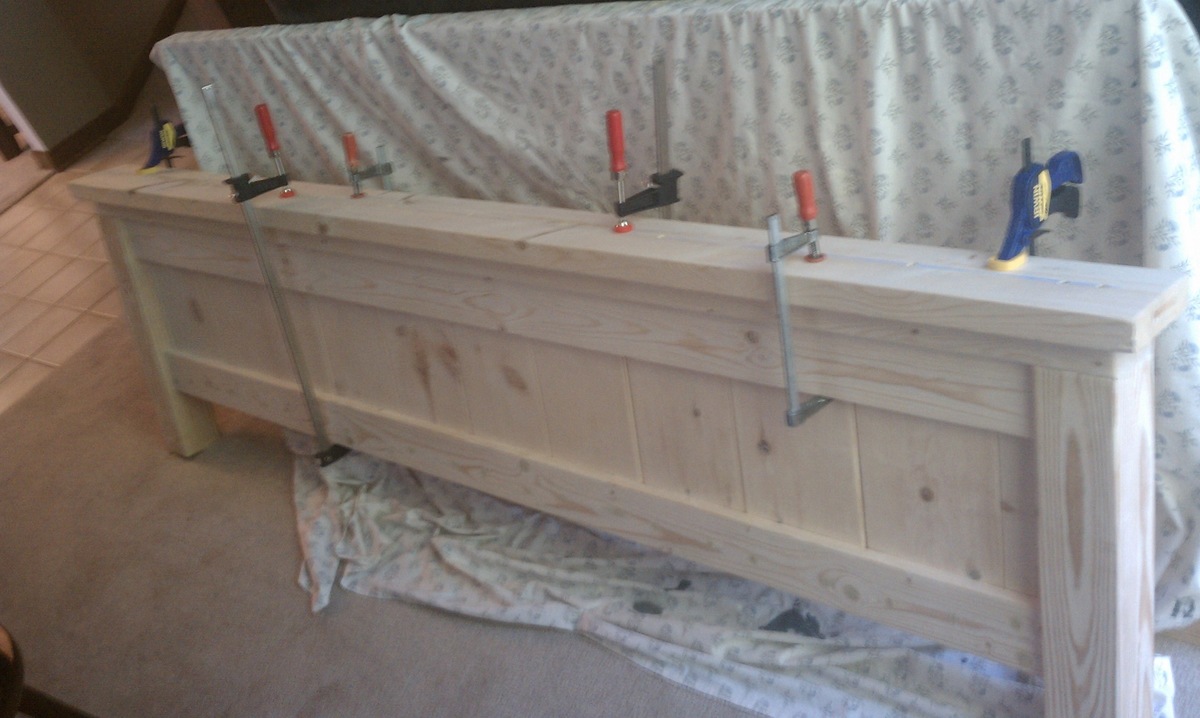
I have been wanting to start woodworking for a good while now, and I finally had the oppurtunity to venture into my shop and actually build. This is my first build, and im rather happy with how it came out, and im constntly finding motivation to grow and learn more from these plans, quick shoutout to Miss Ana White and her family, as I am a big fan of the DIY culture she and her family represent.
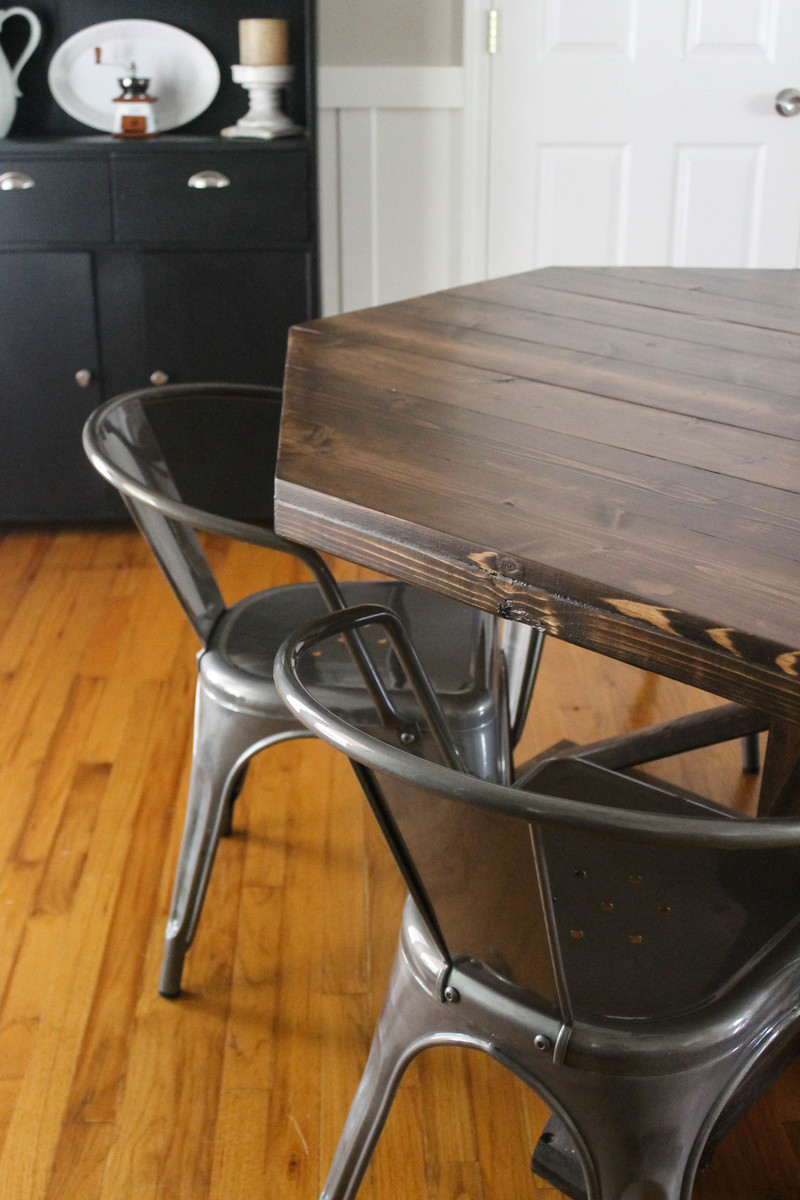
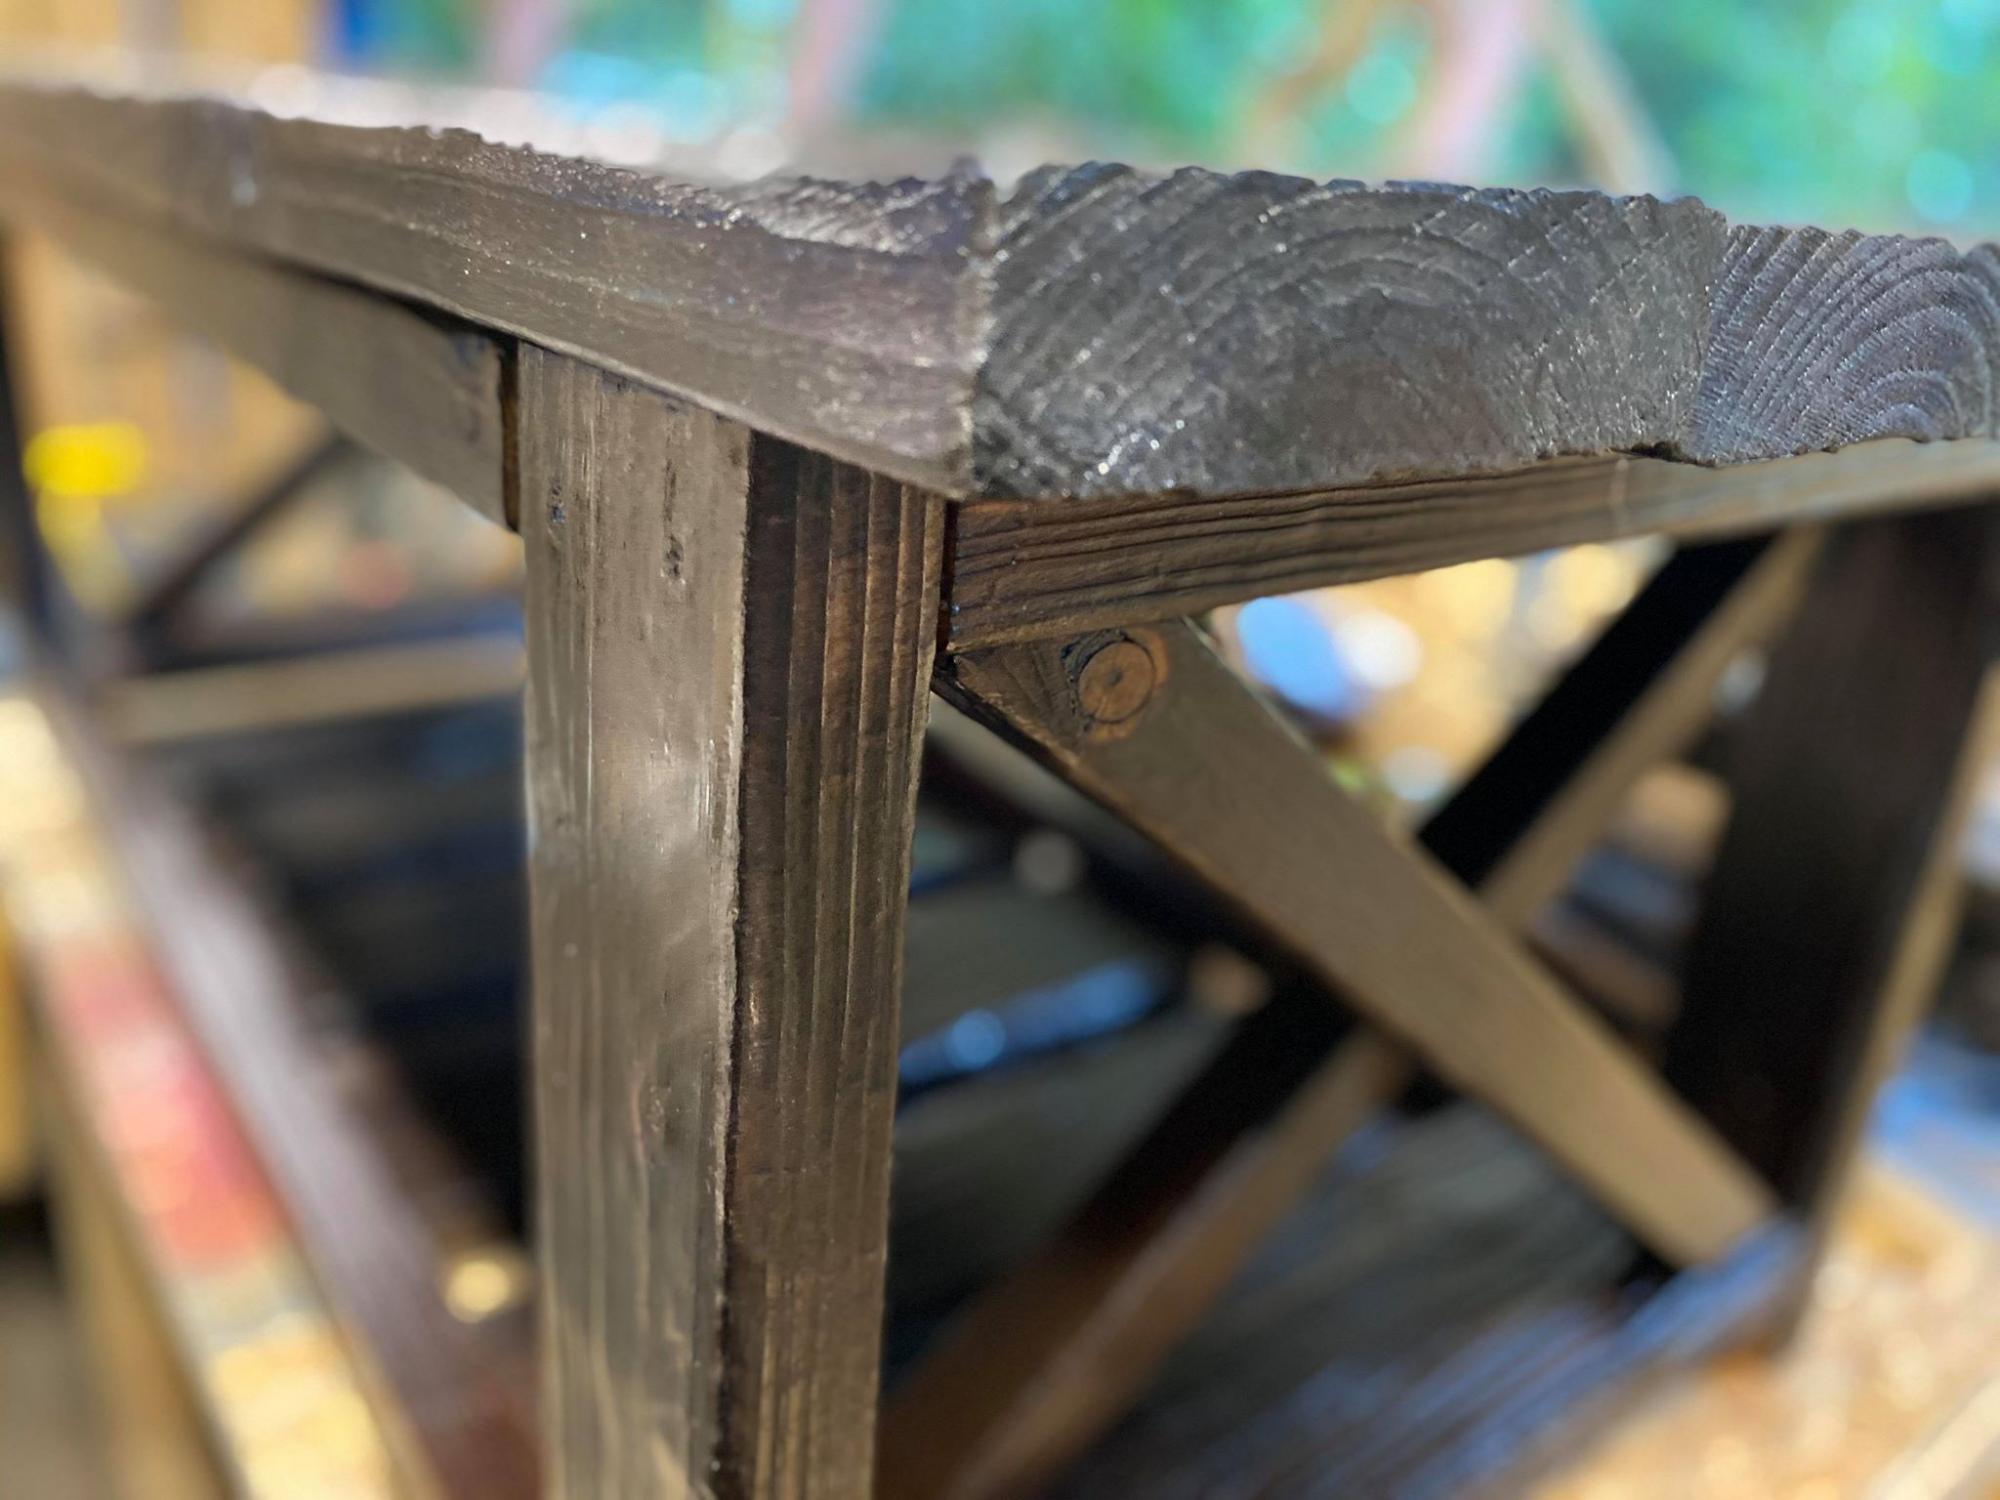
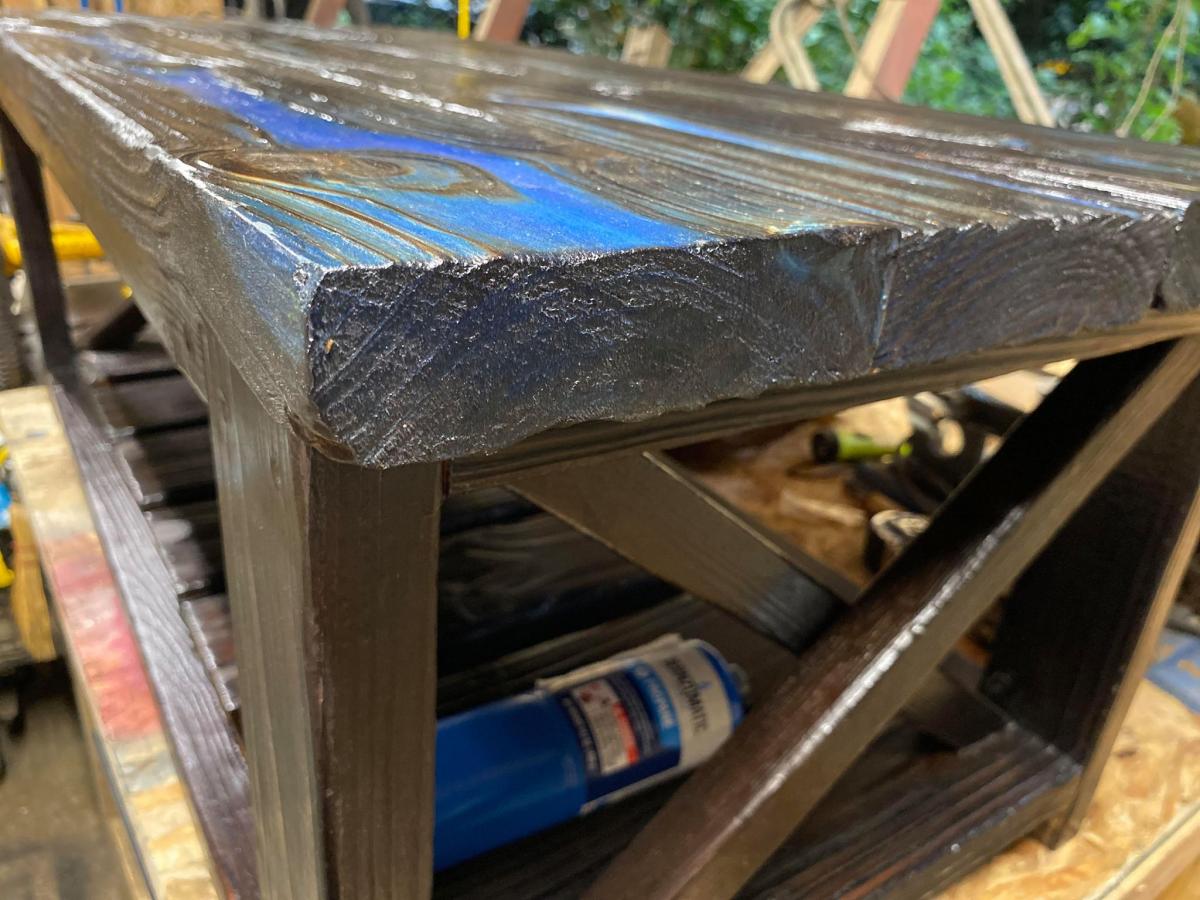
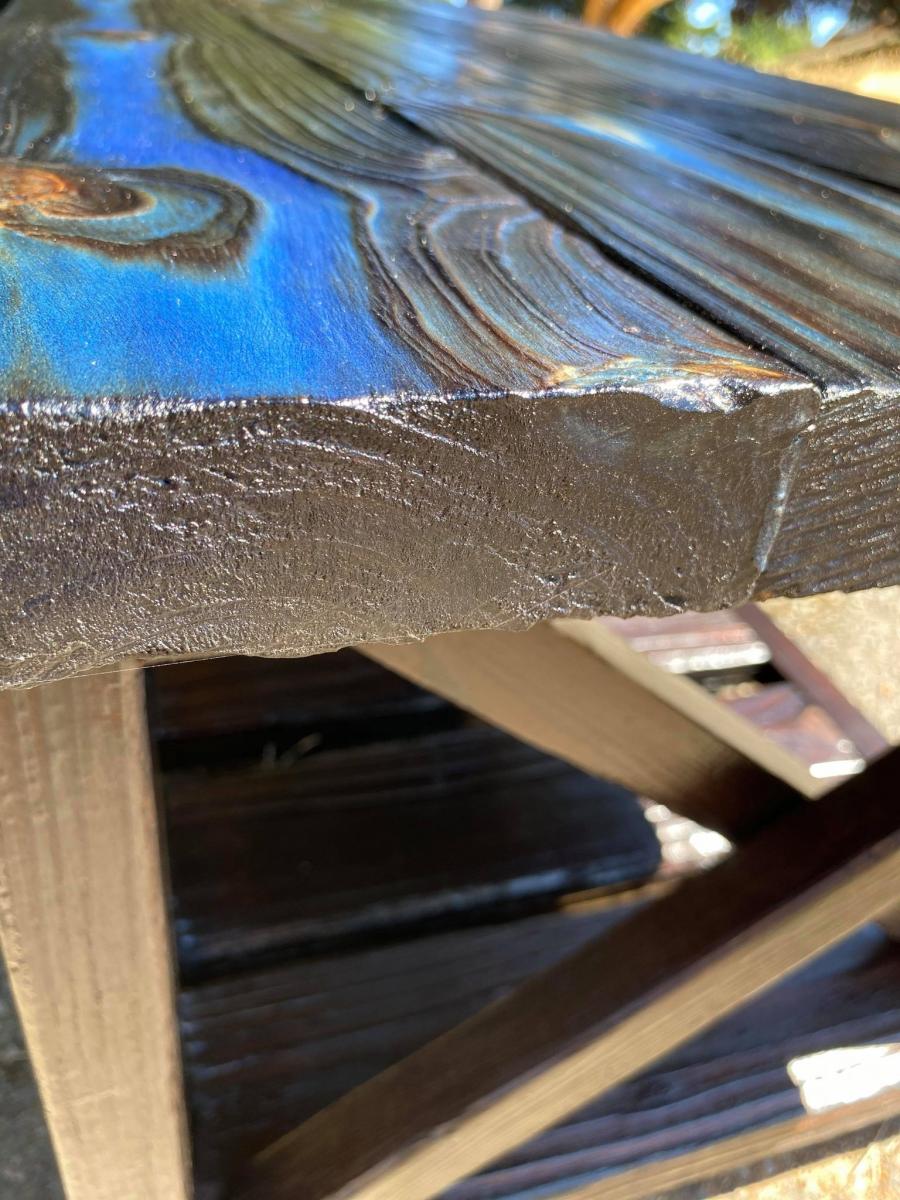
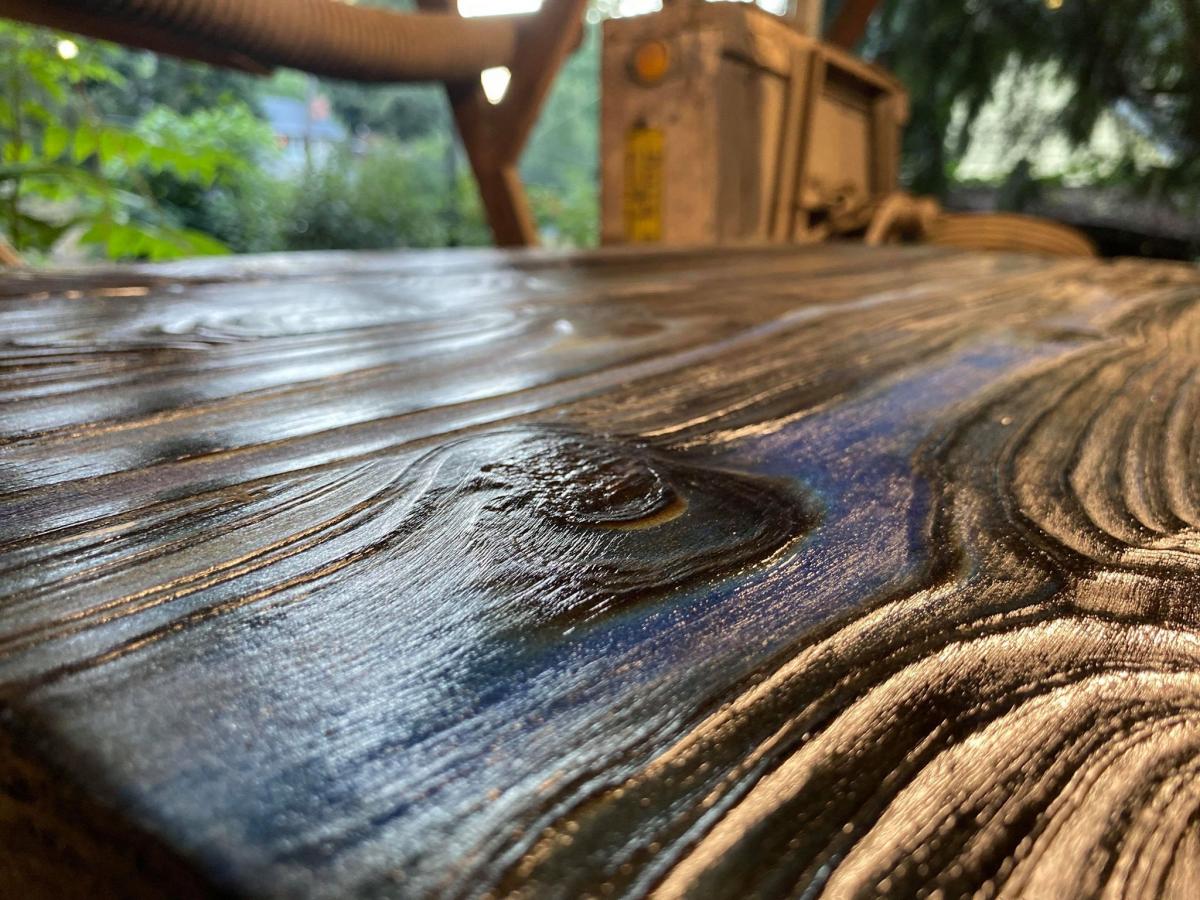
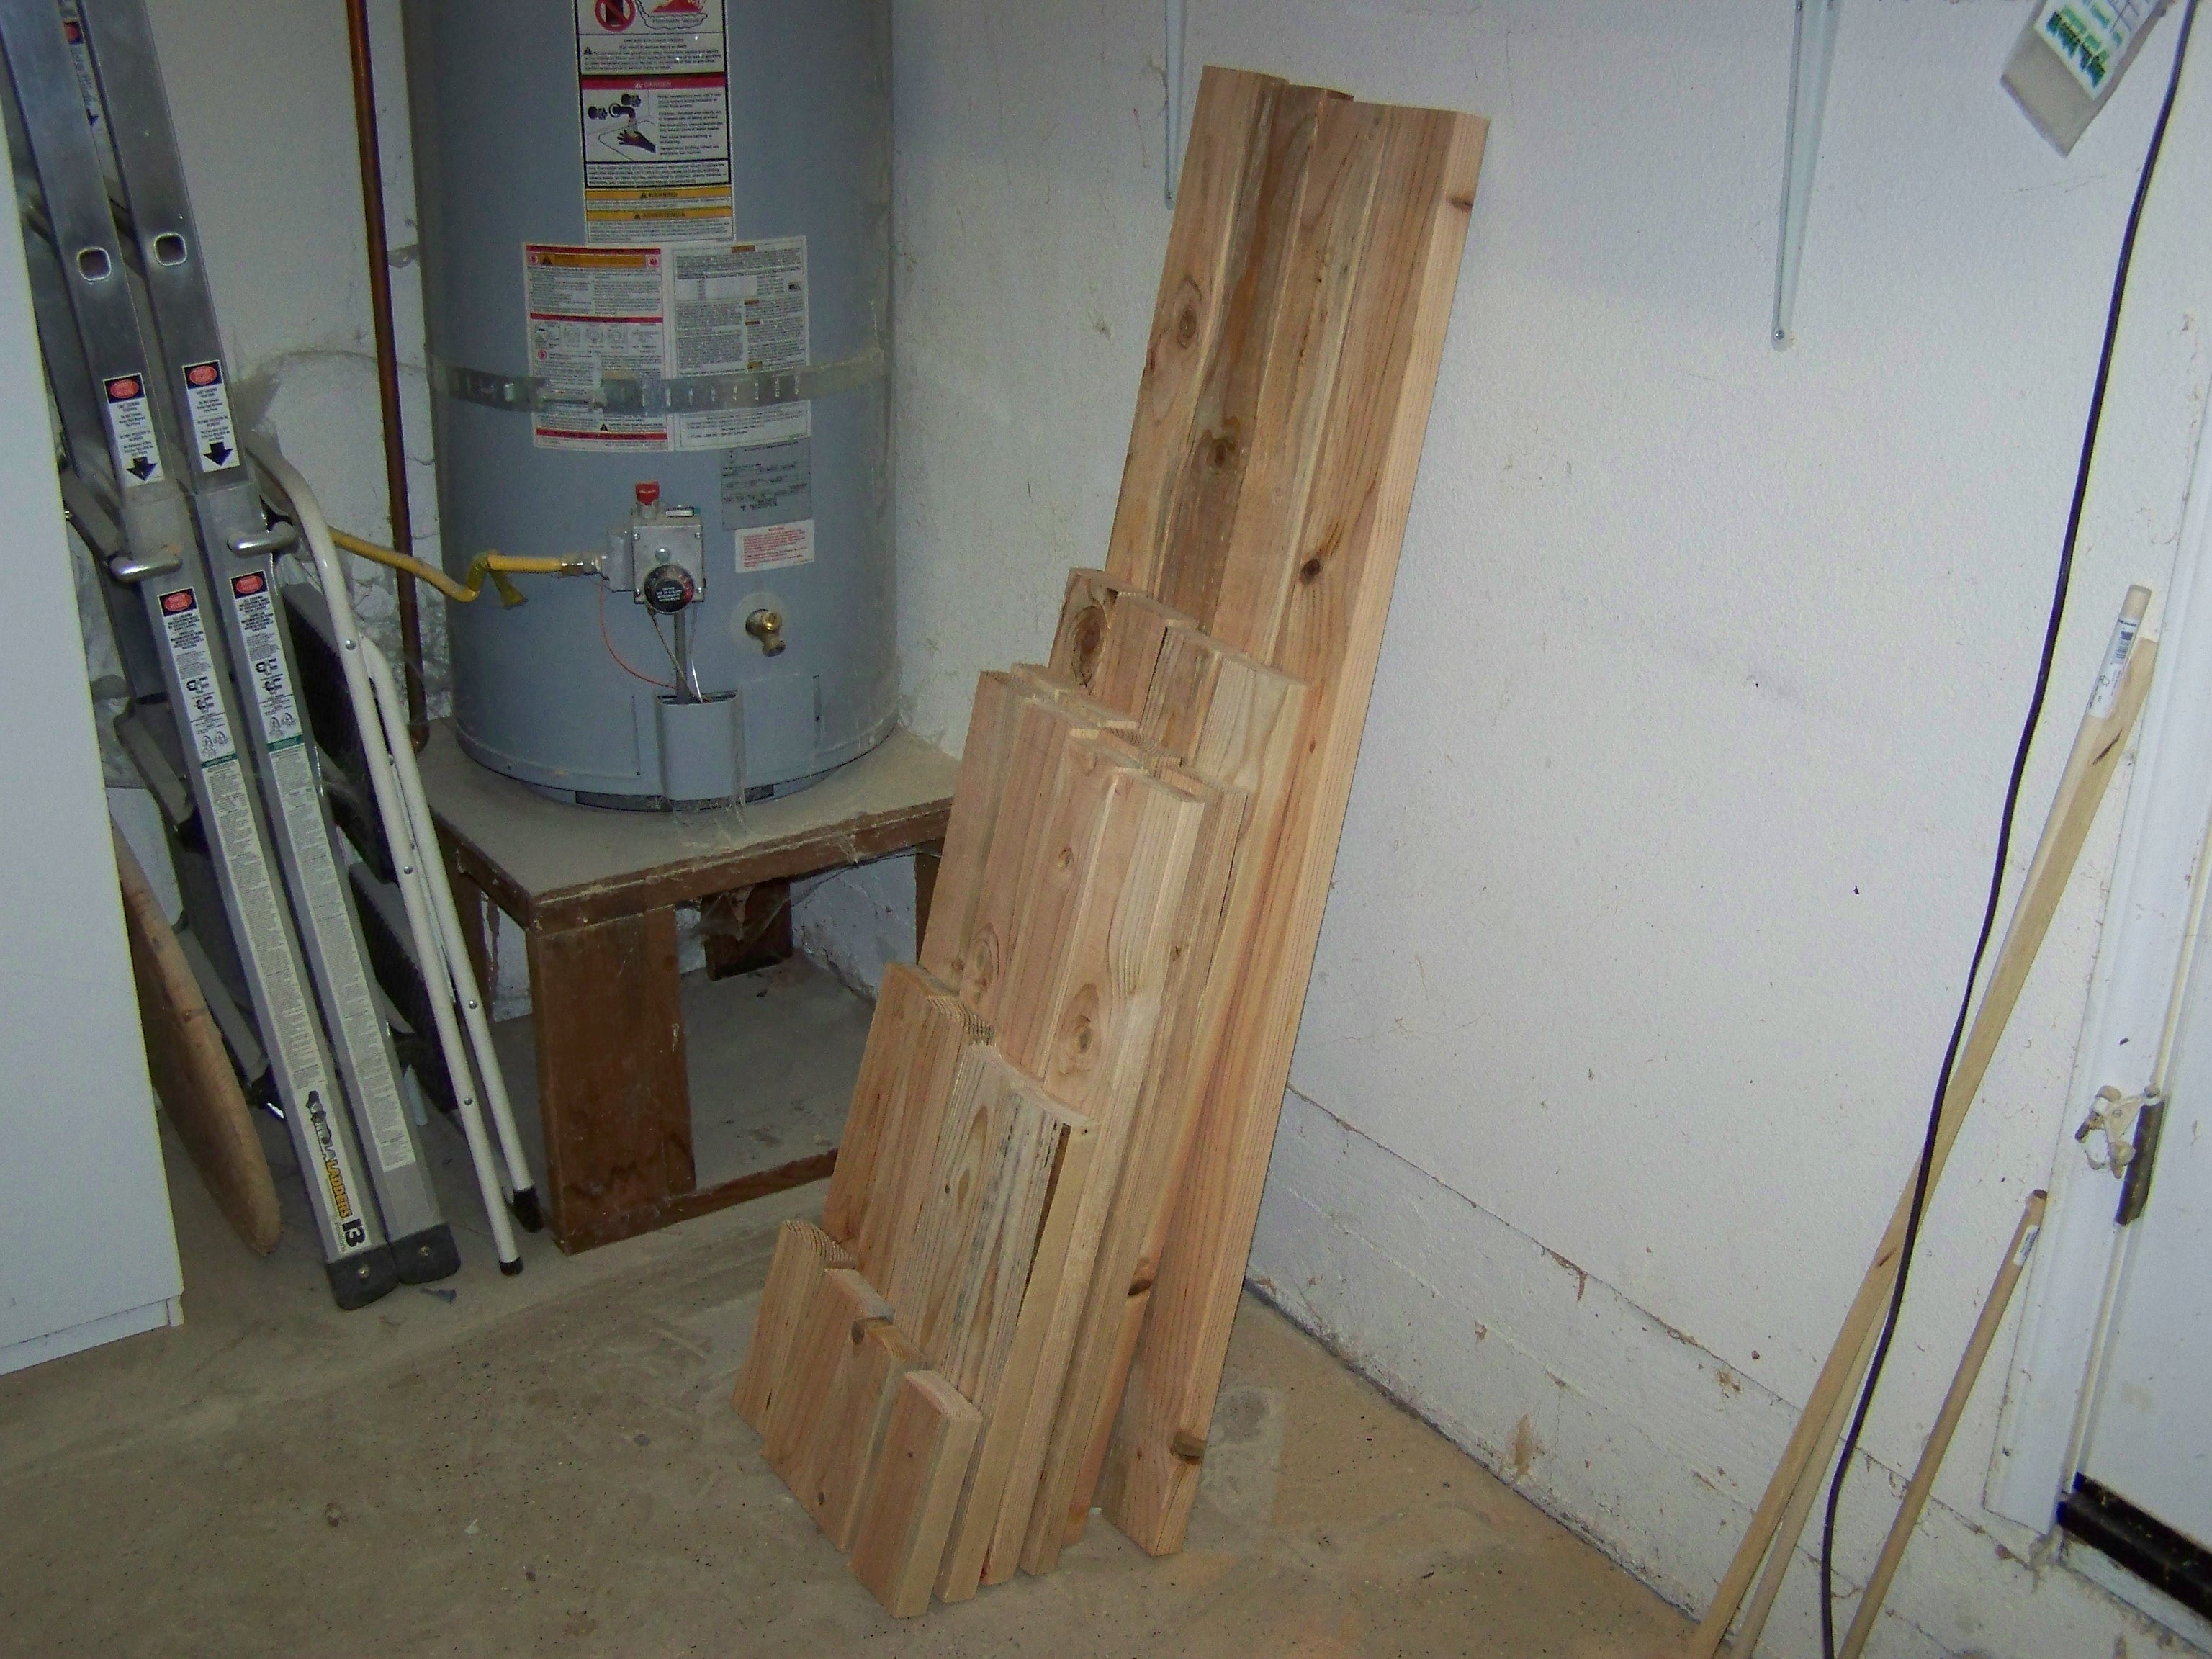
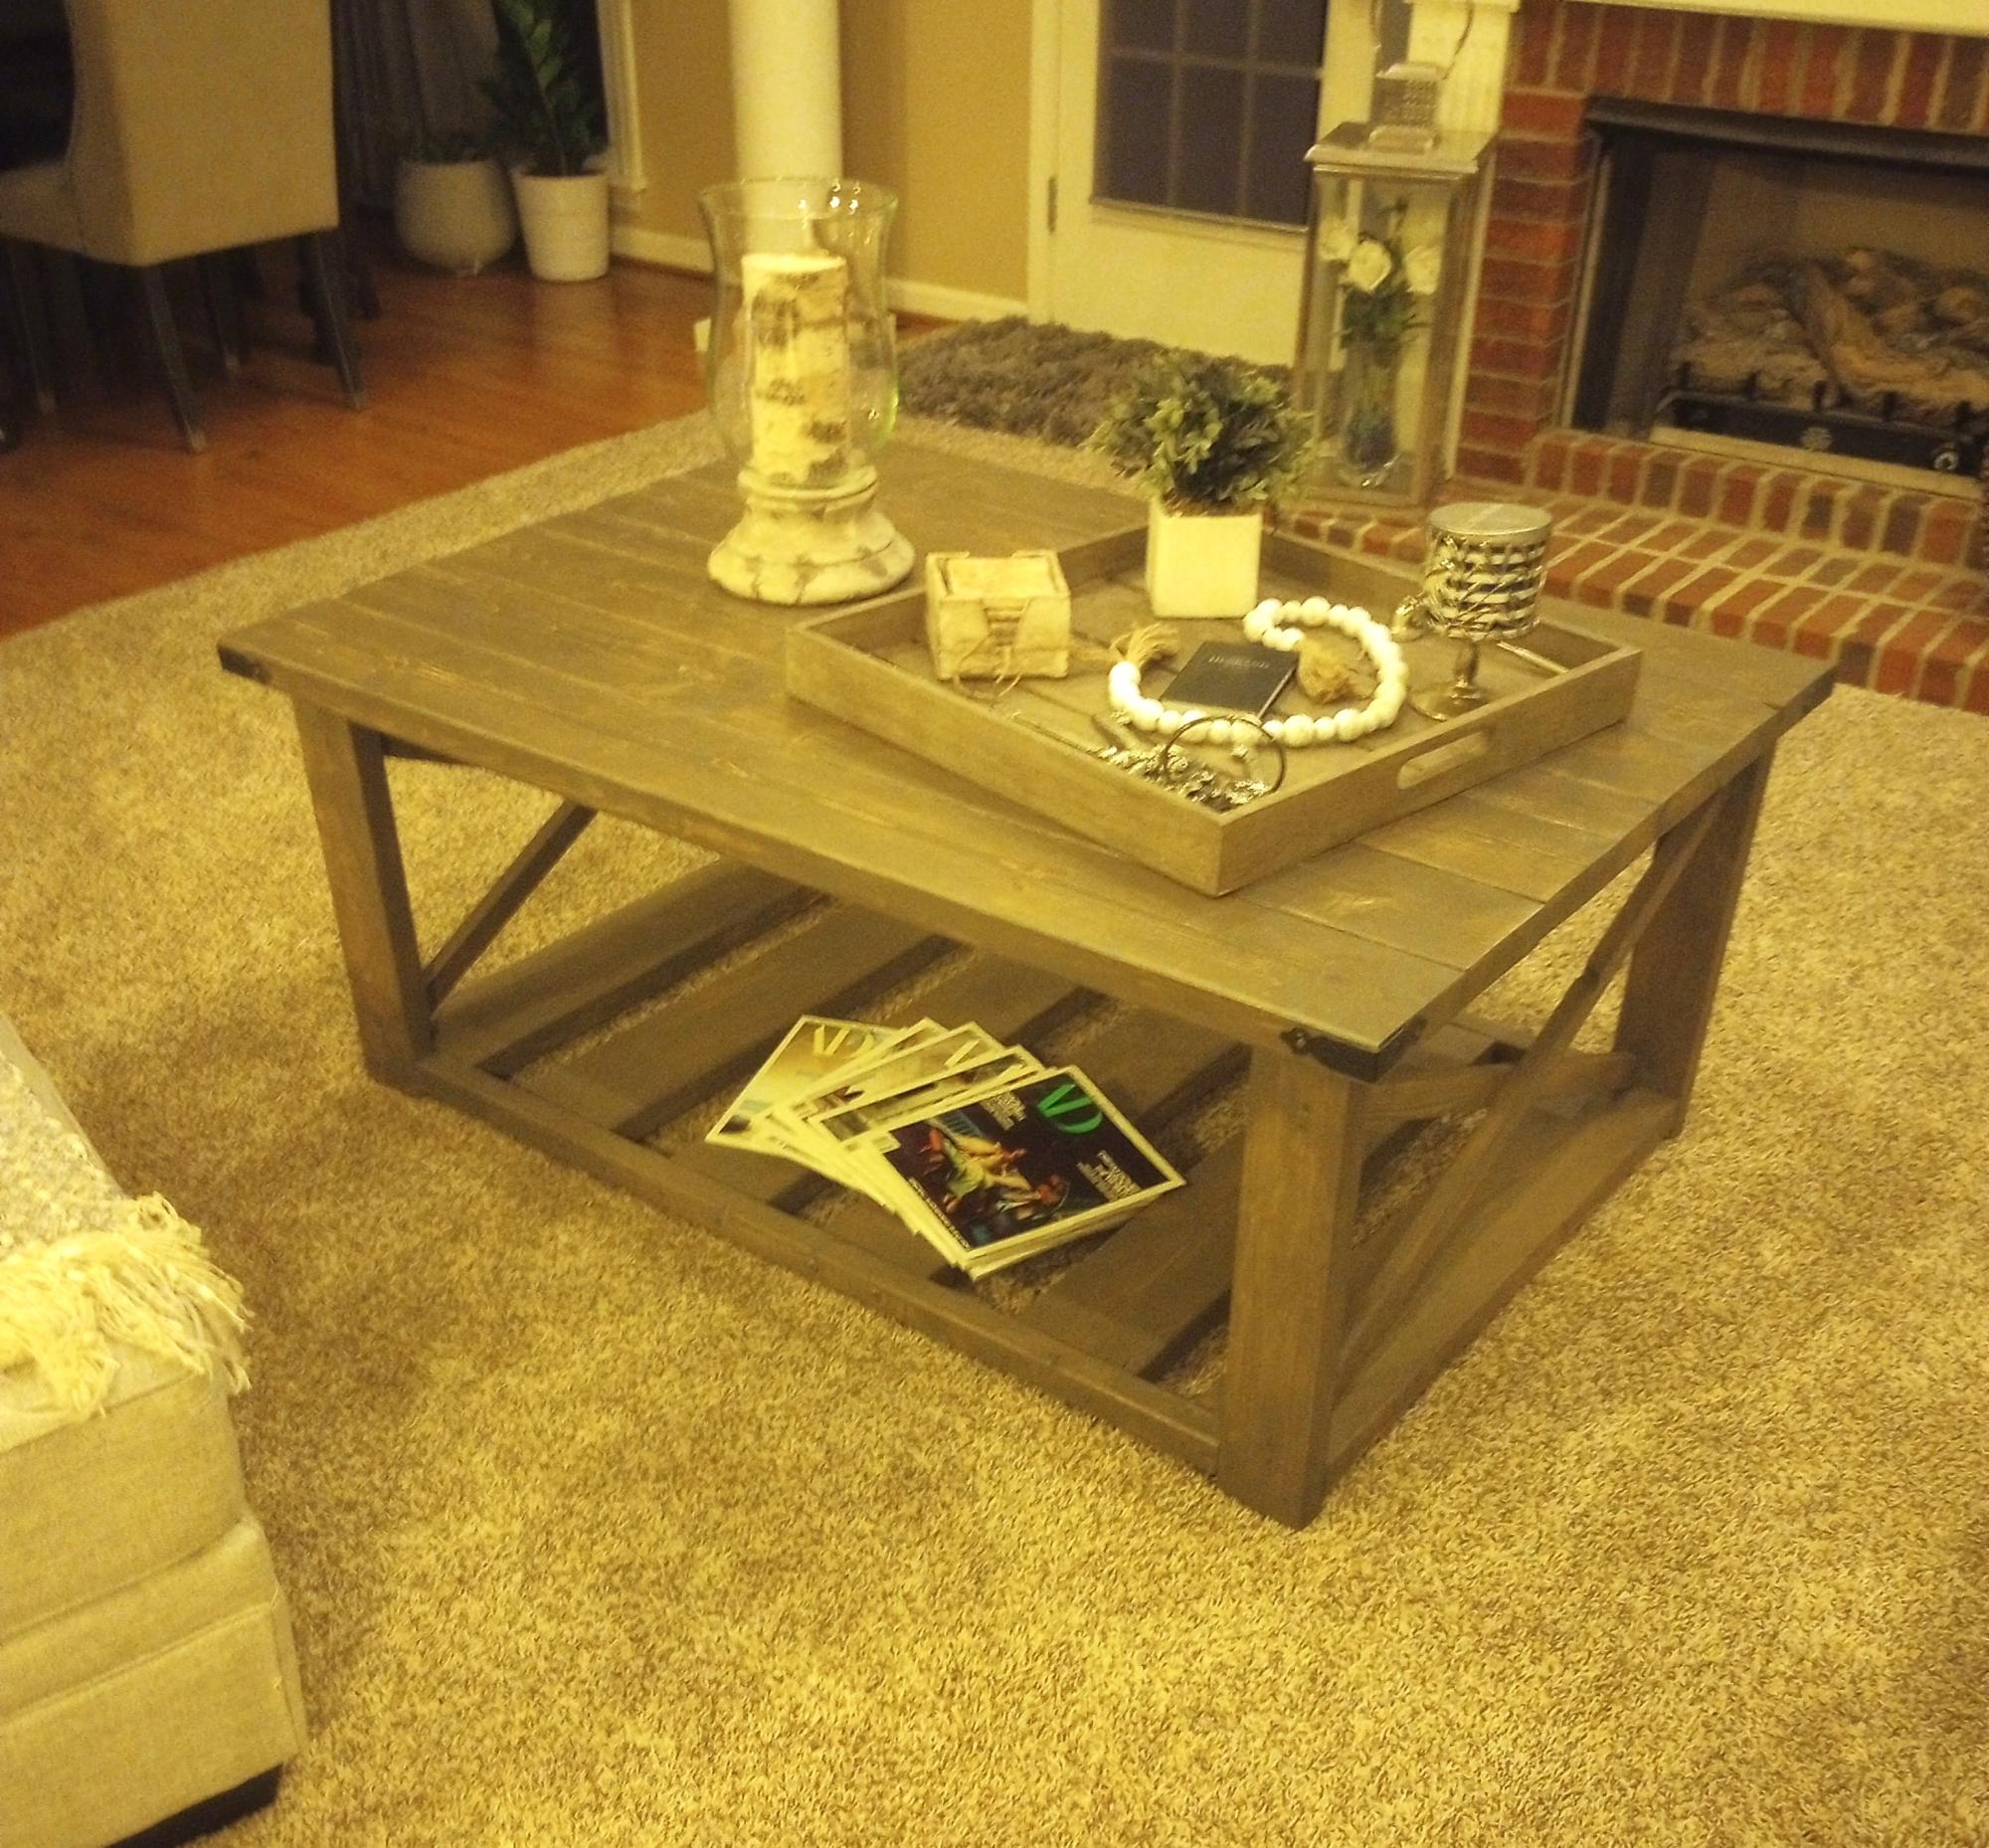
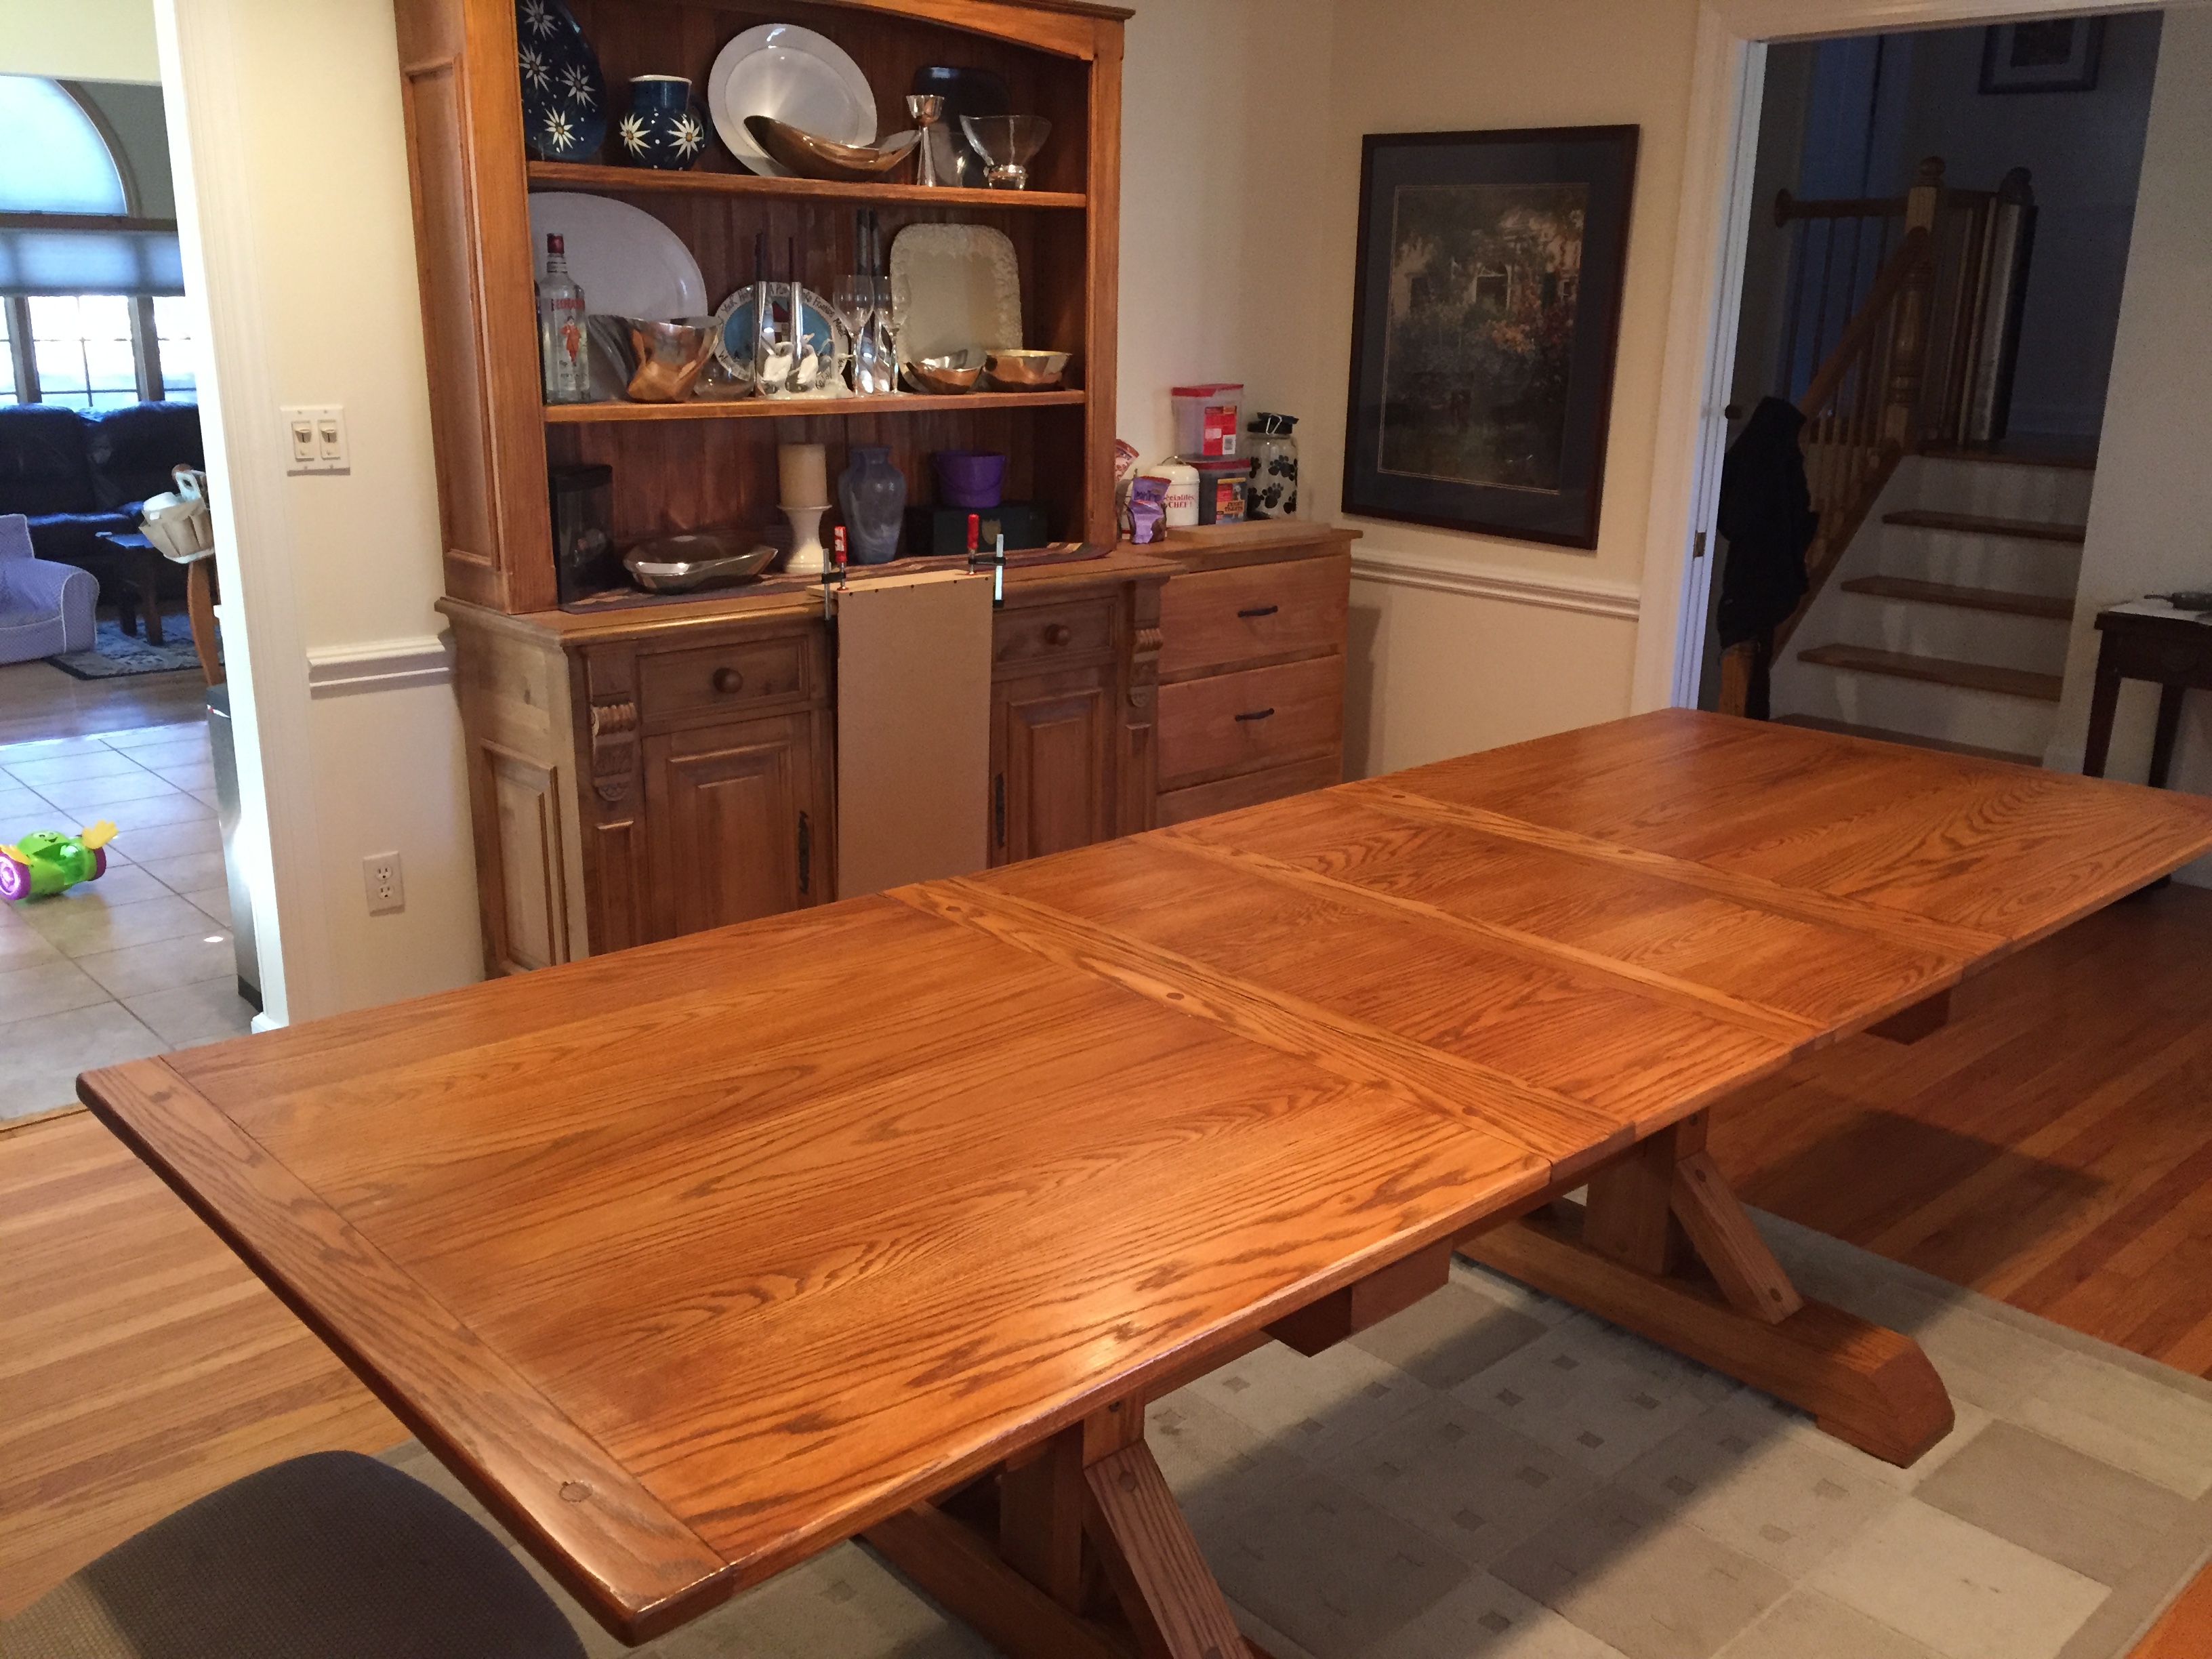
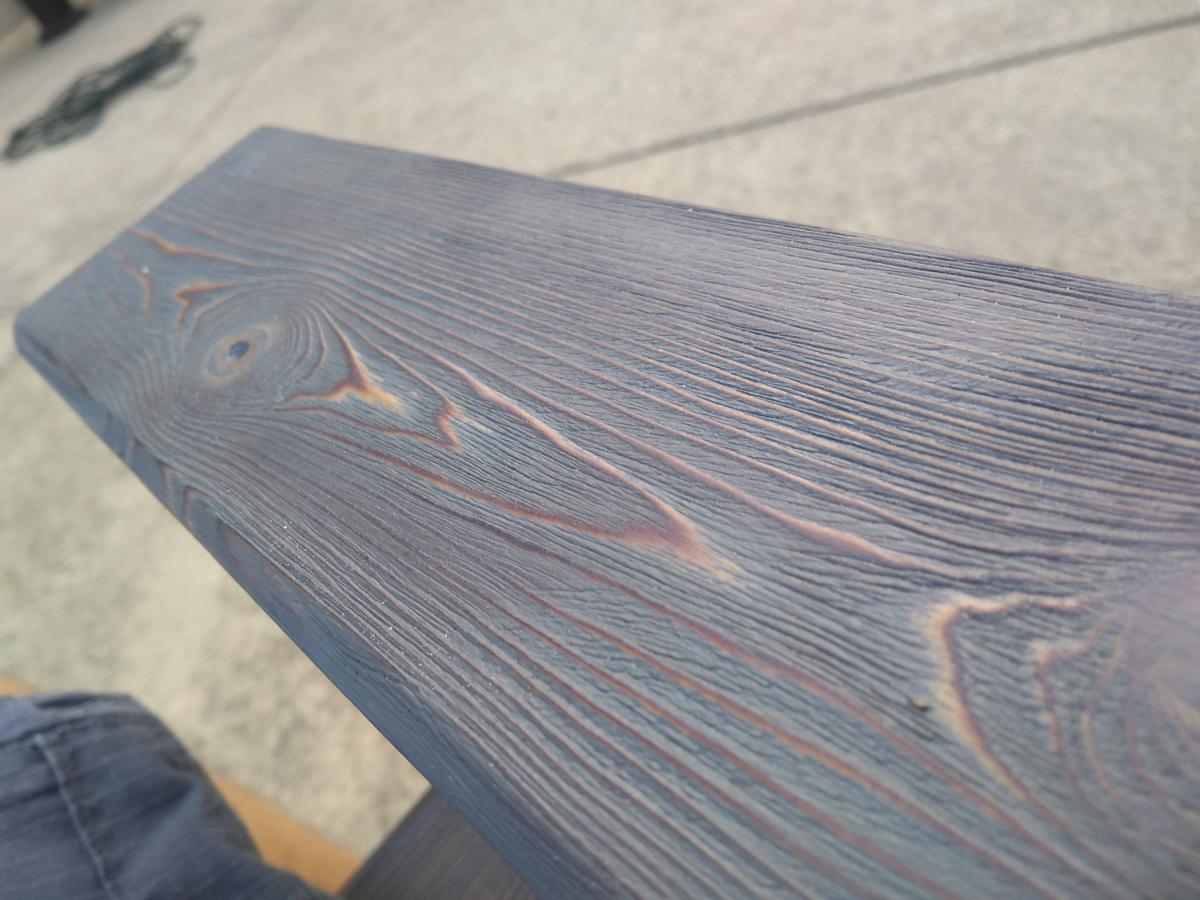
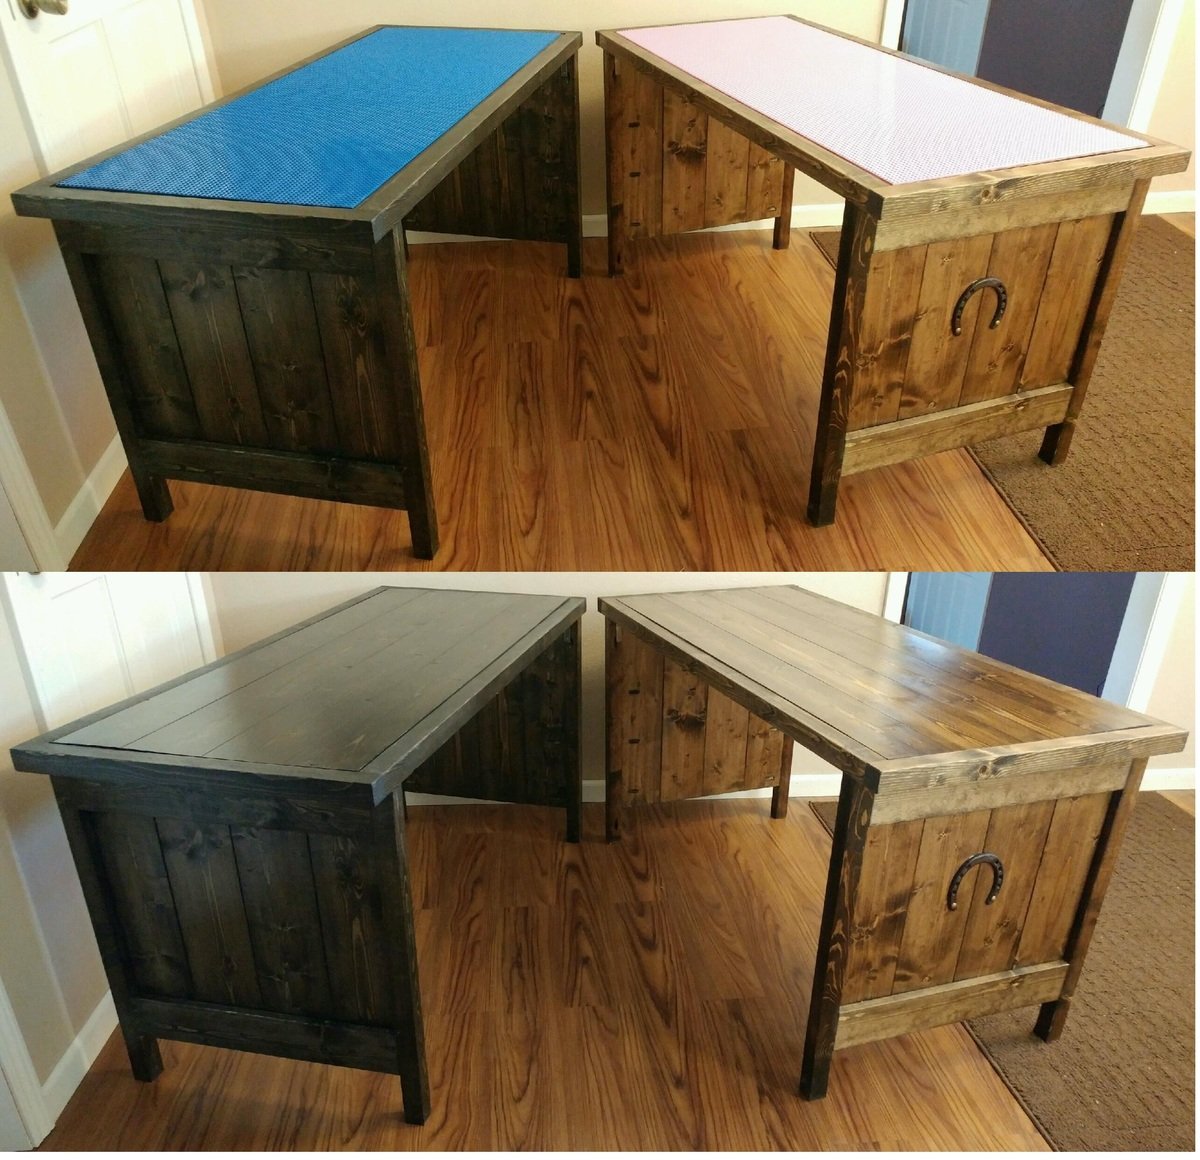
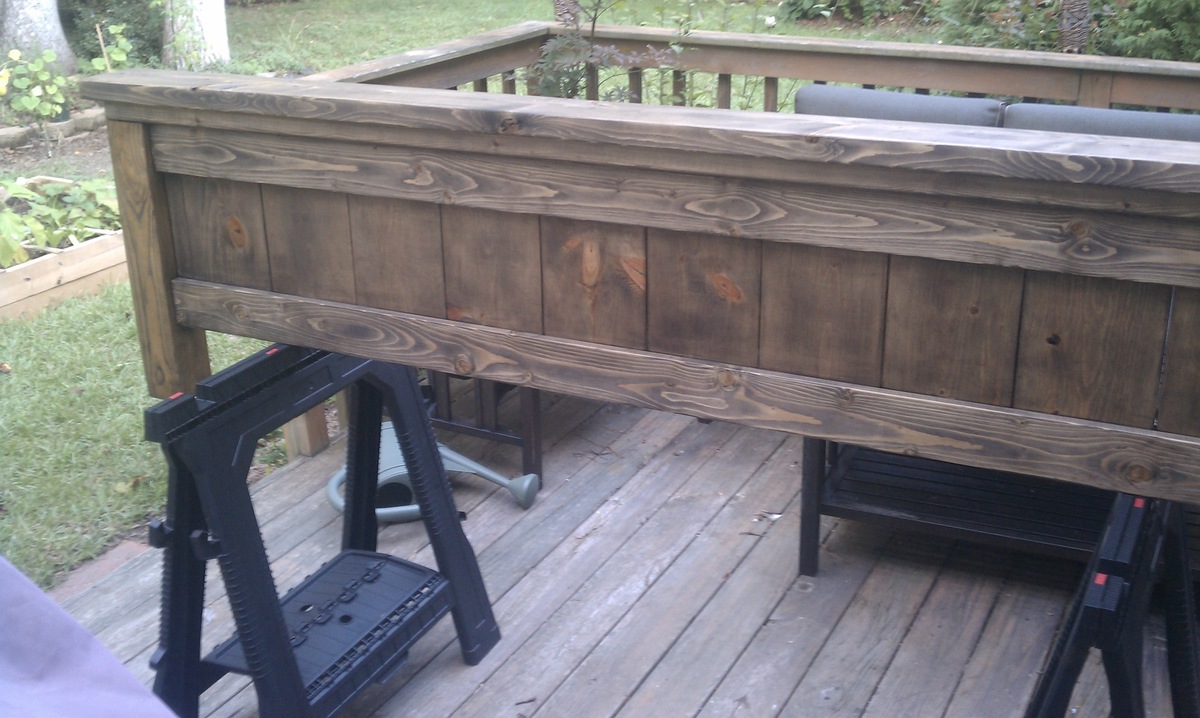
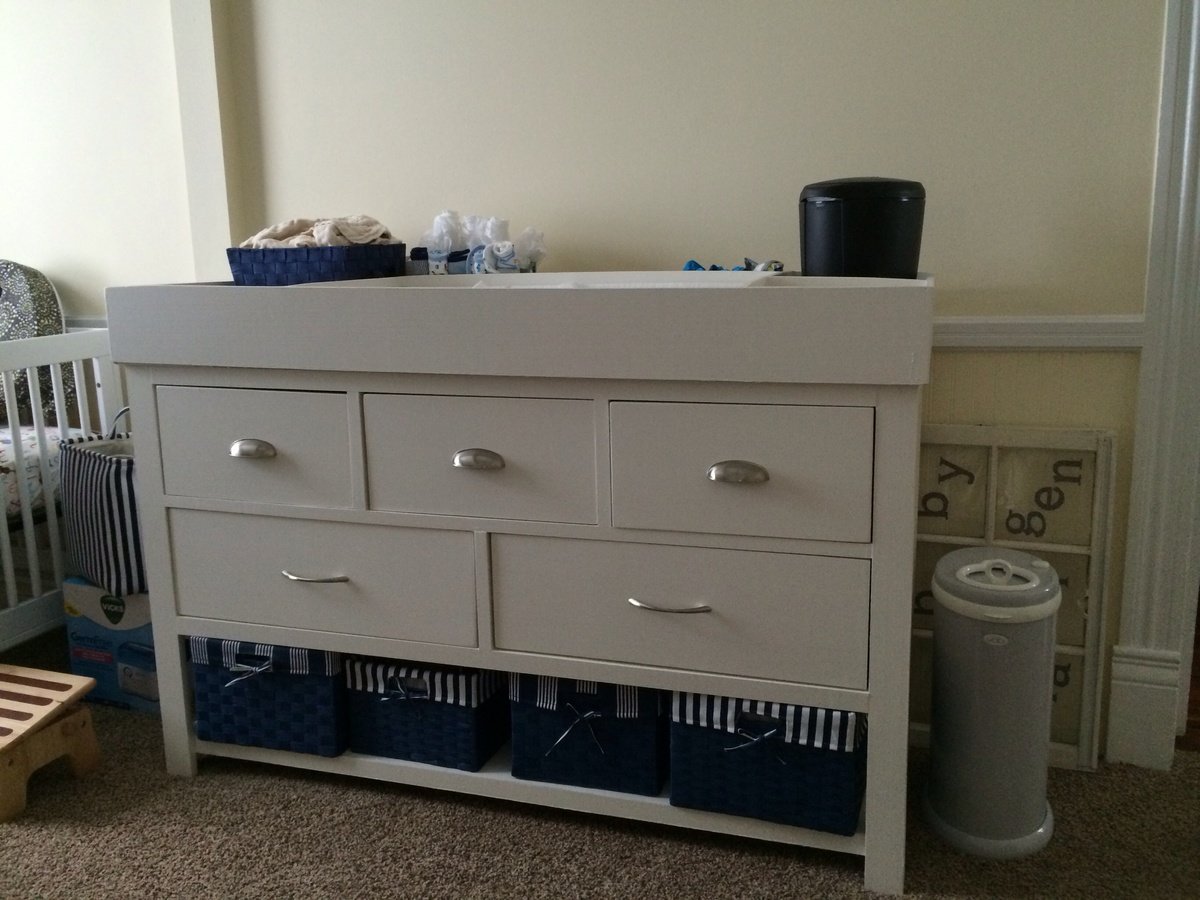
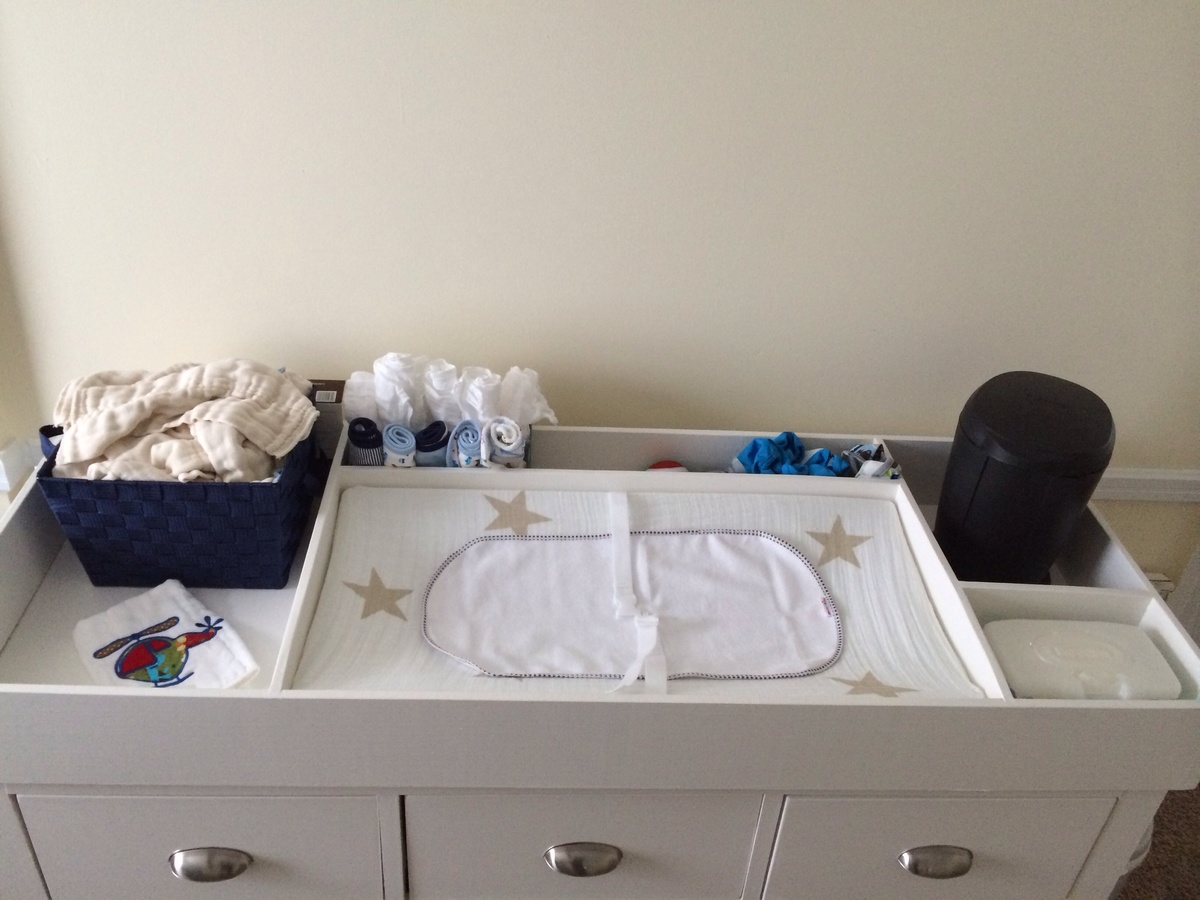
The table top is reclaimed lumber i salvaged from an old skid at an old job. Ive had them for years and finally was able to put them to good use rather than just burn them. (id still say thats good use.) The shou sugi ban inspired techique of burning and carving the char out has been a favorite of mine, and so I attempted to use it in this project. However because of this, the project also took more time than it probably should of. As a result though this table has a good contrast and texture to it. I also love the feeling of a "real" product and this table defiitley has that feel.
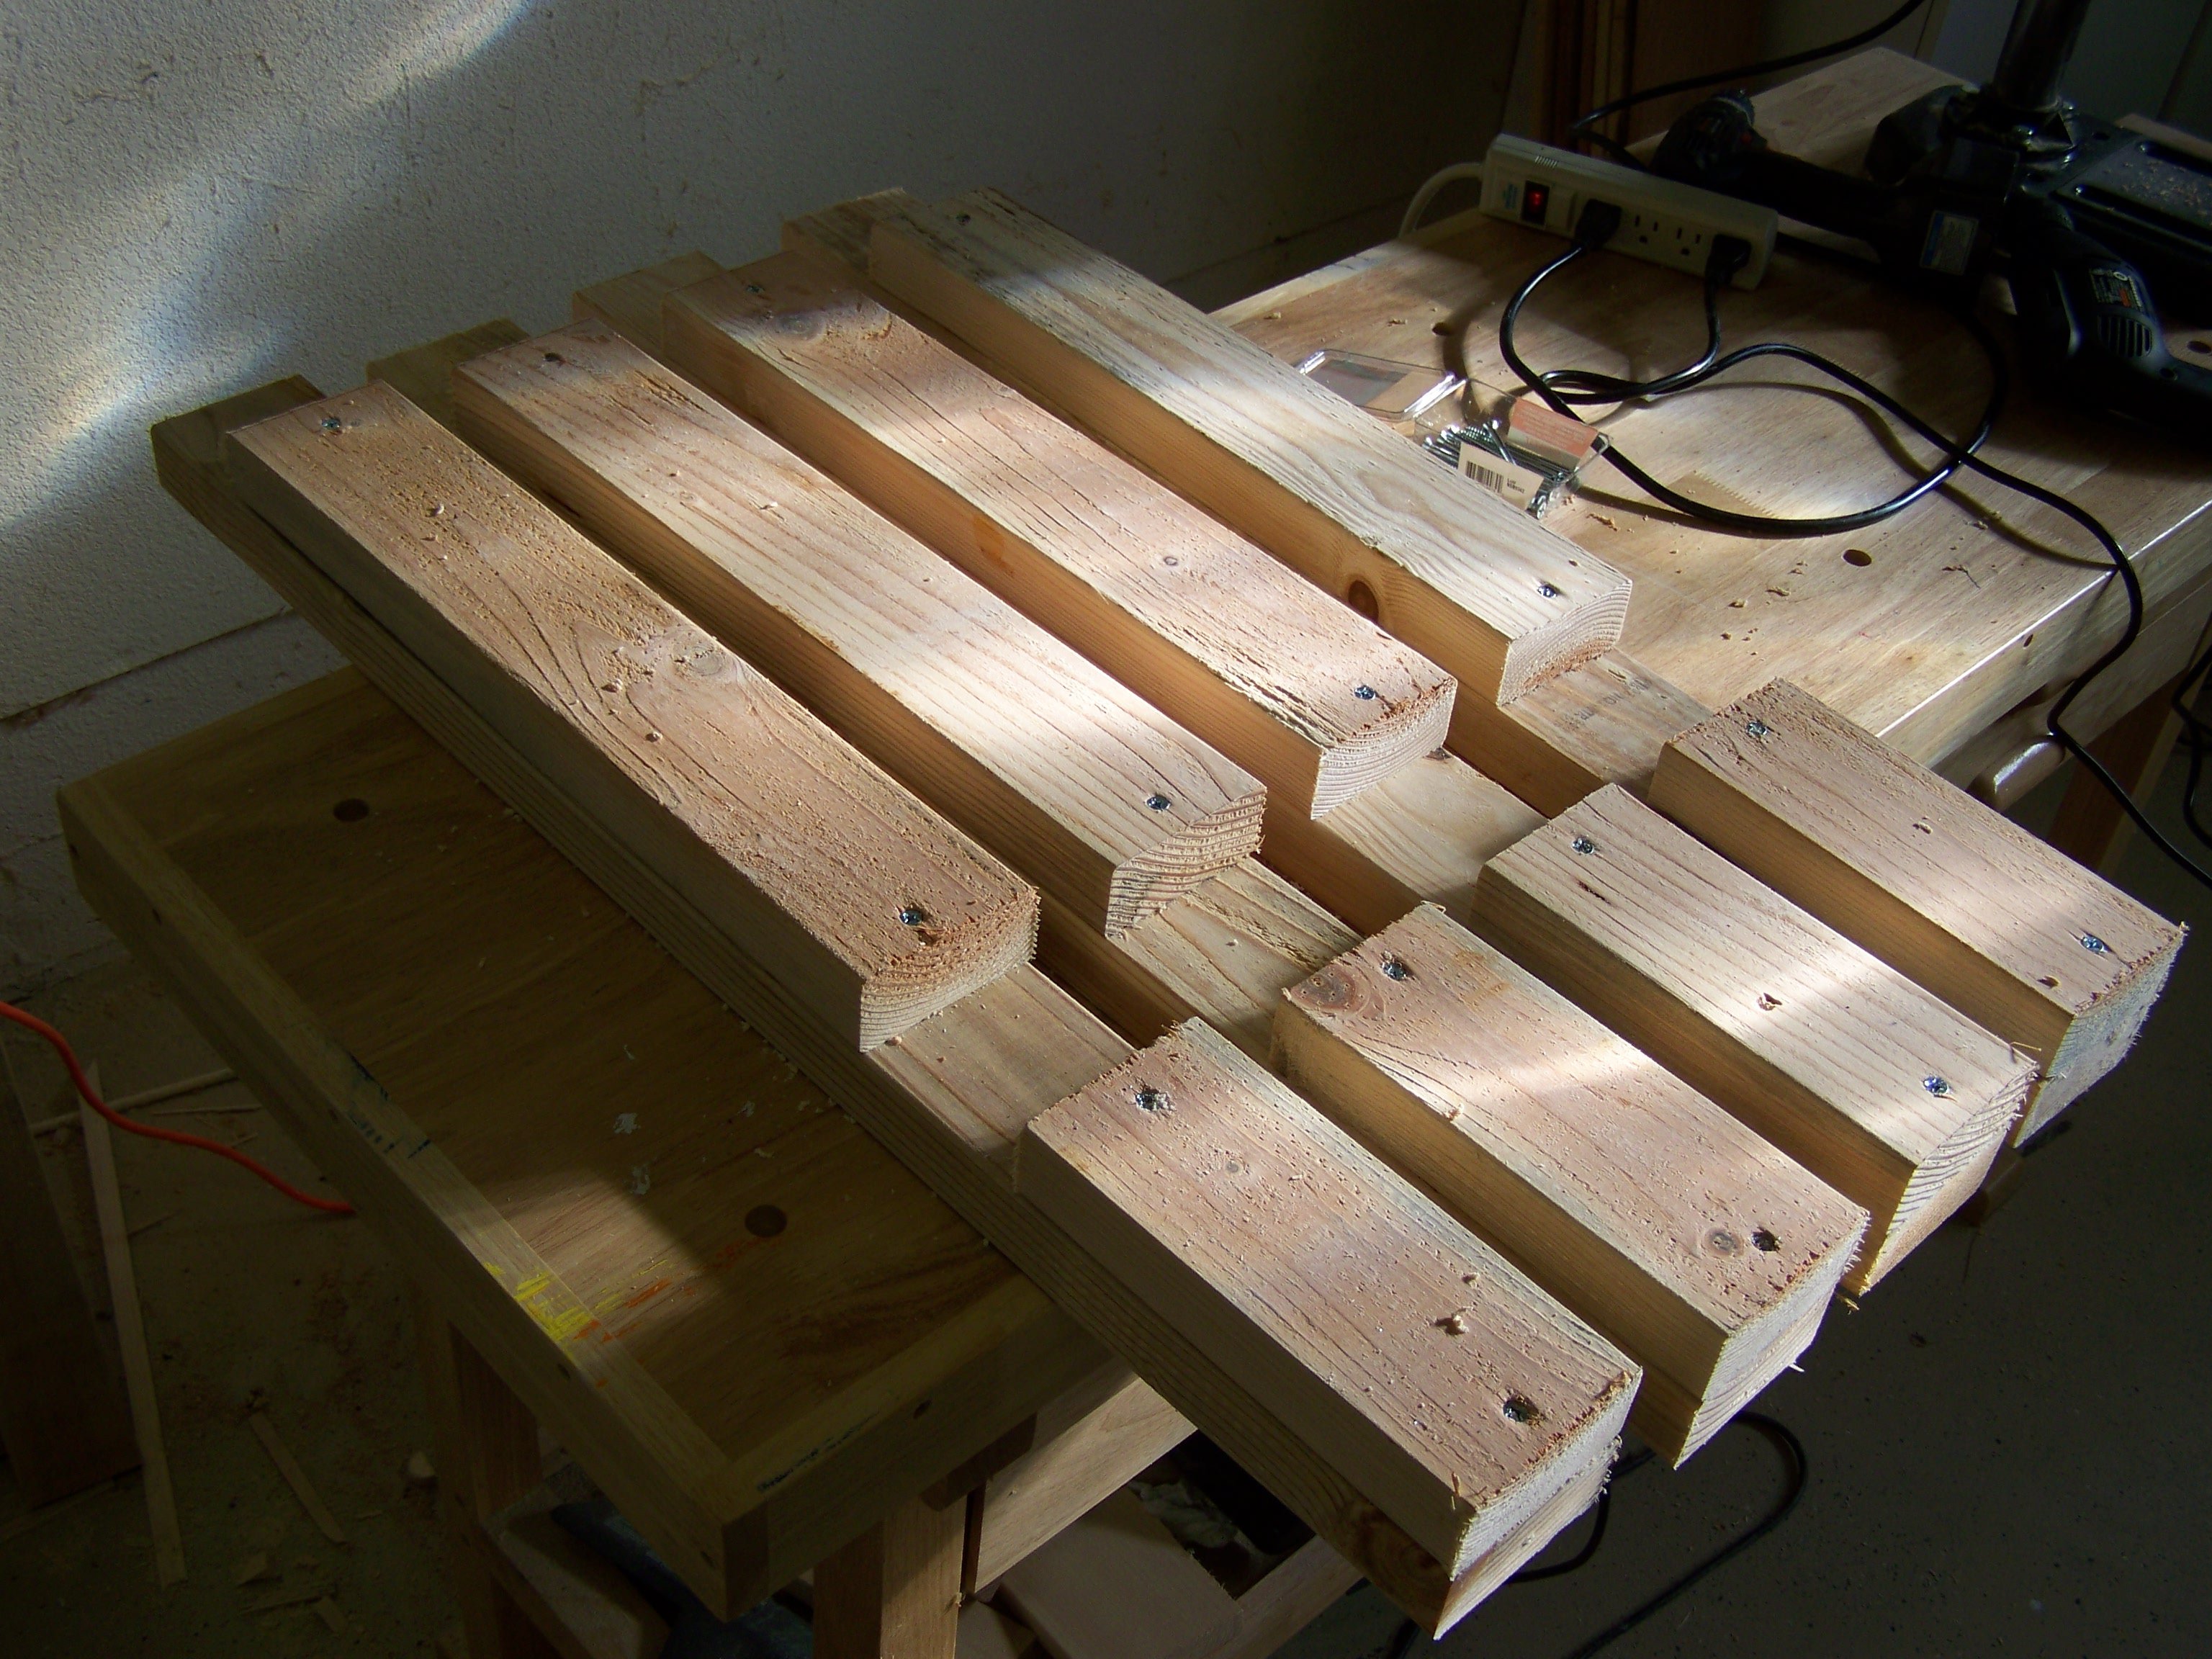
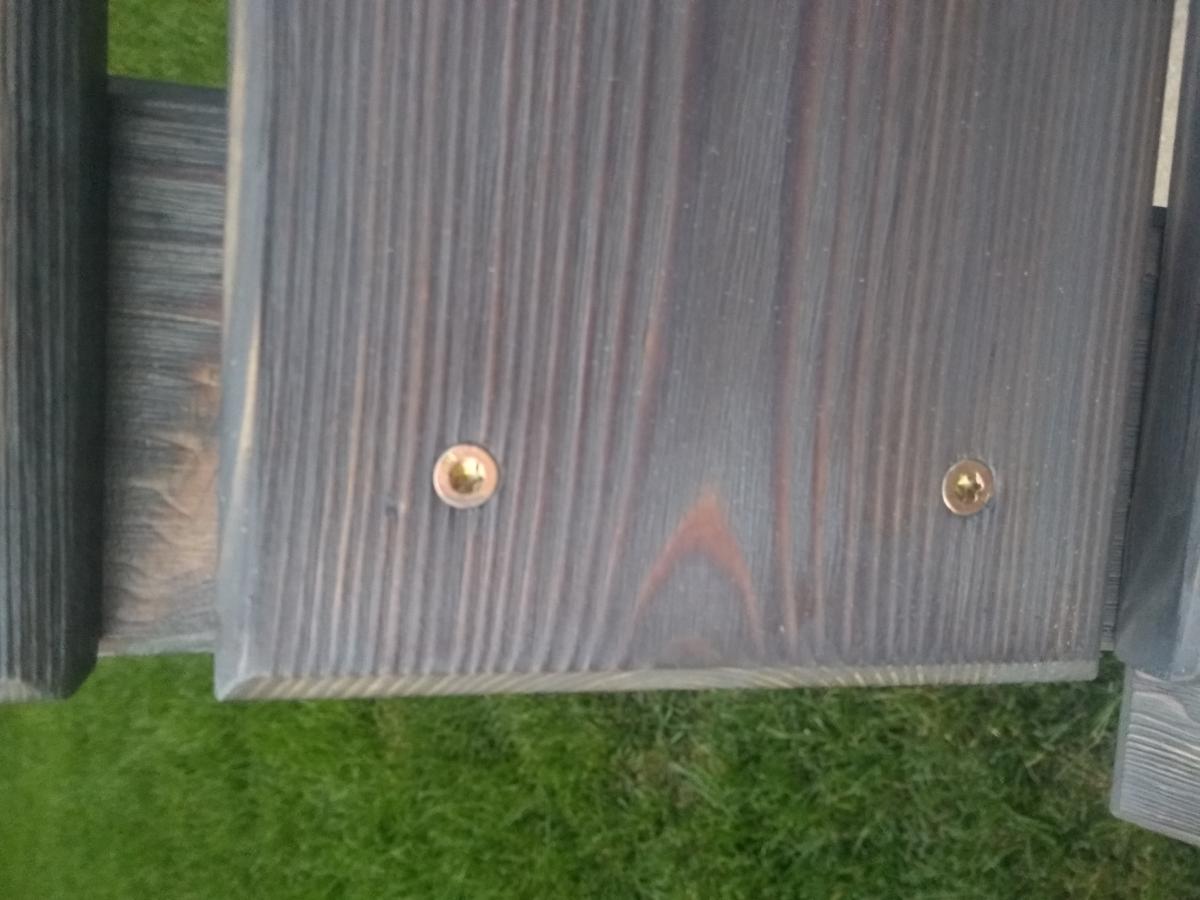
I found myself in a few different situations that I had learned from. I didnt want to have my screws visible in this table, and I didnt realize that until I had already put some of them in. I dont have a stainable wood filler so the task was on to find a way to fill these holes, and make them a little less noticeable. I settled on woodglue, char from when I carved out all the boards and some Ebony stain I had laying around. the result was something that burned decently and somewhat seemed like it belonged. It blends well enough with the darks in my opinion.
Overall I learned alot from this and am already beginning my next one. Thanks again to Ana White and the community. And thanks to all who took the time to read my long babbling post. Happy building!


Comments
booksnotbombs
Wed, 08/20/2014 - 09:51
I love this! It looks great
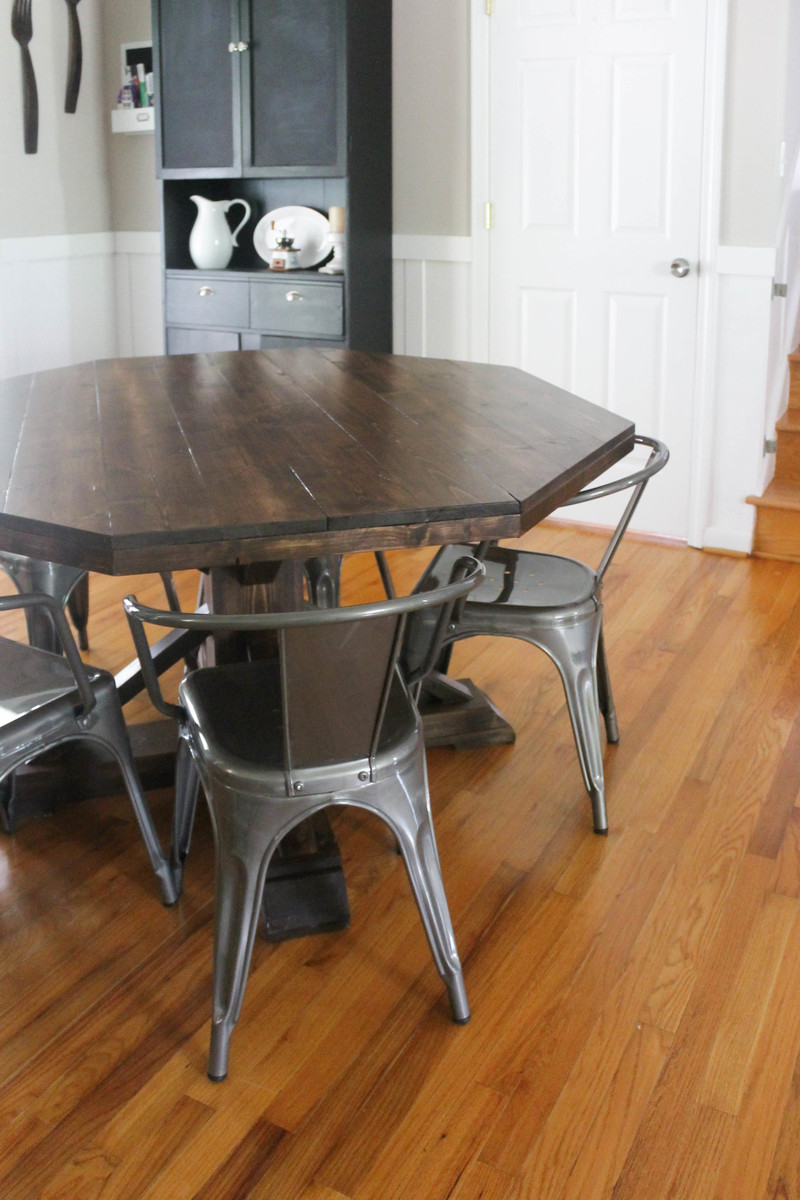
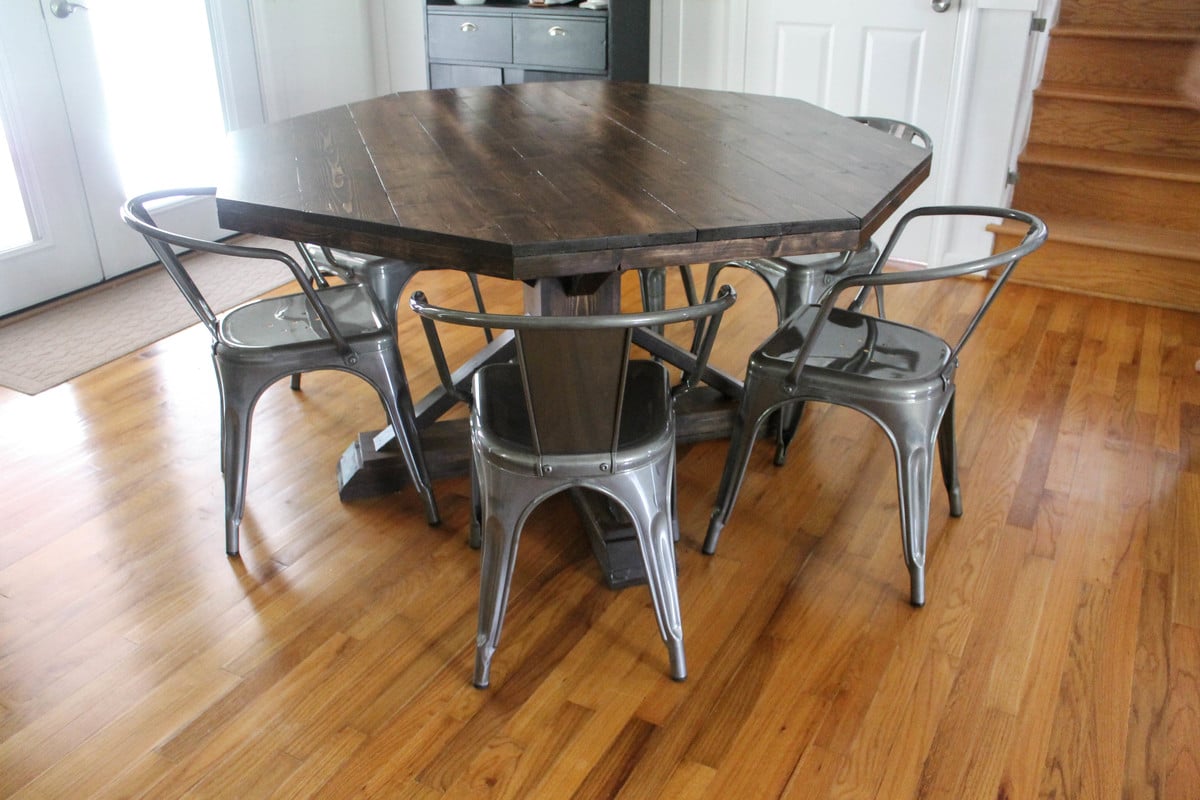
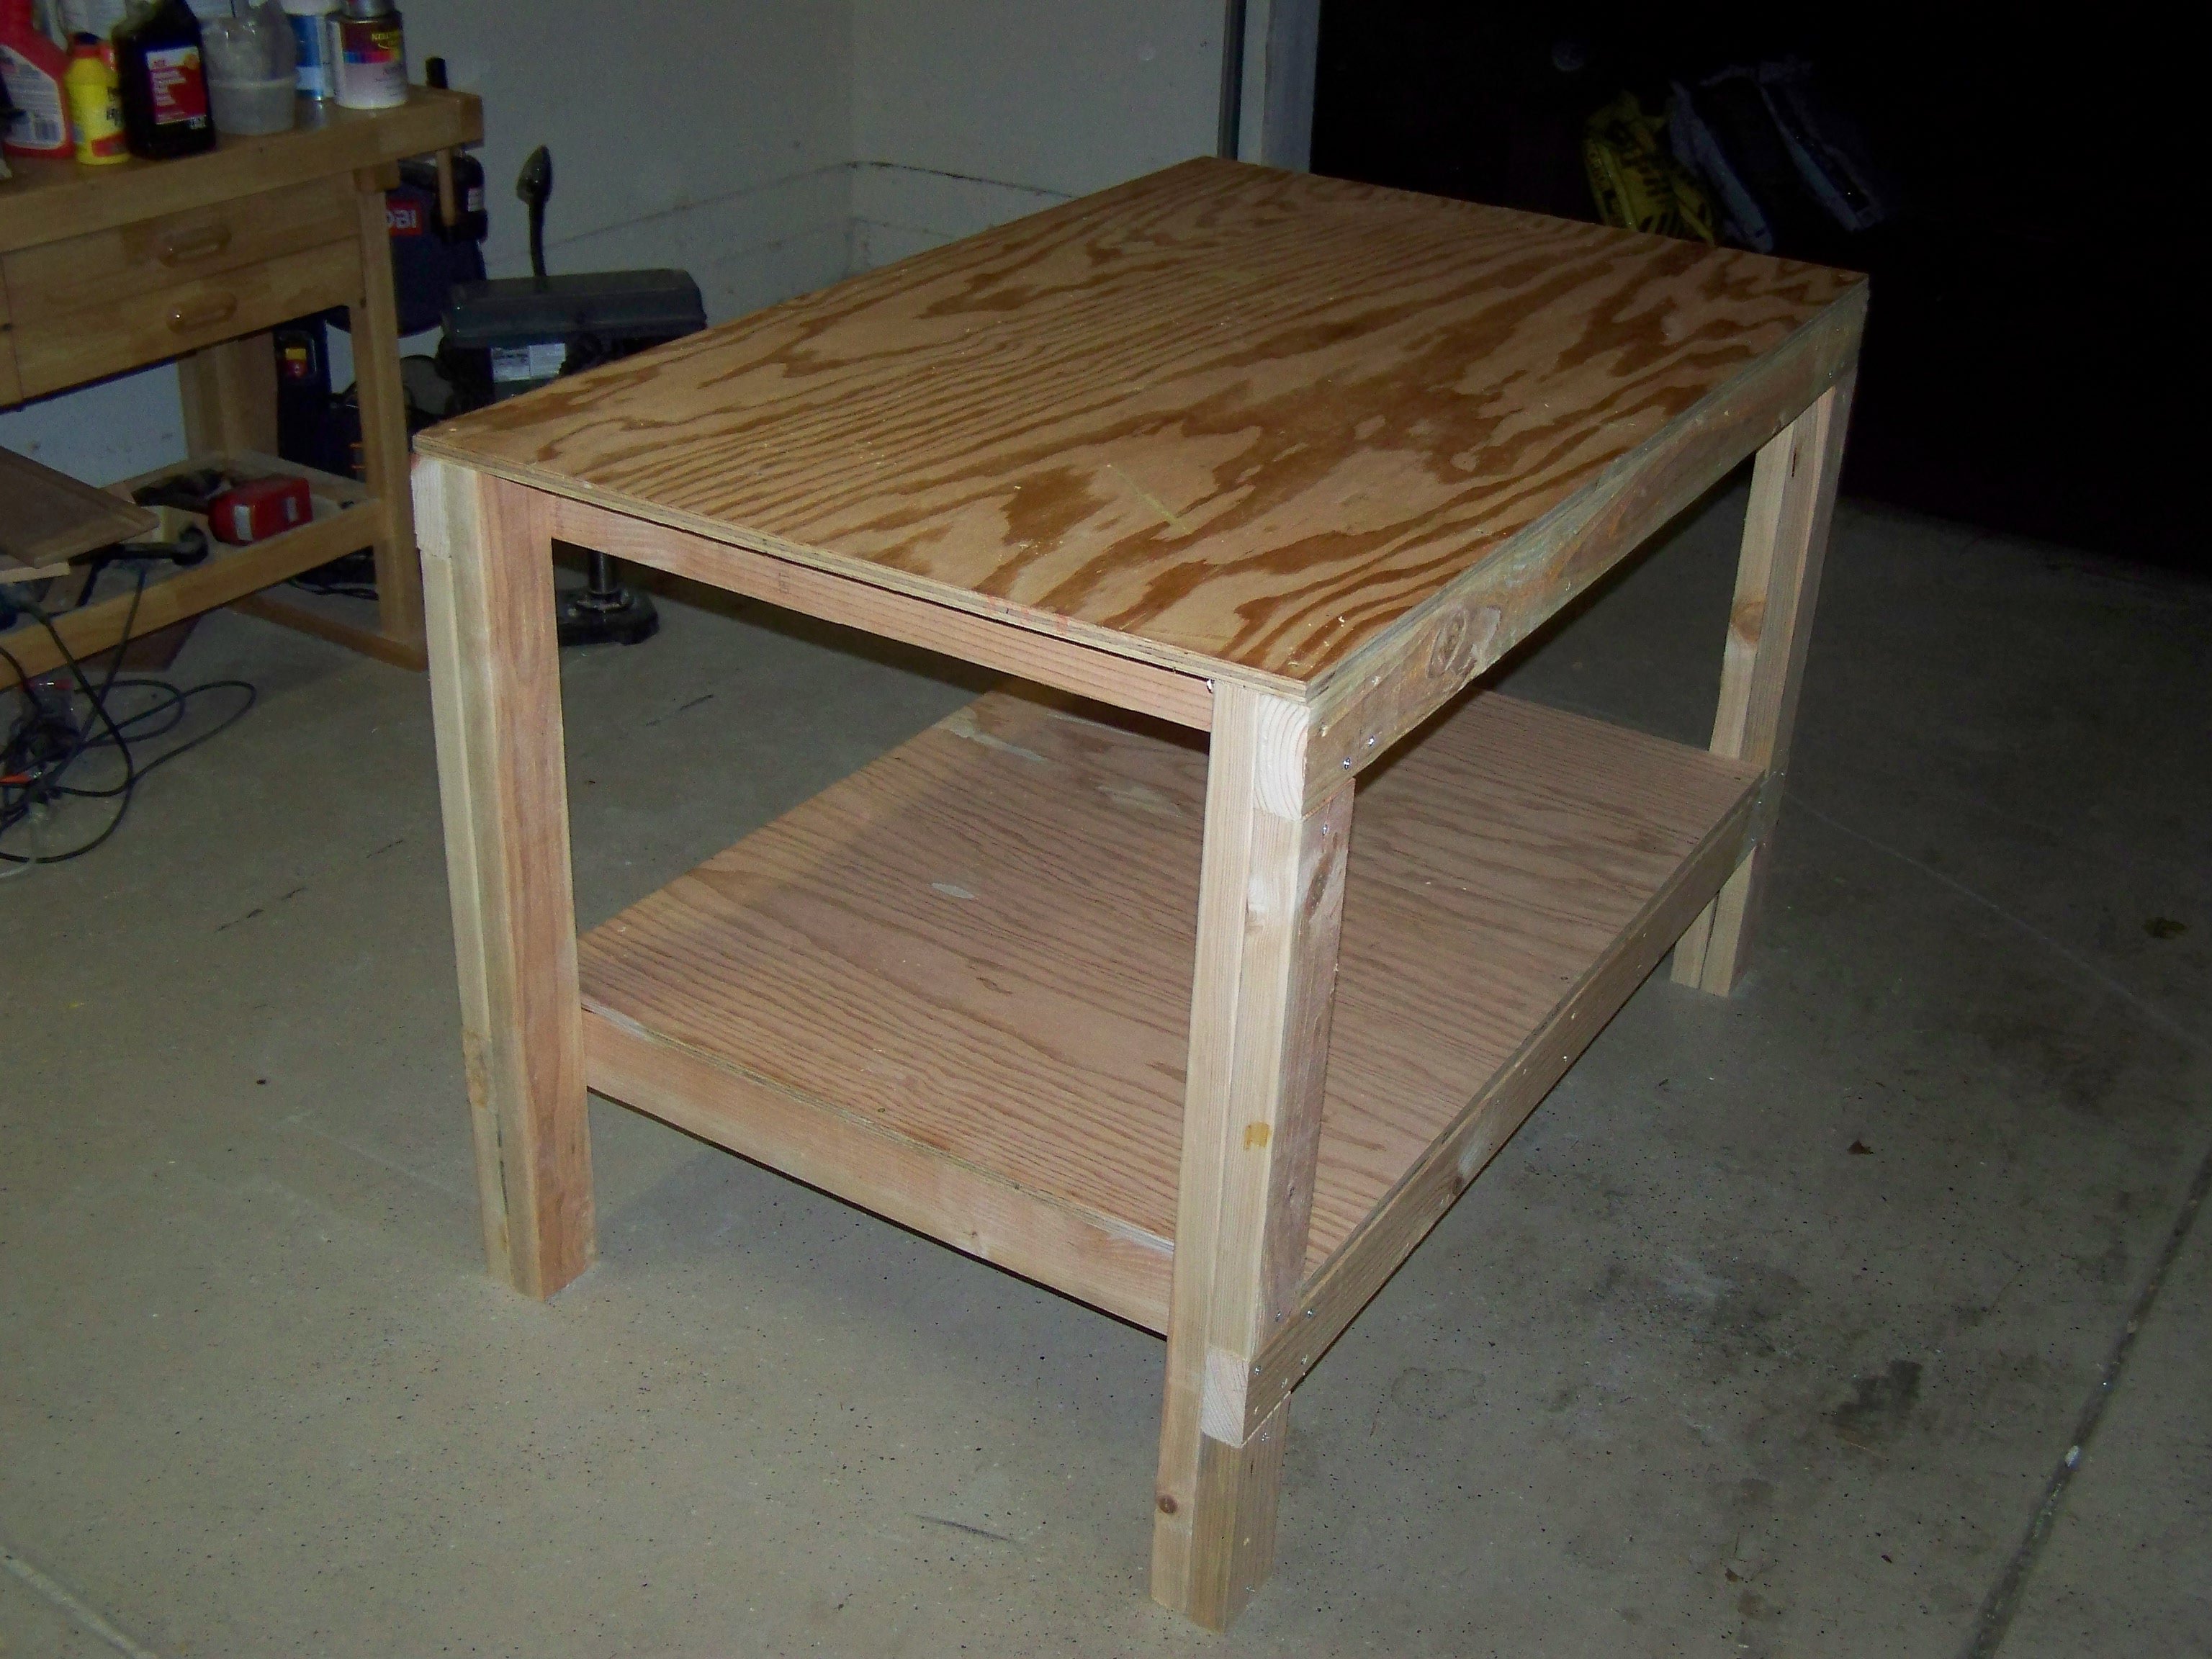
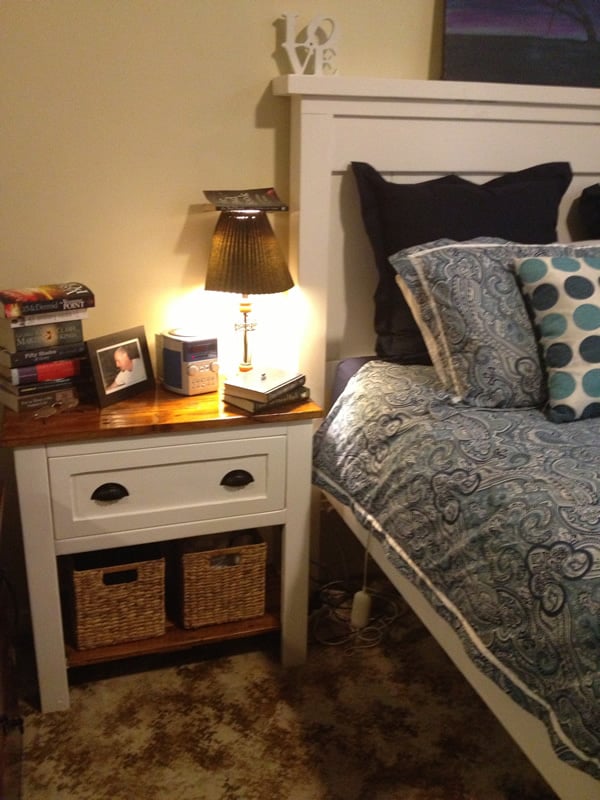
I love this! It looks great and sturdy (and heavy! lol). just curious, where did you get your chairs?
In reply to I love this! It looks great by booksnotbombs
Down Oxford Street
Wed, 08/20/2014 - 17:50
Thank you! I got the chairs
Thank you! I got the chairs from Target from the carlisle collection. :)
booksnotbombs
Thu, 08/21/2014 - 07:40
Thank you for the reply! We
Thank you for the reply! We have a beautiful old solid wood turned-leg farmhouse table (and matching chairs) that has been in my family since the 60's that needs to be refinished, but it just isn't our style. So we're thinking of building our own in our more modern style but would have to get chairs to accompany it. I LOVE these, so I think we've found our new chairs! I hope our table turns out as beautiful as yours.
I still have plans to refinish the old table and pass it along to someone who will show it as much love (aka abuse) as it received in my childhood...