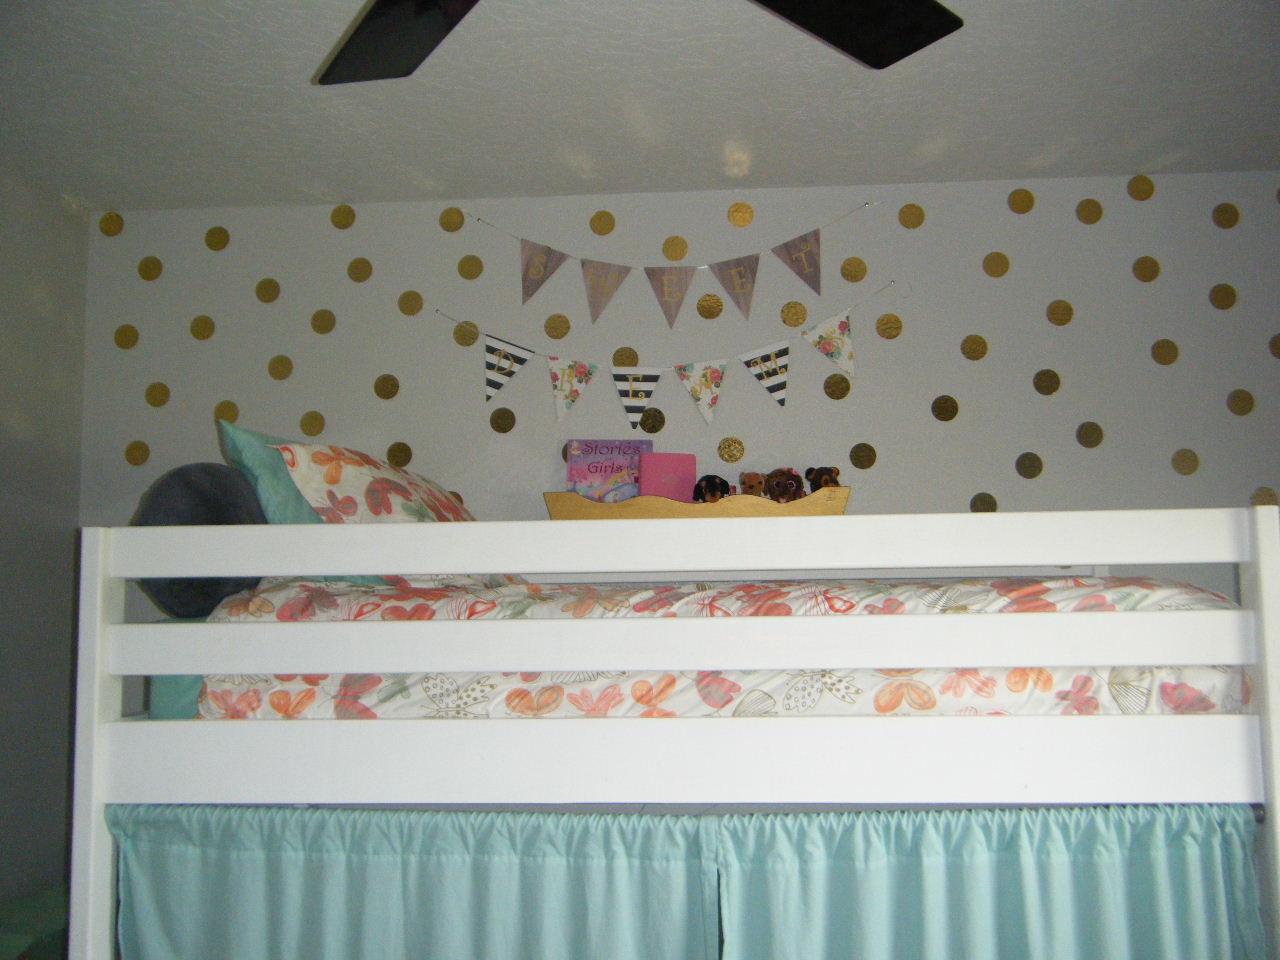
Anna White Loft Bed with Stairs
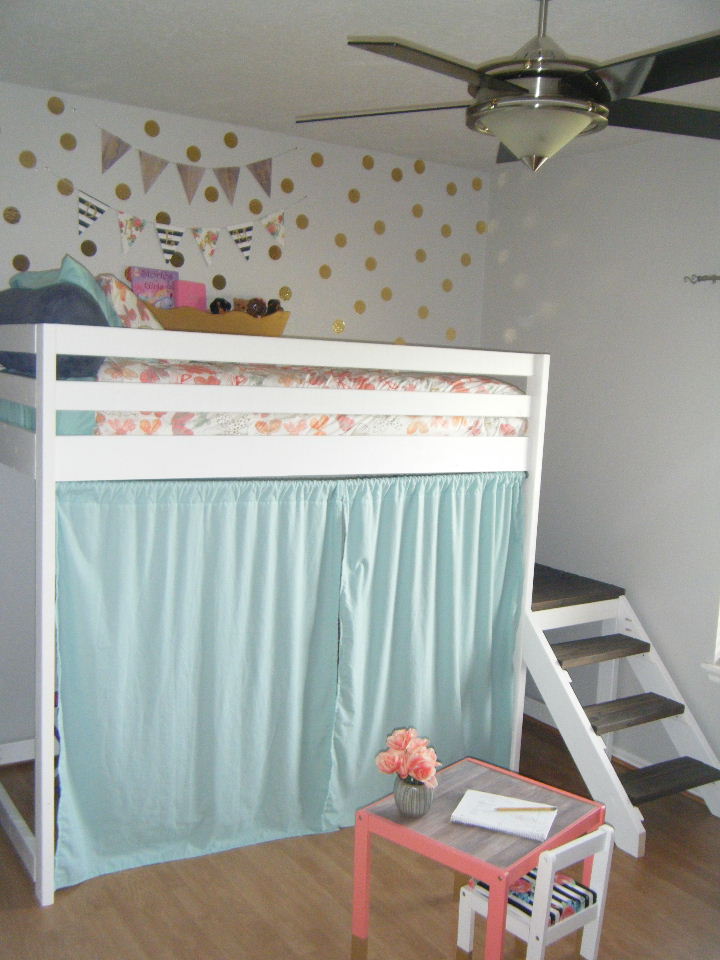
I just want to thank Anna for inspiring me! I would've never thought that I could actually build my daughter a loft bed from scratch if it hadn't been for this website! This loft bed took about 3 weeks to build but the reason why it took me that long is because I did it in my spare time which was a couple of hours each alsmost everyday excluding the weekends, also this was my first time using my husbands table saw and drilling pilot holes but once I got the hang of it everything went smoothly. I wanted to save money so I purchased the Mini Kreg Jig which is about $20 from HD and let me tell you it is a must when your drilling pilot holes. I purchased my lumber from HD as well. It took me about an hour to pick out the wood. I decided to paint the loft bed with DecoArt Enamel craft paint because it's non-toxic, the paint cures into a hard finish, no primer, I didn't have to sand in between coats, or put a protective finish. It also dries fast. I put 3 coats. This paint can get pricey if you pay full price but I just used a coupon everytime I went to Hobby Lobby. I used a tea, vinegar and steel wool mixture for the stairs, again because it's non toxic. I also raised the height of the 2x4 posts 6 inches so my 7 yr old daughter could walk under there without hitting her head. I'm so glad I decided go for it! Thanks again ANNA!
Kreg Jig $20
Paint $35
Homemade stain