Farmhouse Potting Bench
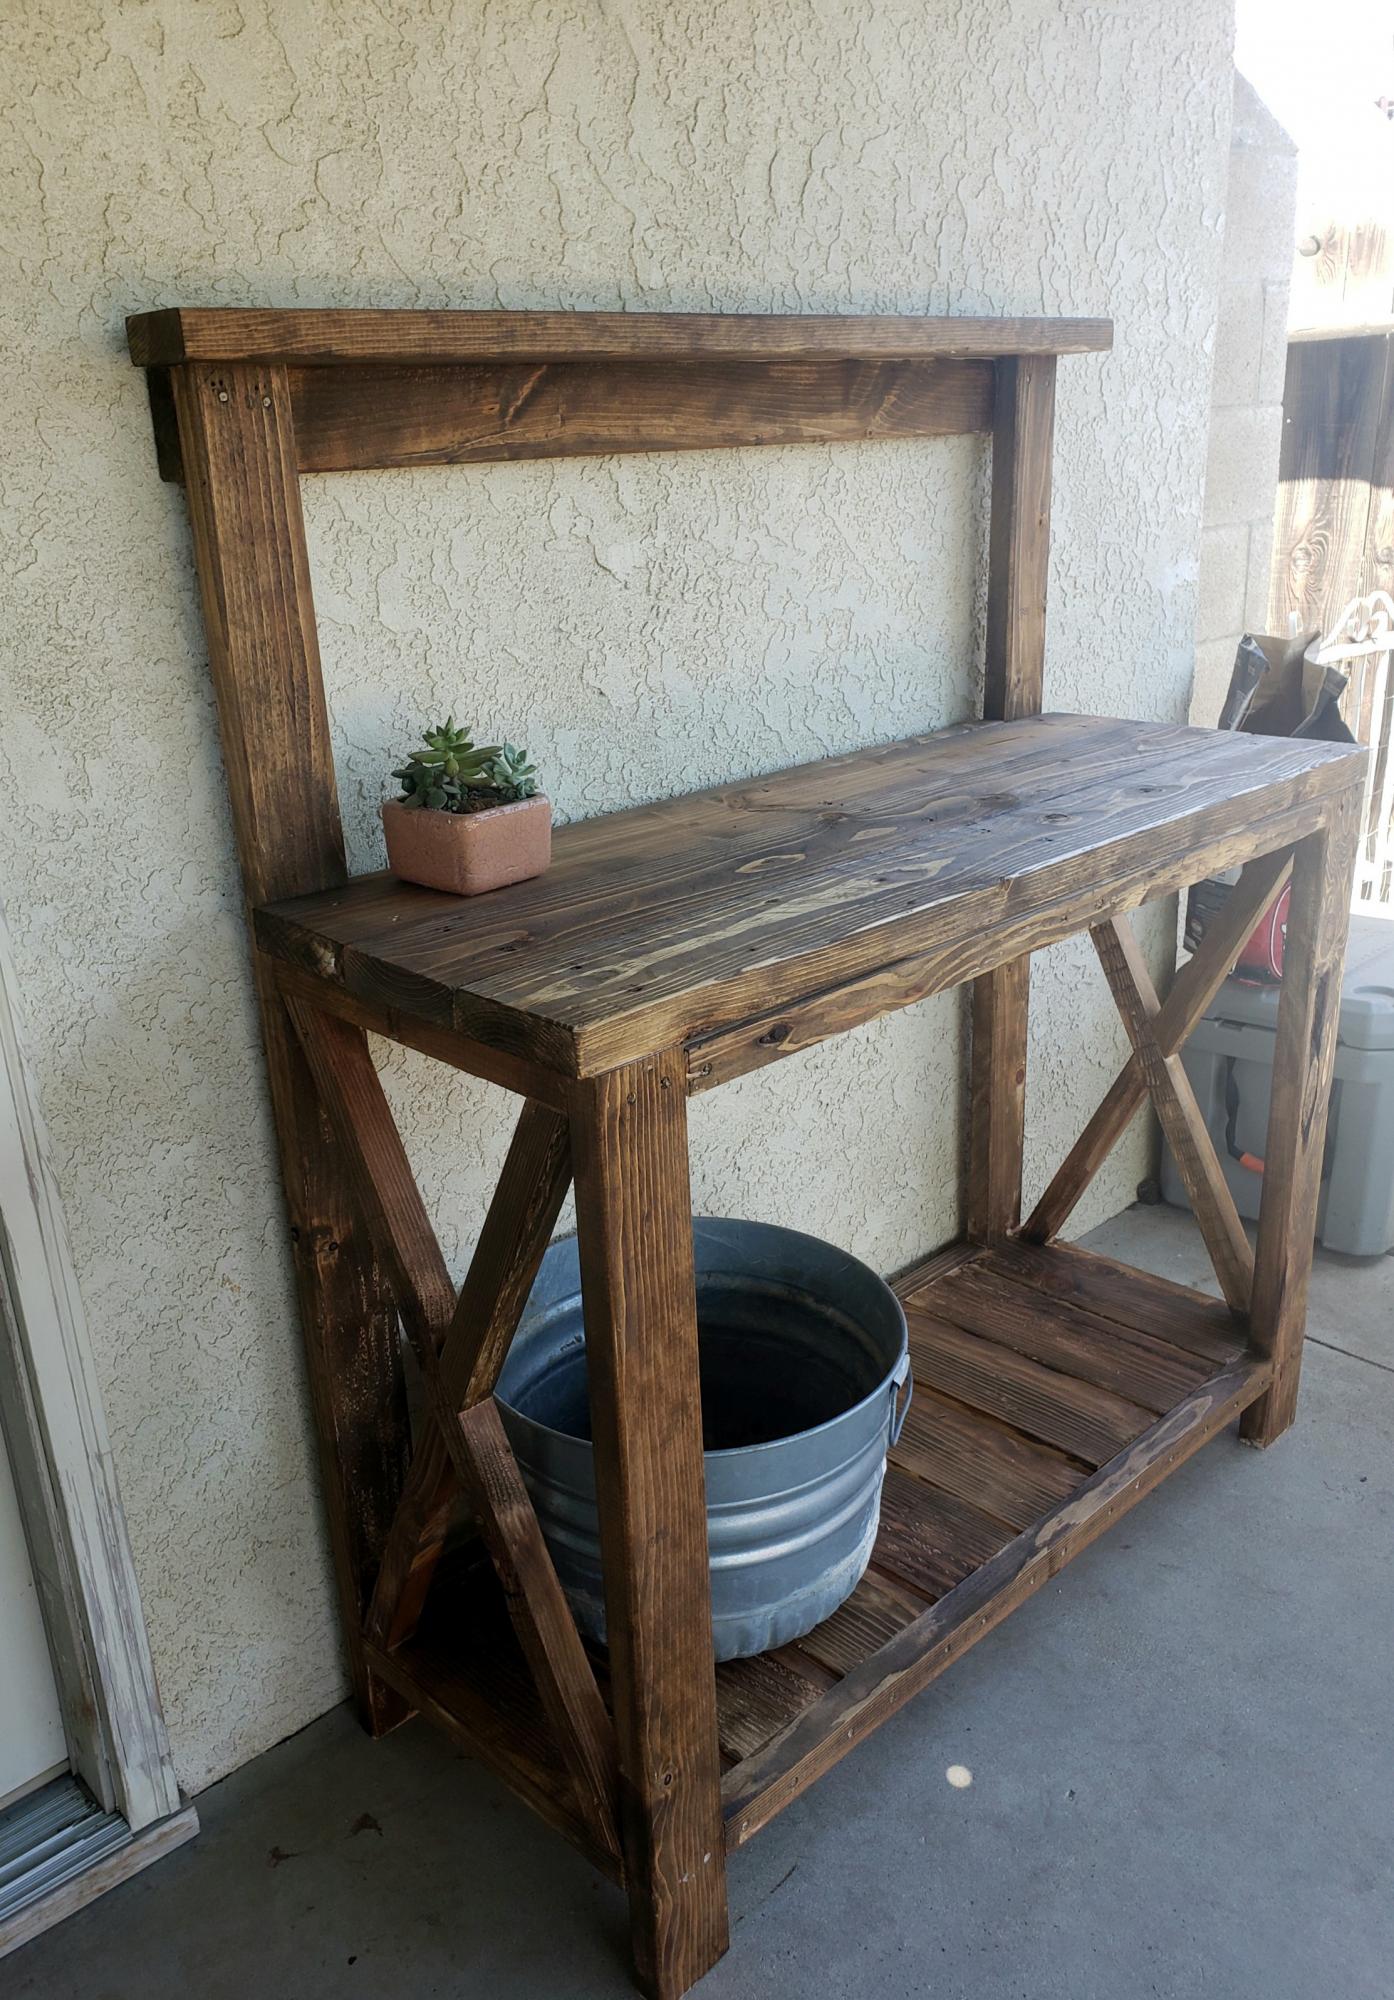
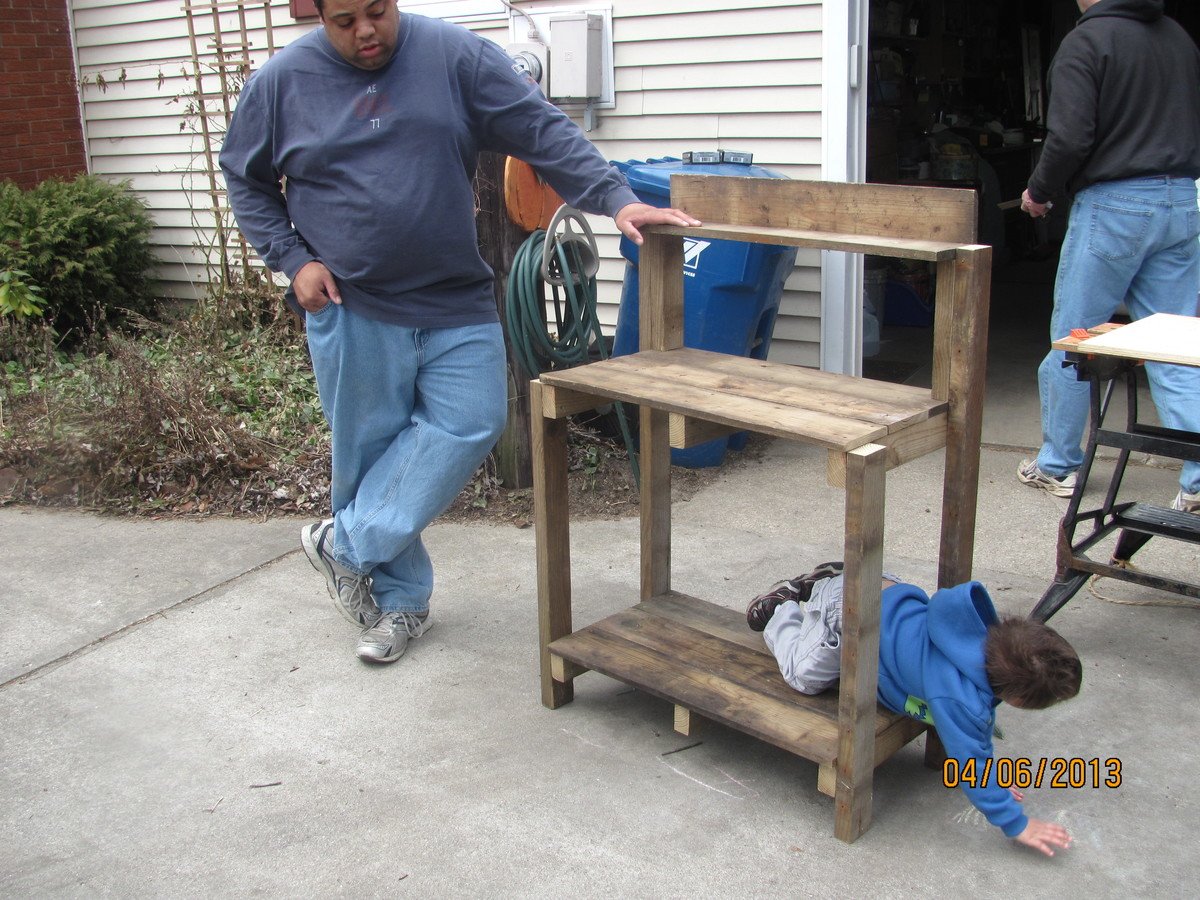
This was my first ever project! I decided to build myself this for mother's day. I'm very proud of my work and can't wait to build more.

This was my first ever project! I decided to build myself this for mother's day. I'm very proud of my work and can't wait to build more.
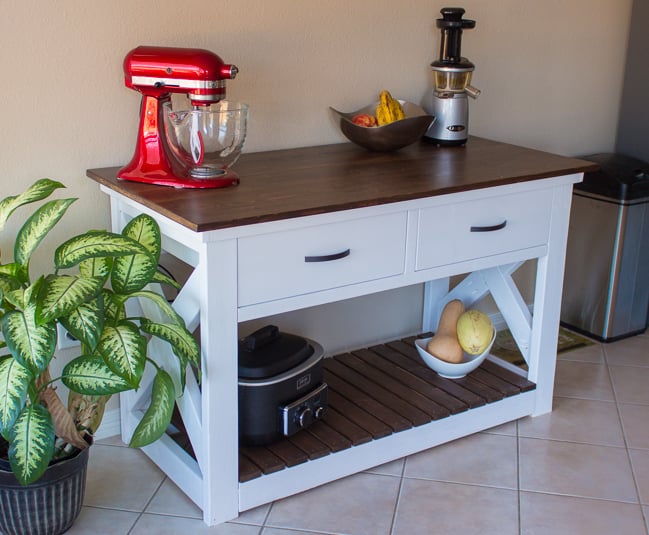
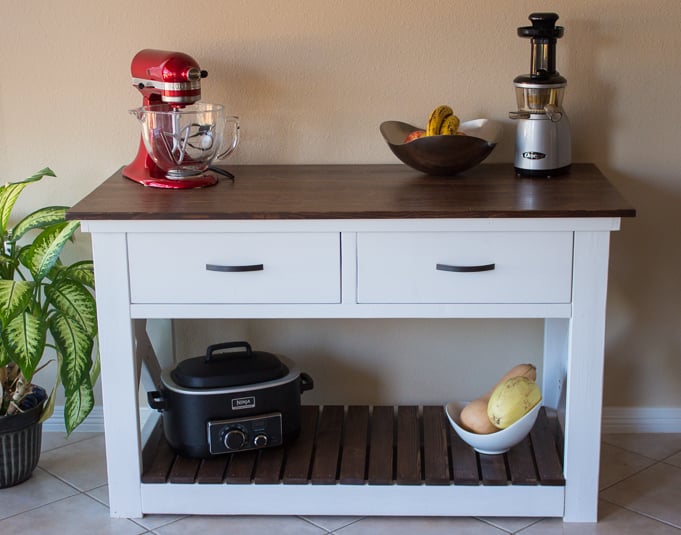
We changed the plans for this kitchen island a bit to best suit our needs. We removed the middle shelf and the bottom half of the center divider in order to create a large, open area for storage. We also extended the bottom slats to the full depth of the island, or 21".
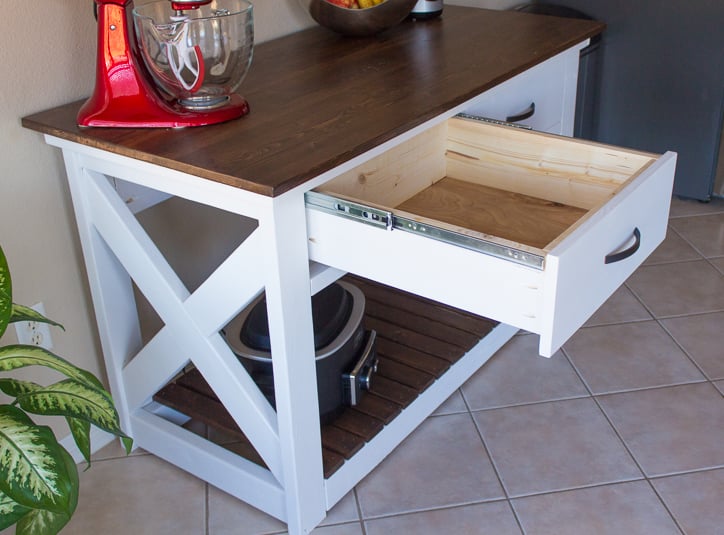
The drawer depth was also increased to the full depth, or approximately 20". Instead of using 2x2 cleats for the drawers, we installed 20" self-closing drawer slides from Lowe's. This allows the drawers to be fully extended as well as have a soft-close feature.
The top measures 26 1/4" x 56 1/4" and was made by securing two pine panels together using pocket holes. We couldn't find an appropriate size at Lowe's, so we purched two panels instead. After sanding and staining, it is impossible to tell where the boards are joined together.
In the future, we might distress or add an antique finish the white base. Overall, we are very happy with the kitchen island. It's wonderful to have a little extra storage in the kichen!
Thanks Ana!
-Anna
Wed, 02/11/2015 - 23:58
This is awesome! I love the colors that you chose! Nice work!

I built this to hold my son's toys, which seem to multiply by the day. It's very sturdy and has lots of storage room. I printed out the lettering on paper, put the paper on top of the wood, and traced over it hard to create an impression on the wood. I then used the feight lines as a guide to paint the name.

Used 3/4 plywood cut to nominal size instead of stock lumber. I'm a newbie so I thought it turned out great!
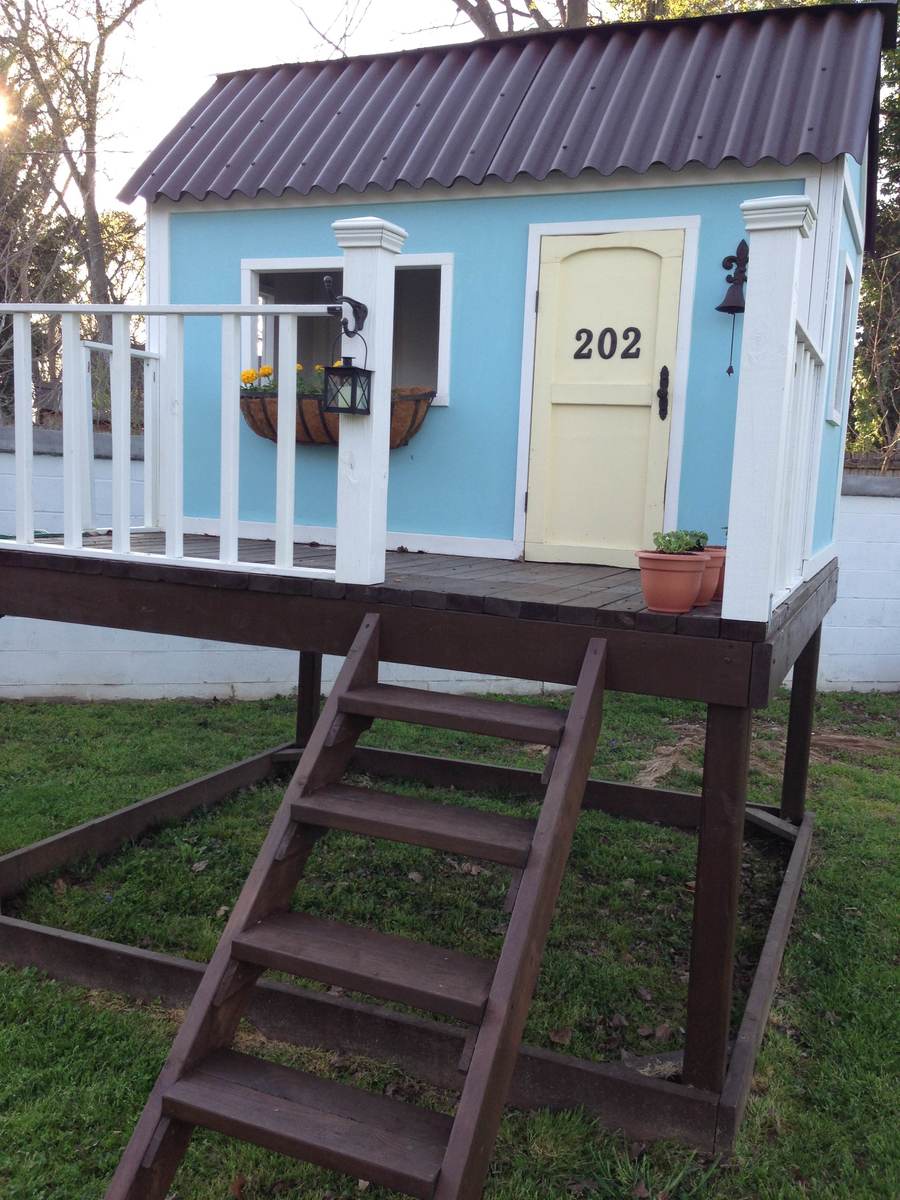
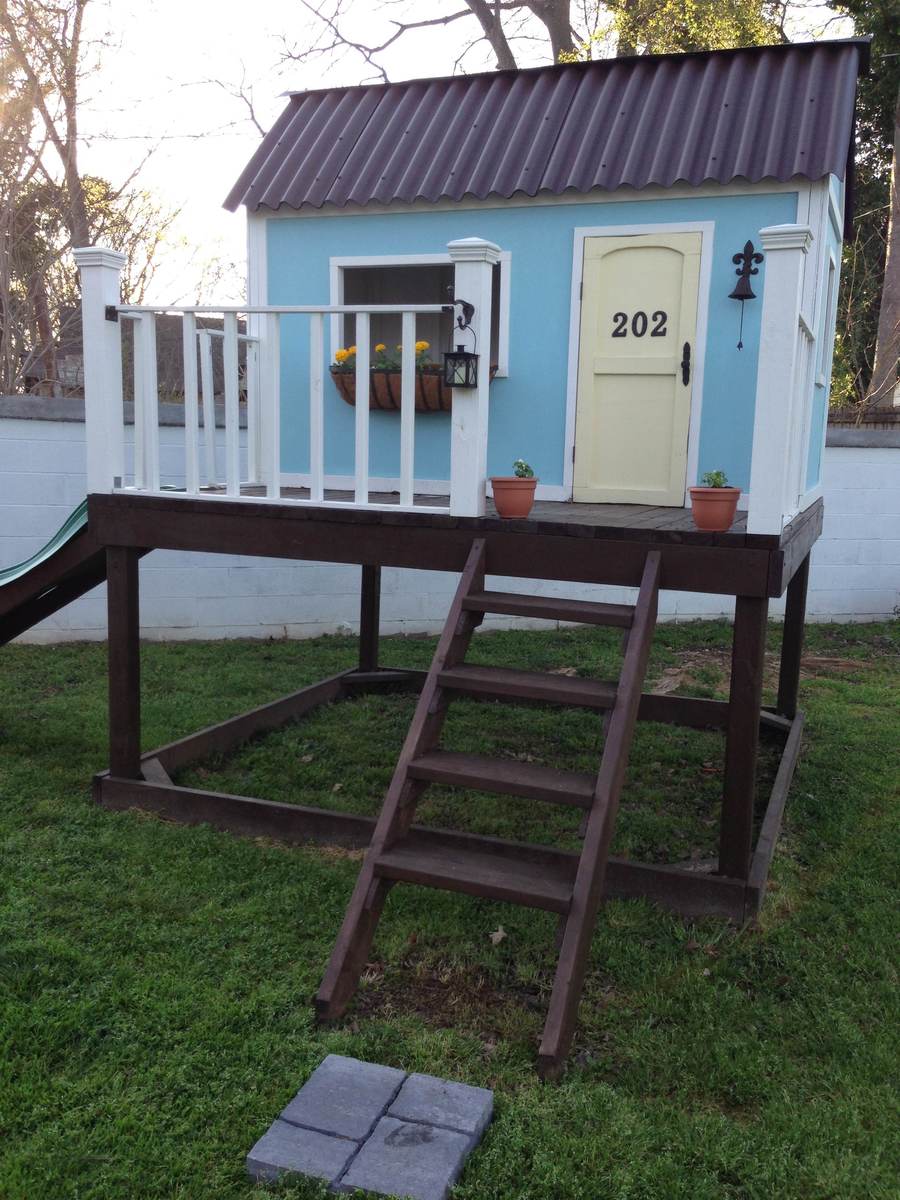
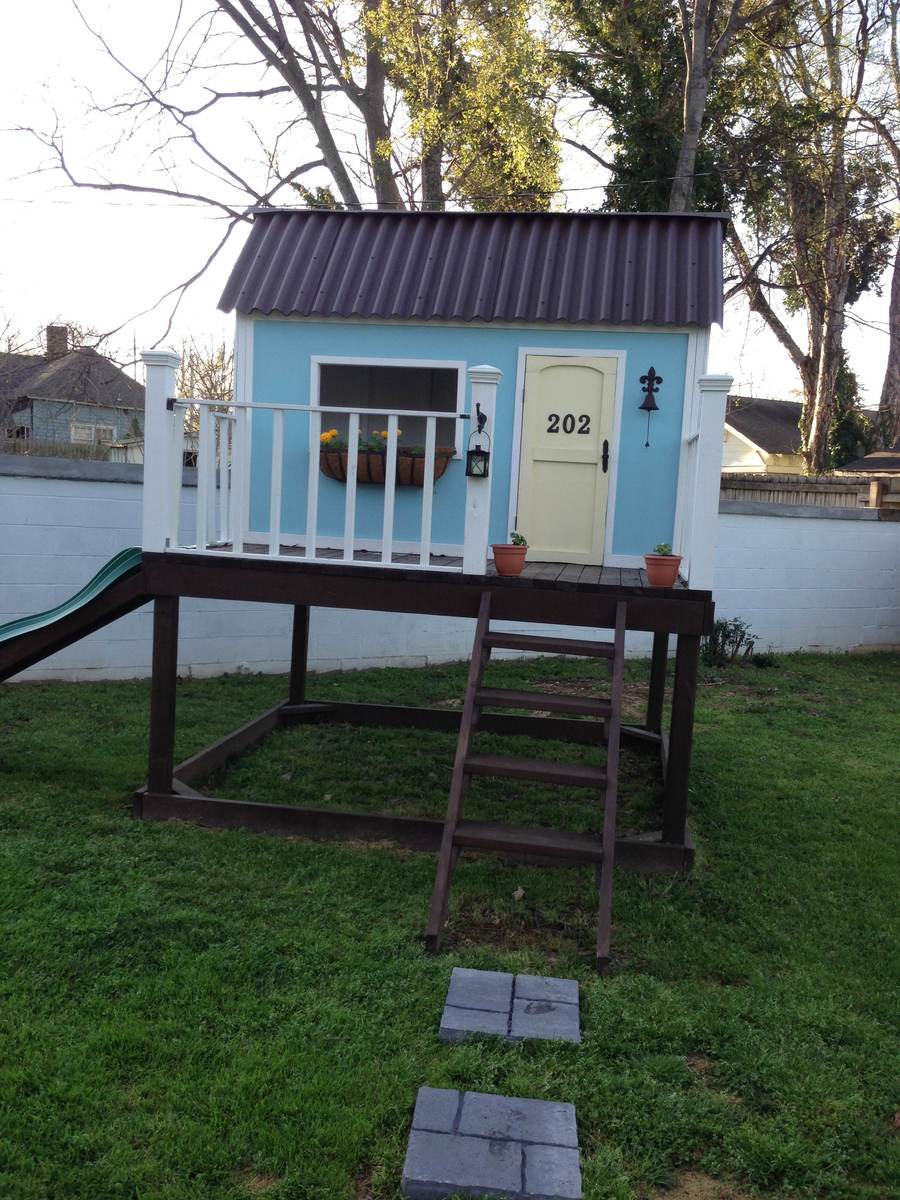
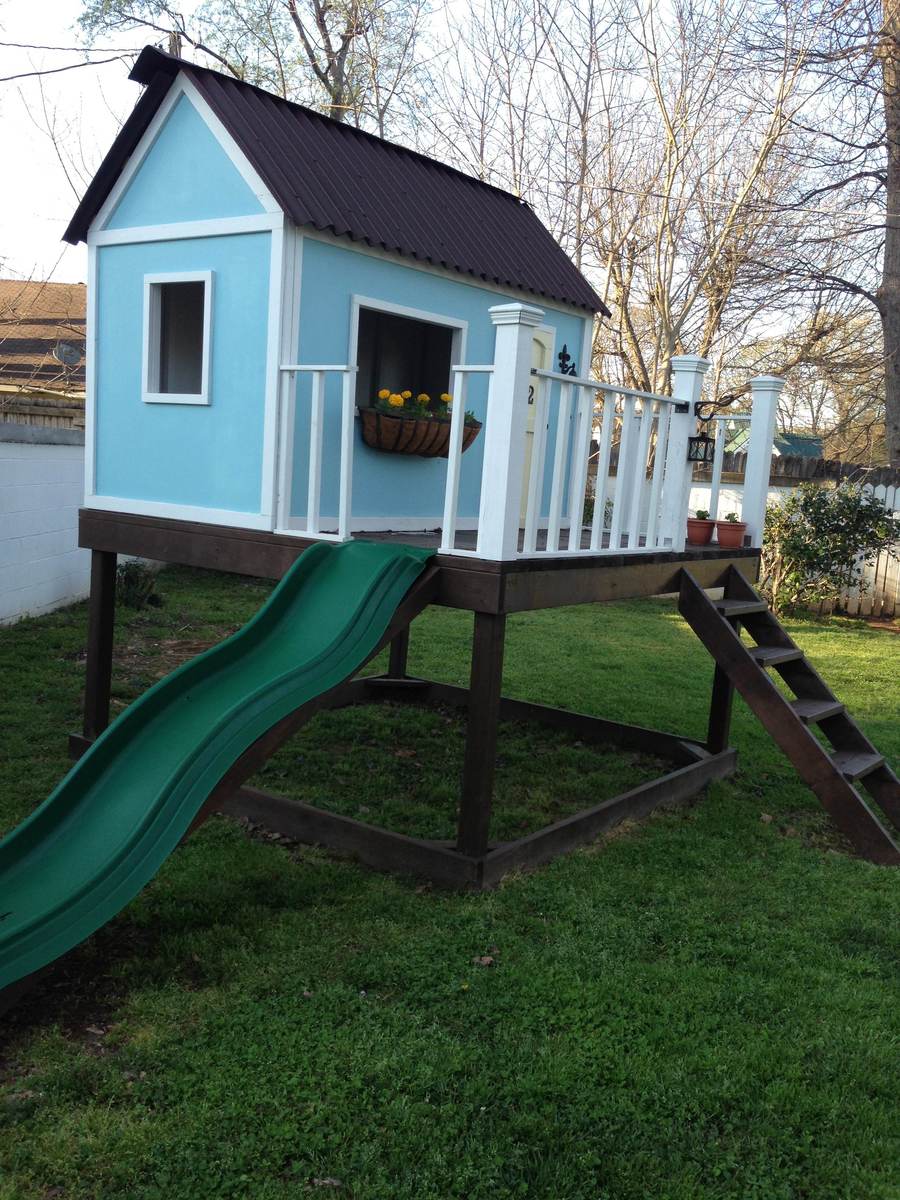
Wow! Did we ever pick a "small" project for our first build:) We had never built so much as a birdhouse and here we were building a playhouse. It was so much fun though and I'm glad that we did it. My daughter LOVES it and we are so pleased with how it turned out. We ran across a few problems due to our inexperience but nothing we couldn't overcome.

Tue, 04/02/2013 - 05:29
Aww. Thank you so much! I promise you, you can do it!!!!
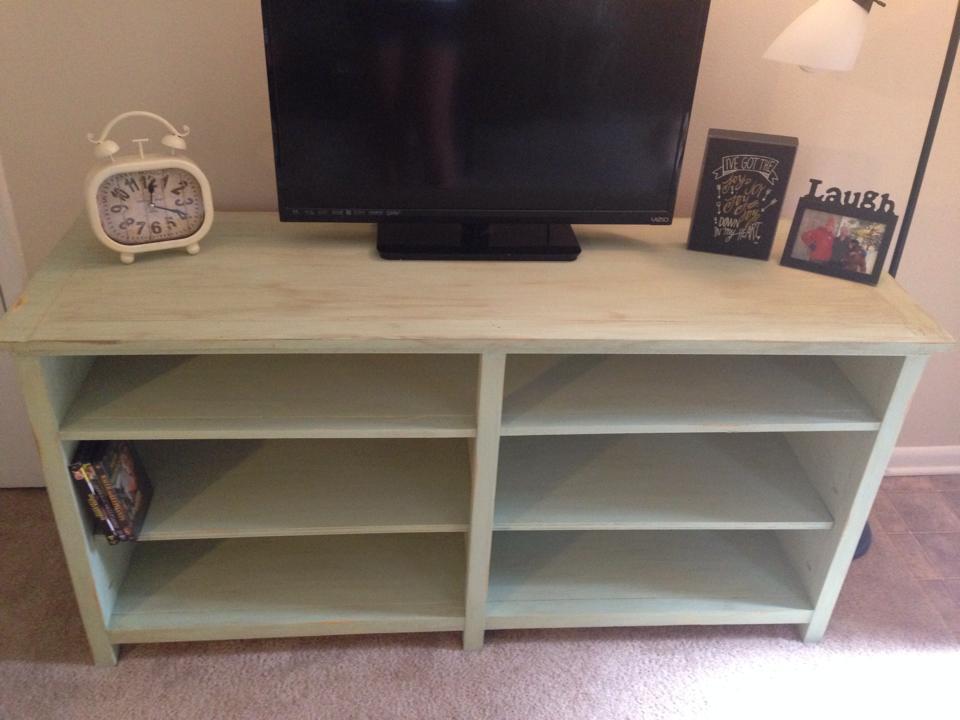
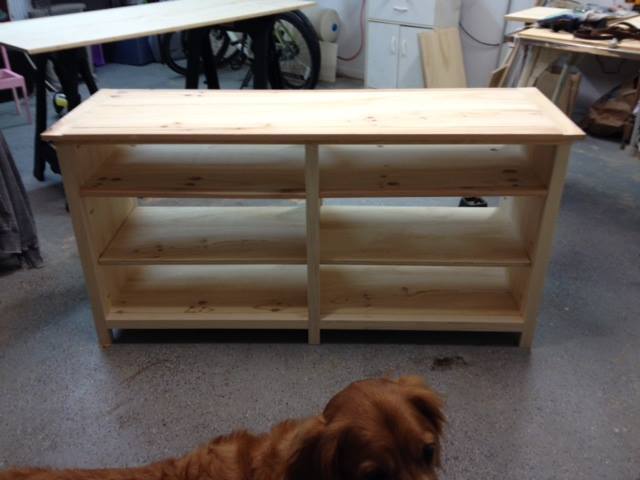
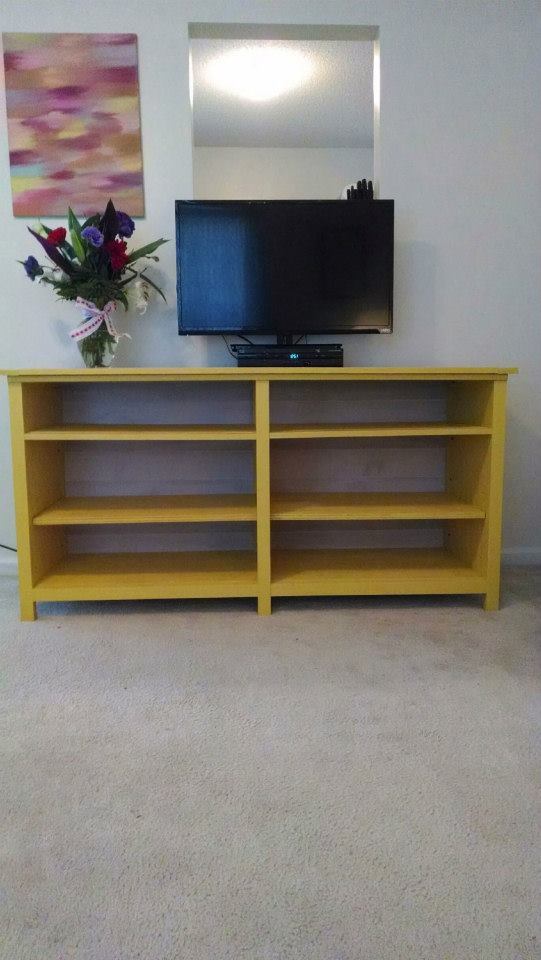
I just made the center part of the console. My daughter didn't want any cabinet doors or drawers on it.
It started out being painted yellow, then she changed it to the distressed light green in the first pic.
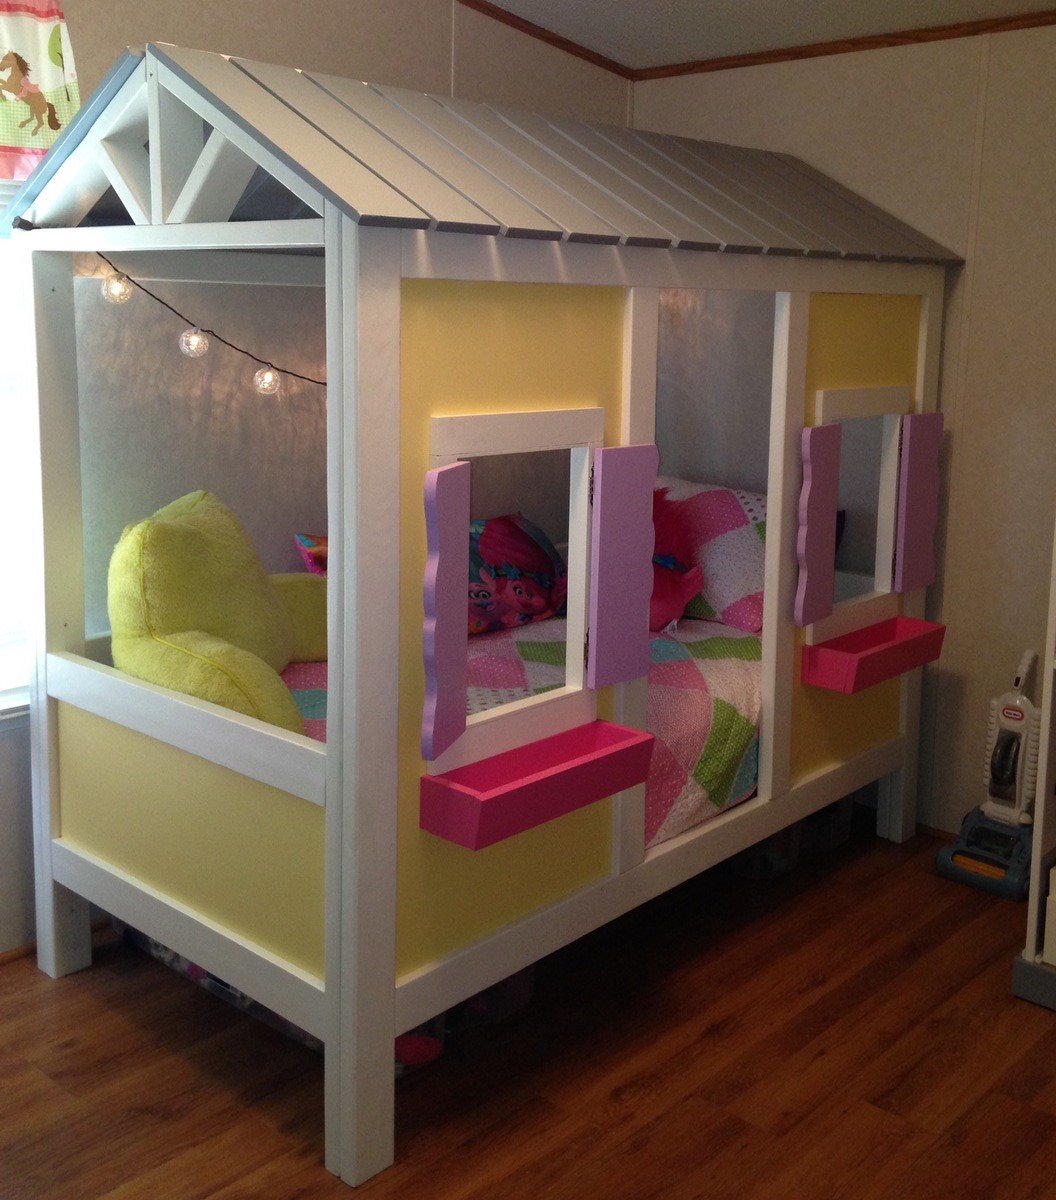
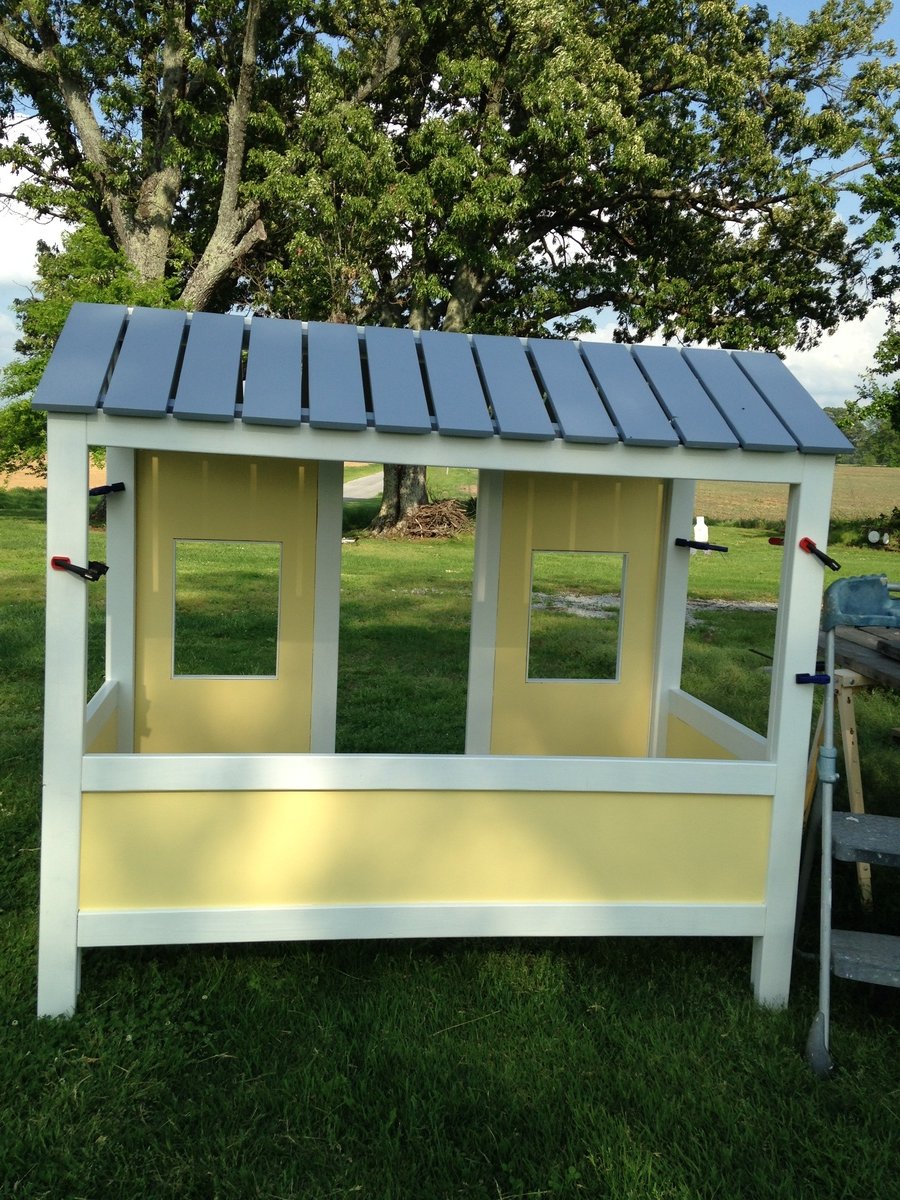
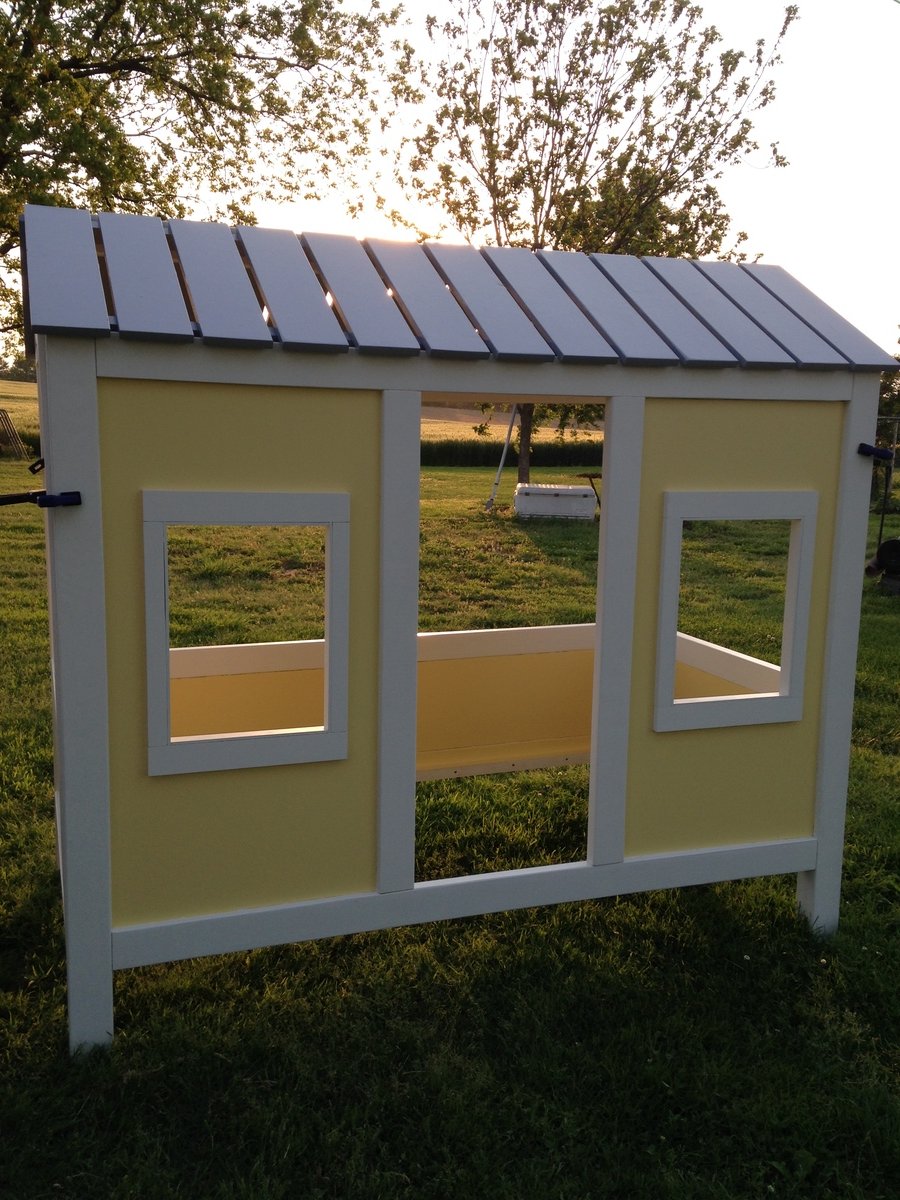
Made this for my granddaughter and worked on it 40+ hours. I borrowed the removable window boxes and shutters off another plan to girlie it up. If I were to make it again, then I would add an extra 2 inches on the sides, front and back to make it easier to make up the bed. It's so adorable and I can't wait for her to see it.
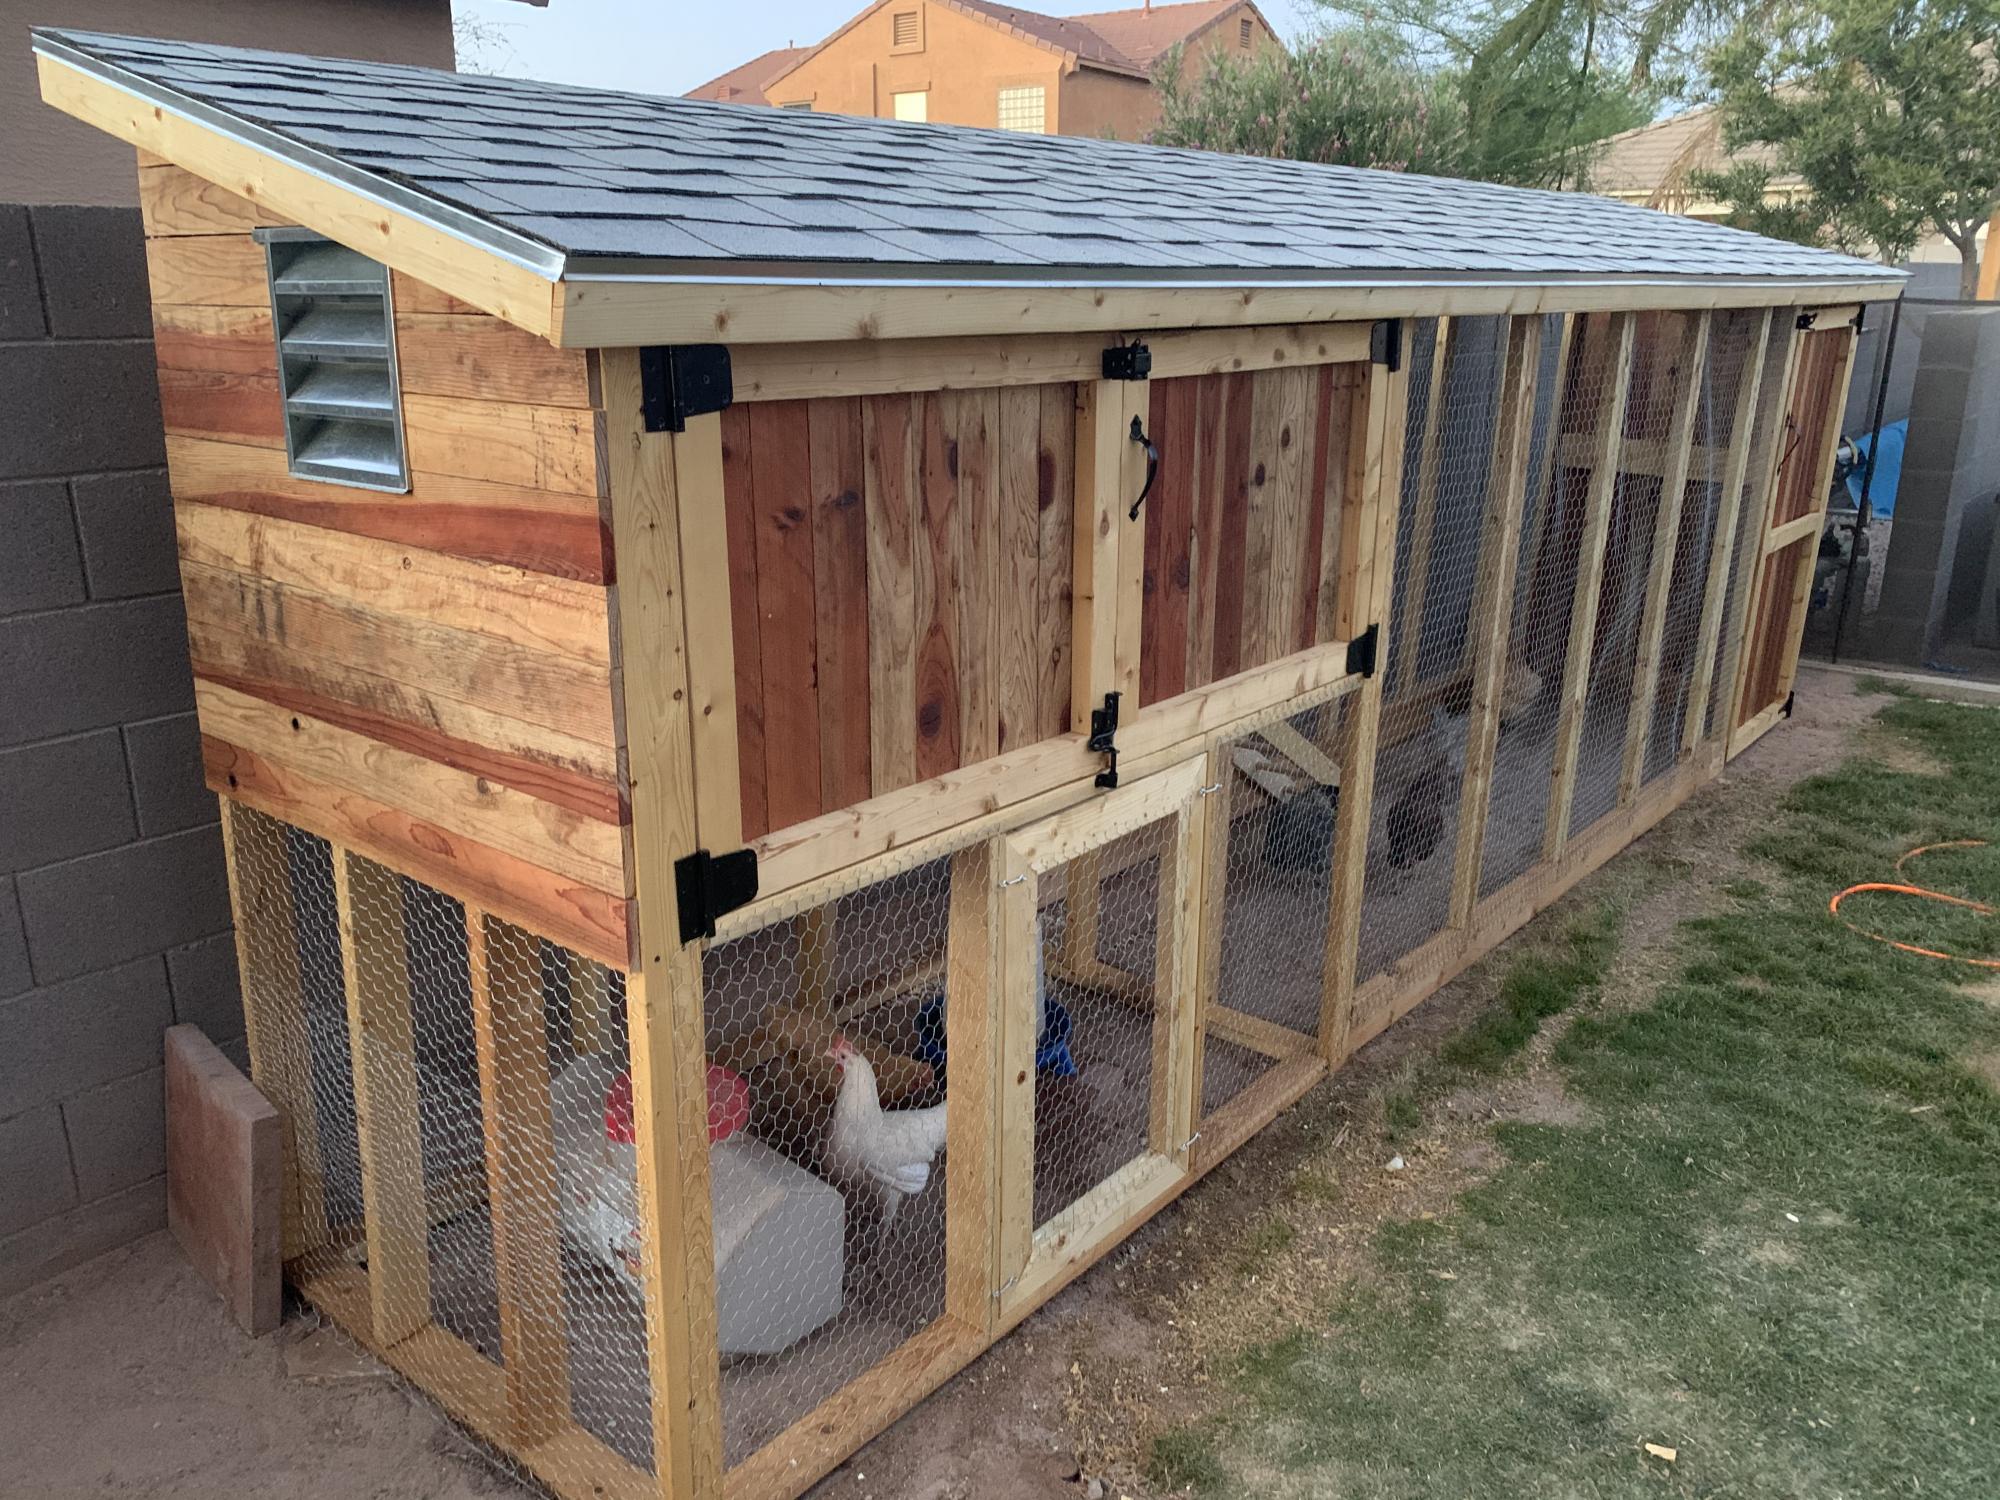
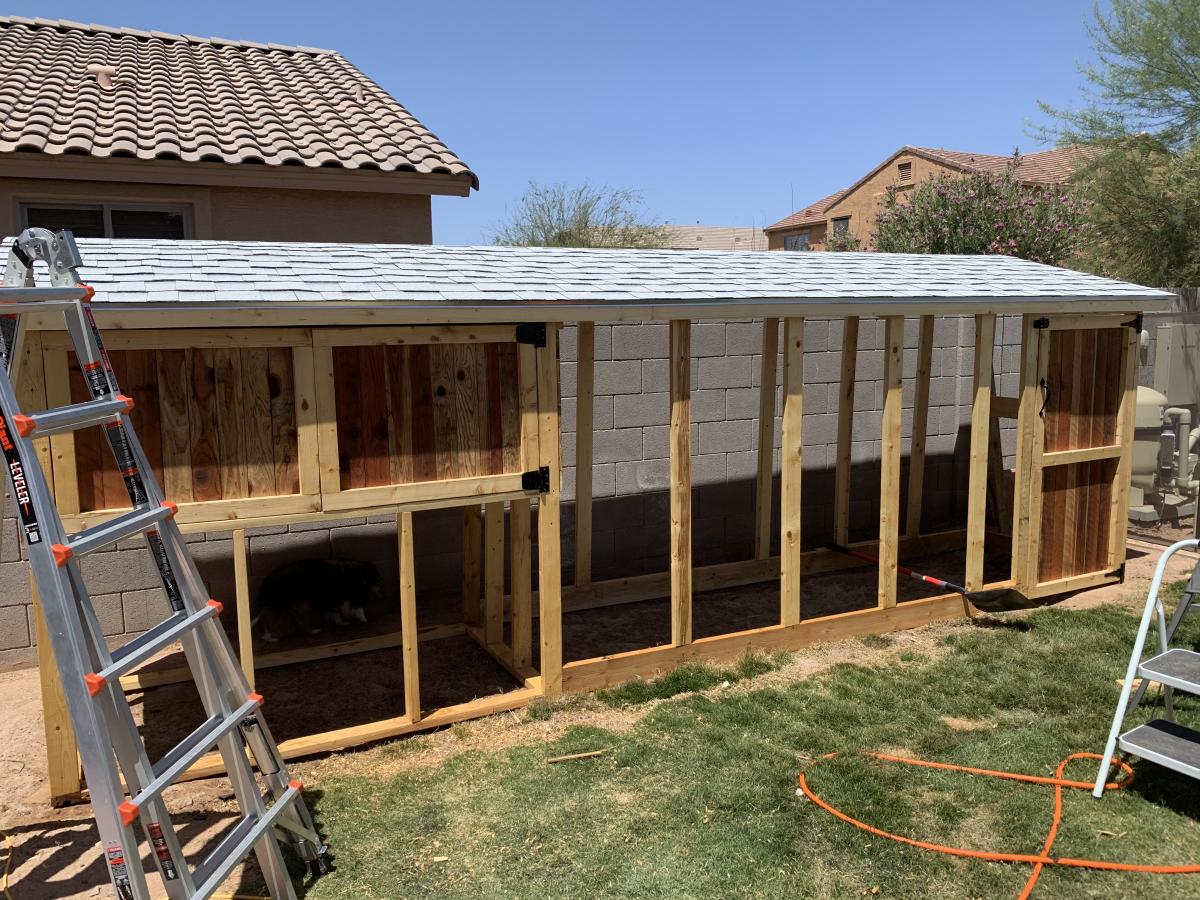
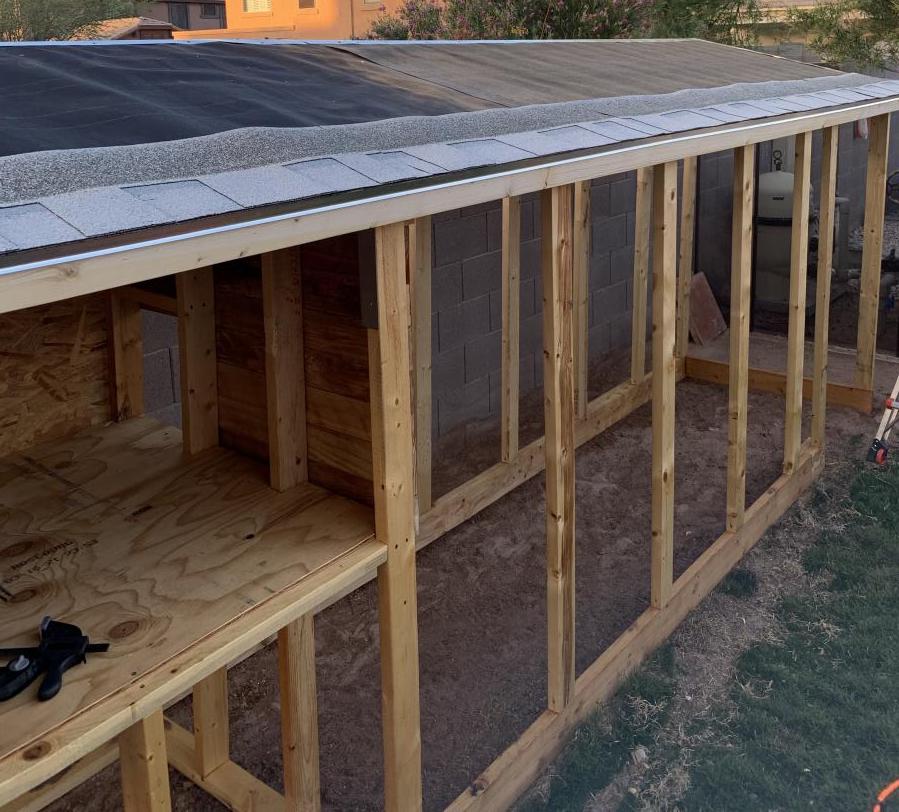
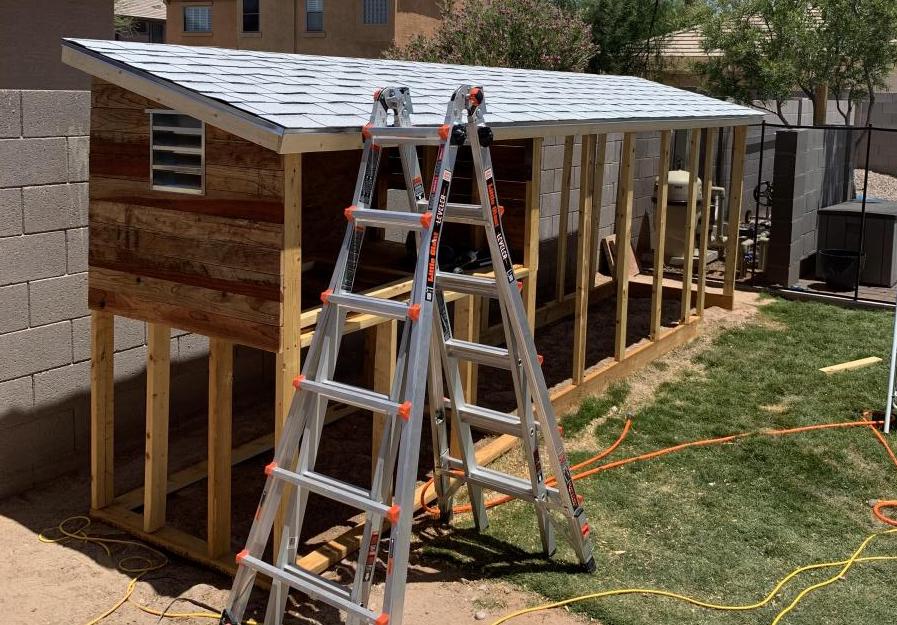
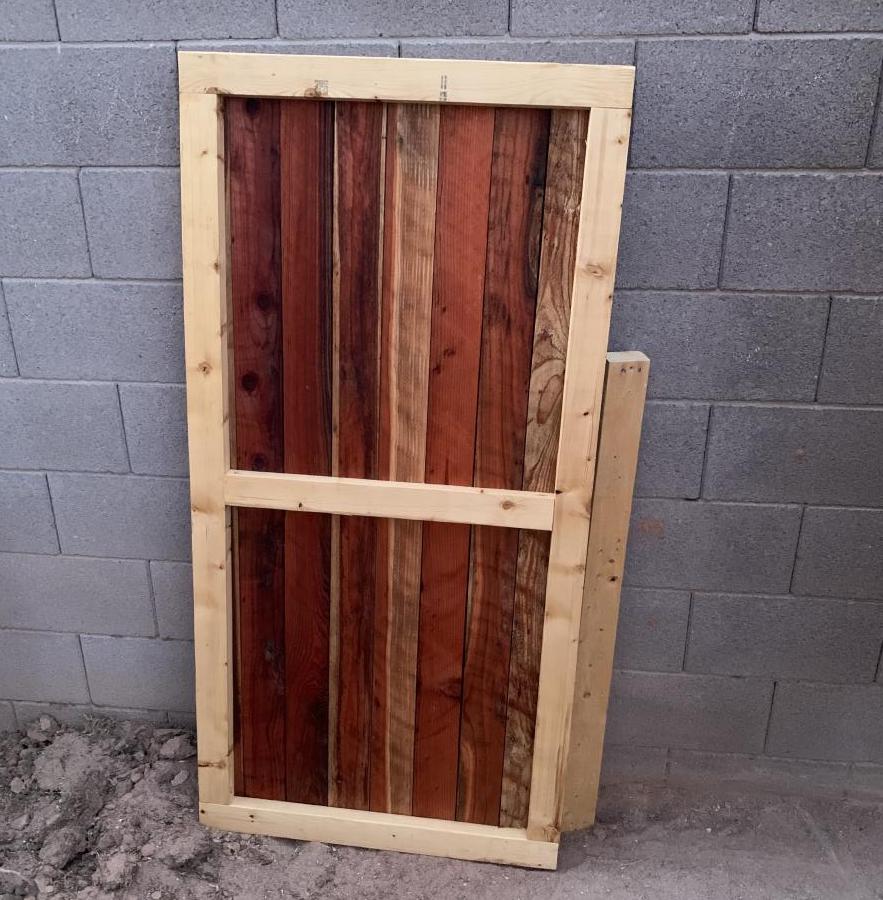
I took the idea of the "small cedar shed" and decided to upsize it for a new chicken coop. Our old one was small enough that we had to let our six hens out to roam the yard. Chickens. Poop. Everywhere. I wanted one big enough to have them live in it. The nesting box is about 24 sf. The whole coop is 18' long, about 6-1/2' at the back with a 15° slope to the roof, and about 4' deep. I built the ladder up to their nesting box and made a mitre-cut panel under the nesting box for cleaning out, feeding, and watering. Total materials cost was about $1000, but a couple of local homebuilders helped by letting me scavenge the lumber for the nesting box from around houses that they were finished framing.
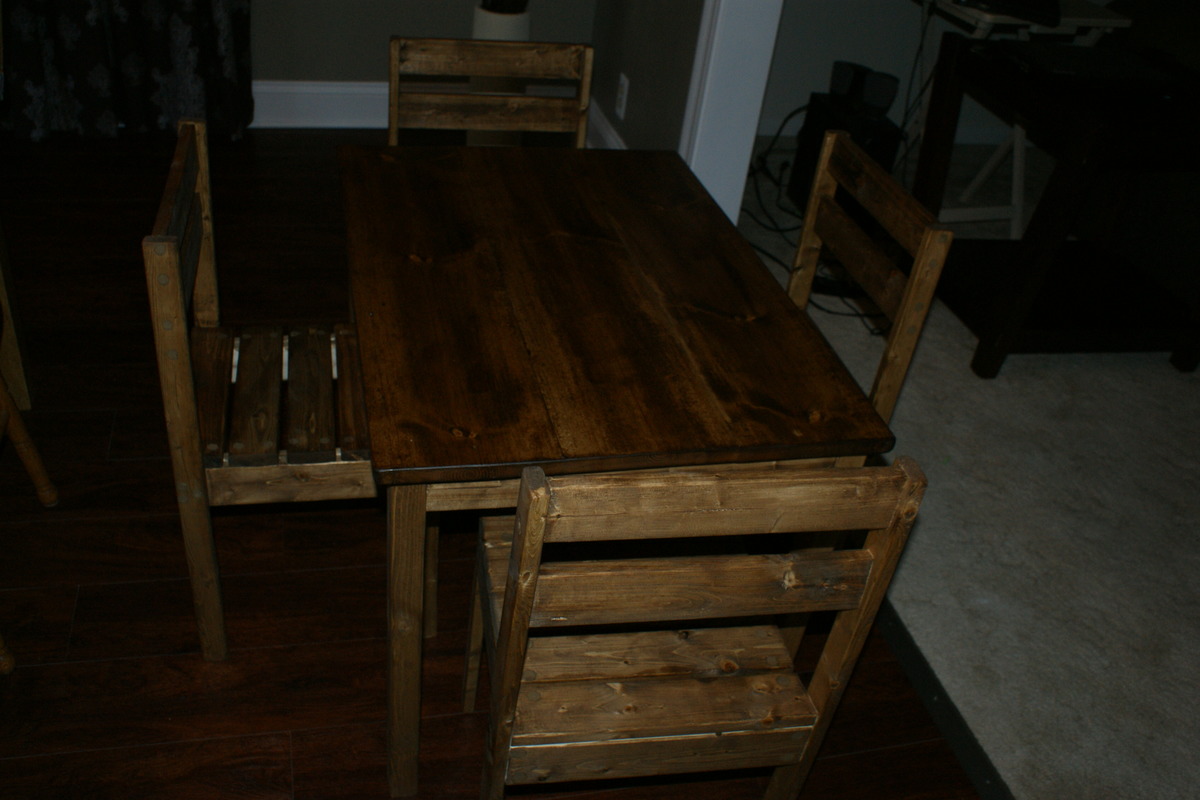
Made this for a friend. Followed the plans from the Clara table, chairs were made from the 4 dollar stackable chair plan.
Finish was Watco Danish Dark Walnut oil, which i just discovered and love. Goes on even and isn't blotchy on pine. For the table top i added a couple coats of polyurethane.
The table was easy to make, but the chairs took quite a bit of time with the amount of slats. Also there are about 30 screw holes per chair to drill, countersink and fill with putty. I am making another set for someone else, and will probably go with a single, wide slat for the back and seat. Also I would suggest adding braces to the legs, they seem a little flimsy
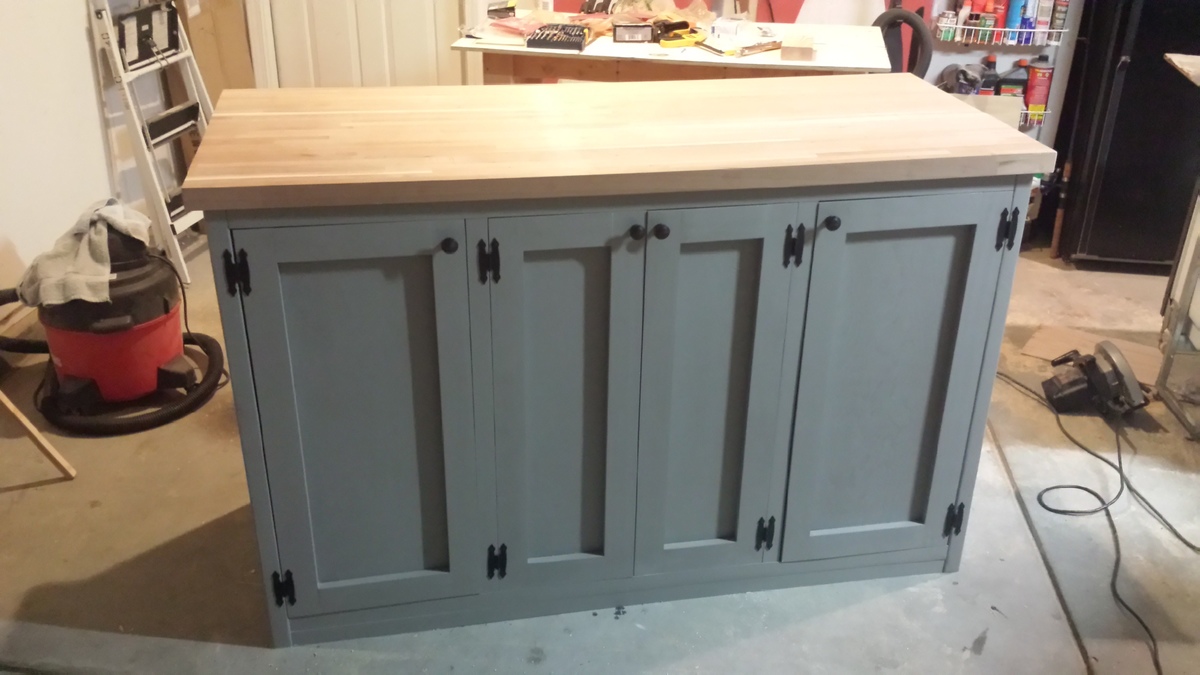
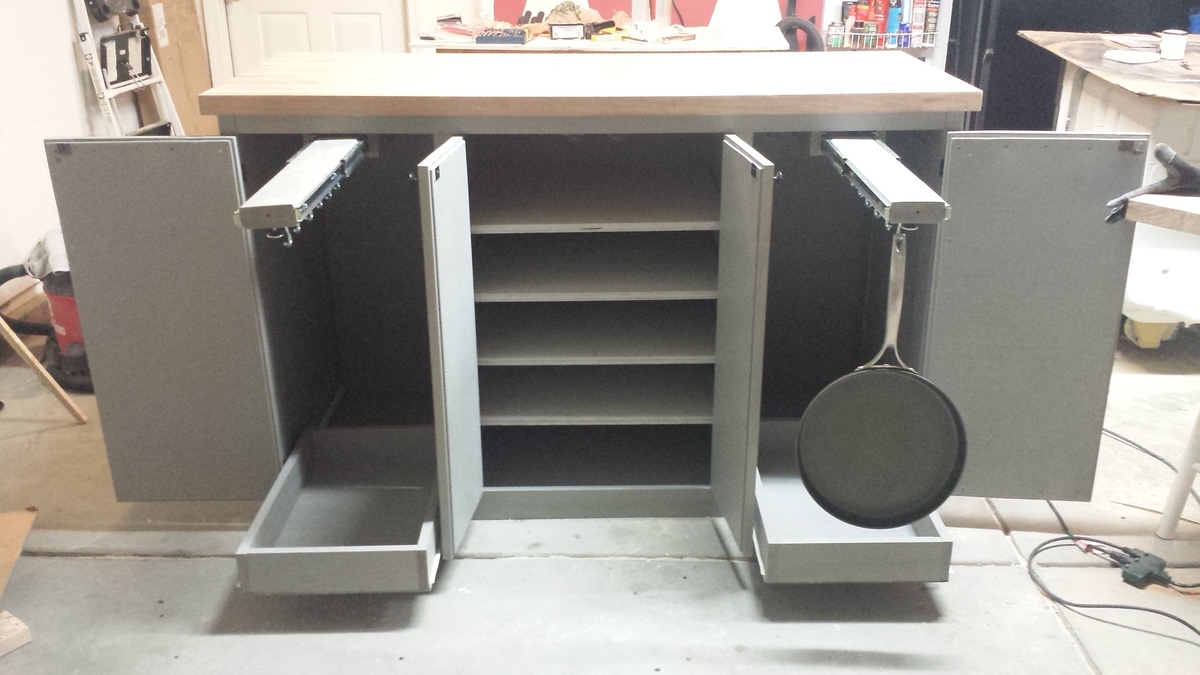
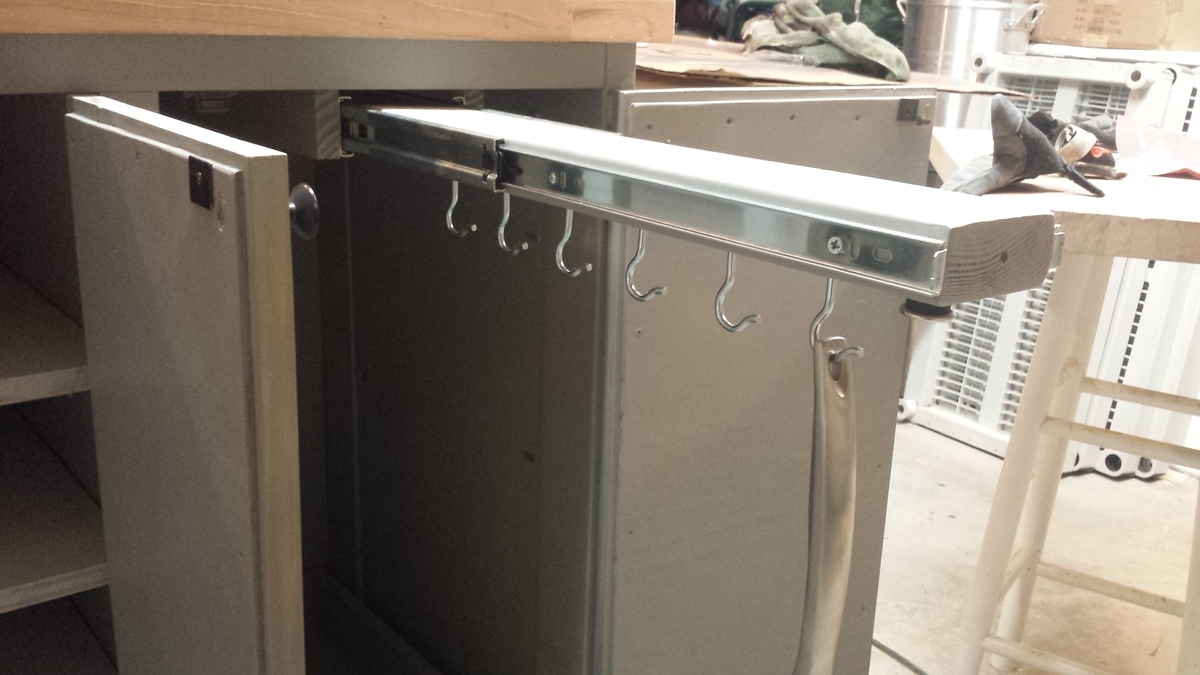
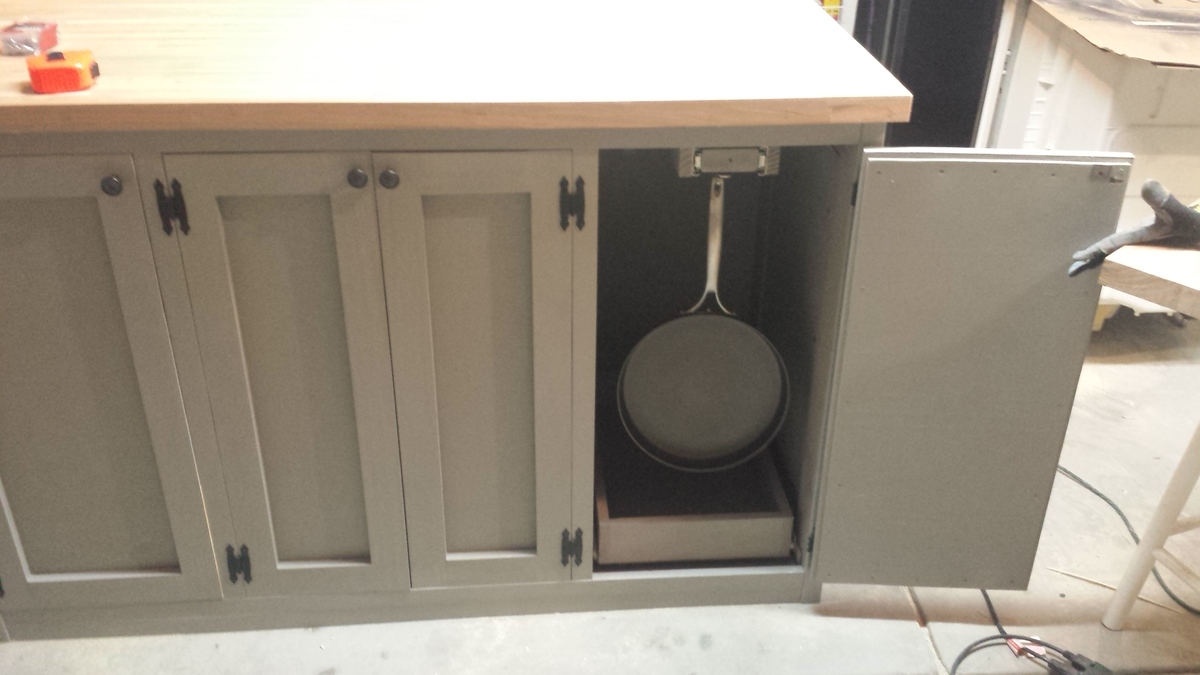
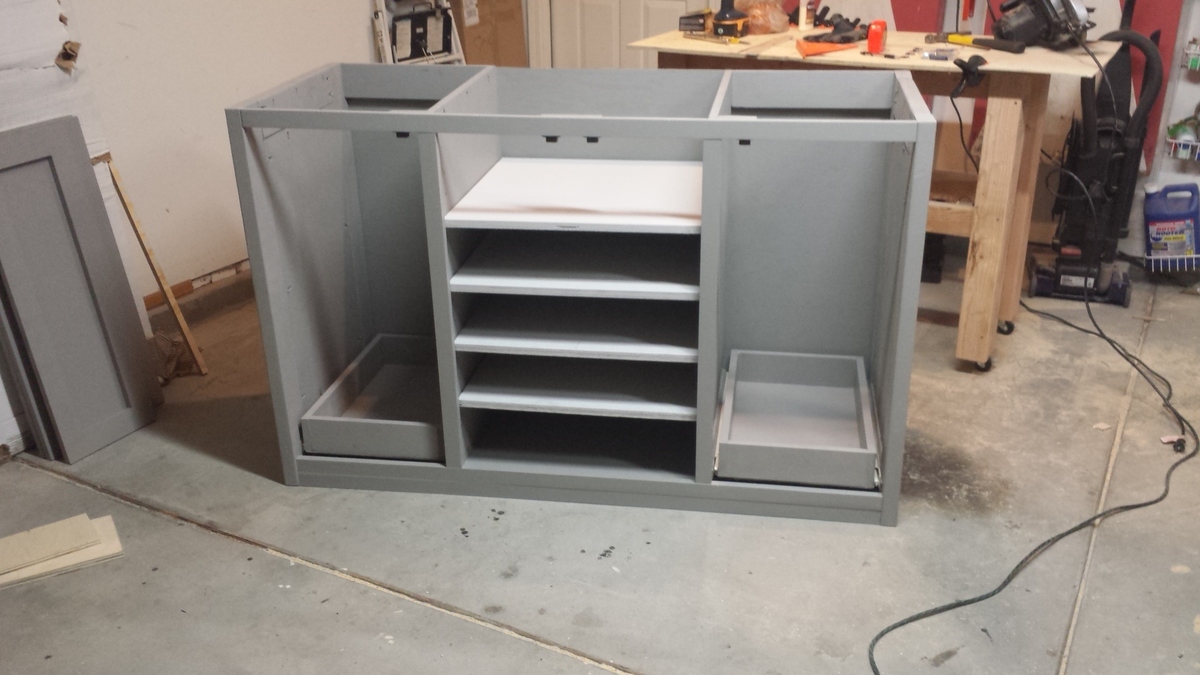
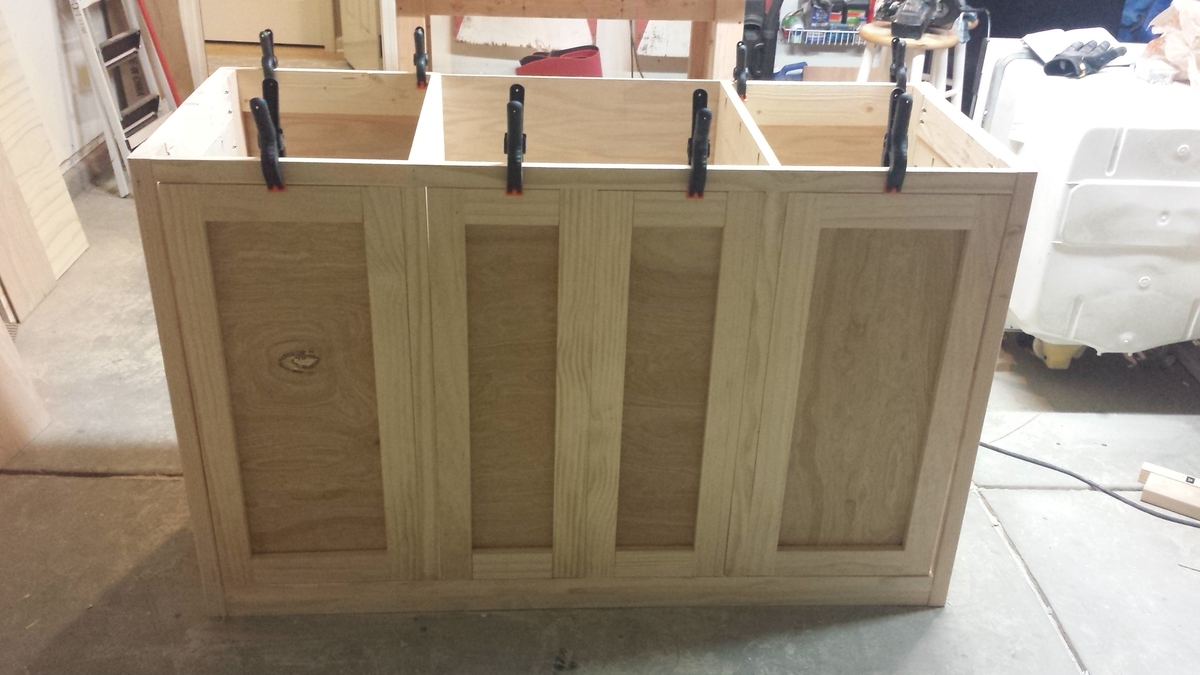
I built this for some friends who are having a remodel done in their house to get their washer and dryer out of the kitchen. The new area was a perfect size for a cool piece of furniture and because of how well my other projects turned out they asked if I would make something for them. My friend is a great cook and has some really nice cookware that needed housing so we used the "planked wood sideboard plans" as the bones for the project. I saw some cool things from Pinterest (Glideware) that I wanted to incorporate and we drew up some plans. All in all it took me about 36 hours to complete. Two weekends and some work at night after work. I used my miter saw, table saw, circular saw, power drills, wood clamps, Kreg pocket hole jig, and my electric sander to knock this one out.
Mon, 03/02/2015 - 20:25
Hi thank you! I actually made them from 2x4's and 20 inch ball bearing drawer hardware. I mounted them to 1x4's then mounted the whole system to a 1/4 inch thick ply and attached it to the underside of the butcher block. The hooks were just 3 inch hooks from Home Depot screwed in the 2x4.
I just want to thank Anna for inspiring me! I would've never thought that I could actually build my daughter a loft bed from scratch if it hadn't been for this website! This loft bed took about 3 weeks to build but the reason why it took me that long is because I did it in my spare time which was a couple of hours each alsmost everyday excluding the weekends, also this was my first time using my husbands table saw and drilling pilot holes but once I got the hang of it everything went smoothly. I wanted to save money so I purchased the Mini Kreg Jig which is about $20 from HD and let me tell you it is a must when your drilling pilot holes. I purchased my lumber from HD as well. It took me about an hour to pick out the wood. I decided to paint the loft bed with DecoArt Enamel craft paint because it's non-toxic, the paint cures into a hard finish, no primer, I didn't have to sand in between coats, or put a protective finish. It also dries fast. I put 3 coats. This paint can get pricey if you pay full price but I just used a coupon everytime I went to Hobby Lobby. I used a tea, vinegar and steel wool mixture for the stairs, again because it's non toxic. I also raised the height of the 2x4 posts 6 inches so my 7 yr old daughter could walk under there without hitting her head. I'm so glad I decided go for it! Thanks again ANNA!
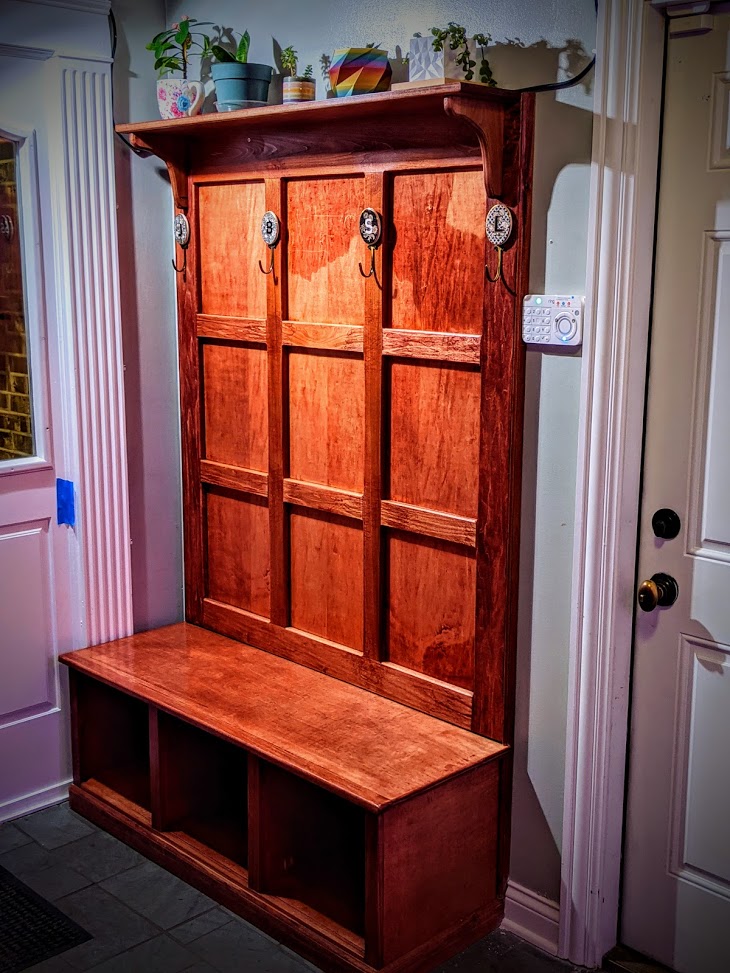
Added a shelf for plants at the top, coat hooks.
I mounted the back panel to the wall so I could remove the supports between the bench and the back panel.
I wanted to build my kids a sand/ water table, but wanted something that would could also serve as other purposes. My father helped me since I used his tools. We shortened the whole project by 16% so my kids would be able to reach it better. We also changed up what wood was used. My father came through and had a pile of wood that he had no use for. So we used 1x6's that we cut down for the shelves and 2x4's for everything else. We also added a brace on the back to add a little more stability to the bench since my kids were going to use it. To finish it up I bought a plastic storage tub with a lid and some sand. The bottom shelf is used for toy storage.
I used the Rebecca Side Hutch and Side Base plans to create a slightly wider version to fit the TV in our master bedroom. The building took one whole weekend and then it took another week to finish it up like filling holes, sanding, painting and then reassembling. My final cabinet is 36.75" wide at the top and I changed the doors to overlay instead of inset. I love the finished cabinet!
Fri, 02/27/2015 - 12:27
This is really nice! It fits perfectly in your space!
In reply to This is really nice! It fits by Ana White
Mon, 03/02/2015 - 20:23
Thanks so much for all the plans!
Used the $10 ledge plans, to build 2 10' long and 2 5' long 6" deep shelves. Cost $39 each 10' 1x6 red oak; used 6 boards. Stained mission oak satin.
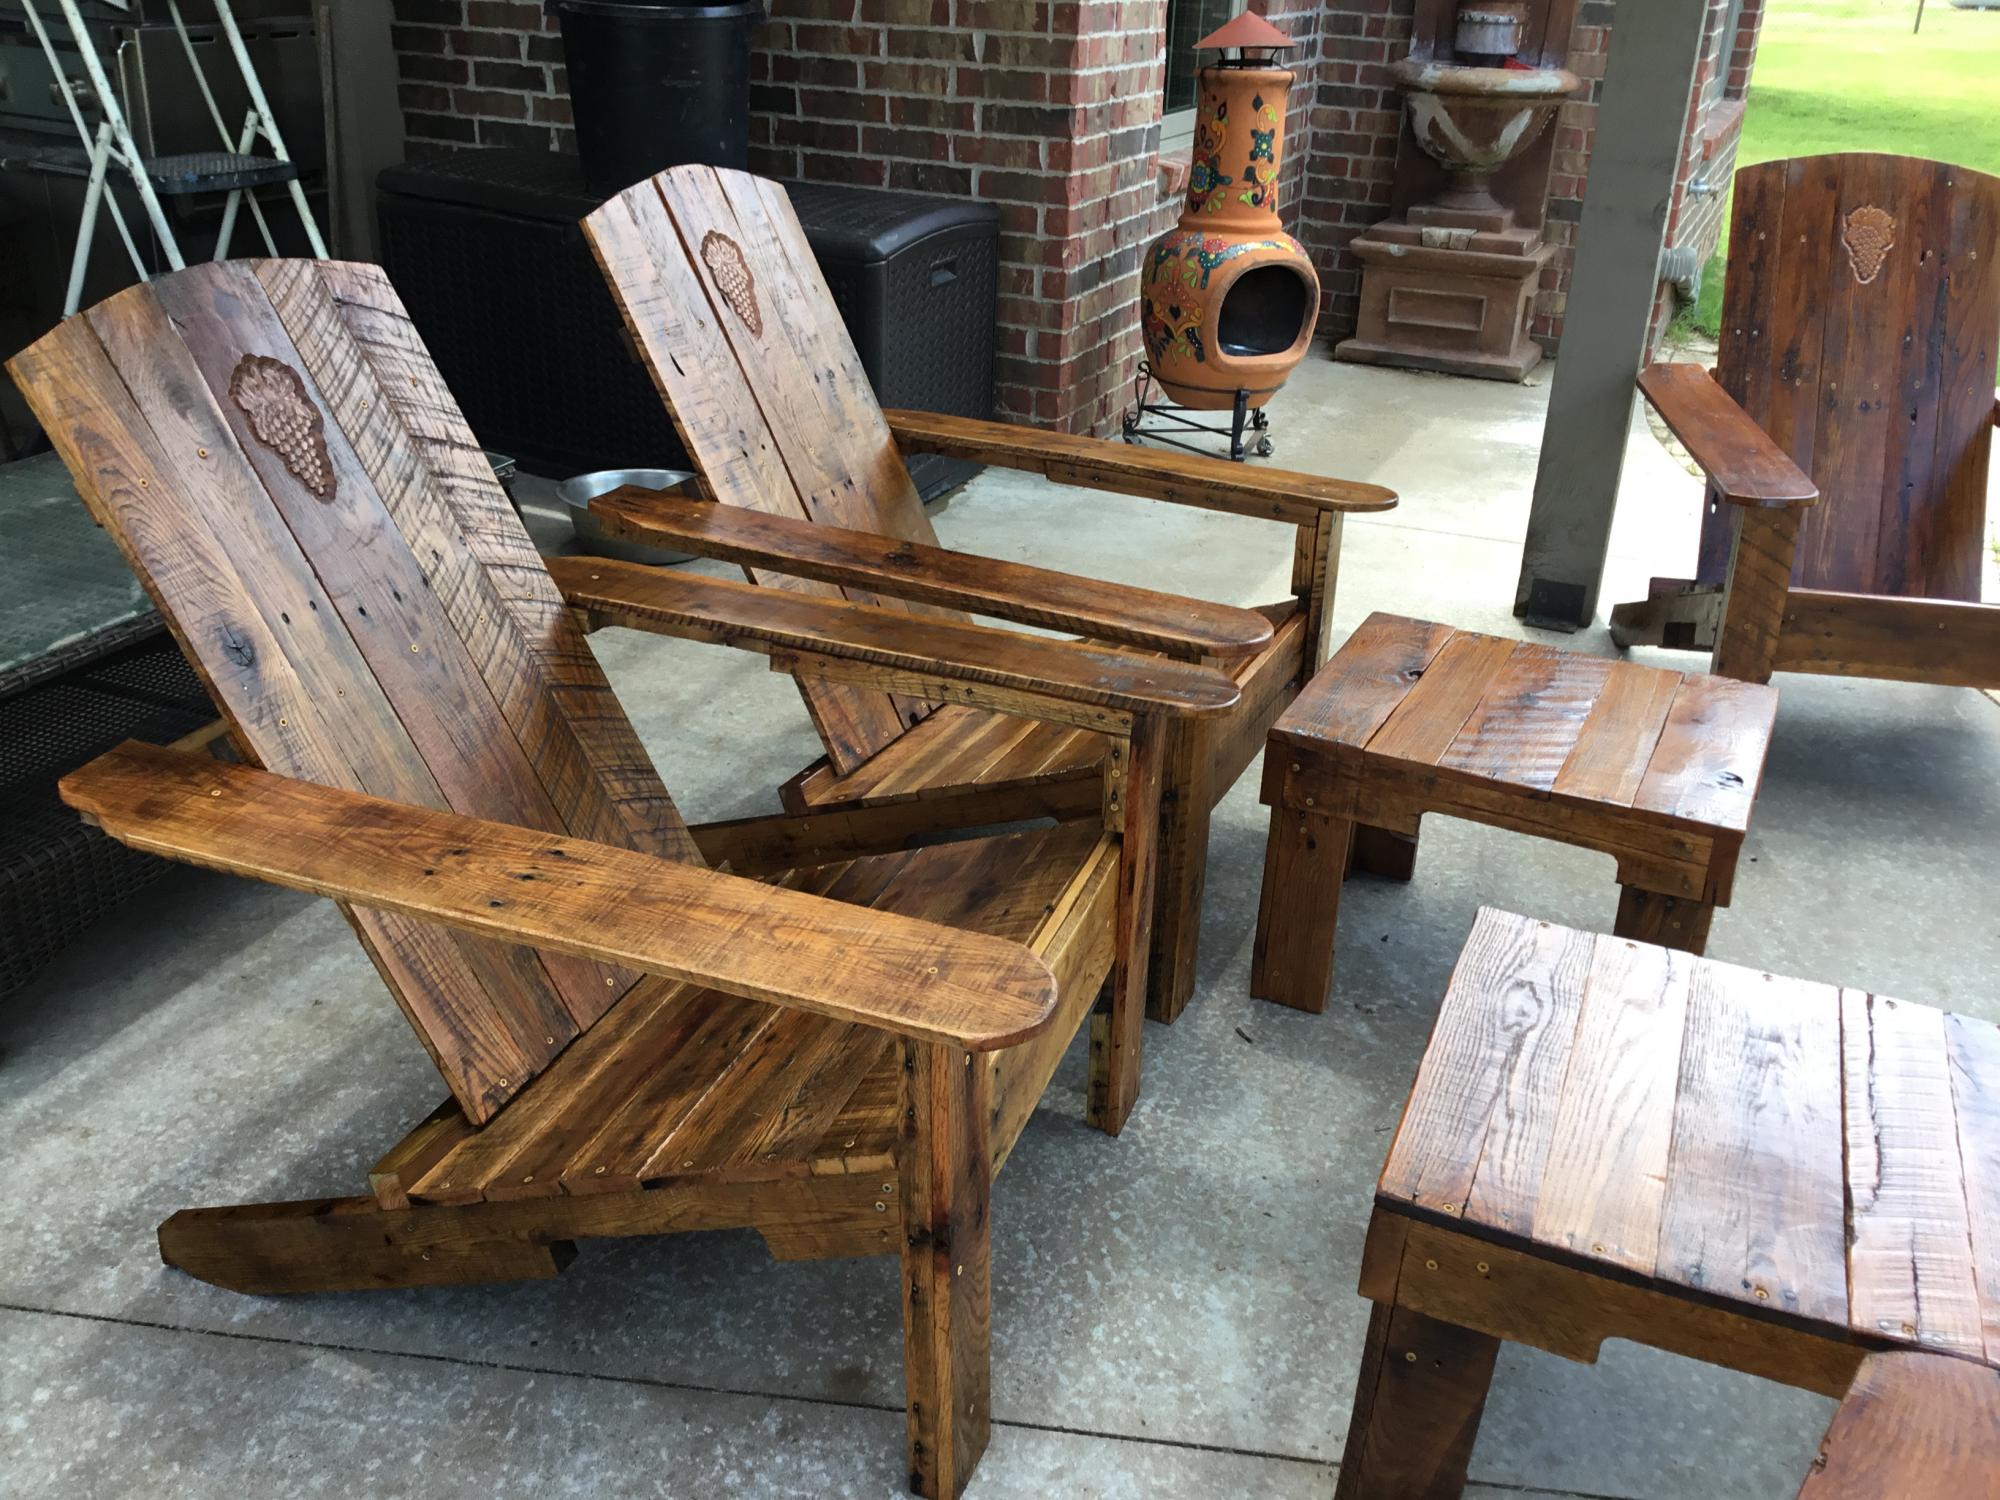
We built these chairs (and foot stools/tables) using Ana’s modern Adirondack chairs plan. Since we used pallet wood (heat treated oak pallets) and not 2x4’s, we did make modifications but her plan was great! The angle is very comfortable! Thank you Ana for the plans!
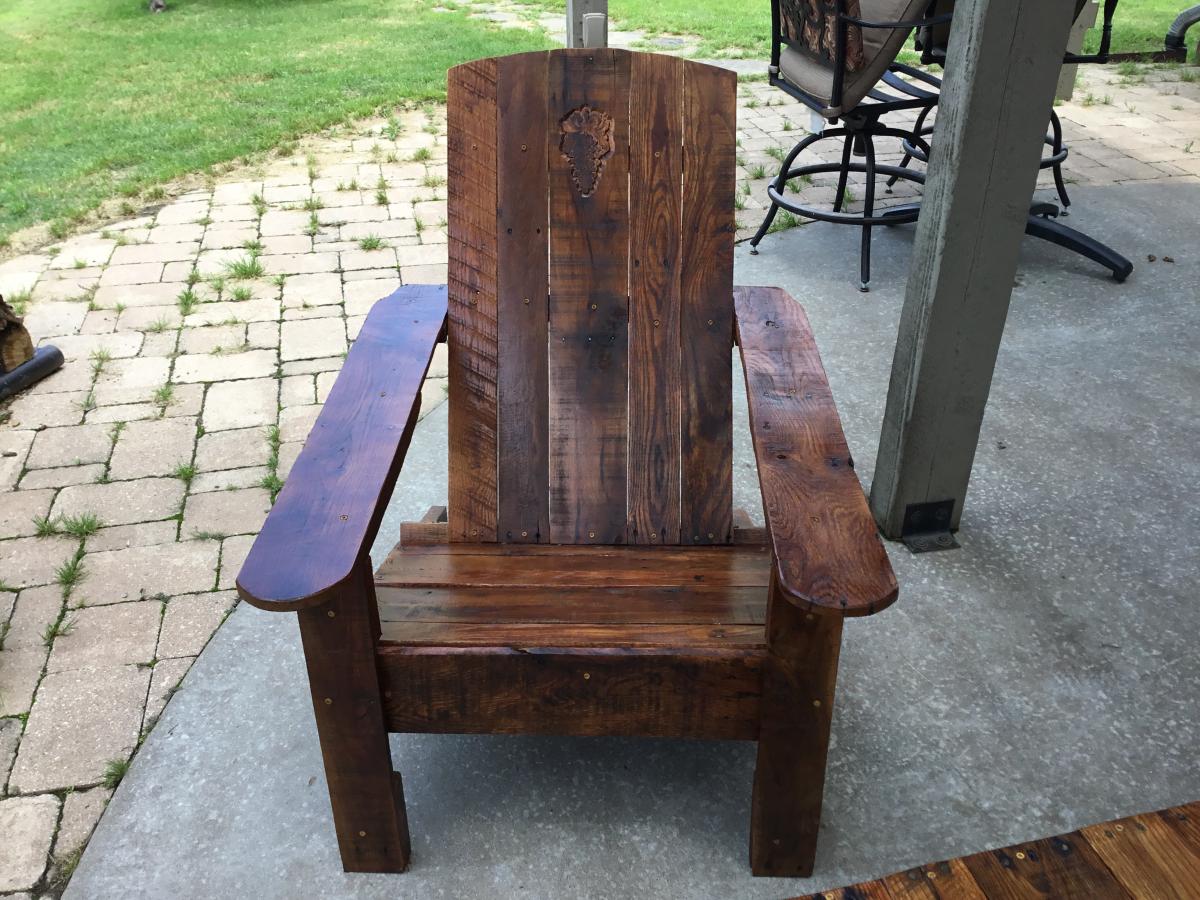
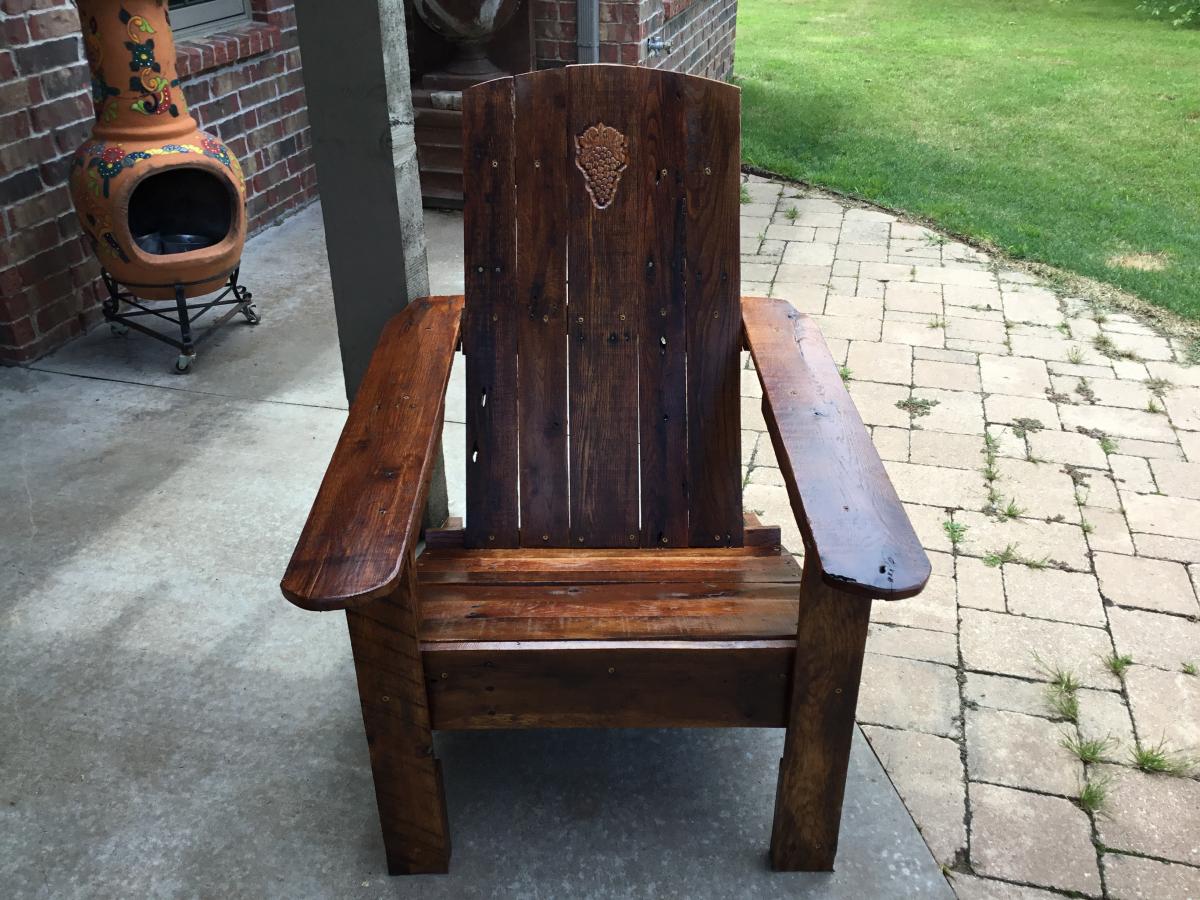
I made these chairs and table for my father as a Christmas gift to sit next to his pool. The chairs were fairly easy to make. To stay within budget I did use inexpensive white wood so the quality of the grain was not quite what I had hoped but I believe they still came out very nice. I used BEHR weather proofing wood stain in RedWood which turned out very nicely. The only thing that is currently lacking are the cushions. Due to the price of the foam that will have to wait.
For the table I started with the original plans on the site but when I realized just how long it would be I cut it down and added the two thin strips to break up the pattern.
If I were to do anything differently I would shrink the overall size of the chair to the size of standard cushions that can be purchased at local department stores or outdoor furniture stores to minimize the cost.
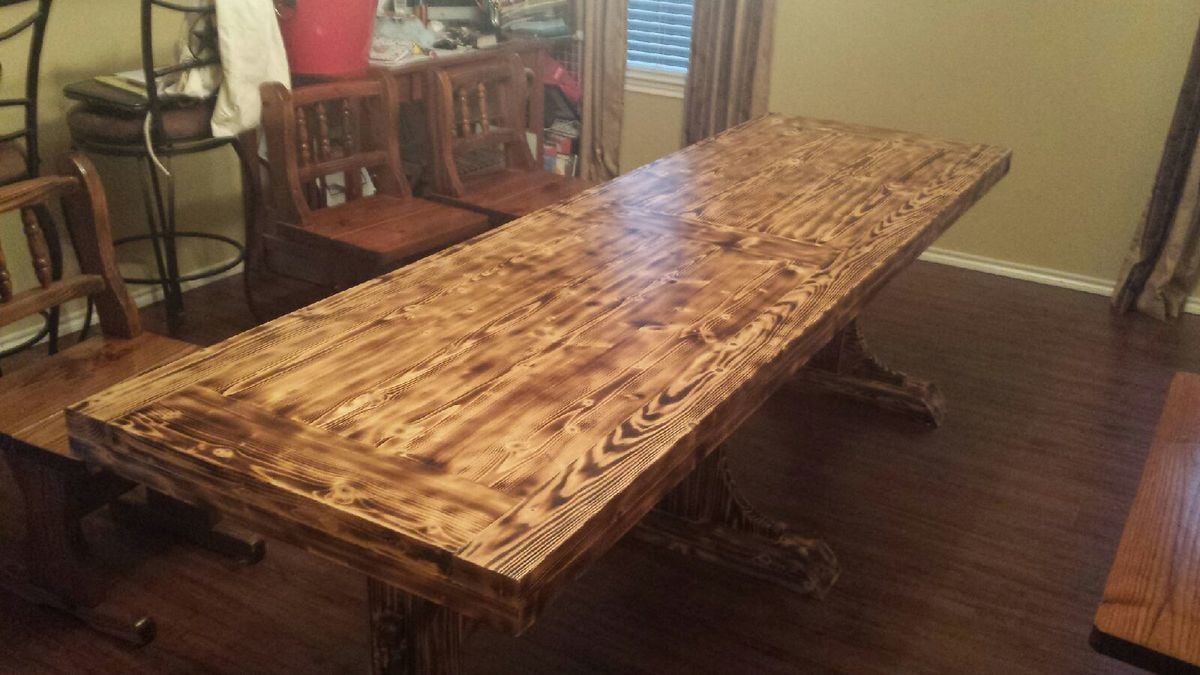
My wife wanted an 8 foot long table, but wanted it to be a little narrower that as standard table. This one ended up being 97.5" x 29" I used a torch to scorch the wood then apply poly finish.
I built this sidebar from a plan I cooked up in my head, using the lesions I learned building the farmhouse table and bench. I sort of built it as I went along. It took me 40 or 50 hours and cost around $400.00 to $450.00 to finish. It matches the table and bench I made. Thank you Ana White for giving me the confidence, with your easy to follow plans, to under take such a project.
Thu, 06/10/2021 - 08:48
Wonderful build that will last a long, long time! Thank you for sharing.
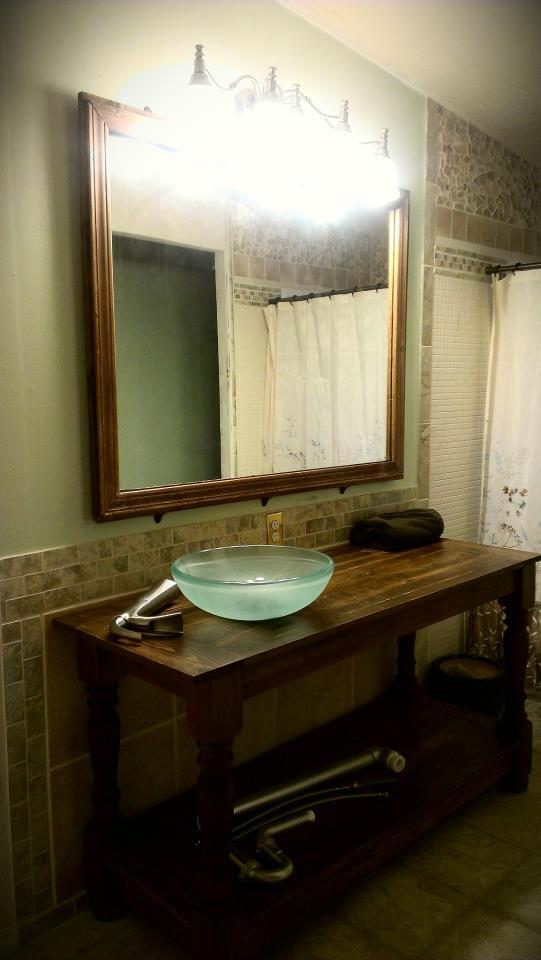
We have quite a fixer upper and while re-doing the bathroom, I came across Ana's Island plan in her book, The Handbuilt Home. This isn't the finished picture as we have installed the sink fixture and pipes, where I wrapped the exposed pipes with twine to give it a more rustic look. The table was modified in size and the mirror was a salvaged piece where I made a backer and framed it. Though still in need of some finishing touches, the look so far is spectacular... I wish I had a before and after photo. Much of what you can see, such as the tile in the shower and mirror has been made from found materials around the house or were items that were going to be sent to the dump. I love recycling!
New to building,
Stephanie Broker