Bench Cubby with Drawer

Entry Cubby-First Project
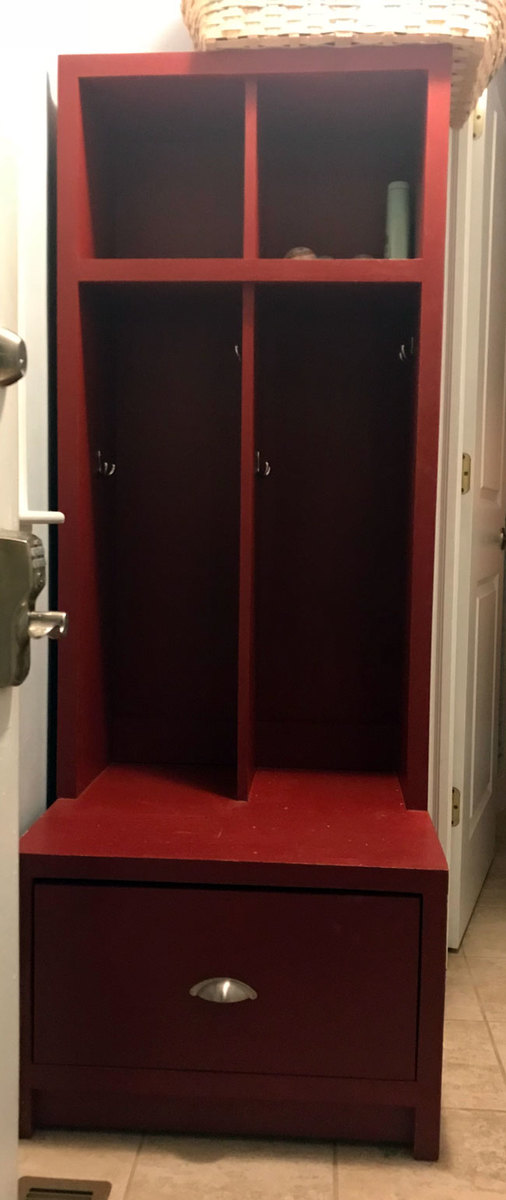


Entry Cubby-First Project


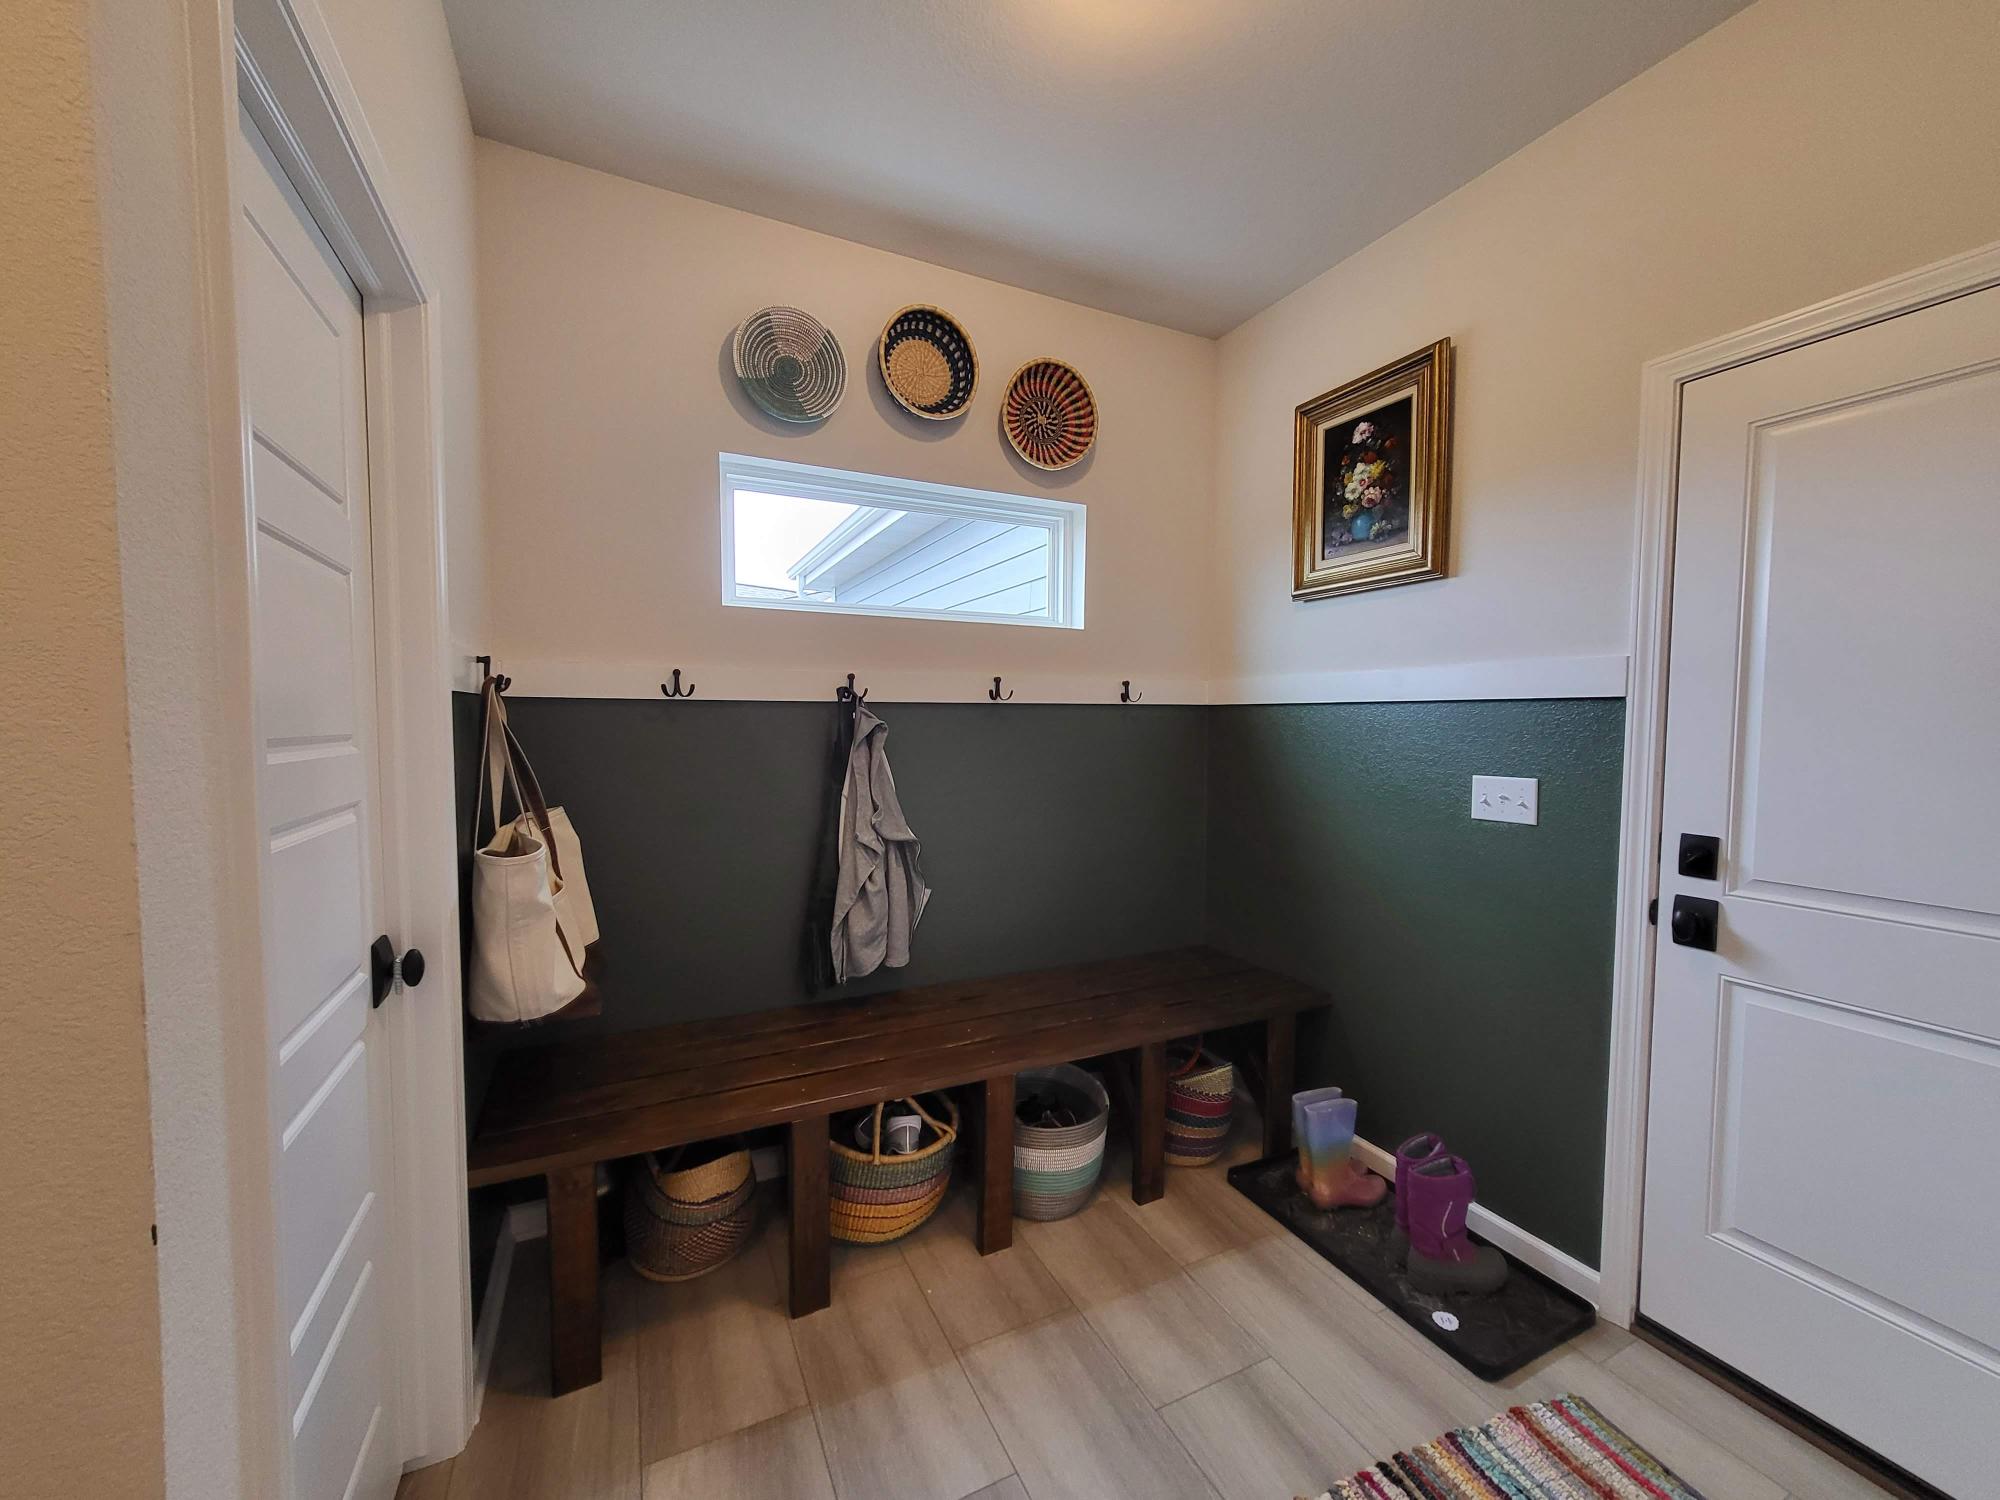
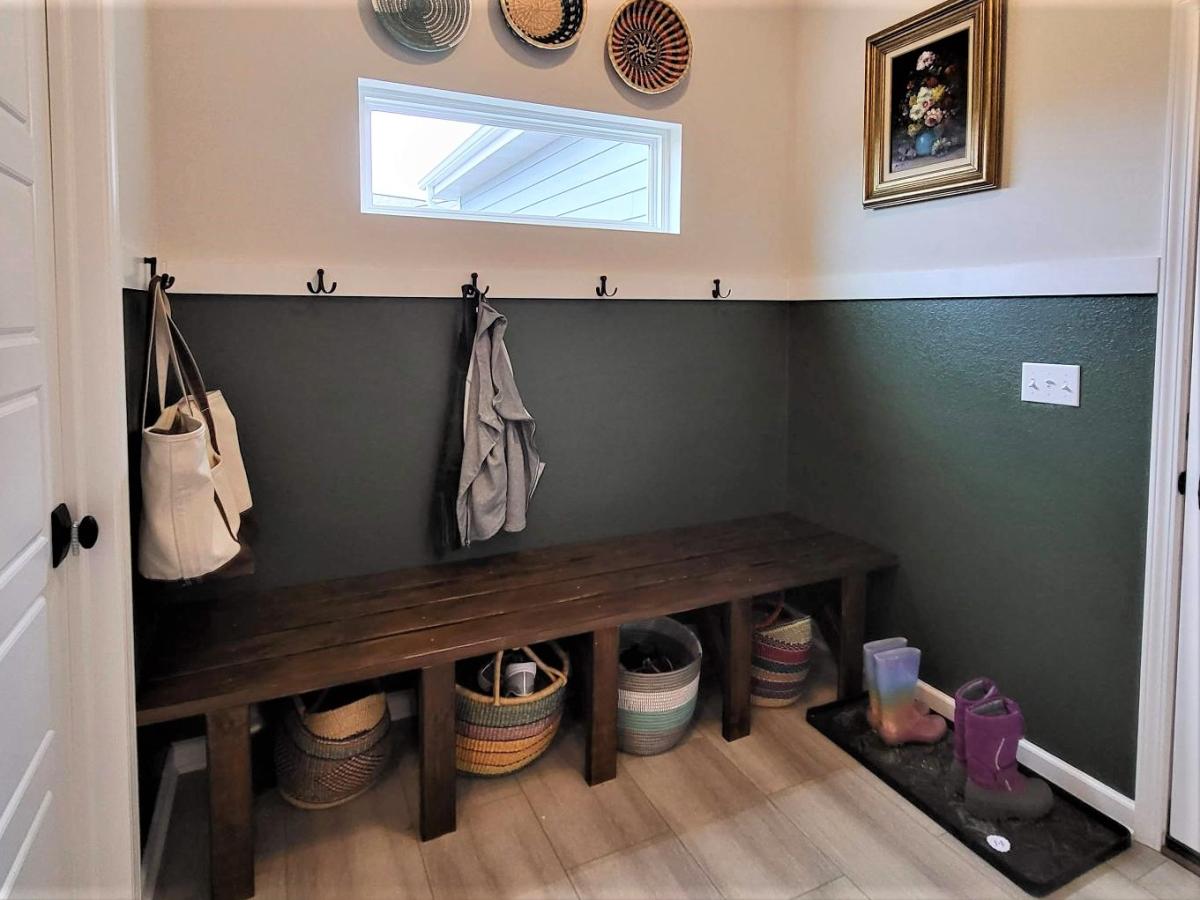
Used the warming hut bench plan to build this rear foyer bench! I used Behr Stain & Poly in Mission oak (2 coats) and love the way it ties in with the rest of our house. Plus I love saying "Thanks, I made it!" when people see it and ask where I found something that fit so perfectly. :)
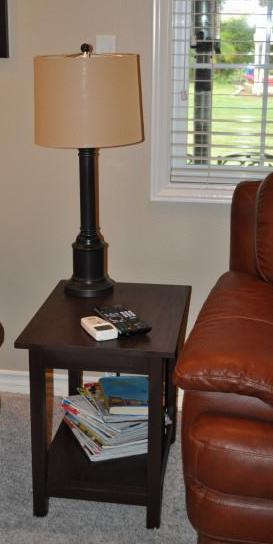
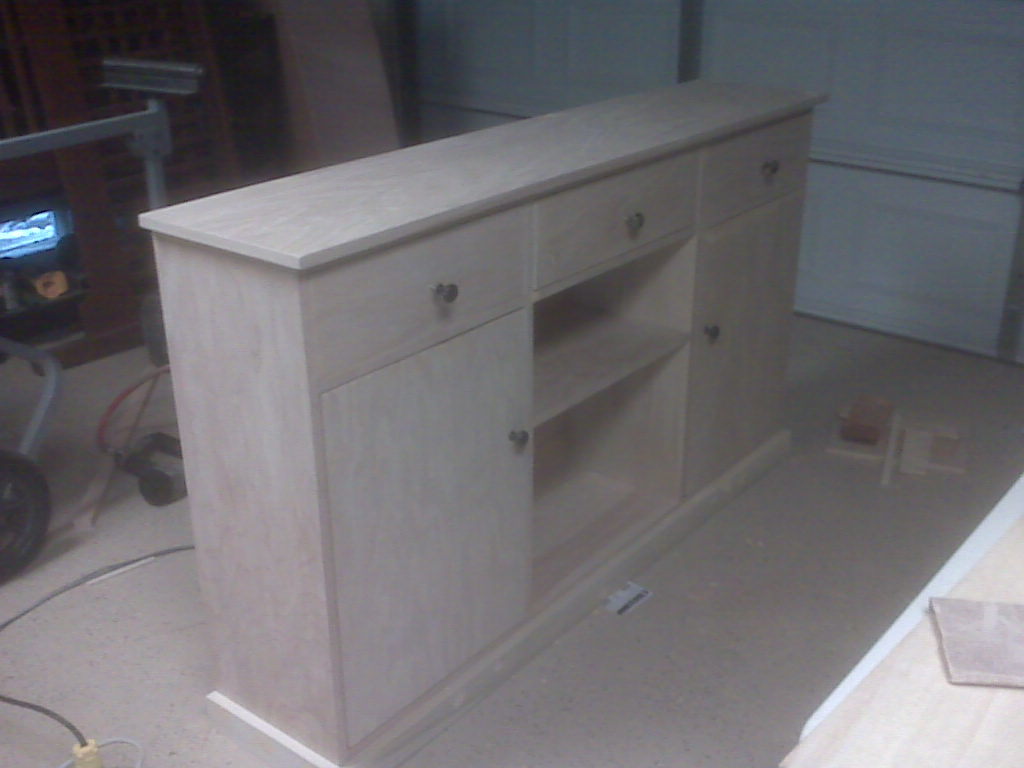
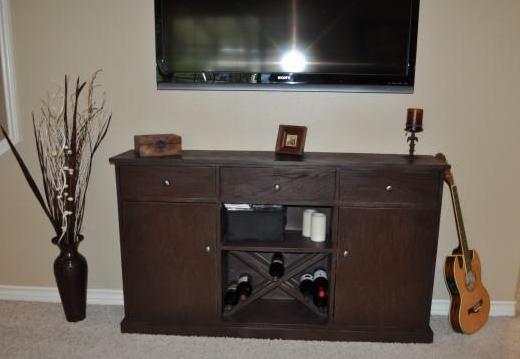
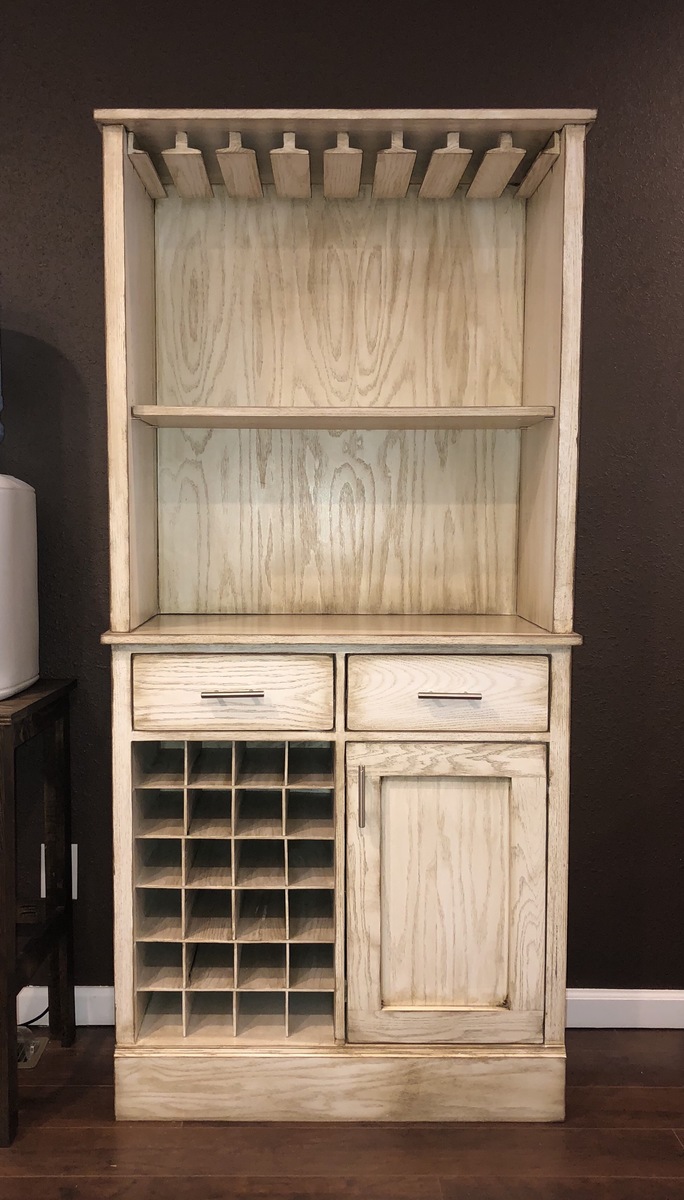
Just want to thank you, Ana, for the wonderful plans and this site. I'm still so surprised that I was able to build something that looks so nice and is so functional. Since stumbling upon your site I've been able to put aside my fear of the "big" tools and do something that I've wanted to do for years. Since the media/wine cabinet I built for my daughter, using leftover material I built these end tables to match. She and my son-in-law are pleased, too.
I've got a couple more projects in progress right now for my son and my other daughter is putting her list together - I'm just so happy to be doing this!
These tables are similar to the narrow cottage end tables, but without the drawer.
Thu, 07/14/2011 - 16:31
Nice job! I am interested in this console as well. I am scared of drawers and cabinet doors though! Were they that bad?
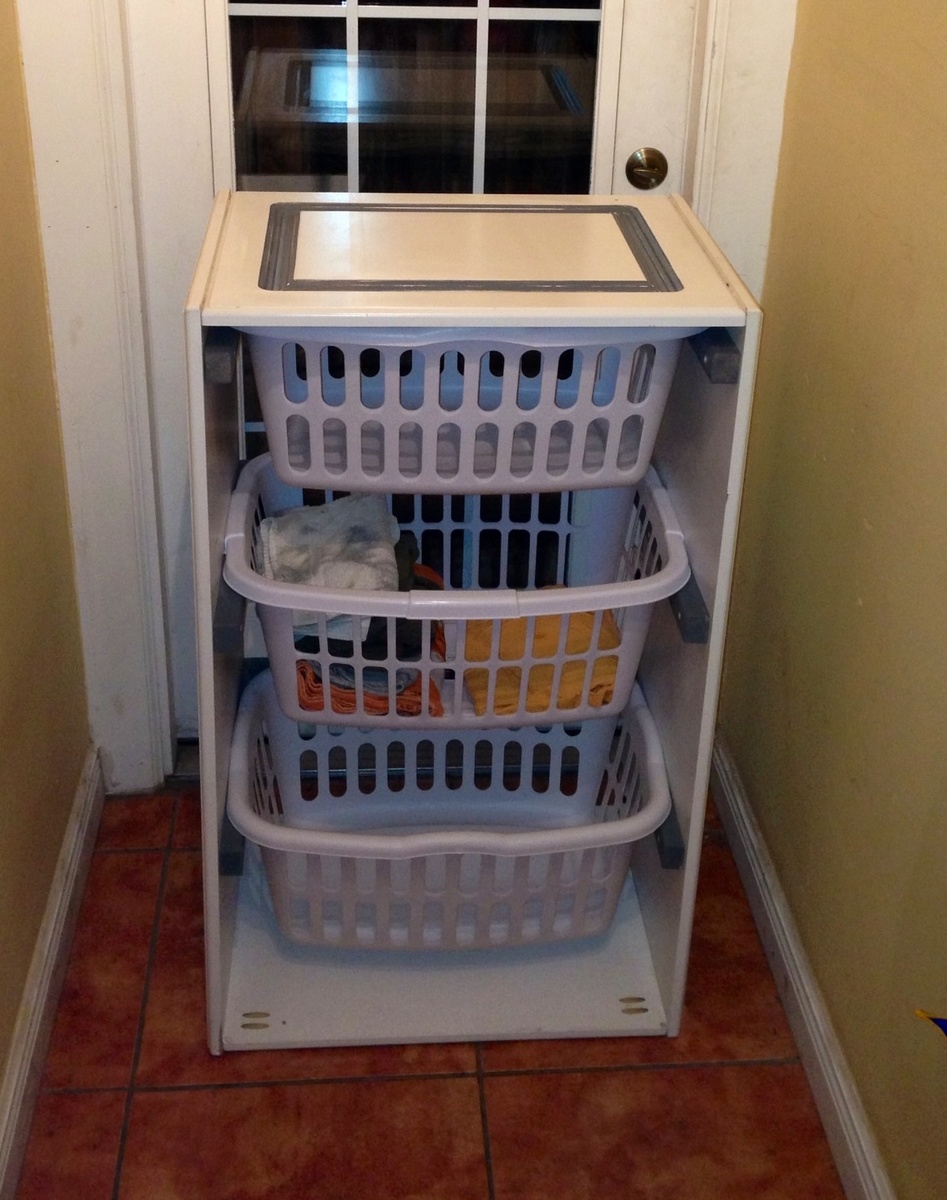
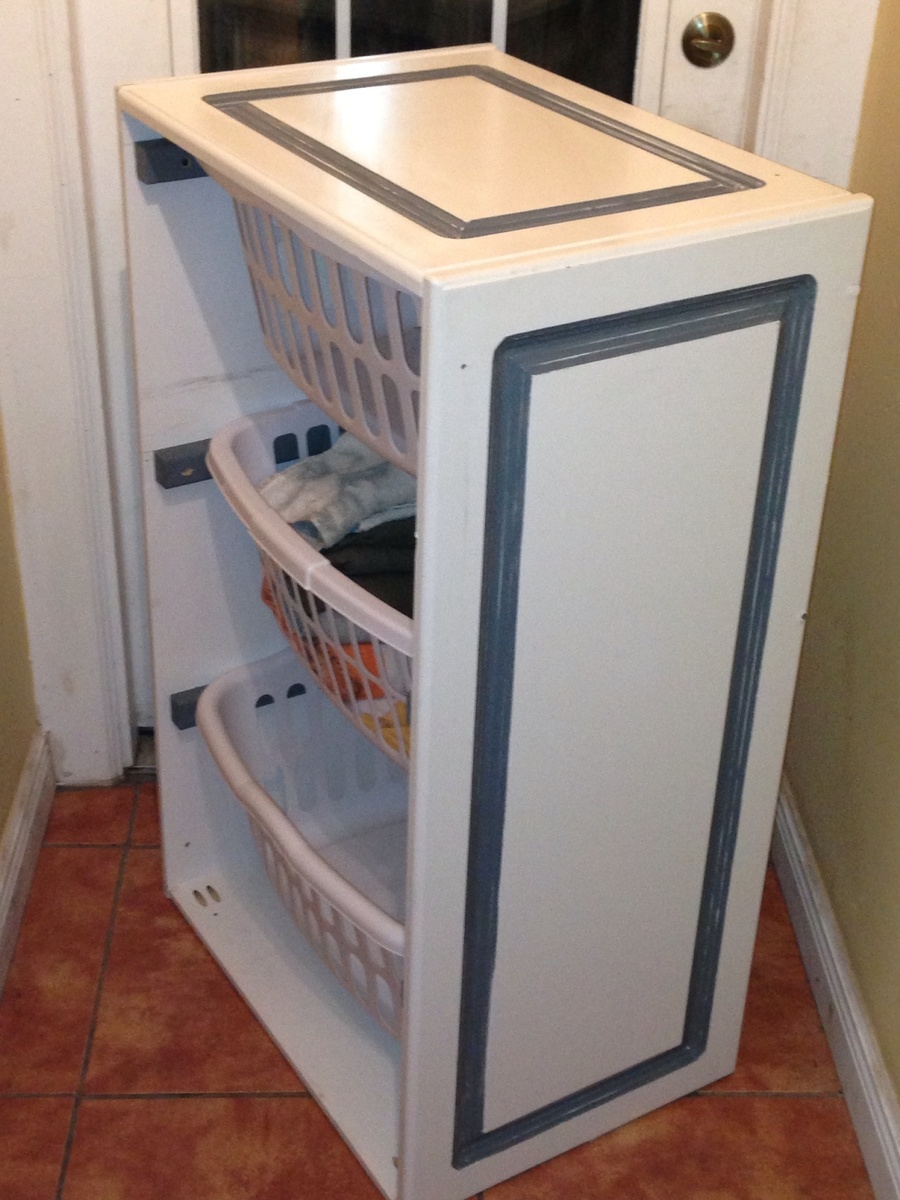
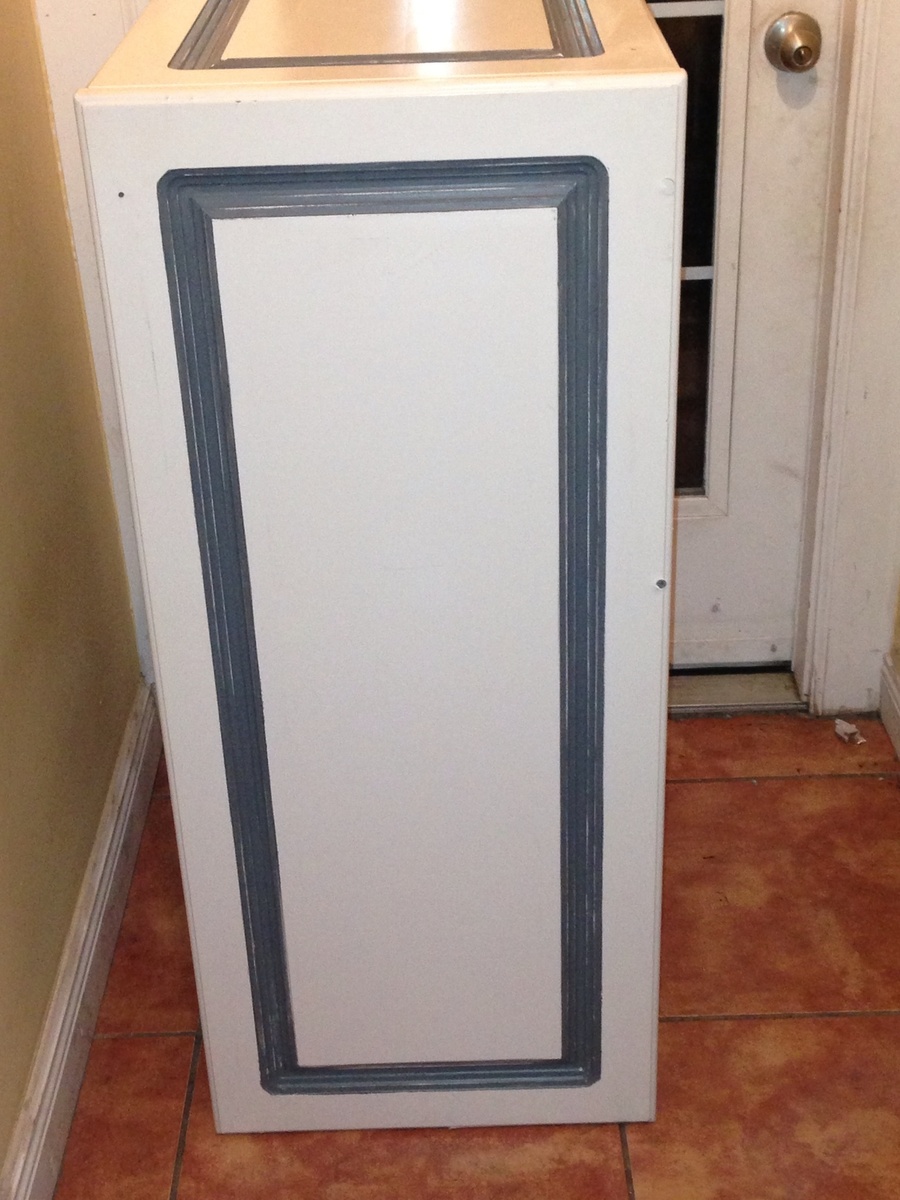
This is the second one of these I have made. I love the 1st one and I wanted to make one for my sisters birthday. Being on a pretty tight budget, the extra $40-$50 I needed for the materials was pretty illusive. While closing up our shop one day I noticed that our buildings dumpster was overflowing w/ perfectly good cabinet doors. I jumped rt in there and grabbed a few of them. I had them for a few days before I realized what I could use them for. I had to change the measurements a little but it worked out well. I used my kreg jig jr. To fasten them all together 1st (the plan says to attach the cleats 1st but because I was changing the measurements , I did it last). Instead of putting a back on it, I used scrap 1x 2 furring strips across the back of the cleats and it feels just as sturdy as the 1st one I built. To dress it up a bit, I painted the molding on the cabinet doors and the cleats a blueish grey and aged it for some character. Finishing w/ Johnson's paste wax.
Wed, 08/14/2013 - 04:48
Love that you repurposed something you found! Great recycling and free materials for you. A win-win! I'm sure your sister will love it!
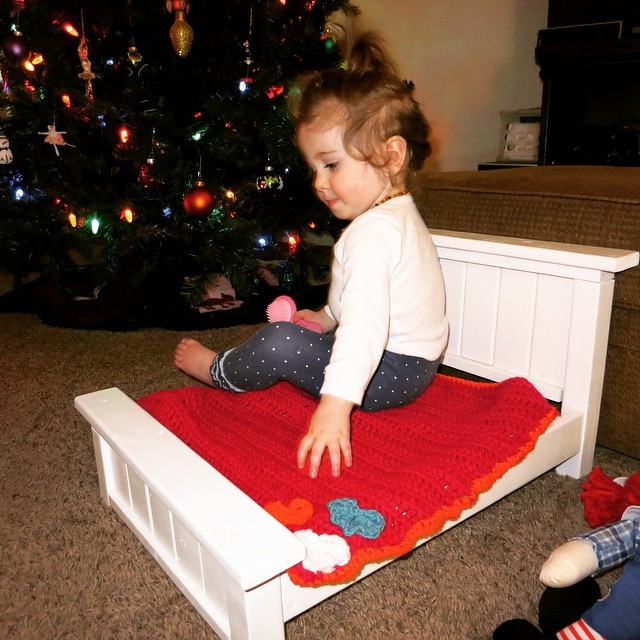
A little late uploading these. Made these for Christmas 2014.
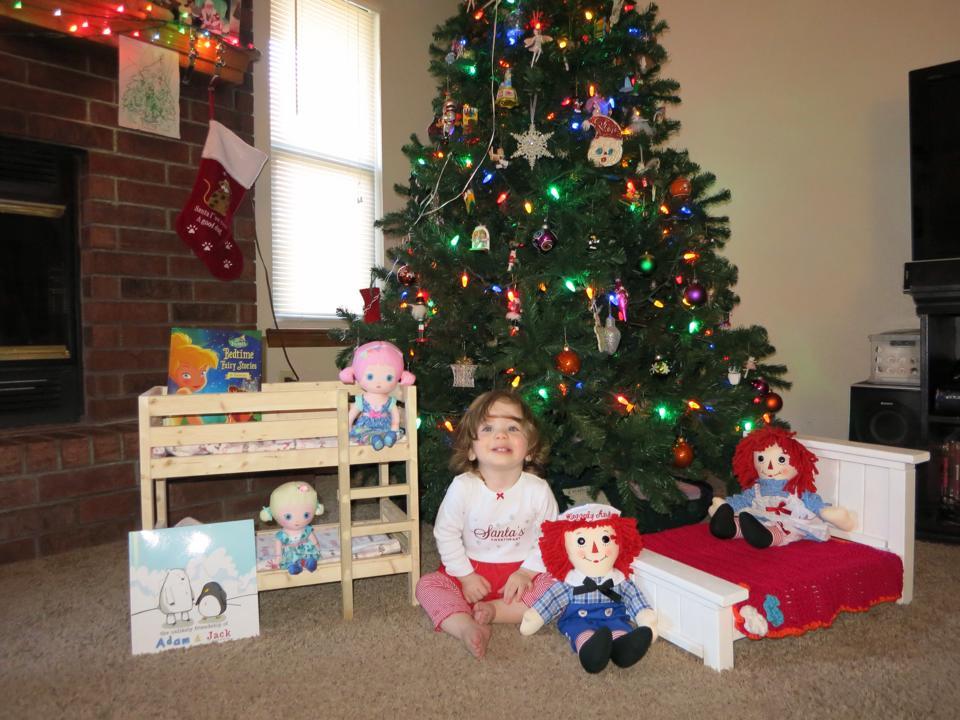
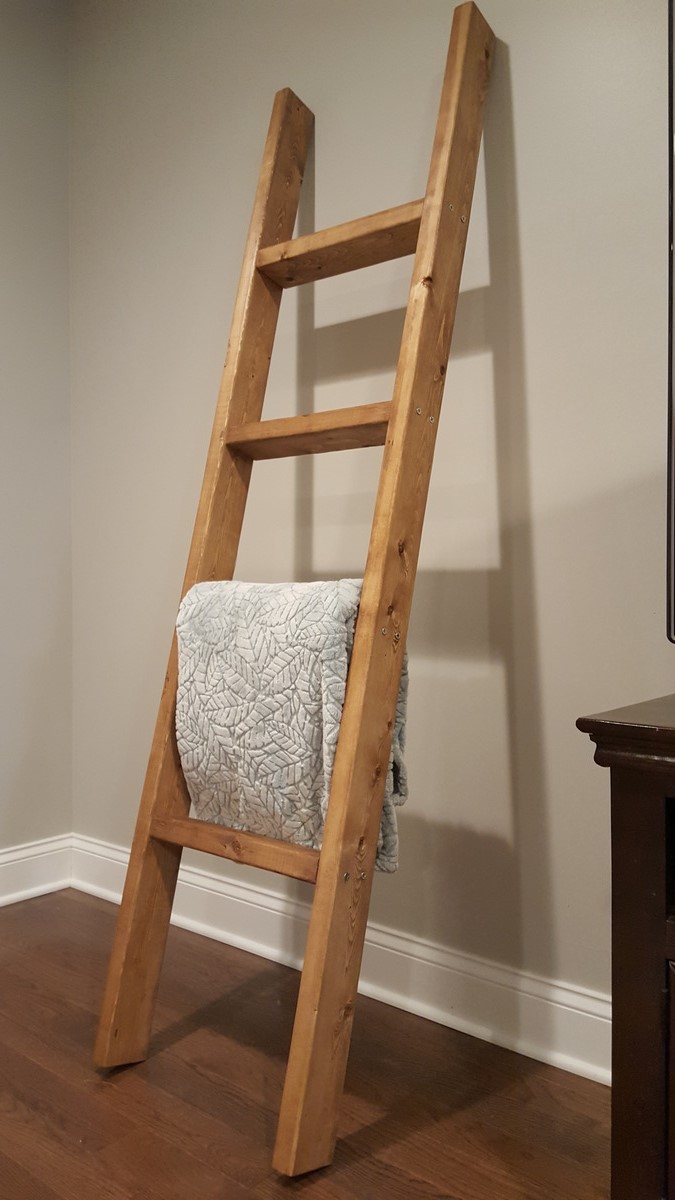
Very easy to cut/assemble and very pleased with the result! It took about an hour to cut the boards and screw then together. Then another hour to same/pretreat/stain. Love it!
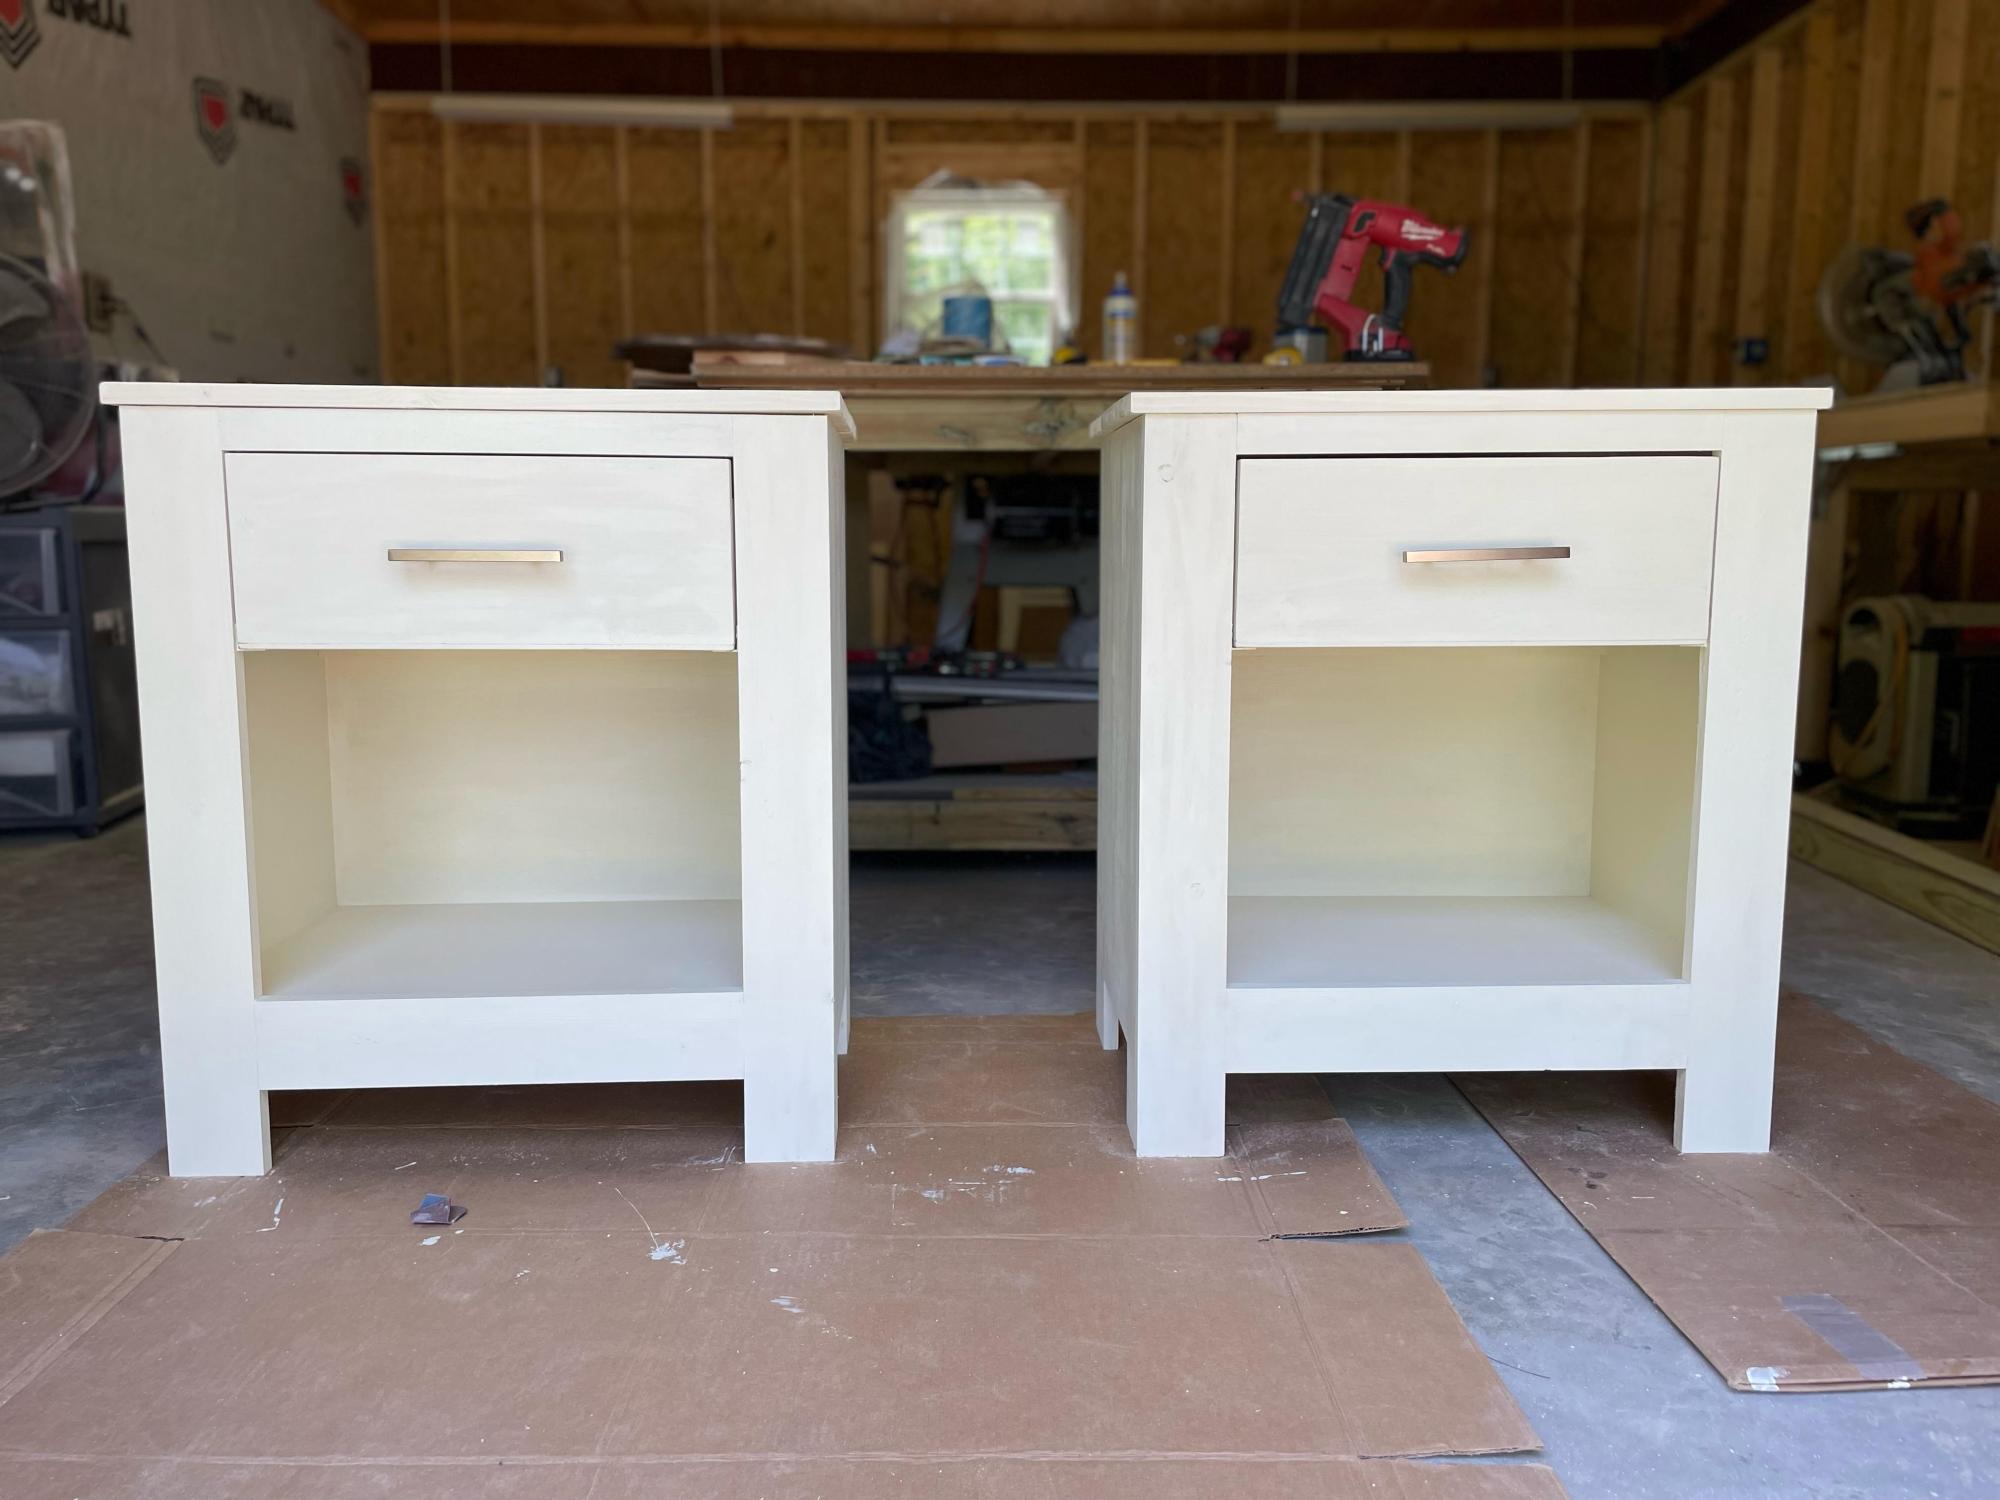
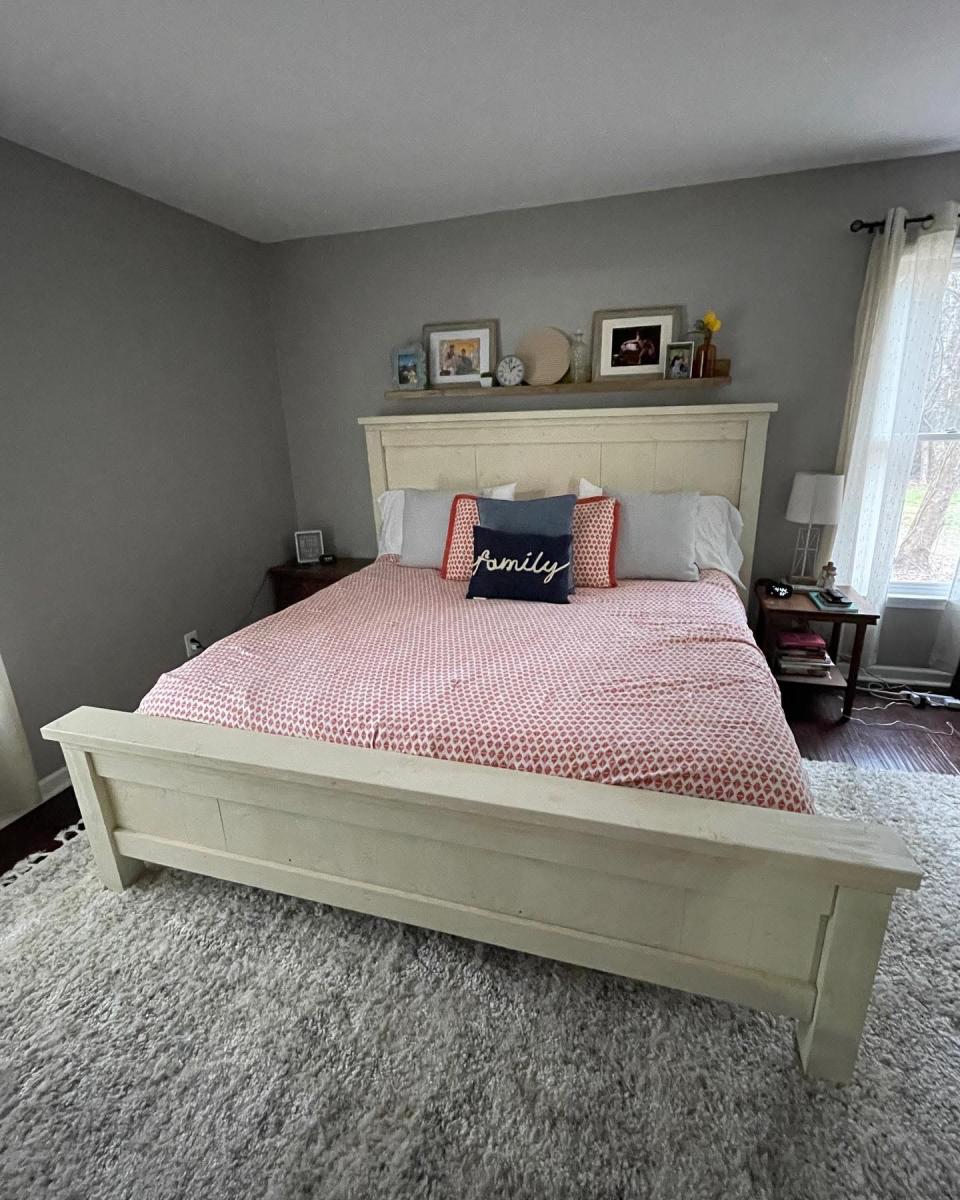
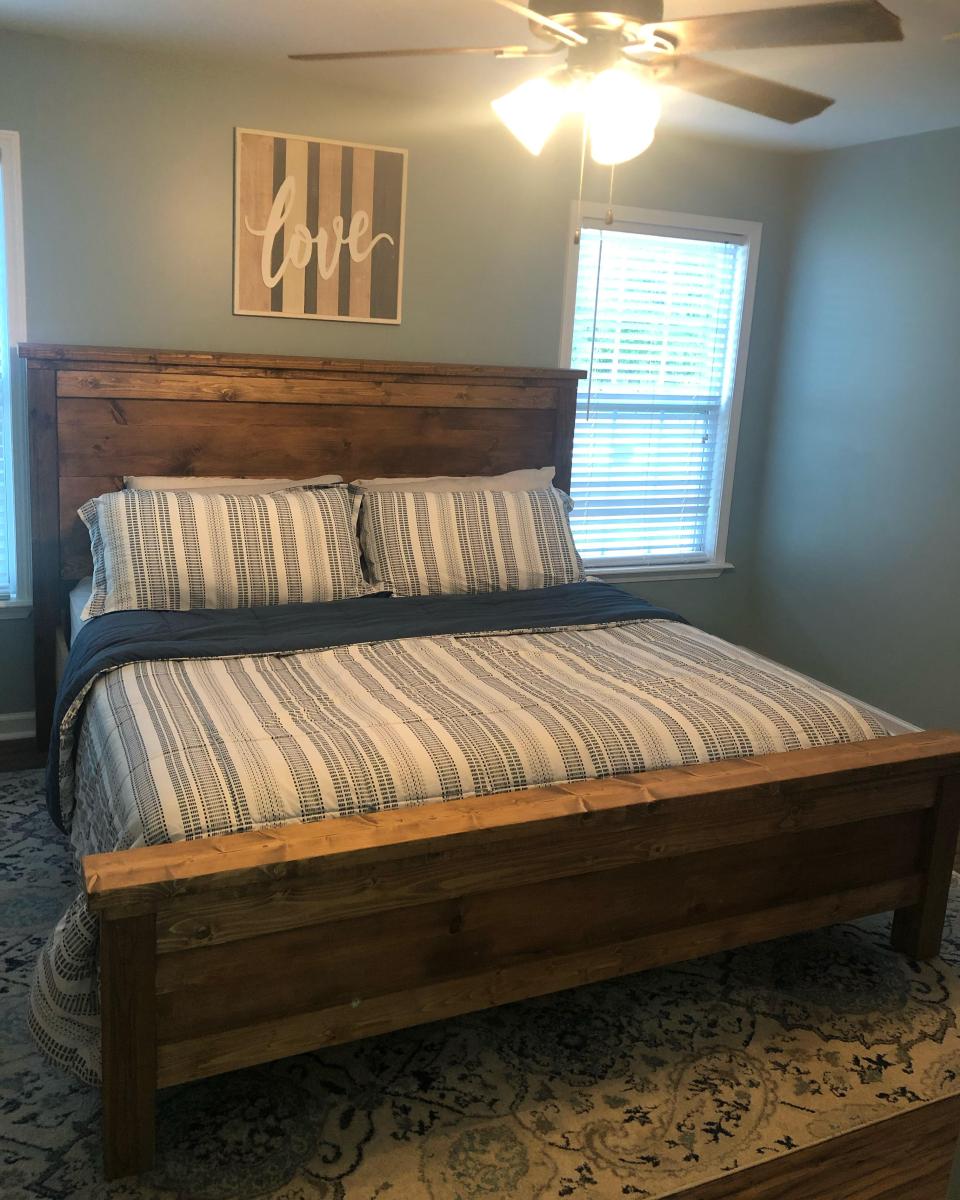
Off white standard king farmhouse bed and matching nightstands and modified (horizontal slats) standard king farmhouse bed stained.
I love your plans!!!
by Tiffany
This was my first time ever using a drill AND a staple gun, and my first woodworking project since I made stilts out of wood and glue for 4-H, like, 25 years ago!
I'm not sure I did it right, and I had to place a plant stand strategically in order to keep it standing upright, but the boys love it so far! I ended up using the curtains that I had in the boys room, and the loops weren't big enough, so I improvised with ribbon, and the curtains weren't quite long enough to go around to the bottom, but I figure having the staples showing just made it look cool and industrial :)
All in all, I'm pretty darn proud of completing my first project!! Thanks for the awesome plans!
Tue, 02/21/2012 - 11:42
Congratulations, a great job! I like the colorful curtains you used!
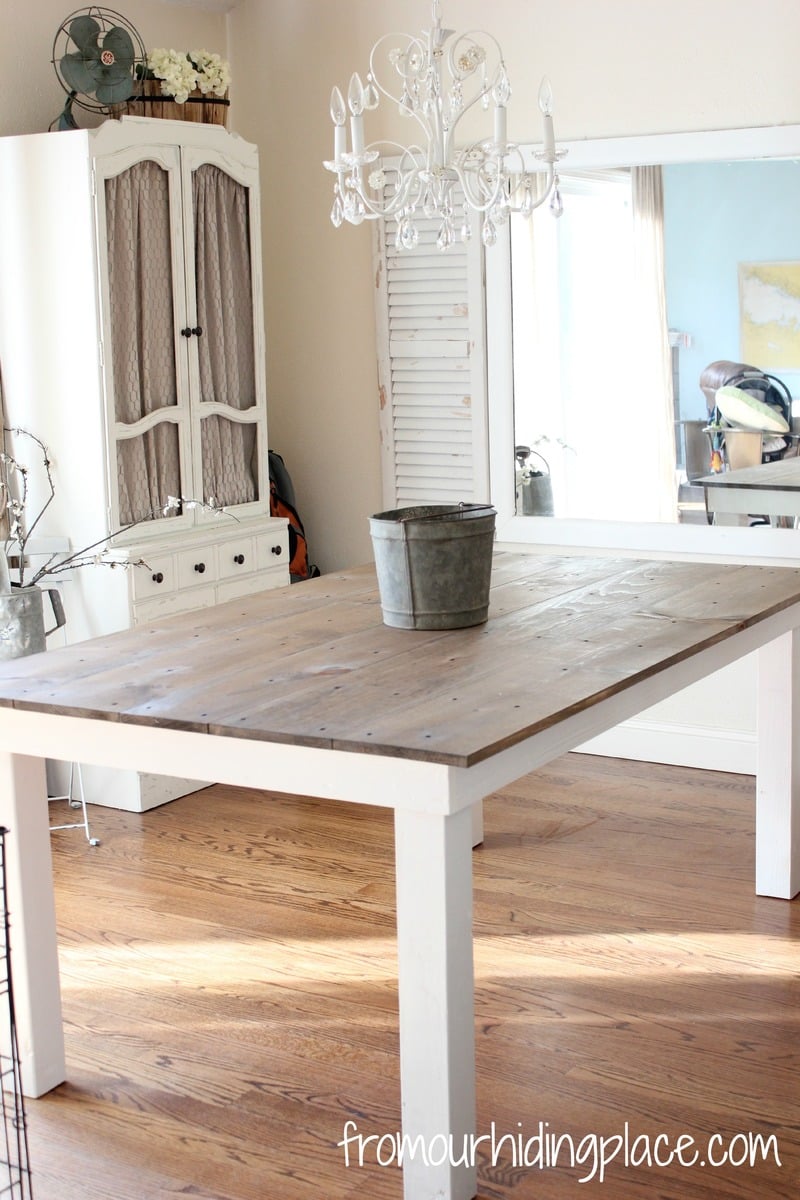
Using Ana White's Rustic Table plans, I recreated her design by modifying the measurements to fit my dining space. I did not use wood glue, as the plans call for, and simply left the wood screws visible which I felt added a rustic touch. The top is stained with Minwax Special Walnut #224, and the bottom is painted Simply White by Benjamin Moore. The table measures 72"x42" and is 30" high. It can comfortably seat six chairs.
Sat, 09/07/2013 - 12:22
I love your choice of colour! It's the perfect backdrop to a nice dinner full of colour! I'm getting inspired to try this now!
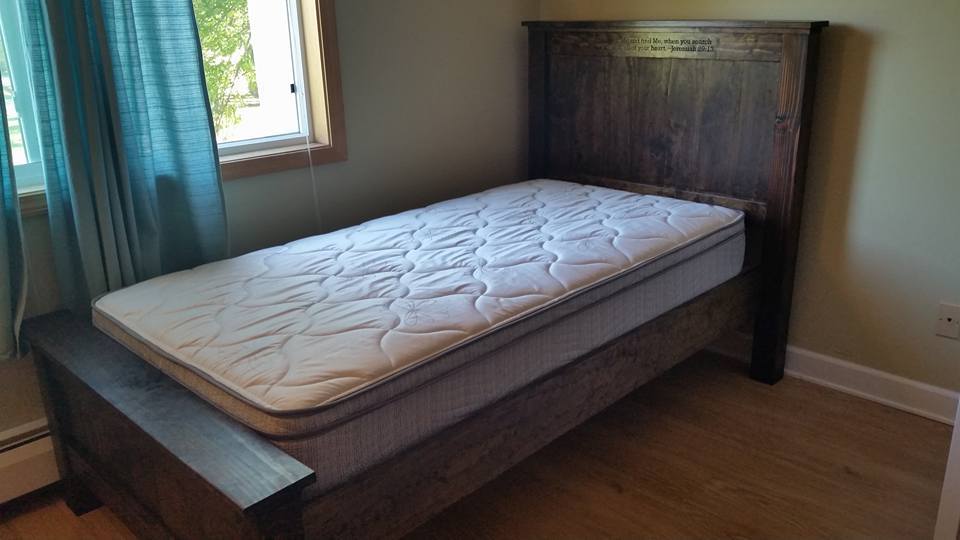
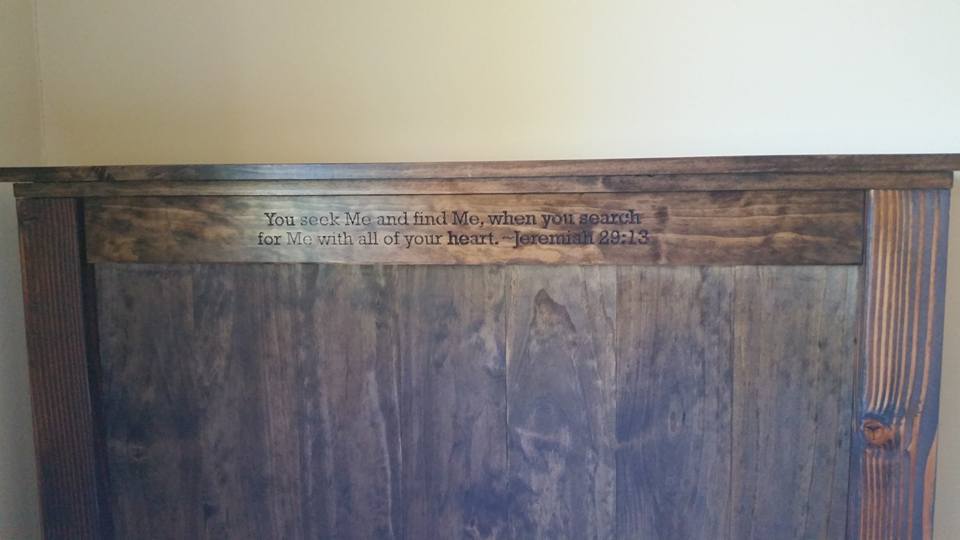
This is the second farmhouse bed that i've built from these plans. I made a slight modification to shorten the headboard for this bed. Overall, it was a fun and enjoyable project.
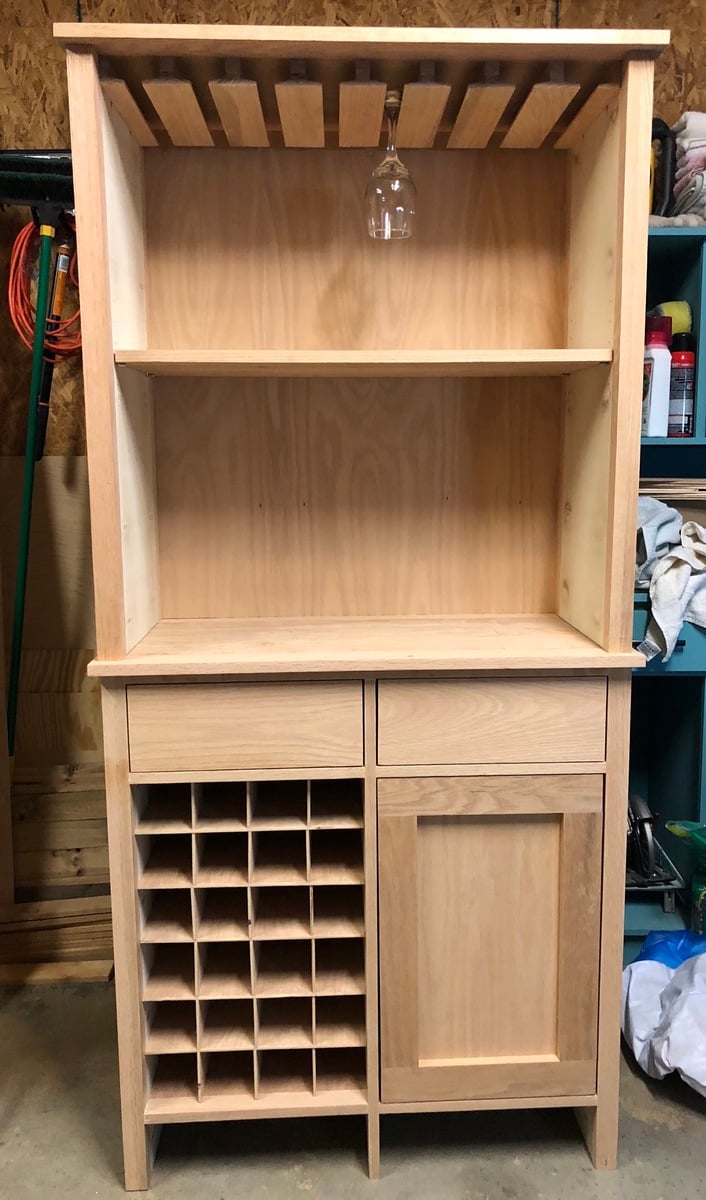
I took what was a single cabinet and doubled it.
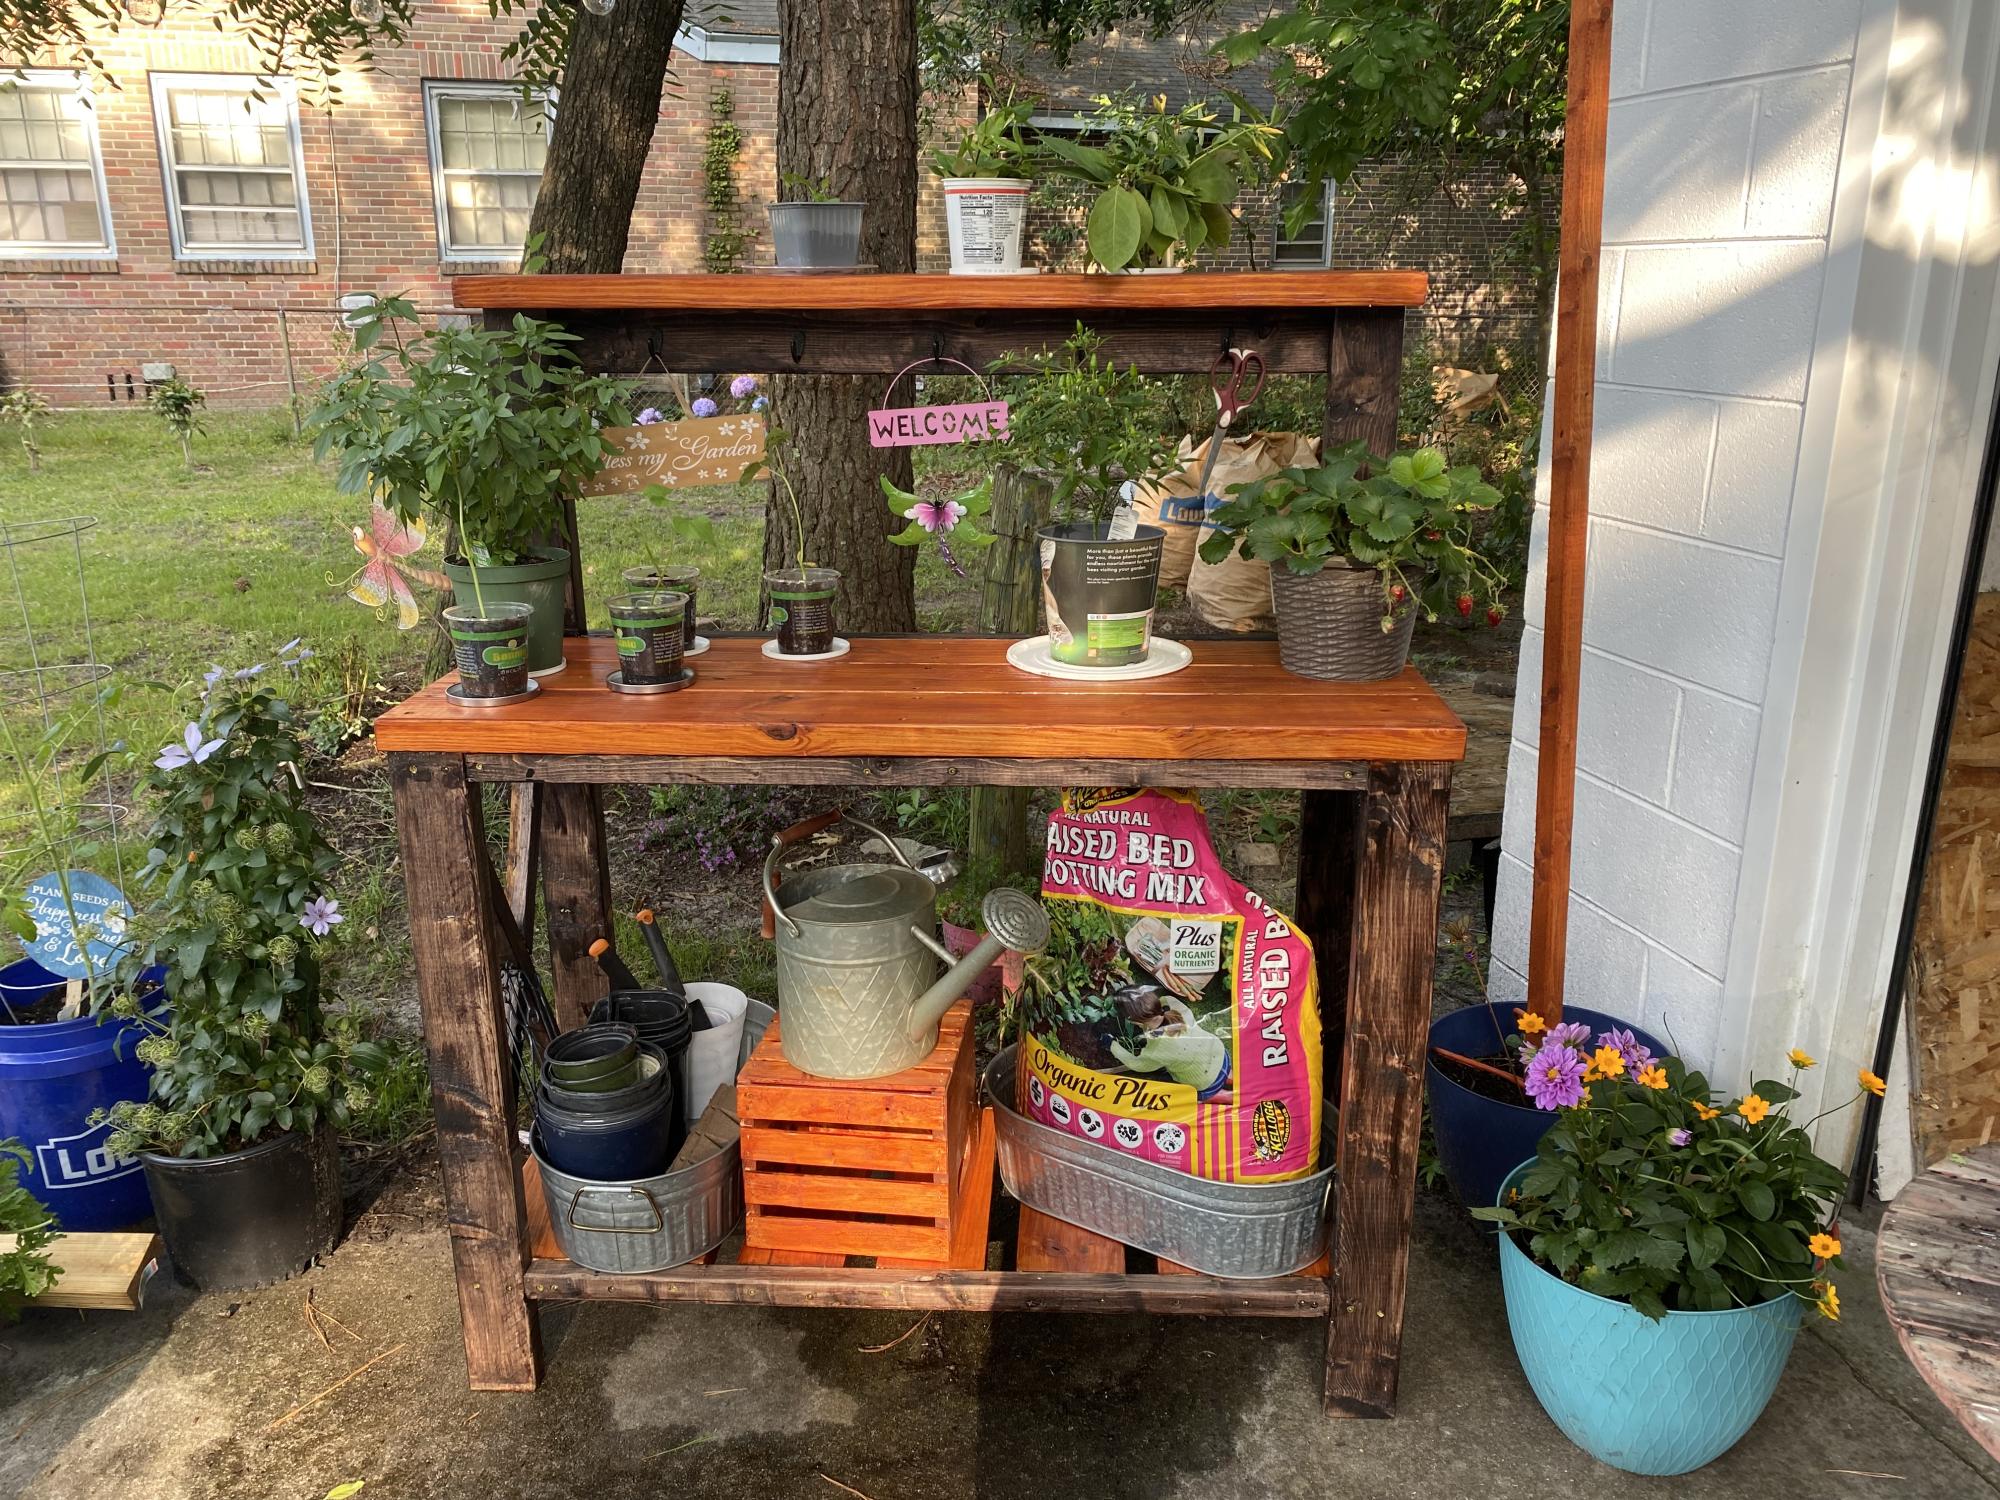
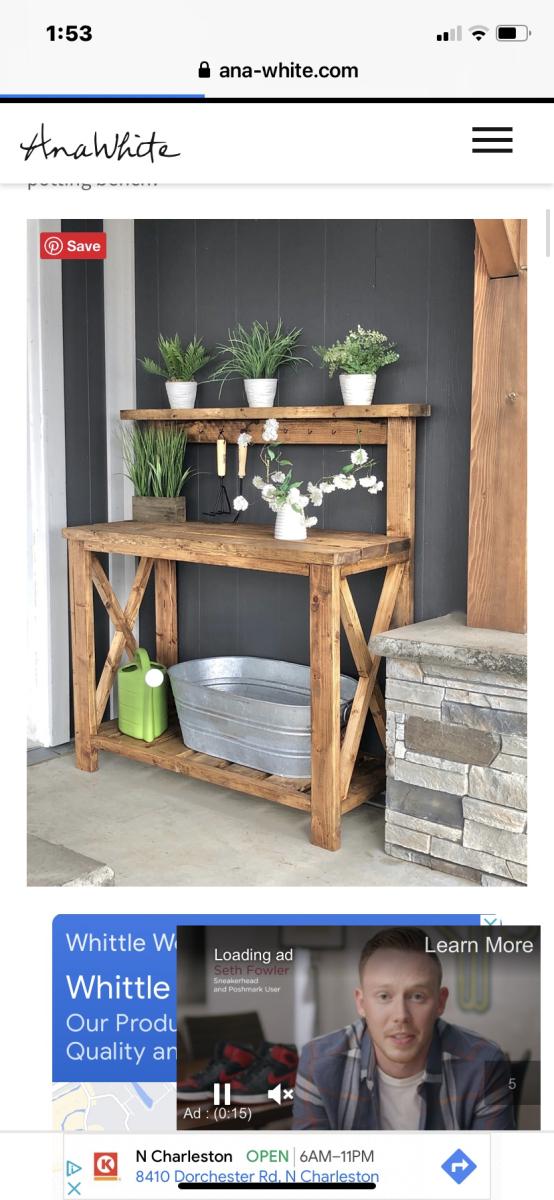
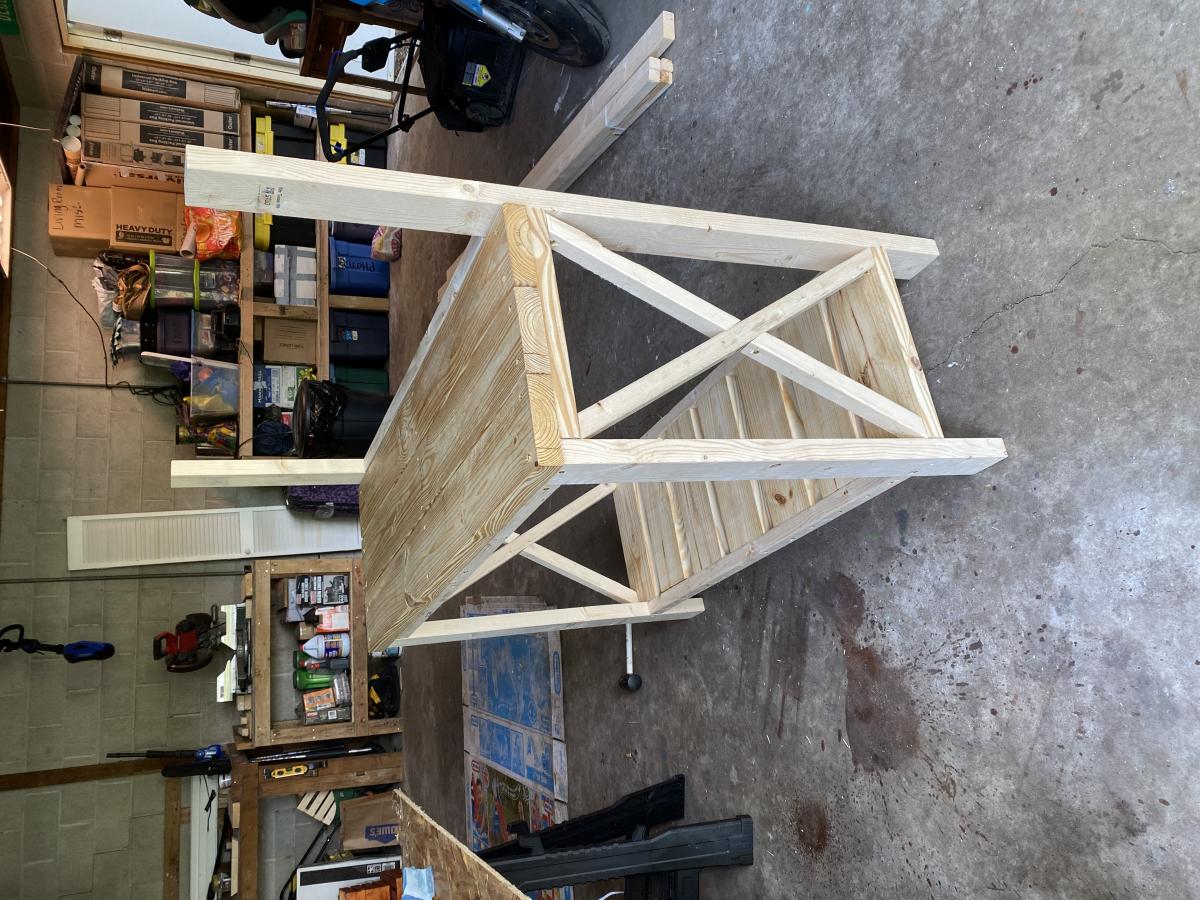
So easy… about 3 hours to cut and assemble. Will make another one for sure when I go to visit my mom at Thanksgiving. I absolutely love it!
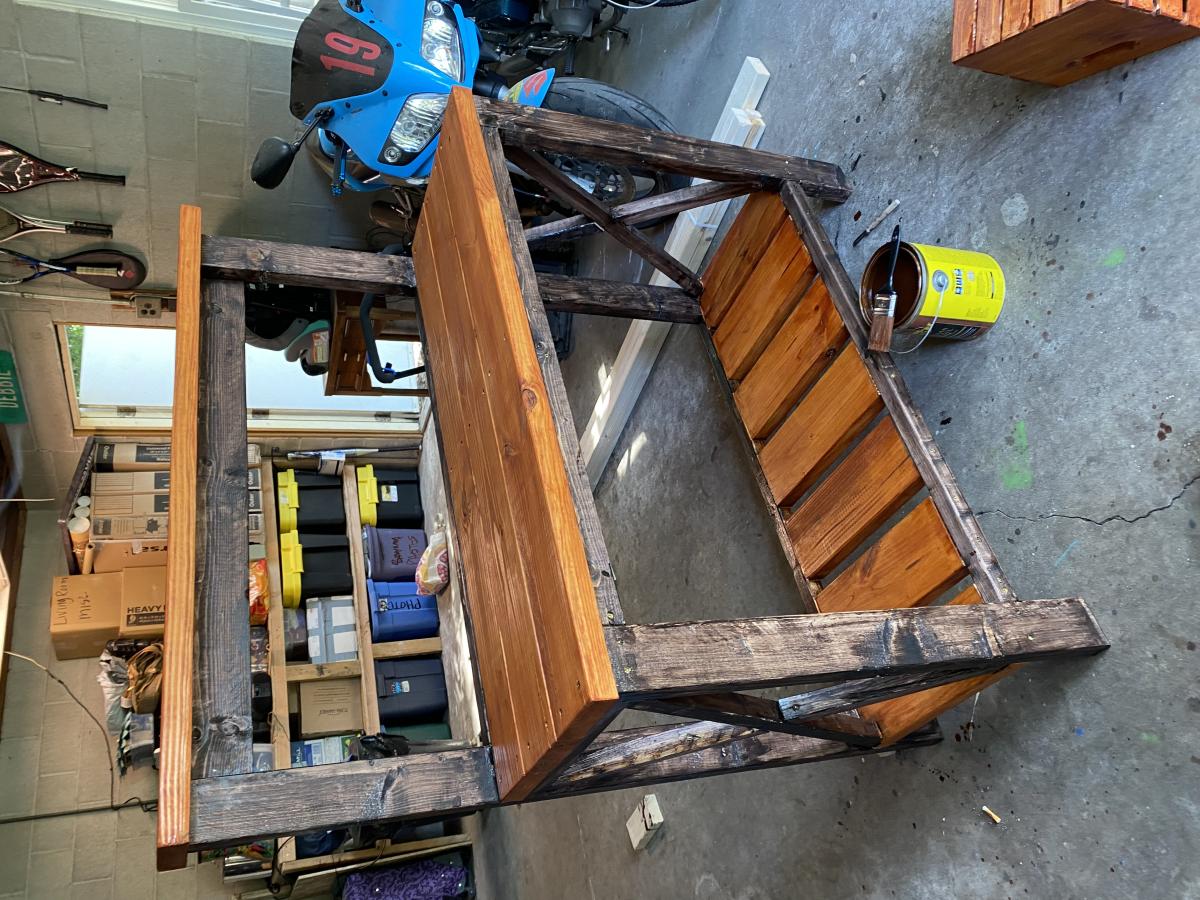
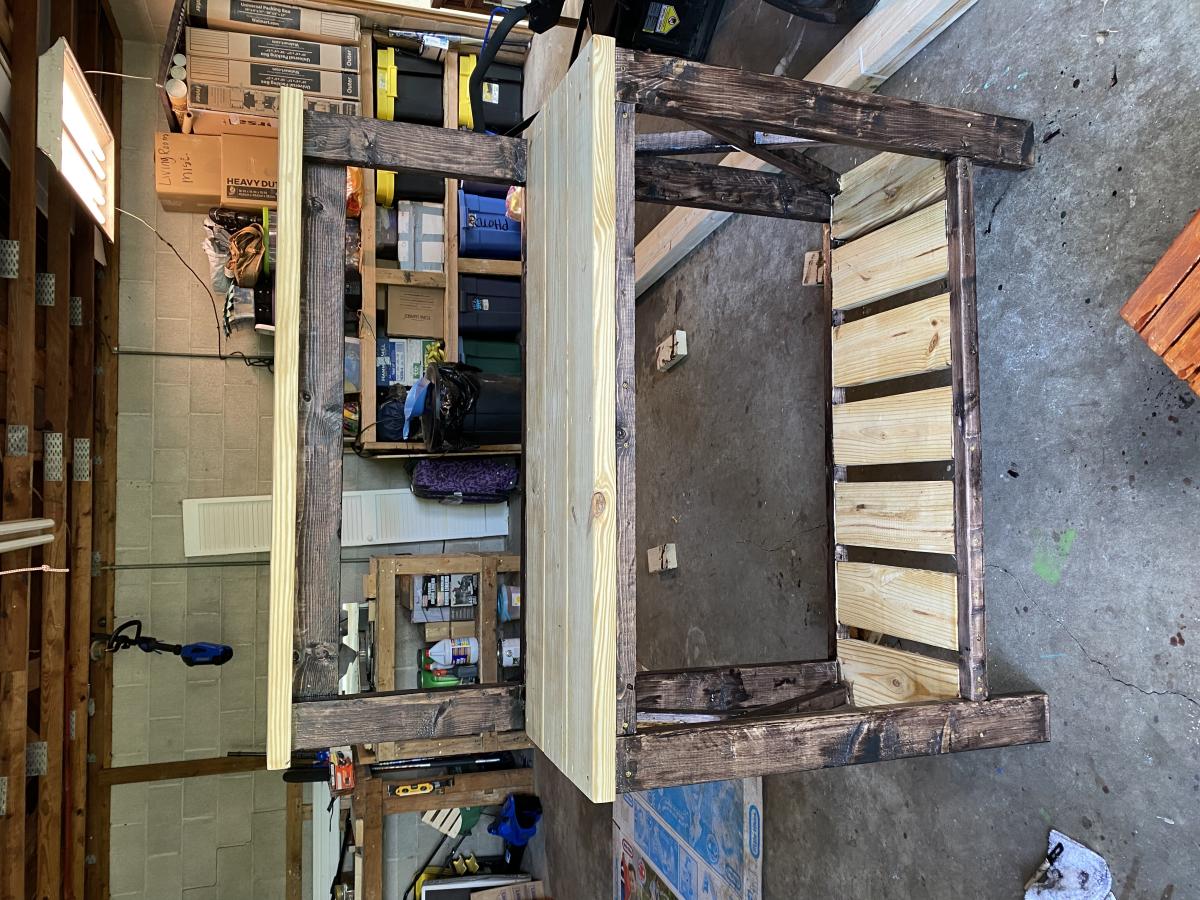
Wed, 06/01/2022 - 08:04
Wonderful build, it looks fantastic! Thank you for sharing:)
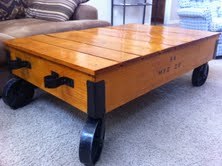
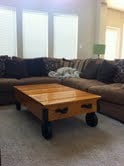
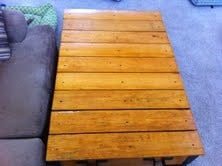
This Factory Cart Coffee Table is my third project. I used pretty much the same design as the Factory Cart Coffee Table plans on the site, with some minor modification. We attached a few pieces of hardware to the sides, and corners of the table to add a little bit more of the industrial look.
Great plans, keep up the good work. I am beginning to build a lot of stuff now. The furniture all looks great, it has the look of homemade, and saves a lot of money over buying in a store.
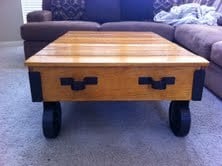
Sat, 07/16/2011 - 08:20
Been looking at these plans for a while trying to figure out where I could fit a table like this in my teensy-tiny house. Love your interpretation of it. The black hardware is a nice touch!
Thu, 07/28/2011 - 07:20
Hello,
Thanks...we really like the look of this piece in the house, and by building it ourselves it saved a ton of money.
I got the casters at Tractor Supply. They are 5 inch casters. The front two are able to swing 360 degree, and the back two are just straight casters. These were by far the most expensive portion of the project. I bought and tried 3 inch casters first, but these made for a really, really low table.
Wed, 08/03/2011 - 19:23
I love the work you did on the table. Did you also stencil something? Did you get the hardware at the tractor supply store? Just beautiful.
Mon, 08/29/2011 - 08:54
Thank you so much. We did stencil something on the side (S & K MFG Co.). A mix of mine and my girlfriends name.
We got the hardware at Lowes, and the casters at Tractor Supply. The casters were the hardest part since I was looking for the old type casters used on the turn of the century carts, but those were way too hard to source.
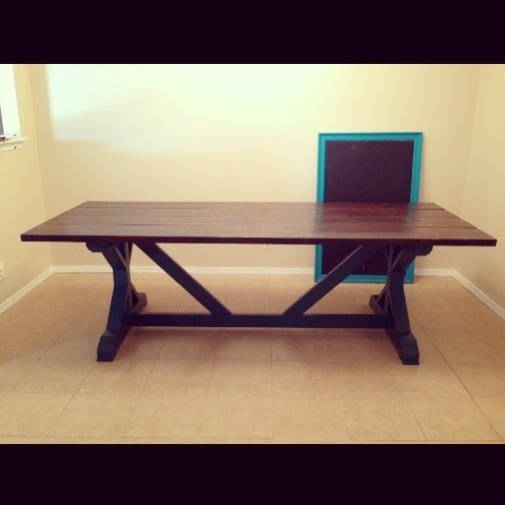
My husband tackled the Fancy Farmhouse Table and finished it in 1 weekend and it looks amazing! I could not be more thrilled with the outcome.
Followed the original plan but substituted branches from an oak tree for the X brace to give it a more "Adirondack" look. Geneously sprayed the branches with a clear polyurethane coating to seal the bark.
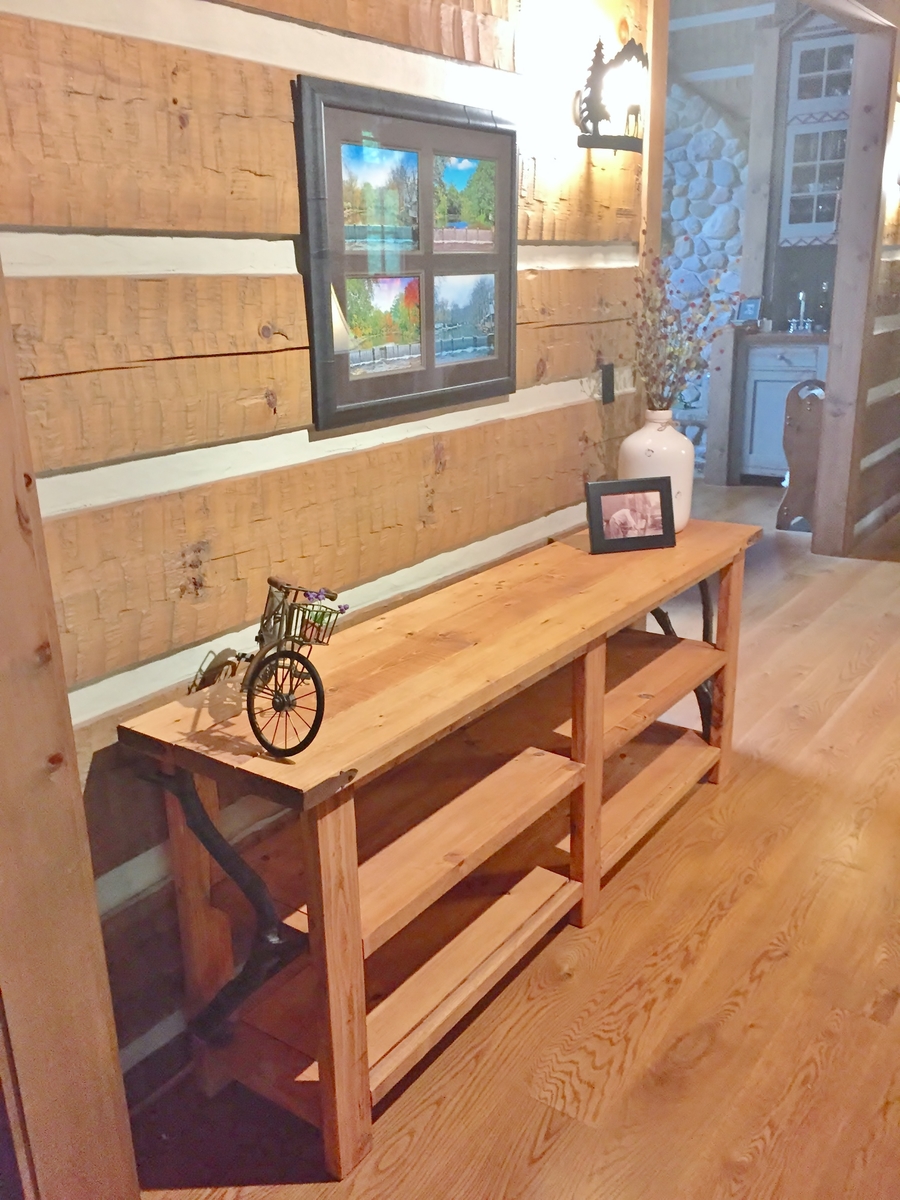
We built this island with the top offset so you could use it for stools on 2 sides. It fit perfectly in our daughter's first college house! The plans were easy to follow we added drawer slides and dovetailed the drawer.
After seeing the $400 PB Tables on their website, I decided I wanted the look without paying such a high price.
I recreated a table using their table as an inspiration piece. I plan on building the little table next week.
Mon, 07/18/2011 - 06:59
I requested plans for nesting tables because I don't have the confidence to try and do it myself. Beautiful job and yours look much better than PB's and their ridiculous price! Once you get the smaller table done, will you please post your plans? I would really appreciate it. We have an ottoman so there isn't room for a coffee table and we badly need tables for when our weekly guests arrive. I don't like the snack tables as they are too wobbly. Again, beautiful work!
Wed, 07/20/2011 - 12:50
And yes, I'll be posting the finished plans and table pictures this weekend. I even tried my first attempt at the plans on the sketch up program. The big table is already up on my little blog site.
http://www.thequaintcottage.net/2011/07/copy-cat-nesting-end-table-part…
My table is a bit larger than the PB table, but I wanted the little table to be able to be used as a secondary table when guests come visit (move to side tables).
Once I get them perfect, I'll post here.
THANKS for your positive feedback. :)
Karen
Sun, 07/24/2011 - 17:02
I modified the plan by using a hardwood plywood 4X8 sheet cut down to a 72" by 28" size. I put hardwood trim around the edges for a smooth appearance. I stained the top with a Minwax poly shield oak finish and painted the base using a glossy enamel paint "Inkwell" from Sherwin Williams. The seamless top makes for a better writing surface.
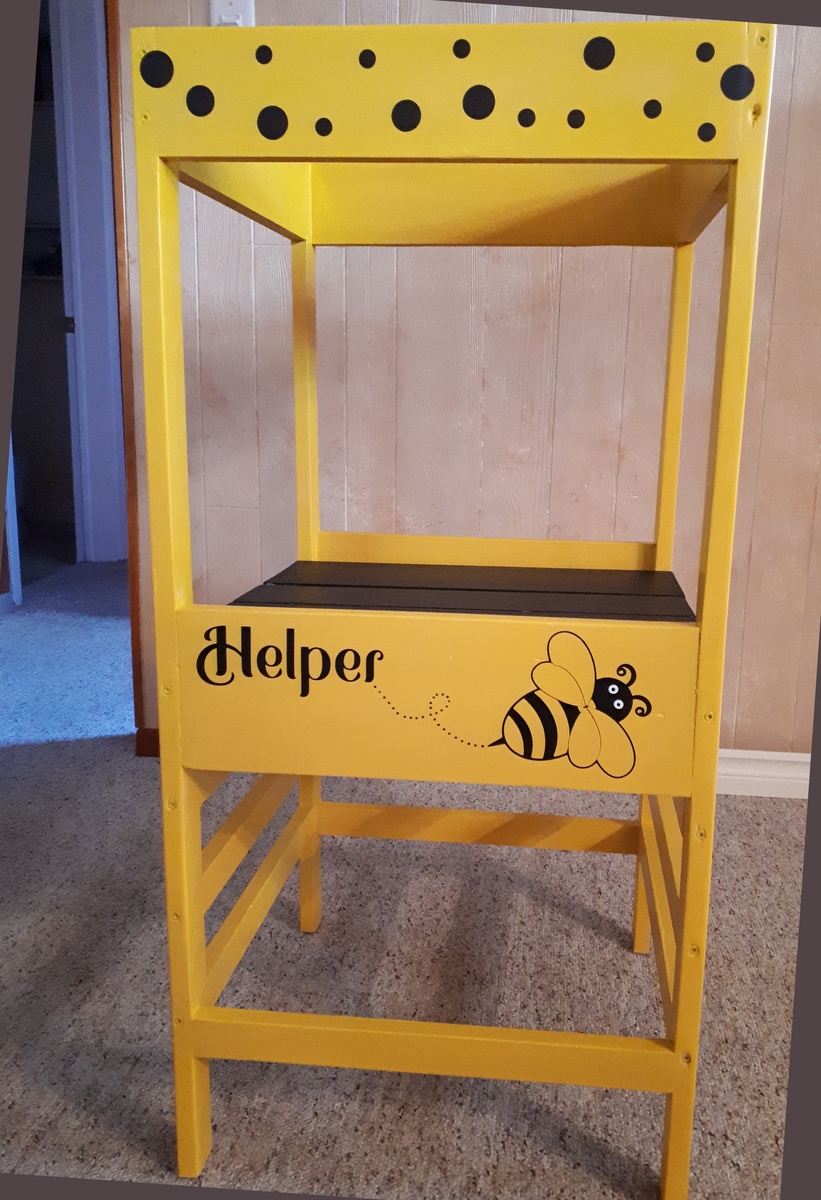
Thanks so much for the plans Ana. Made this for our grandaughter. Right now all colors are yellow and all bugs are bees so I decorated it as such. Chose not to use pocket screws as I figured if you had issues with the wood splitting I wasn't going to push my luck. Plans were very easy to follow and took us about 4 hours in total. Can't wait for her to start using it.
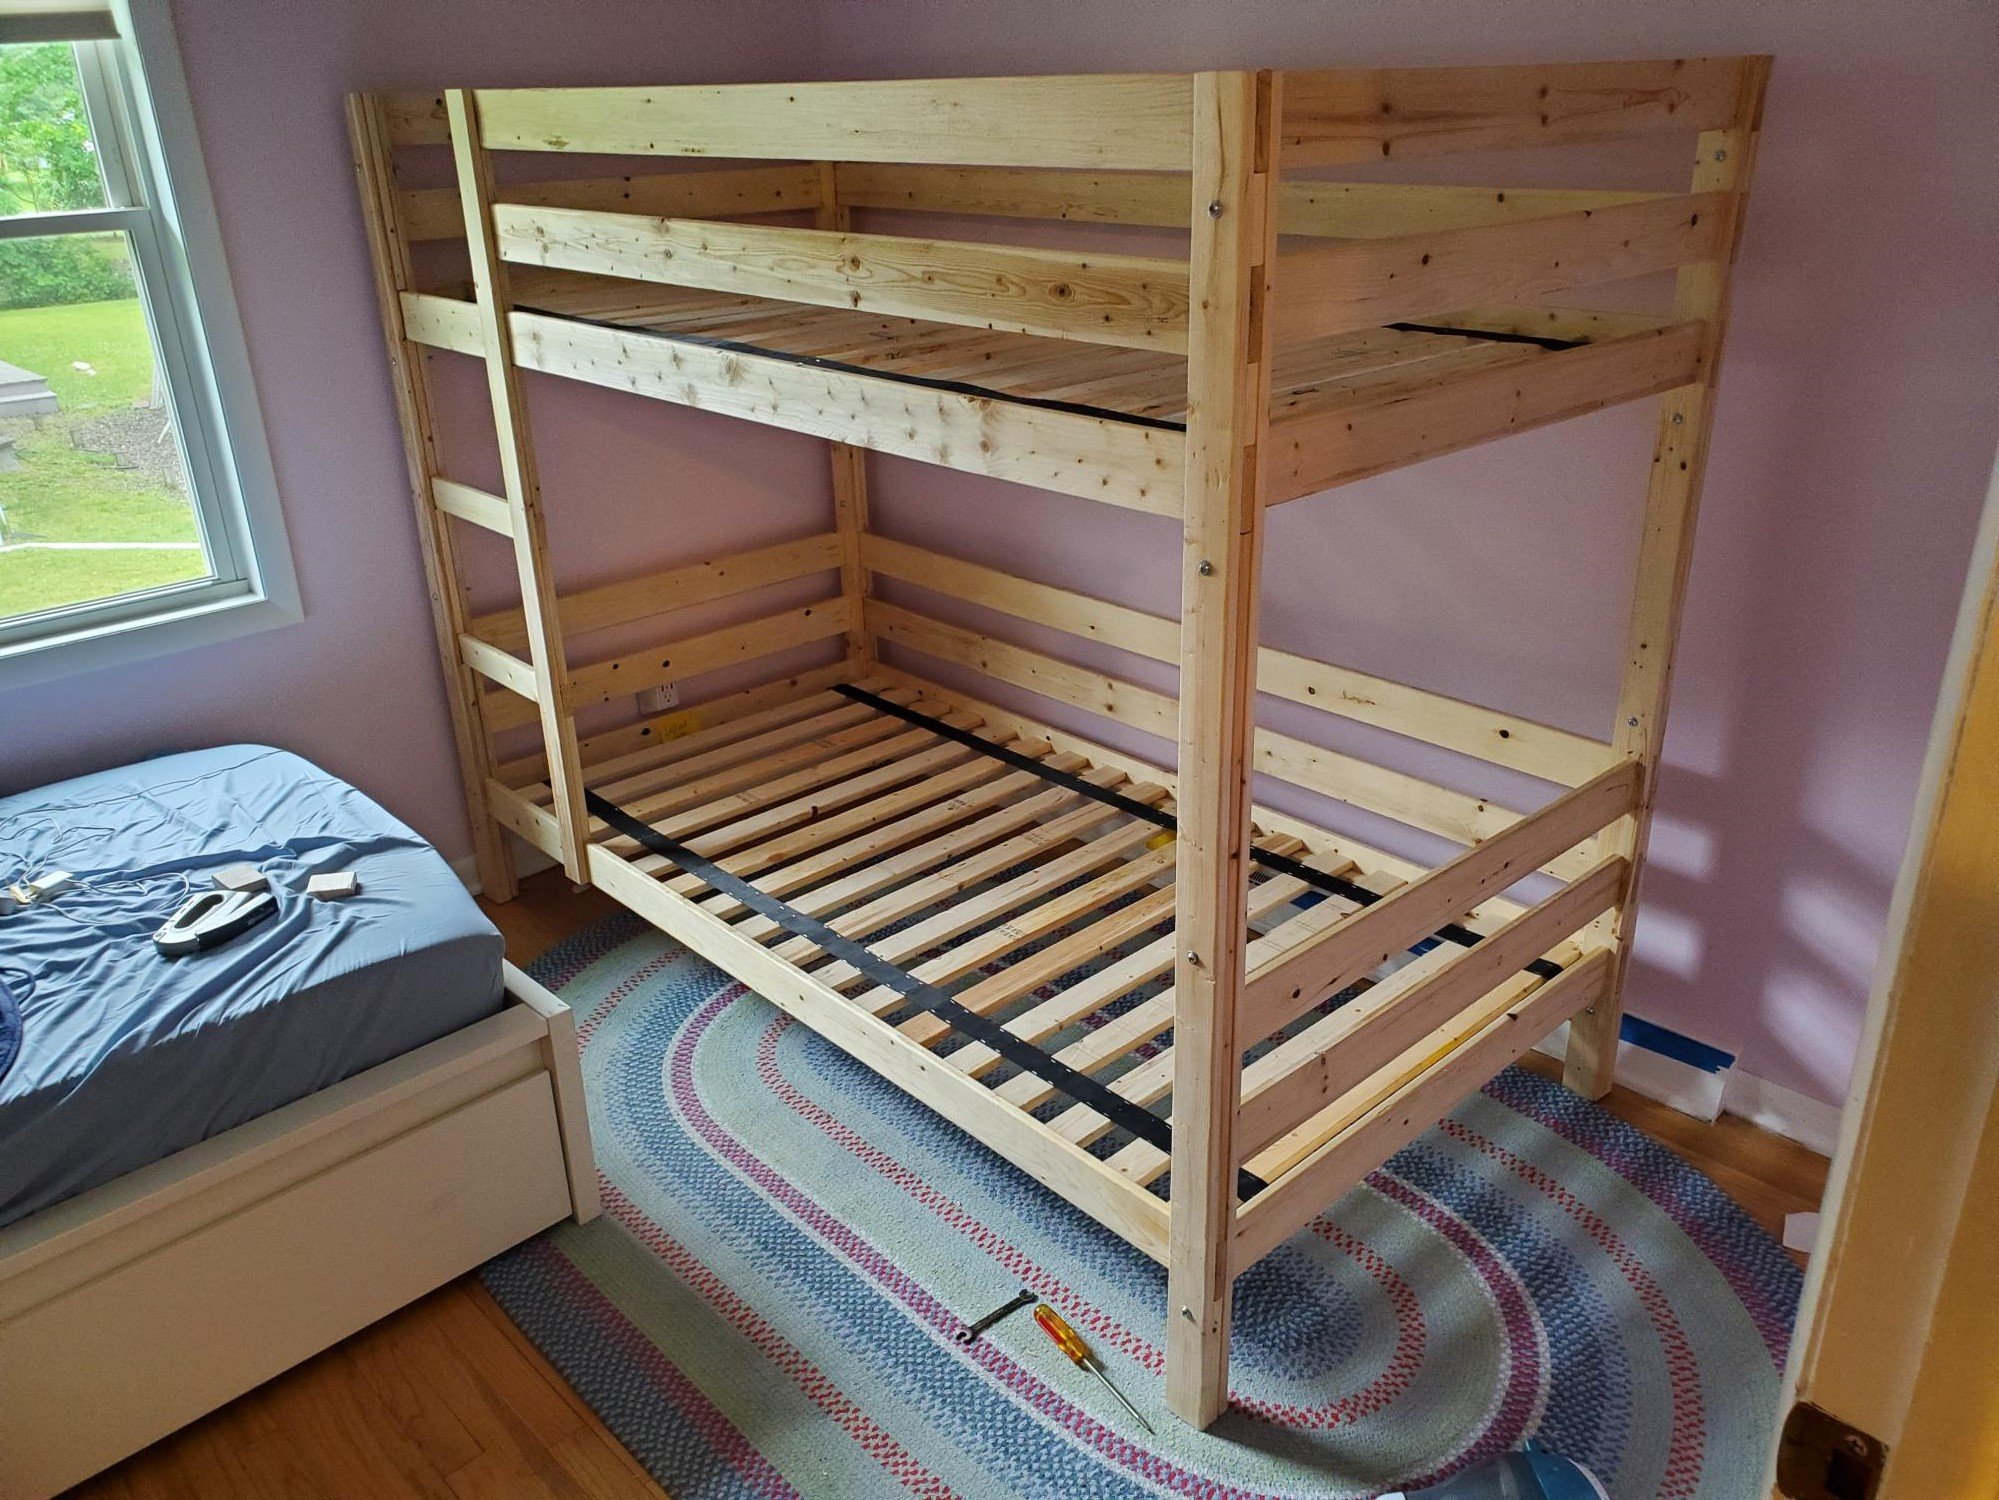
I followed Classic Bunk Beds instructions with the ladder to the left end instead of the right. I think this by accident though it works out fine in the room either way. It's finished with Danish Oil rubbed on.