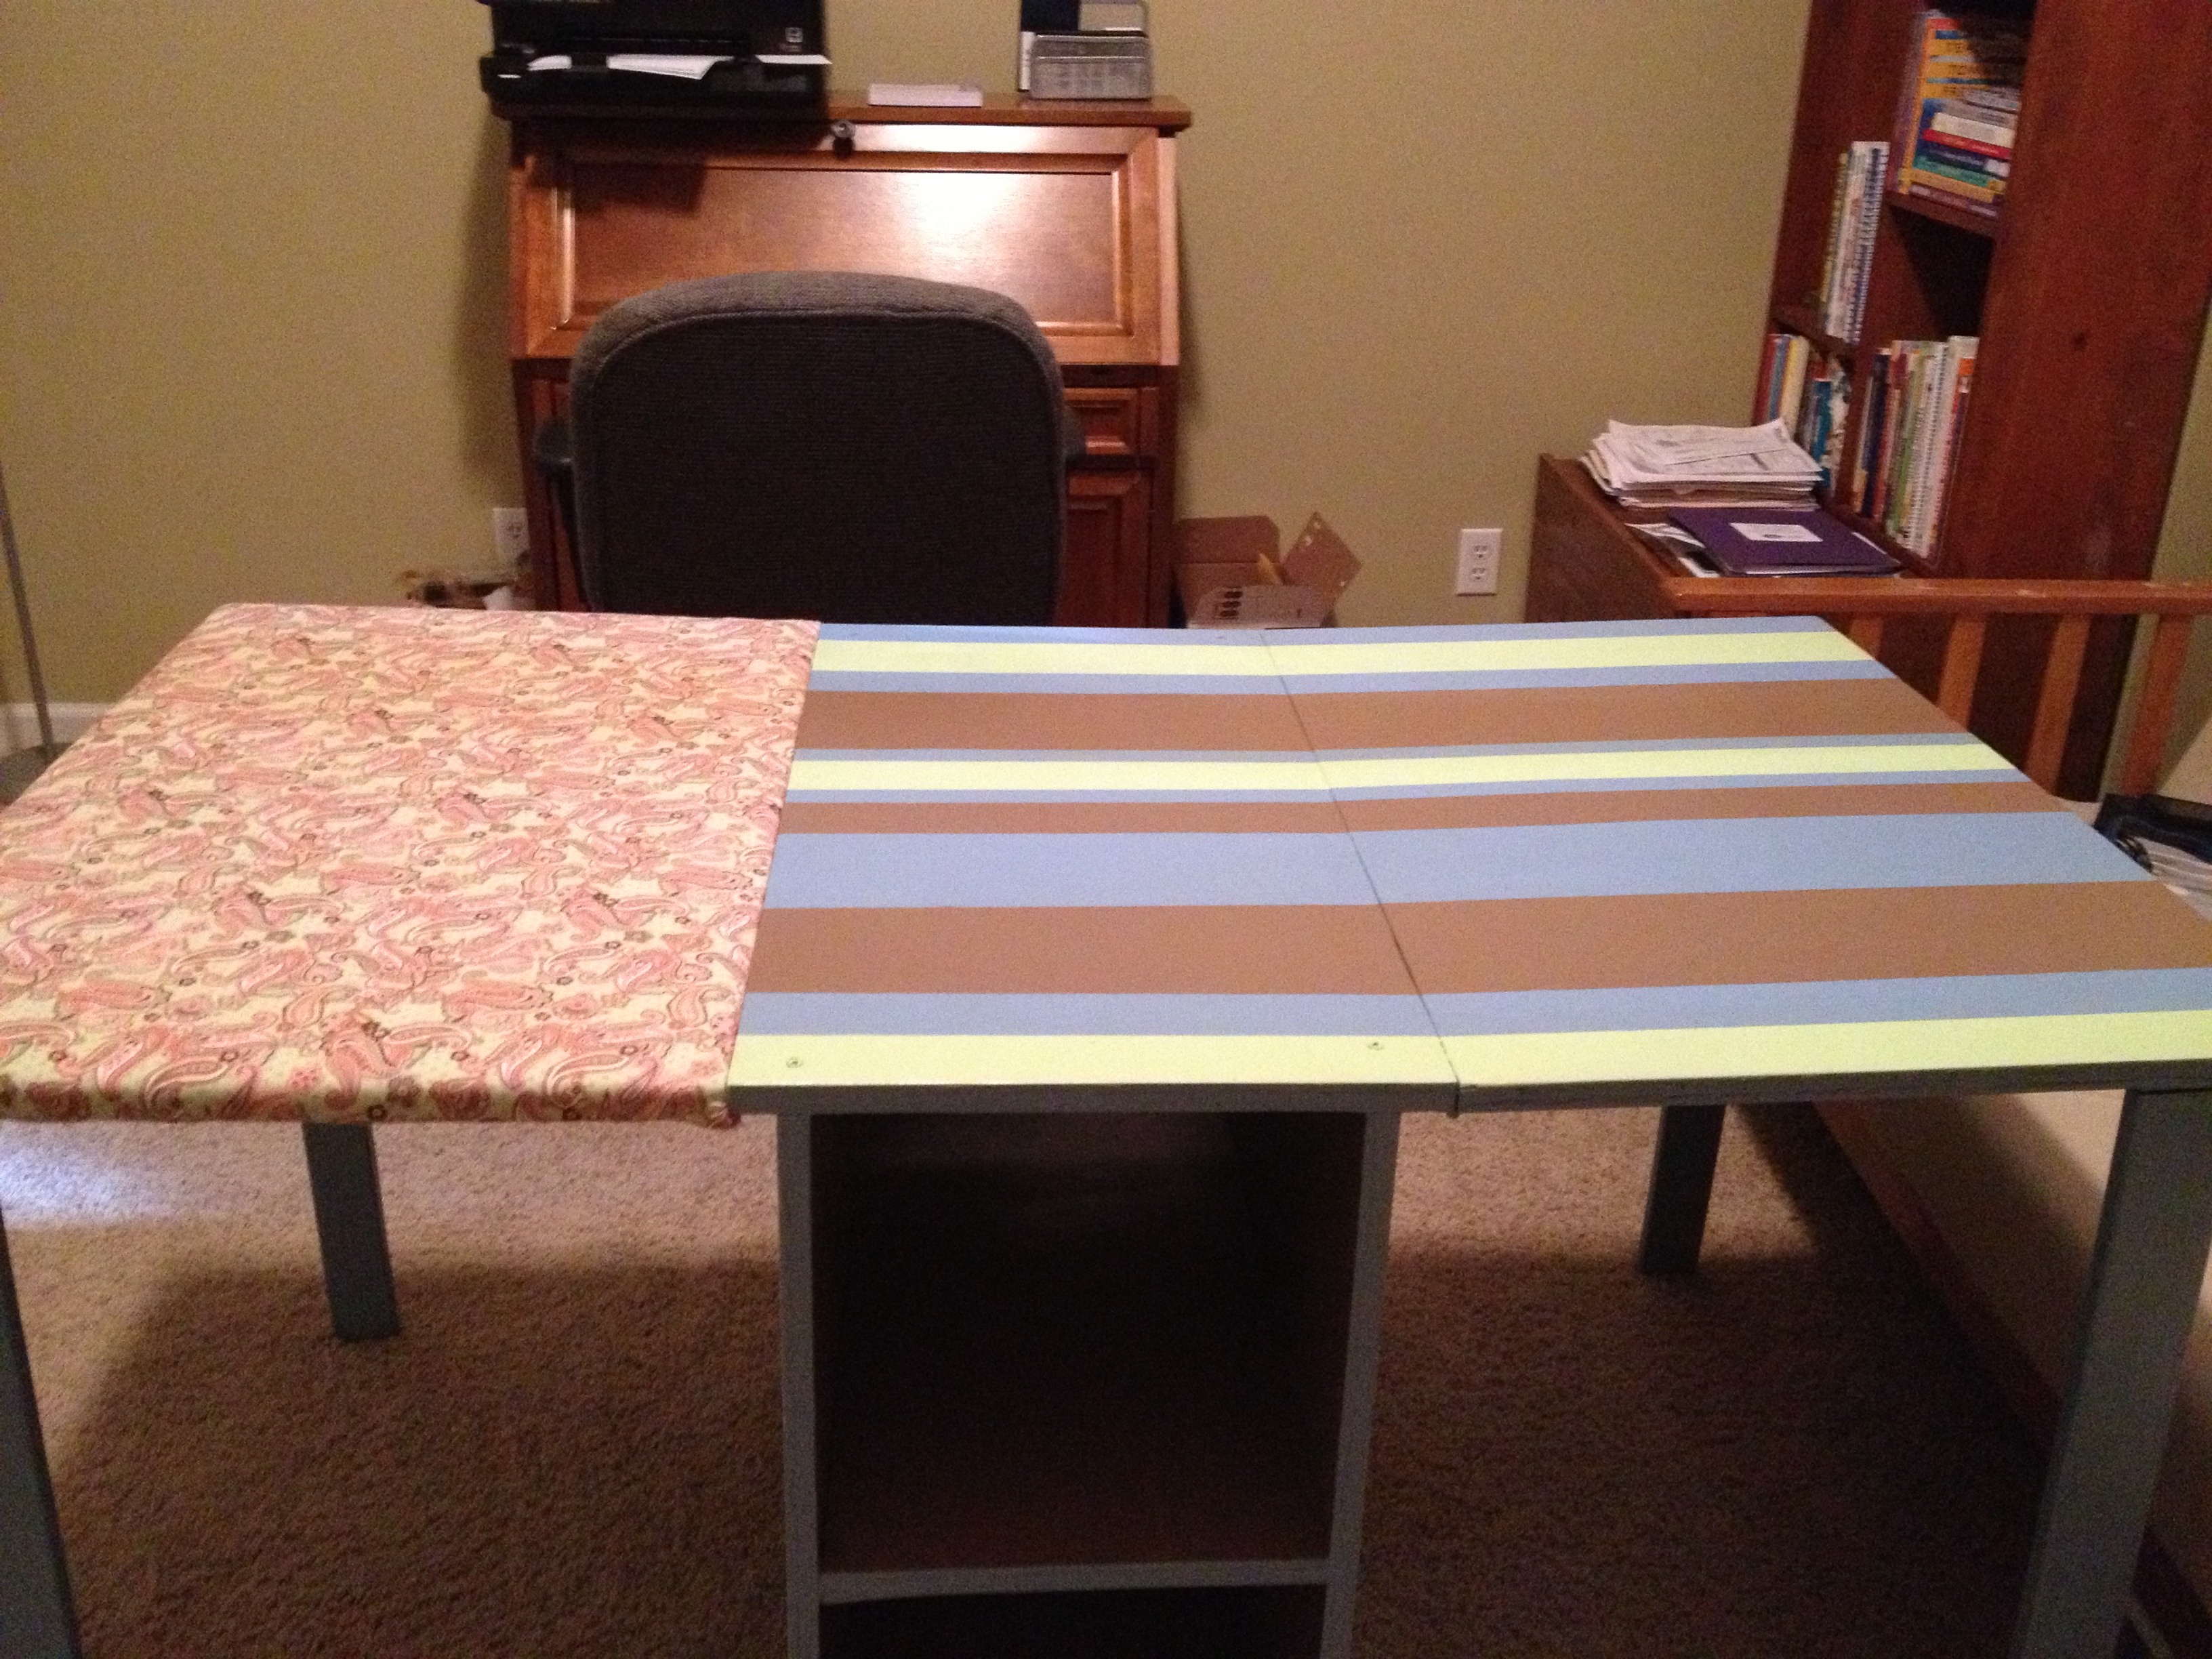
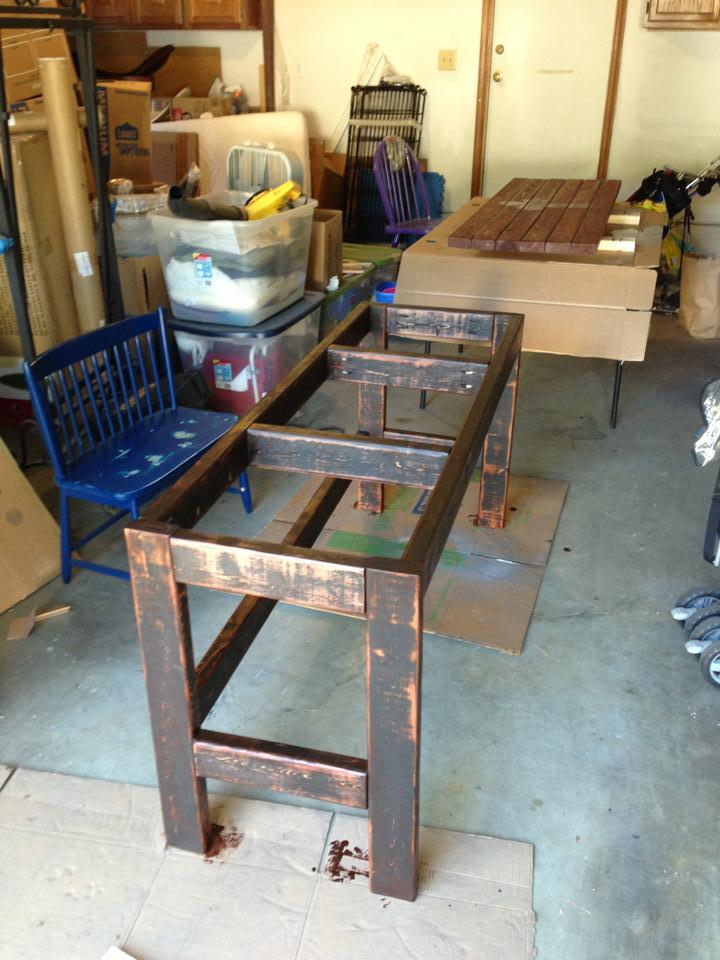
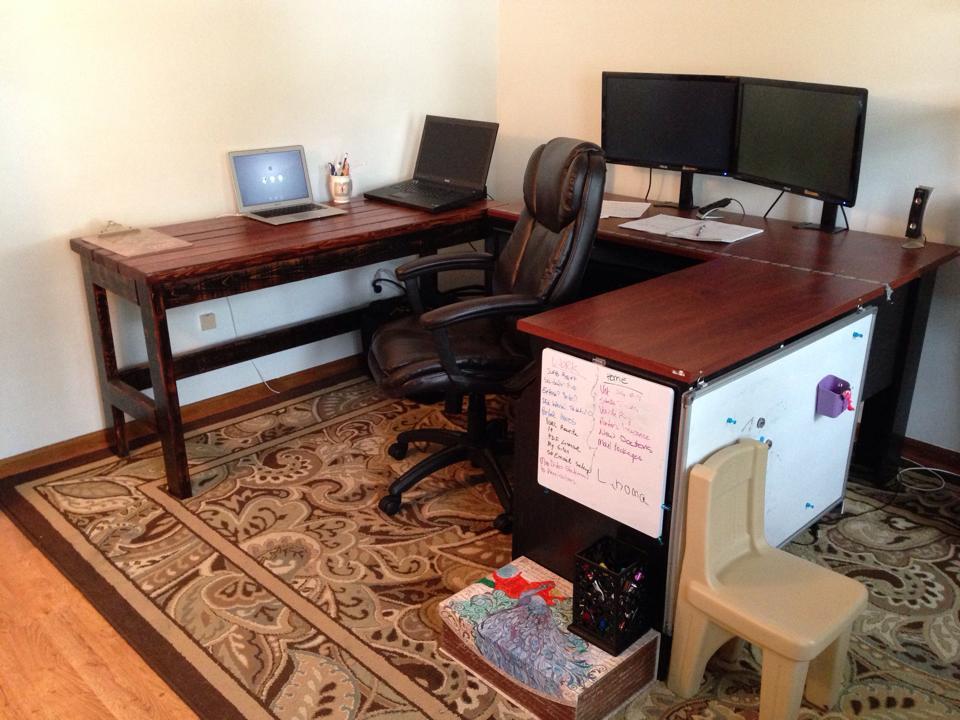
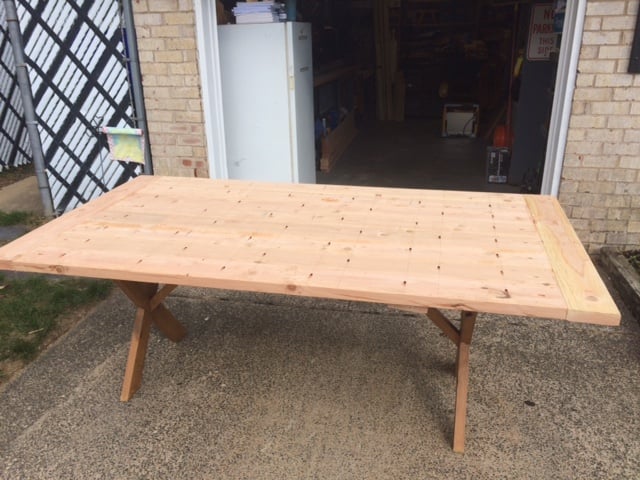
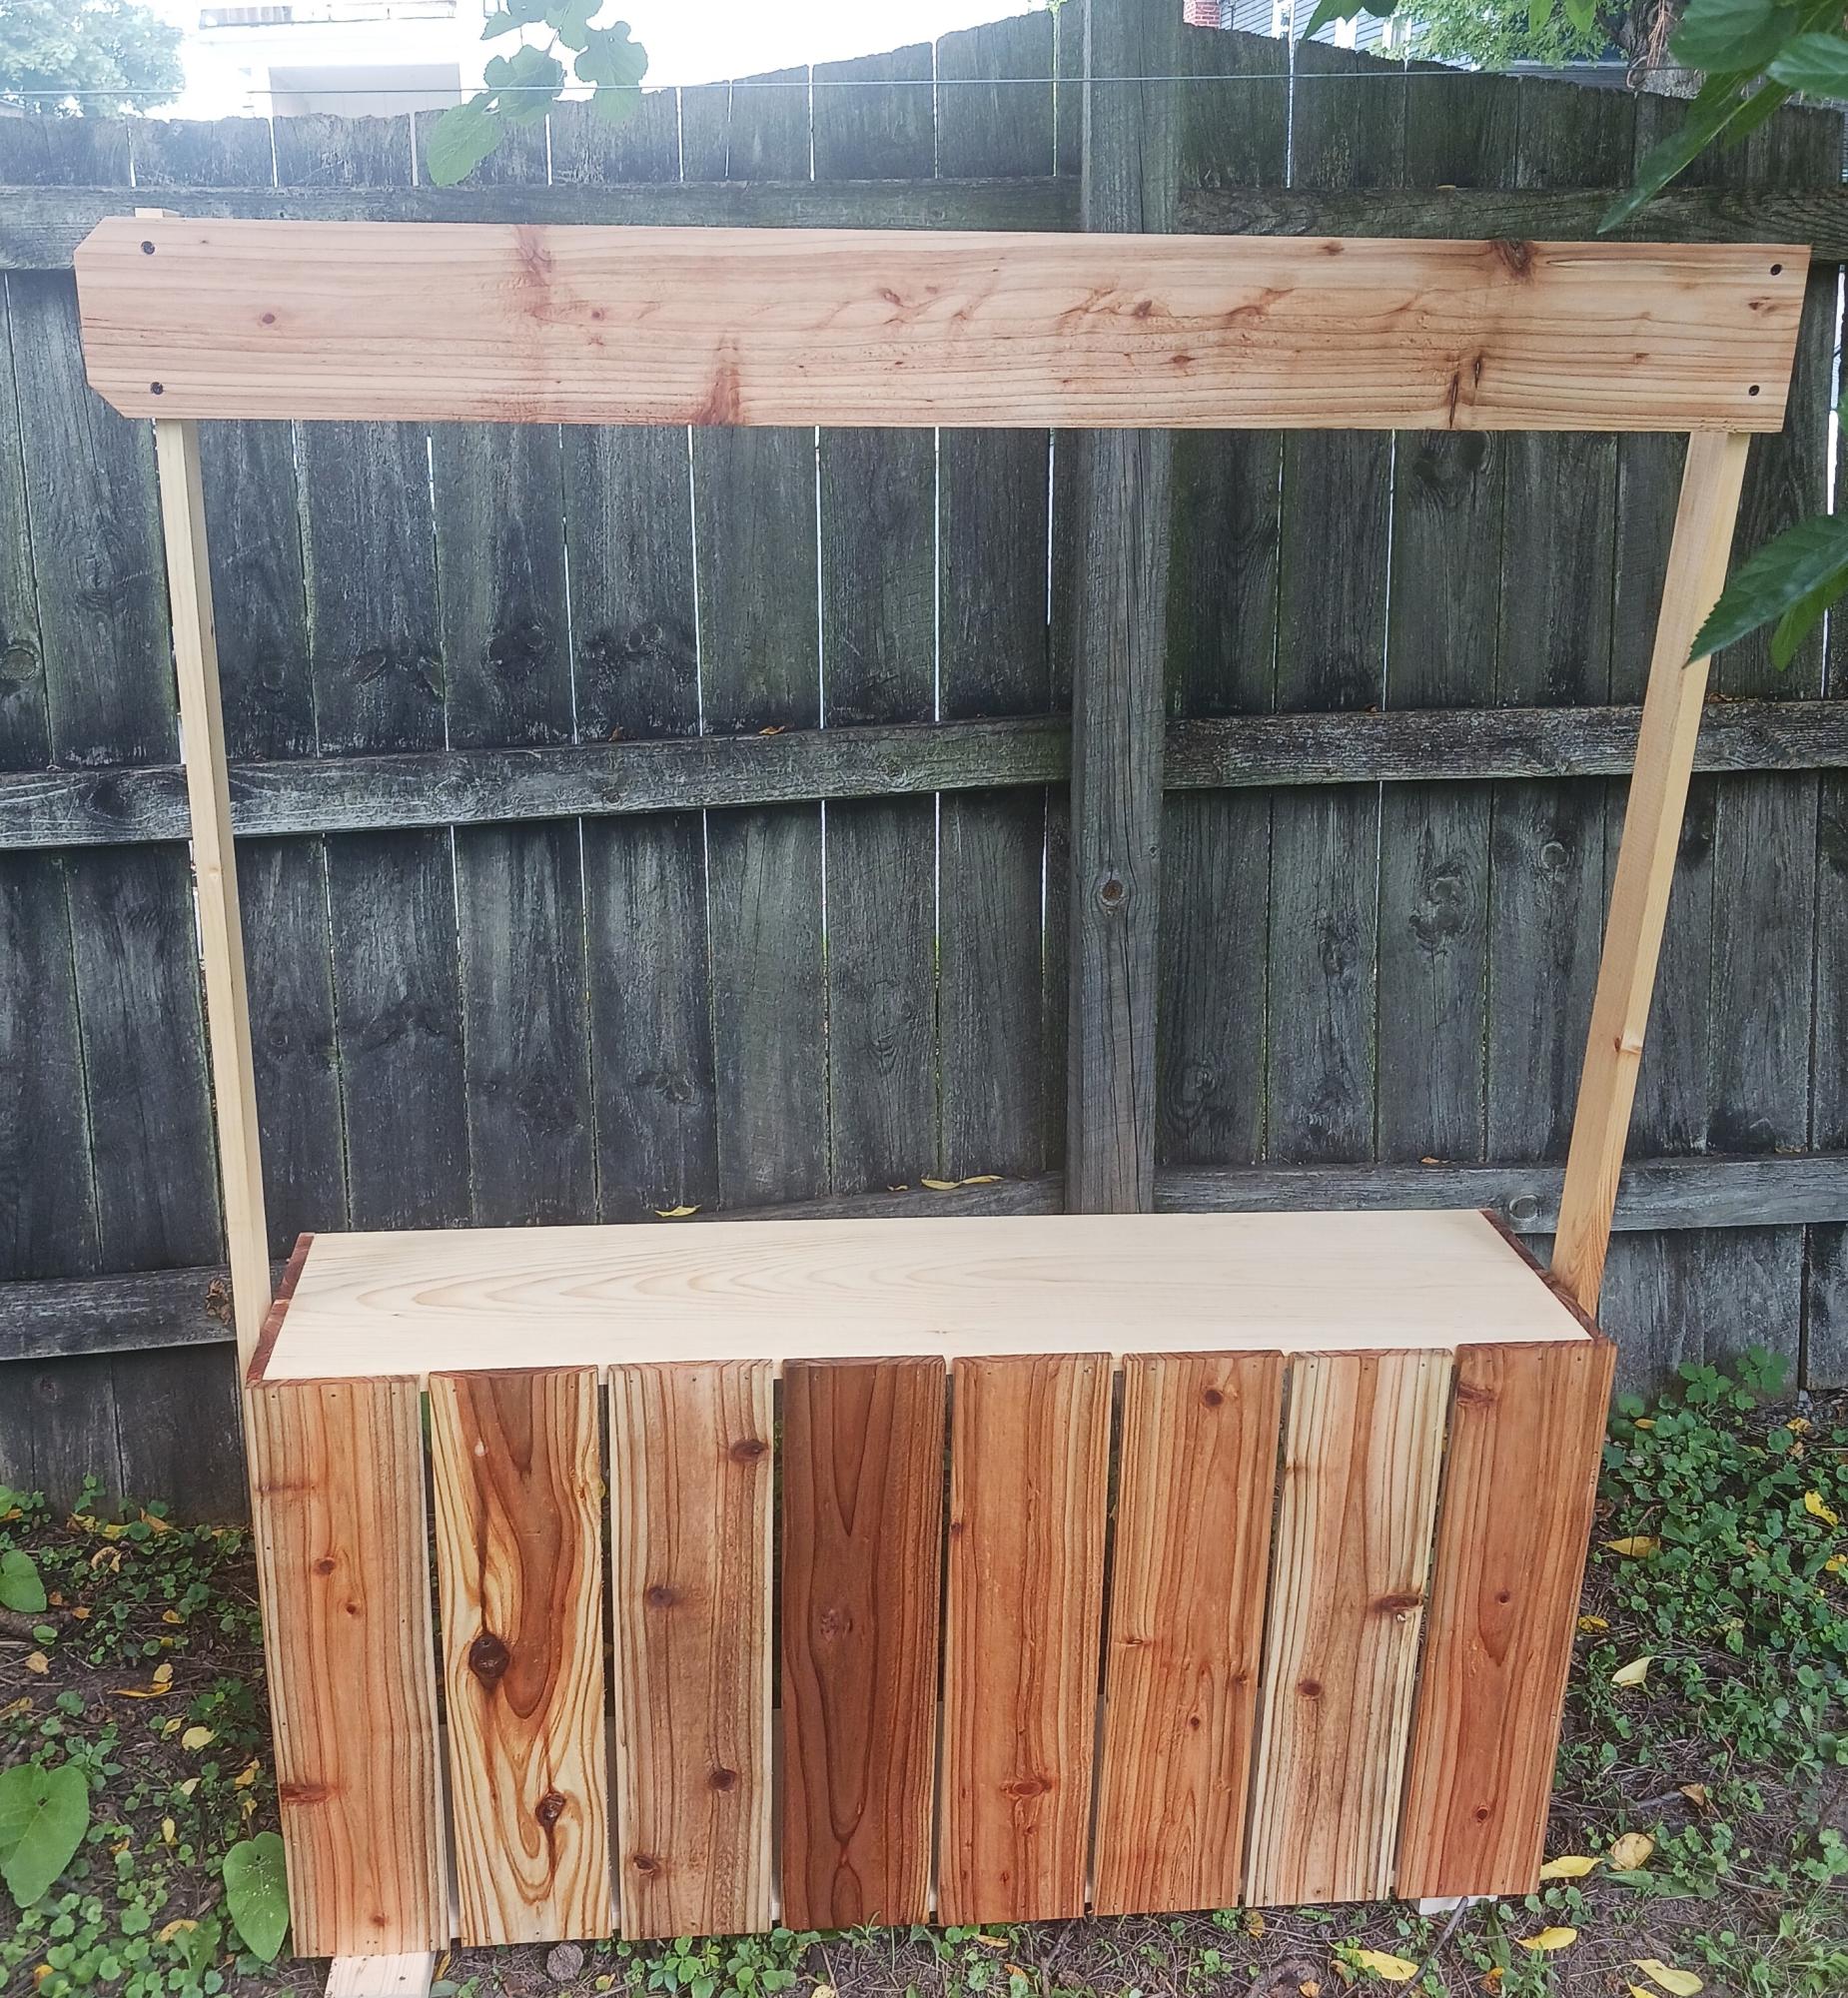
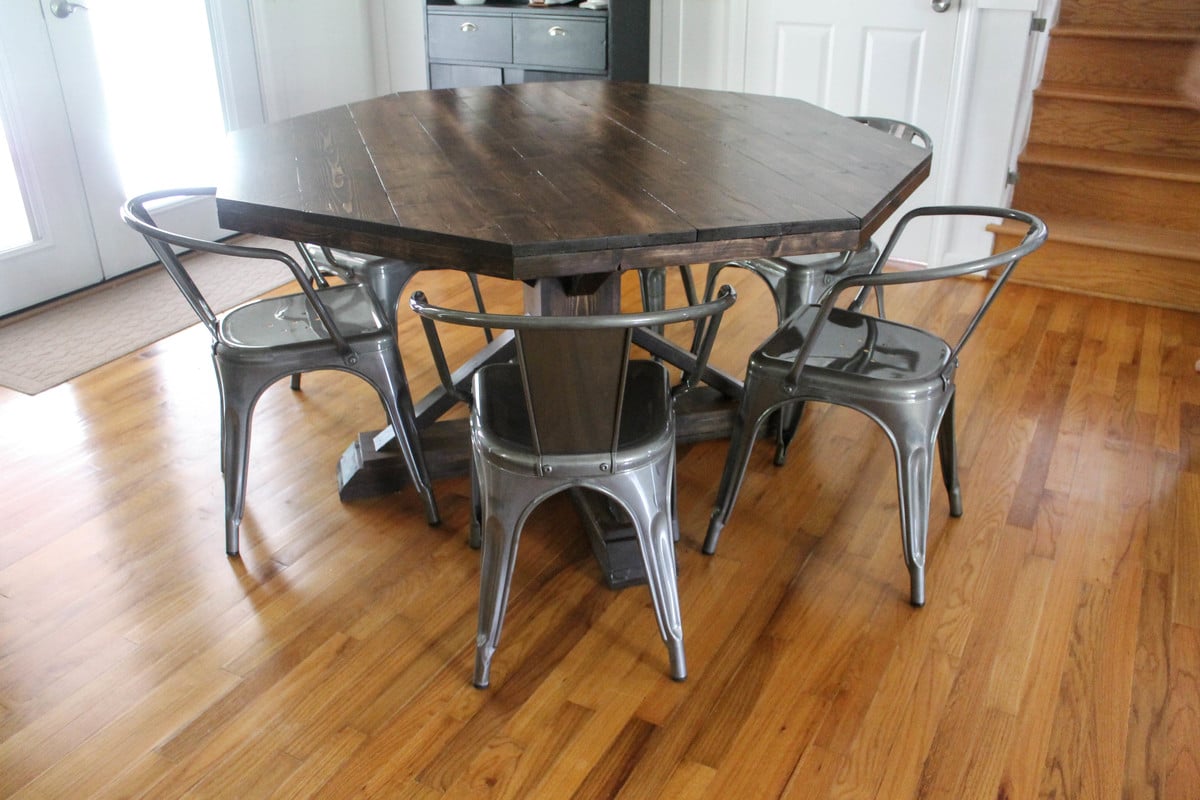
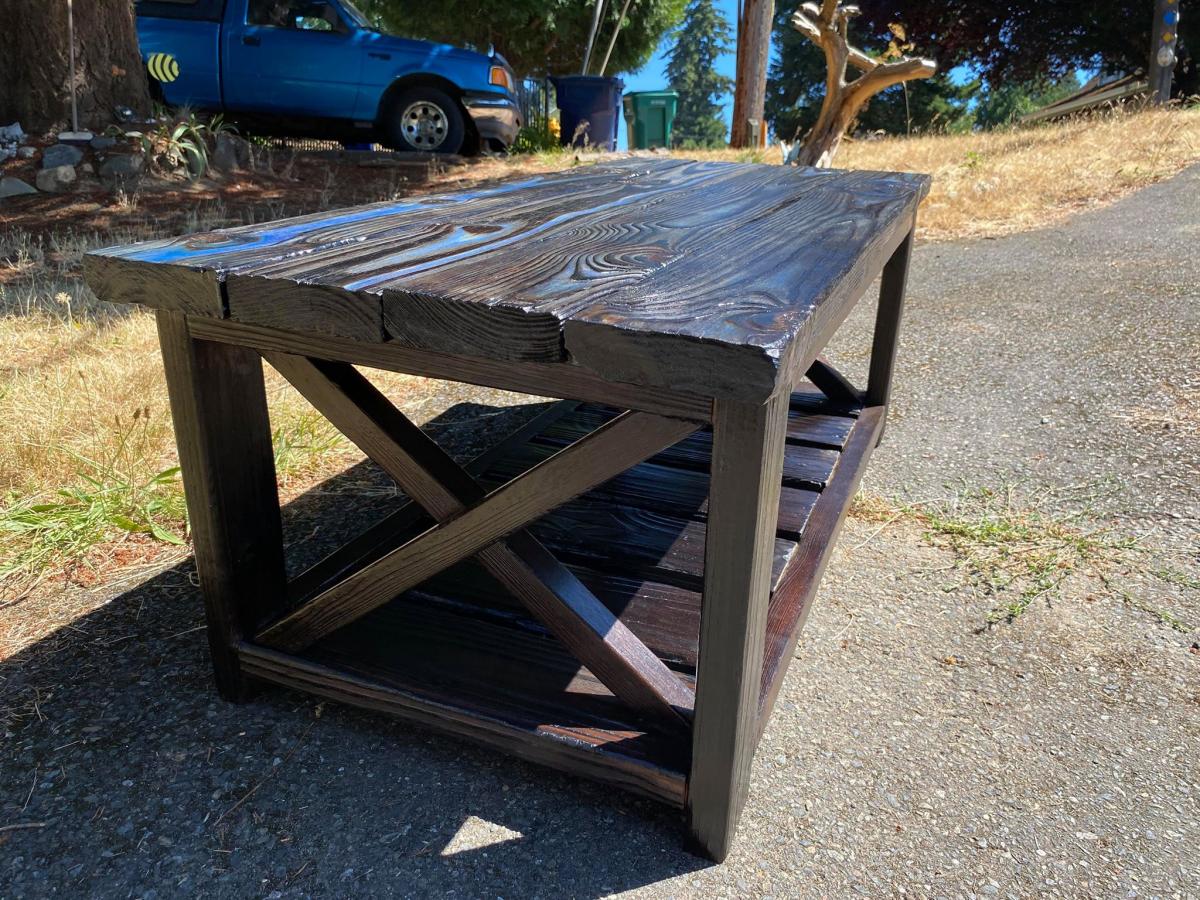
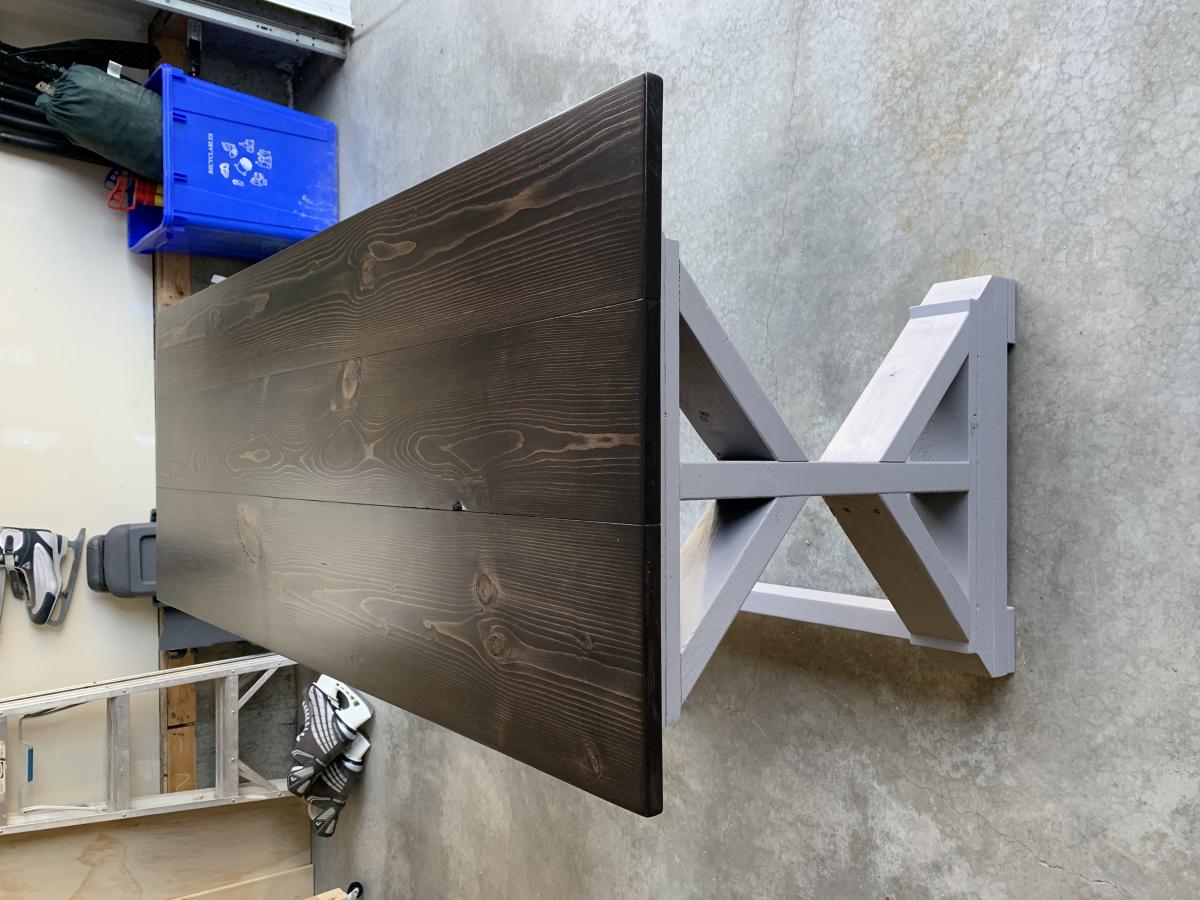
My Fancy X-Desk
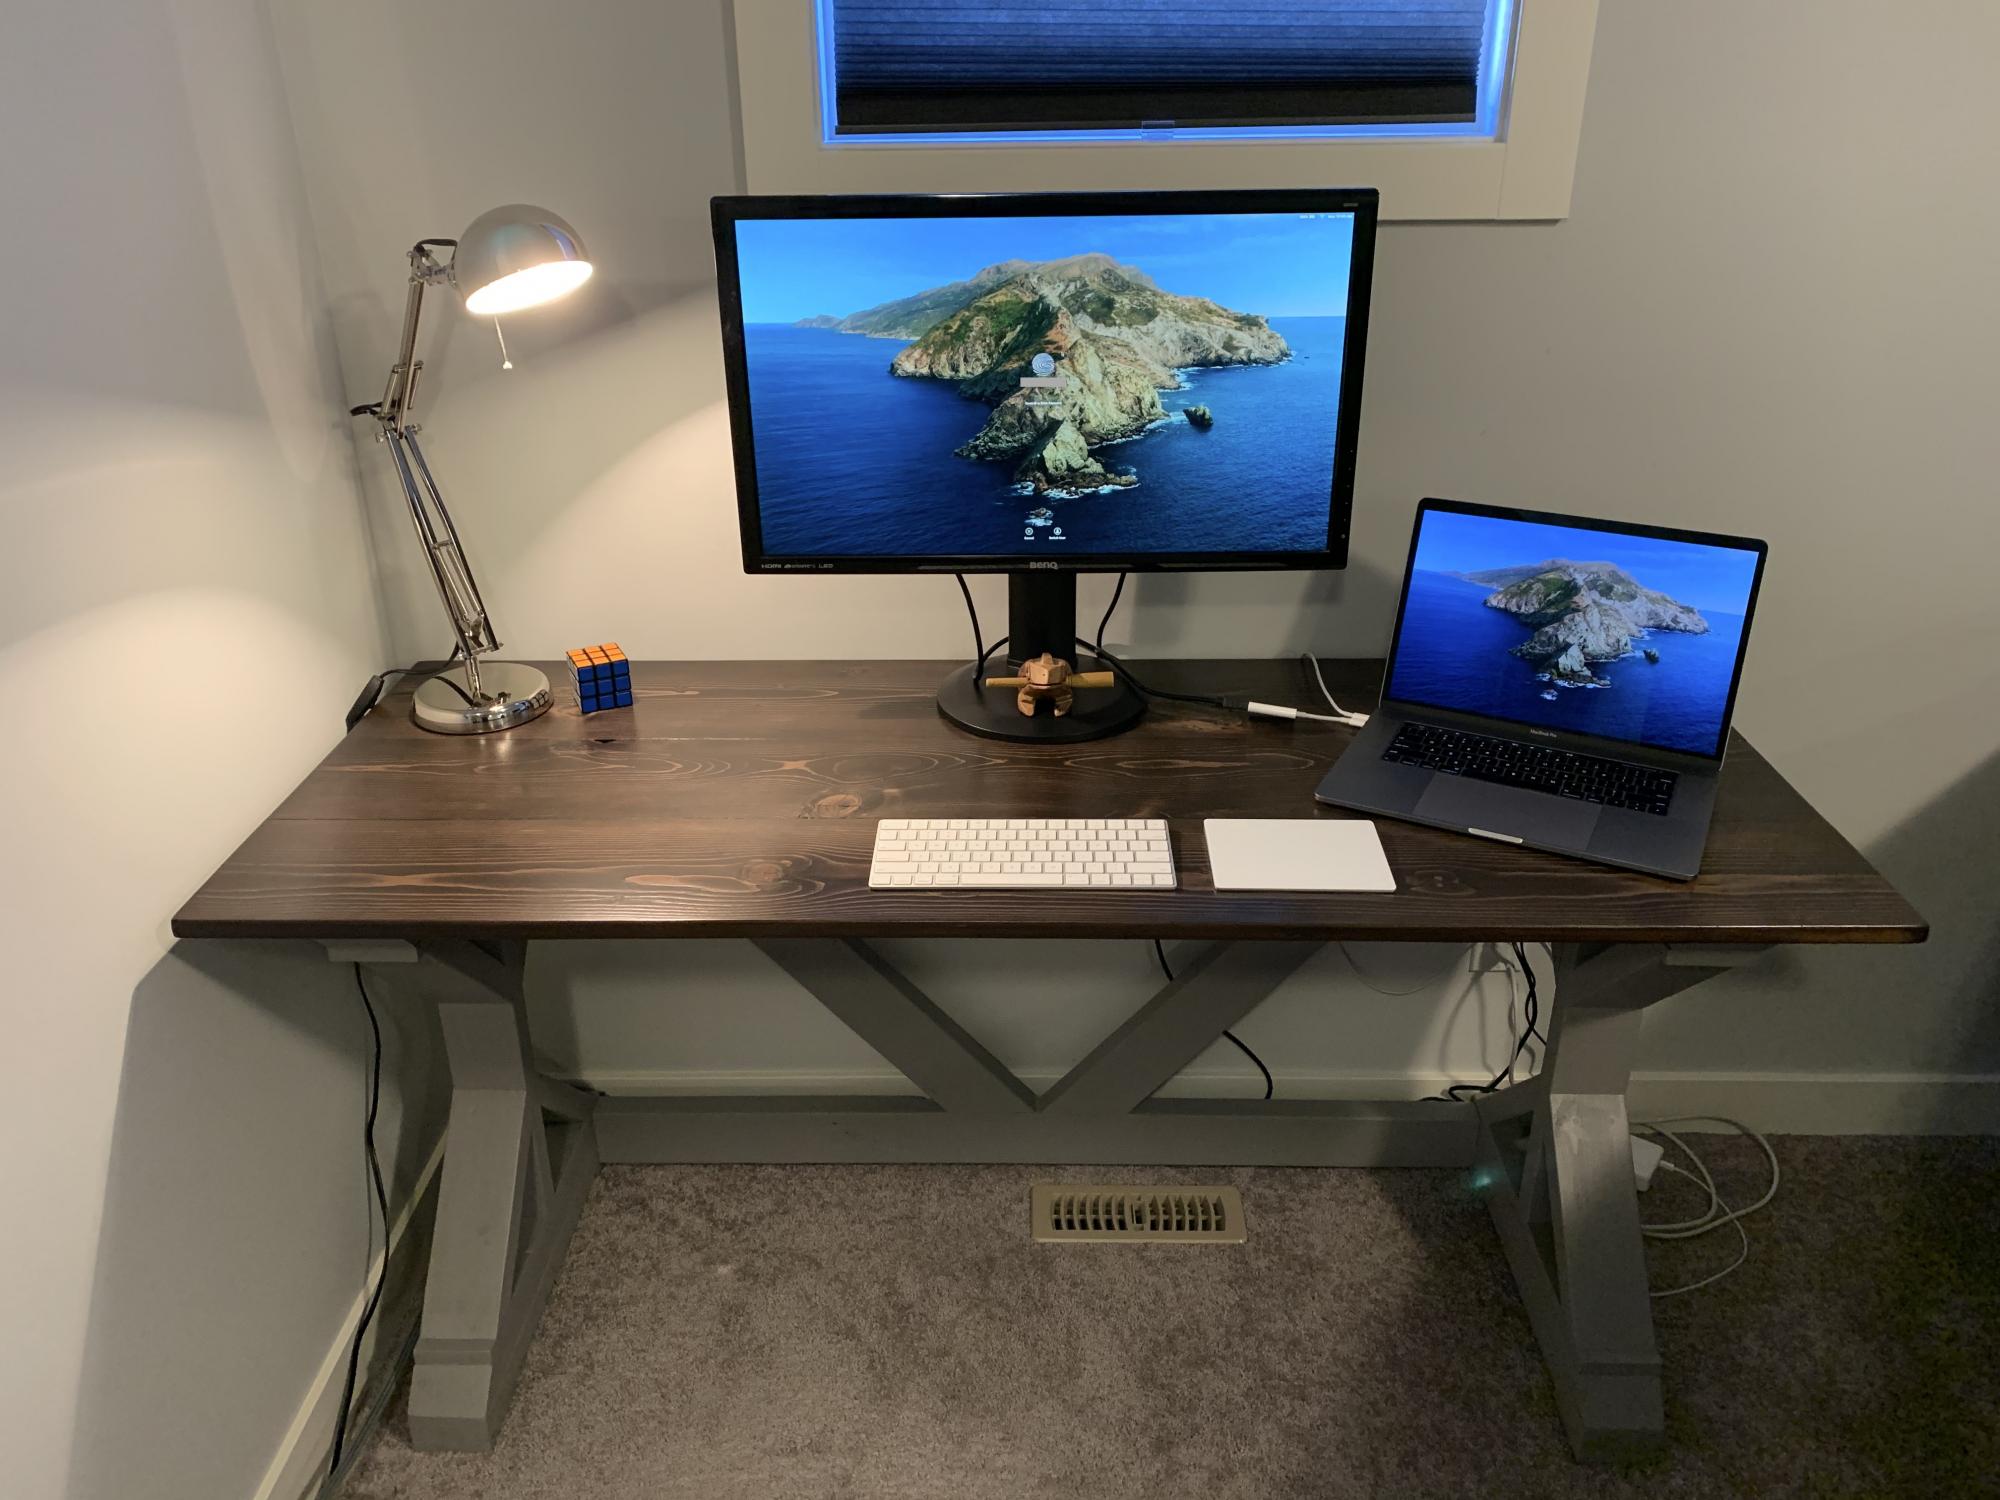
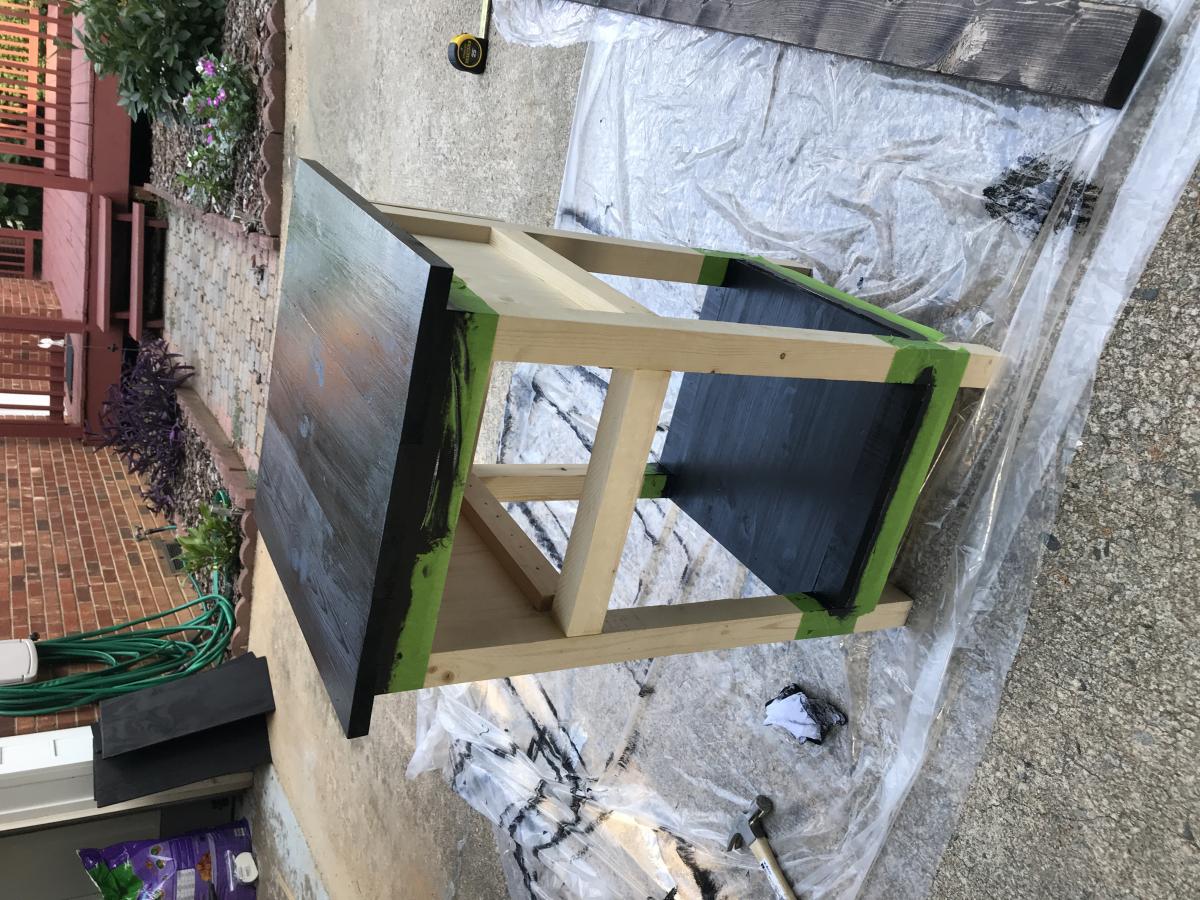
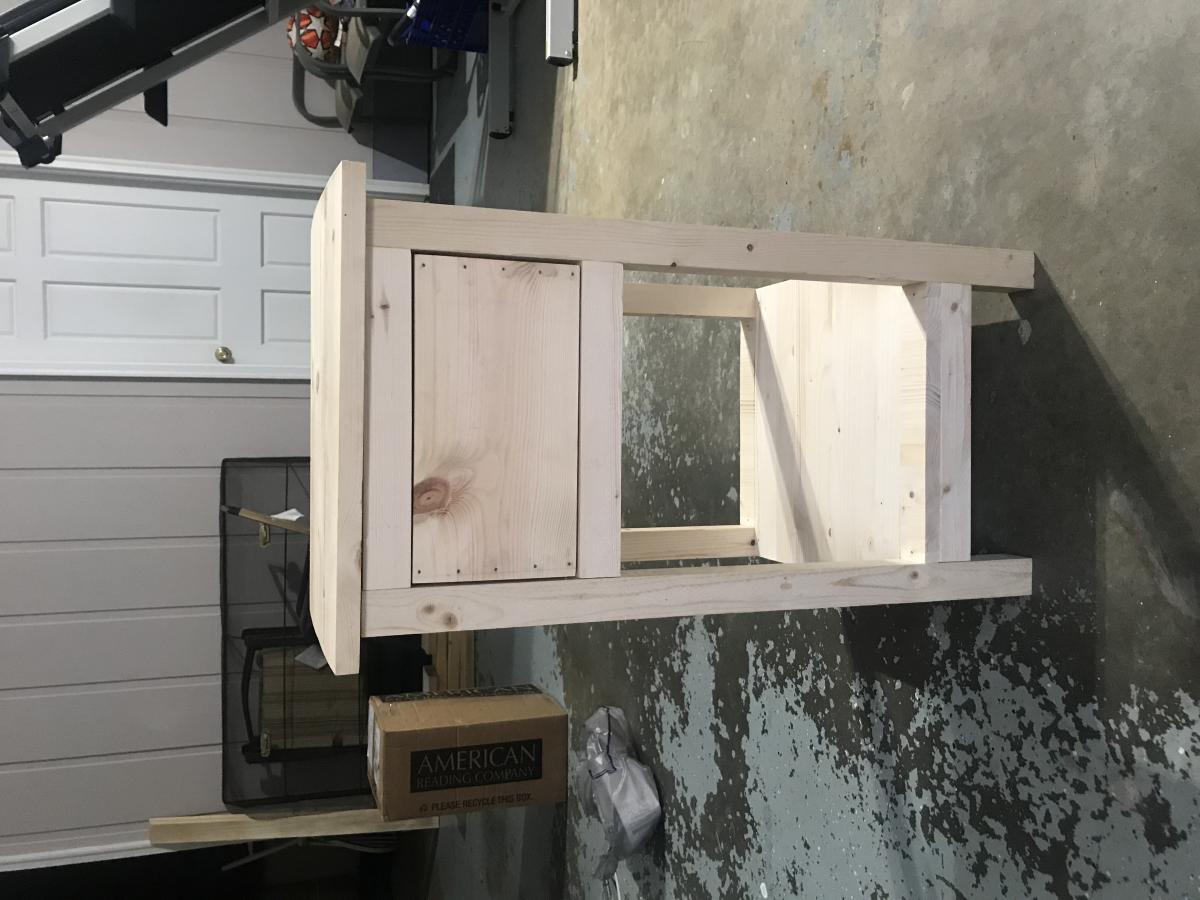
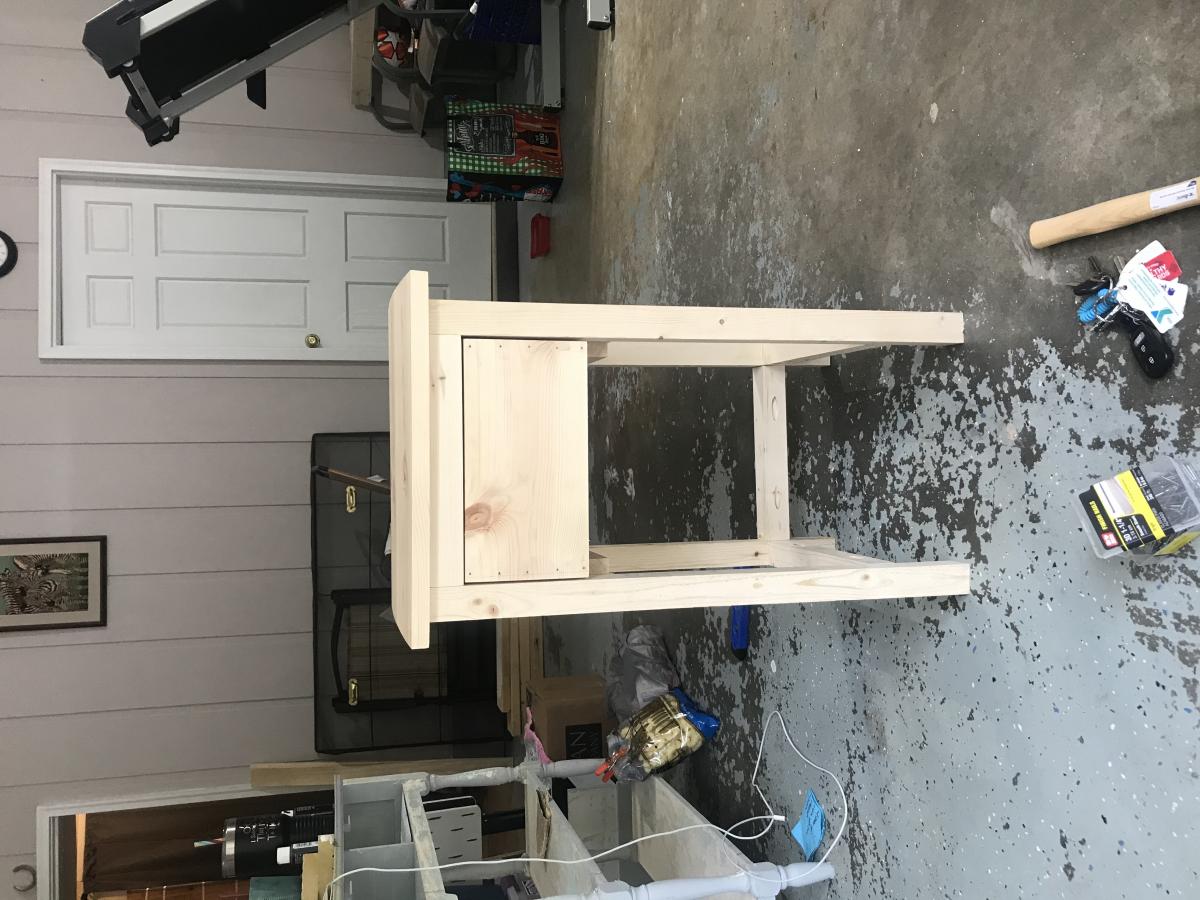
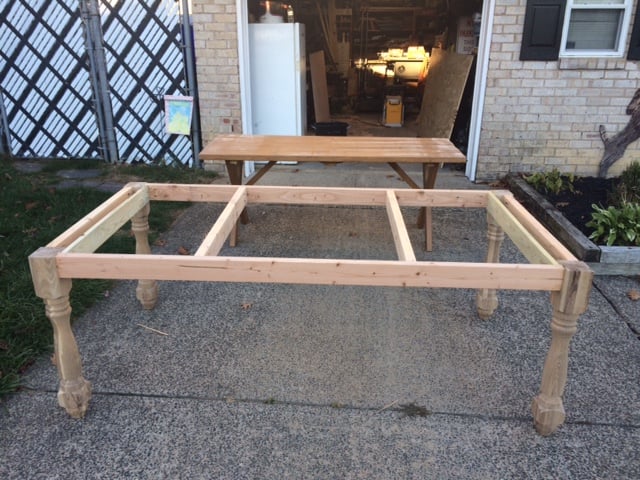
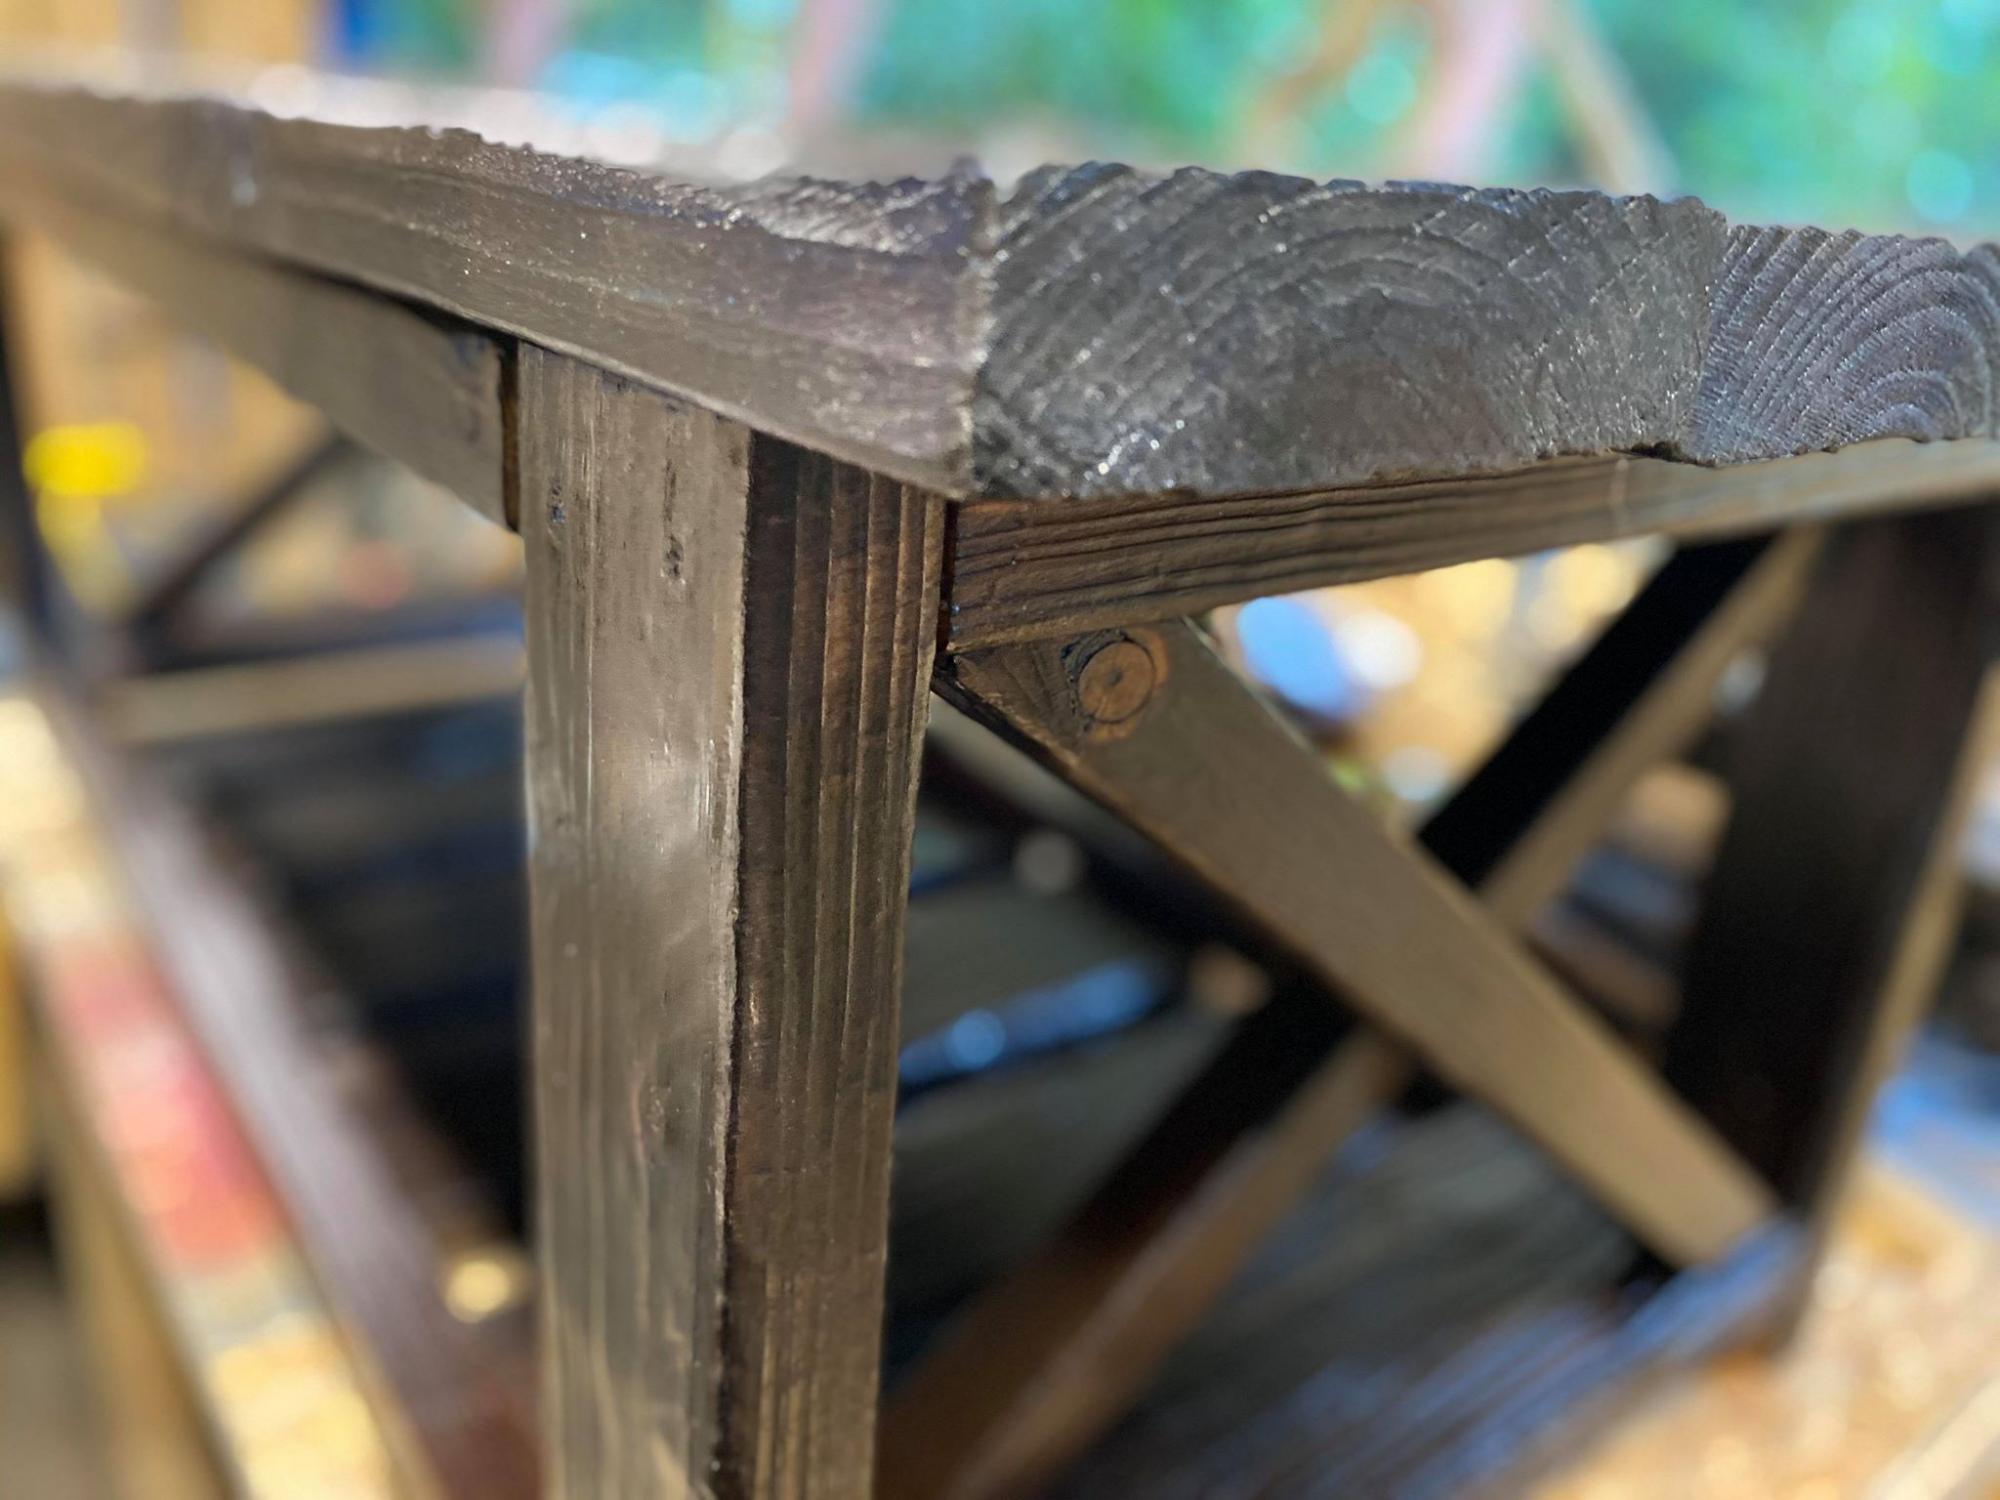
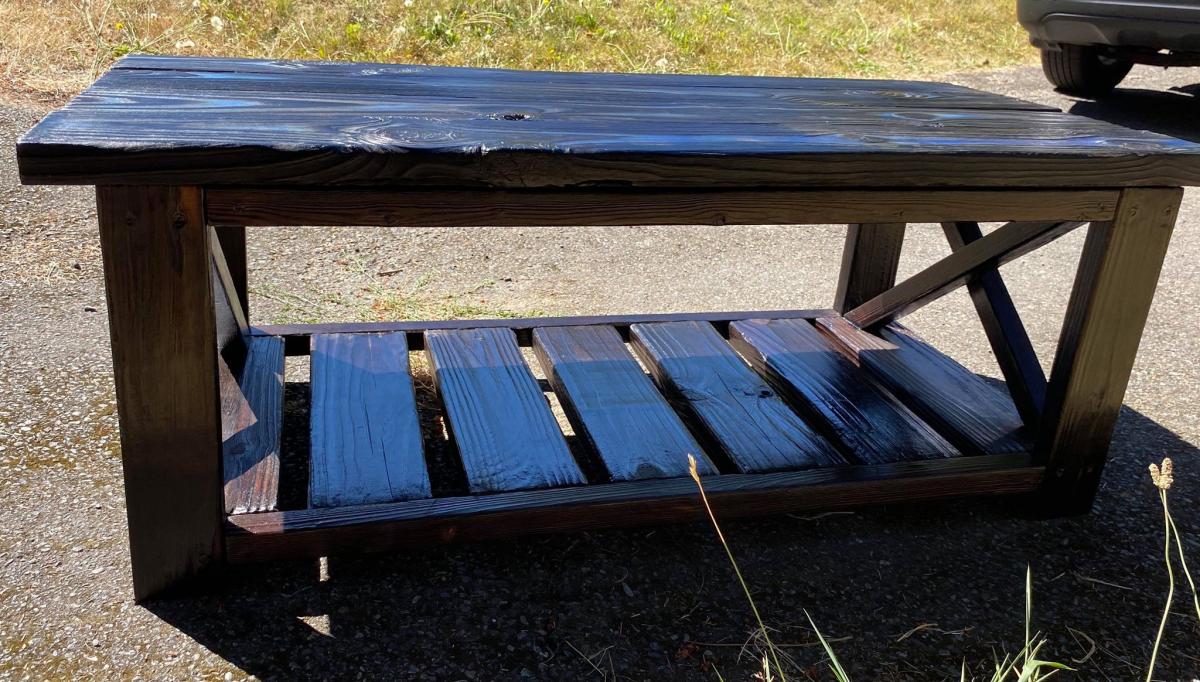
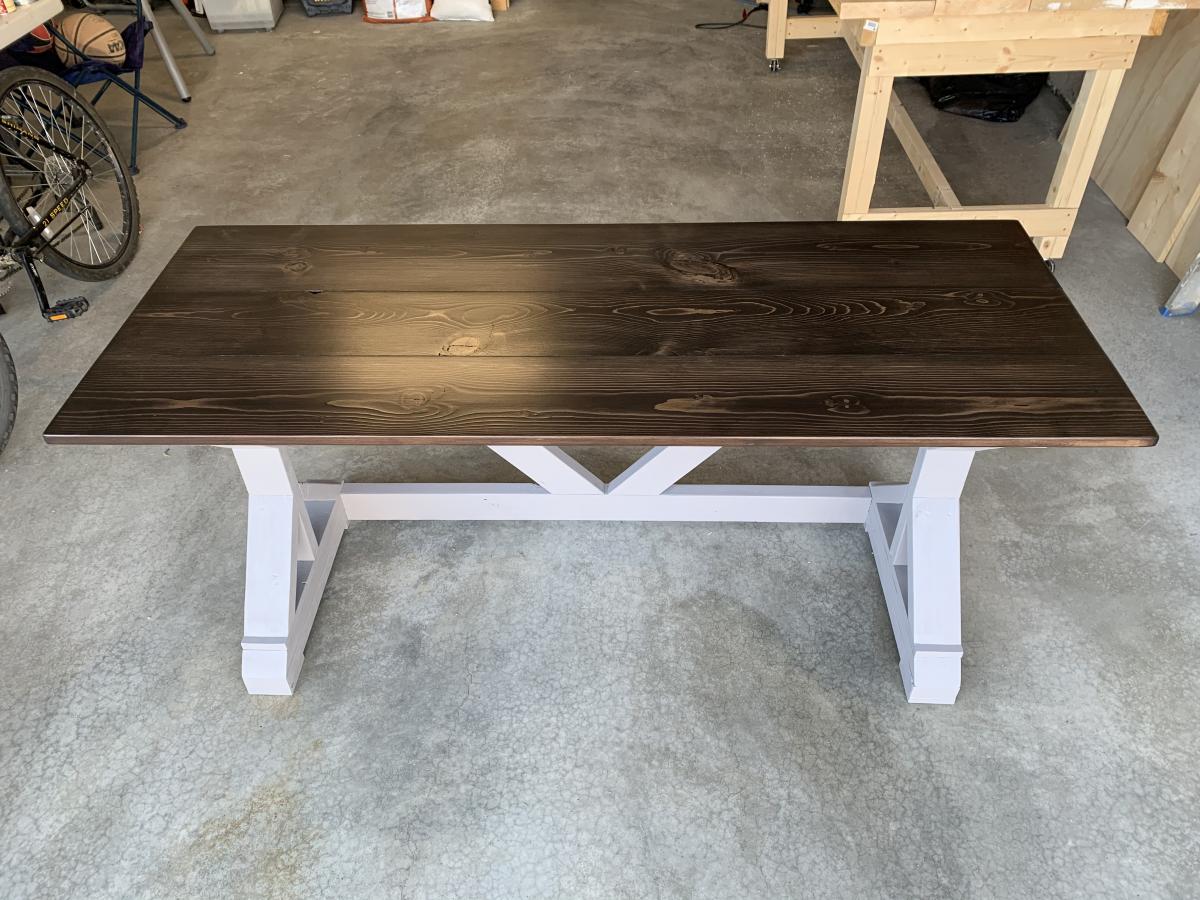
I needed a better desk for working from home. I didn't have room for the 6' desk in the plans, so I modified it slightly to be 5'. The only tricky part with that was getting the angles right on the support braces in the back. I think it ended up being around 42 degrees instead of 45. I used a scrap 1X4 as a template instead of trying to measure and cut. I think that helped a lot.
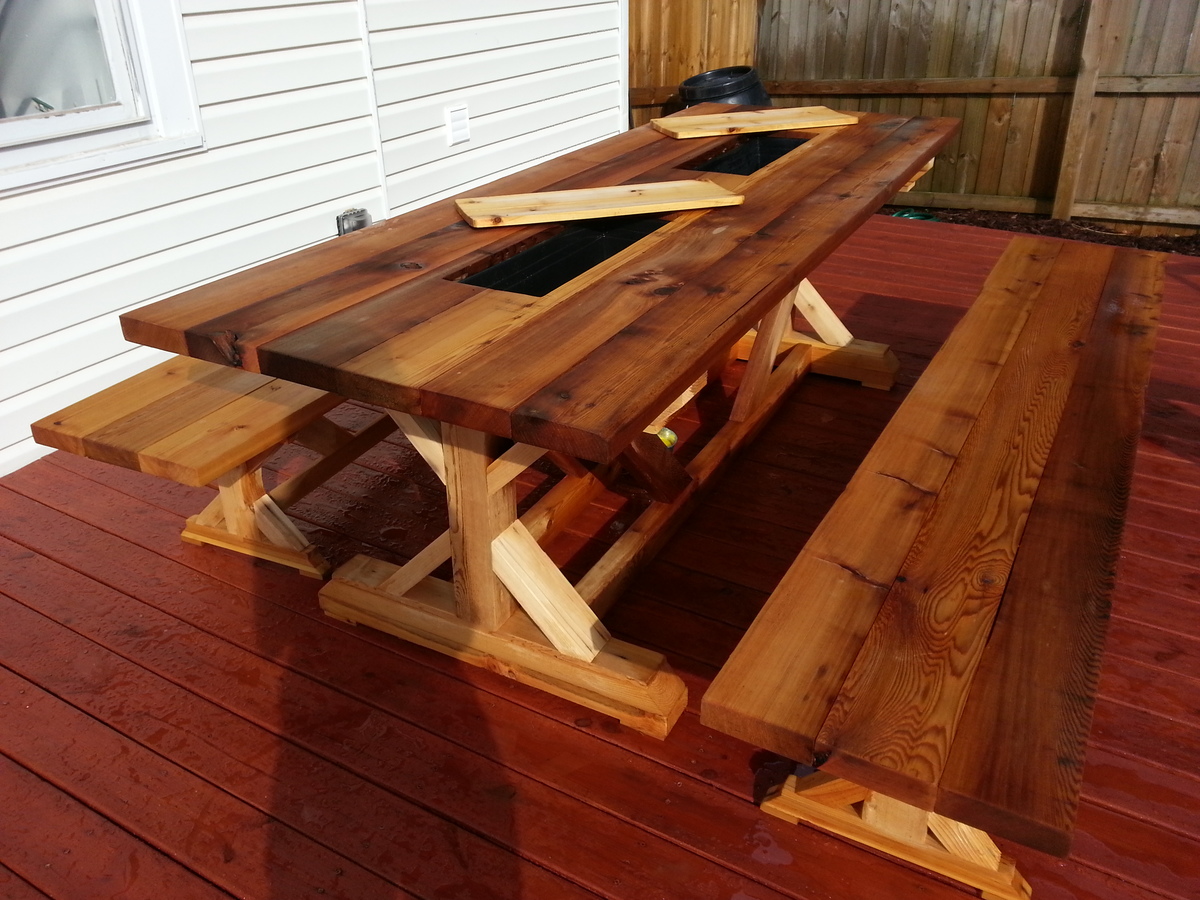
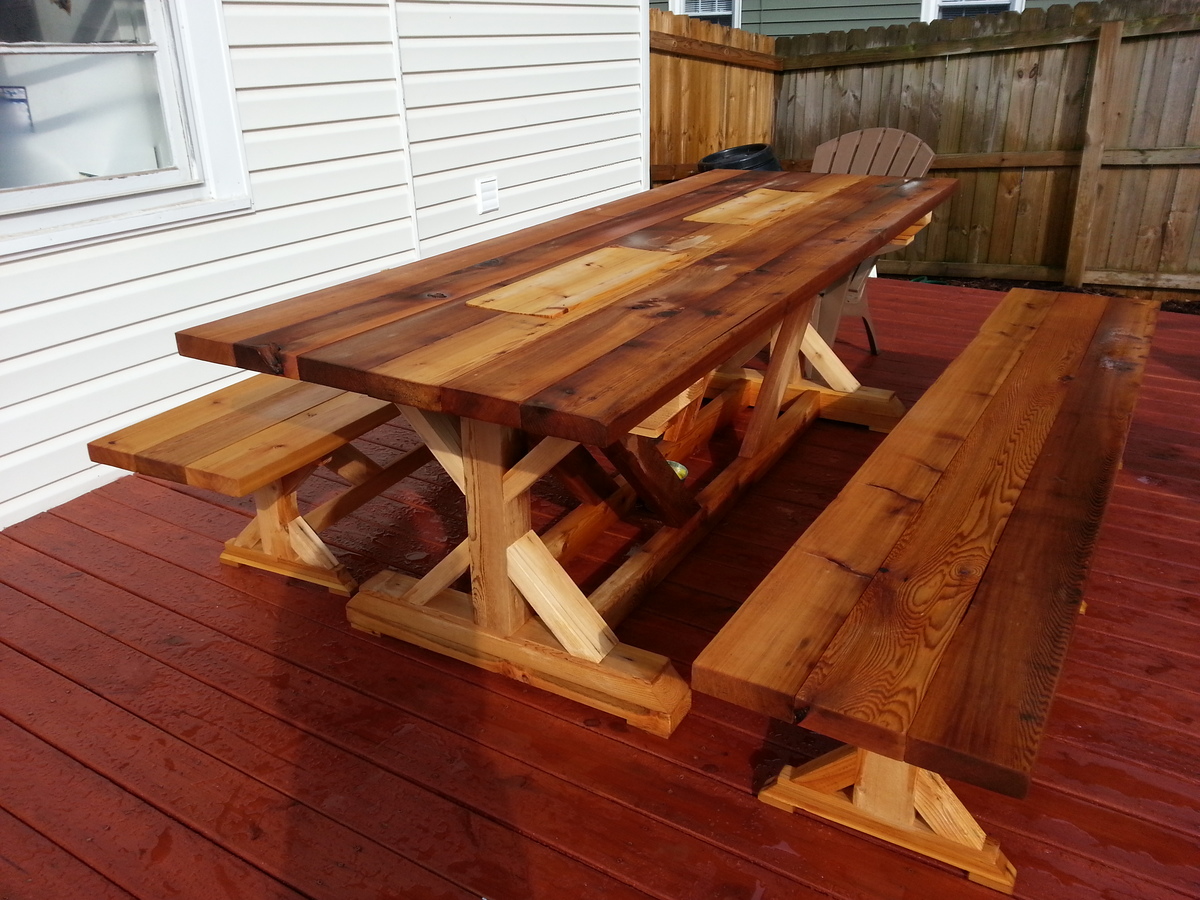
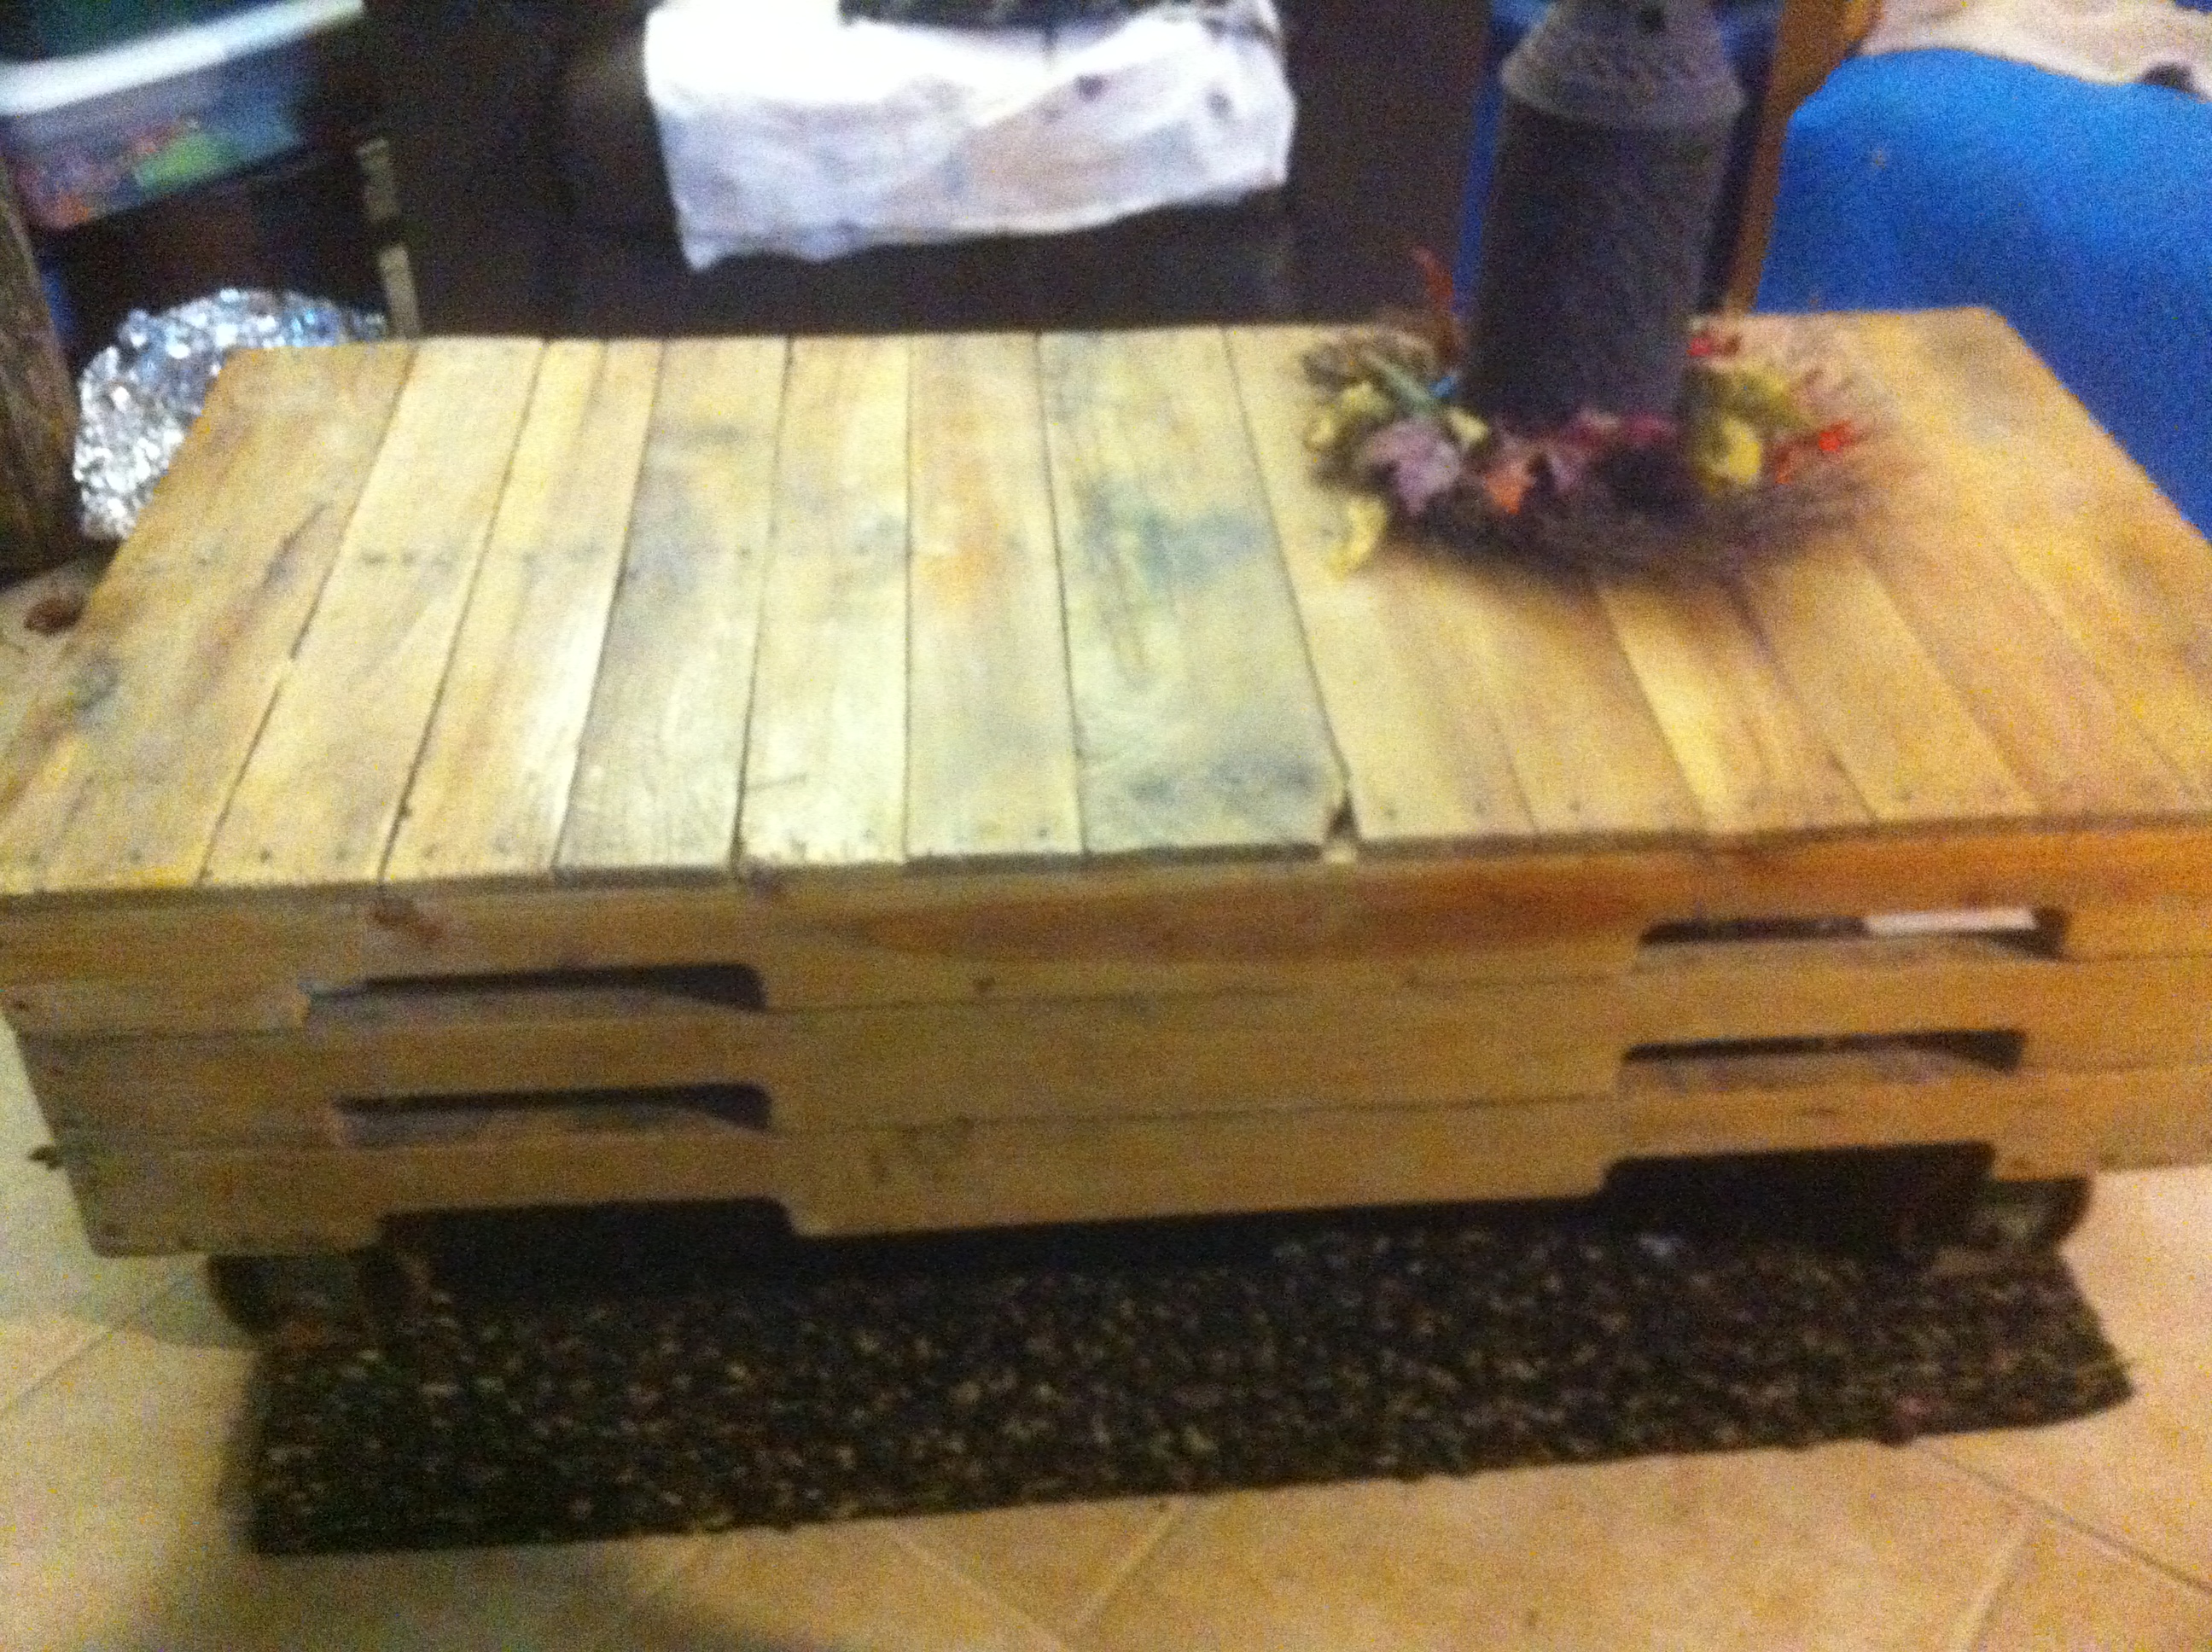
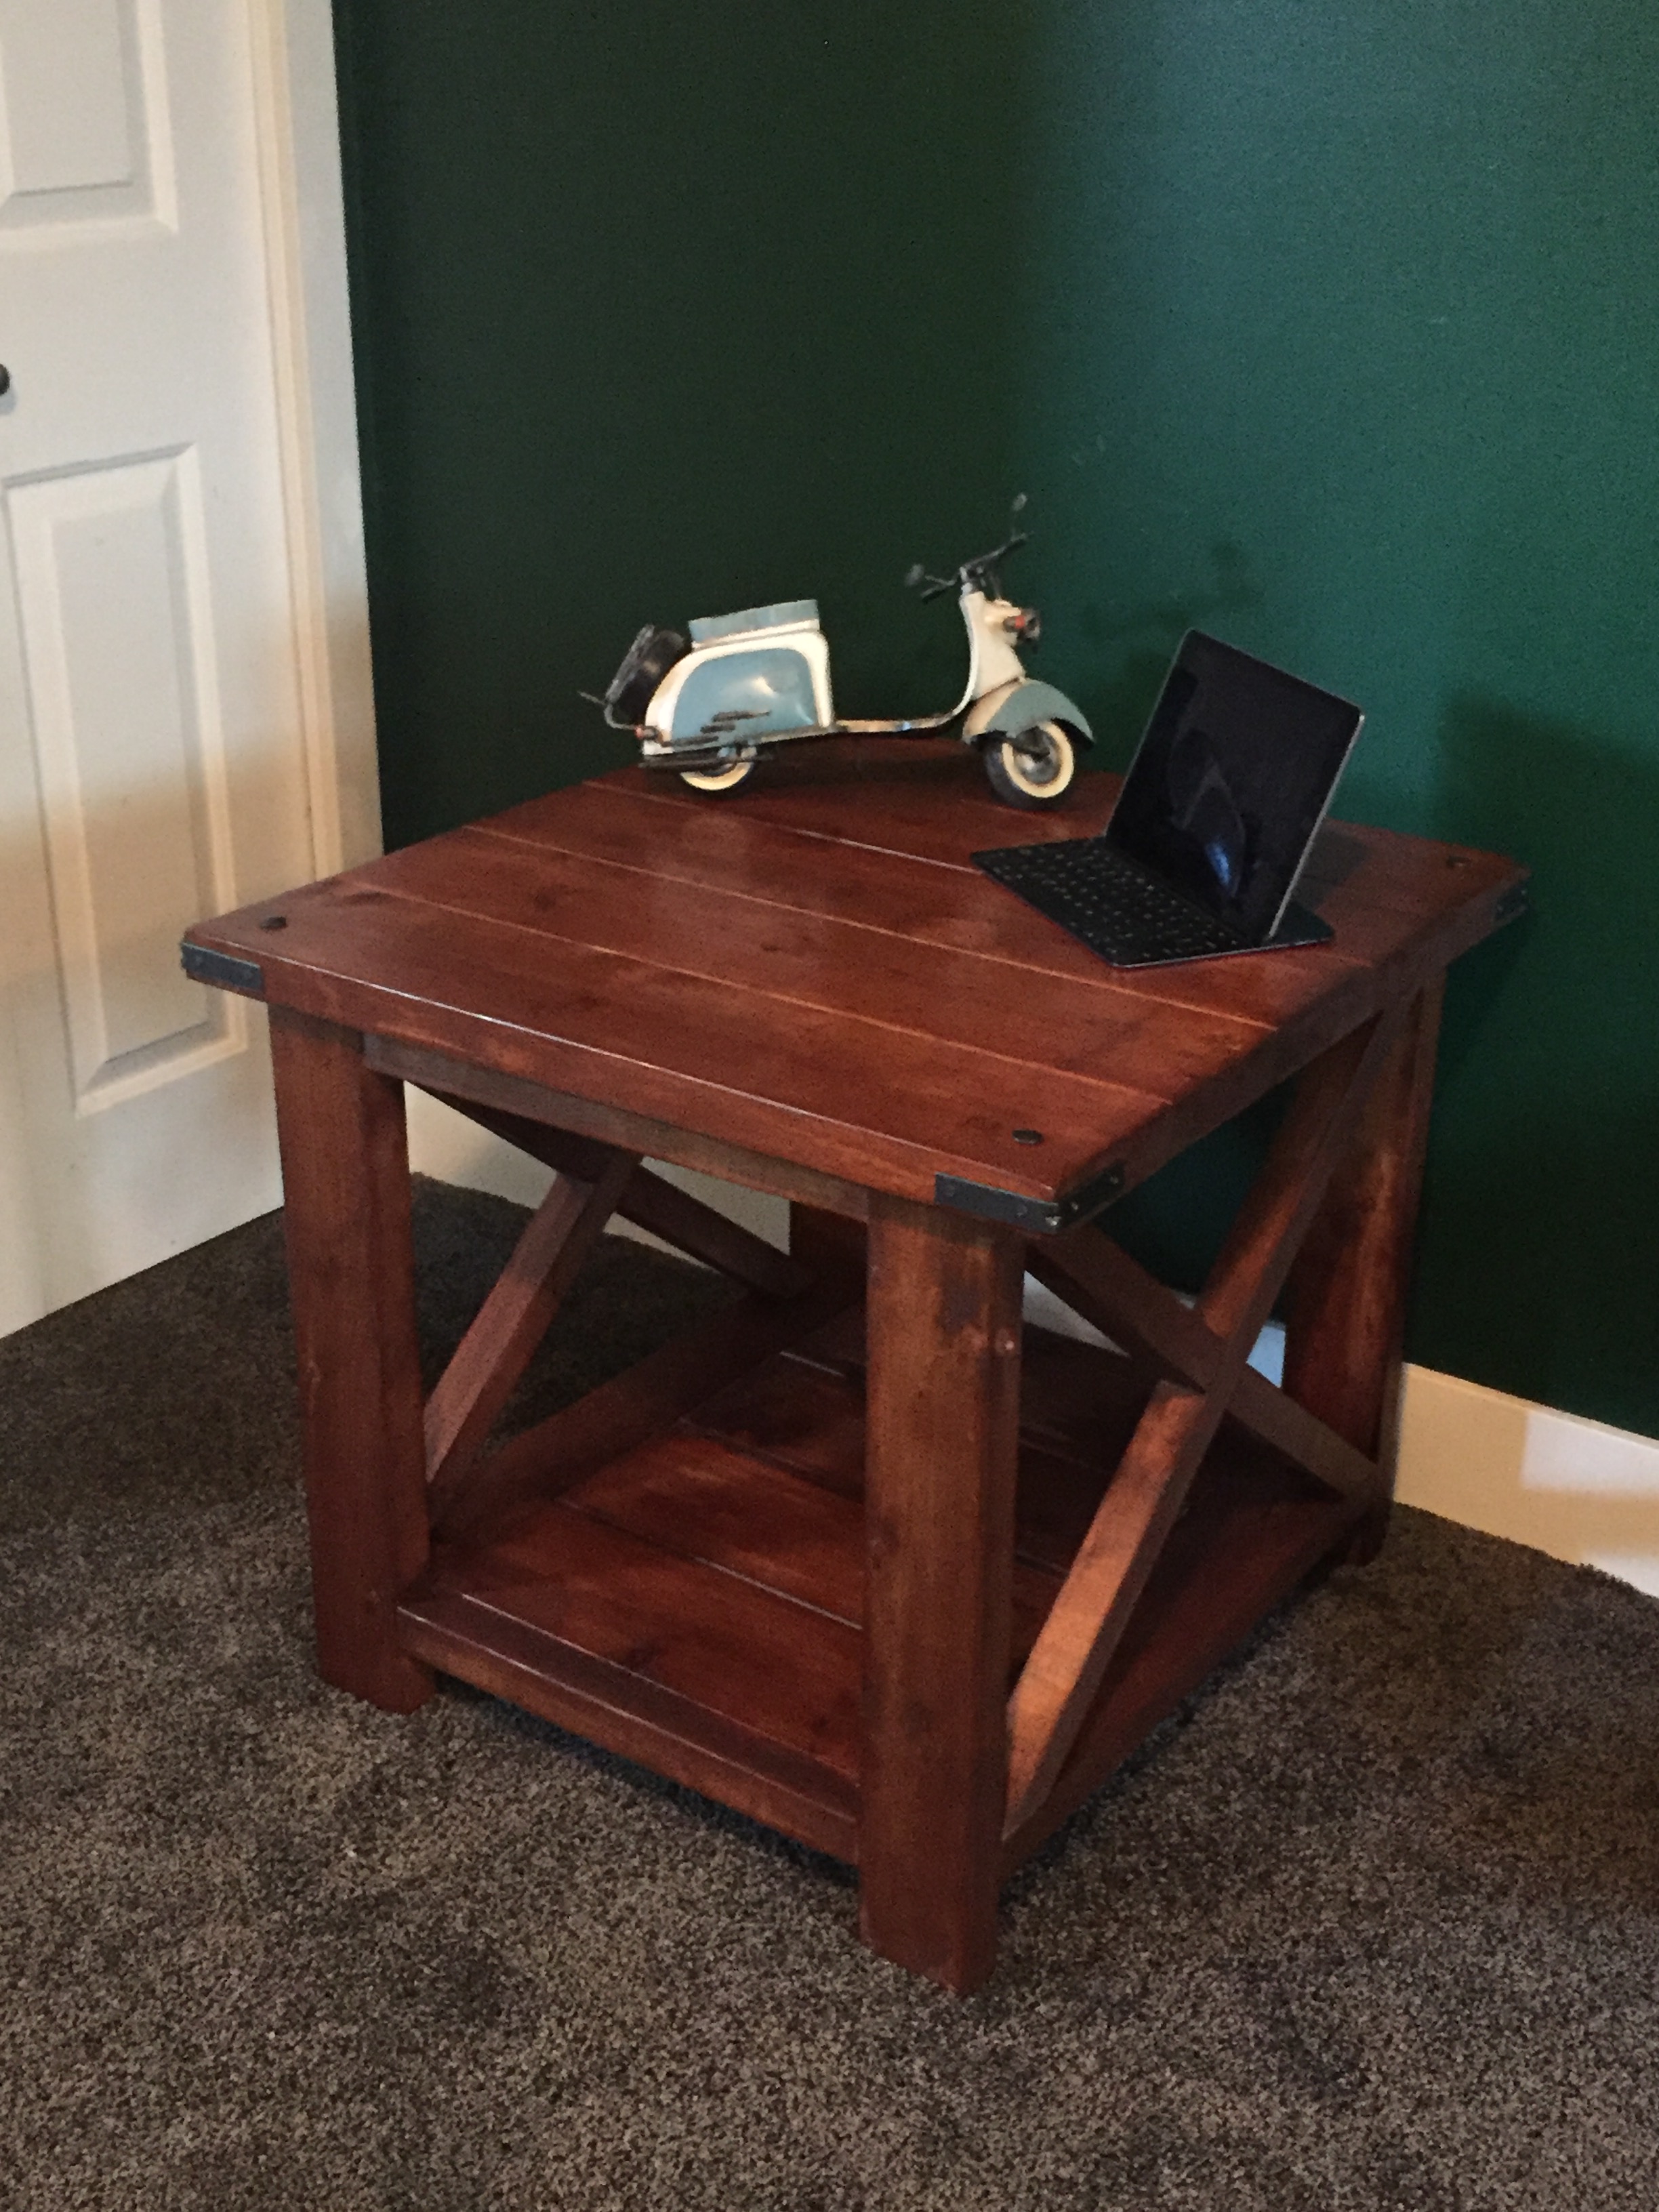
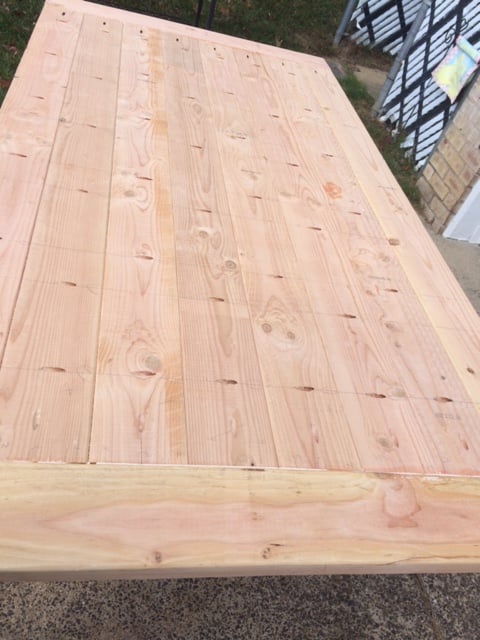
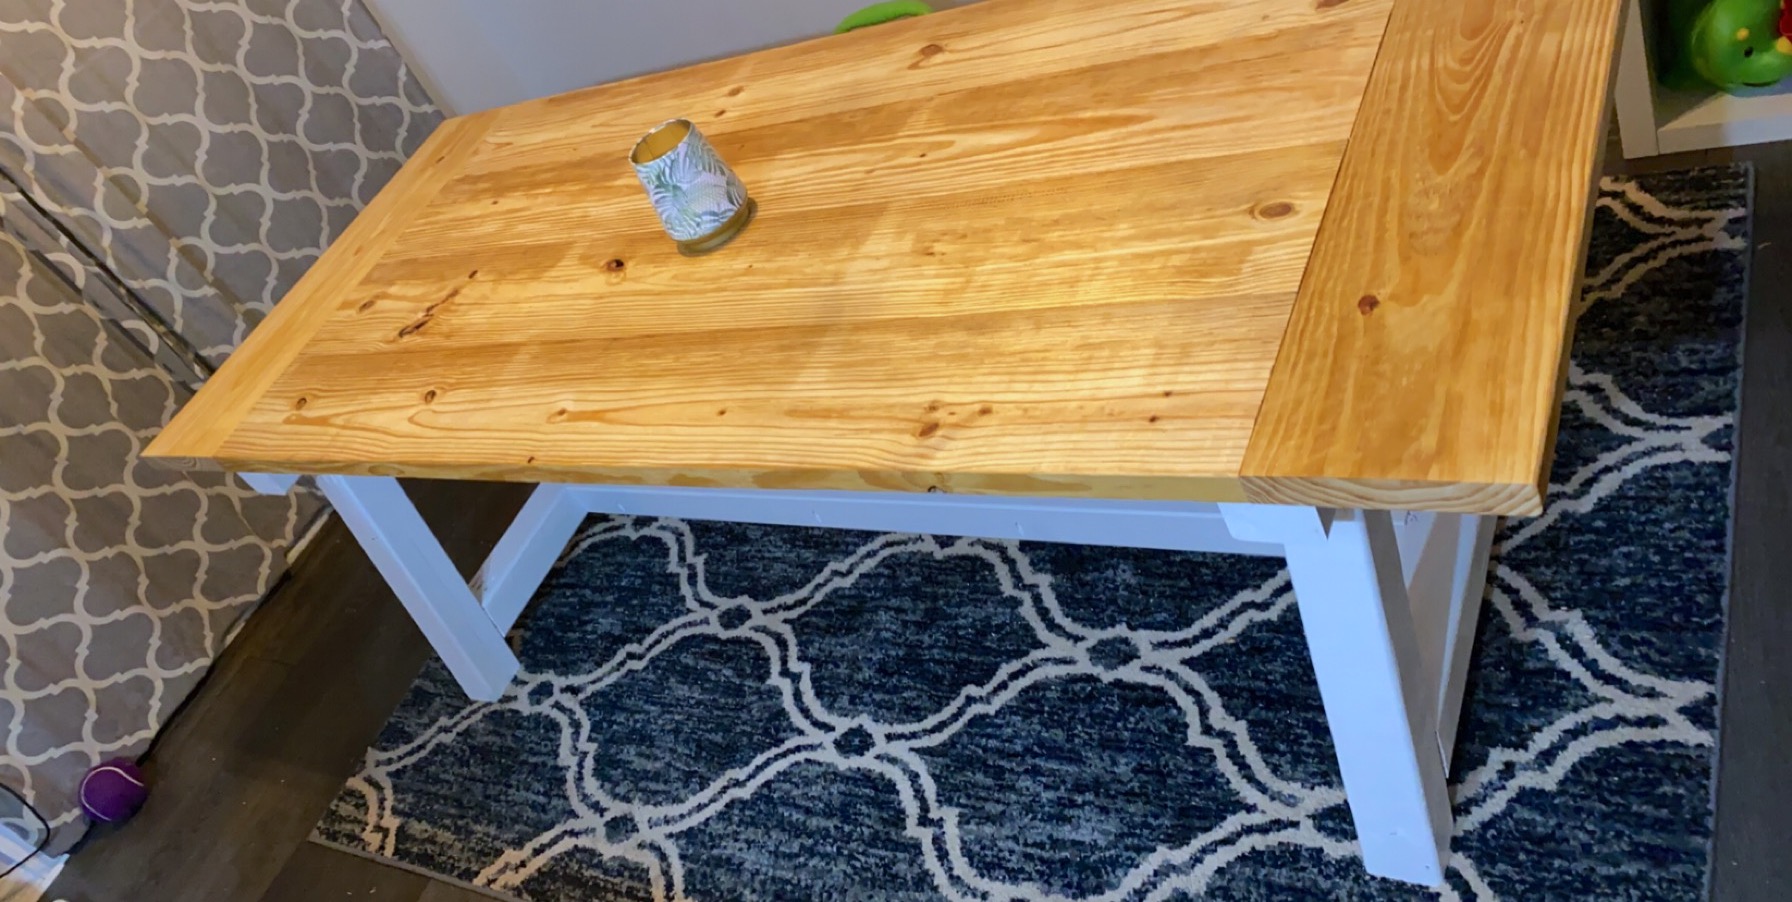
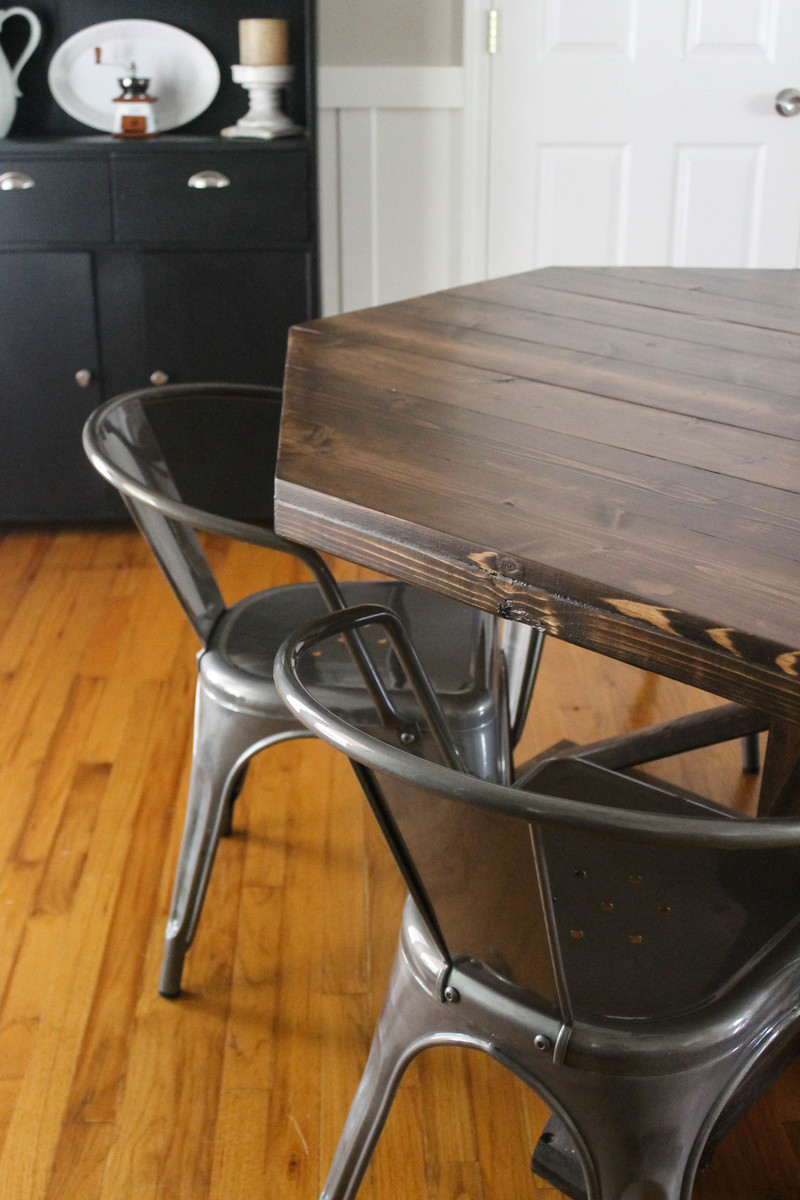
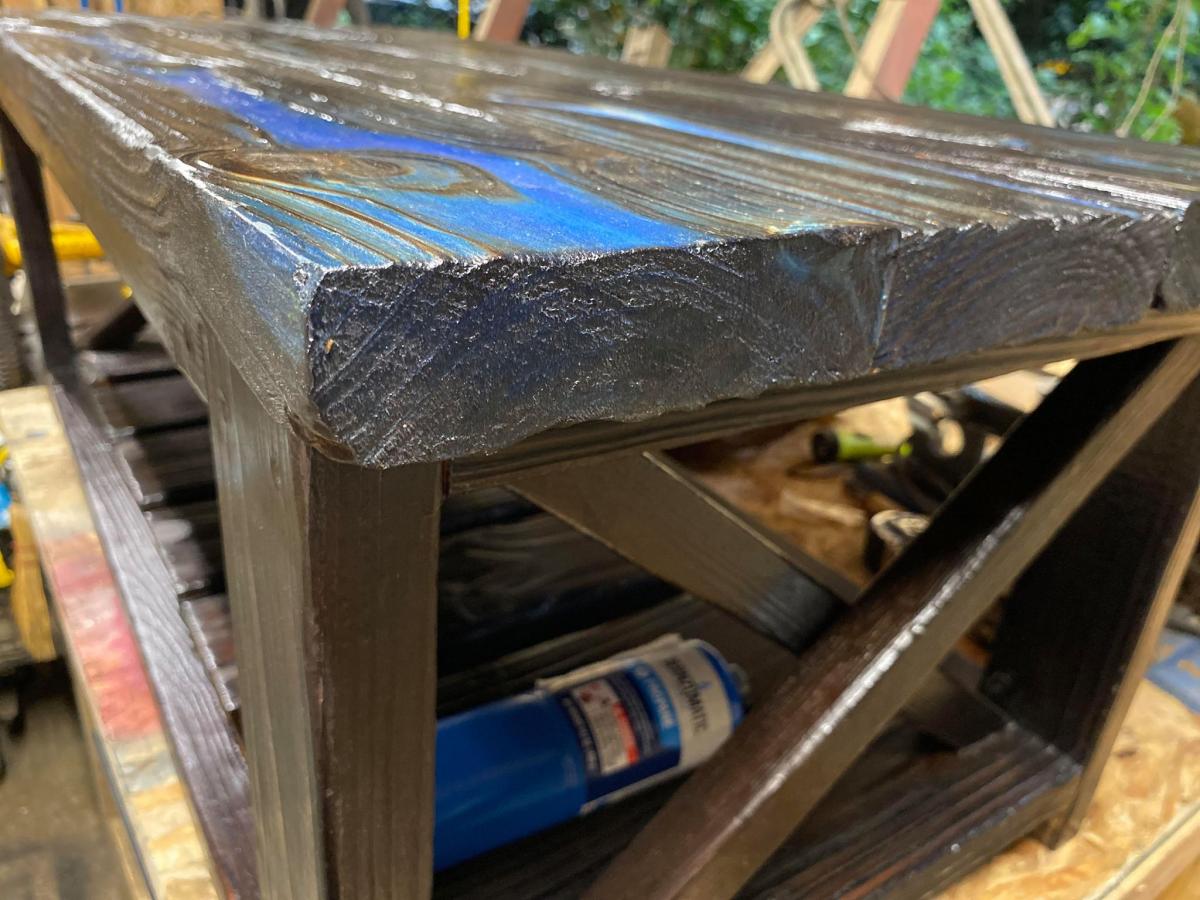
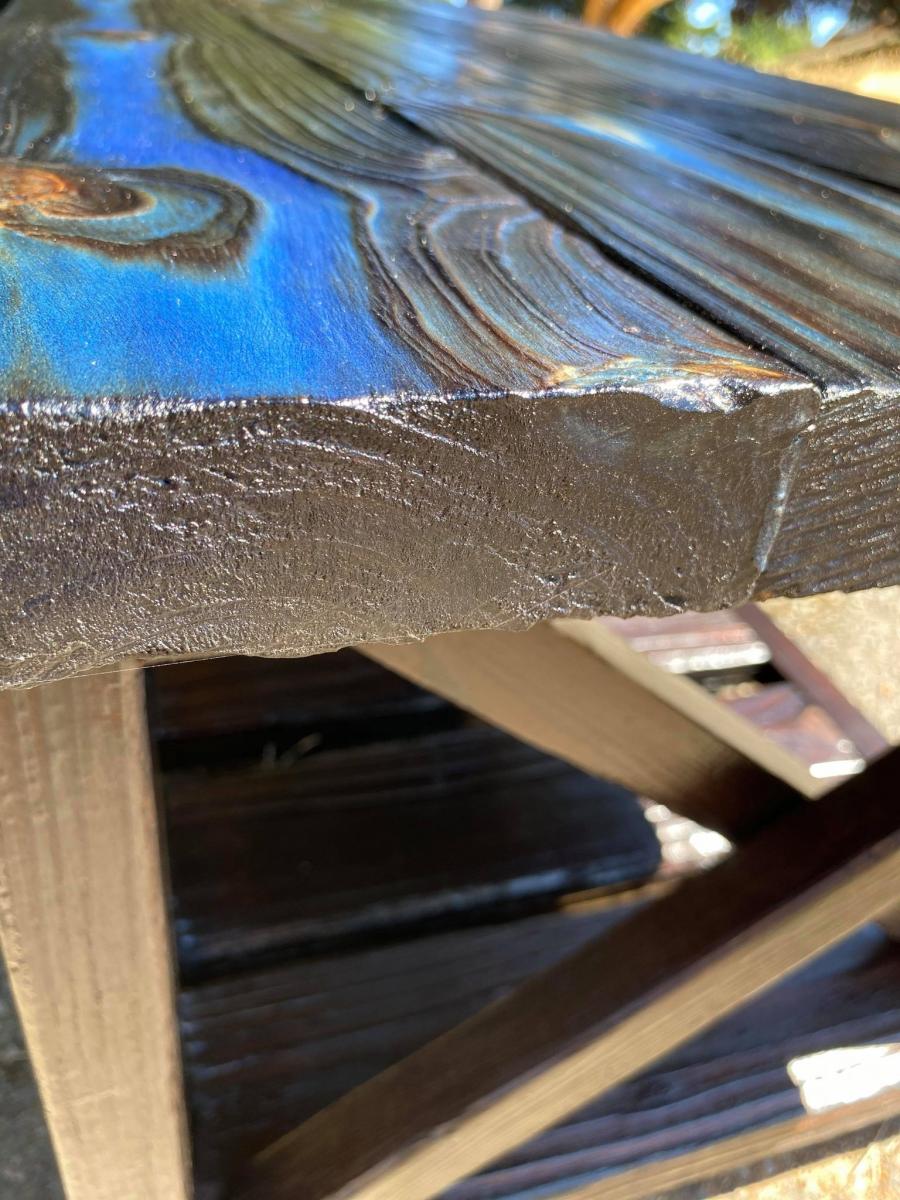
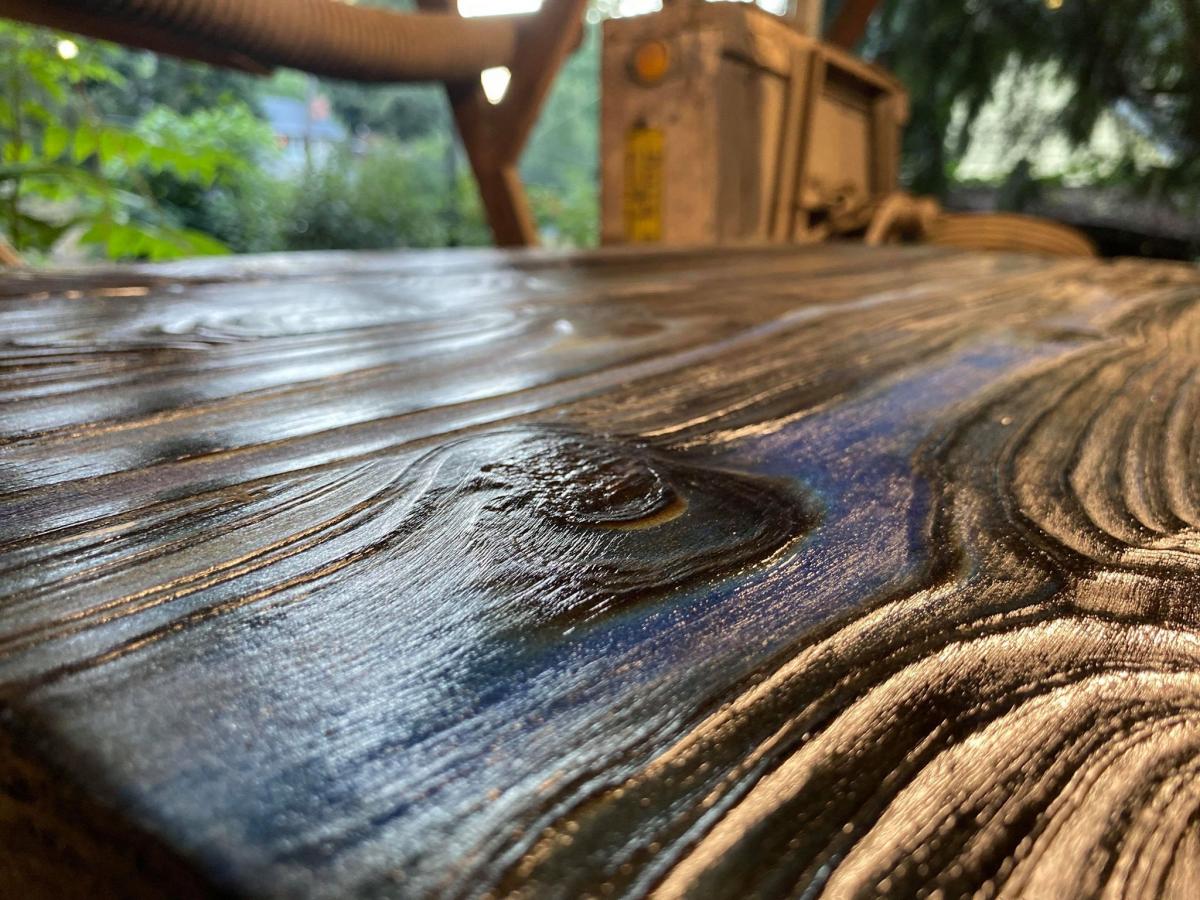
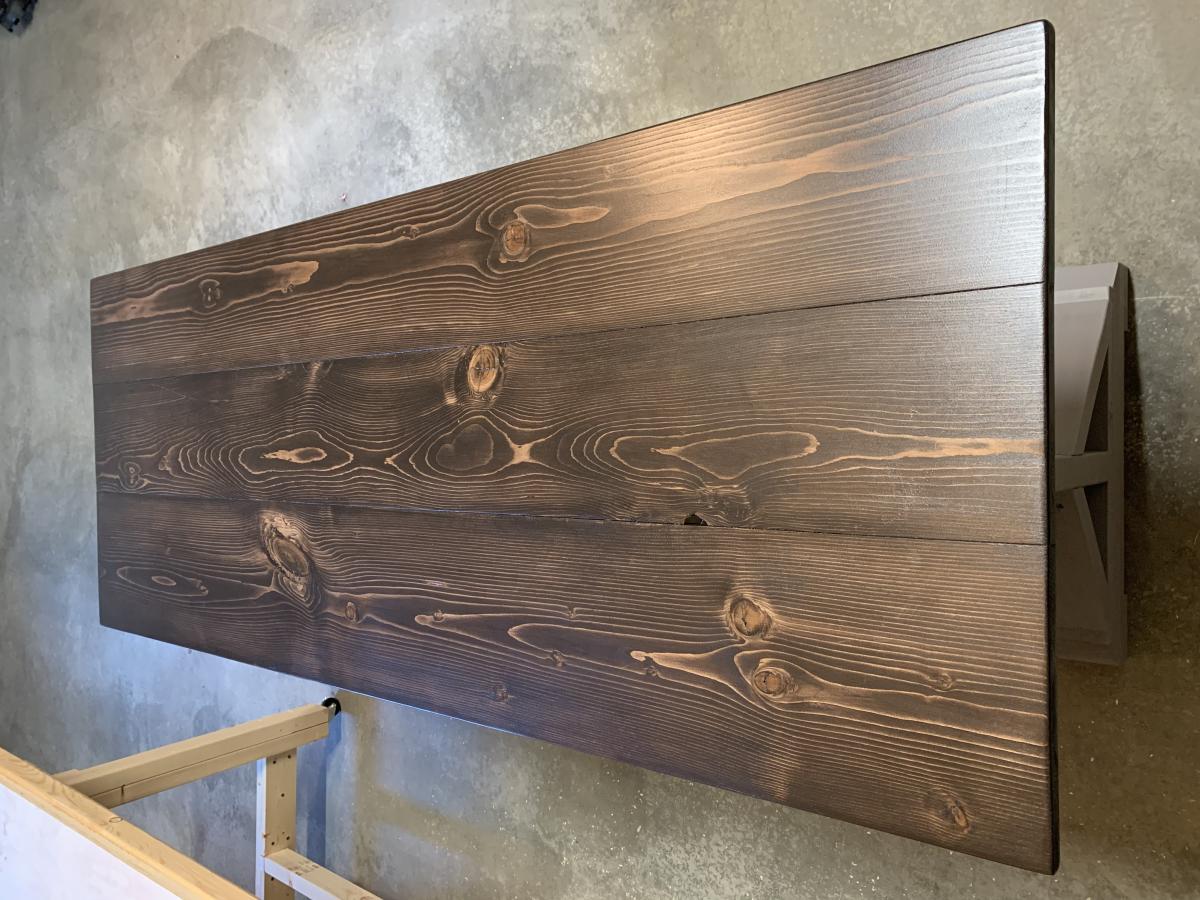
I wanted some character in the desktop so I used 3/4" knotty pine joined with pocket hole screws and sanded it quite a bit. I love how it turned out after applying gel stain and a varathane finish!
Thank you so much for the inspiration, Ana!!
Built from Plan(s)
Estimated Cost
$75 CAD
Estimated Time Investment
Weekend Project (10-20 Hours)
Finish Used
Varathane KONA Gel Stain
Varathane Diamond Finish (3 coats)
Varathane Diamond Finish (3 coats)
Recommended Skill Level
Intermediate