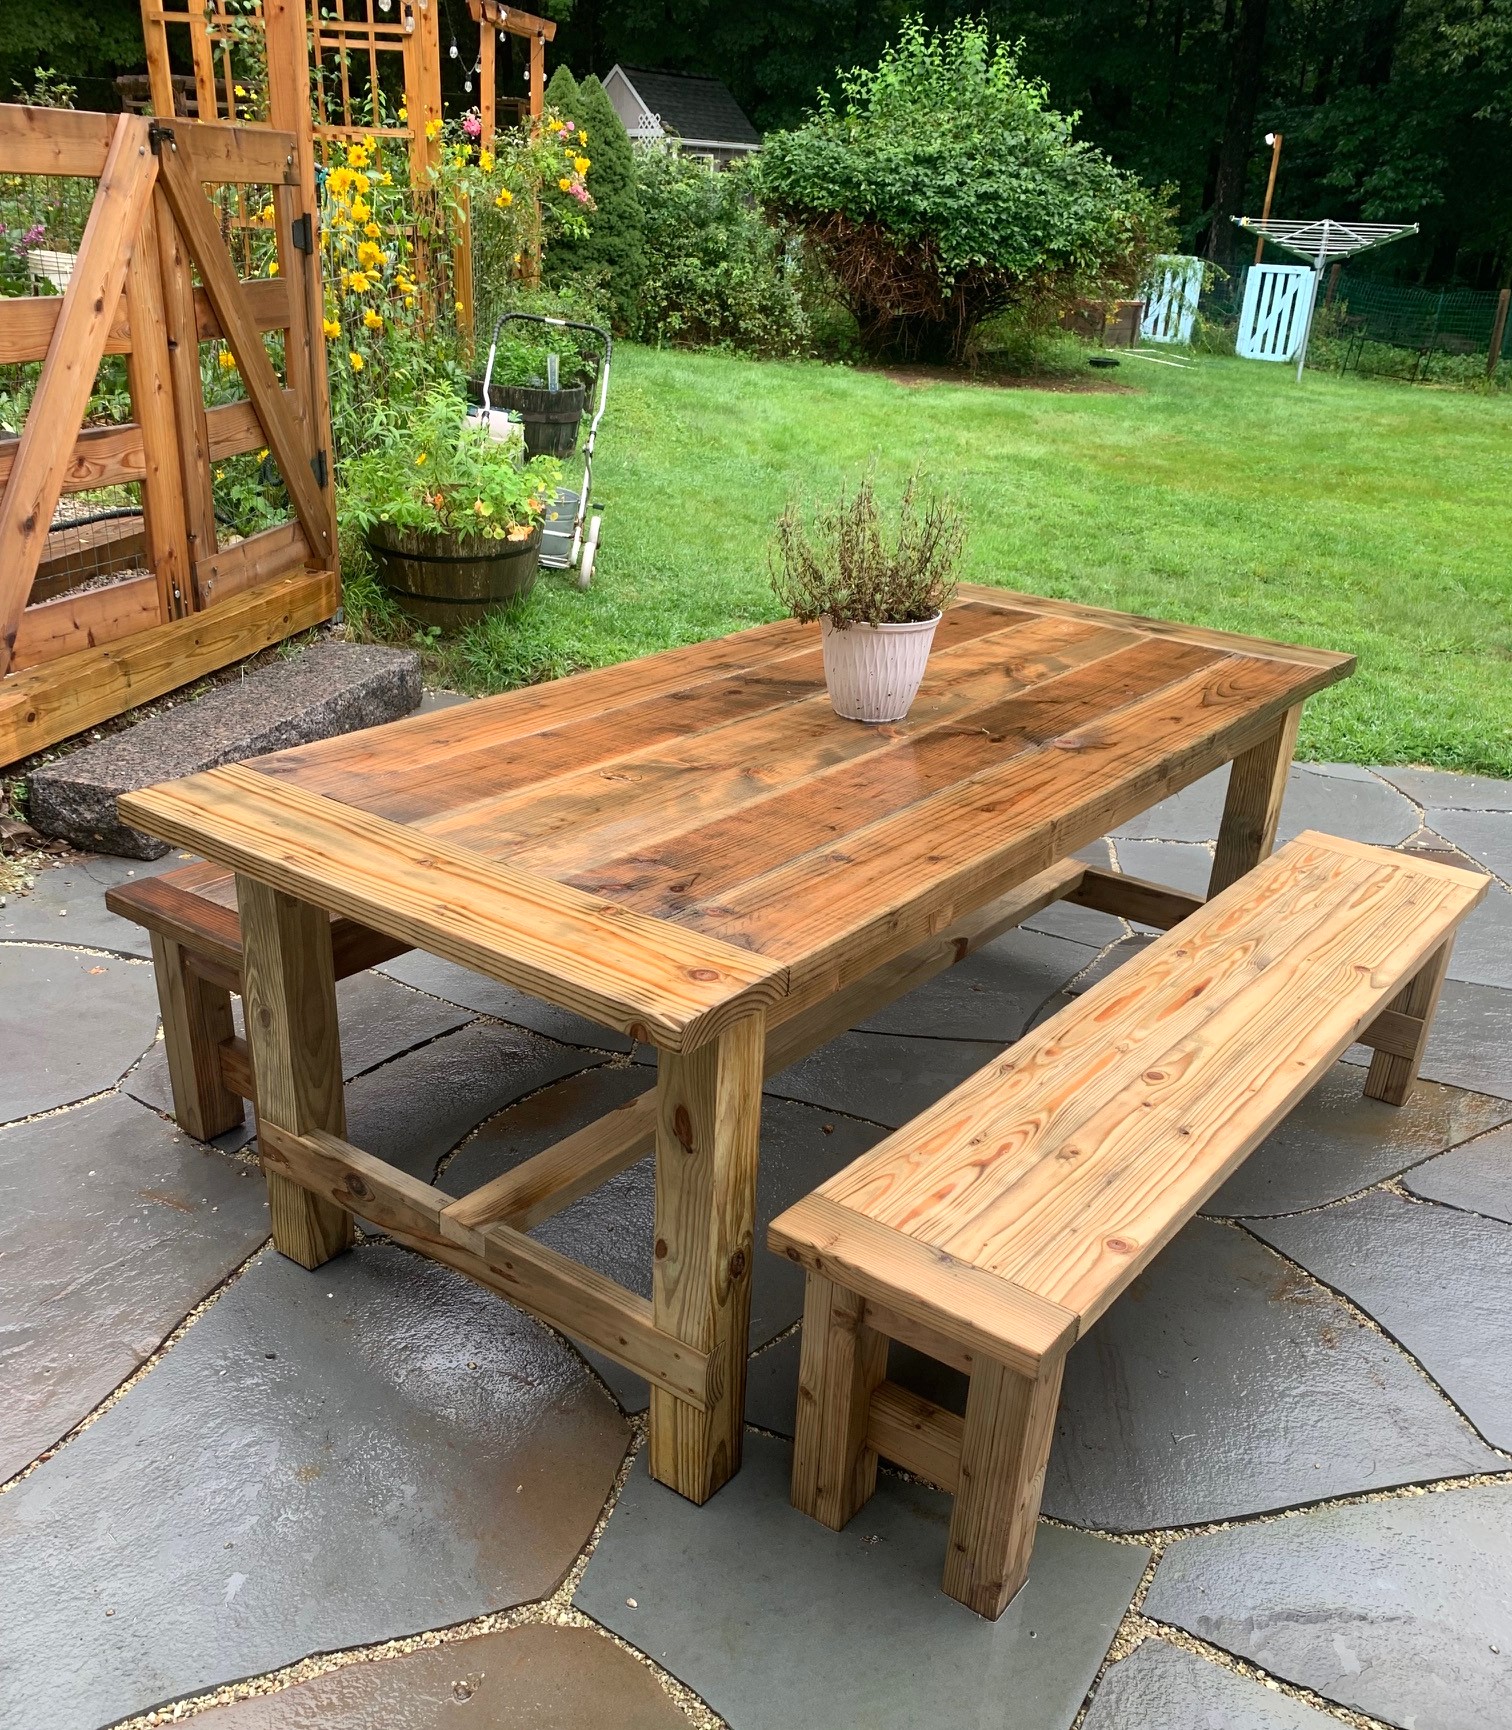
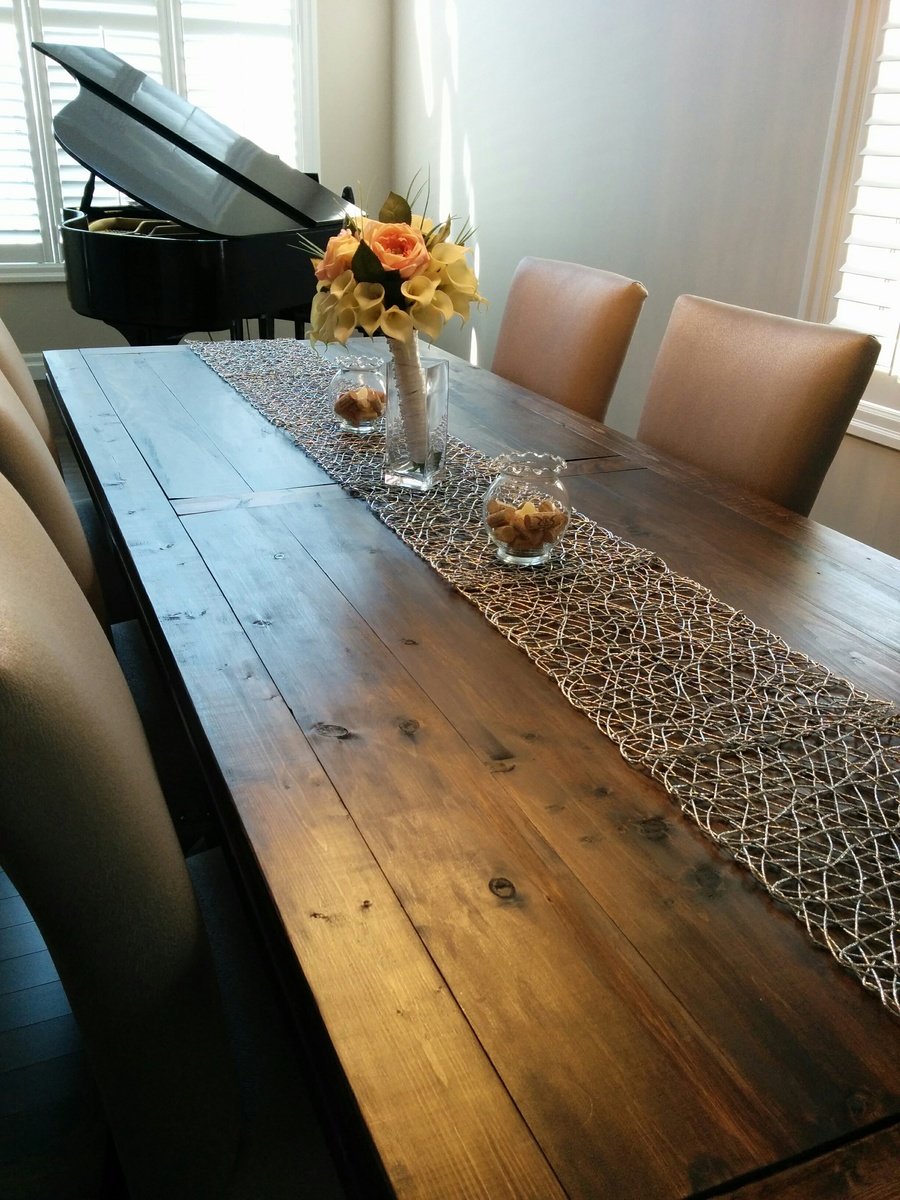
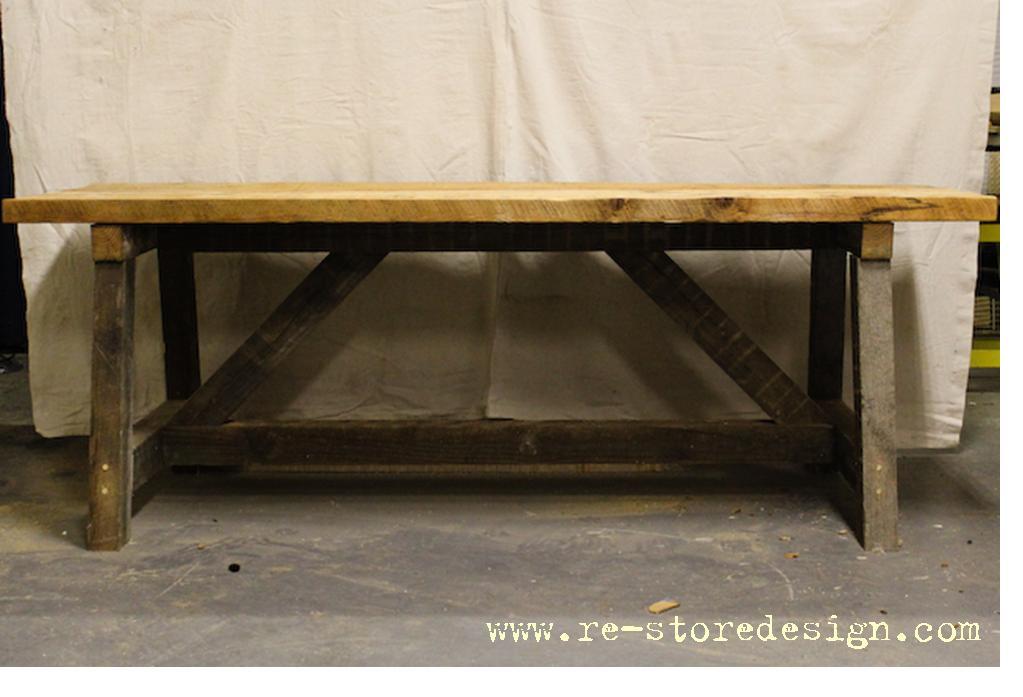
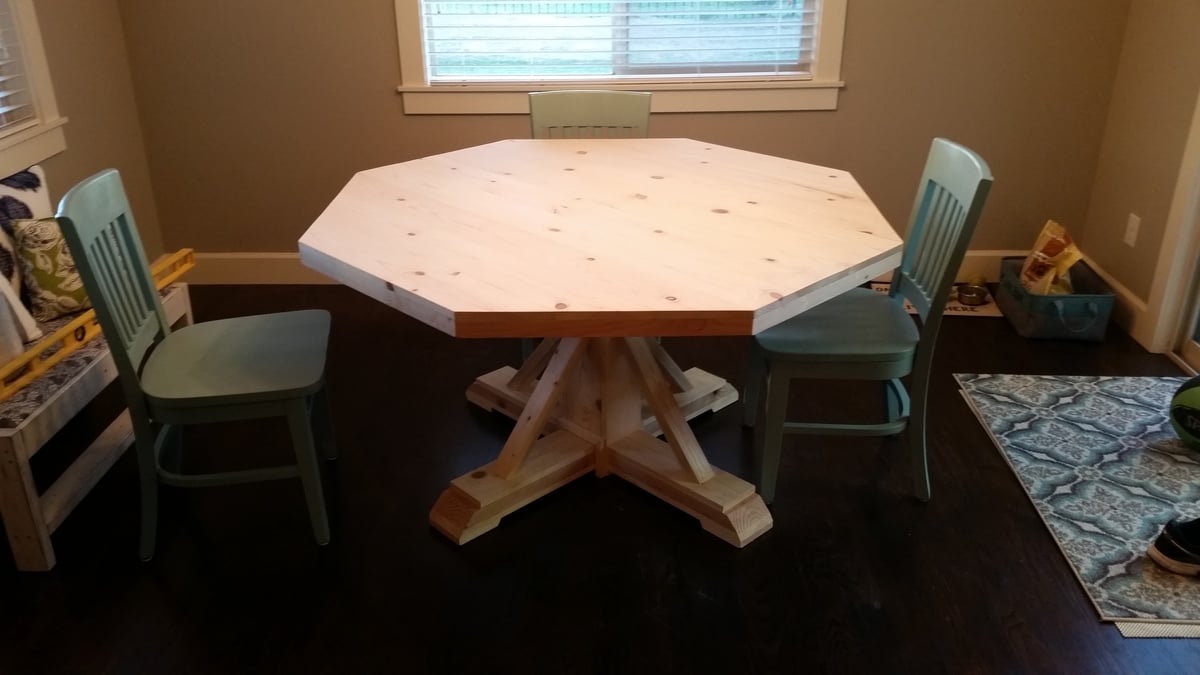
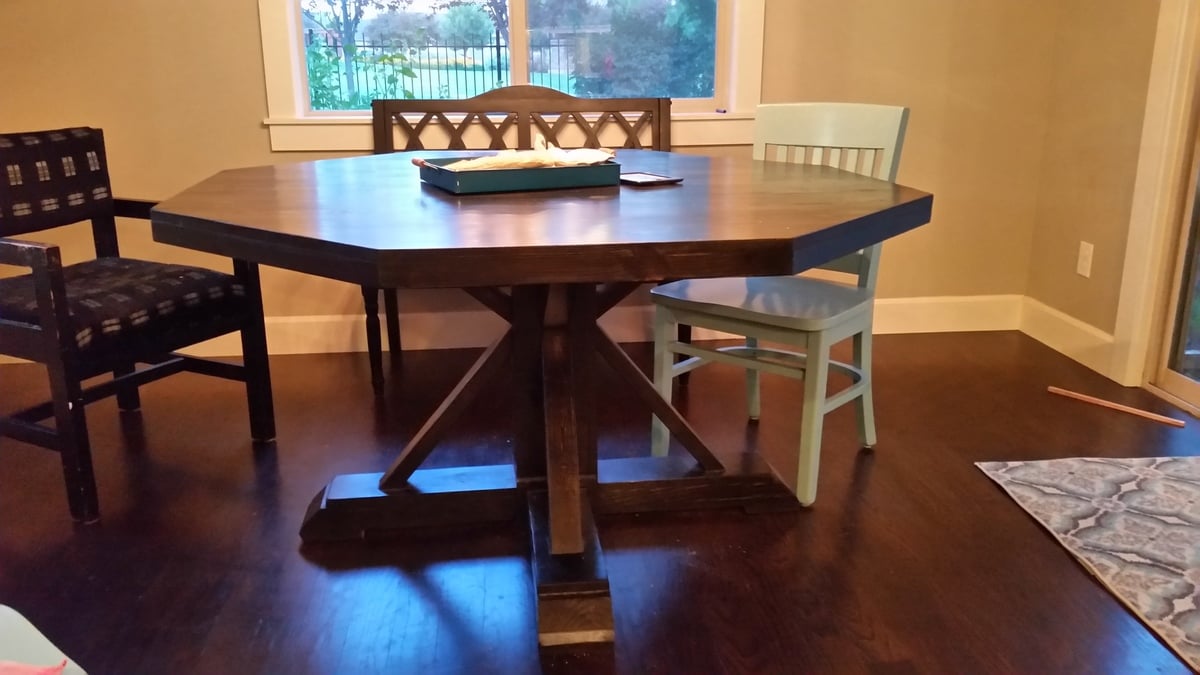
Farmhouse Table
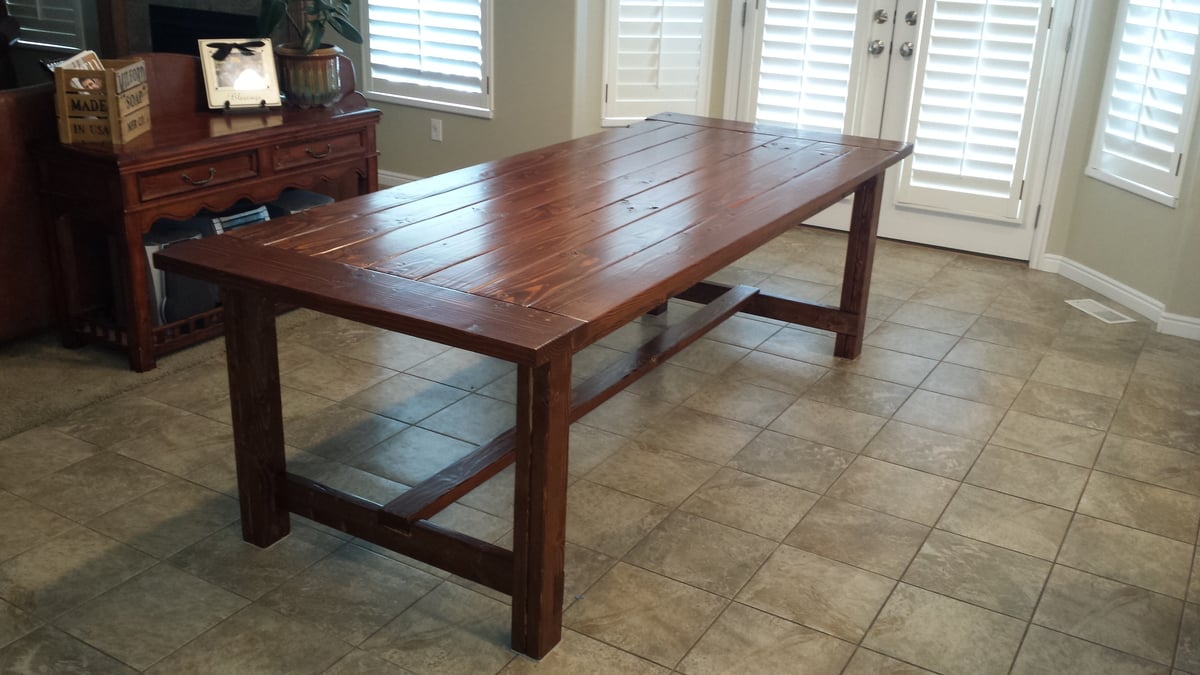
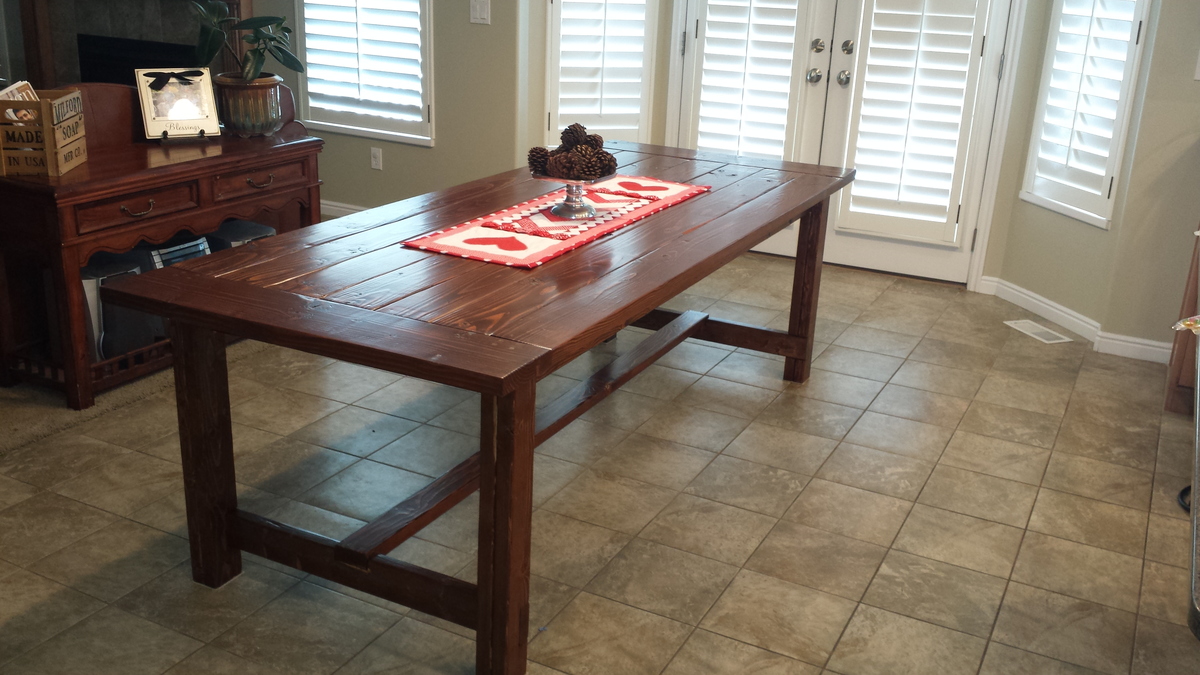
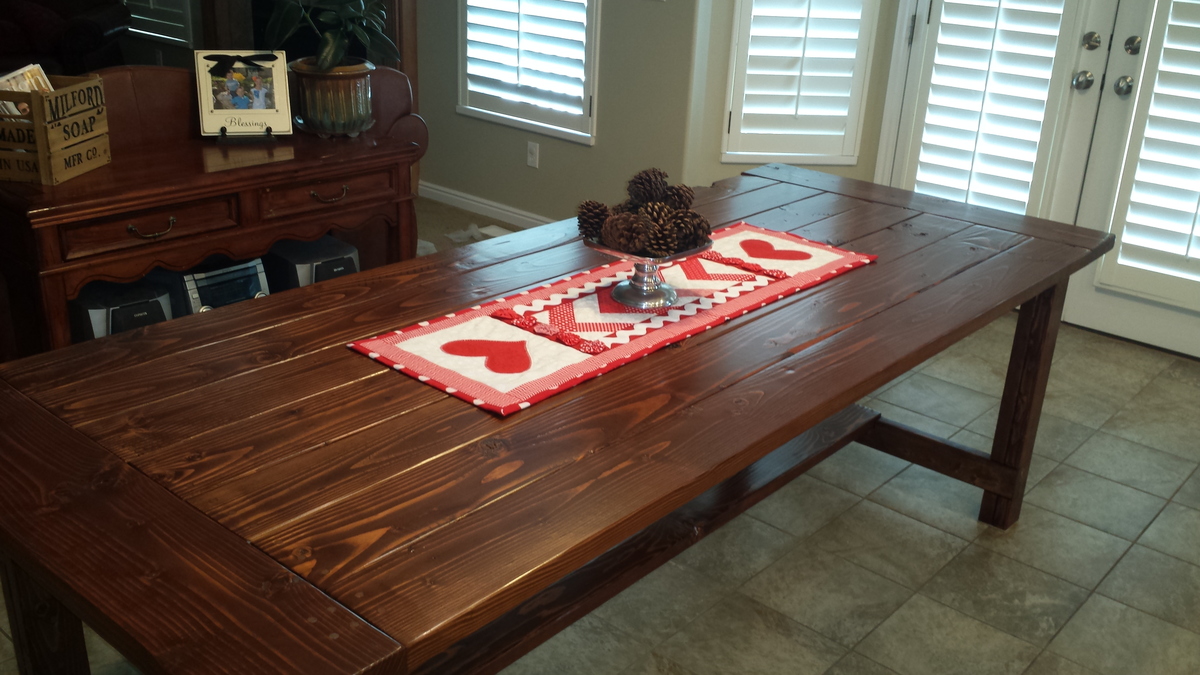
My husband surprised me with a big pile of wood in the garage on Christmas morning. 3 weeks later, this beautiful table is in my kitchen. The pictures do not do it justice - it turned out amazing. We have plans to make the matching bench when it warms a bit - our garage is freezing!
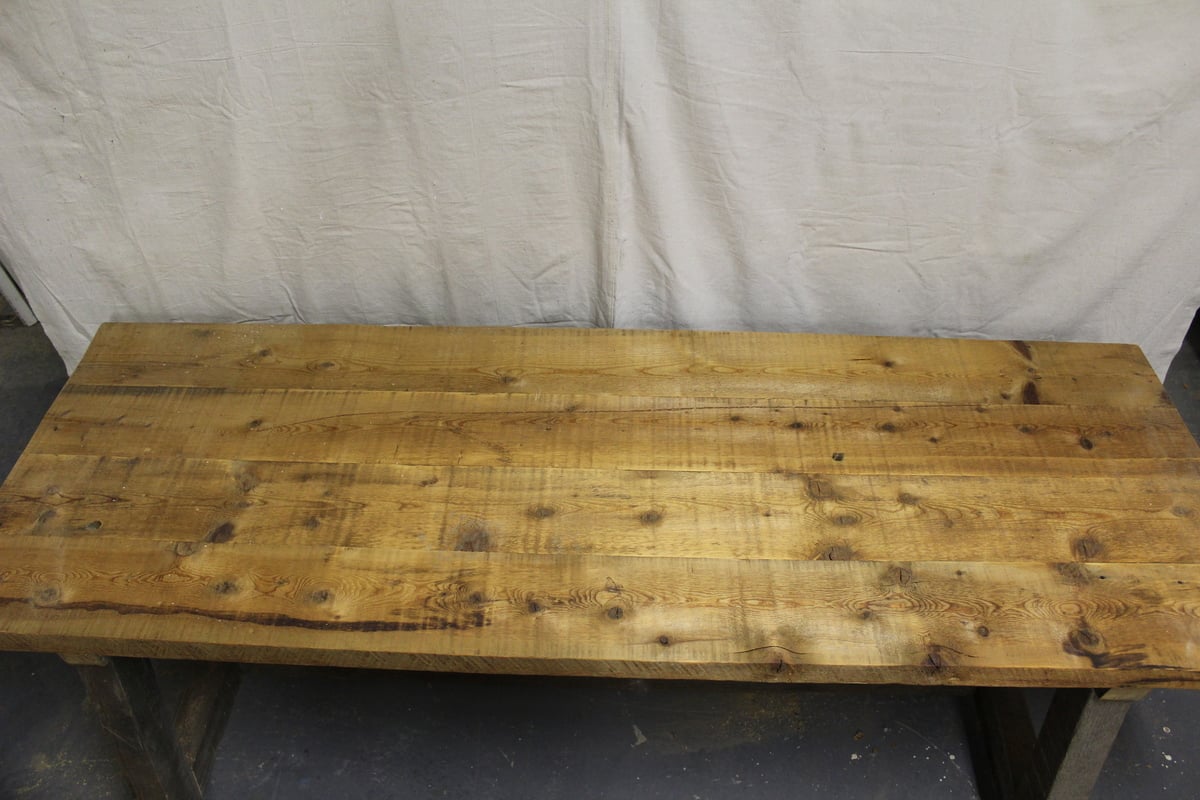
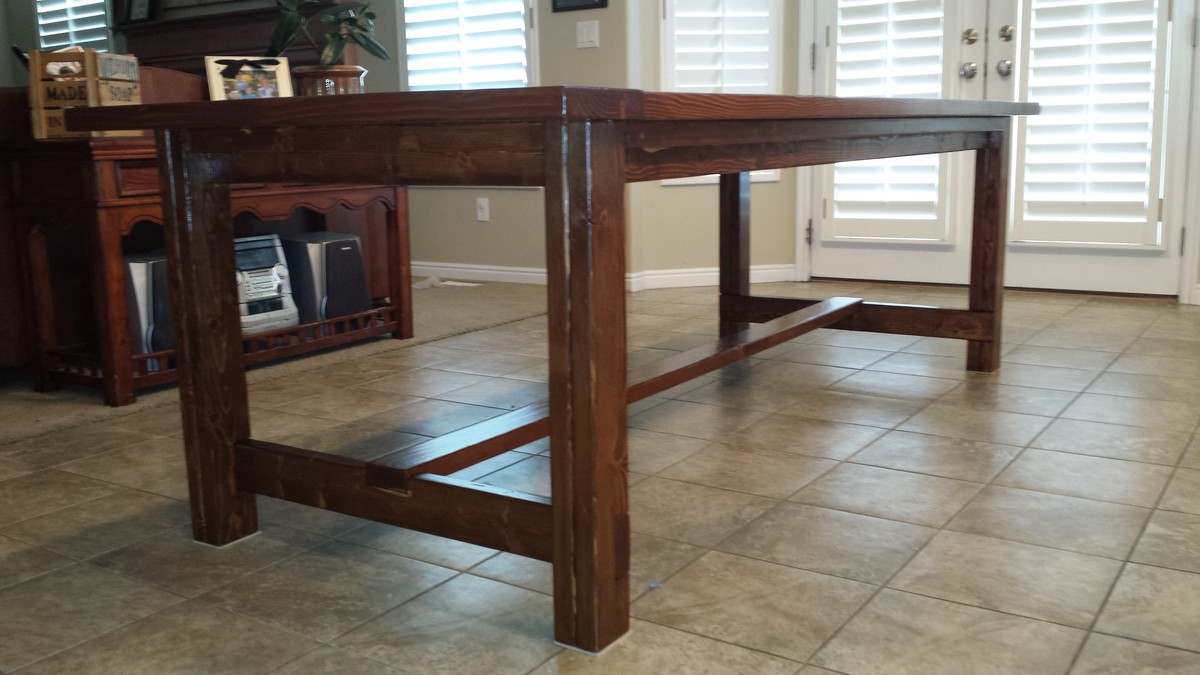
It took at least 20 hours to cut the wood, sand and assemble. It took another 10+ plus hours to stain and put 3 coats of the polyurethane.
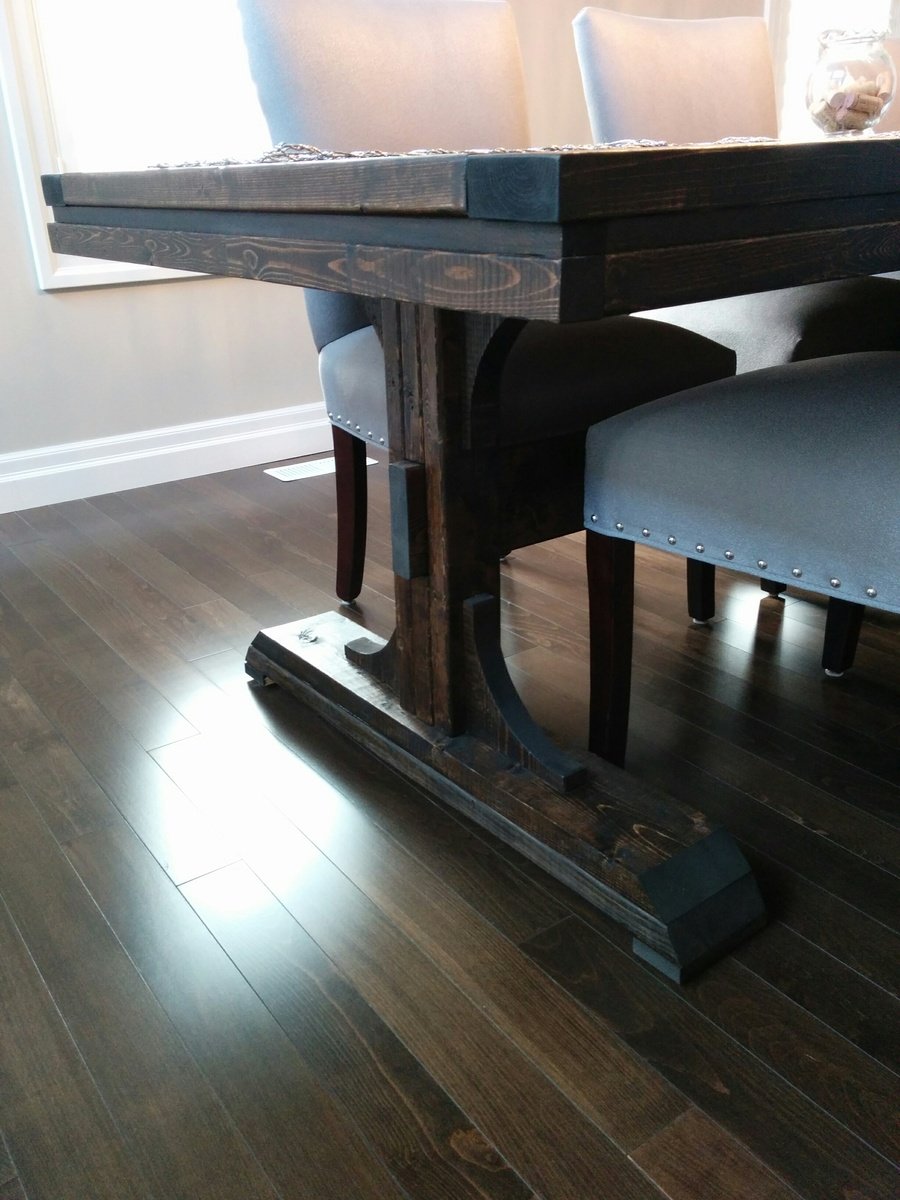
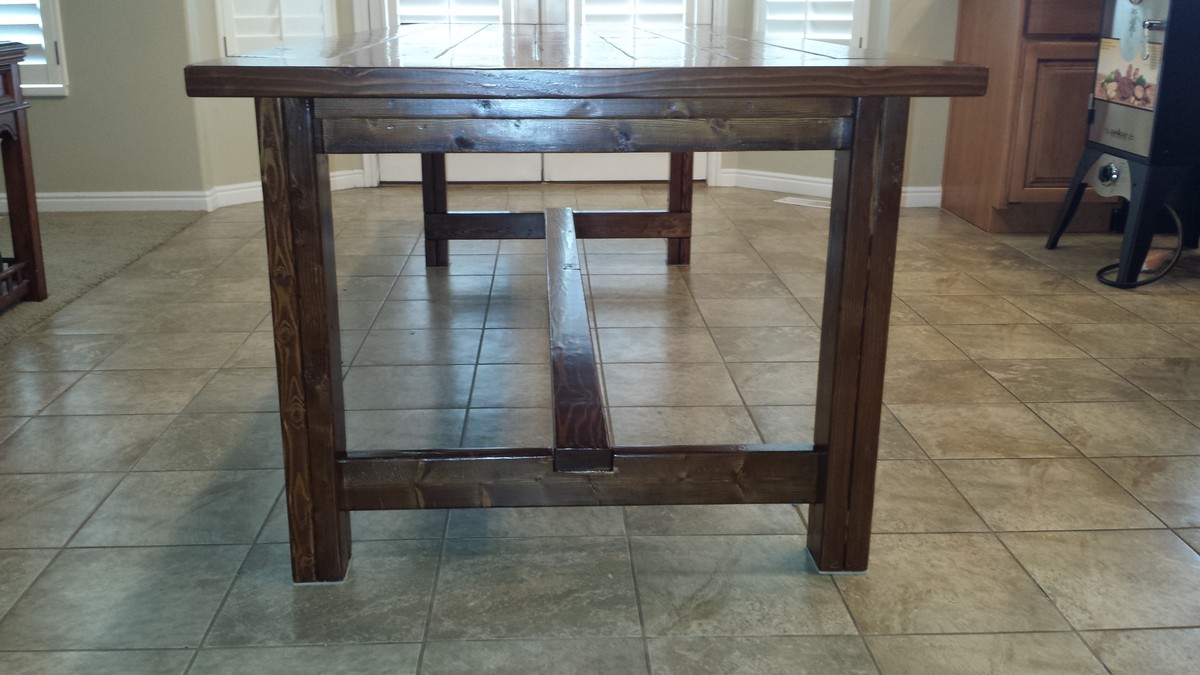
The great people at Orange cut our wood for us, and we took it home and notched it out using a jigsaw. Once we got the hang of it, it was really easy.
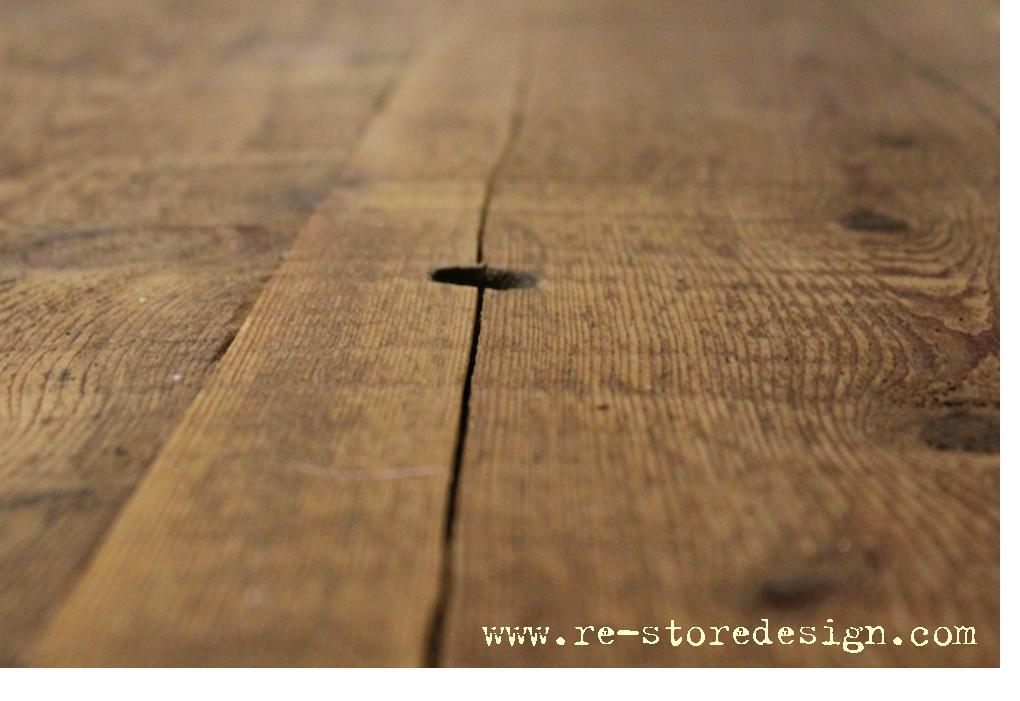
We had a hard time finding 2 3/4 screws, so we used 2 1/2. It worked great. We used Elmer's Carpenter's Wood Filler in natural to fill the screw holes. It turned out so nice and looks great with the stain on top.
Neither my husband or I have very much experience building anything, so we took our time - measuring about 60 times and cutting once. However, it paid off. The table looks so great and I cannot wait to make the matching bench!
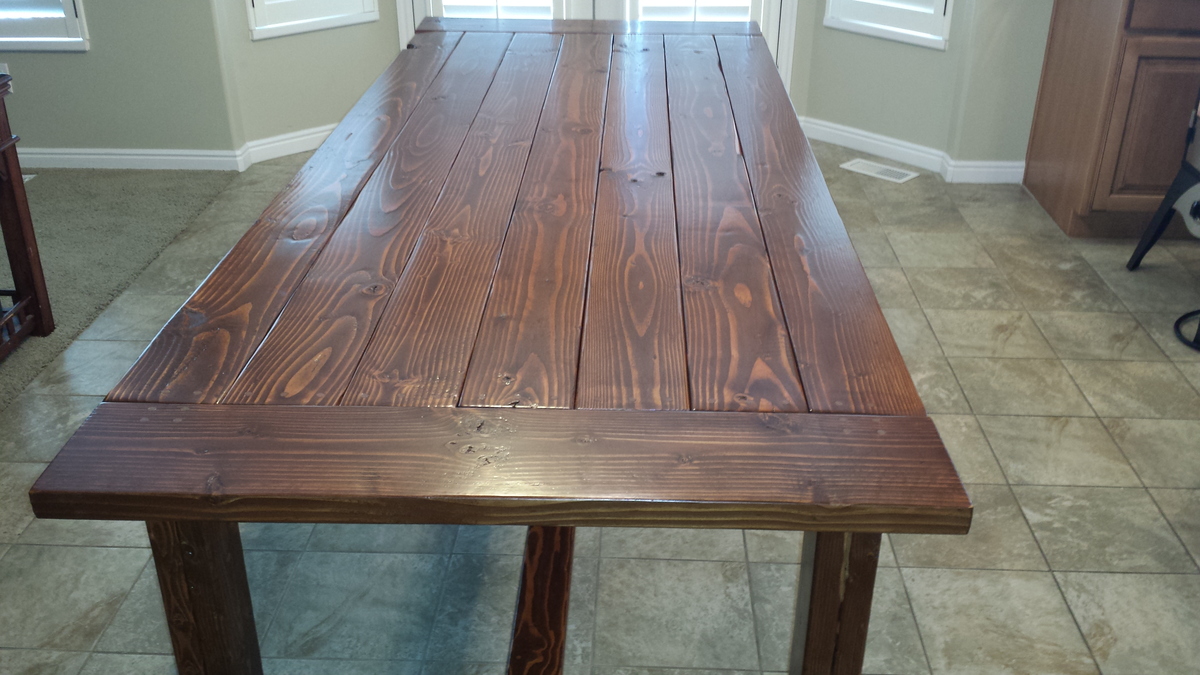
Minwax Polyurethane Clear Semi-Gloss - brushed on with a Purdy brush
We left the stain on, without wiping any off - 1 coat.
3 coats of polyurethane