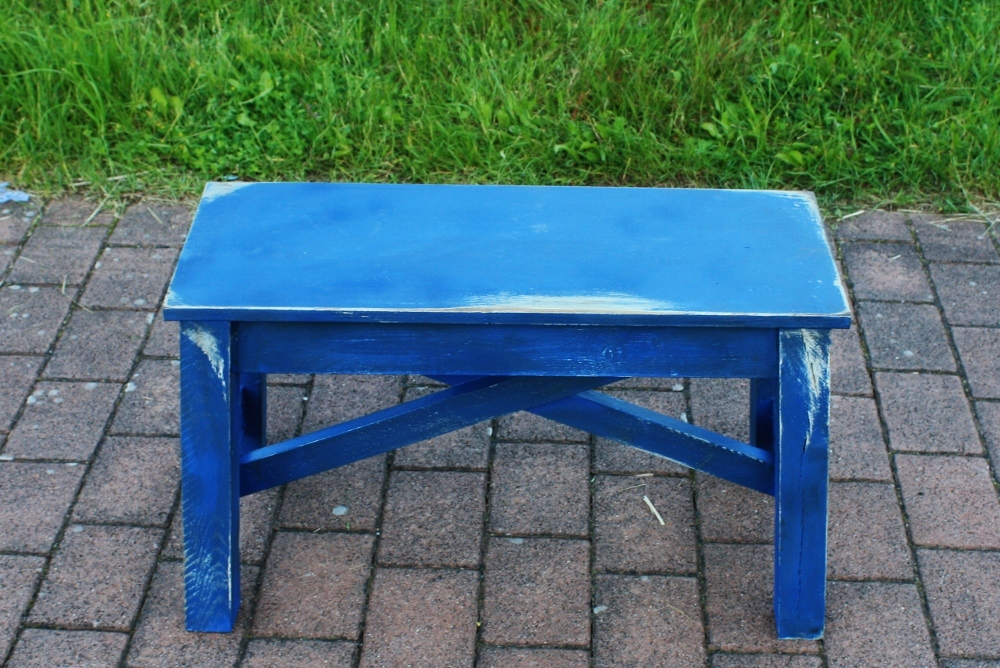
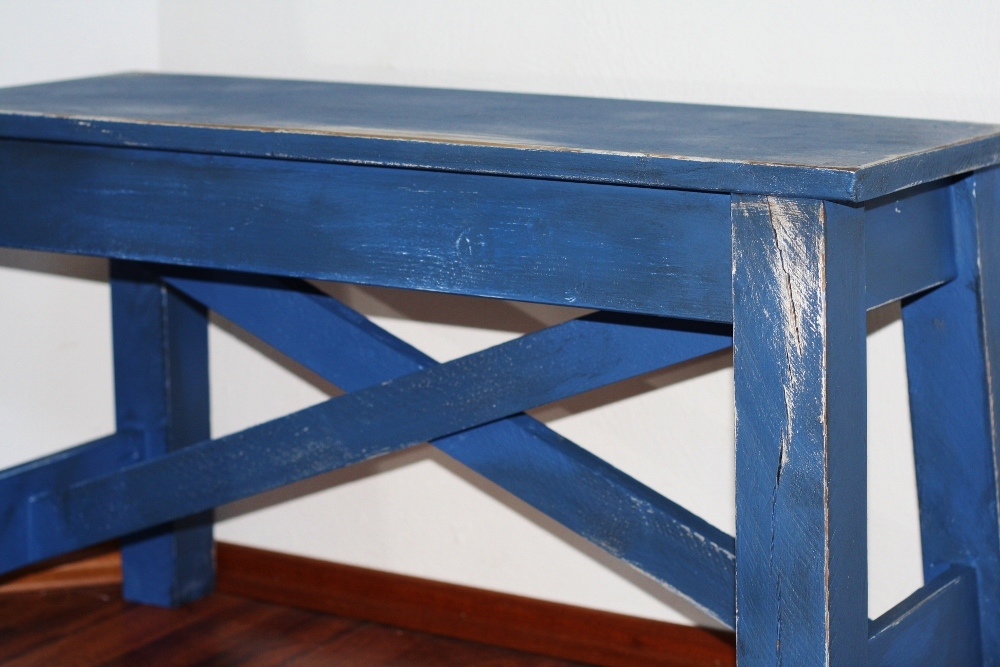
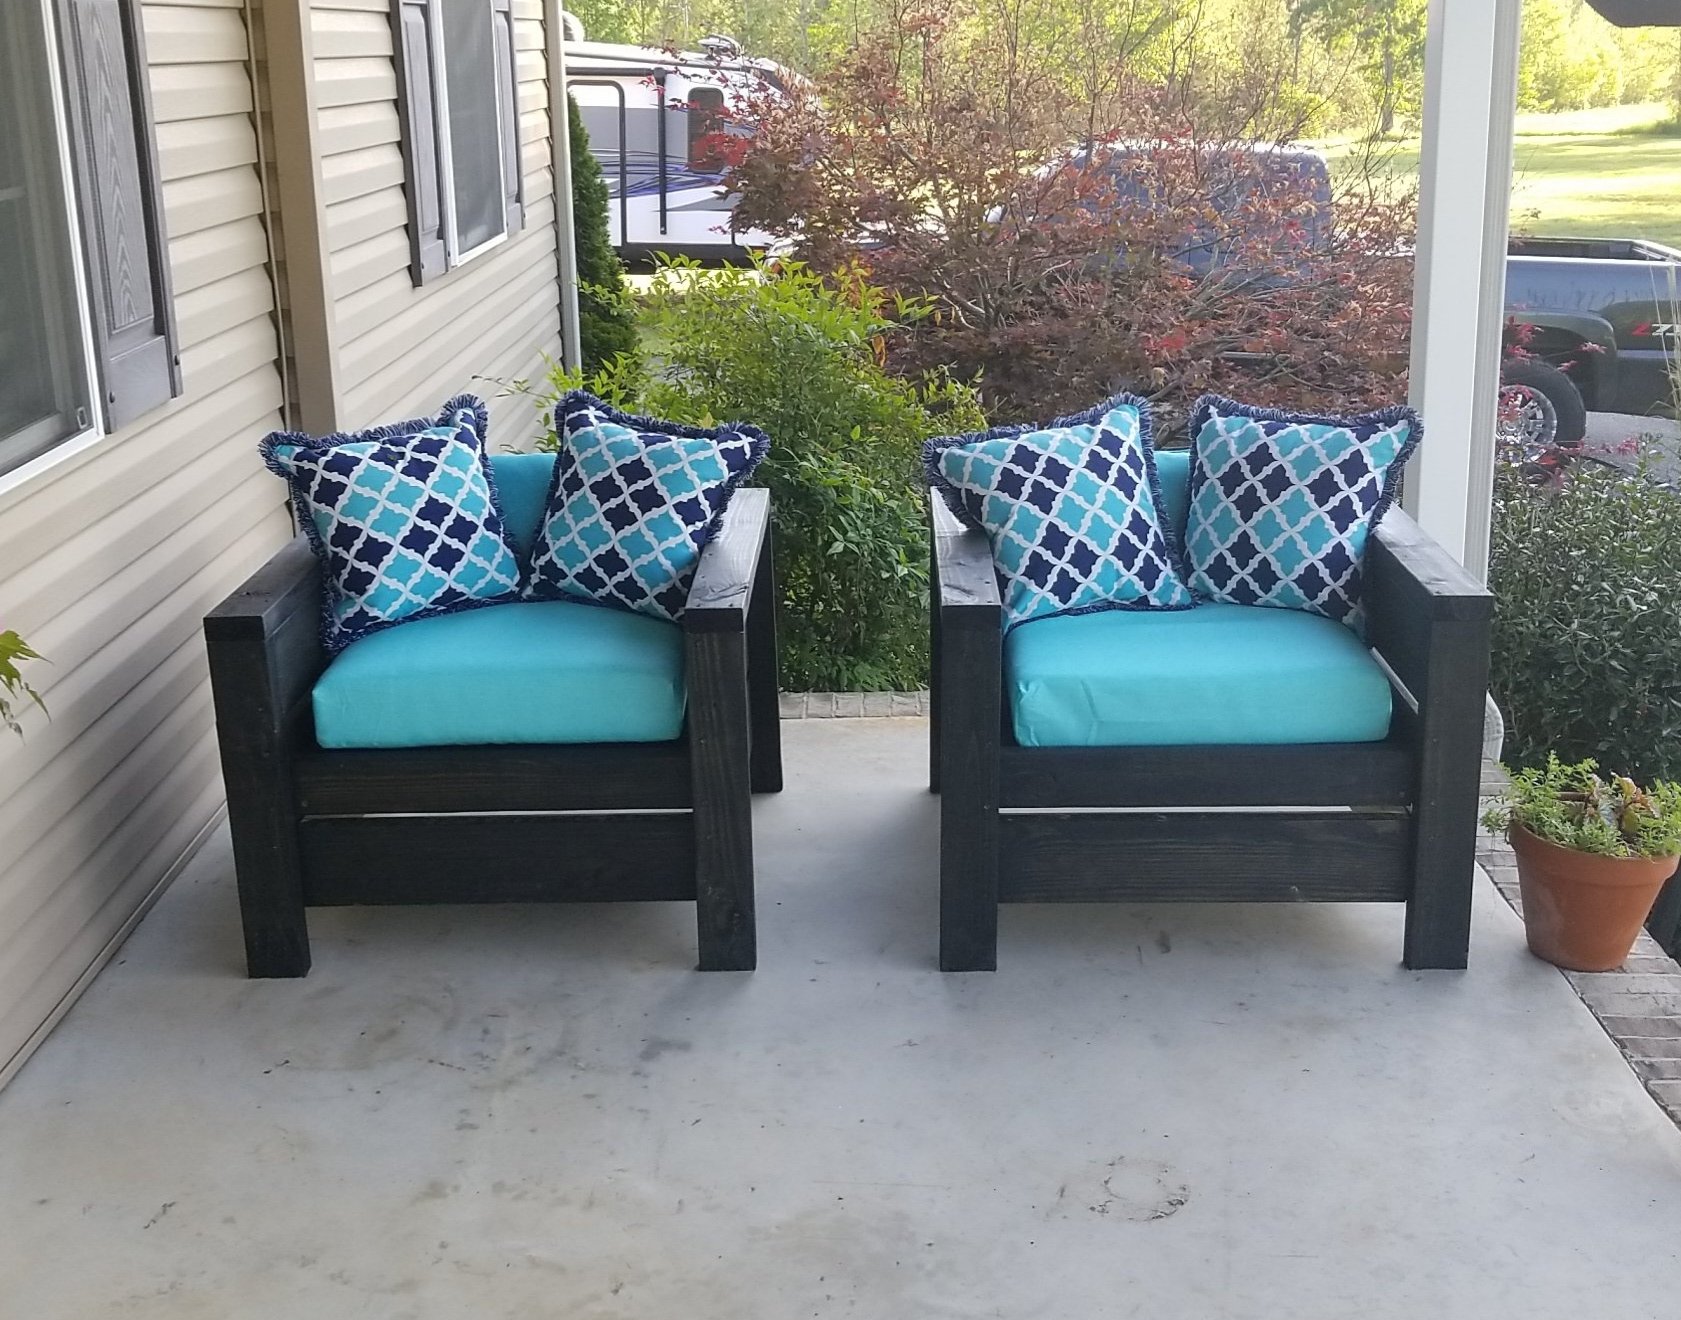
Simple Outdoor Bench

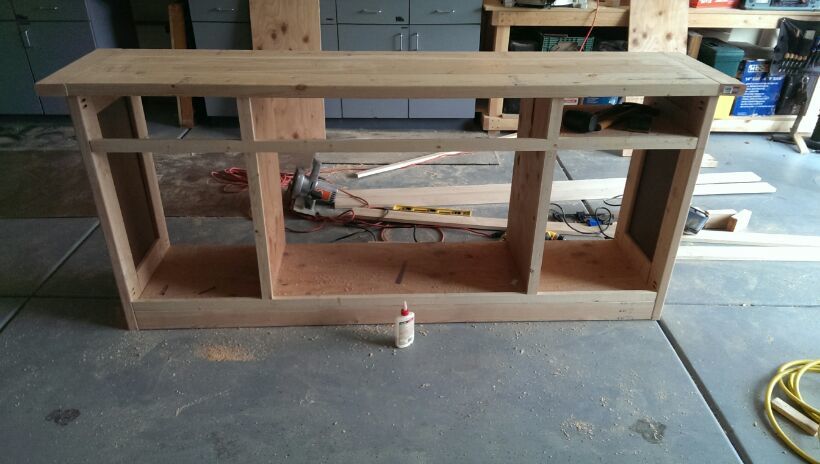
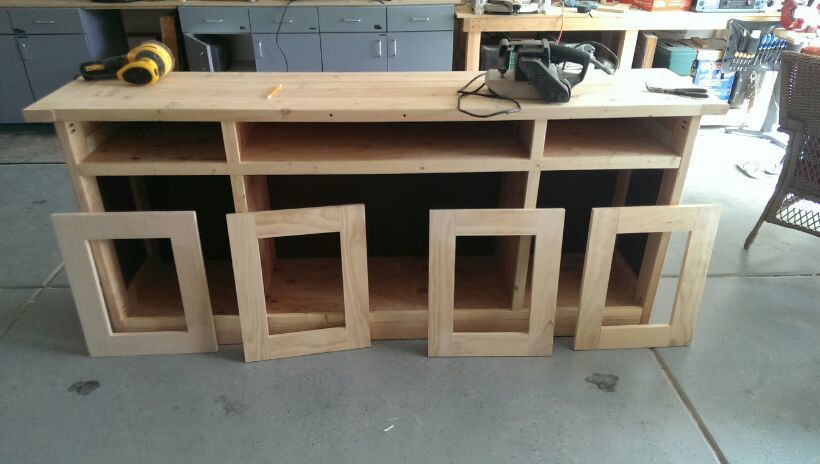
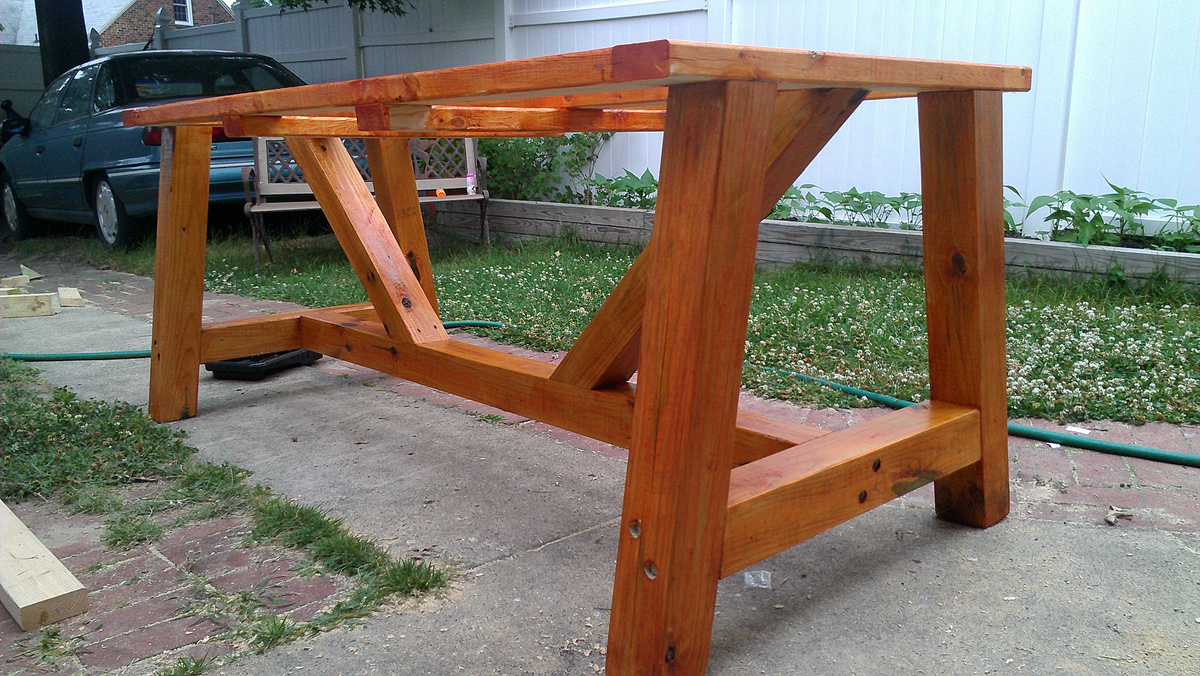
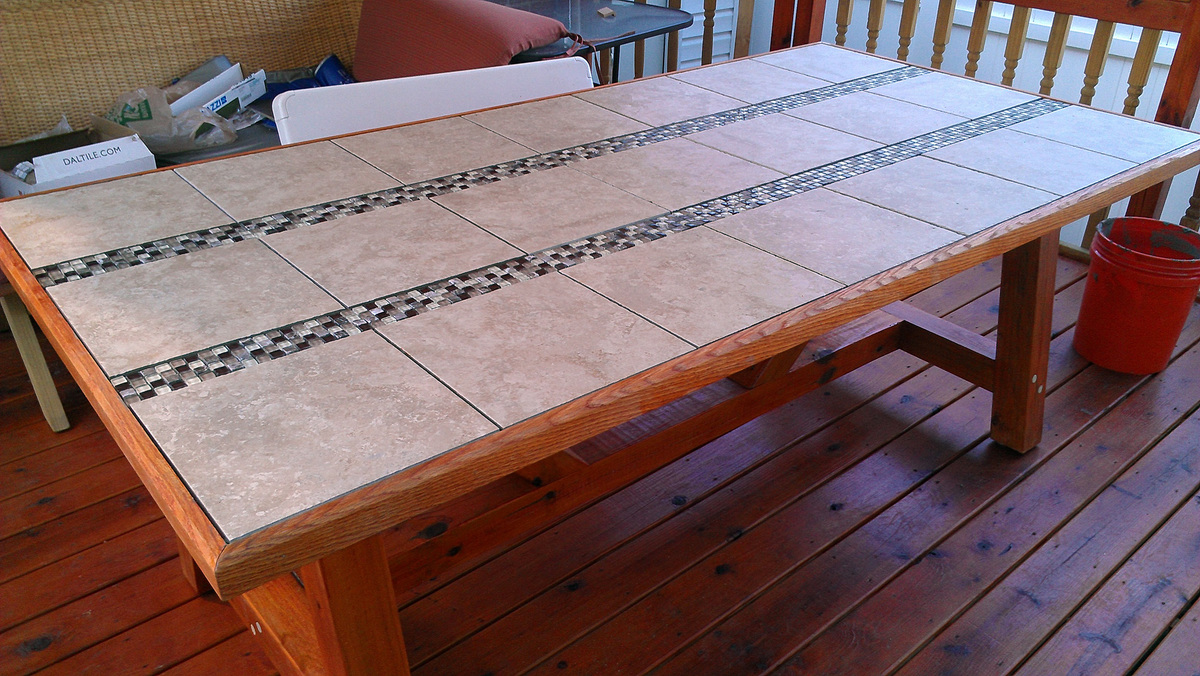
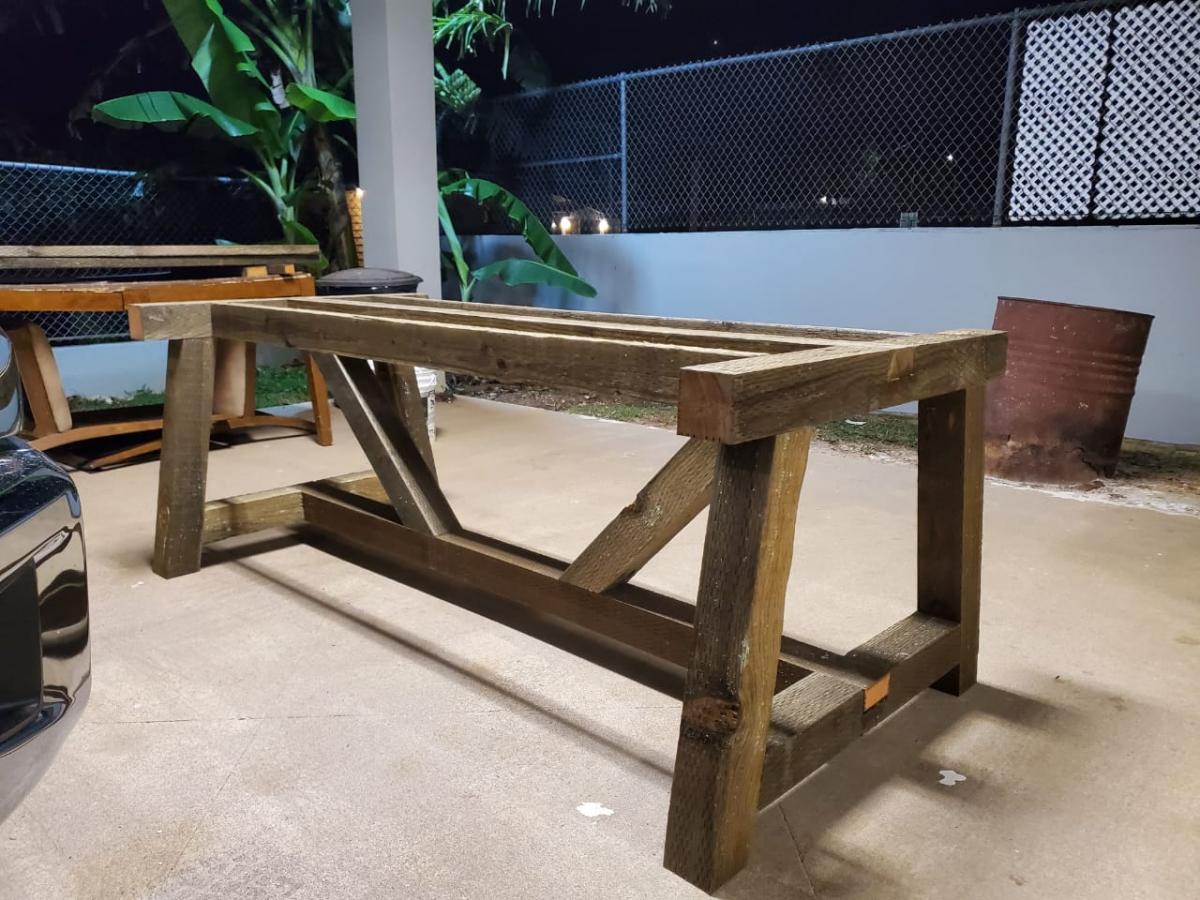
My sister wanted this to go with the Simple Outdoor Chairs I had built her for her birthday. I added a 2x4 between each leg to make it more stable and shortened it by one slat to fit the cushion. This was very easy to build and would make a great beginner project.

Built from Plan(s)
Estimated Cost
Scraps from other projects and leftover paint from chairs
Estimated Time Investment
An Hour or Two (0-2 Hours)
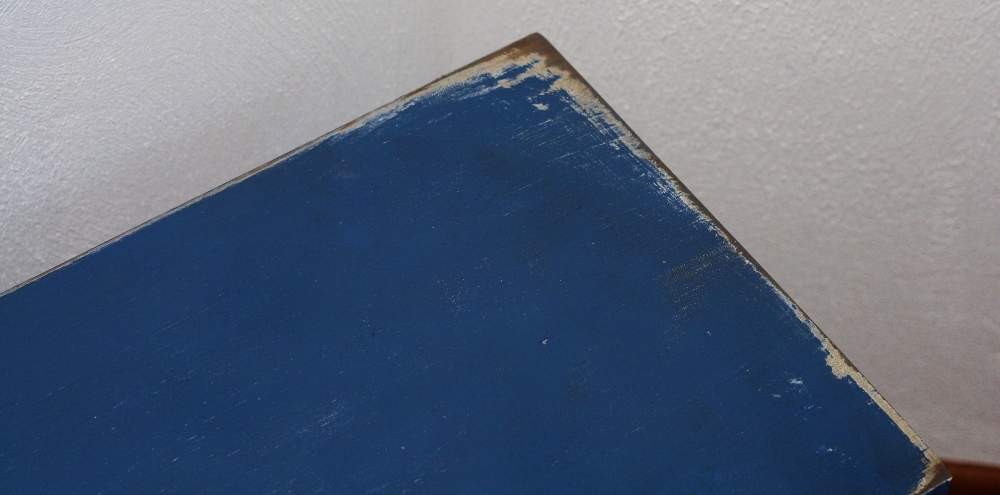
Finish Used
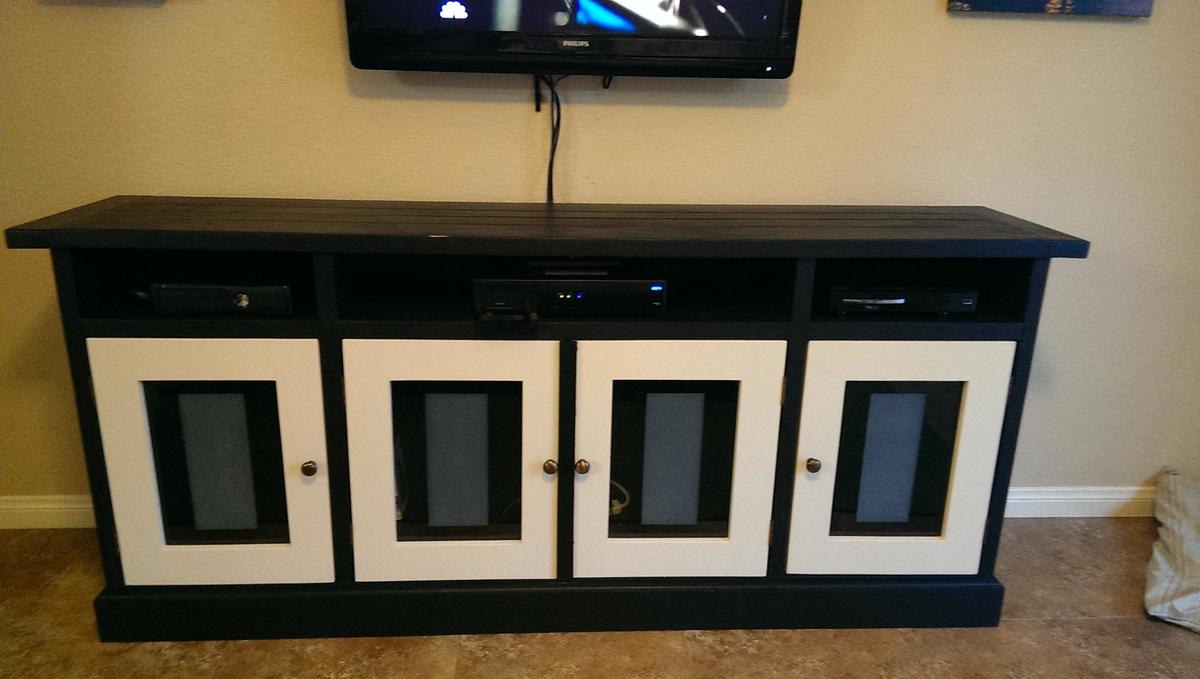
Flat black exterior spray paint with exterior gloss clear coat
Recommended Skill Level
Beginner