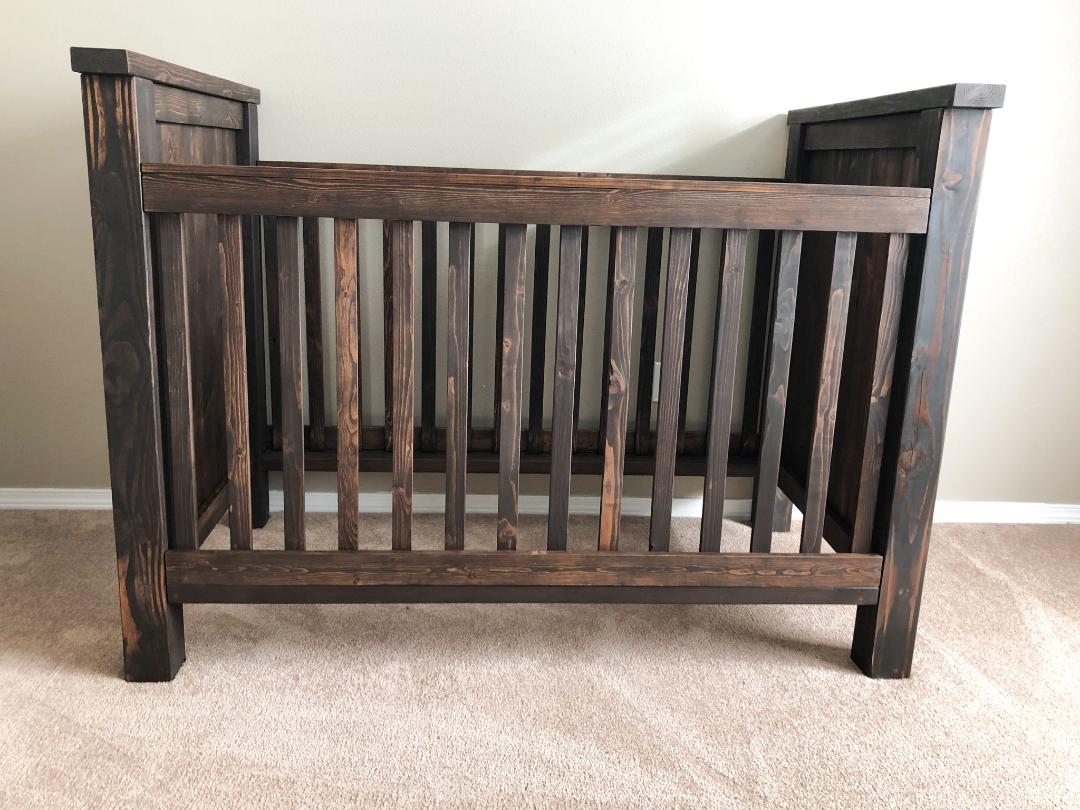
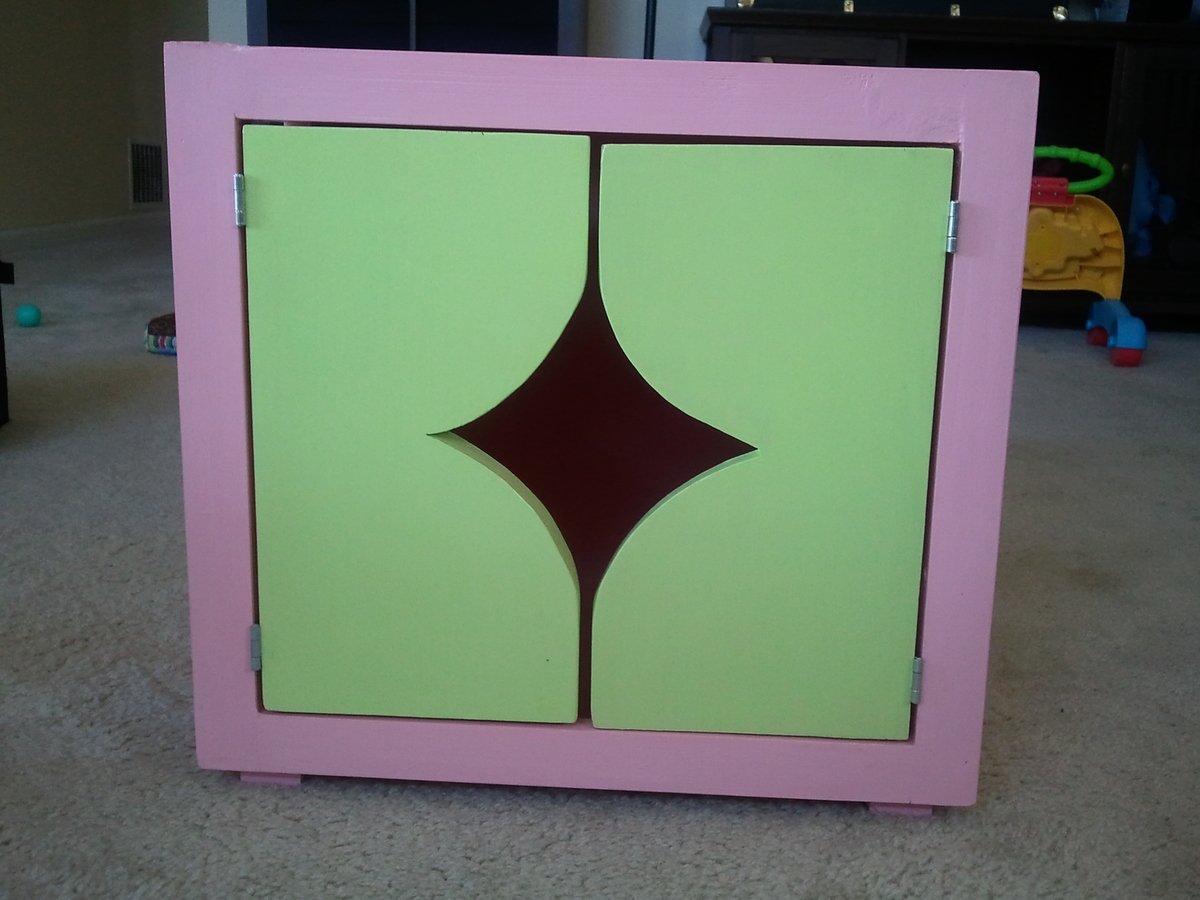
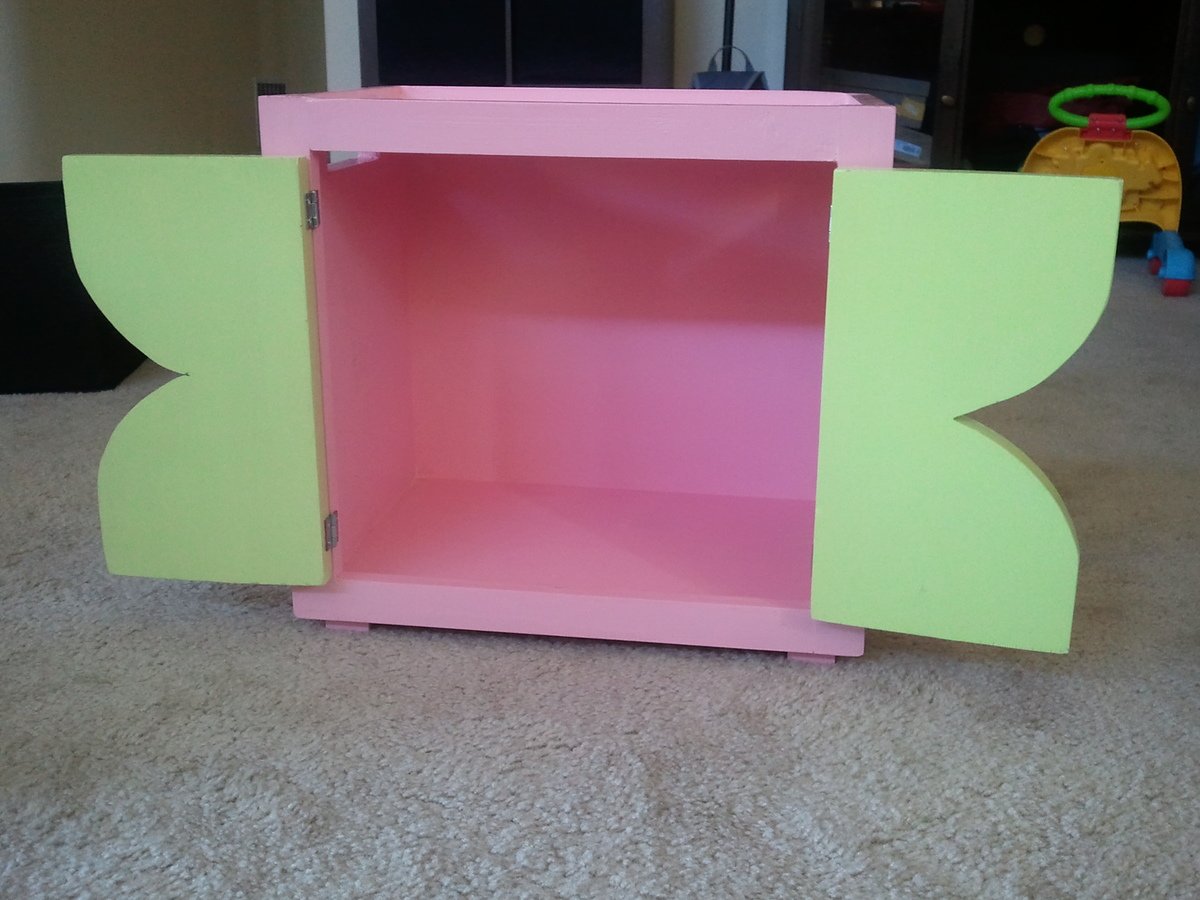
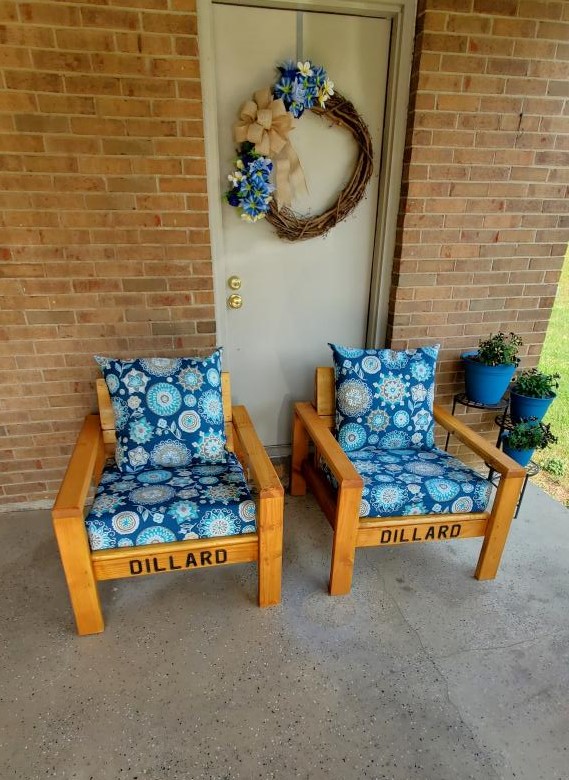
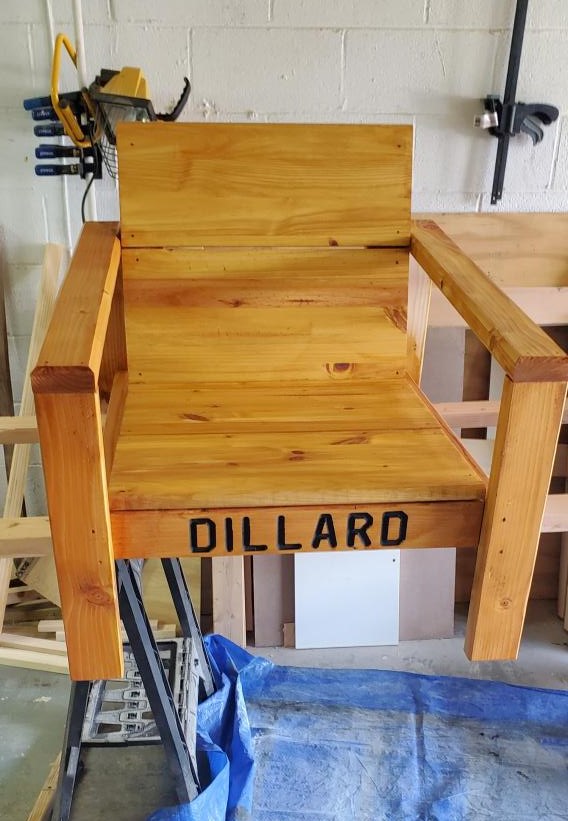
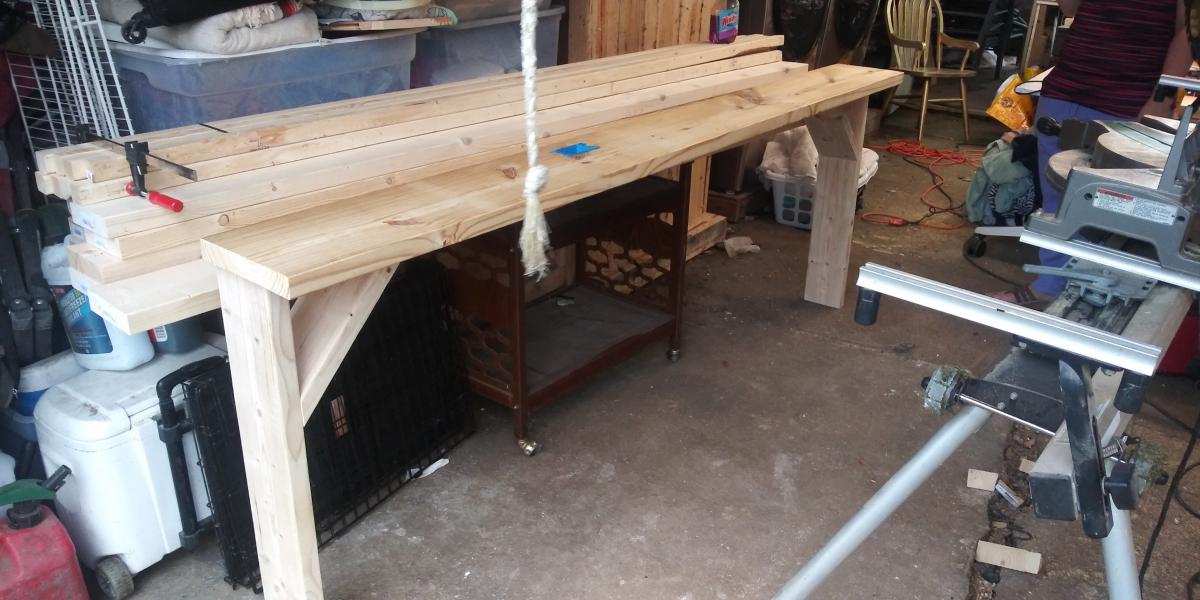
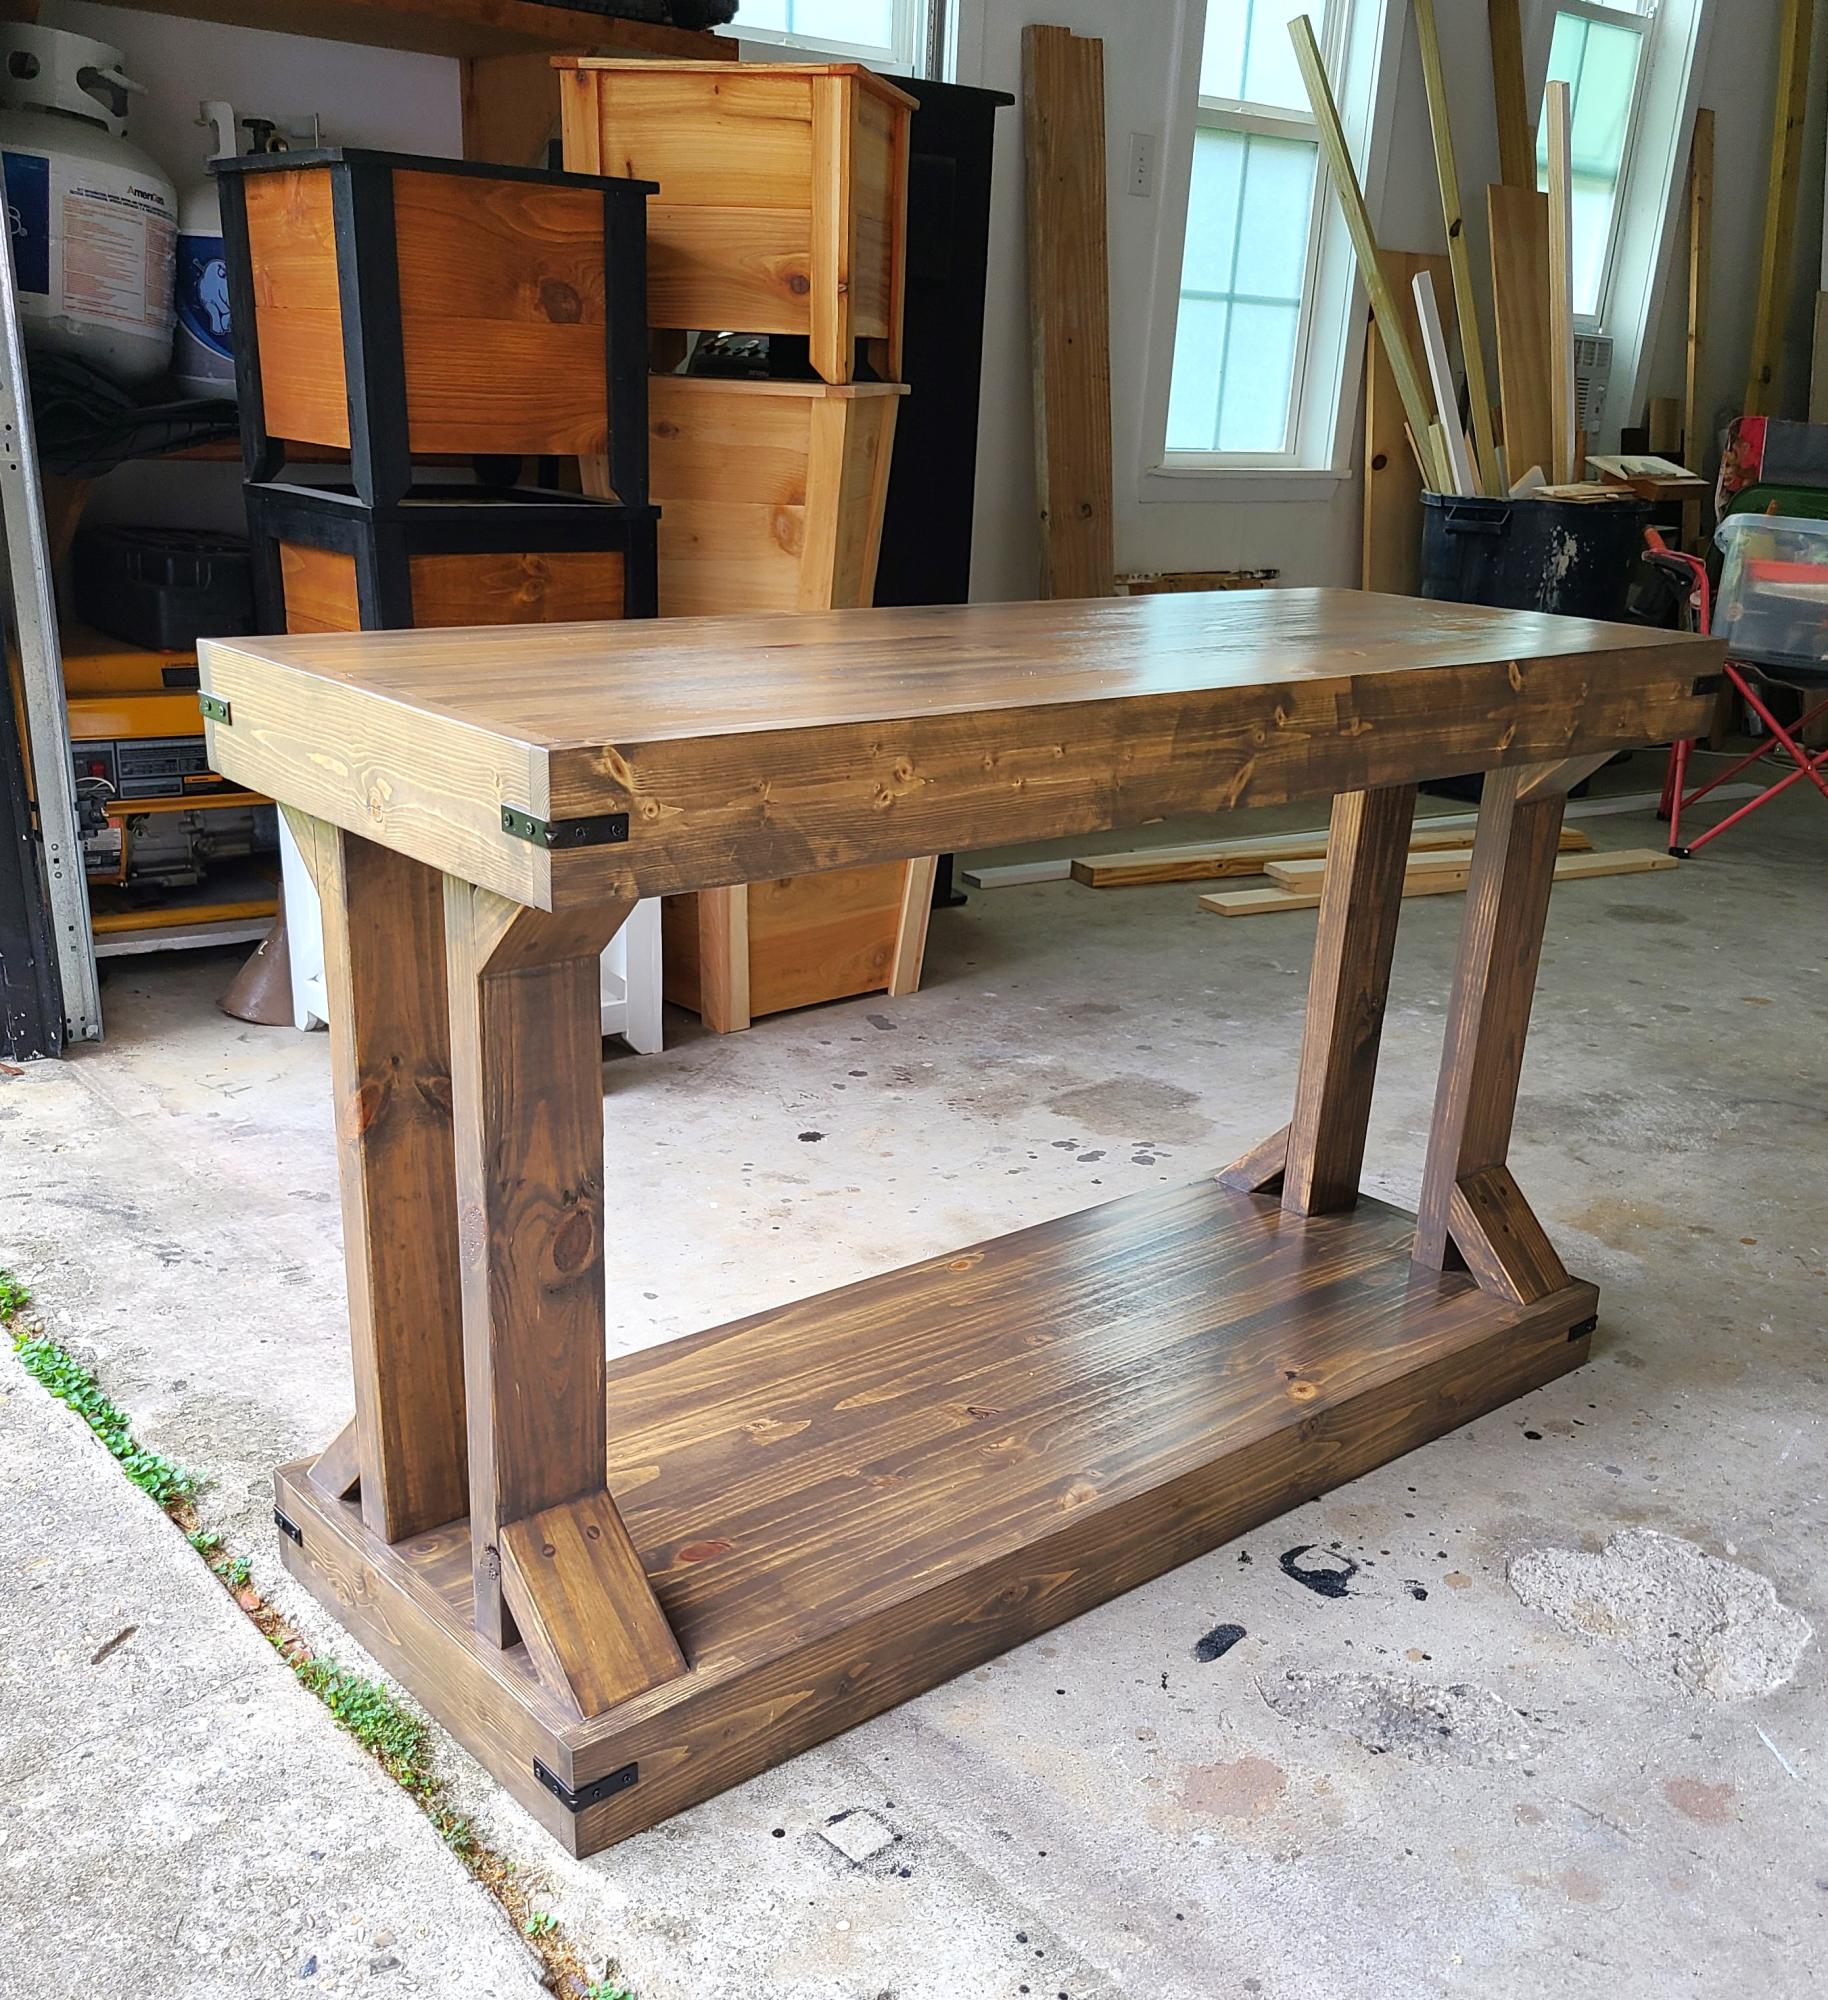
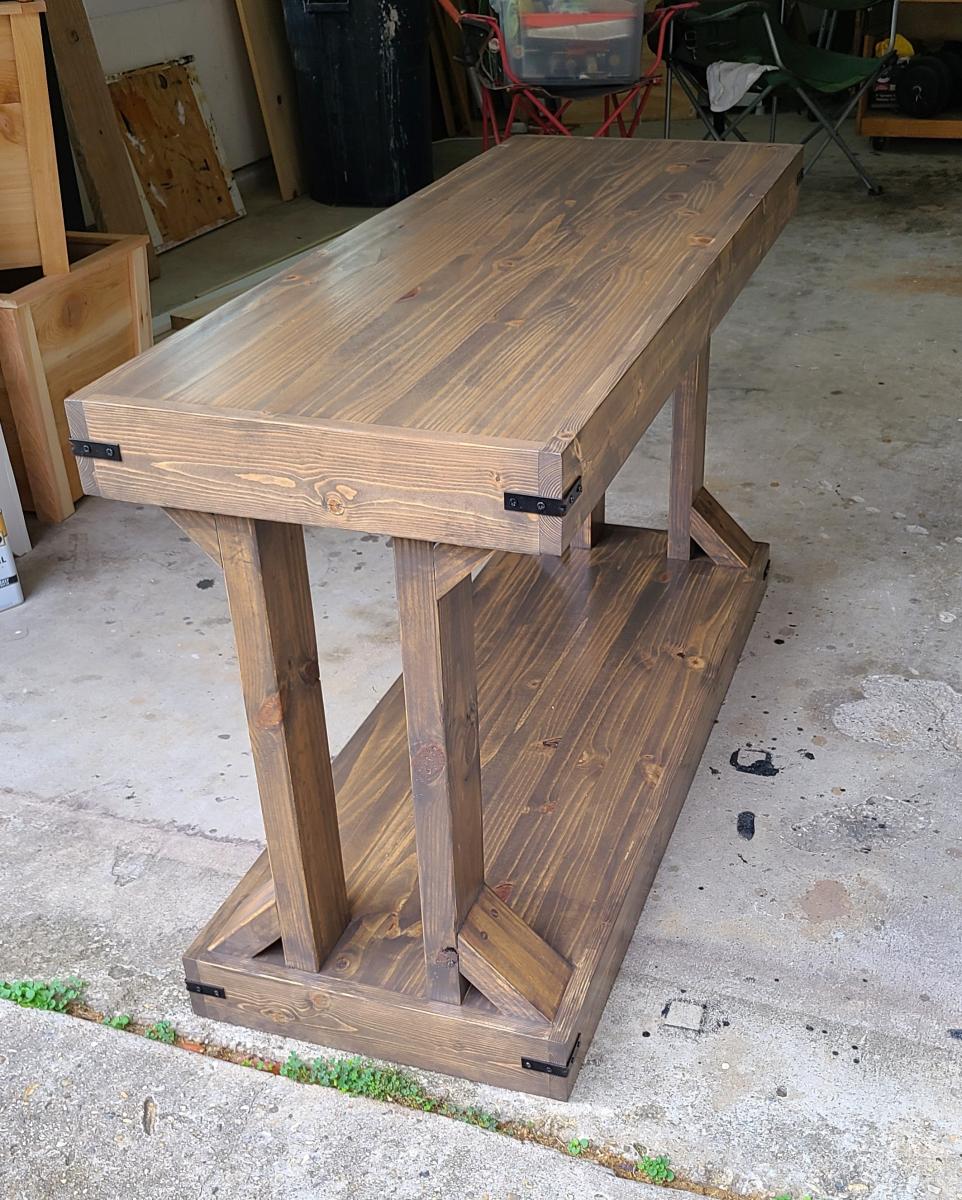
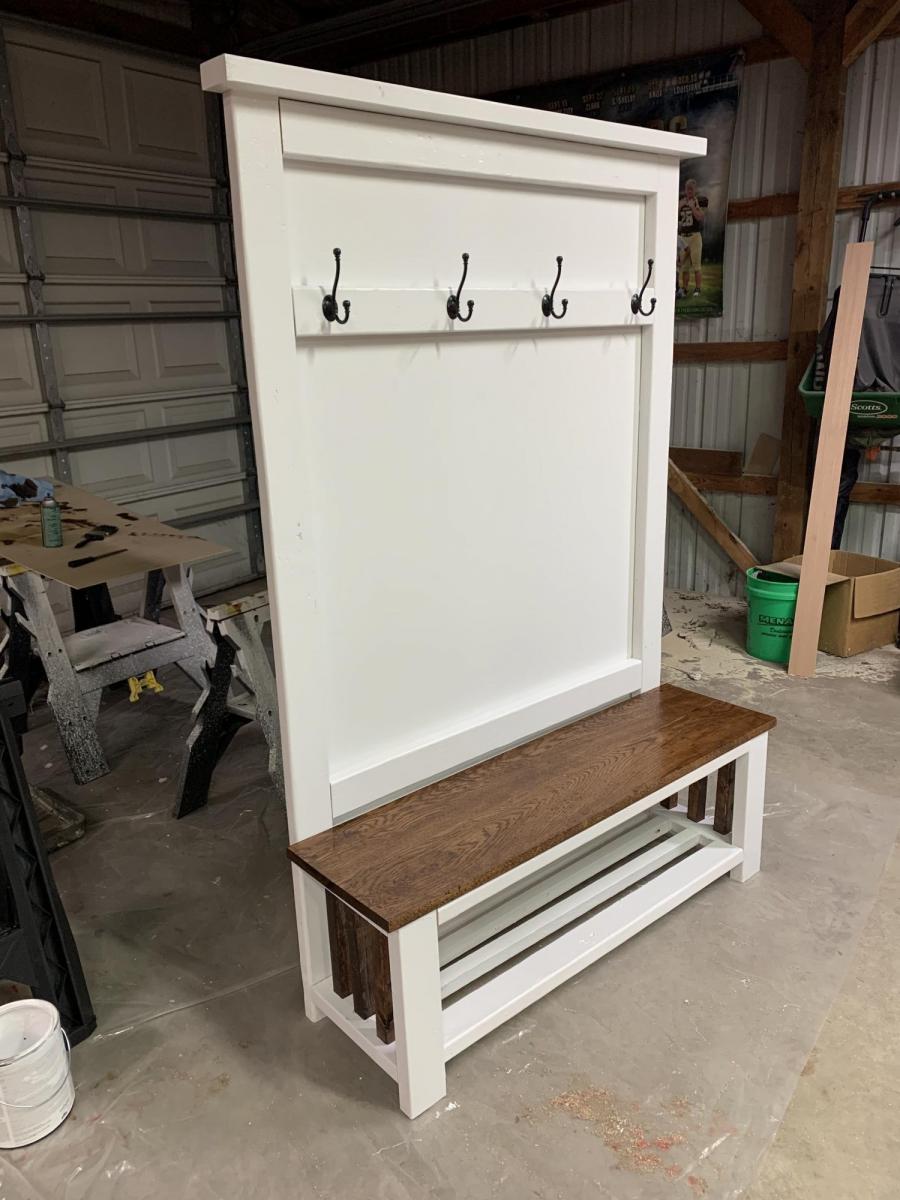
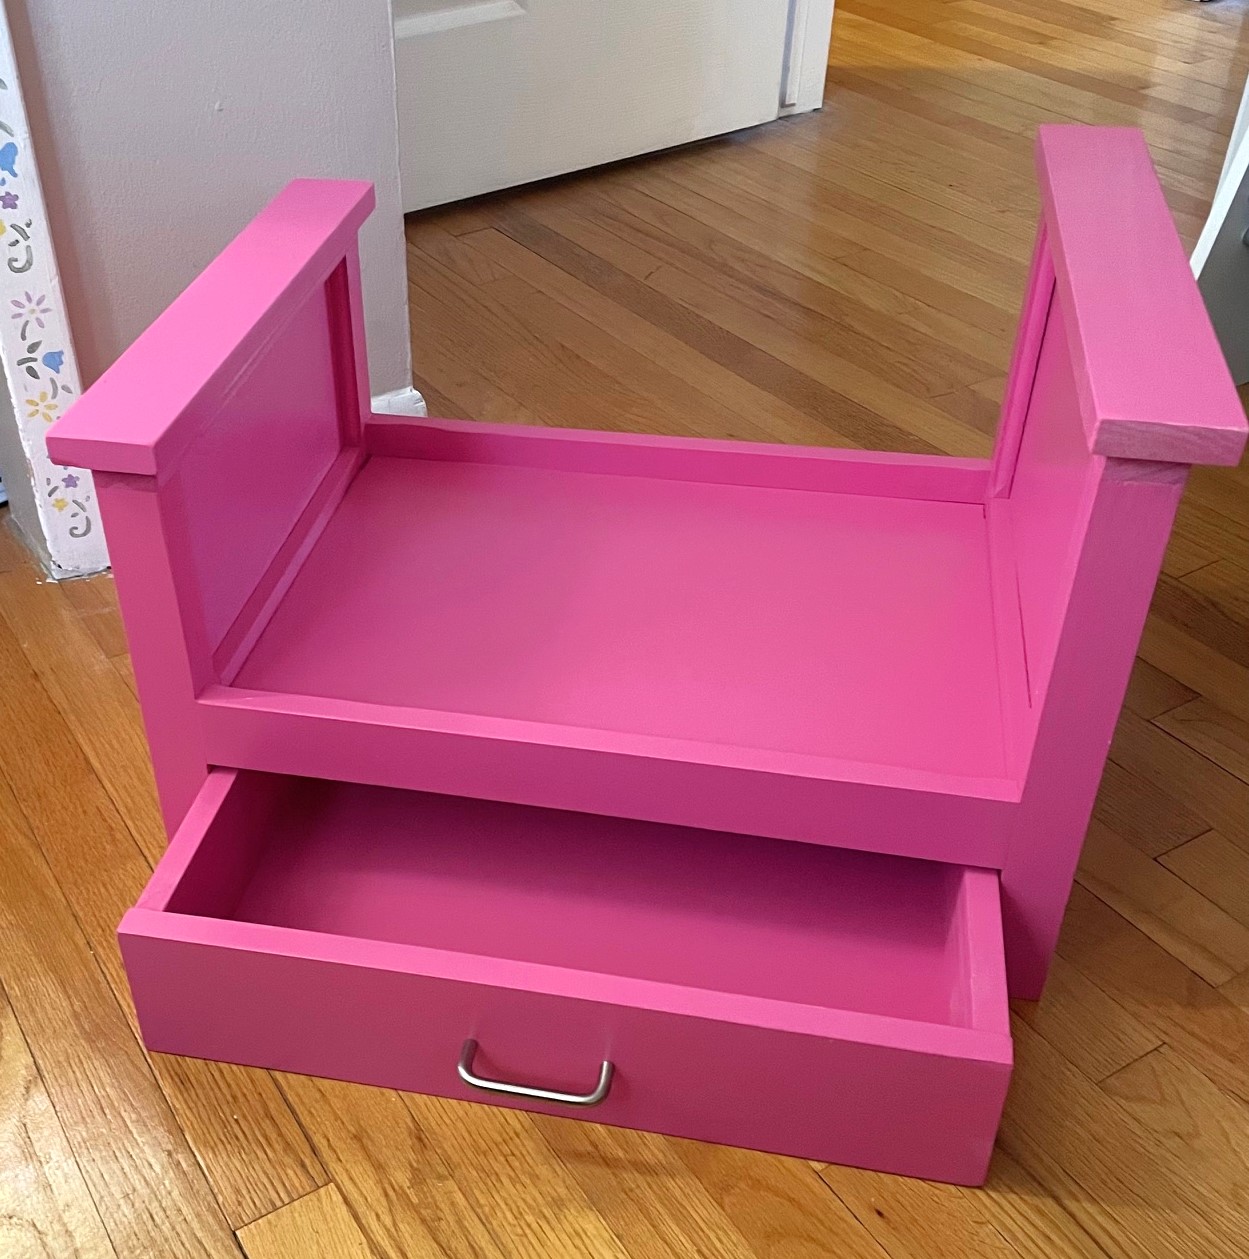
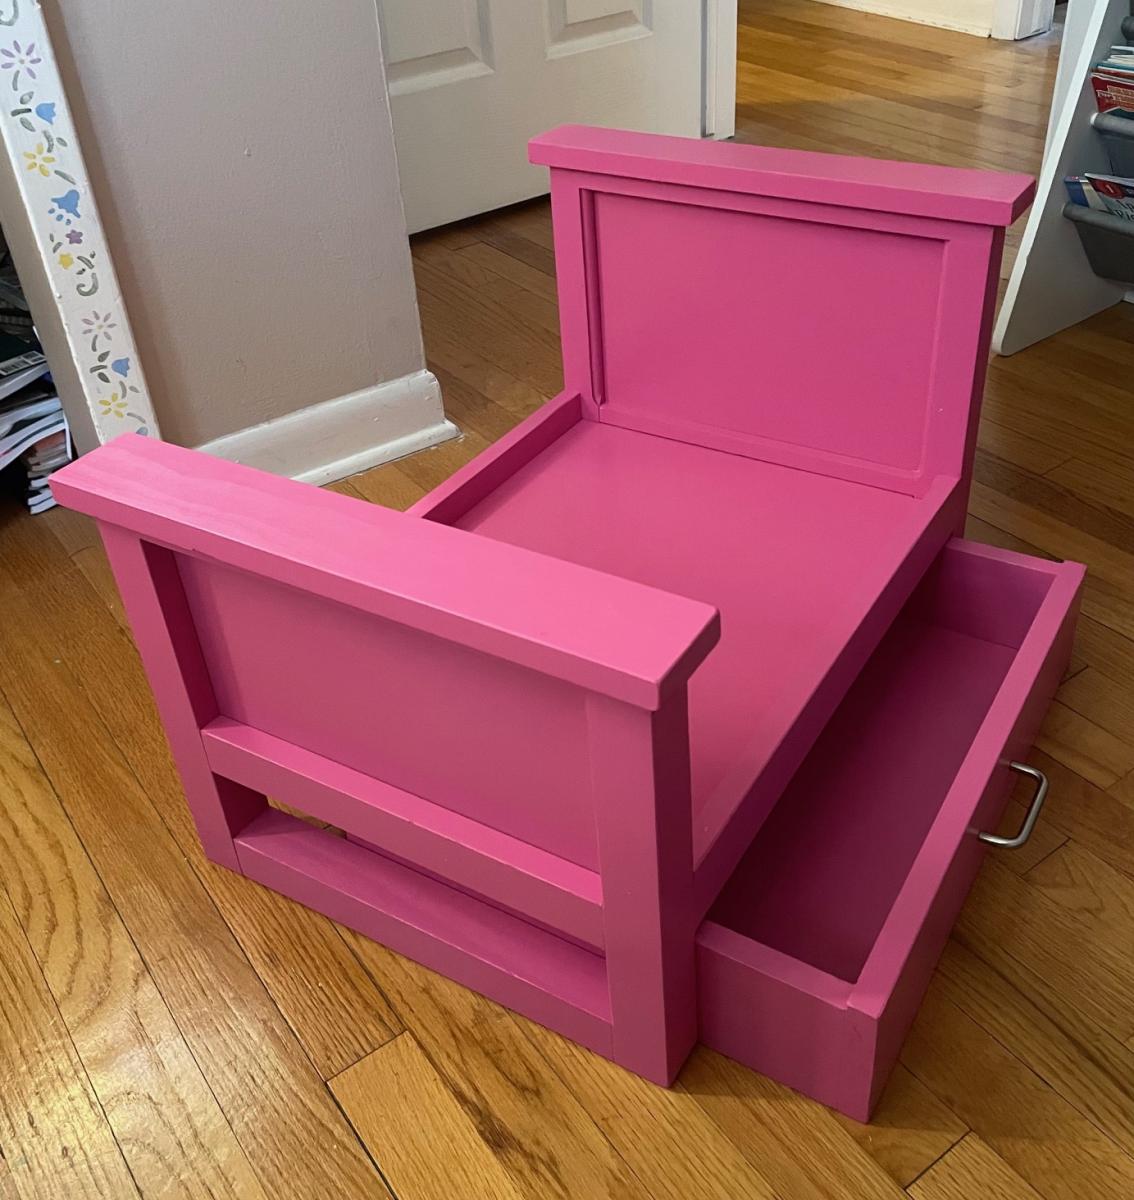
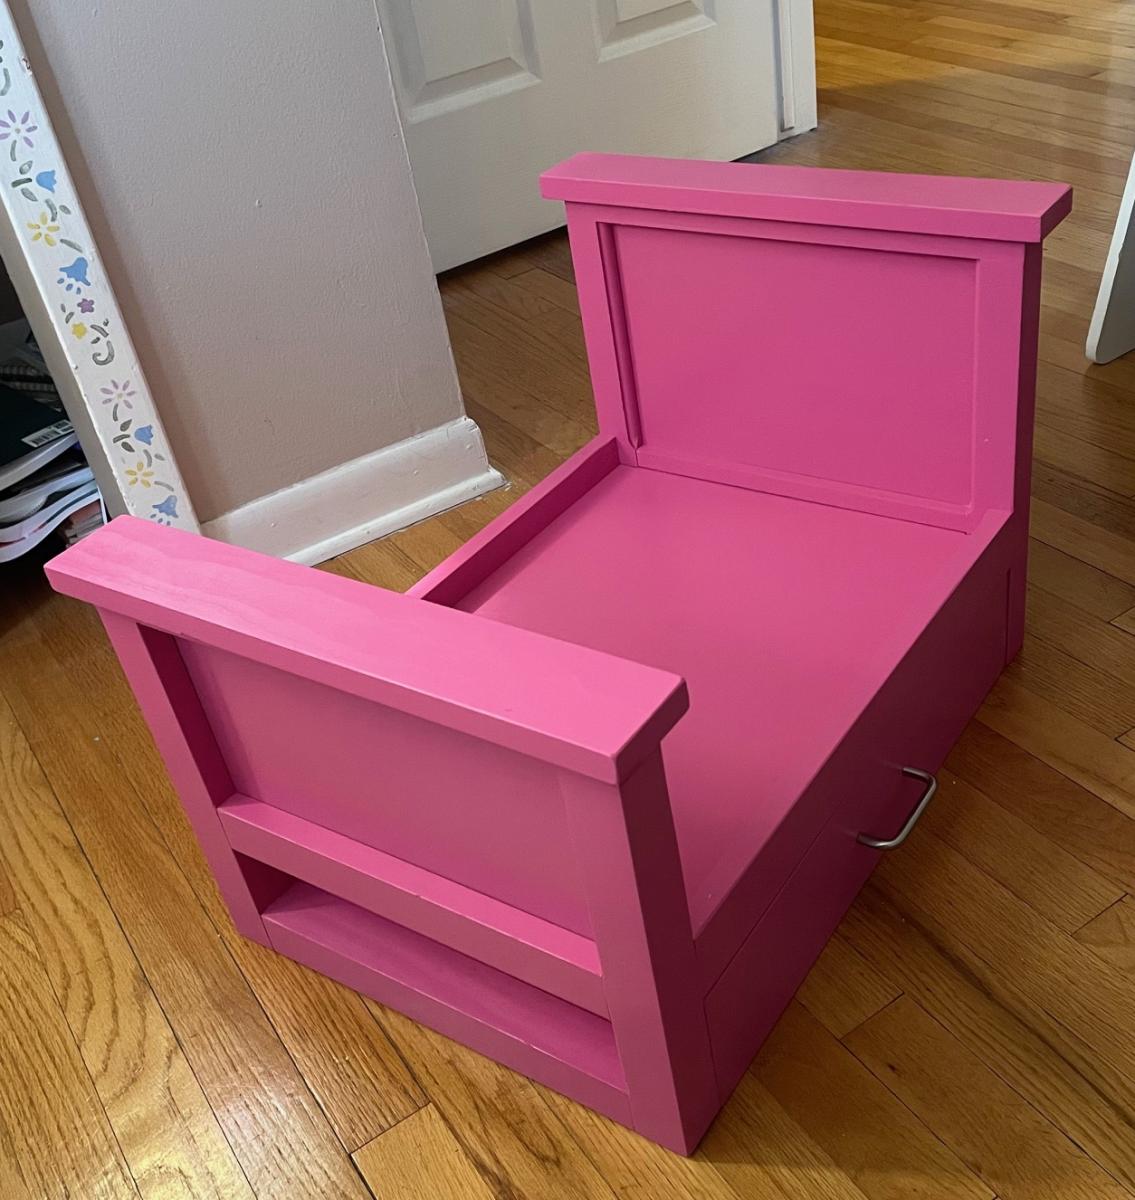
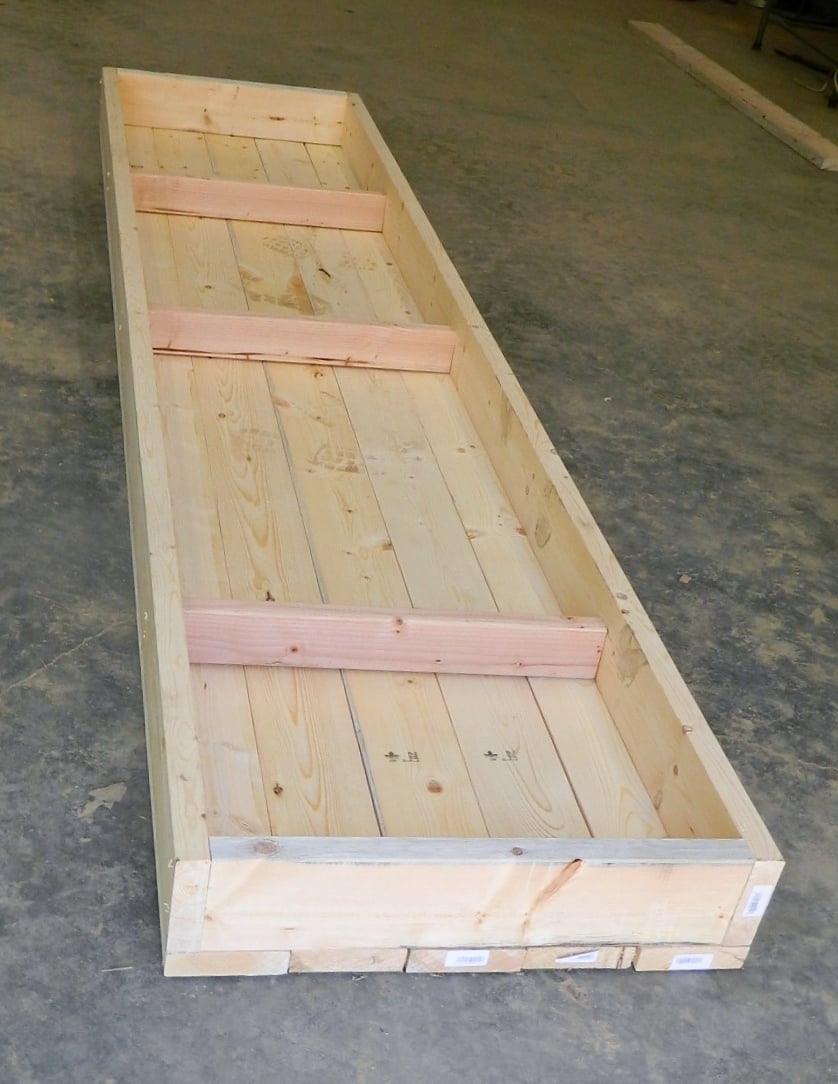
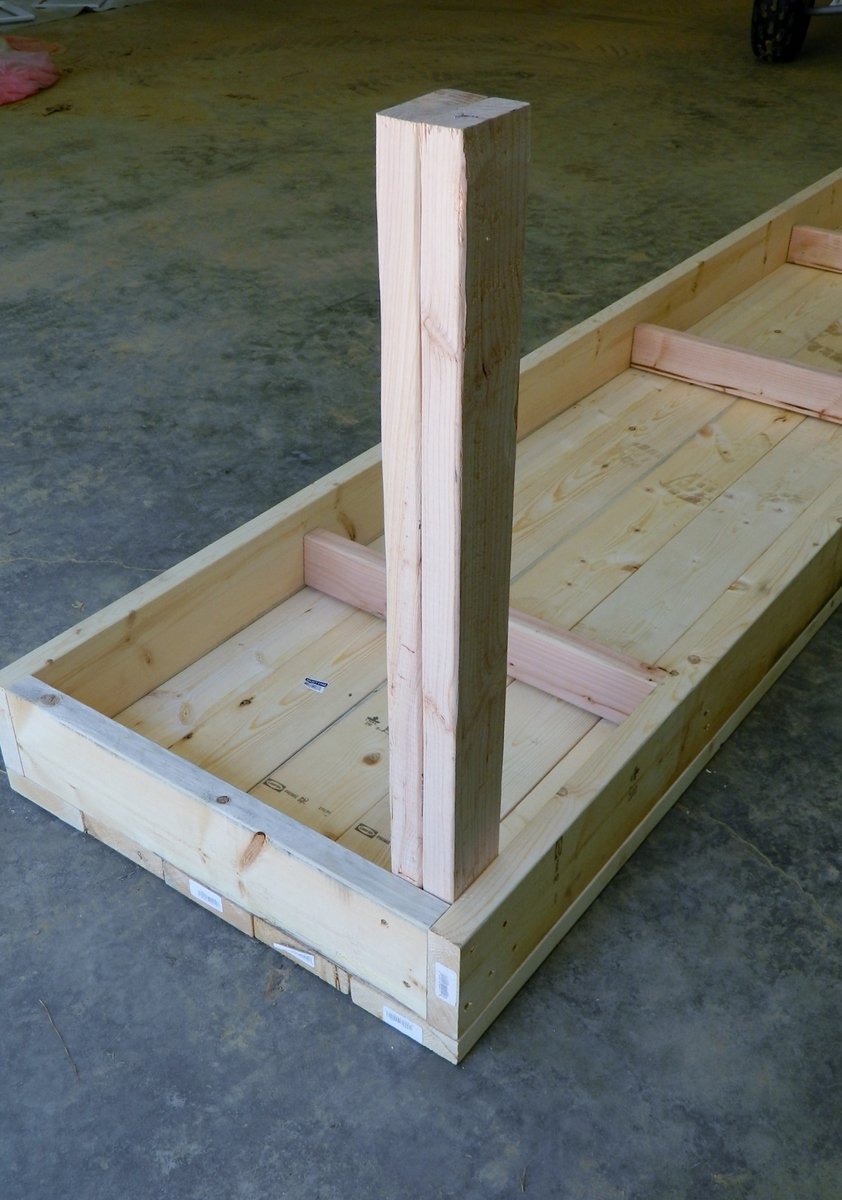
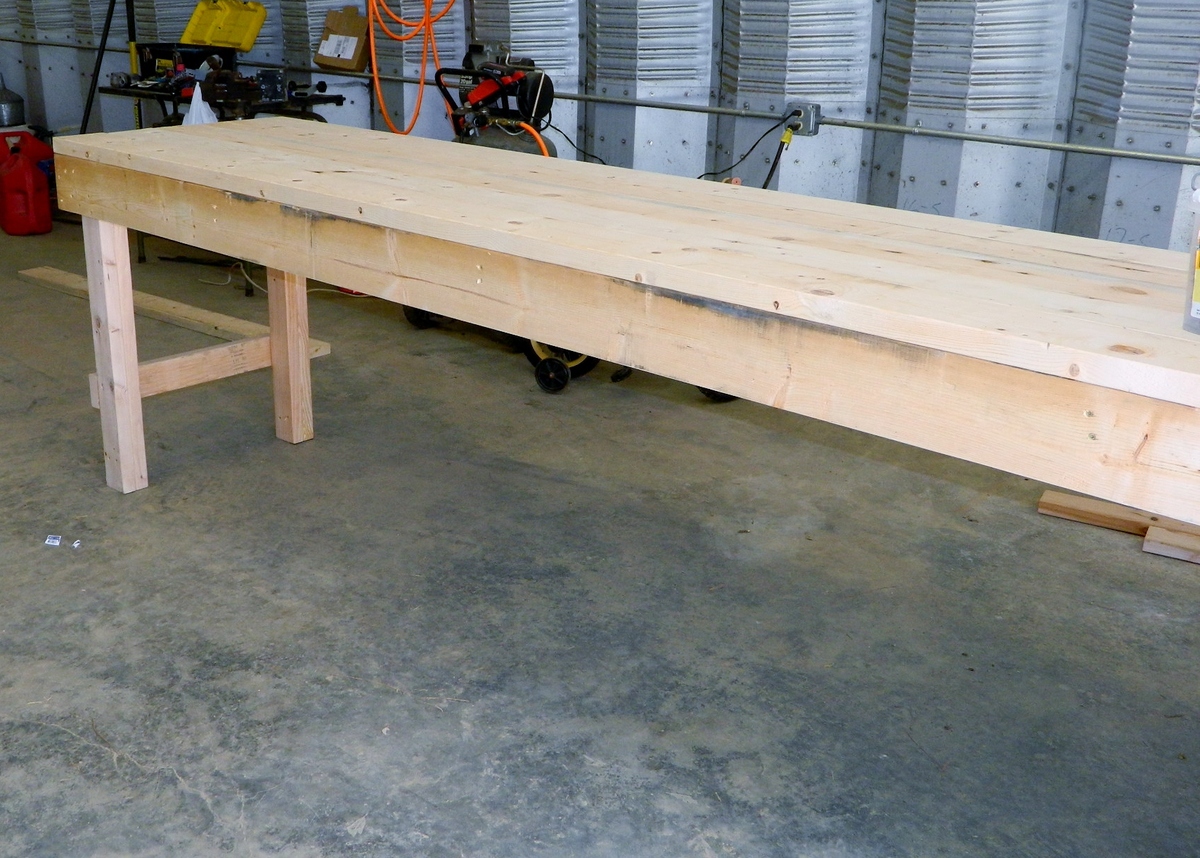
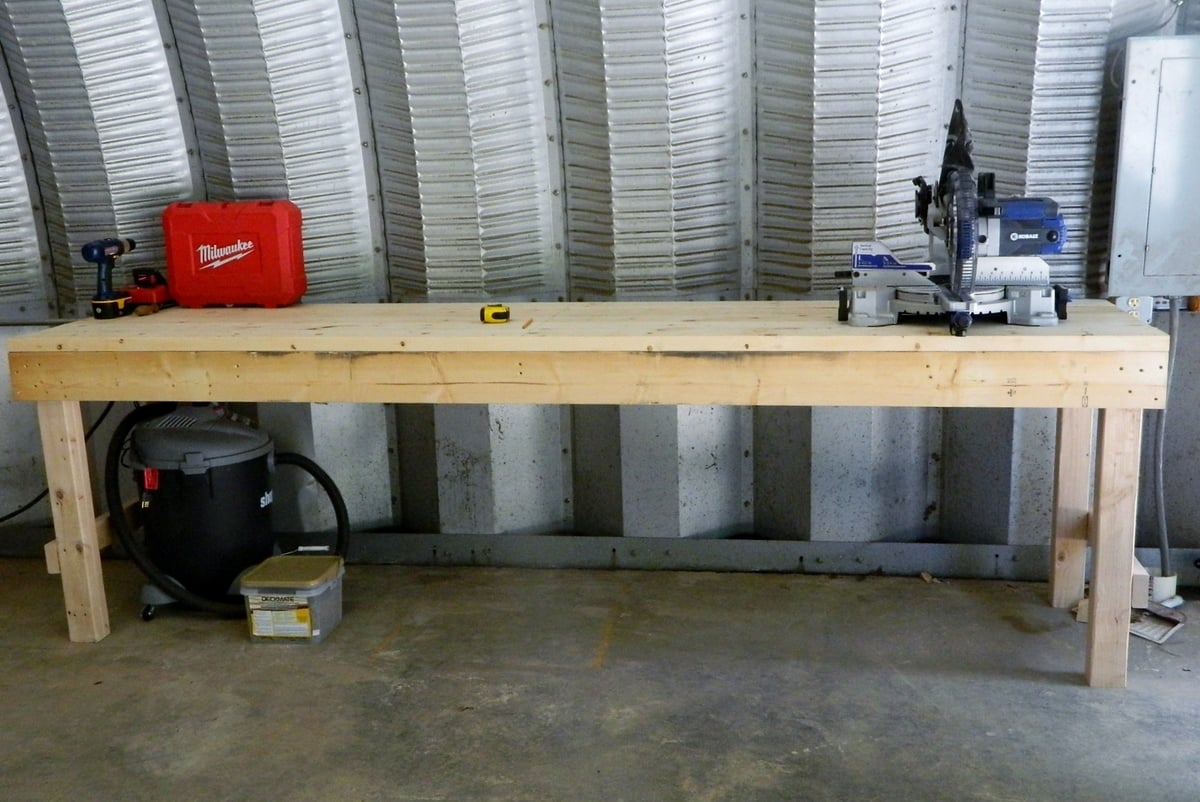
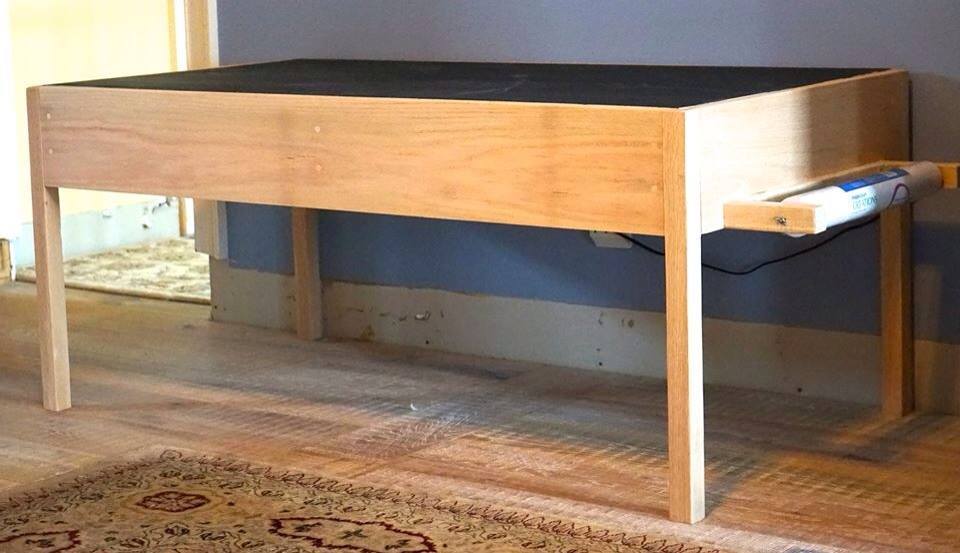
Cottage Side Table with Vintage Label Painting
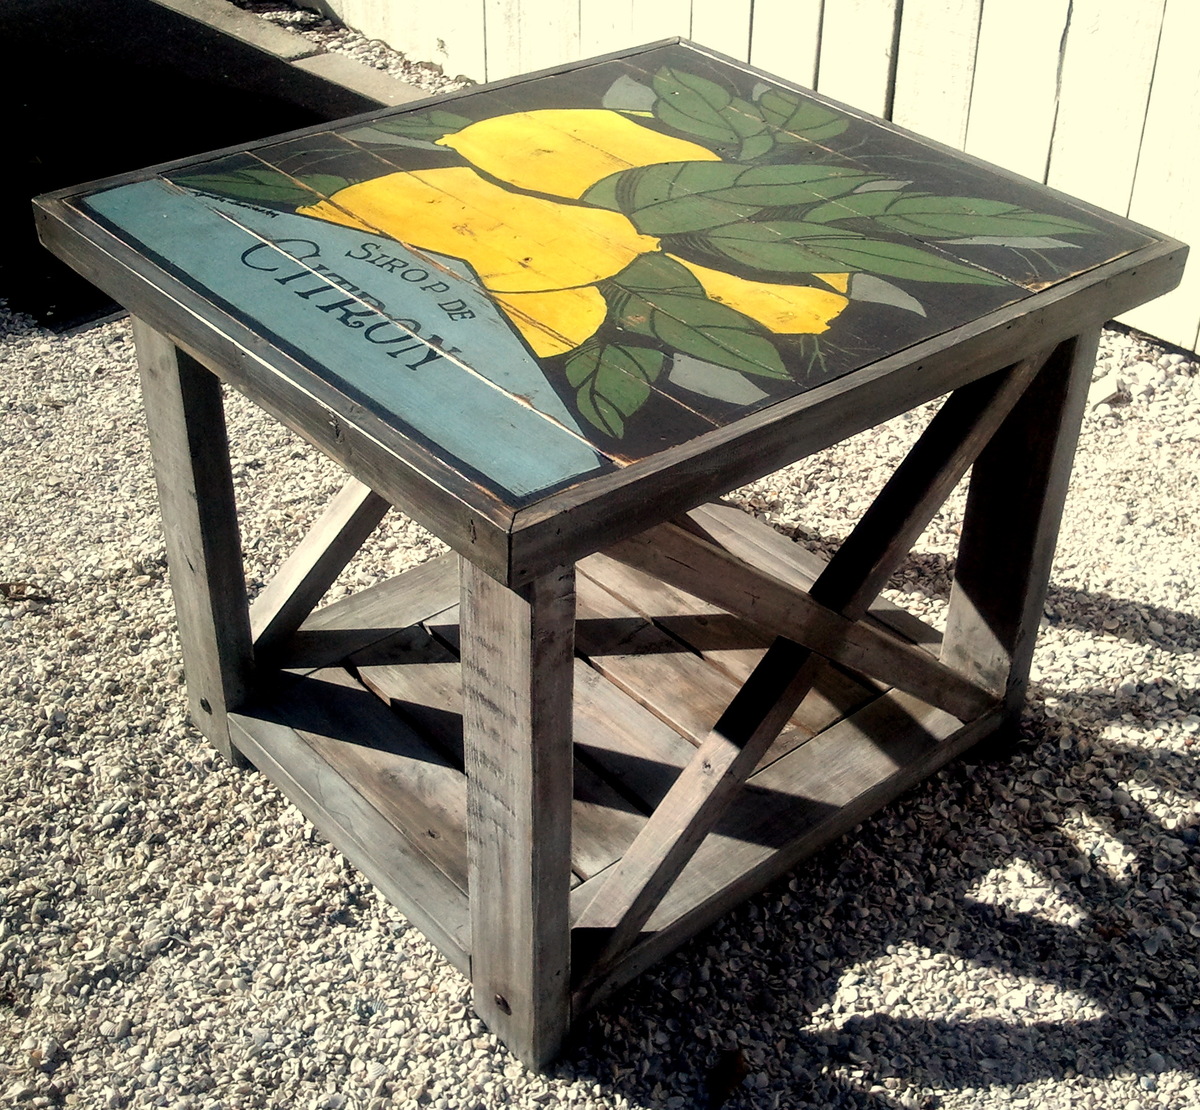
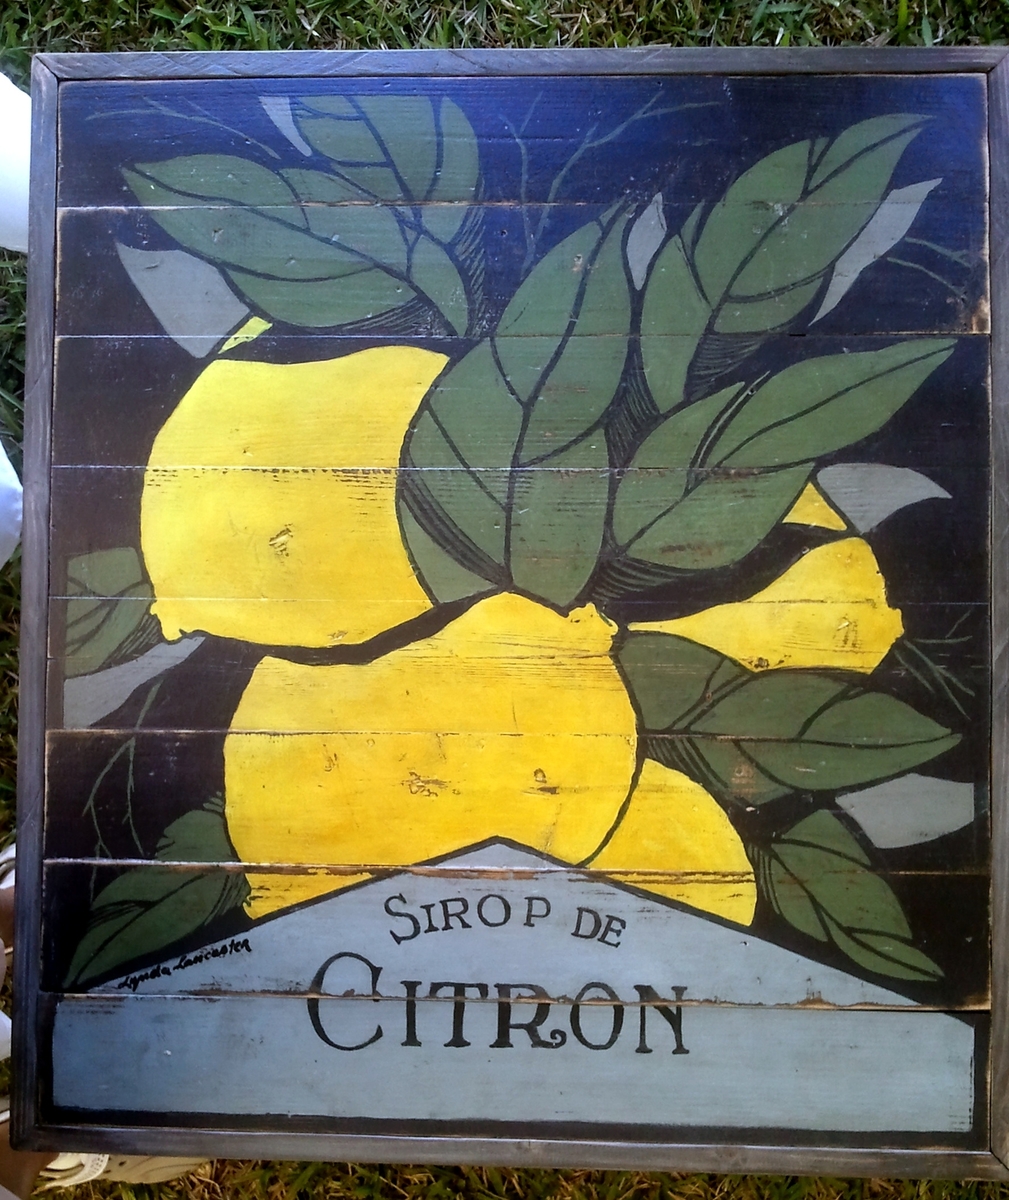
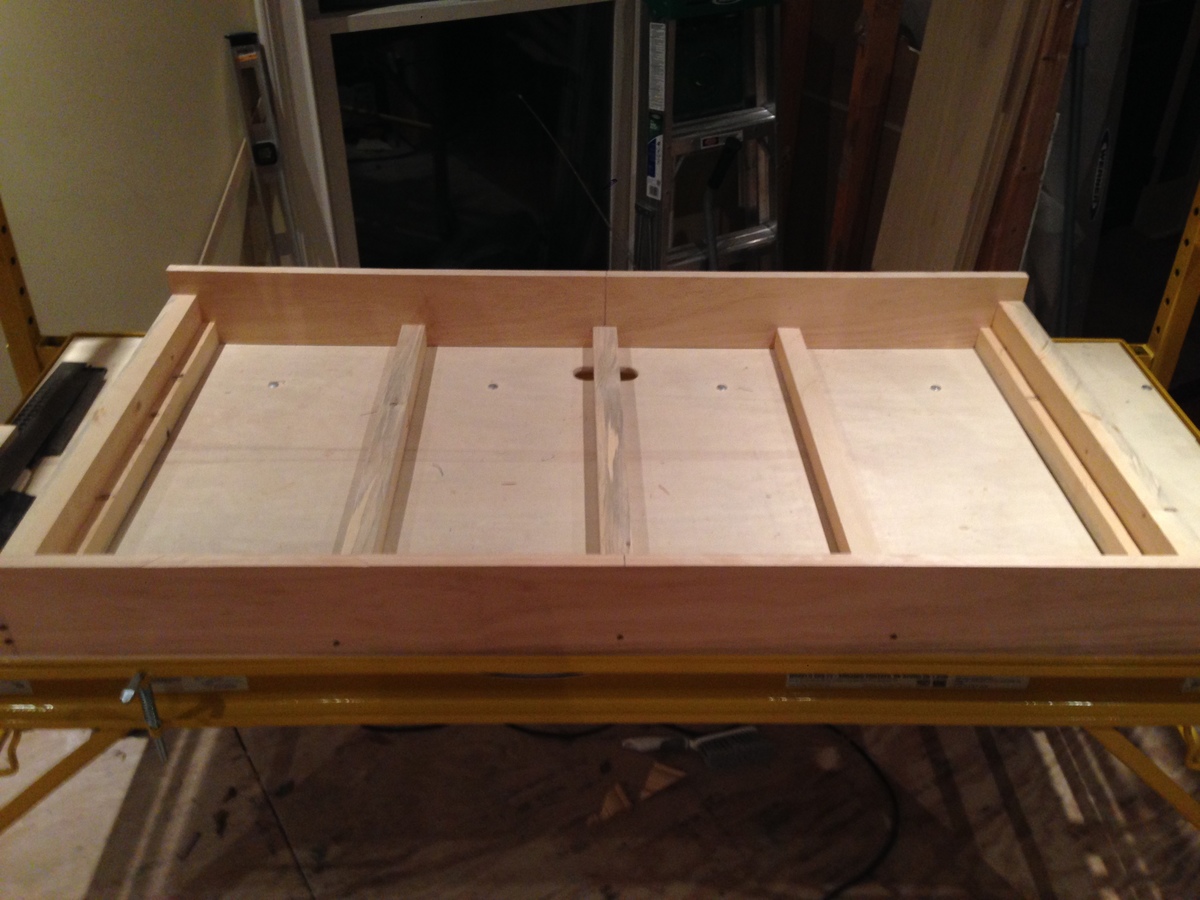
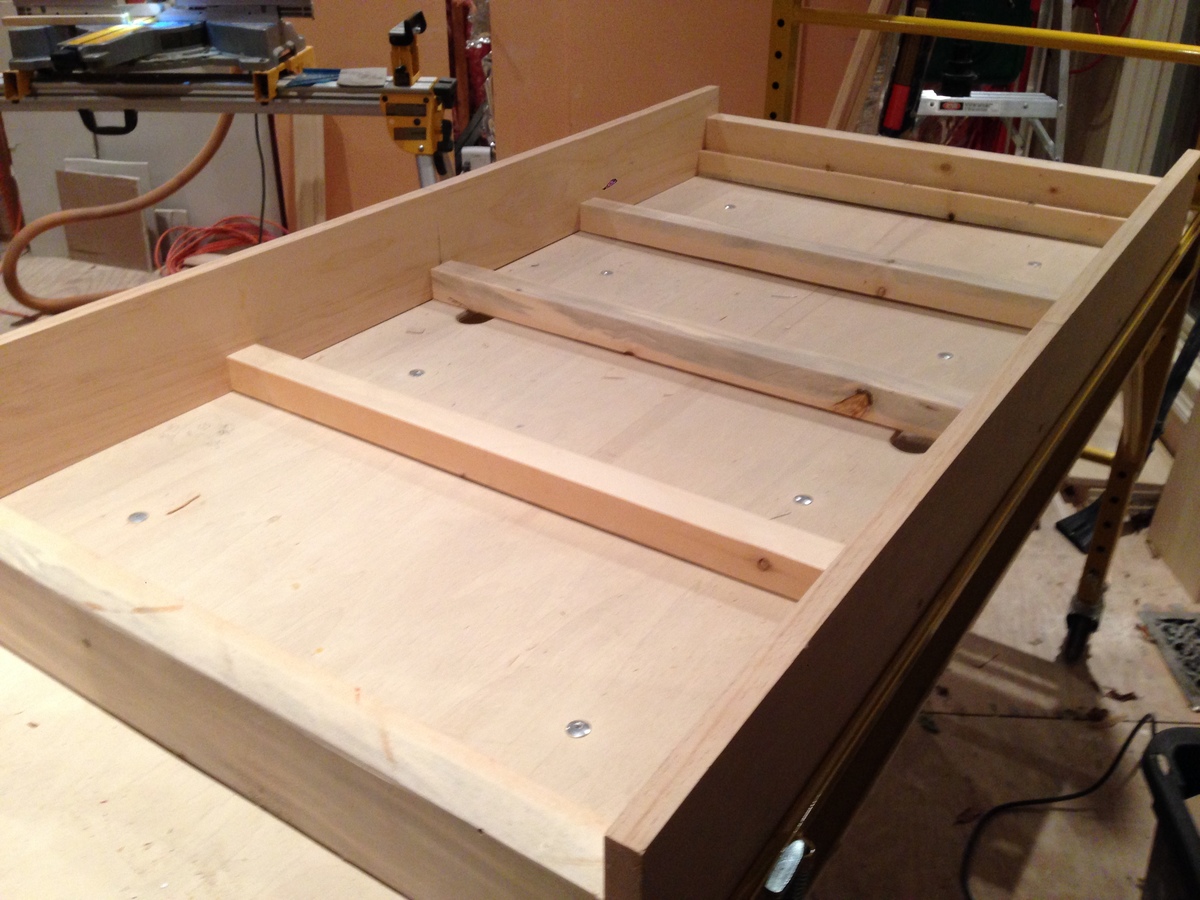
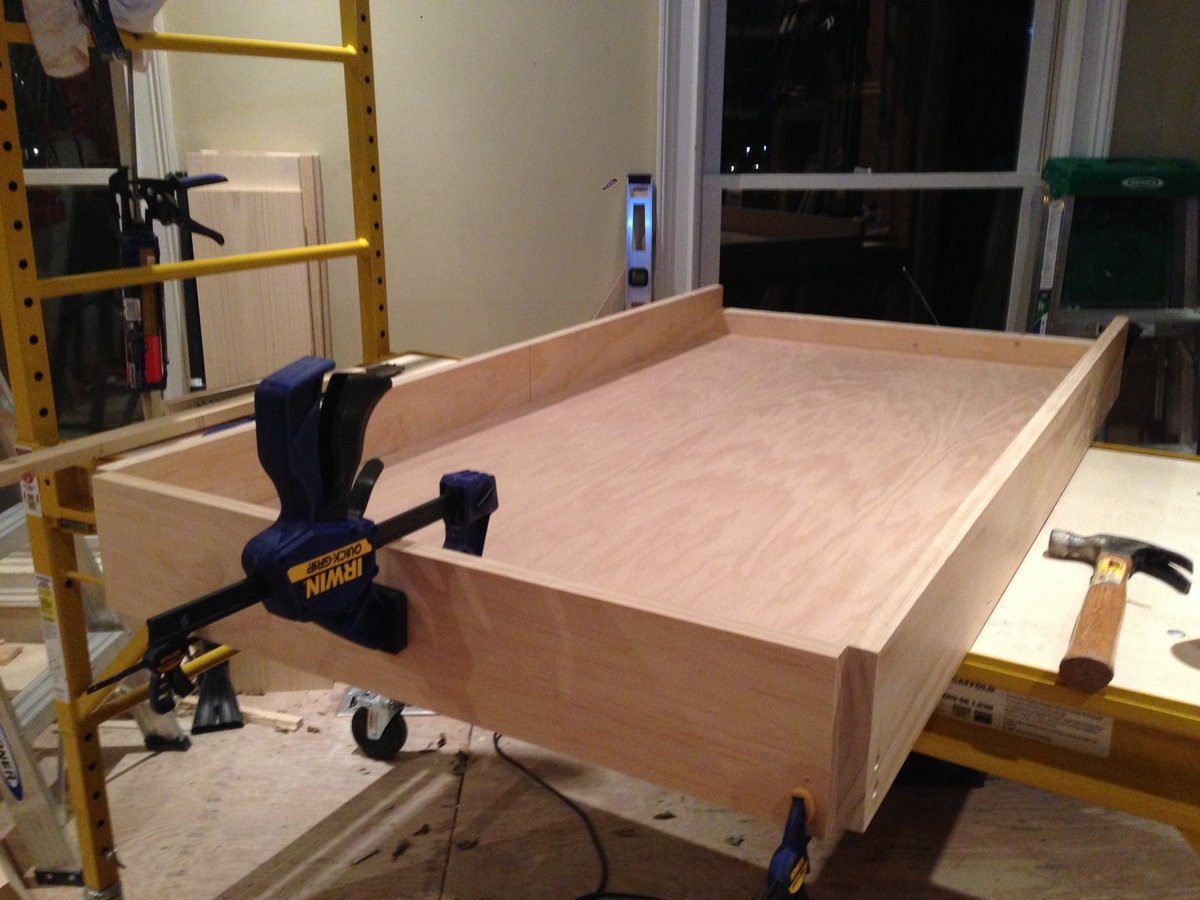
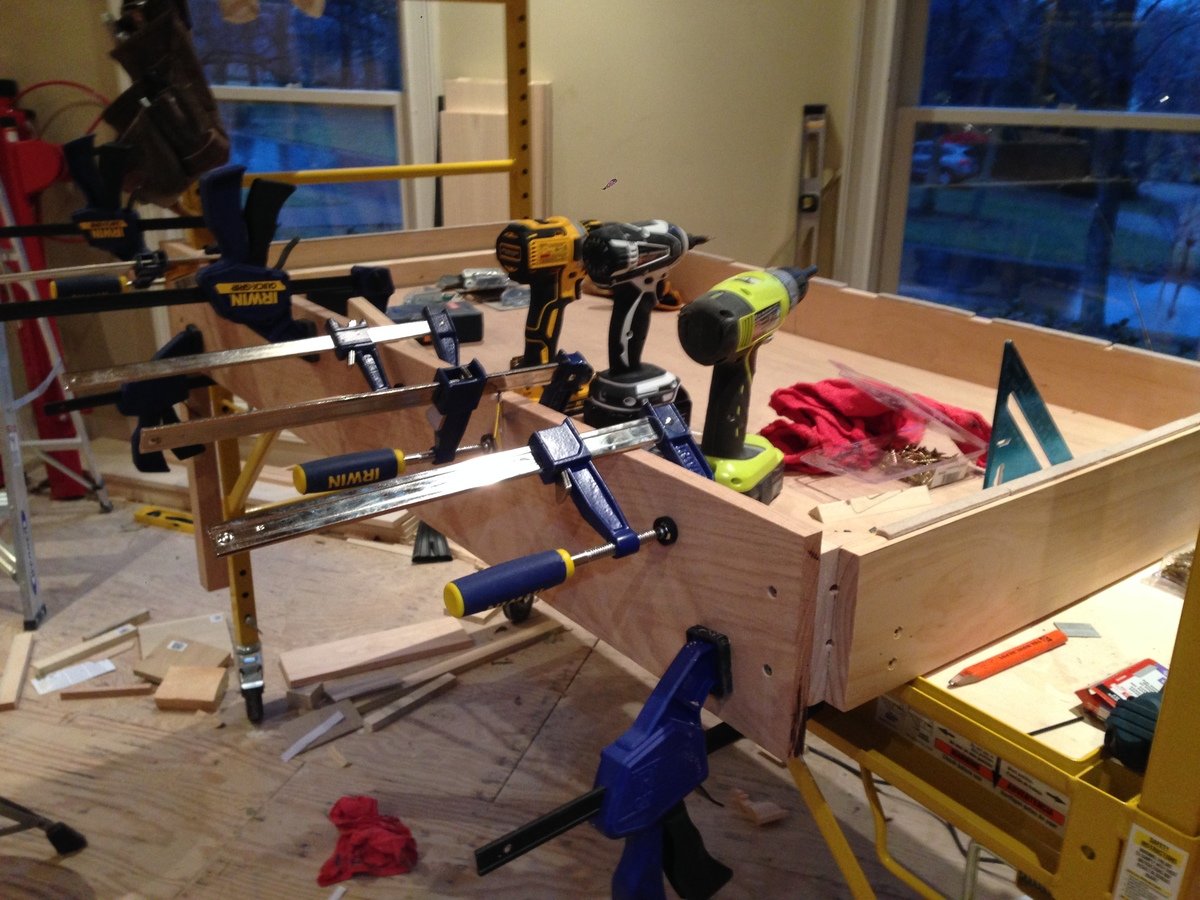
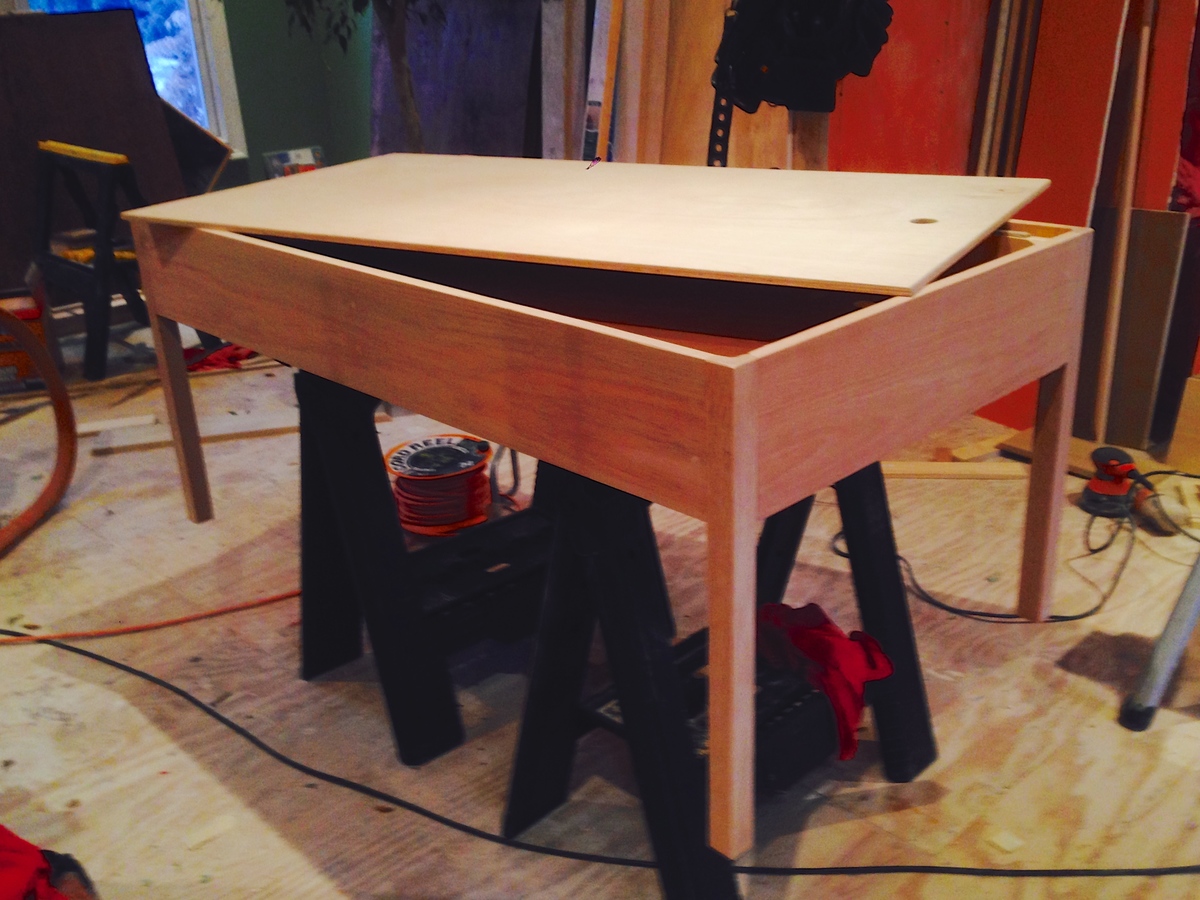
I modified the plans just a tad bit, i.e., framed the top and used 1" x 4"s on the top and bottom horizontal planes... painted a vintage citrus label on the top and now I have a one-of-a-kind side table for my porch.
Built from Plan(s)
Estimated Cost
$40
Estimated Time Investment
Weekend Project (10-20 Hours)
Finish Used
Ebony stain with a white milk paint dry brush on top of stain. Art work is done with acrylic then sanded and distressed. Finished the table with semi-gloss polyurethane.
Recommended Skill Level
Intermediate


Comments
Ana White
Wed, 03/05/2014 - 09:16
One of a kind!
Love your table! Thanks for sharing!
birdsandsoap
Sat, 04/05/2014 - 01:14
beautiful! I love the citrus
beautiful! I love the citrus label on the top.
sherlindecosta
Sat, 04/05/2014 - 01:58
sherlindecosta
Superb . its a creative idea thanks to share with us
sherlindecosta
Sat, 04/05/2014 - 01:59
sherlindecosta
Superb . its a creative idea thanks to share with us