My Hubby was busy this summer!
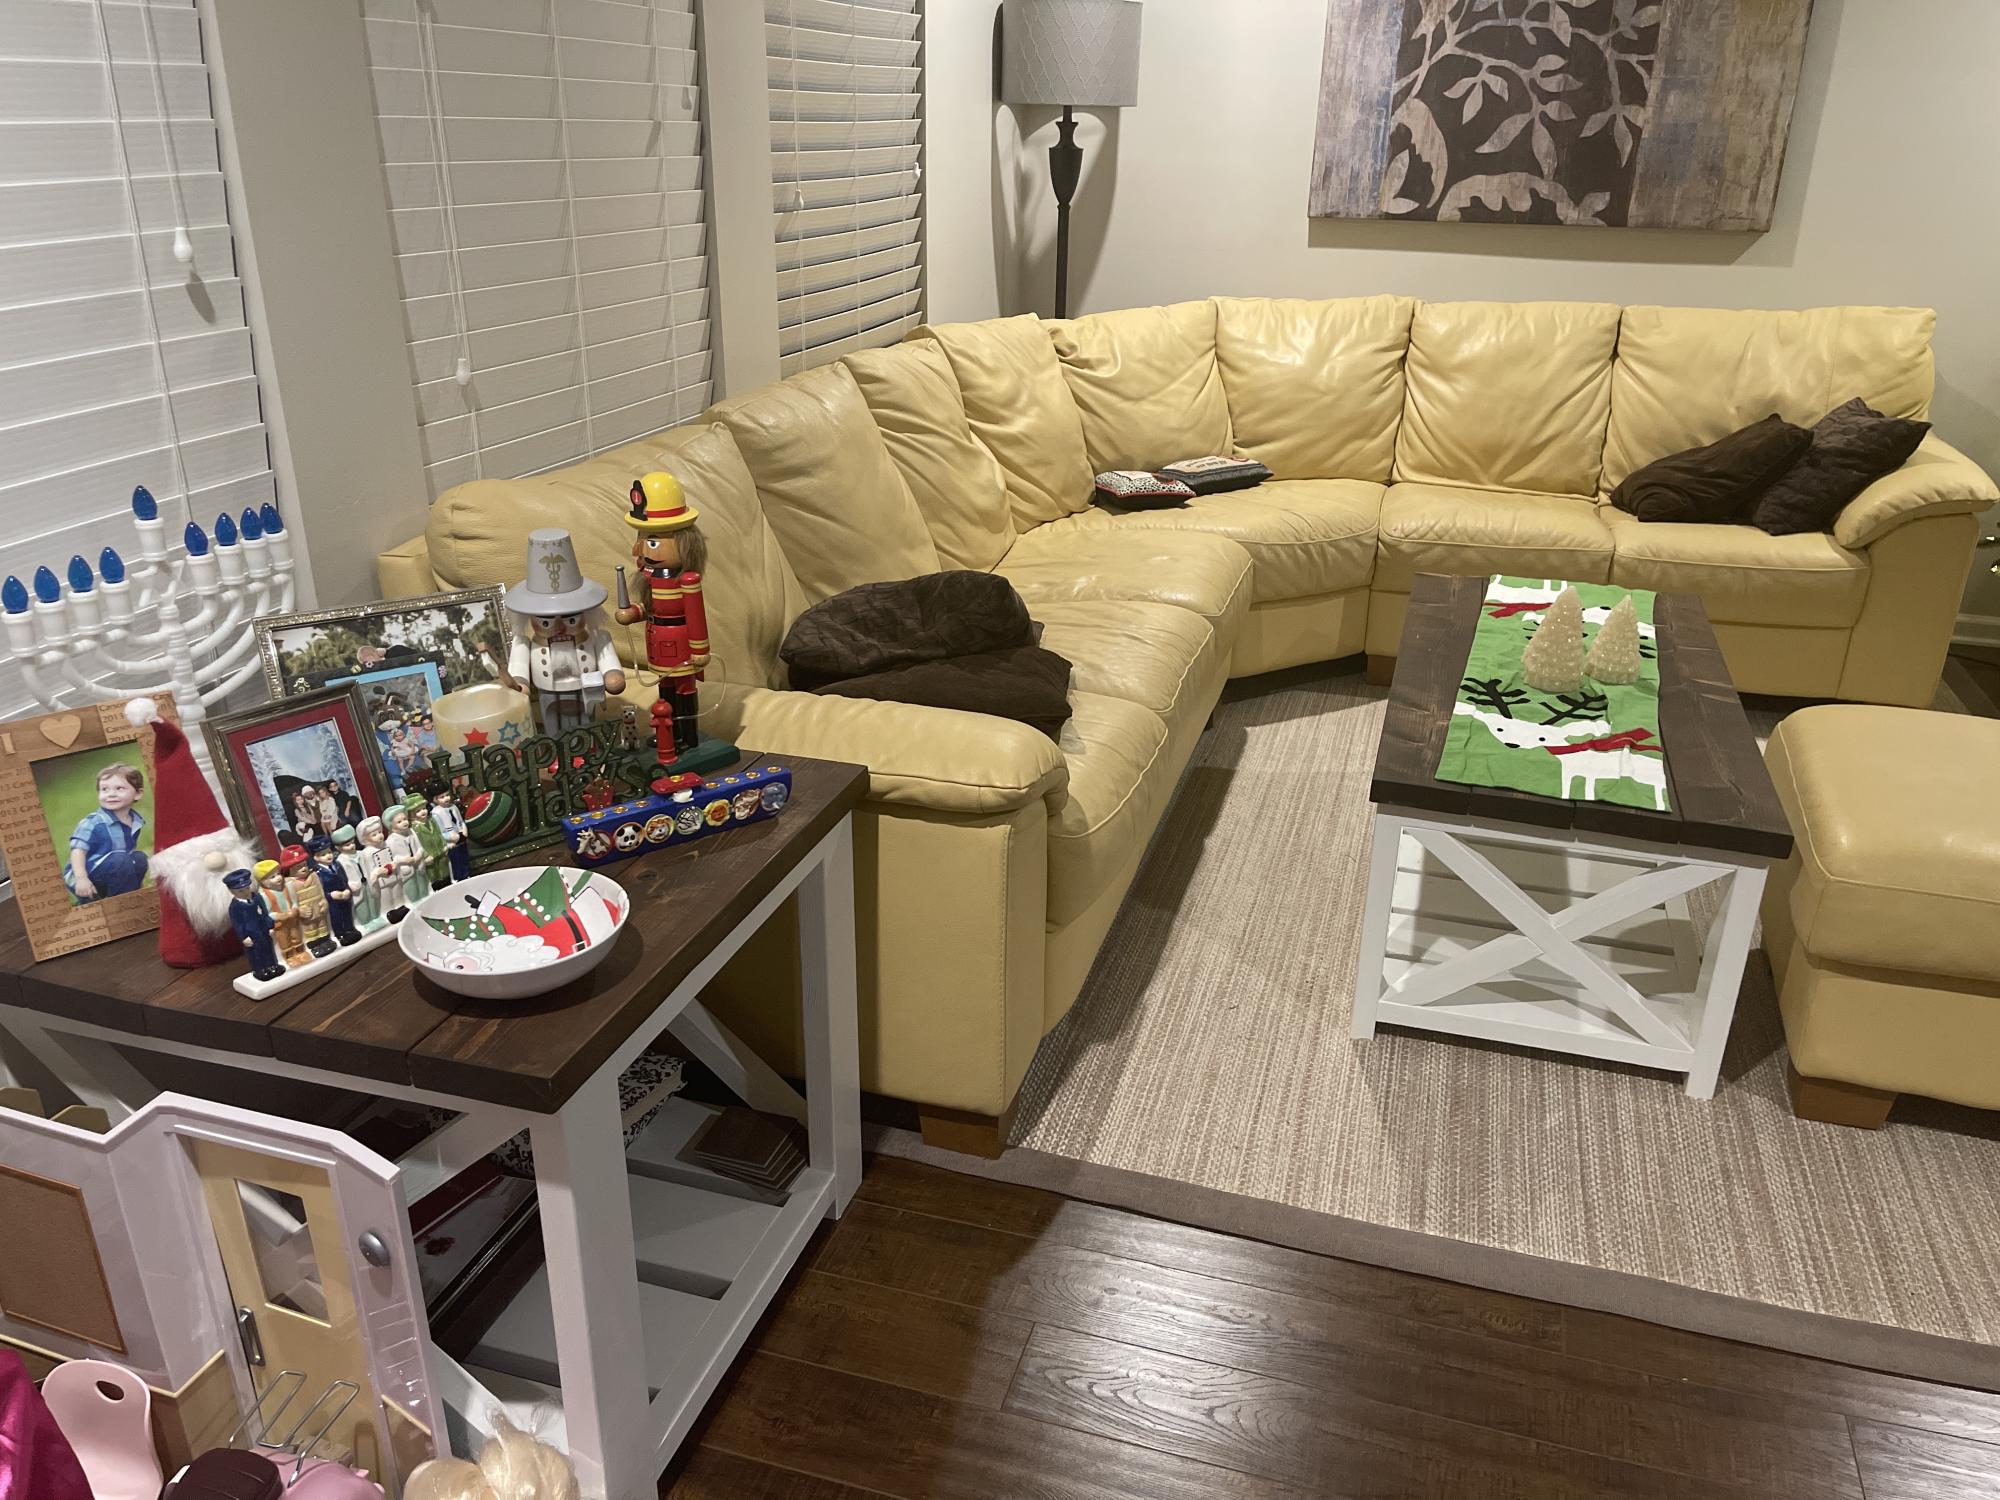
This summer my husband built three of your pieces. We are so in love with how they turned out. Thank you so much for your easy to follow blueprints!
Built from Plan(s)
This summer my husband built three of your pieces. We are so in love with how they turned out. Thank you so much for your easy to follow blueprints!

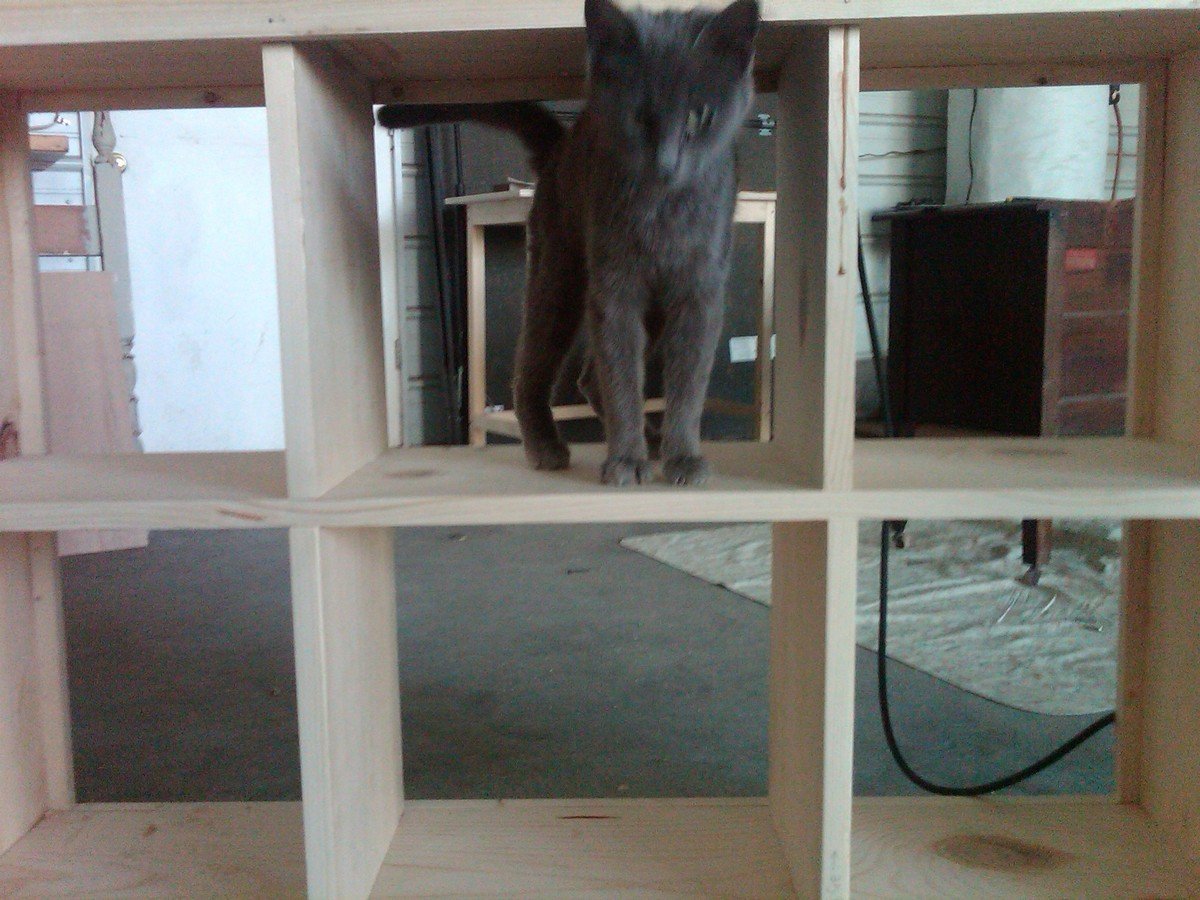
Totally lovin' my new cubby shelf. I painted it bright yellow, but I may paint it a more nuetral color after noticing it does not math anything haha! This is a super sturdy shelf...LOVE IT! Thanks ANA!


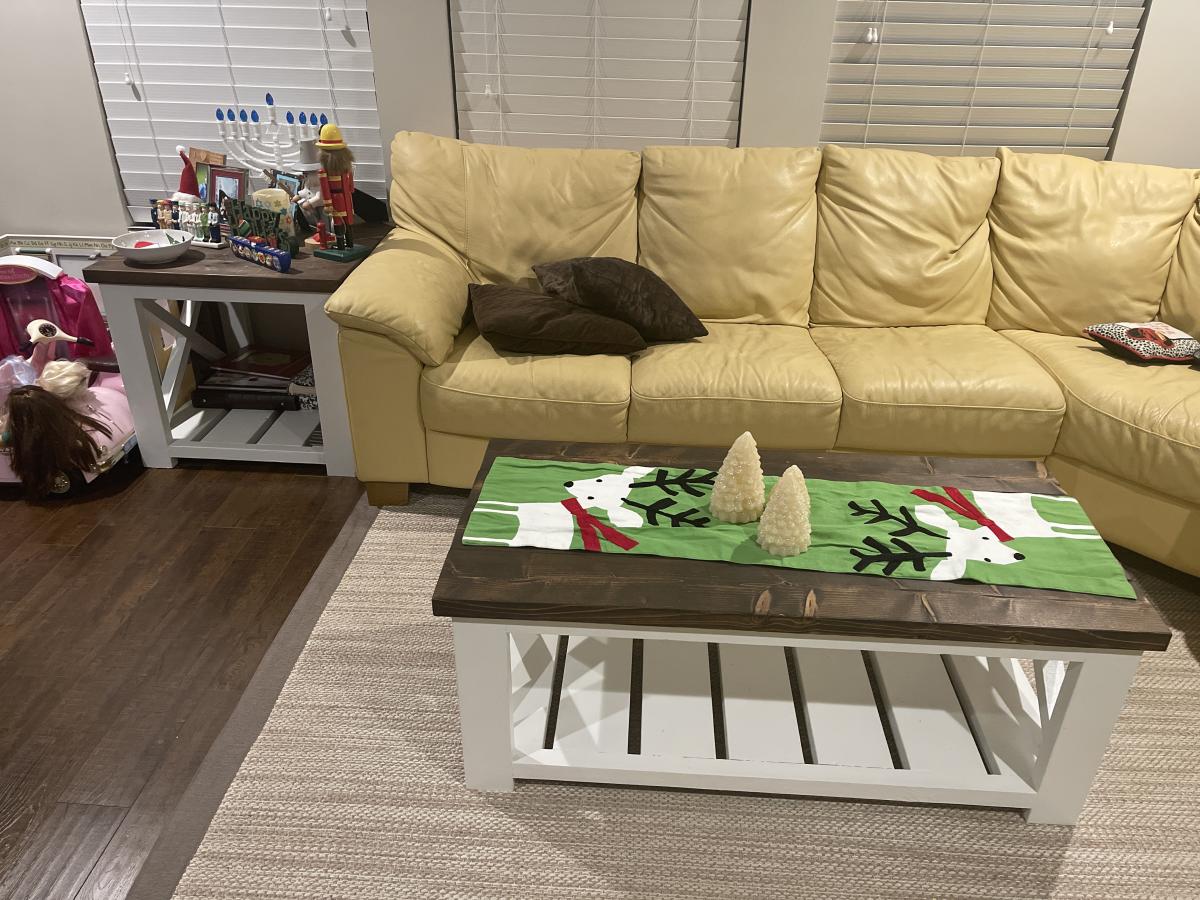
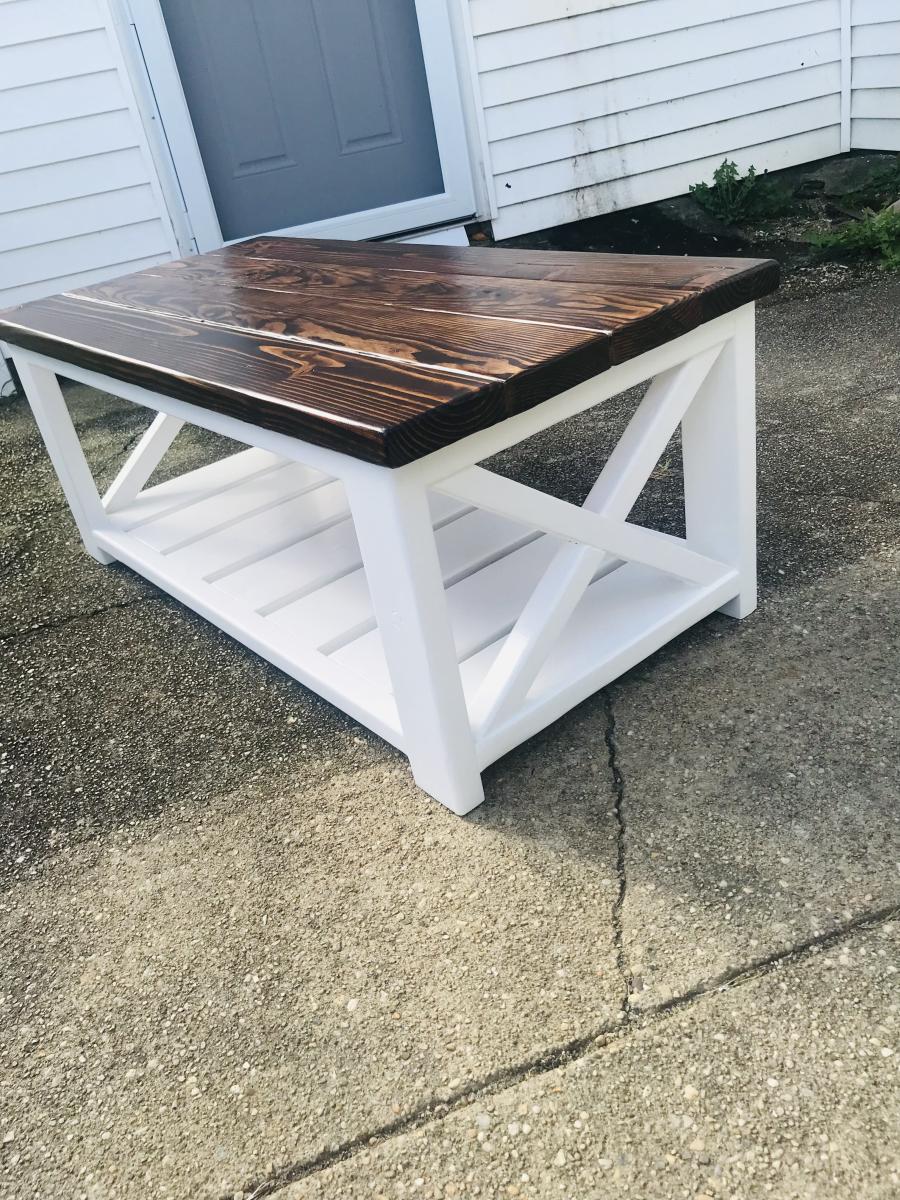
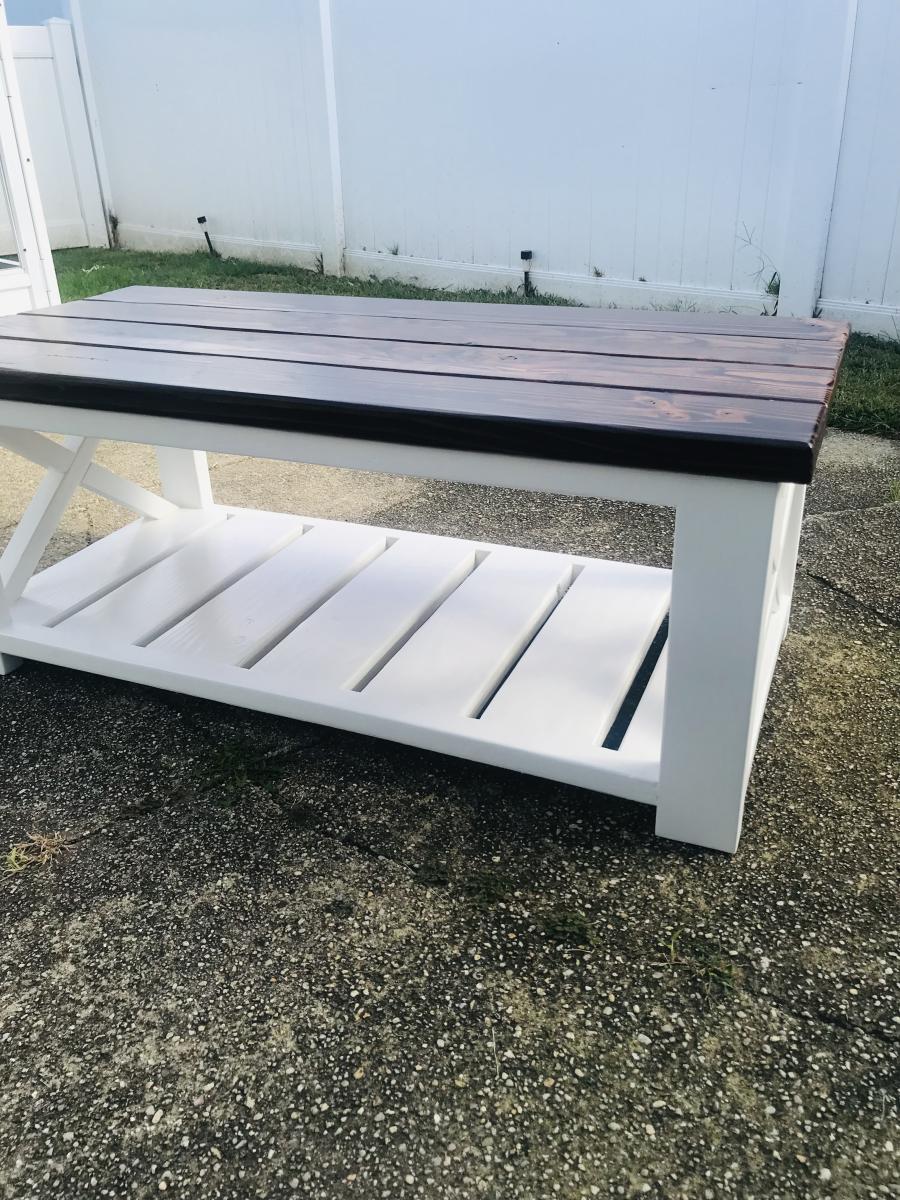
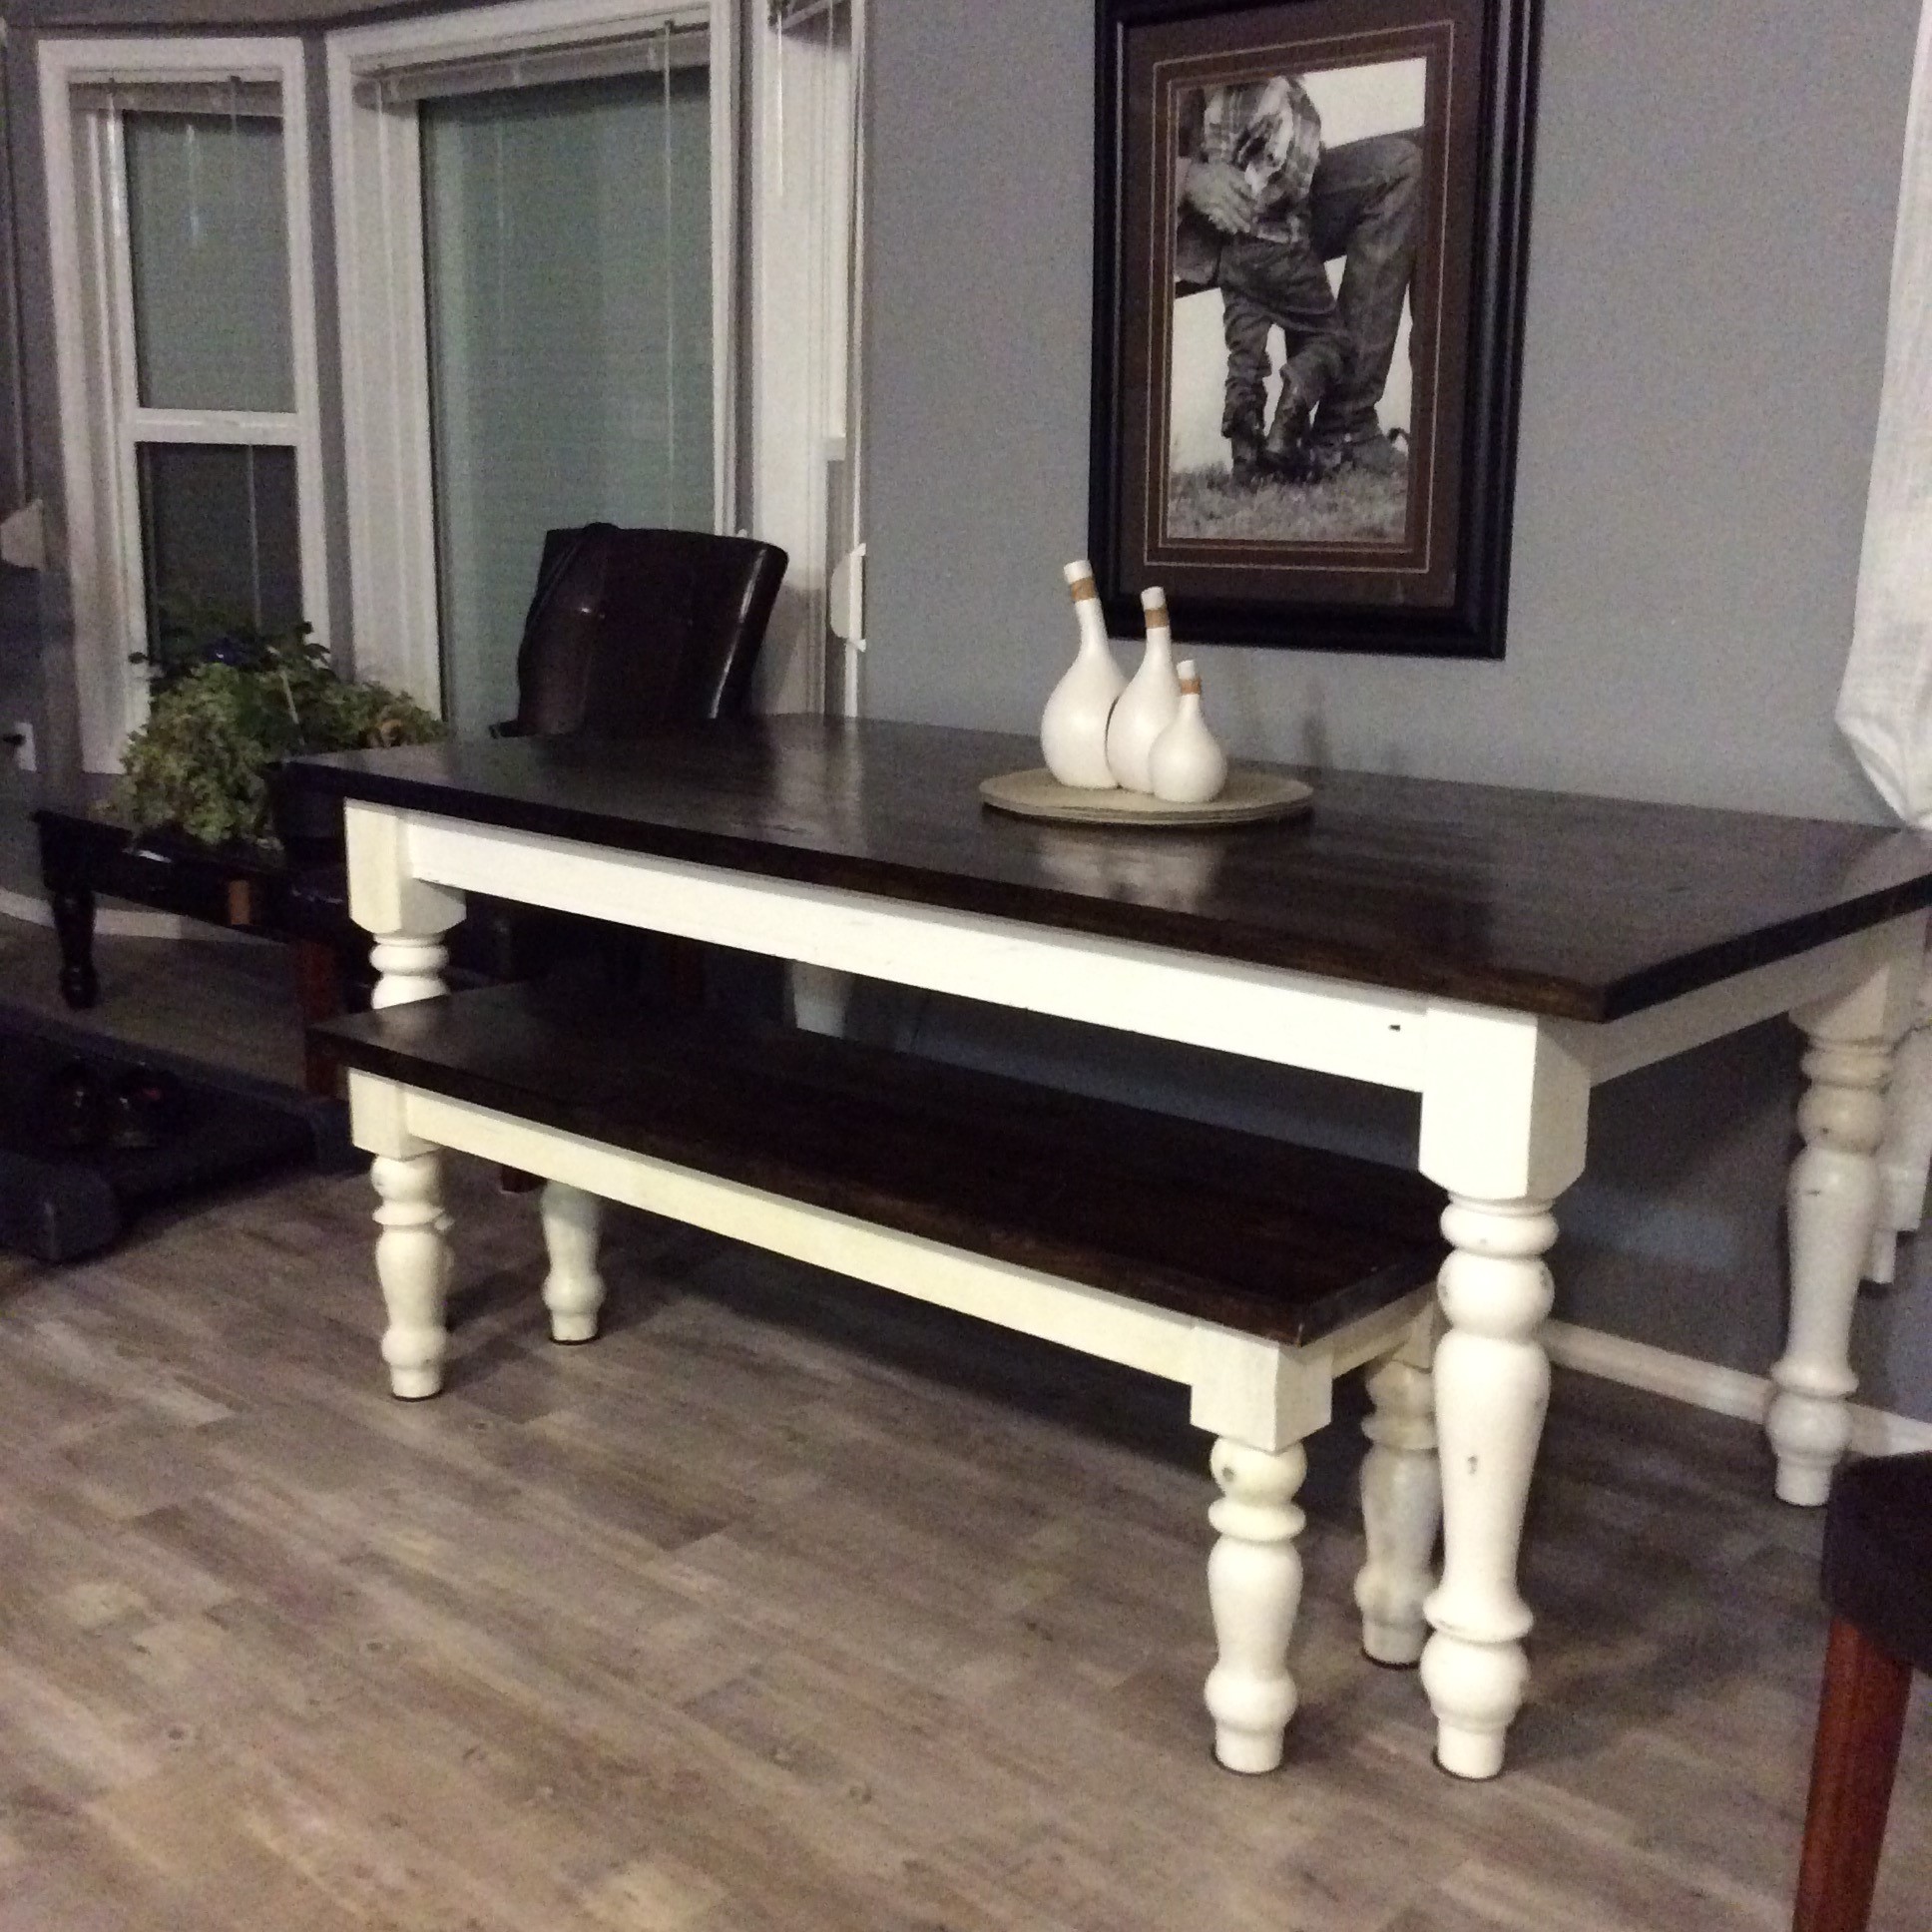
I made one table following your original plans and it turned out great! The top is American Walnut Polyshades from Minwax (stain and poly in one), topped off with paste wax. The bottom is just regular white paint that we had lying around the house. The plans were easy to follow and introduced me to the Kregg Jig. How did I ever live without it?! Thanks for posting them for everyone to see, we're so happy with how they turned out!

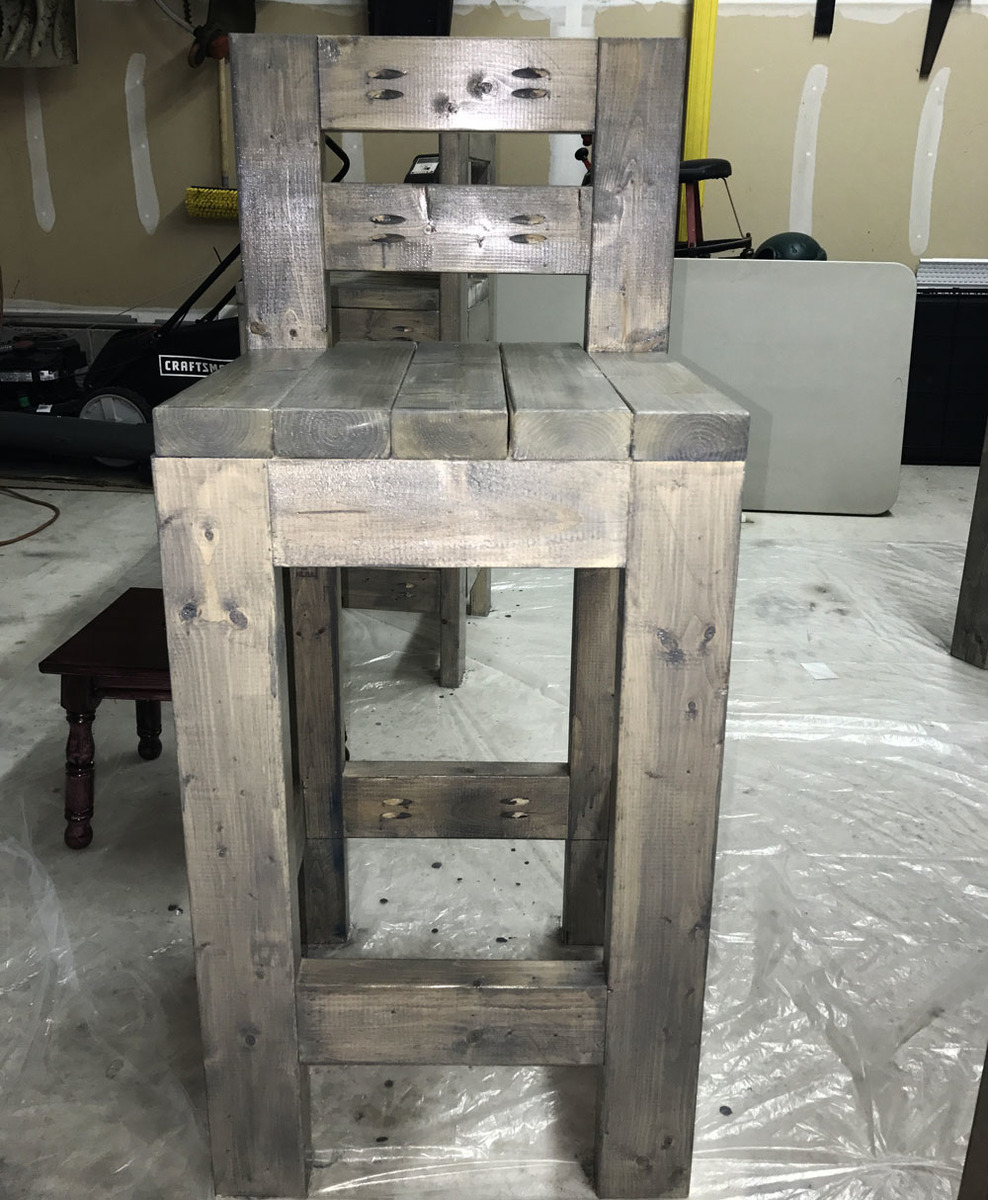
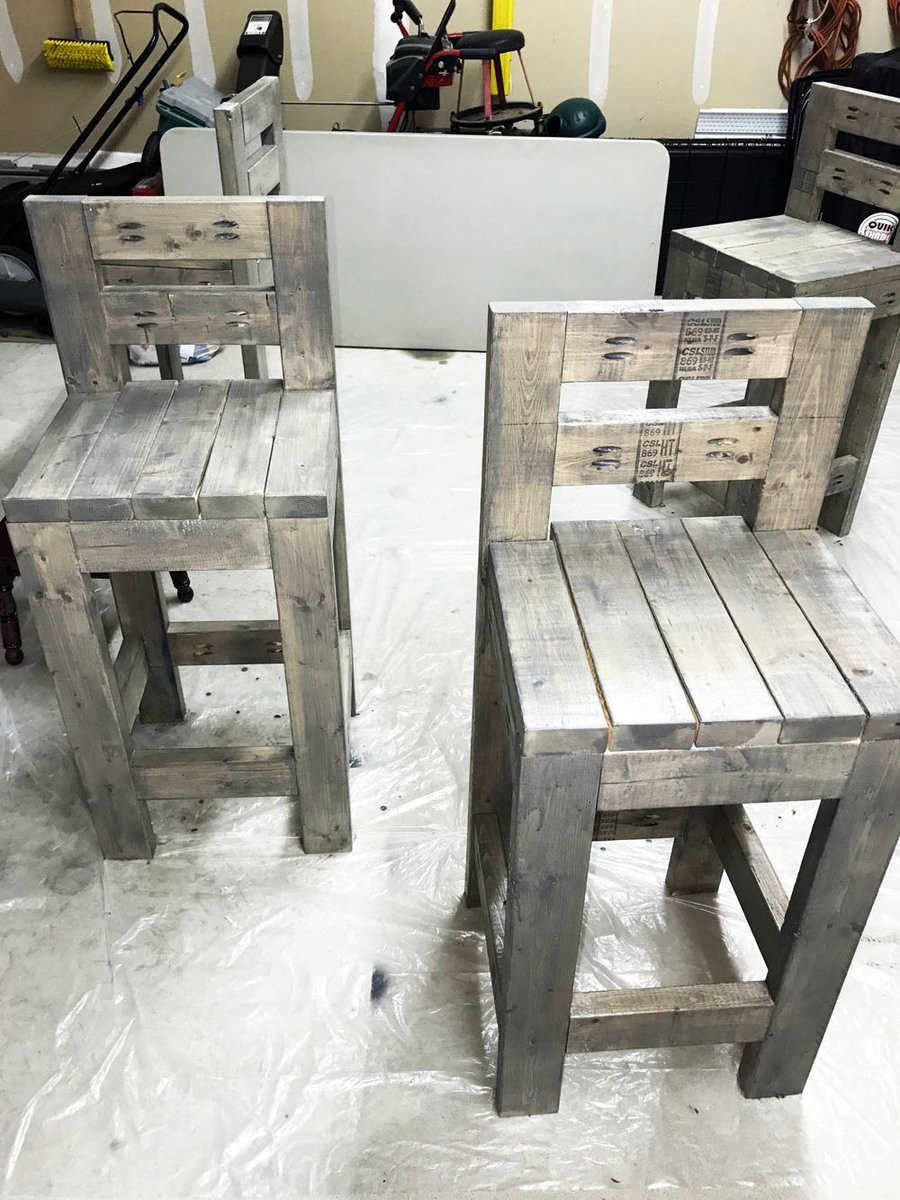
I used 2x4’s to make these bar stools and used Valspar weathered gray stain. I found the plans online by searching “chunky barstool”. It cost me around $85 to make all 4 of them.


Sat, 01/06/2018 - 11:55
What a steal! Your space looks amazing, love the black painted wall! Thank you so much for sharing.
Came out great! Made it for my cousin! Everybody loved it. Used hard wood for the first time, which is actually… umm hard. Used varnish for the first time too! Strong smell, but beautiful wood.
Mon, 12/27/2021 - 11:38
This is gorgeous, yes much different working with hardwood... Love the finish choice!
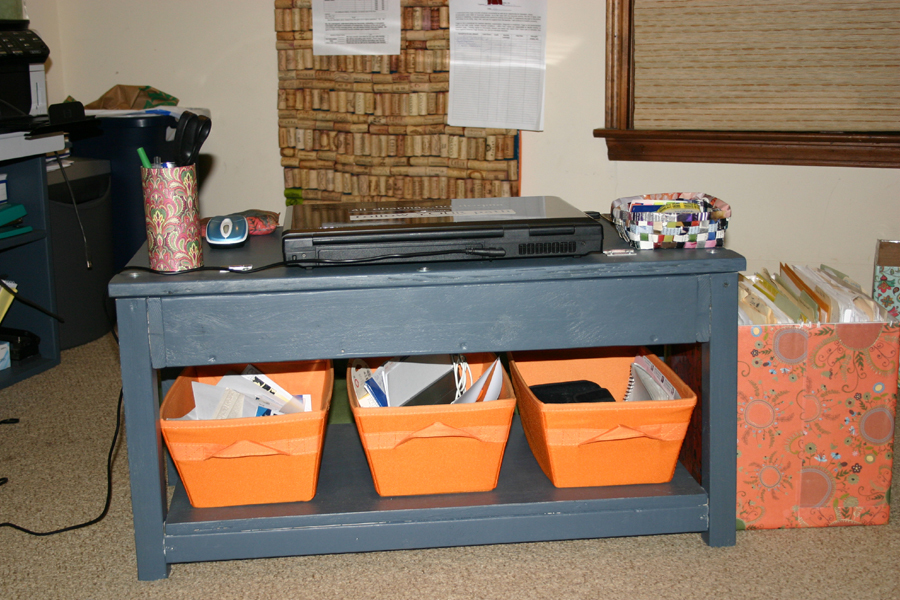
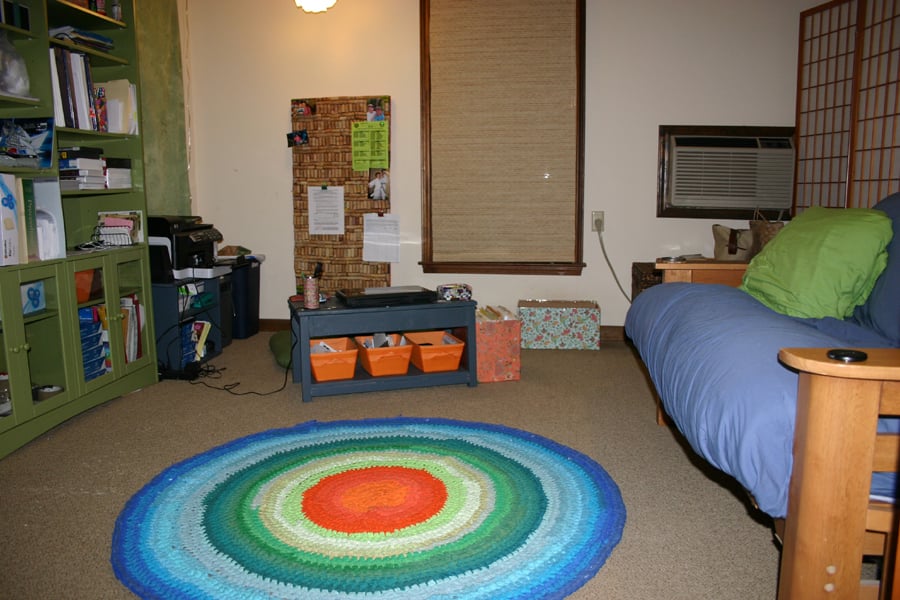
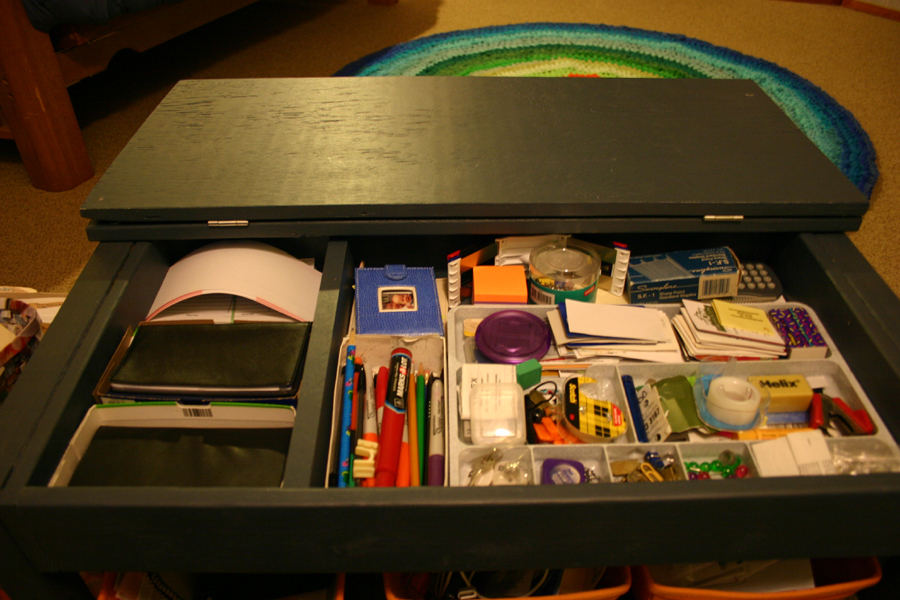
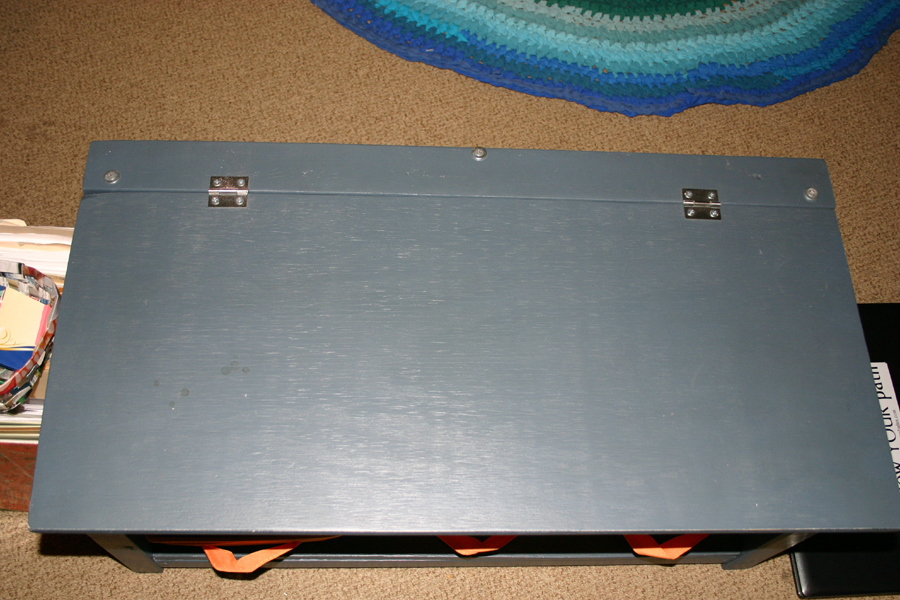
It was time for an office makeover(at home). Sitting on the floor makes for a strong back and works those core muscles, so it was time to change things up. About a year ago or so I modified Ana's Flip Top Storage Bench / Coffee Table for my husband to use as a desk, as he needed to sit on the floor due to a back injury. Now it was time for mine. I instead modified Ana's Scrap Lap Desk. and it was truly built of scraps, with the exception of the hinges(which is odd, because I always have hinges lying around!)
I made the desk larger, and adjusted the height to fit me. I also omitted the side boxes and instead added a shelf on the bottom. Construction was simple and straightforward. Primed with whatever primer I had around, and even painted with a can of oops paint. The edges were lightly distressed, and will naturally distress even more, I am sure.
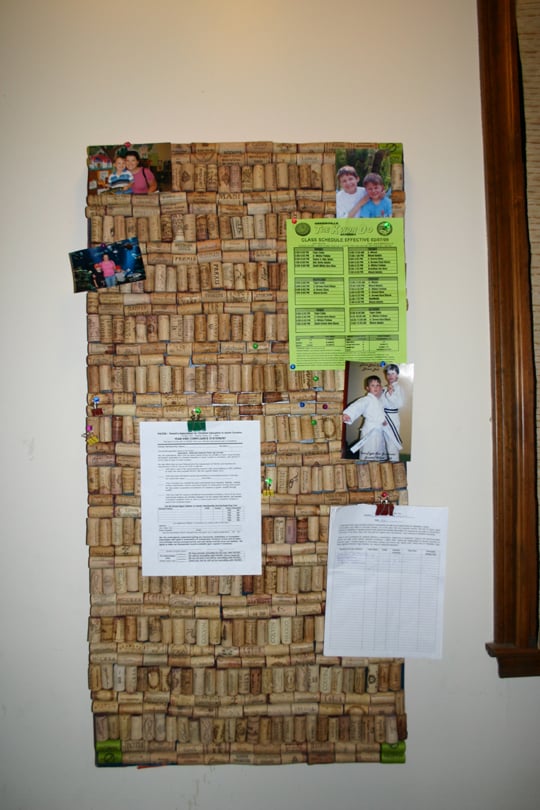
I had a green bookcase already, and the orange bins with I got on clearance at blue some time ago, and suddenly my color scheme was set--in the 70s. But I like it, as I need more color in my life. The printer stand I cobbled together out of scraps as well--essentially a box. A few boxes covered in paper, a rug from old tshirts, and two light fixtures-one a polyhedron from milk jugs, and the other a flower pot from the bullseye store, and I am set. Oh, and I finally got around to making my corkboard from all of the wine corks I've collected throughout the years. Or some of them, anyway.
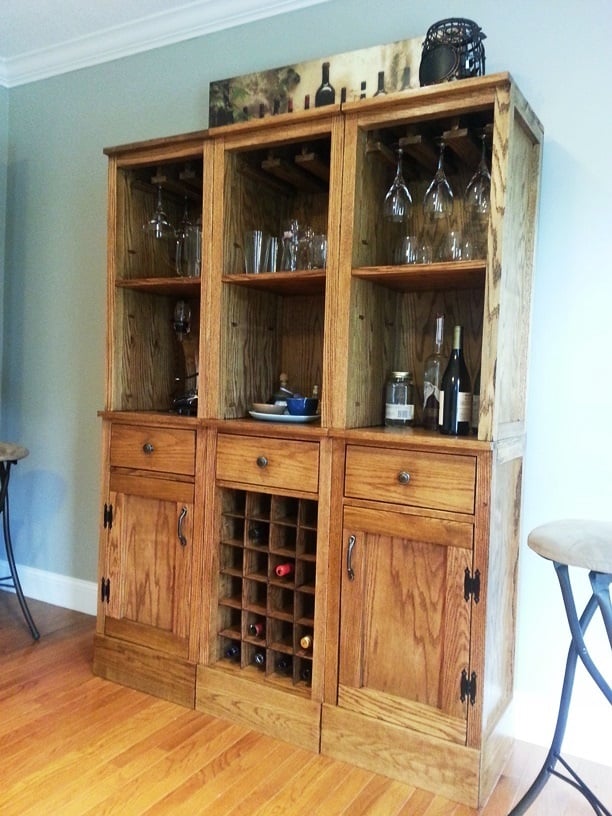
My first build from ana-white.com was maybe more intricate than I should have done for a first project, but we needed a bar so that's what I did. In the end I was able to learn so much: using the kreg jig, the saws, building doors and drawers, getting things square (or not and redoing it). Mistakes were made but I learned so much! In the end the thing stands up straight and looks pretty dern good in our dining room. I was able to complete this project in 6 weeks while working full time (my many learning experiences added to the time, lol).
Tue, 01/07/2014 - 08:30
This settles it. Woodworking is my new skill for 2014. I pick something every year to build upon. Last year was sewing and I love that. But this is the piece from pottery barn i've been salivating over for a few years. It will be mine!
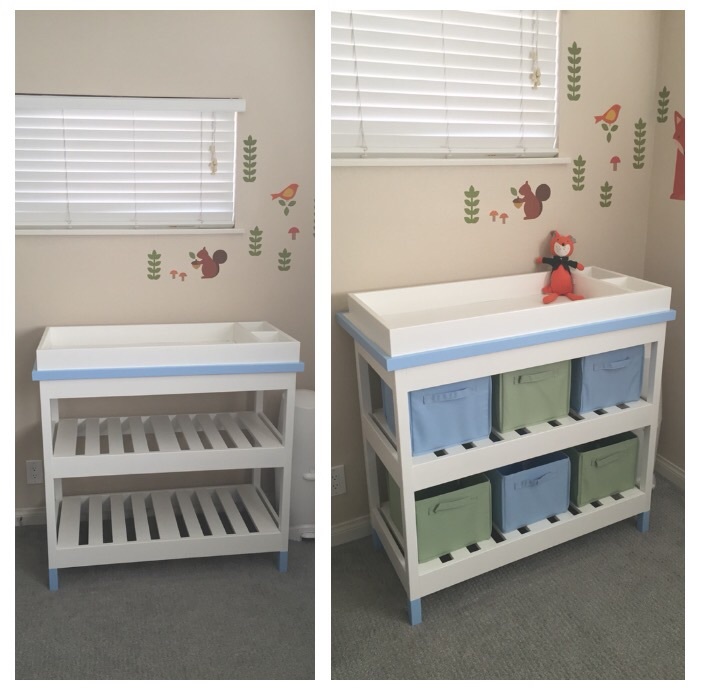
It seemed as though this project started out as a nightmare. I didn't think it was going to happen. Working with 2x2 and soft doug fir is no fun. I bought a kreg jig and was super siked to use it but really couldn't figure it out yet so I just pre drilled and blasted screws in from the sides. Luckily I took some time to wood fill and do clean up work and you have no clue. I am so proud and excited about how this came out. It brought tears to my wife's eyes and maybe even a little to mine. Added some dipped blue legs and a simple blue band molding to pop off some color. Went to babies r us and purchased some canvas cubes and crazily enough the blue matched exactly!!! That was not planned.
All in all this will be in use for years to come.
Love this table
My daughter had asked about making shelves sometime. I didn’t say anything and snuck measurements when I was at her house. Followed Ana’s plans and she loved the results.
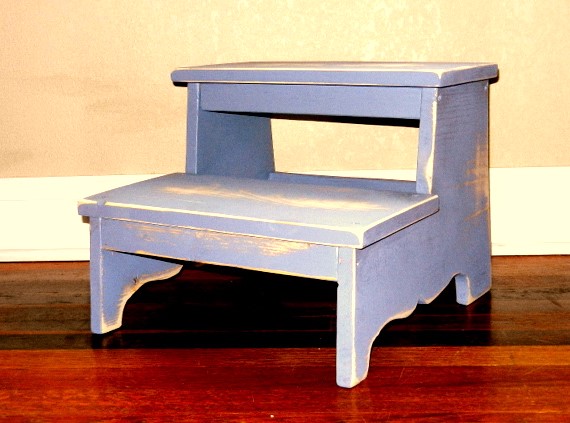
I love this step stool!! My daughter uses it EVERYDAY! This was the first thing I built and I think it turned out pretty good. I did a different design on the bottom sides to make it a little girly since I was painting it blue (girls can have blue stuff too!)
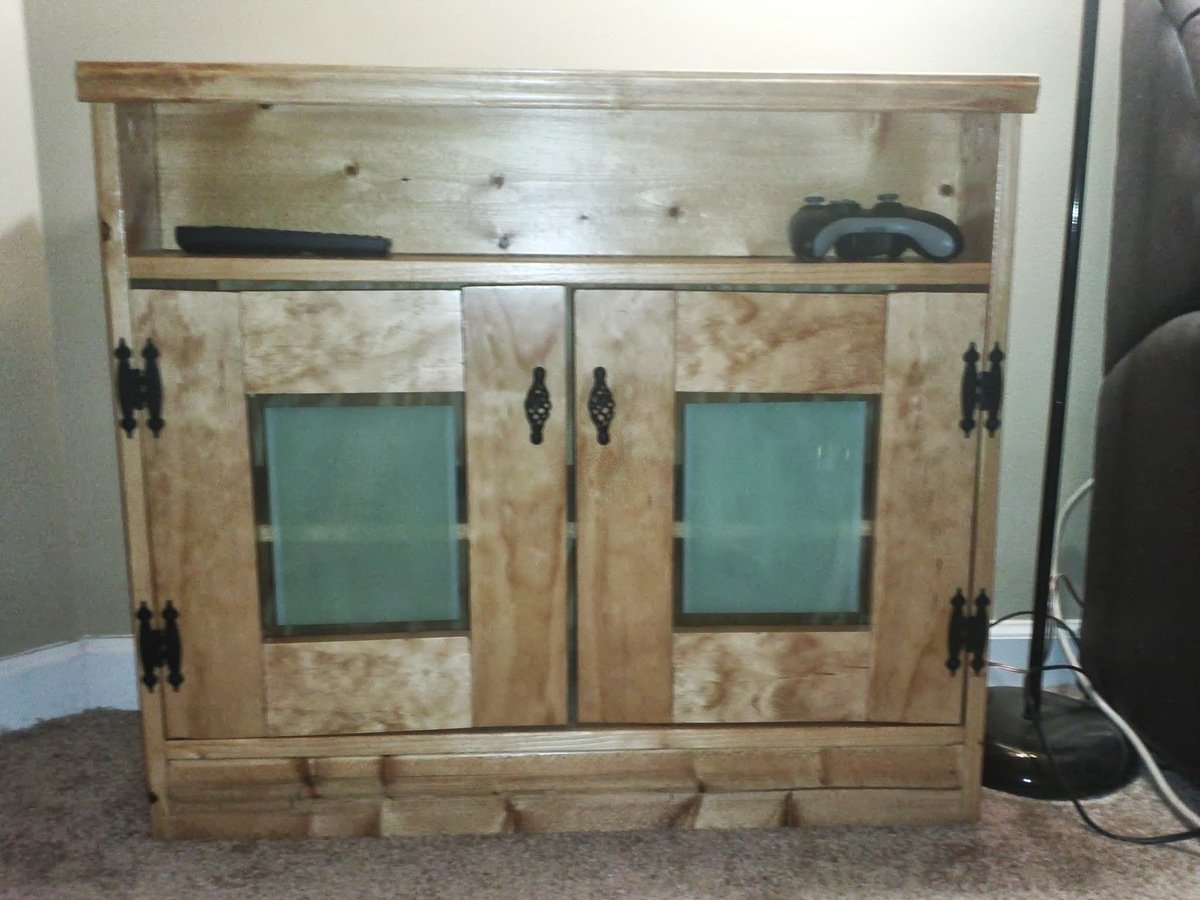
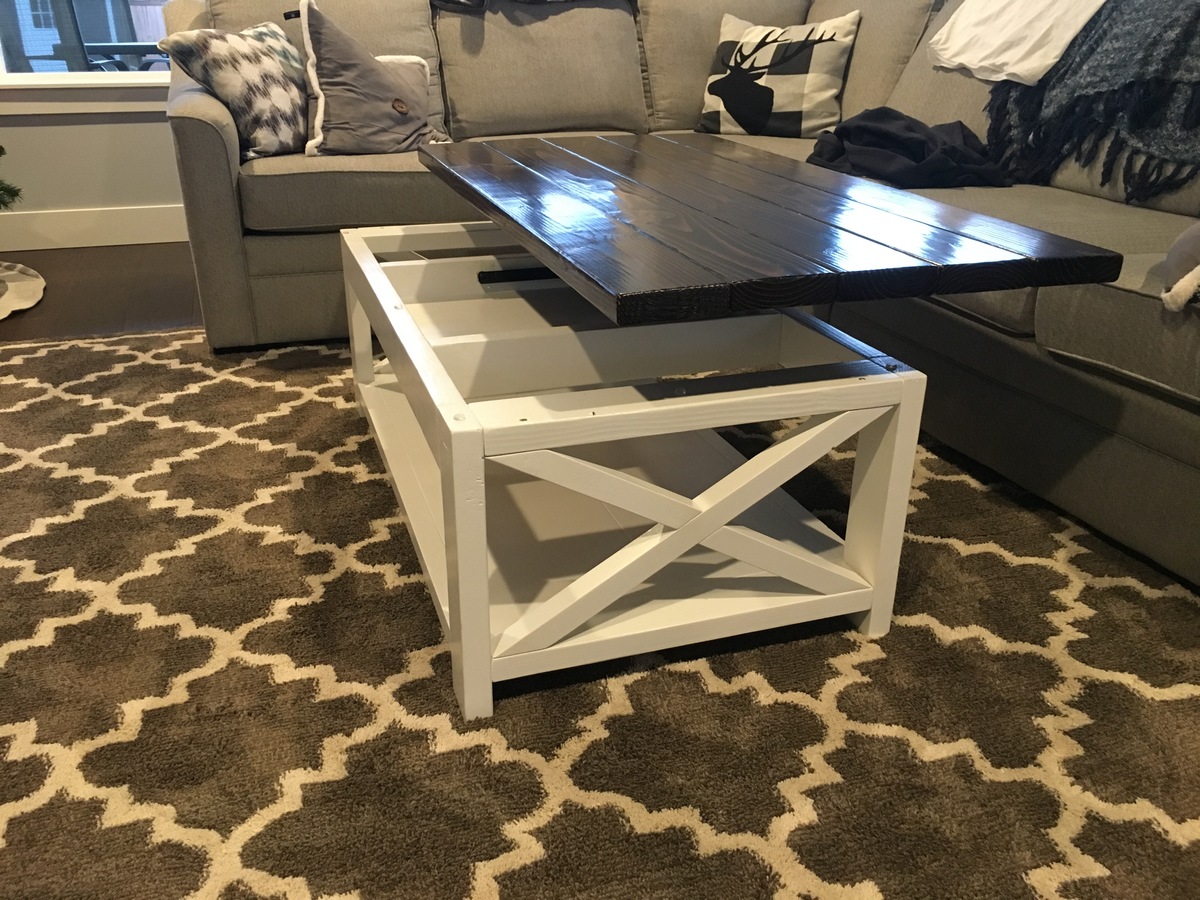
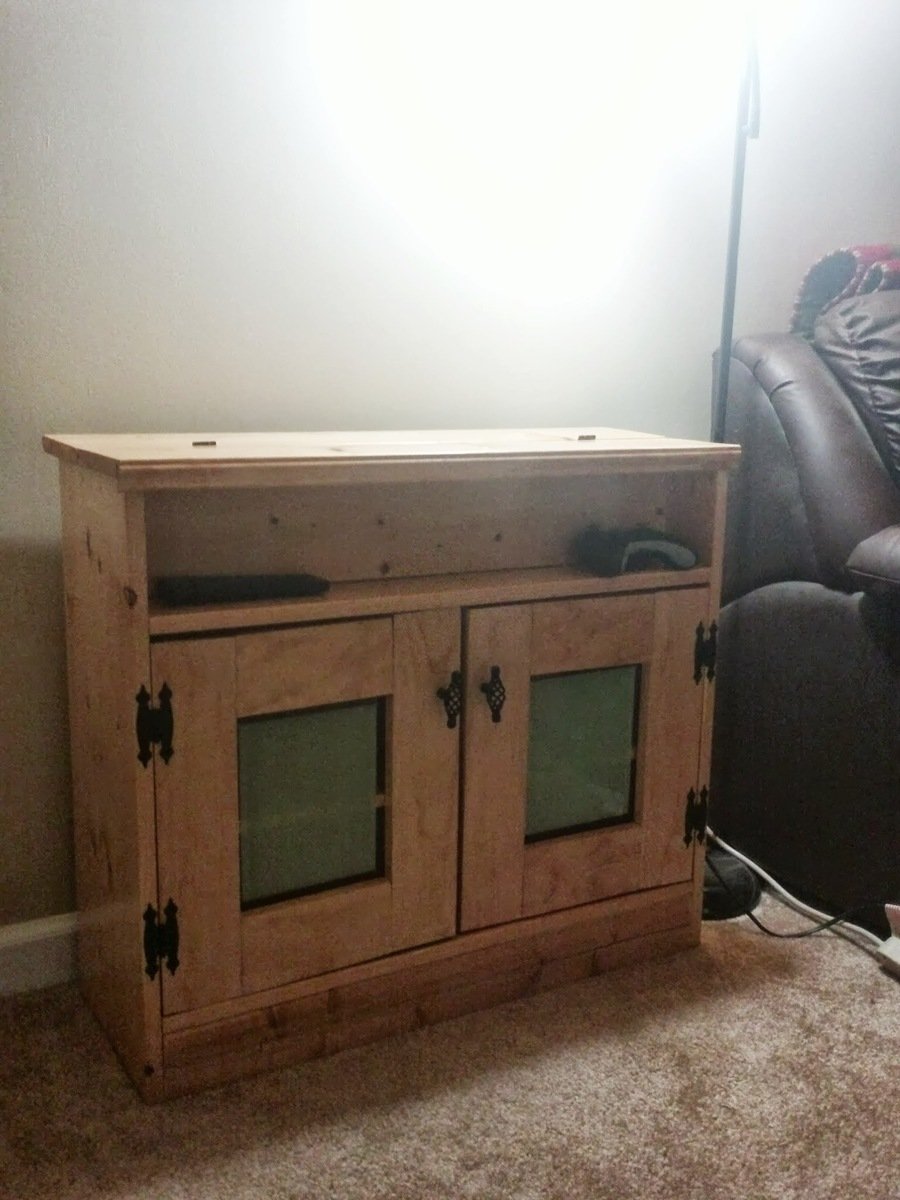
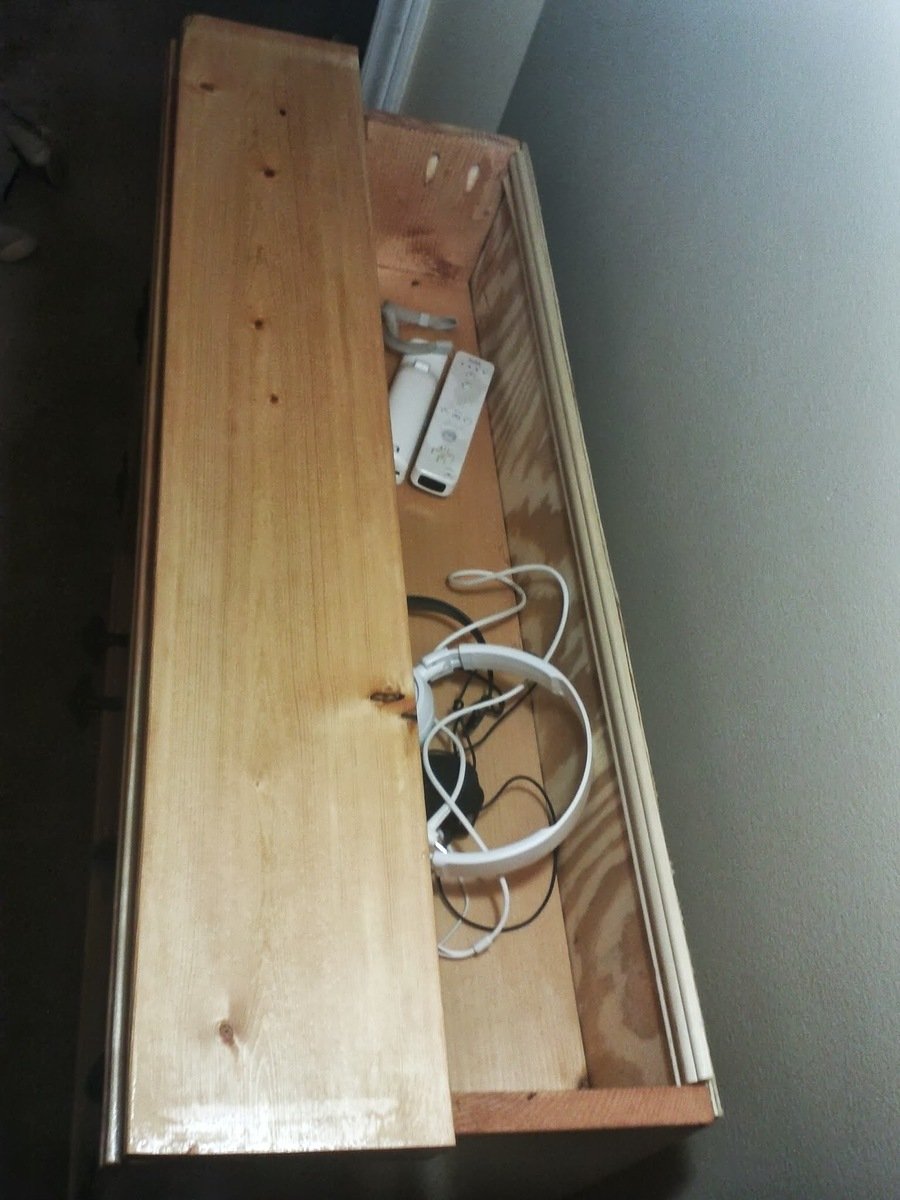
We loved Ana's charging table, but didn't think we needed the holes for charging - what we really needed was just a side table to go next to our couch, but one with storage capacity (hence the shelves behind the doors on the bottom) and a place to put the remotes and game controllers for the TV (hence the shelf at the top). We decided to keep the "secret" compartment on top that flips up, like in the original plans, for storing messy things with cords like the headphones that you can see in the picture.
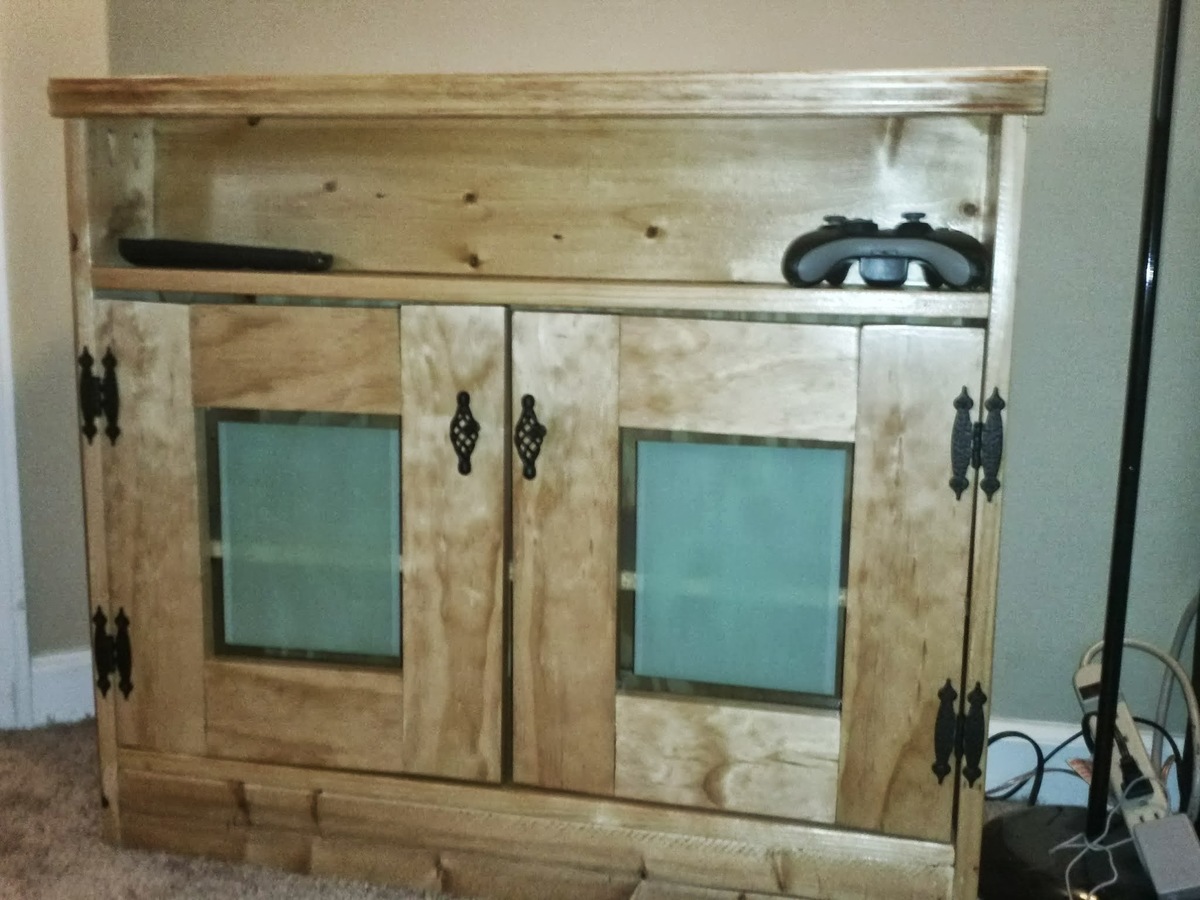
We also decided to replace the solid wood doors with a glass pane, and used glass paint to paint a square in the middle of the glass.
This was our very first - ever! - furniture-making project and we both really love how it came out. :-)


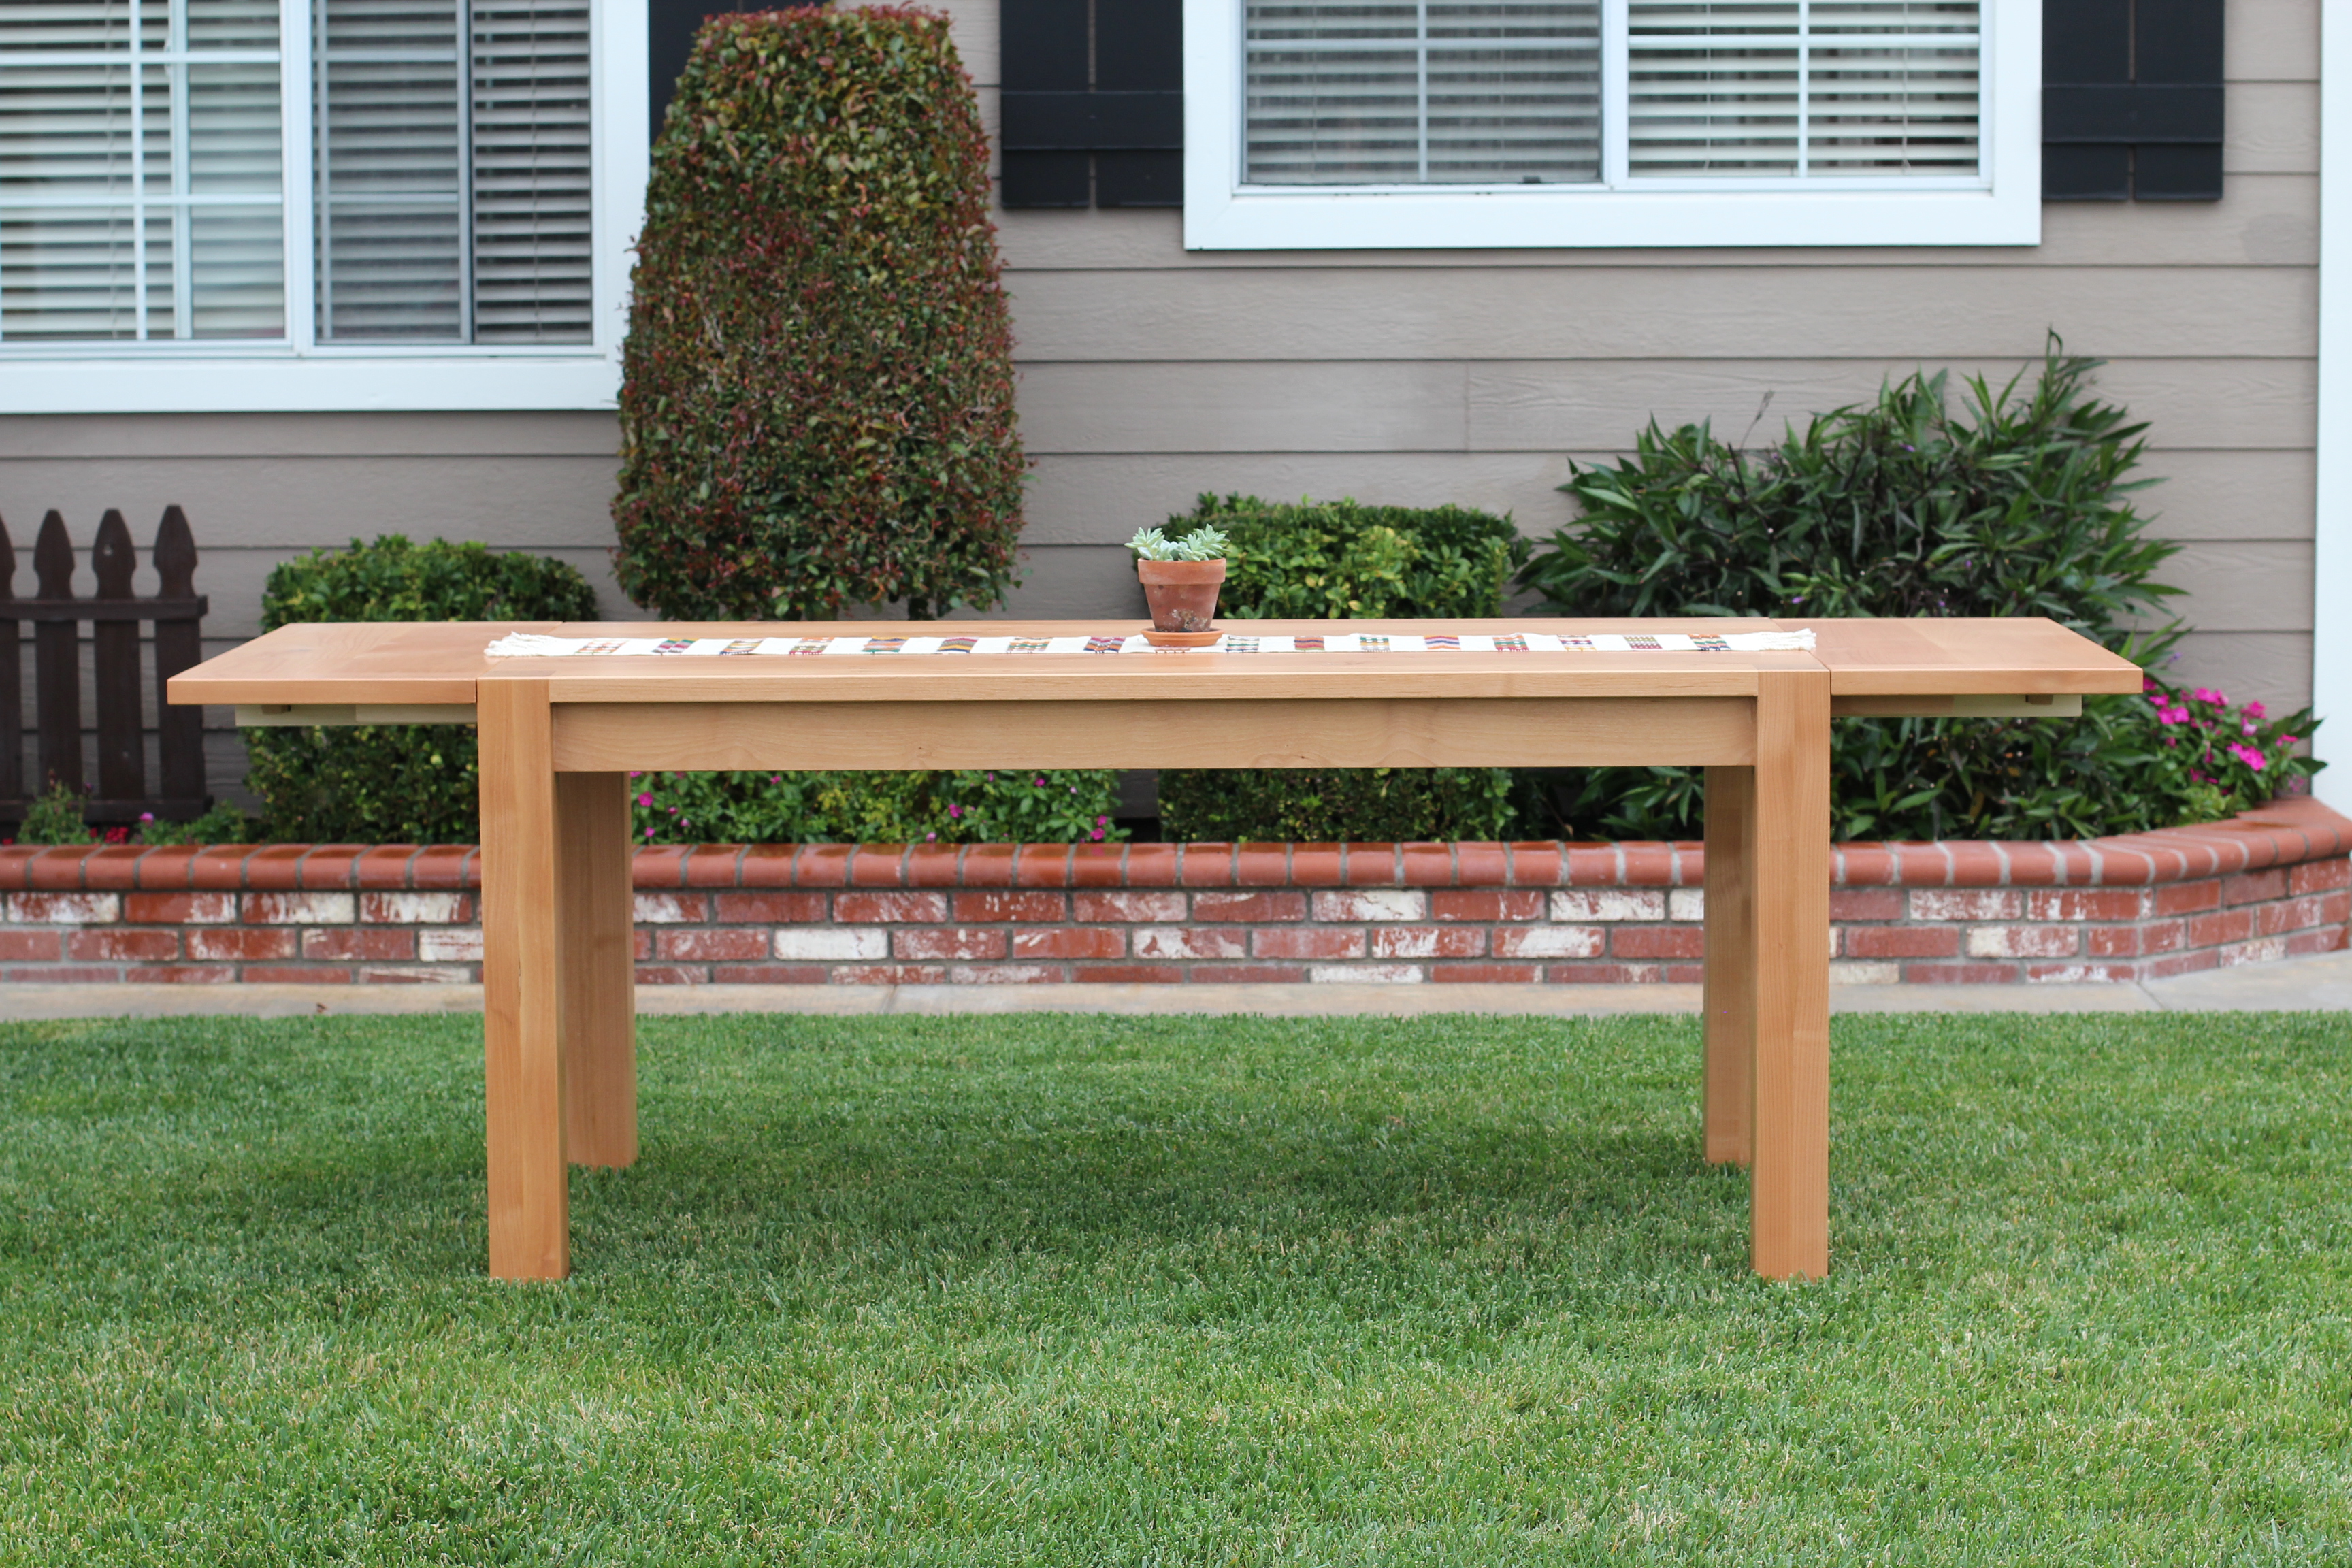
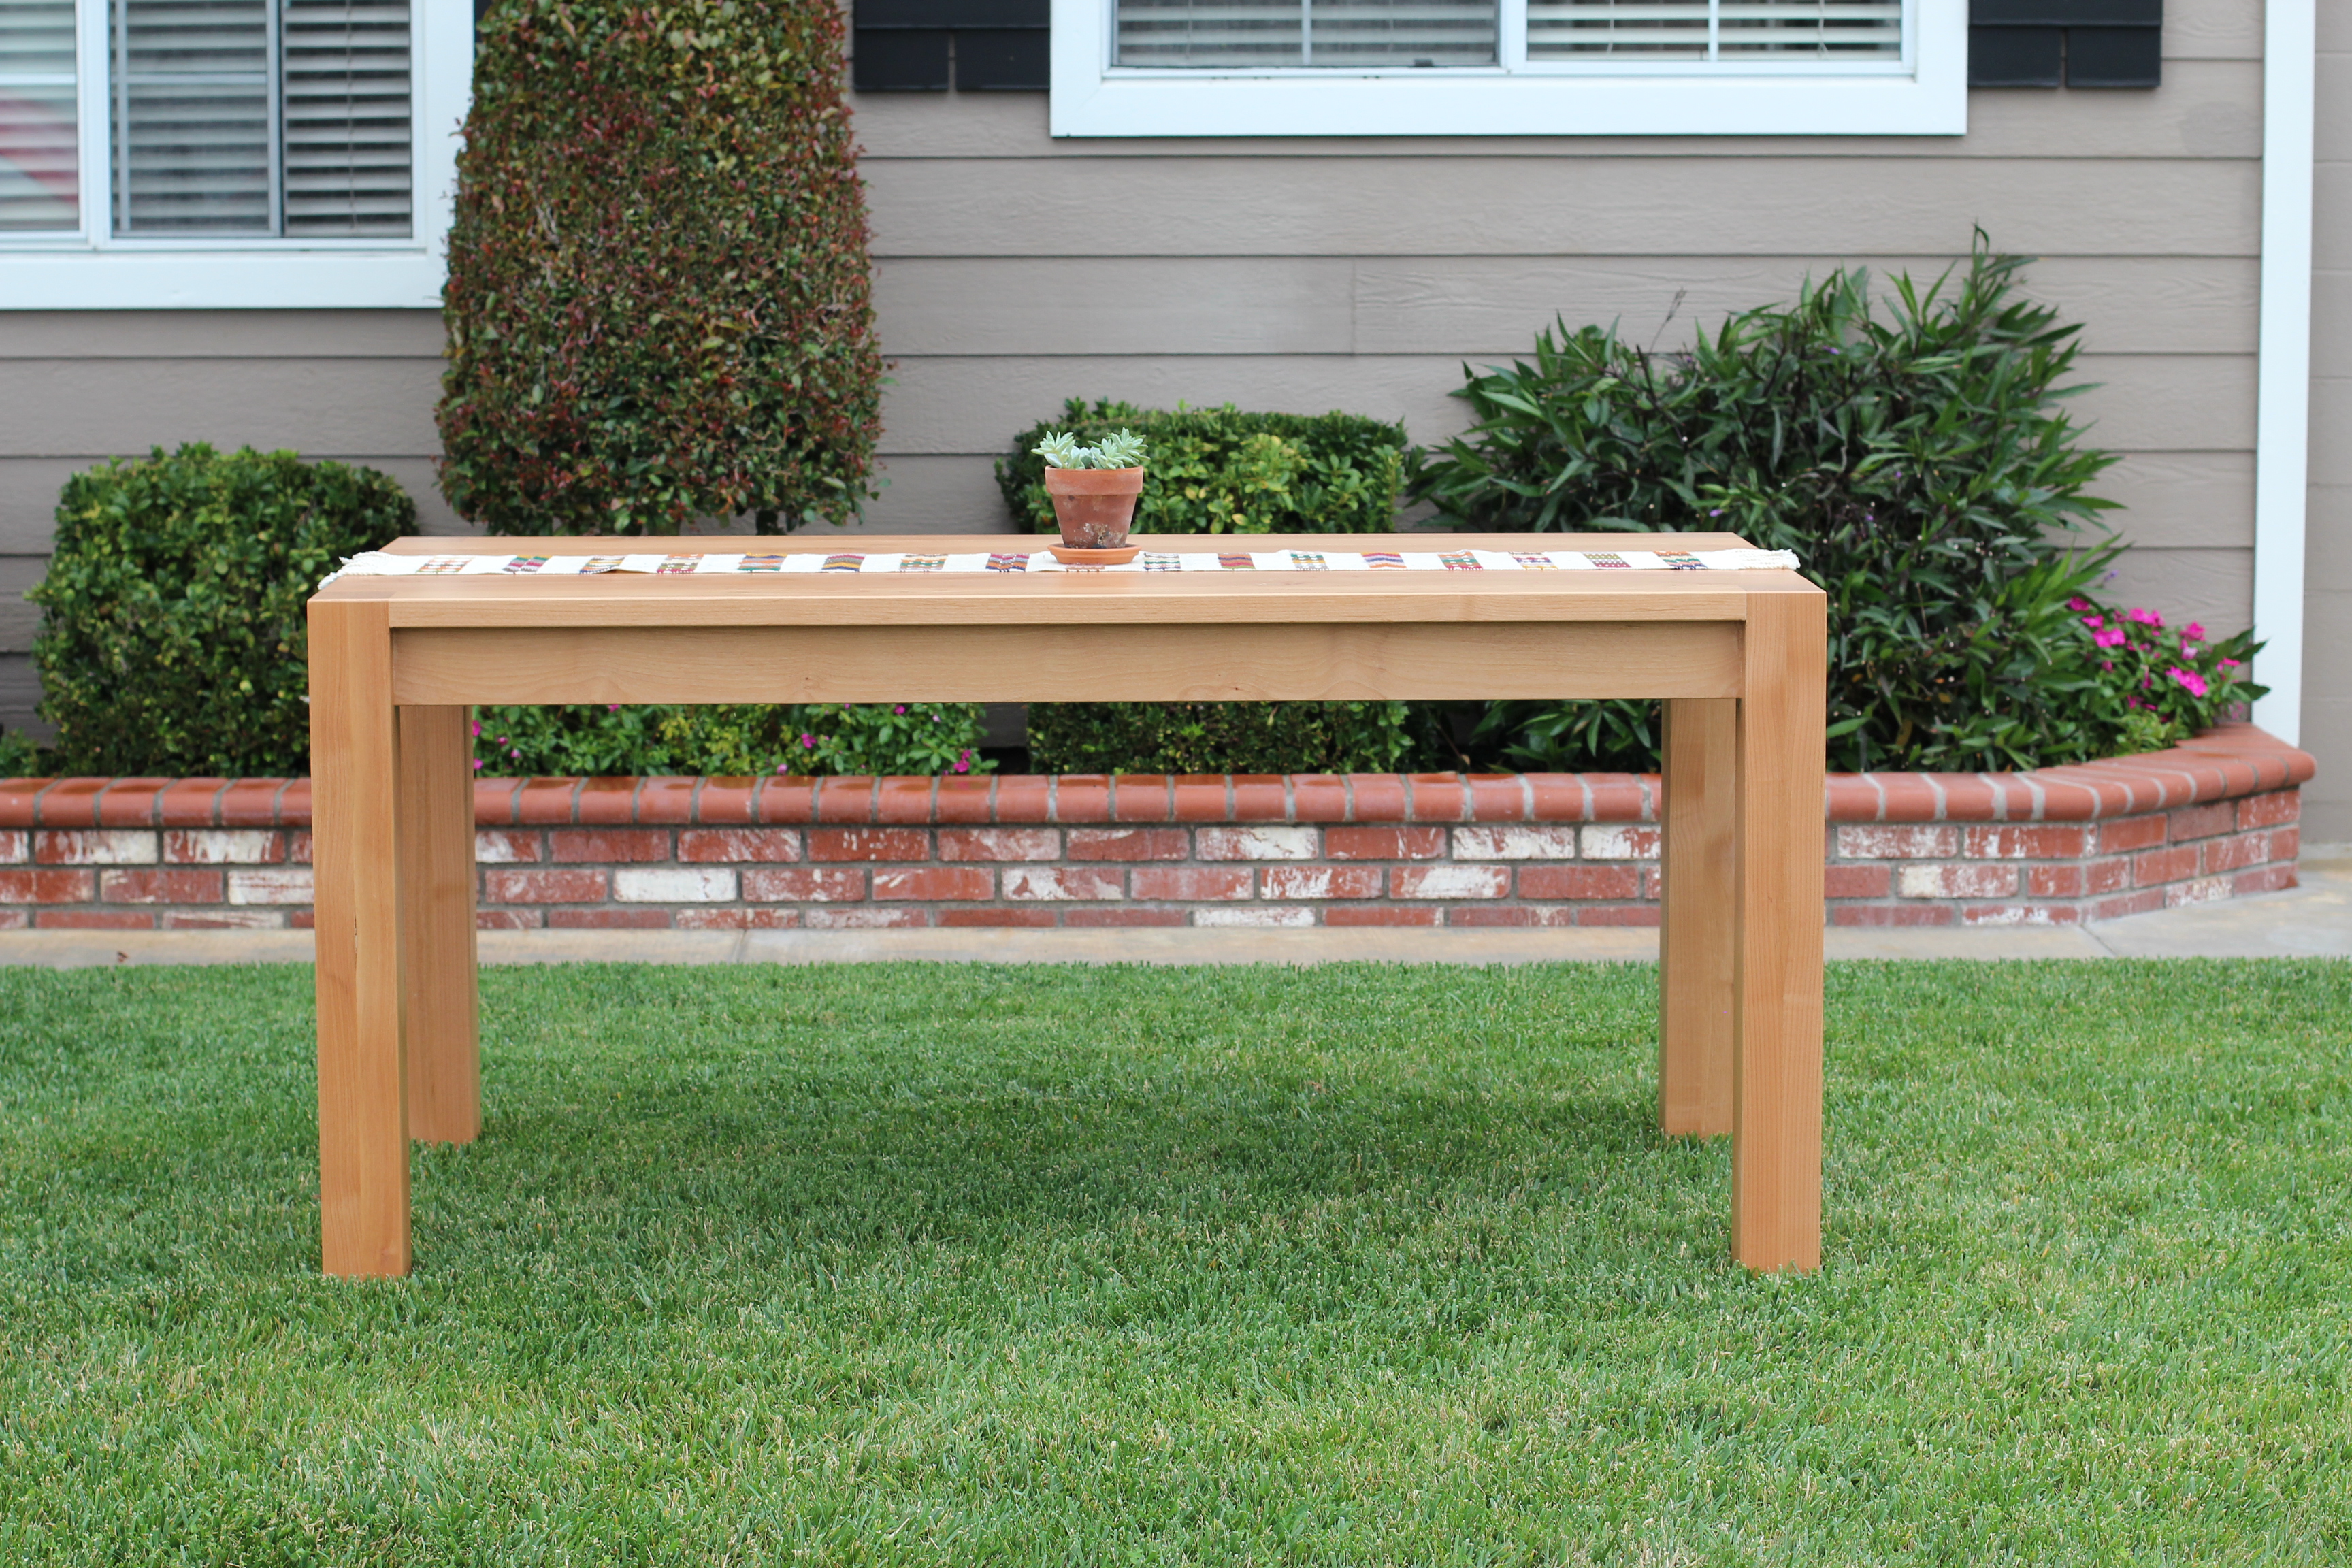
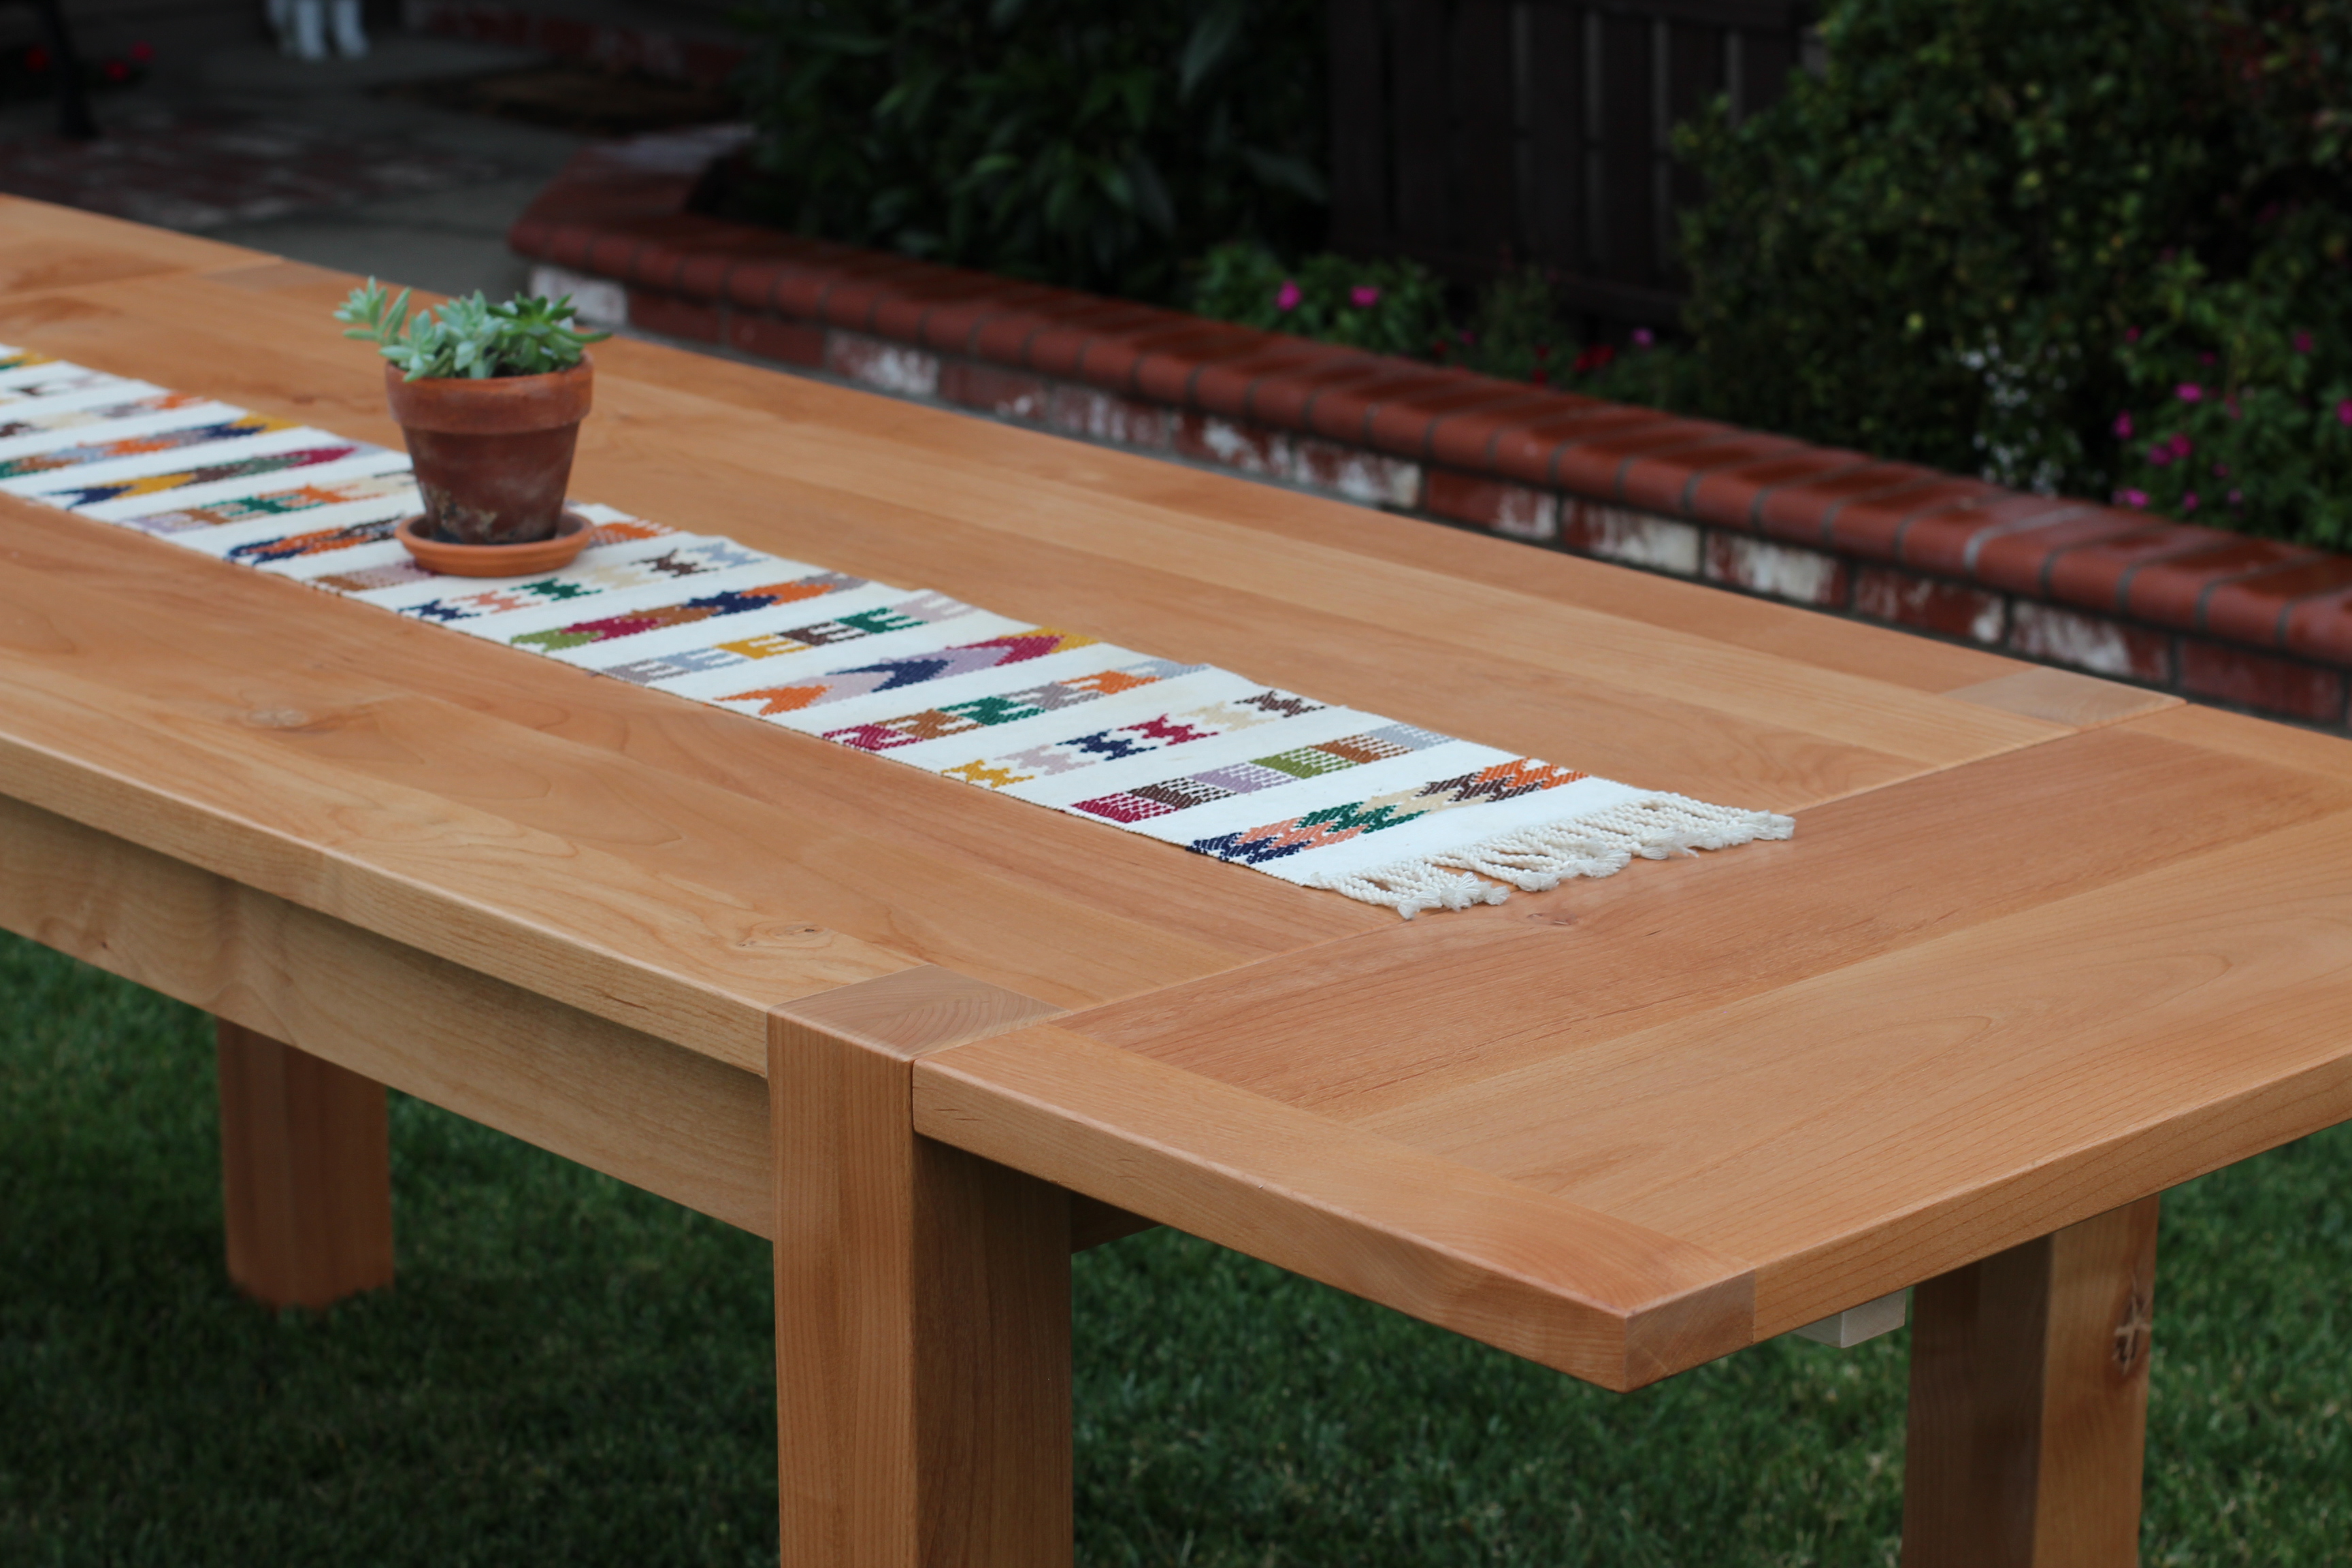
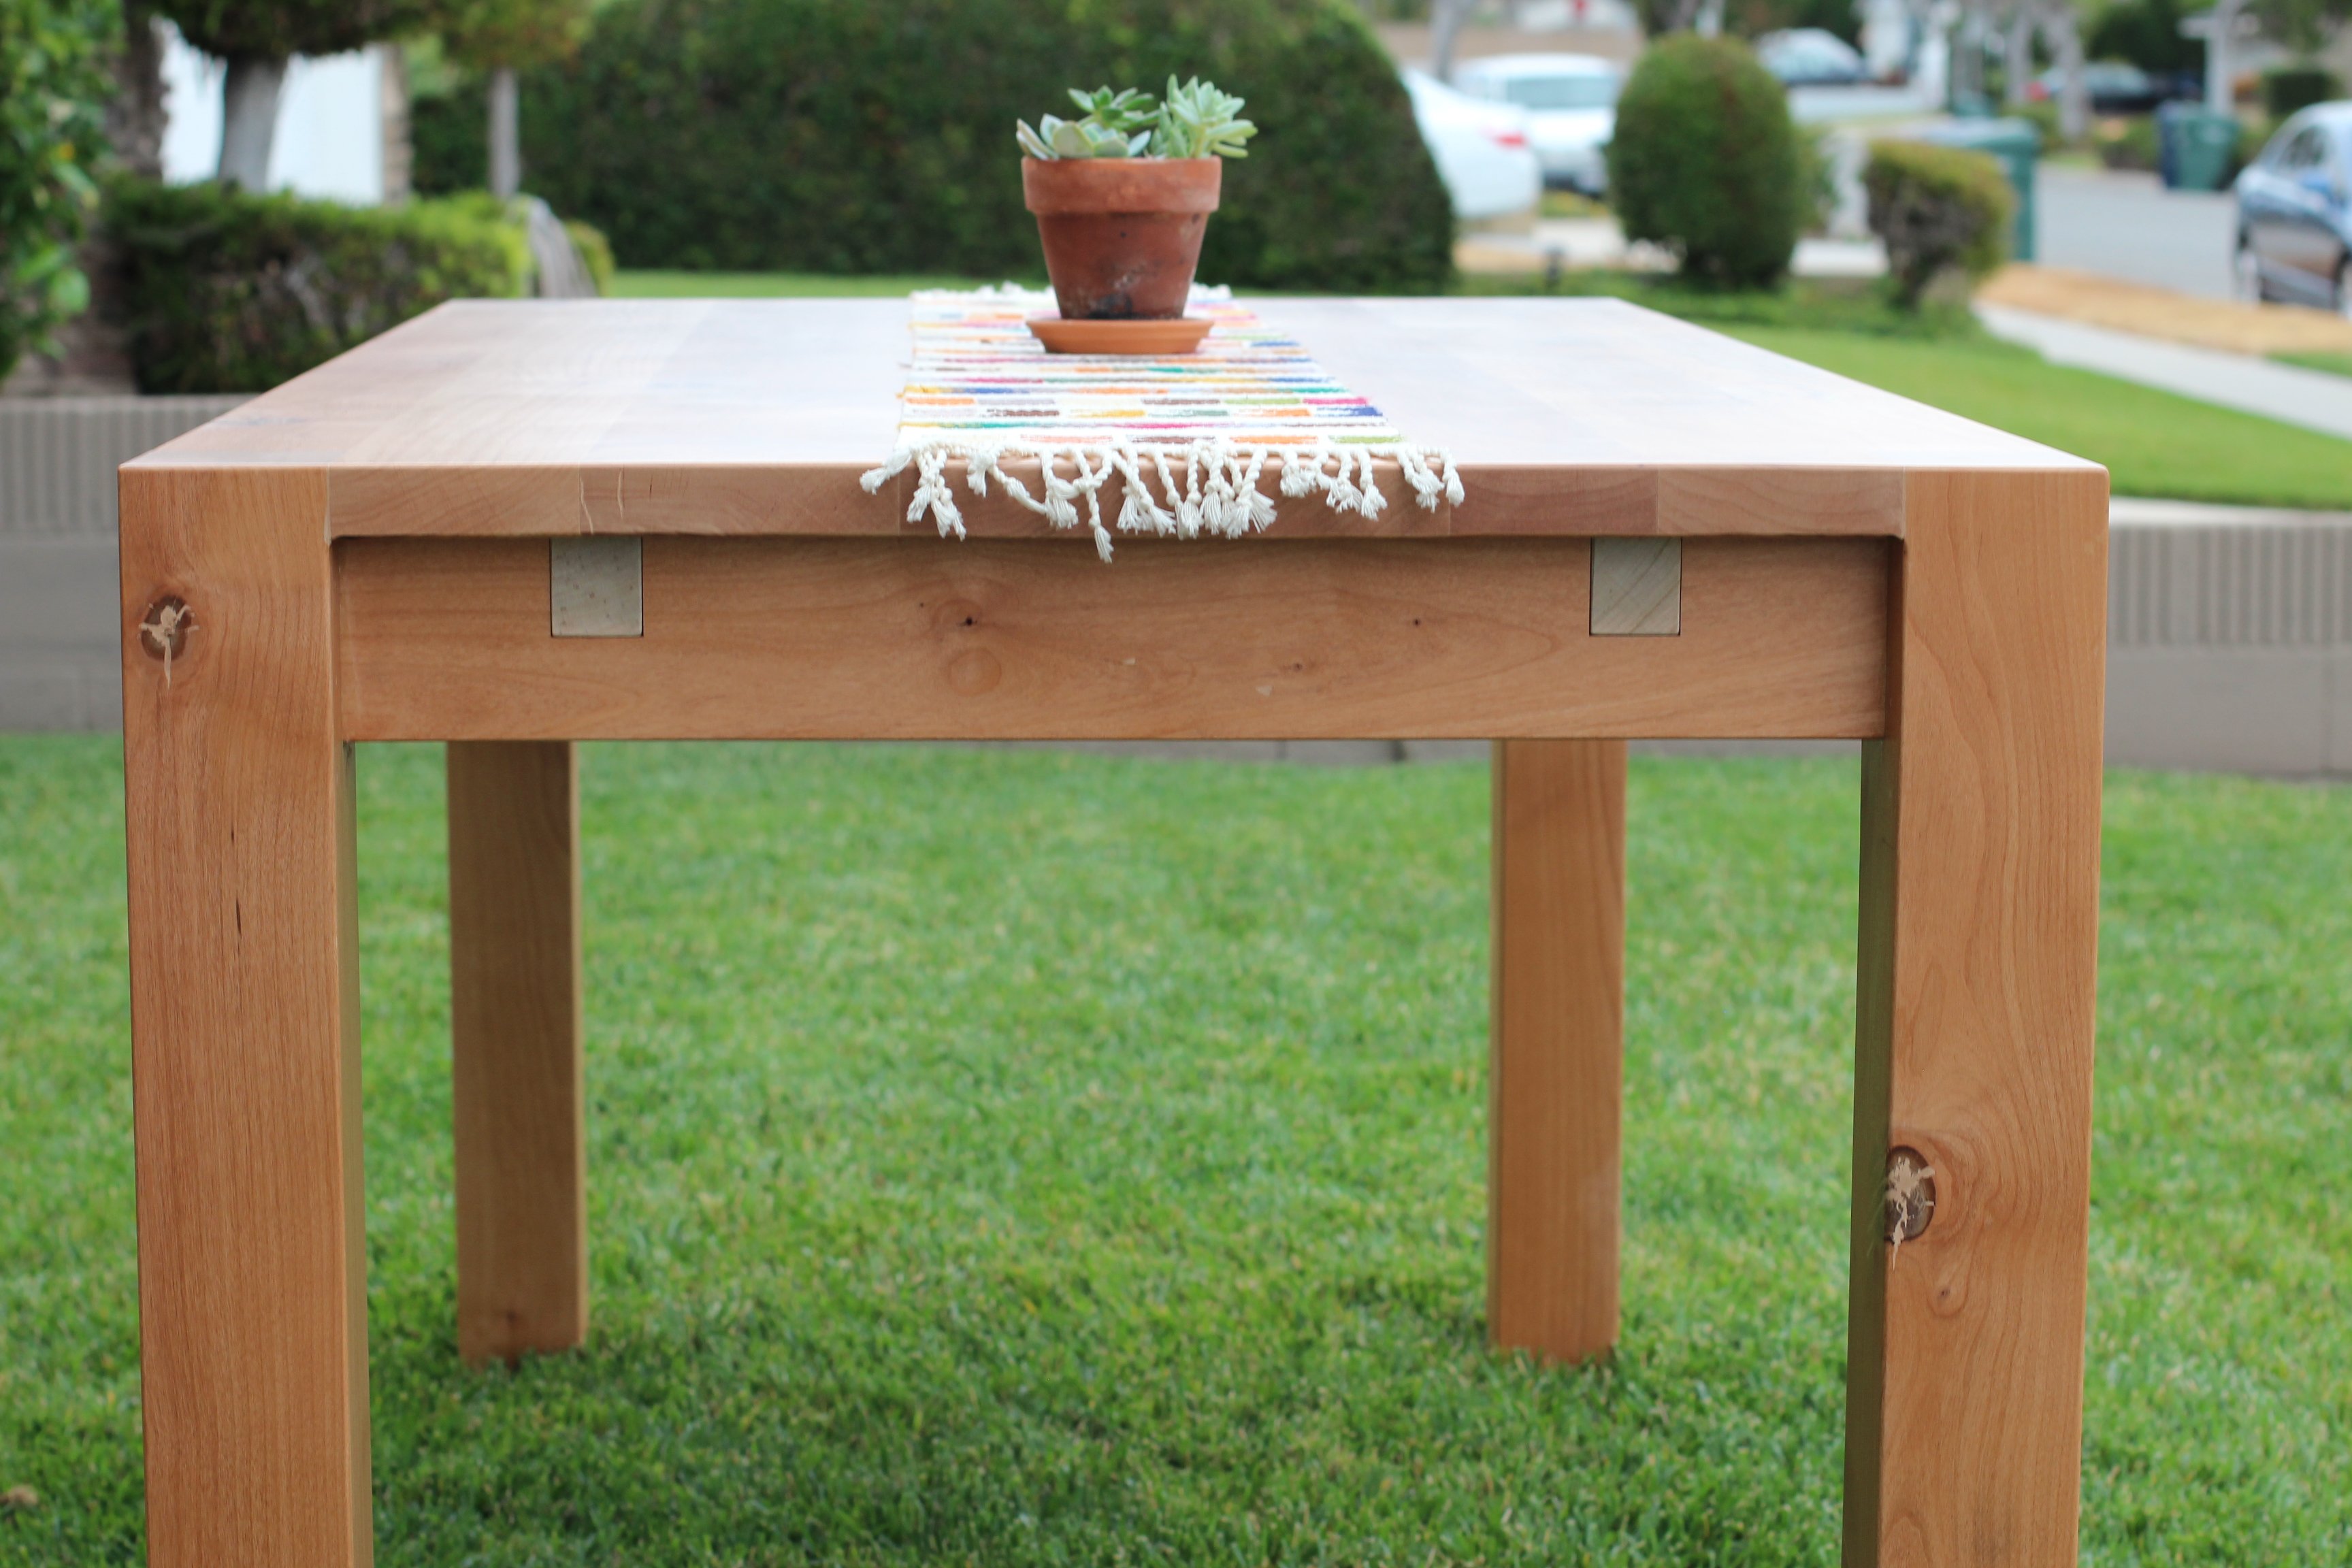
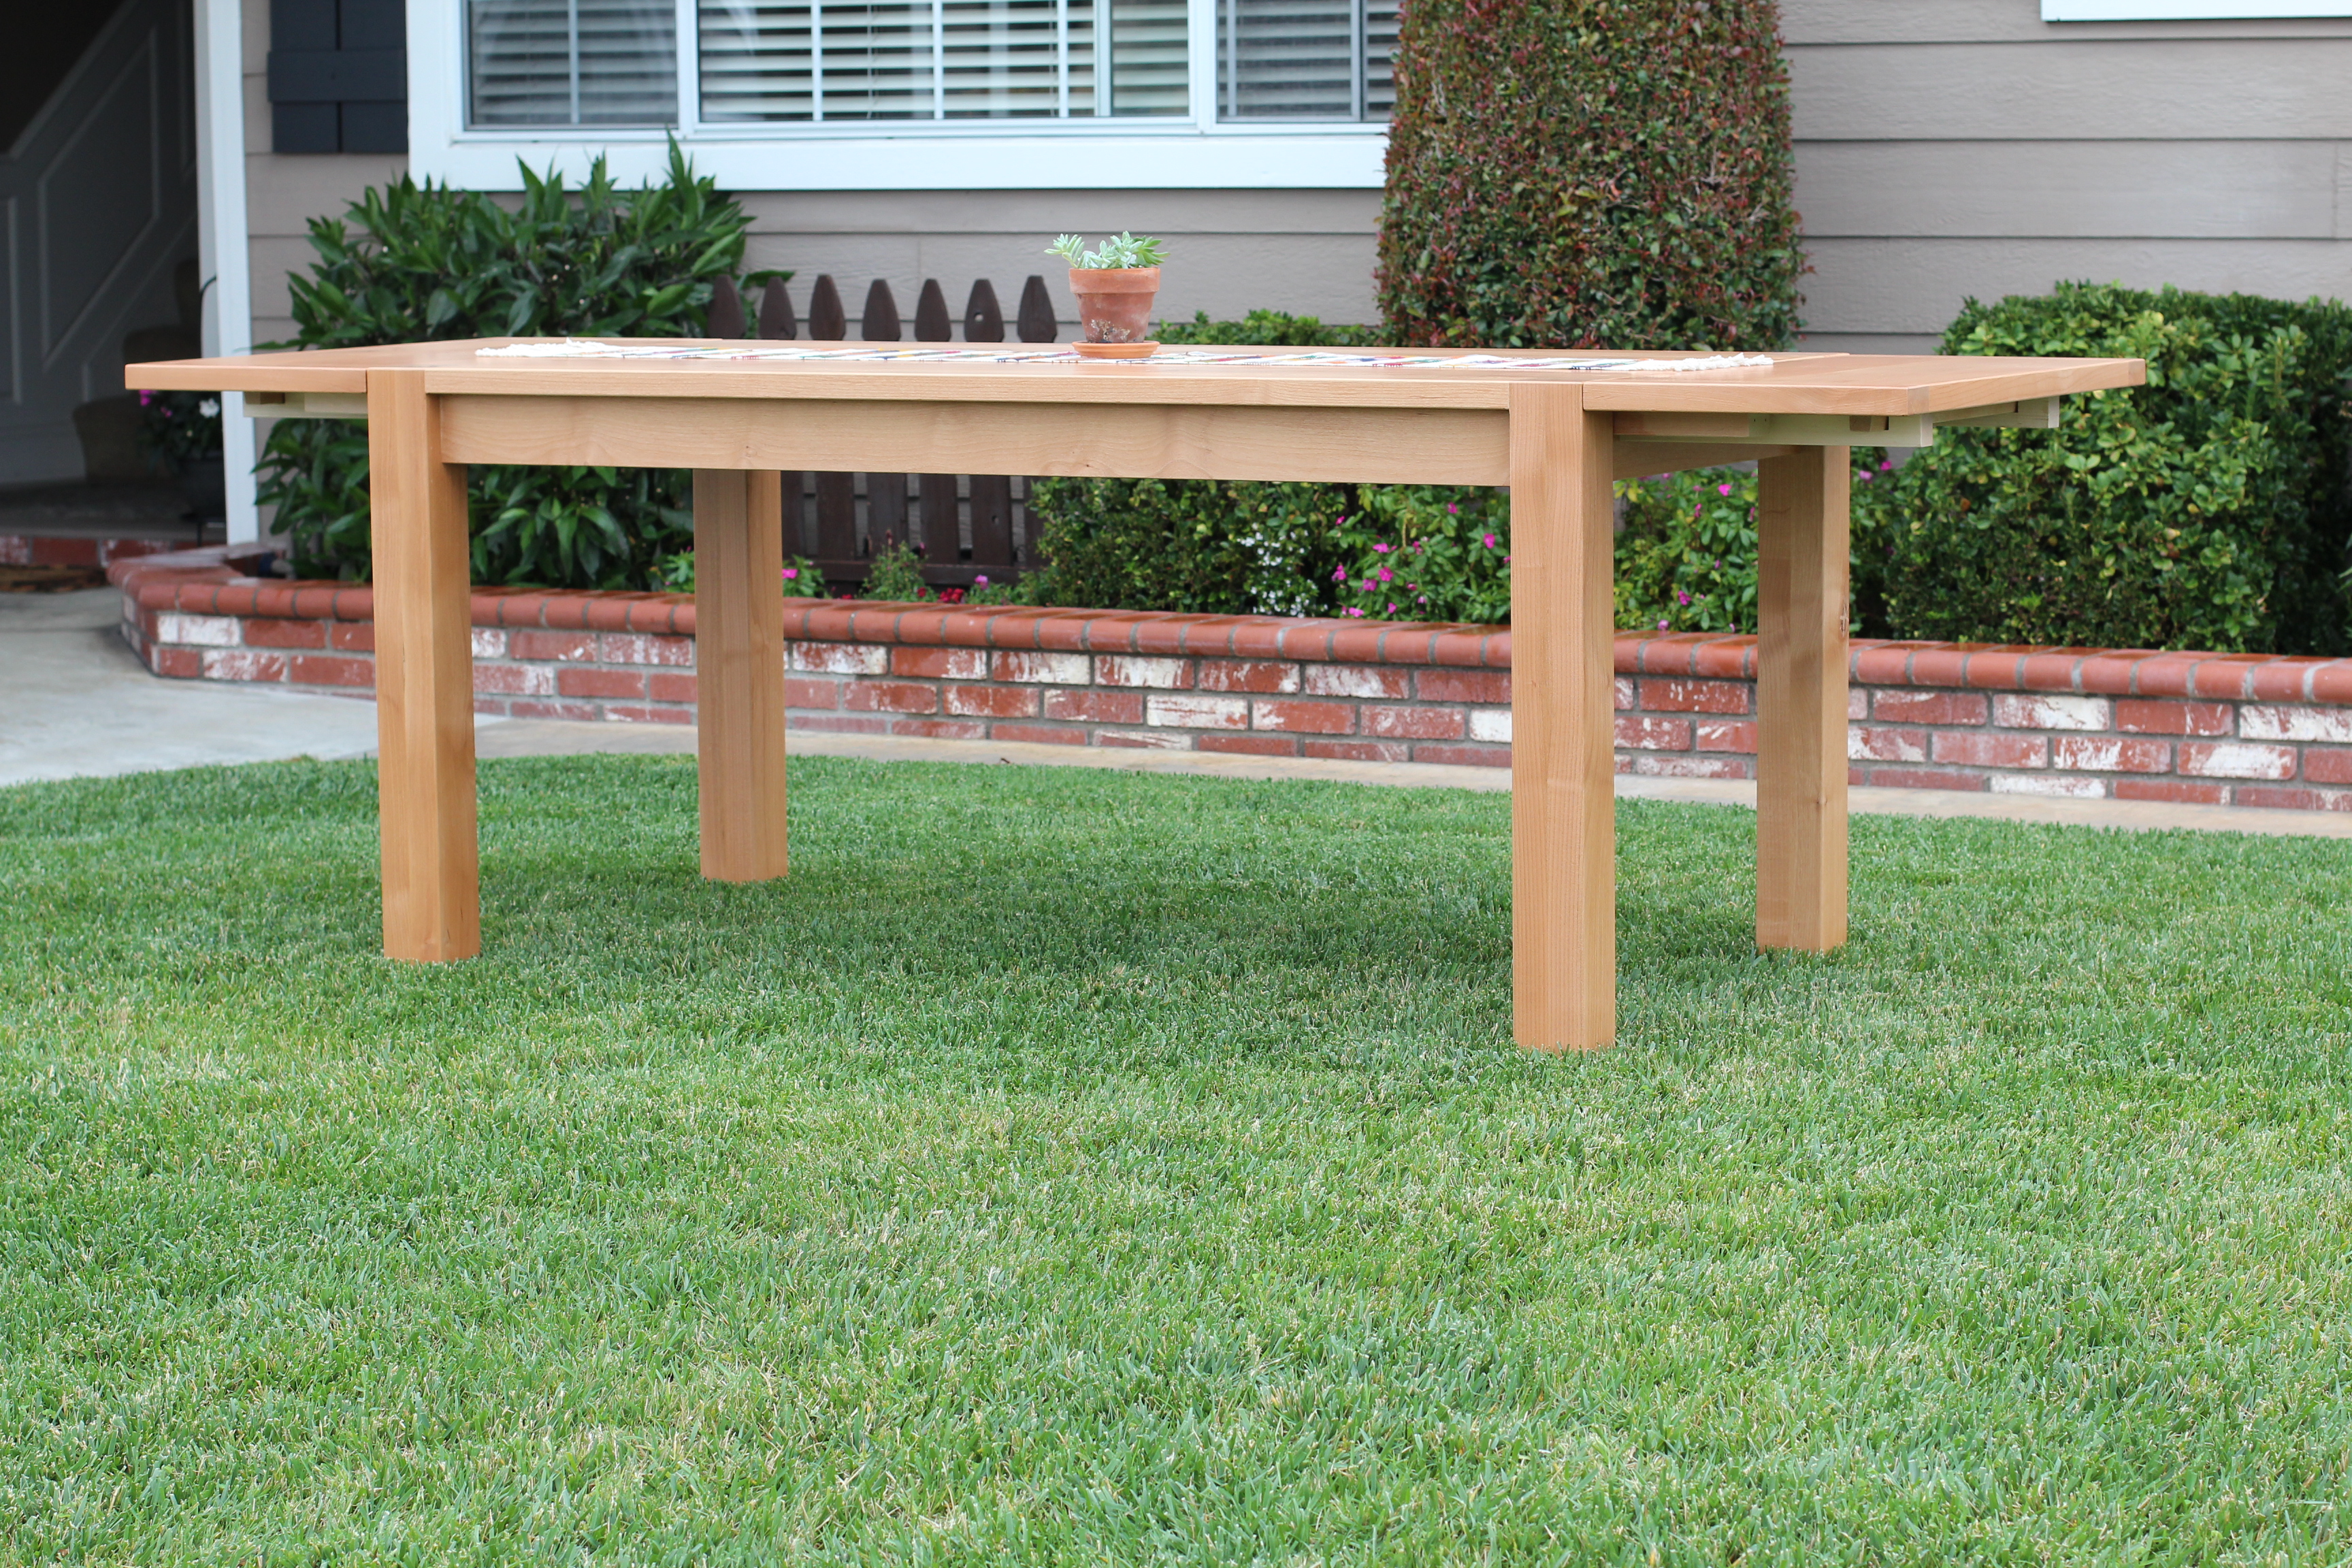
Here we have a Parsons style dining table built out of solid Alder wood. The table length is 72" but can extend up to 110" with two drop in leaves on either end. The table was clear coated with a satin poly.
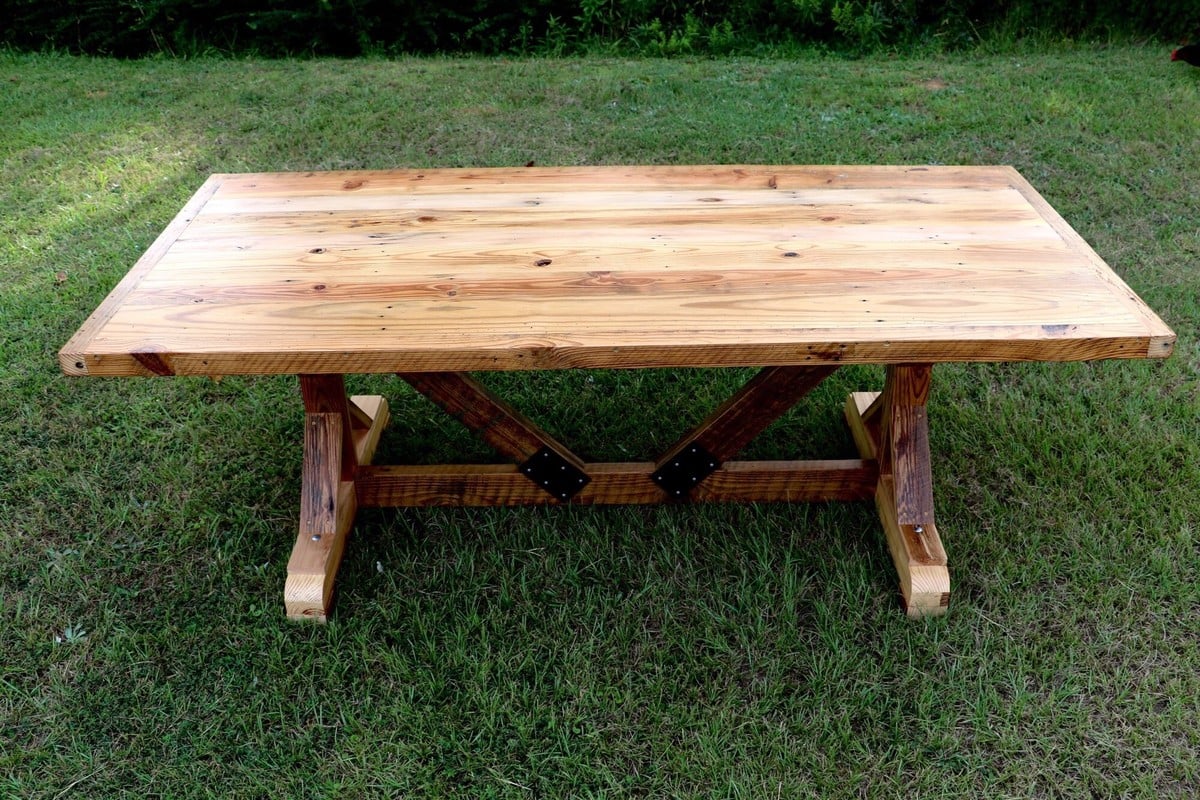
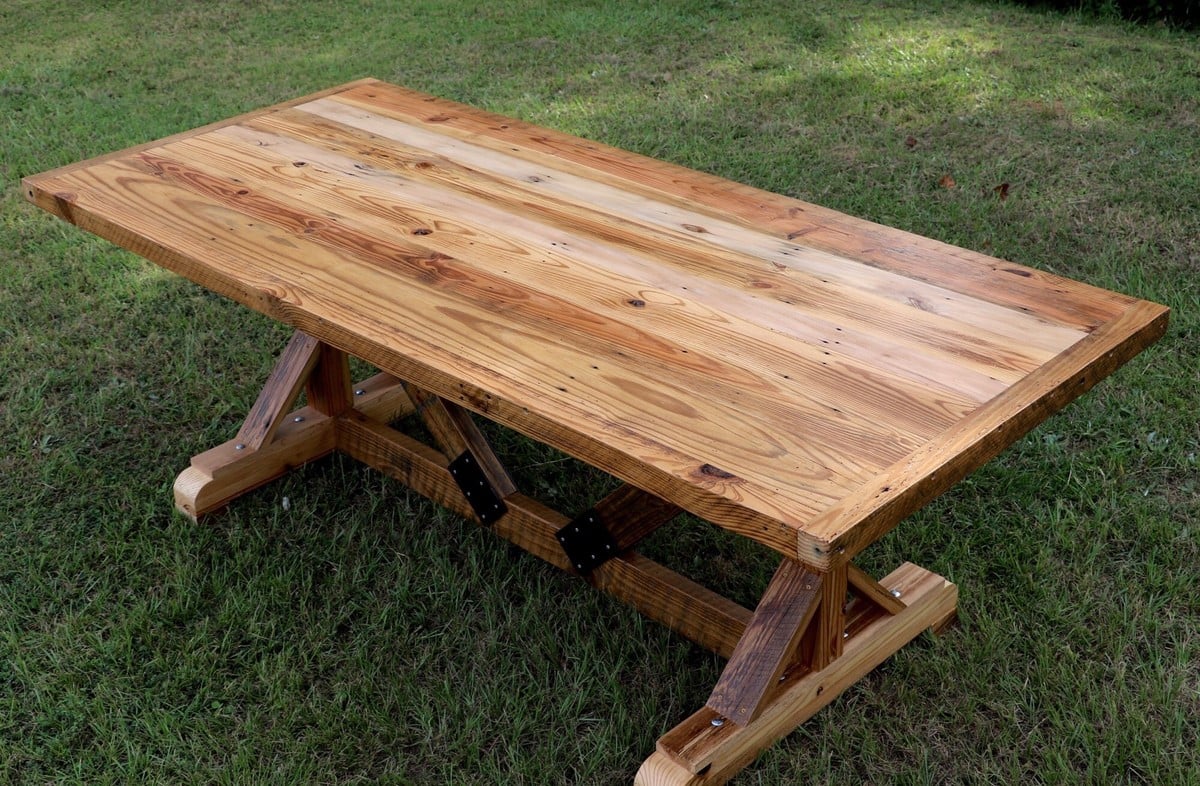
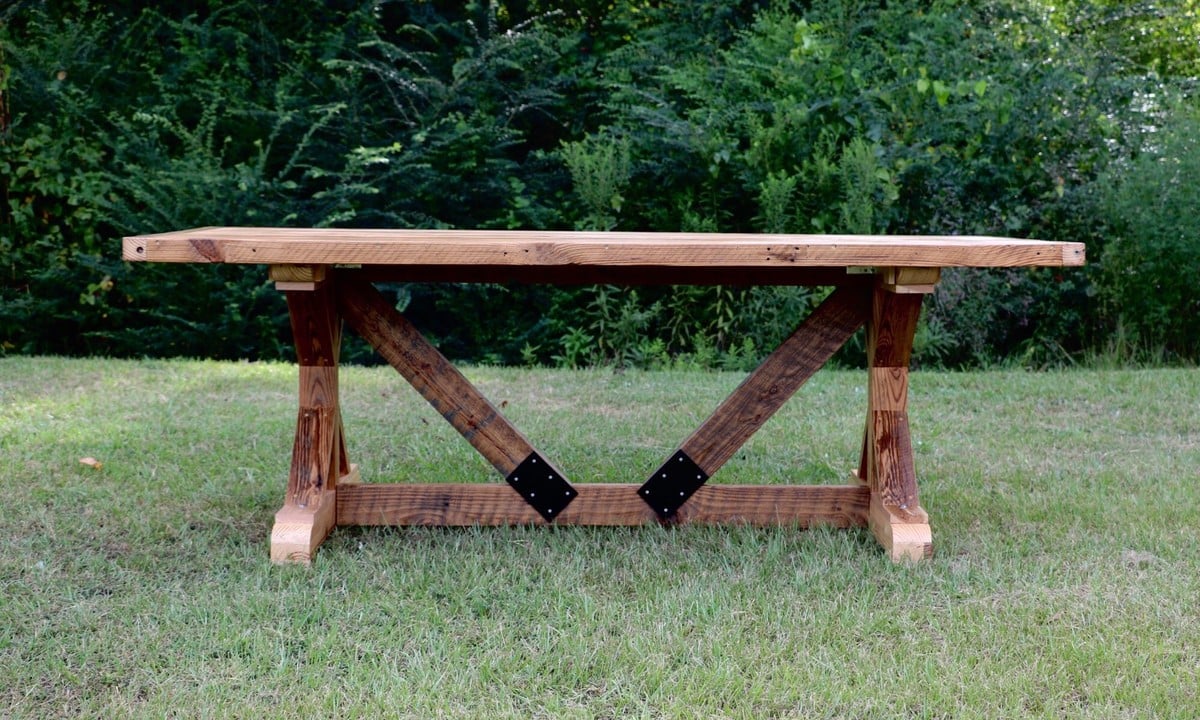
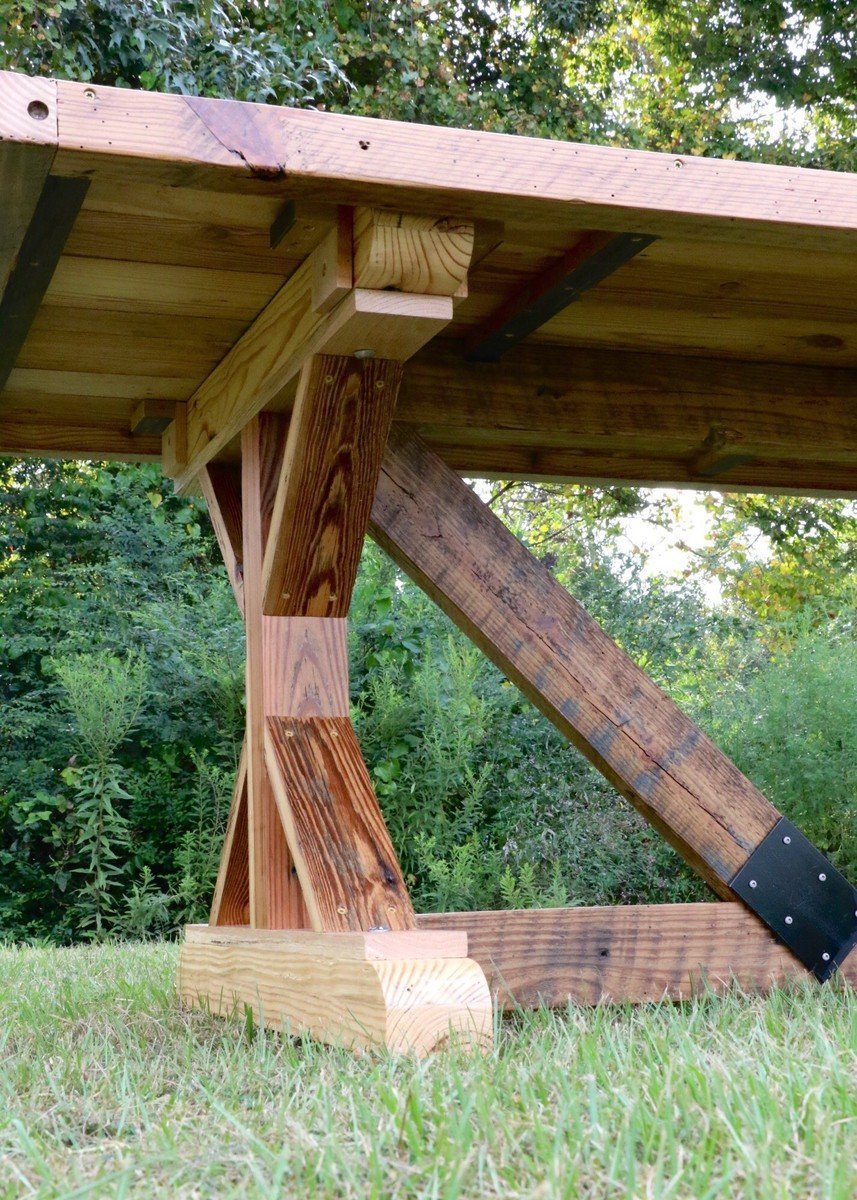
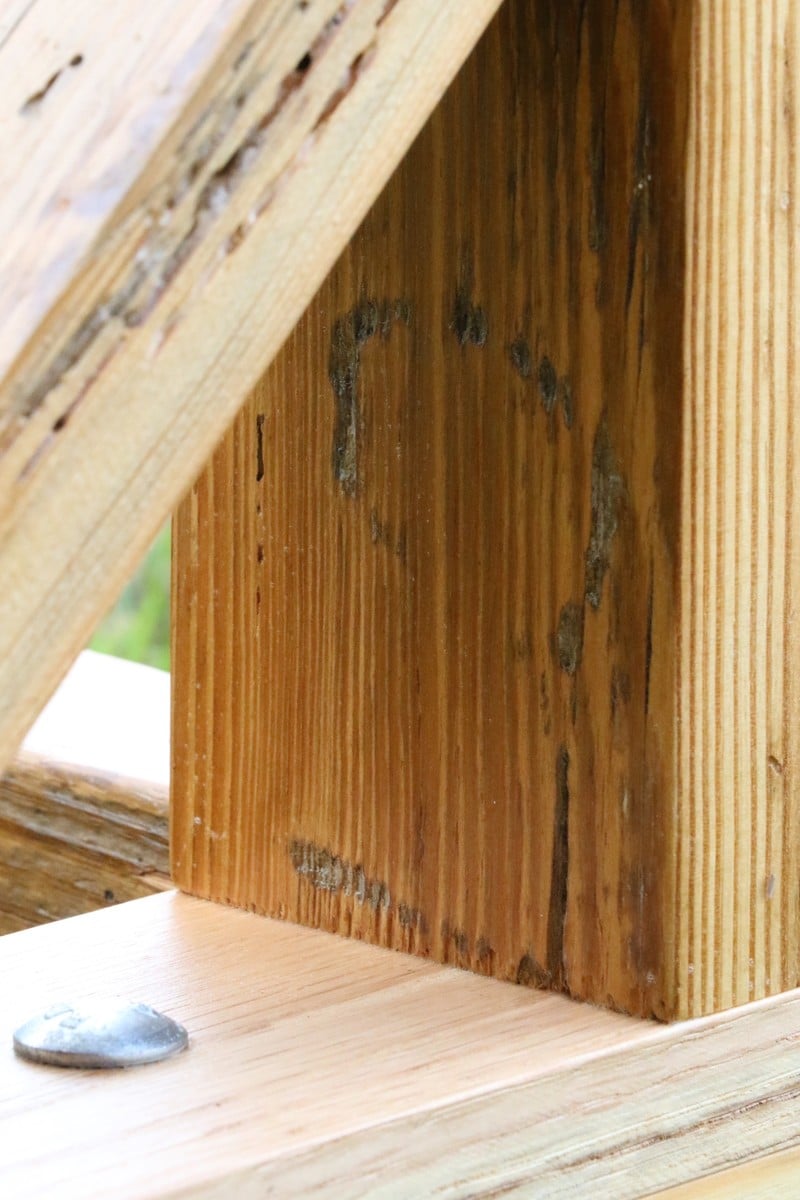
I built this table in the summer of 2017 specifically for our new home. I used the reclaimed barnwood from my wife's grandfather's corn crib barn he built in 1947 along with a few pieces of lumber cut from trees that were blown down during hurricane Katrina. The table top boards were planed to 1" thick and glued on edge with biscuits. The table top is wrapped by a ripped rafter from the barn about 2" x 2". The verticals of the legs are laminated leftover pieces, one of which has the initials of a son preserved from the original barn. The horizontals of the legs are from pine and red oak Katrina wood. The table bracing is made from barn rafter material and the metal straps are made from scrap and painted black. The table itself has no stain, because we felt the true charm would be more appreciated showing the old nail holes, knots, and bug scarring. It is finished with three coats of clear matte polycrylic. I engineered the table into two pieces, so that the top could be removed for ease of transport.
You may see our table in HGTV's Home Town Season 2 Episode 3 originally airing January 22, 2018 at 8 CST.


Hi Anna and everyone else that read this. My name is Scott. I got into woodworking to have something to do after I retire retire. No, that's not a typo. I retired the first time from the military, but right now I'm still working. For a couple more years. Anyway. The first photo was my workbench to build my workbench. The second photo is the all the cut wood. The third is the finished product. Mistakes were made, of course, but I learned from them. For example, the plywood is what I believe is termed 'exterior'. I figured, it was going to be hammered on, drilled on, painted on (you get my drift). What I didn't count on was splinters from the very rough surface. I sanded it. And sanded it. And sanded it. Now I just wear gloves, LOL. Since then I've also built a set of "Owens Night Stands" of yours. My wife loves them. Me - I see all the mistakes I made while building them. I'm hoping to learn from them also. BTW, Anna, that video you made for setting up drawers? Wish I'd seen it earlier, would have been a lot of help with those 2 stands, LOL. Last thing - I always remember everyone saying 'measure twice, cut once'. For me, until I get better at this, it's measure 3 times!


Wed, 12/29/2021 - 12:04
Can't wait to see all the projects you build here, congratulations!

I wanted to build something fun and challenging for me. I was inspired to do more caddy things because of Anas fun plans for her Soda Caddy. I often try to design my own plans, (the old fashioned way, because skechup hates me!). I LOVE to look at pictures online, and just see if I can replicate it somewhat. So this Desk Caddy is what I came up with. I used all old wood that I had in the shed, and was begging to be made into something fun! I think this would be cute for so many different areas. Outside, you could organize your gardening items, seed packets, shovels and pots. It could be an awesome message center, mail area. Whatever!
If the dimensions are with the image, it's much easier for me to figure out, this one had dimensions, so I just went with my gut and I think it turned out ok. It sold in my booth, at our local antique mall in 2 days.
Without the Kreg Jig, I would not have had the confidence to build this, and sell it. I love the Kreg Jig!
Clearly I need to get a new camera, and need to take better pictures, SOON!


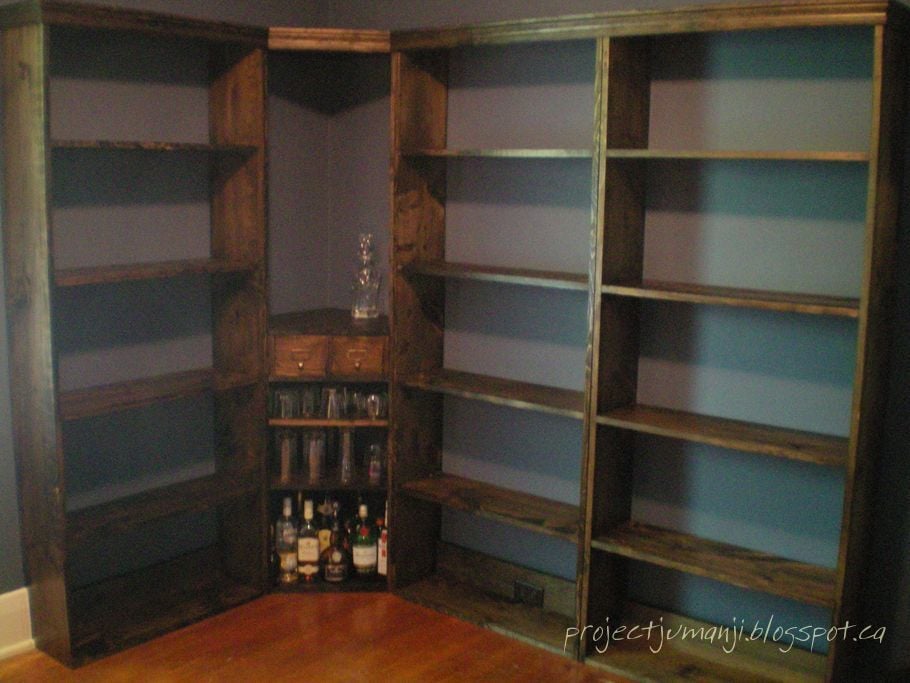
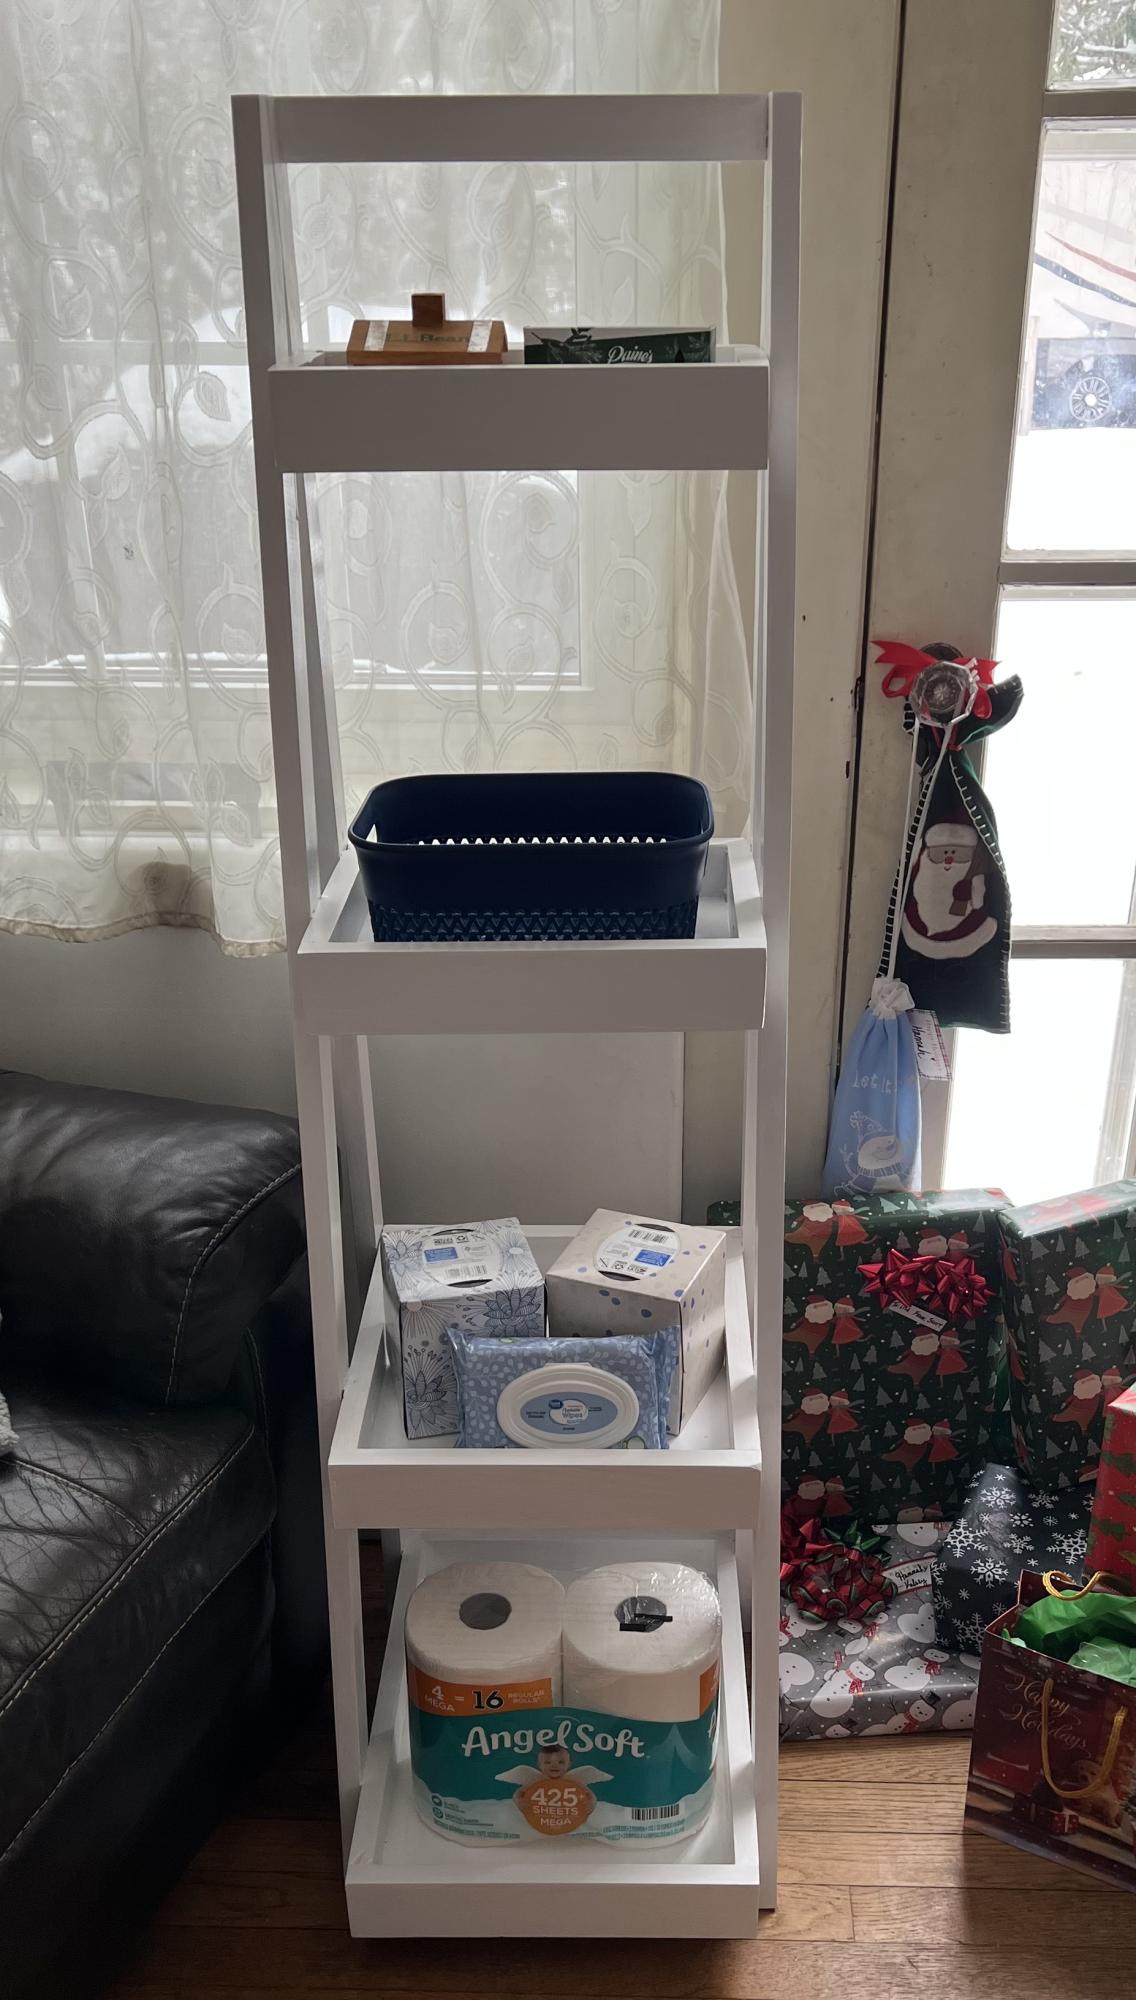
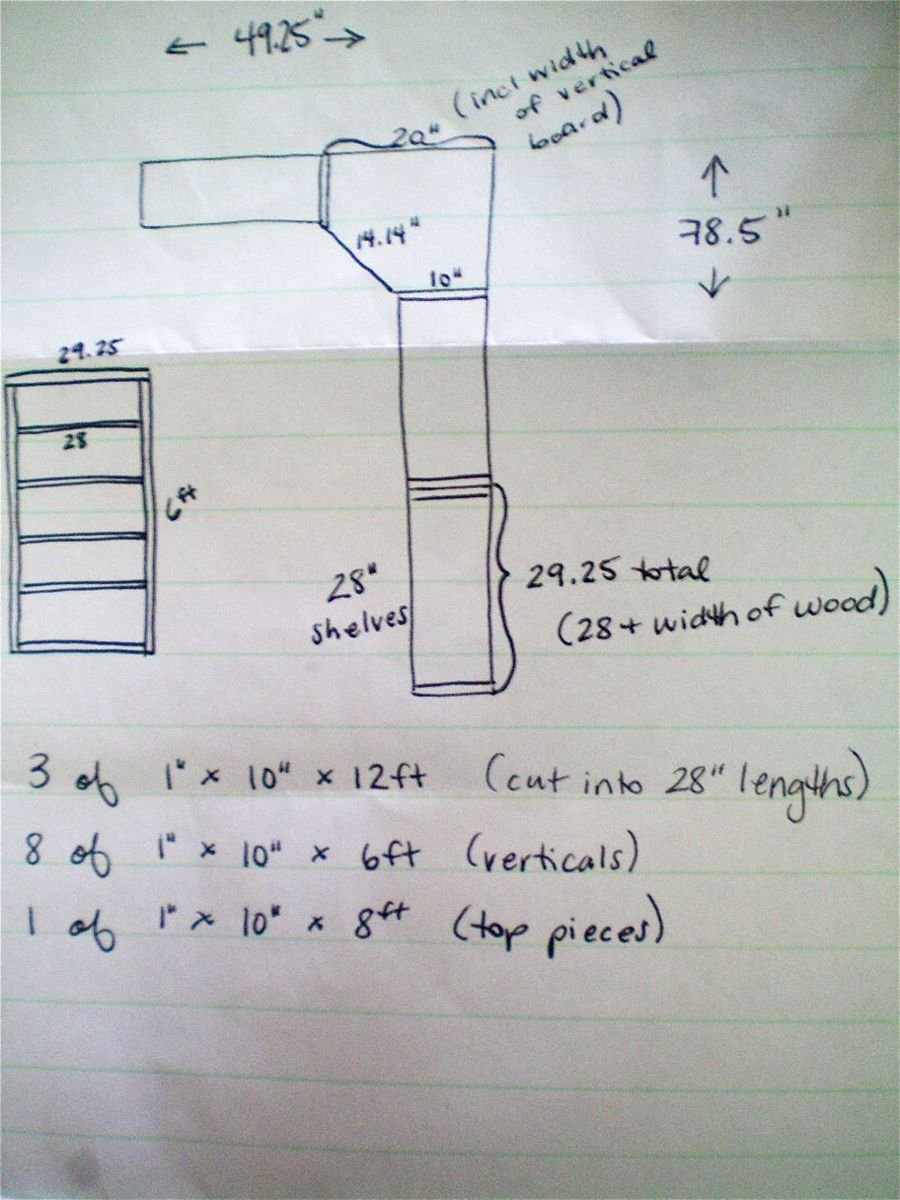
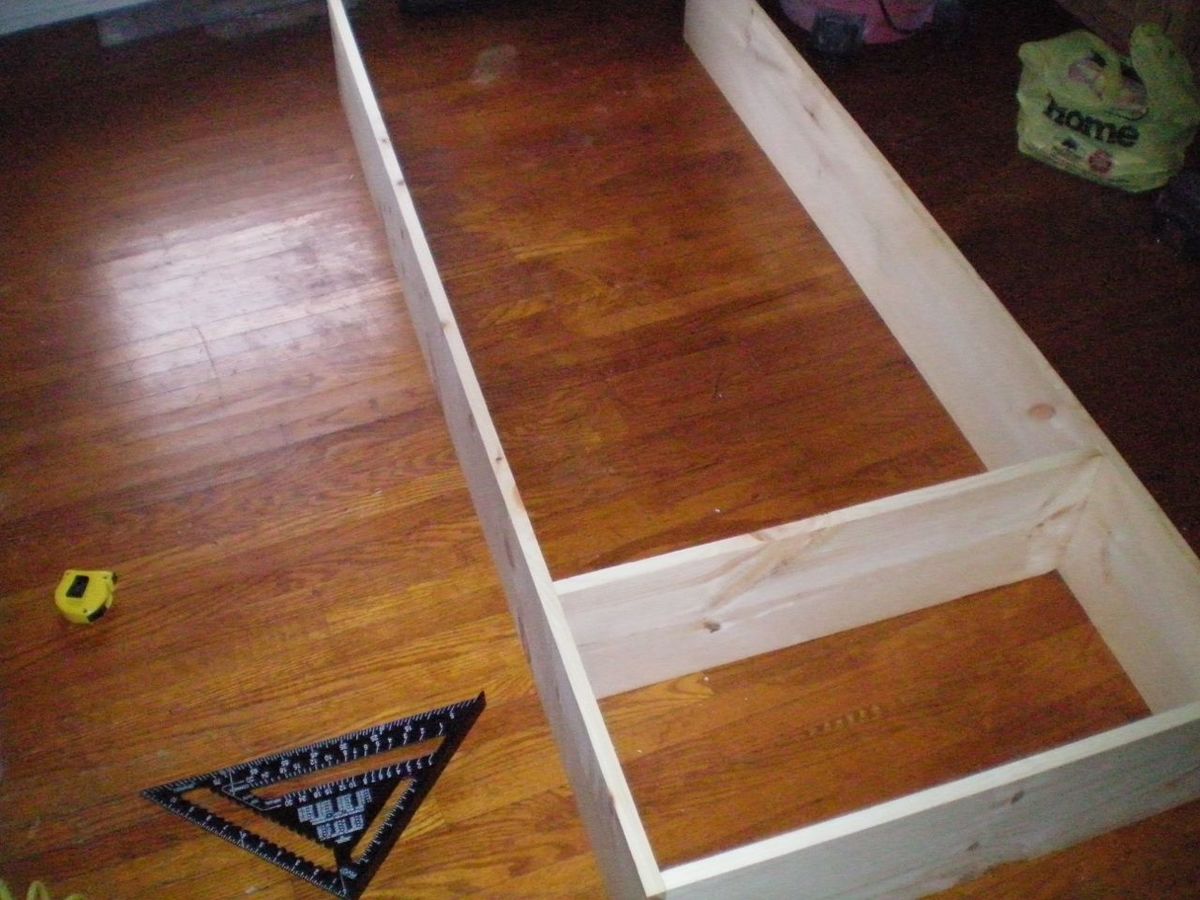
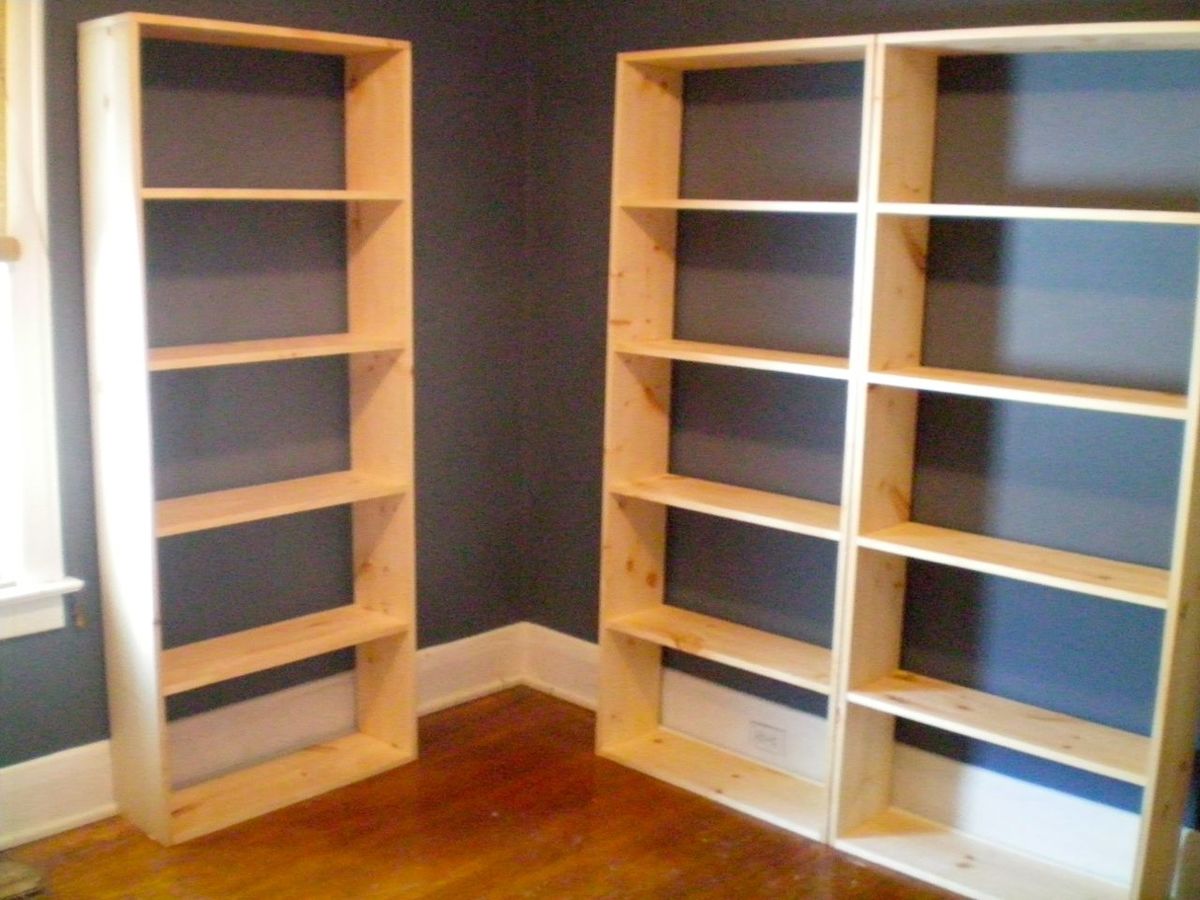
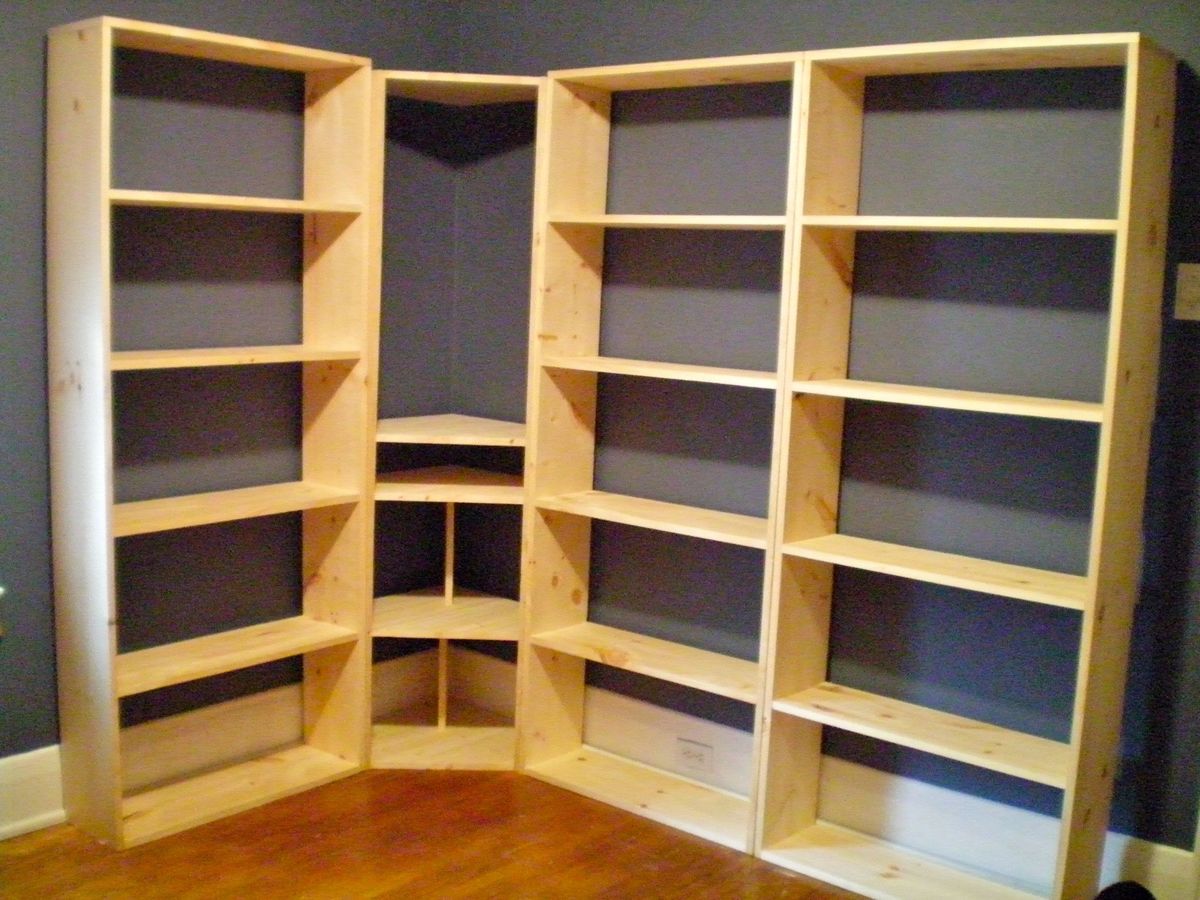
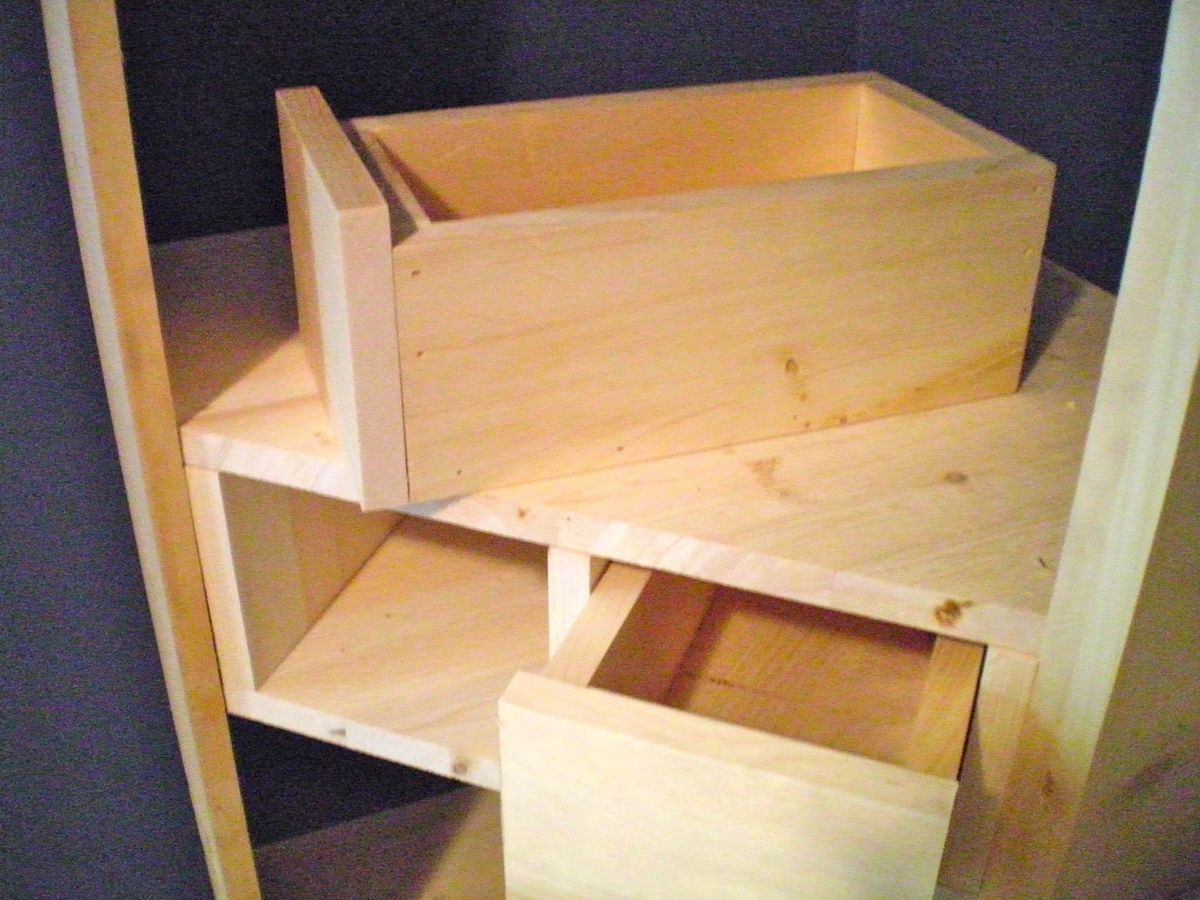
I fell in love with a set of bookshelves from a big box store (ahem, T@#get) but was disheartened to find that they would not help me get the corner shelf ordered to Canada from their website.
With inspiration from Ana, I decided to design and build the whole thing myself. It cost 1/3 the price, and as my first wood project, I'd say it turned out pretty well.
I made my design to work best with the wood available local to me, and to fit specifically in our room. The biggest challenge wasn't wood-related at all, but was actually dealing with the electrical outlet that I needed to attached to the base of one shelf.
Check it all out at my blog; http://projectjumanji.blogspot.ca
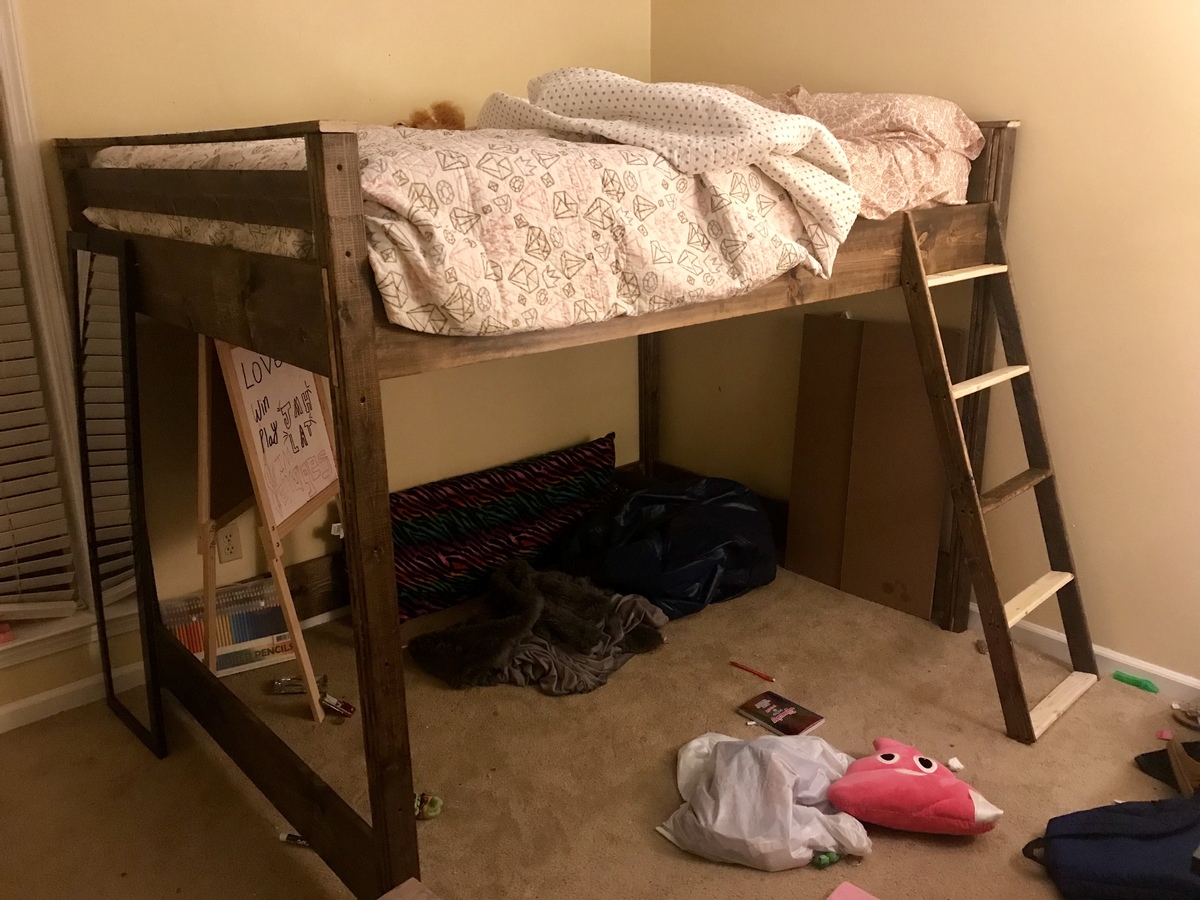
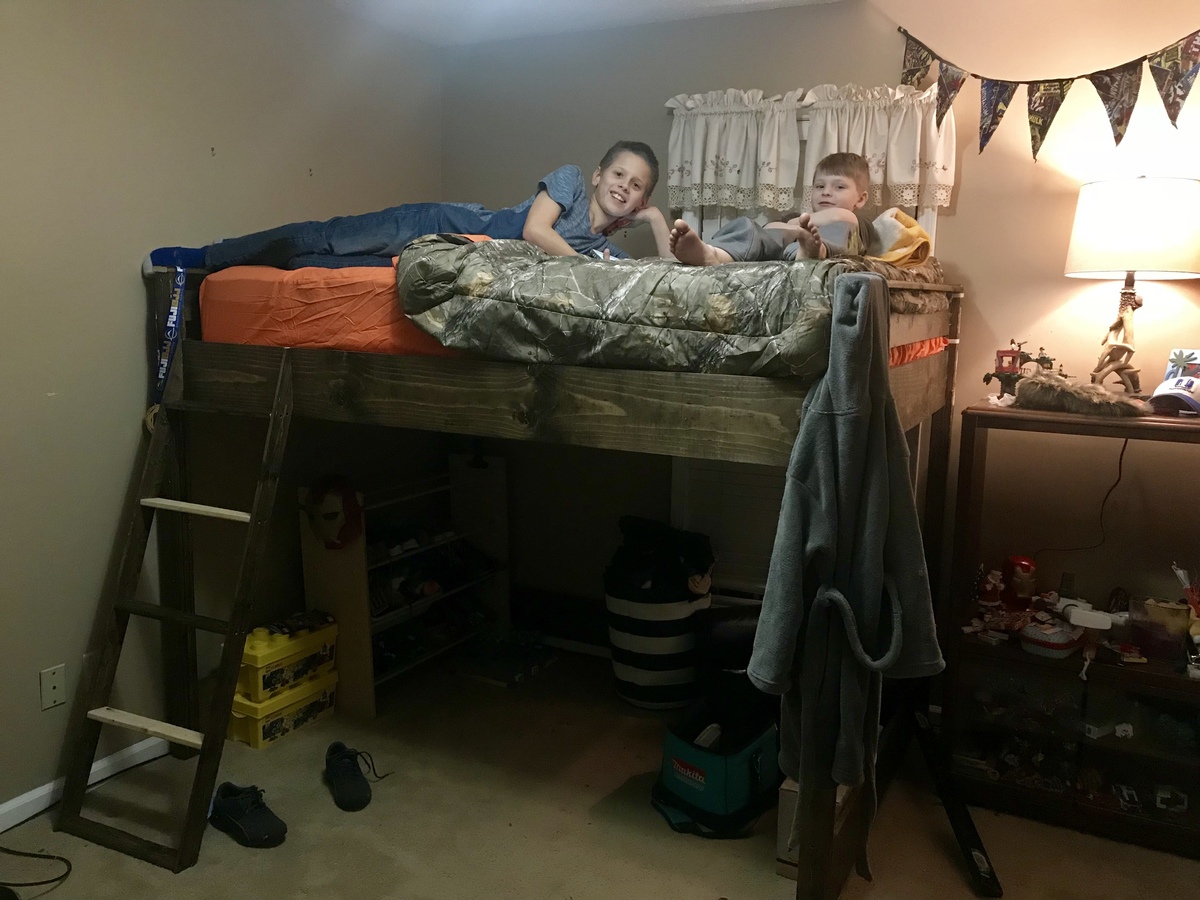
We made these beds for the kids as their Christmas present. They’re full size and we plan to add shelves later. We had to cut them 12 inches because the kids were hitting their heads on the ceiling. I added white Christmas lights under them. I LOVE how they turned out!
This was my first big project. Plan was so easy to follow. It took awhile but so worth it. I have had so many compliments on it. Thank you Anna!
Sat, 01/01/2022 - 12:21
Well done, it is beautiful, thank you so much for sharing!
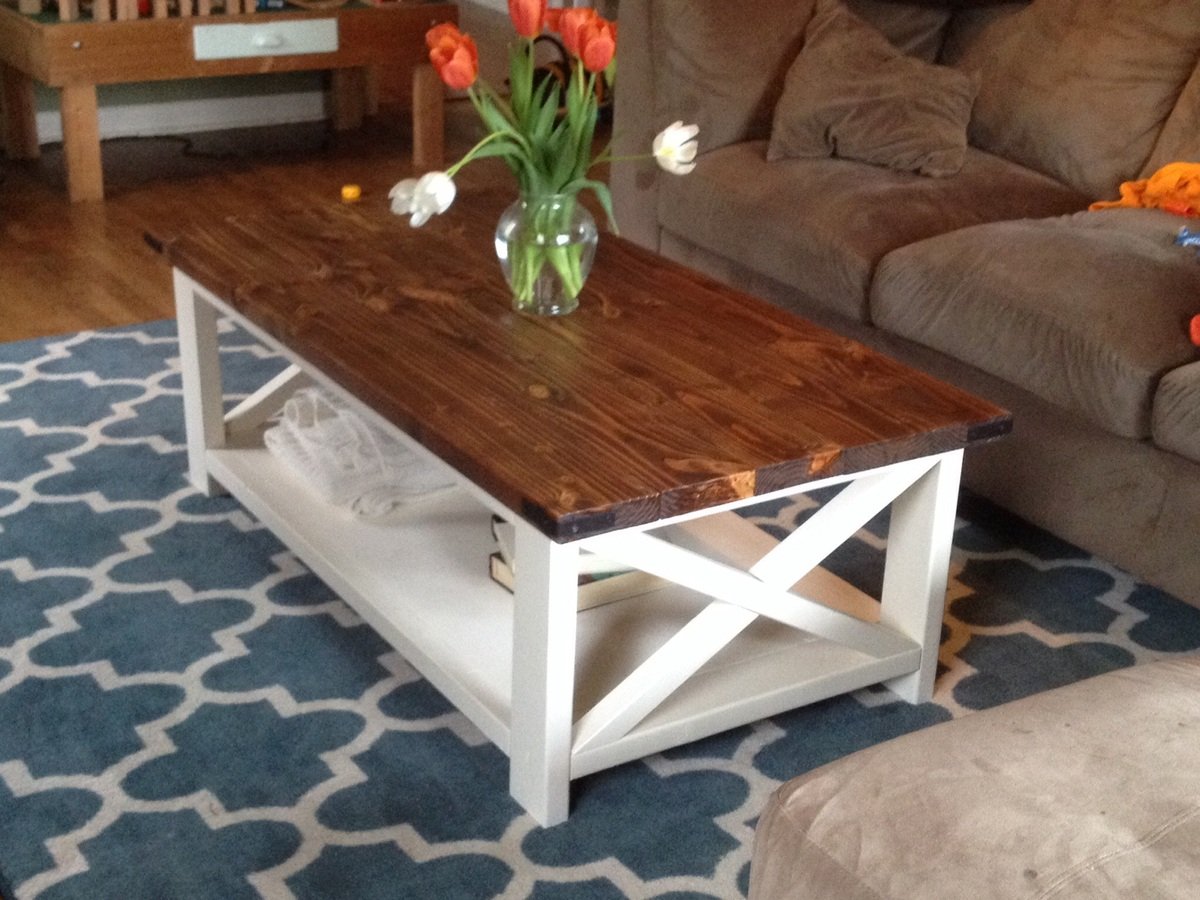
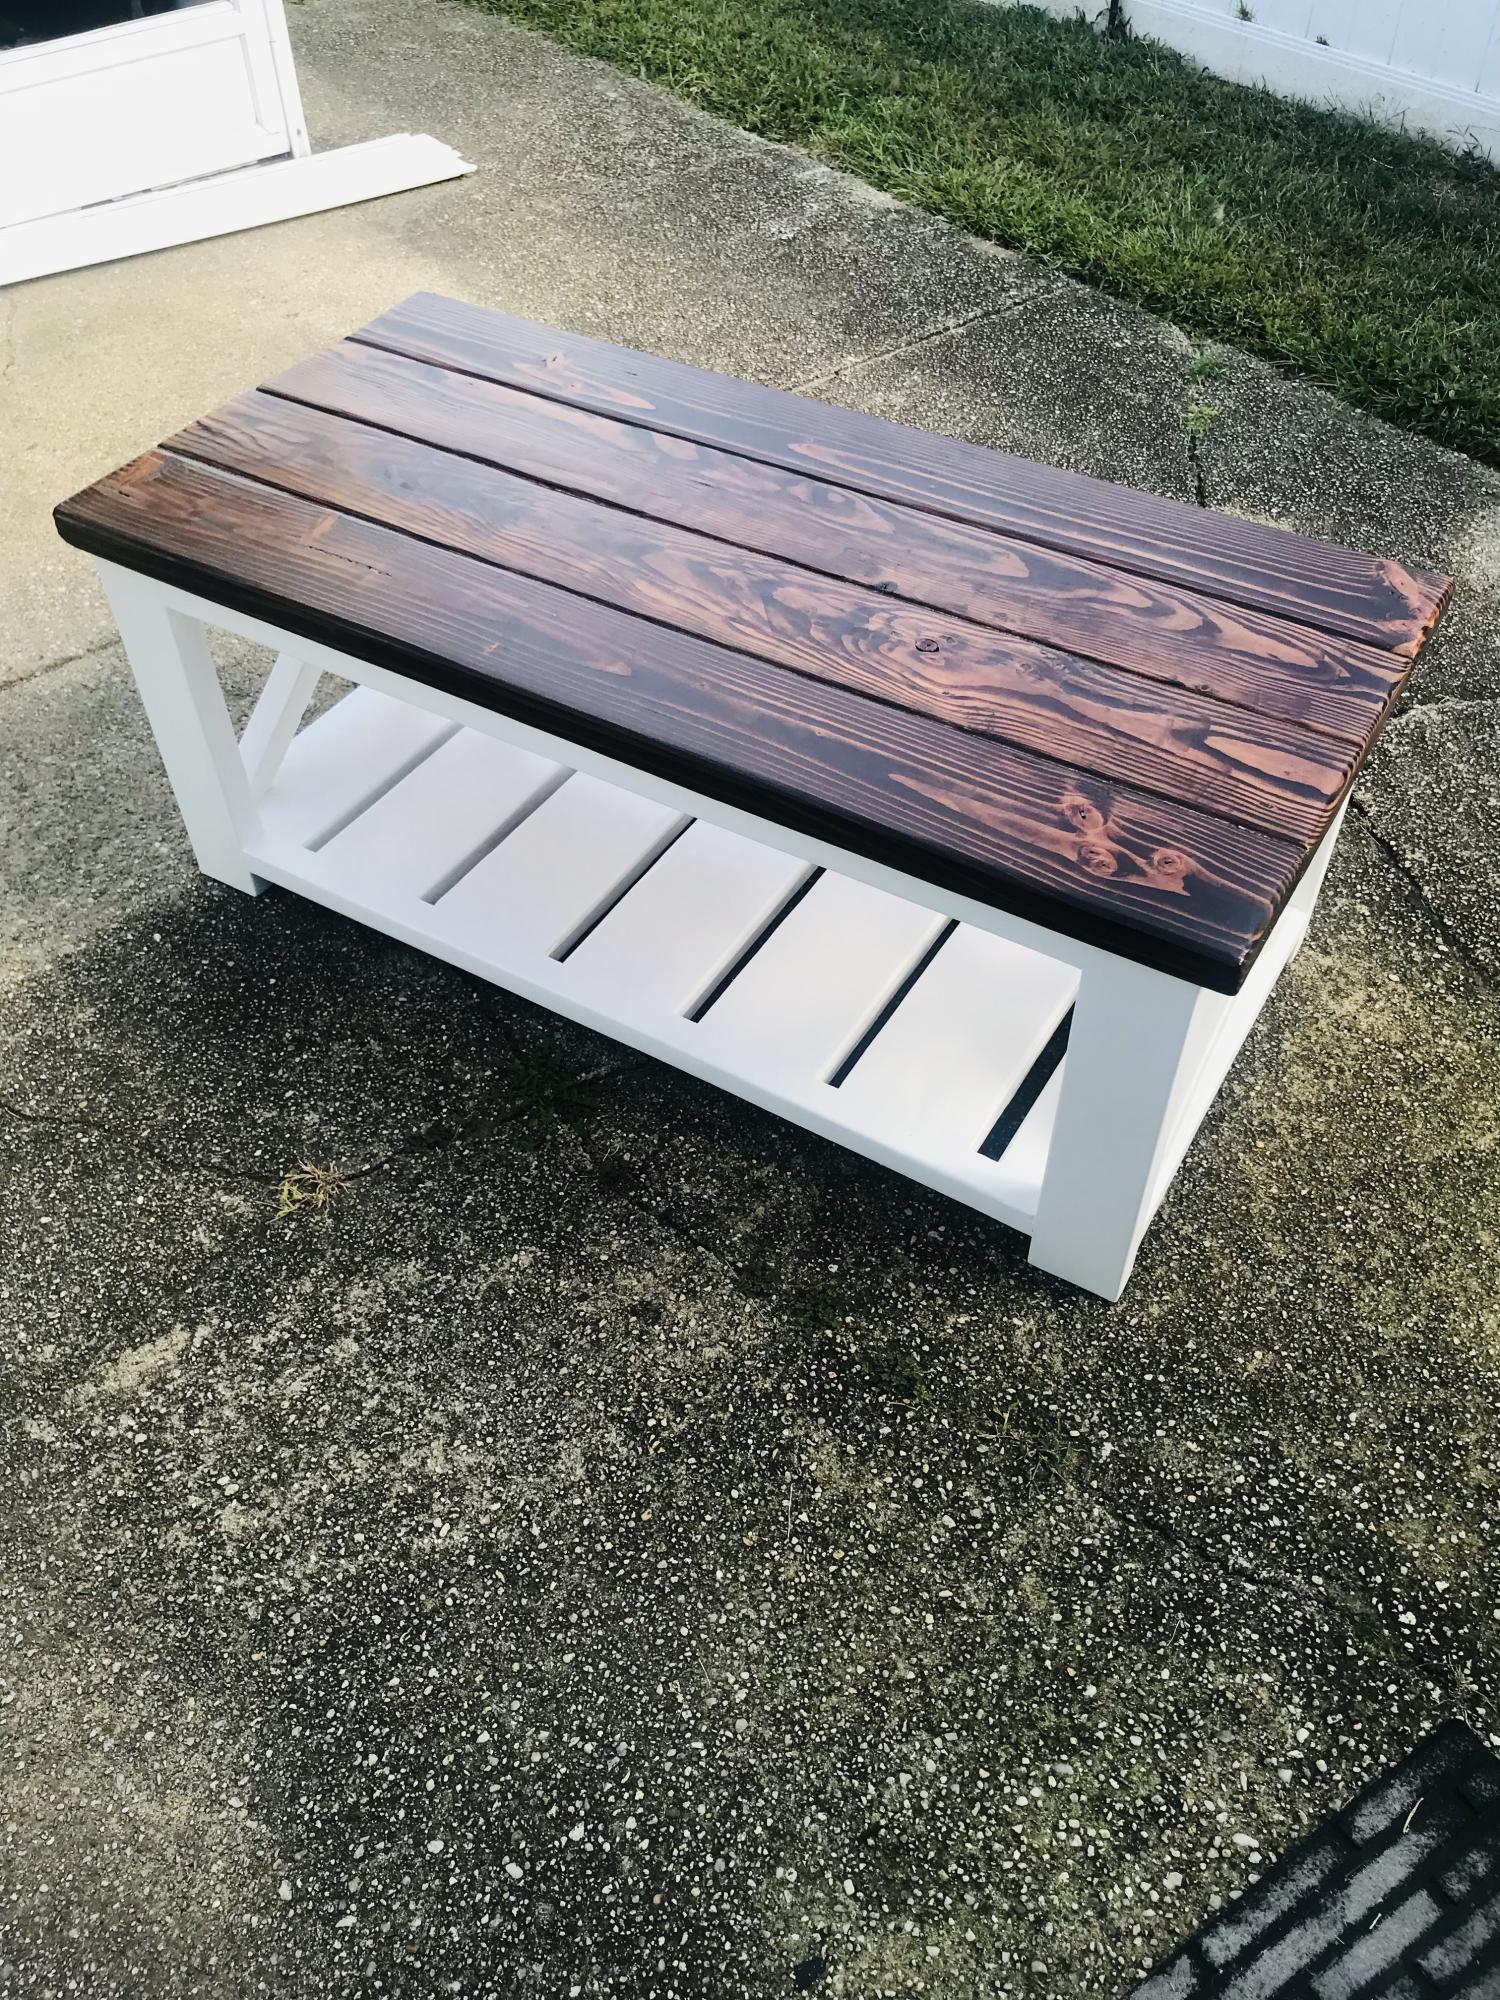
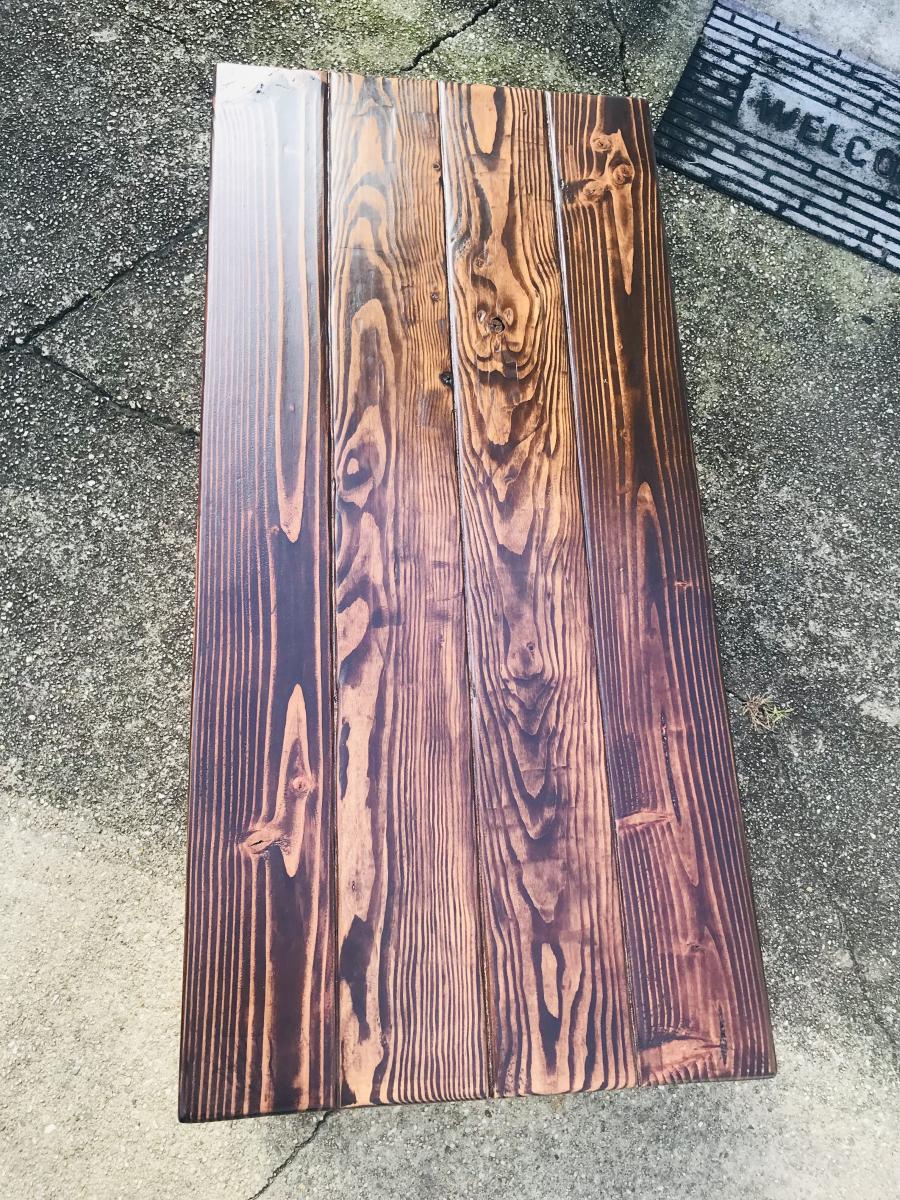
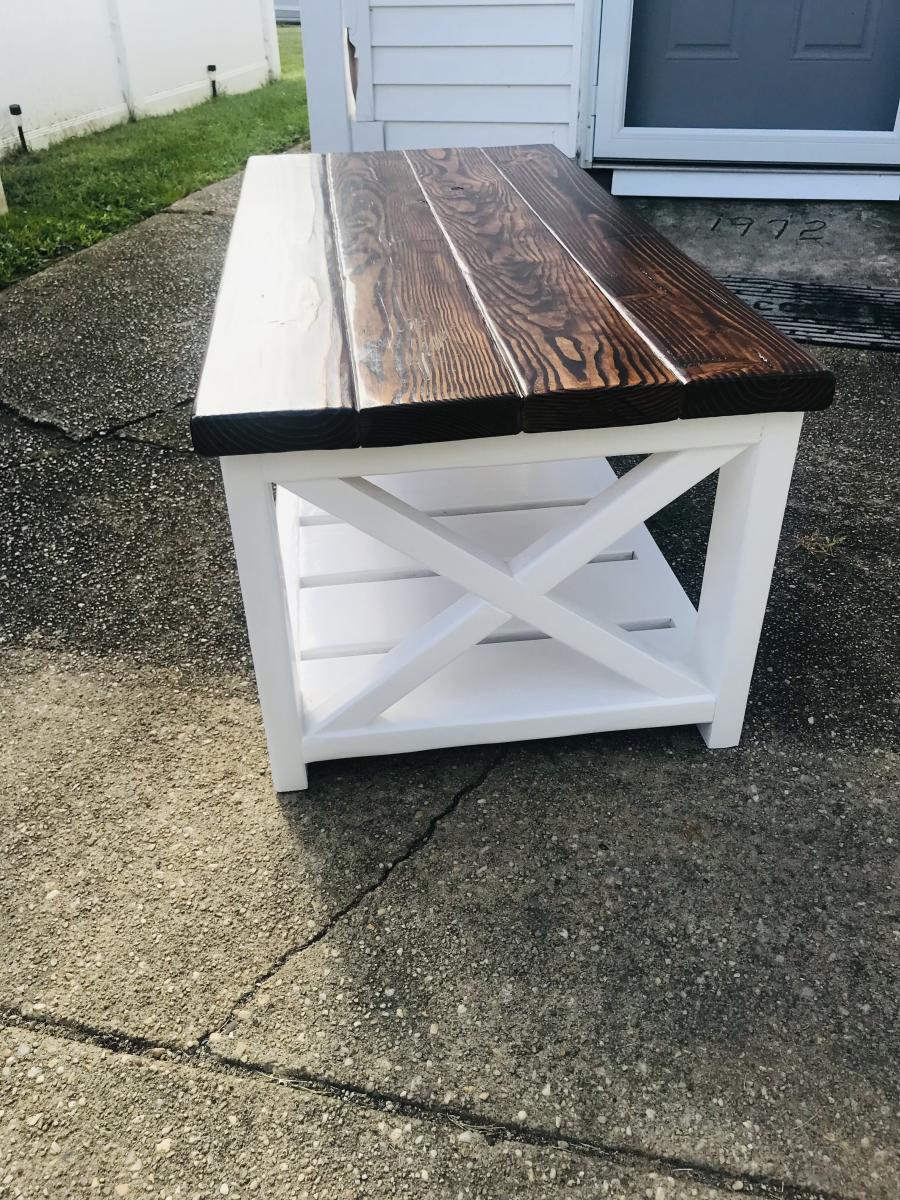
This is my second project. I used all pine. The top is stained special walnut then added poly acrylic sealer and the bottom I sprayed with Rustoleums heirloom white. This one was a lot of fun and I love the result. Since this picture, I added corner brackets sprayed with Rustoleums oil rubbed bronze (my fav-so good!).

Wed, 07/01/2015 - 09:47
Actually, the picture does show the corner hardware. Oops!
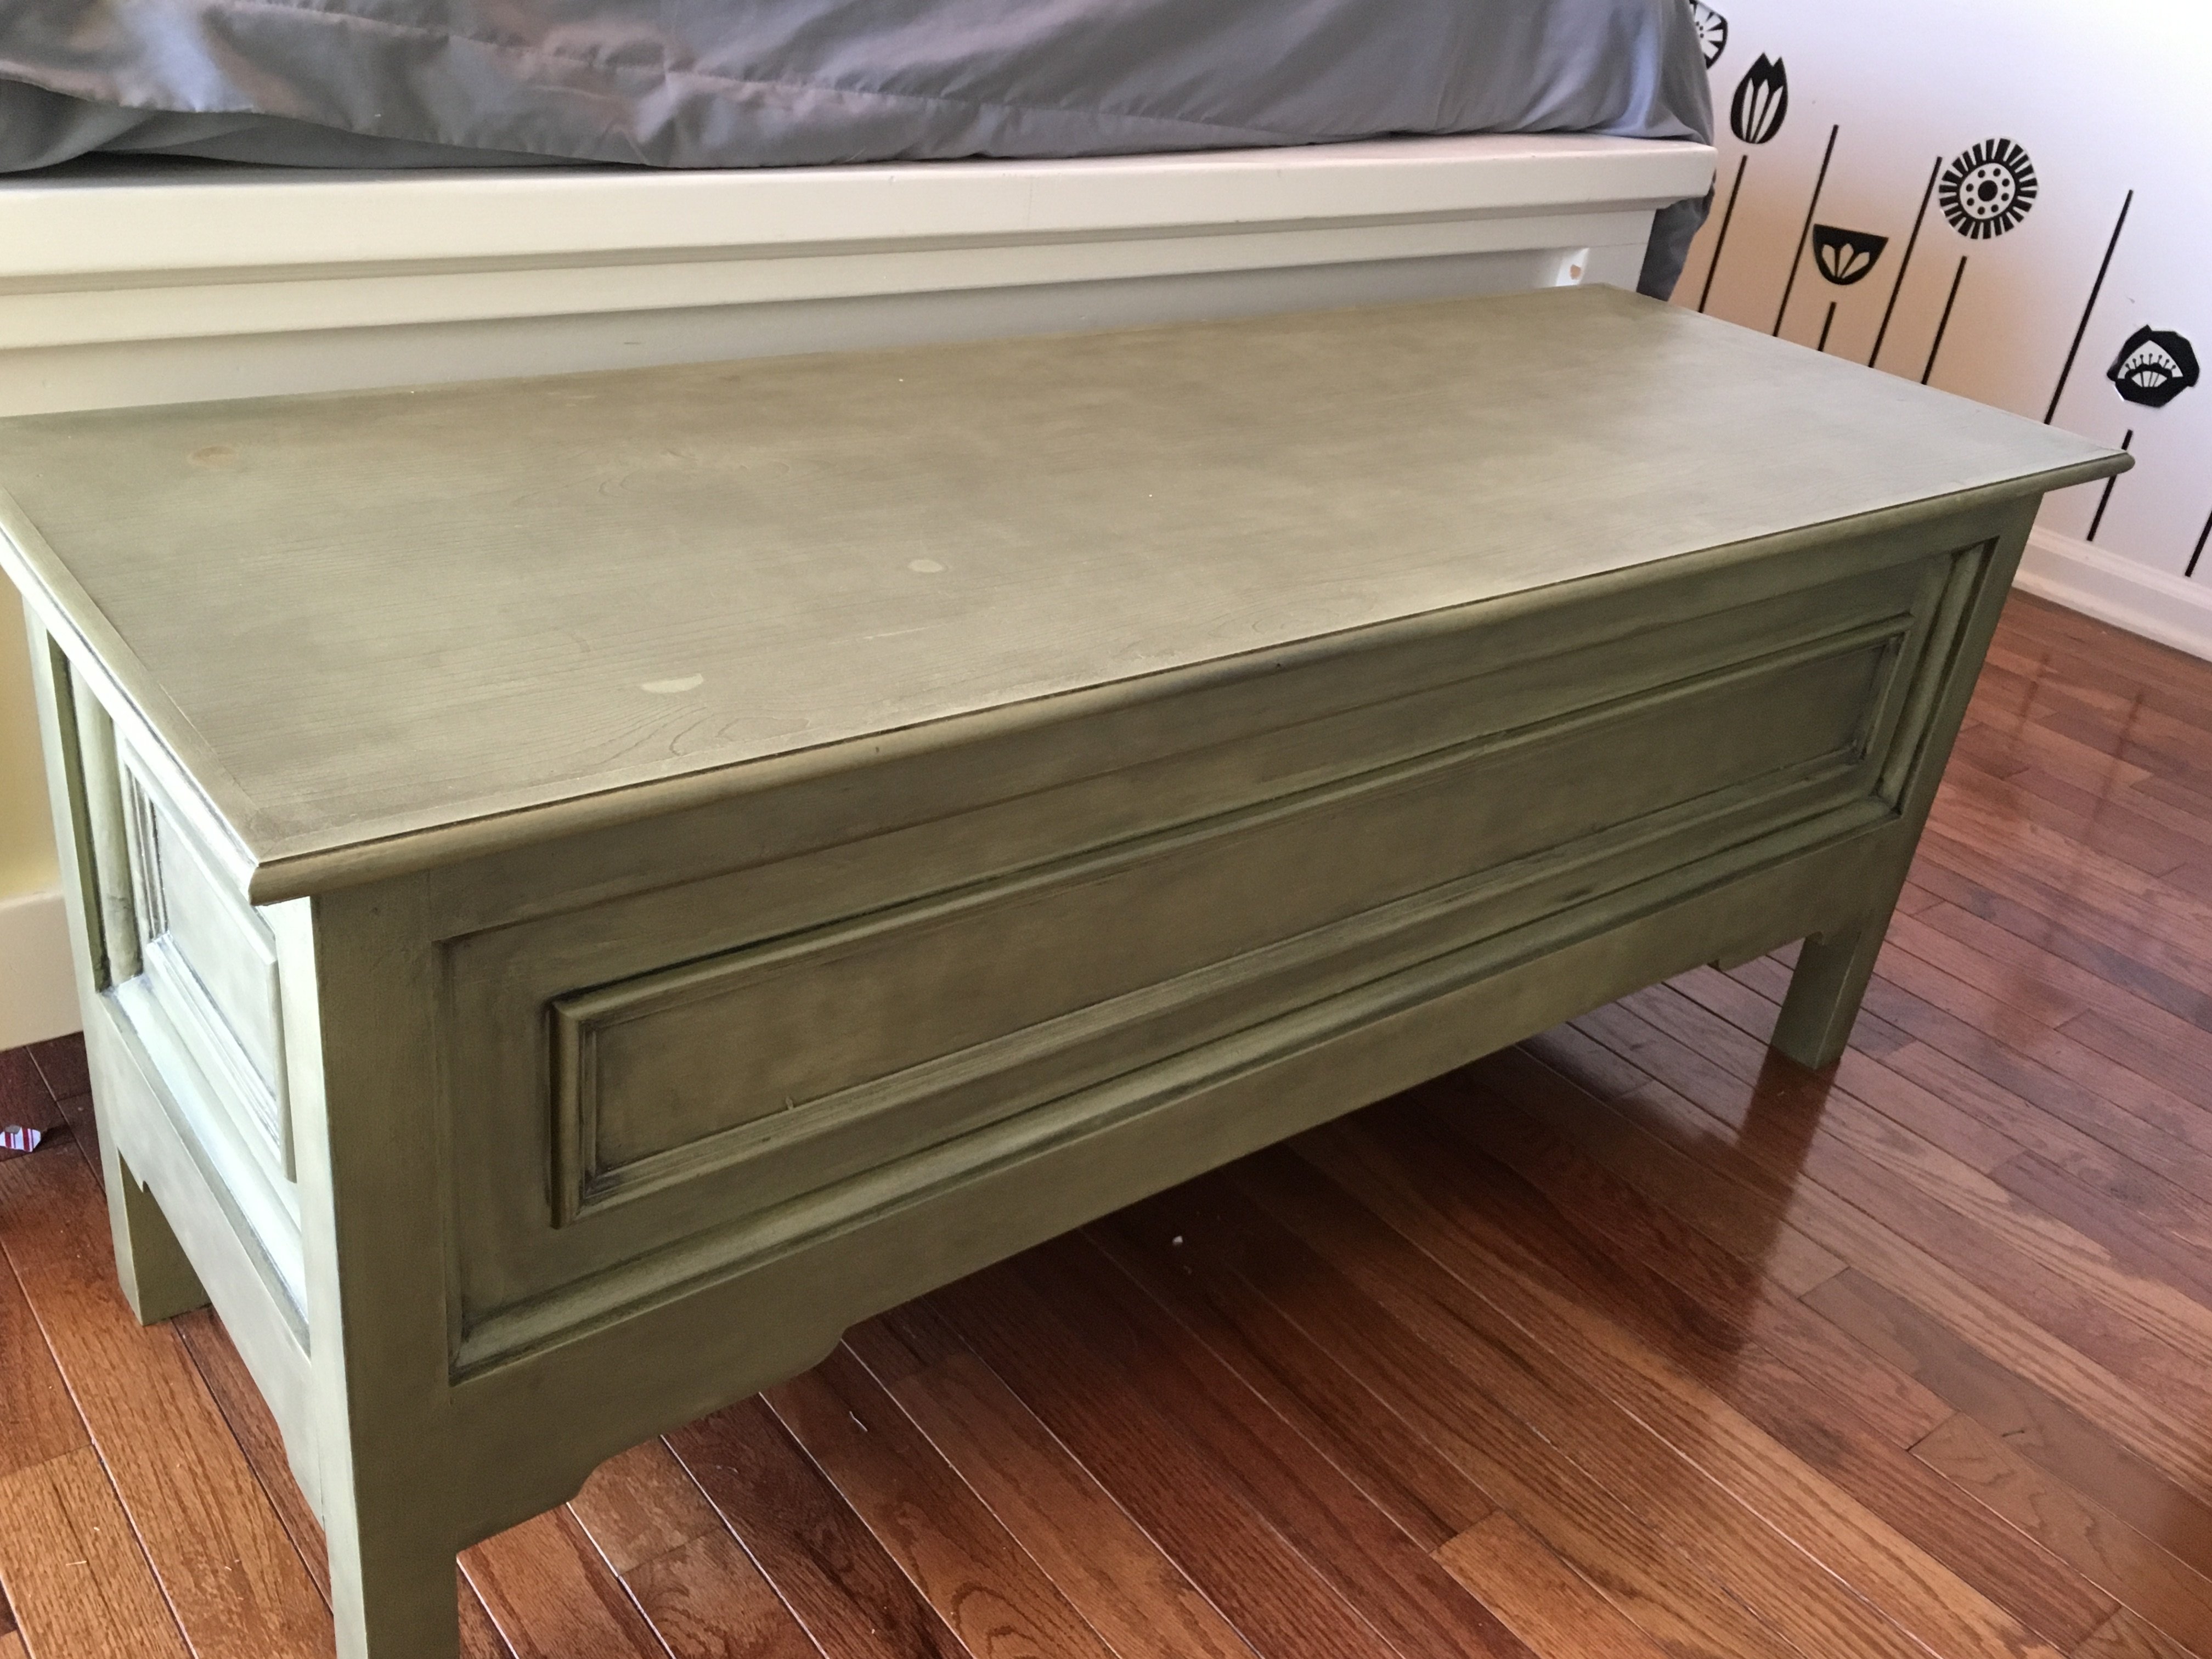
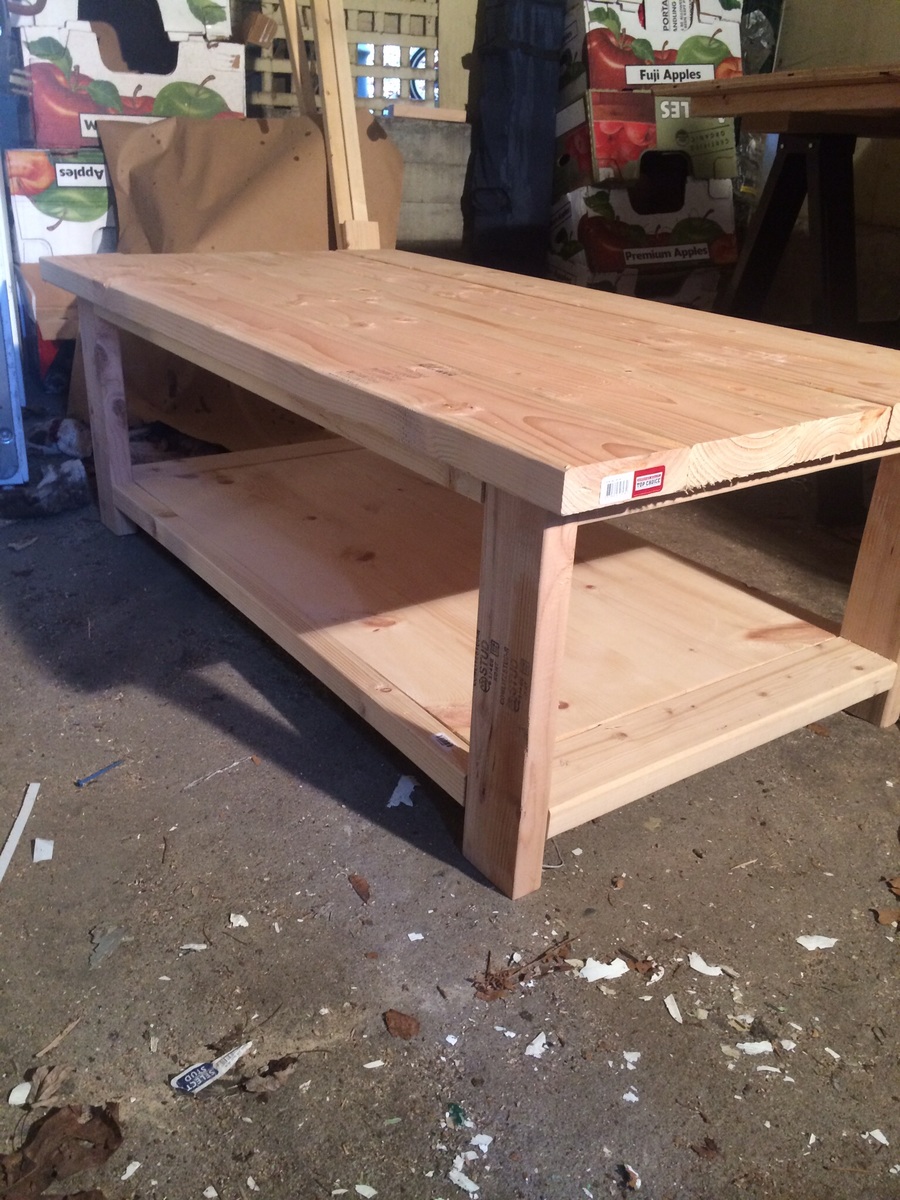
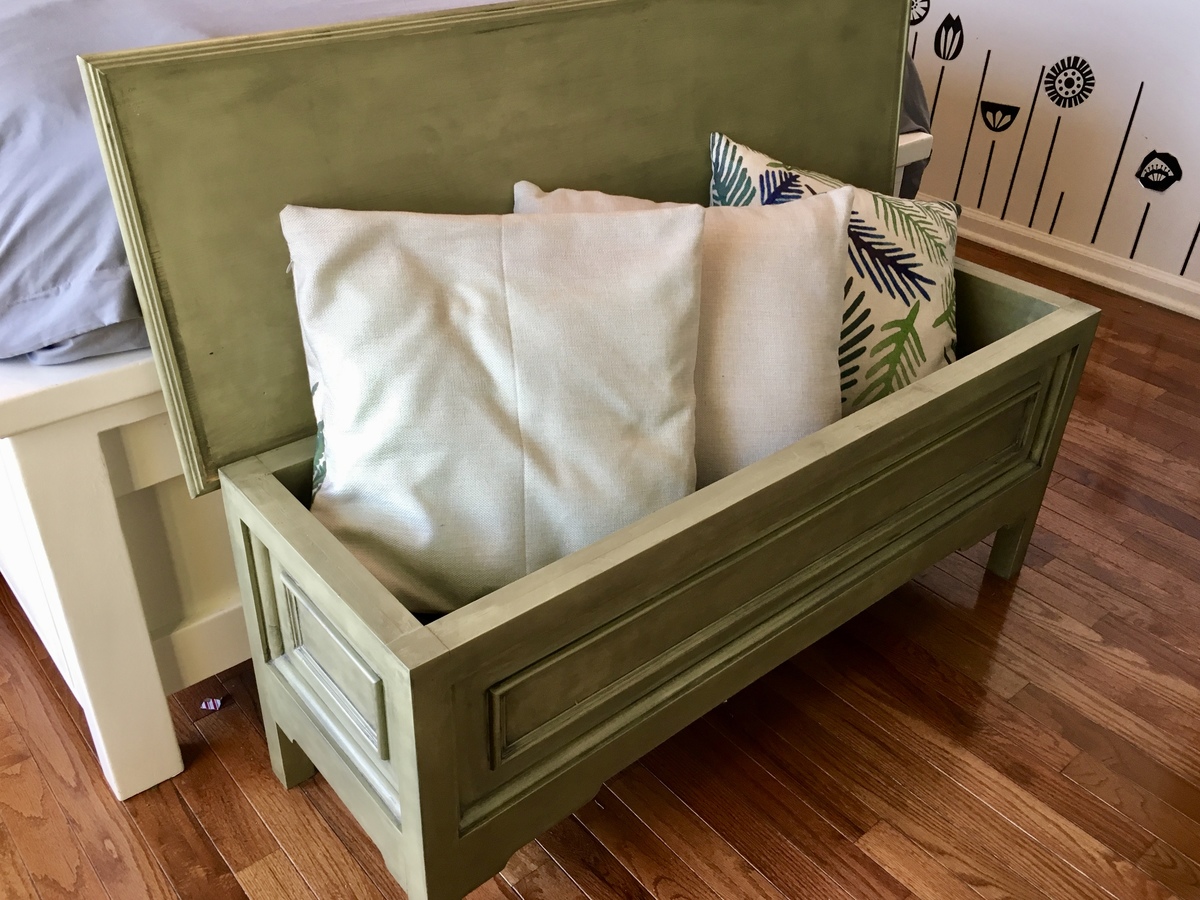
Inspired by the Vintage Bench plan we created this Little Bench for our Daughters Shoes and other stuff! Added Trim work and layered Paint to create a Vintage look.

Comments
Ana White Admin
Sun, 12/26/2021 - 17:47
Those look great!
He did an awesome job, they look amazing in your space!