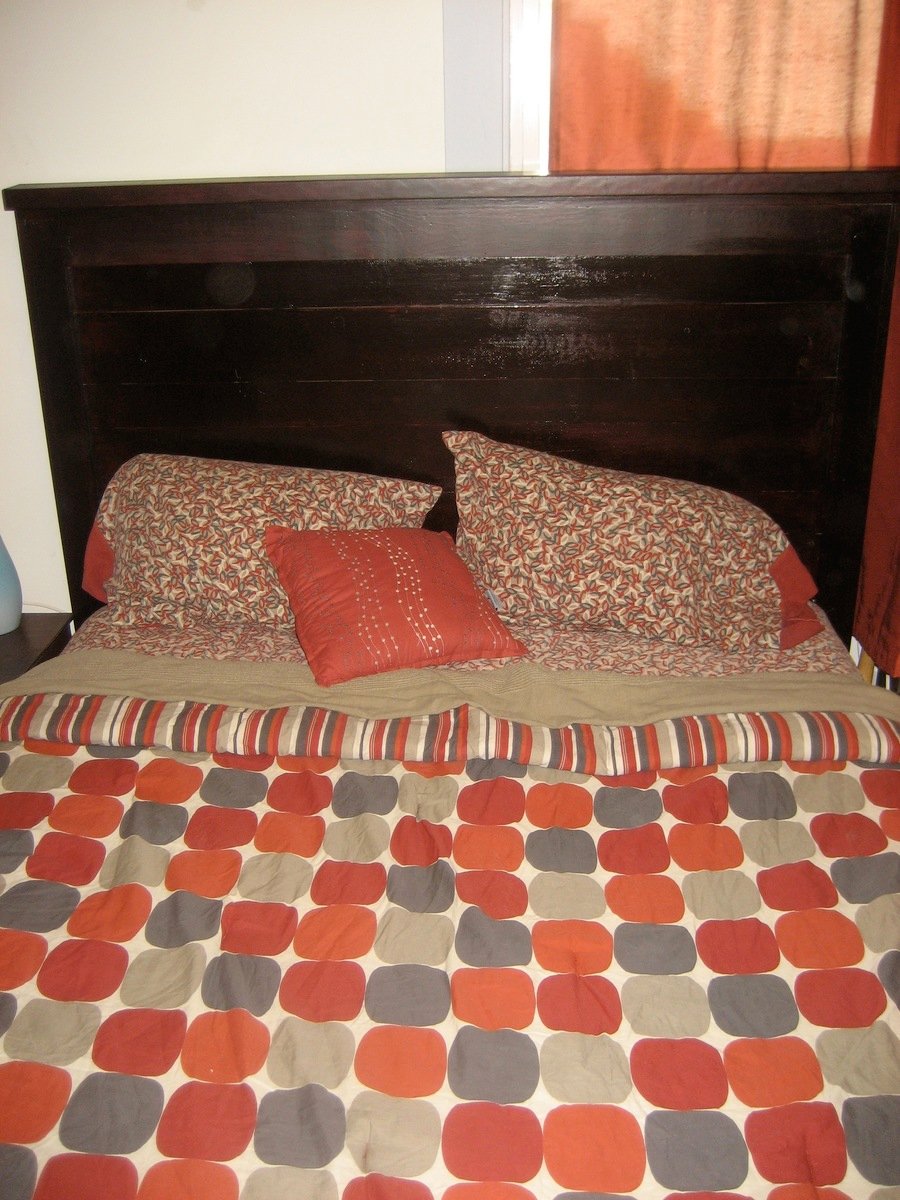
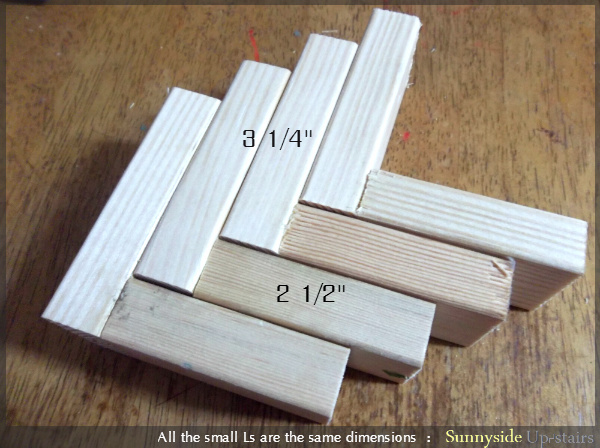
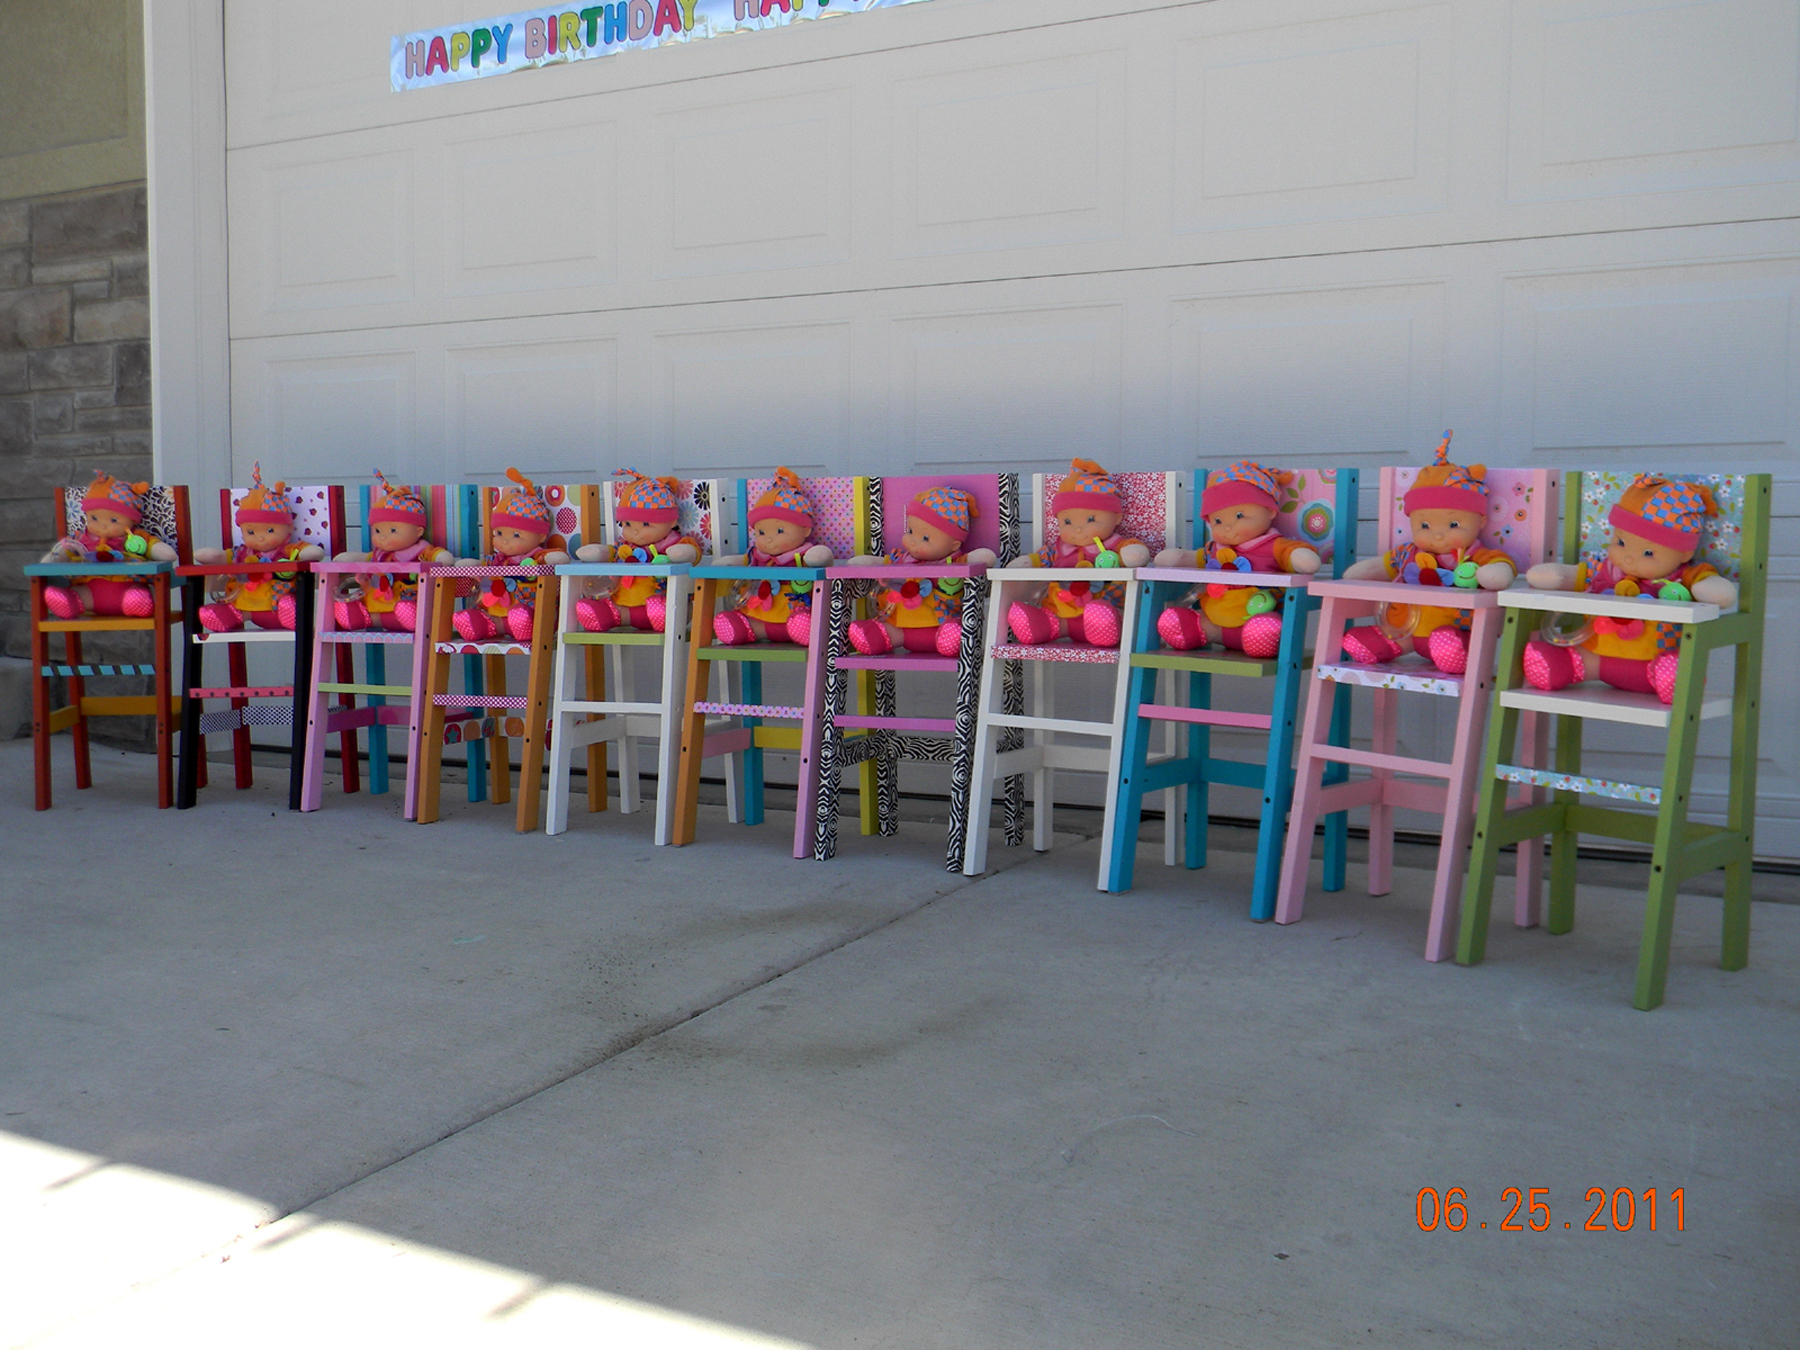
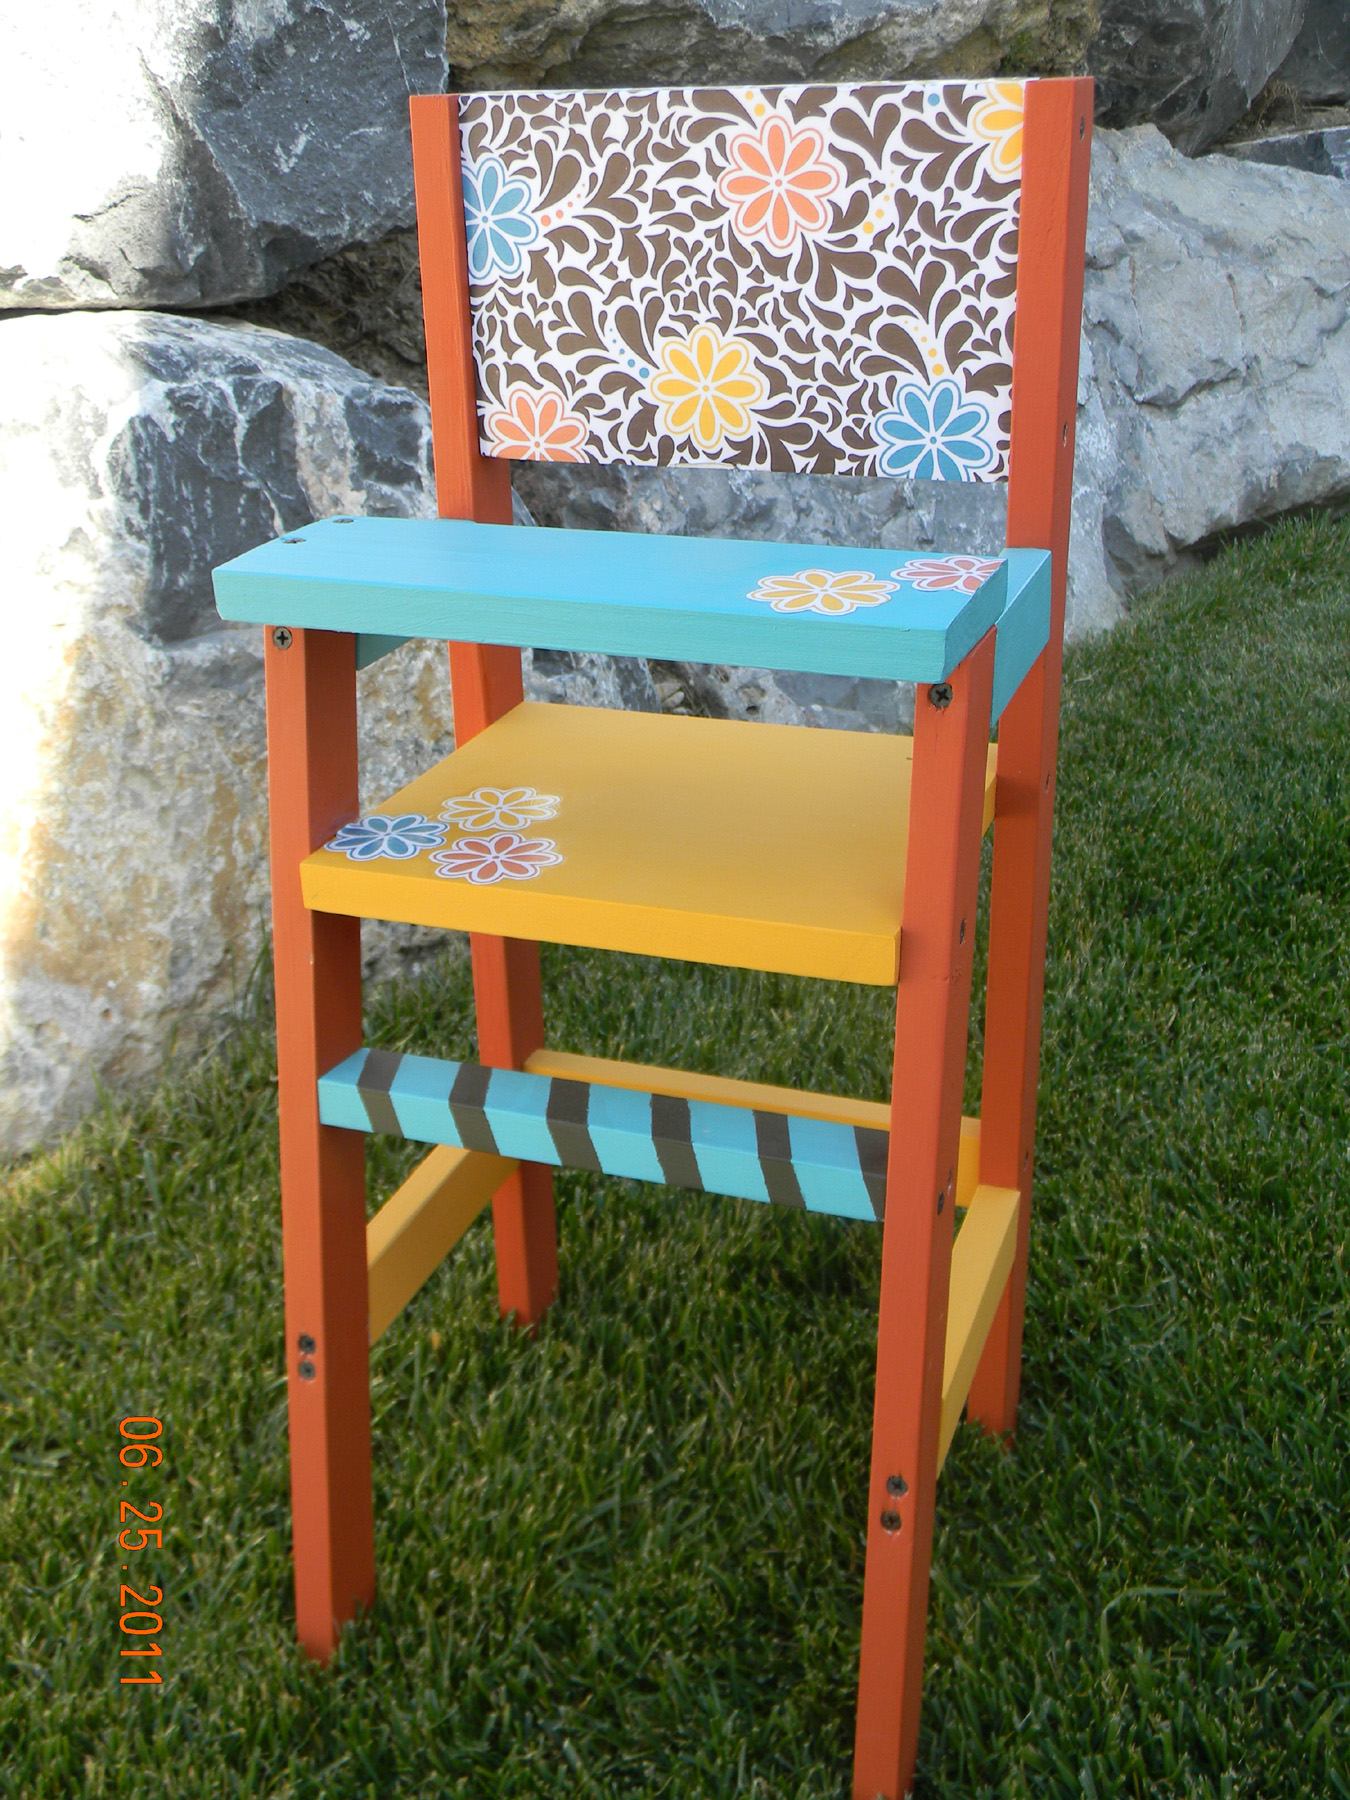
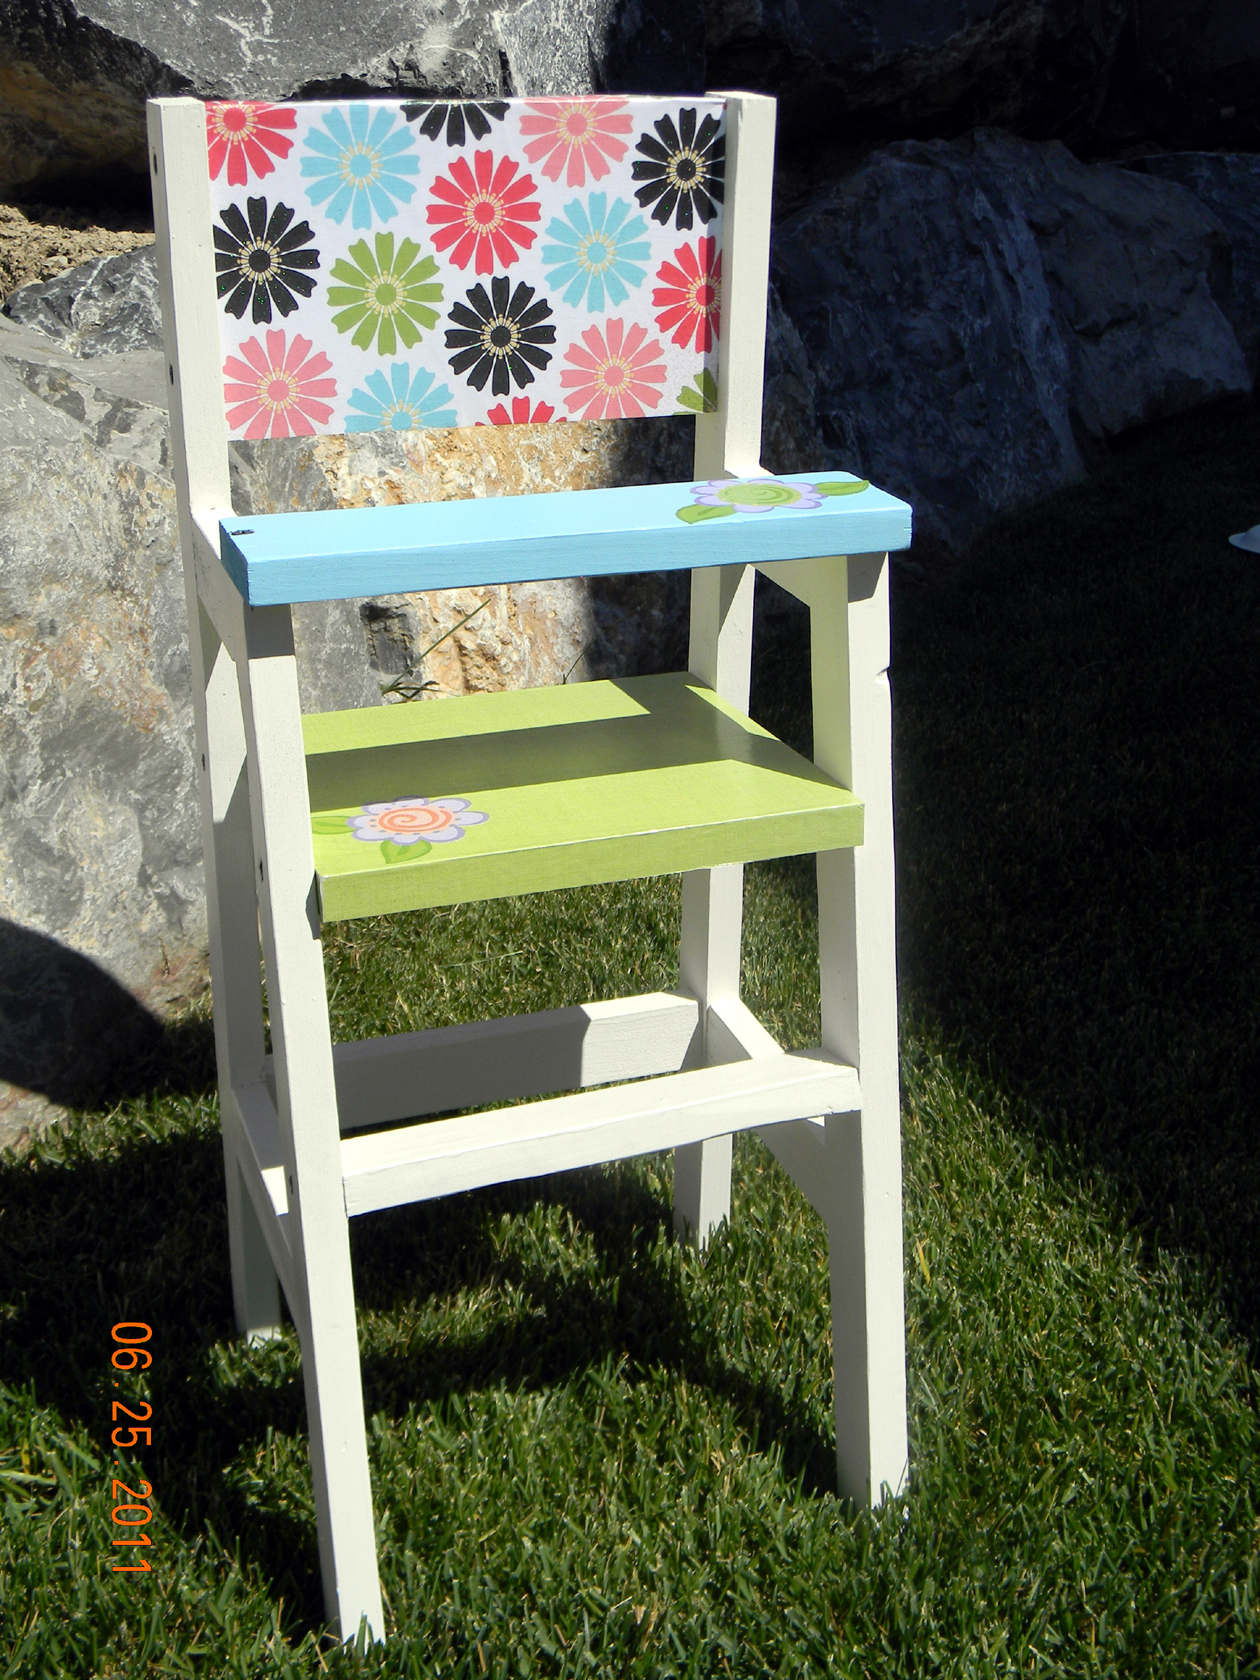
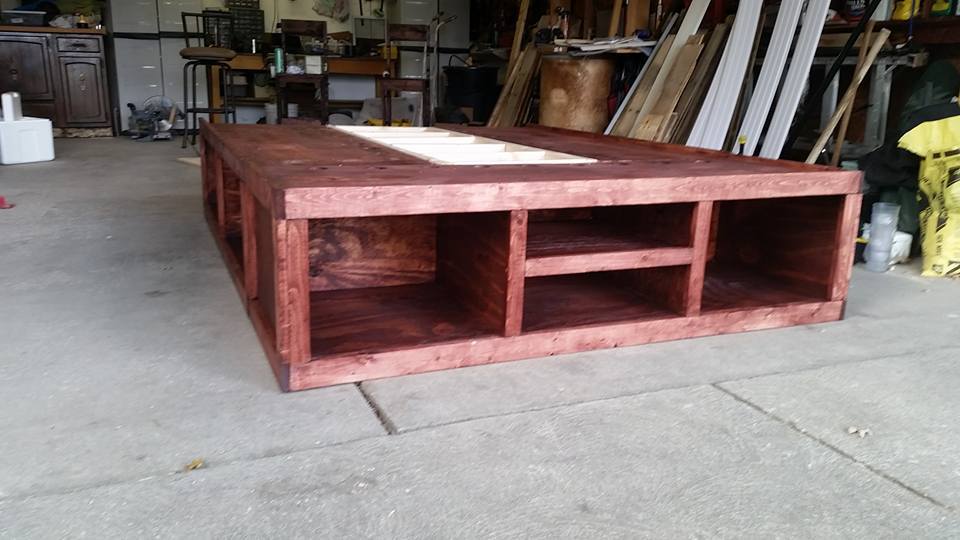
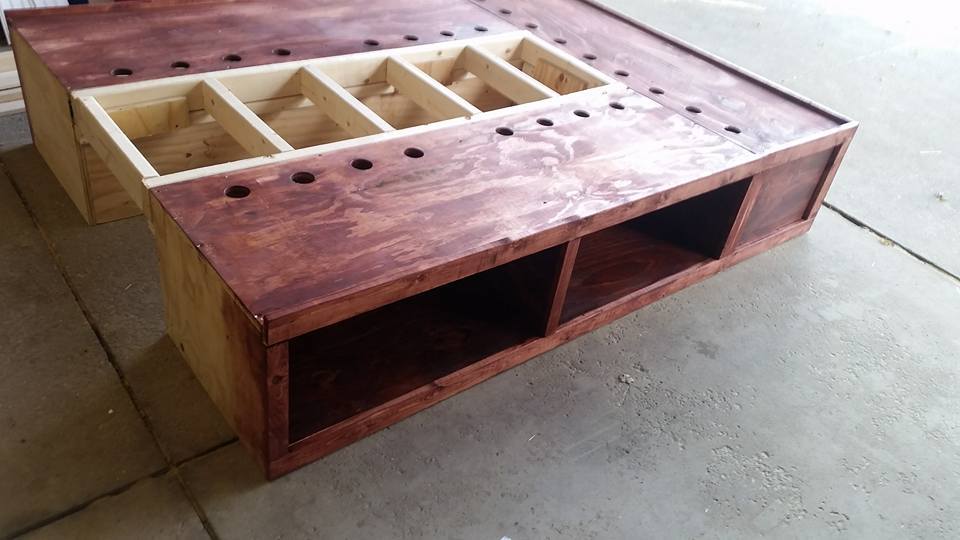
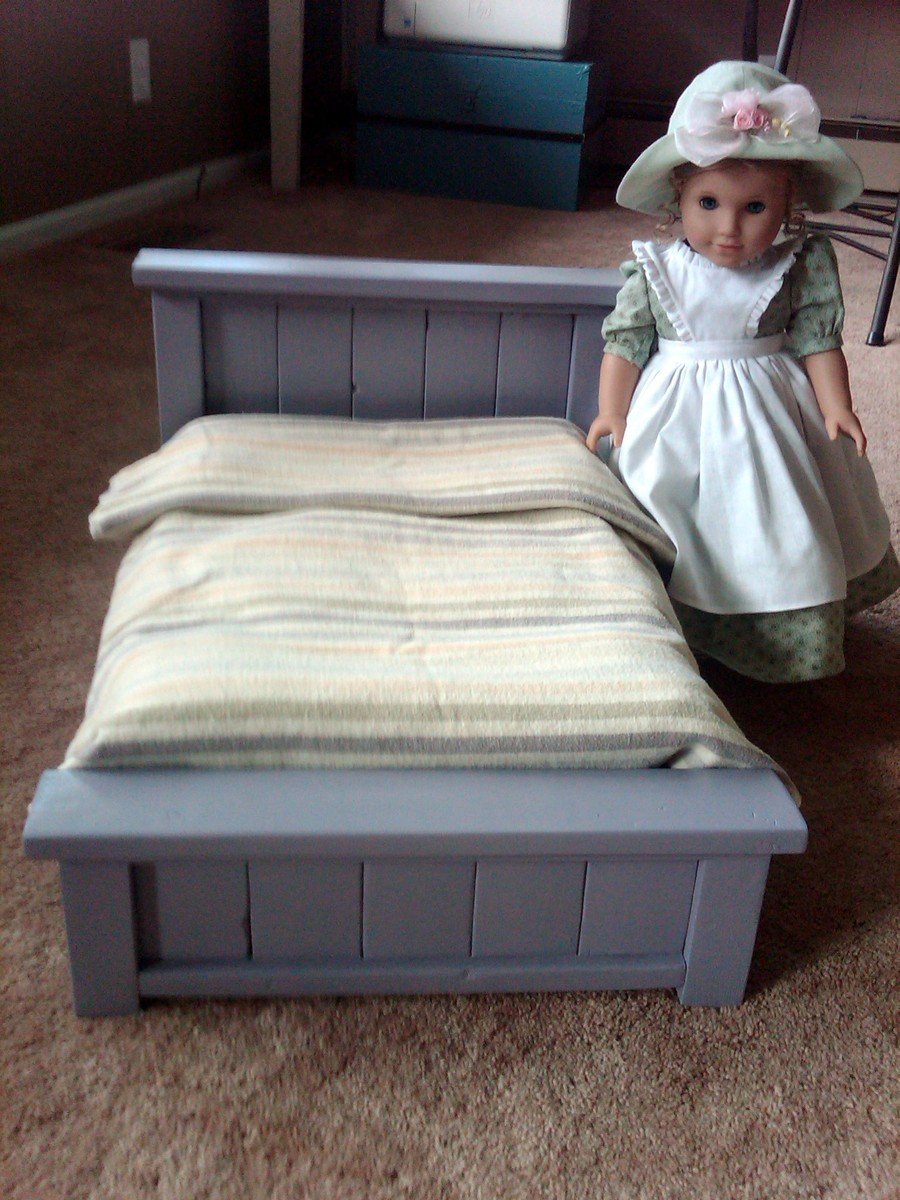
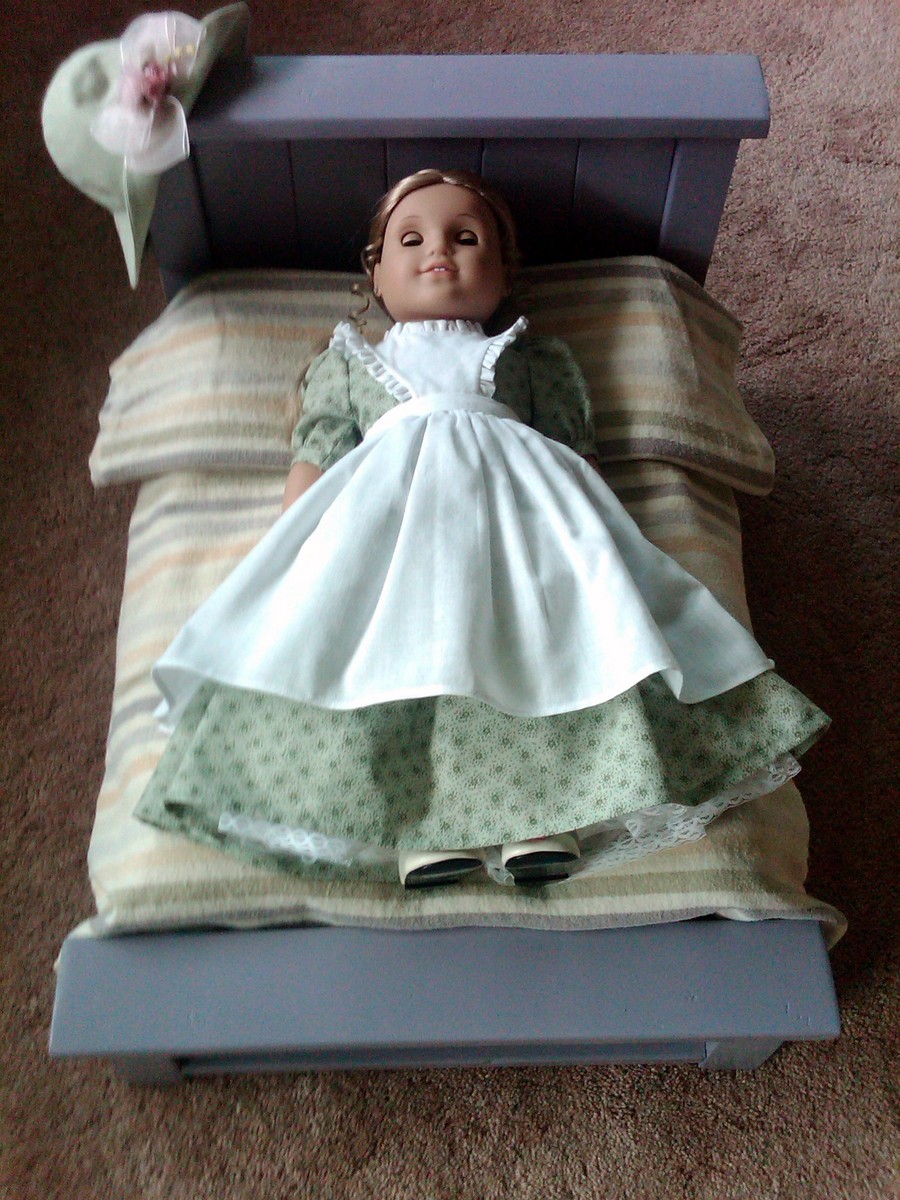
Doll Farmhouse bed
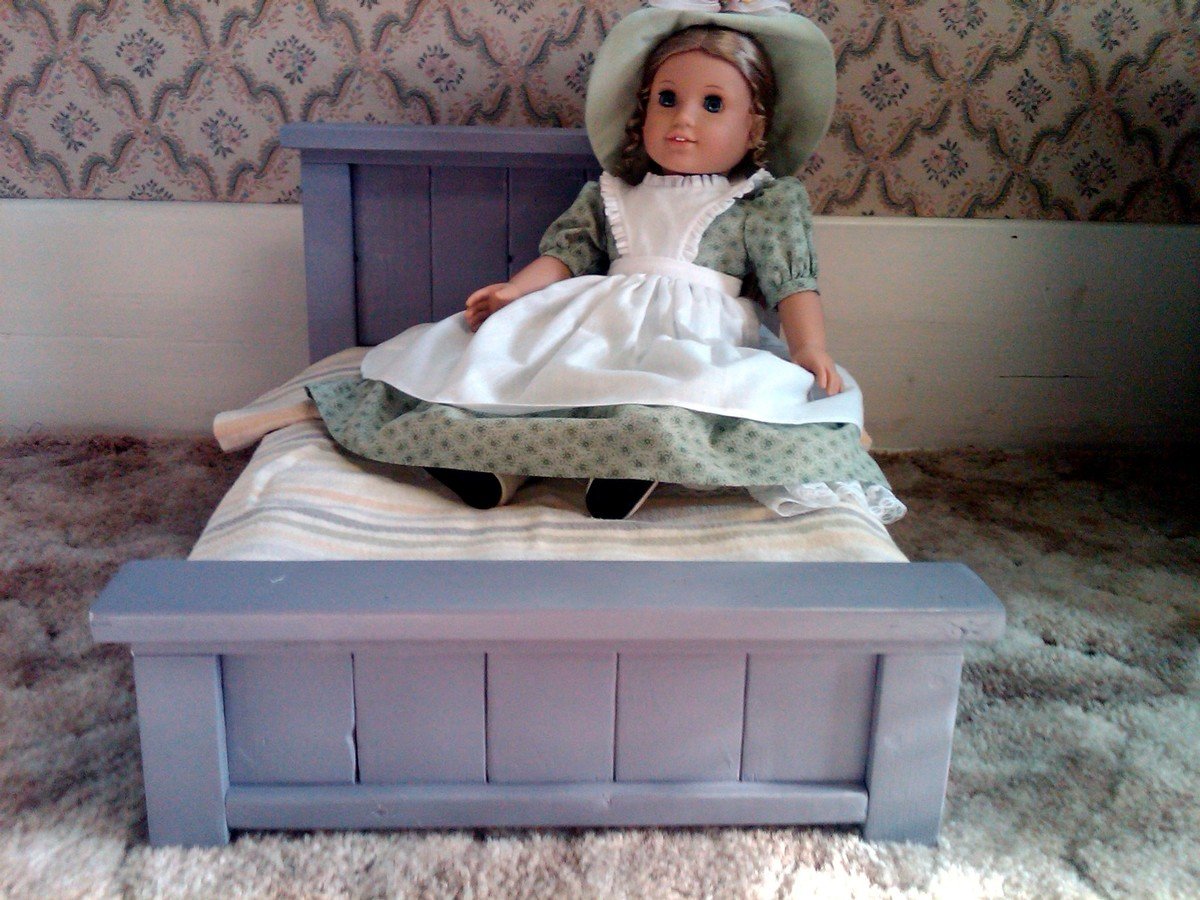
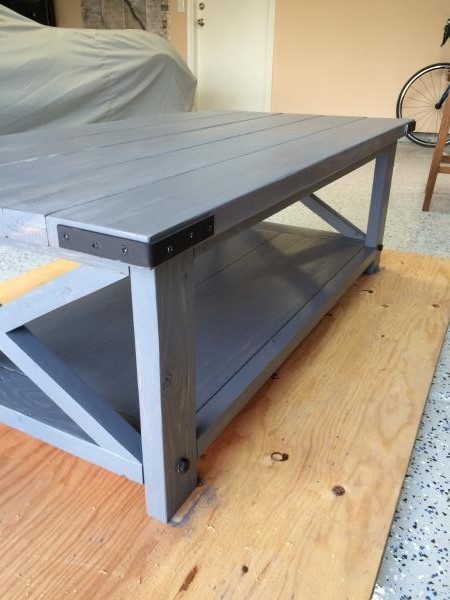
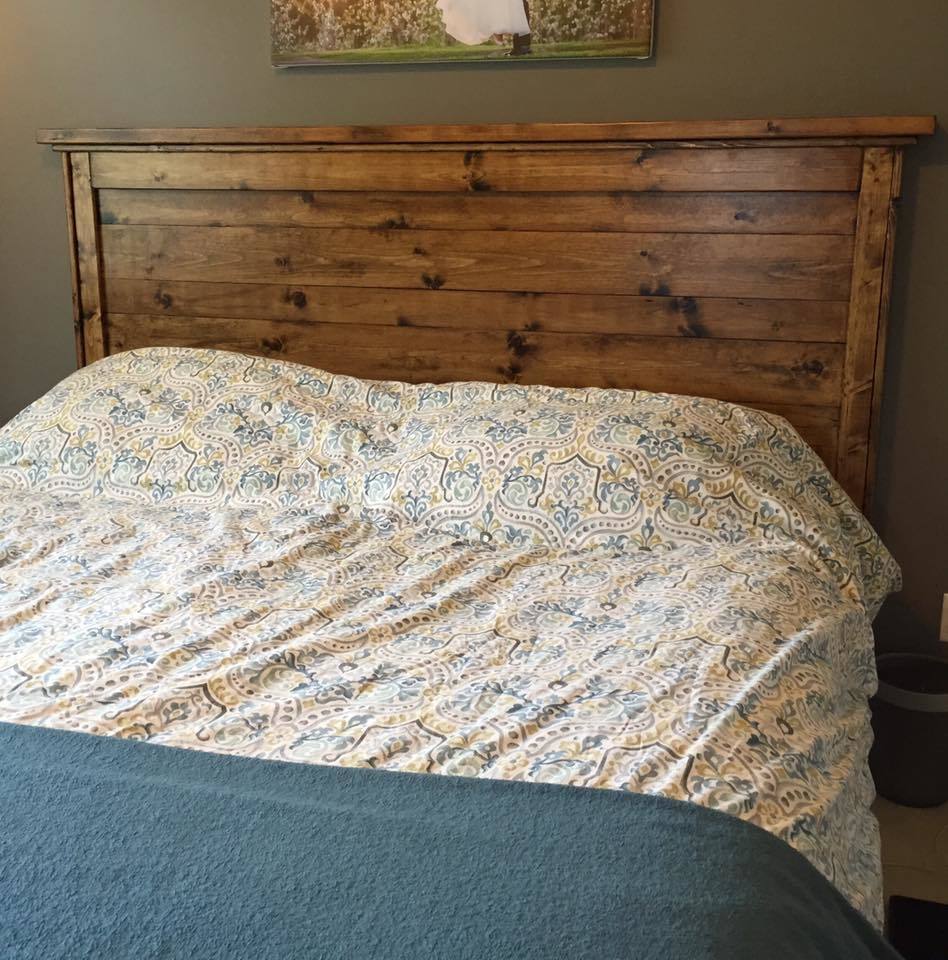
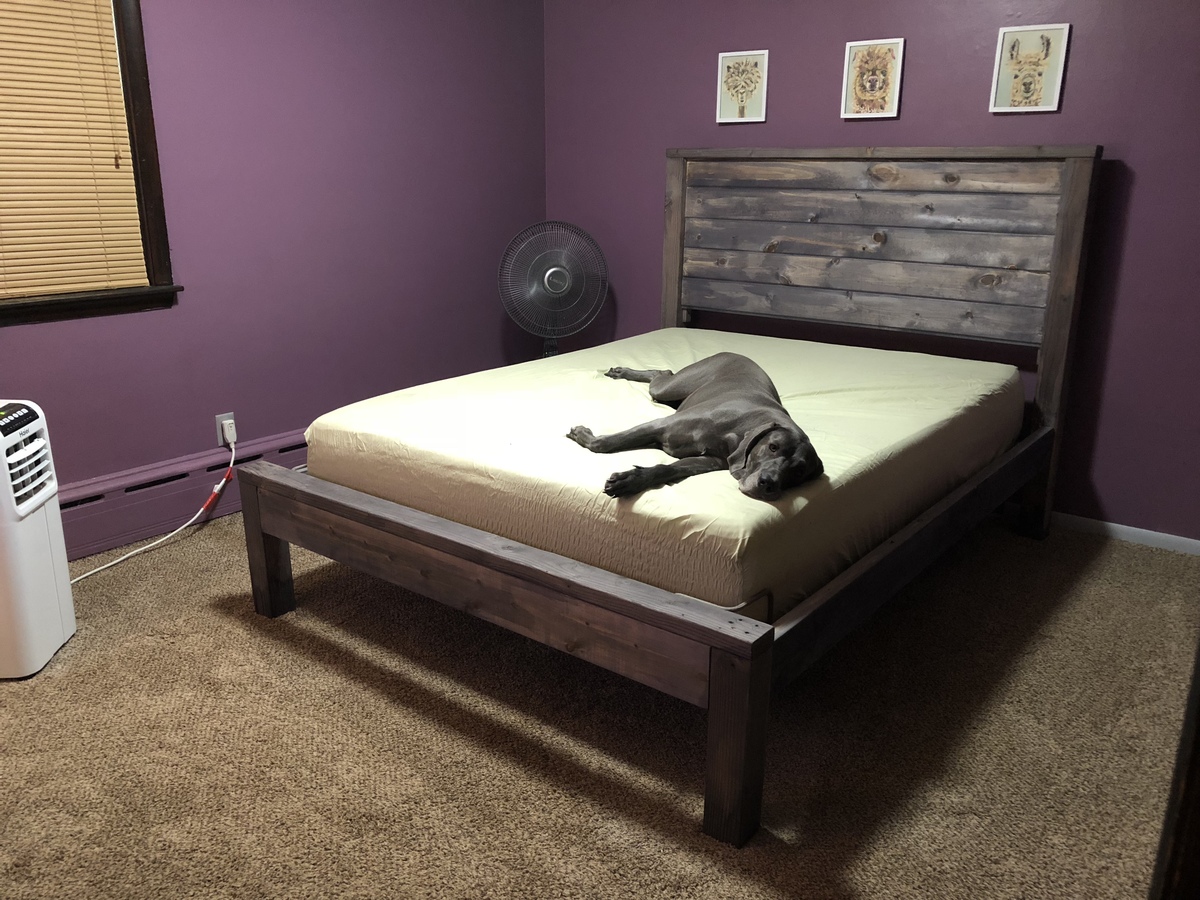
I built this bed for my new doll I got from my mother-in-law. All the girls in her family got one as a child, so she got me one, too. This is such a cute bed! Matches my own Farmhouse bed:)
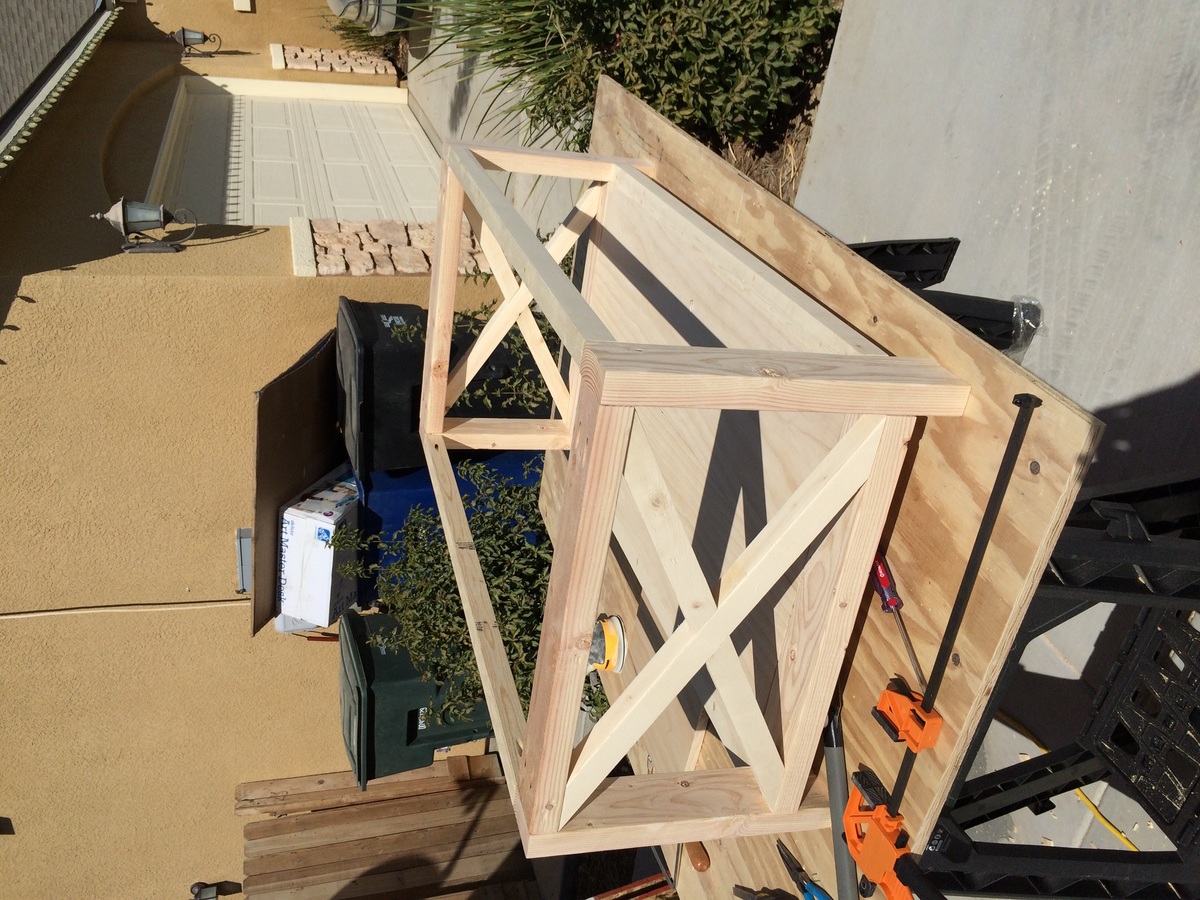
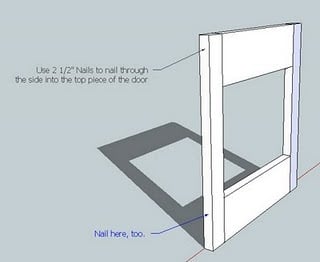
I'm sure this would have been easier with a nail gun, but it is was pretty simple with the drill too.
LOVE IT!
Built from Plan(s)
Estimated Cost
>$10.00
Estimated Time Investment
An Hour or Two (0-2 Hours)
Finish Used
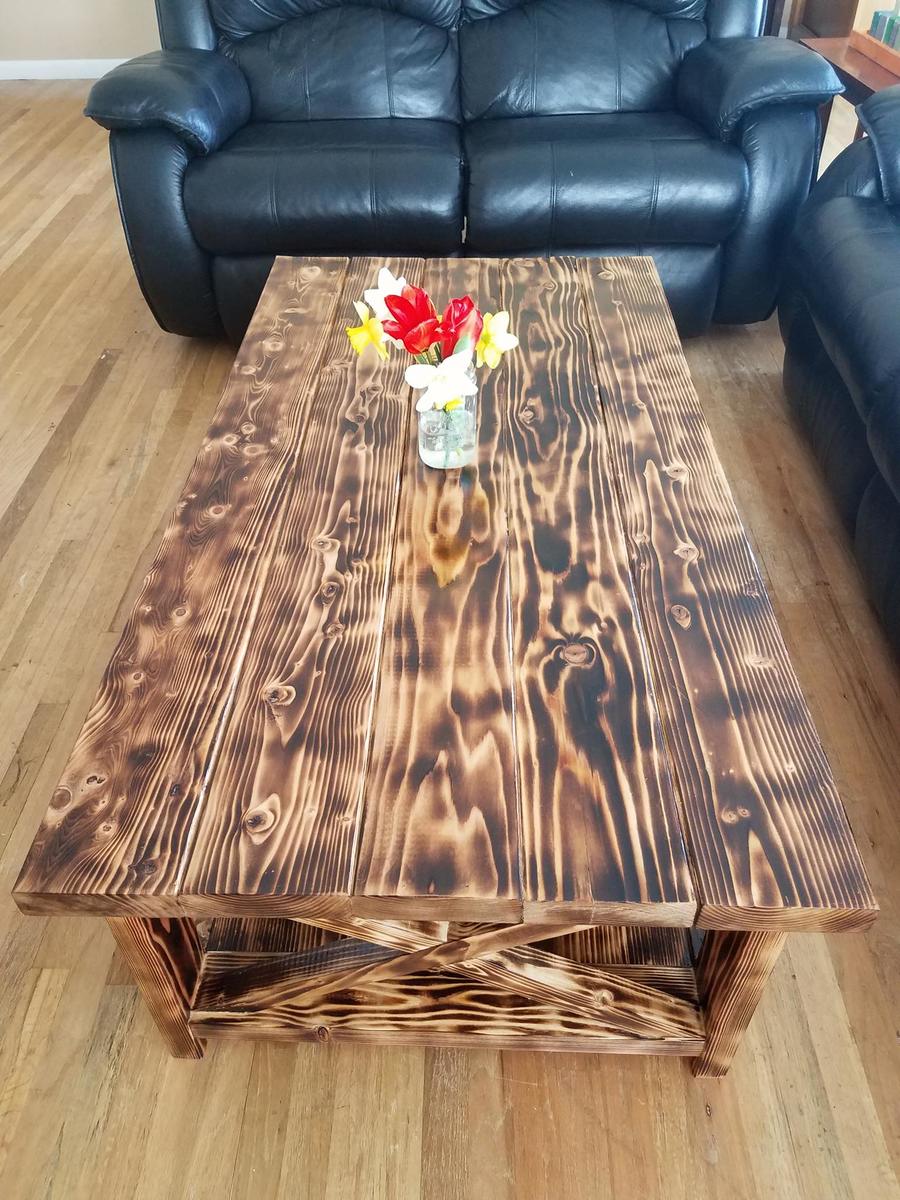
Sanded with 120 grit, then primed and spray pianted purple. I filled the holes prior to painin with a putty.
Recommended Skill Level
Starter Project