Community Brag Posts

2 projects combined

Submitted by cmsklein on Wed, 04/04/2012 - 17:09

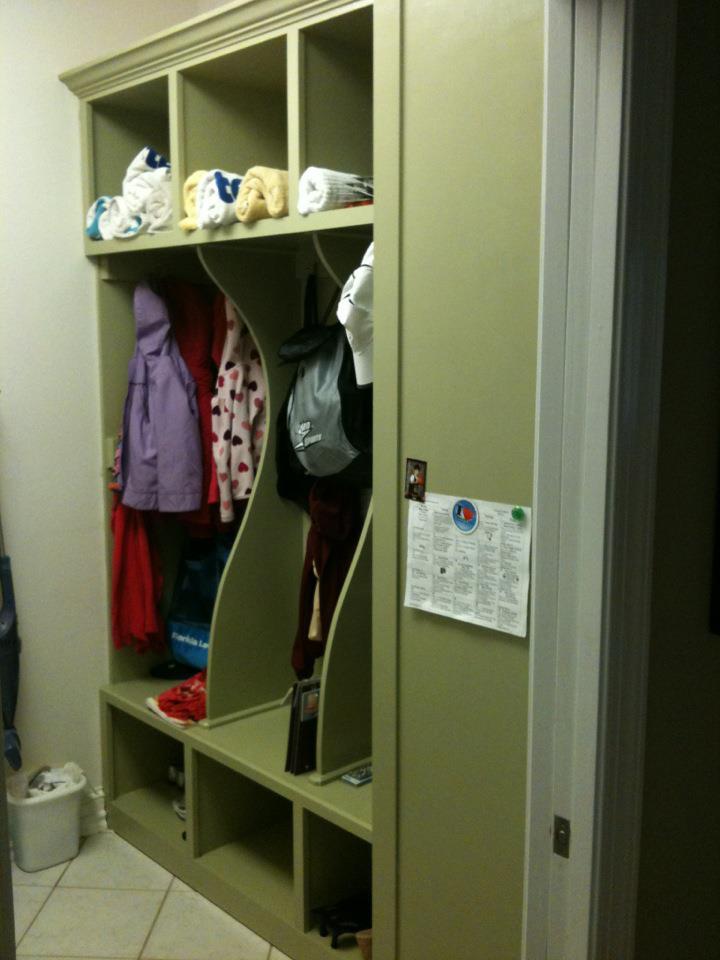
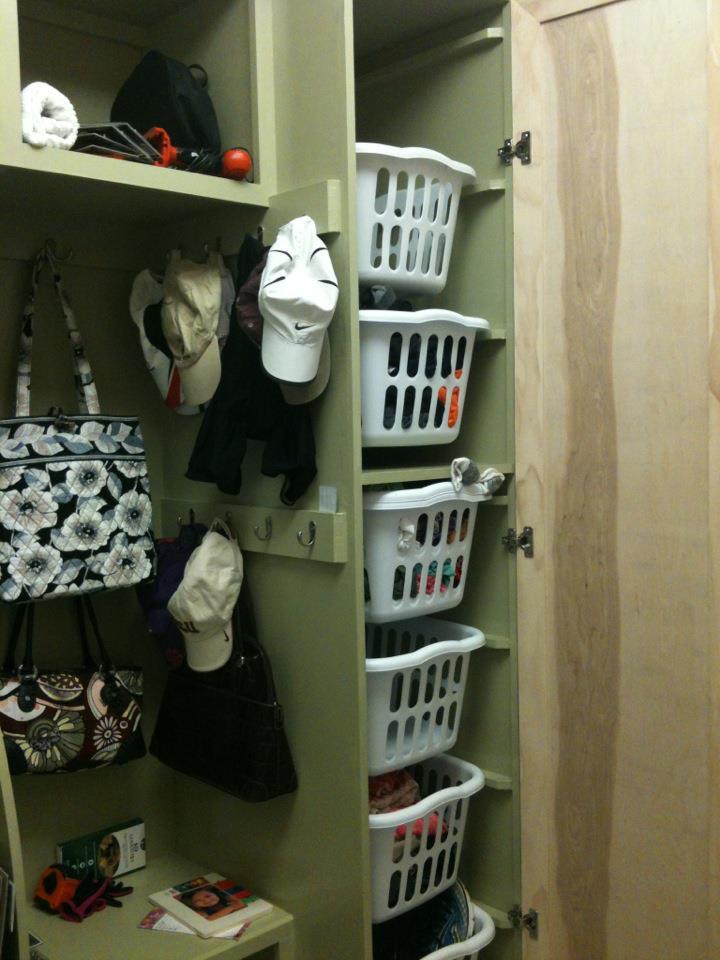
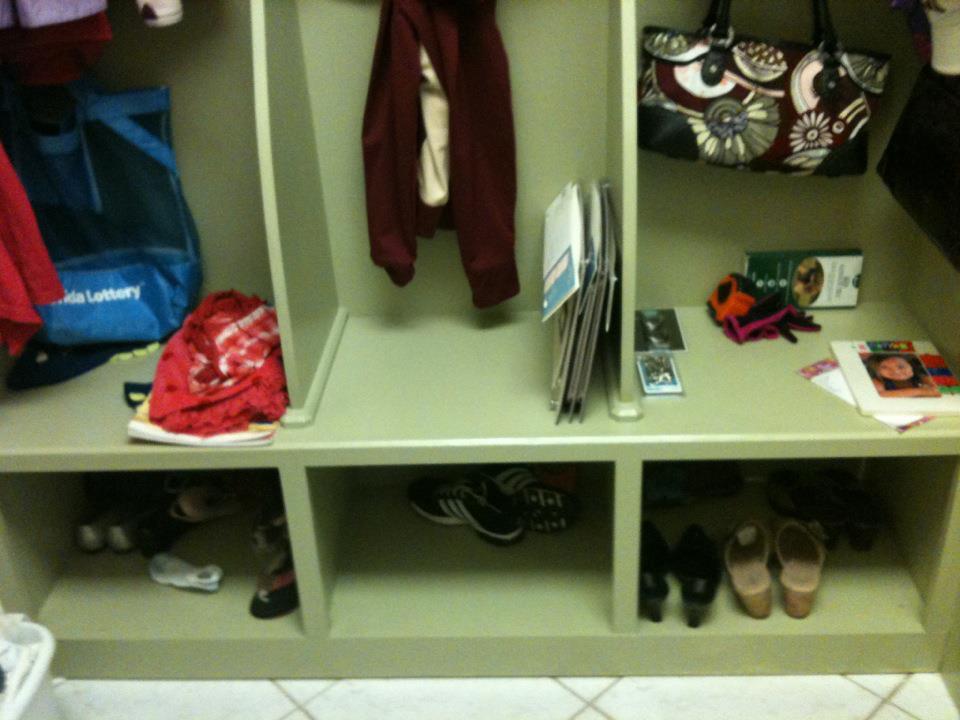
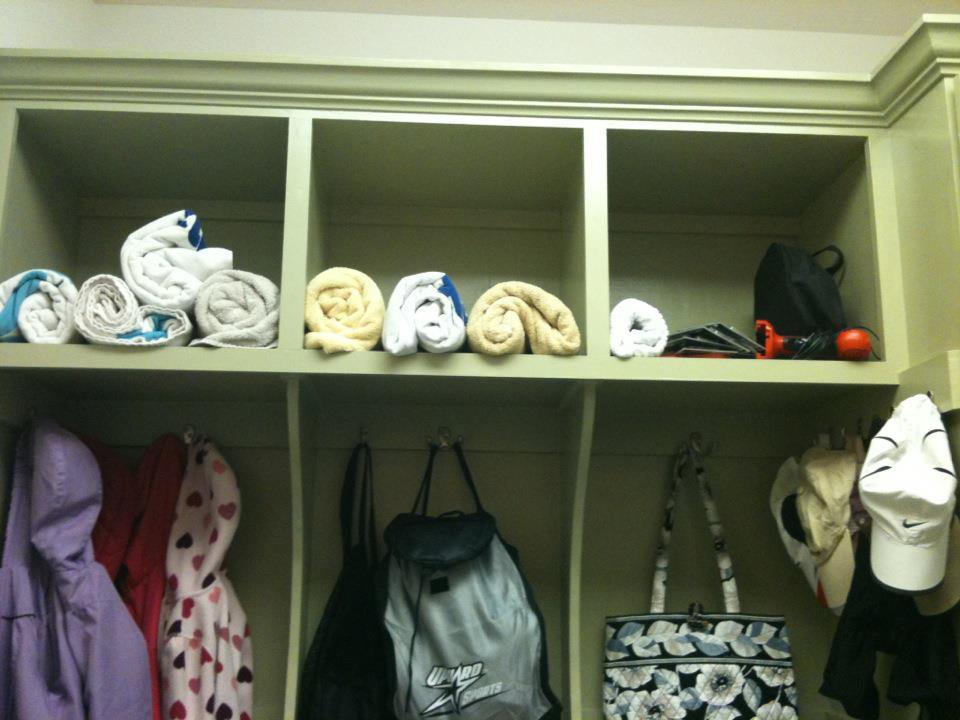
This replaced a huge formica countertop in our laundry room. The counter collected unfolded clothes on the top, and piles of shoes underneath. Also, we had a 4 hook shelf from Target holding all 3 of our kids bags and backpacks. My husband was against this, because "where would we put all the laundry?" Well, this is the solution and we both love it!

I measured this out and drew diagrams and then finally decided this was too big of a project to do for the first time. I did hire someone, but he said the measurements were right on.....he had never built something like this before. The outside of the door is painted with magnetic primer and holds magnets. So much more functional that the counter.

I know I didn't build this myself. I think I could have done it, if I could have a week to do this without interruption, but that was impossible and I needed this YESTERDAY (the 4 hook wall shelf fell out of the wall). But I wanted to share in case anyone else is having a space dilemma! We LOVE it!!!!
Estimated Cost
$1100 hired/ $200 self
Estimated Time Investment
Week Long Project (20 Hours or More)
Finish Used
paint sherwin williams
Recommended Skill Level
Intermediate

Comments

Guest (not verified)

Thu, 04/05/2012 - 12:10

What a great idea! Very well planned out! I would love to build something like this in our mudroom.

Guest (not verified)

Tue, 04/10/2012 - 16:33

Just what we need! Thank you! And I love the door covering the baskets and the magnetic paint - I hadn't thought of those! Thanks so much for sharing! It gives met the confidence to try it myself!

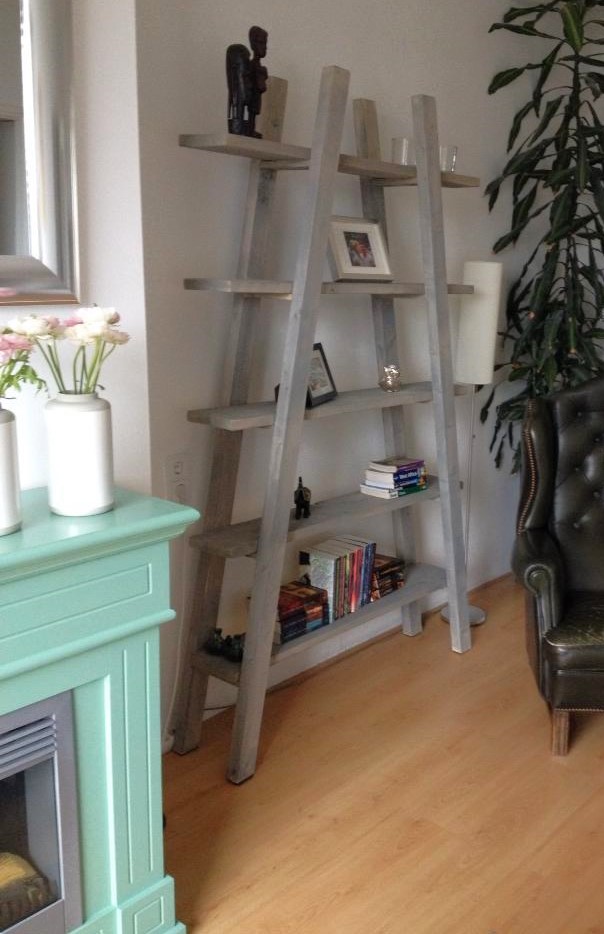
Grey wash bookshelf

Submitted by DutchDIY on Mon, 01/20/2014 - 06:09

Thanks Ana for your wonderfull website! even in The Netherlands your designs are shown.

Built from Plan(s)
Estimated Time Investment
Afternoon Project (3-6 Hours)
Finish Used
grey-wash paint
Recommended Skill Level
Beginner

Comments

Rustic X Coffee Table

Submitted by Anonymous (not verified) on Wed, 04/13/2016 - 08:59

Fun project. It ended up being more time consuming than I had originally planned.

Built from Plan(s)
Estimated Cost
$85.00
Estimated Time Investment
Week Long Project (20 Hours or More)
Finish Used
Custom Mixed Minwax stain combination
Minwax Polycrylic
Recommended Skill Level
Intermediate

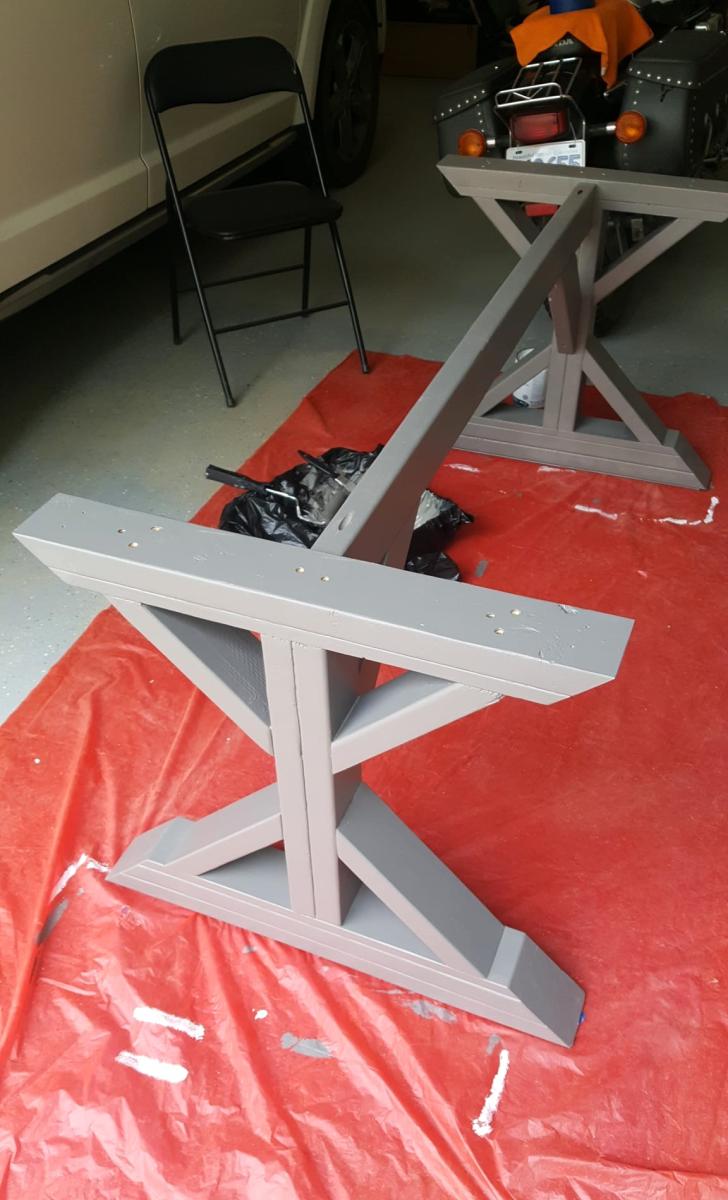
Live Edge Farmhouse Dining Table

Submitted by Anonymous (not verified) on Thu, 08/31/2023 - 11:23

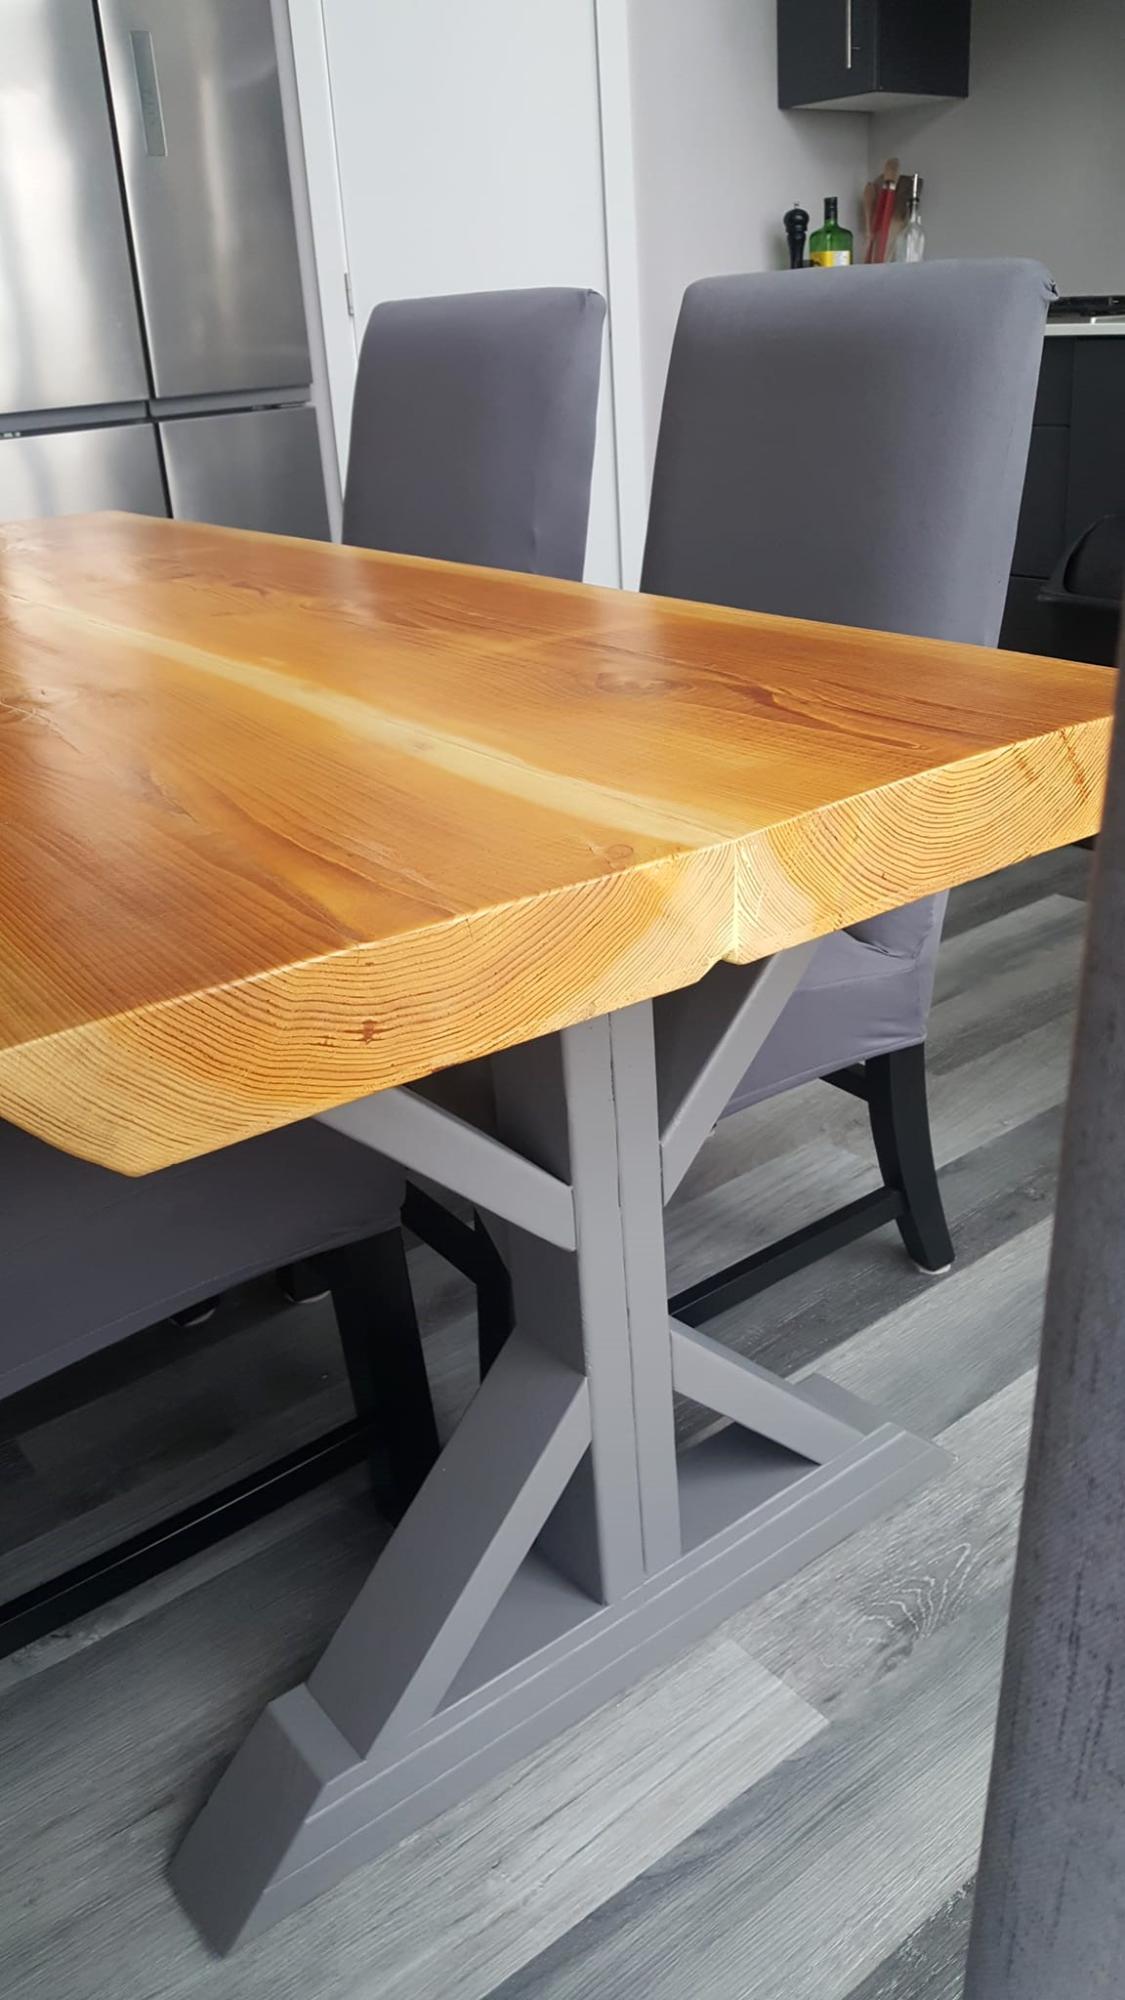
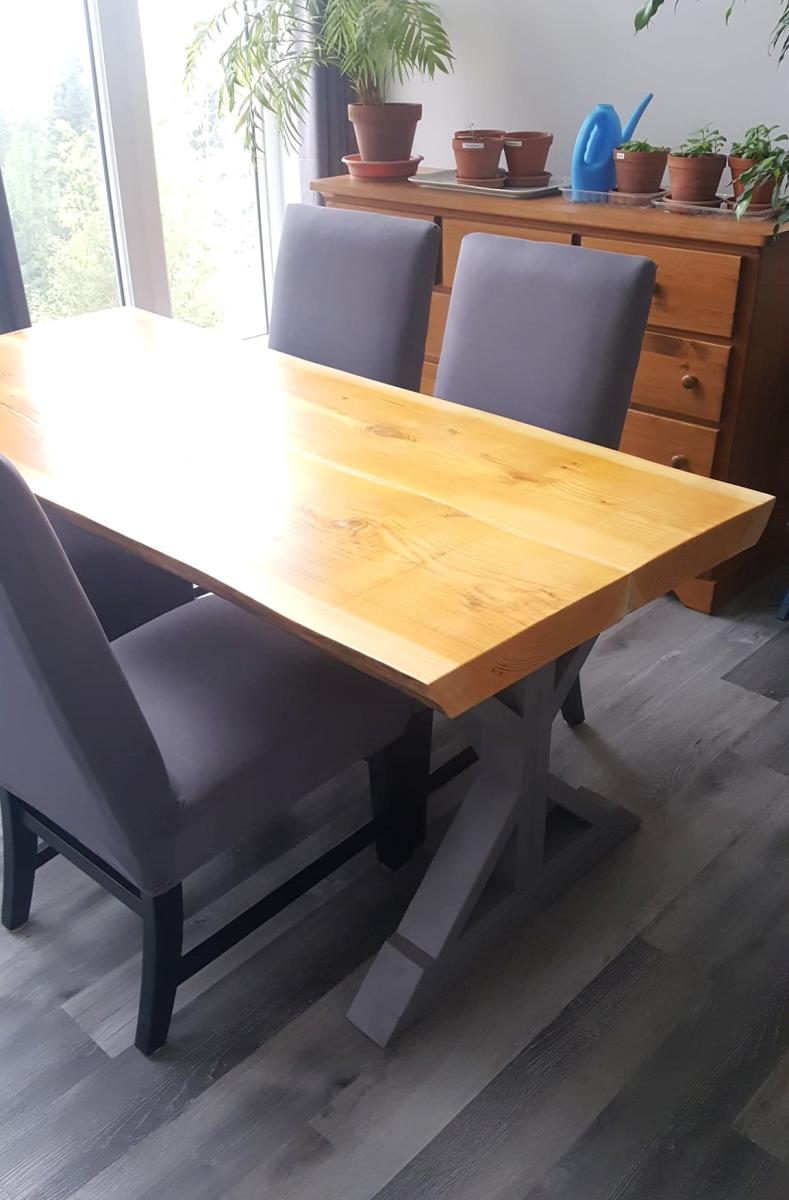
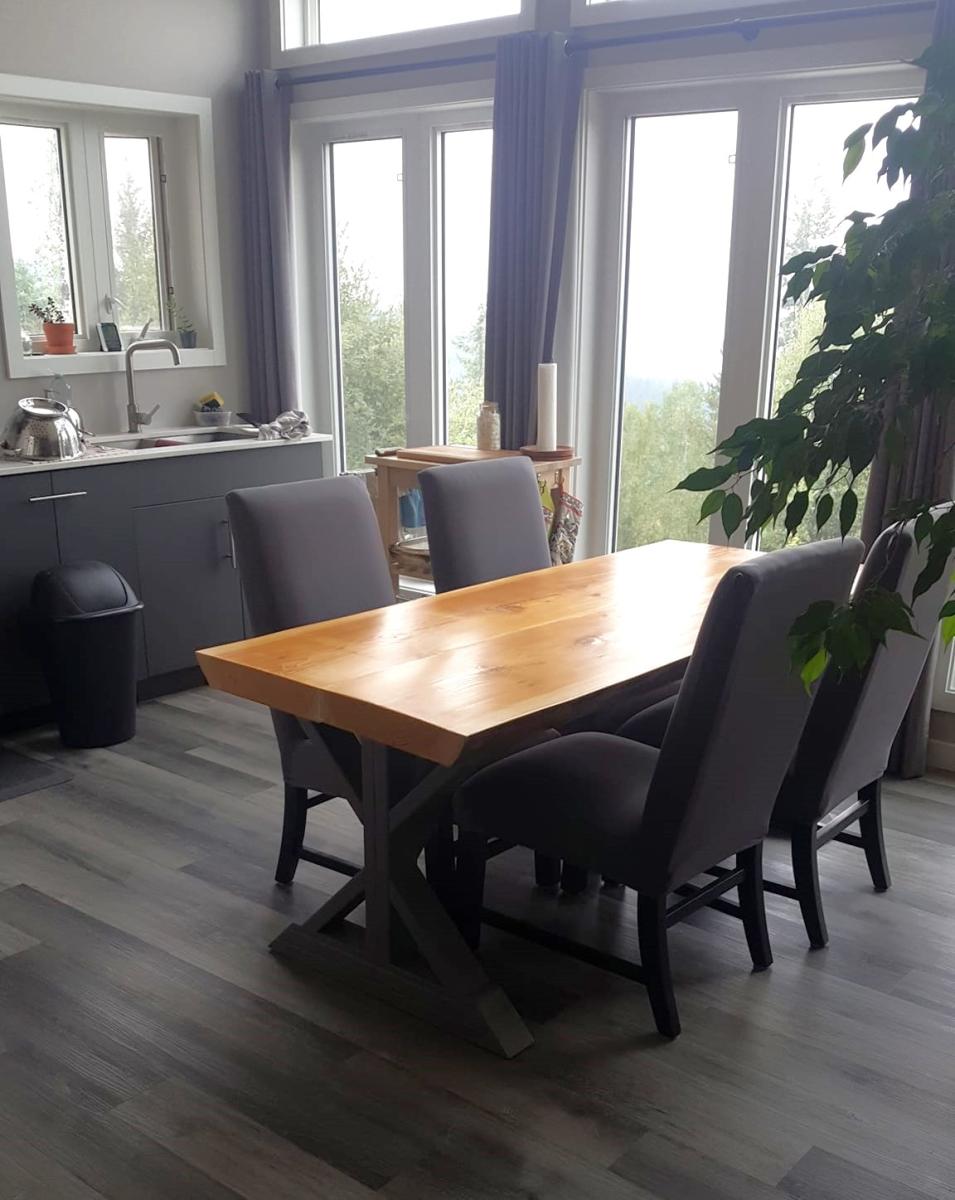
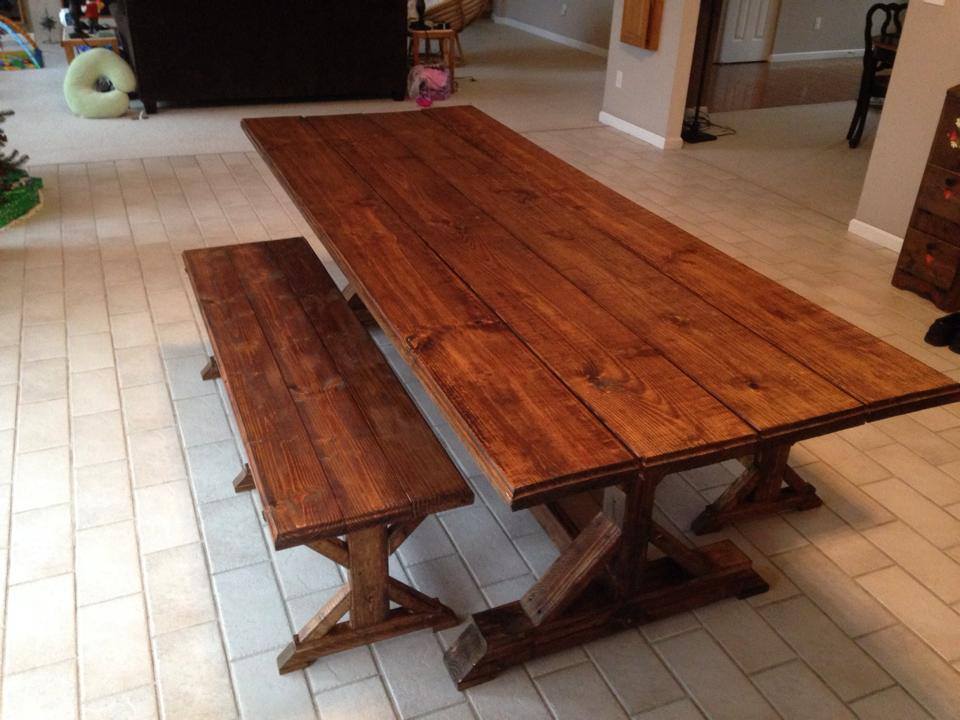
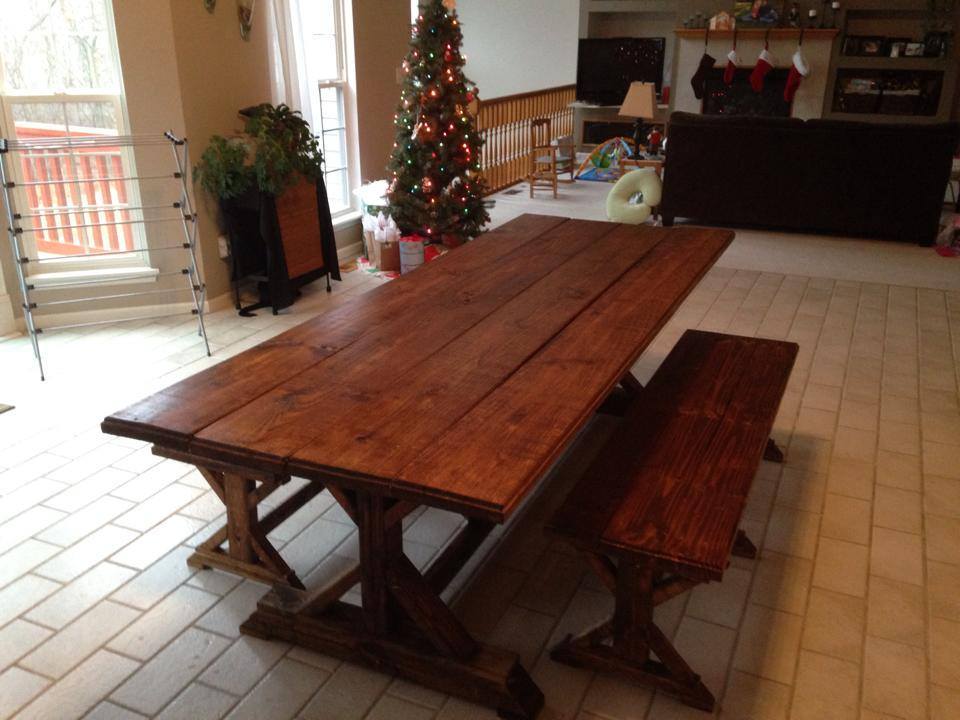
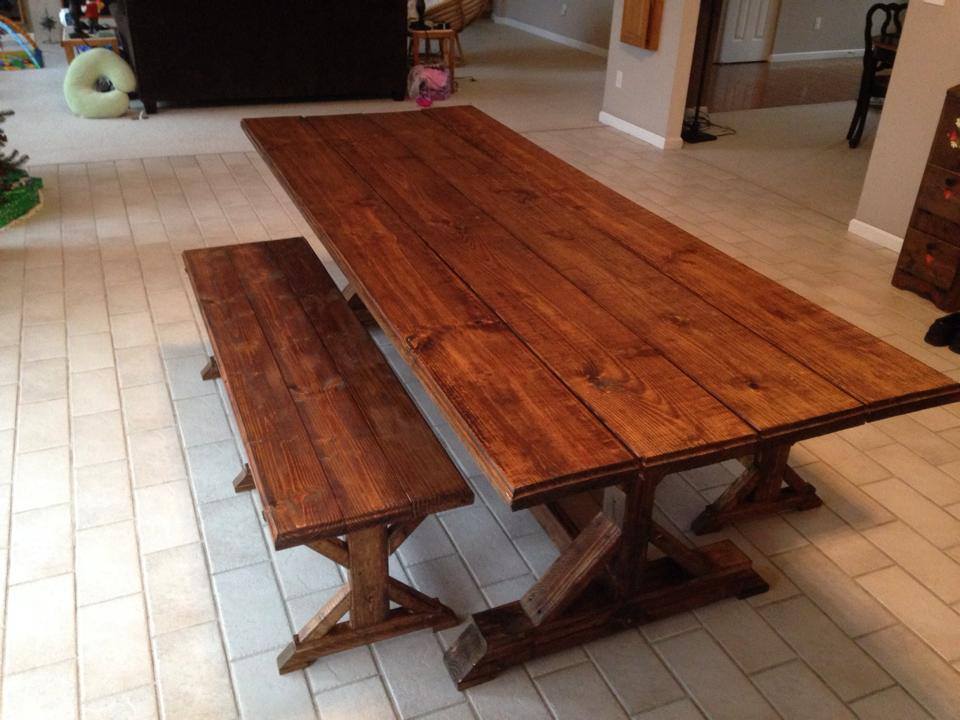
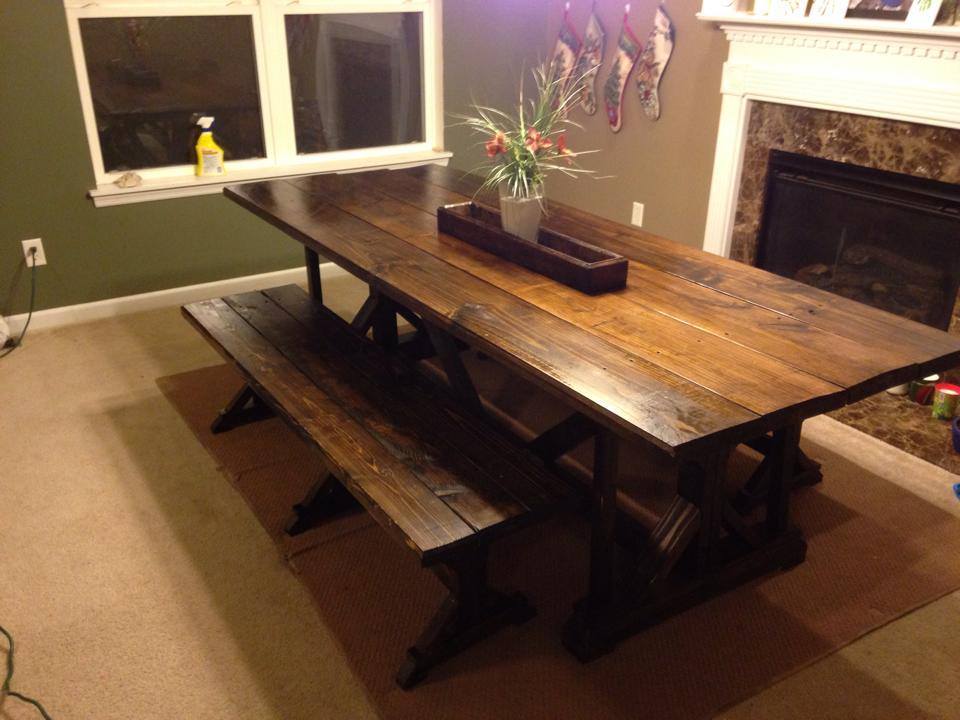
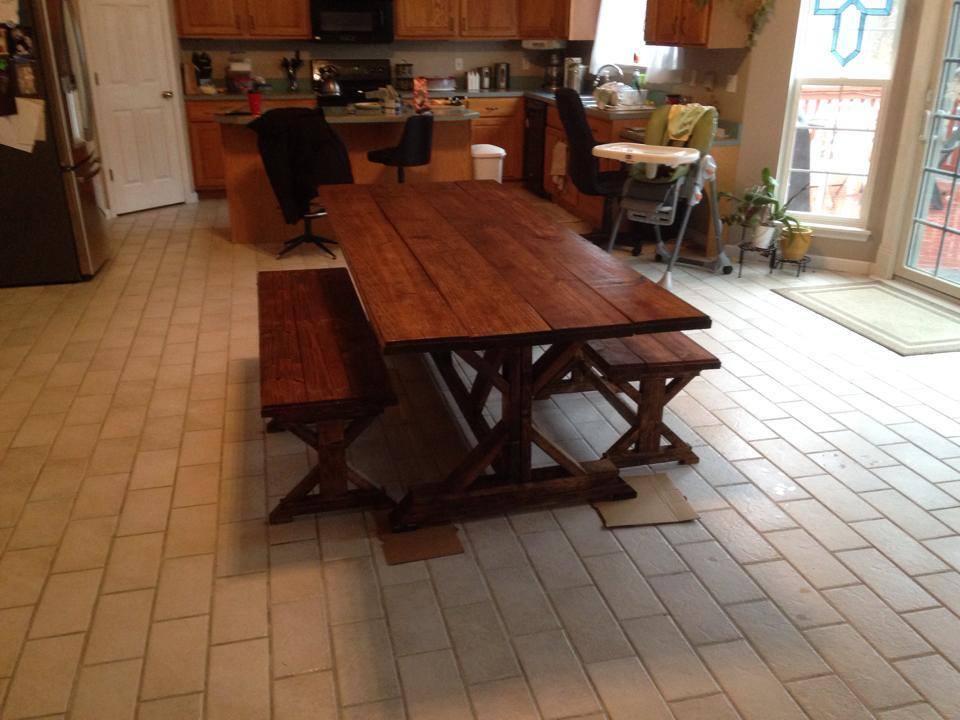
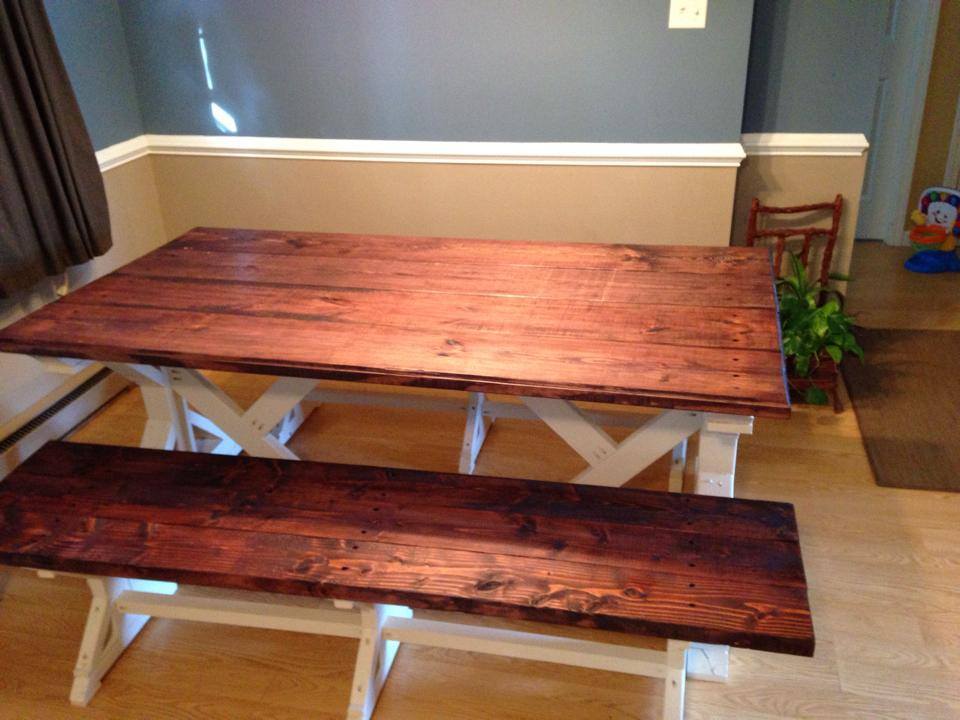
I was scared to try this project because it is listed as "intermediate" and I don't have that much furniture building experience. I originally wanted to do this with live edge, but when I saw how much it was gonna cost, I thought I would just do planks. Lucky me, I found 5 8ft live edge pieces (1 ft wide, 3 inches thick) for CAN $100. Some 2x4 and 1x4 and I was ready to rock and roll. I decided to make the table 6 ft long, so the legs are 5 ft apart. I made the connection a bit different than in the plans, just because I want to be able to stretch our legs underneath. It is as stable as can be. I love Ana White's plans. Great instructions, great cut list and almost no left overs.

Nicky Peeters https://www.facebook.com/nicky.peeters.70

Built from Plan(s)

Pet feeder

Submitted by Milhouse on Sat, 04/07/2012 - 23:07

I love my cat, and felt she needed a pretty feeding dish. I stole some old spindles from my sister's garage, cut them down and threw this plan together. It was actually harder than I expected because getting into tight little spaces with my drill to drill in the pocket holes was almost imposible. The wood split, nothing is square and the holes for the dishes are messy...but it doesn't really matter, it looks good from a distance and my cat doesn't judge. Not that I know of, anyway.

Estimated Cost
Free - made from scraps
Estimated Time Investment
An Hour or Two (0-2 Hours)
Finish Used
Flat white paint
Recommended Skill Level
Intermediate

Comments

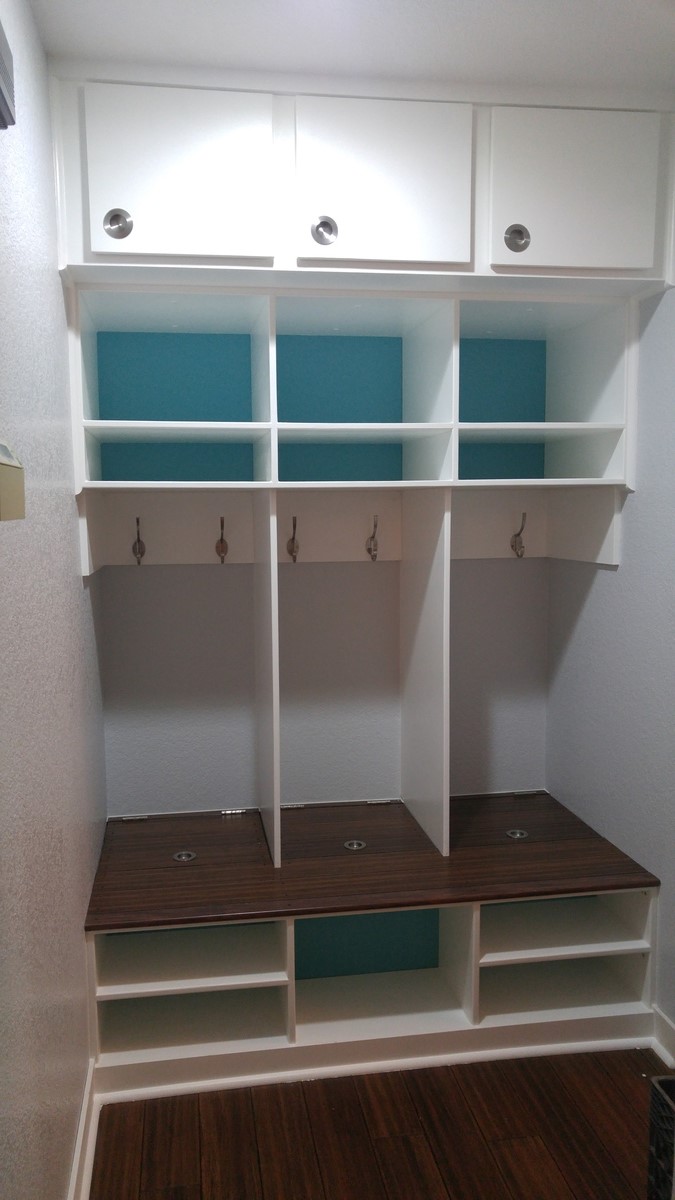
Closet-to-Mudroom Conversion

Submitted by Anonymous (not verified) on Fri, 04/15/2016 - 21:41

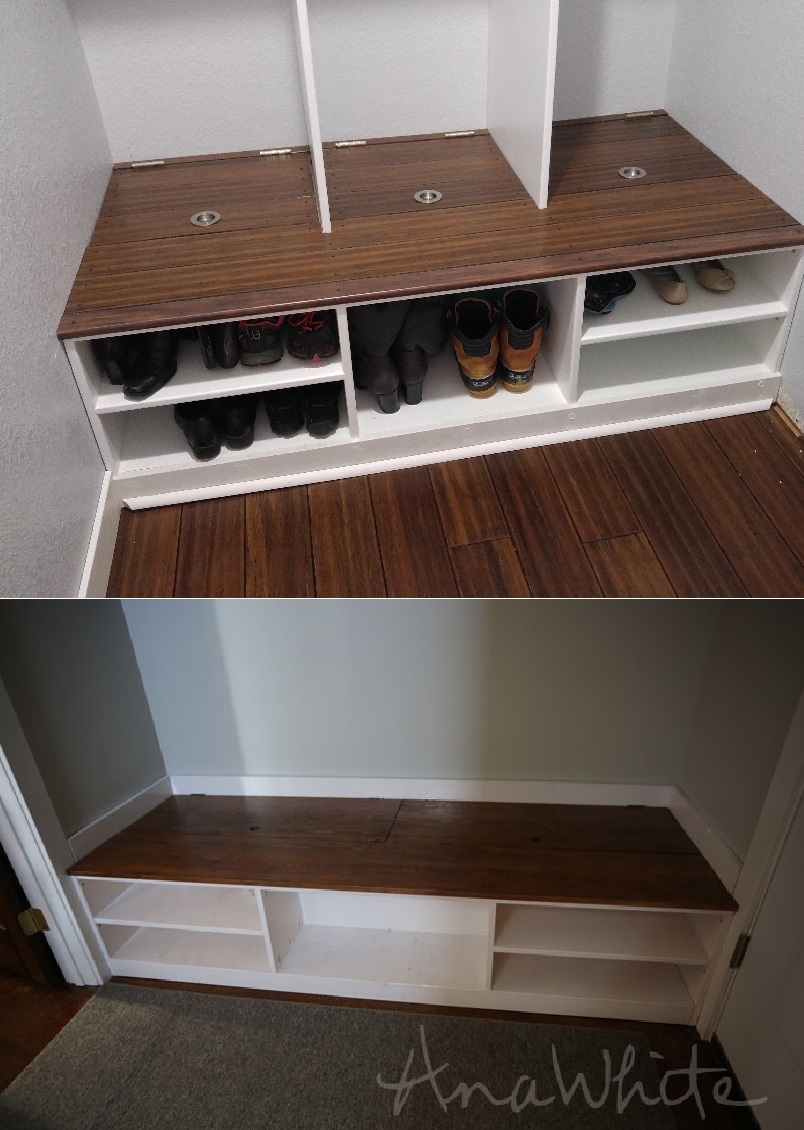
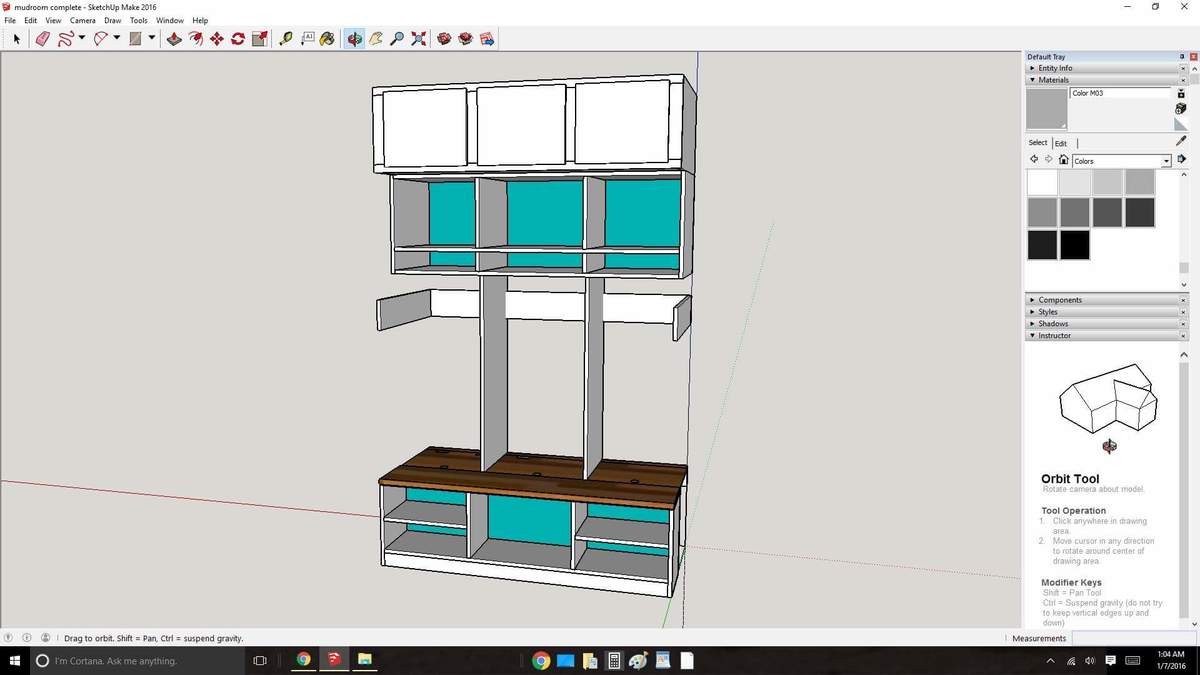
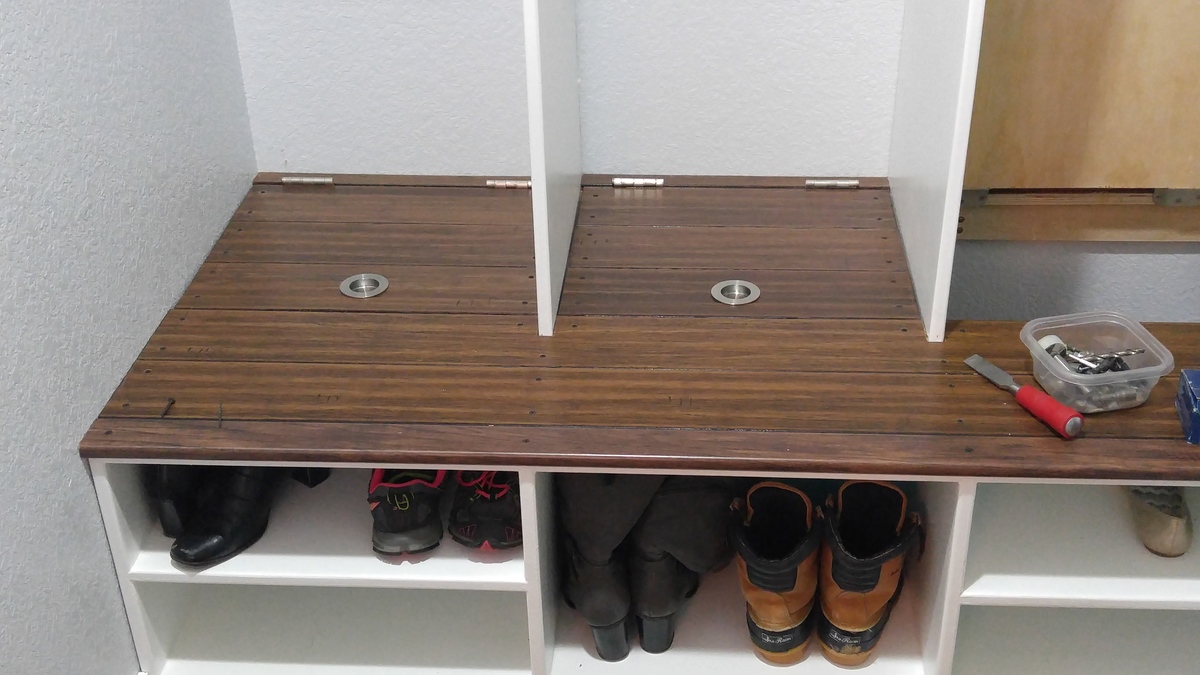
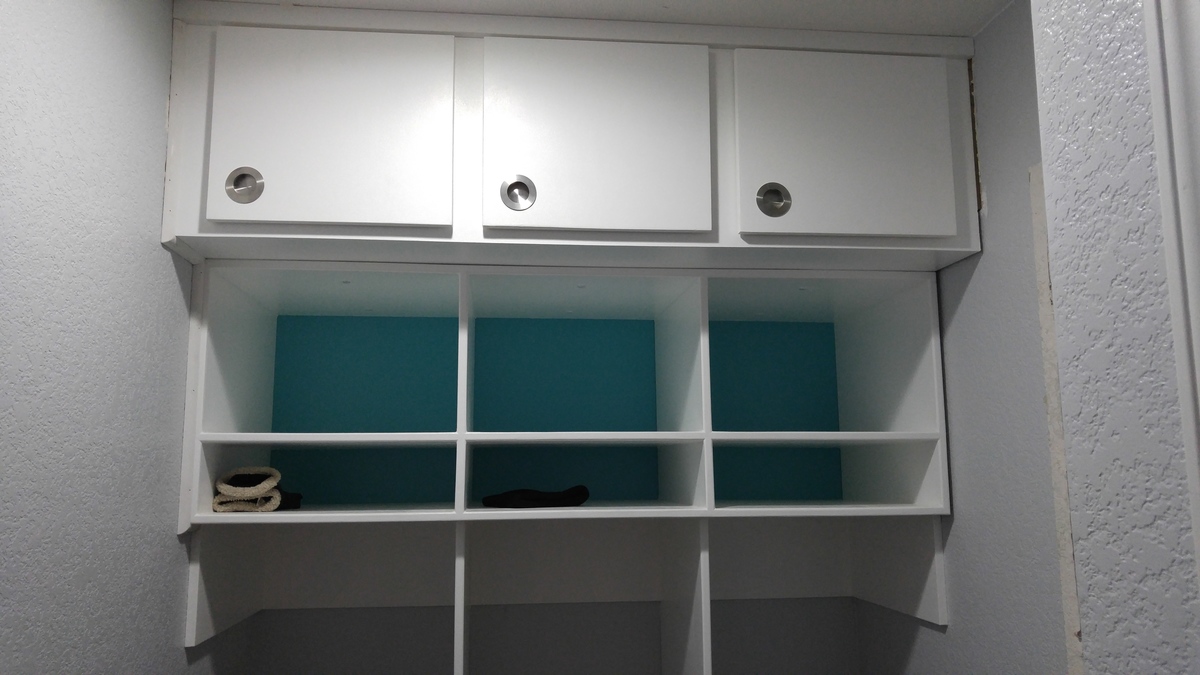
Starting from the Extra Wide Shoe Bench plans, I expanded the upper section considerably. The cabinetry is all cut from hardwood plywood and joined with pocket screws and glue. I don't have a table saw, so a circular saw and straightedge were extensively used.

Estimated Cost
$400.00
Estimated Time Investment
Week Long Project (20 Hours or More)
Finish Used
Gloss paint.
Recommended Skill Level
Intermediate

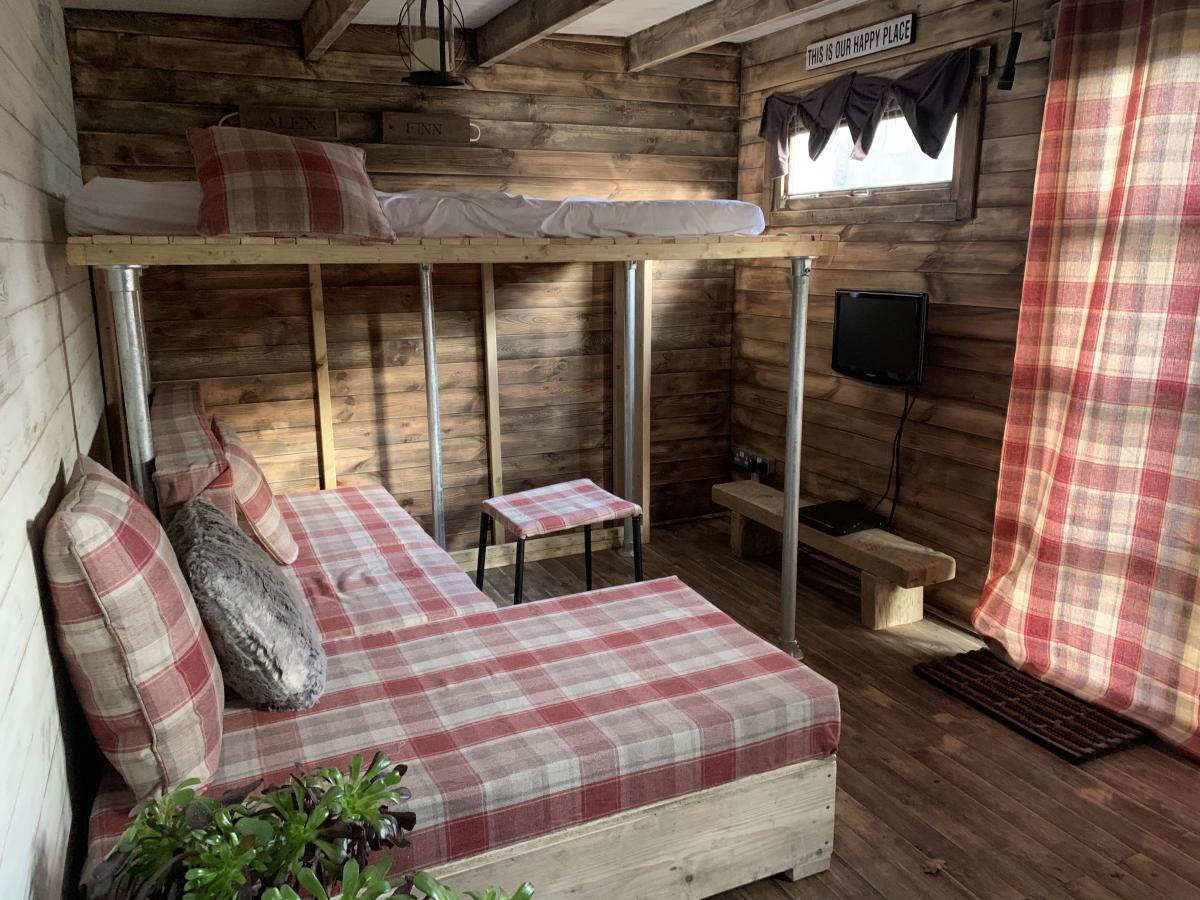
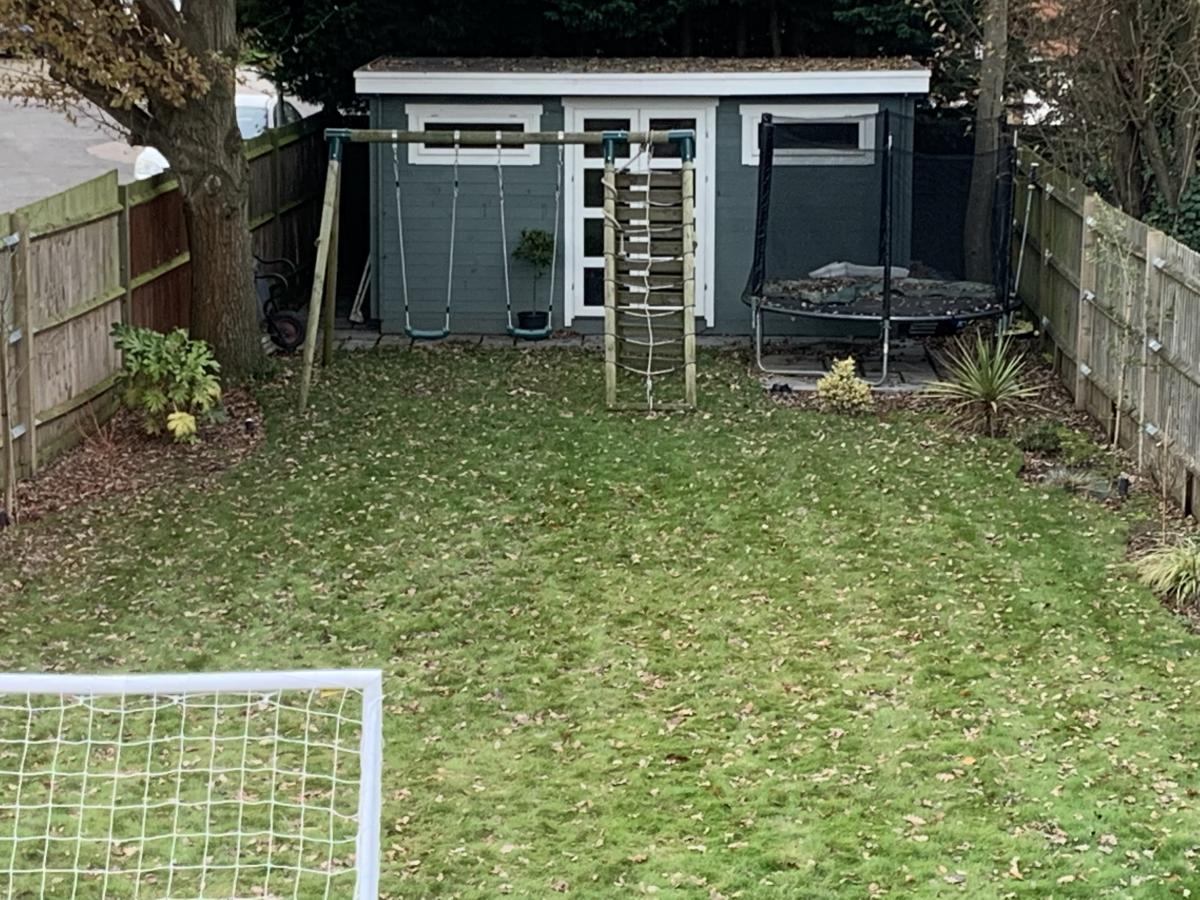
Family Cabin with Flip up bed

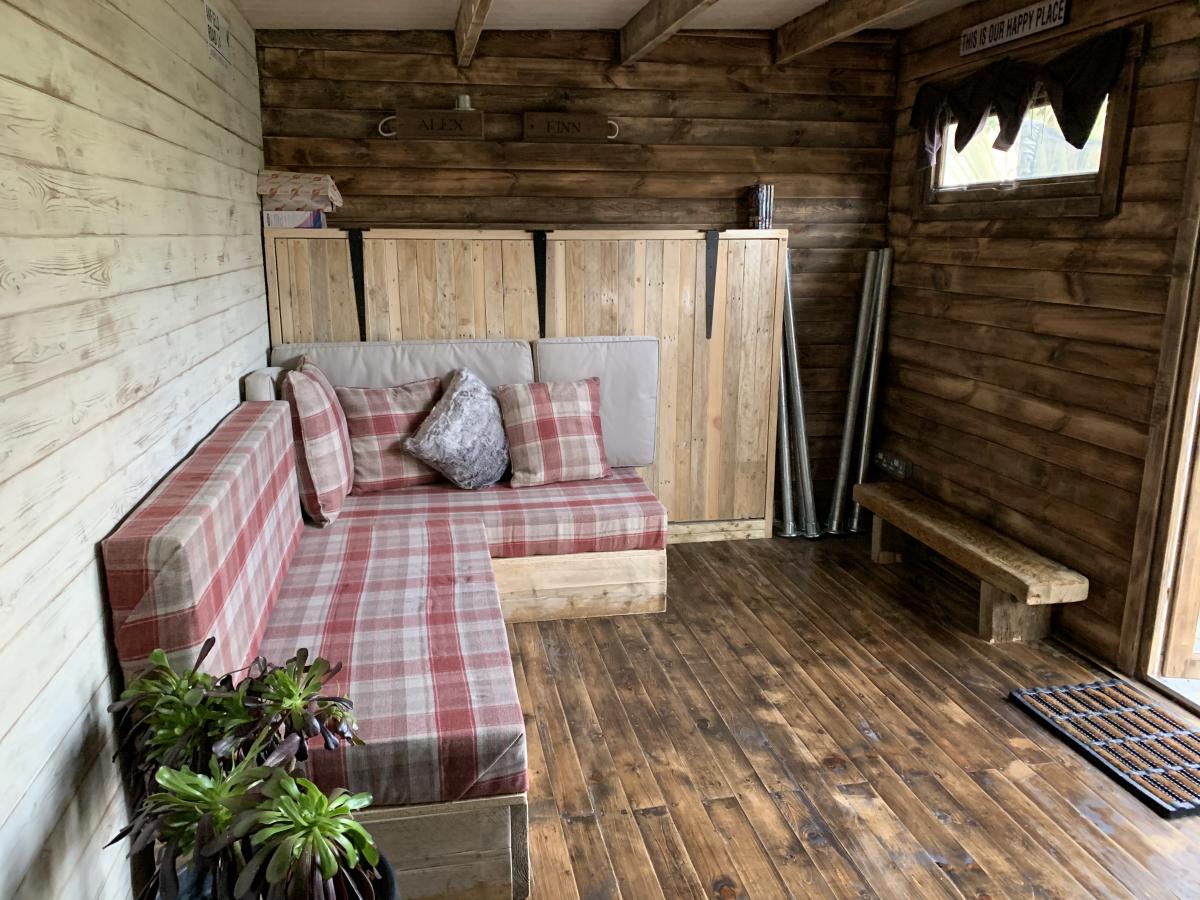
Always wanted an Alpine lodge, we live in London so a Garden cabin for the kids (and Dad) will have to do! 

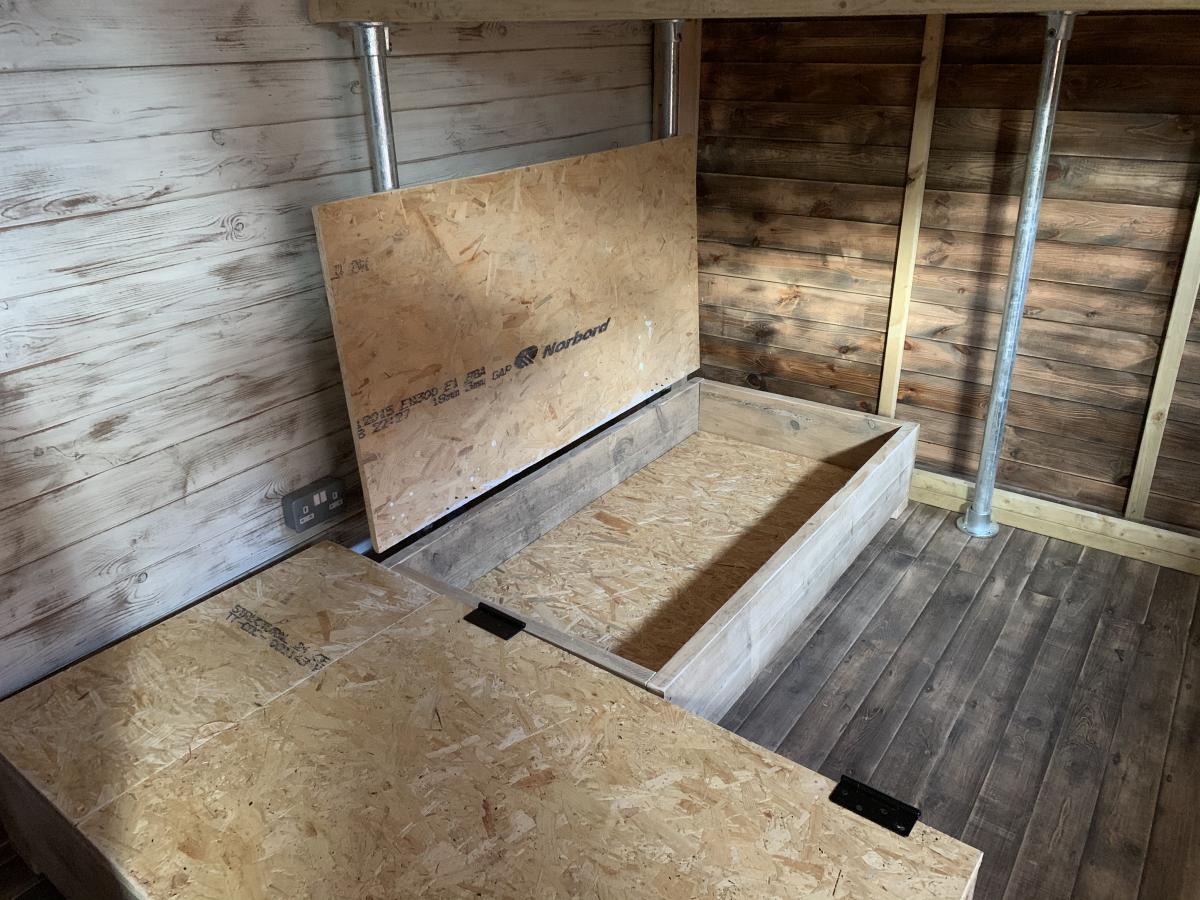
flip up bed and storage cabinet (for mattress)

sofa bed, foam cushions with leftover curtains  

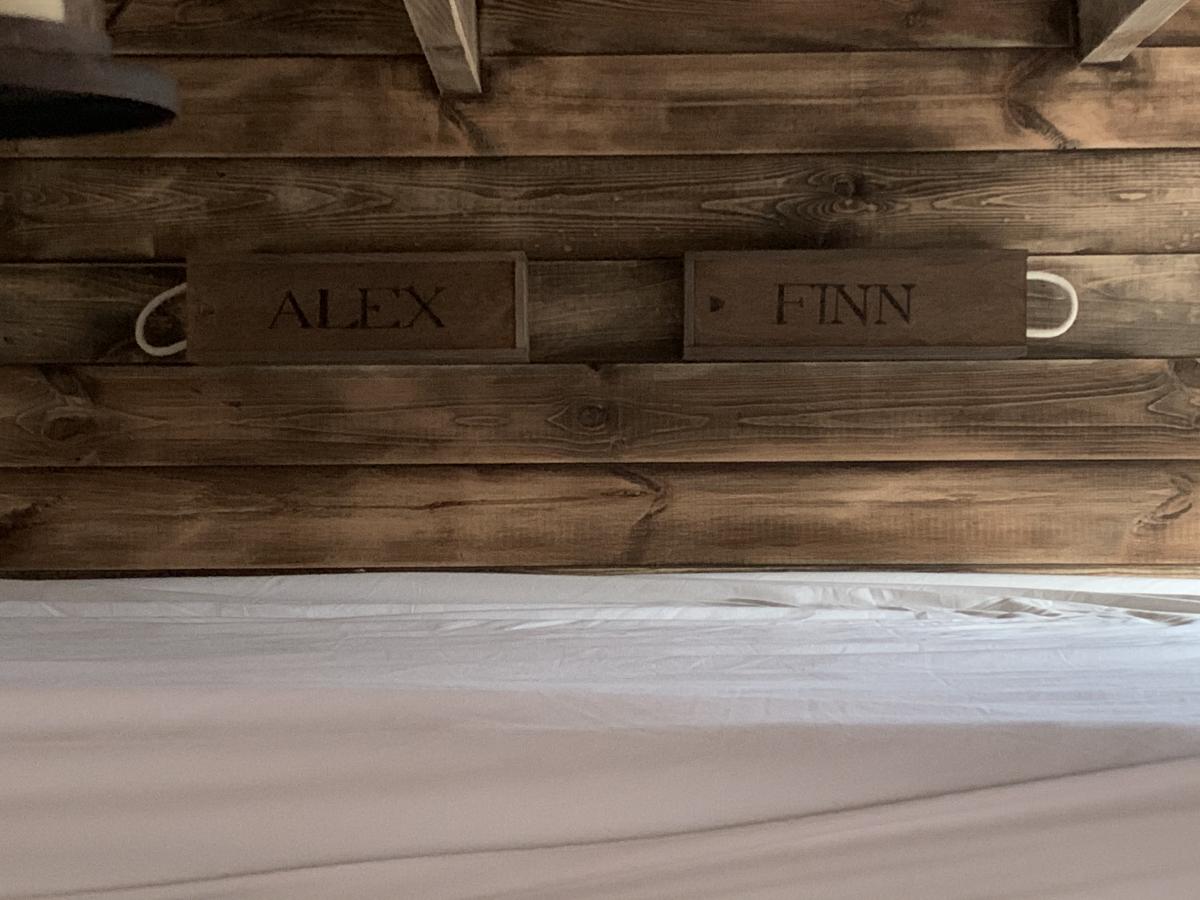
mini storage boxes from wine boxes

inspired by tiny house (especially the sofa!)

Still more to do. Desk on its way and bulk head lights fitted soon. 
 

no real plans just rough sketches and trial and error

Estimated Cost
£300 for interior
Estimated Time Investment
Week Long Project (20 Hours or More)
Finish Used
Old white paint and fence paint

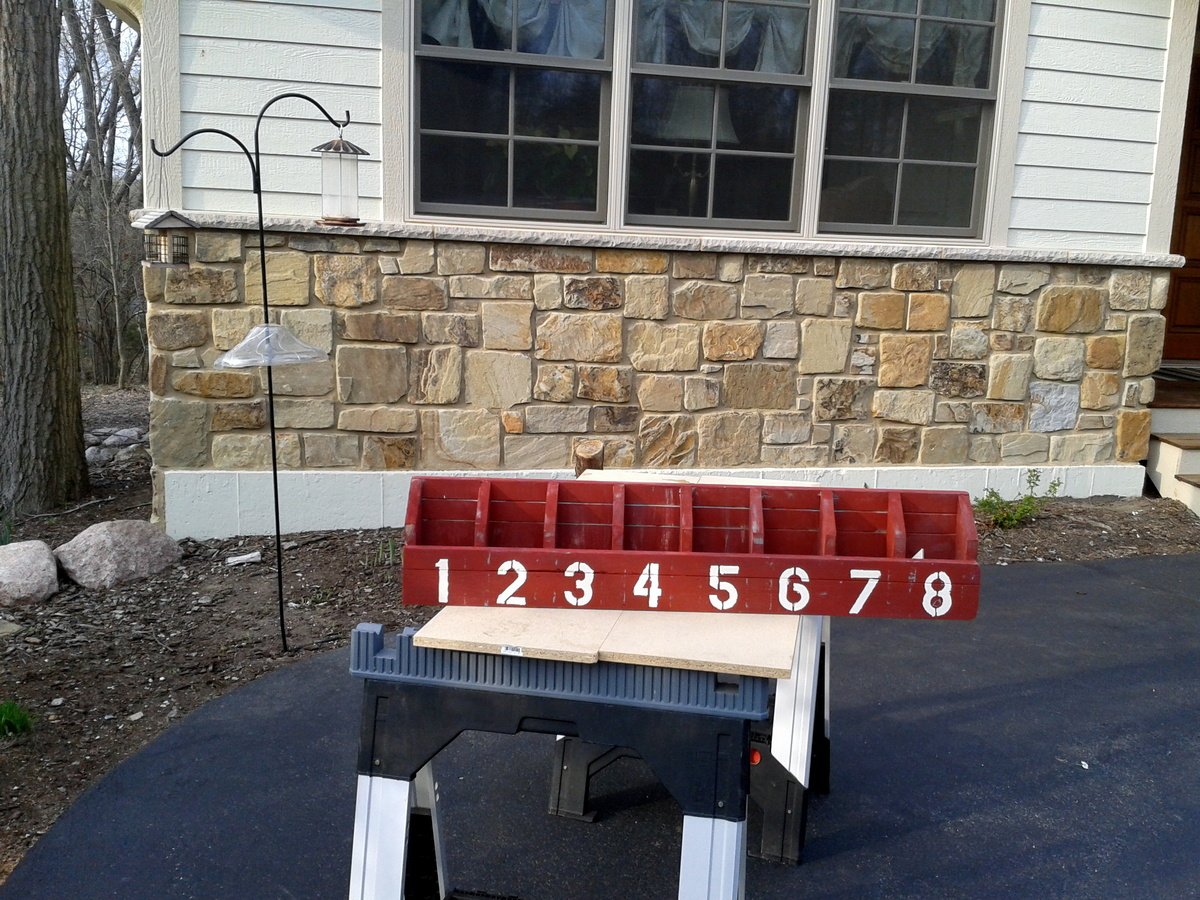
FarmHouse Numbered Cubby

Submitted by PA PA B on Mon, 04/09/2012 - 19:19

My first brag post ...Fun to make

Estimated Cost
10.00
Estimated Time Investment
Afternoon Project (3-6 Hours)
Finish Used
barn paint
Recommended Skill Level
Beginner

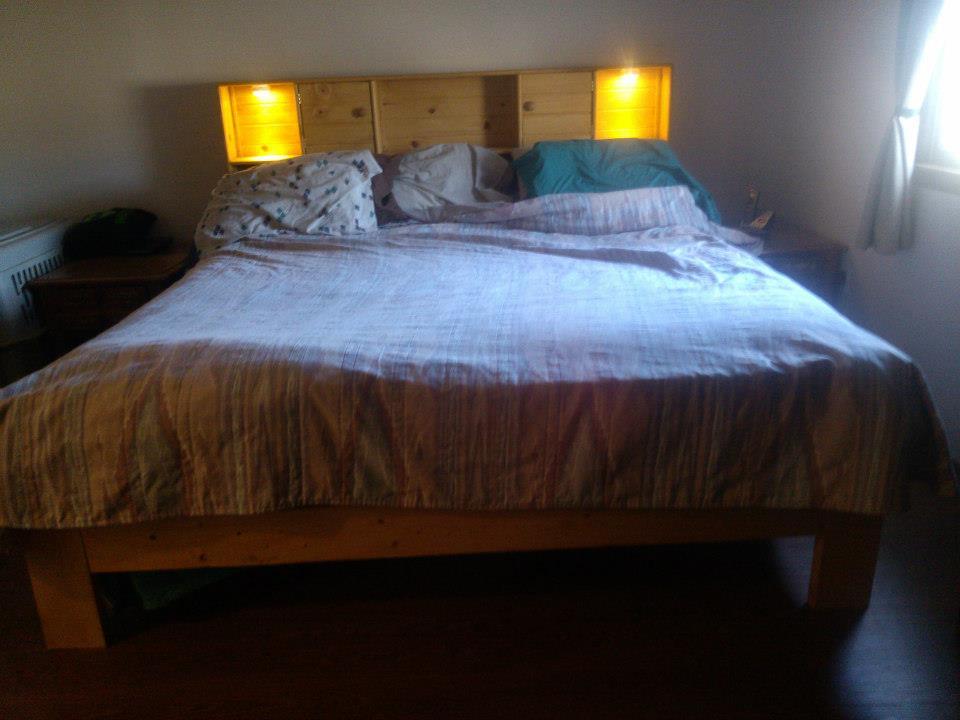
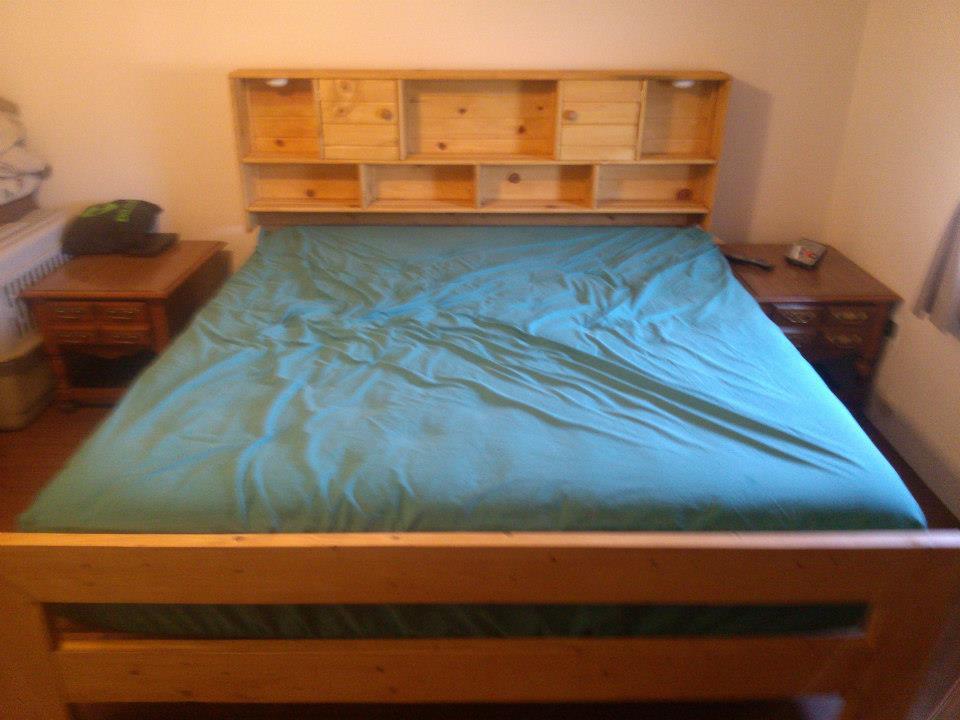
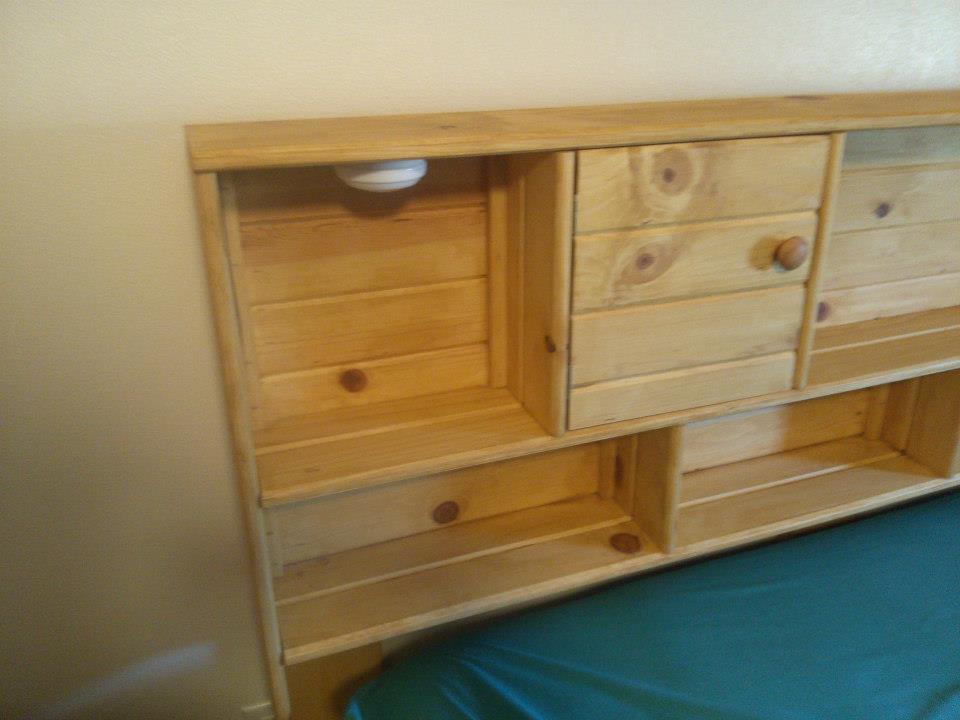
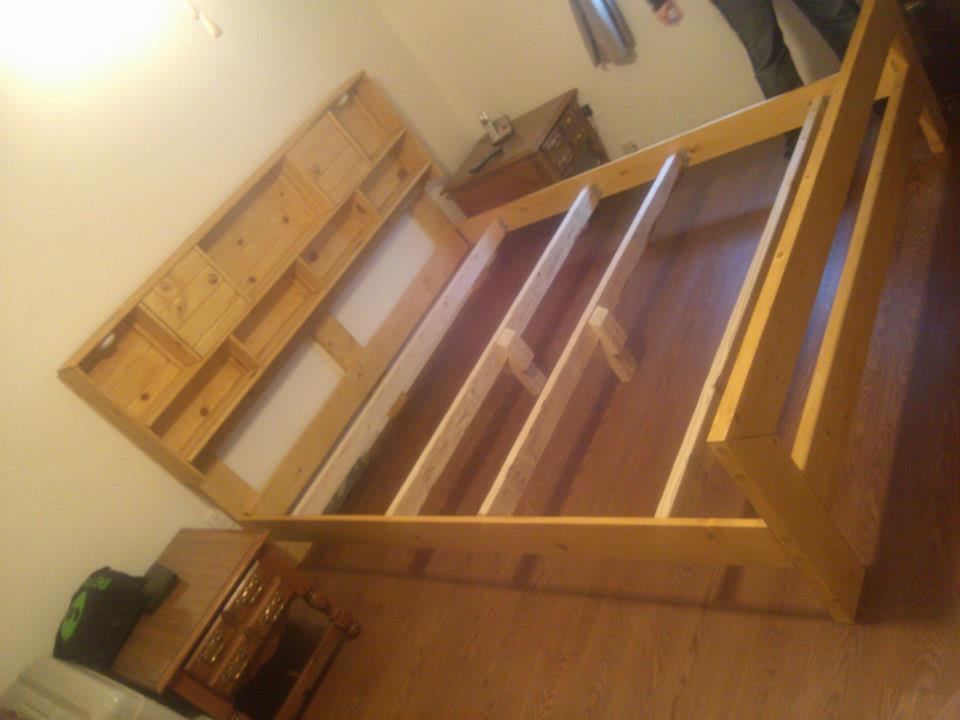
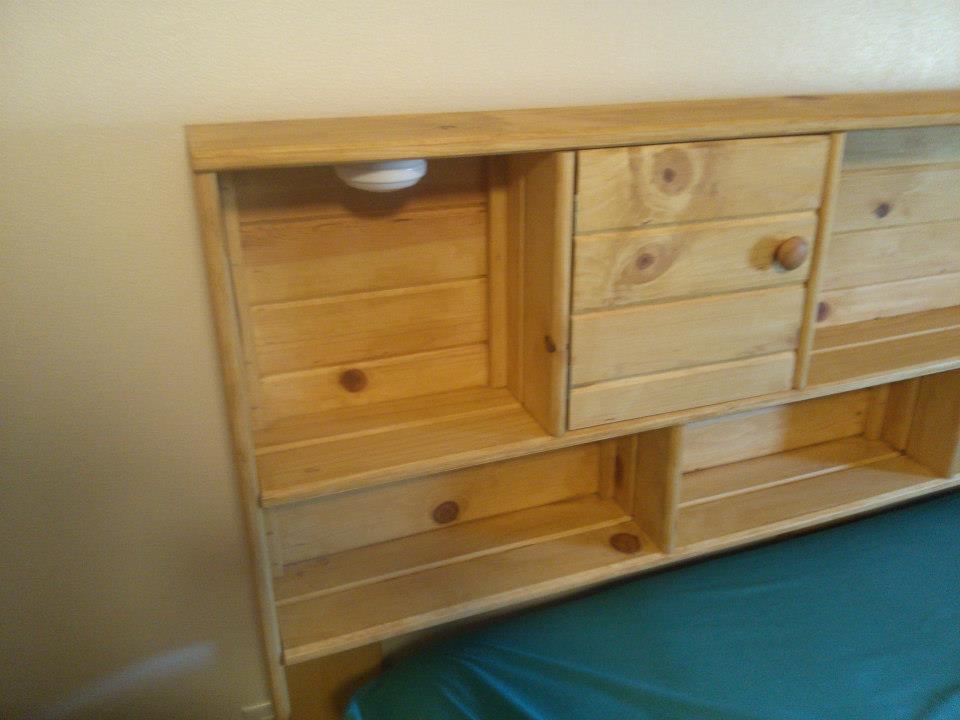
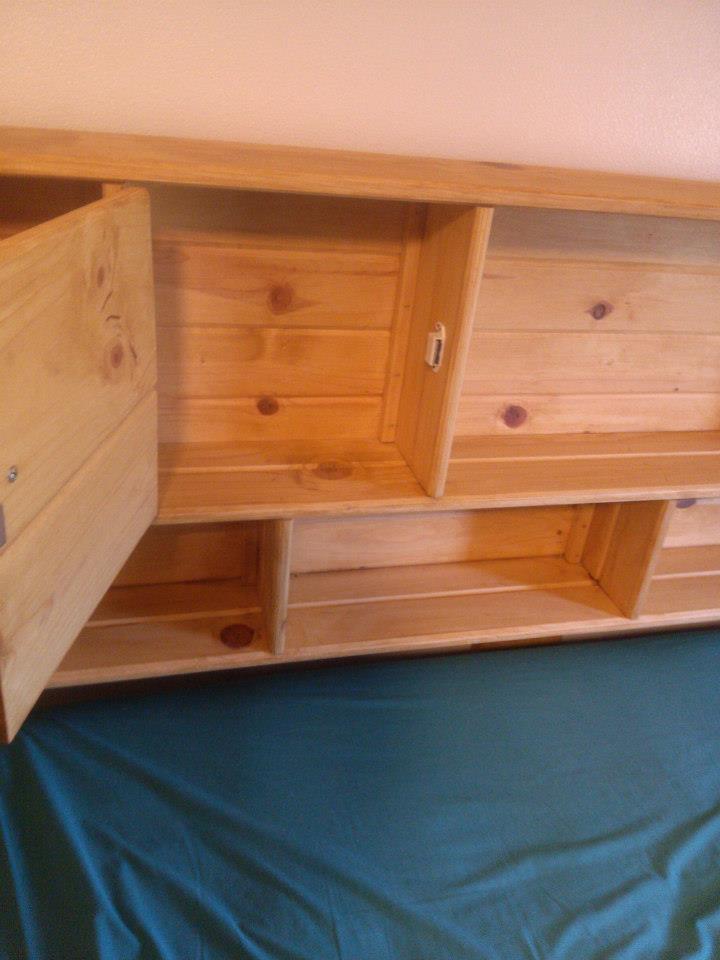
King size storeage headboards with lighting

Submitted by Mamabear2 on Thu, 01/23/2014 - 10:46

Our Friends wanted a new bed frame in the worst way. They gave my husband free will to design a bed for them and this is what he came up with. headboard is made out of car siding. has 2 hinged doors, 2 battery operated led lights, lots of shelves. basic rails and foot board!

Estimated Cost
175.00
Estimated Time Investment
Weekend Project (10-20 Hours)
Finish Used
use a stain of choice and clear coat
Recommended Skill Level
Intermediate

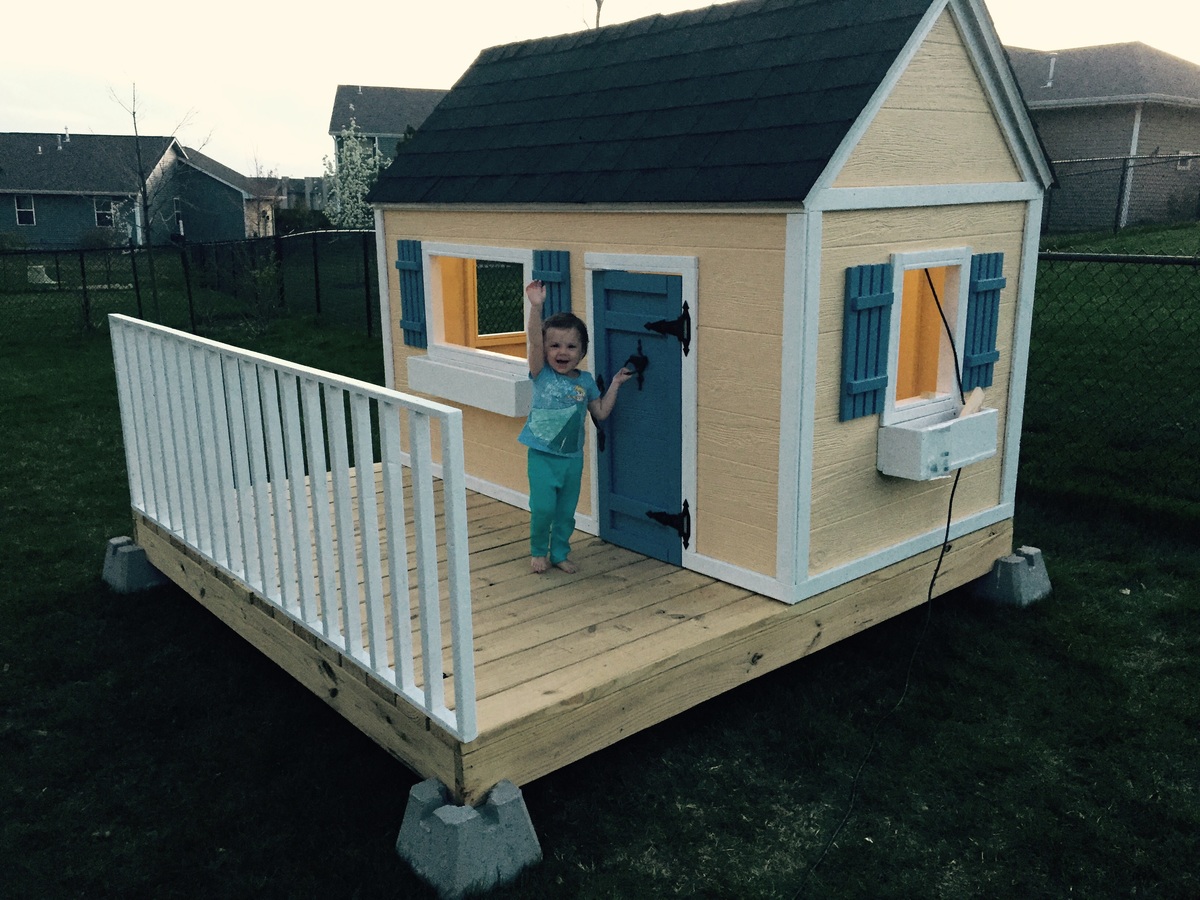
How to make a 2 year old happy (the long way)

Submitted by Anonymous (not verified) on Mon, 04/18/2016 - 13:23

I started this in my garage this winter so that it was ready for spring. Nothing in this is too complicated but it requires some patience. It was all worth it to see how excited my daughter was to finally play with her friends.

Estimated Cost
$500
Estimated Time Investment
Week Long Project (20 Hours or More)
Finish Used
Exterior paint from SW
Recommended Skill Level
Intermediate

Comments

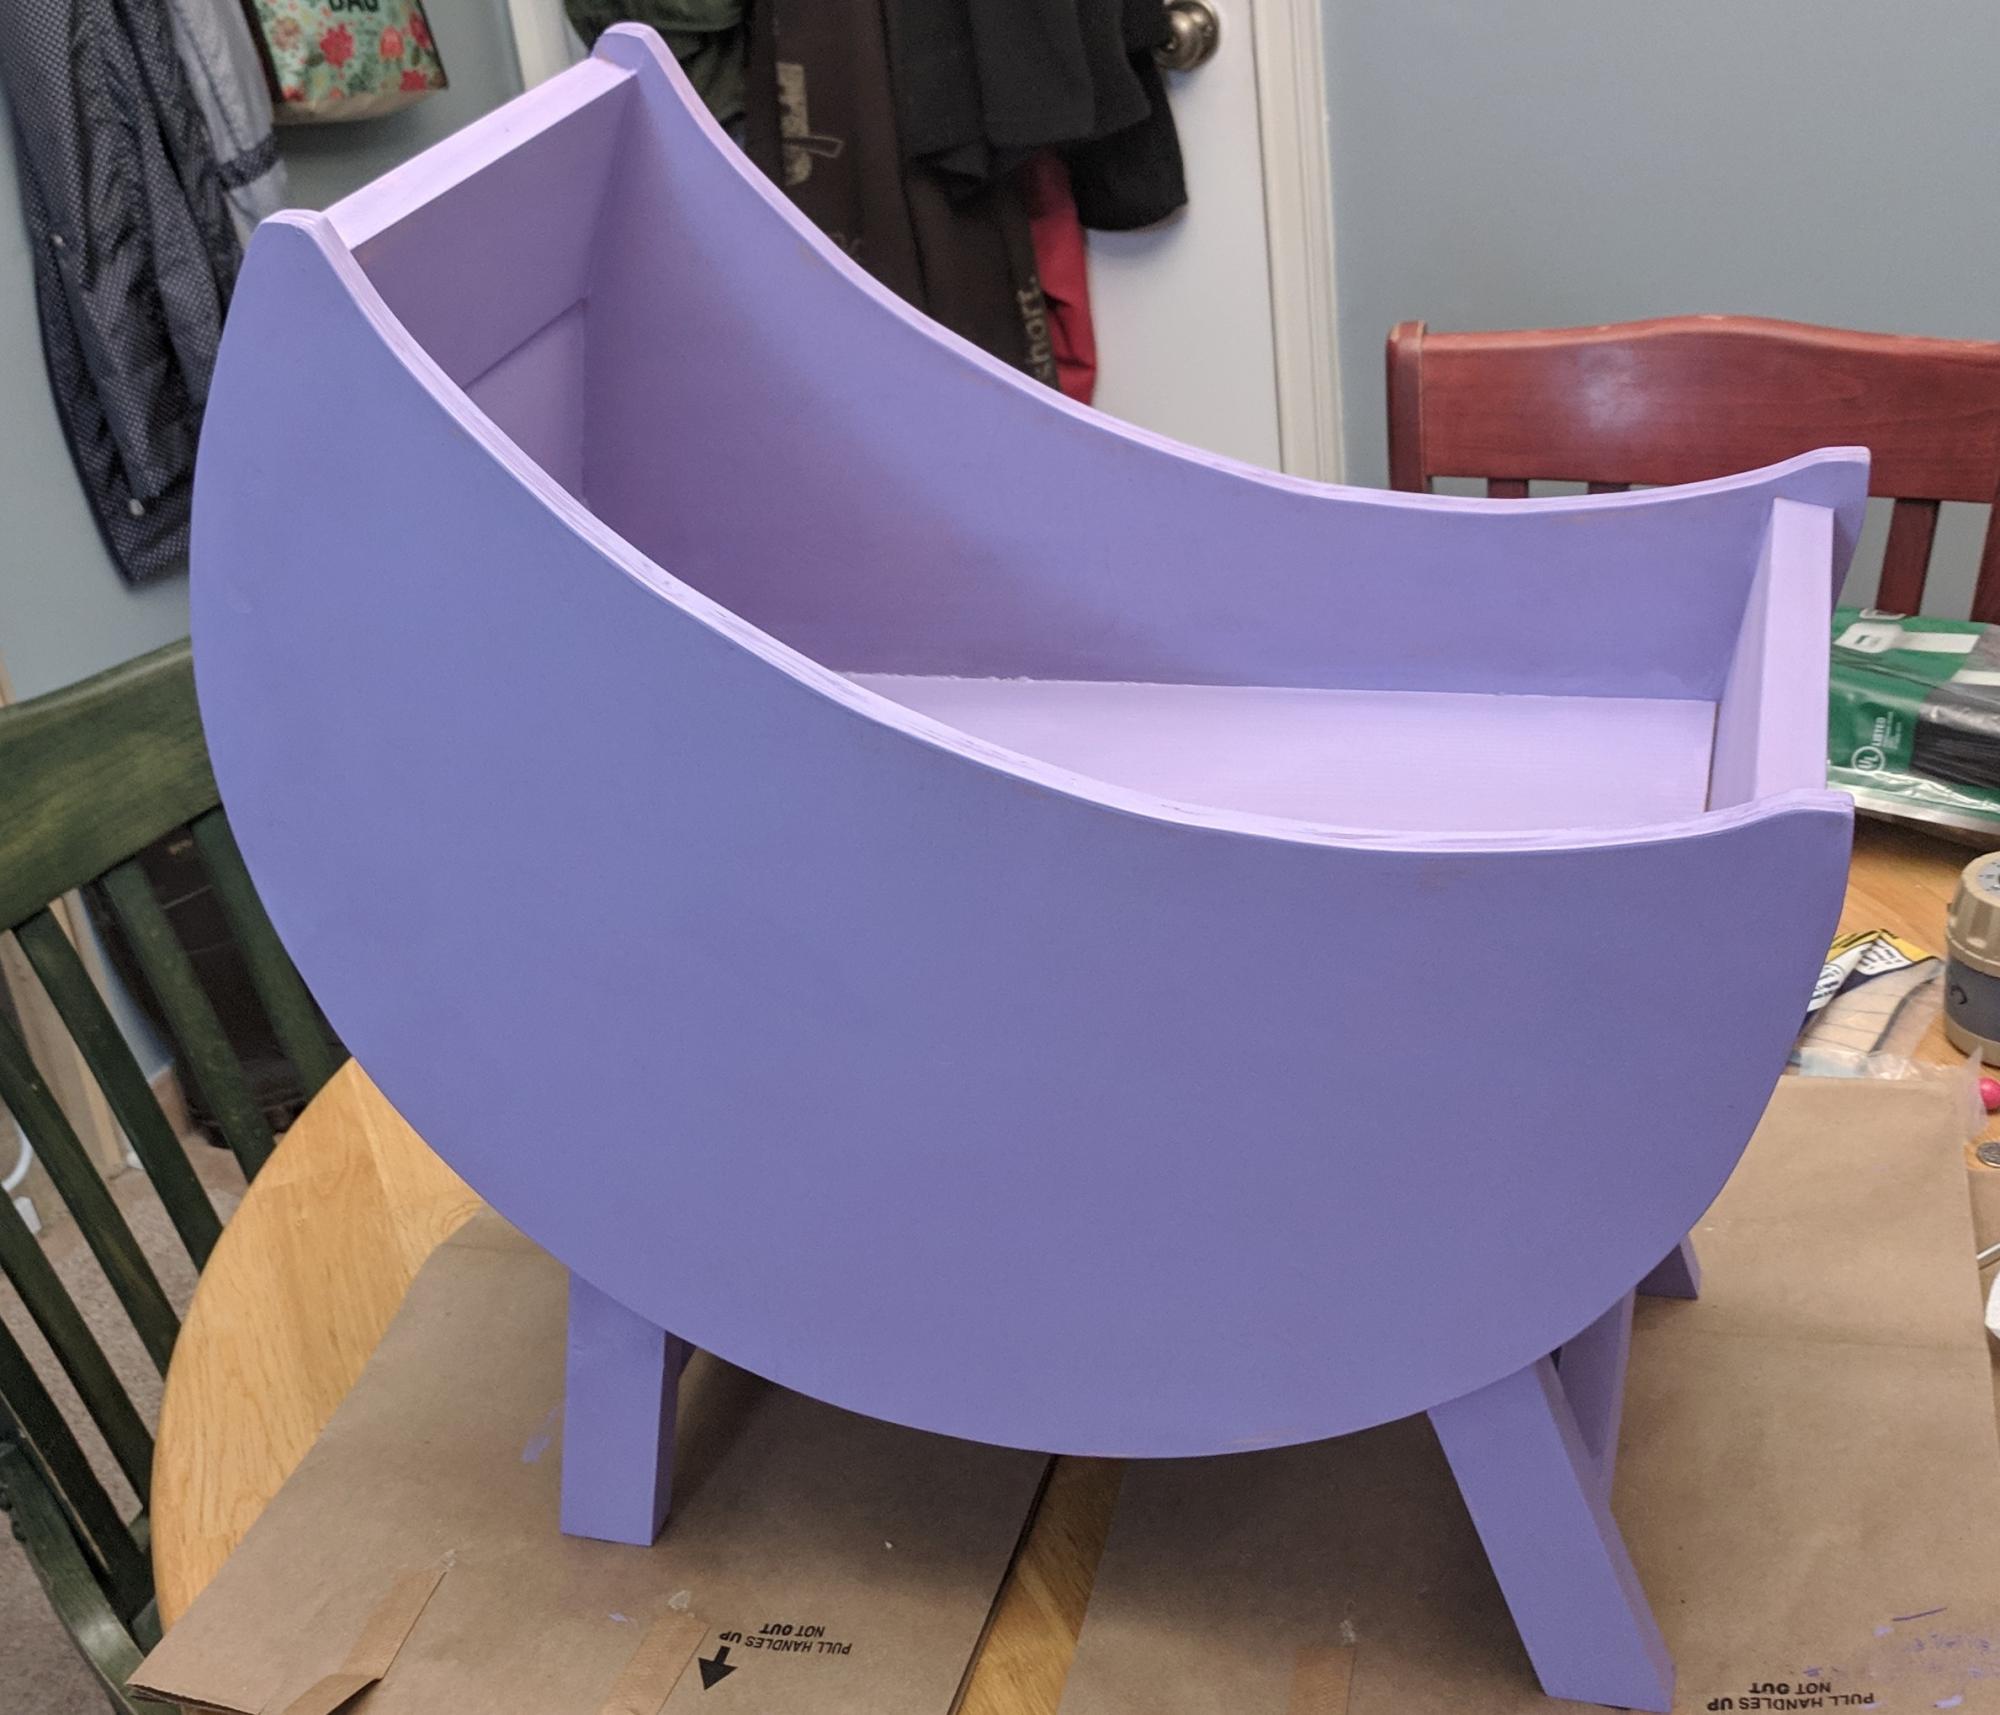
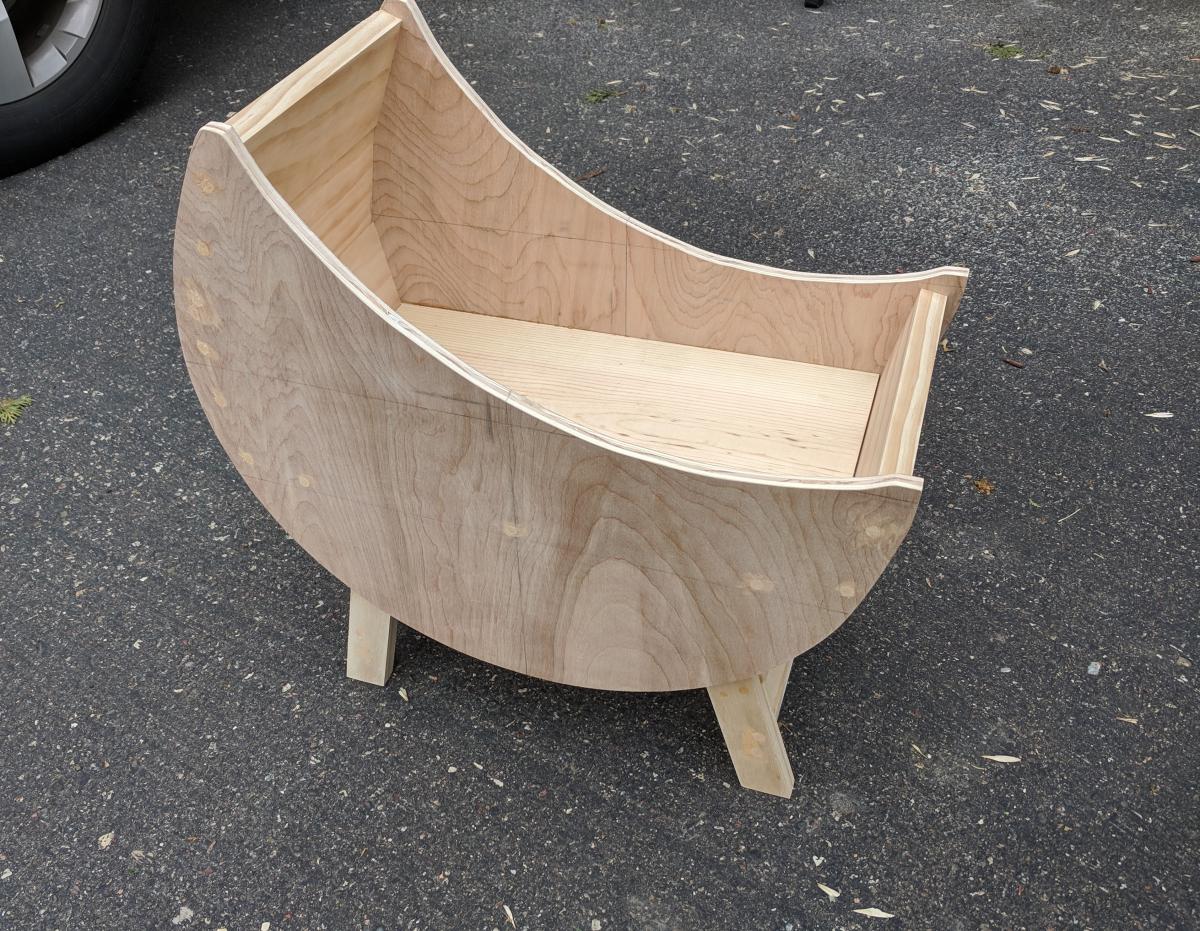
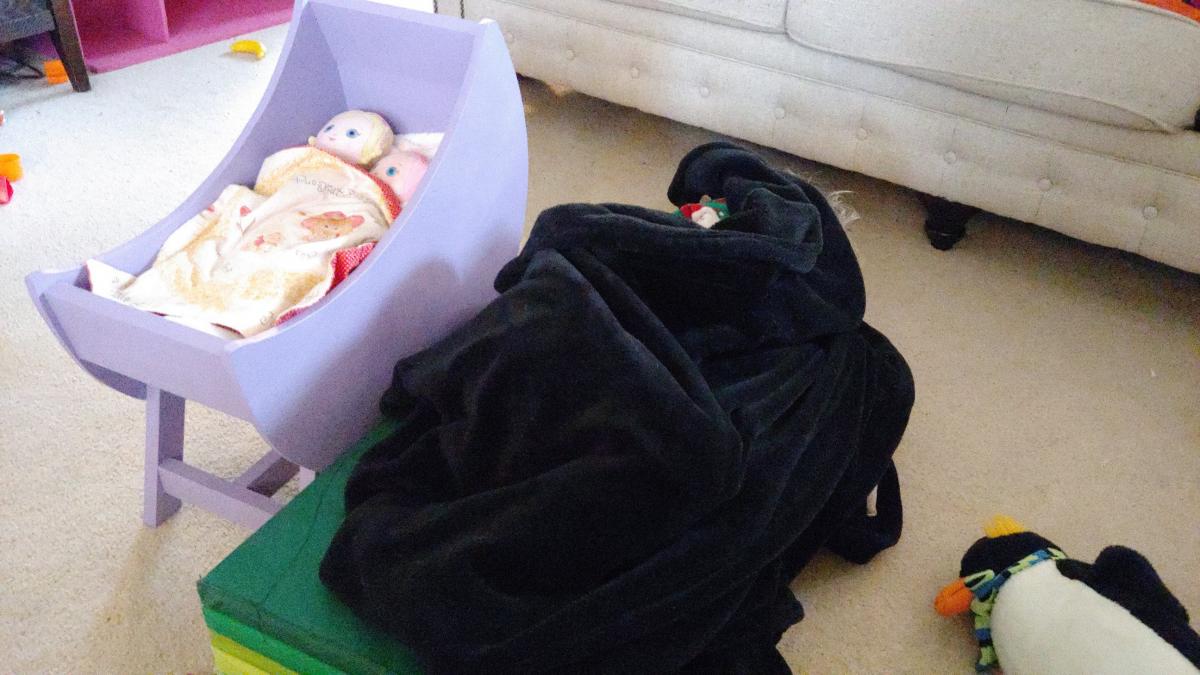
Lavander Moon Bassinet

Submitted by papamike on Sun, 01/05/2020 - 13:39

My daughter-in-law asked me if I could build a doll crib for my granddaughter. I had no idea how to do that, so of course I said "Absolutely!" Then I immediately came to the Ana White site!!
I found a few options and checked with my daughter-in-law to see what style she wanted.  She chose the "Baby Doll Furniture Moon Bassinet" and said that it needed to be "lavander".  

As usual, Ana's plans made me look like a hero!  My granddaughter liked it so much she insisted on sleeping on the floor next to it during her nap!   
Estimated Time Investment
Afternoon Project (3-6 Hours)
Finish Used
Paint and satin clear coat.
Recommended Skill Level
Beginner

Kreg Jig Fun

Submitted by Anonymous (not verified) on Thu, 04/21/2016 - 13:12

I used whitewashed clear pine for the bases and maple for the tops. I also built a corner table to match. I used a Kreg Jig for the first time for all 3 tables.

Built from Plan(s)
Estimated Cost
$200
Estimated Time Investment
Week Long Project (20 Hours or More)
Finish Used
Whitewash stain for the bases. Polyurethane for the tops.
Recommended Skill Level
Intermediate

First Ever Woodworking Project - Modified Farmhouse Table

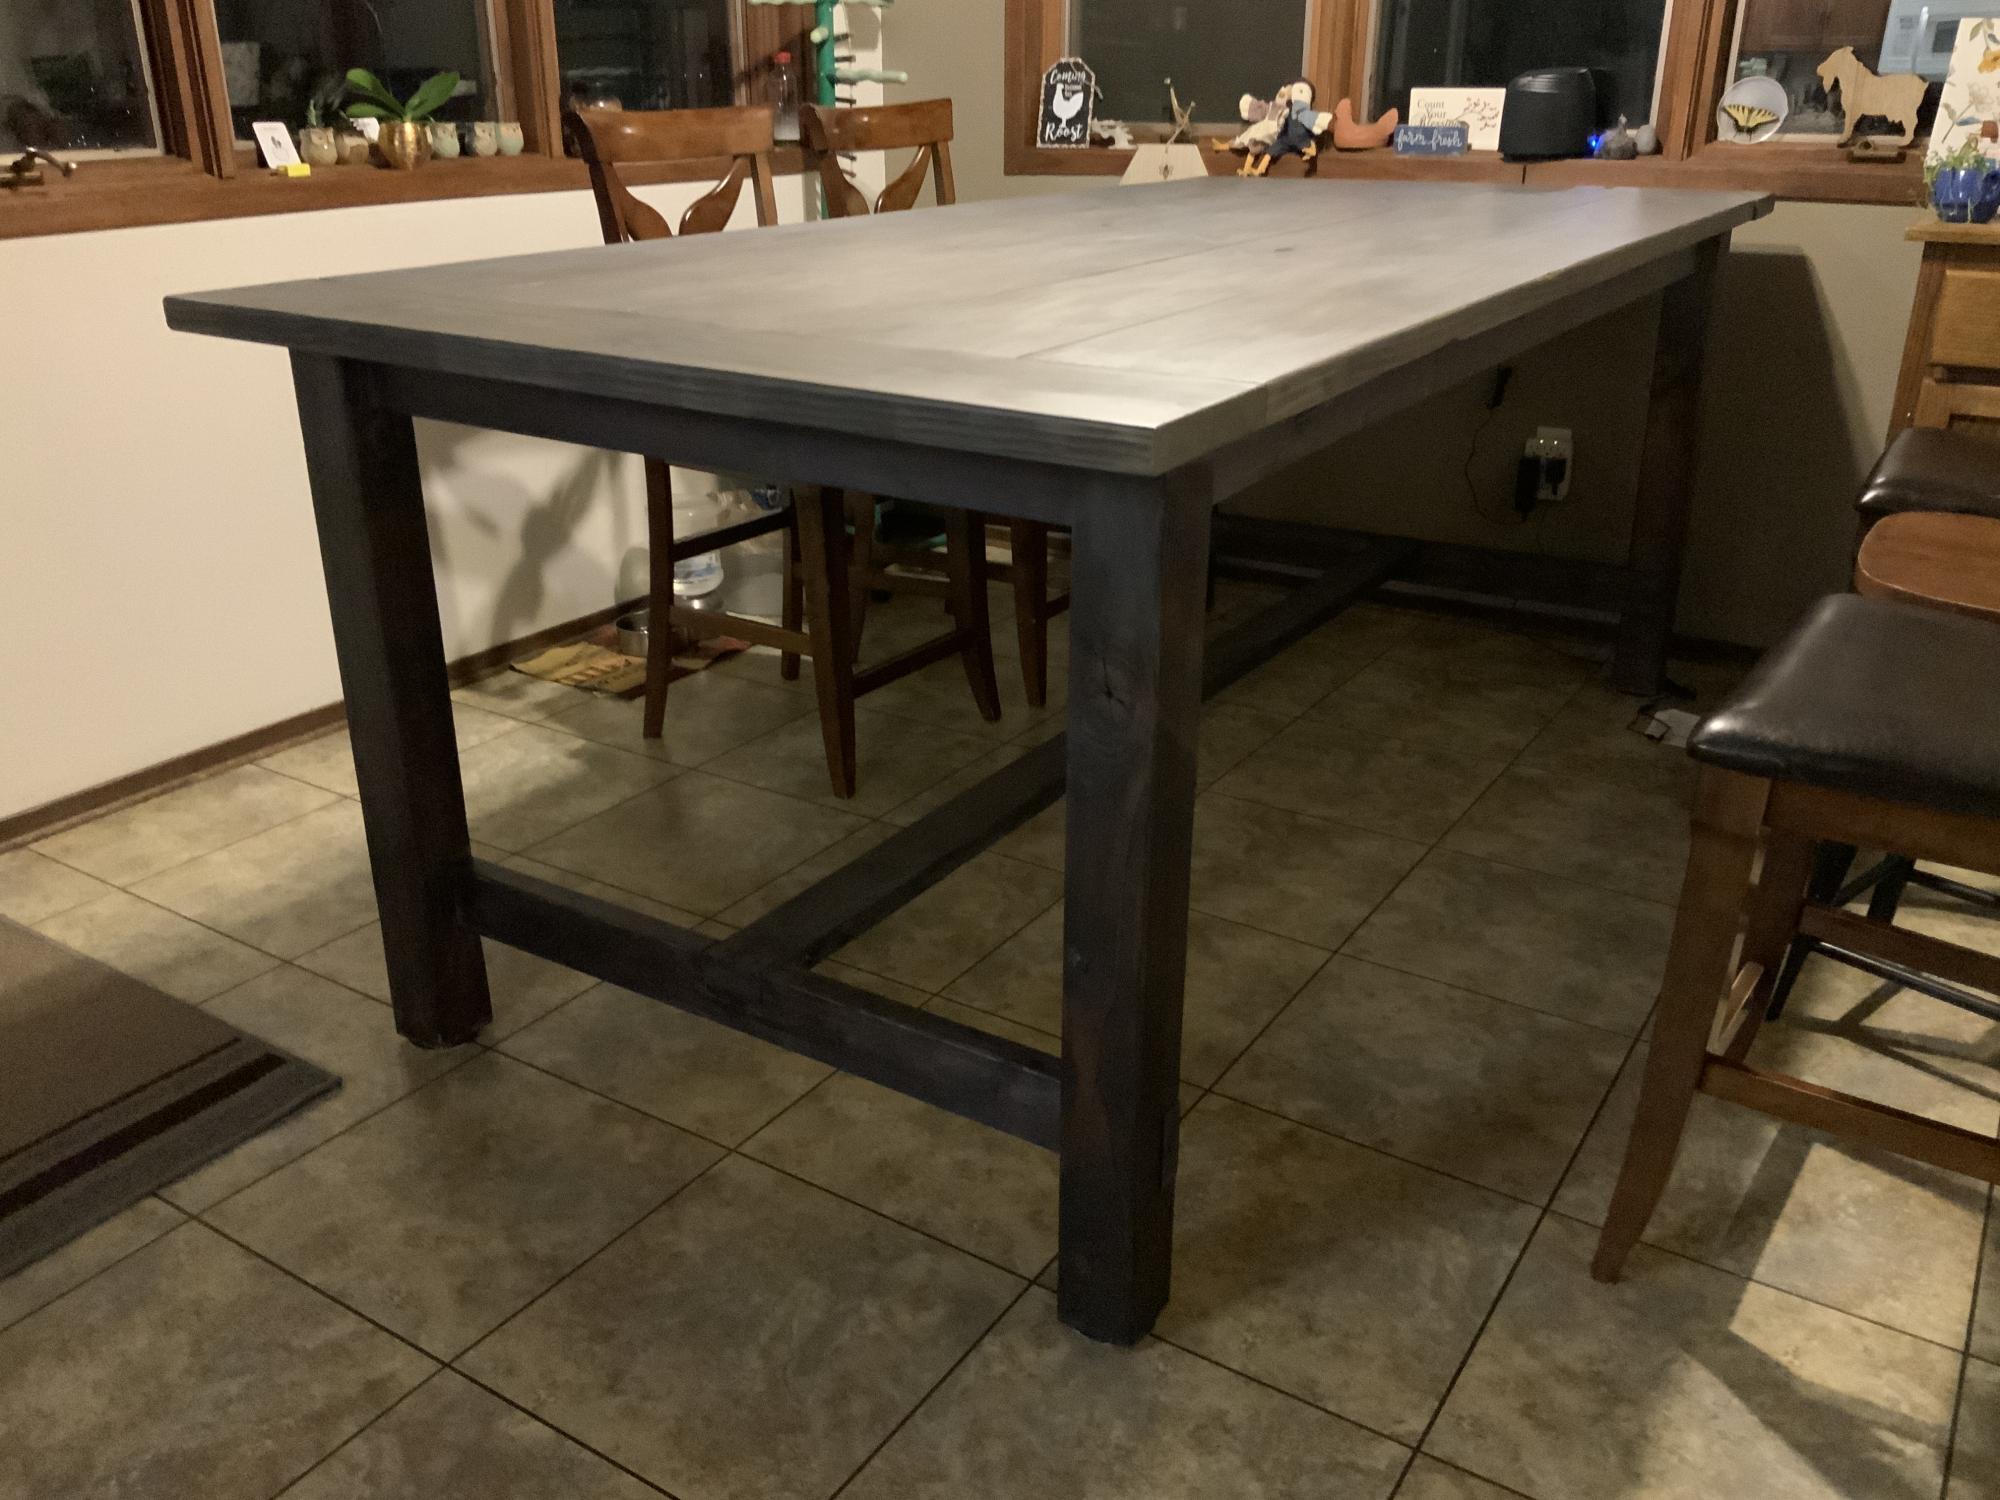
I modified the Farmhouse Table With Pocket Holes plans to make the table counter height for our views of the woods from the dining area. We also have large family gatherings every Sunday evening so made the overall length 95” and the width 46” using 2x10s instead of 2x8s. I also made a little extra foot room on the ends by moving the stretcher support to the inside of the legs. All of the lumber was run through a planer multiple times to get everything nice and even. Large knot holes where left by choice for character, and I filled them with epoxy and sanded smooth.

I started the project with lumber that was not completely dry. As a result, my tabletop width shrunk by nearly 3/4” over the first few weeks after completion. I would recommend bringing your lumber package inside for several weeks before you begin the build to allow it to dry and shrink. Do not bother to glue the table top if your lumber isn’t dry as it will simply pull apart like mine did.

This table is a BEAST, and will definitely be our shelter in the event of an earthquake. Because of the size, I had to build it in the dining area and I wish I had sanded everything to final finish before I built it. There was a lot of creative shopvac help from the kids.

Thank you for the great plans and inspiration to take on my first major woodworking project!

Estimated Cost
$130
Estimated Time Investment
Weekend Project (10-20 Hours)
Finish Used
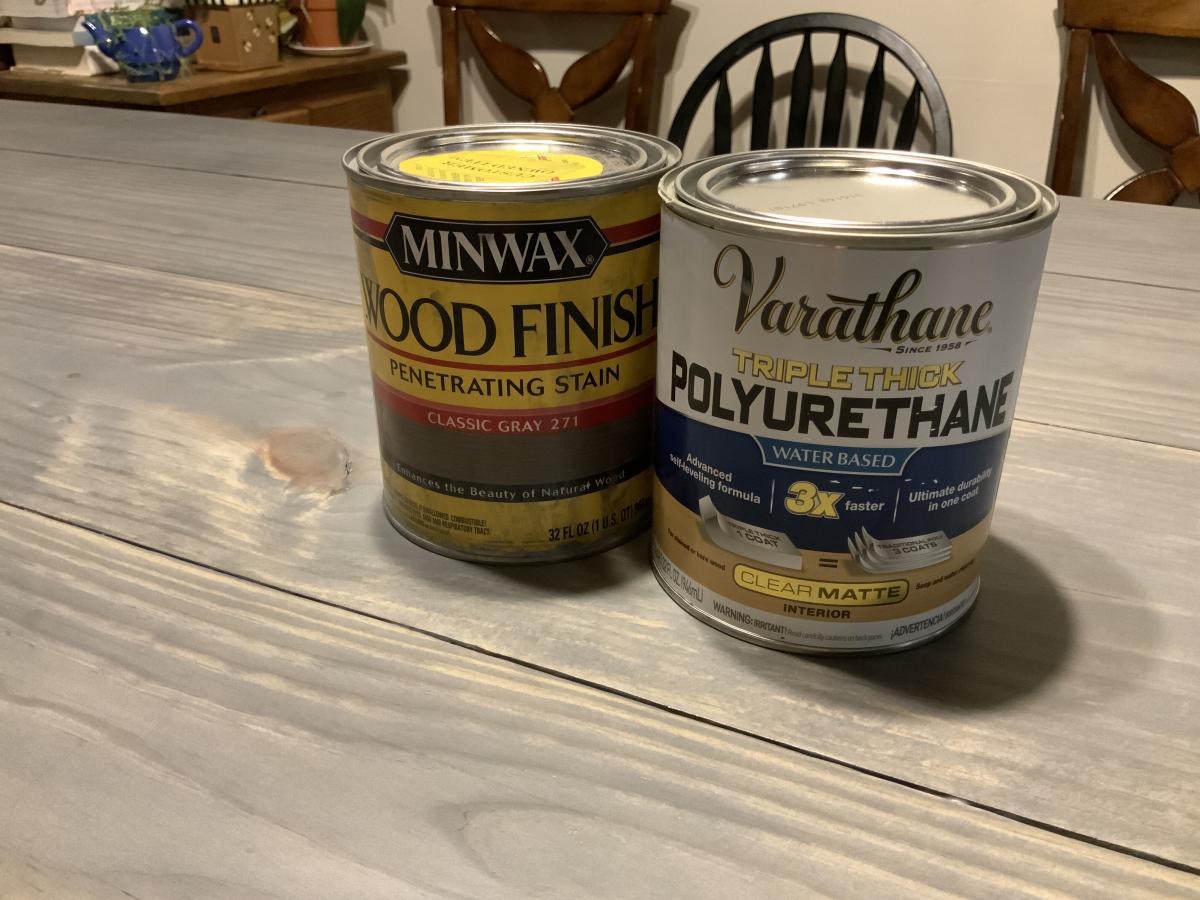
Minwax Classic Gray and Varathane Triple Thick Water Based Clear Matte Finish Polyurethane. I also chiseled out a few chunks from the edges and sanded them smooth to make a “used” appearance, as well as using a torch to “toast” the long edges and corners of some of the lumber to give it character and dimension.
Recommended Skill Level
Beginner

Shoe Dresser - First Project!

Submitted by mashhawkes on Sun, 04/15/2012 - 13:33

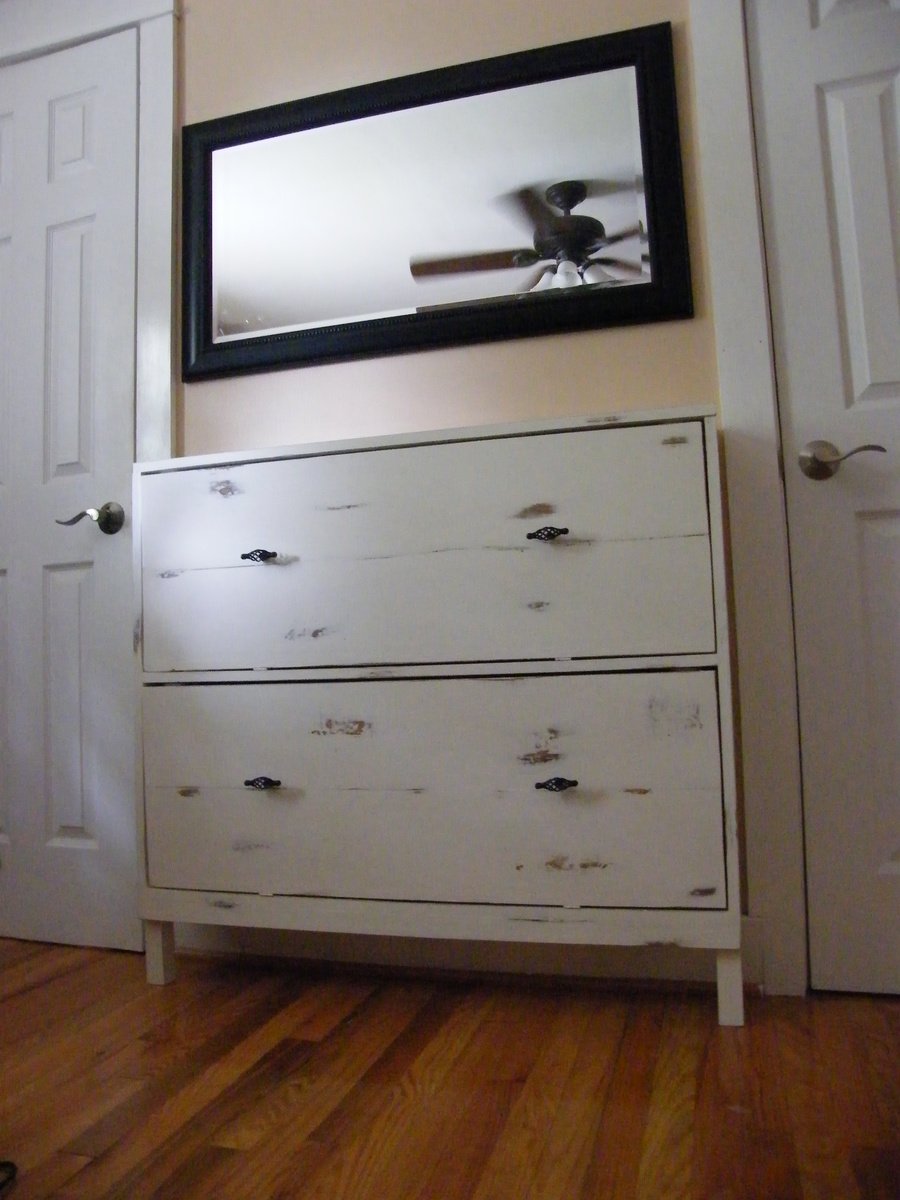
I know that Ana says not to do this as your first project but I couldn't help myself! We needed shoe storage BAD!! This project was not bad but did take my husband and I about 3 weeks to build. It had nothing to do with the difficulty just scheduling conflicts. We needed somewhere to house all of my husbands shoes and something that would not take up much space because the only spot we had to put it in our bedroom was between the bathroom door and my husbands closet door. We used Ana's plan for the shoe dresser but did had to modify it to fit the 44" spot we had to work with. The 1x8's that we used were only 7 1/4 instead of 7 1/2 but my husbands size 12 shoes fit without a problem! I can't wait to start our next project! Thanks Ana!

Built from Plan(s)
Estimated Time Investment
Week Long Project (20 Hours or More)
Finish Used
English Chestnut stain with 3 coats of antique white. Distressed by hand using 220 grit sandpaper and then covered with 3 coats of satin polyurethane.
Recommended Skill Level
Intermediate

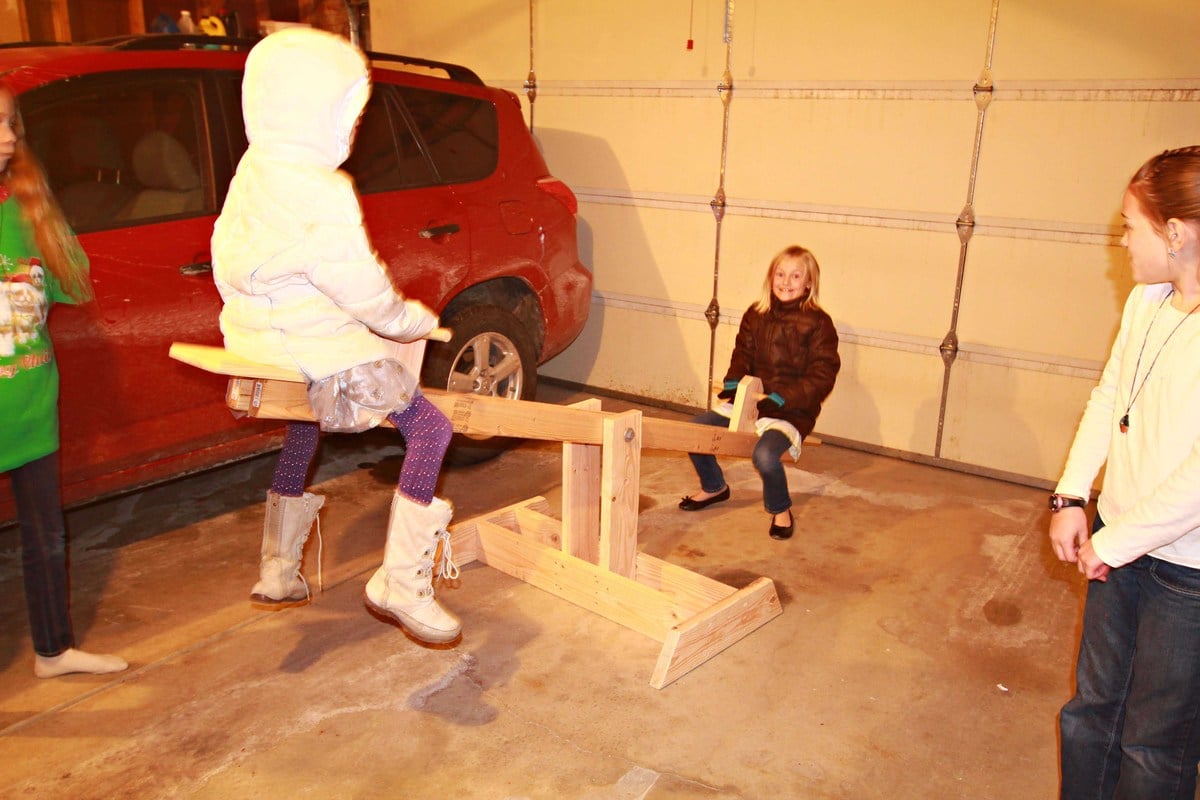
See-saw

Submitted by bhammond on Tue, 01/28/2014 - 21:03

This easy project made me the best Aunt ever! I made it for my nieces and nephews for Christmas. It was such a huge hit that one of them threw up all over it from laughing so hard. :)

The garage was freezing cold but they stayed there all evening once they discovered their gift.

Built from Plan(s)
Estimated Cost
35 including screws
Estimated Time Investment
Afternoon Project (3-6 Hours)
Recommended Skill Level
Starter Project

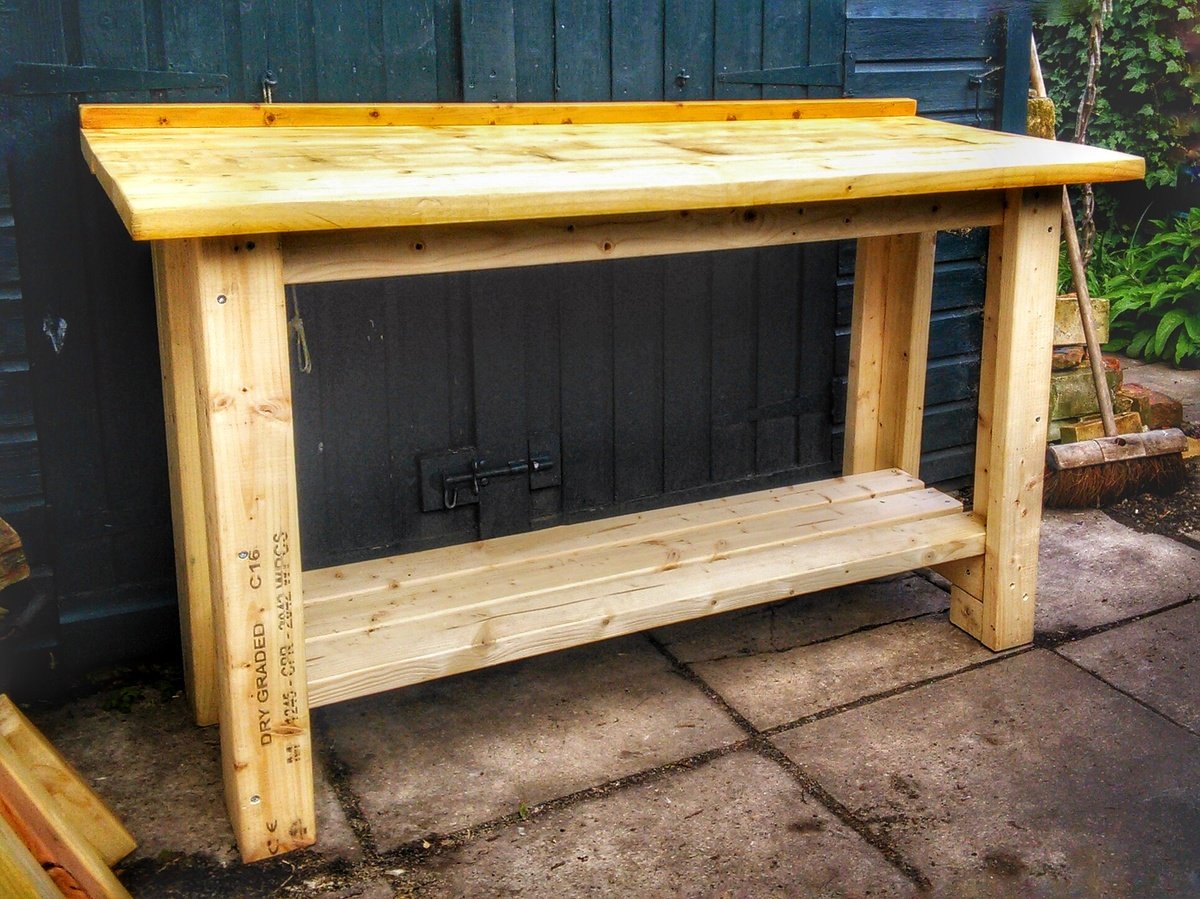
Sturdy workbench with sturdy top

Submitted by Anonymous (not verified) on Tue, 04/26/2016 - 08:34

This version is five feet long. The sturdy top was made from scaffold boards. I nailed four stout 3" oval nails into the joining edges of two planks, then cut the projecting heads off at angle. Putting plenty of glue along the nail-free face I sash cramped the whole lot together overnight. Once screwed down I filled holes and cracks with epoxy woodfiller, gave it a though sanding and splashed on a generous amount of Danish Oil just to seal it from spilled coffee etc. Now all I have to do is line the shed...

Built from Plan(s)
Estimated Time Investment
Weekend Project (10-20 Hours)
Finish Used
Danish oil
Recommended Skill Level
Beginner

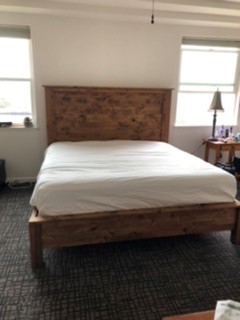
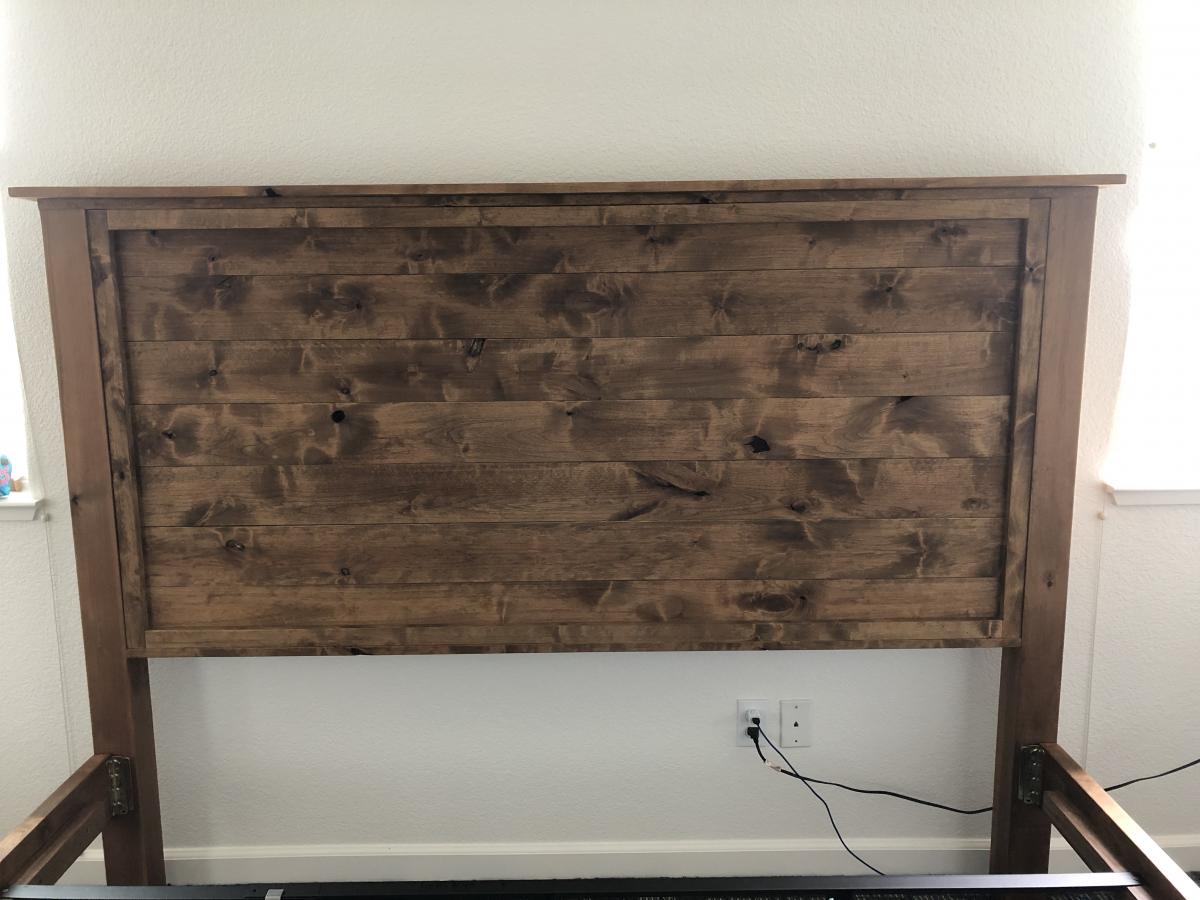
King Size Bed

Submitted by hailey807 on Fri, 01/17/2020 - 19:37

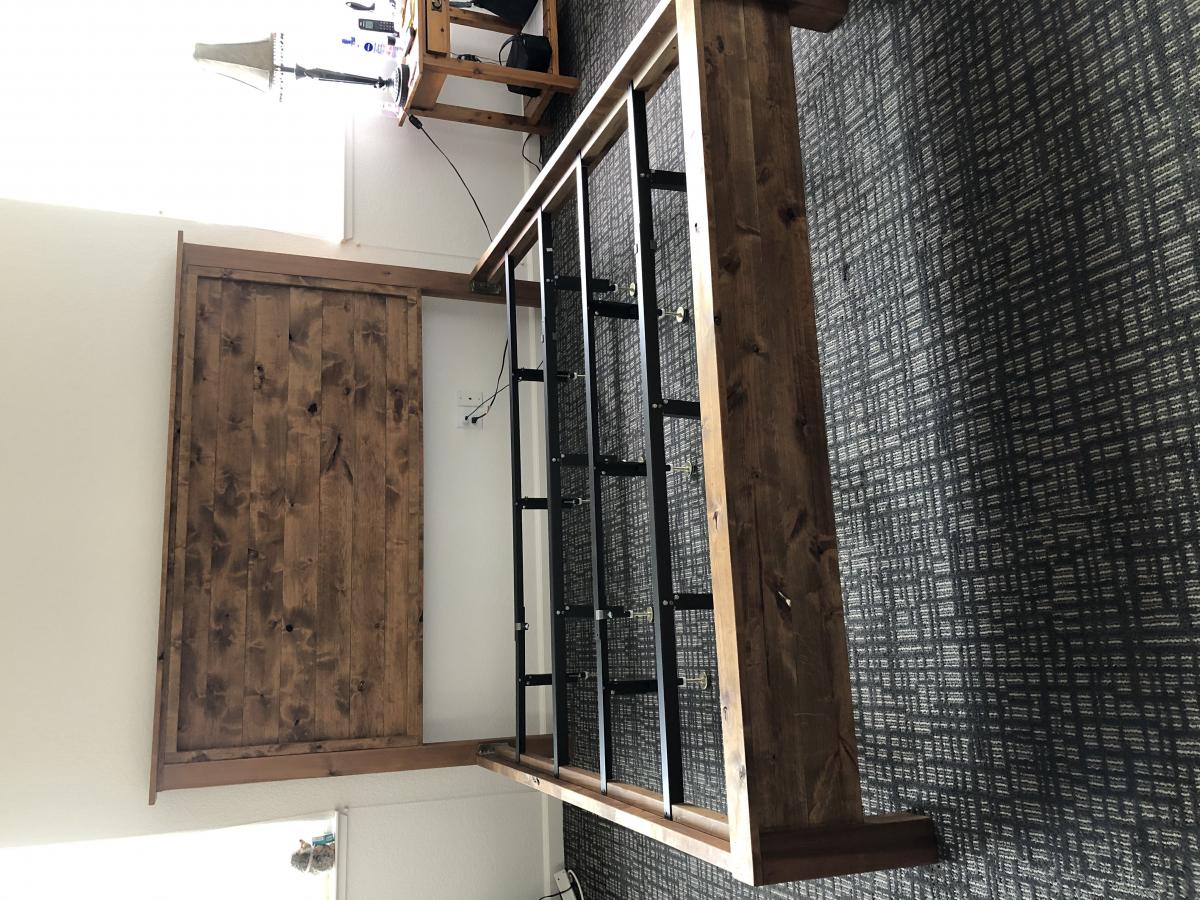
I love the farmhouse look and wanted to start changing out pieces in my bedroom. Good quality furniture is expensive, so I thought I would checkout DIY projects and came across Ana’s plans for a king bed. Her plans got me started and I changed a few things along the way. I LOVE the end result. 
 

I used Knotty Alder and Danish Oil in Dark Walnut. Alder is an easy wood to work with and the Danish Oil brings out all the beautiful grain. I highly recommend both. 
 

I decided to buy the metal frame and plywood to place the mattress on. 

Estimated Cost
500.00
Estimated Time Investment
Weekend Project (10-20 Hours)
Finish Used
Danish Oil in Dark Walnut. I applied one coat and the finish is satin.

FYI: Danish Oil is very easy to work with and it made the grain of the wood “POP”. The great thing about this product is that it’s a stain/sealer combination and you apply it with a foam paint brush.
Recommended Skill Level
Intermediate
Back