Community Brag Posts

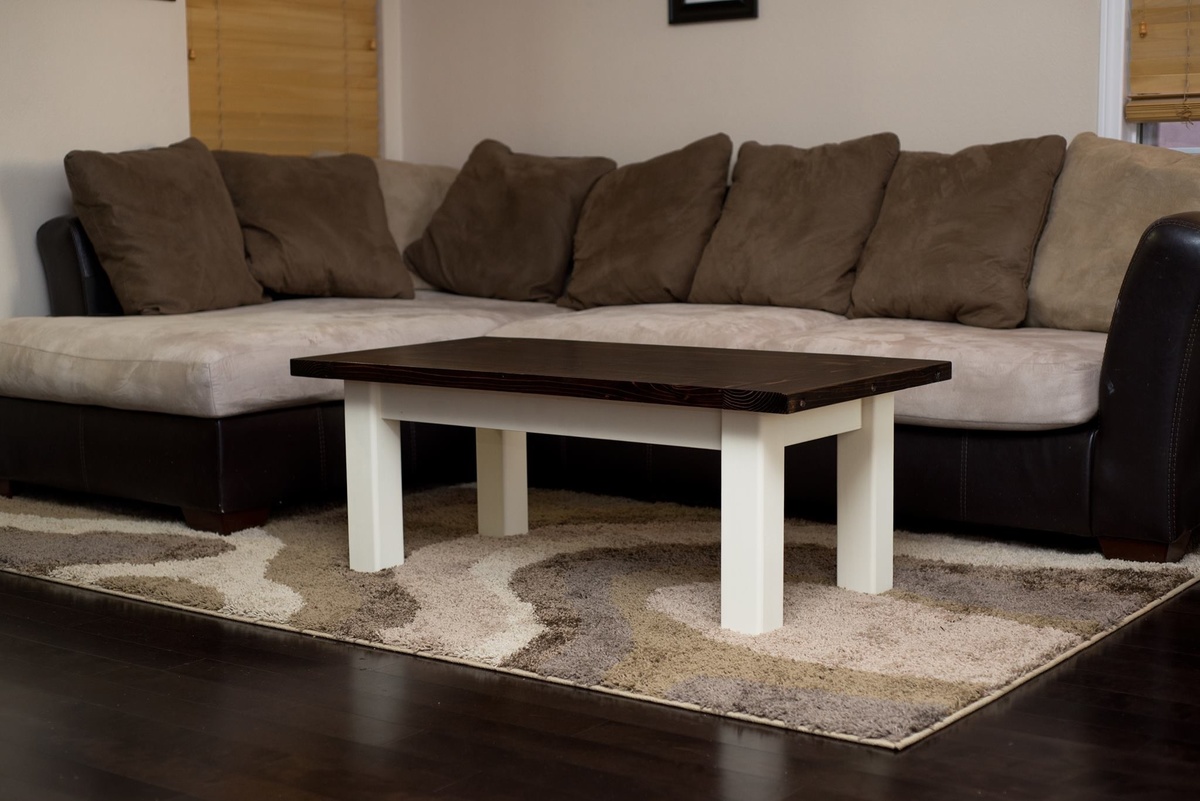
X Console Table

Submitted by Anonymous (not verified) on Sun, 02/19/2017 - 05:48

Ana, 

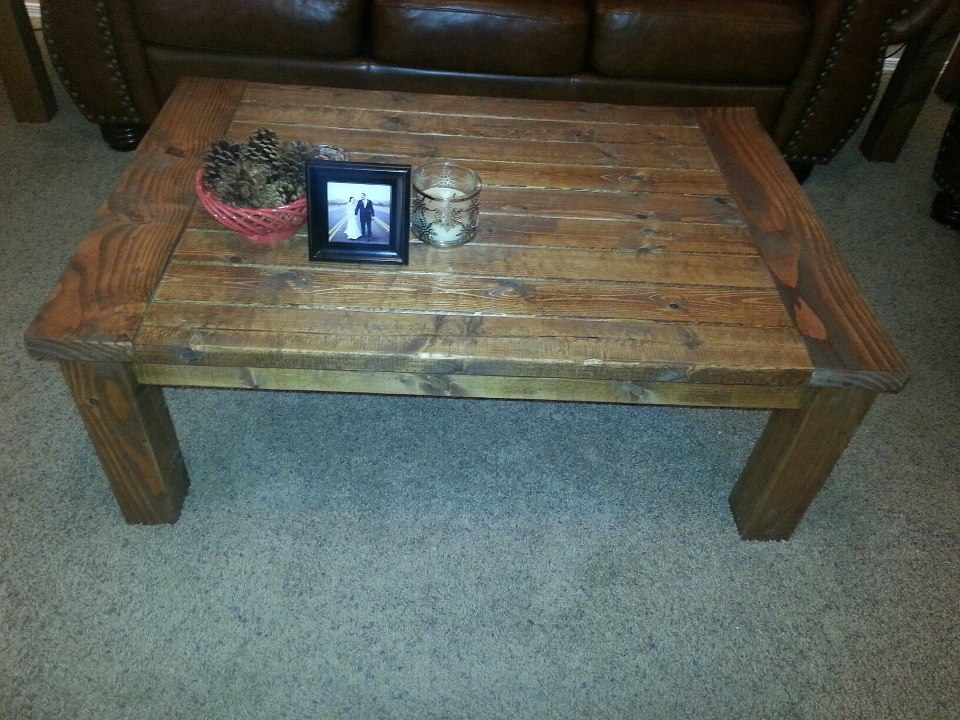
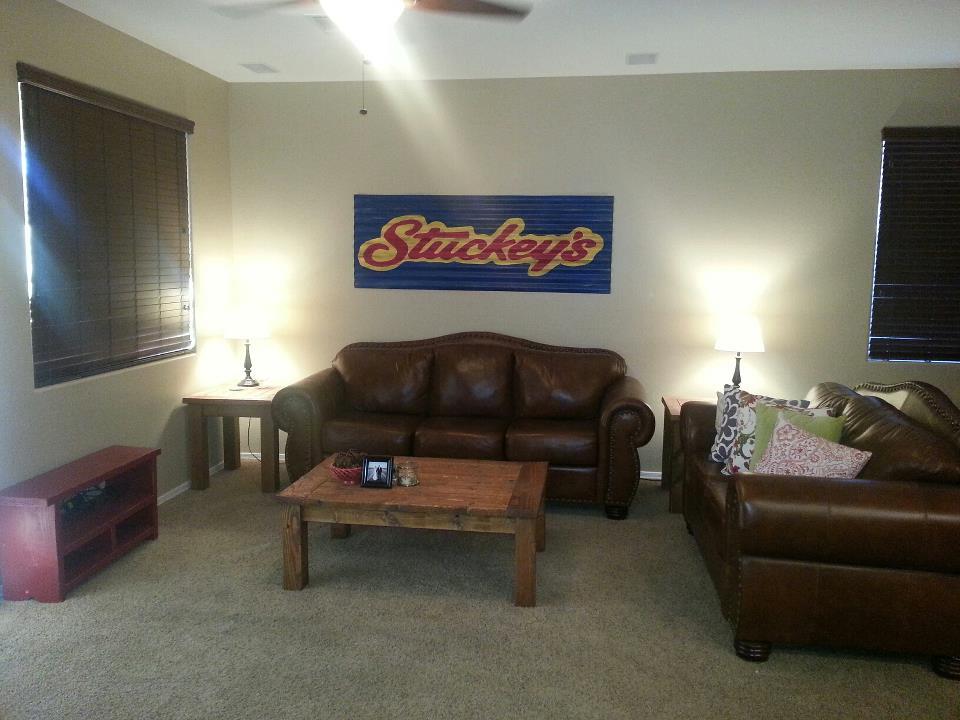
My wife saw this and wanted one to match her benchwright coffee table. I decided to make her one and used rough cut pine to get that look. Just used 80 grit to knock off the roughness but not enough to sand into the saw marks and was pleased with how good the results came out. I don't like exposed fasteners so all the joints are pocket hole screwed and glued and the table top is biscuit jointed and the end piece is doweled into the long runners. Love your website and the other projects that you have shown here. Keep up the great work!

Josie

Estimated Cost
$150
Estimated Time Investment
Weekend Project (10-20 Hours)
Finish Used
Mahogany stain and spar urethane topcoat (4 coats)
Recommended Skill Level
Intermediate

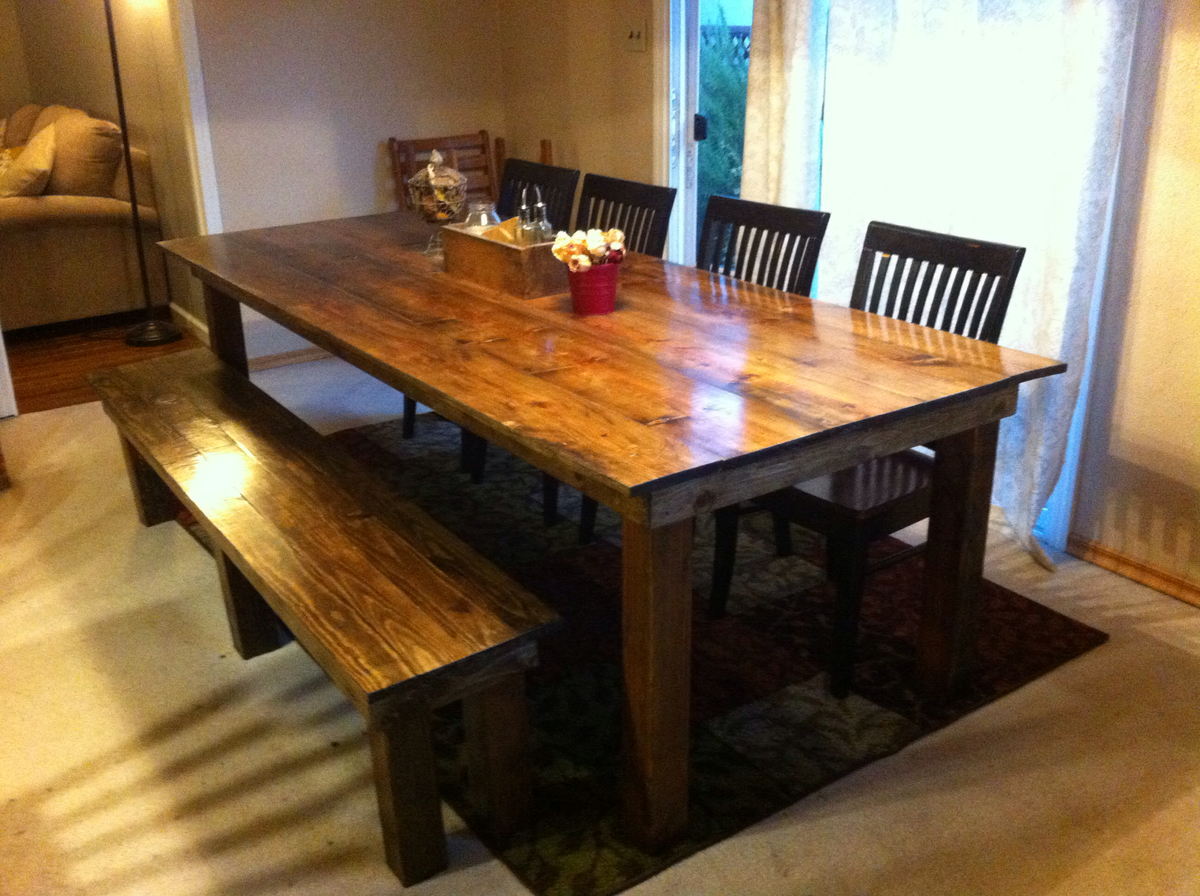
Farm House Table & Benches

Submitted by 3G1B on Fri, 11/27/2020 - 07:27

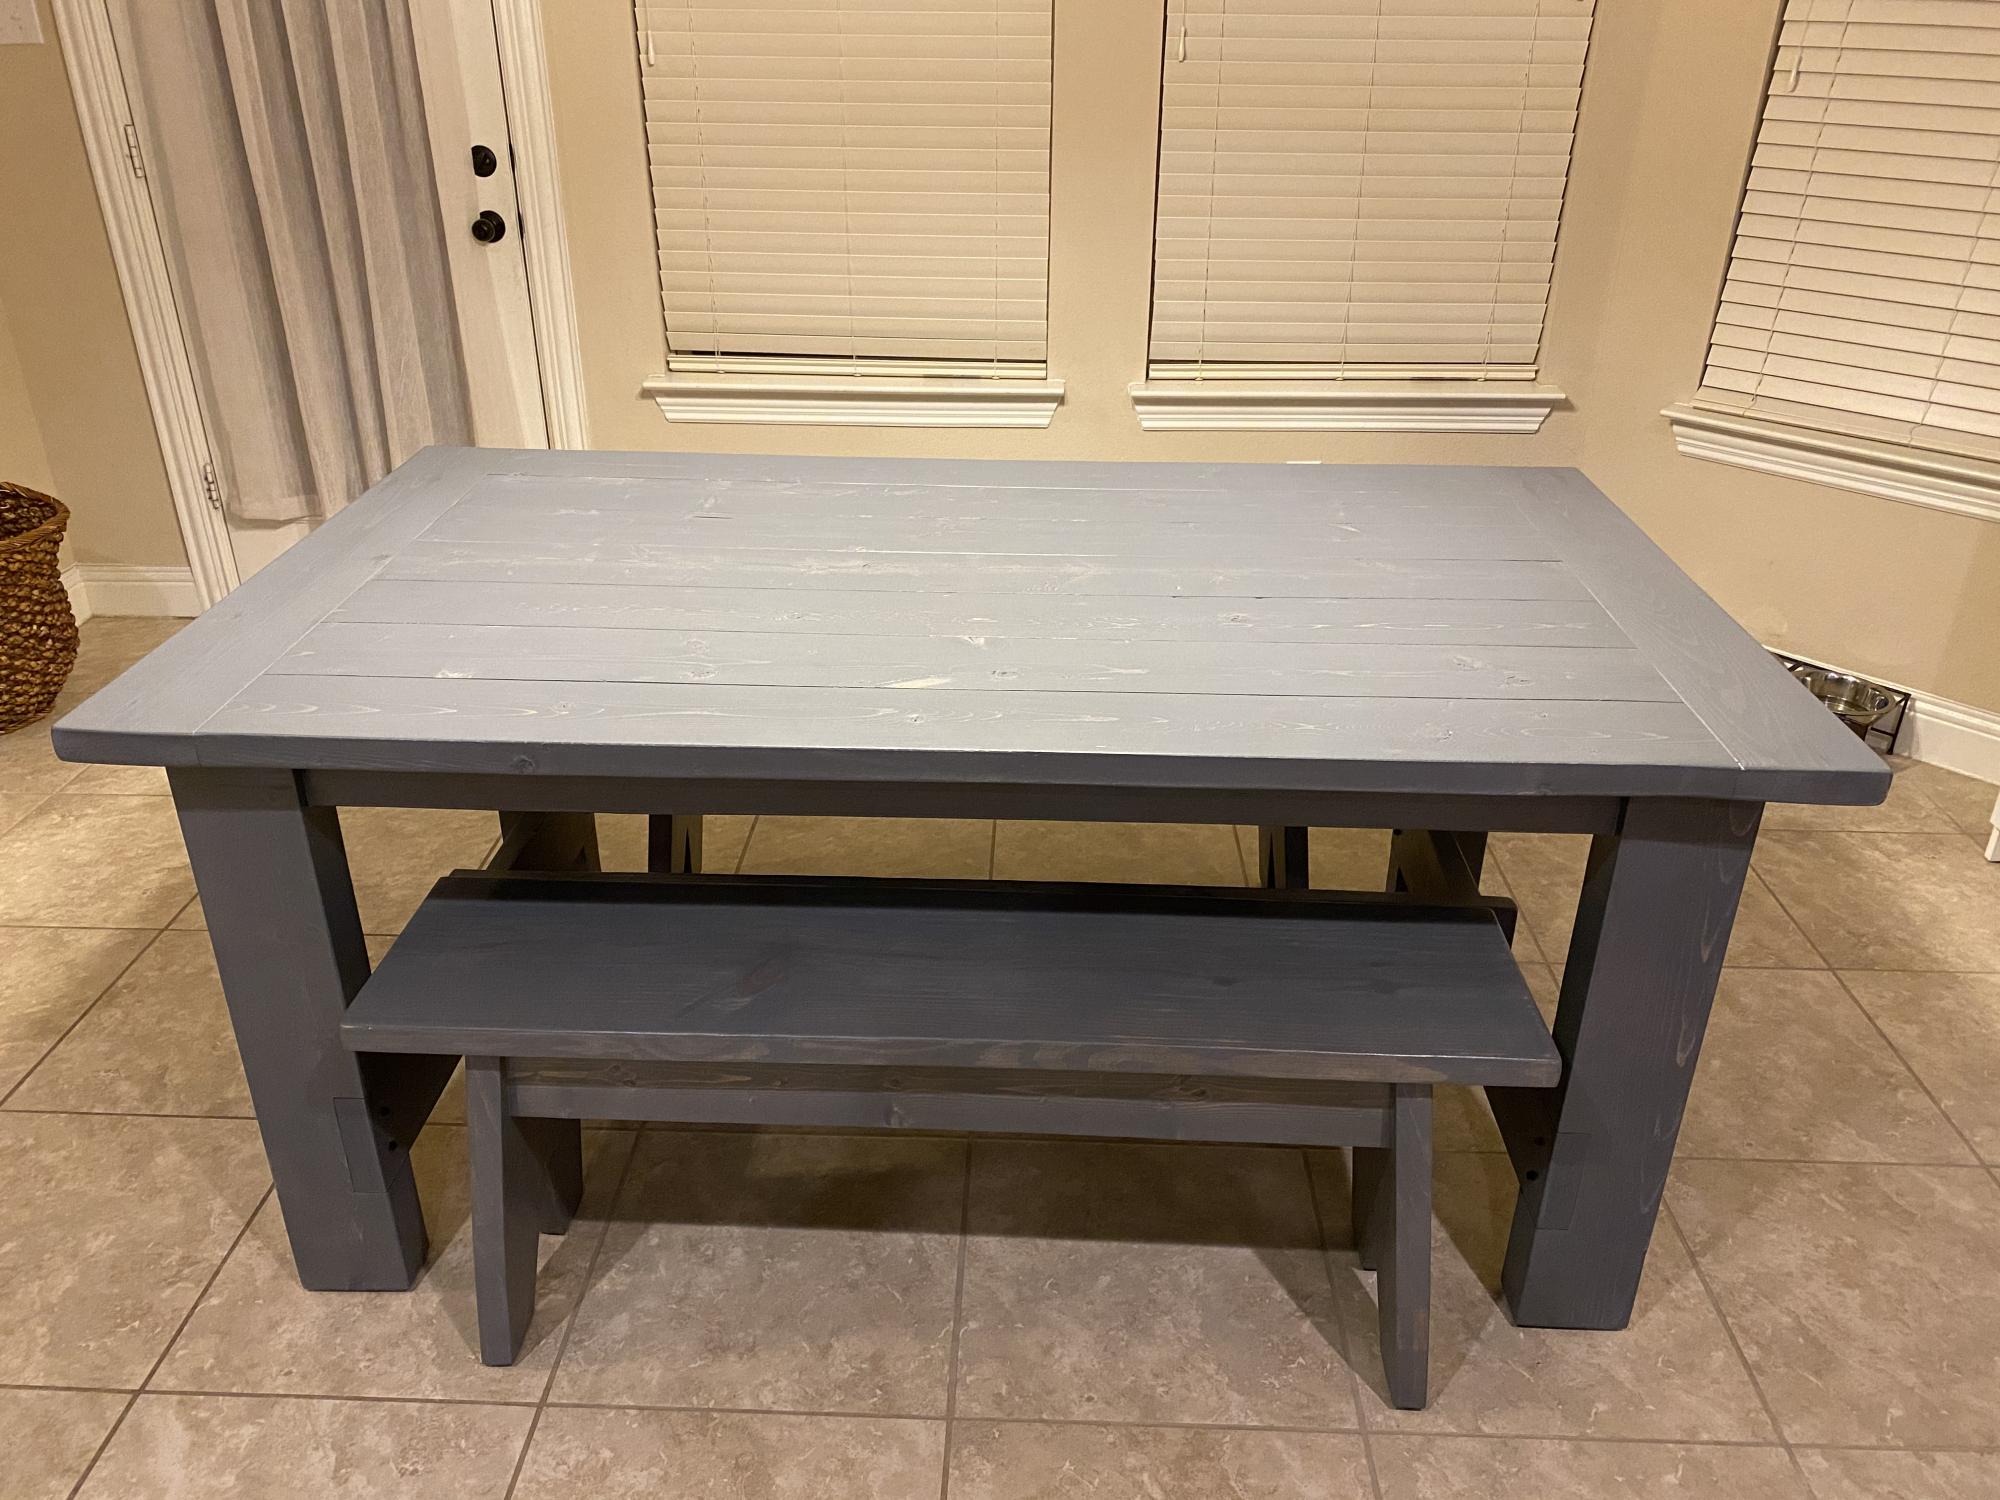
I couldn’t find 4x4s so I planed 2x6s flat and glued them together. Used it for the first time yesterday for our Thanksgiving dinner.

Estimated Cost
300
Estimated Time Investment
Weekend Project (10-20 Hours)
Finish Used
Weathered Grey stain and many coats of polyurethane.
Recommended Skill Level
Beginner

Shower Gift

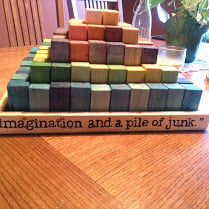
I made these for my new niece-  Here's my story with recipe for a homemade sealer as the dye runs on drooly faces.

http://onblissstreet.blogspot.com/2014/10/sweet-baby-p.html

Estimated Cost
$15
Estimated Time Investment
Weekend Project (10-20 Hours)
Finish Used
food coloring and homemade sealer. Recipe on my blog.
Recommended Skill Level
Starter Project

Comments

Patio Table

Submitted by marcosdos on Mon, 02/20/2017 - 14:33

I loved Ana's 4x4 Truss Beam Table which was my inspiration for building this outdoor patio table Yesterday, I had a lot of fun. I used brown pressure treate wood because I wanted a table for my patio which would be weather resitant, a strong, great looking table that goes well with the rest of my patio anf I bet it wil last for a long time... Ready to entertain family and friends as soos as Spring comes!

Built from Plan(s)
Estimated Cost
CAD $250 = US $190
Estimated Time Investment
Afternoon Project (3-6 Hours)
Finish Used
none
Recommended Skill Level
Beginner

Stocking Stand

Submitted by knoxadam on Tue, 12/01/2020 - 11:04

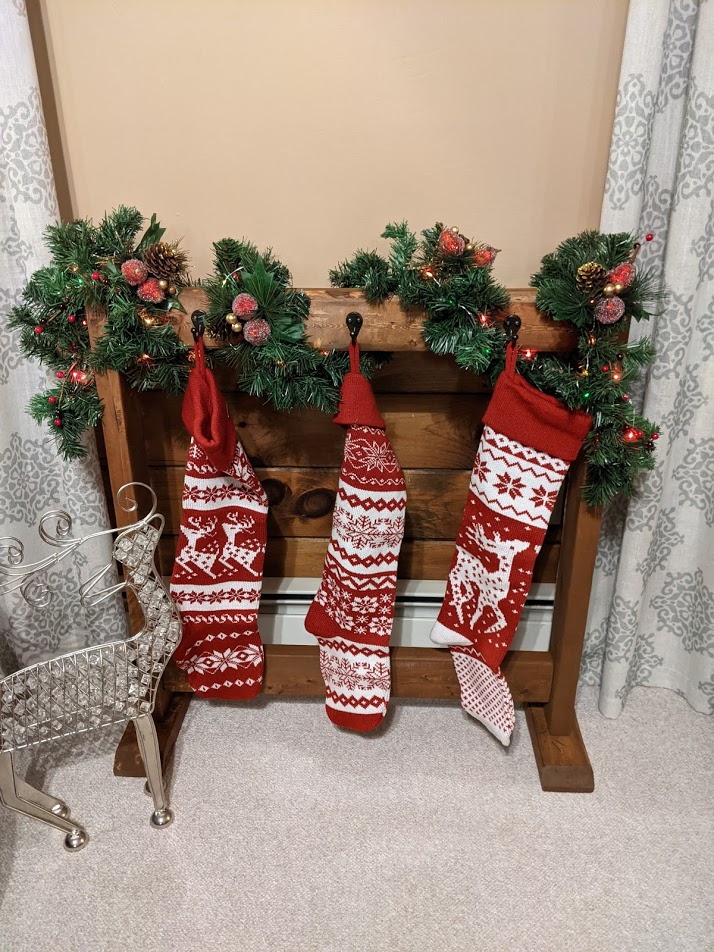
Thanks for the plans! Modified the scale, really happy with the results.

Built from Plan(s)
Estimated Cost
40
Estimated Time Investment
Afternoon Project (3-6 Hours)
Finish Used
Early American

Tryde Coffee Table

Tryde coffee table for the living room

Estimated Time Investment
Day Project (6-9 Hours)
Finish Used
Dark Walnut Danish Oil
Recommended Skill Level
Intermediate

Dining Table and Bench

Submitted by wthalin on Wed, 11/19/2014 - 08:17

Built this table for our dining room and made it larger than the plans to fit 10 people around it.

Estimated Cost
$100-$150
Estimated Time Investment
Week Long Project (20 Hours or More)
Finish Used
Minwax Dark Walnut Stain with Polycrilic Gloss clear coat, Maguires Polishing Compound and Carnuba Wax used for shiny finish.
Recommended Skill Level
Intermediate

Comments

In reply to by stephaniadawnia

wthalin

Thu, 01/19/2017 - 10:34

Dimmensions of the table are 96 x 42 for the top. For the bench I measured the inside of the legs and made it 4 inches shorter than that dimmension to make sure I have a couple of inches on each side to slide the bench in and out easily.

Dylan's Cabin

I found this on the Pottery Barn site for $ 3,000.  We wanted to make it for my grandson who had a lot of health issues.  We thought he would really enjoy it.  We made it around a full size bed & I really think it looks just like P.B's. !!!

Estimated Time Investment
Weekend Project (10-20 Hours)
Recommended Skill Level
Beginner

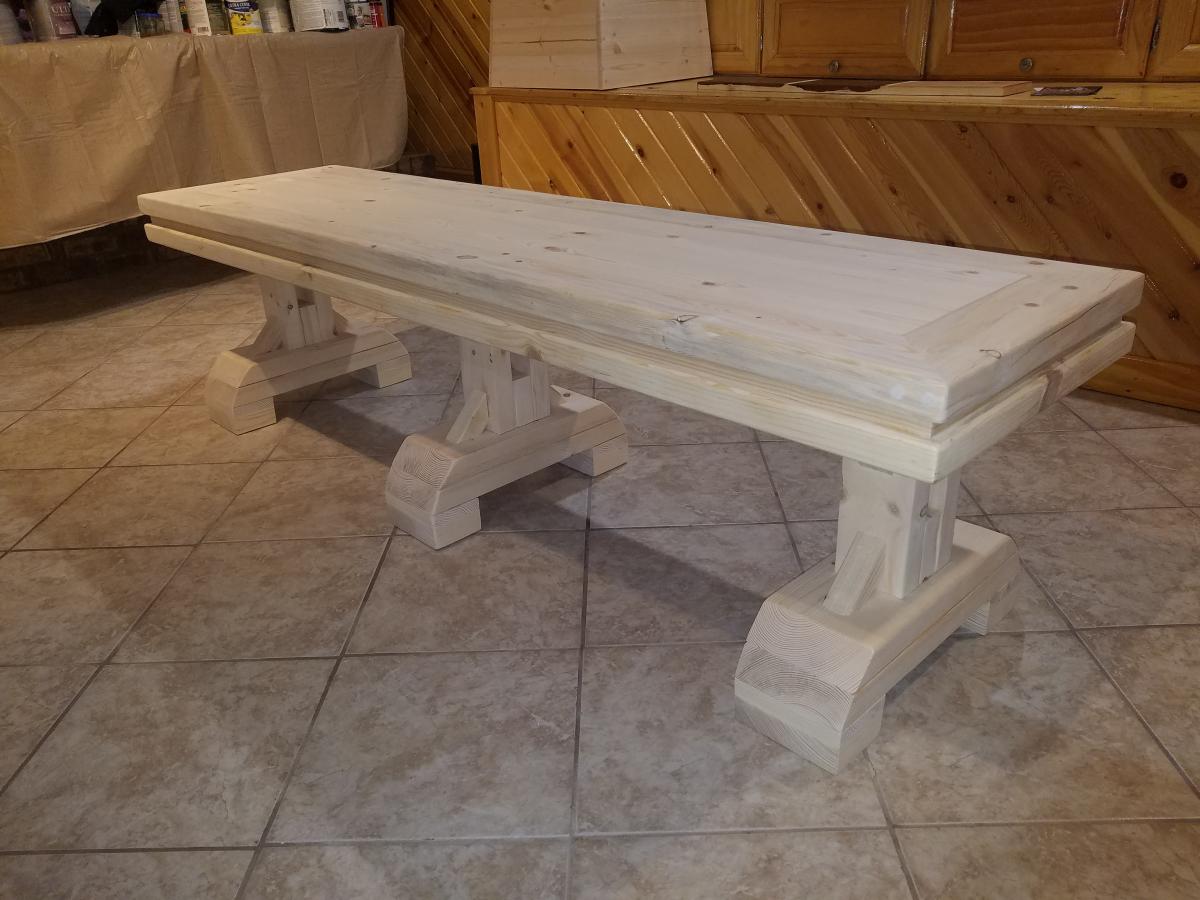
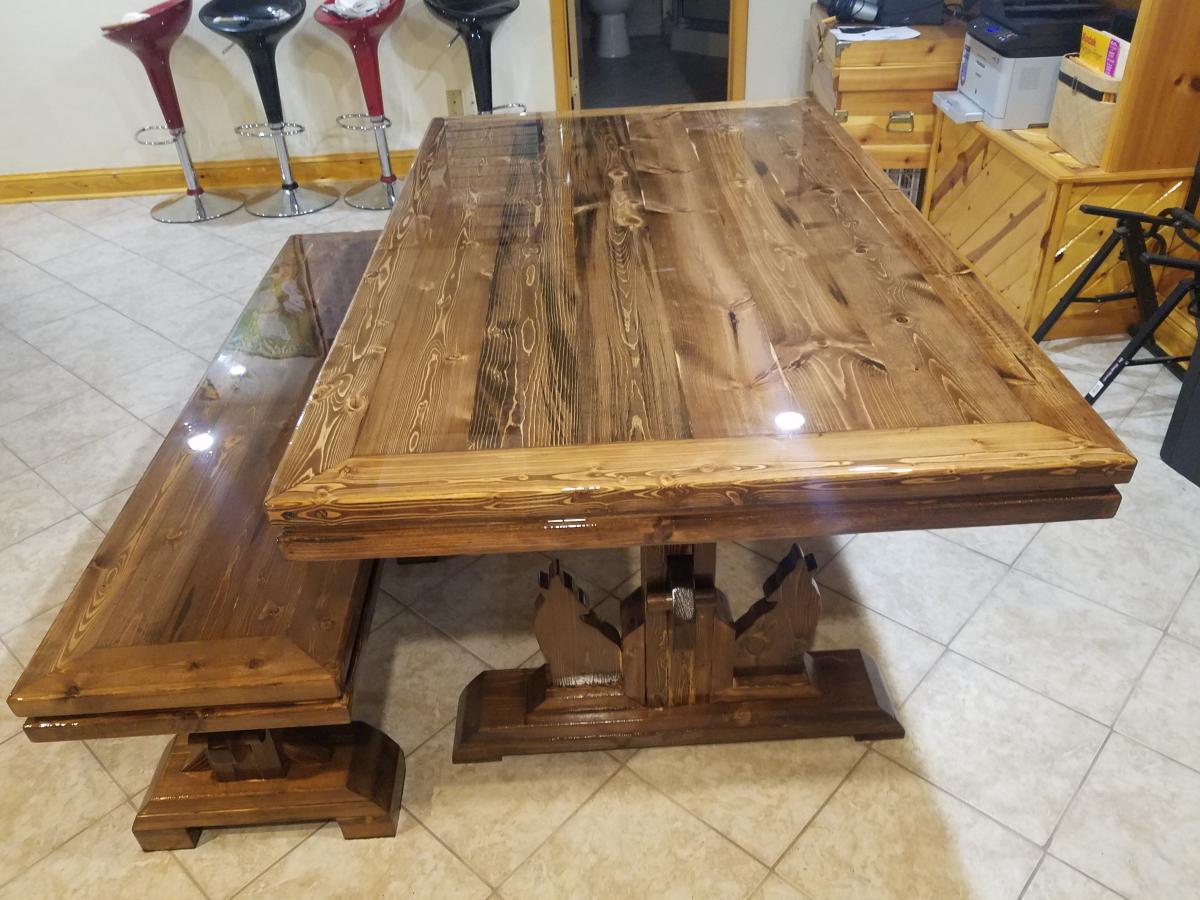
Farm house table

Submitted by Anonymous (not verified) on Mon, 12/07/2020 - 21:12

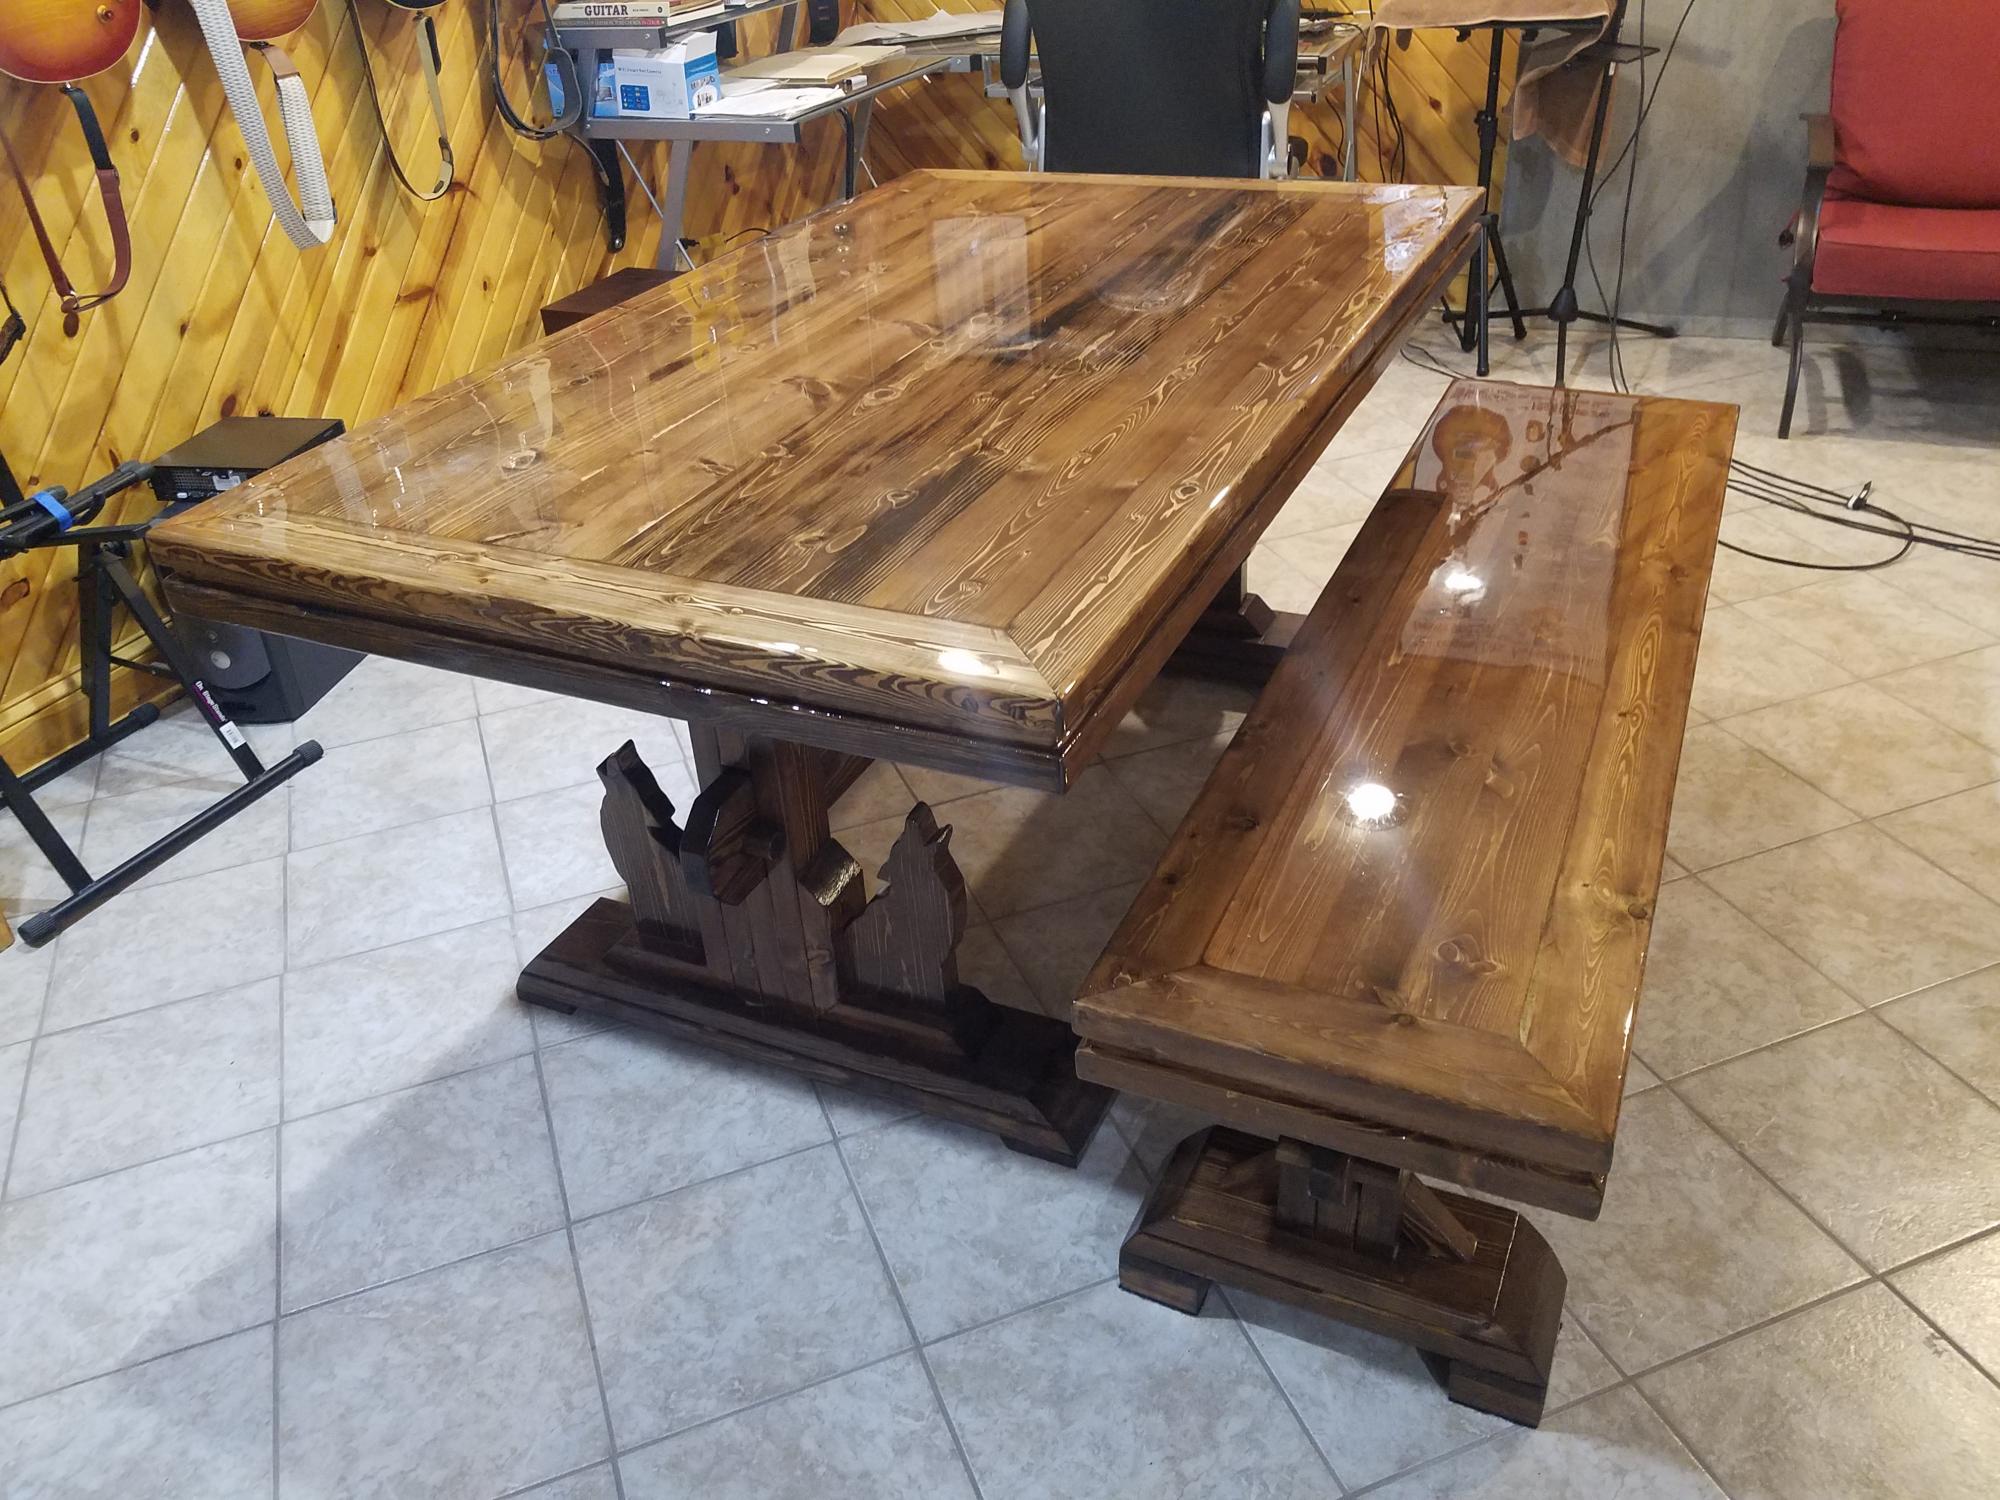
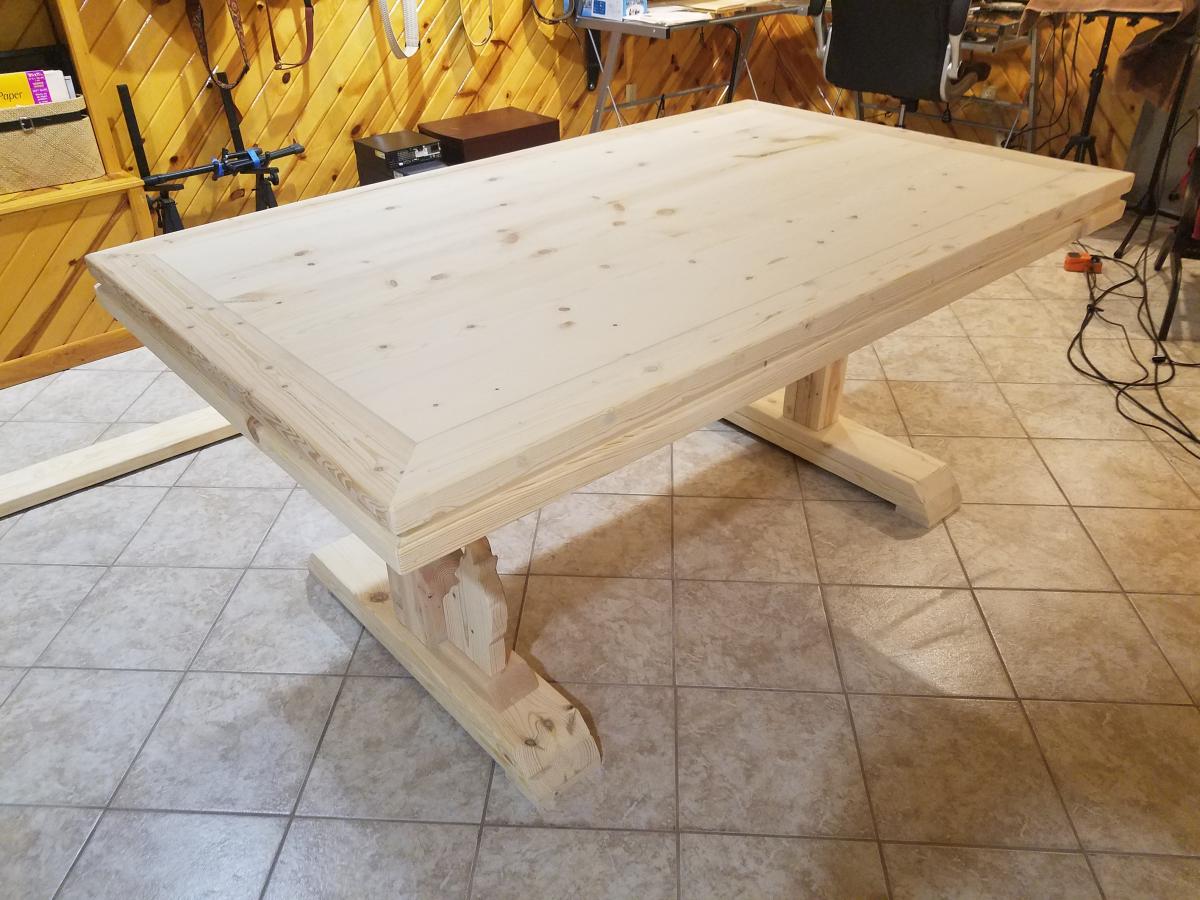
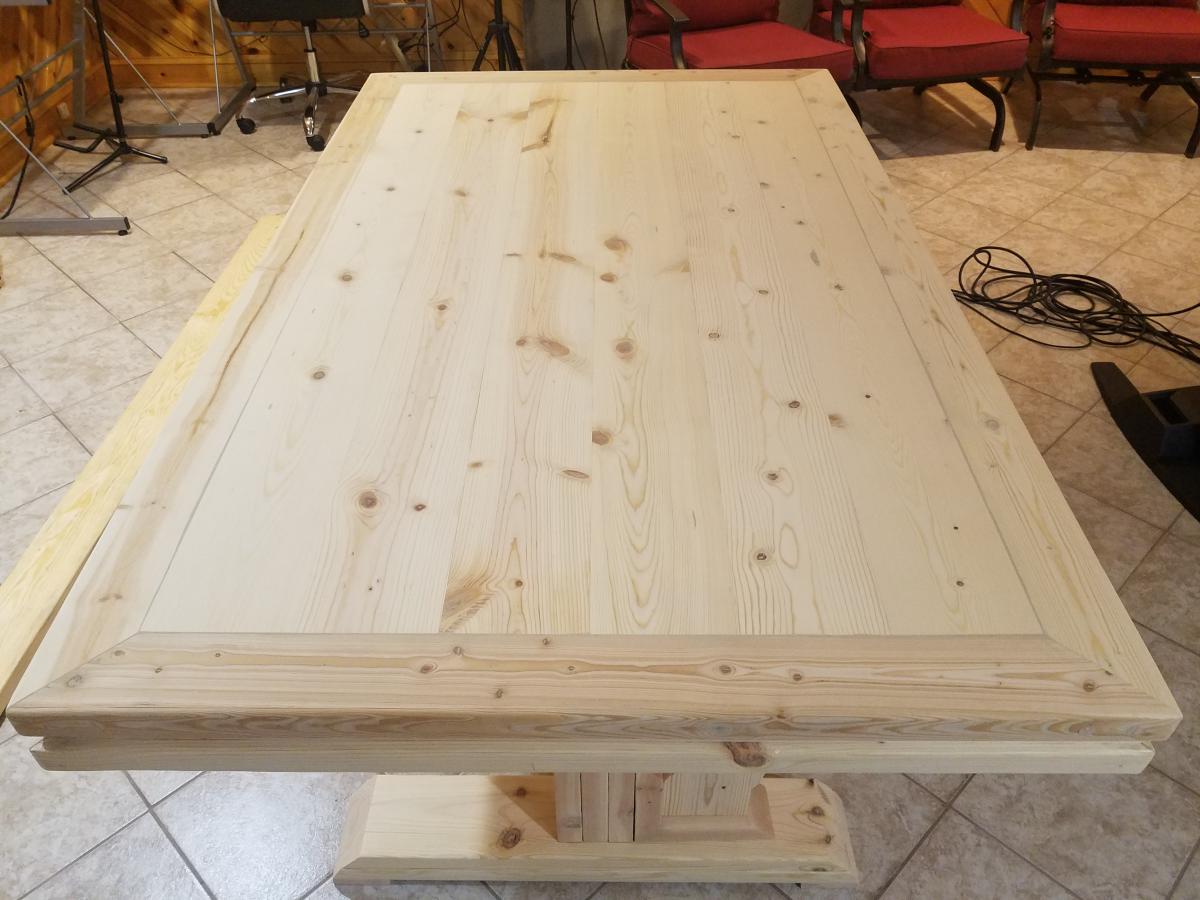
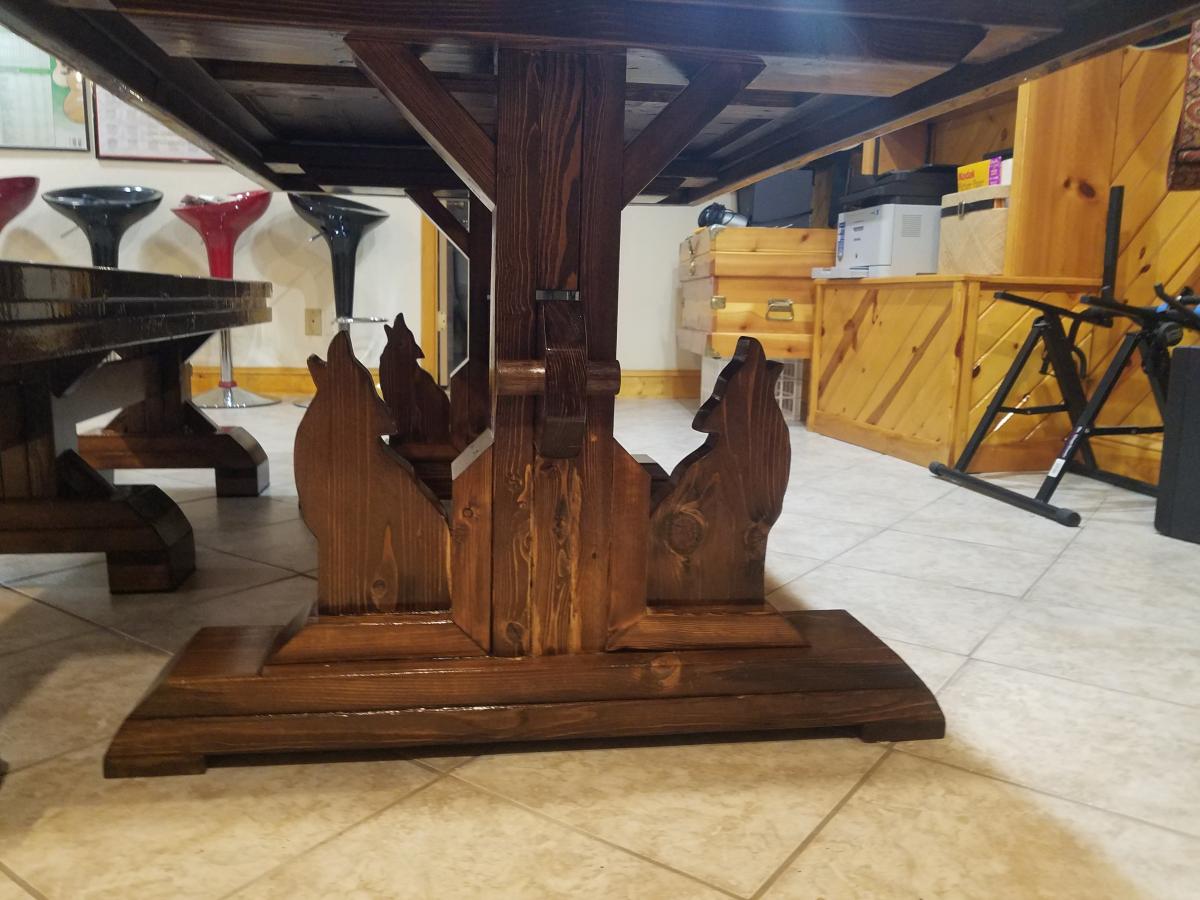
I used Anna's plan as a guide nut put my own spin on it. All mitered corners and added Coyote shilloute's. This for our southwest home.

Estimated Cost
400.00
Estimated Time Investment
Week Long Project (20 Hours or More)
Finish Used
Epoxy resin on tops and water based poly on rest.
Recommended Skill Level
Advanced

Comments

Mimi Storage Bench

Submitted by jbhvbc on Fri, 01/25/2013 - 15:29

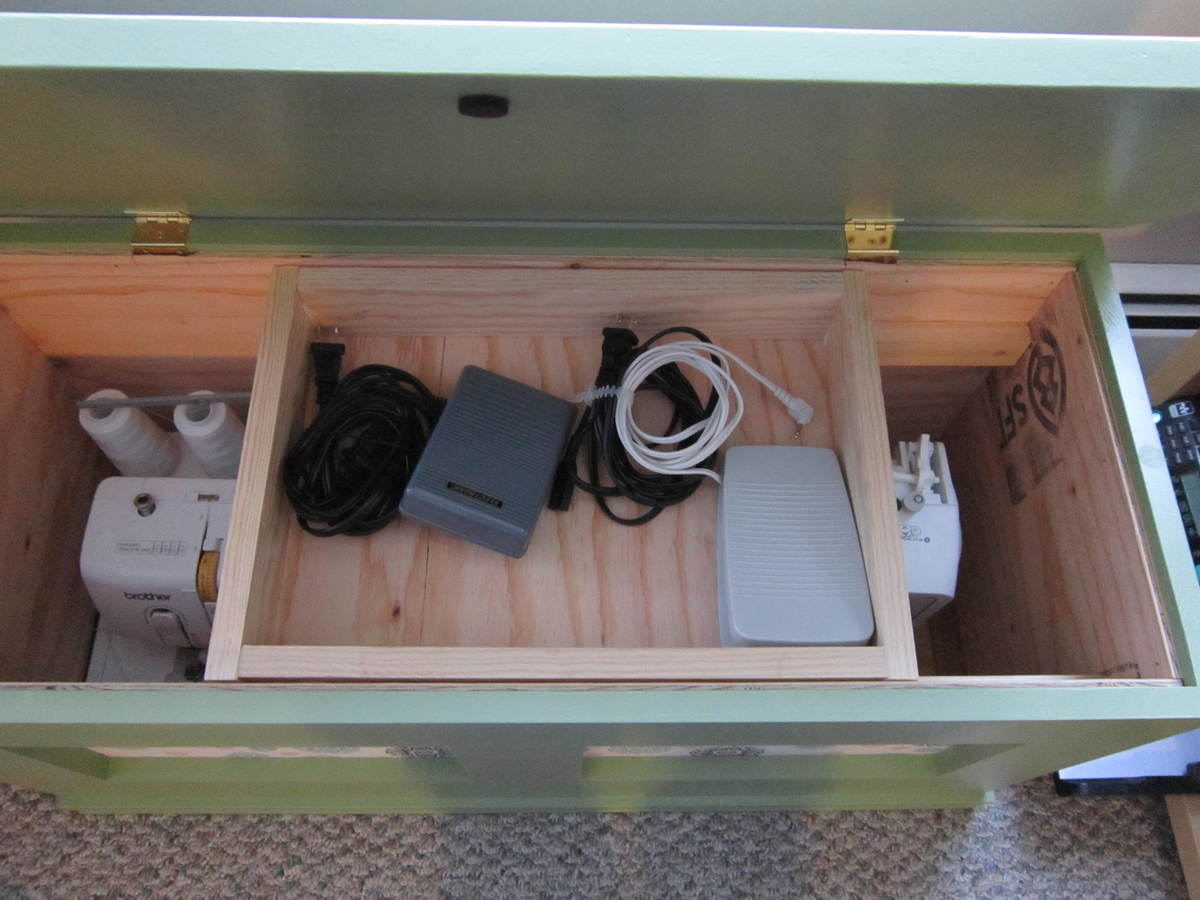
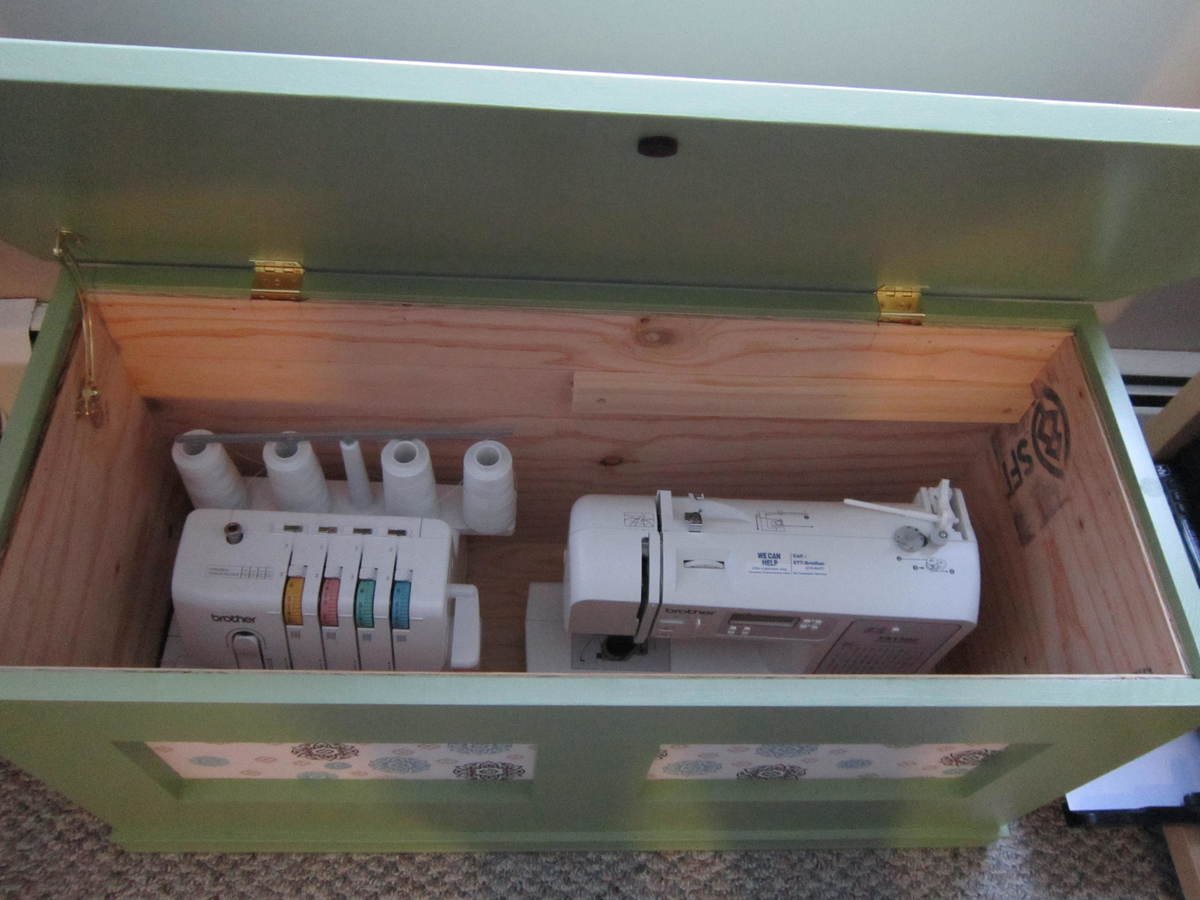
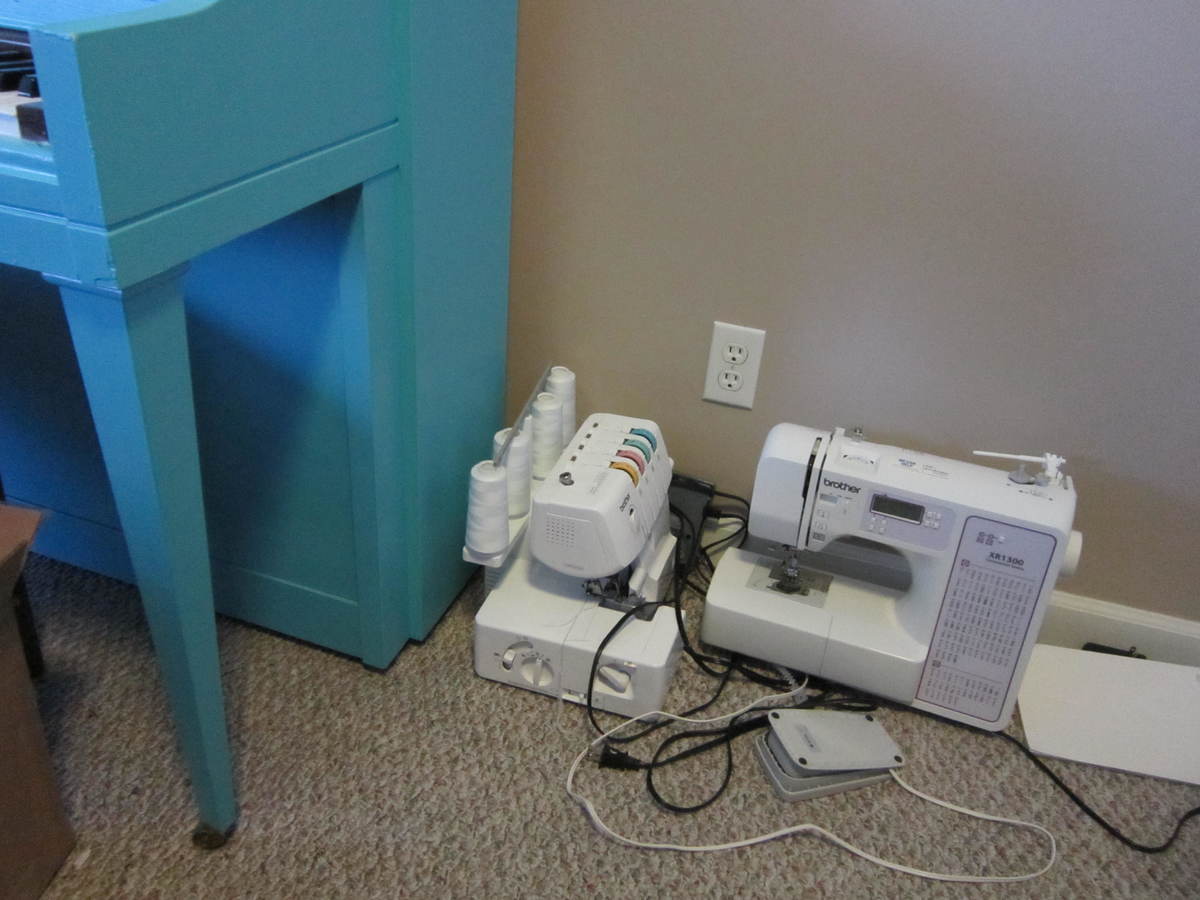
We have a pretty small place and not a lot of room for our sewing/crafting stuff. We would leave our machines by our piano, on the floor, every time we brought them down stairs. We needed a better way to store them and this was the perfect solution, and it added a few more seats in our little family room. I build the bench with a one-piece top and added a removable tray for the cords.

Built from Plan(s)
Estimated Cost
120
Estimated Time Investment
Weekend Project (10-20 Hours)
Finish Used
Valspar paint in "Guacamole" and the inset panels were covered with interface backed cotton material mounted to plywood.
Recommended Skill Level
Beginner

Loft-style stand

Submitted by Dr.Master on Sat, 11/22/2014 - 13:01

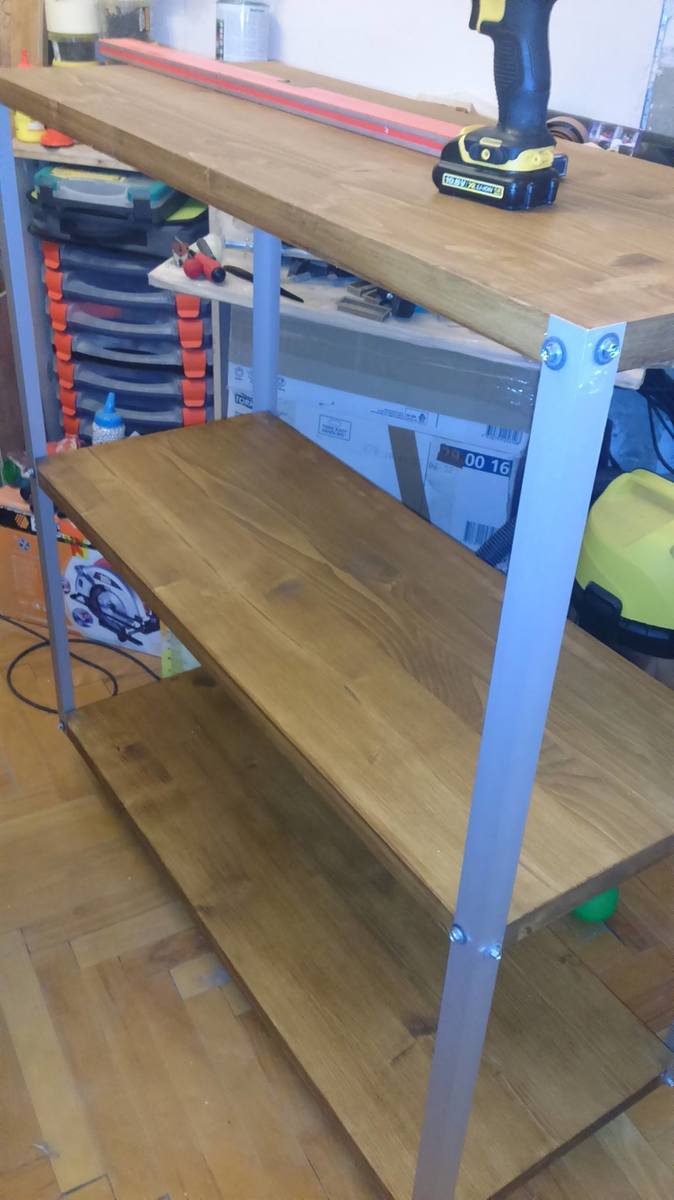
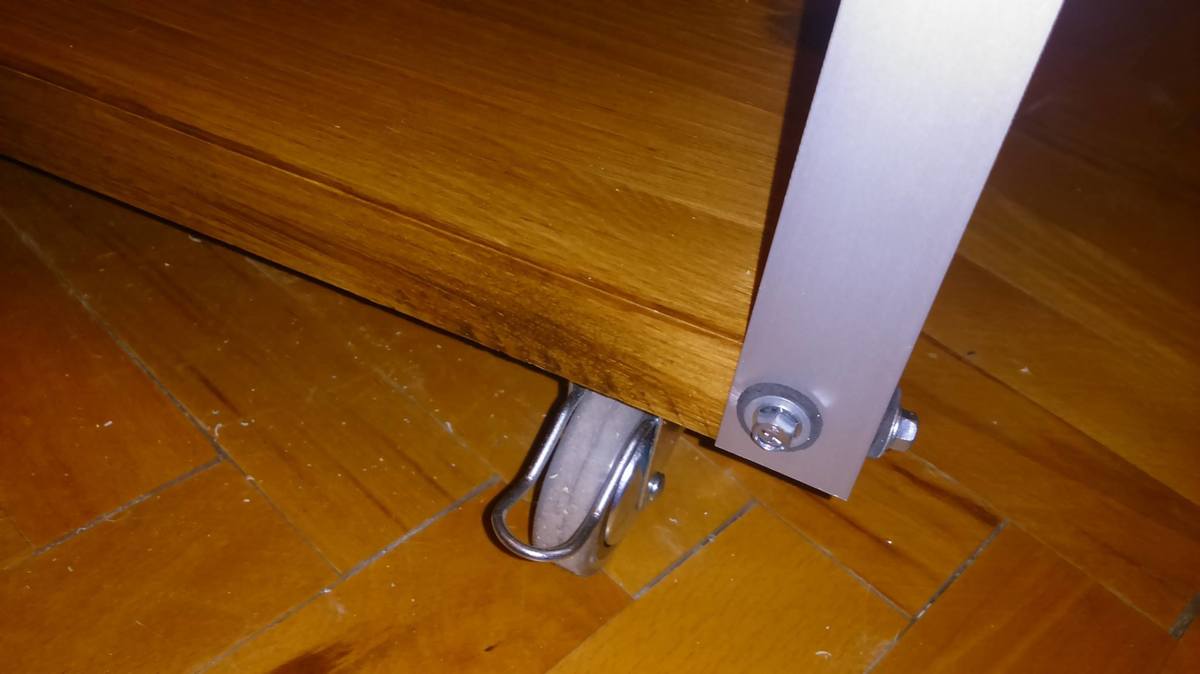
Maked for weekend:)

Estimated Cost
less 50 USD
Estimated Time Investment
Weekend Project (10-20 Hours)
Finish Used
oak-style stain for wood
Recommended Skill Level
Beginner

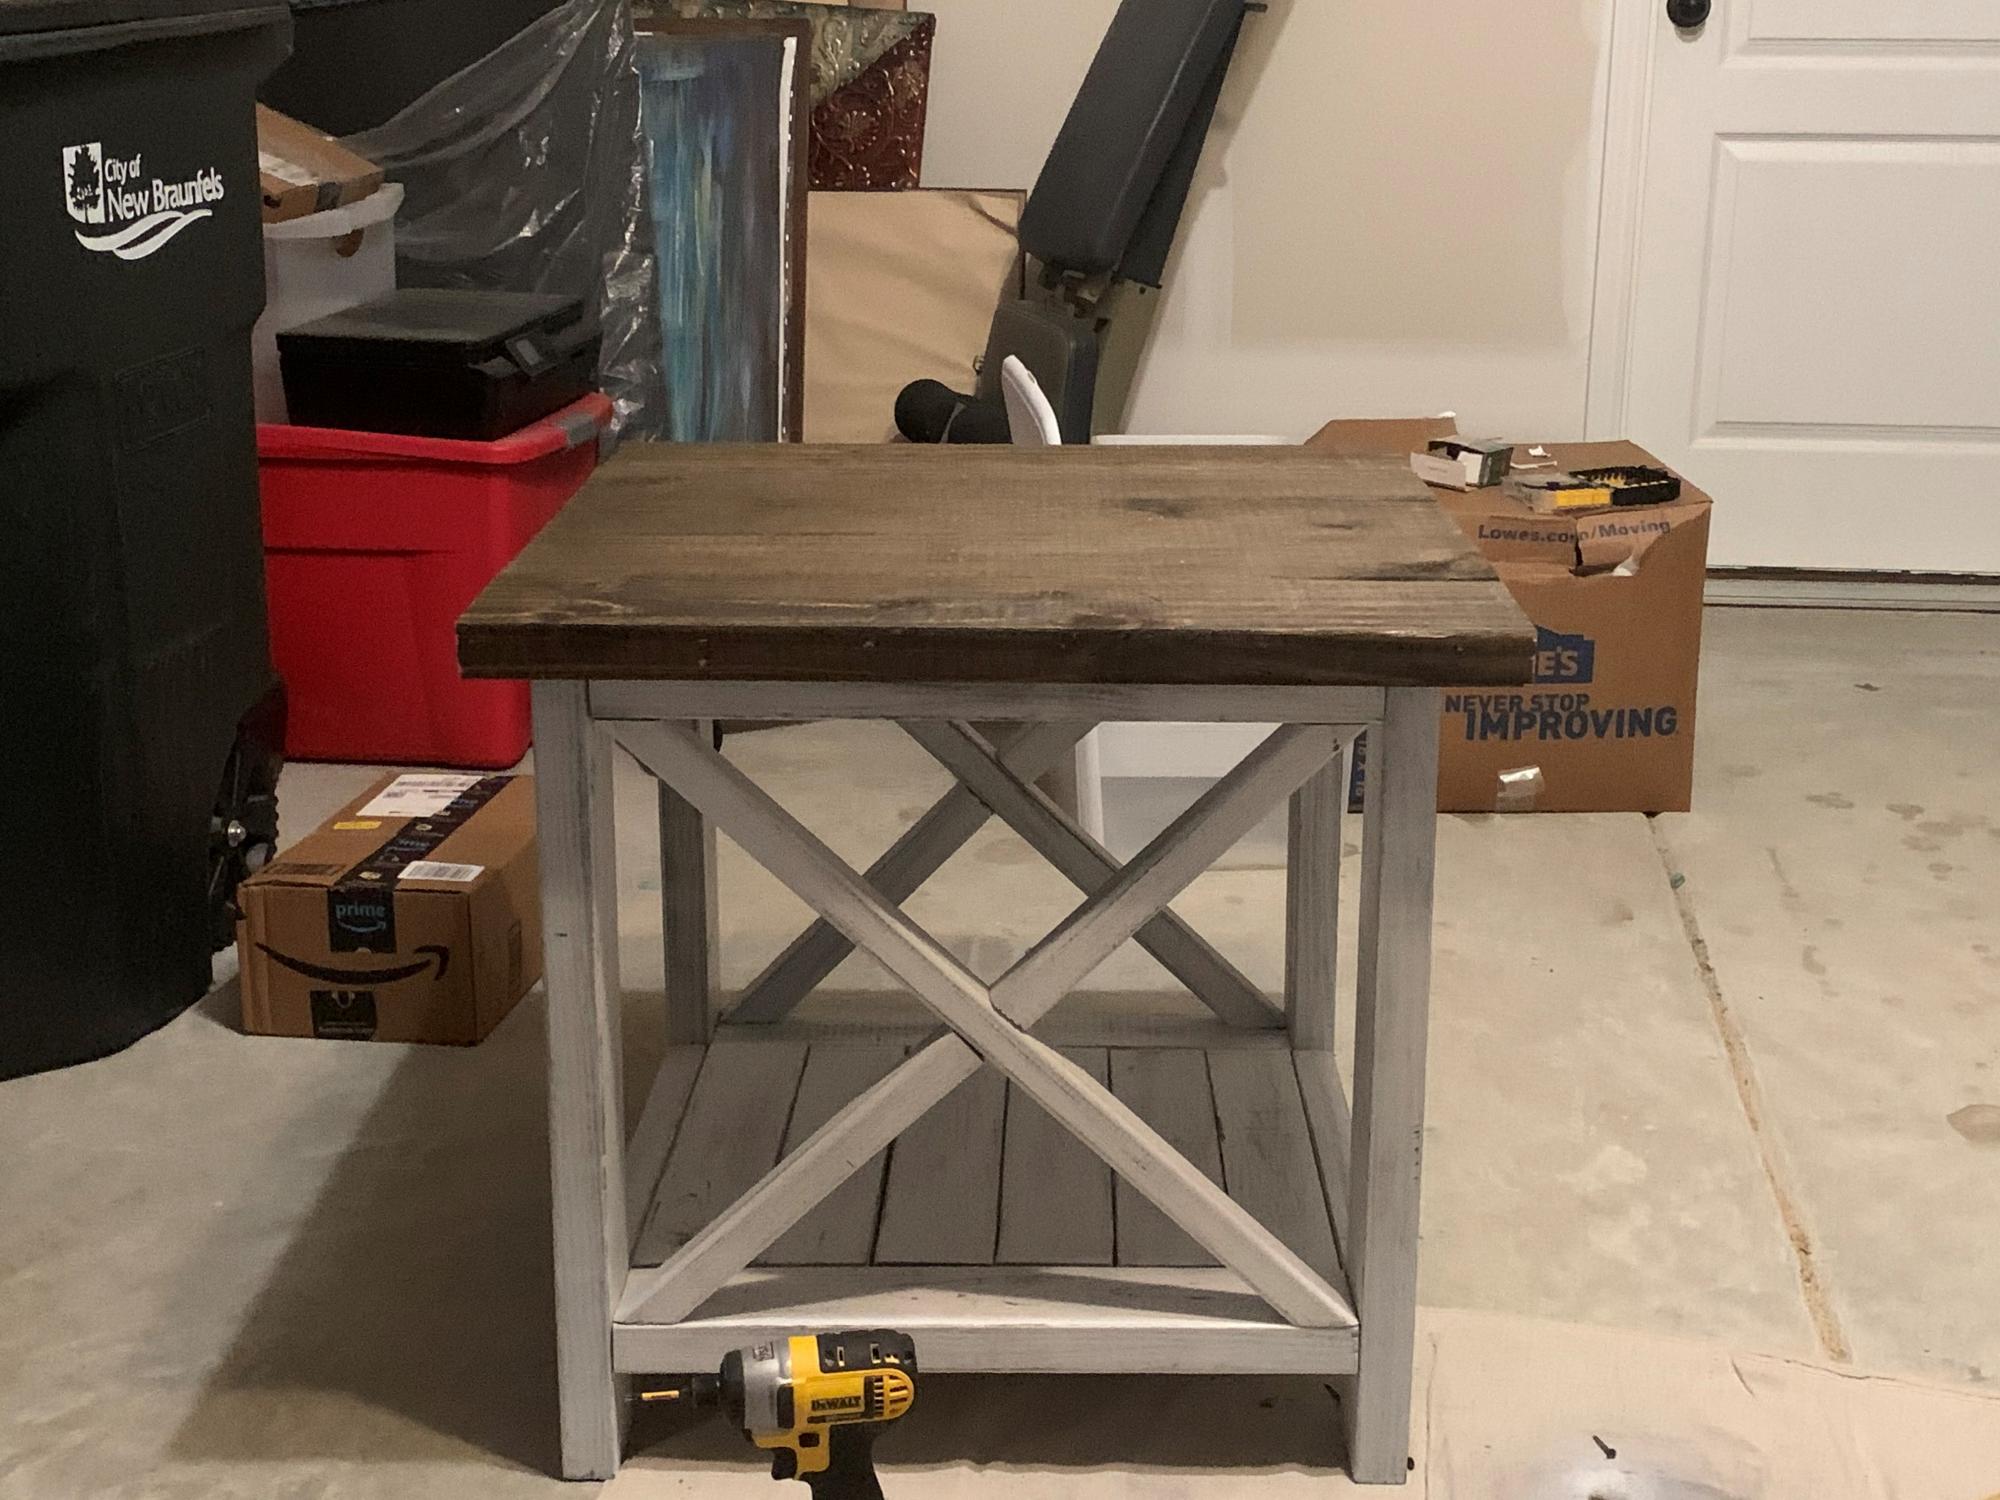
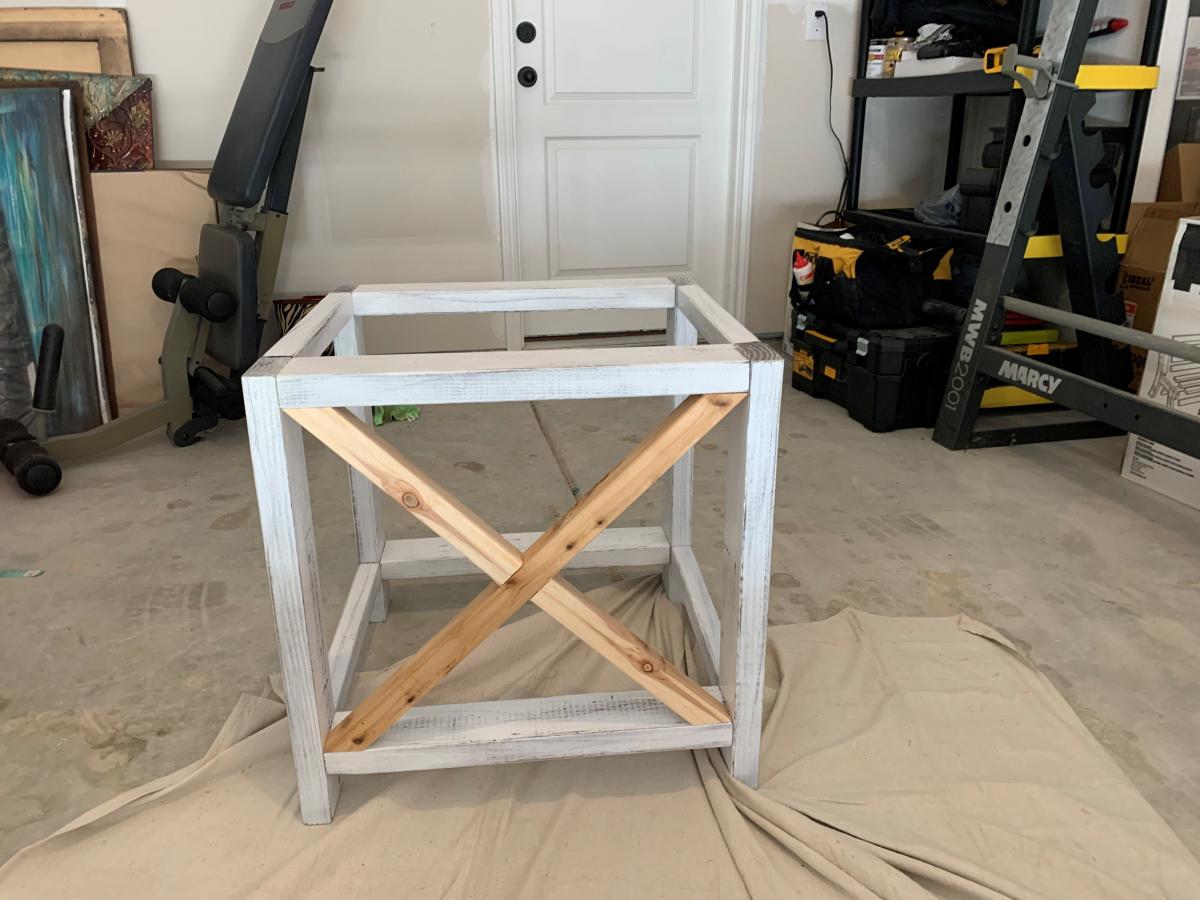
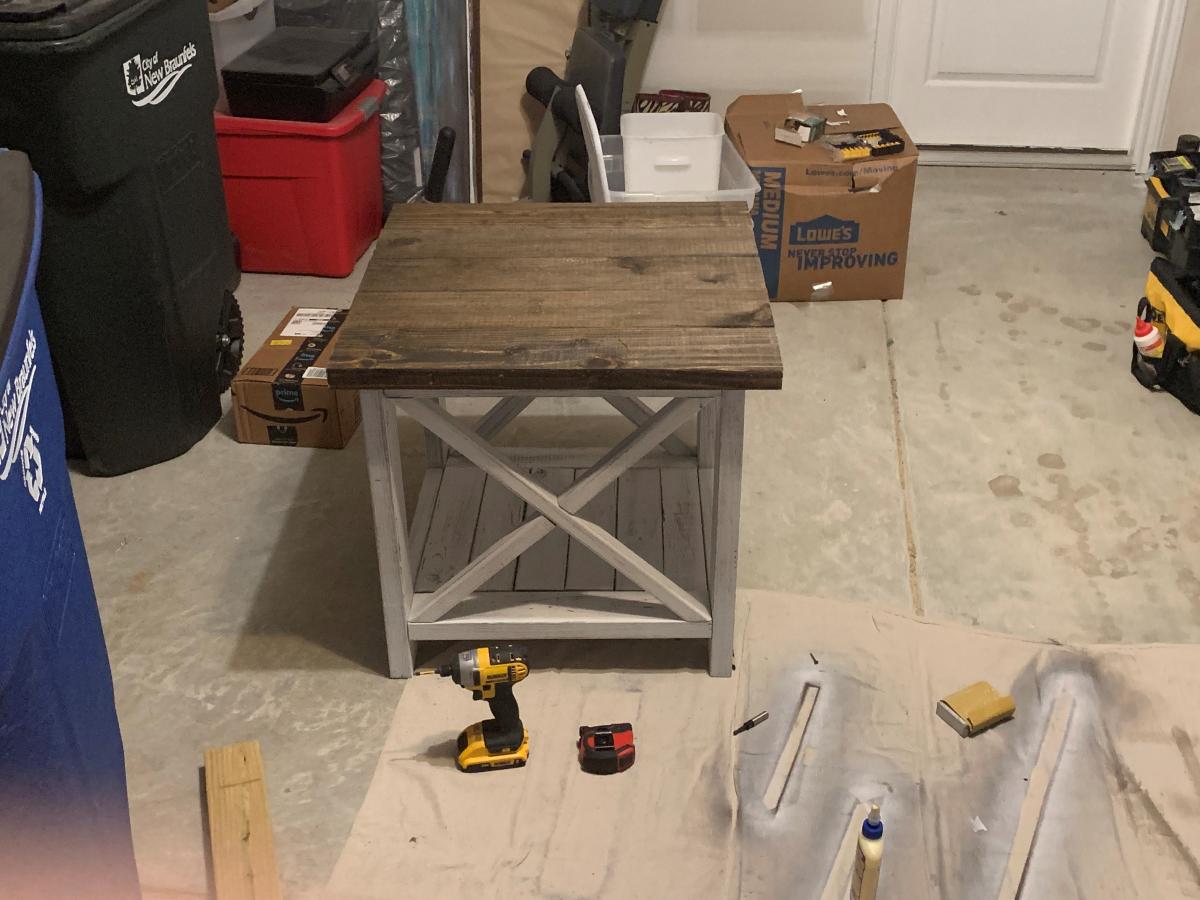
First Diy end table

Submitted by jhelton on Sat, 12/12/2020 - 13:58

First atttempt at distressed farmhouse end table.

Estimated Cost
$40
Estimated Time Investment
Afternoon Project (3-6 Hours)
Finish Used
brown spray paint, white spray paint, walnut stain, poly urethane
Recommended Skill Level
Beginner

Comments

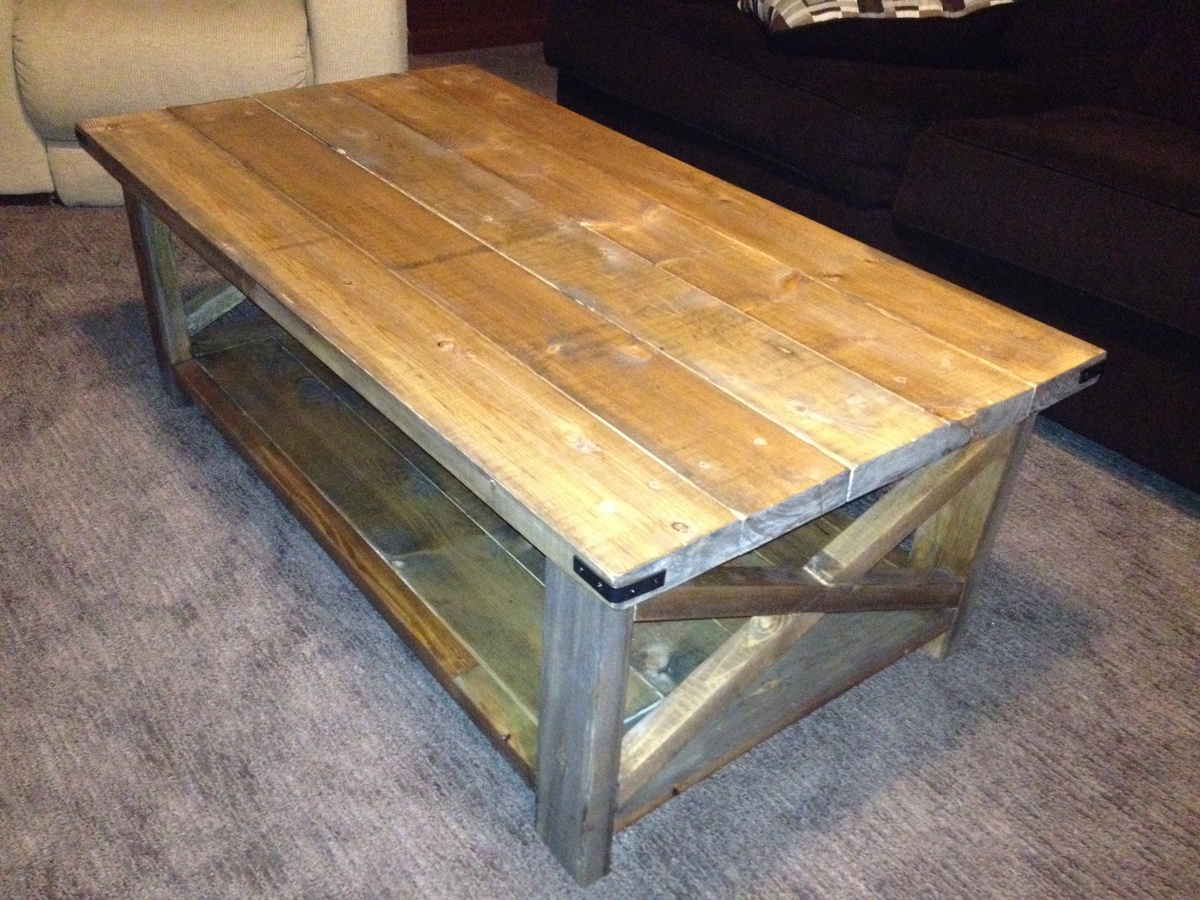
Rustic x coffee table

Submitted by Jodie on Sun, 01/27/2013 - 08:34

This was a fun weekend project!

Built from Plan(s)
Estimated Time Investment
Weekend Project (10-20 Hours)
Recommended Skill Level
Beginner

Comments

nkfuller09

Wed, 10/29/2014 - 13:28

Hey great job! Just wondering if you used 2x6 for the bottom as well and if the table ended up being very heavy due to it? Thanks :)

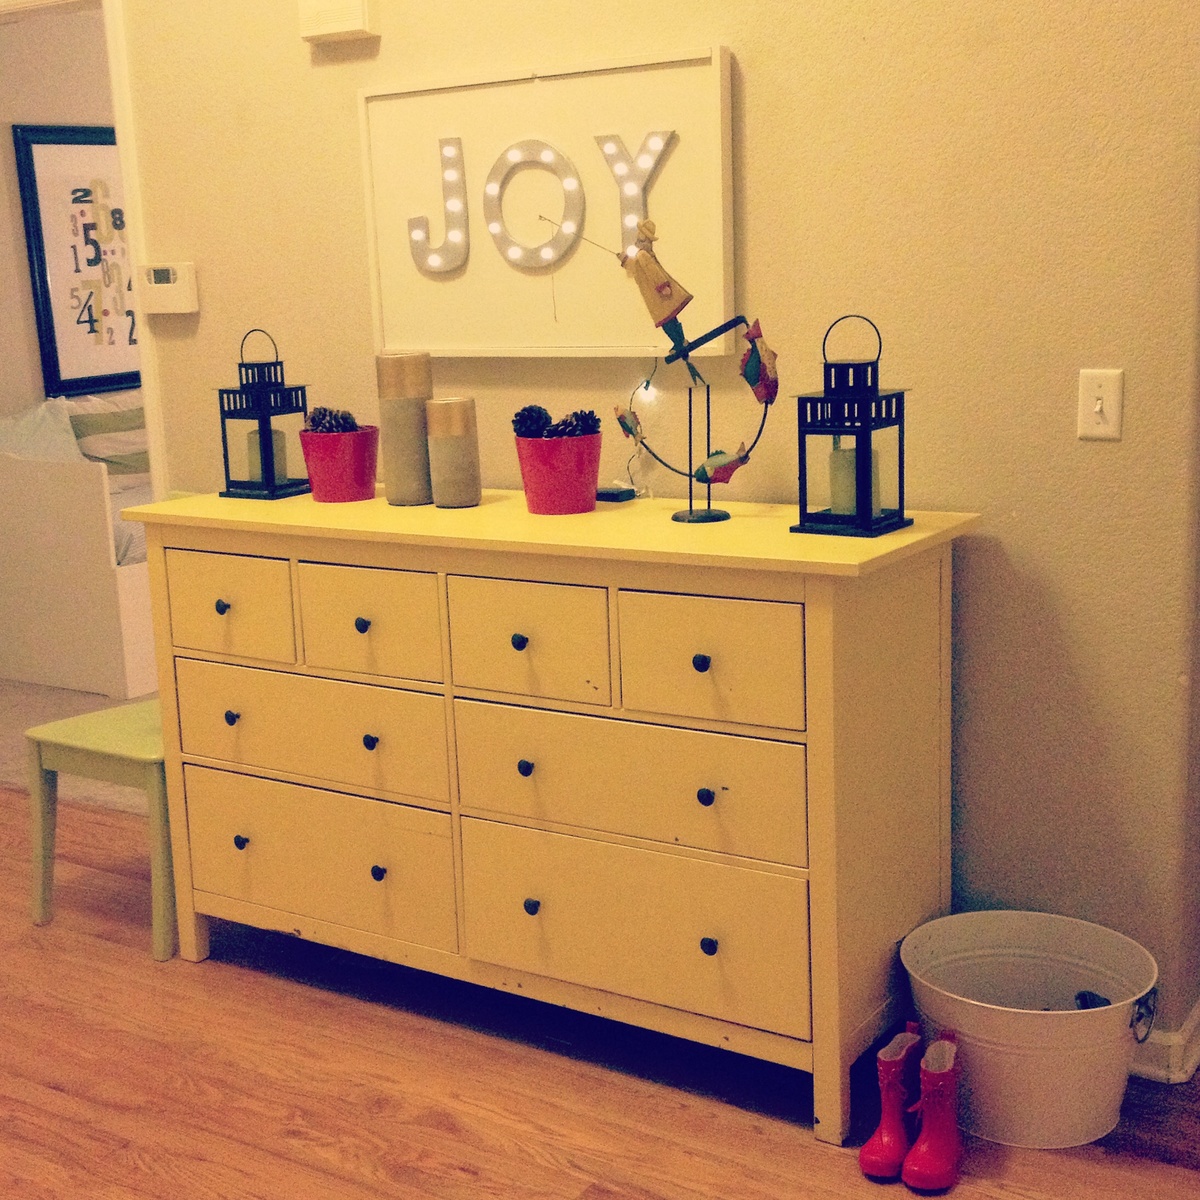
Joy Marquee

Submitted by blcrandall on Tue, 11/25/2014 - 23:14

Joy Marquee from Home Depot builders' workshop.

Estimated Time Investment
Afternoon Project (3-6 Hours)
Recommended Skill Level
Starter Project

Comments

Floating media cabinet

Submitted by Chriss45 on Tue, 02/28/2017 - 18:29

I felt a floating cabinet would make the room more spacious and wanted to showcase my brick wall so I designed and built this media cabinet.

Estimated Cost
300 dollars
Estimated Time Investment
Day Project (6-9 Hours)
Finish Used
I stained the plywood with walnut then finished with a satin poly. I lightly sanded the reclaimed barn wood the applied satin poly. I purchased the barn door hardware off Amazon.
Recommended Skill Level
Intermediate

Comments

Barn door bookcase

Submitted by Anonymous (not verified) on Thu, 12/17/2020 - 07:07

This was based of Ana’s barn door bookcase and was exactly what my mom needed to hide her grandkid’s toys while she’s not watching them. Thanks for the idea!

Built from Plan(s)
Finish Used
Pratt & Lambert Aquanamel semi-gloss in Valspar’s Timber Green, and semi-gloss polycrylic on the oak shelves and top (no stain, I liked the natural oak color).
Recommended Skill Level
Beginner

Comments

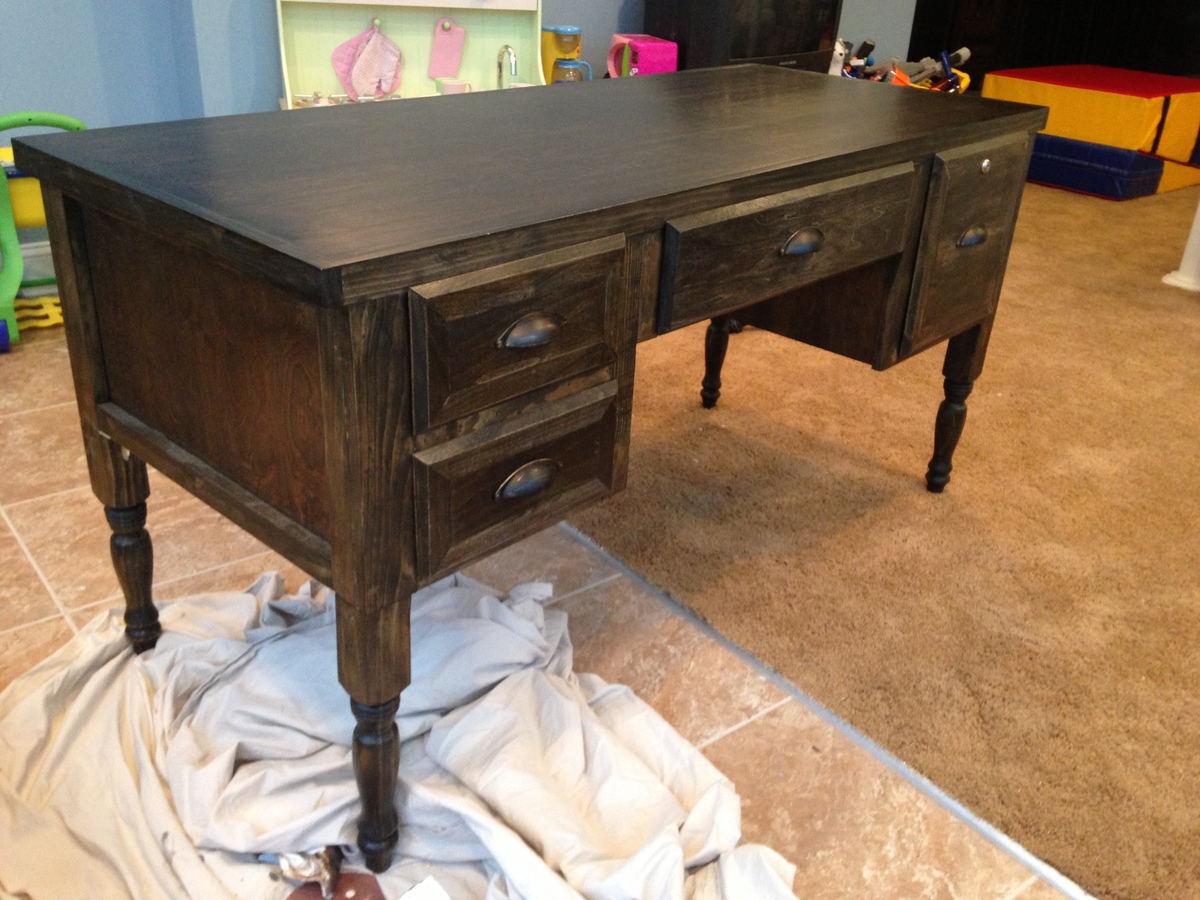
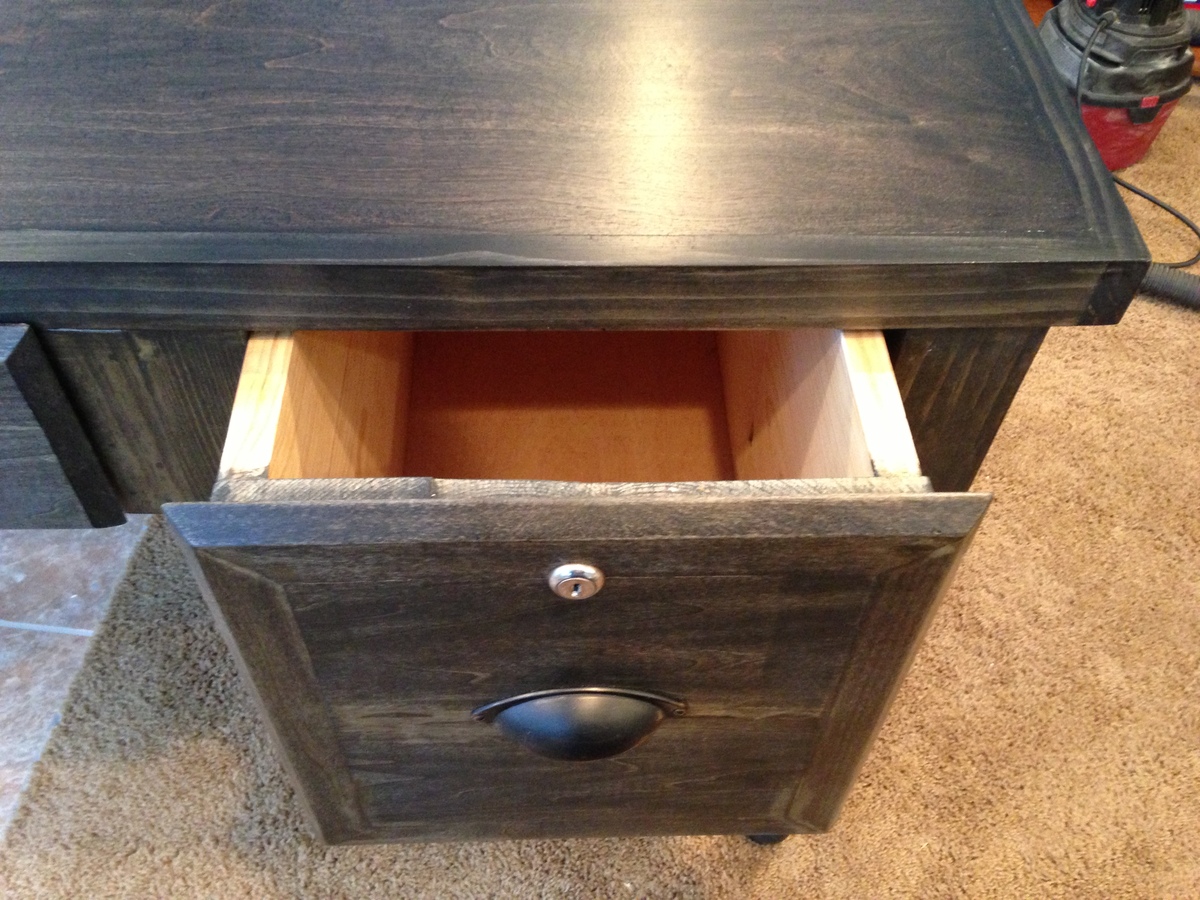
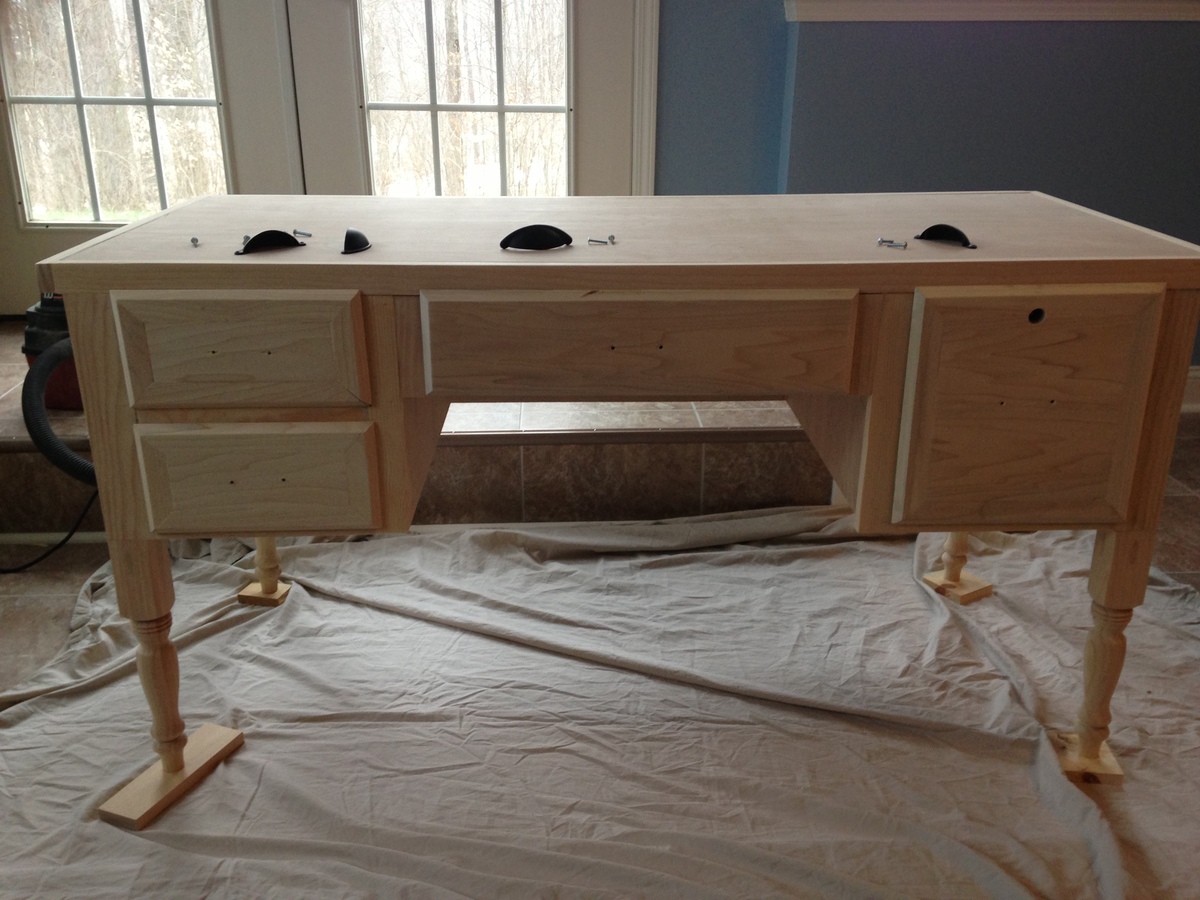
Turned-Leg Media Console turned PB Printer's Keyhole Desk knock-off

I wanted to build a desk for each of my 3 kids. We have an unused loft space in our home that I wanted to convert to a kid's homework area. Initially, I was going to build cabinets and create two walls of built in bookshelves and desk space. But decided I wanted free standing desks in a style that would last them into adulthood. (And possibly move with them into their own homes:) I really liked Pottery Barn's Printer's Keyhole Desk for the first desk but couldn't find a plan to build something like that. I ended up modifying the Turned Leg media console plan instead. It was a lot of work trying to figure out the correct changes to the plan. It totally made me appreciate how easy Ana's plans are to follow. I changed the depth to 24 inches and also changed the basic box from the plan into 3 boxes (left side drawers, middle drawer, right side drawer) then attached the boxes to each other then to the top. It was a heck of lot easier to say that in a couple of sentances then to actually do it. I also found it easier to put face frames on my drawers to hide my not perfect drawer boxes.

This project took me about a month to complete. I am a SAHM, and was not able to work on it every day.

The finish is Minwax Ebony oil based stain. I've had success using Annie Sloan waxes on other projects but was not happy with how the top looked after using it on the desk. Eventually I sanded the finish off and re-stained it 2x then topped it with 3 coats of Polycrylic. I left the rest of the desk with the original stain/Dark Wax finish.

I am too lazy to attempt sanding off the rest of the desk and restaining and sealing it. Kid #2 is already asking when I'm going to start on his desk (I'm thinking RH St. James style) and Kid #1 came home from school today and wanted to do his homework in the basement (where his desk is currently drying) so I think I should just say it's done and move on!

My experience comes just from reading this site and a few others. I've made AG doll furniture, picture frames, a console table, 2 benches, built-in bookshelves and a dollhouse bookcase. I used pocket hole joinery, glue and nails in this project. I don't have a table saw, so I made my long cuts with a circular saw fitted with a Kreg Rip Cut and occasionally a jig saw.

I would like to add some sort of hutch to it and am considering the Channing Hutch from this site. Thanks for reading!
Built from Plan(s)
Estimated Cost
$200
Estimated Time Investment
Week Long Project (20 Hours or More)
Finish Used
Minwax Ebony Stain
Annie Sloane Dark Wax
Polycrylic
Recommended Skill Level
Intermediate

Comments

tracysmith

Tue, 02/05/2013 - 05:57

I've been looking for a desk plan to replace the antique desk my mom recently took back to her house and this just might be my saving grace! Where did you get the legs for this? Thanks in advance and what a great job you did!!! Looks awesome! :-)
Tryde Coffee Table

Submitted by BFischer on Thu, 11/27/2014 - 22:01

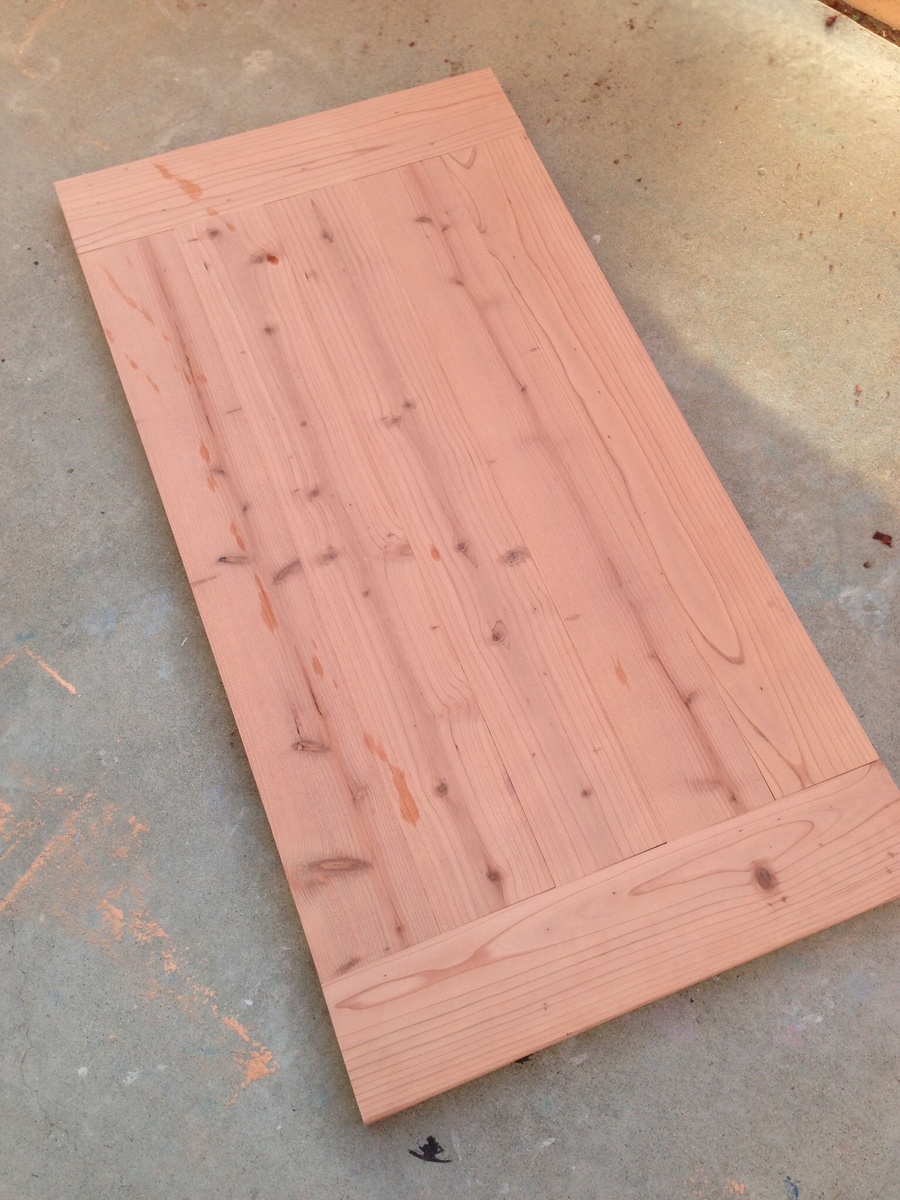
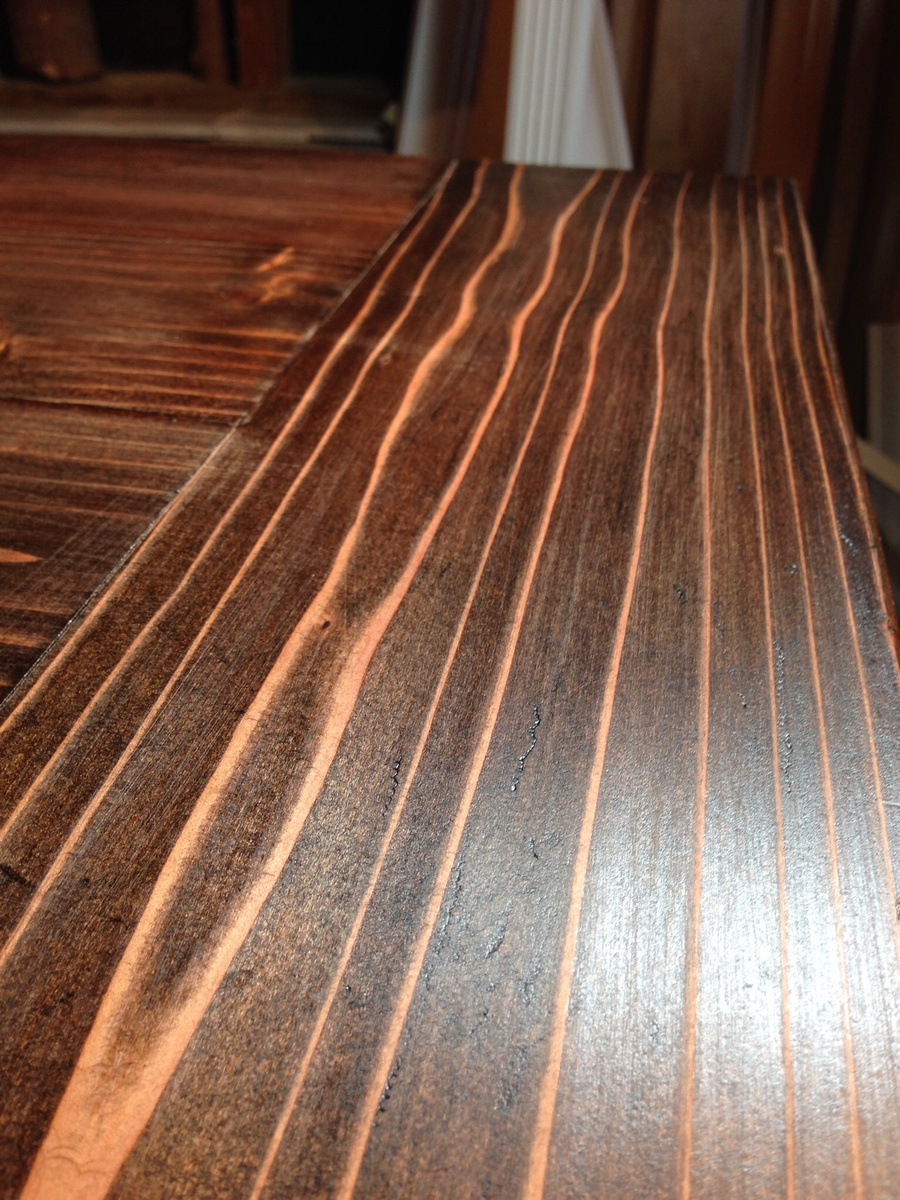
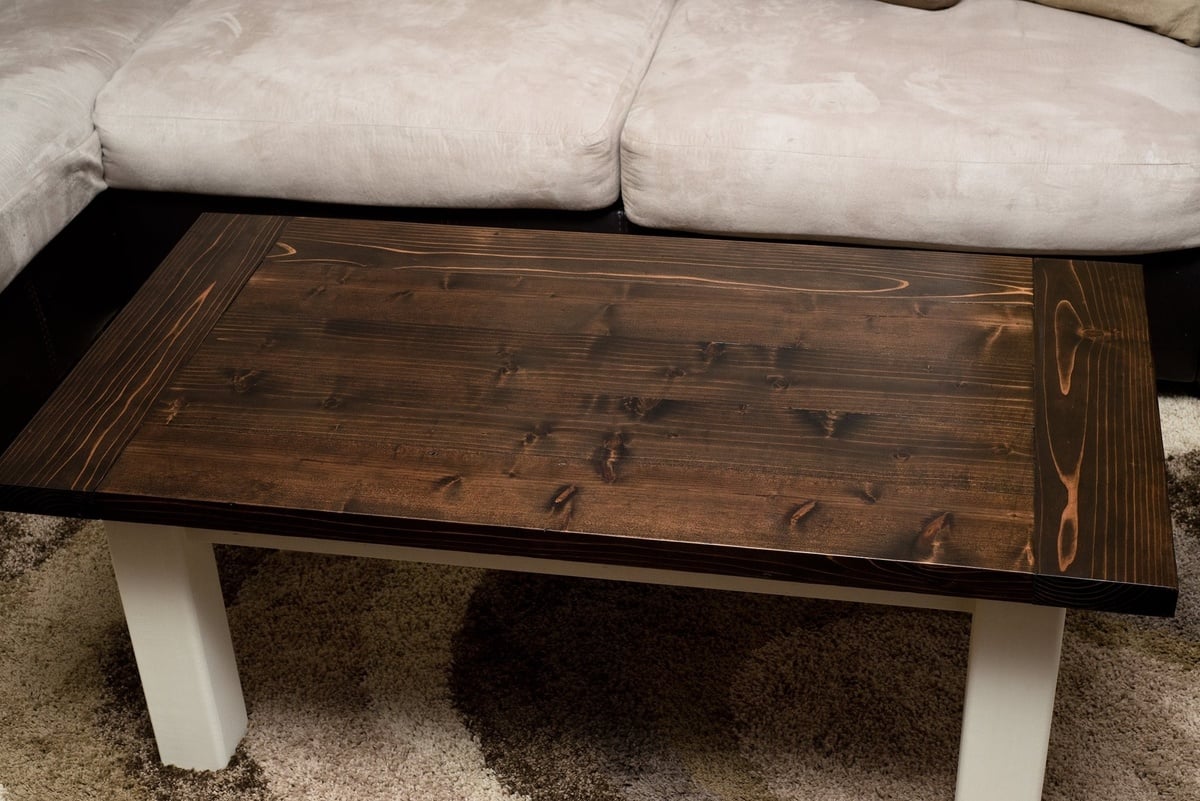
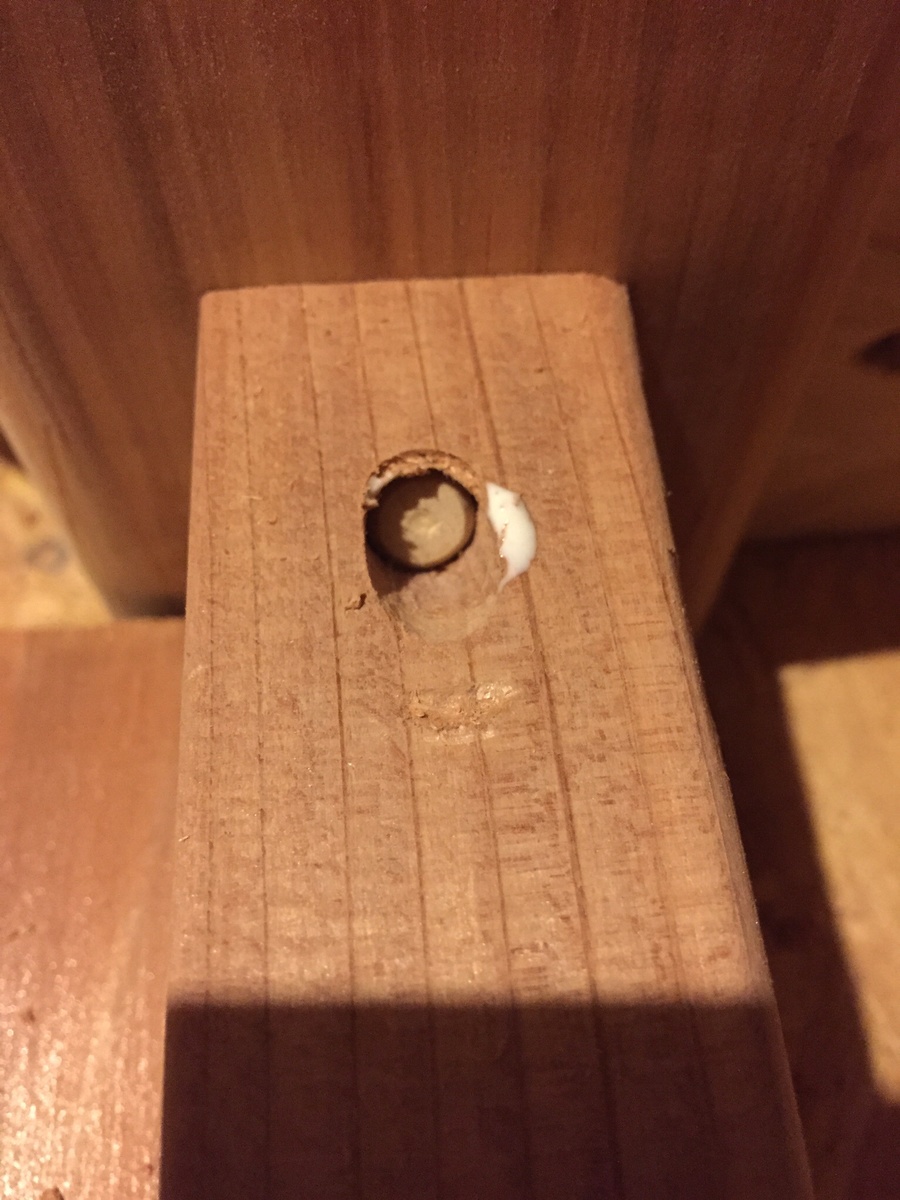
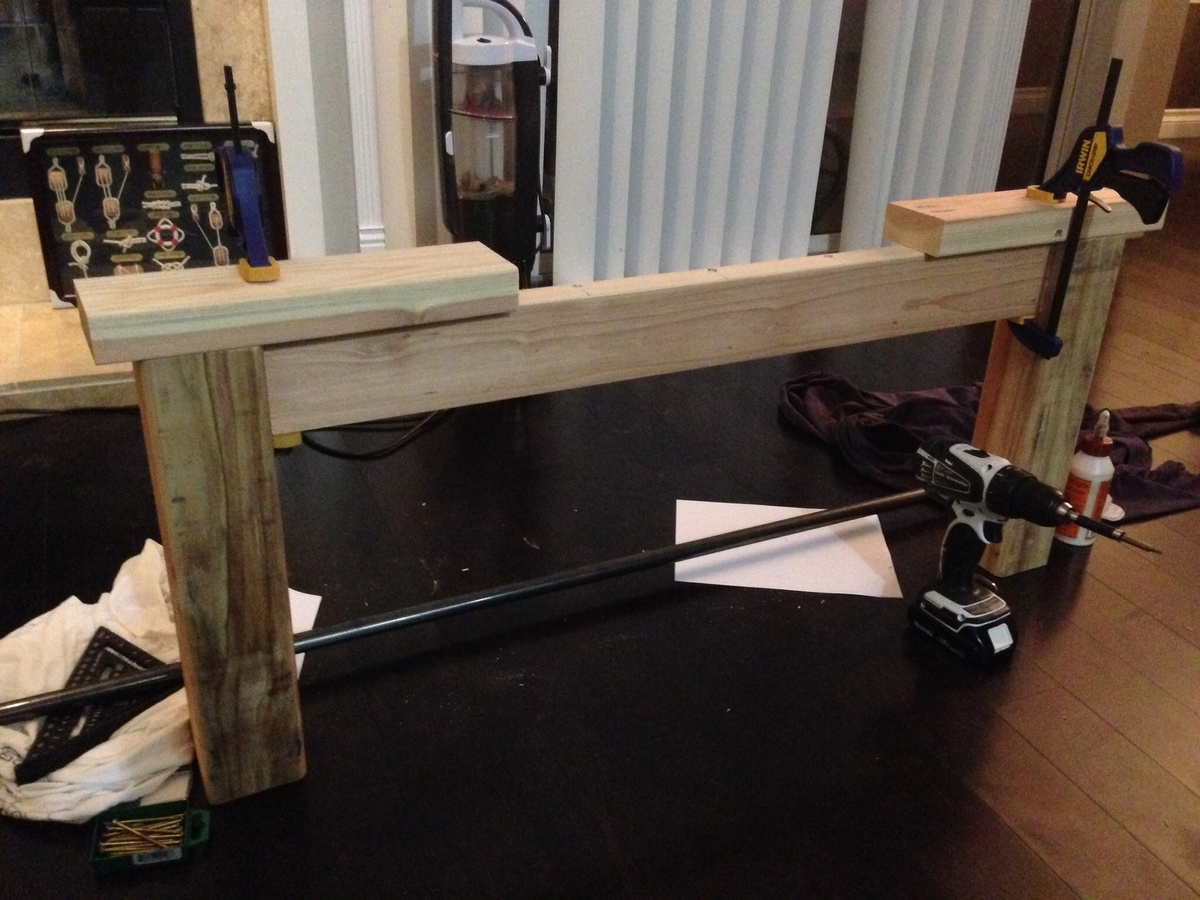
This was built using redwood 2x6 planks trimmed on the edges to square them off and get them to 5" each. I used kiln dried redwood 4x4's as well. The redwood was a bit more pricey BUT it is far lighter than pine and the boards and grain are of a higher quality. The planks were put together with 6 dowels on either side along with glue and big cabinet clamps. The top was also attached to the base with a dowel every 12". I sanded to expose/raise the grain on purpose and give it a hand scraped look. I went two tone on the piece to match my dining set I did. The top is Jacobean and the bottom is Annie Sloan old white chalk paint. The piece is designed to getter better with age ;)

Estimated Cost
$60
Estimated Time Investment
Weekend Project (10-20 Hours)
Finish Used
Minwax Jacobean and rustoleum satin clear poly
Recommended Skill Level
Beginner

Comments

Pallot Crib

Recycled Pallot crib (extremely heavy)

Estimated Time Investment
Week Long Project (20 Hours or More)
Finish Used
Unfinished
Recommended Skill Level
Advanced

X Farm House Desk

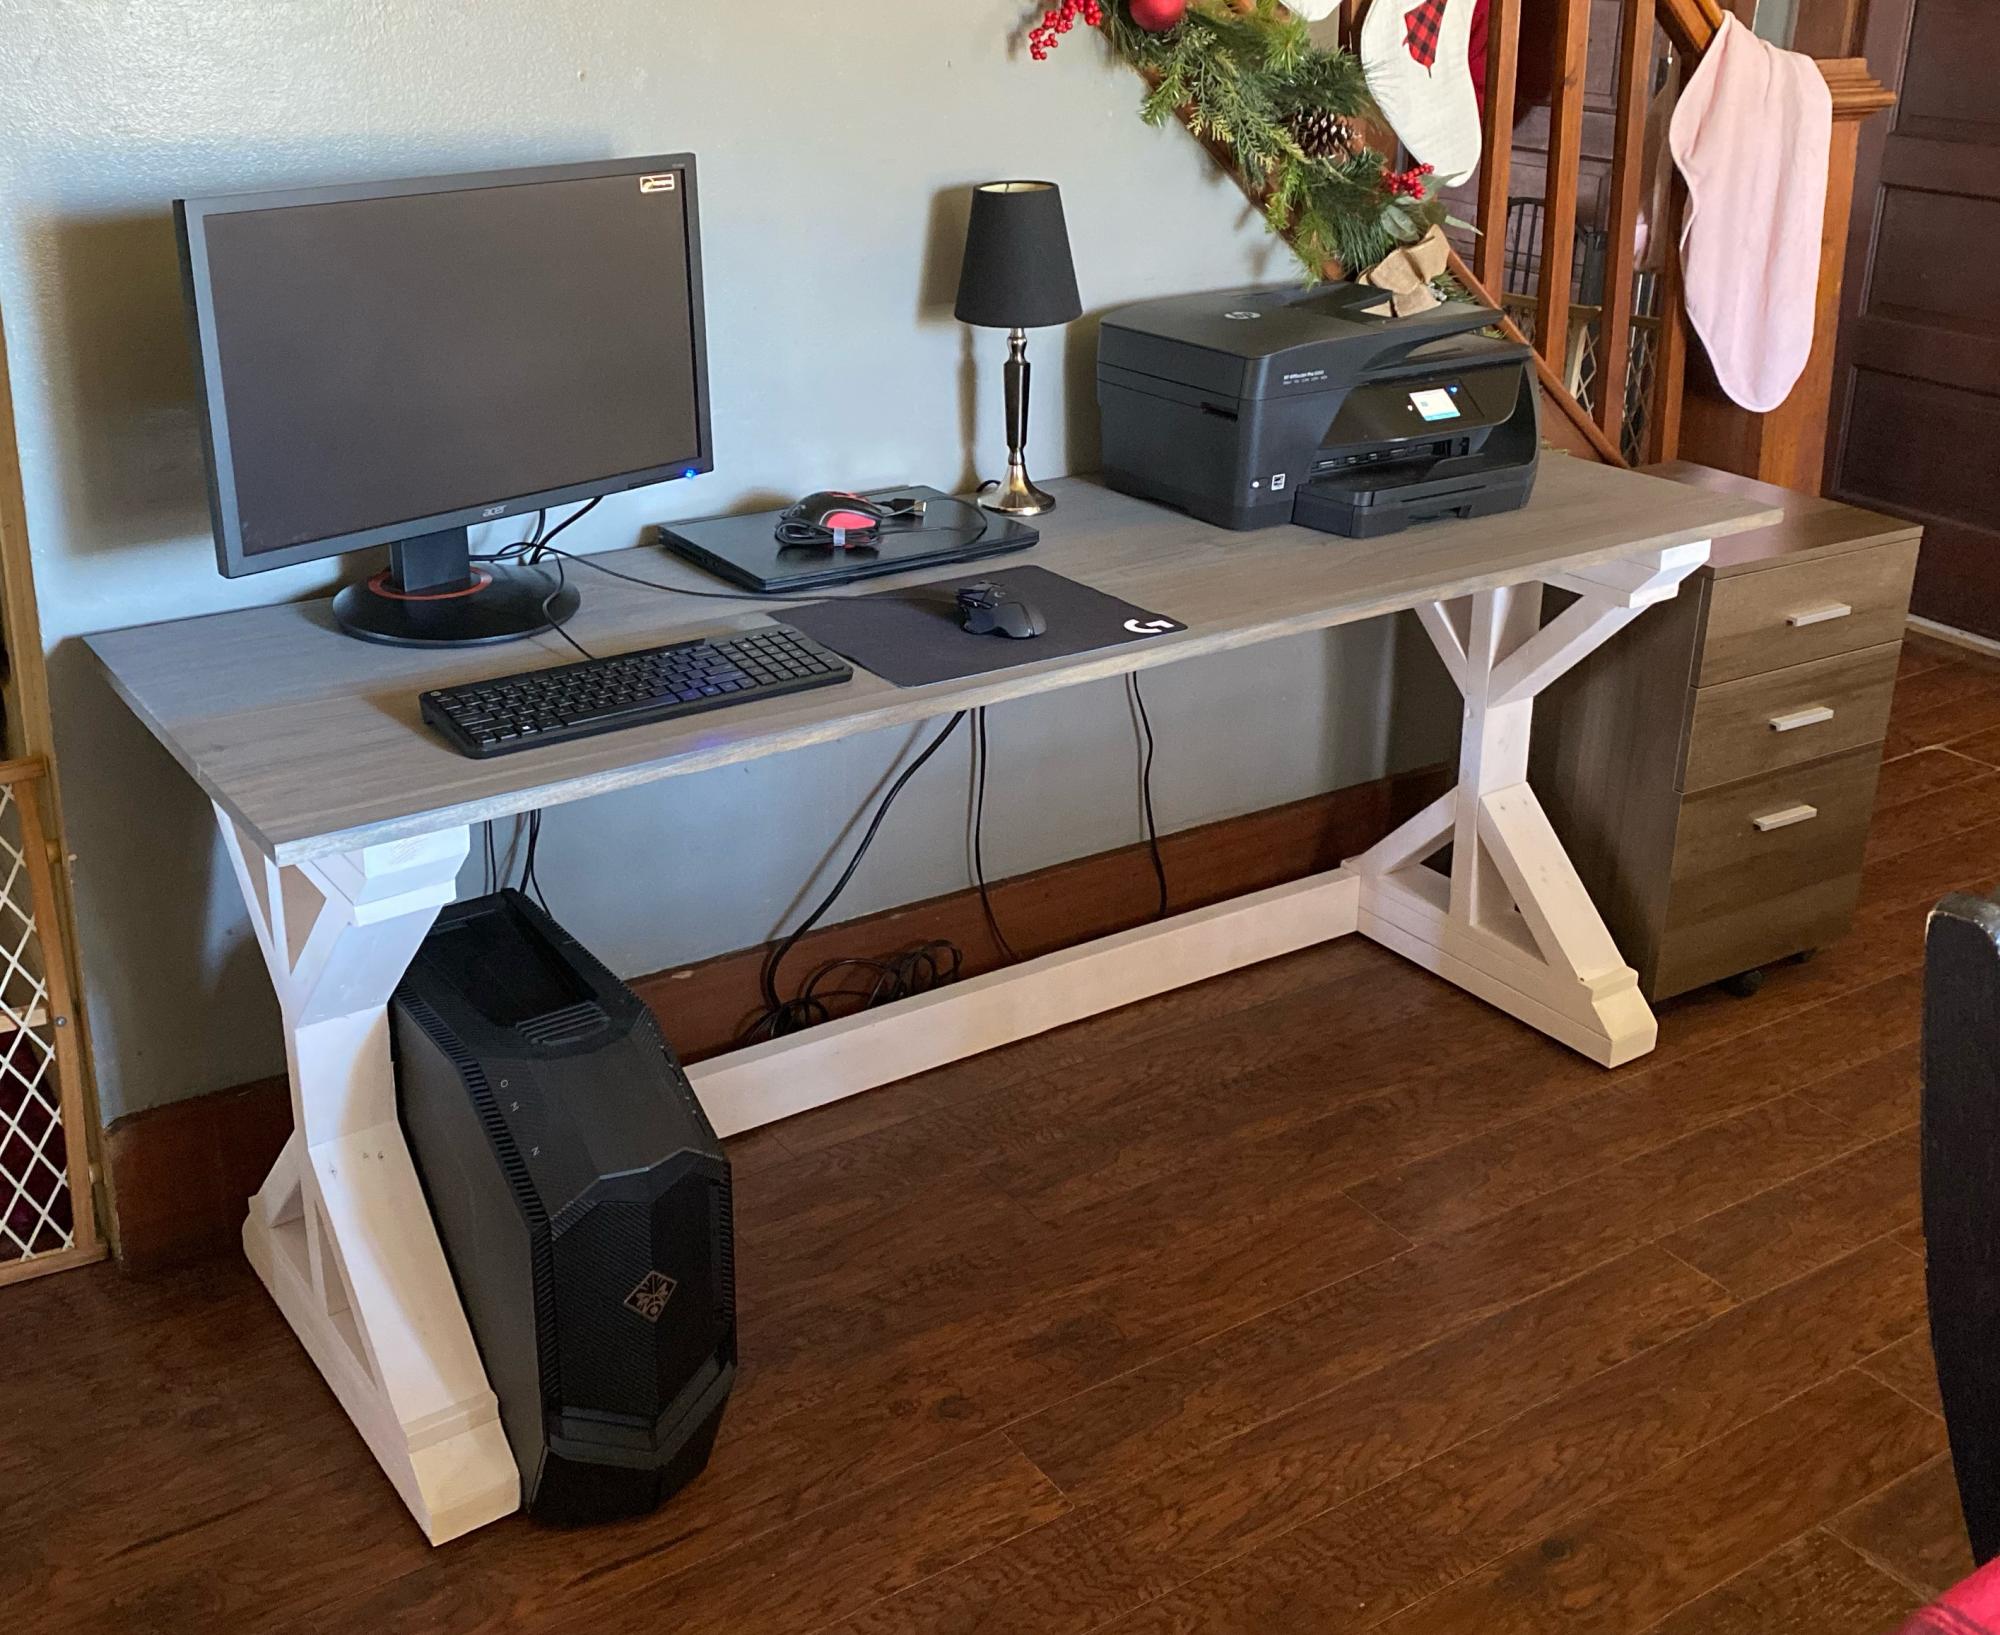
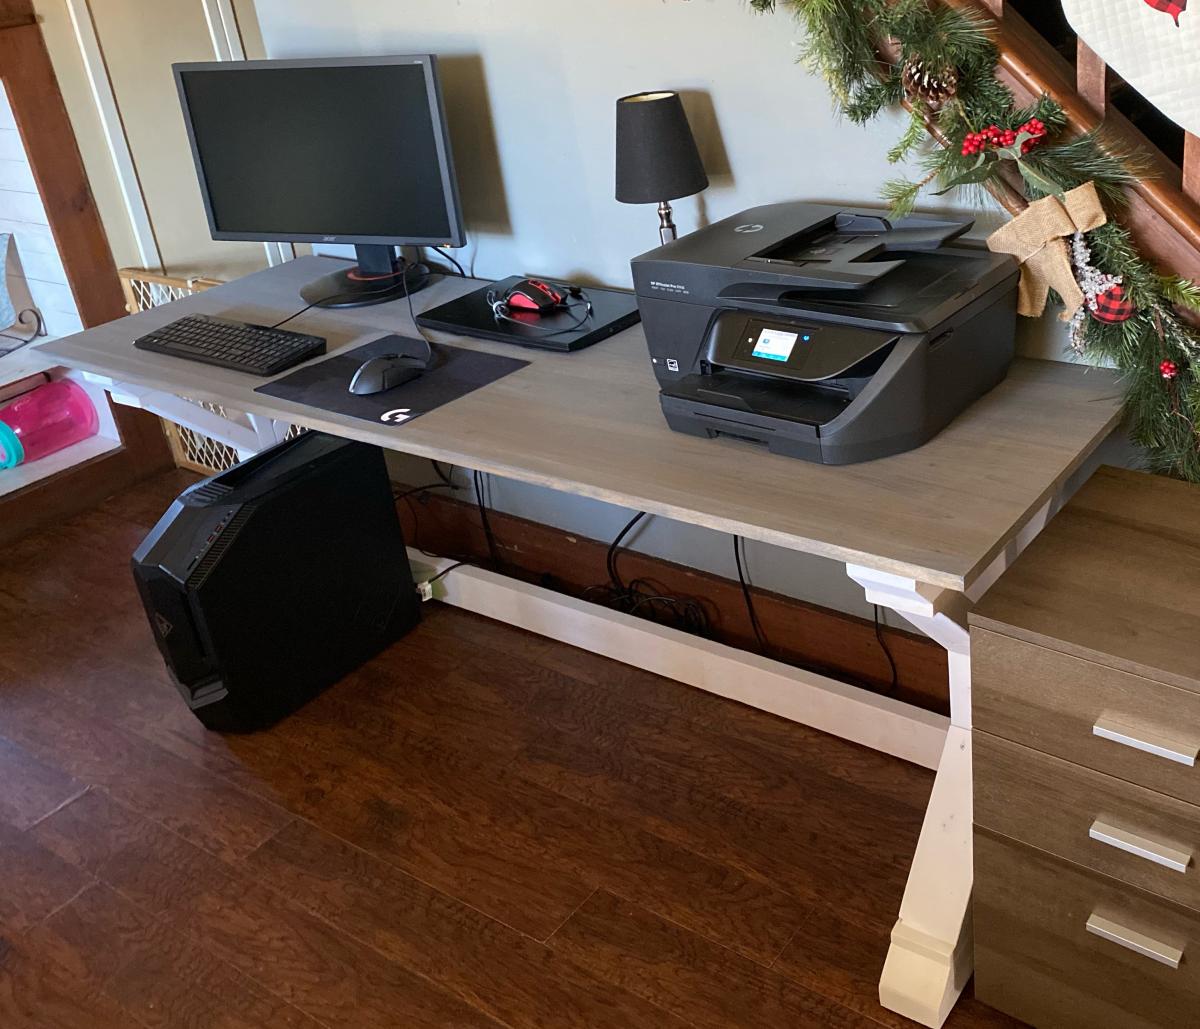
First time trying one of the plans from here. Absolutely loved the desk when the wife and I seen it. And shopping around for a desk we liked was way out of the prices we were looking for. Instead of using the pine boards and pocket holing them together. I purchased a top the exact size the boards would have made. The top is made of poplar. Sanded and stained. Waiting on the epoxy to arrive to apply to the top for a harder top to work on. Pine and poplar are soft woods and if writing on them it would groove the wood.
Thank you so much for the beautiful plans.

Built from Plan(s)
Estimated Cost
Around 110 dollars

Children's Chair

Submitted by Mable Burt on Thu, 01/31/2013 - 16:20

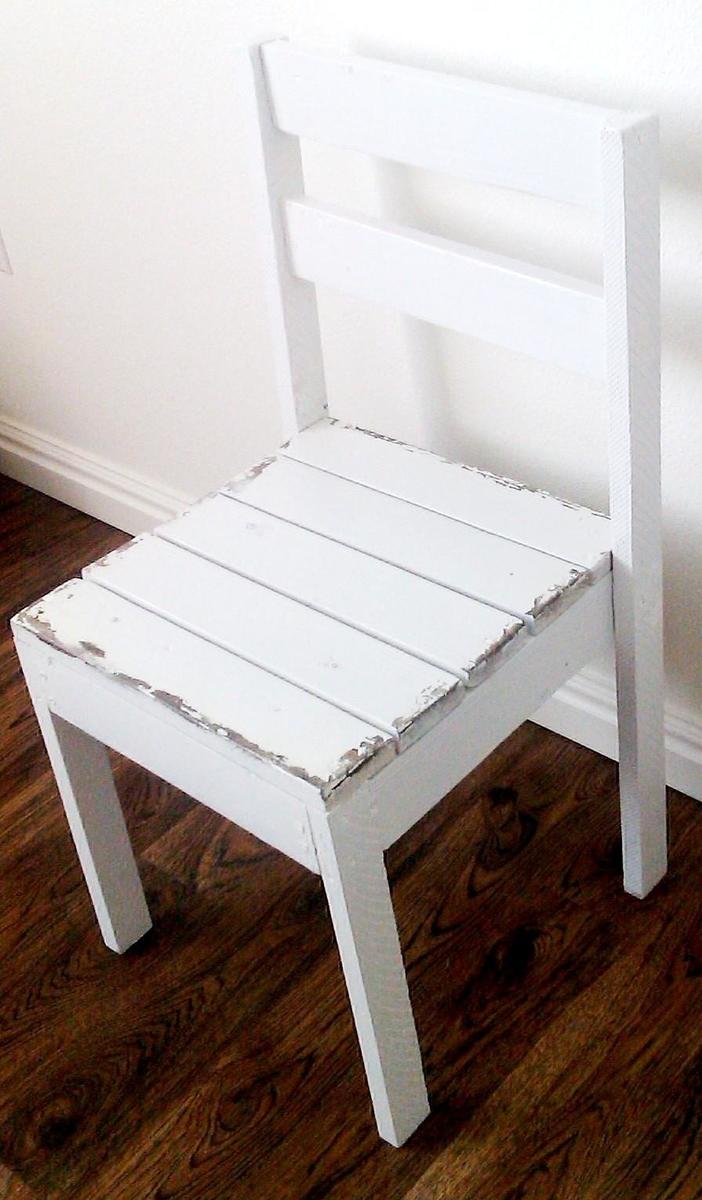
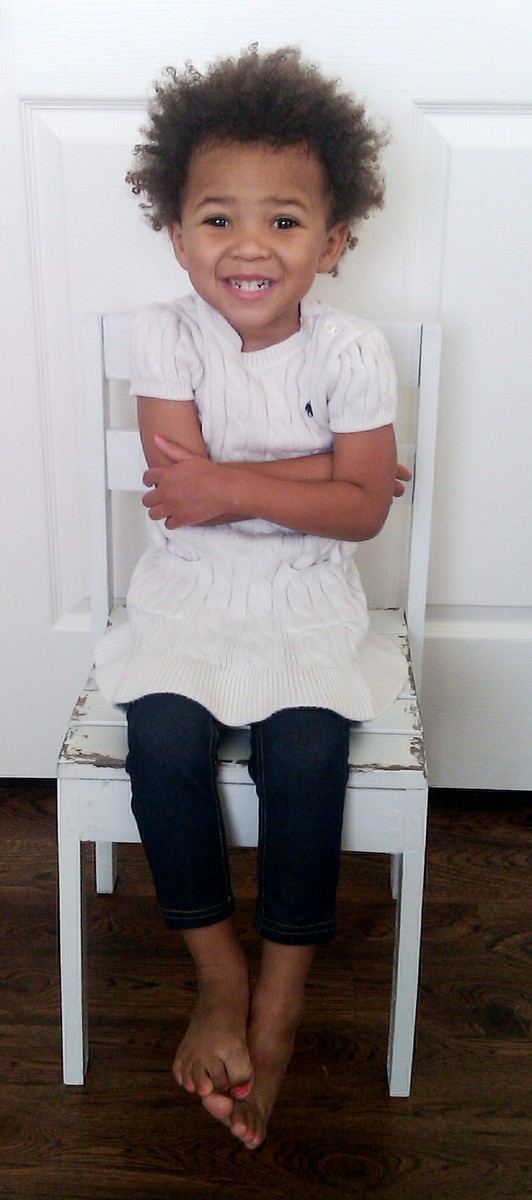
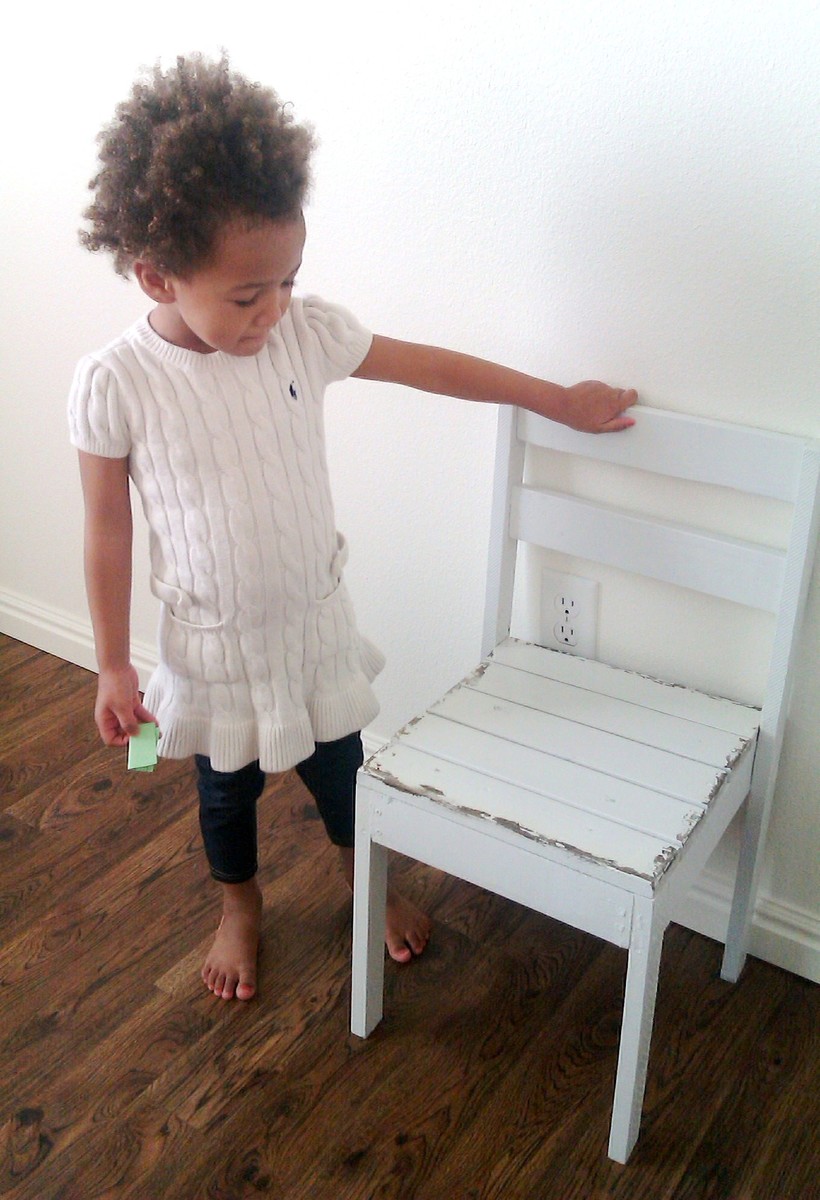
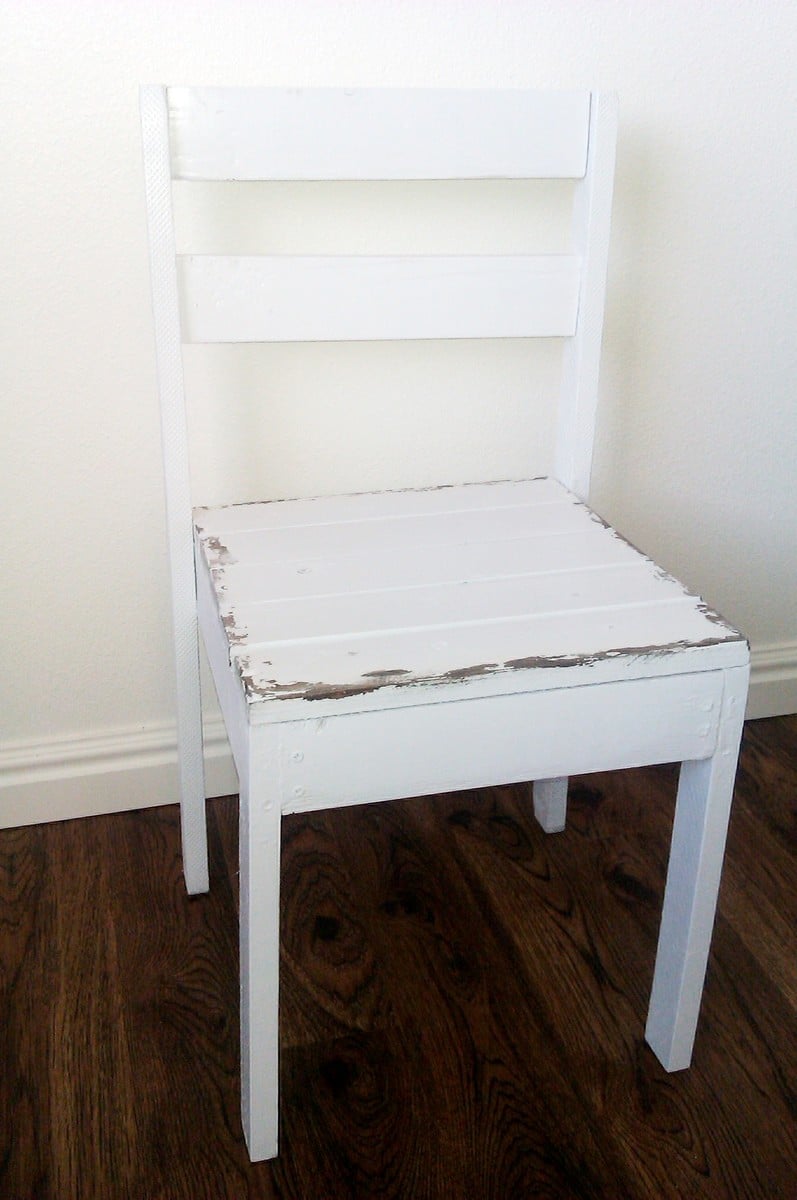
I enjoyed making this chair. Even though I am a beginner at wood work, it really was easy to make and the instructions were very clear. I made it for my daughter. She will be 3 years old in May and she loves it. Our next project is making her a table to go with the chair. Thanx for sharing the plan

Estimated Cost
$6
Estimated Time Investment
Afternoon Project (3-6 Hours)
Finish Used
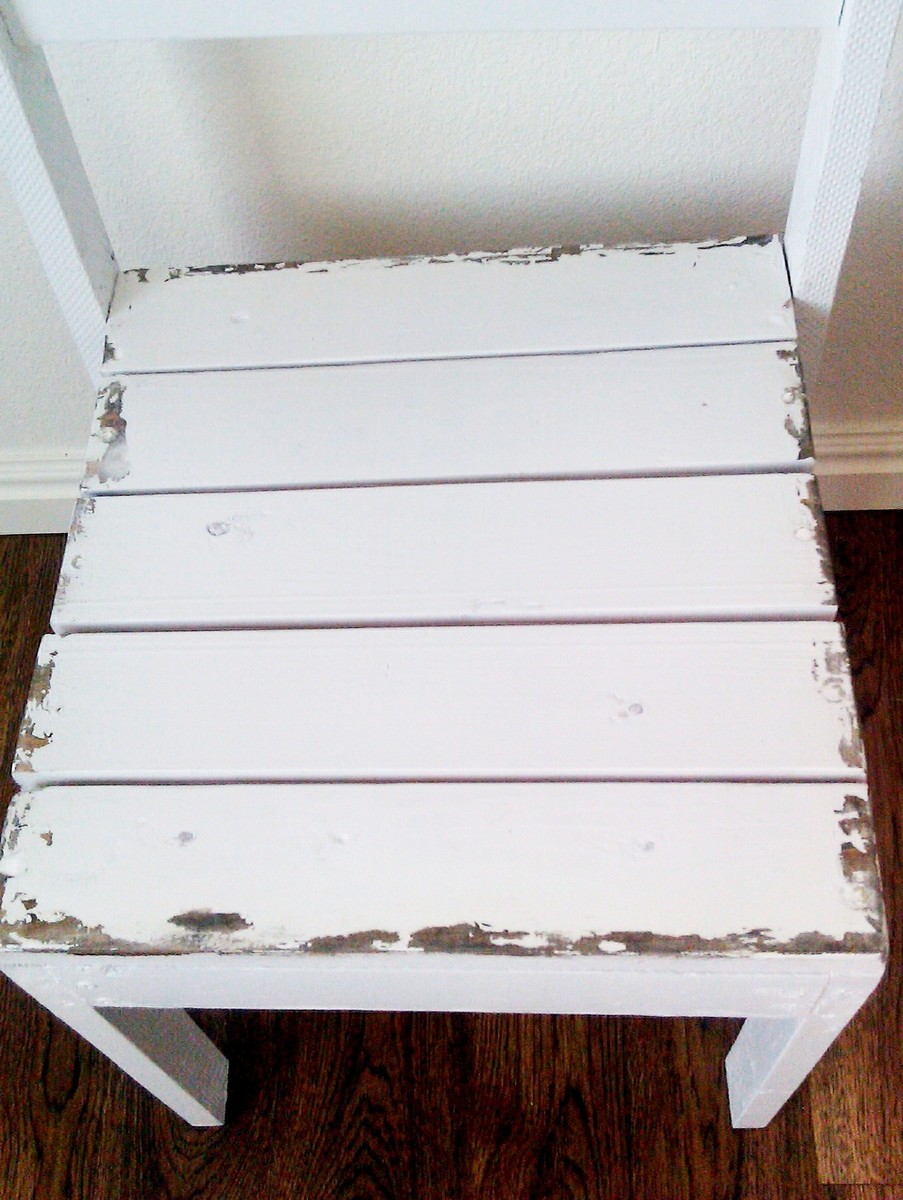
White Rust-oleum painter's touch Ultra cover 2x coverage, semi gloss spray paint. I stained the ages with Minwax wood finish dark walnut and I distressed it with vaseline. After the stain was dry, I put some vaseline on the edges of the chair then spray painted it. Once the paint was dry, I used sand paper until I got my desired look (got this idea from shanty-2-chic)
Recommended Skill Level
Starter Project