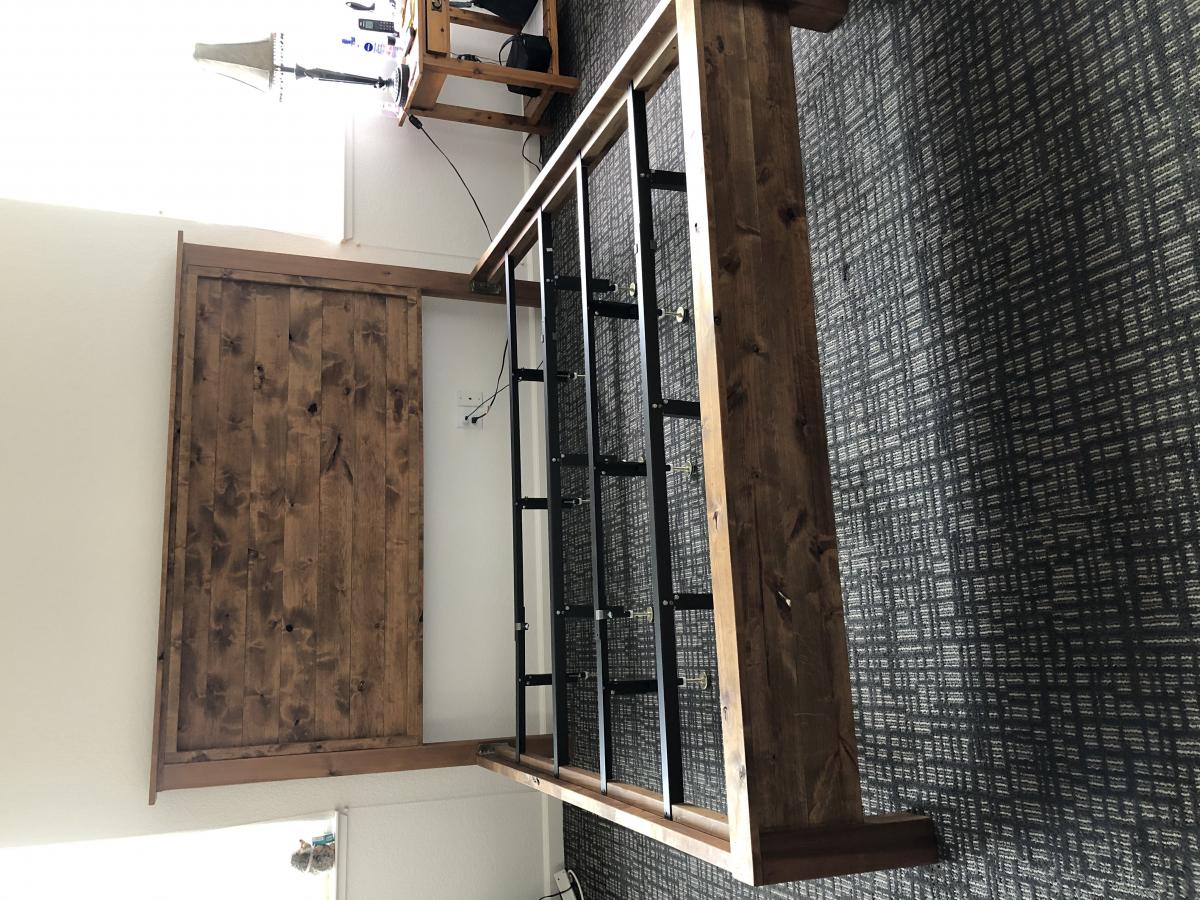
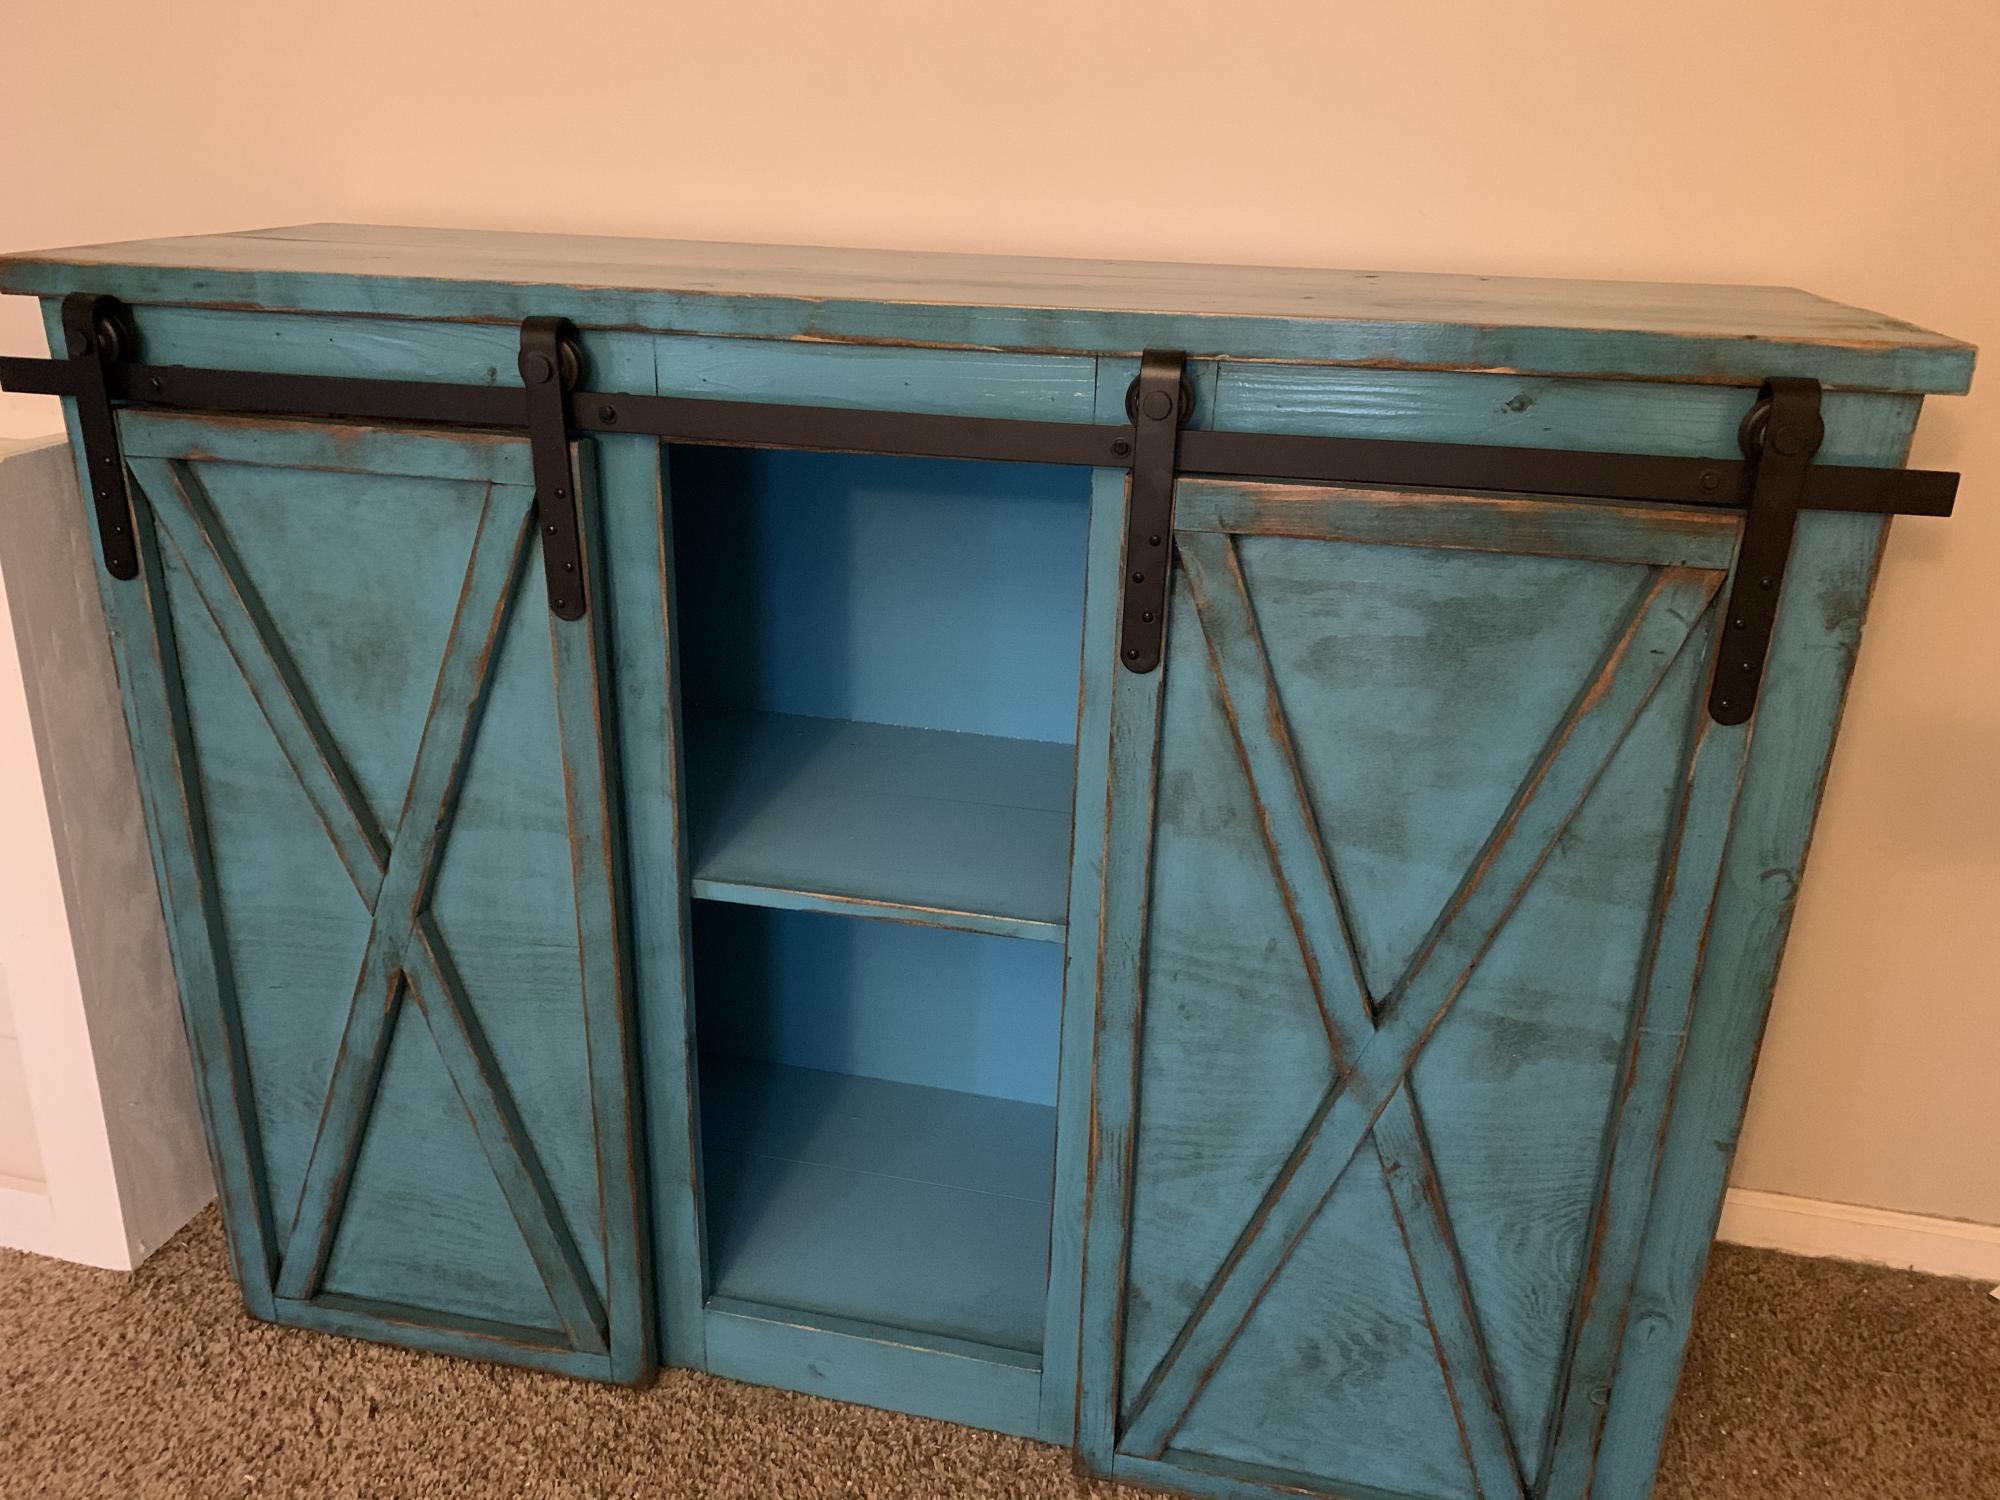
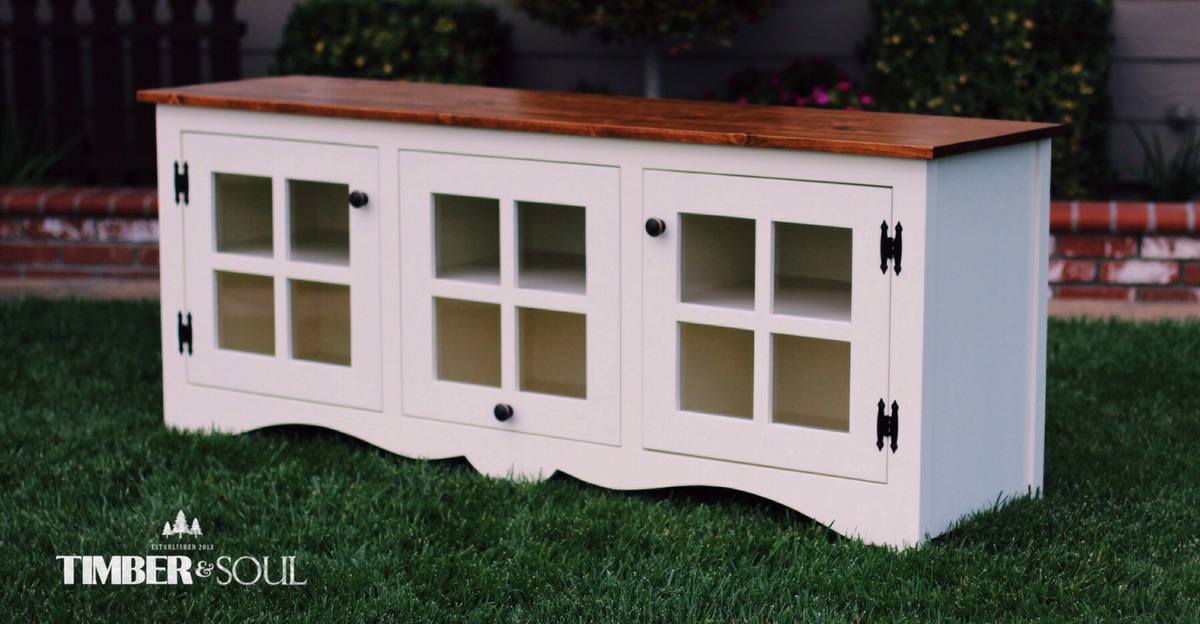
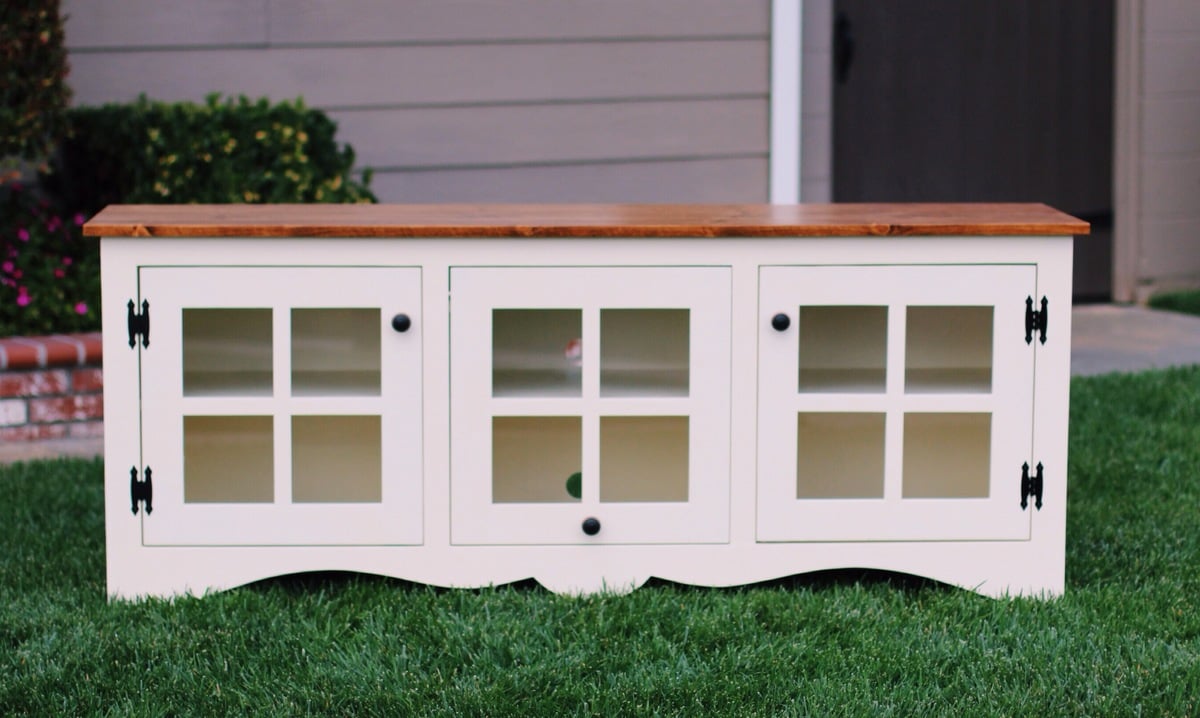
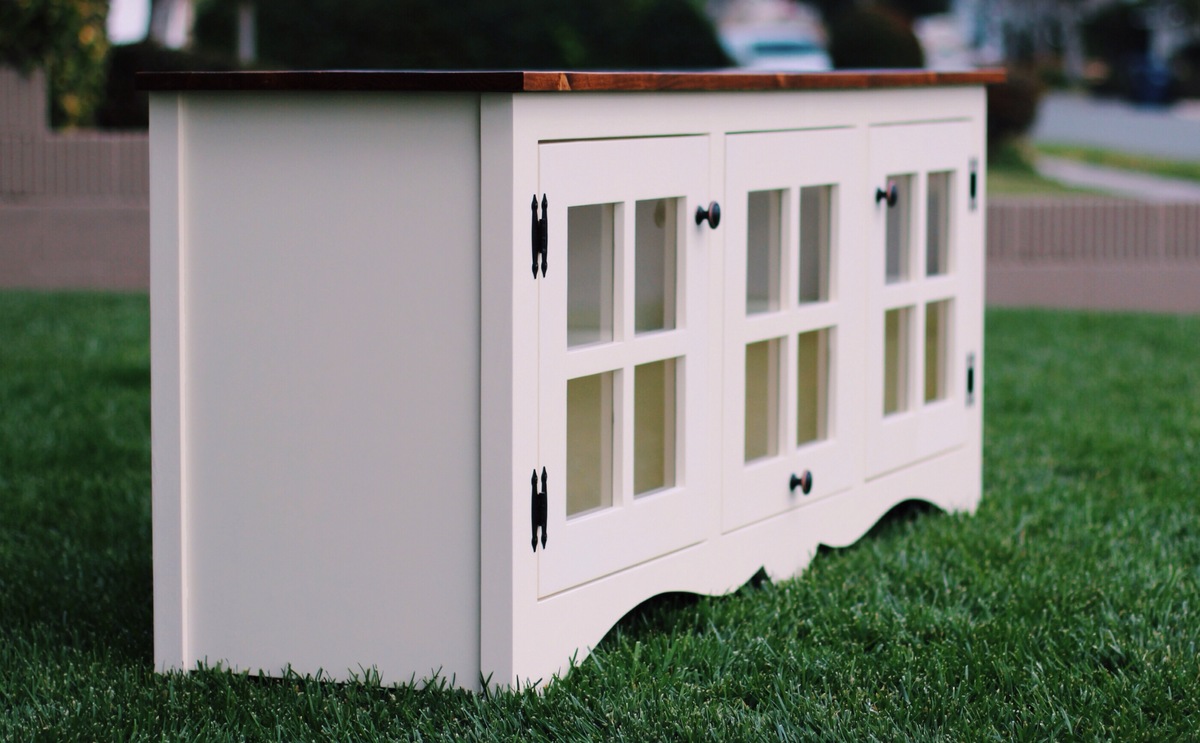
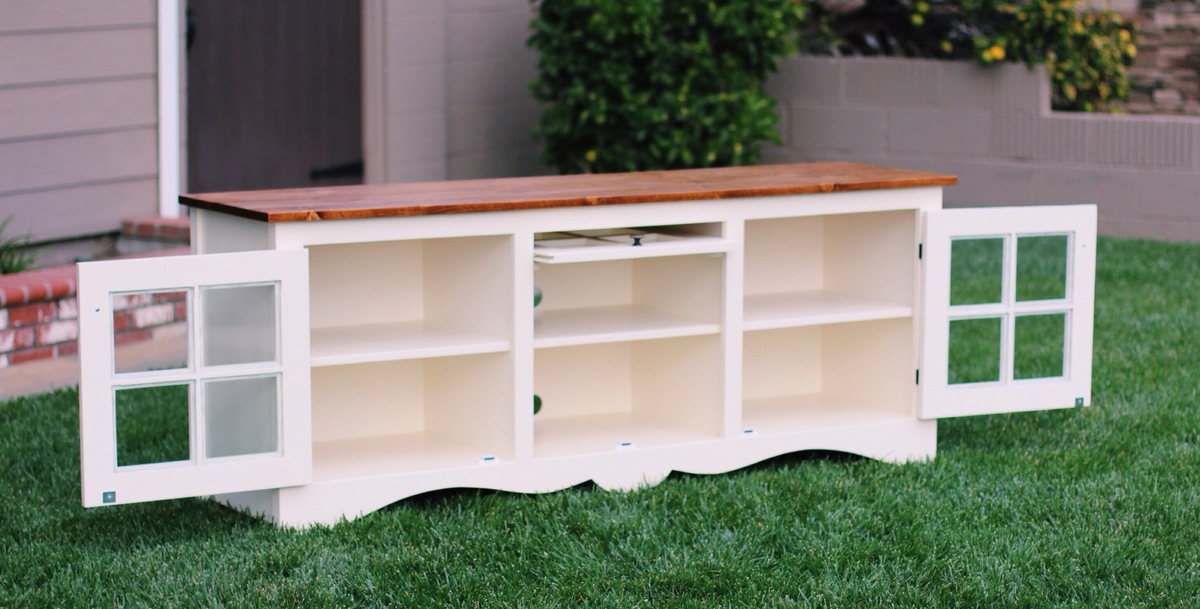
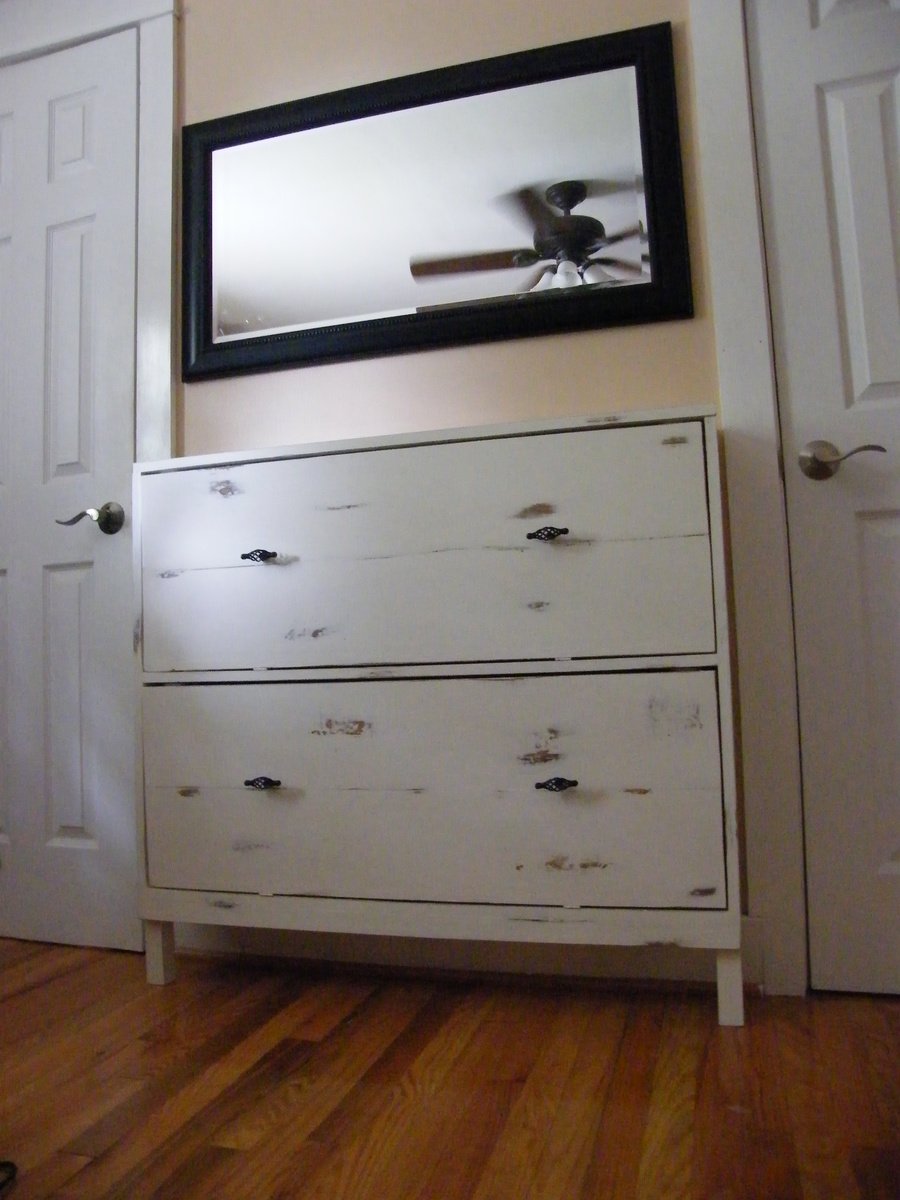
Shoe Dresser - First Project!
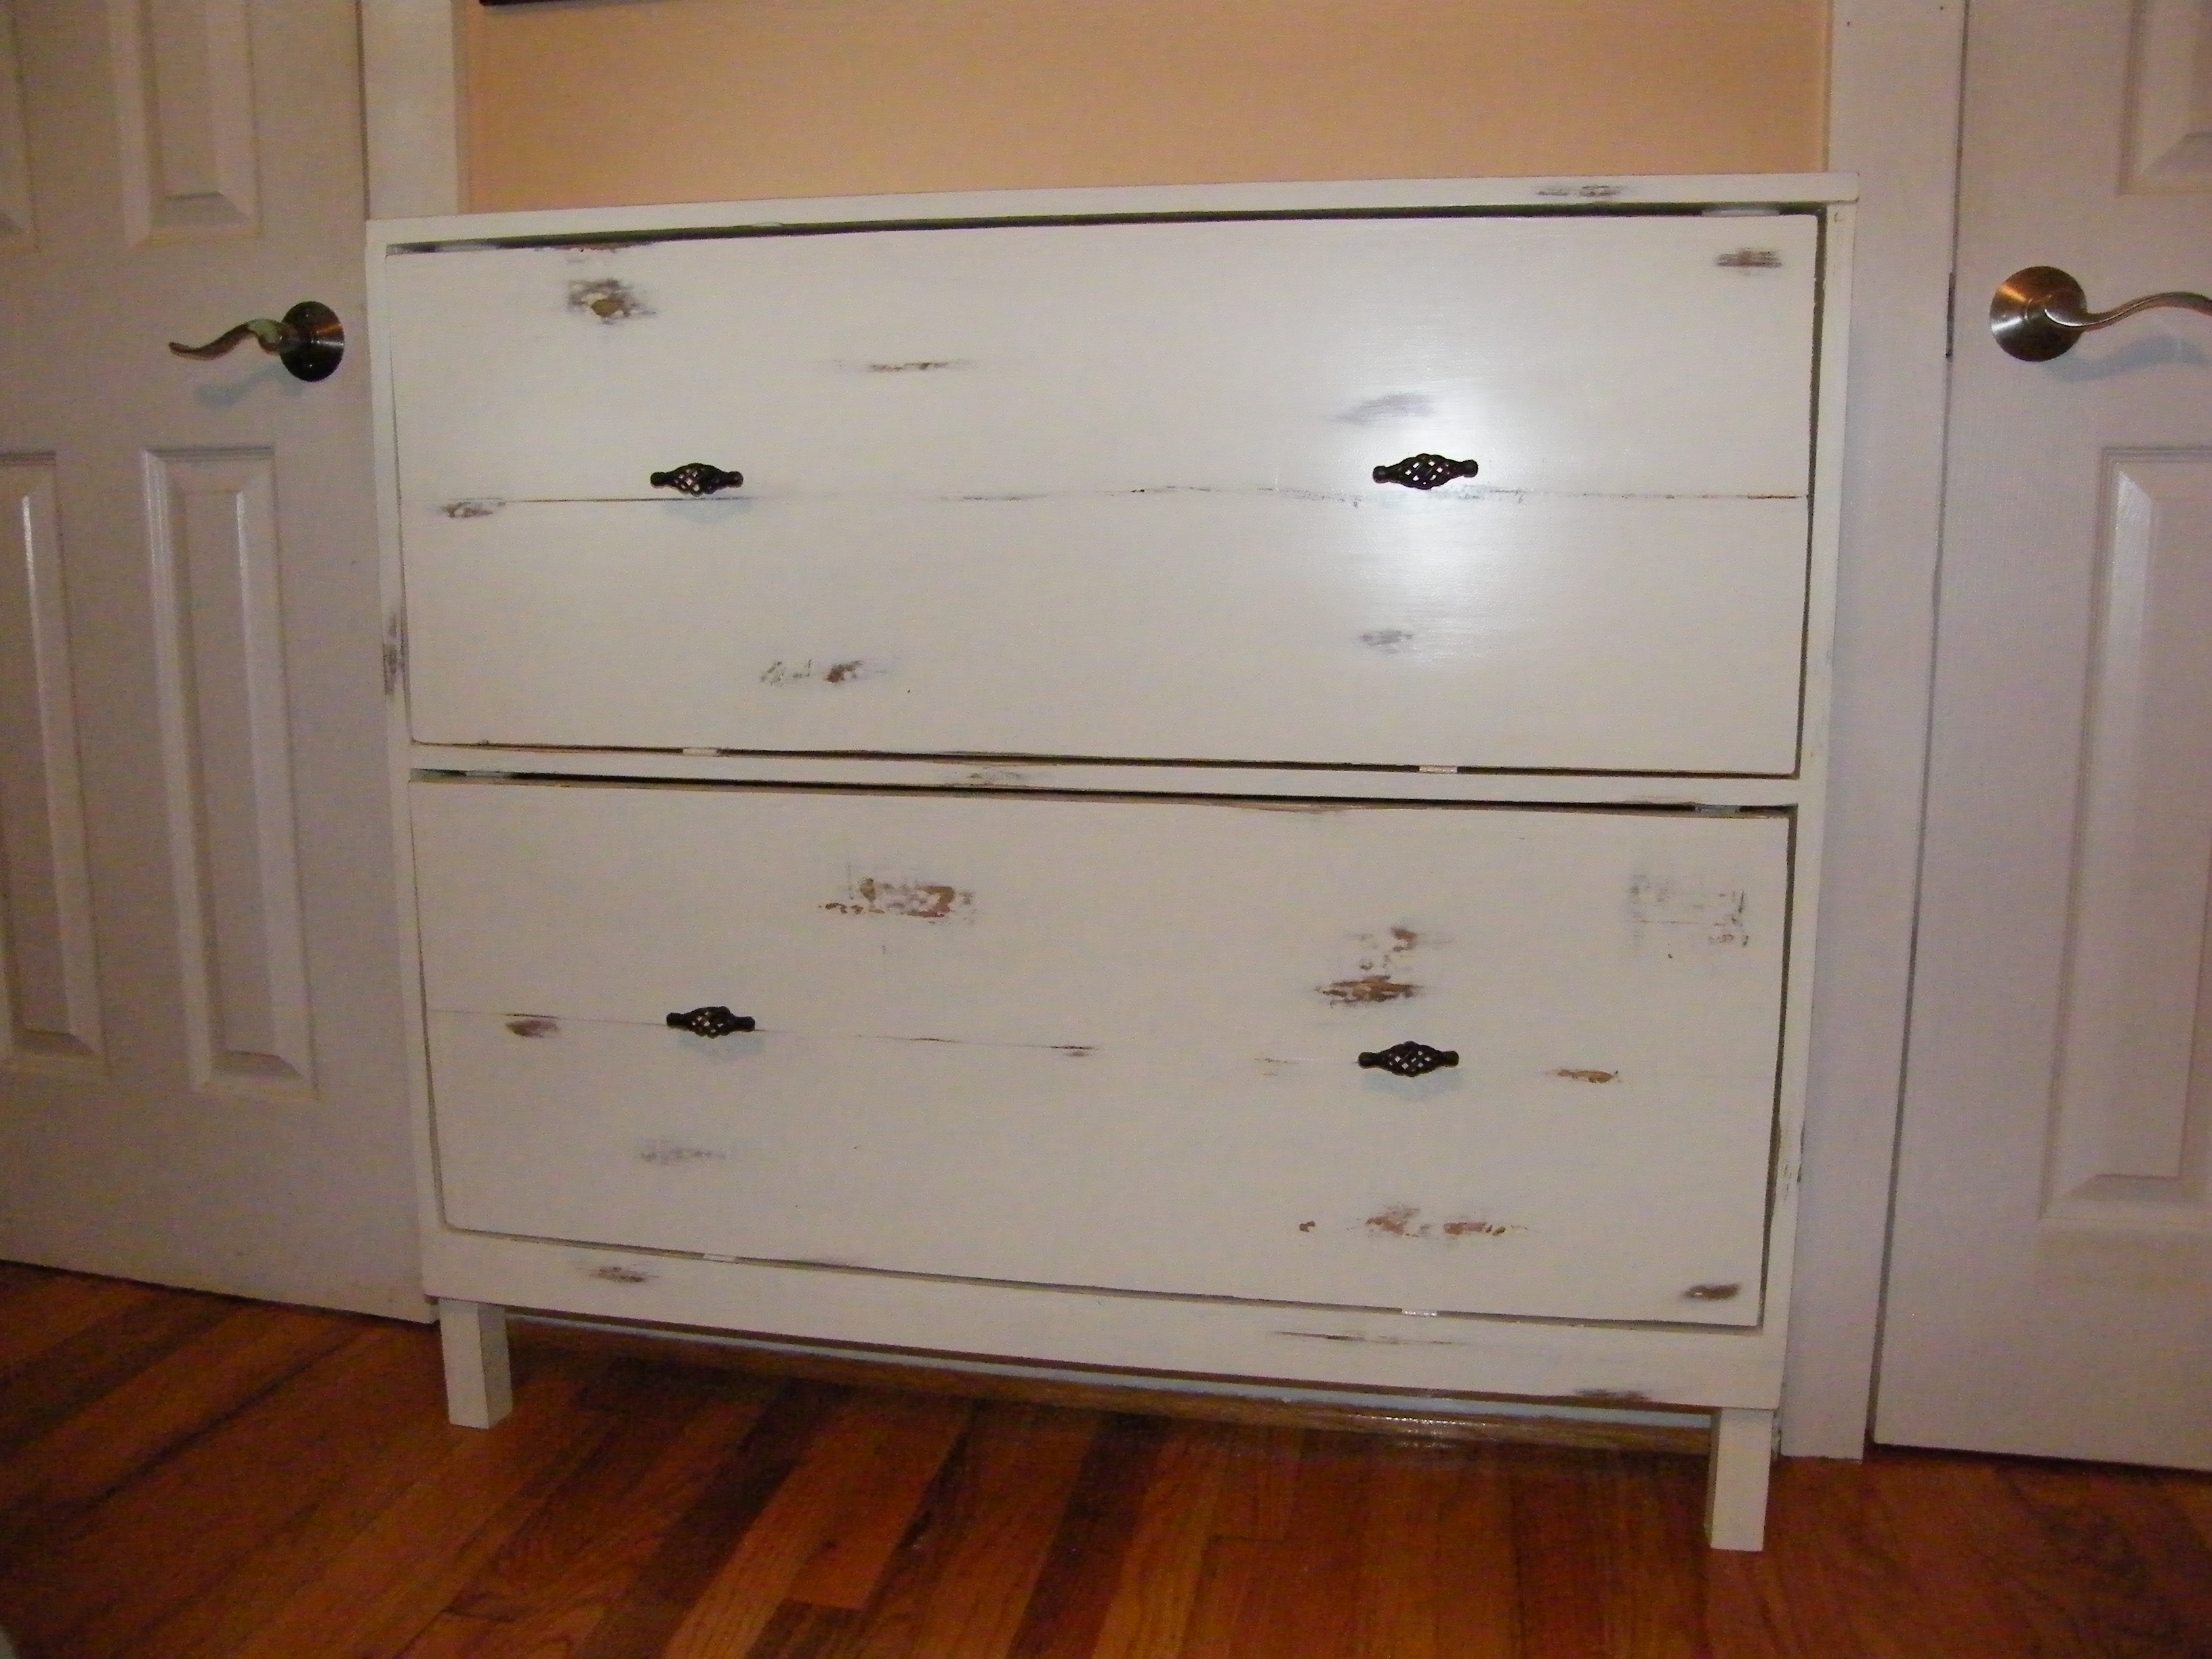
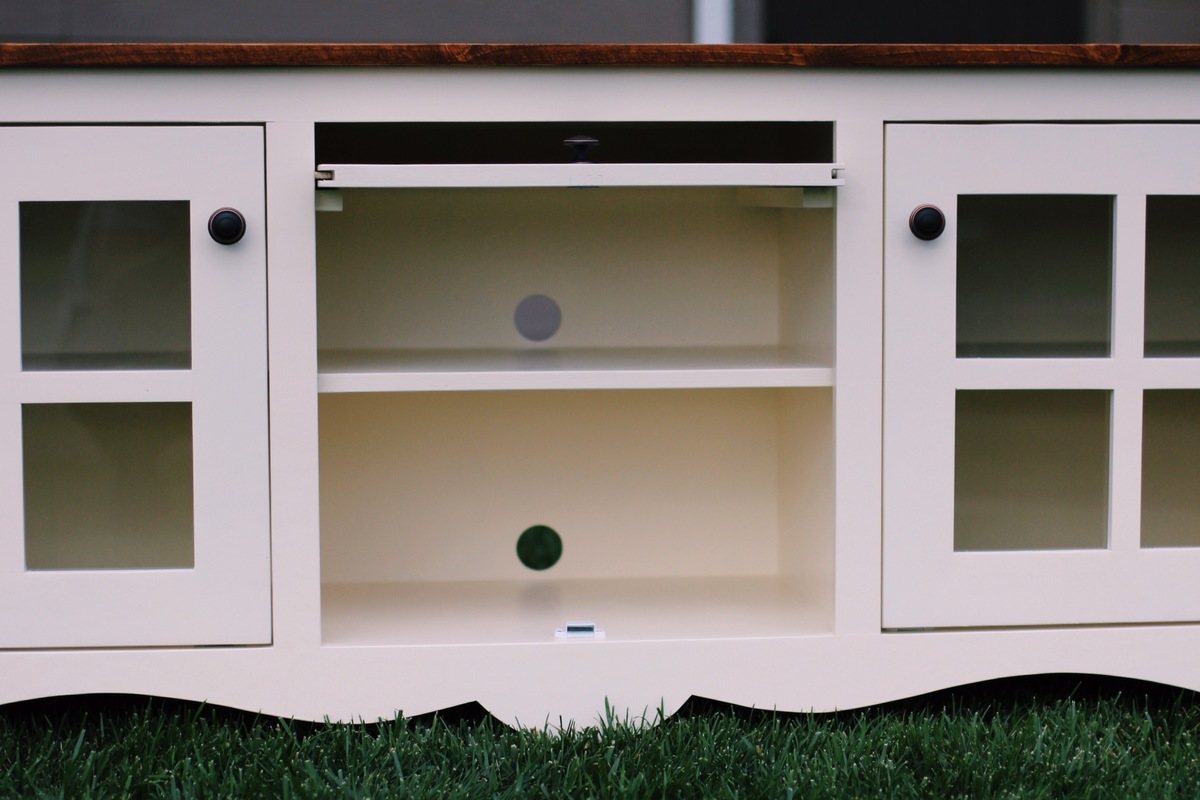
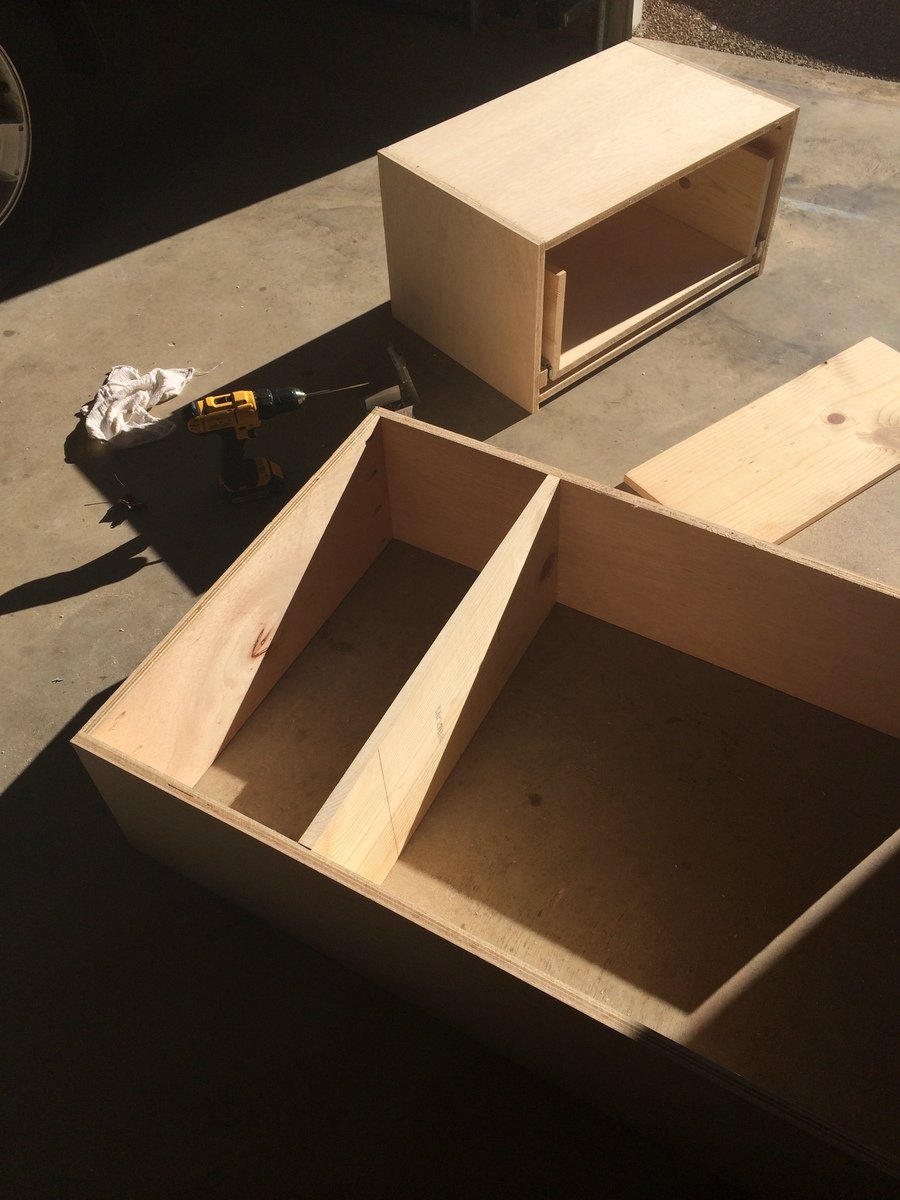
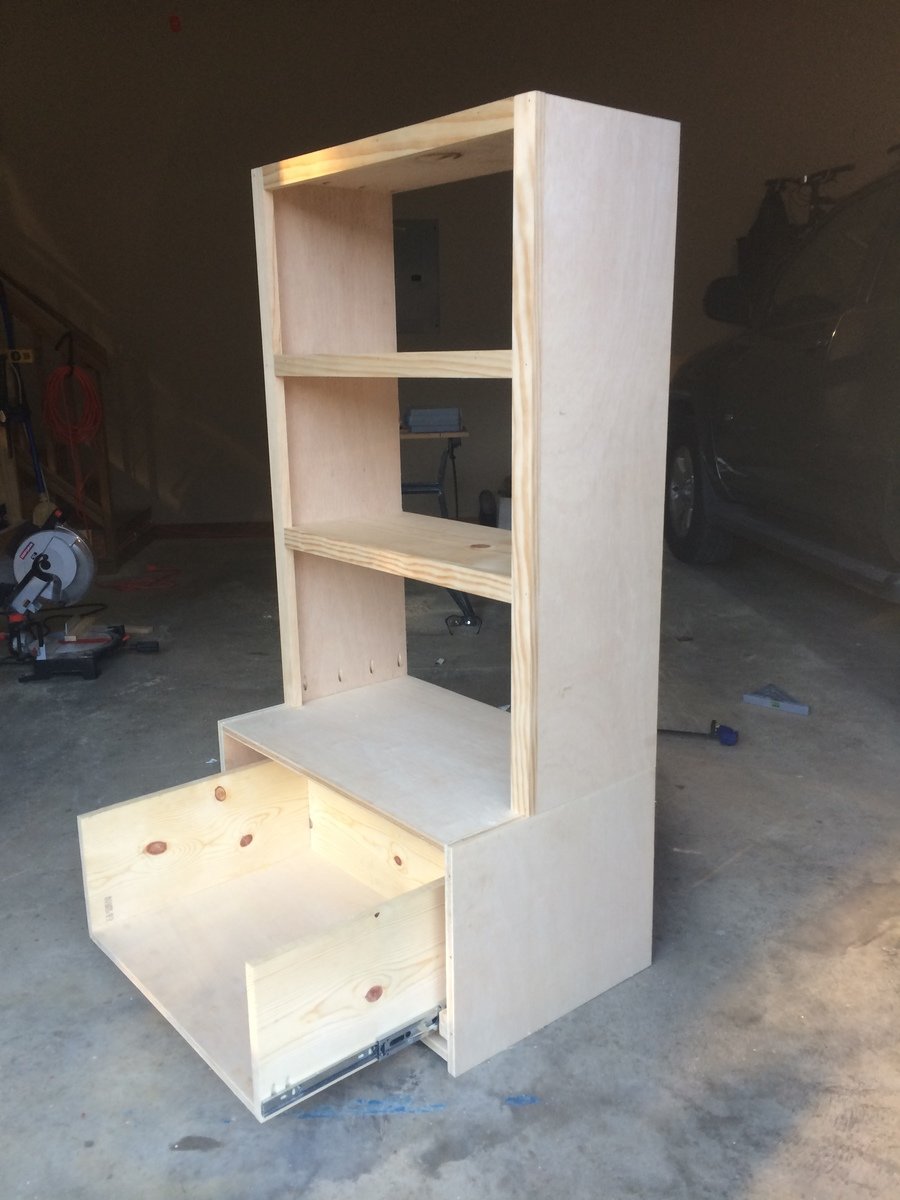
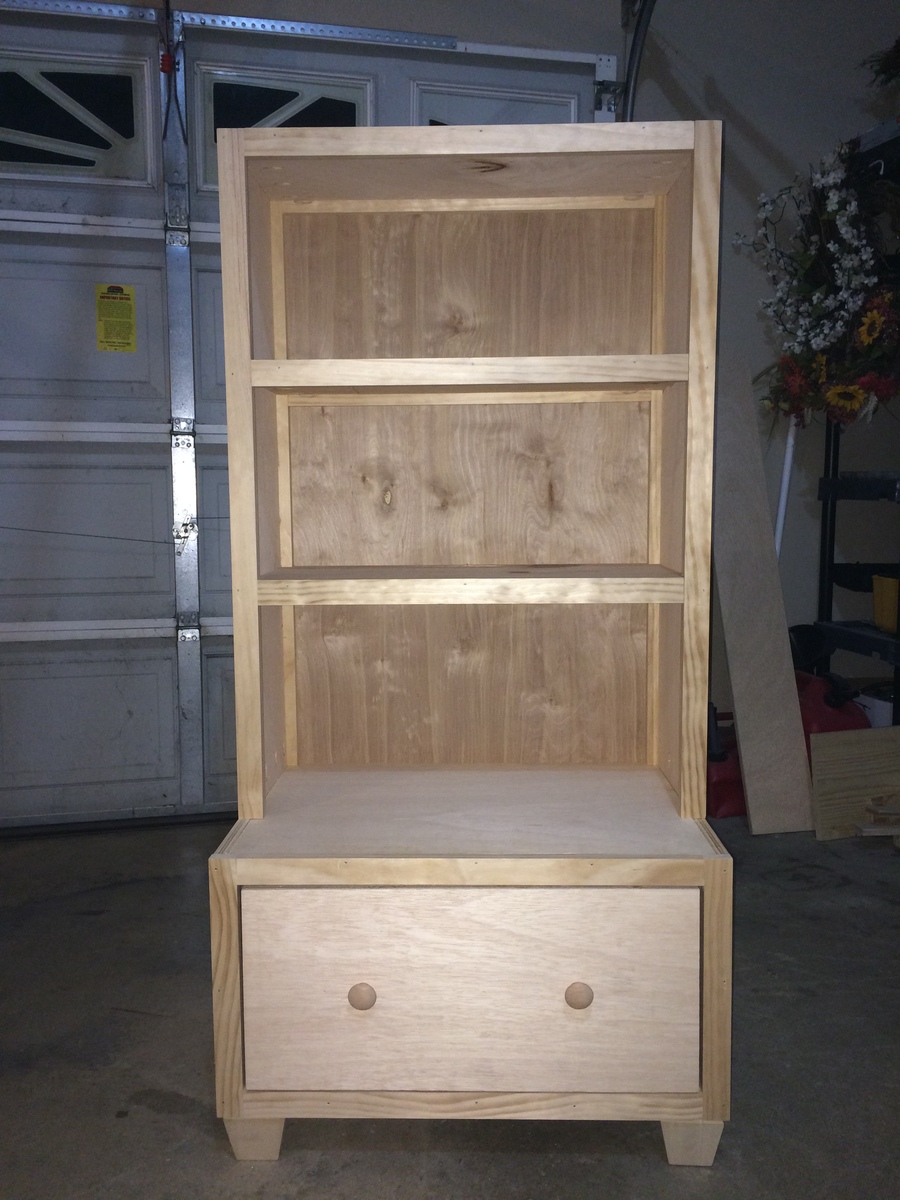
I know that Ana says not to do this as your first project but I couldn't help myself! We needed shoe storage BAD!! This project was not bad but did take my husband and I about 3 weeks to build. It had nothing to do with the difficulty just scheduling conflicts. We needed somewhere to house all of my husbands shoes and something that would not take up much space because the only spot we had to put it in our bedroom was between the bathroom door and my husbands closet door. We used Ana's plan for the shoe dresser but did had to modify it to fit the 44" spot we had to work with. The 1x8's that we used were only 7 1/4 instead of 7 1/2 but my husbands size 12 shoes fit without a problem! I can't wait to start our next project! Thanks Ana!
Built from Plan(s)
Estimated Time Investment
Week Long Project (20 Hours or More)
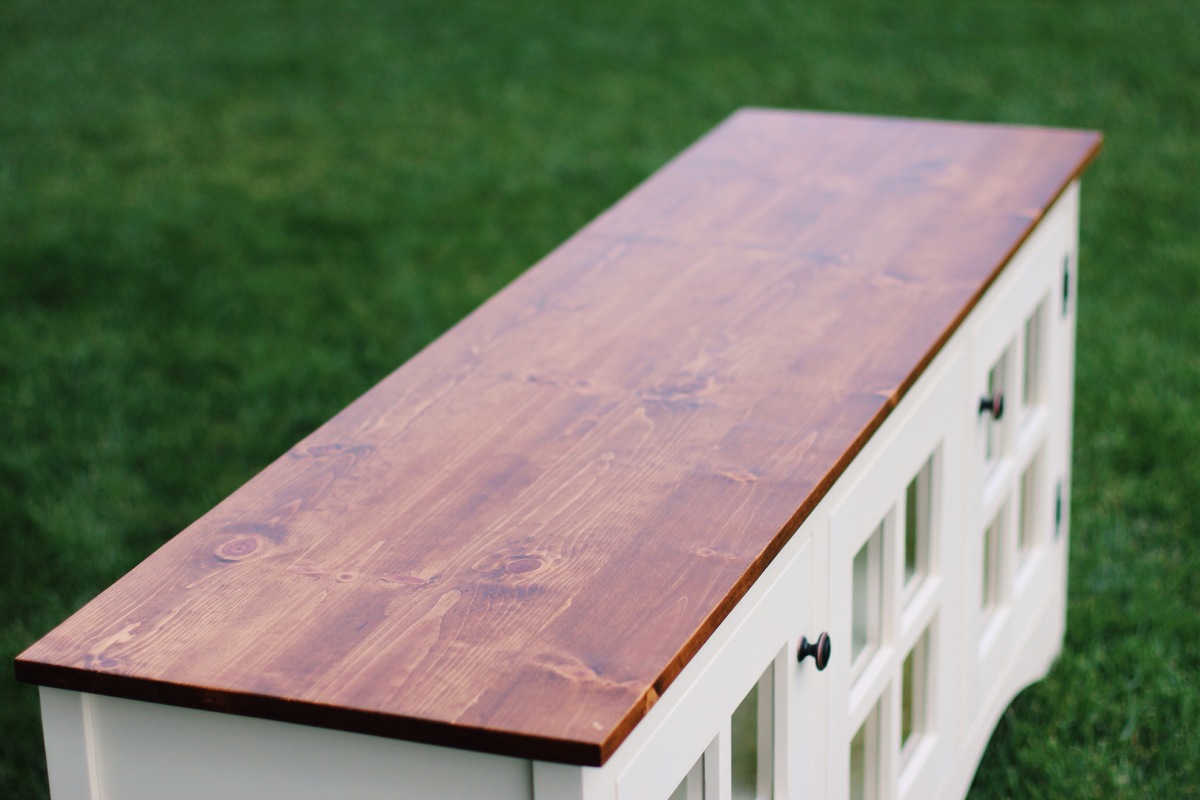
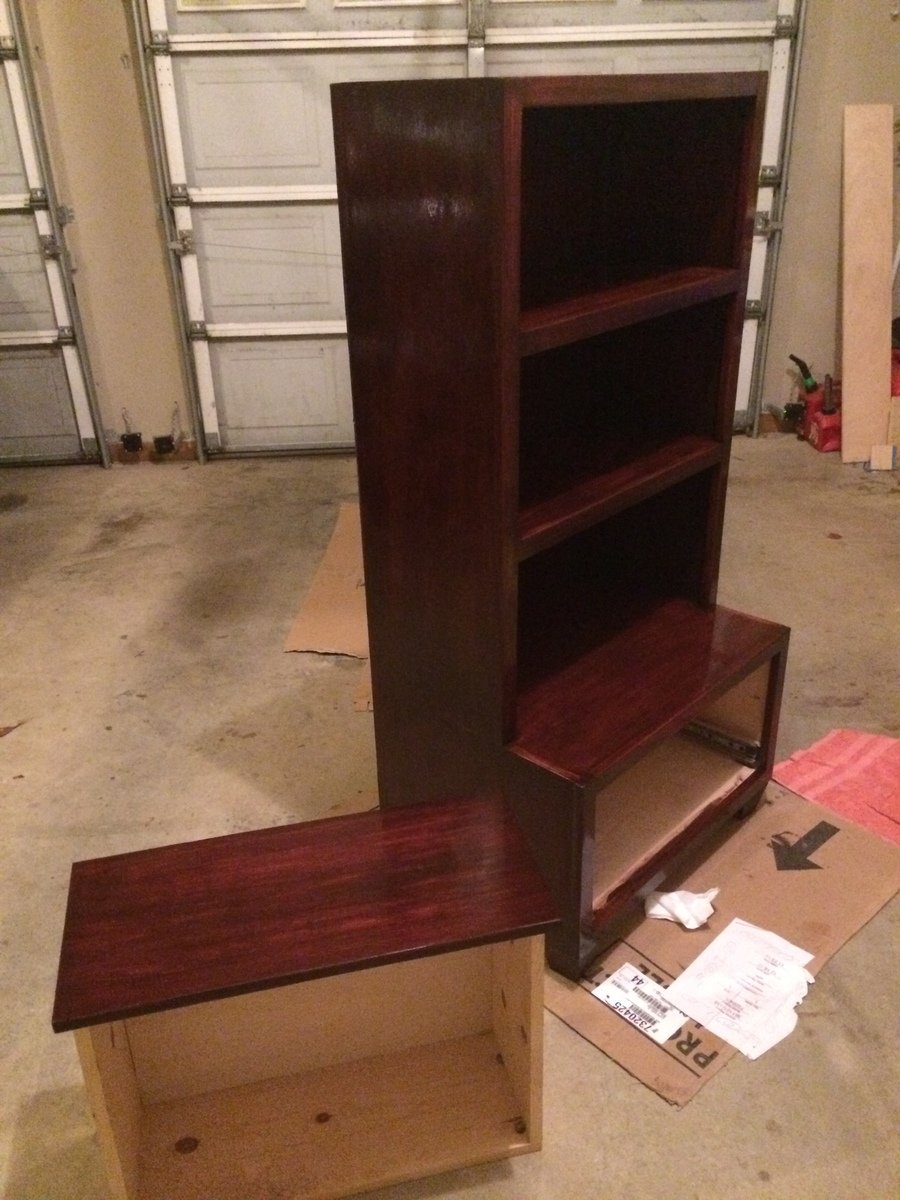
Finish Used
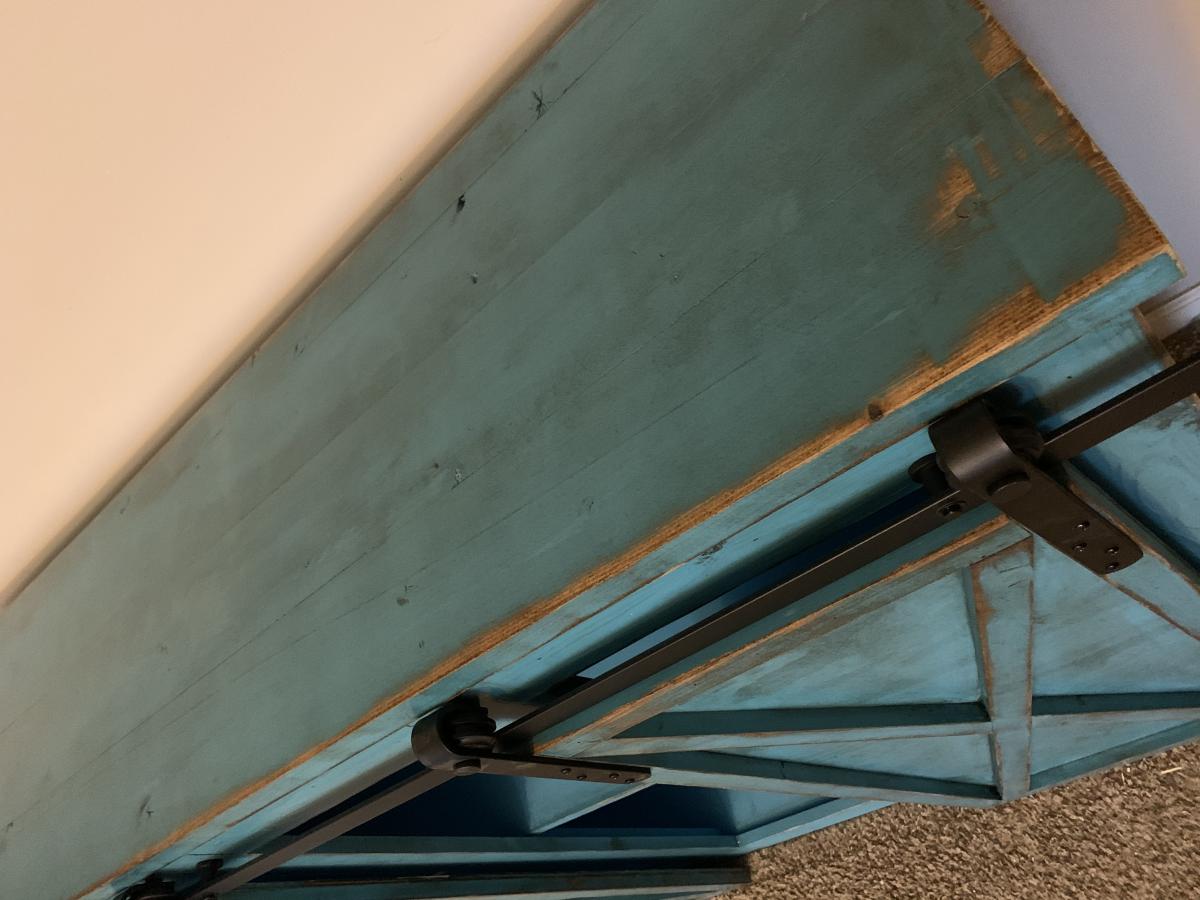
English Chestnut stain with 3 coats of antique white. Distressed by hand using 220 grit sandpaper and then covered with 3 coats of satin polyurethane.
Recommended Skill Level
Intermediate