Community Brag Posts

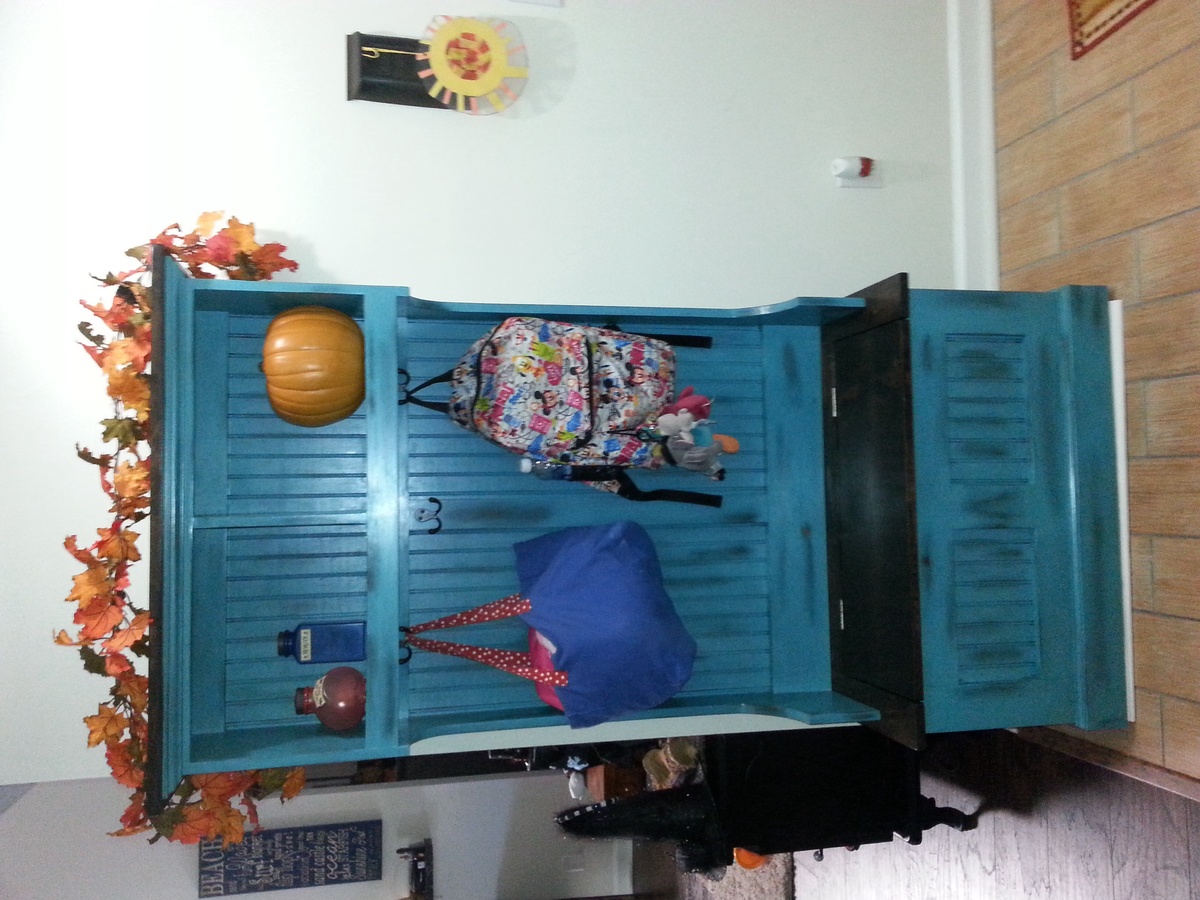
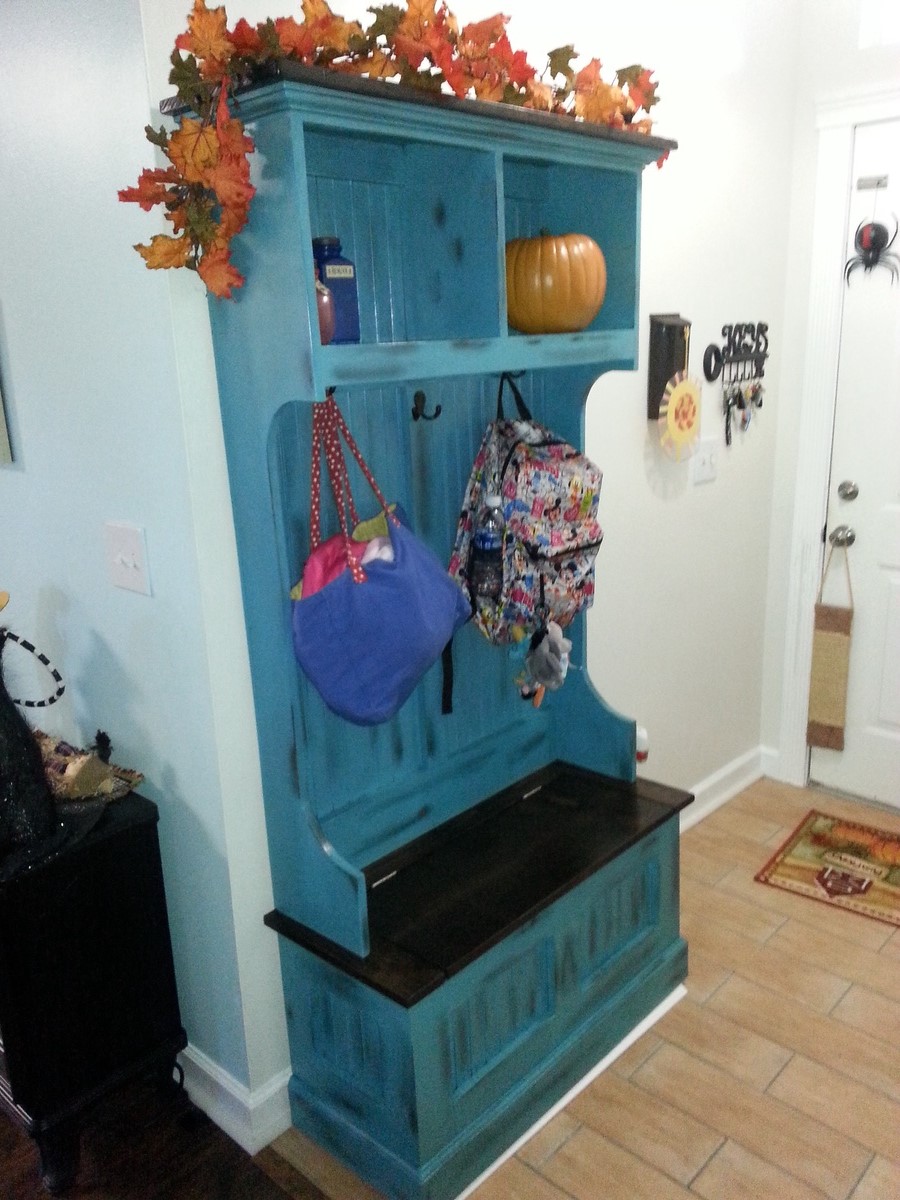
Hall tree

Submitted by Brad Wills on Sat, 10/26/2013 - 14:13

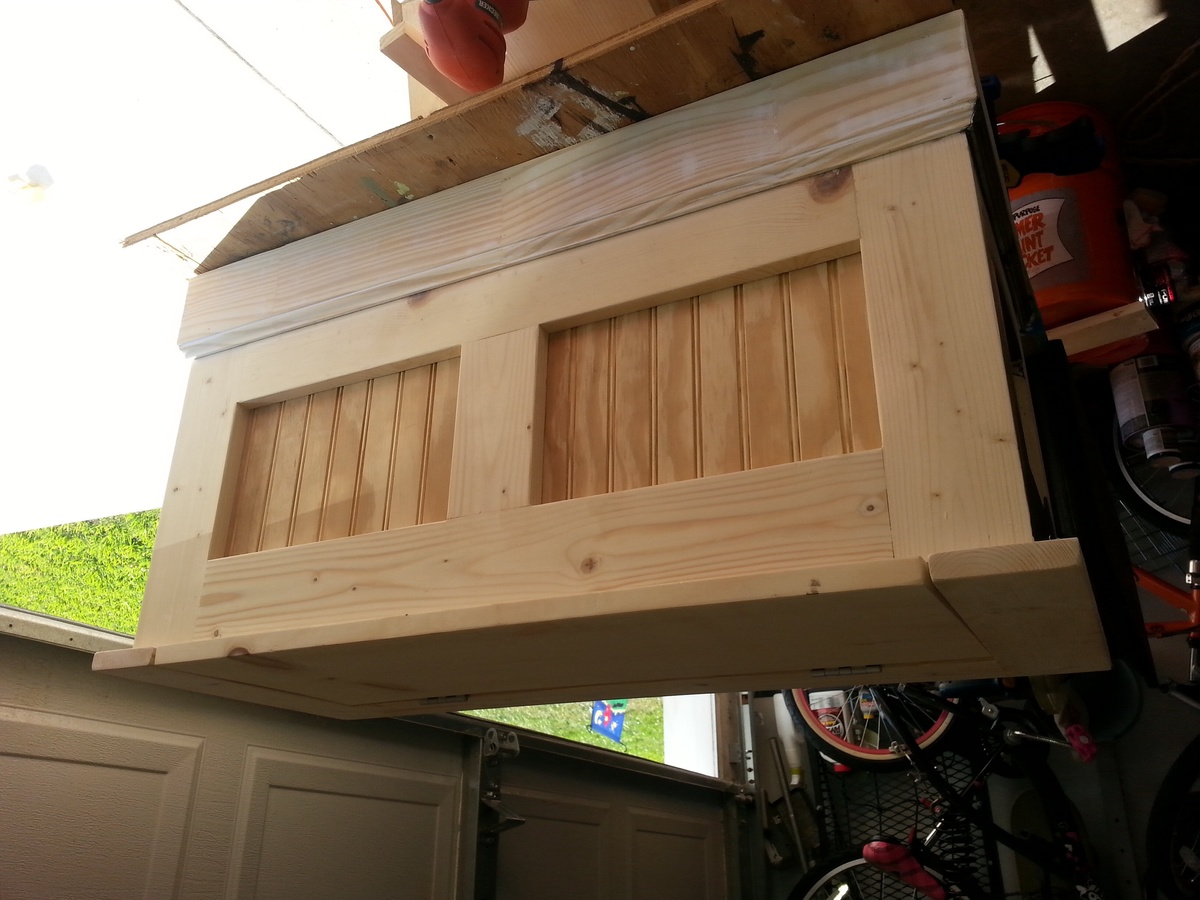
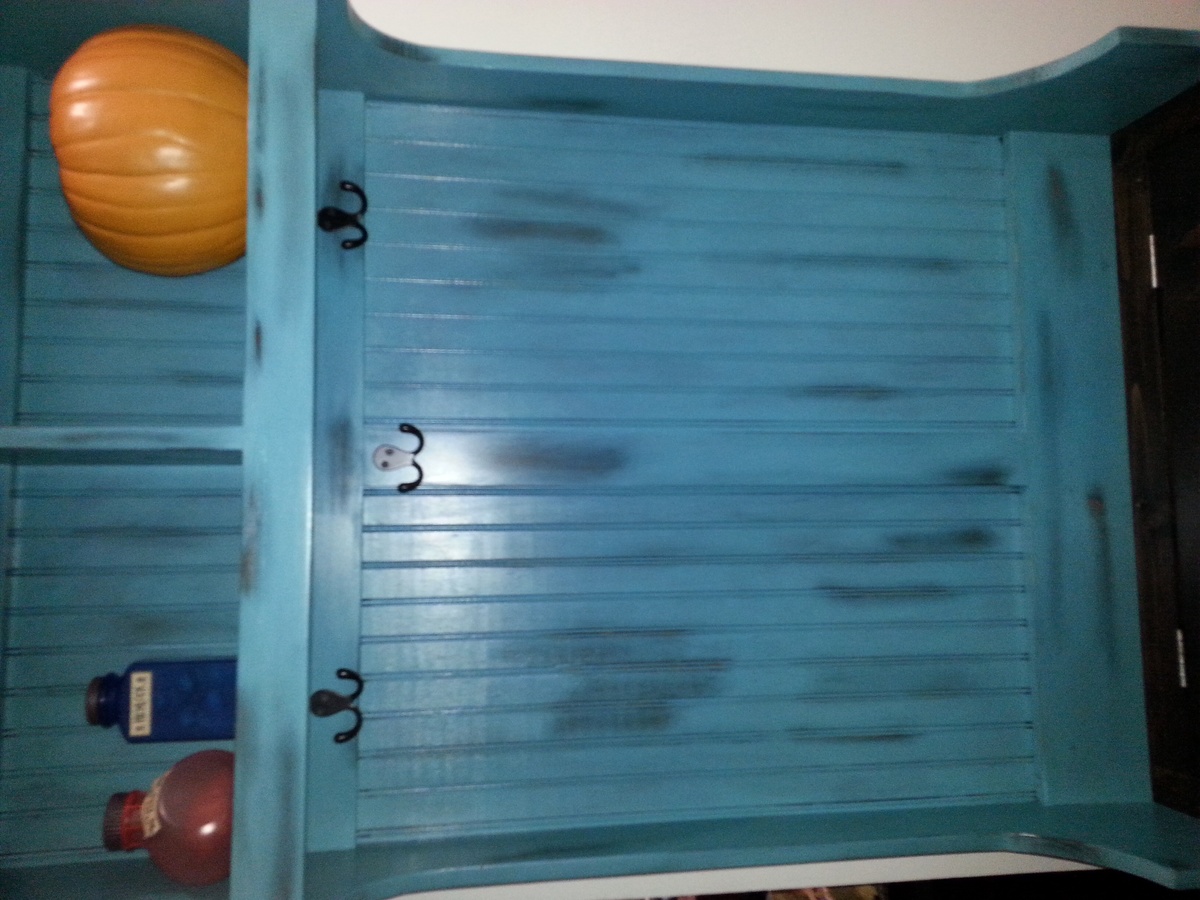
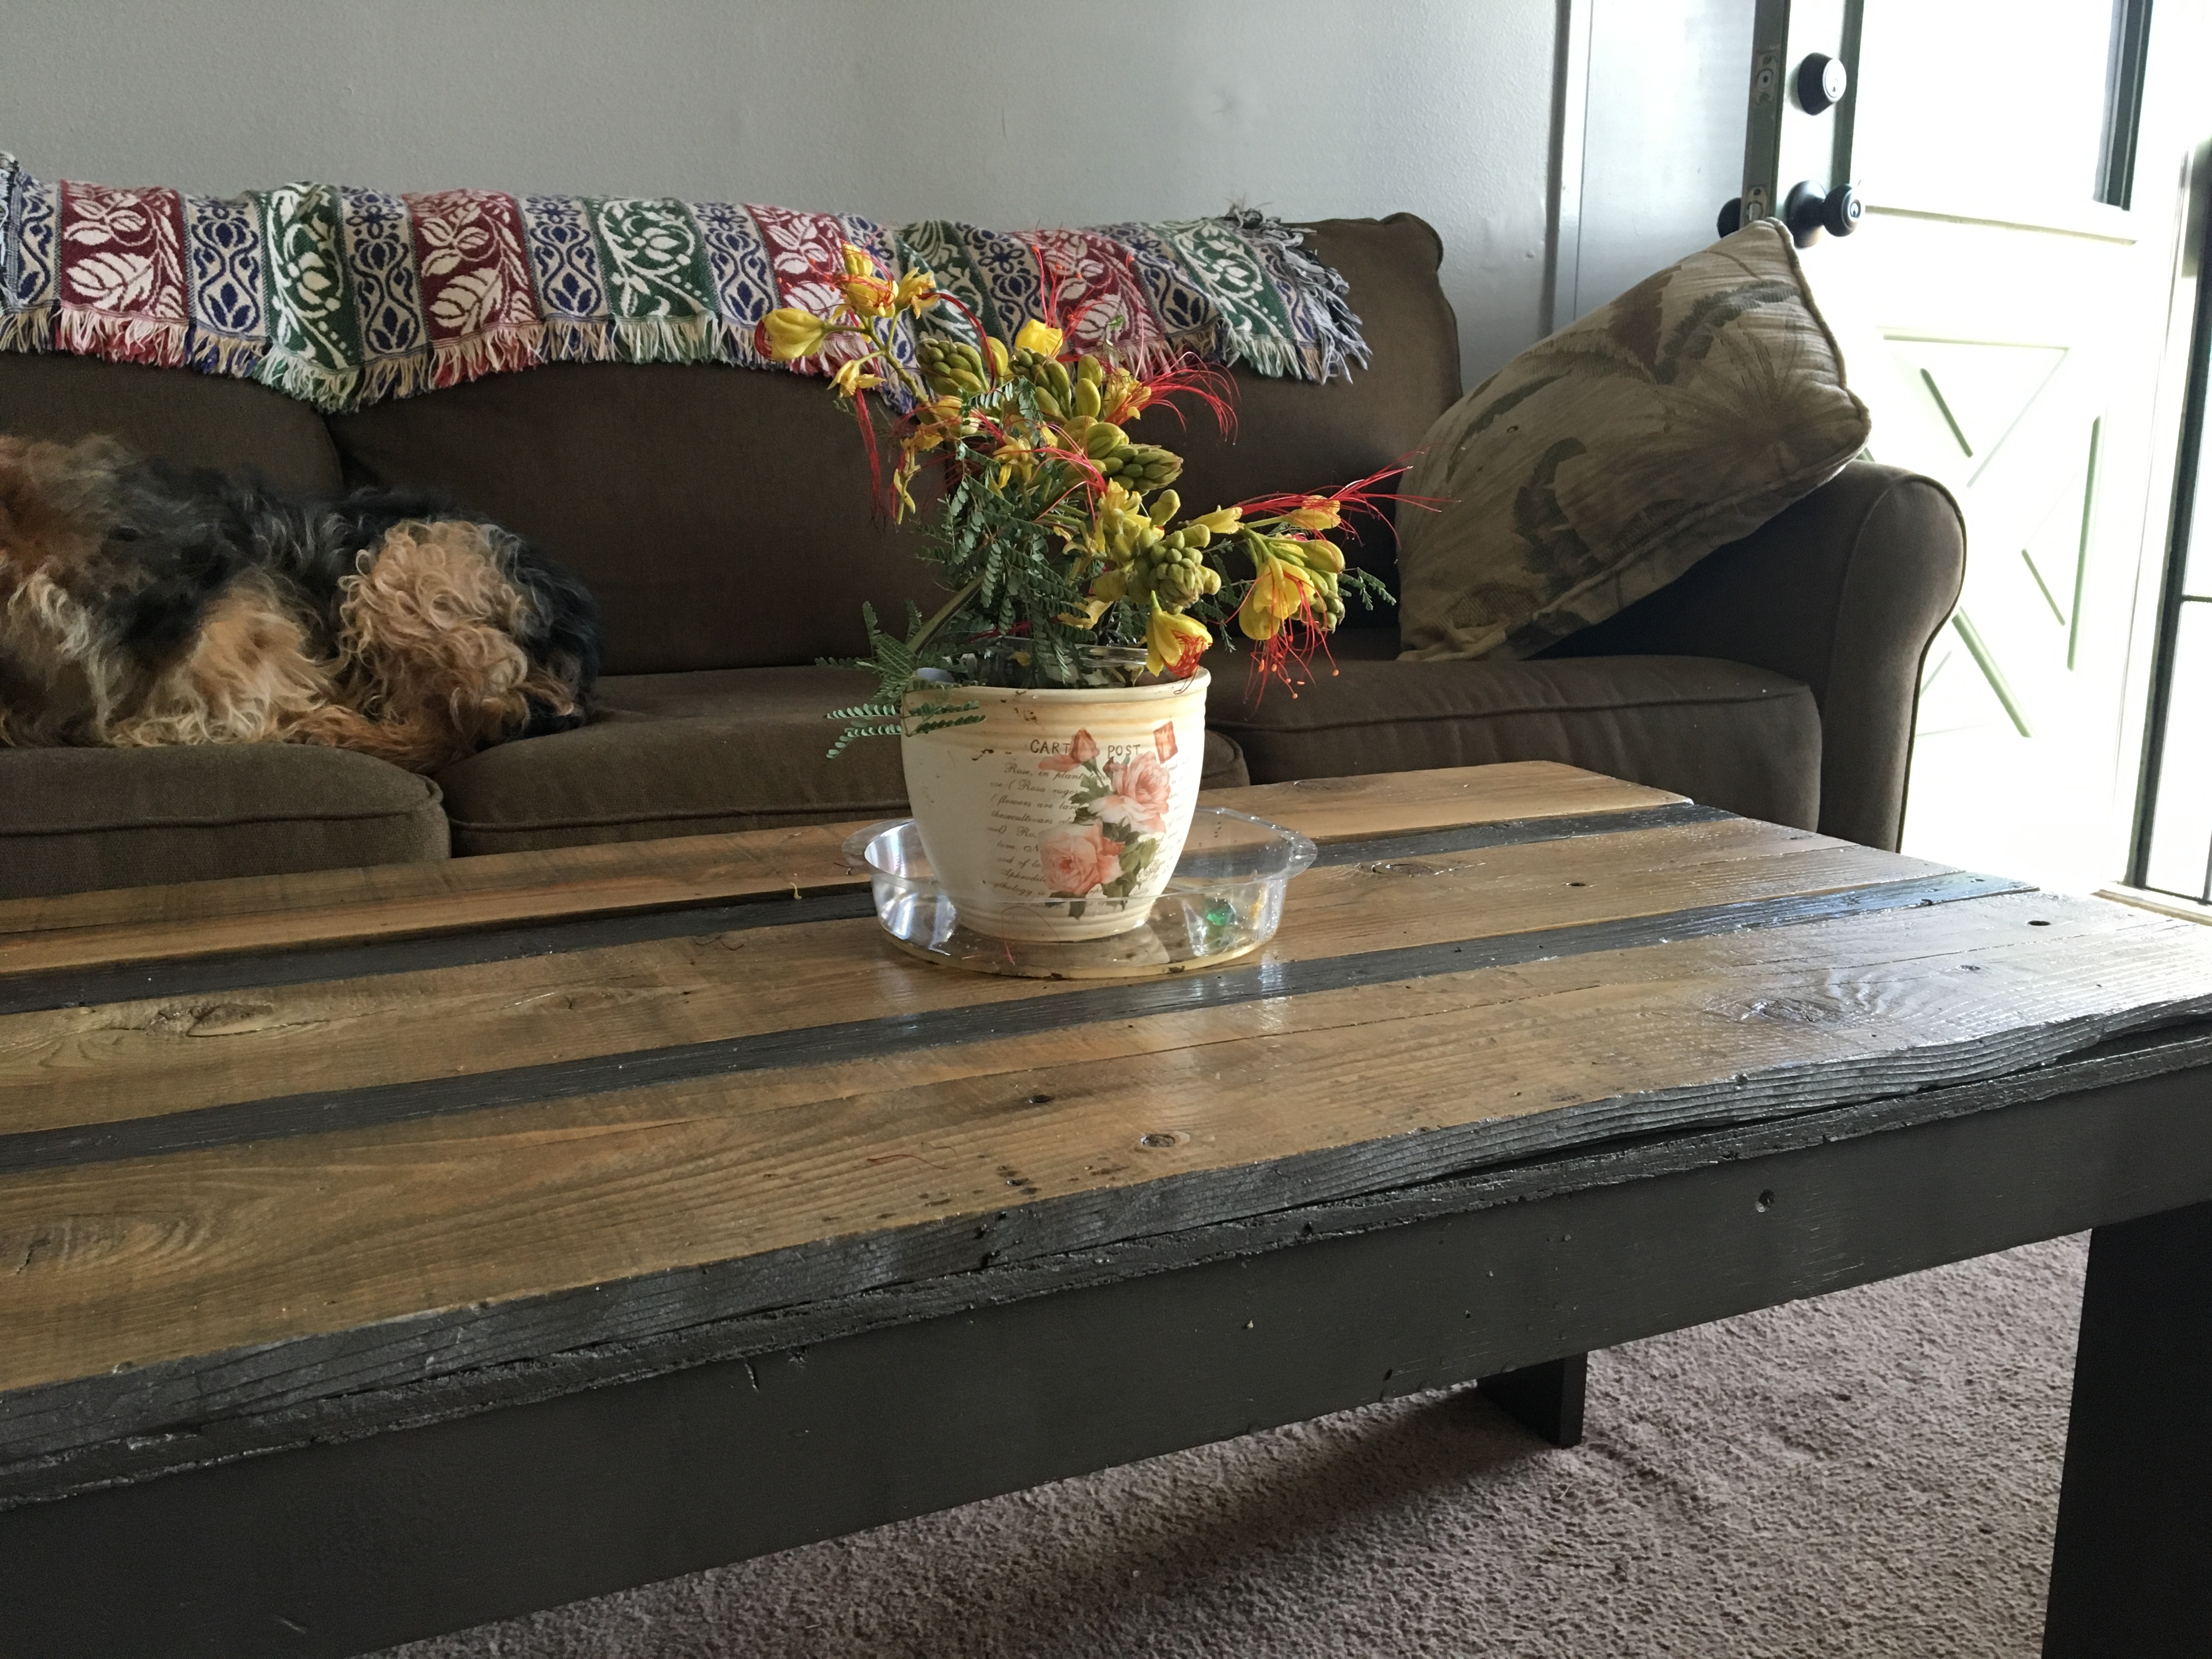
We had a table in the entryway that seemed to catch everything, bags, mail, etc. so when I found the Mimi hall tree I had to build it. This was my second build, so I was a little nervous. I wanted to paint it white , but my wife talked me out of it. I am so glad she did. Fun build, and now we have a place for all the stuff when we get home every evening.

Built from Plan(s)
Estimated Cost
75.00
Estimated Time Investment
Weekend Project (10-20 Hours)
Finish Used
Valspar Kona stain, Martha Stewart Baha bliss (2.49 sent small sample can) valspar polycrylic 3 coats on tops and 2 on the rest.
Recommended Skill Level
Beginner

Comments

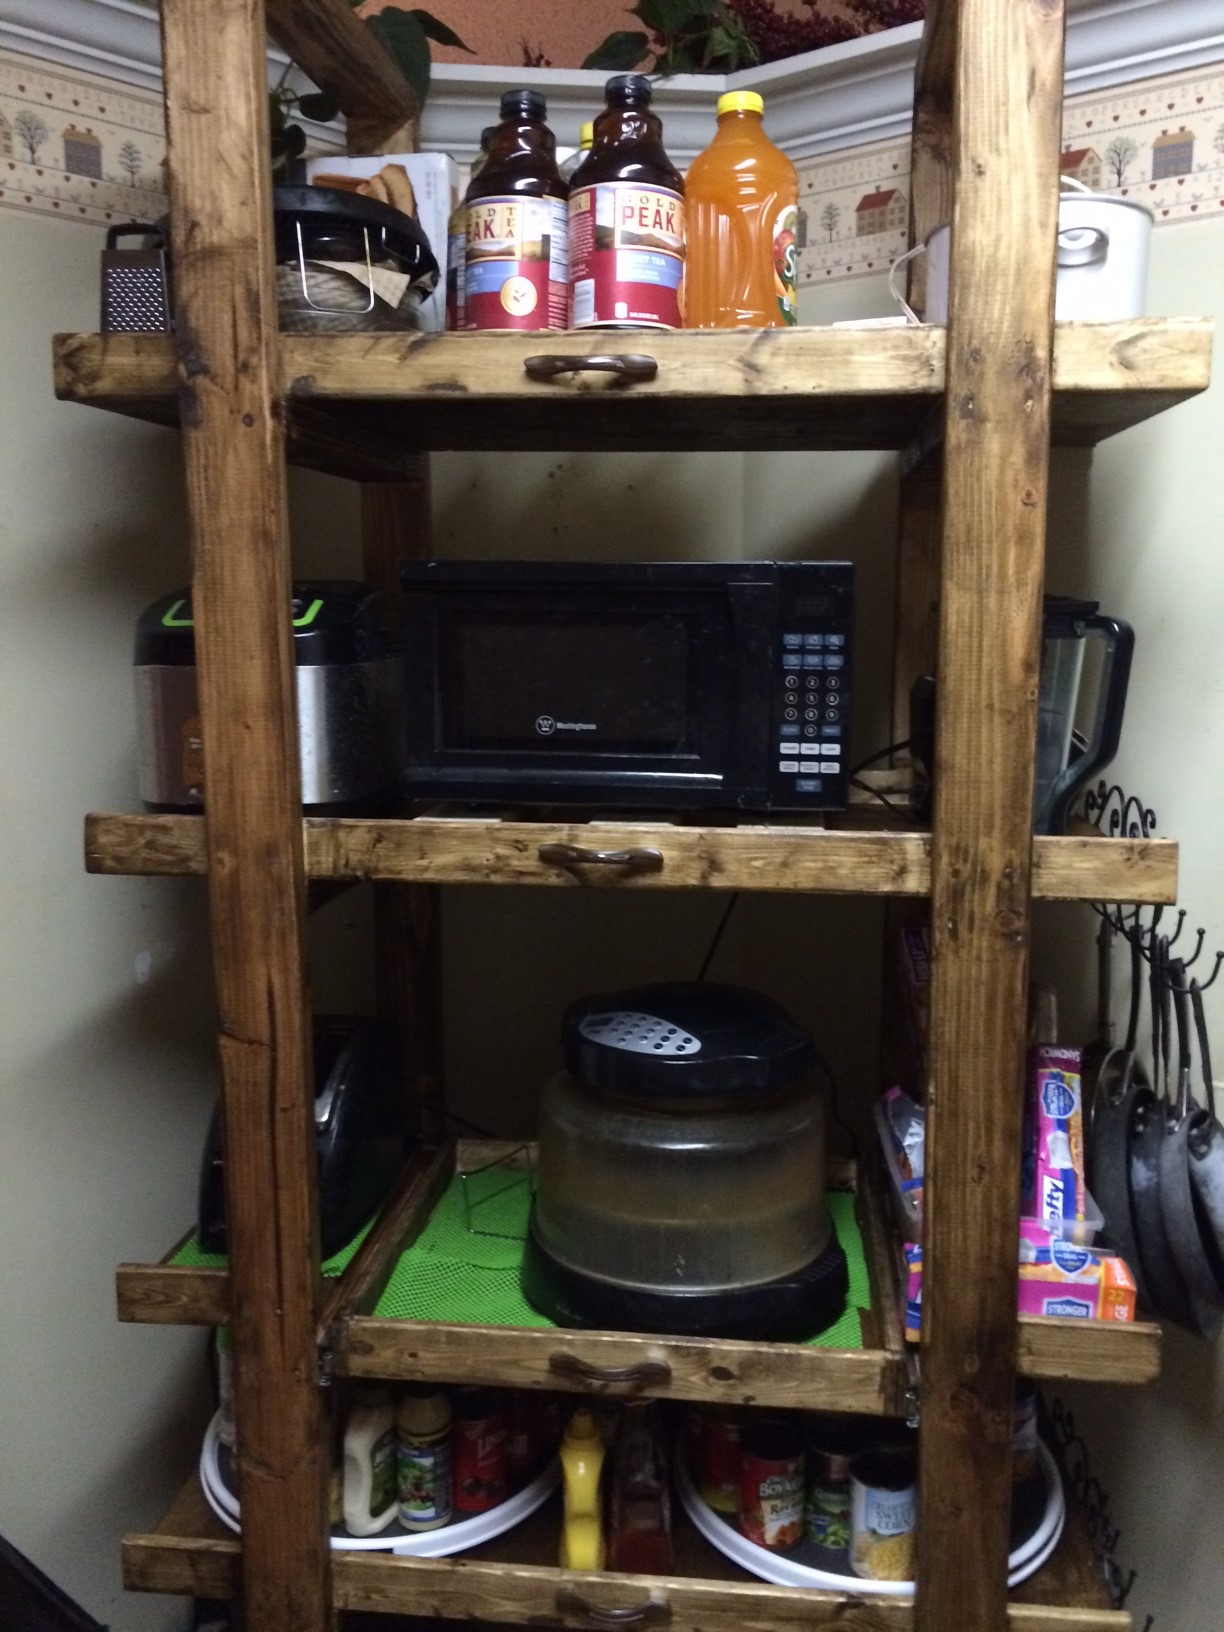
Home Depot DIH Workshop Rolling Storage Cart

Submitted by Anonymous (not verified) on Sun, 01/10/2016 - 05:50

I needed more storage in my small kitchen so I modified this cart to 42 x 20 x 96. One shelf has a sliding drawer. I am very new to all of this so I mistakenly overlooked accounting for the side ends of the shelves in my calculations. I left them off, but may go back and insert 1 x 2 to complete them. Not sure yet.

Estimated Cost
$80
Estimated Time Investment
Day Project (6-9 Hours)
Recommended Skill Level
Beginner

Newbie at work

My first piece of furniture 

Estimated Cost
Scrap wood and 1 8ft 1x4
Estimated Time Investment
Day Project (6-9 Hours)
Finish Used
Hammered dark bronze paint and polyurethane
Recommended Skill Level
Beginner

Doll Bed and Wardrobe

Submitted by Robinwood on Mon, 11/21/2011 - 21:49

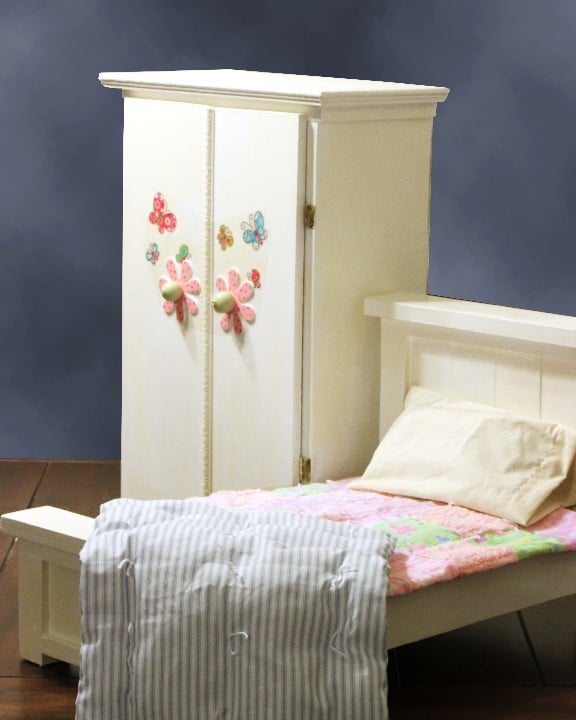
I love the Farmhouse Doll Bed, but because we bought a lot of doll clothes, I built a wardrobe to go with it.

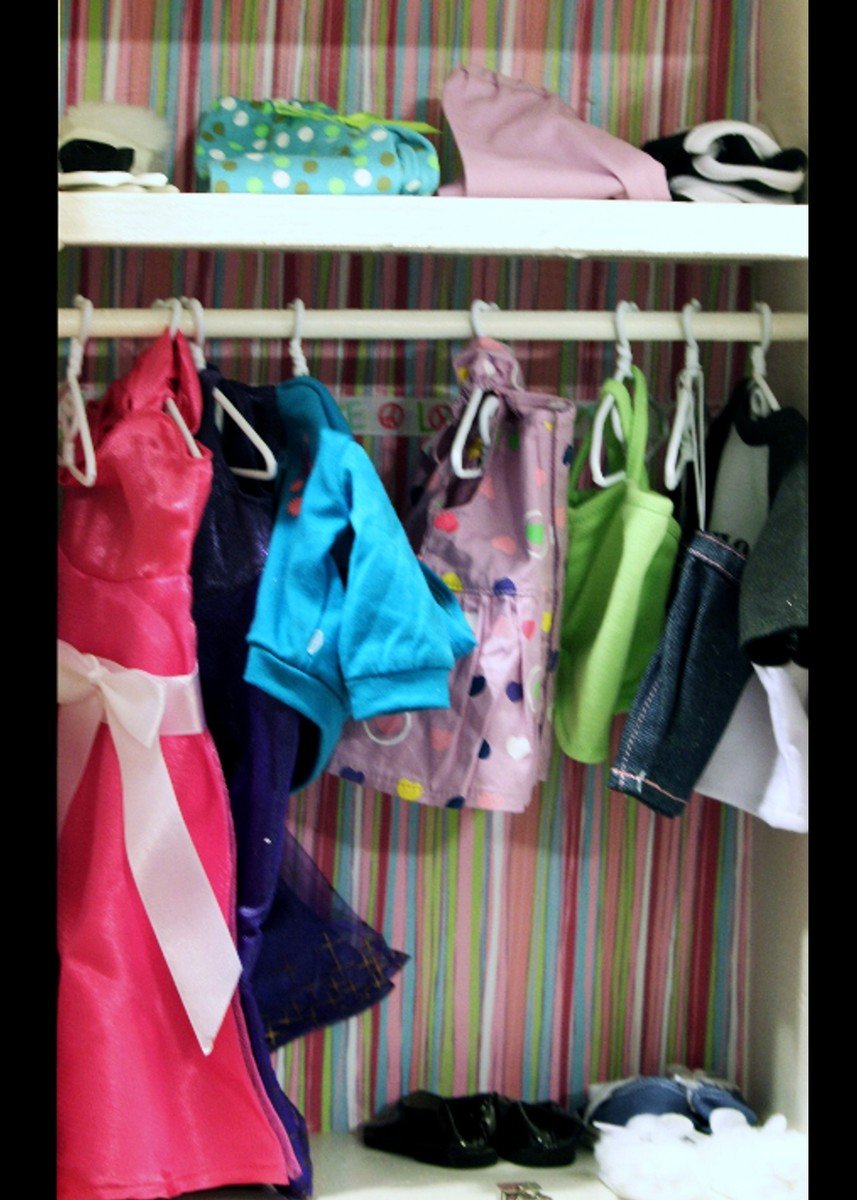
The wardrobe is 21 1/2" tall X 14" wide X 7" deep. The inside shelf is 4" from the top. I'm having trouble uploading a photo of the inside, but will keep trying...

I made a mattress to look like the older striped "ticking" style. I still need to do a little more with the bedding because I'm not happy with the (muslin) pillowcase and want to do something brighter.

Cost was minimal because I'm still using up scraps from other wood projects and I used material for the mattress and bedding that I already had. That is what I love about some of the plans - they help me to use my leftover materials and still have something nice to give as gifts.

Thank you so much Anna for this plan - I also followed your suggestion and made a second one to donate. I love your site...

Estimated Time Investment
Day Project (6-9 Hours)
Recommended Skill Level
Beginner

Comments

Cherie Heltne (not verified)

Tue, 11/22/2011 - 07:25

Beautiful! I am trying to do a wardrobe right now, too! I am making my second of this bed today. Great job!

Guest (not verified)

Sat, 12/03/2011 - 11:29

Where and how do I find the plans for the doll wardrobe?? I made the Farmhouse bed and love it. Thank you

Guest (not verified)

Sun, 02/26/2012 - 15:22

I'll trade you picture and info for a great doll closet for you plans for the Farmhouse bed. Our granddaughter loves the closet, so now I need to build the bed.
Thanks,

Robinwood

Sat, 12/03/2011 - 14:12

Thanks for your interest - I'm sorry, I tend to work by the seat of my pants and develop an idea as I go; so I don't really have plans. The best I can do is give somewhat of a cut list; which is:

Sides: 2@7"X19.5"
Bottom: 1@7"X13.5"
1st Top Board:1@7"X14" (hangs over 1/4in on sides)
2nd Top Board:[email protected]"X15"(hangs over 1/2in on sides and in front- it's even at back)
Doors: [email protected]"
Inside Shelf 1@7"X12" (Top of shelf is 4" below top of inside cabinet.

I just measured enough below to allow for doll hangers and drilled for dowel, but it came out just right for the longer dresses.

The front trim overlaps the left door, so that I only had to put one door catch at the bottom.

I hope this helps - I really need to learn the Sketchup program.

I used 3/4" plywood because that is what I had, but used 1/2" playwood for doors to make them lighter.

Stephanie (not verified)

Fri, 12/09/2011 - 14:41

What size dowel rod did you use? I have a niece who I've made a bunch of clothes for, and I'd love to make her a wardrobe to house new clothes!

Robinwood

Fri, 12/09/2011 - 21:14

I believe it was 3/8 or 1/2 inch - I took one of the hangers with me and just put it on dowels until I got the right size.

sgilly02 (not verified)

Wed, 03/14/2012 - 20:25

Just a suggestion for a quick way to "brighten up" the pillow case. Just find some ribbon to coordinate with the bedding and sew (or use iron on adhesive - really easy then!) around the hem line of the opening.

The wardrobe is darling. I love the flower knobs!

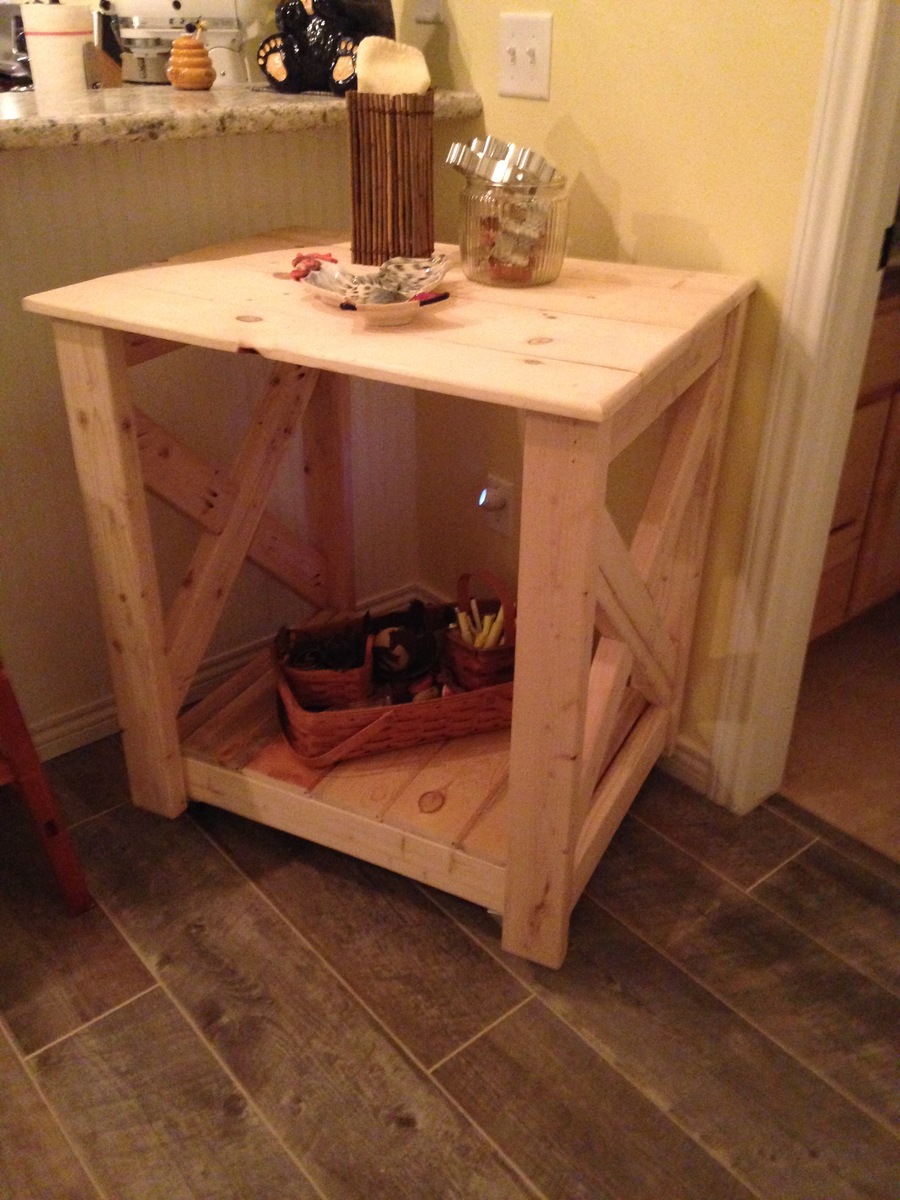
Rustic X end table

I love this site. We needed new furniture in are house and didn't want to spend a bunch of money. Finding the Rustic x plans was a life saver.

Built from Plan(s)
Estimated Cost
$80
Estimated Time Investment
Weekend Project (10-20 Hours)
Finish Used
White paint and kona stain.
Recommended Skill Level
Beginner

My First Fully Finished Project ! YAY Thanks Ana

Submitted by fariha ali on Wed, 01/13/2016 - 21:03

I am very excited to post this project .


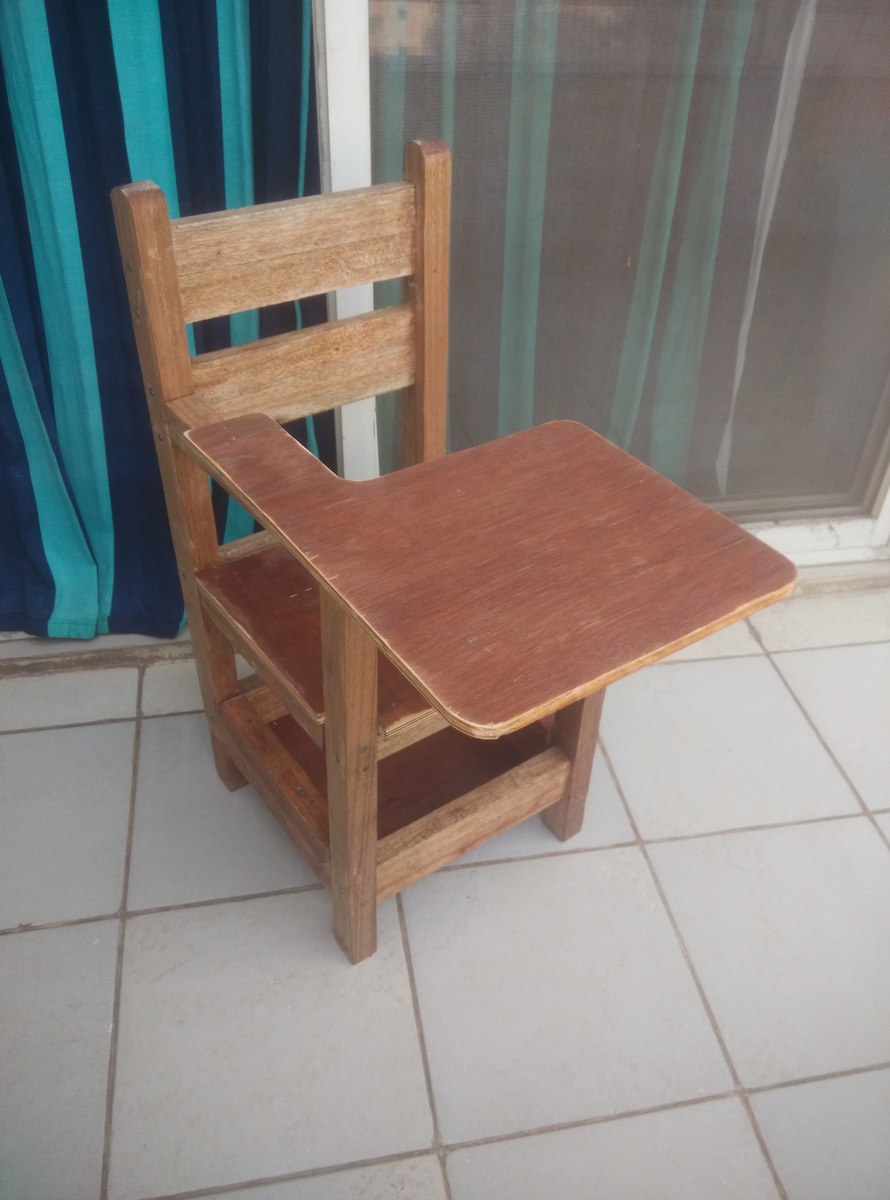
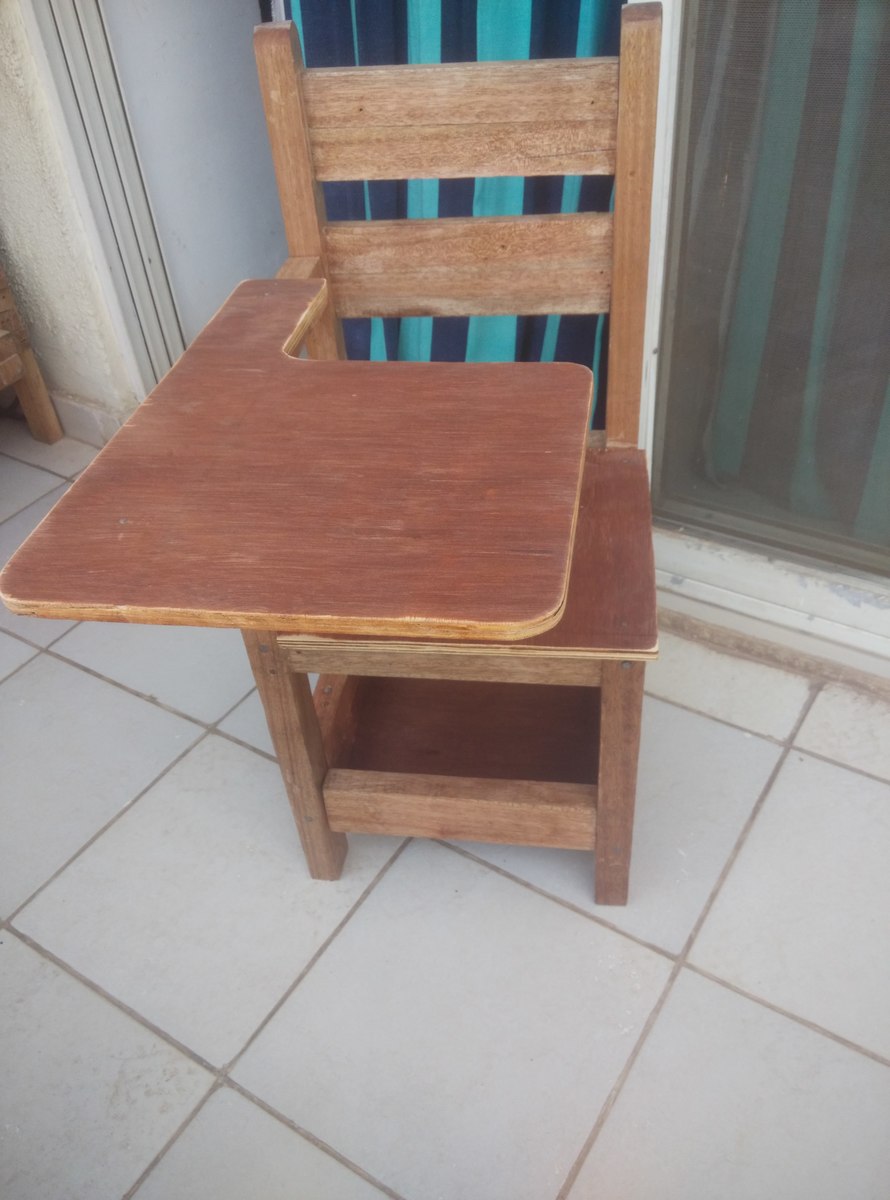
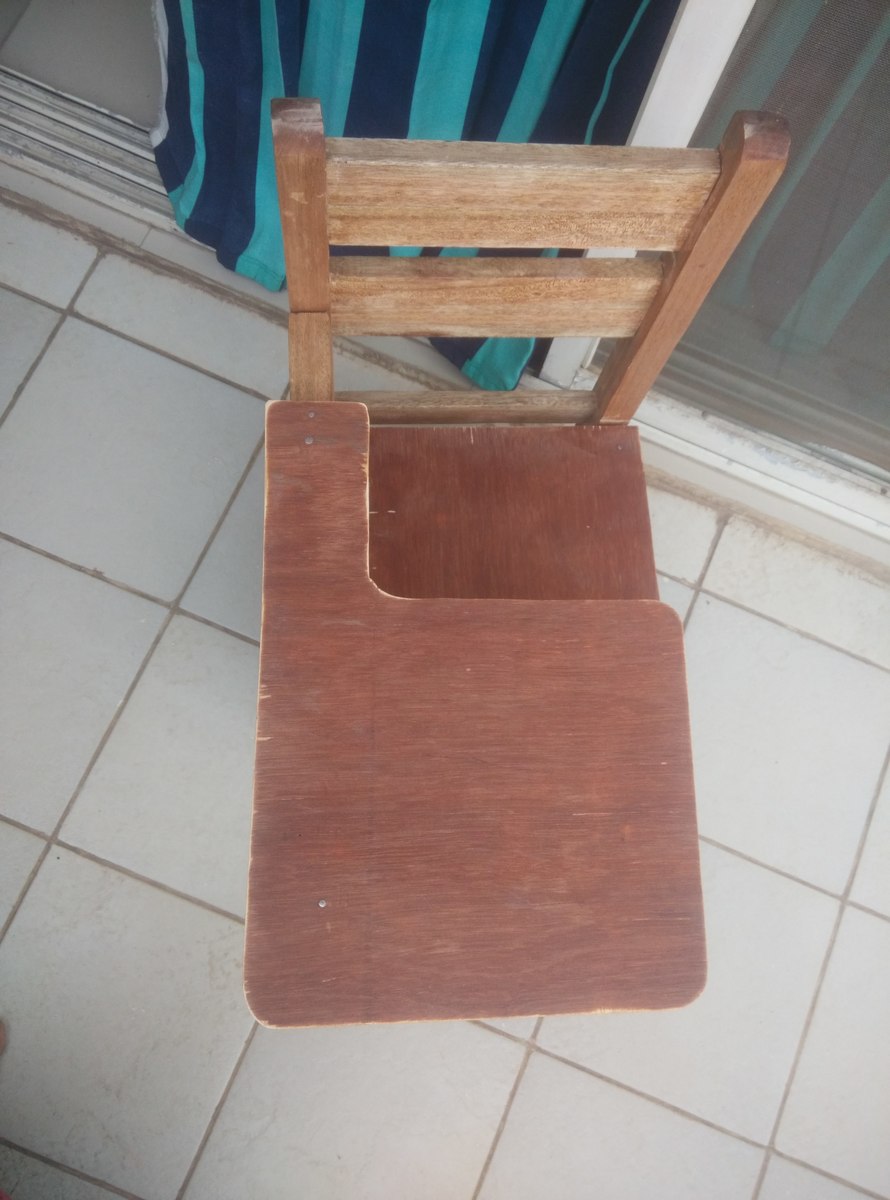
I used the Schoolhouse Chair with Writing Pad Desk Plan exactly and did not stain the wood. Just gave it a coat of PU and there it is .

Its not a perfect project (since I used a Jigsaw ... Yes I did as no other tools were available :() but carefully cut them straight using guide.


As a  first-timer I am happy with the result... sort of... But Thanks for inspiring Ana & Jaime !!!

Estimated Time Investment
Weekend Project (10-20 Hours)
Finish Used
One PU coat and sanding ..
Recommended Skill Level
Starter Project

Chicken Coop

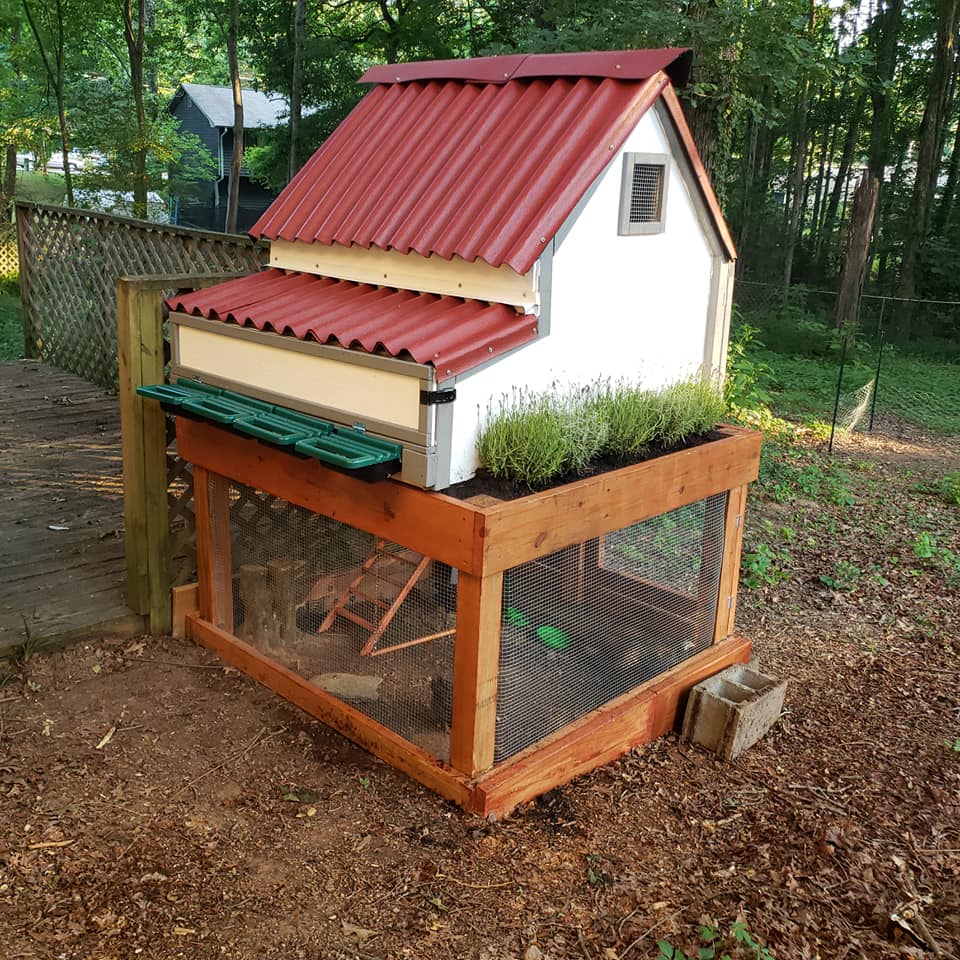
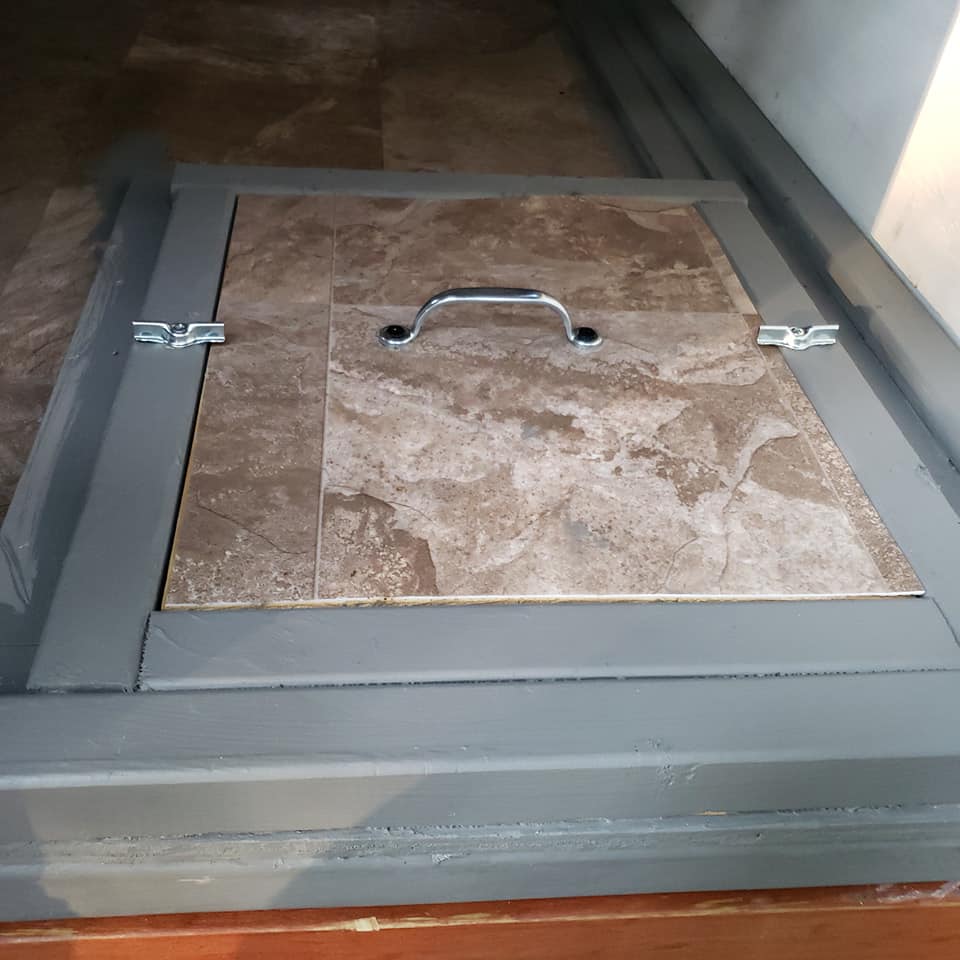
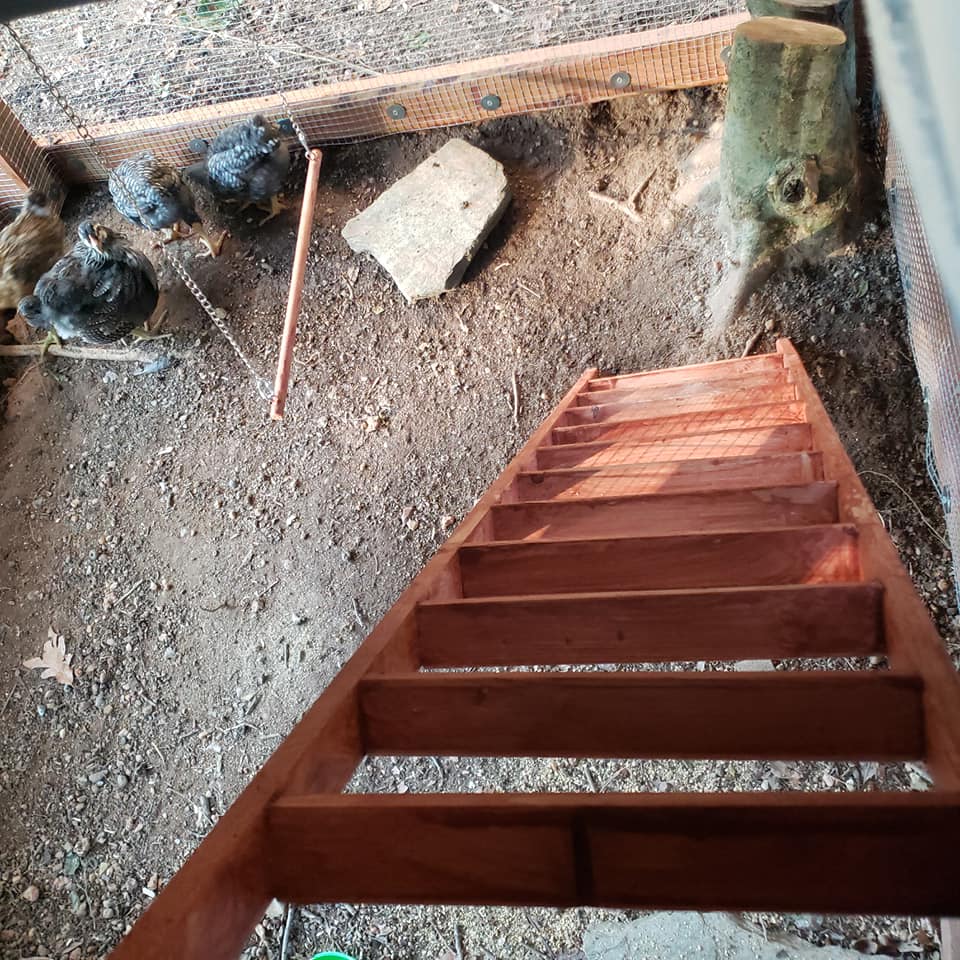
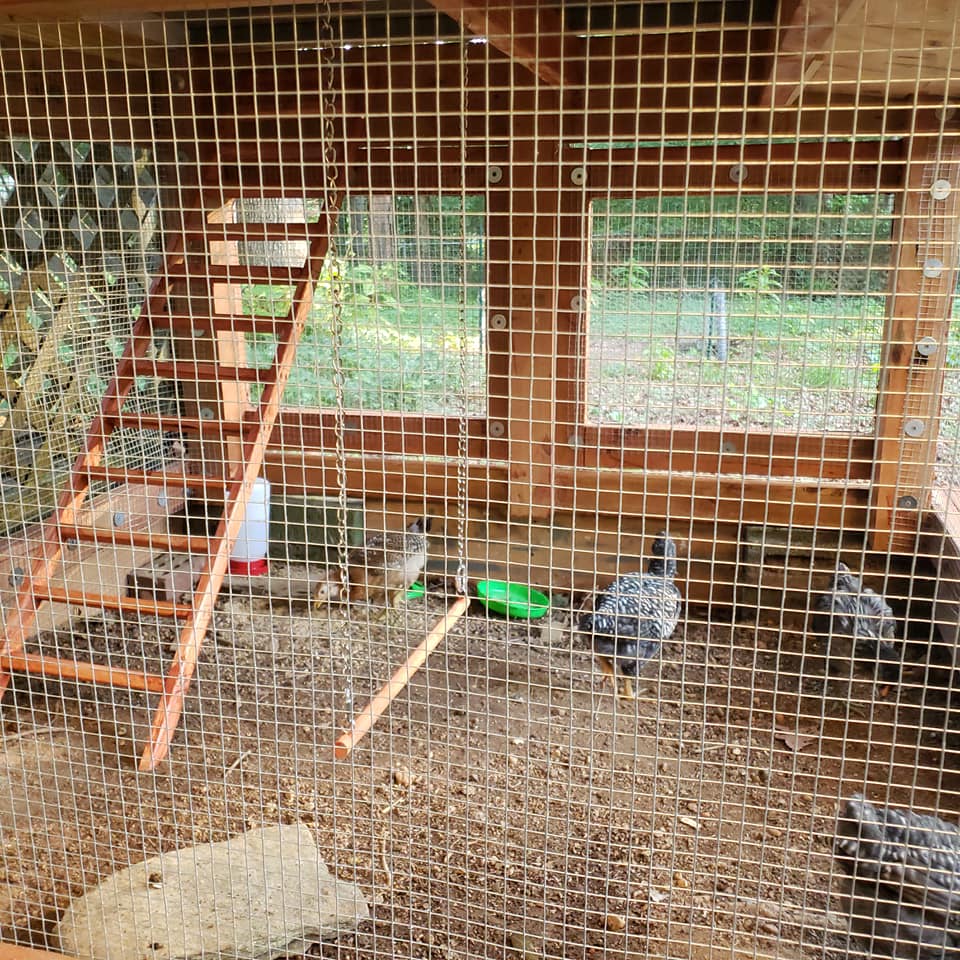
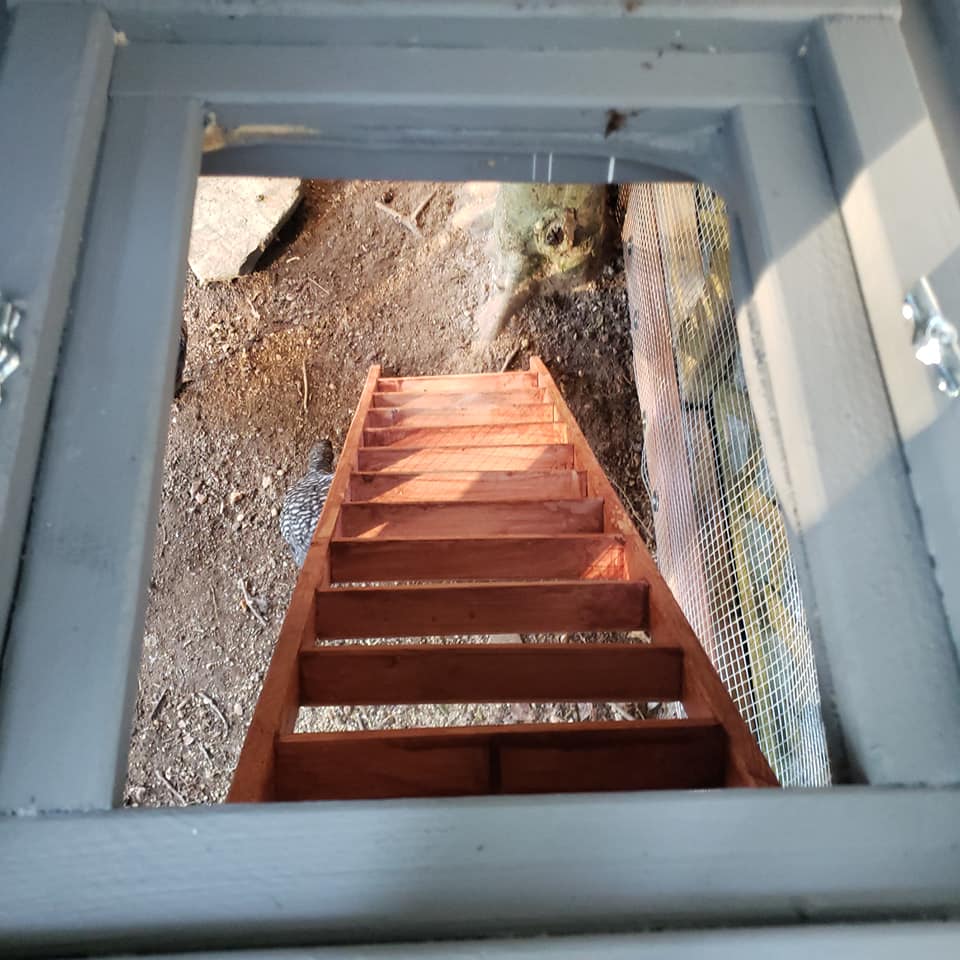
I Modified the plans to make the coop 4Ft wide to accommodate 4 nesting boxes. I Used roll away egg nesting trays in my coop. I keep the base pretty much the same dimension but made the planter smaller. I also replaced the 2"x 4" that framed out the house with 2" X 3".  My chicken ladder is made from three 1" x 2".   Because my chickens are so young I have the nest box blocked off until they are bigger. I will then use a hole saw to cut holes to each individual nesting box. I also added a Chicken Swing!


Estimated Cost
300-500
Estimated Time Investment
Weekend Project (10-20 Hours)
Recommended Skill Level
Intermediate

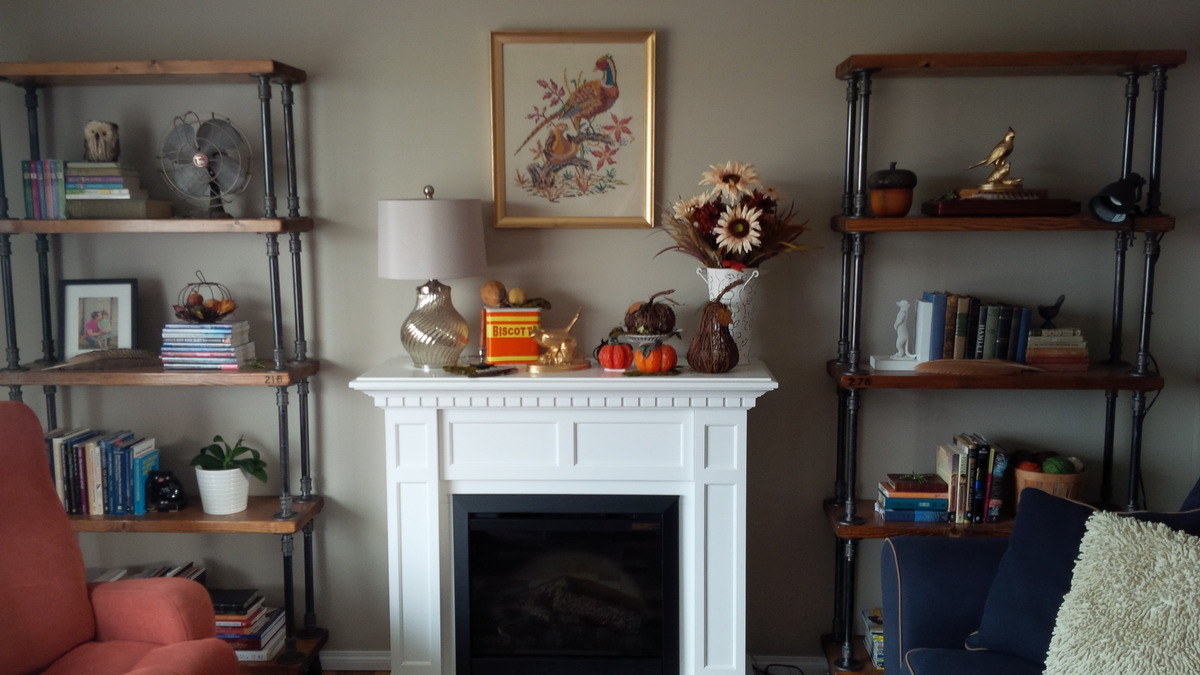
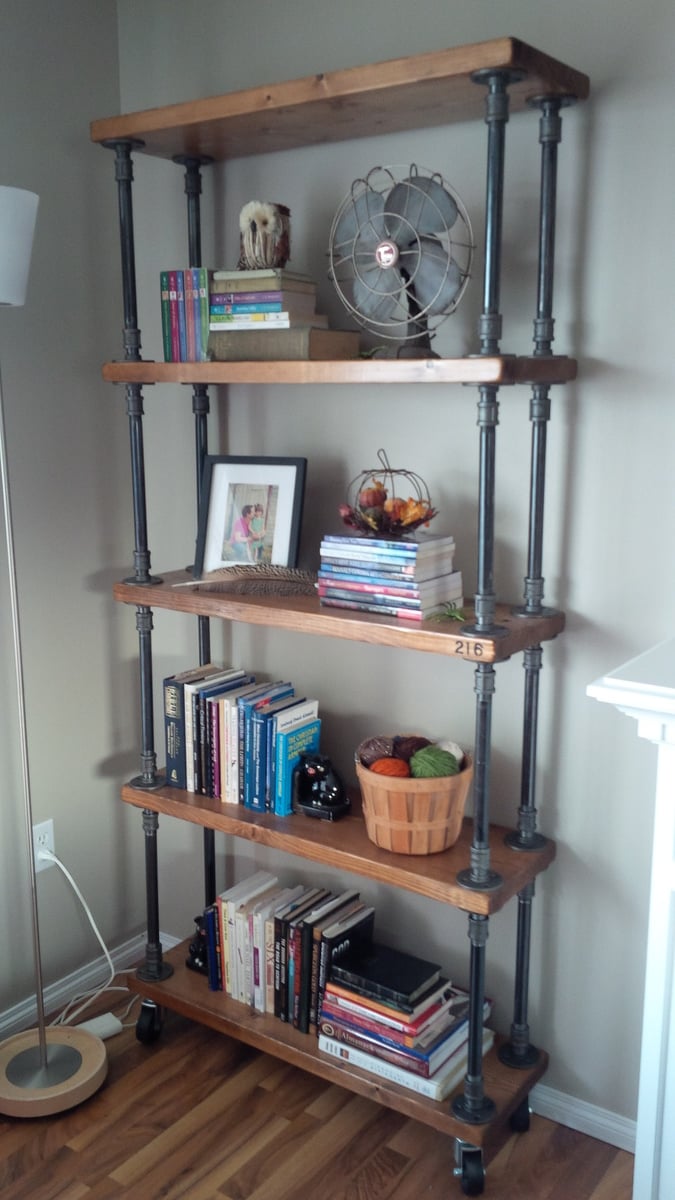
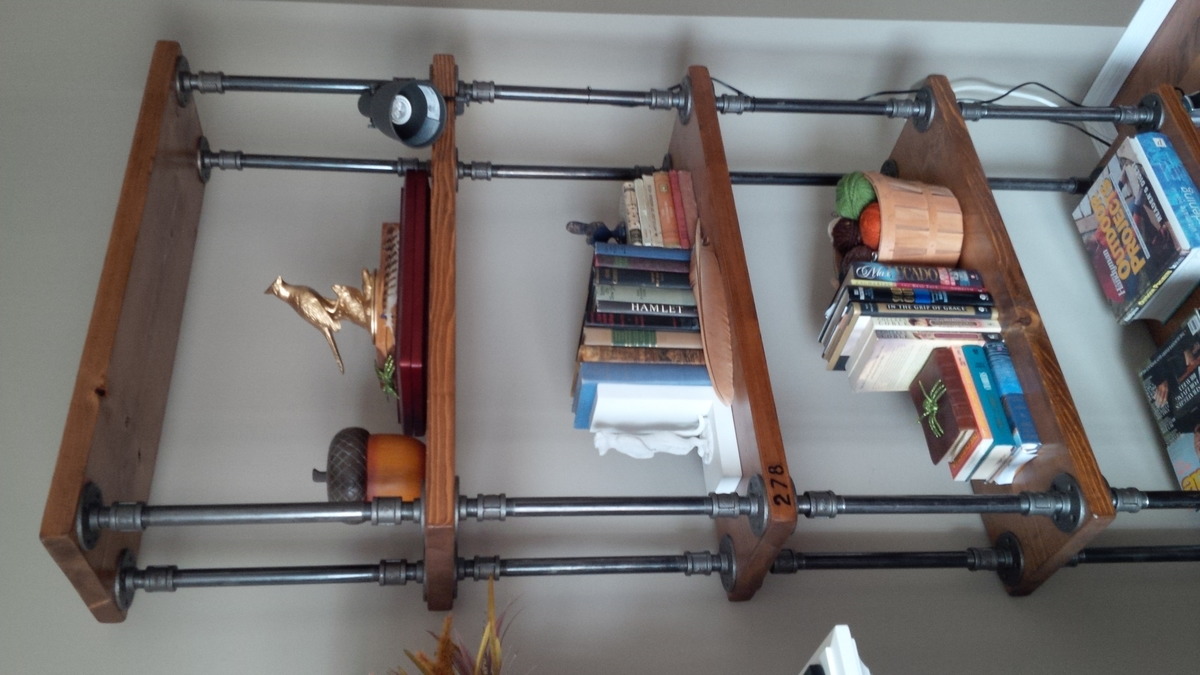
Industrial Bookshelves

Submitted by Jodiah on Thu, 10/31/2013 - 14:20

It took a long time to compile all if the parts for these shelves. I searched the Internet for affordable cast iron castors. I ordered all of the black plumbing fixtures from a local hardware store. I bought 2, 16 foot 2x12's and cut them up, sanded them and stained them.

Estimated Cost
$250./ shelf
Estimated Time Investment
Weekend Project (10-20 Hours)
Finish Used
Min wax Early American stain, min wax Polycrylic protective finish.
Recommended Skill Level
Intermediate

Comments

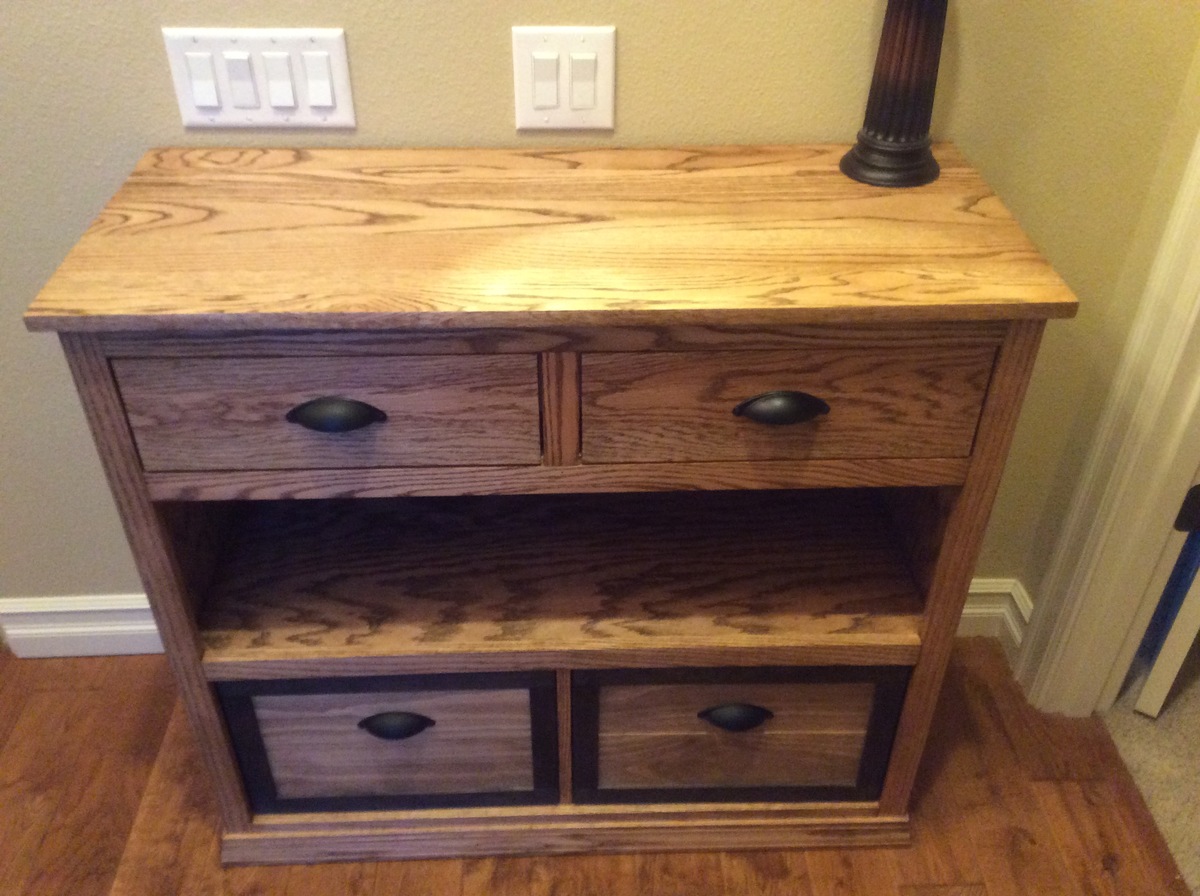
Customized Entry Console

I changed the size and style of the Pottery Barn plan to fit our space and match the Fancy Hall Tree that we recently completed. We think it came out great so wanted to share.

Estimated Cost
$240
Estimated Time Investment
Week Long Project (20 Hours or More)
Finish Used
Min wax aged oak gel stain and tung oil
Recommended Skill Level
Advanced

Farmhouse Table and Bench

Submitted by shaunbeck7 on Wed, 06/05/2019 - 08:28

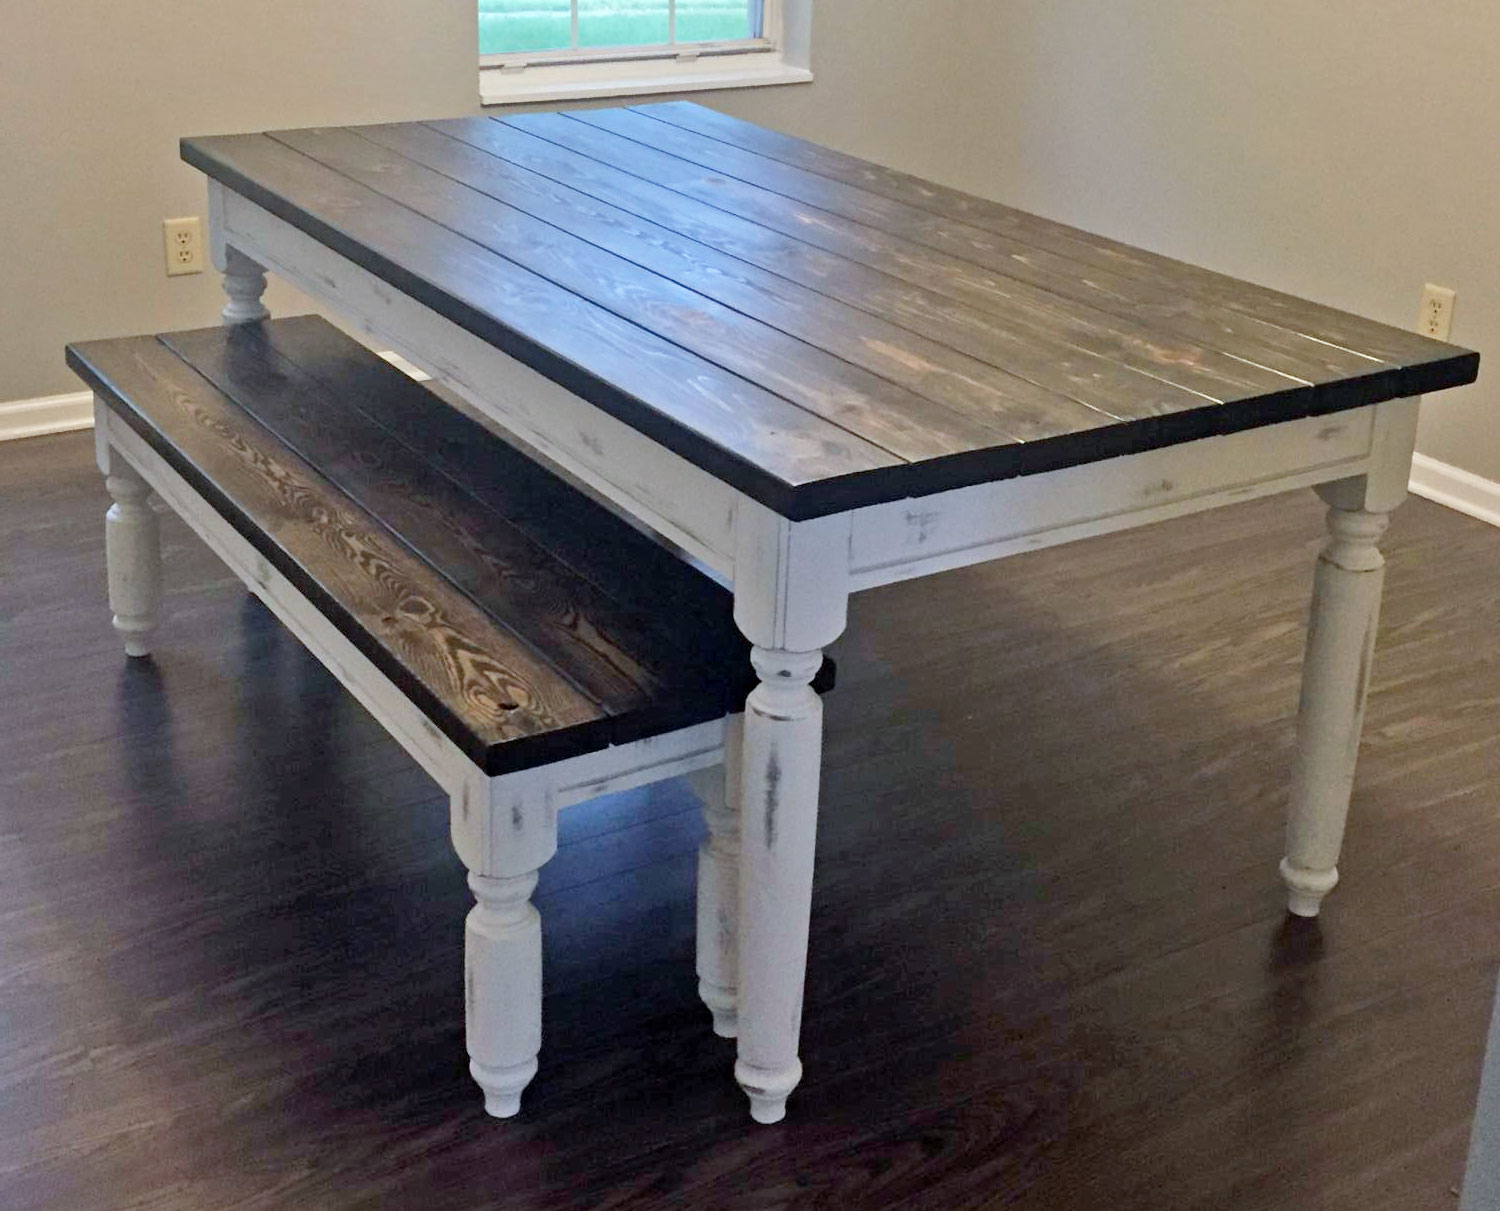
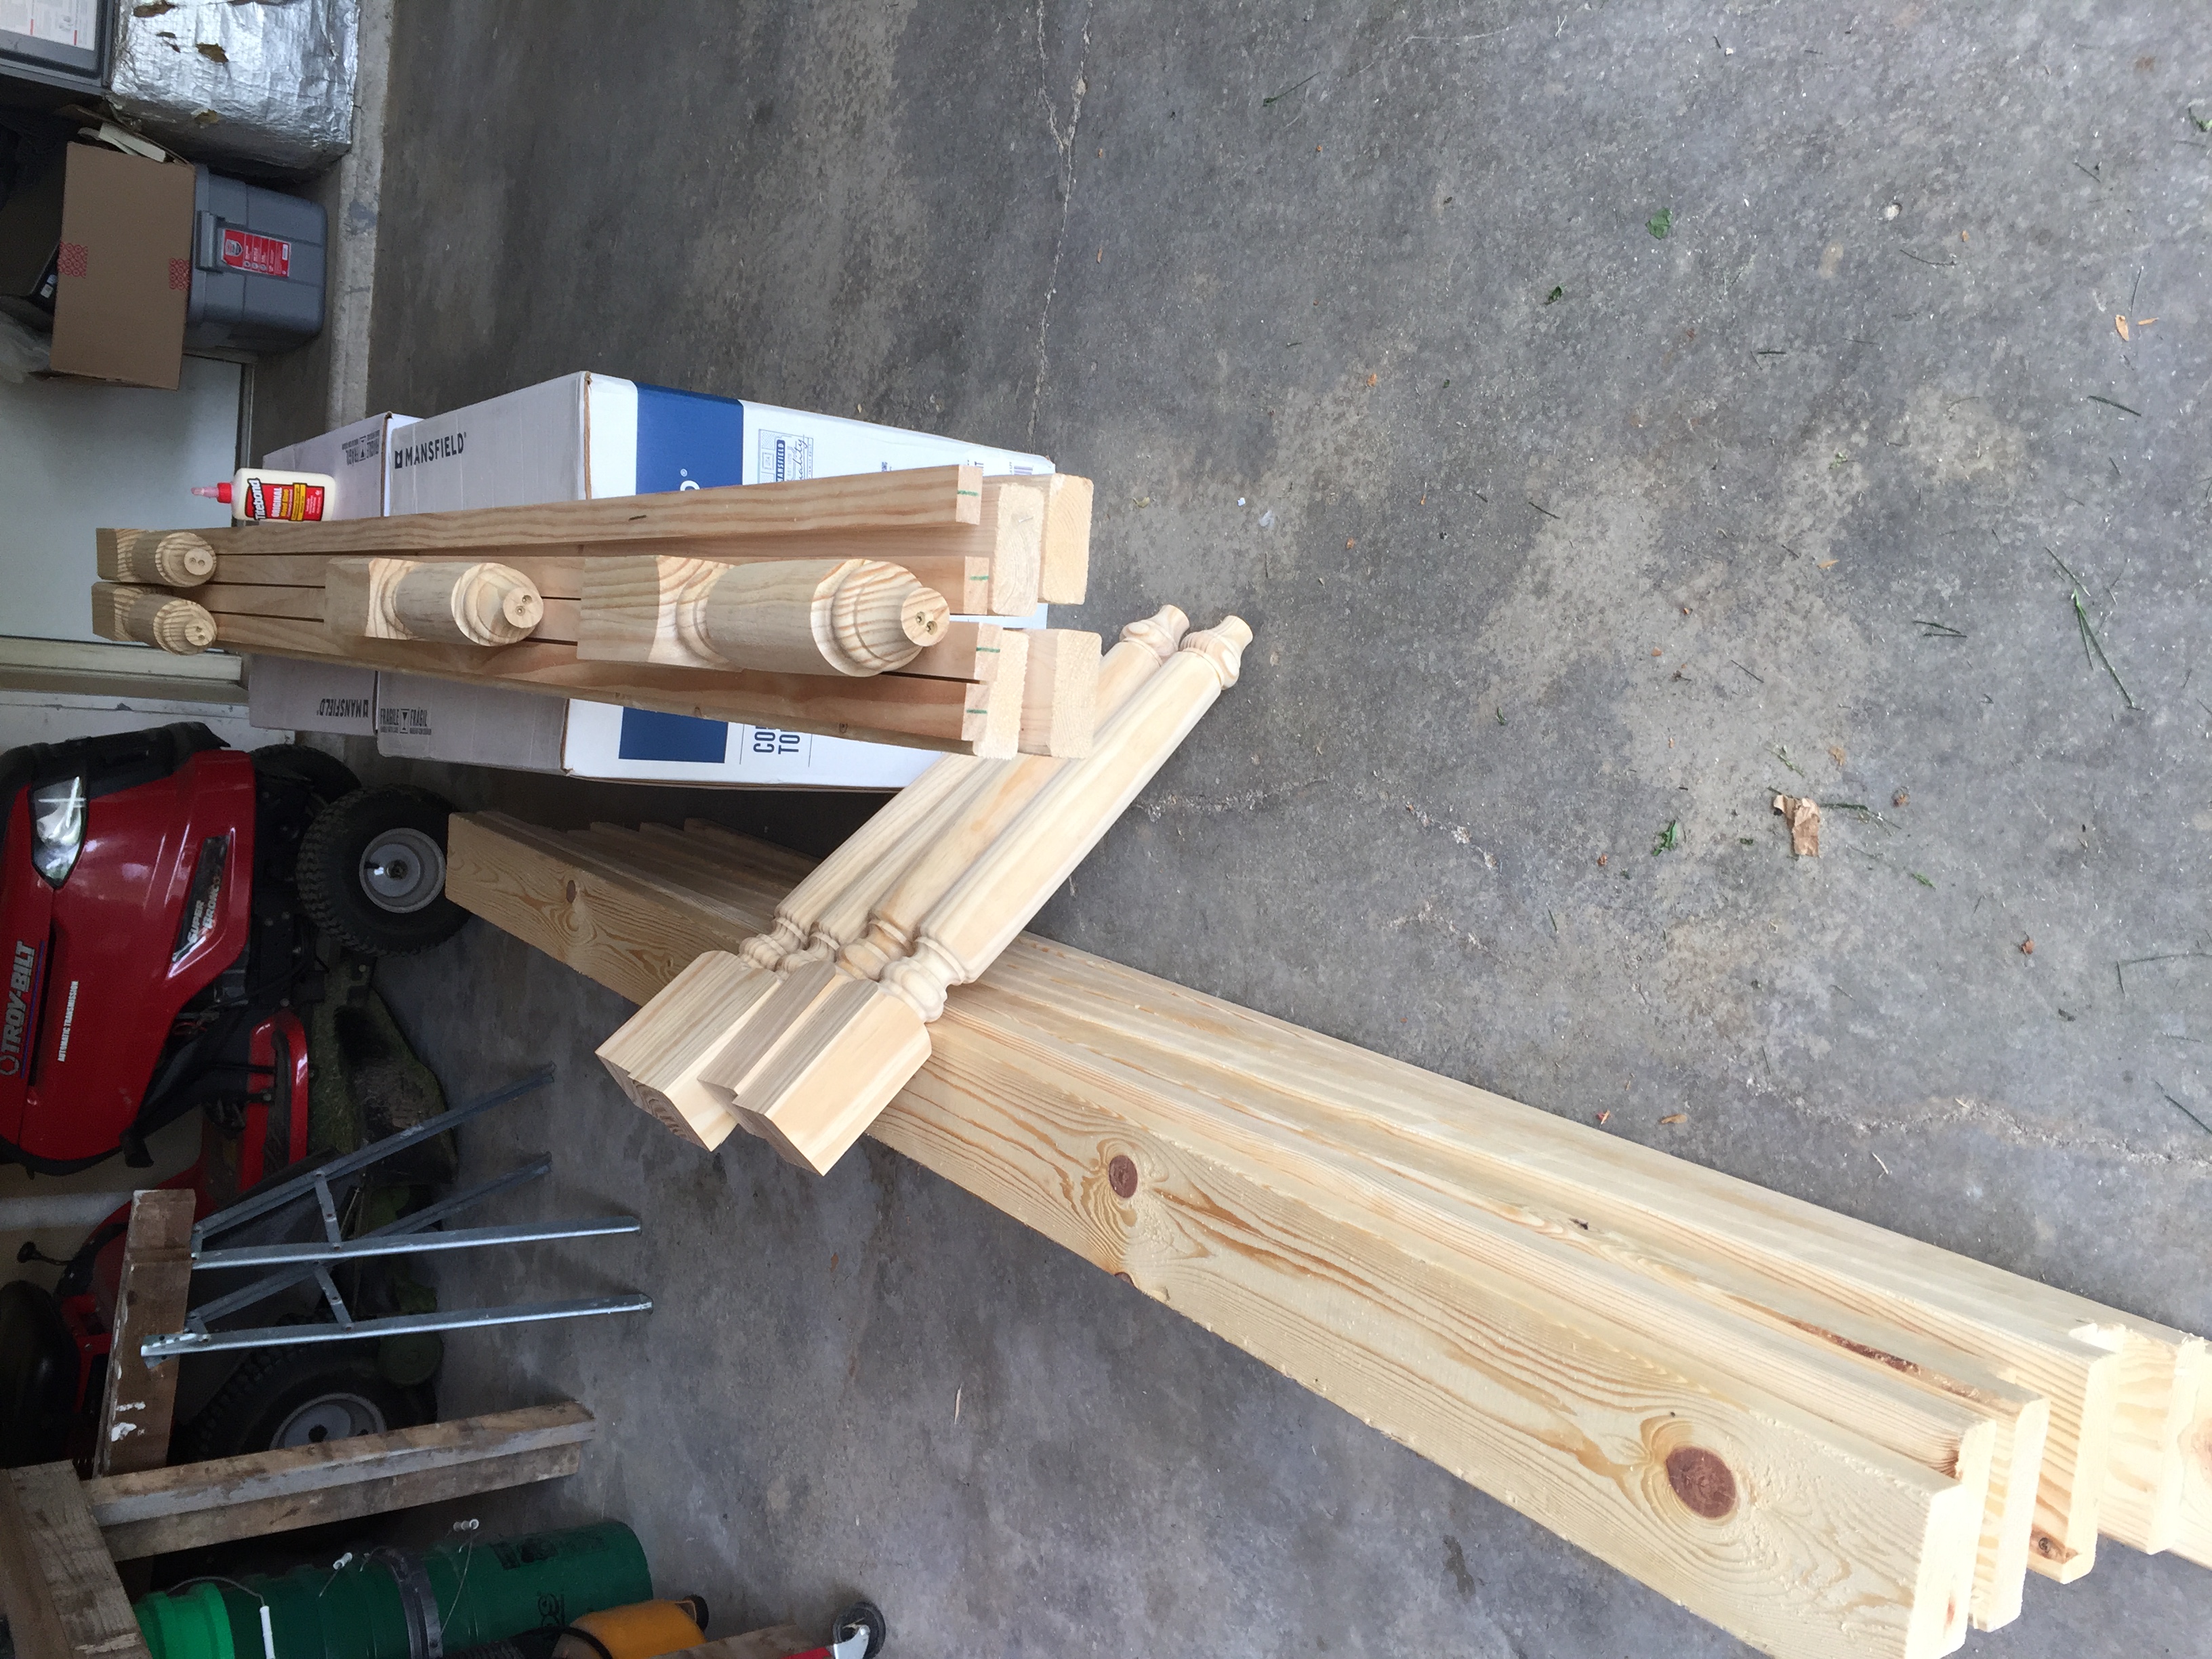
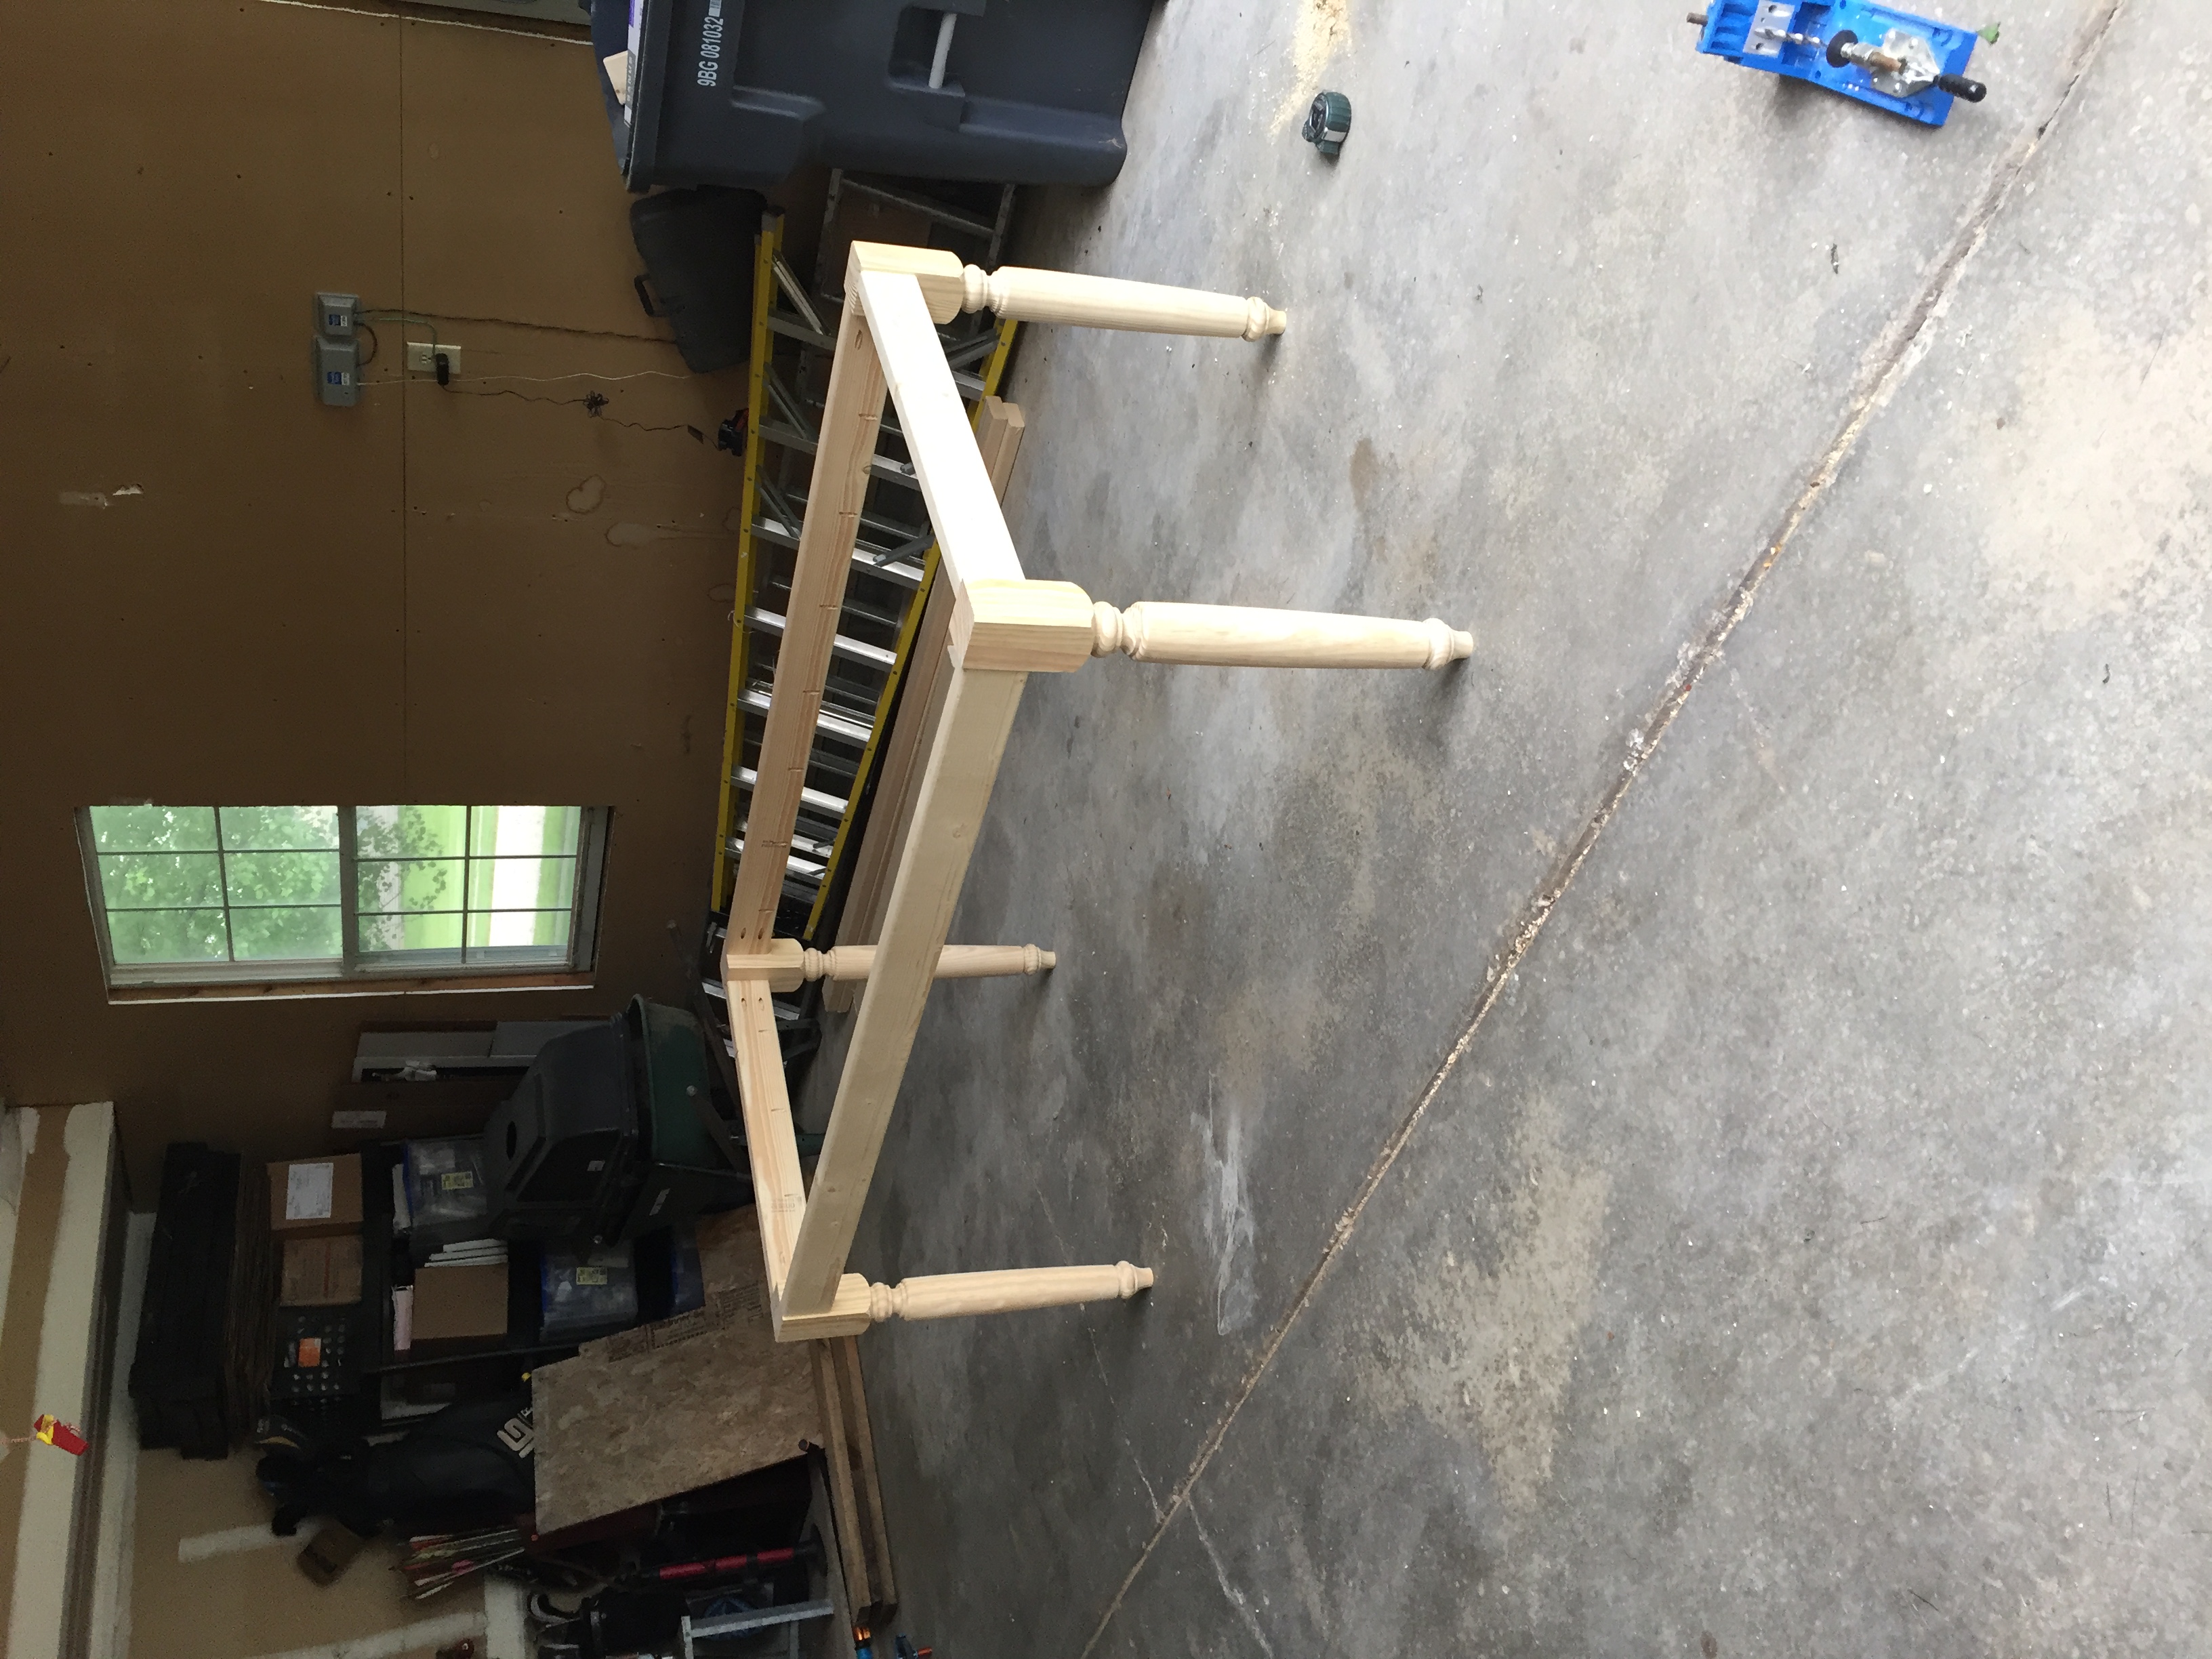
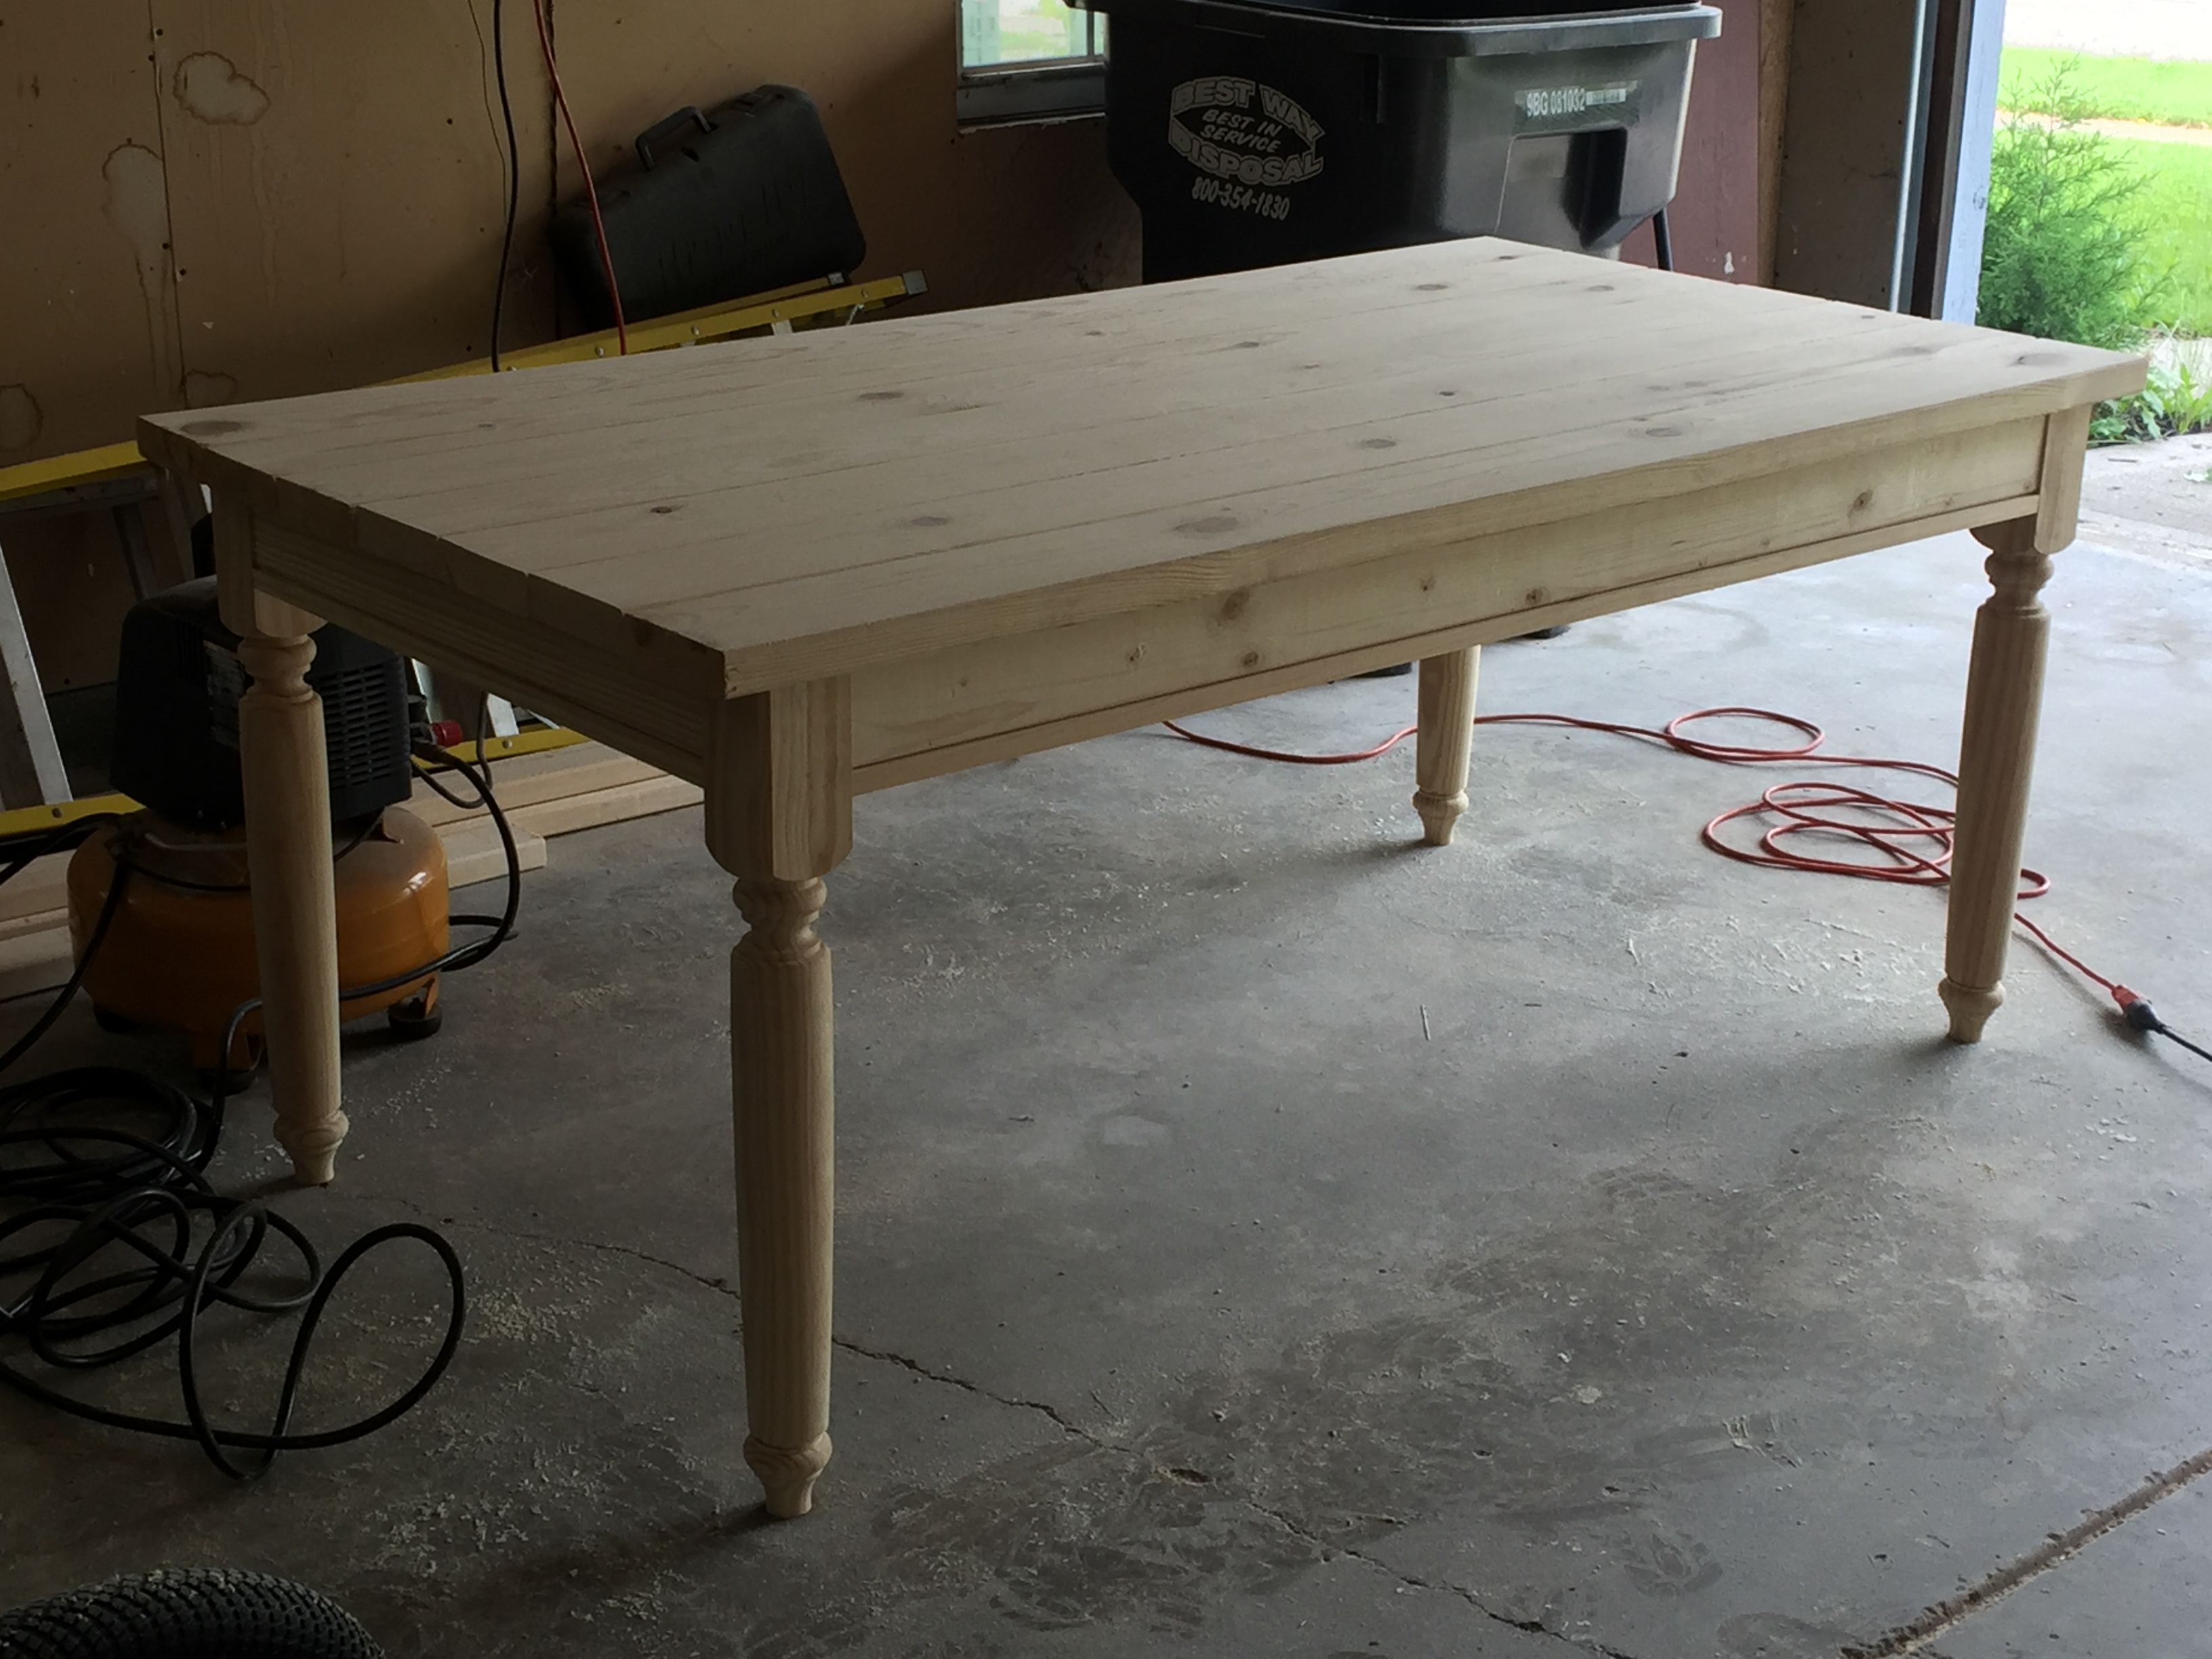
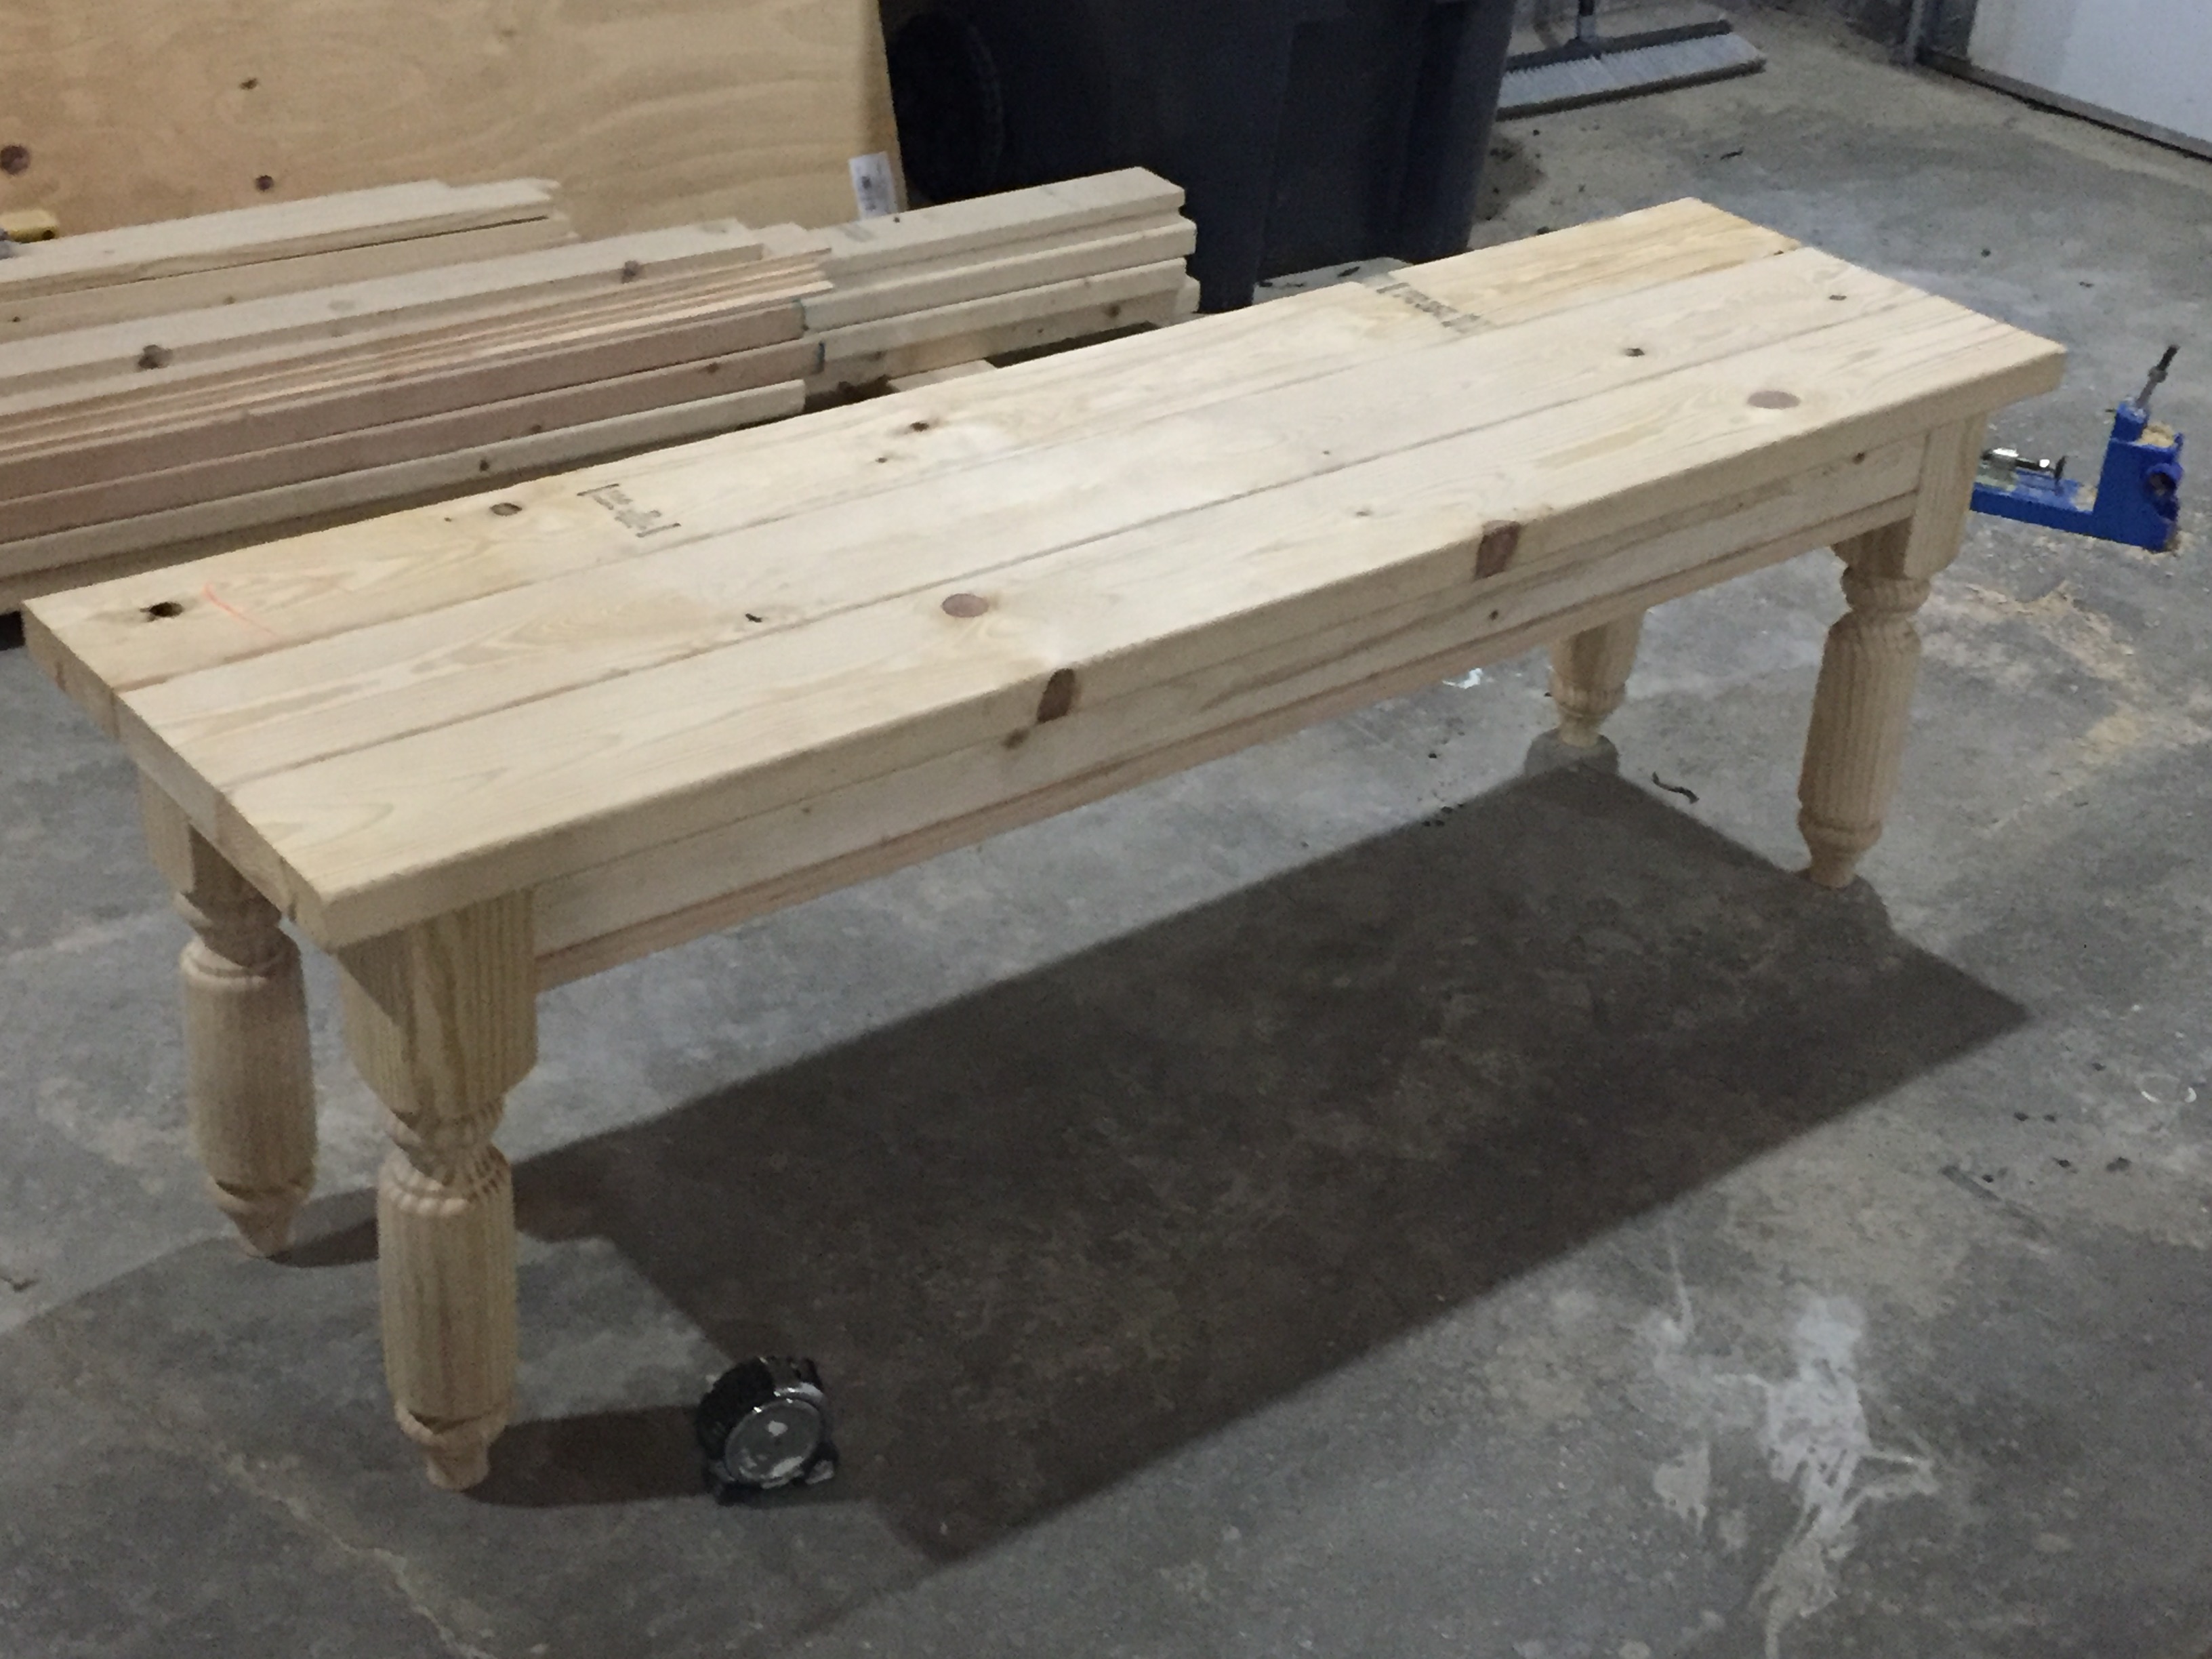
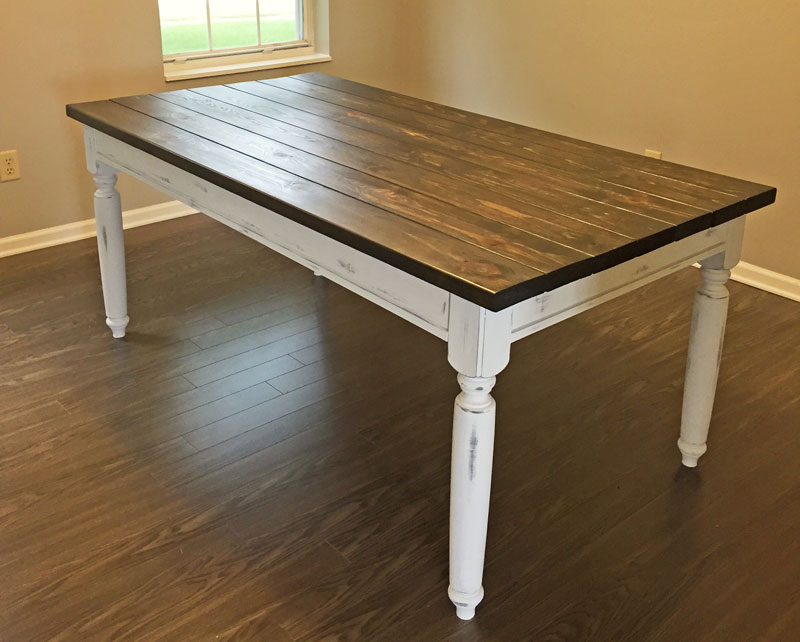
This project took me about 3 weeks of my spare time. Maybe an hour or two a day. I was lucky that I bought the table legs and bench legs together to match. I’m really pleased with the results. Thank you Ana White!

Estimated Cost
$250
Estimated Time Investment
Weekend Project (10-20 Hours)
Finish Used
Stain the table and painted over top the stain with chalked white paint and sanded down to show some of the stain through the paint for the rustic look. Stain and polyurethan table top. Used wipe on polyurethane which I liked better then the brush on. Took about 4-5 coats though.
Recommended Skill Level
Intermediate

First plan,,first table. I made two of these.

Submitted by Anonymous (not verified) on Fri, 03/24/2023 - 12:44

I was retired from my job and needed a new chore.
The plan seemed easy, and not being a real good carpenter, I required easy, and the plan was exactly that.
Thanks Ana.

Comments

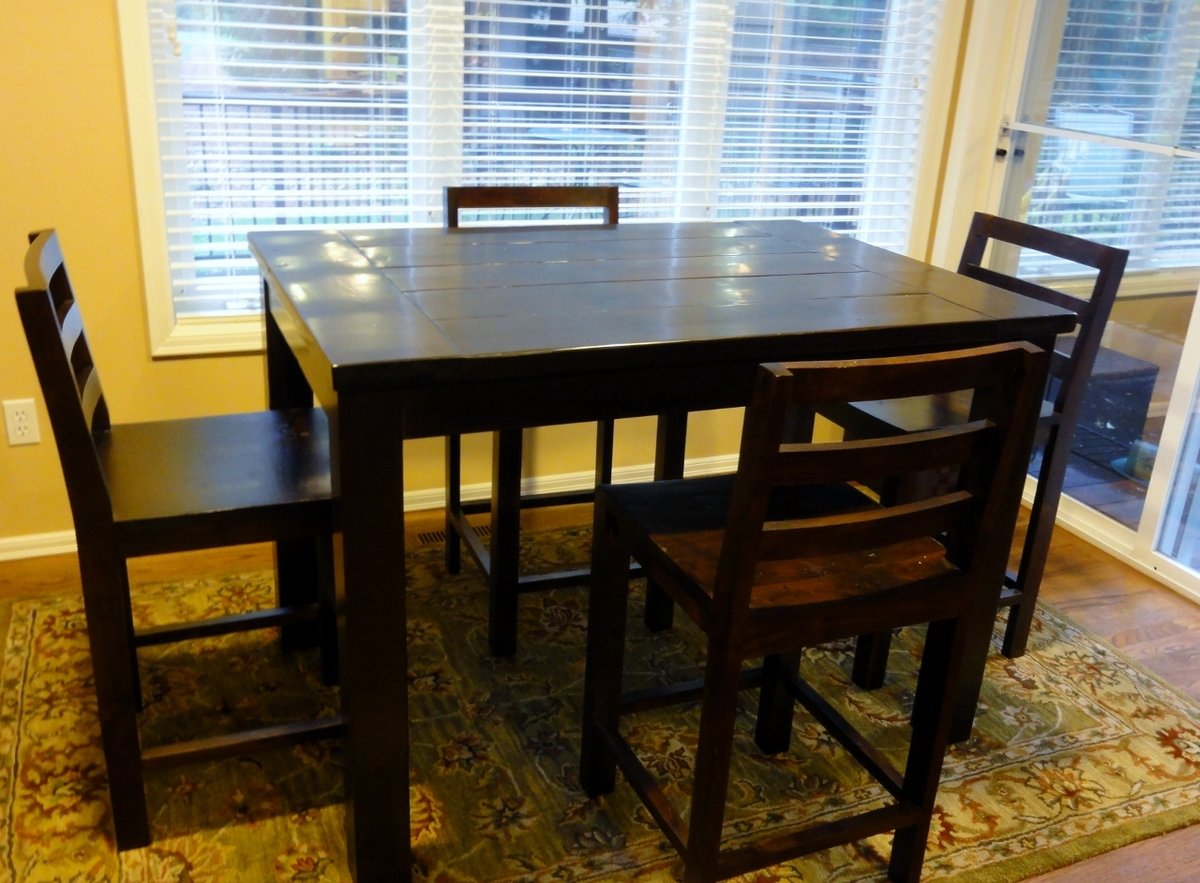
Tryde Counter-height Kitchen Table

Submitted by ferbit on Wed, 12/07/2011 - 12:14

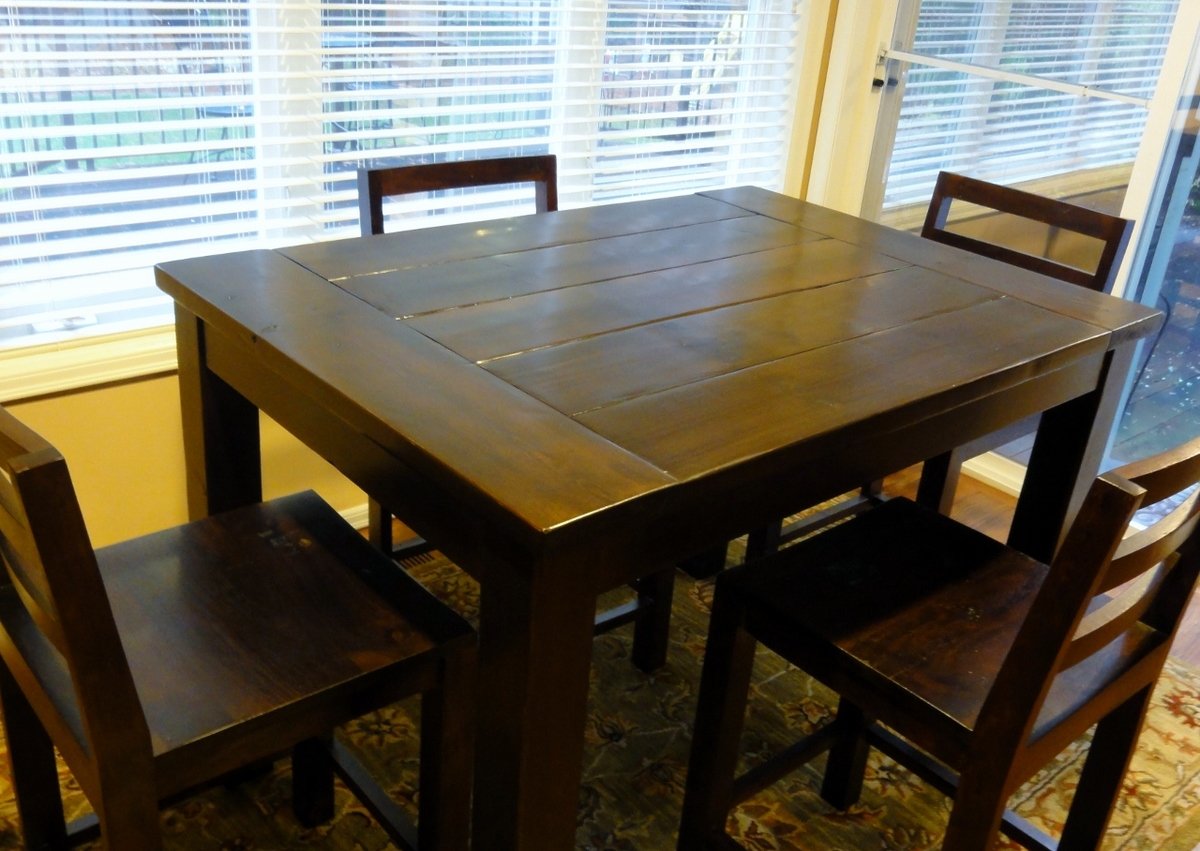
We badly needed a new kitchen table since ours has been completely destroyed over the years. Not a bad table, but too "smooth and perfect" for our lifestyle. I wanted something darker a lot more rustic that would not HIGHLIGHT nicks and scratches so badly.

I fell in love with a table at World Market, but it was the wrong size. It's called the Napa Gathering Collection.  It comes in either a counter-height 3' x 3' table or a standard height 3' x 5' table.  Shorter table is too long for the kitchen and the counter-height one was too small.  *sigh*  Here's a photo of the set.  LOVE this!!!!  So upset it's so small.  World Market photo below makes it appear a lot more red than it is.

World Market Napa Gathering Collection


Anyway, it's made out of Acacia wood, so it was massively heavy and strong. I loved it so much that I bought the four gathering chairs and spent over a month trying to get Acacia wood without spending a fortune. No luck. So I decided the most similar table here on Ana's site was the Tryde coffee table.

I researched different hardwoods, but was so nervous to spend that much  money that I decided my first kitchen table would be a rough draft with super cheap wood.  LOL  If I love it then I didn't spend a lot.  If I don't love it, I will learn from it and can build it again someday with more expensive hardwood like maple. 

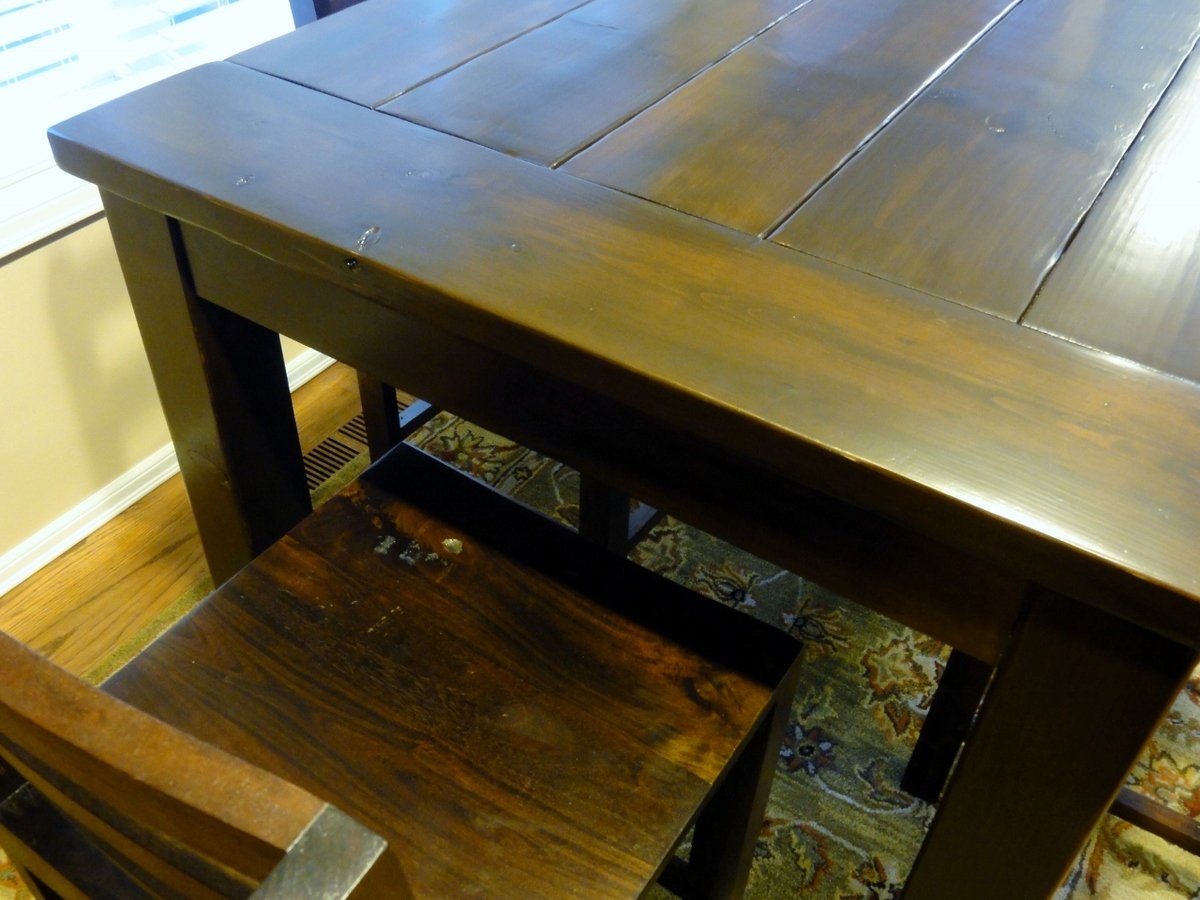
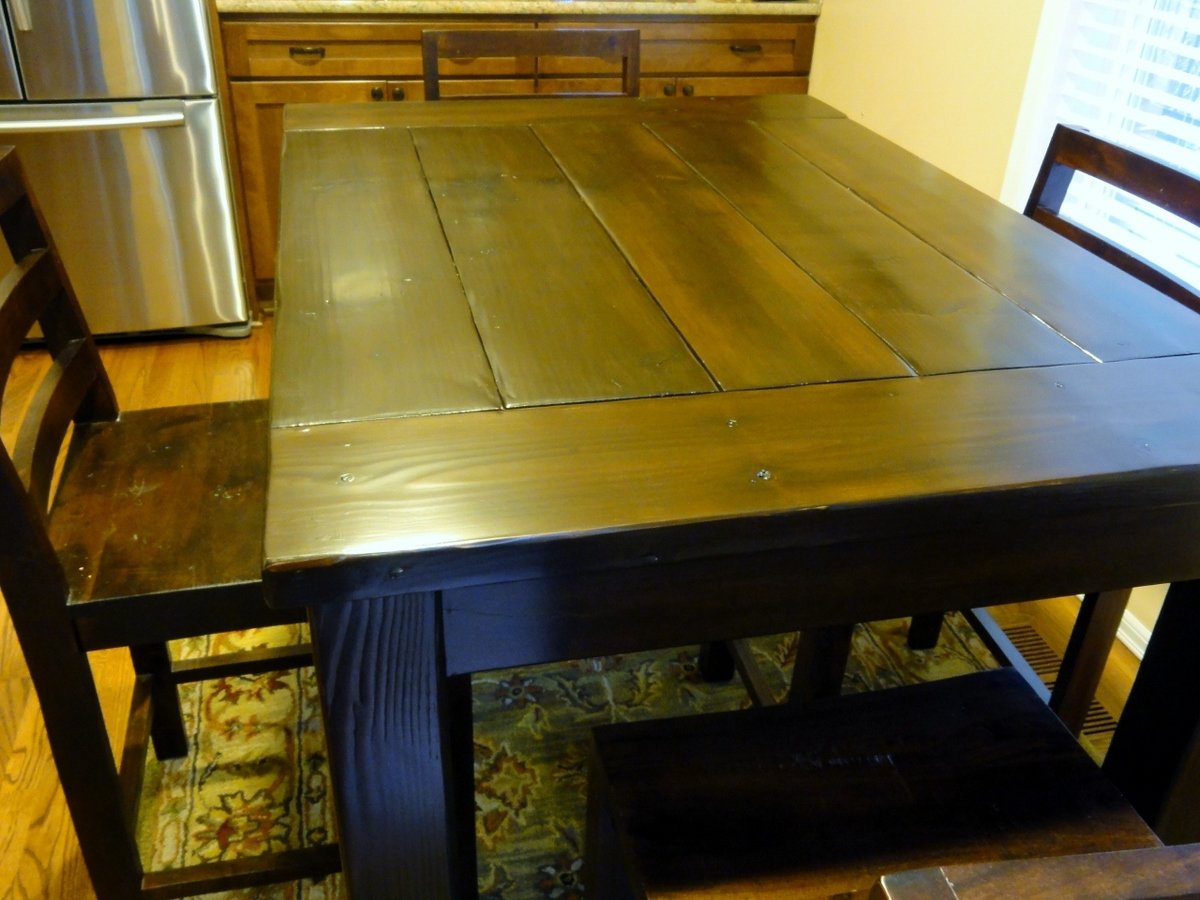
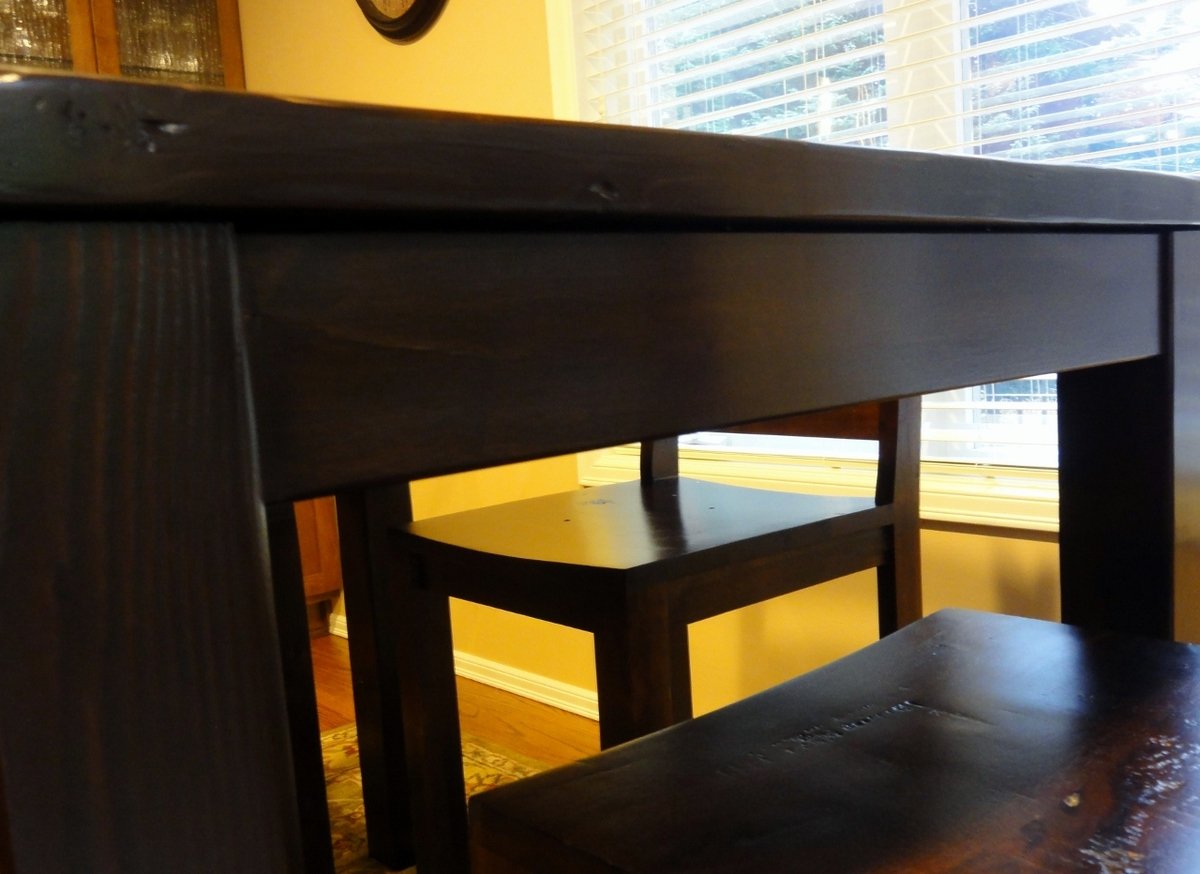
I used the 2x8 hemlock for the tabletop, hemlock 4x4 legs and finished hemlock 1x4's everywhere else.  I used cheap 2x2 studs for the support structure underneath.  This table was almost exclusively built using Kreg joins, with only a few exceptions where necessary.  No visible screw holes to fill ANYWHERE!  Yay!  LOVE my Kreg Jig!

Lots of sanding, Benite wood conditioner, red-ish dye, dark chestnut stain and three coats of poly later... and I moved it into my kitchen this morning!  So excited!!!  I love how it turned out! 
Built from Plan(s)
Estimated Cost
$200
Estimated Time Investment
Weekend Project (10-20 Hours)
Finish Used
Benite wood conditioner, Daly's red-ish toned dye, Daly's chestnut-ish brown, Crystal-fin poly finish in satin.
Recommended Skill Level
Beginner

Comments

hiddenhalo360

Wed, 12/07/2011 - 18:24

I am in the exact same boat as you. We badly need a new kitchen table, but I have not been able to find what I want in my price range. Therefore I am prepping to build a new kitchen table this weekend!

snickersmom

Sun, 12/11/2011 - 18:25

What are your demensions on the table? I'm looking for something on the smaller side. Thanks

Guest (not verified)

Tue, 01/10/2012 - 06:48

Wow, I love the table! I very impressed. You captured that robust rustic look that I have always liked. Its one of those tables that makes you wonder what stories have played out on and around it. You did awesome and thanks so much for sharing it. I am certain that I am not the only one truly inspired by your creative and can do spirit. You go girl! Can't wait to copy this and whatever you do next. Please don't stop and please keep sharing. You are just awesome. Wonder what might happen if someone gave you a welder too? Take care and thanks again!

Guest 713 (not verified)

Wed, 06/13/2012 - 16:32

I love it! Could you add your dimensions for the table also?
TiffanyNic (not verified)

Wed, 10/31/2012 - 10:52

Tryde Counter-height Kitchen Table is exactly what I need - want - gotta have it - can anyone help me out with the how to plans? diminsions?! Something?!
Sb1212

Thu, 10/27/2016 - 12:11

I love this!! Did you build your chairs also? If so did you use plans. I would love to build those exact chairs. 

King Size Headboard

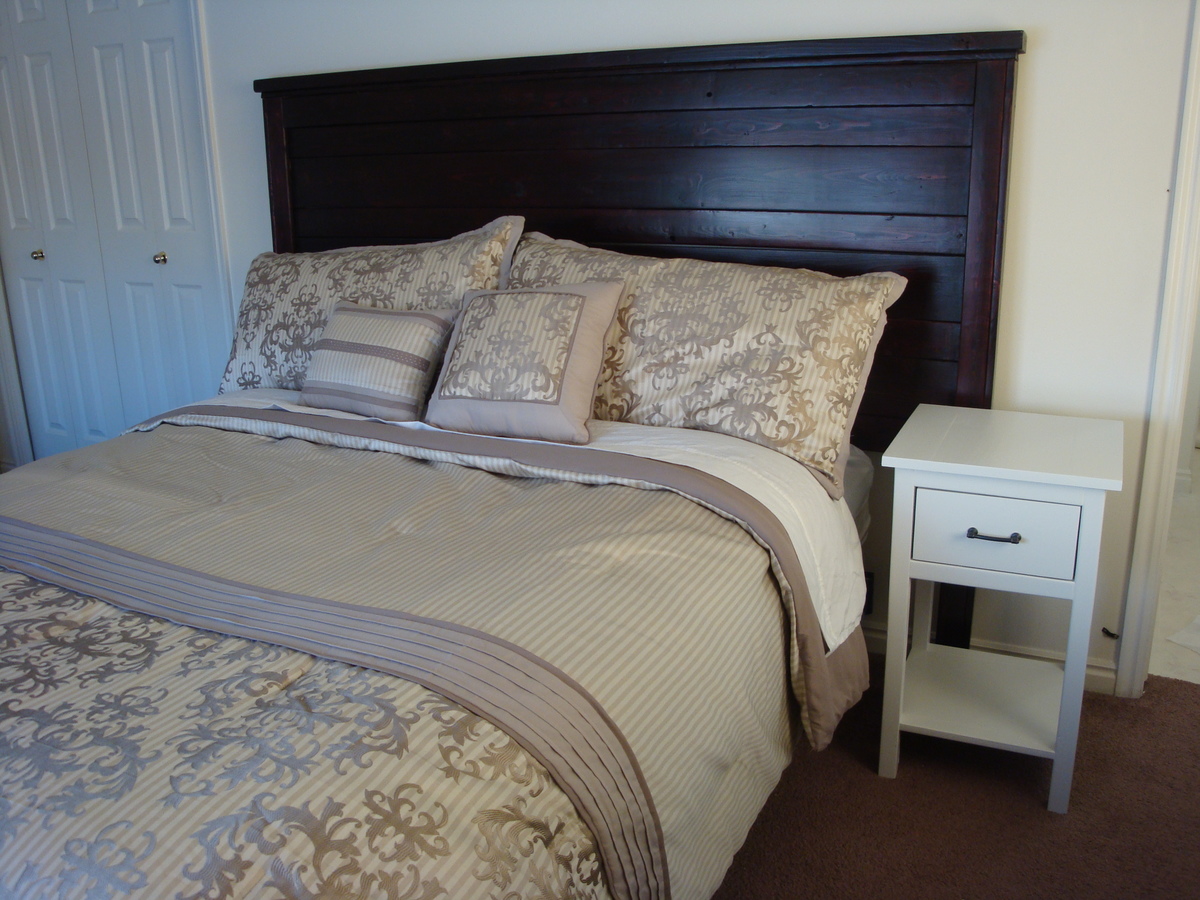
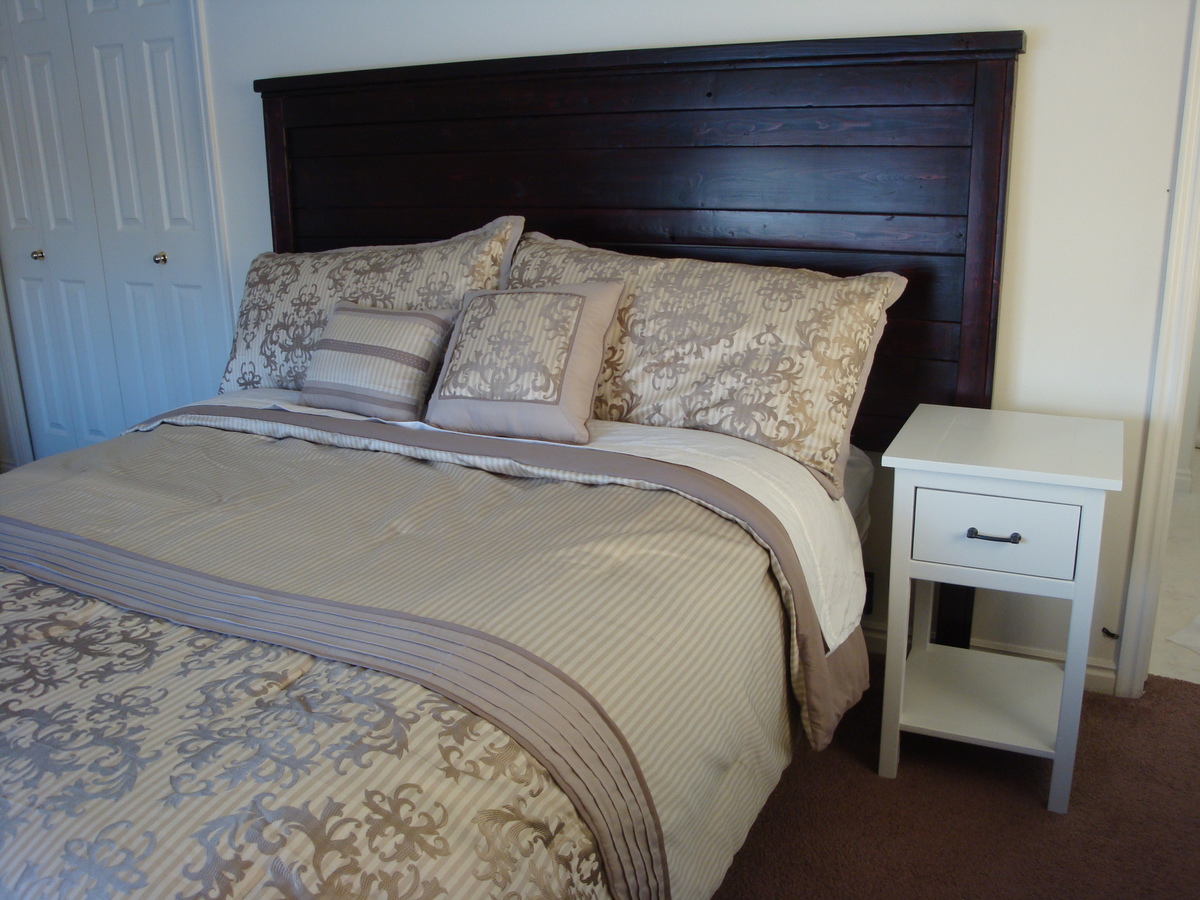
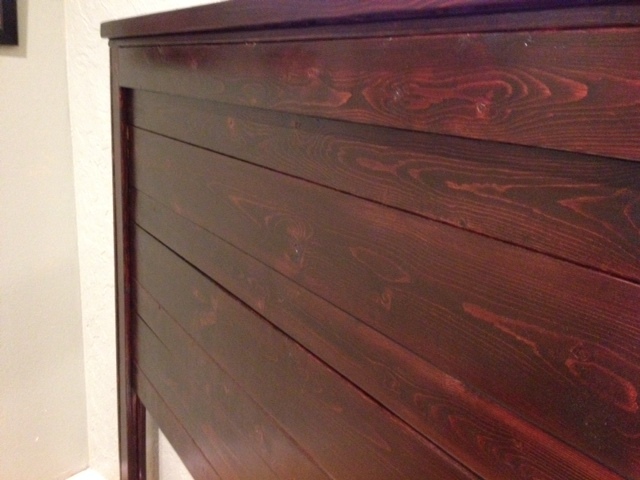
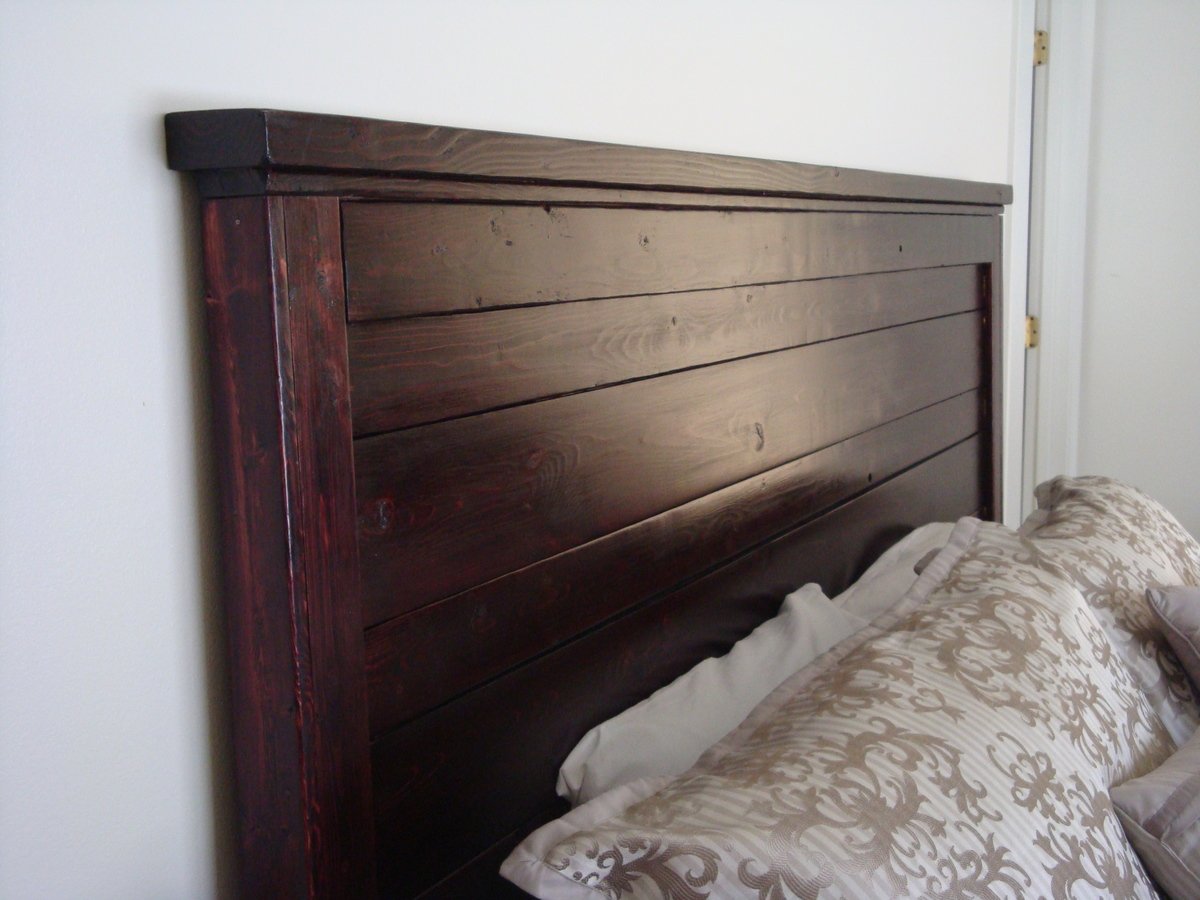
I am so happy about how this headboard turned out. It is exactly what I have always wanted. I am so excited that it is sooooo much cheaper than buying the one from Pottery Barn. I would never have been able to afford that one. This one only cost me about $50 for the wood, and then I was able to make an end table and a picture frame from the leftover scraps!

Estimated Cost
$50
Estimated Time Investment
Day Project (6-9 Hours)
Finish Used
Minwax prestain, minwax red mahogany stain (2 coats), minwax polyeurethane (2 coats).
Recommended Skill Level
Beginner

Wood pallet wine rack

Submitted by Anonymous (not verified) on Tue, 01/19/2016 - 20:15

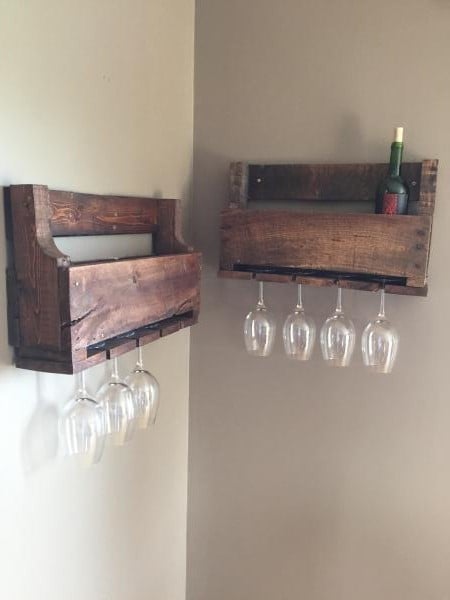
My wife showed me this wine rack on a you tube video so I checked it out. She really wanted one so I made her two of them. I also made a longer one for liquor bottles as well, ill post it as soon as I hang it on the wall.

Estimated Cost
$10 for the stain
Estimated Time Investment
Afternoon Project (3-6 Hours)
Finish Used
The stain was English chestnut
Recommended Skill Level
Intermediate

Original Farmhouse King Bed

Submitted by Nor on Fri, 06/14/2019 - 10:05

I made this bed to house the new standard king mattress that my husband bought. The hardest part is probably picking the straightest lumber possible. Straight lumber would eliminate having to wrestle with the boards to line up/square and minimize power tools used. I had to ask my husband help with the screwing bowed boards together, but other than that I did everything by myself. 

Estimated Cost
220$
Estimated Time Investment
Week Long Project (20 Hours or More)
Finish Used
gateway grey behr marquee. foam roller and angle brush
Recommended Skill Level
Beginner

adapted adirondack chairs

Submitted by Anonymous (not verified) on Thu, 03/30/2023 - 09:02

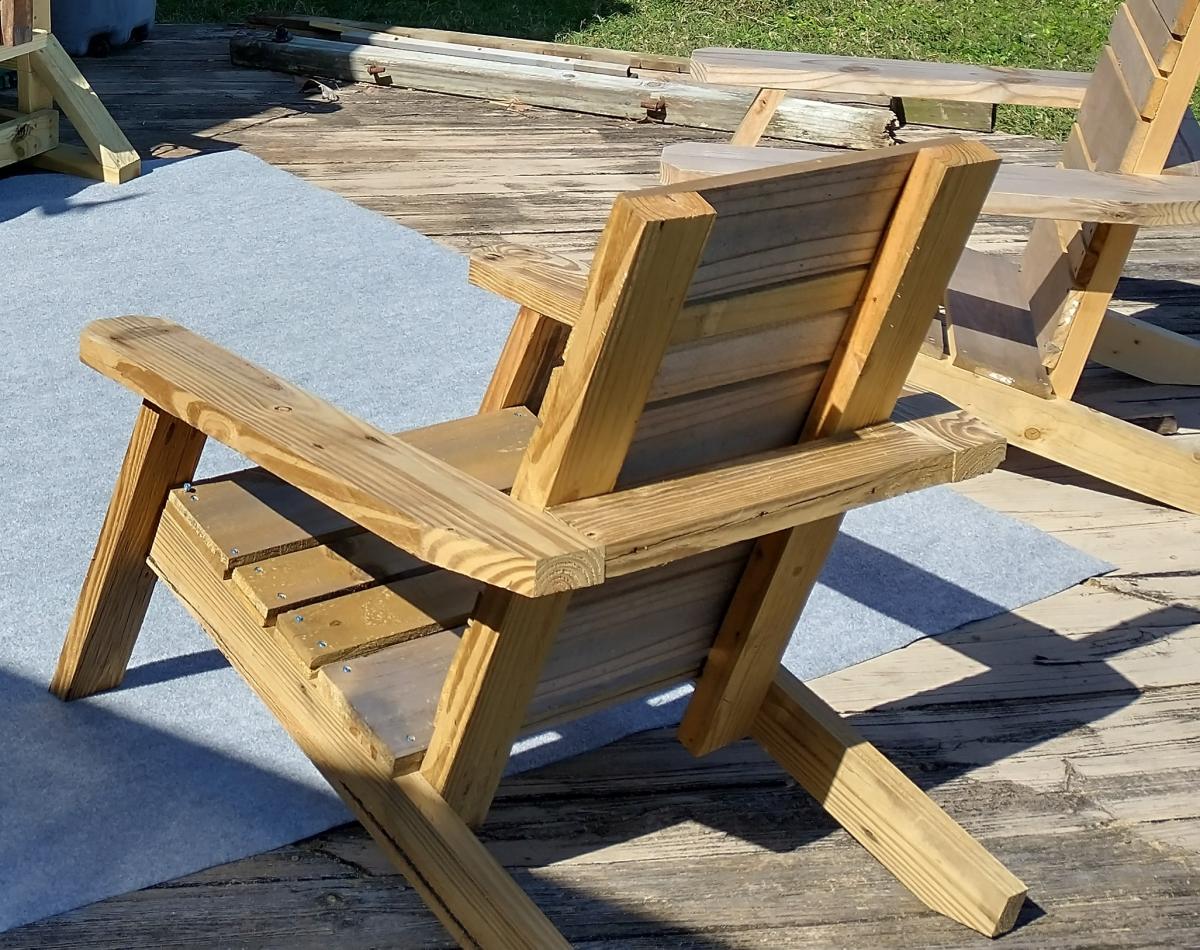
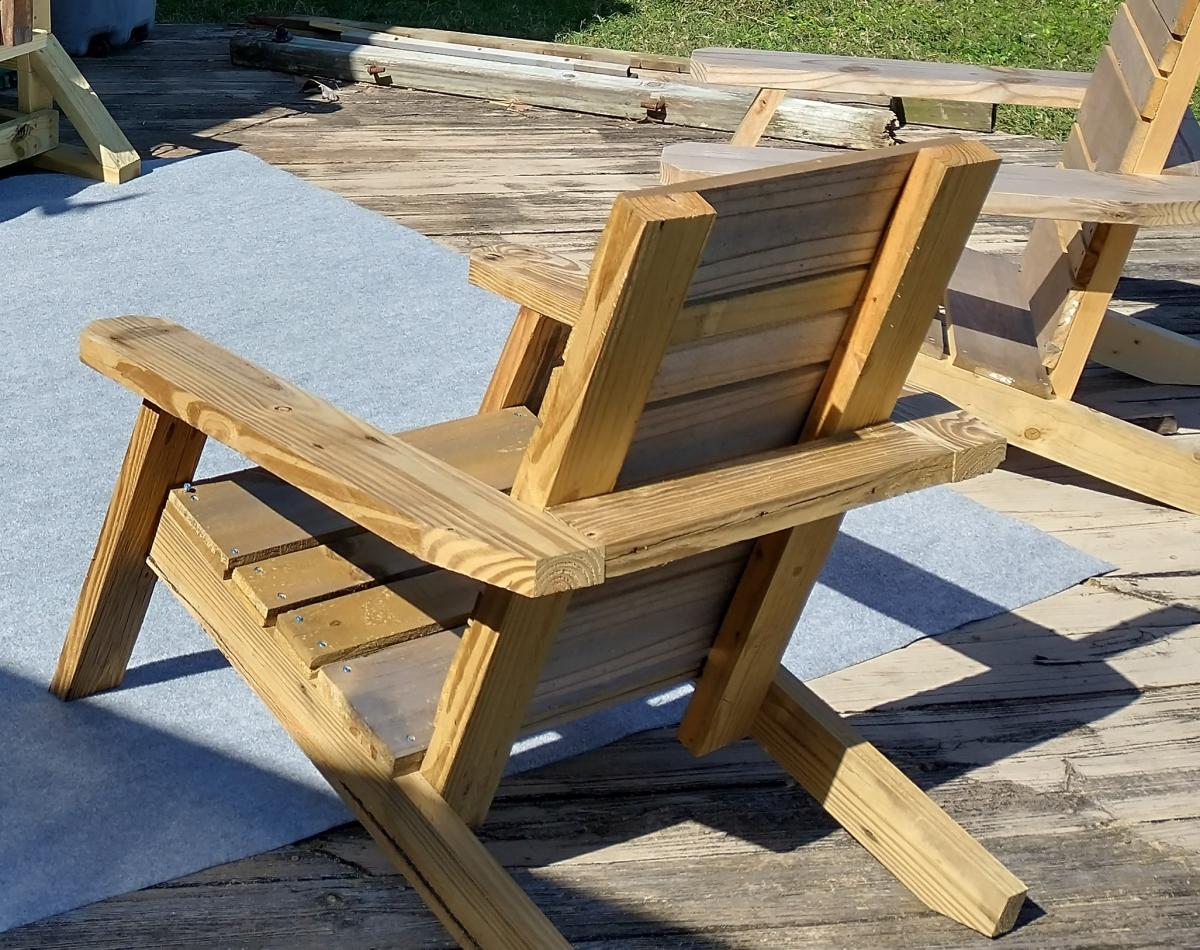
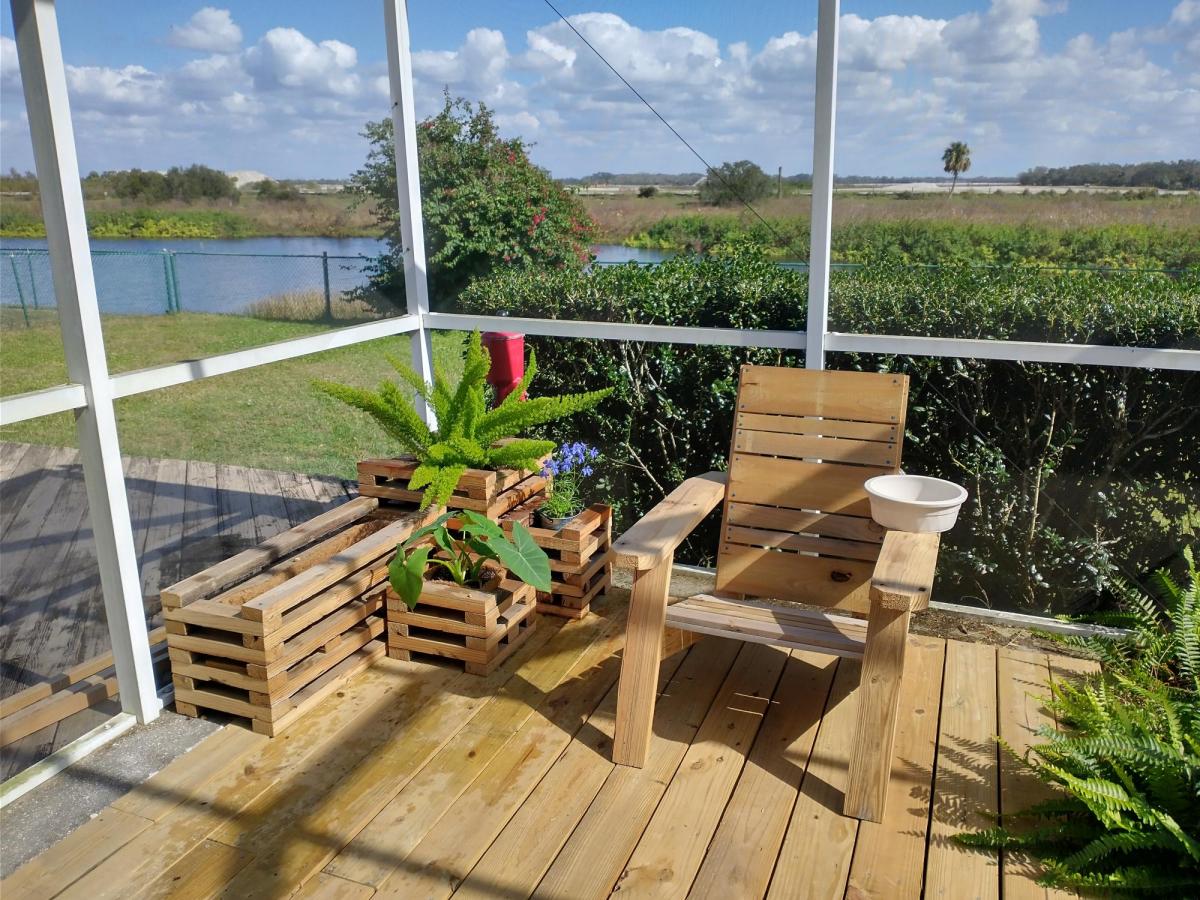
had some fun with the back and seat slat design and did an angle rather than a 90 degree where the arms meet the front support. also used a 2x6 for a larger arm rest. i think it turned out well. thanks Ana

Comments

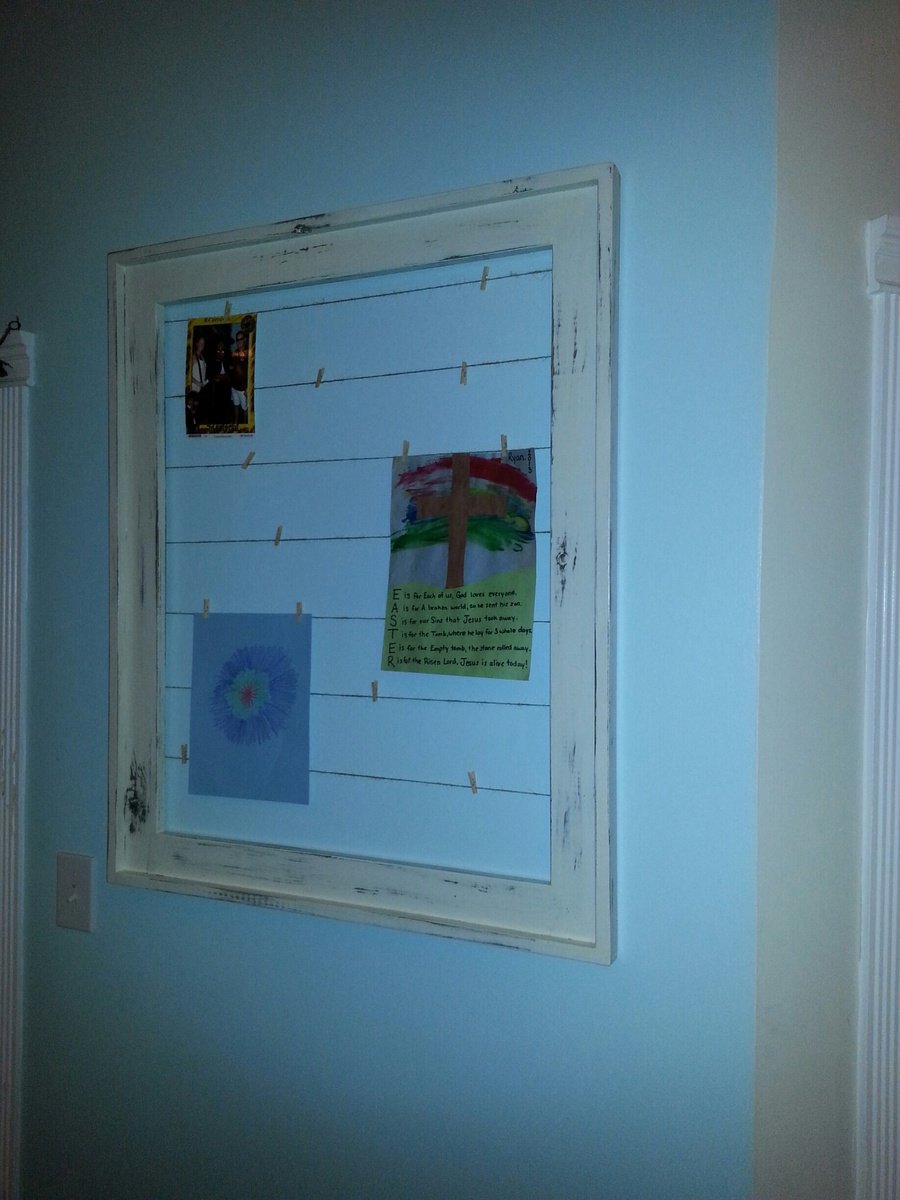
Clothesline frame

Submitted by Brad Wills on Tue, 11/05/2013 - 19:53

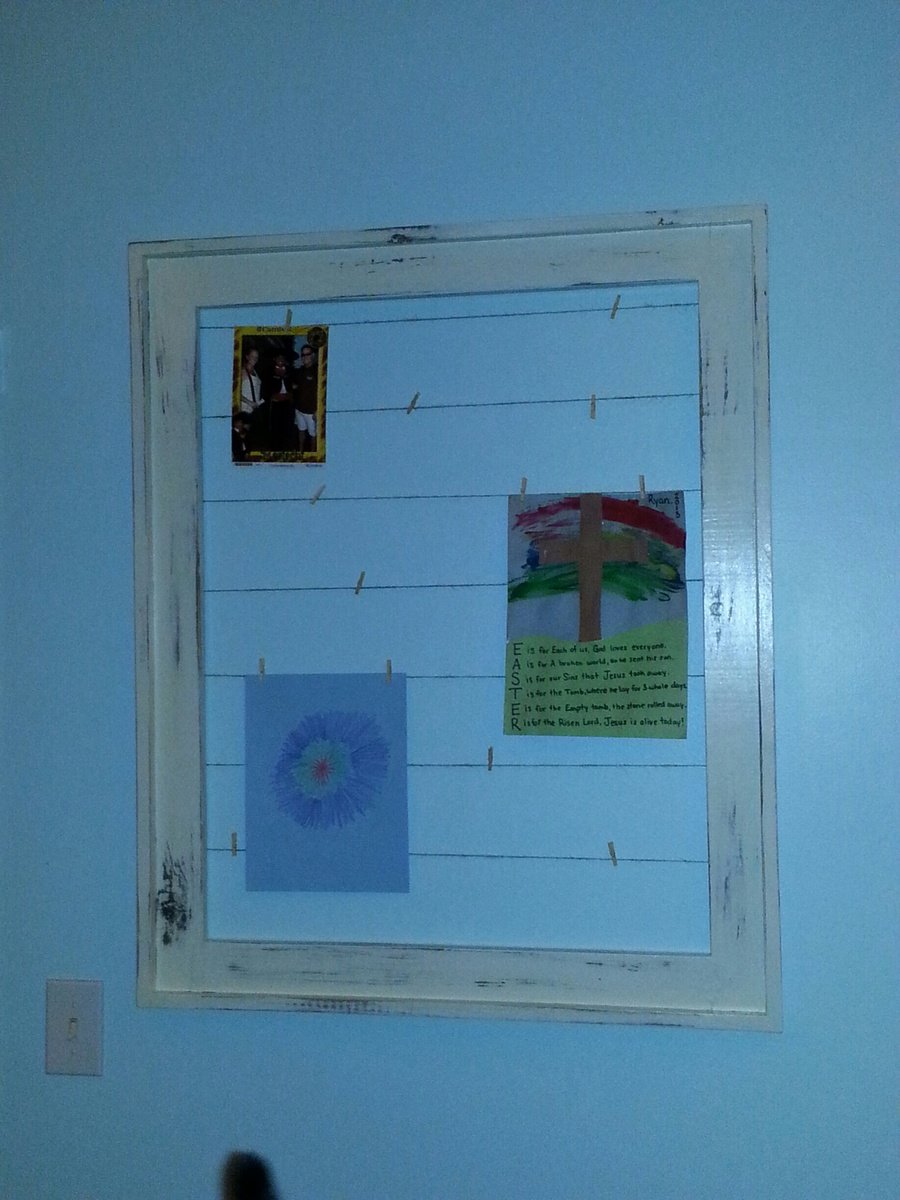
I had a empty space that needed something and this was an expensive fun way to fill it.

Estimated Cost
15.00
Estimated Time Investment
Afternoon Project (3-6 Hours)
Finish Used
Varathane weathered gray and ash stains. Behr oyster satin paint with 3 coats of varathane poly.
Recommended Skill Level
Beginner

Comments

Full Open Kitchen cart

Submitted by 914934 on Thu, 01/21/2016 - 10:27

Mom wanted an island for her new large kitchen but something that could be moved out of the way. With all her cabinets and drawers, we omitted the shelves and drawer from the original plan. We also wanted it full across the inside, not just half way. This allows her to put her stool on the shelf out of the way if needed. However, after getting all her furniture into her new home, she decided that she had enough in her new kitchen so she scoots it under the breakfast bar for now. 
This was made on a tight budget. We only had to purchase the 2x4s and casters.
We also used tongue and grove blue pine left over from our house for the bottom shelf and staggered scrap pine 1x4 & 1x6 boards for the top and then routered it to give it smooth rounded edges on top. 

Estimated Time Investment
Afternoon Project (3-6 Hours)
Finish Used
Unfinished. Mom hasn't decided if she wants to paint it or not.
Recommended Skill Level
Beginner

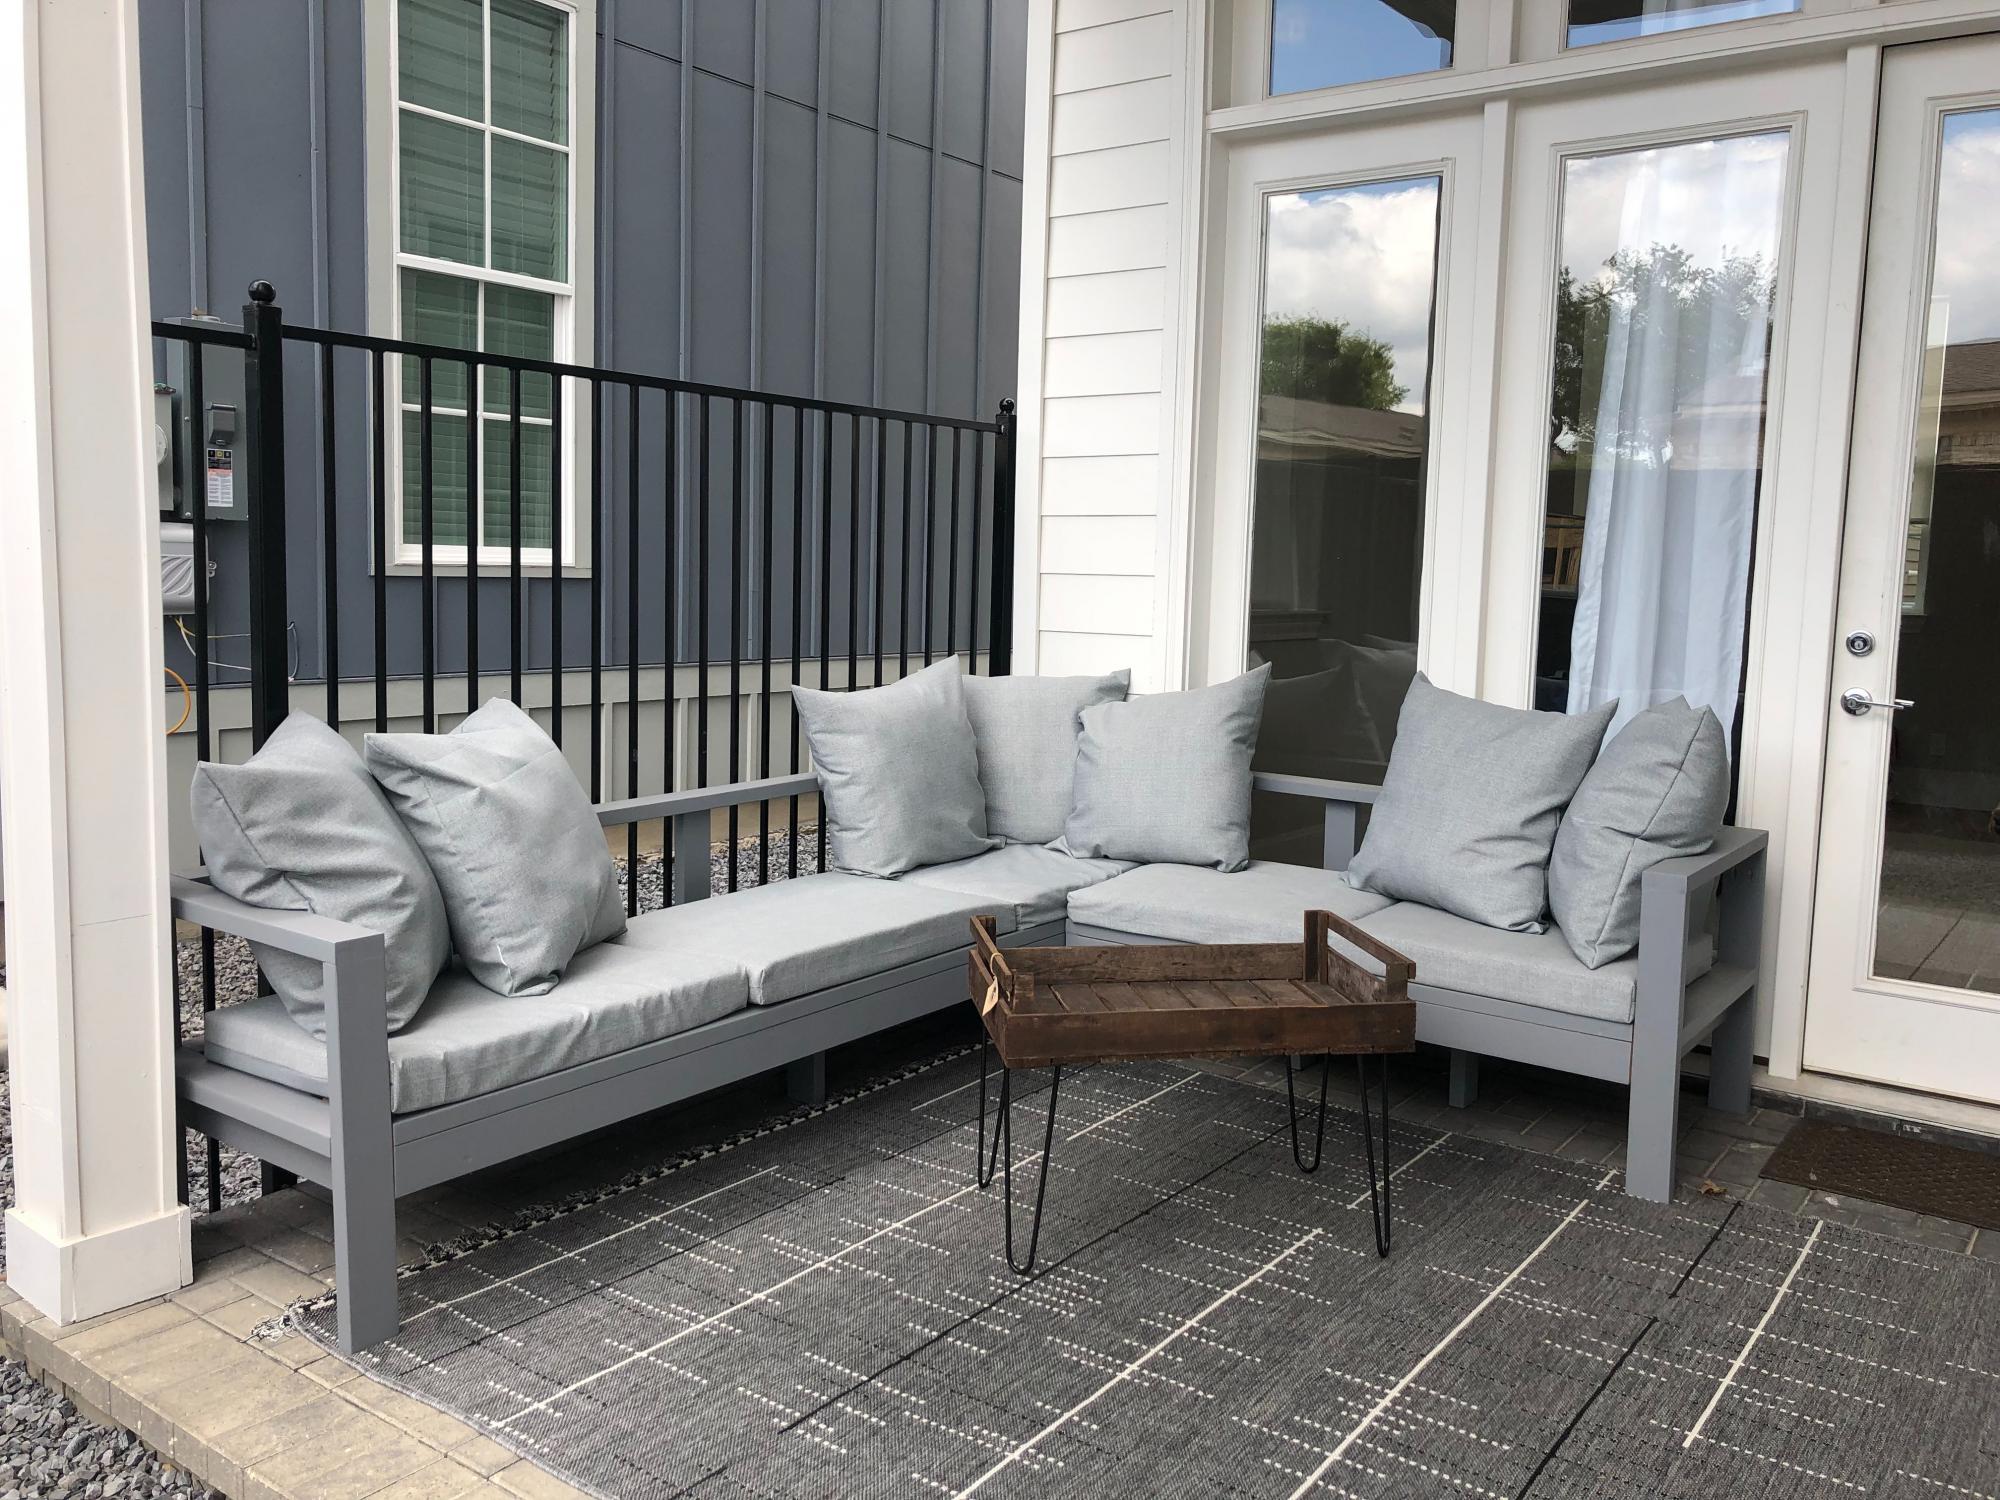
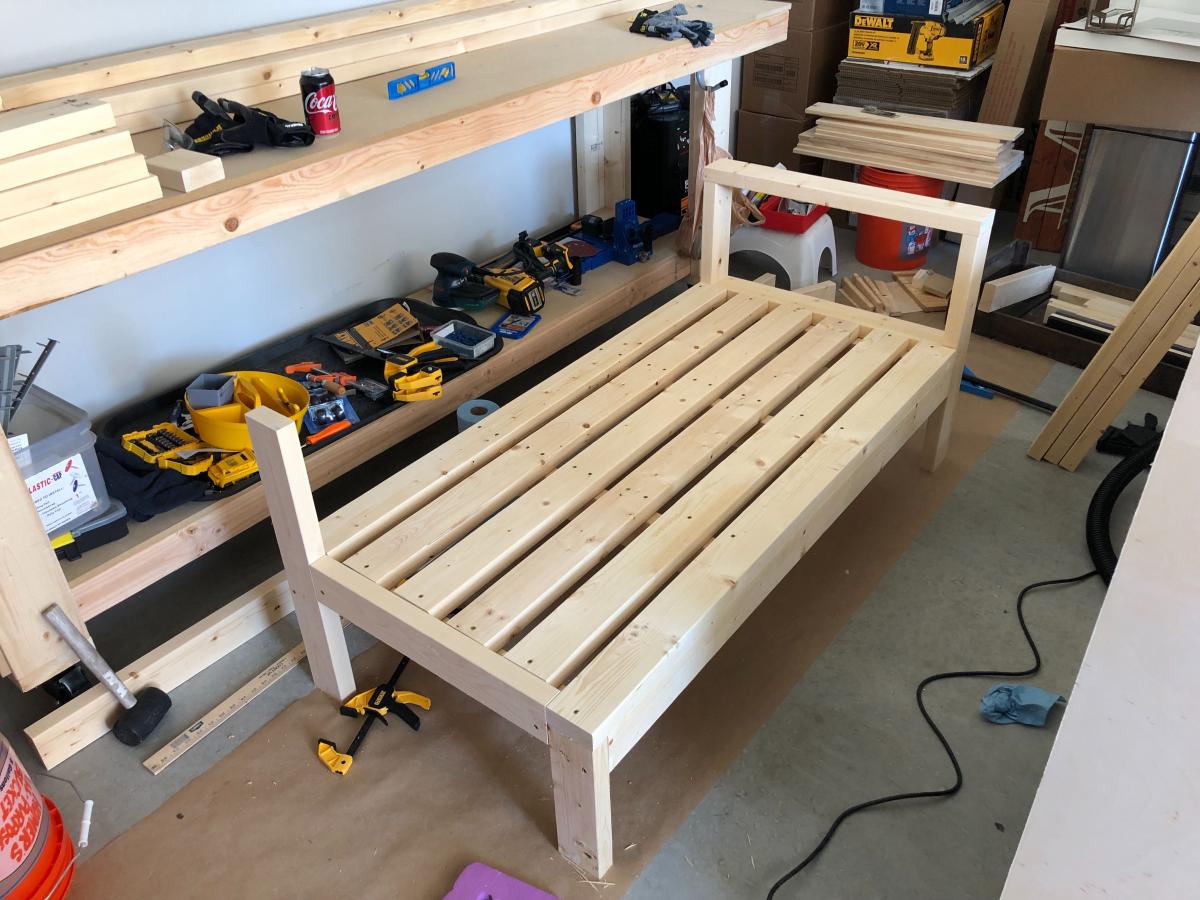
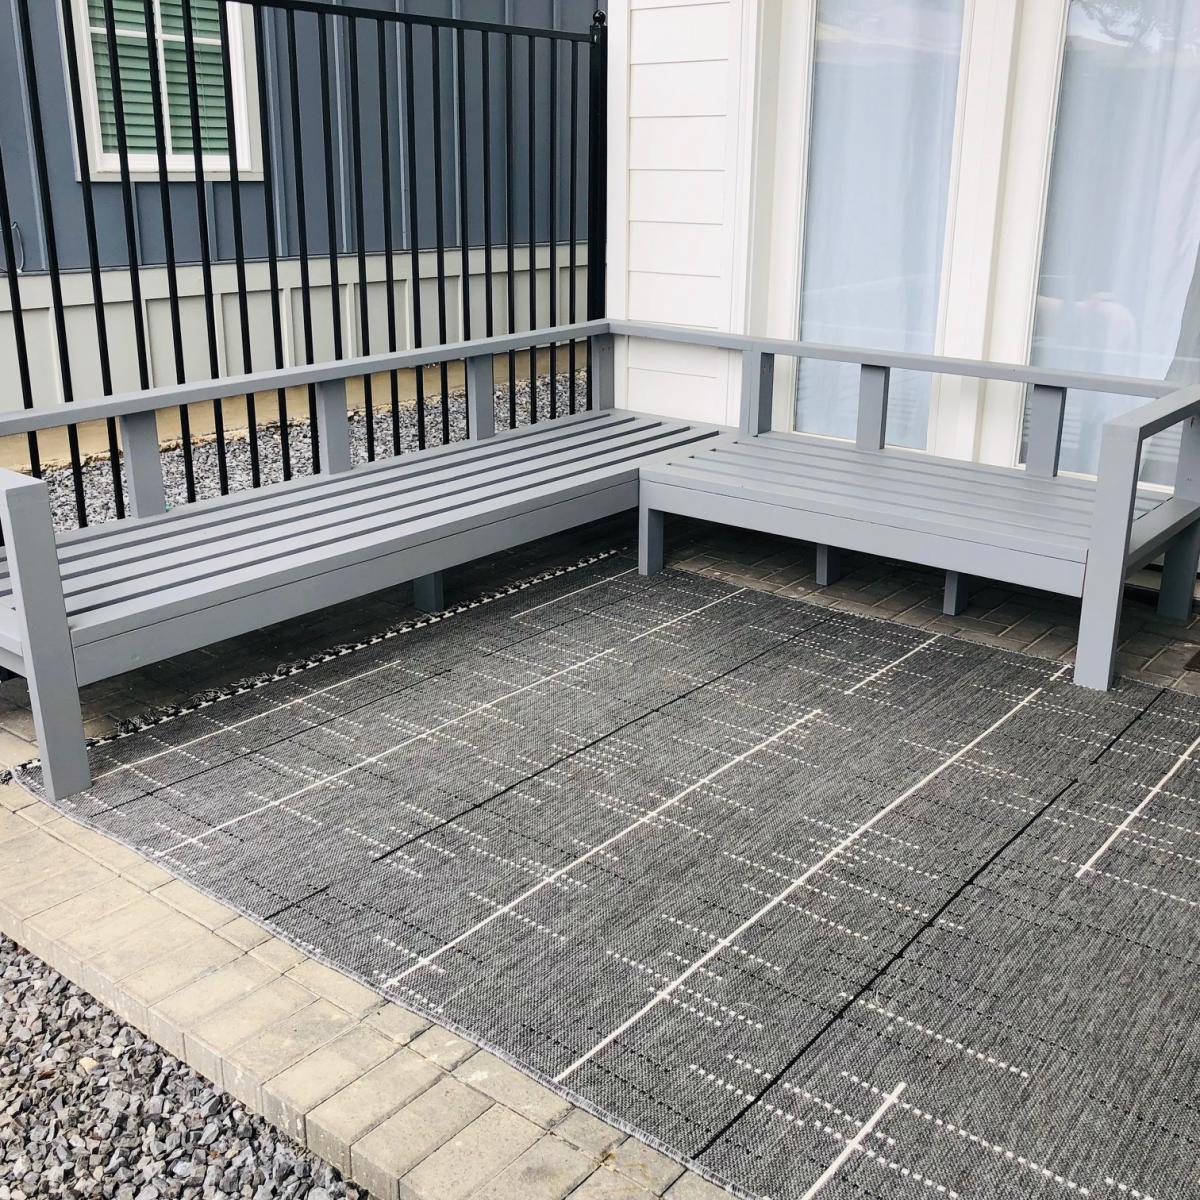
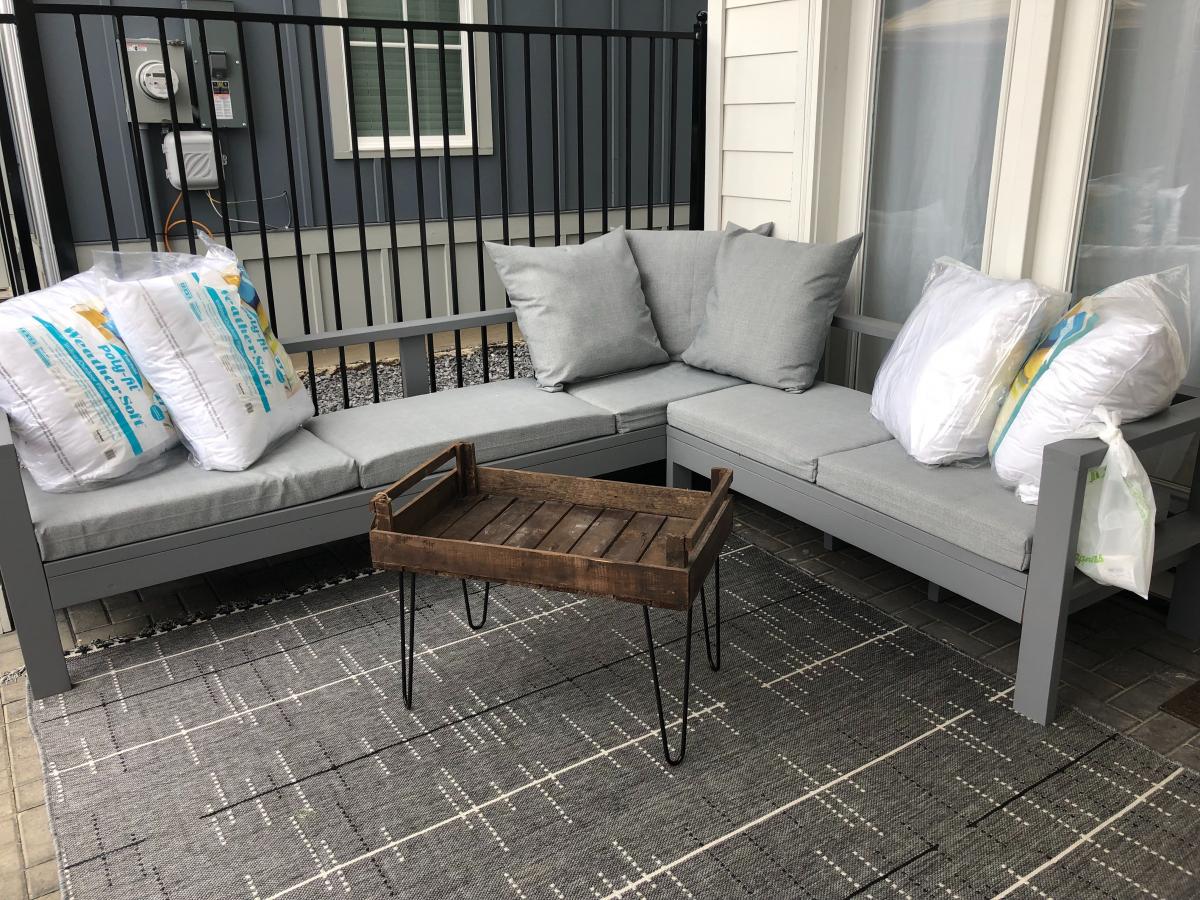
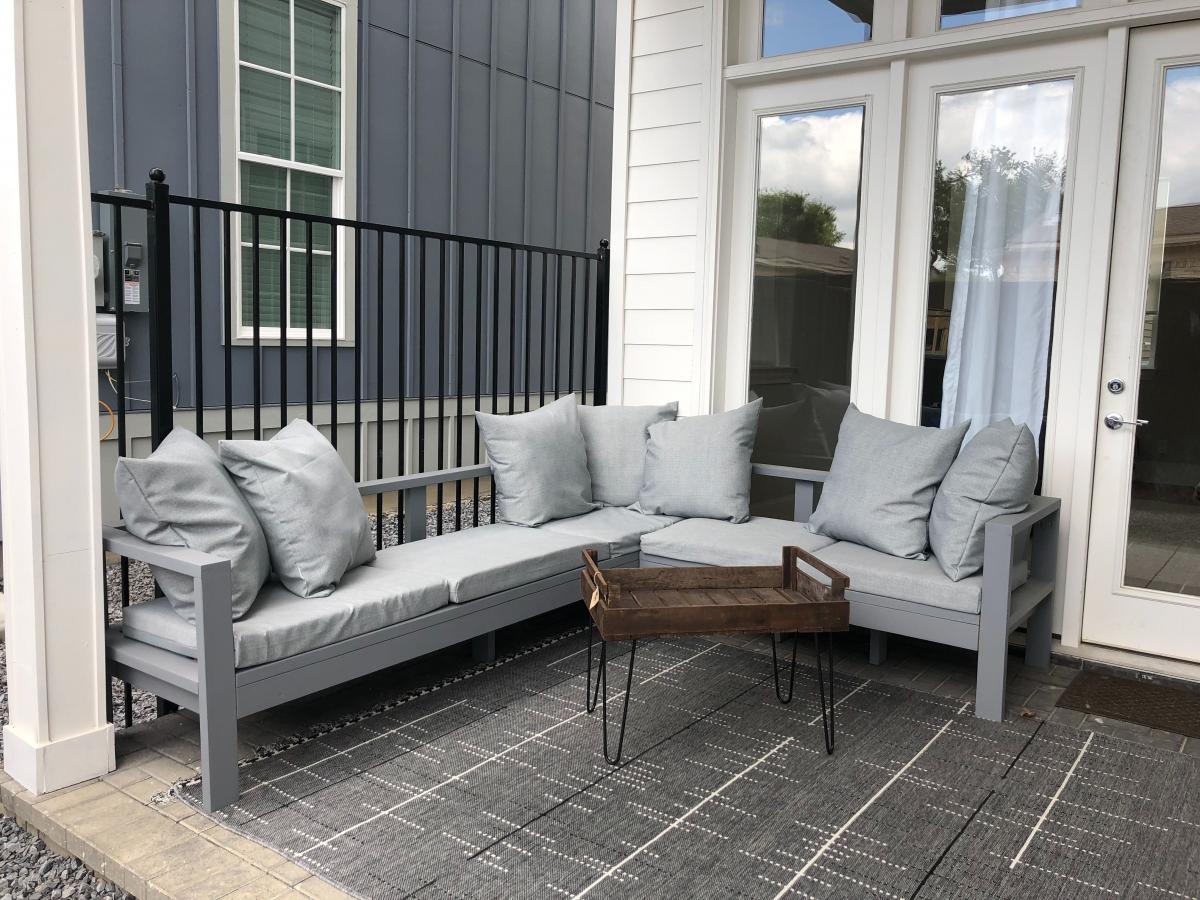
Outdoor sectional, my 2nd diy project

Submitted by SuperKiki on Fri, 06/28/2019 - 09:41
  • I pretty much followed the instructions for each plan. I customized the length to fit my space.
  • There was some bowing on the back rest so I added some vertical supports.
  • Because the sectional is quite long I added some legs in the middle.
  • I stained the sectional twice and had to sand off the stain twice before I decided to paint it. I highly recommend that you test your stain on a cut off piece and pick what you're doing before putting it on your furniture. If I had done this it would have saved me a lot of hours and sanding.
  • I had planned to buy Target cushions for my sectional but I forgot to build the sofa with the cushions I wanted to purchase in mind. I ended up having to make my own in order to get a good fit.
  • I have a tiny patio area and this design really worked amazing to give me a lot of seating and still make it feel spacious.
  • You can definitely build and paint this sectional in a day.
Estimated Cost
$300 for outdoor cushion foam and outdoor fabric.
$150-$200 for wood and supplies
Estimated Time Investment
Day Project (6-9 Hours)
Finish Used
The paint is outdoor matte paint from Home Depot and it worked marvelously, very streak free.
Recommended Skill Level
Starter Project

Comments

Entertainment Console

Submitted by Anonymous (not verified) on Sat, 04/08/2023 - 08:27

We needed a new entertainment console for the living room but didn’t want to spend $$$for something everyone else has. I found plans on your site and tweaked them to fit our needs.
This is 70”x31”x24” live edge Maple top and doors have a black epoxy filling the voids. The shelving, sides and trim are ambrosia maple. The fireplace insert has a heat/no heat option. I trimmed it the back with 1/4” maple plywood with ventilation for the fireplace. The top and doors maple is from a tree we cut, slabbed and dried. I finished it with Odies Woods Wax.
All-in-all, $550 in materials. The best part, my husband loves it!

Built from Plan(s)

Comments