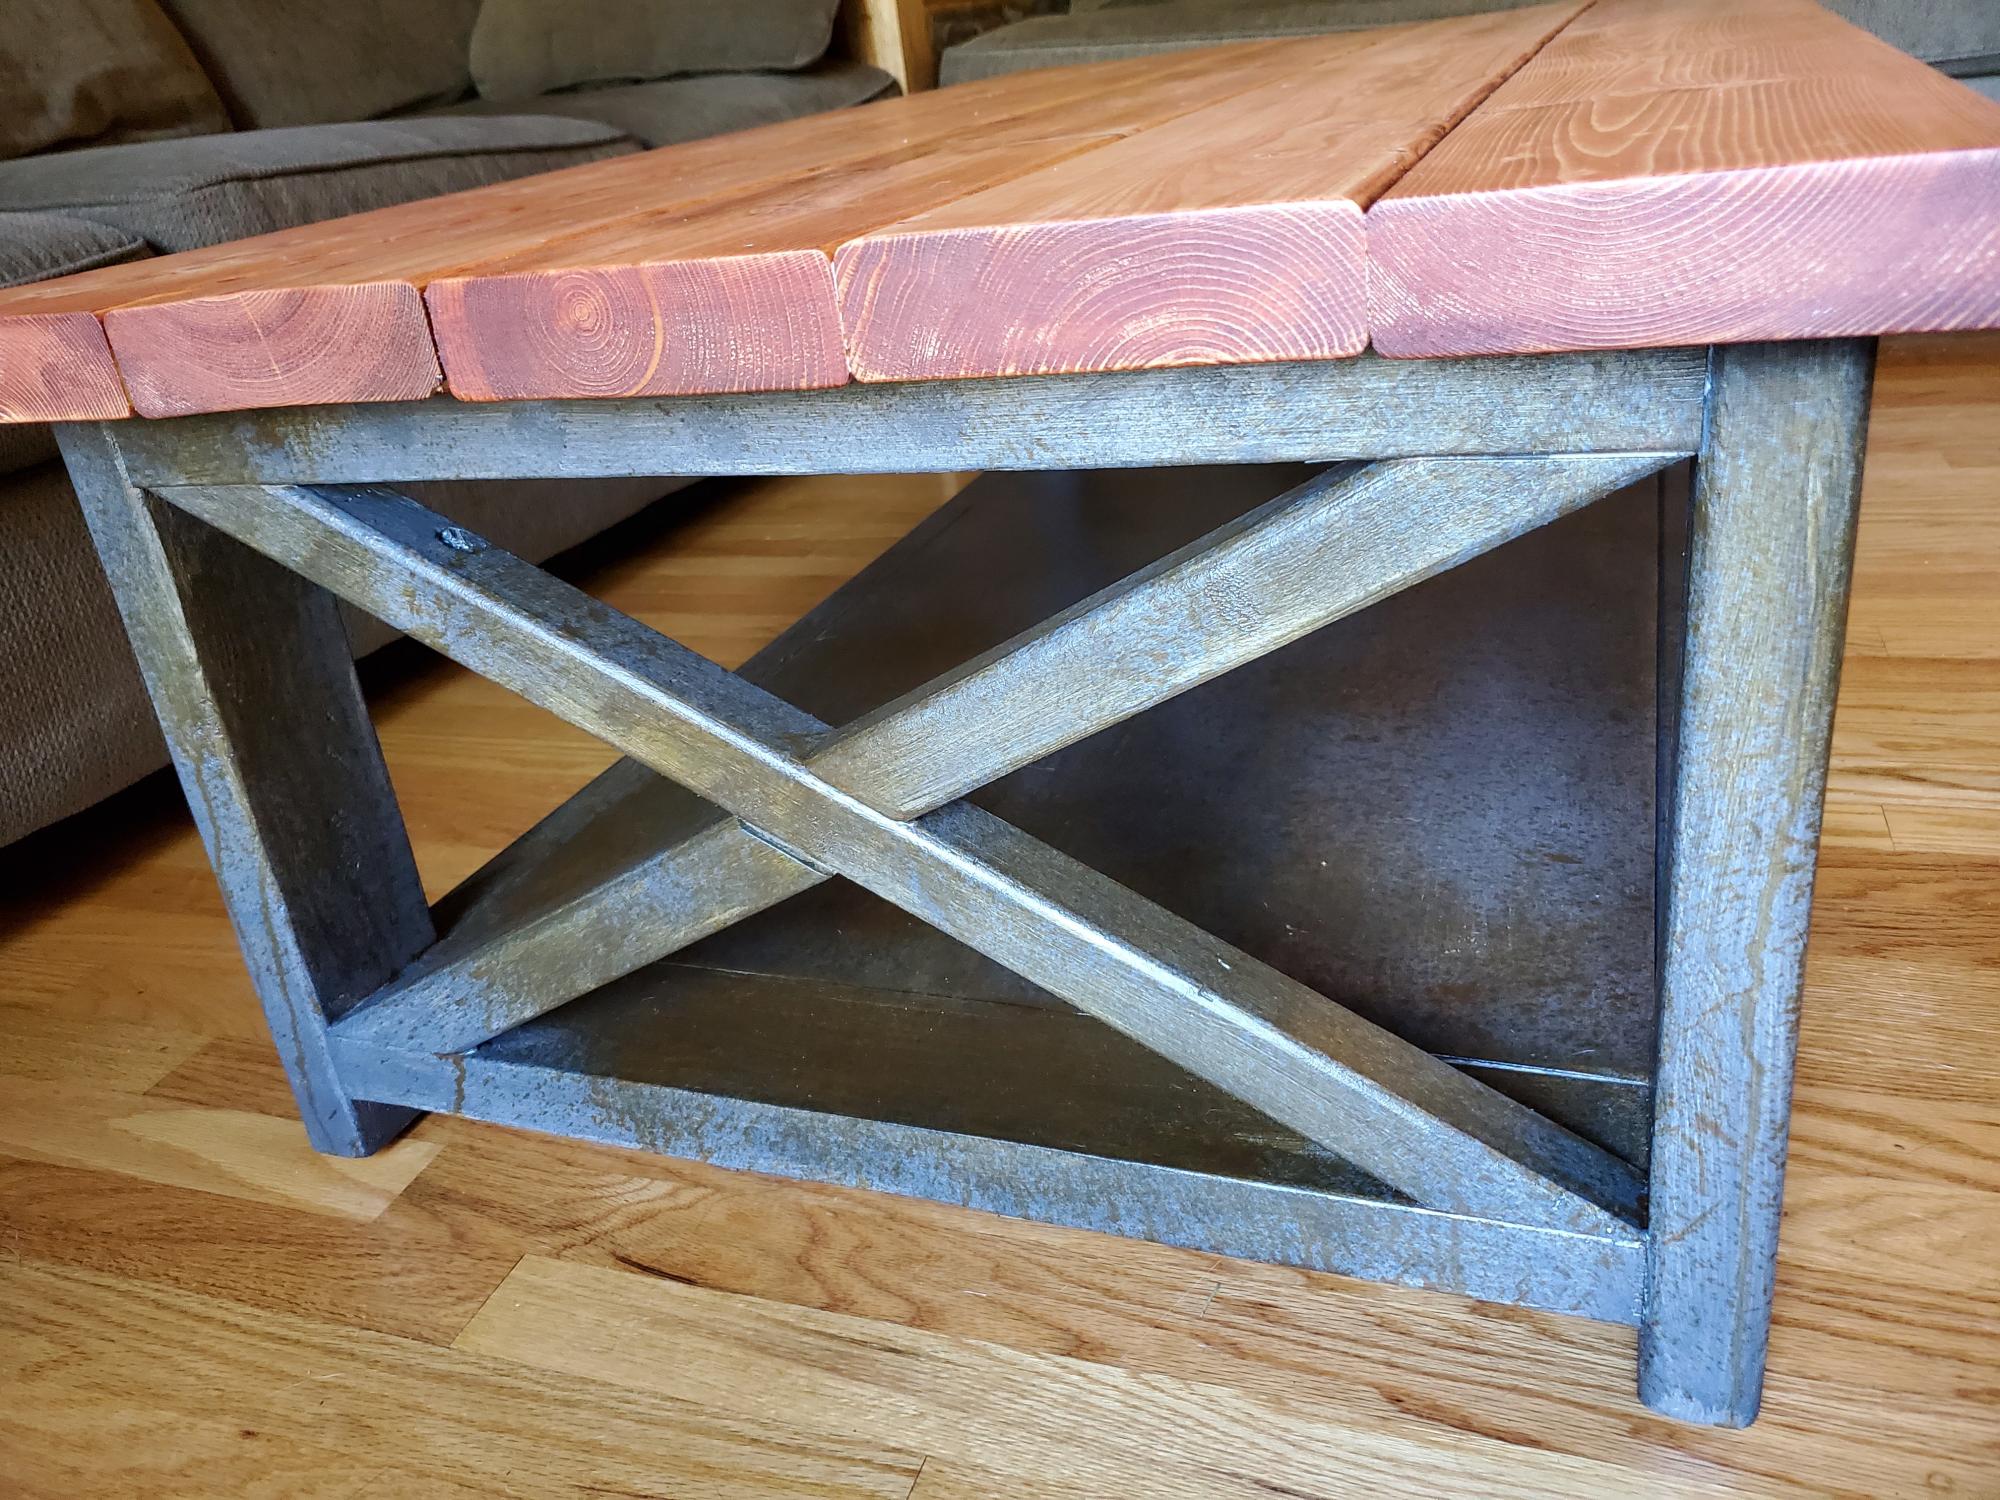
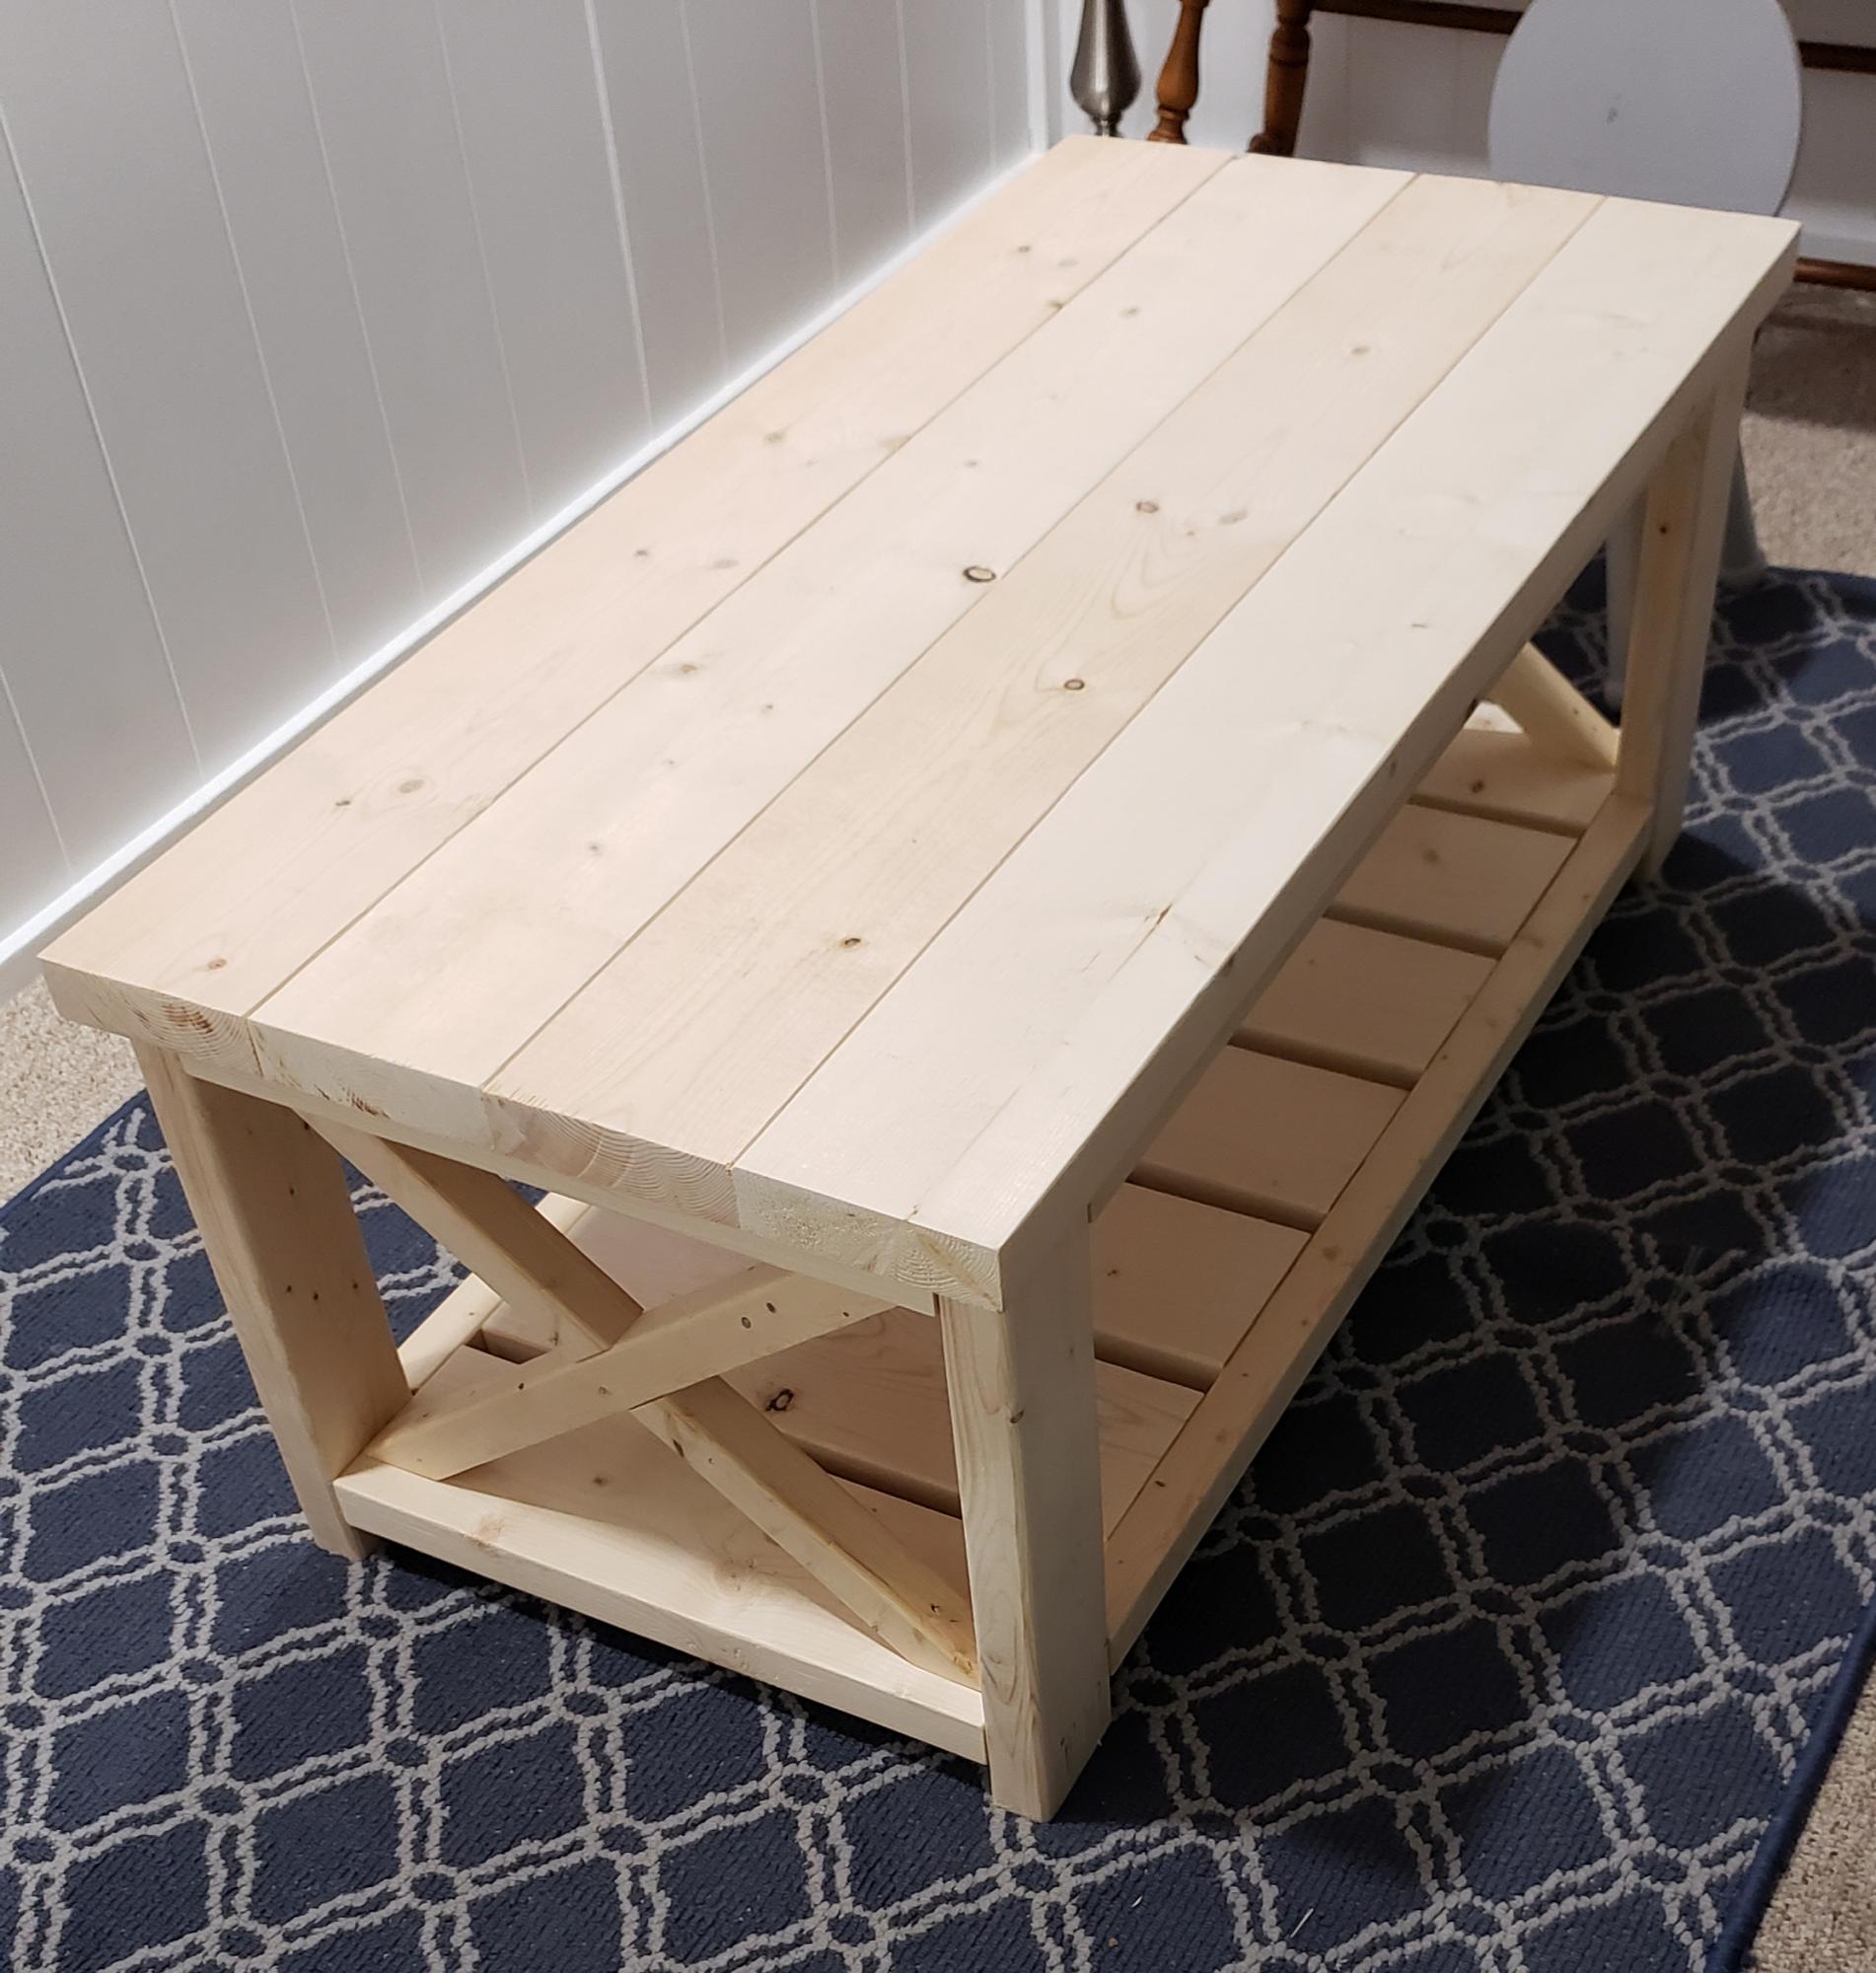
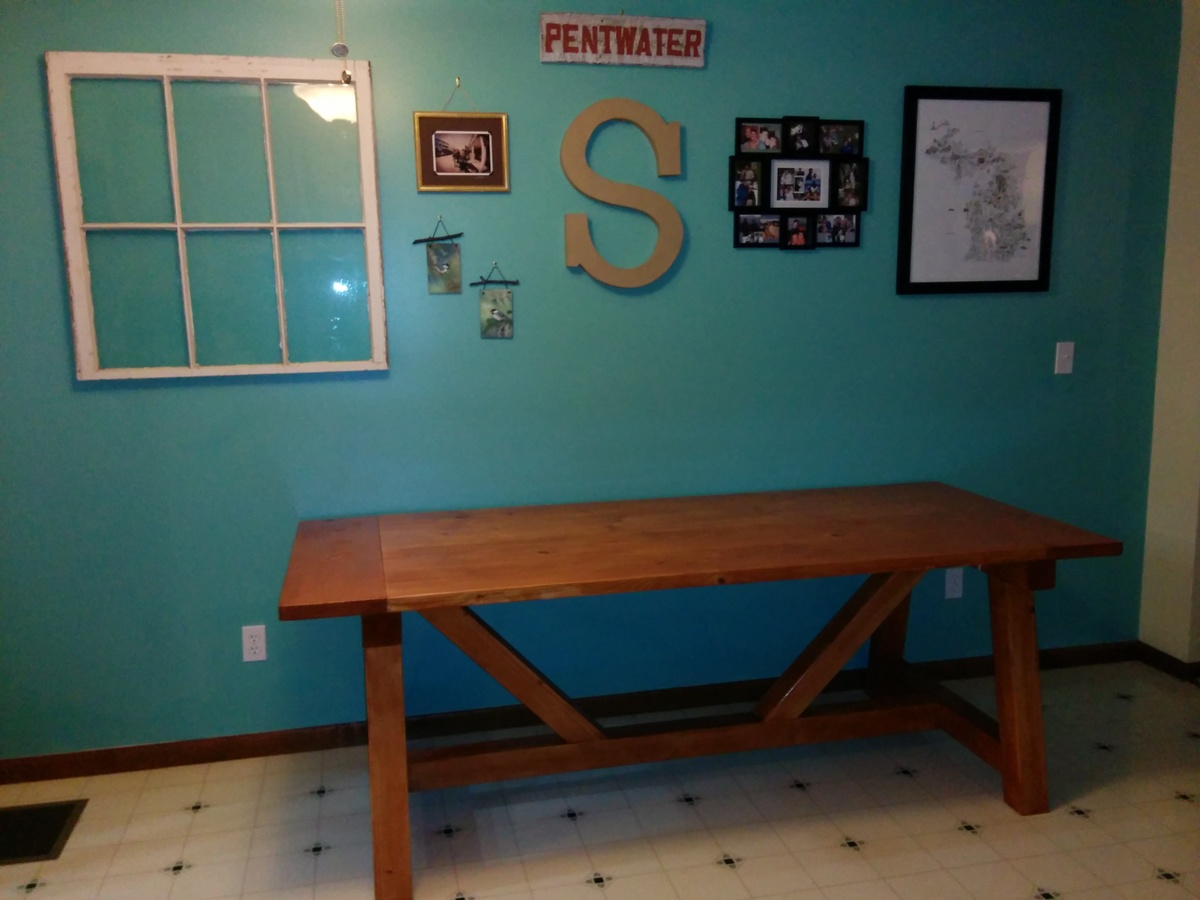
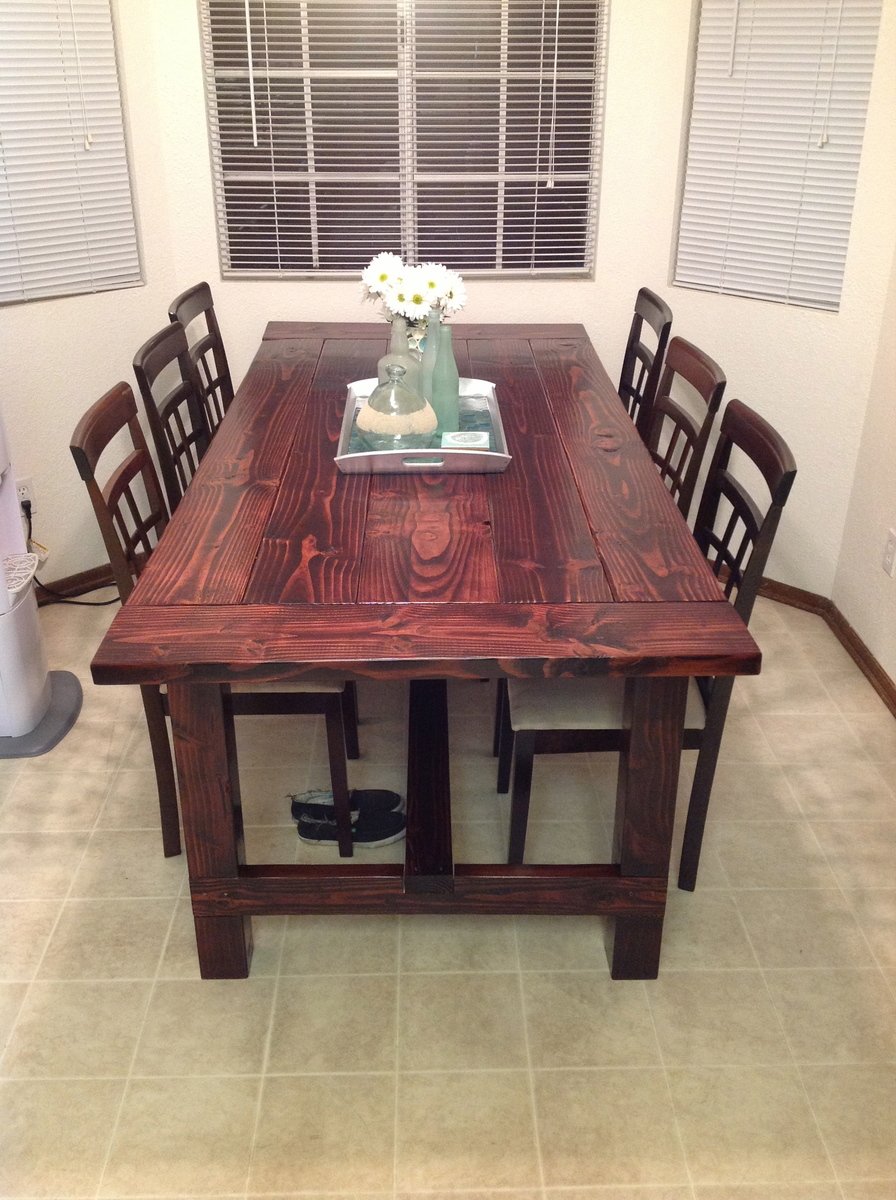
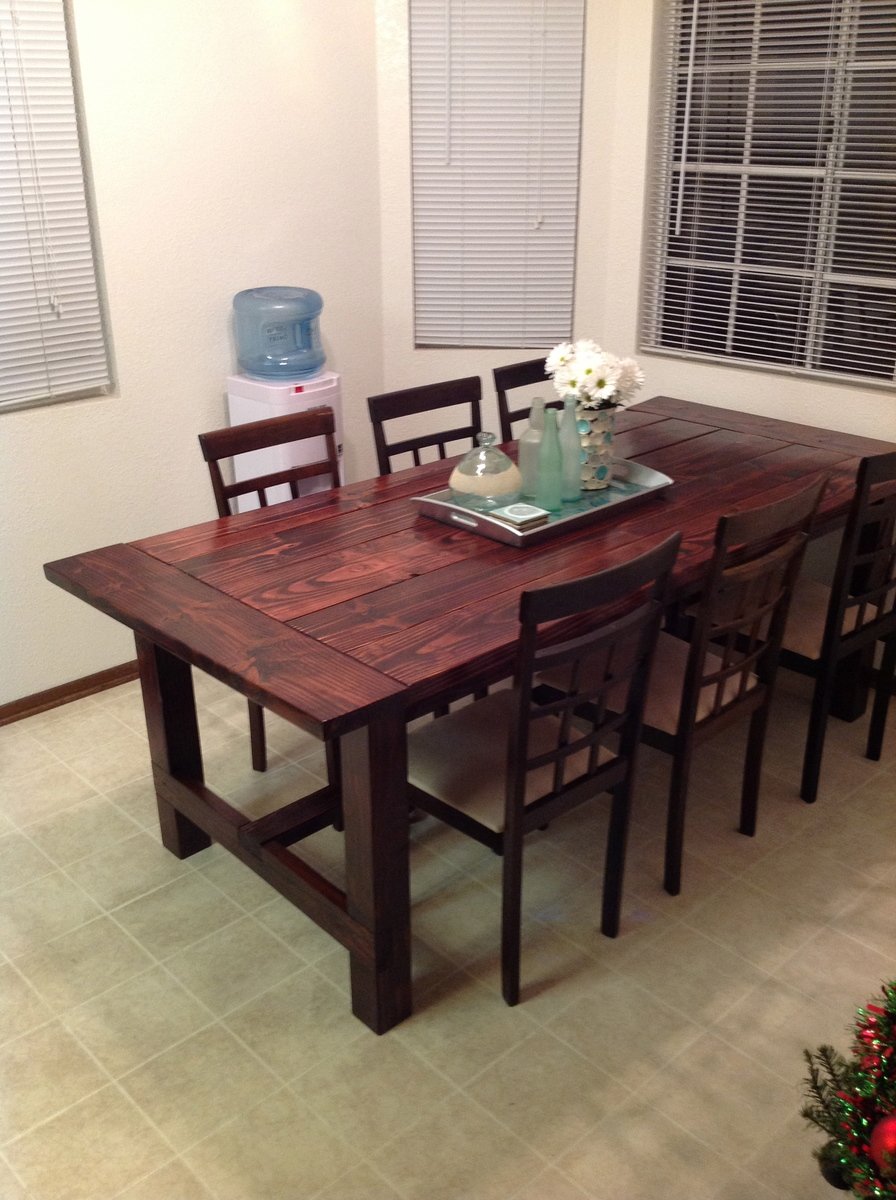
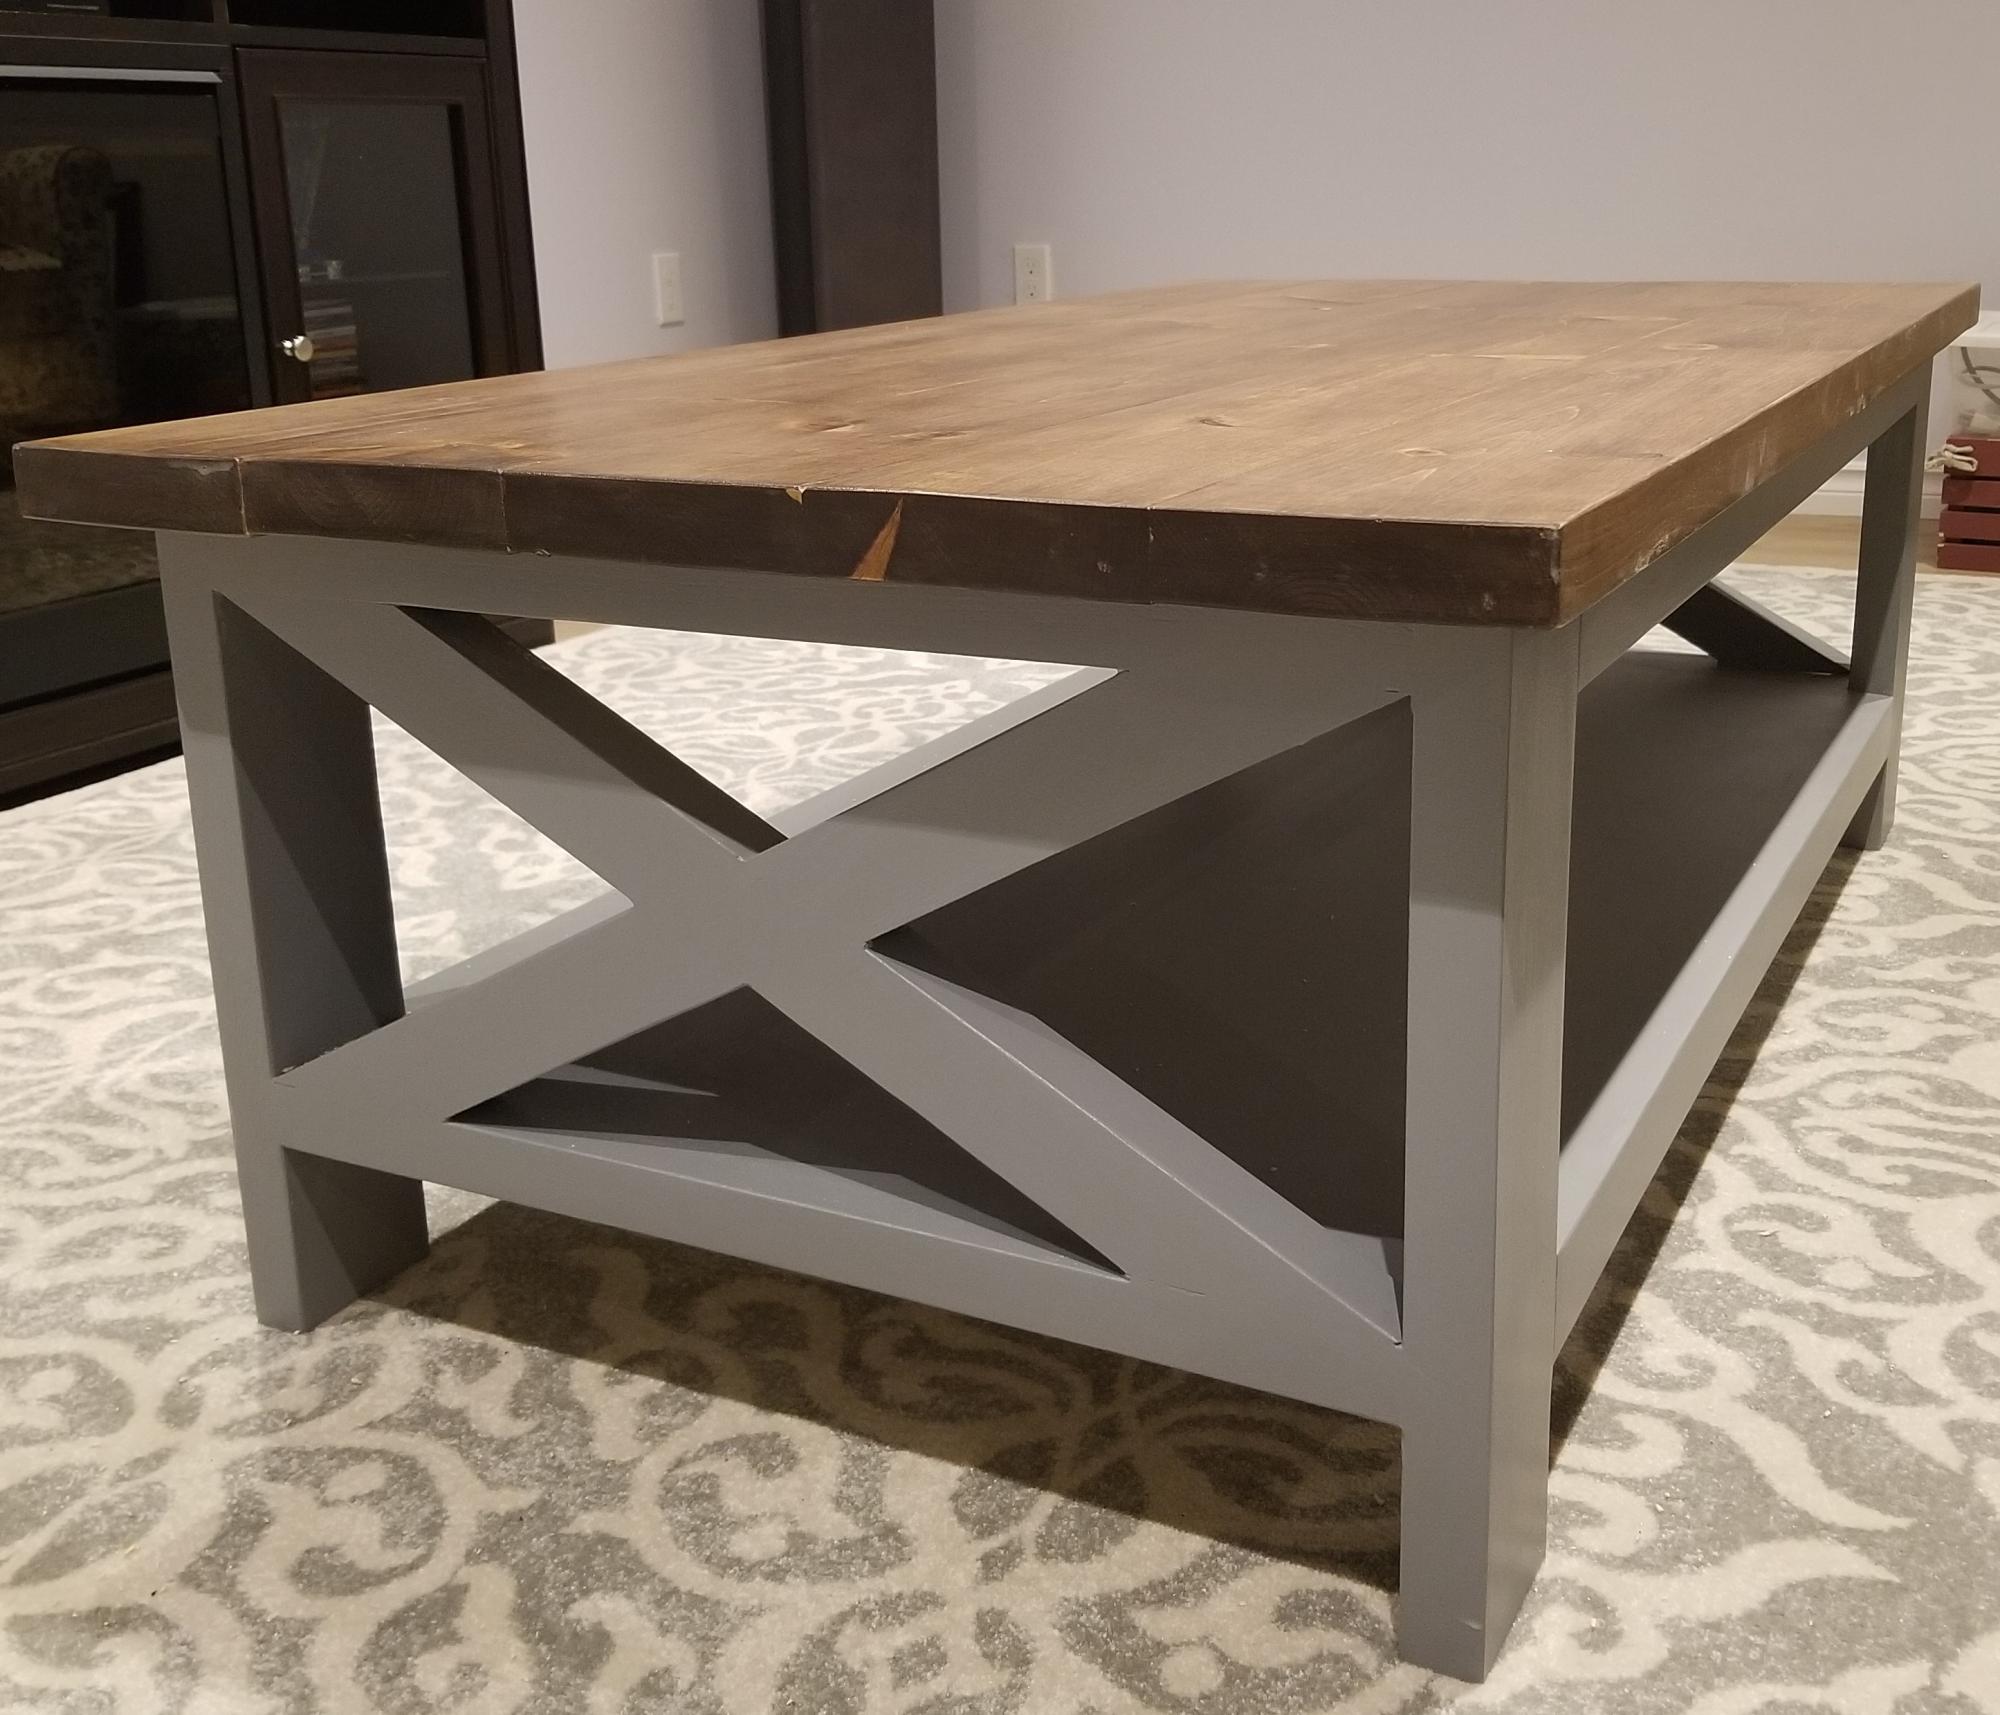
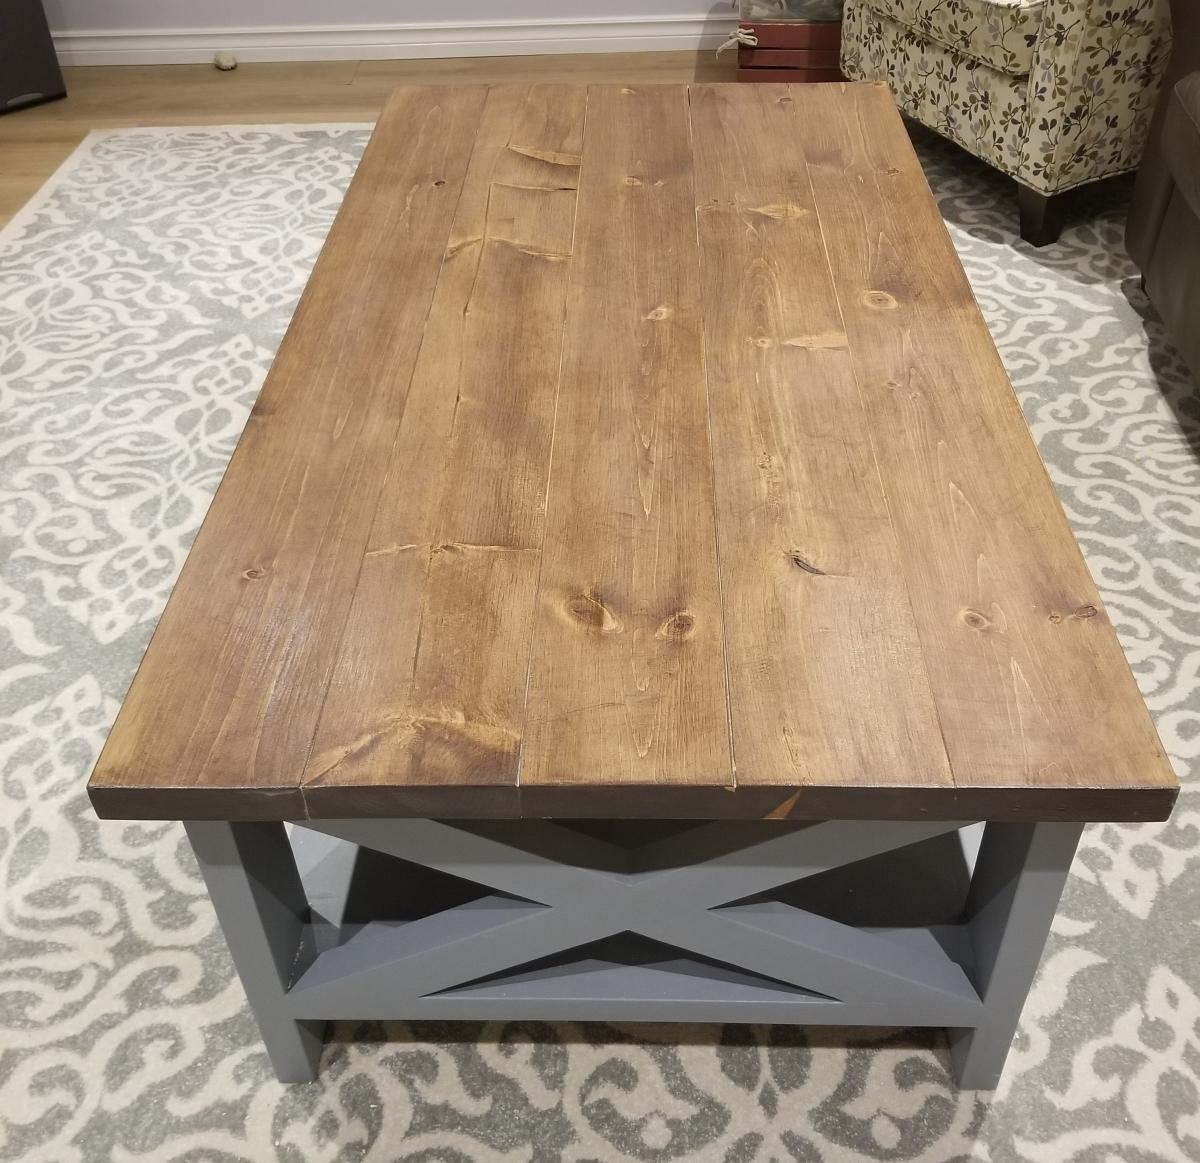
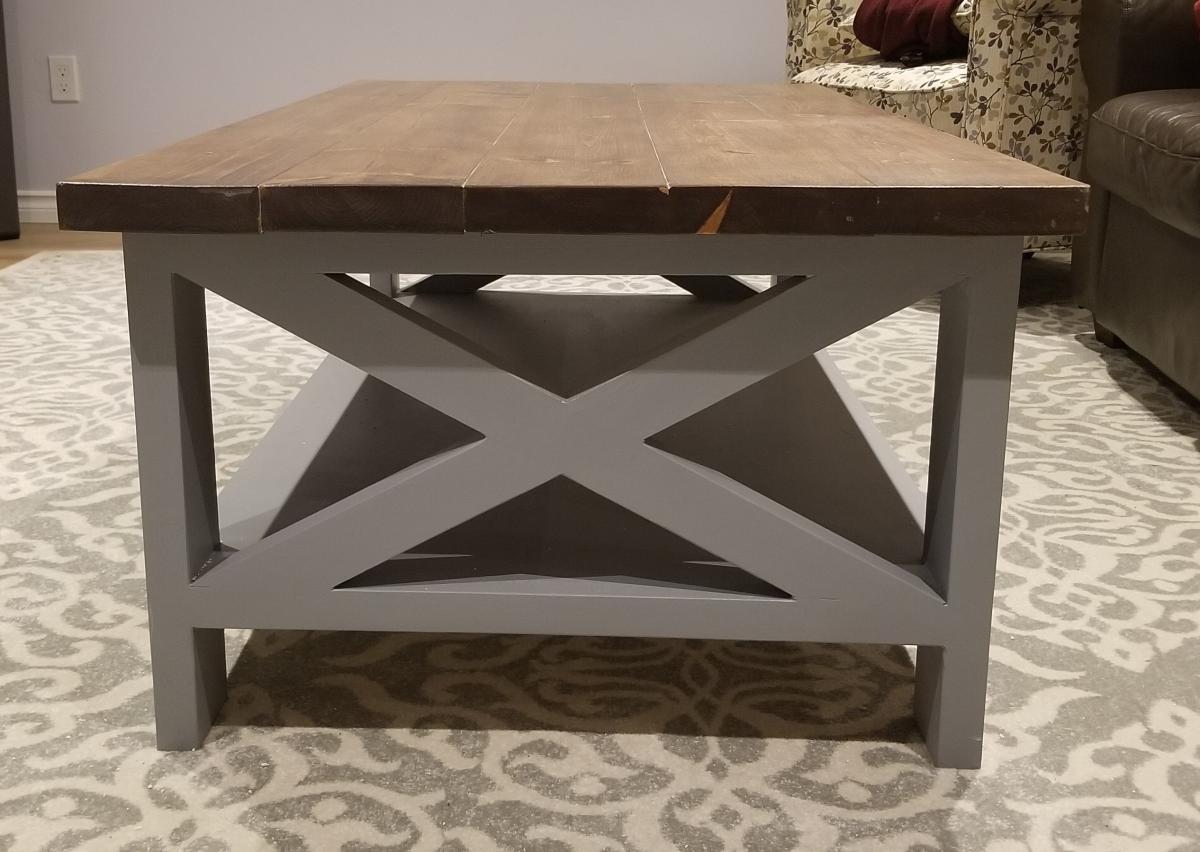
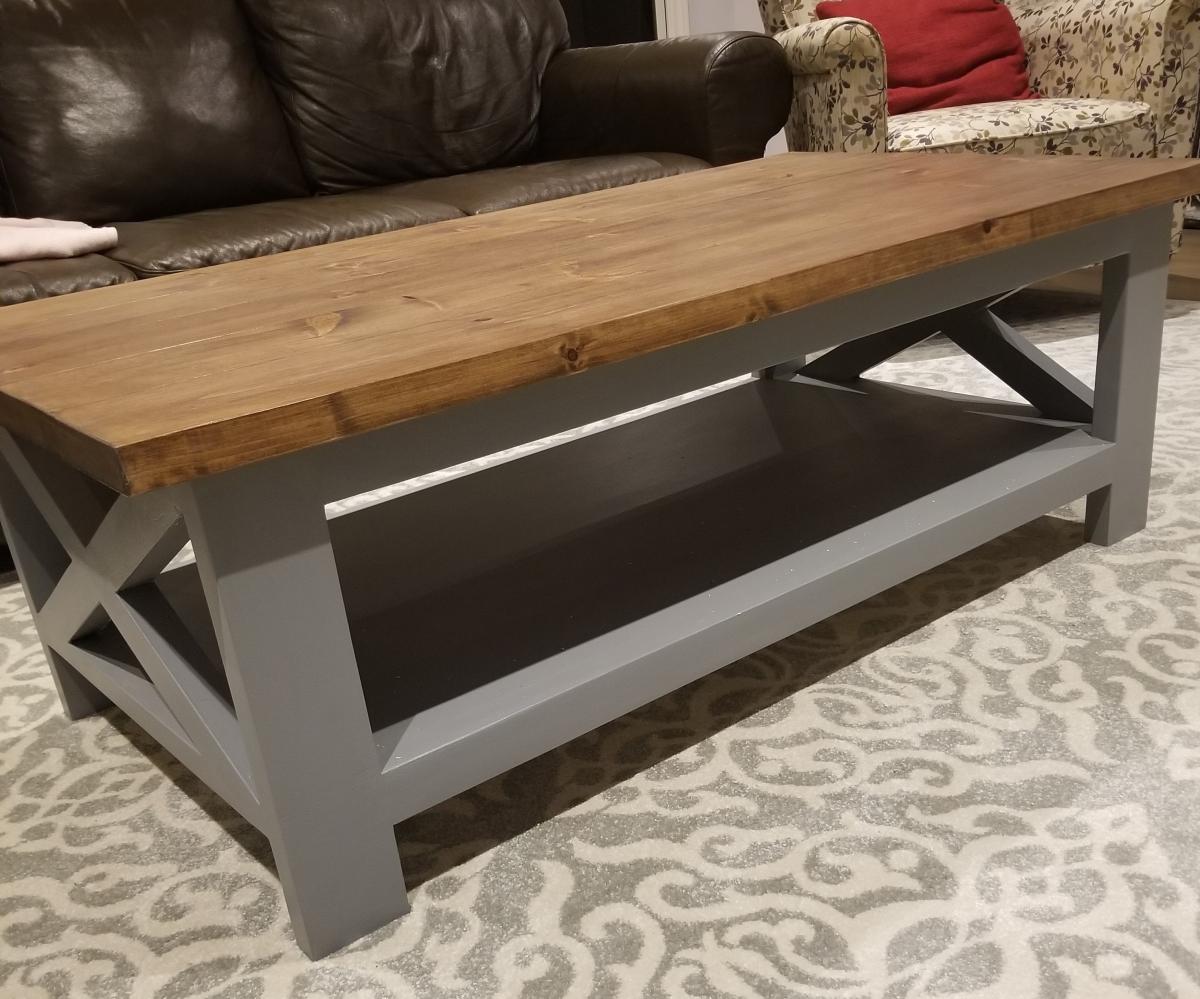
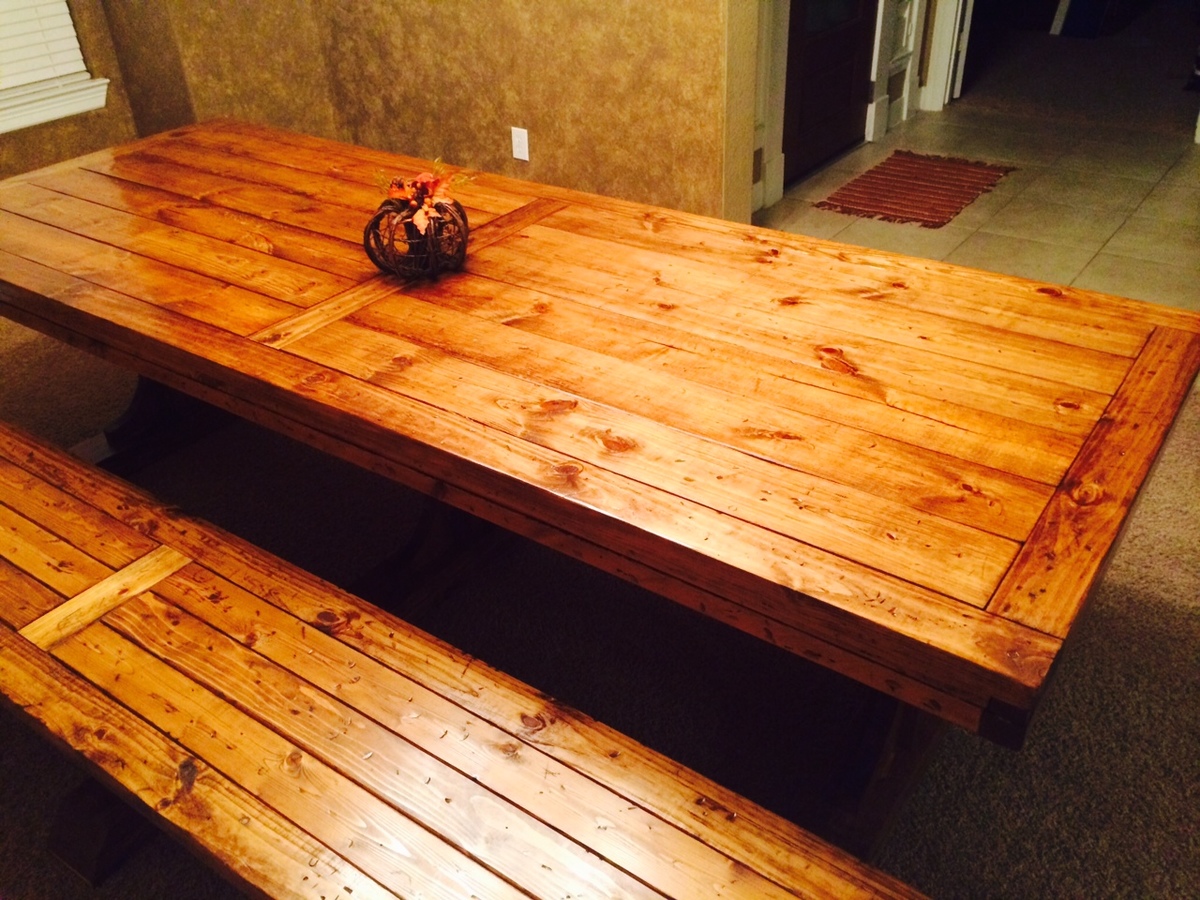
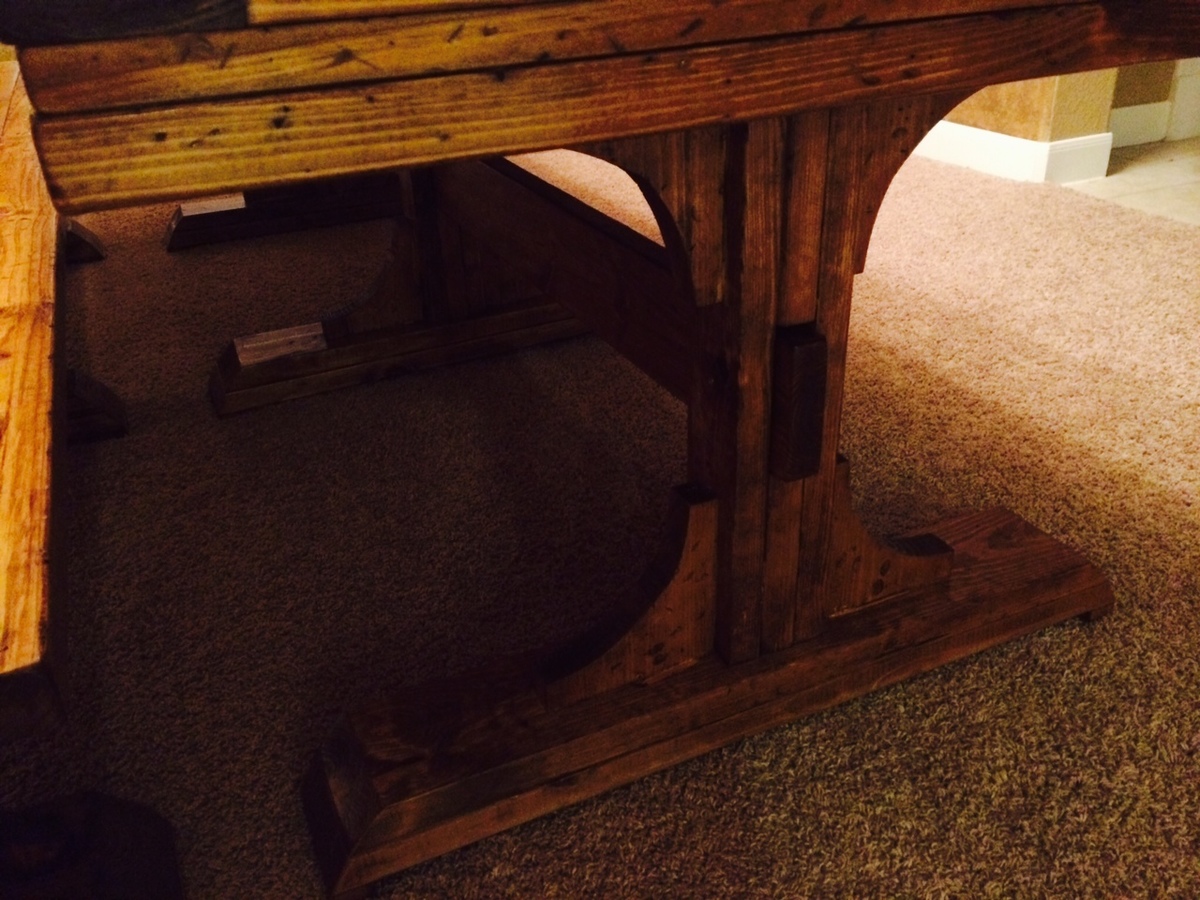
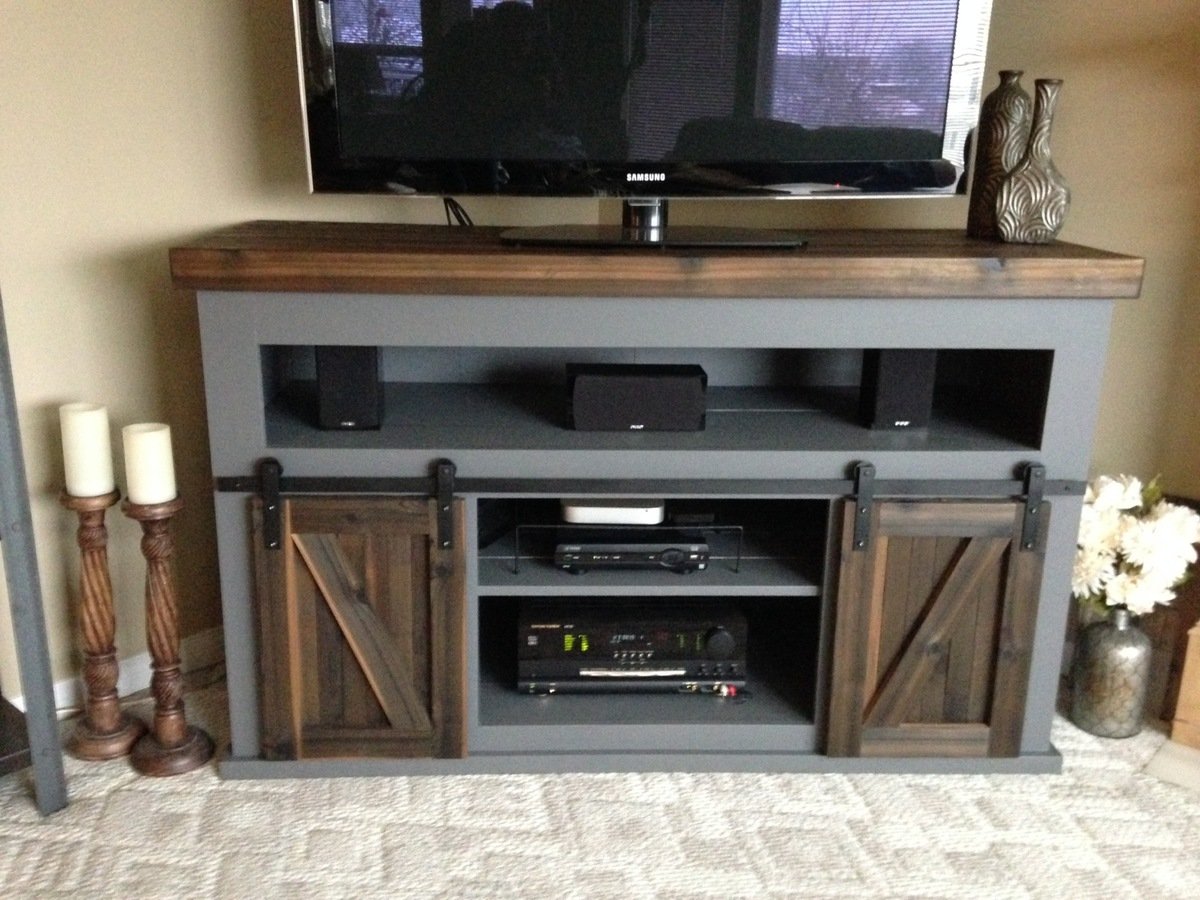
When COVID hit I quickly realized that I had absolutely no hobbies - aside from Netflix (is that considered a hobby?) One day I went down a YouTube worm hole and ended up seeing one of Ana's video's. As I watched I thought "She makes this seem easy", I think I could do this. So I went and bought a few tools and got to work. I'm now proud to say my first project ever is done!
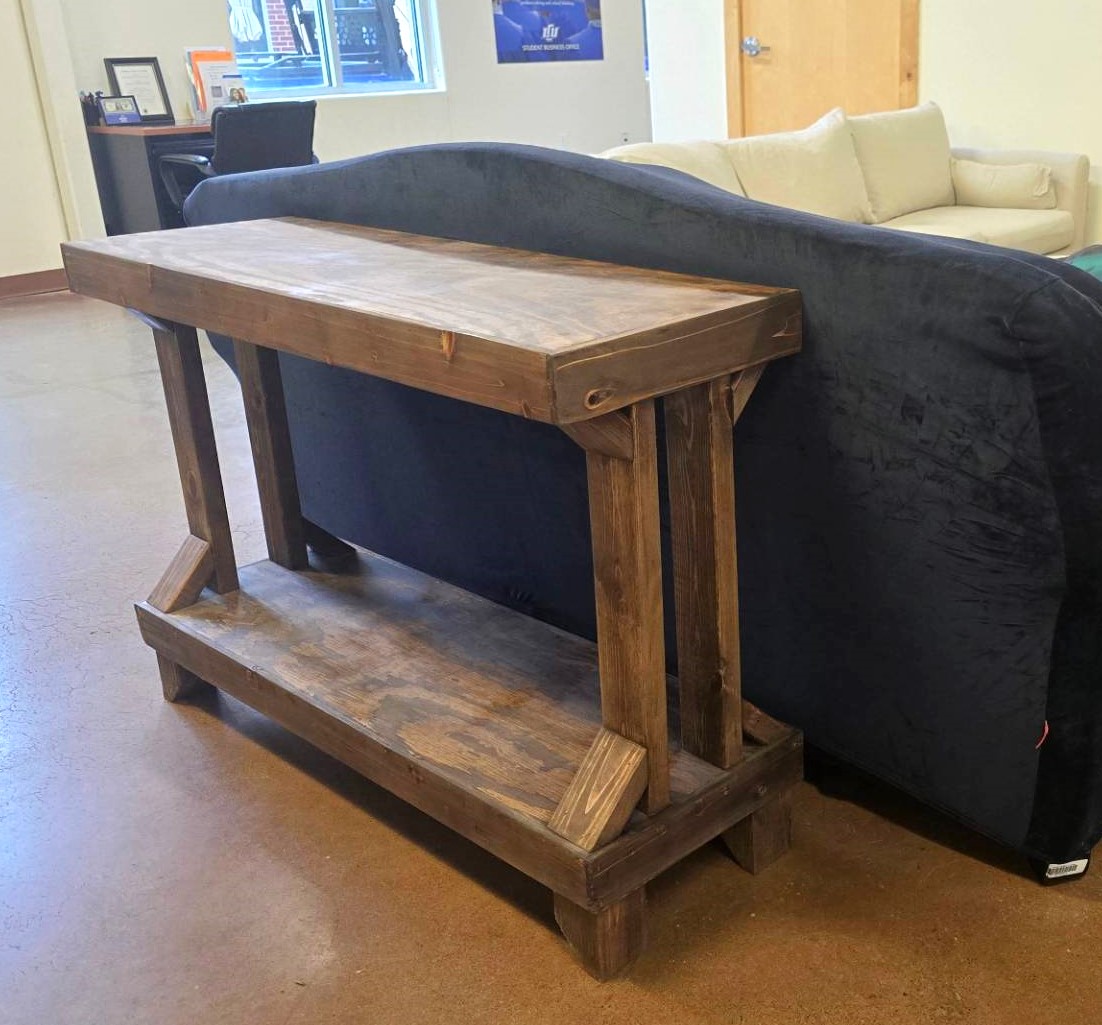
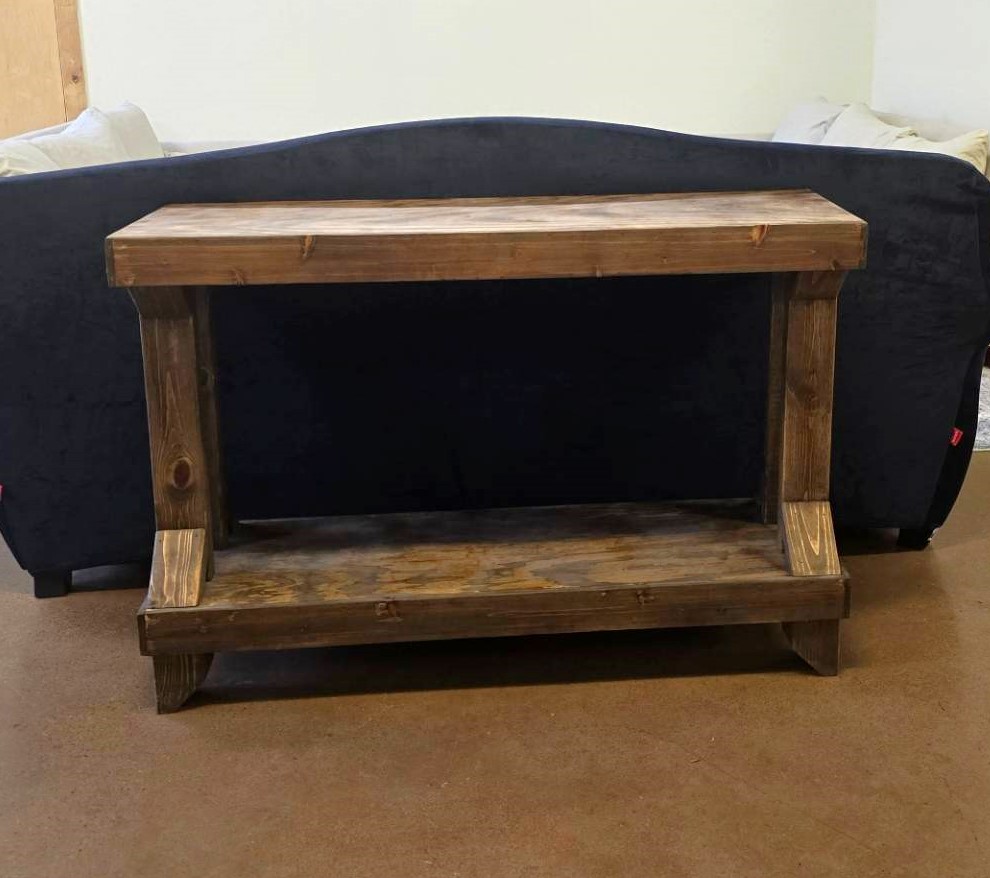
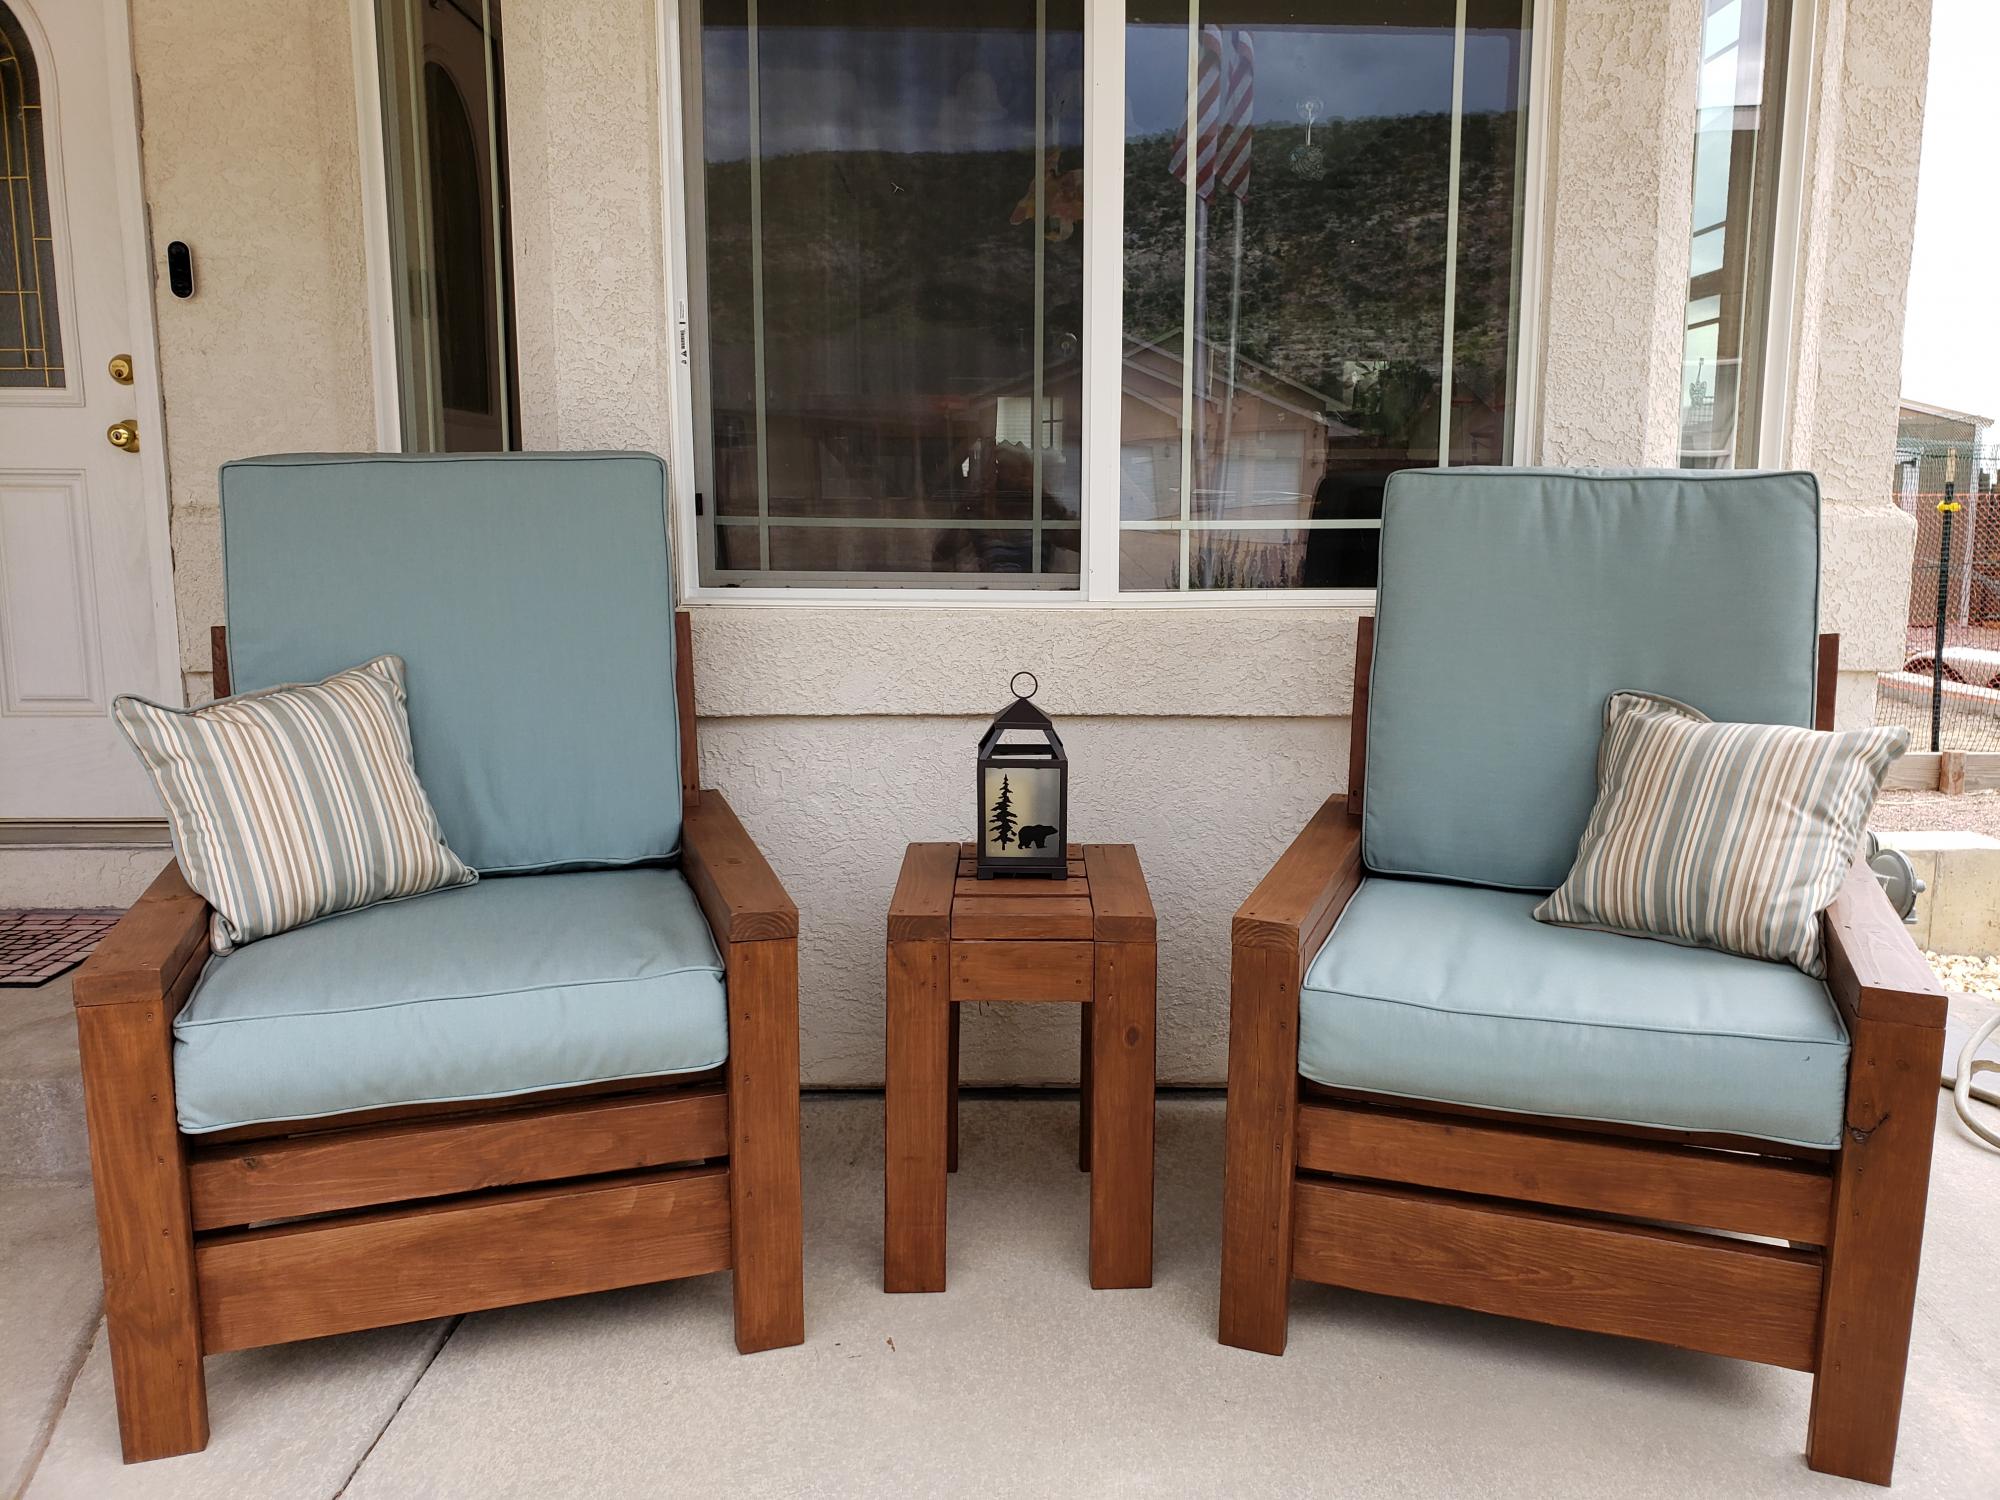
I really enjoyed making this table and I'm looking forward to new projects. My next will be matching side tables.
I learned a ton doing this and while I'm happy with the final outcome I'm also highly aware of all the mistakes I made. The thing is I didn't know I was making mistakes at the time. (I didn't know what I didn't know) A little bit of experience now helps eliminate those same errors next time around.
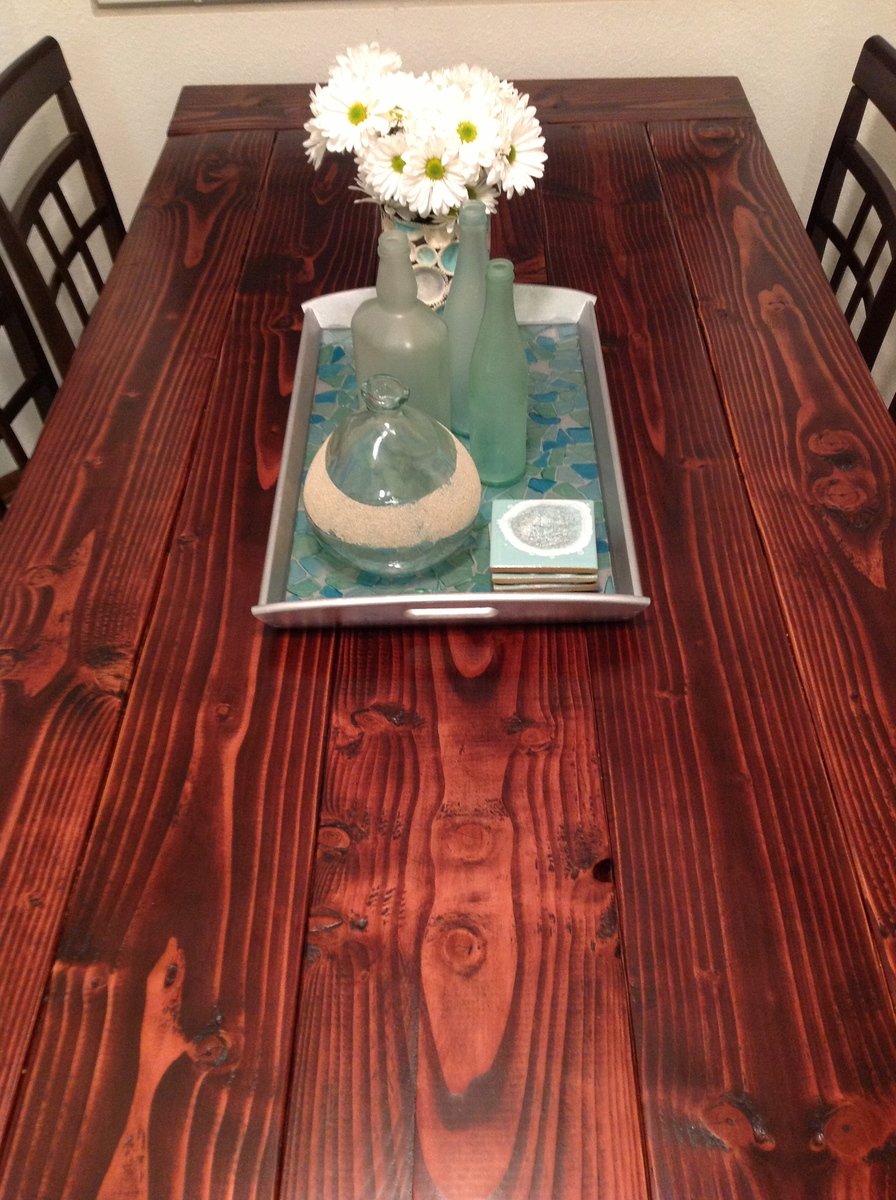
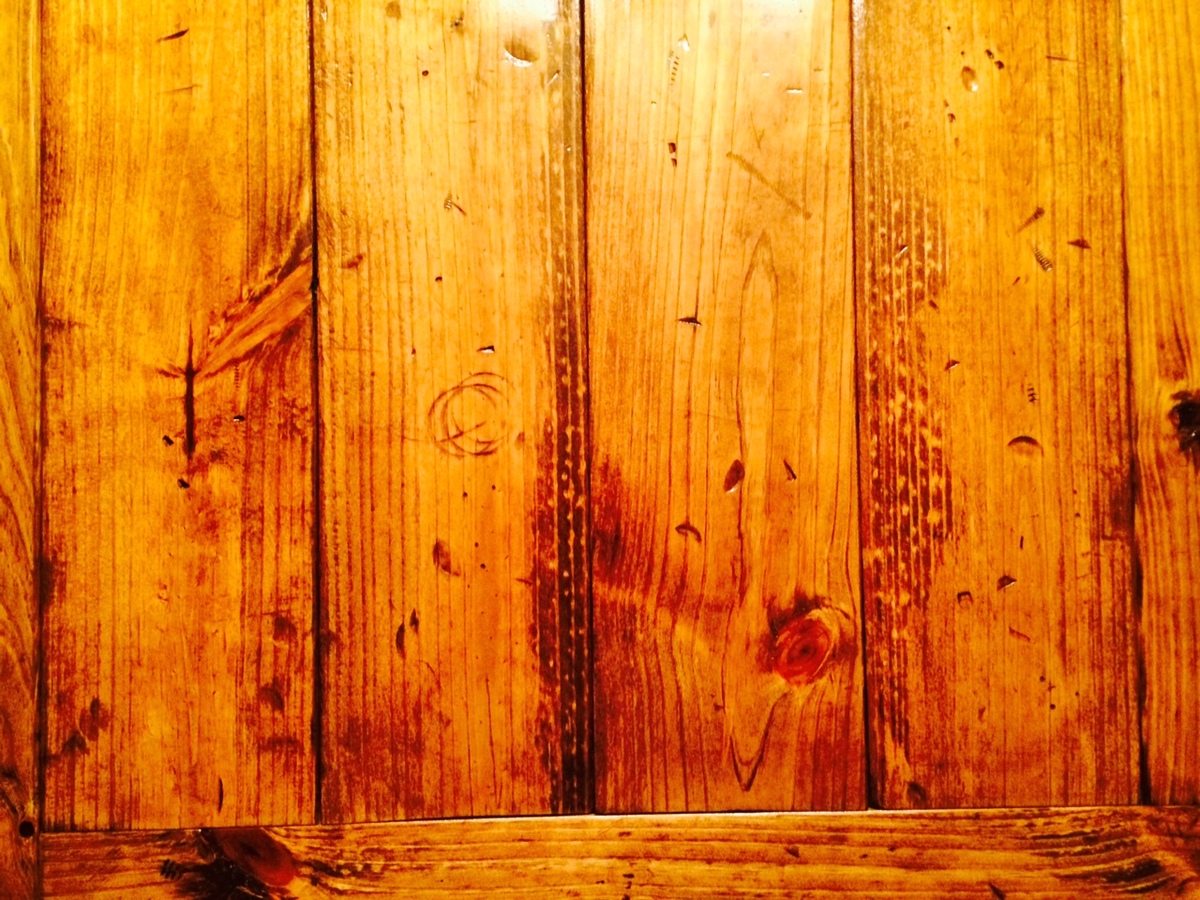
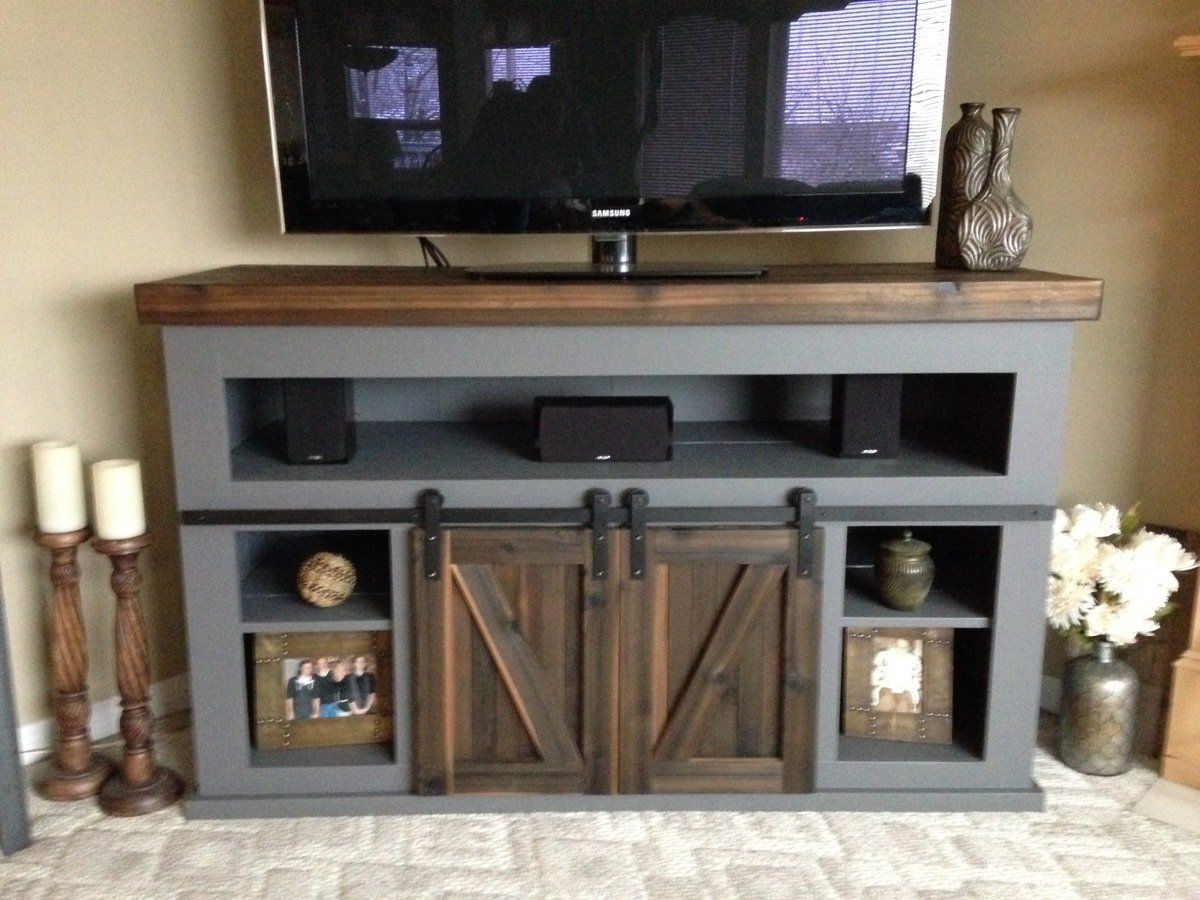
I certainly discovered that finishing is where all the magic happens. It's what makes the project look either amazing or just "ok". It's also the part of the build that takes the most attention to detail, the most patience and is also (in my humble opinion) the most boring repetitive part of the build. The reality is it's also the most important, transformative part. It definitely makes the difference.
Ana, I hope it's helpful for you to know that your video's really do inspire people to get creative and make things. I'm excited to start on my next project!
Sincerely,
Brent Rodgers
Ontario, Canada