Community Brag Posts

Amy's "My Chair"

Submitted by rosiejane on Tue, 05/13/2014 - 22:09

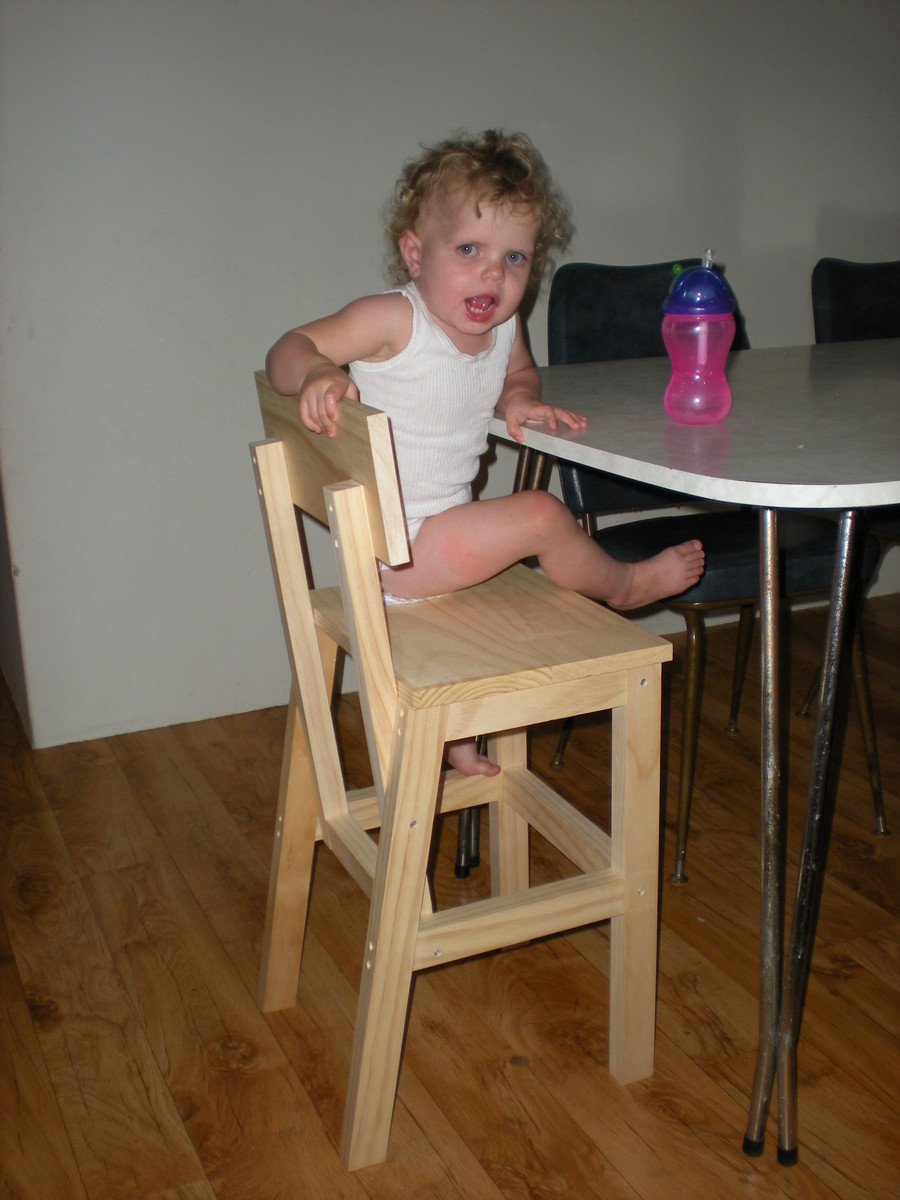
My daughter needed a chair that wasn't as bulky as our high chair but higher than a normal dining chair. This plan was perfect. I changed the dimensions to suit what I needed. The actual building took only a couple of hours but the finishing seemed to take forever. I probably spent about a week just on the finishing. I distressed it to help disguise the inevitable bumps and grubby handprints.

Built from Plan(s)
Estimated Cost
AUD$20
Estimated Time Investment
Afternoon Project (3-6 Hours)
Finish Used
Cabots stain - burnt gum, dulux vivid white, clear water-based varnish.
Recommended Skill Level
Beginner

Comments

cthomas

Mon, 05/01/2017 - 16:30

Is this adaptable for adult size with no back. Looking for something like this to slide under a new kitchen desk.

Kids Tree Fort

Submitted by Anonymous (not verified) on Sun, 05/31/2020 - 09:27

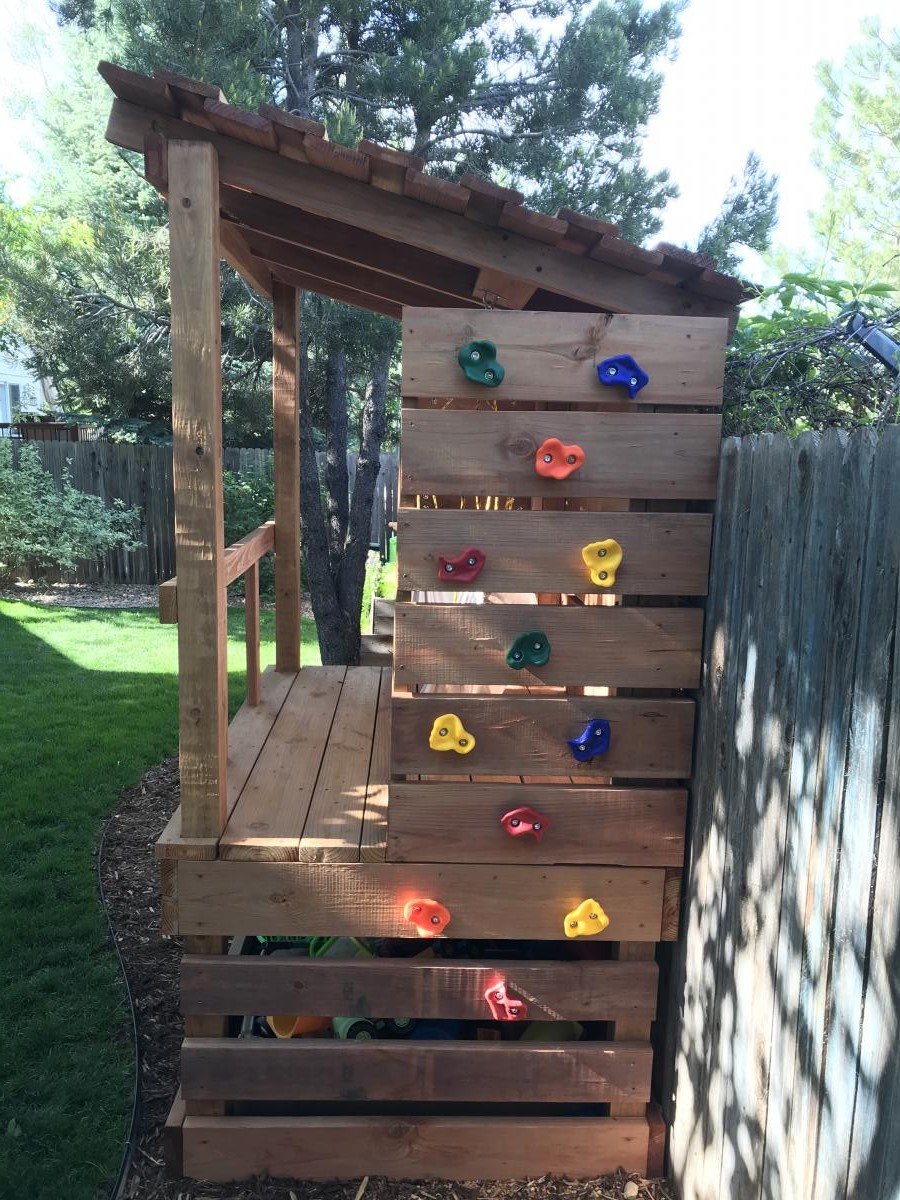
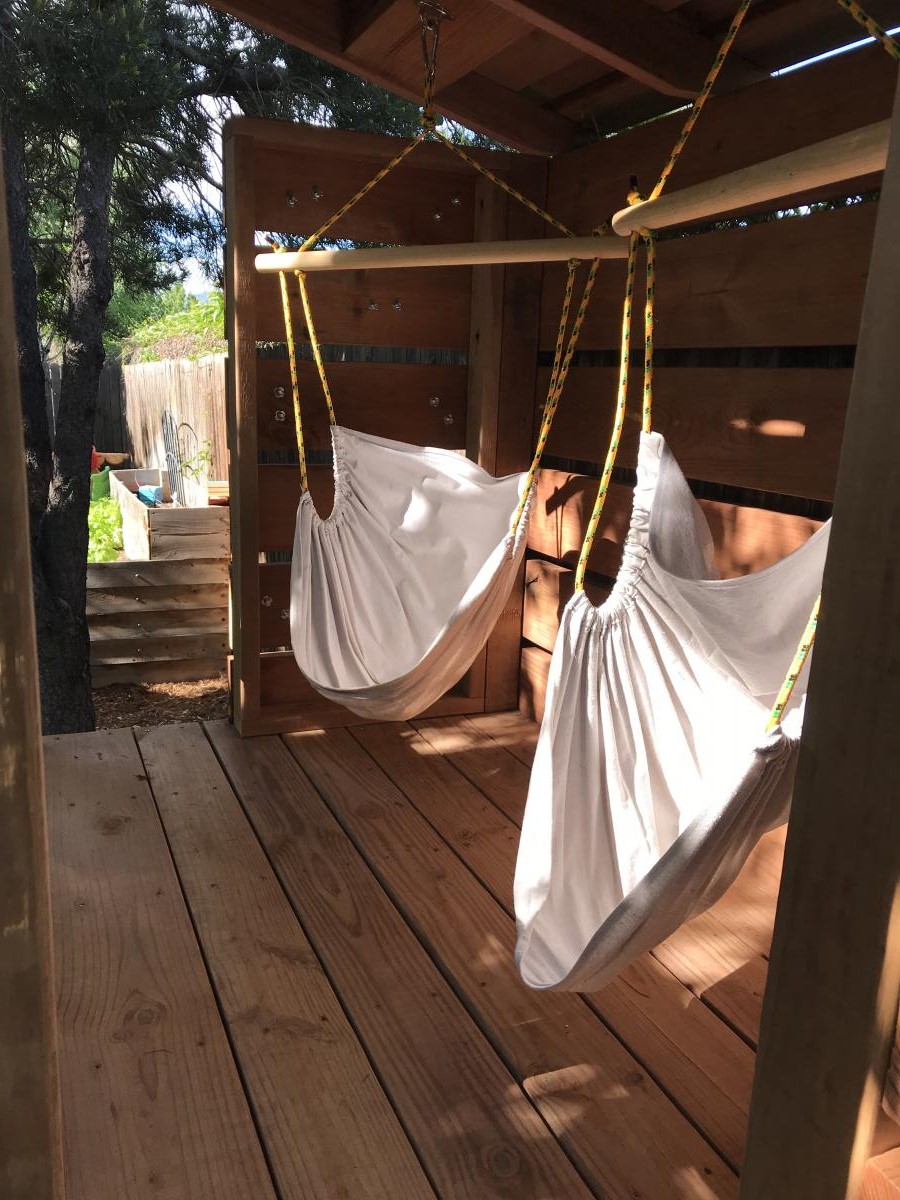
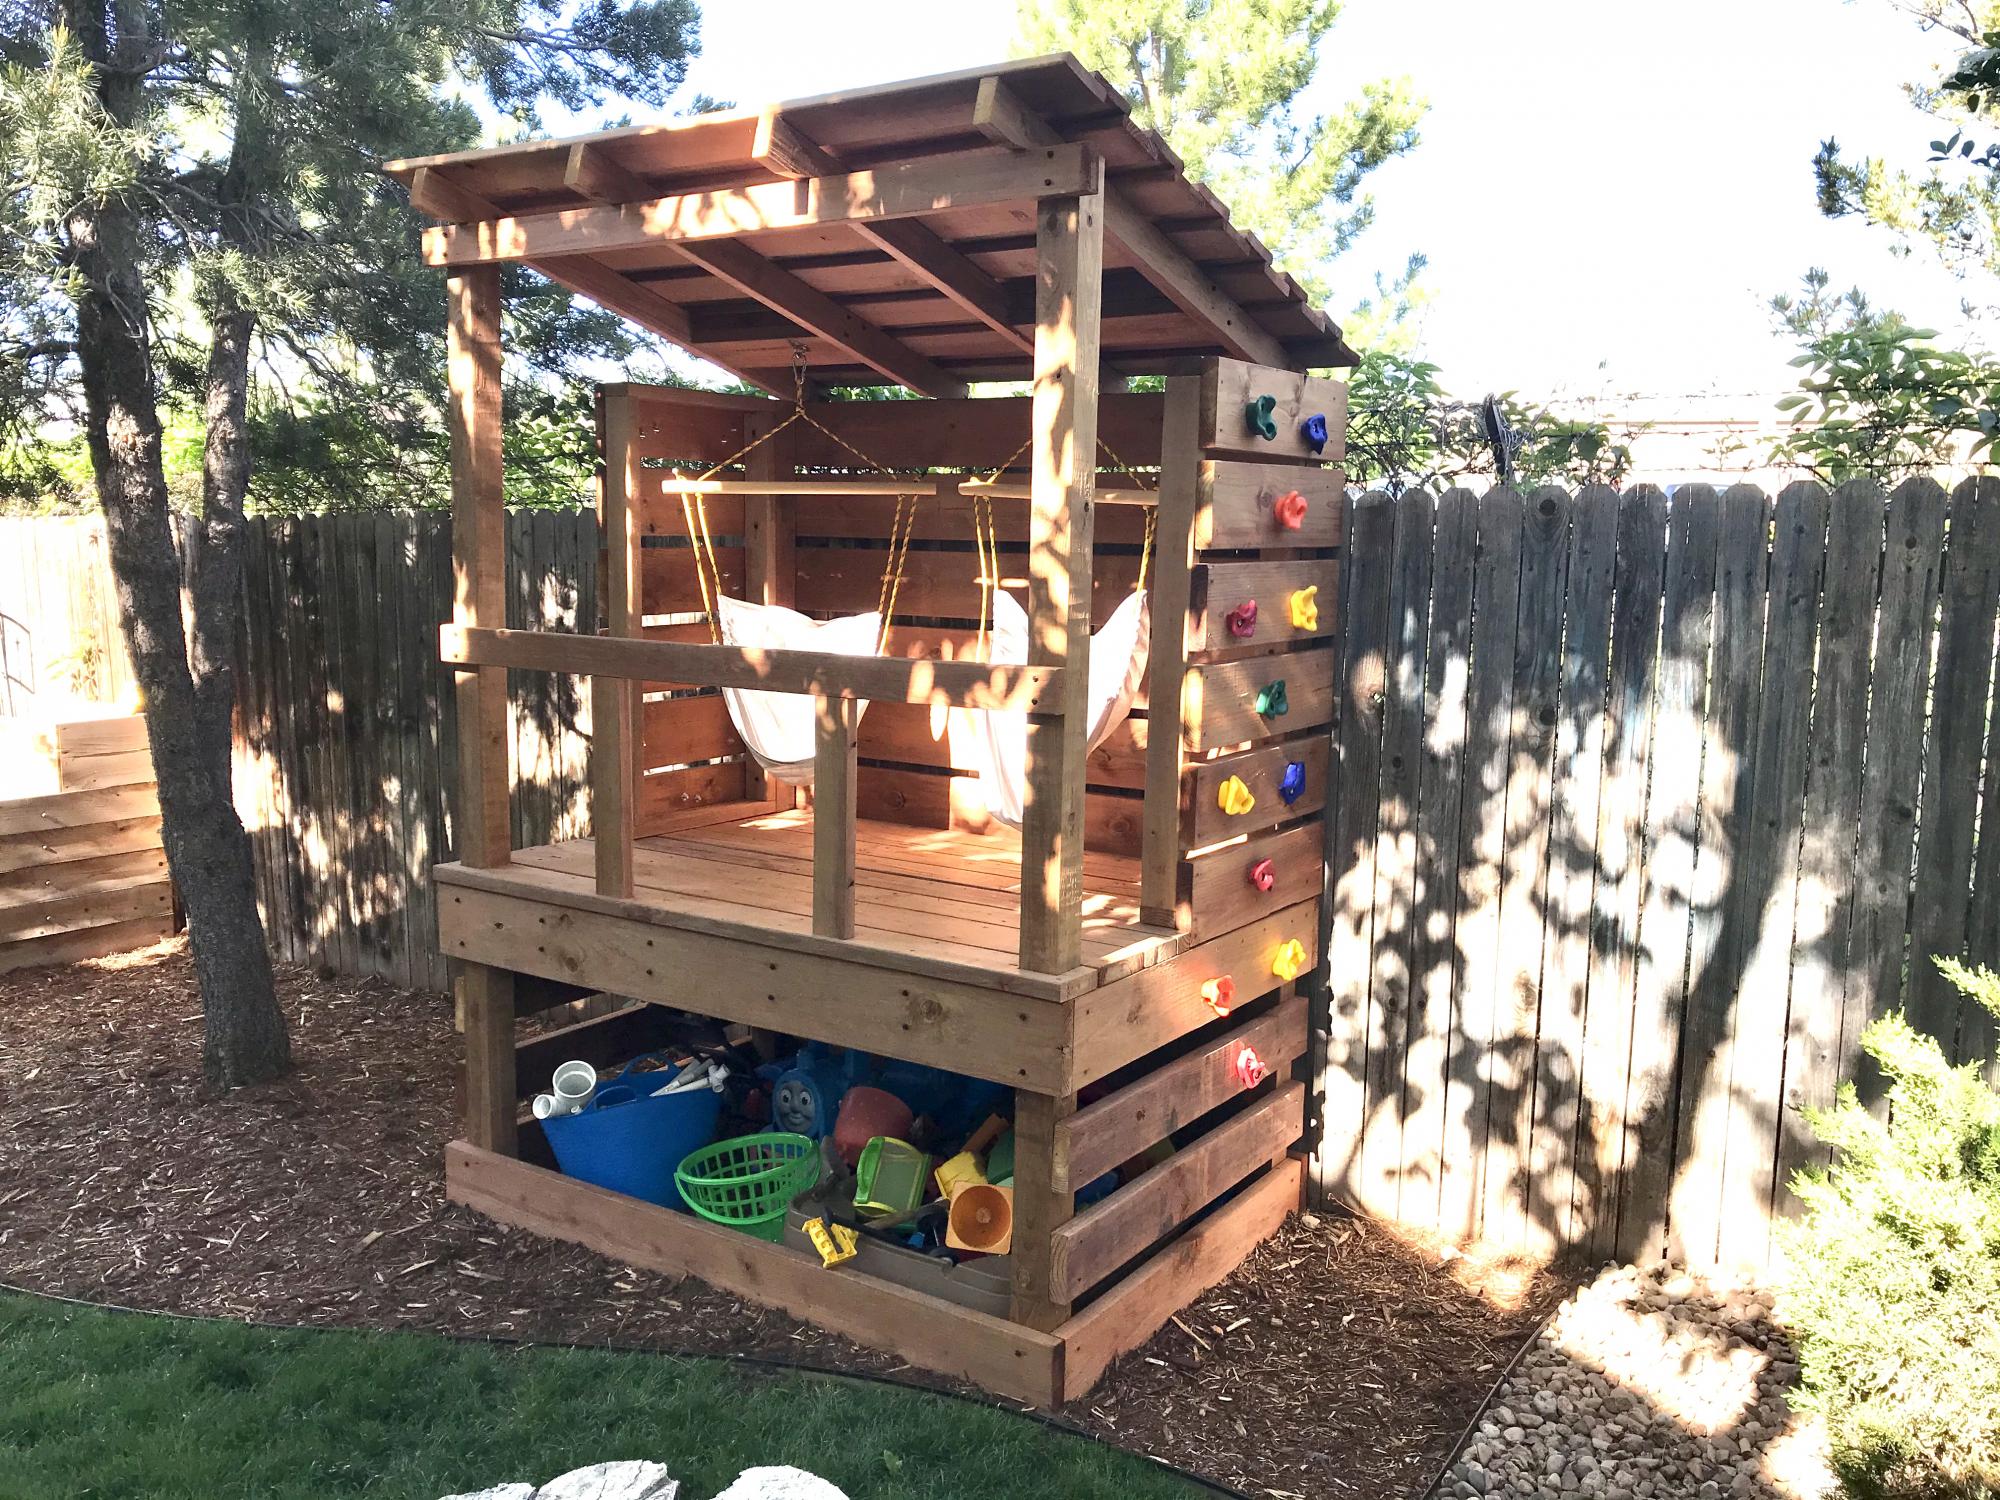
Built a fort for the boys with two climbing walls, a spot for their toys, and added some hammock swings

Estimated Cost
~$600
Estimated Time Investment
Week Long Project (20 Hours or More)
Finish Used
No stain, left natural
Recommended Skill Level
Advanced

Seesaw

Submitted by embleier on Tue, 07/24/2012 - 11:12

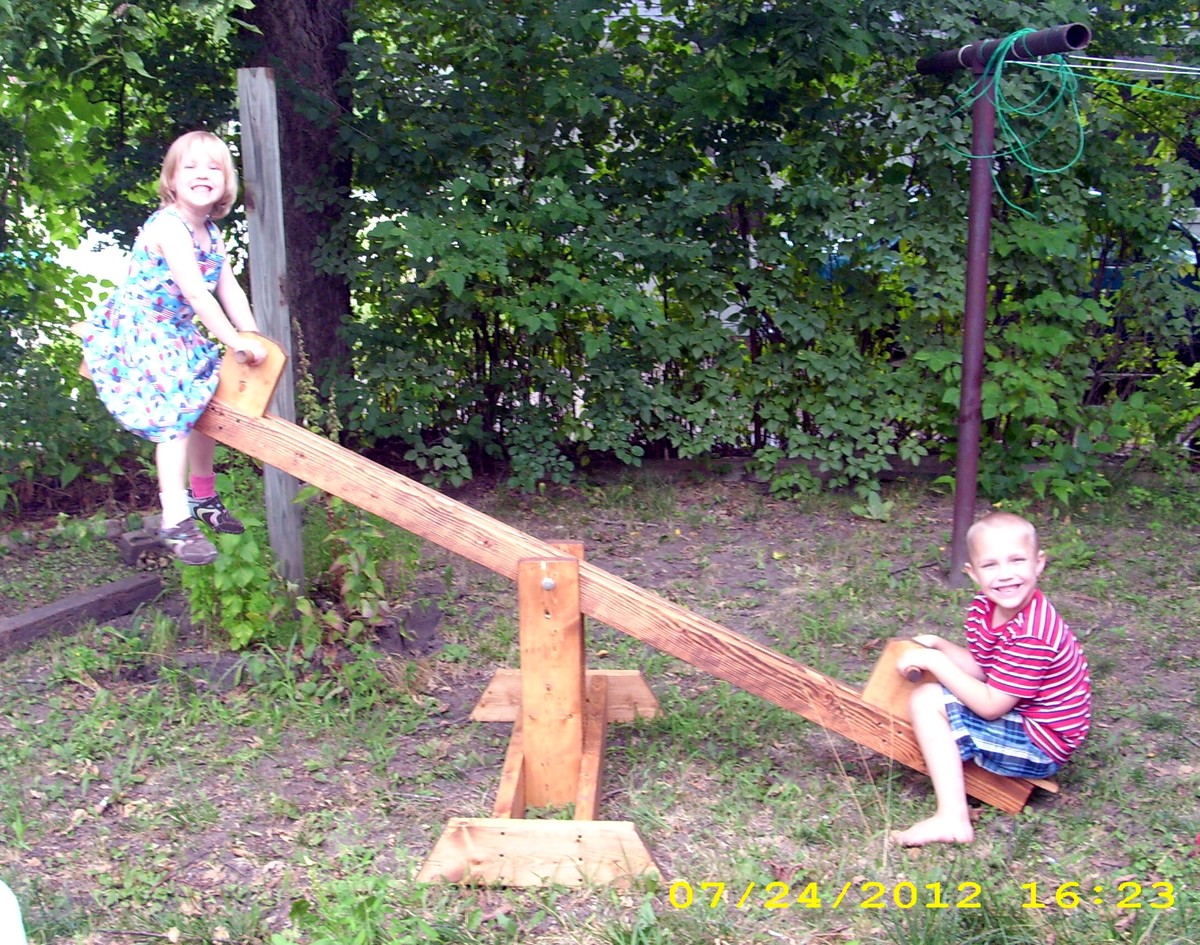
I made this Seesaw for my 4 year old's birthday present! It was SUPER easy...and she LOVES it!

Estimated Cost
$25
Estimated Time Investment
An Hour or Two (0-2 Hours)
Recommended Skill Level
Intermediate

Full Bed with upholstered headboard

Submitted by skyzen on Sun, 05/18/2014 - 20:04

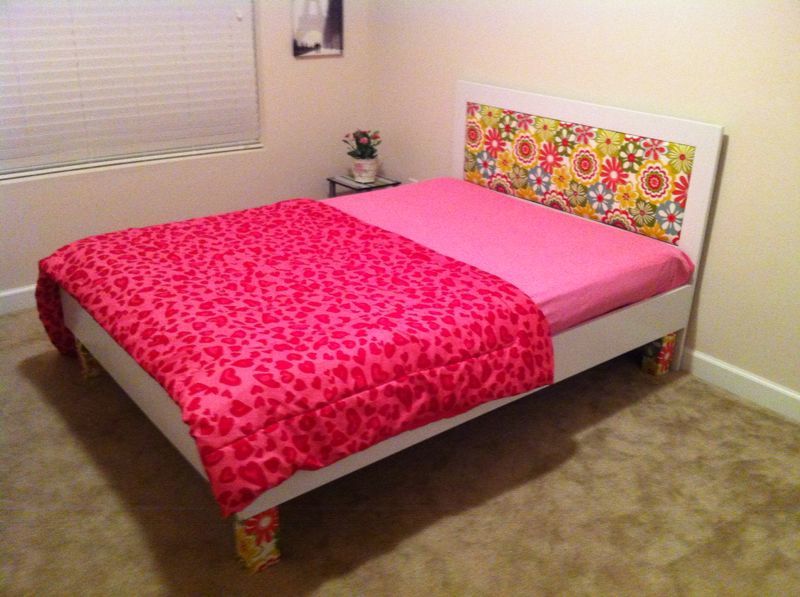
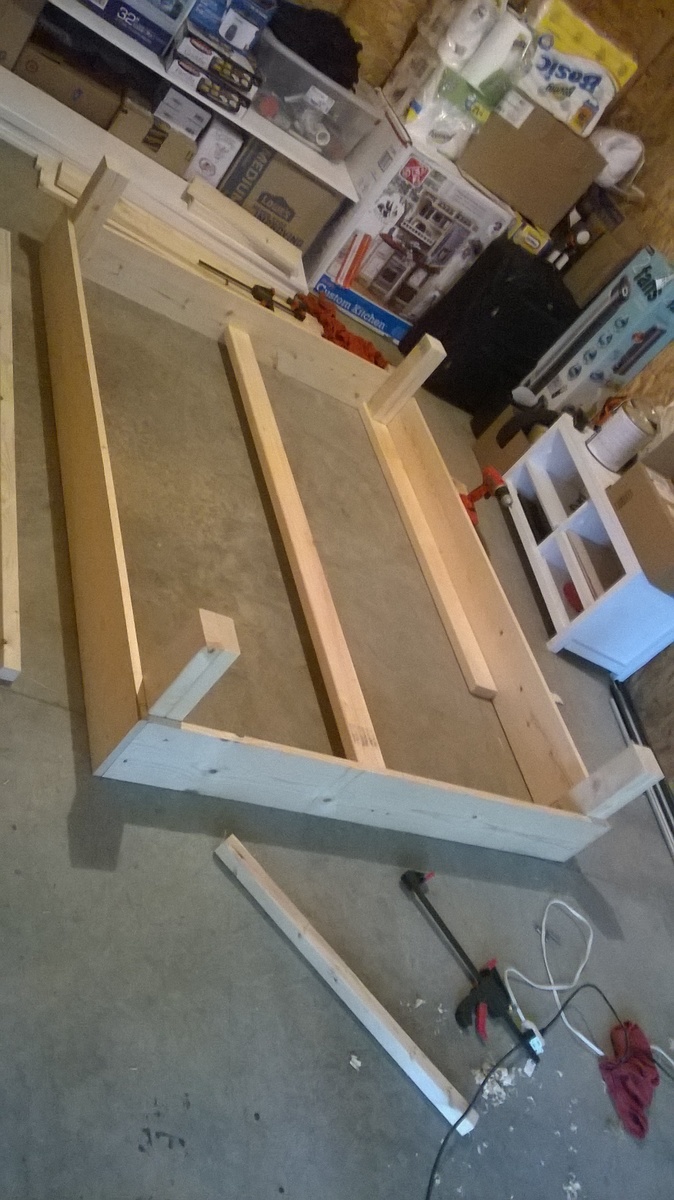
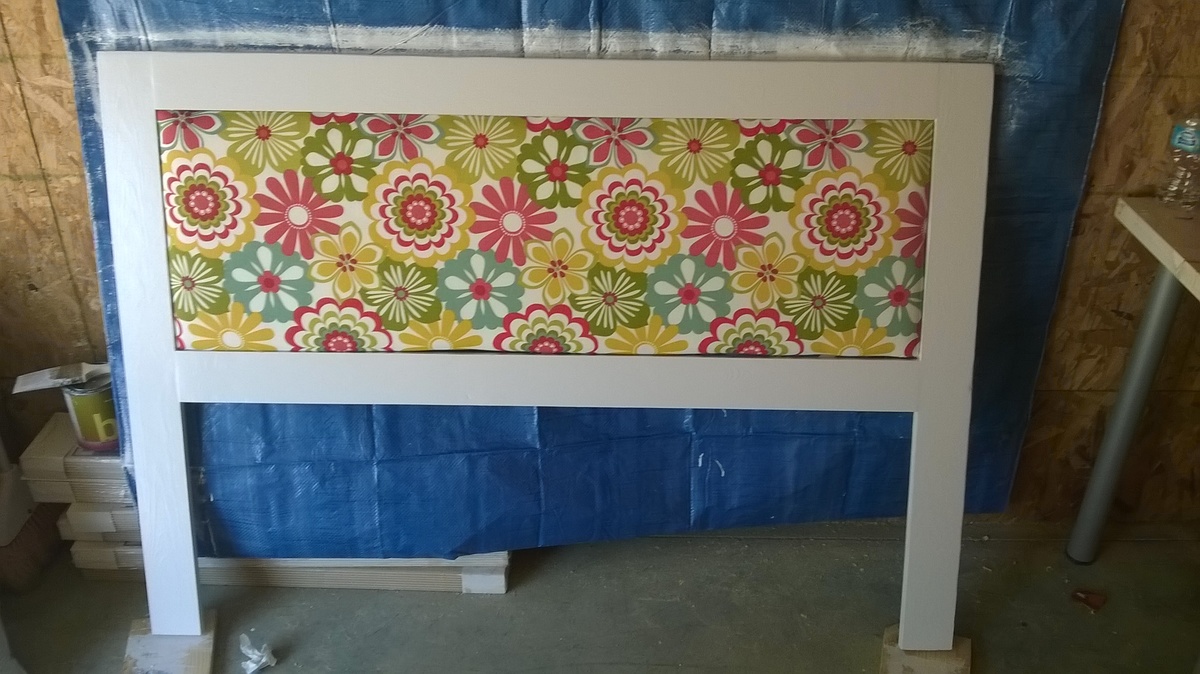
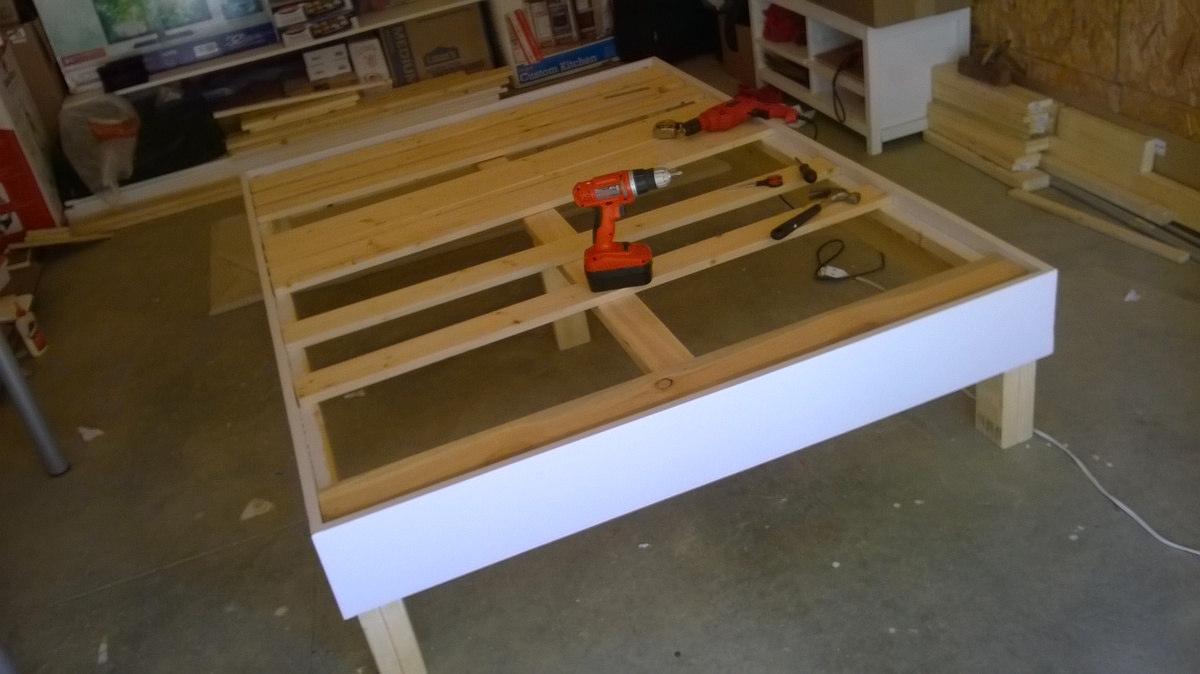
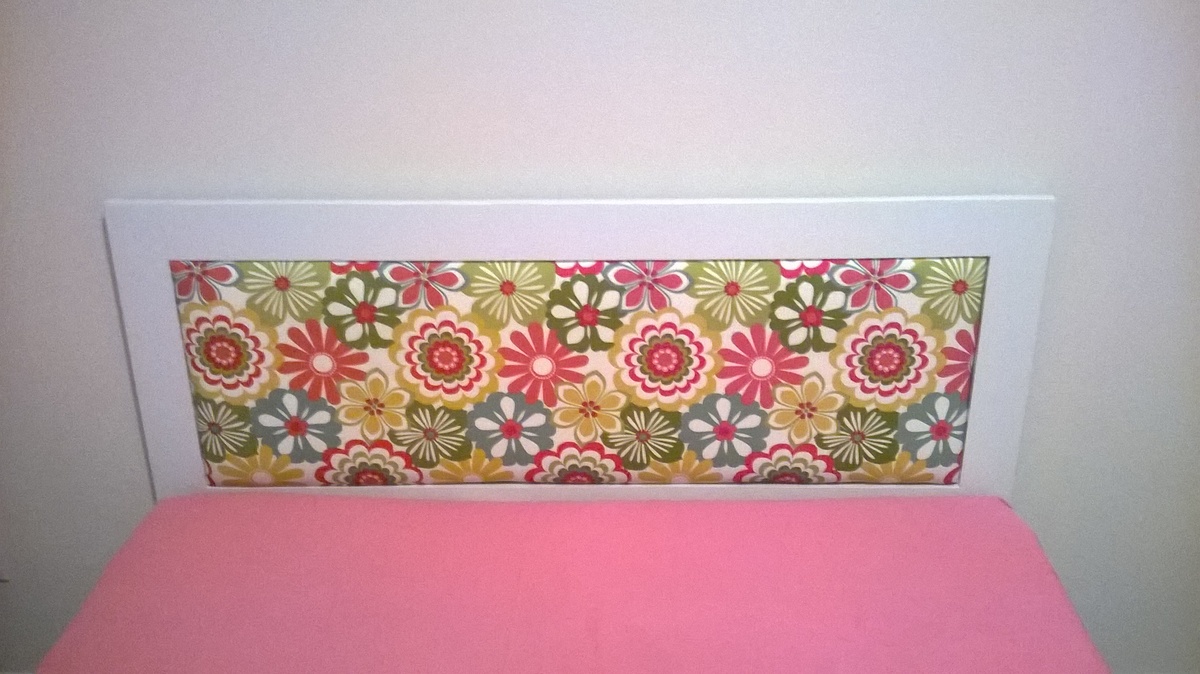
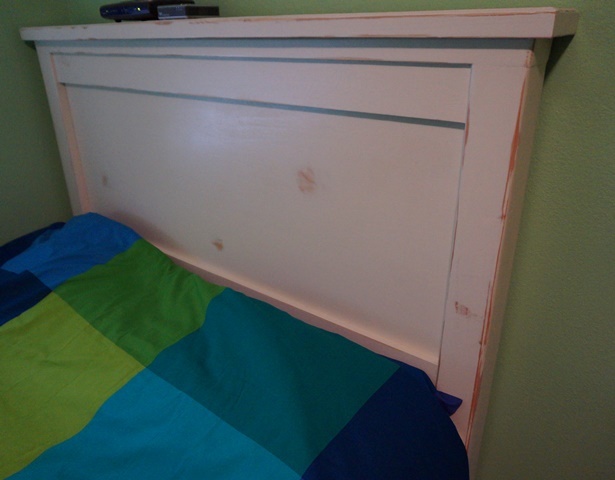
First of all, thanks Ana for the wonderful plans. I made this in full size mainly from the farmhouse bed plan with some modifications. The headboard is made of 1x4s with an upholstered pegboard. Instead of using 4x4 post for legs, i glued 2x4s studs together and later wrapped them with fabric instead of painting them.

This looks great in our second bedroom.

Built from Plan(s)
Estimated Cost
$70
Estimated Time Investment
Weekend Project (10-20 Hours)
Finish Used
Valspar Glossy White
Recommended Skill Level
Intermediate

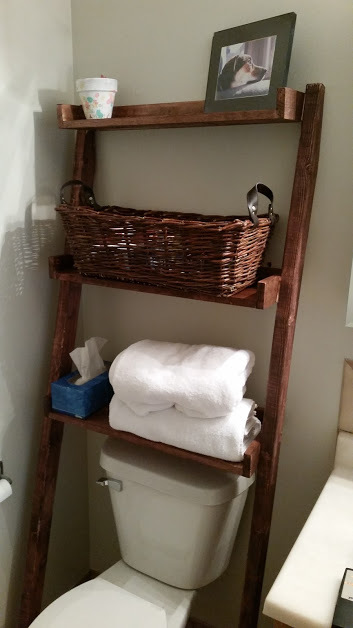
leaning bathroom shelf

Submitted by Anonymous (not verified) on Fri, 08/19/2016 - 14:05

This was a pretty easy build, always a plus when you're looking for more storage. I'm not sure about the darkness of the stain though; I usually go with a walnut to match the rest of the house and wanted to try something different. This seems like a bit much. Might be easier to build an entire second set vs re-doing the stain though...

Estimated Cost
$25
Estimated Time Investment
Afternoon Project (3-6 Hours)
Finish Used
Minwax red mahogany
Recommended Skill Level
Beginner

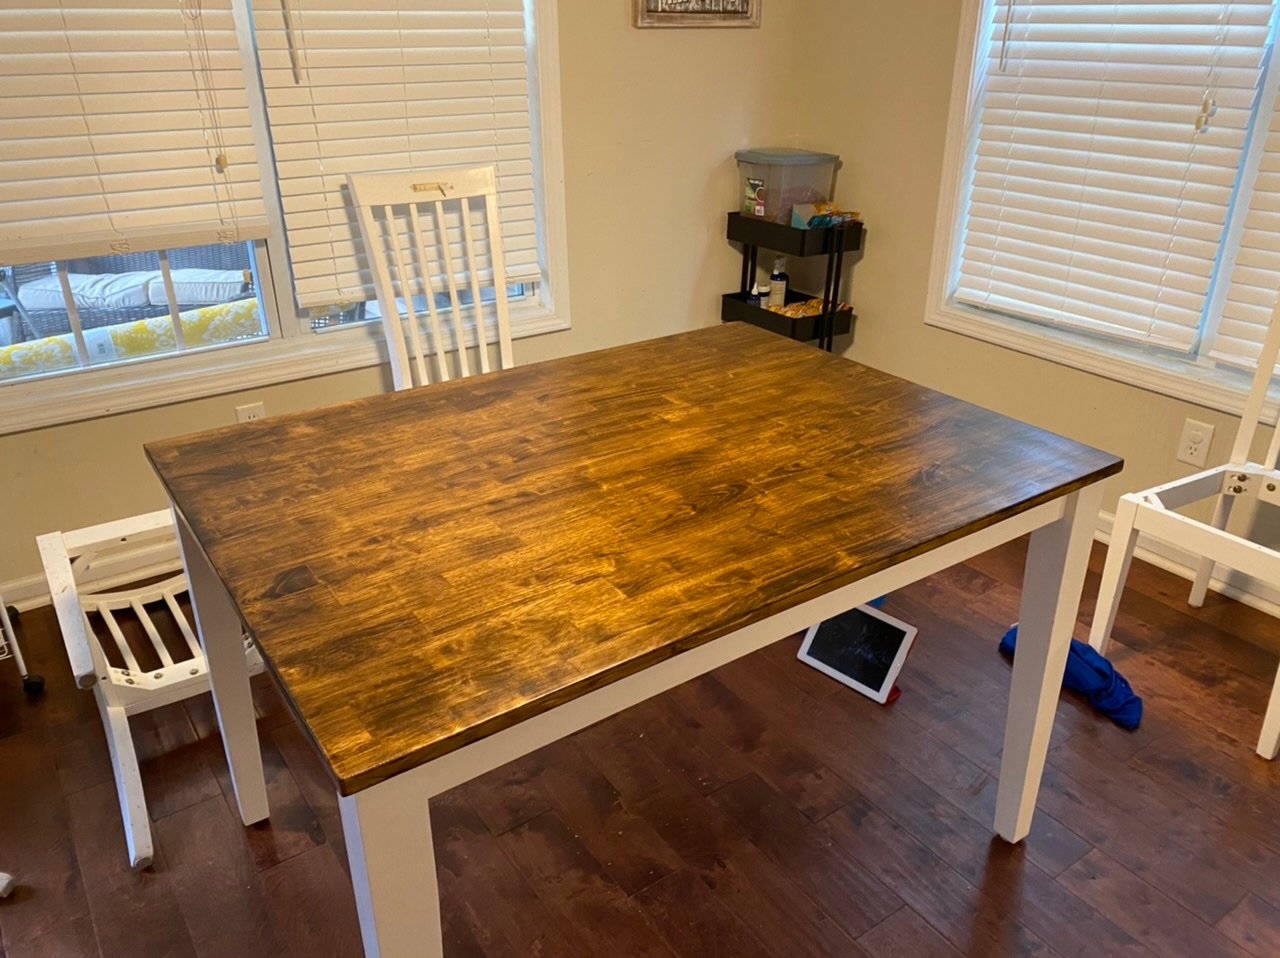
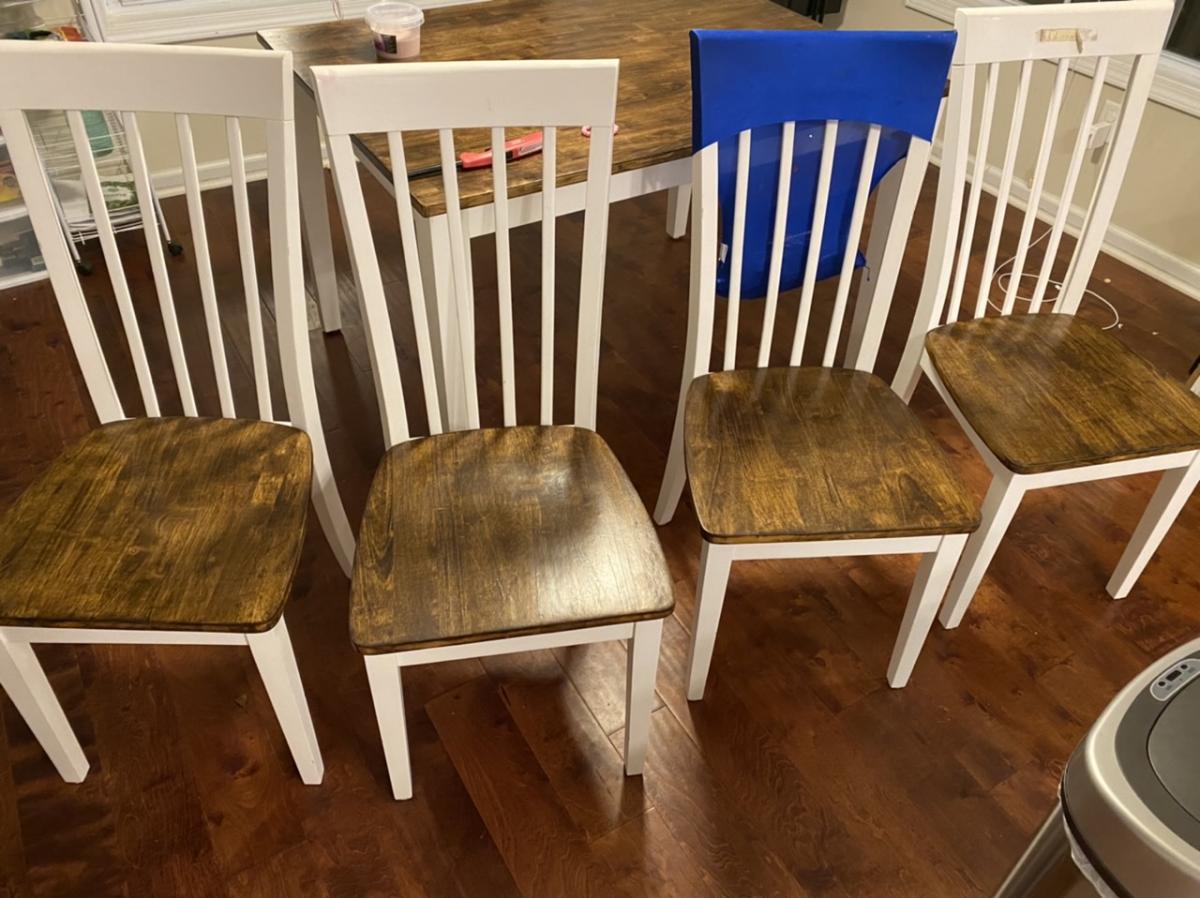
Refinished kitchen table and chairs

Submitted by tthackston on Tue, 06/02/2020 - 06:45

My kitchen table needed something, so instead of buying new, I sanded and used a dark stain on the table top and chair seats. It looks like whole new table! This wasn’t from a plan, but used skills I learned building from Ana’s plans! Off to build the Little Helper tower now!

Estimated Cost
Less than $50
Estimated Time Investment
Weekend Project (10-20 Hours)
Finish Used
Dark walnut stain
Recommended Skill Level
Beginner

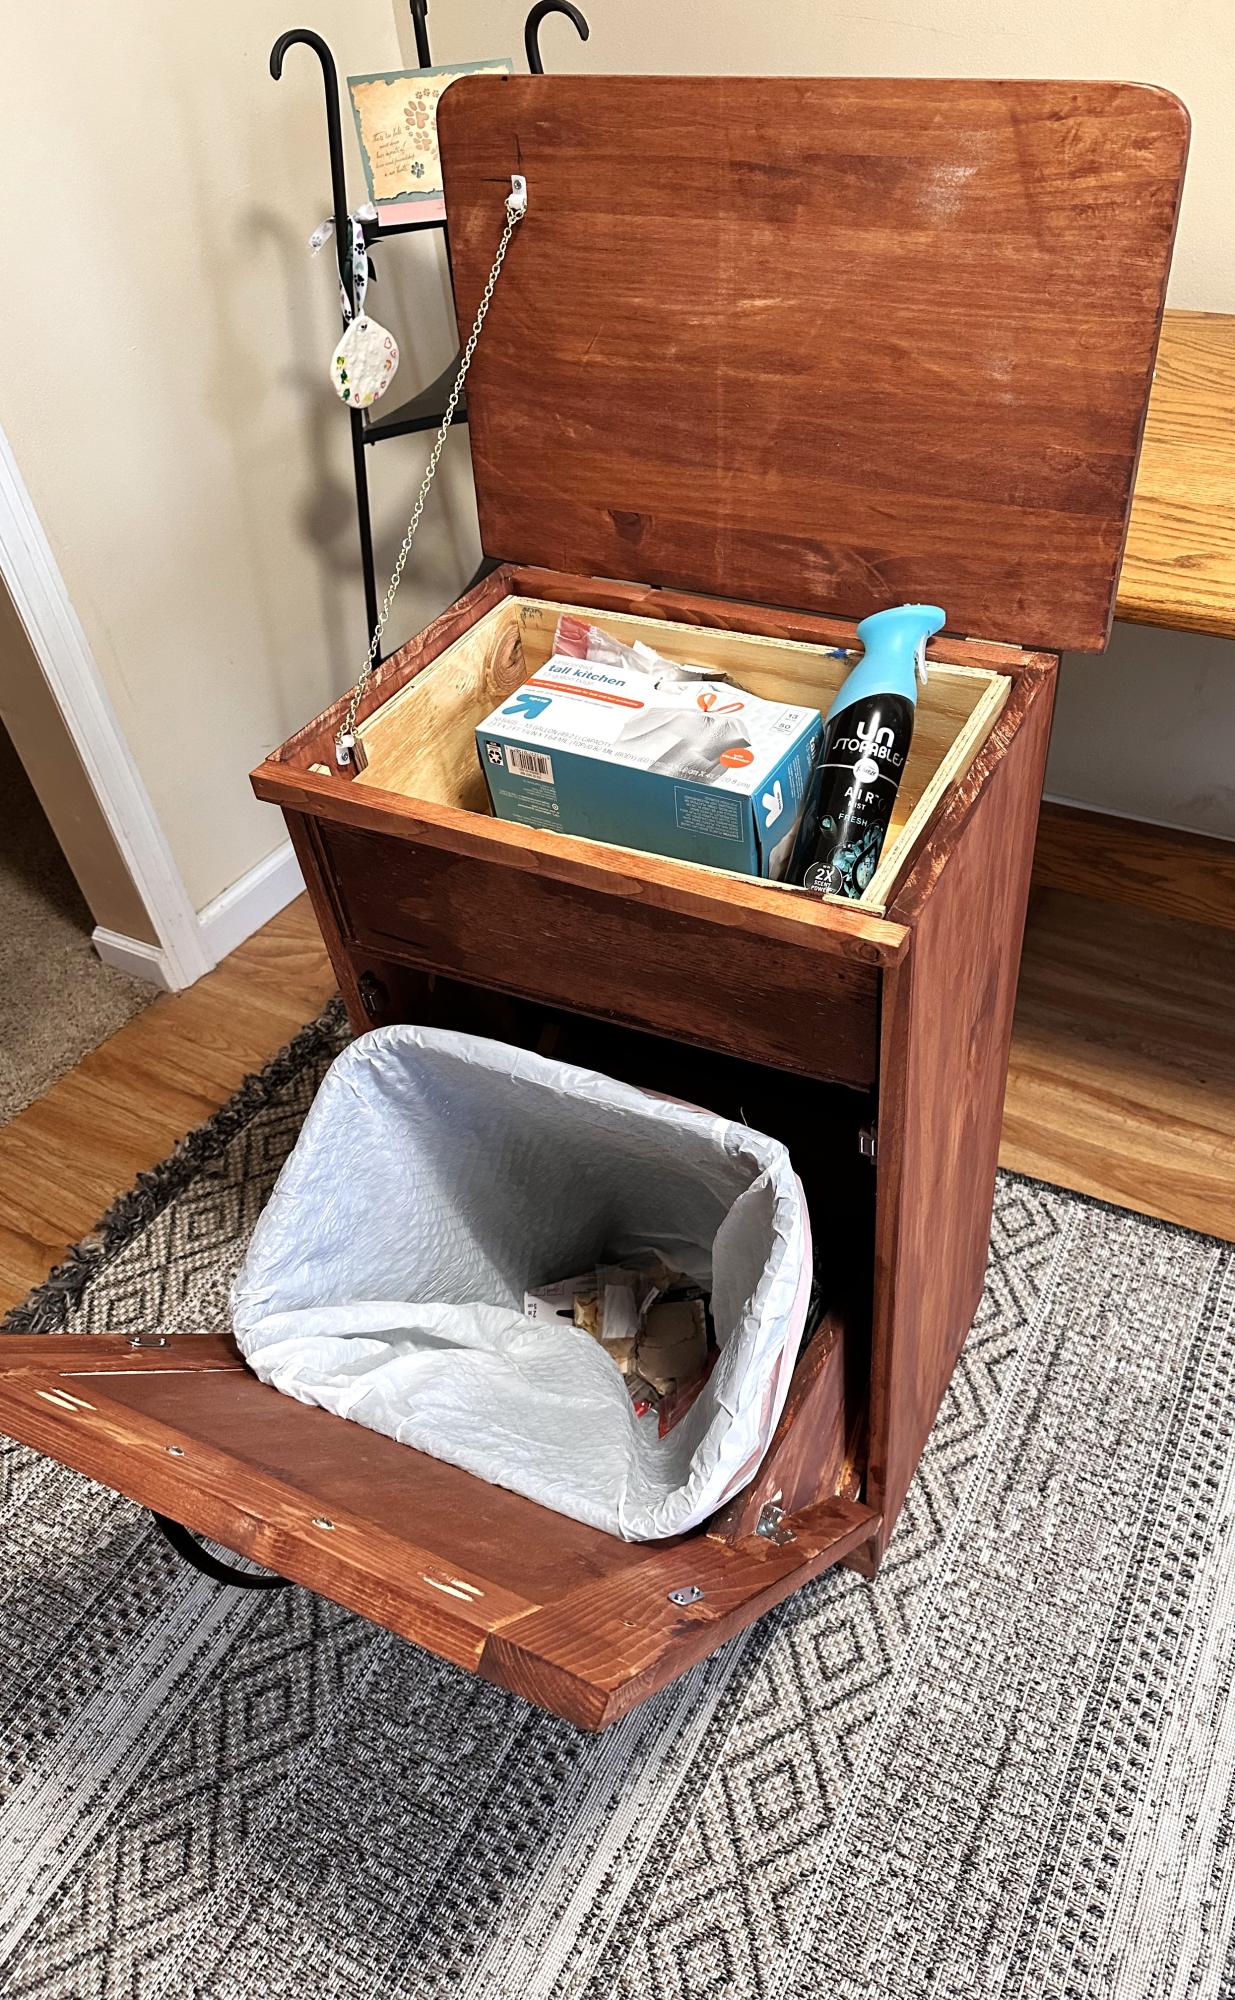
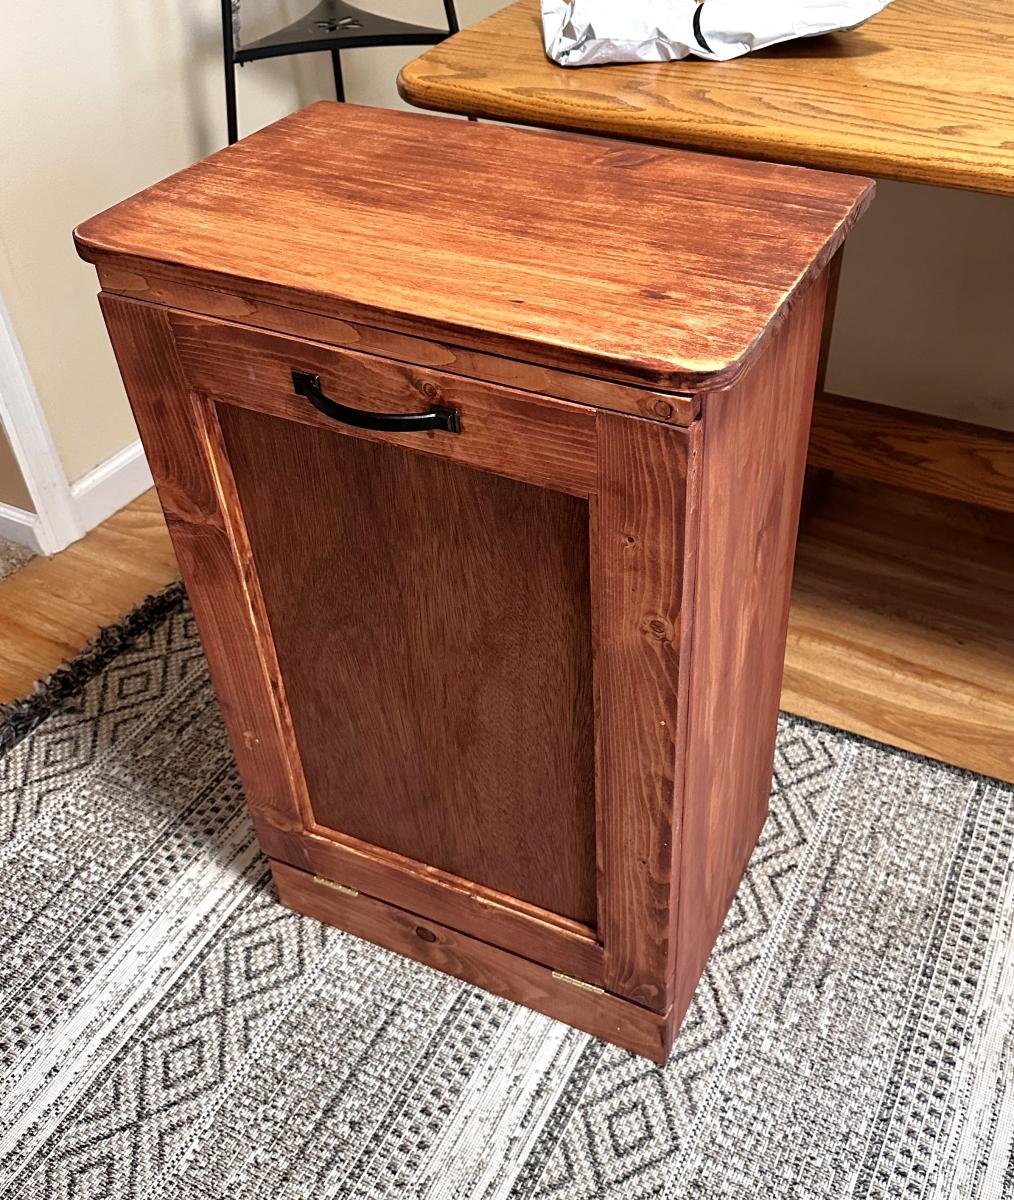
Trash with Lift-up Storage

Submitted by Anonymous (not verified) on Mon, 02/26/2024 - 10:31

Replacing a trash bin for a friend whose cats could not get into. At the last minute I thought a little hiding area on top would give them some storage for bags and things. Had to go one size down on the Rubbermaid to allow for clearance when tilting open. They love it, the cats hate it.

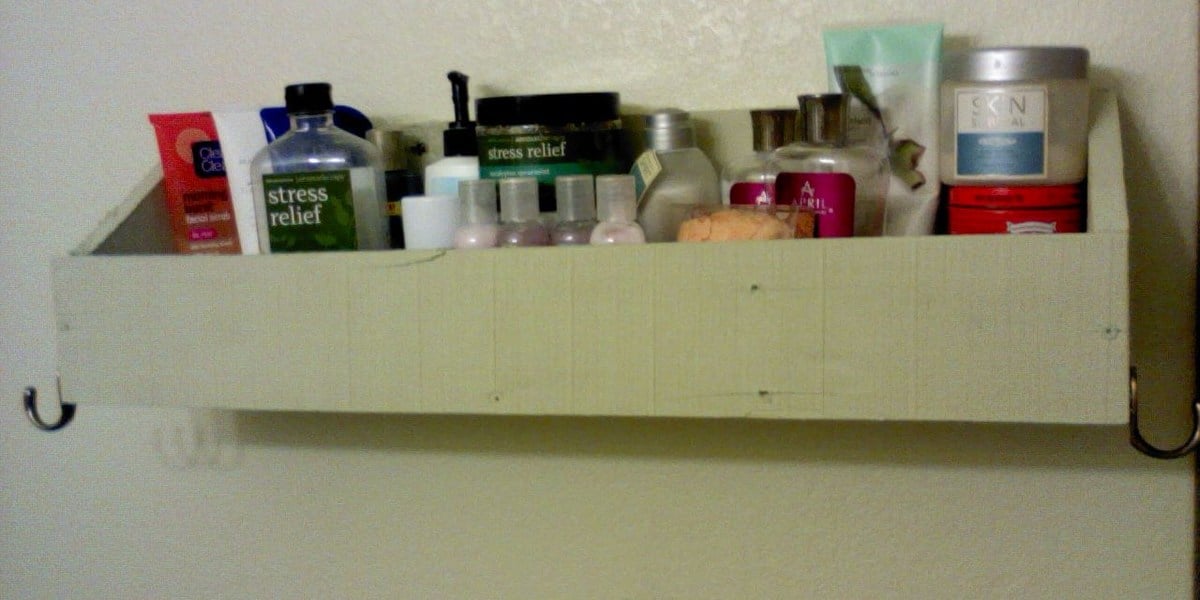
Bathroom shelf with hooks

This was inspired by your Flat Wall Bookshelf and made using a piece of 1x6, a piece of 1x4, and a smidge of recycled paint. We added towel hooks to the ends (the same ones that kept pulling out of the wall), and mounted the whole thing to studs in the bathroom. Thanks for the plans!

Estimated Cost
$0.10 out of pocket
Estimated Time Investment
Day Project (6-9 Hours)
Finish Used
Unknown pale green Martha Stewart paint from a recycling center. Cost: $0.50 for the quart.
Recommended Skill Level
Beginner

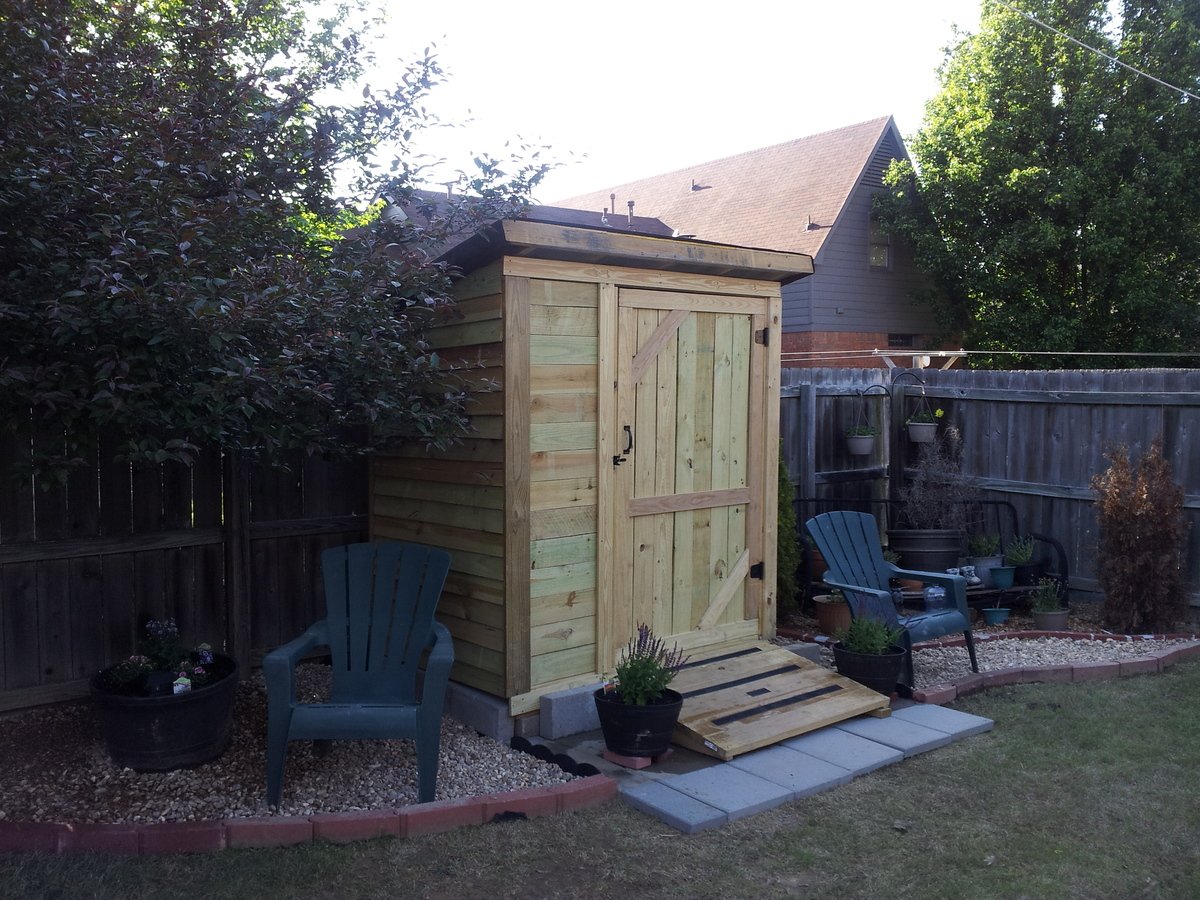
LOVE MY SHED!!!

Submitted by Storm on Wed, 05/21/2014 - 20:41

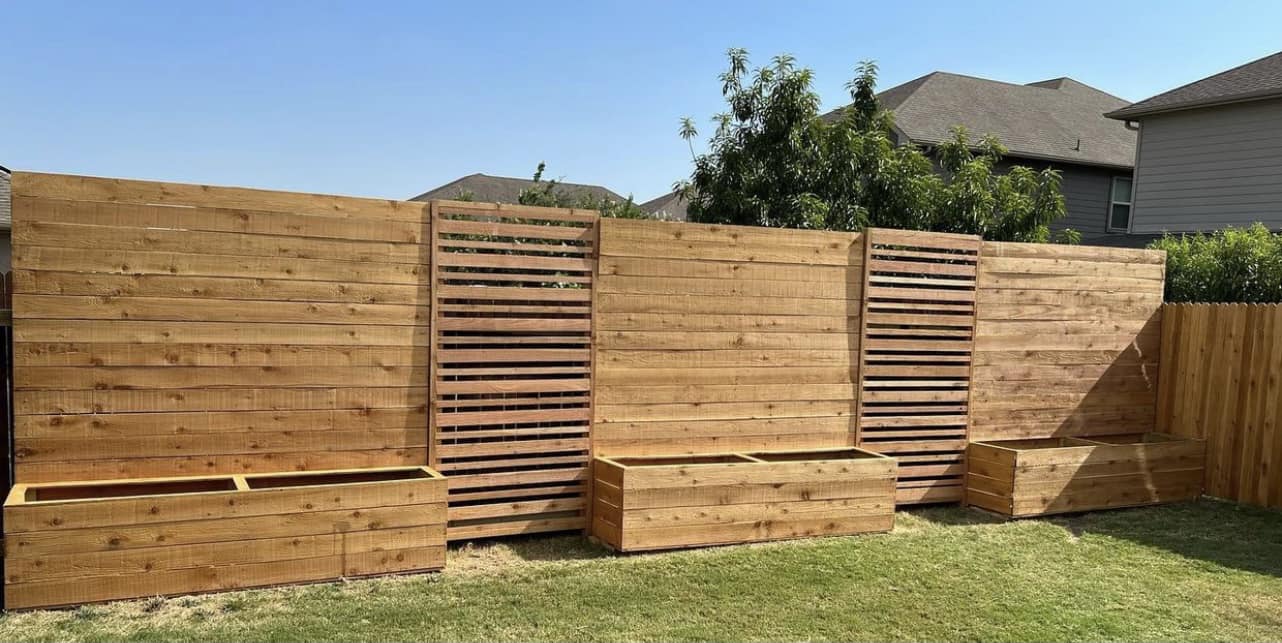
I saw this storage shed plan and loved it. I did make a few changes because I needed a 4' x 8'. I also built a shed floor to secure it too so I built the shed frame using 2x4's.
I also put the lower ends of the side walls in the rear to assist with water runoff.
Because I wanted the option to add shelves on the left side I decided to put one larger door on the right front only and added some contrast by vertically placing the pickets on the opposite side. I'm presently waiting for my shingles to arrive. After that I'll stain it. I really enjoyed putting this together, learned a lot.

My next project will be the outdoor sectional. I'll be making 5 pieces, 1 corner and 5 armless pieces. Can't wait to start.
Happy building,
Keep Safe

Built from Plan(s)
Recommended Skill Level
Beginner

Comments

jakeaharper

Wed, 08/03/2016 - 06:03

I absolutely love this shed and the way you altered the design with one door. Can you please send me the measurements you used for this project? I would love to build this for my yard!

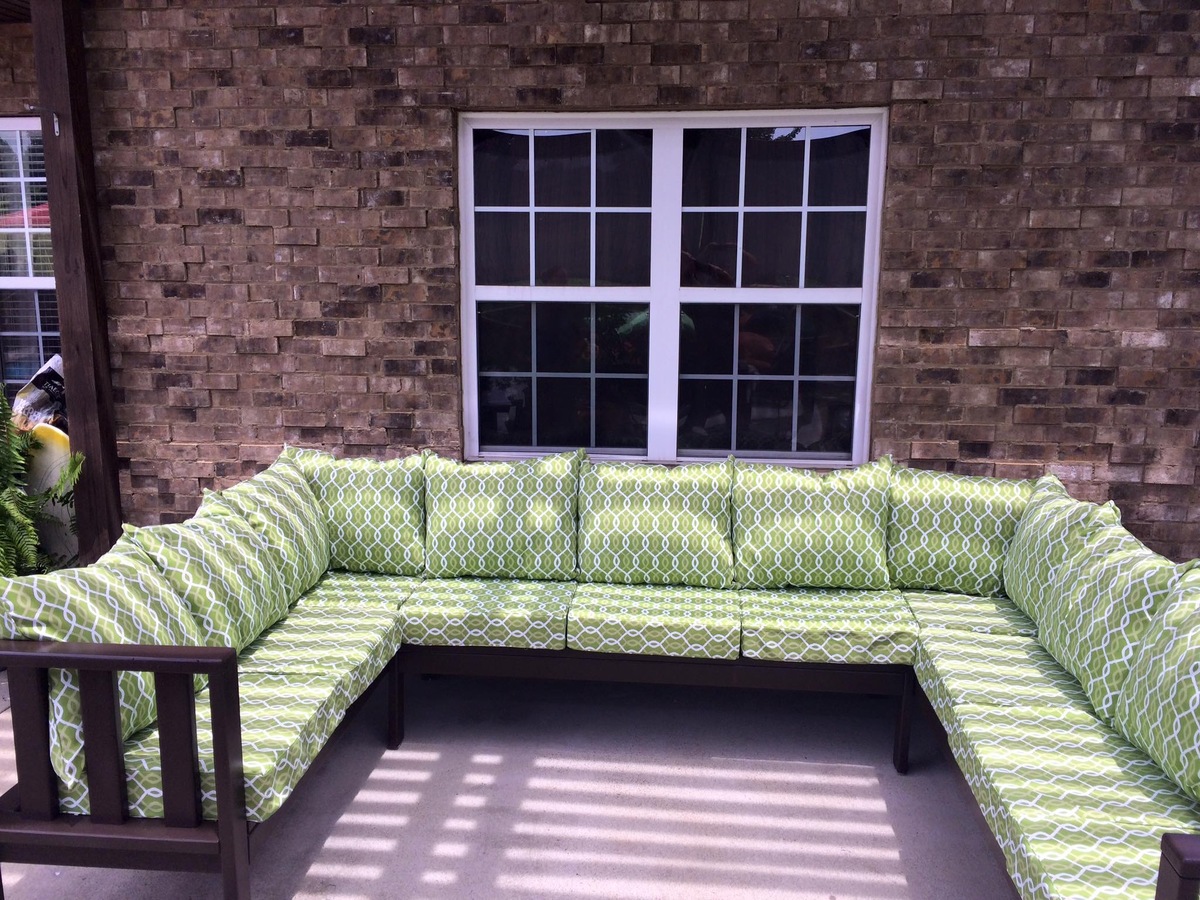
My Outdoor Sectional Couch

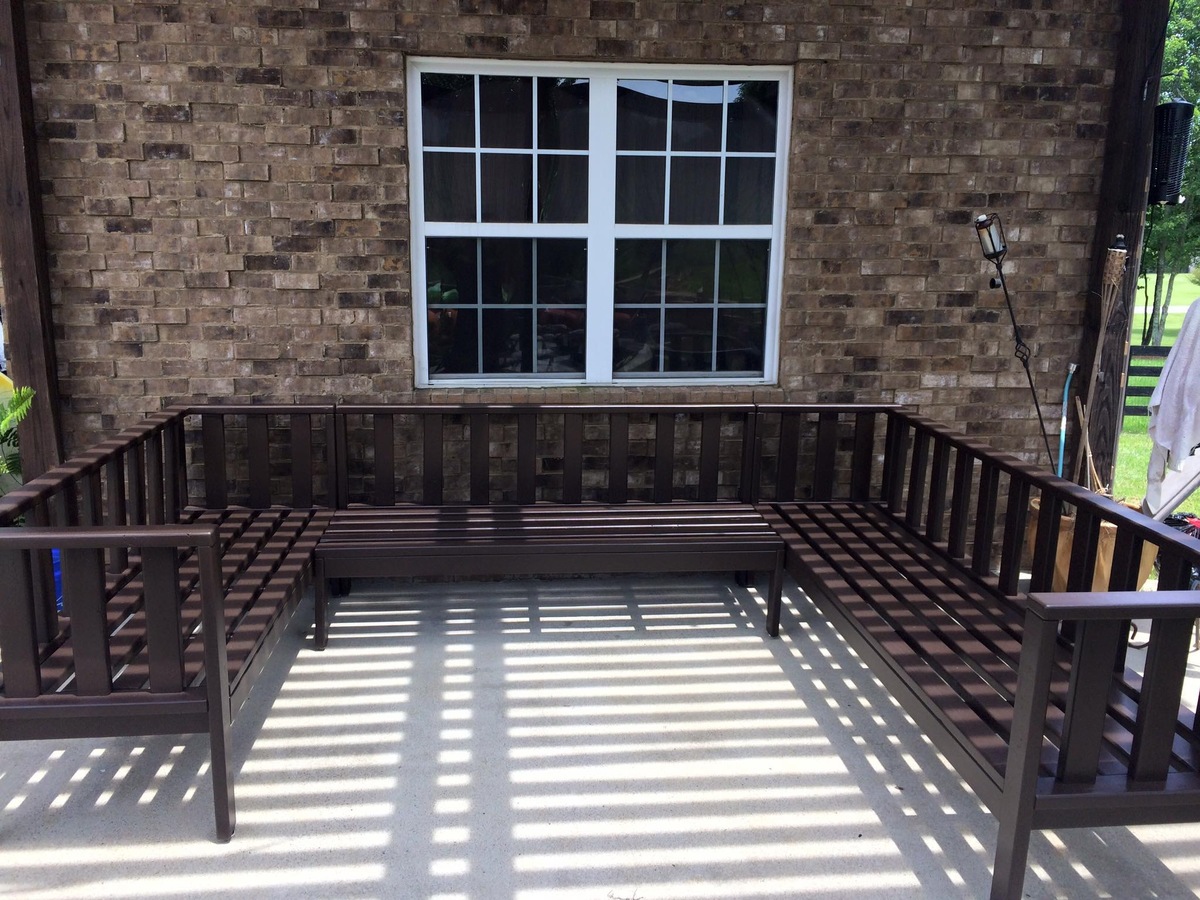
This was built off Ana's Outdoor Couch plans.  I just made some additional things to it and made it larger.

I added the vertical back supports so the cushions don't slip out the back.  I raised the seat height to 17". 

Estimated Cost
$600-$800 including the cushions.
Estimated Time Investment
Week Long Project (20 Hours or More)
Finish Used
Oil primer and Latex Paint.
Recommended Skill Level
Intermediate

Comments

Codding58

Mon, 08/22/2016 - 13:57

Great job!    I really like the way that your set came out!    This had been on my list to do, but a broken foot put a damper on it this summer!    Great Job!

Dresser done!

Submitted by pantheon79 on Wed, 06/03/2020 - 18:23

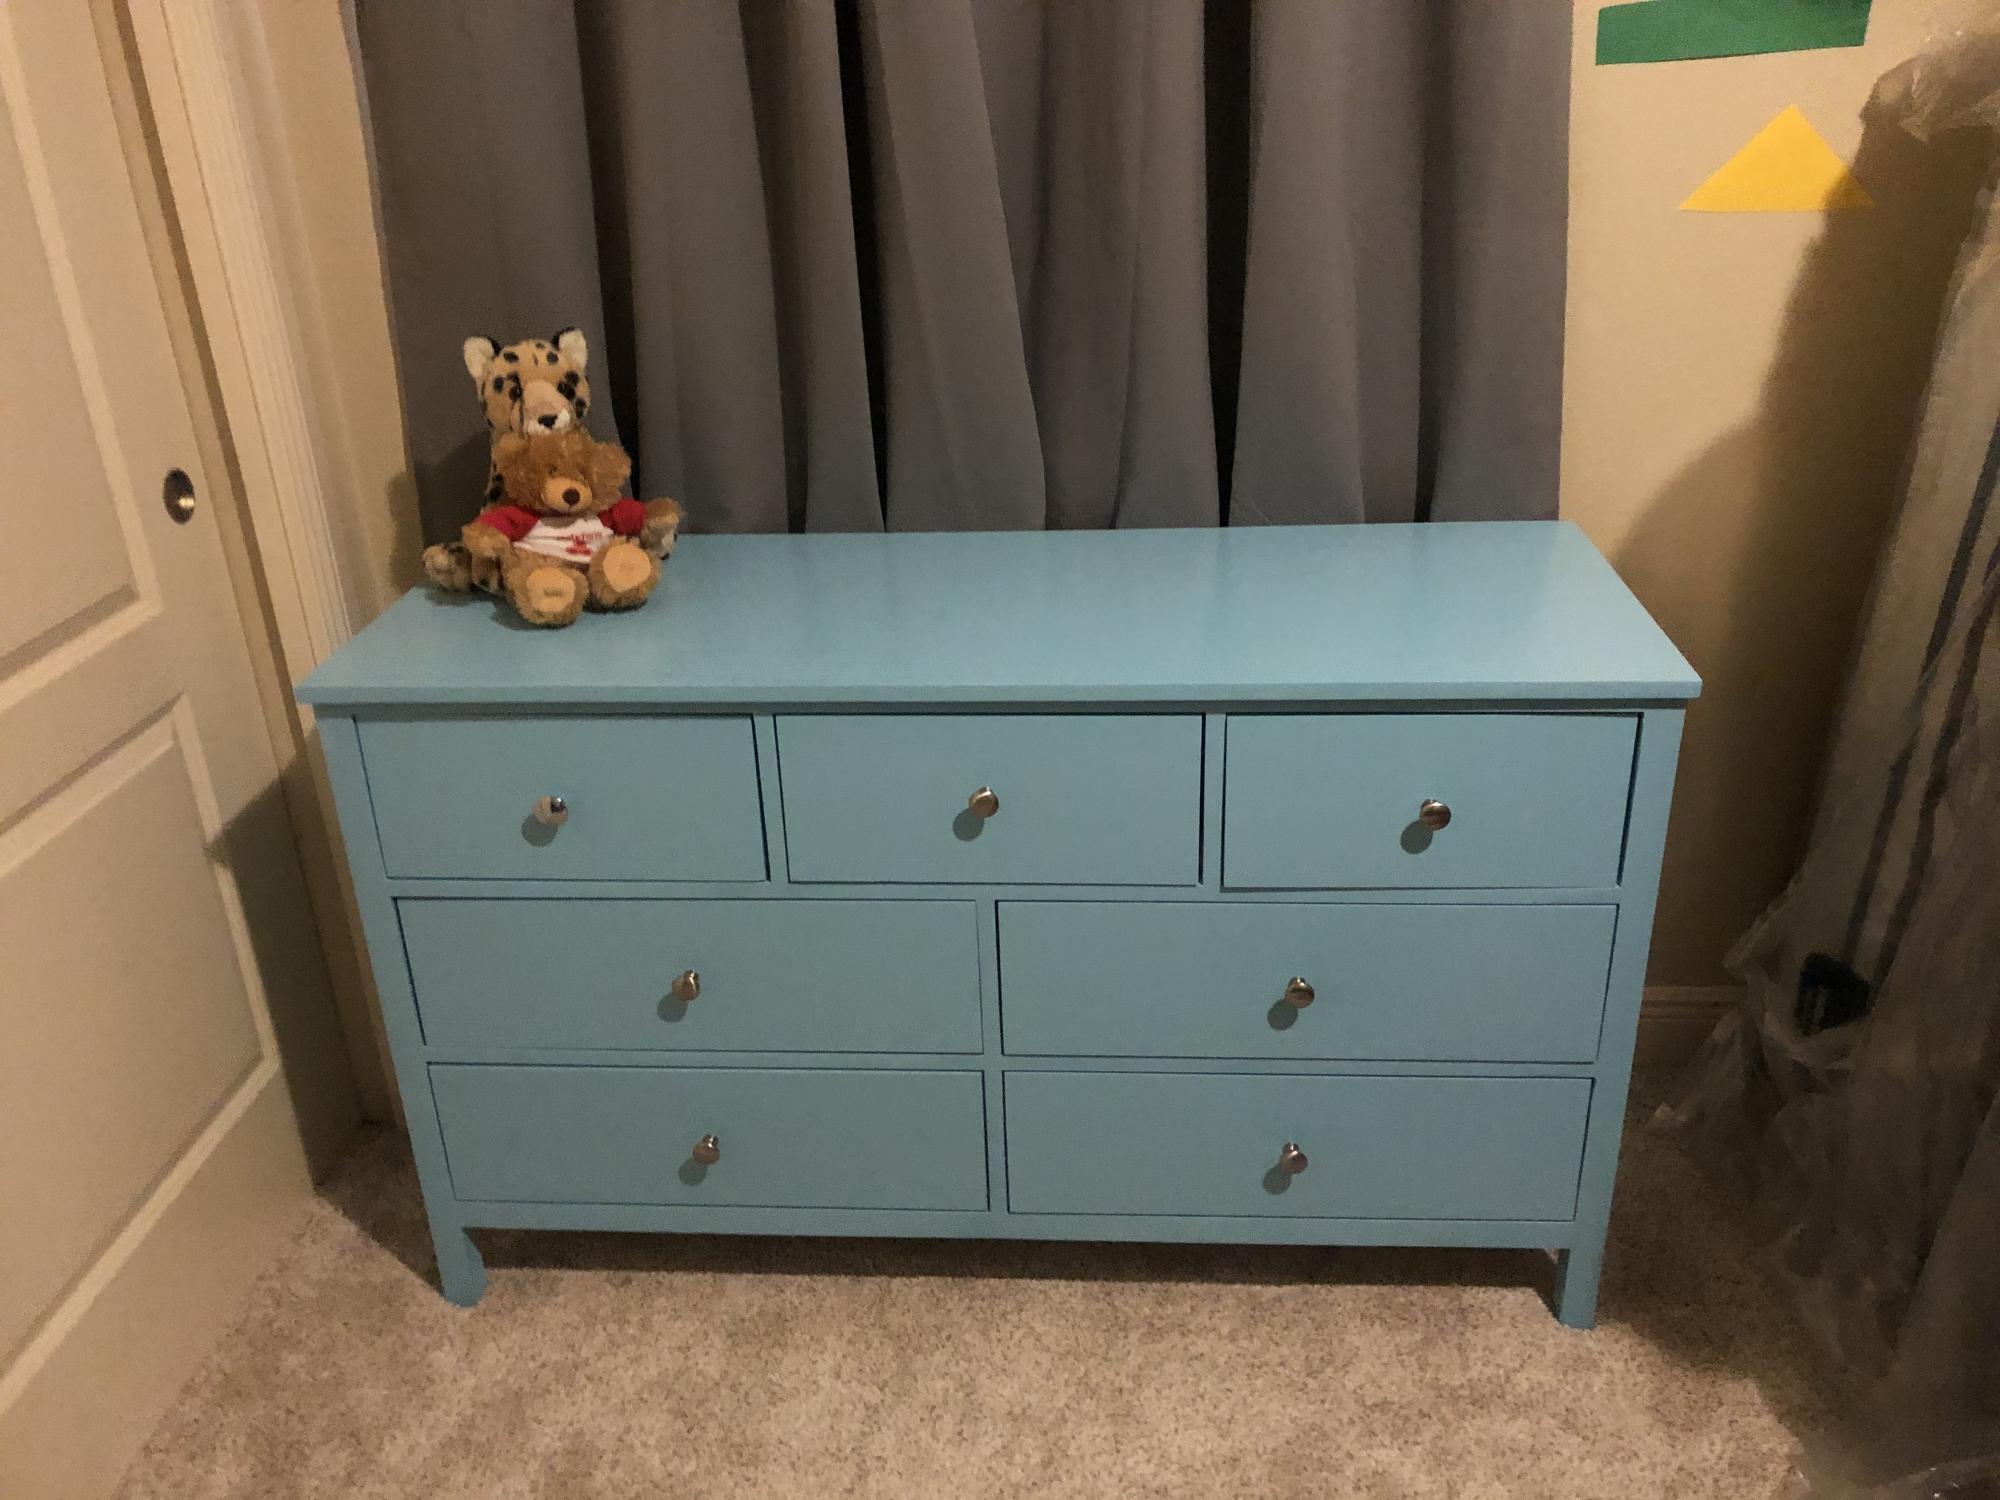
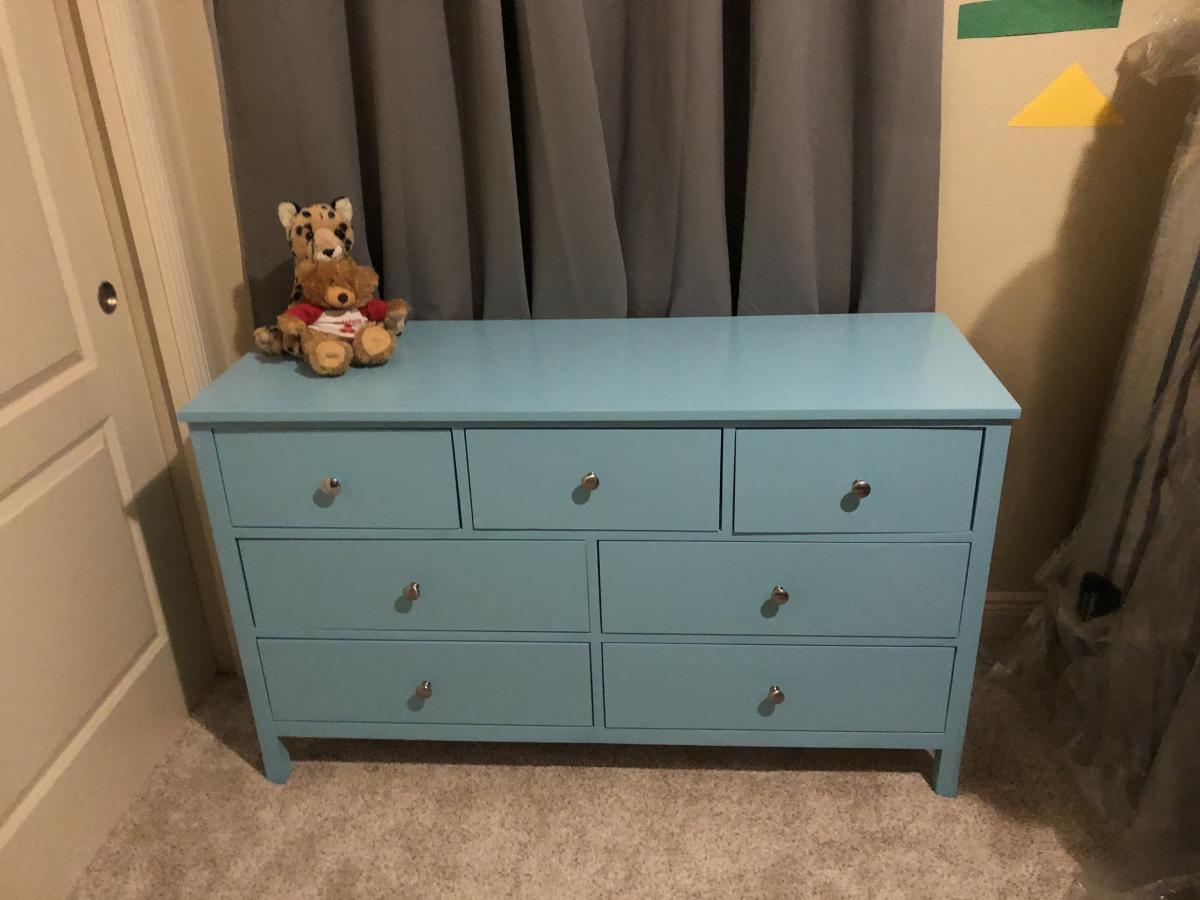
Struggled with this one, but it’s done and I’m pretty proud of her

Built from Plan(s)

Comments

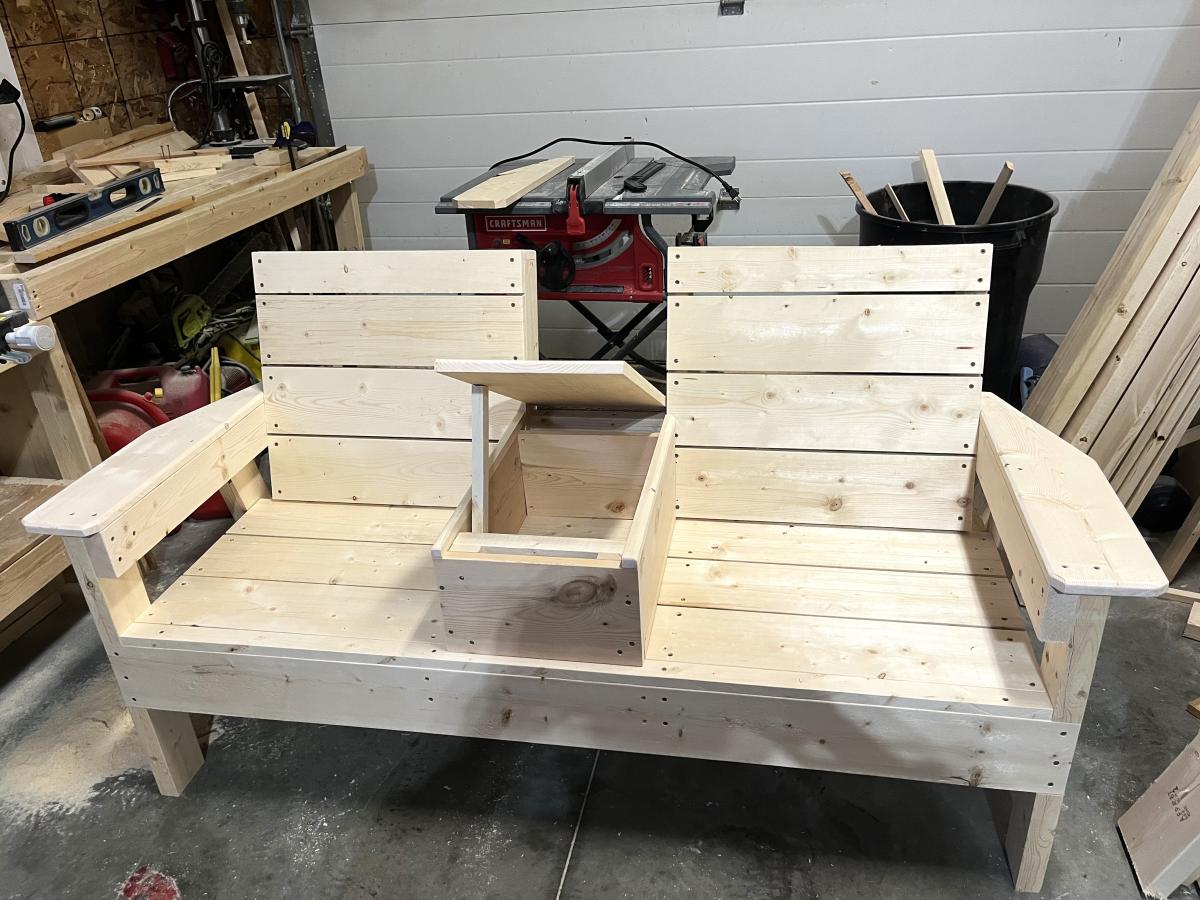
Double Outdoor Chair

Submitted by Anonymous (not verified) on Sat, 03/02/2024 - 11:16

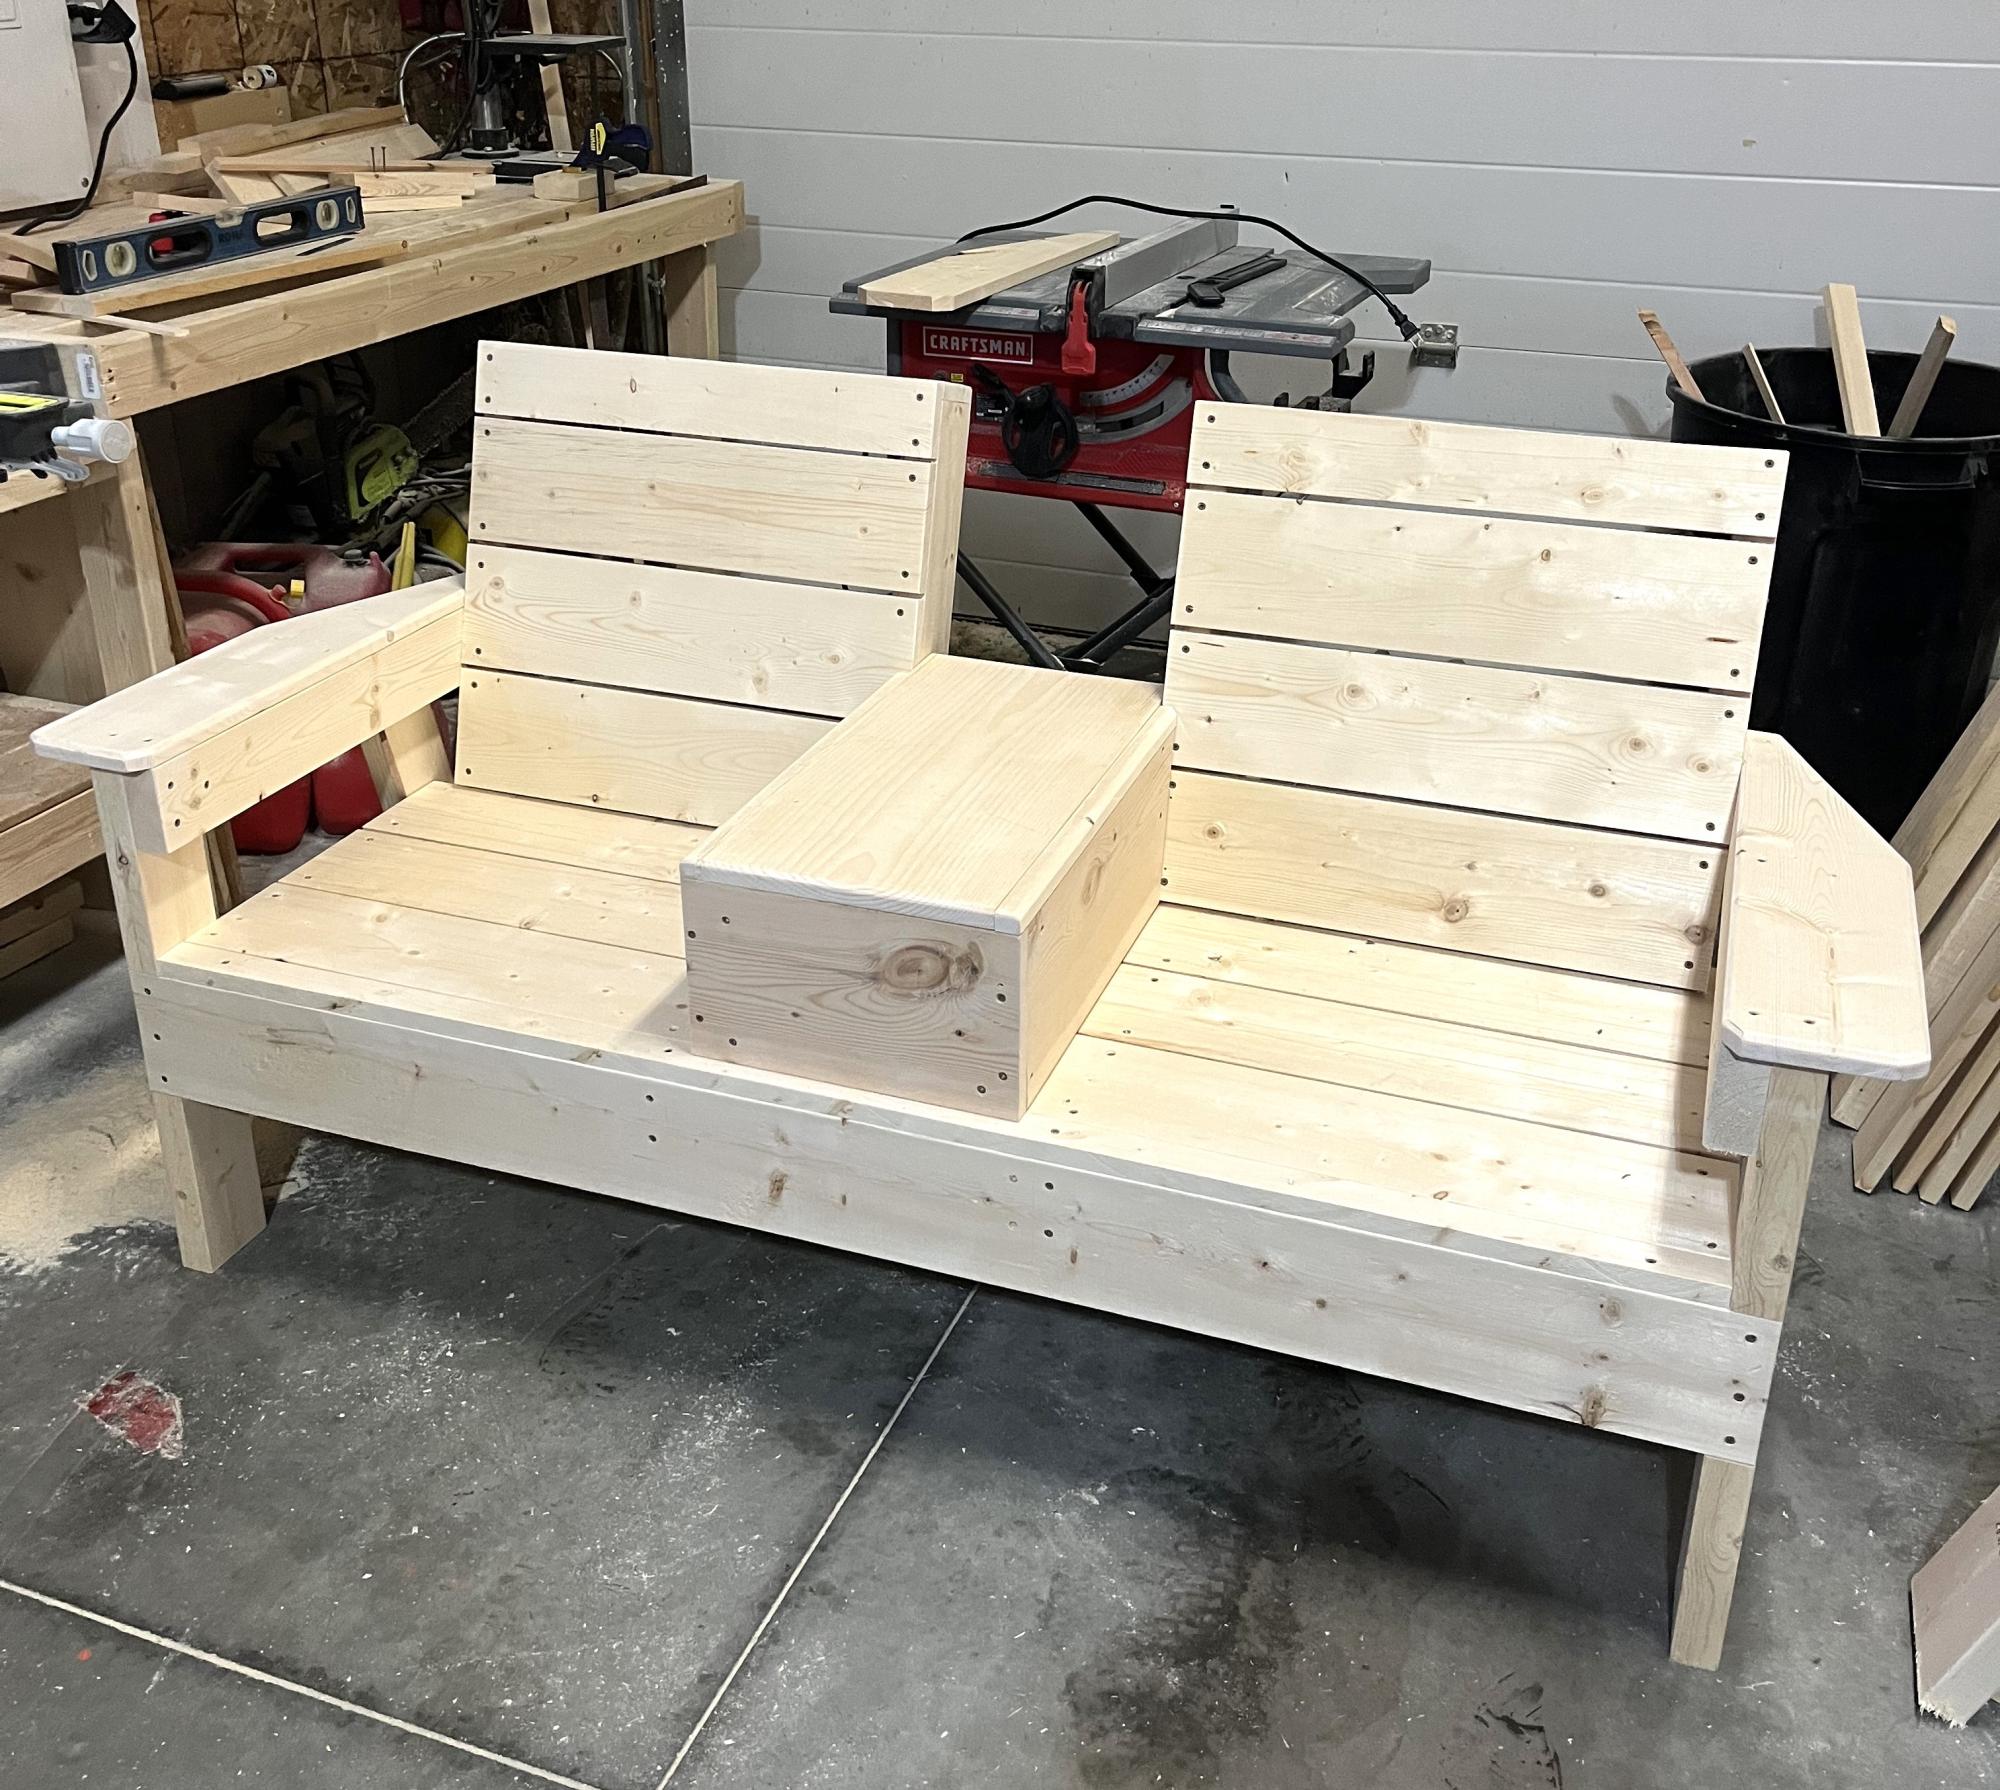
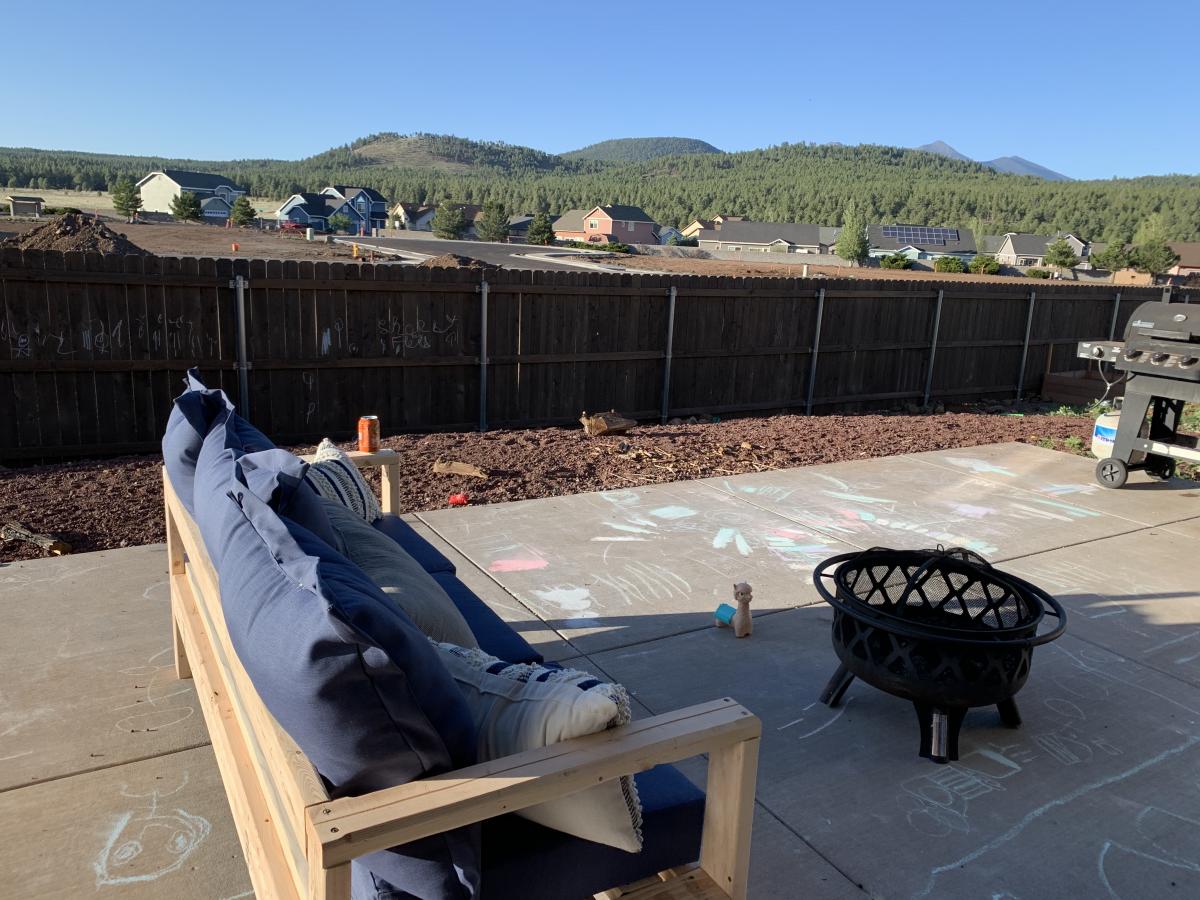
I make these double benches with storage in the middle… very sturdy and comfortable…. Will last a long time….

Stewart Larocque

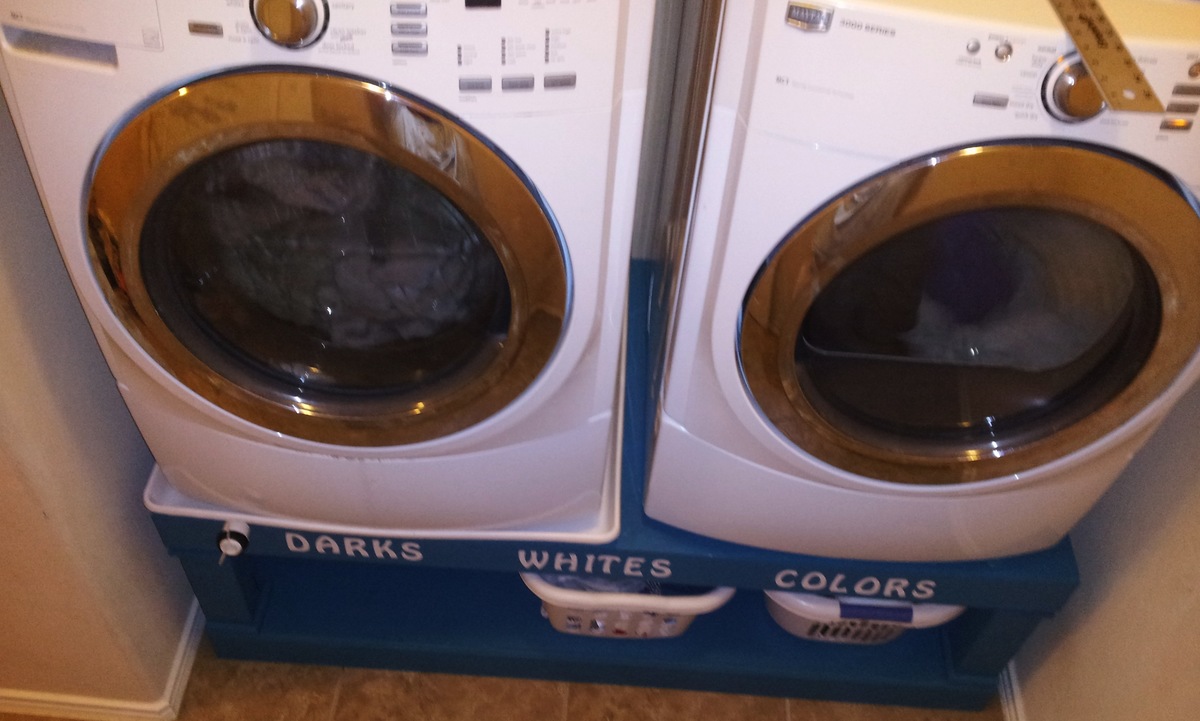
Washer/Dryer Storage Pedestal

Submitted by jsquires3 on Mon, 07/30/2012 - 10:12

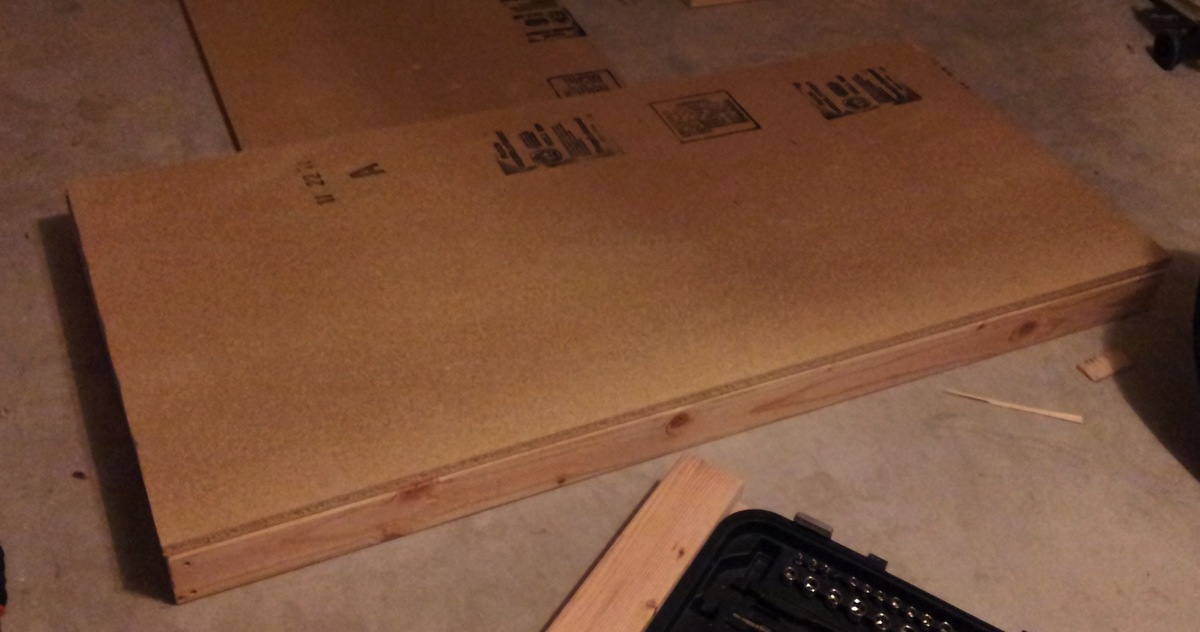
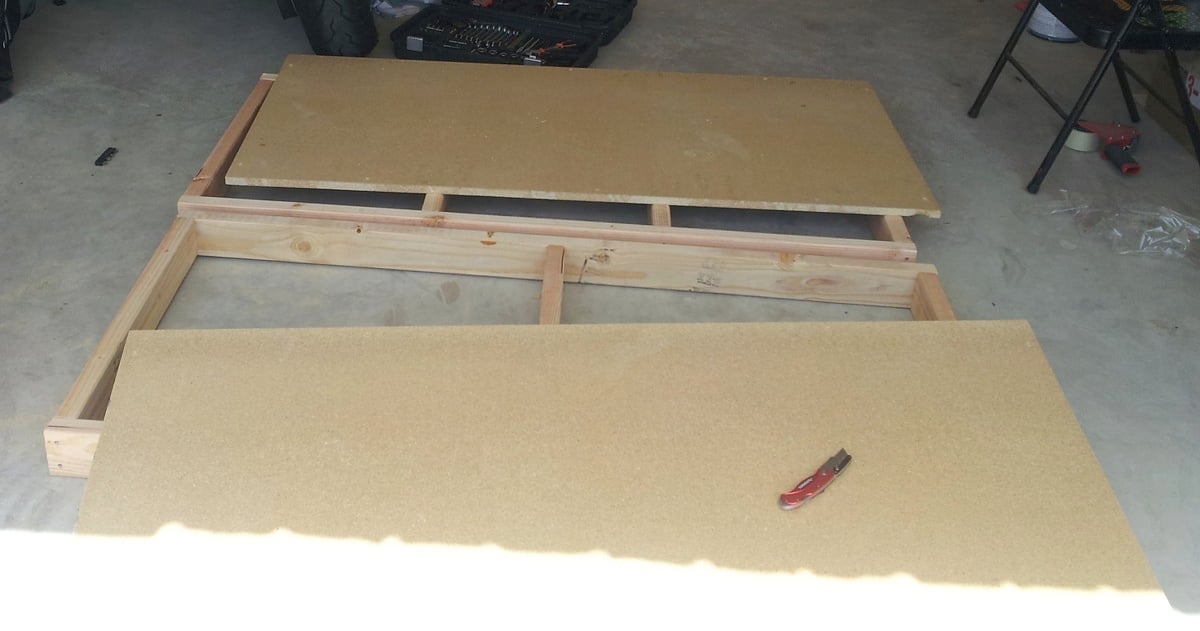
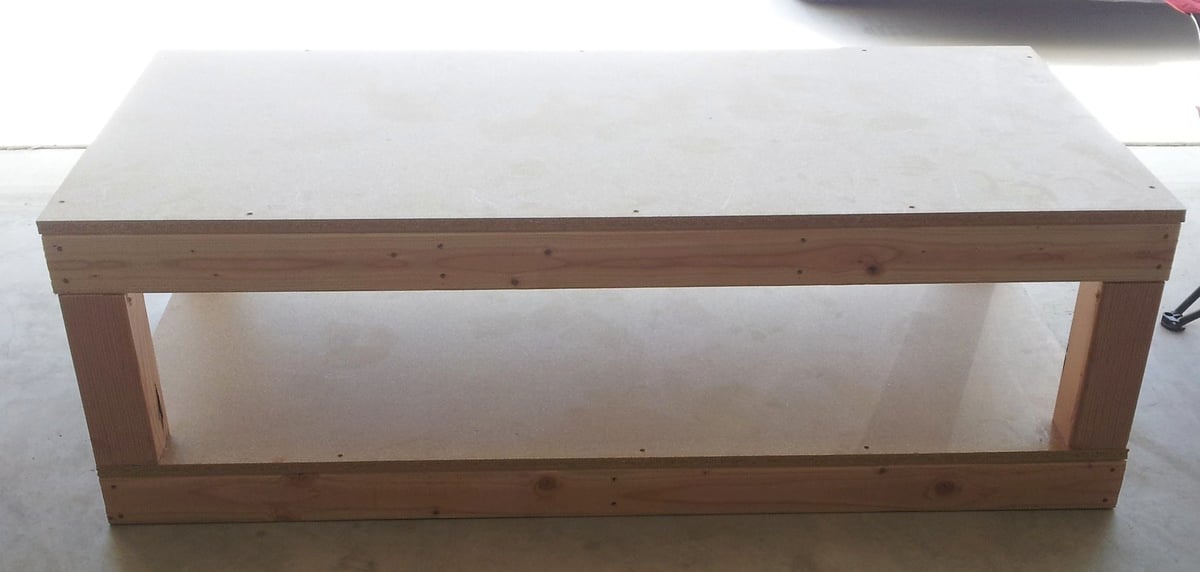
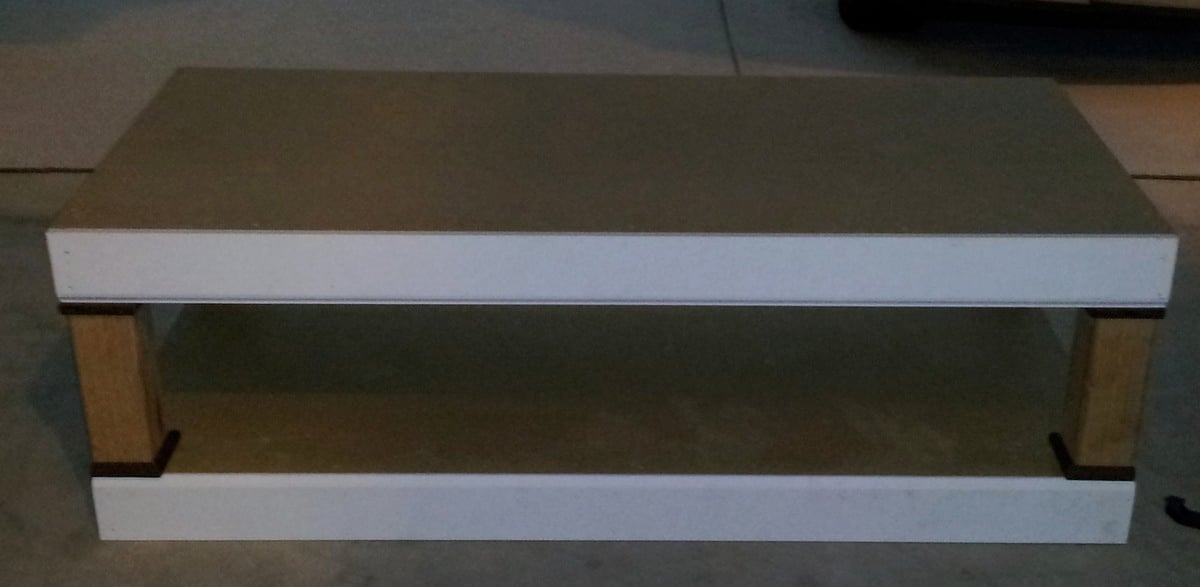
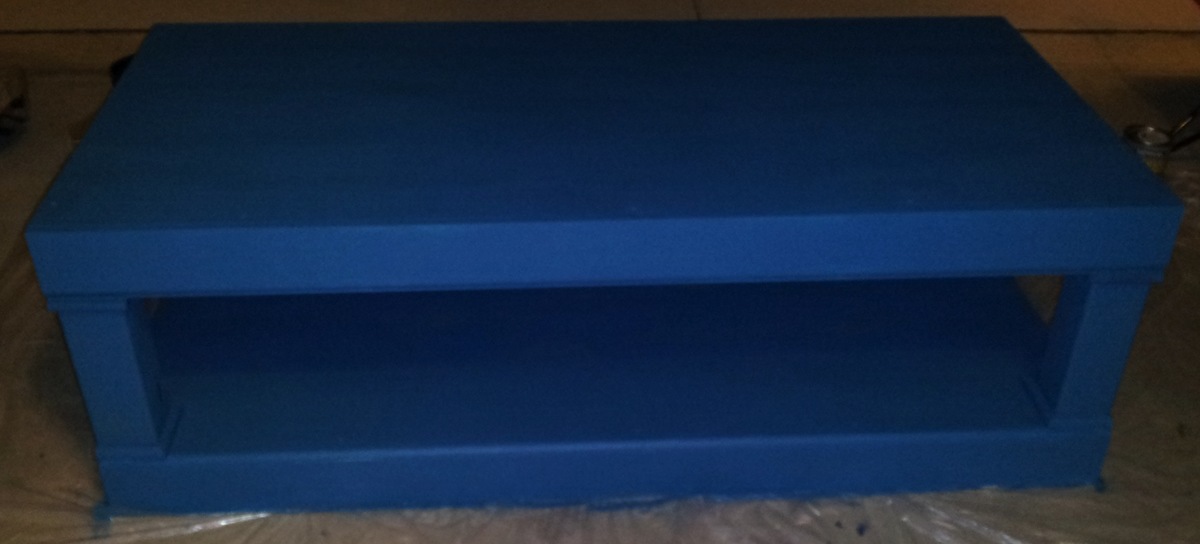
After I built my work bench I was ready to get started with my first real projets from the site. My wife requested that I make this pedestal first so that she could get a little more organized. I would say total there was about 8 hours of cutting and building and then another hour of painting. I did make one modification to this project and that was to add extra trim to the bottom and top of this pedestal. With everything included (wood, trim, paint, screws) this probably costs me right around $115. Much less than two of the standard medal pedestals that don't add much as far as aesthetics to the laundry room.

Estimated Cost
$115
Estimated Time Investment
Day Project (6-9 Hours)
Finish Used
Leftover blue/green paint from my son's room, white vinyl letter appliques
Recommended Skill Level
Beginner

Queen Sized Farmhouse Bed

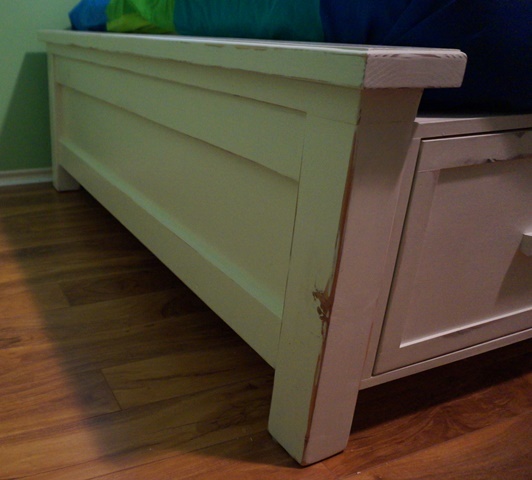
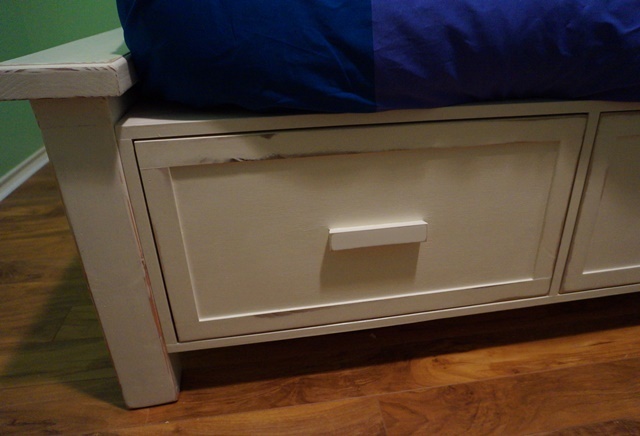
I built this Farmhouse Storage Bed with Storage Drawers for my youngest son. I wanted this bed to be for our current use (for my son and when my parents come a visit) but also I wanted deeply for this to be an heirloom that he would carry with him in his life.

I worked on it a bit at a time for about three weeks. I probably put 50 or so hours into it and I learned a lot. I used redwood 4x4 posts for the head and foot board, cabinet grade plywood, and reclaimed poplar for the trim and handles on the drawers.

I sealed the drawers and drawer boxes with my own version of "Wipe on Poly" that I mixed myself. I painted the bed with eggshell white paint that I bought a while back to repaint our ceilings with when Hurricane Ike came through. I sanded back portions of the bed to make it look distressed and then sealed the whole thing (bar the portions I already sealed) with clear semi gloss polycrylic.

My thinking was that I would have the color I wanted and yet seal the whole bed including the portions I distressed making the look rather permanent and tough for a child under 10.

I plugged all of the pocket holes that I used and sanded them flush as well as using edge banding on the drawers and the bases so that they looked like solid wood. These two alterations to Ana's plans added some time to be sure - but I was really happy with the result.

Ana, I wanted to thank you personally for putting these plans together and encouraging others to try their hand and building furniture. I had build a lot of other woodworking projects before but nothing of this scale. It went VERY smoothly with few hiccups and came together, essentially, like I wished it would.

I plan on making more things in the plans soon, including a loft bed for my other son, and will post them here when I do.
Estimated Cost
400 dollars
Estimated Time Investment
Week Long Project (20 Hours or More)
Finish Used
Sand back wood, add eggshell paint and let dry overnight. Adding a second coat a few hours after the first. Sand back paint, 220 grit, to a smooth finish and then sand back points where natural wear would occur creating a distressed look. If you want the wood to be a little darker at these points, use Danish oil on the wood and the paint. Let this dry for 72 hours then cover with polycrylic sealer (semi gloss) and let dry.
Recommended Skill Level
Intermediate

Much needed for our bathroom!

Submitted by Anonymous (not verified) on Thu, 08/25/2016 - 09:43

I am a really beginning builder (read: this is about my fifth project ever), but it works perfectly for our really tiny, narrow bathroom. I finished it with some stain we already had on hand. Thank you so much for the building plans!

Estimated Time Investment
Day Project (6-9 Hours)
Recommended Skill Level
Beginner

Almost finished

Submitted by jfloyd on Sat, 06/06/2020 - 19:24

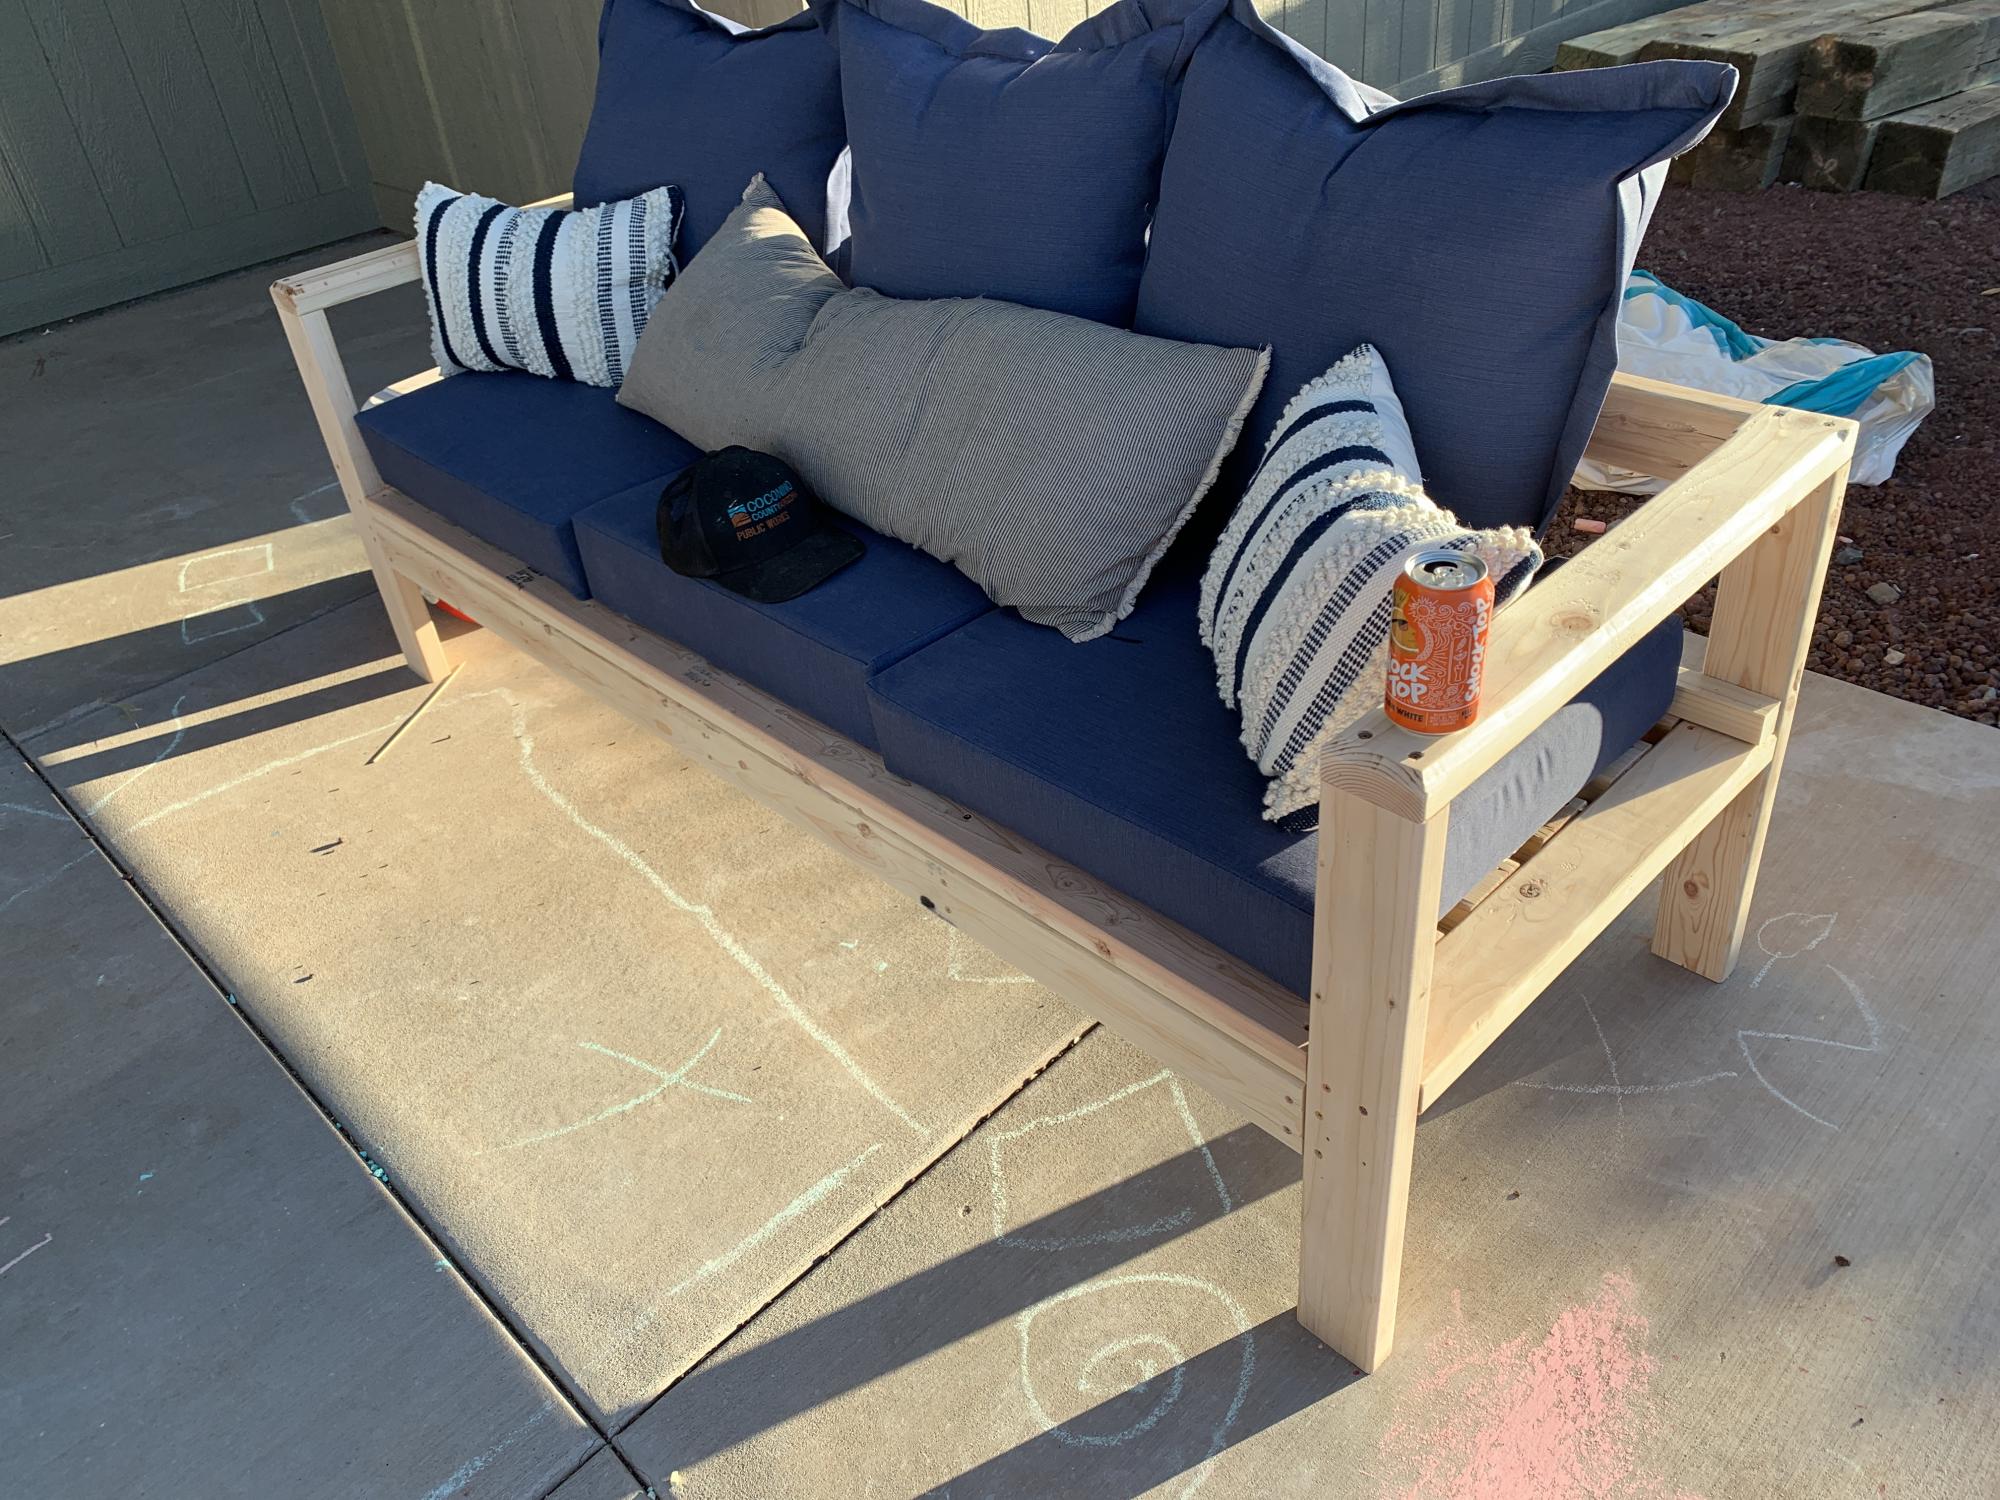
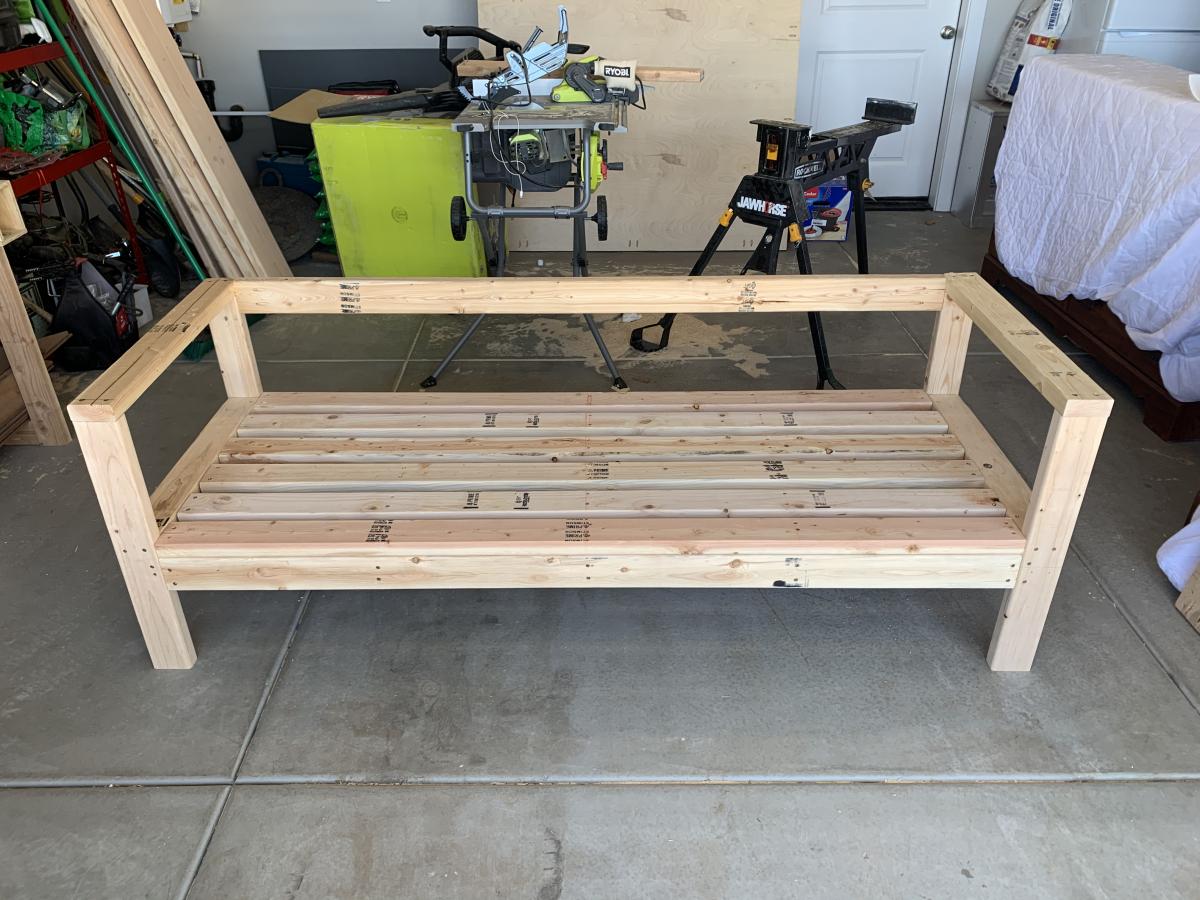
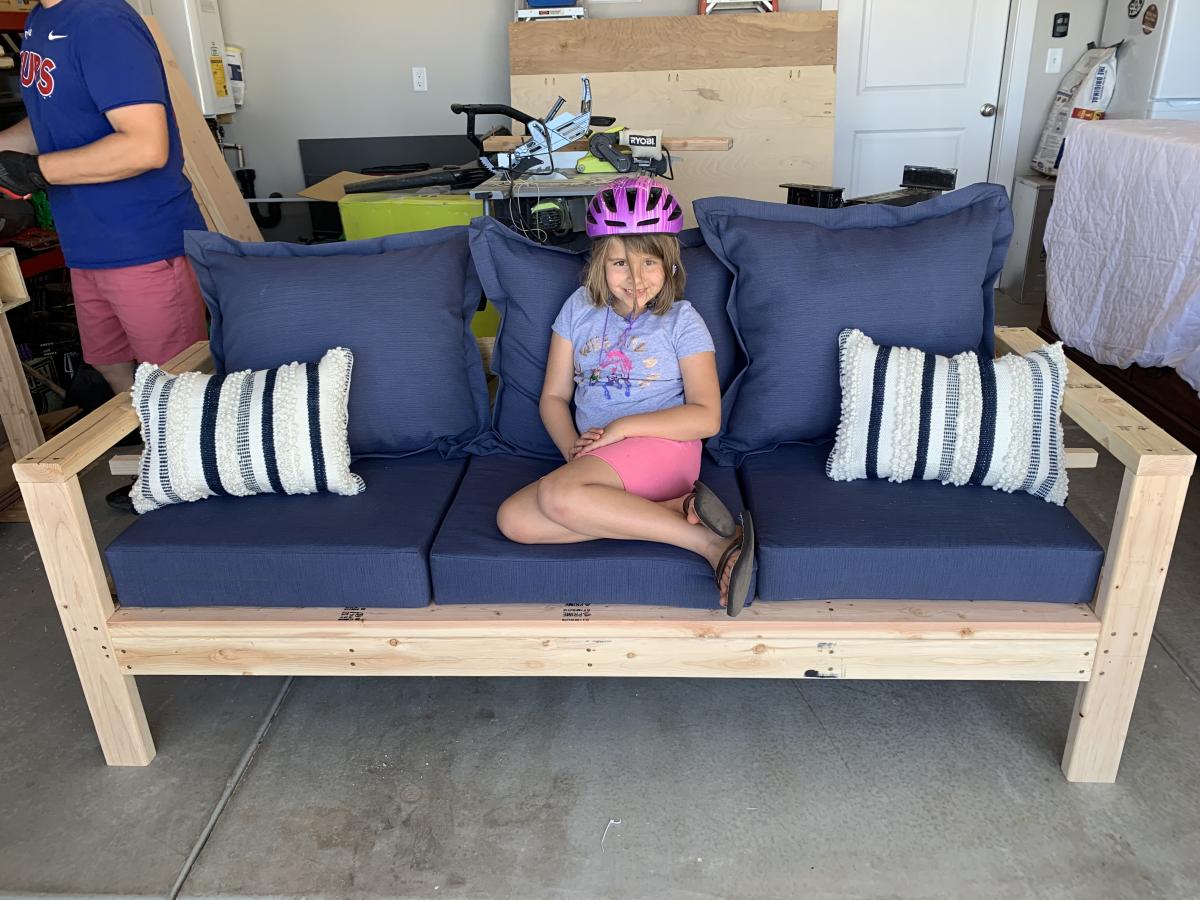
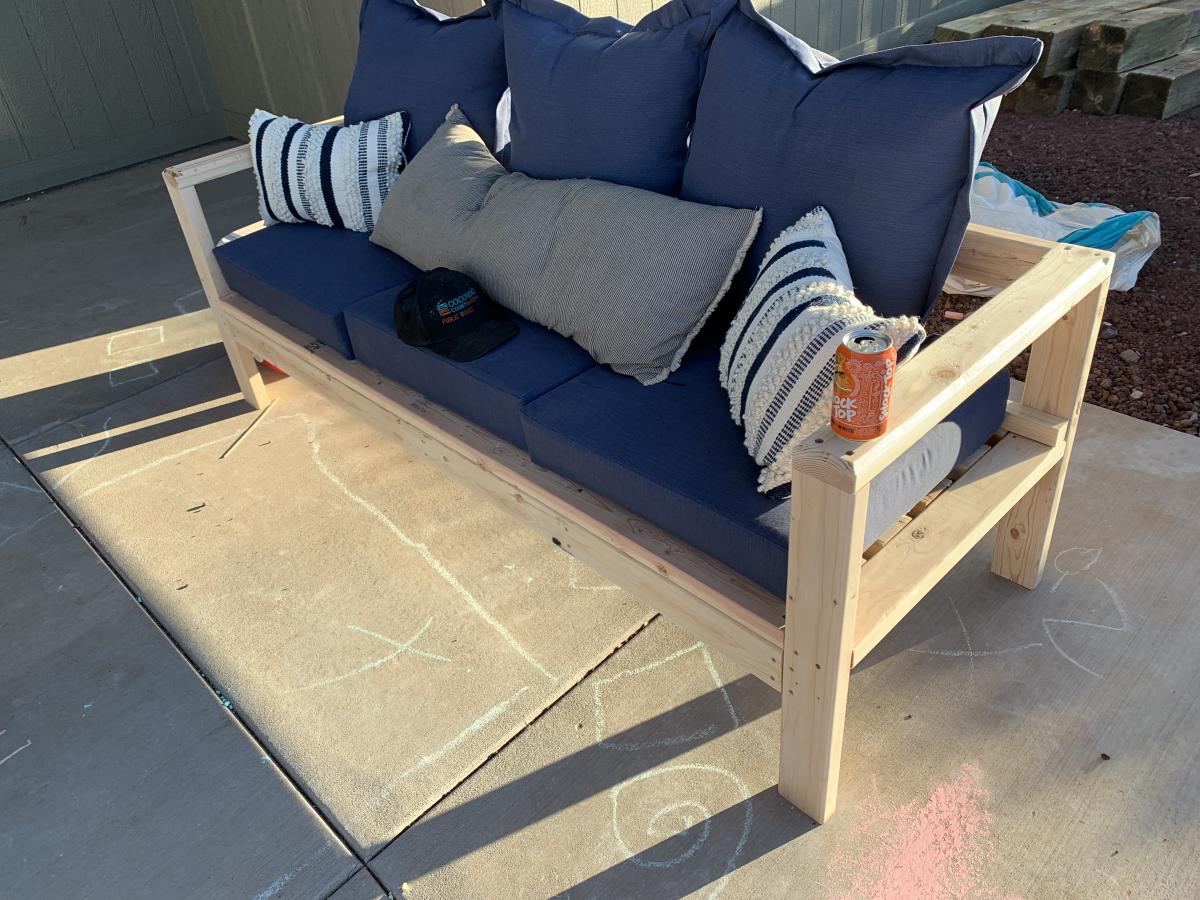
Fairly simple, especially if you have a miter station. So many repeating cuts. I think I cut the entire couch in 20 minutes. I believe we’re in this for about $250; including screws, and cushions, and paint. Very inexpensive compared to purchasing. So, I routed the arms with a 45 and added a 2x2 rail to keep the cushions from moving out the back. I will be turning it into a sectional soon. Also painting it red... Stay tuned.

Built from Plan(s)
Estimated Cost
$250
Estimated Time Investment
Afternoon Project (3-6 Hours)
Finish Used
Will be Behr exterior paint in crimson.
Recommended Skill Level
Beginner

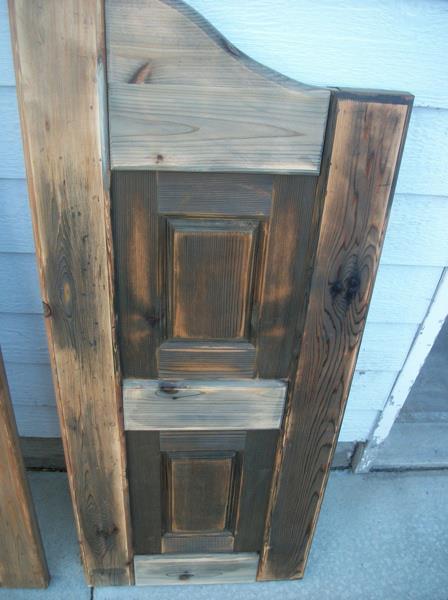
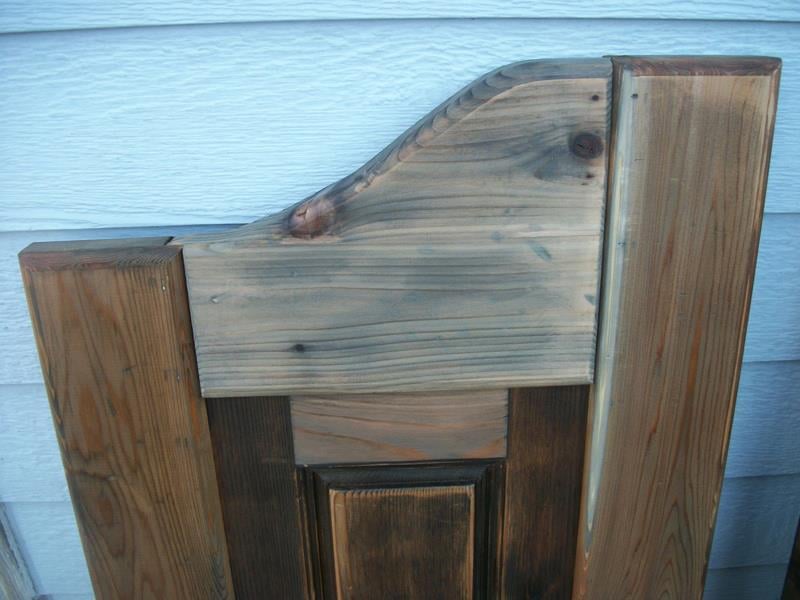
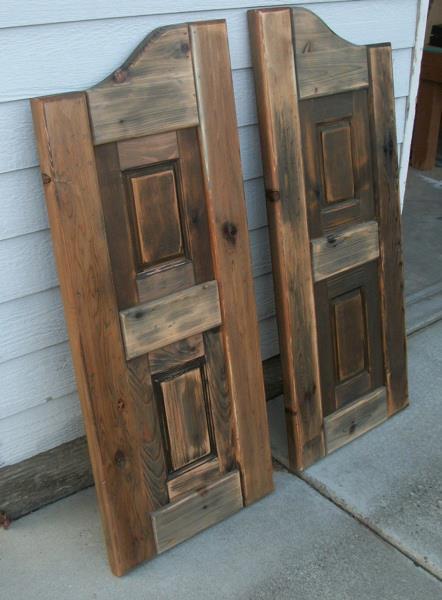
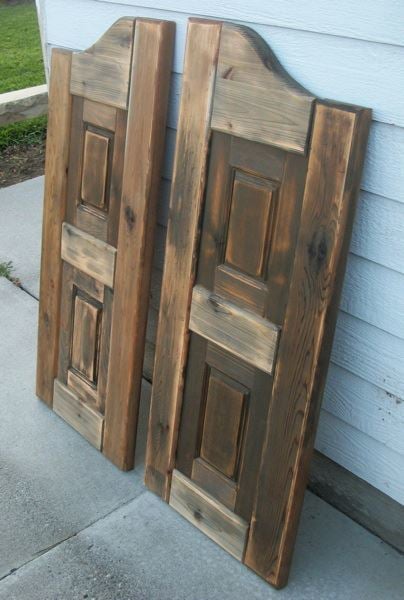
Western Saloon doors

Submitted by tracysmith on Thu, 08/02/2012 - 00:44

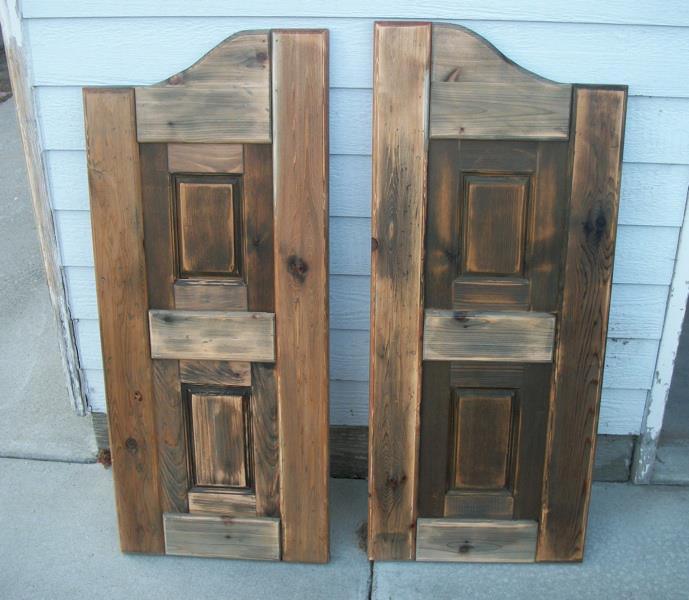
I built these doors for a very good friend of mine who actually helped me get started turning my new love for building (after finding Ana's site) into a way for our family to make some extra money.

It took me a little while to wrap my brain around building something without using my Kreg Jig. I used a router table set up with some raised panels bits and put the whole thing together with glue and nails! Wonderful experience!

For the finish, I used a vinegar solution to give the cedar wood an old barn look. I think the final result turned out great and the final step was a clear coat sprayed on out of a rattle can.

Estimated Cost
Lumber cost was about $80
Estimated Time Investment
Week Long Project (20 Hours or More)
Finish Used
Vinegar solution and a clear coat put on.
Recommended Skill Level
Advanced

Comments

birdsandsoap

Thu, 08/02/2012 - 10:51

These turned out great! I haven't seen this style of door in forever! They used to be really popular, I remember my Aunt and Uncle having these in the entry to their kitchen. They were the coolest thing ever when I was a kid! Maybe they are a making a comeback?
I'm really impressed with your routing skills, that's a task I have yet to tackle, but I've got the bits laying around waiting.

Nice job!

tracysmith

Thu, 08/02/2012 - 21:10

Thanks a bunch! My friend is replacing an old set of louvered doors that went into her laundry room. Her family are farmers and rodeo people so the western decor really fits in their house. Great western stuff there. They made a chandelier out of a wagon wheel! Really cool!

This was my first attempt at routing so I really appreciate your compliment! It's really simple if you can get the basics of it. I'm sure you'll do just fine when you get to that point. If I can do it, anyone can do it! Thanks again!!

laneal1987

Mon, 01/23/2017 - 09:32

I really want to try and build this for a closet.  Are there any instructions for this?  This is the first door of this style that I have come across that I absolutely love.

Tryed end table

Submitted by Samdr33 on Tue, 05/27/2014 - 13:12

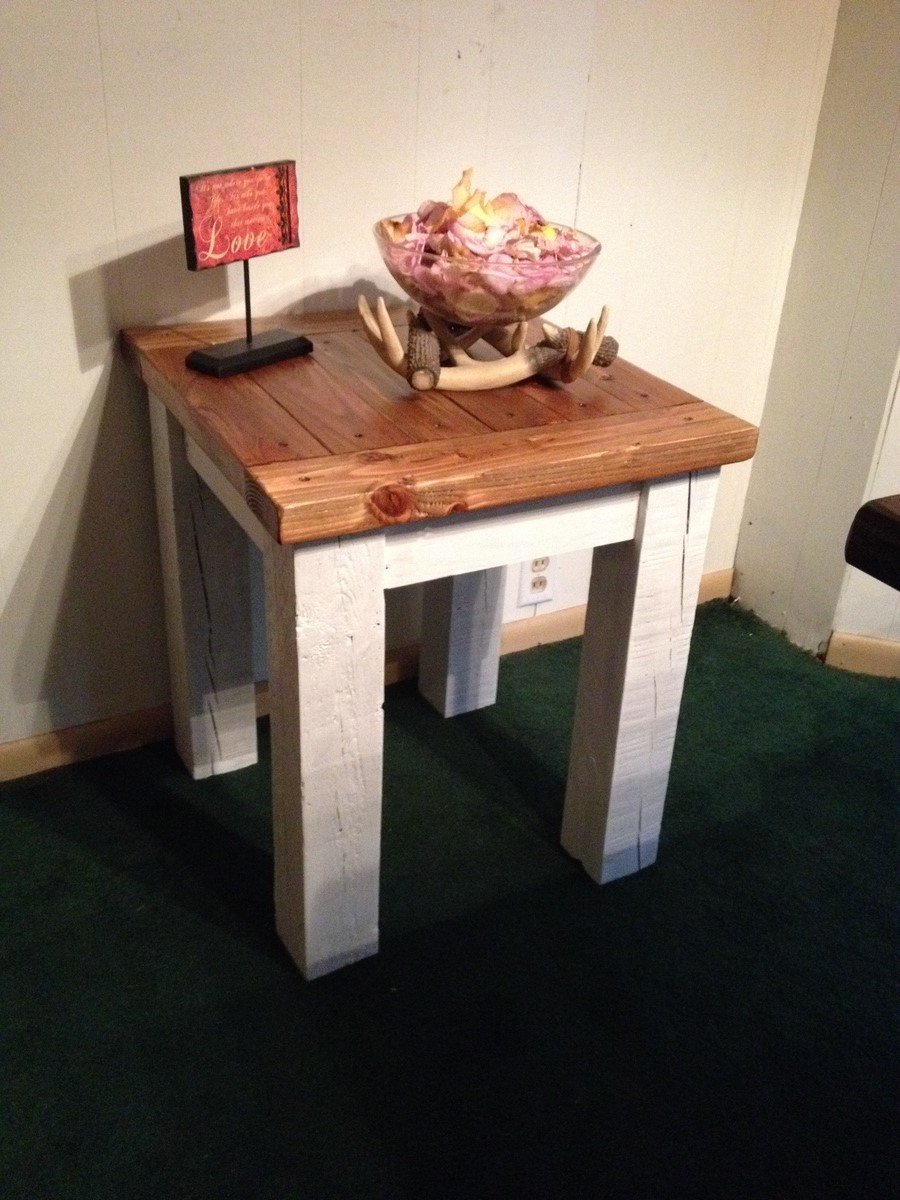
I had some really old (30+ years) 4X4's laying around the backyard that I found in a brick pile at my grandmothers house sometime back. I saw the plans for the really easy Tryed Side Tables, so I made a few of them, and people jumped on these really fast. This may be the simplest tables I have ever made, time and skill-wise. Just need a few 4x4 legs, 2x4 top, and 1x4 trim and support. THAT'S IT. Then about an hour of your time plus paint and stain time. Very cool and very easy.

Built from Plan(s)
Estimated Cost
$12
Estimated Time Investment
An Hour or Two (0-2 Hours)
Finish Used
Legs and support trim are painted Vanilla White
Top is stained Golden Oak.
Minwax Poly applied to top.
Recommended Skill Level
Beginner

West Elm Knockoff Chevron Bed

Submitted by ctay on Sun, 08/28/2016 - 16:05

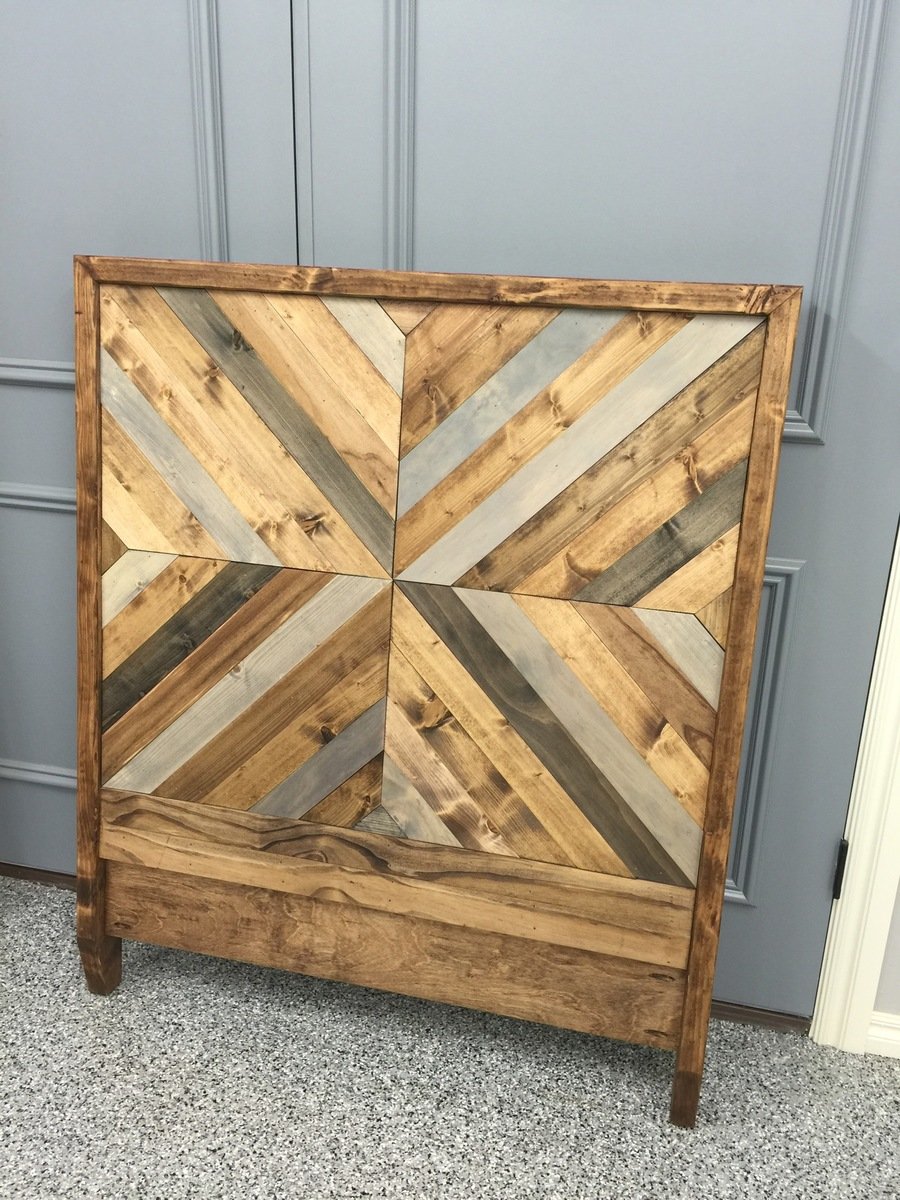
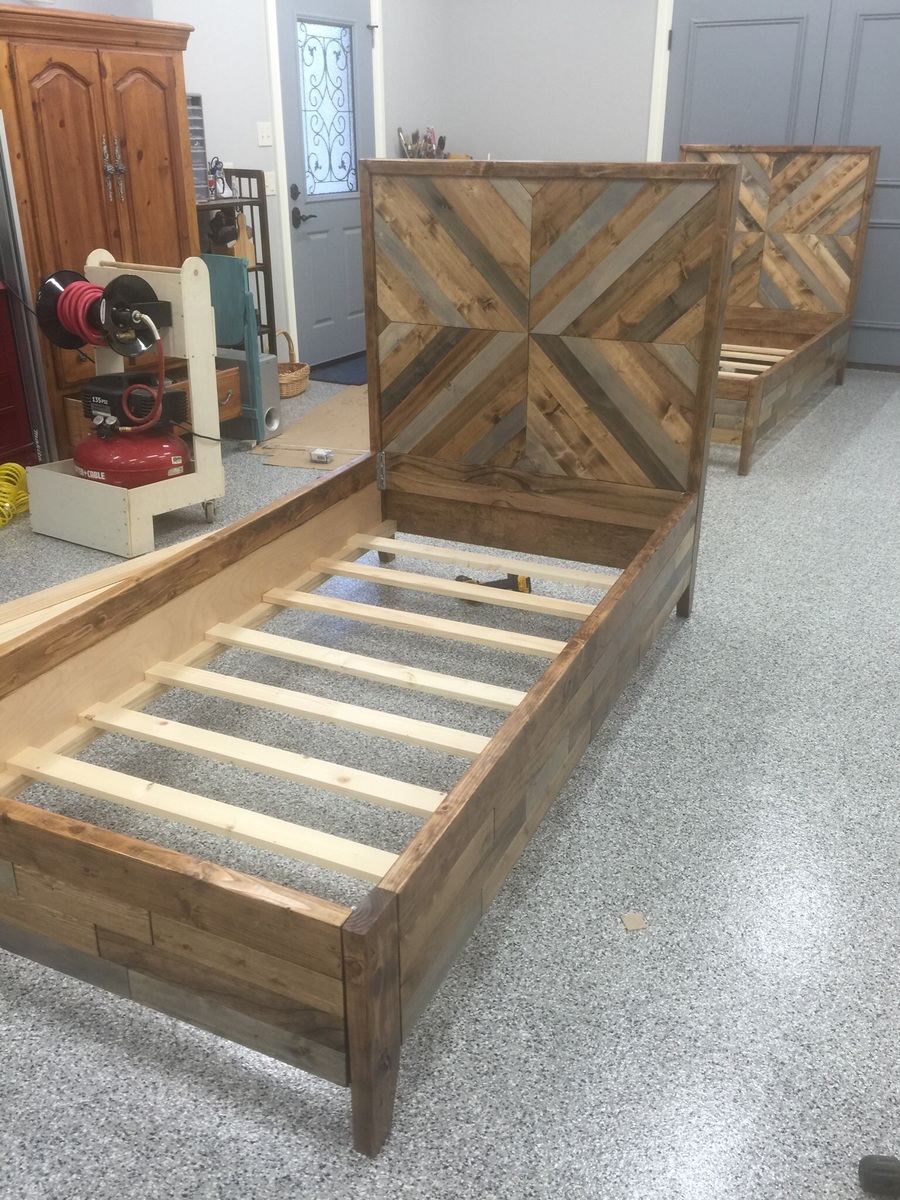
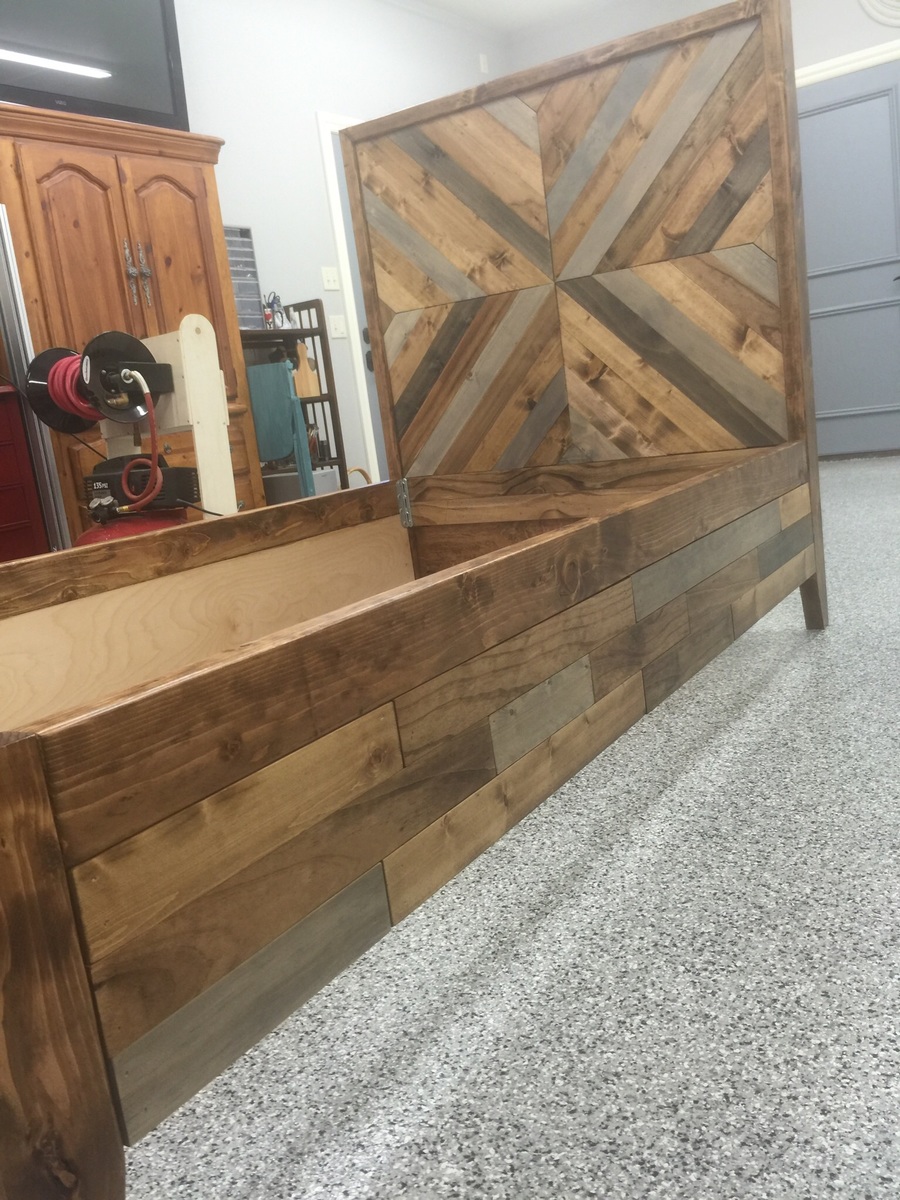
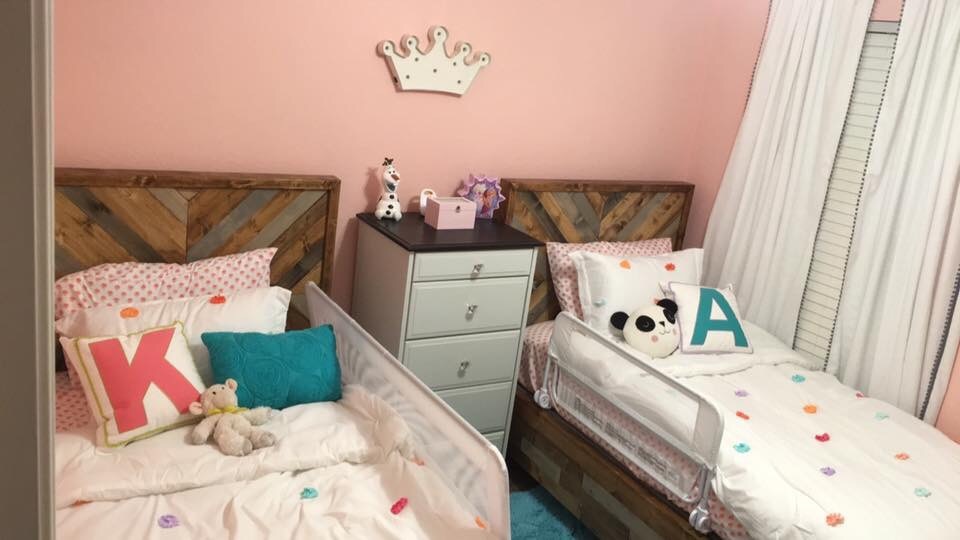
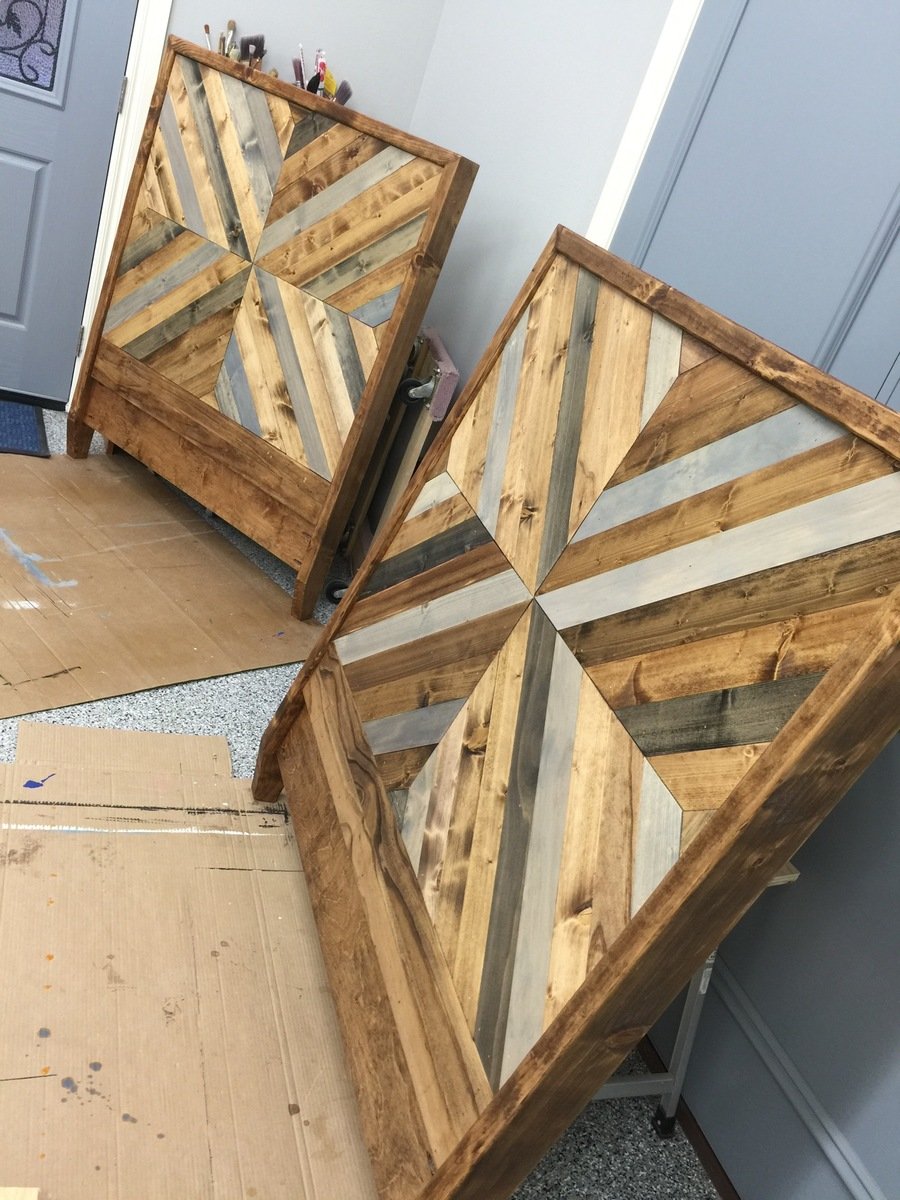
Built 2 twin beds for my granddaughters.  They turned out great and they love them!  

Estimated Cost
400.00 for 2 twin beds.
Estimated Time Investment
Week Long Project (20 Hours or More)
Finish Used
I used several stains Early American, Provincial, Ebony, and 2 different greys.
Recommended Skill Level
Intermediate
Back