seesaw
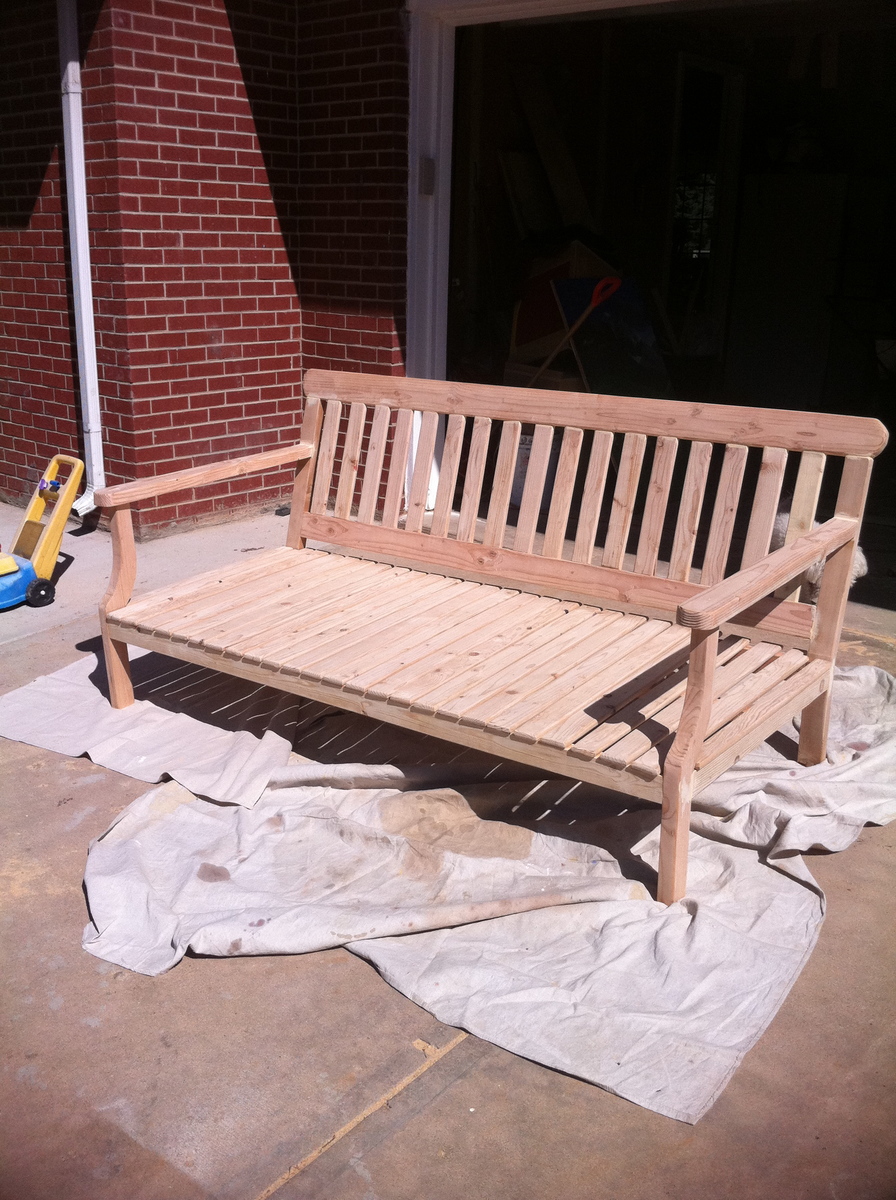
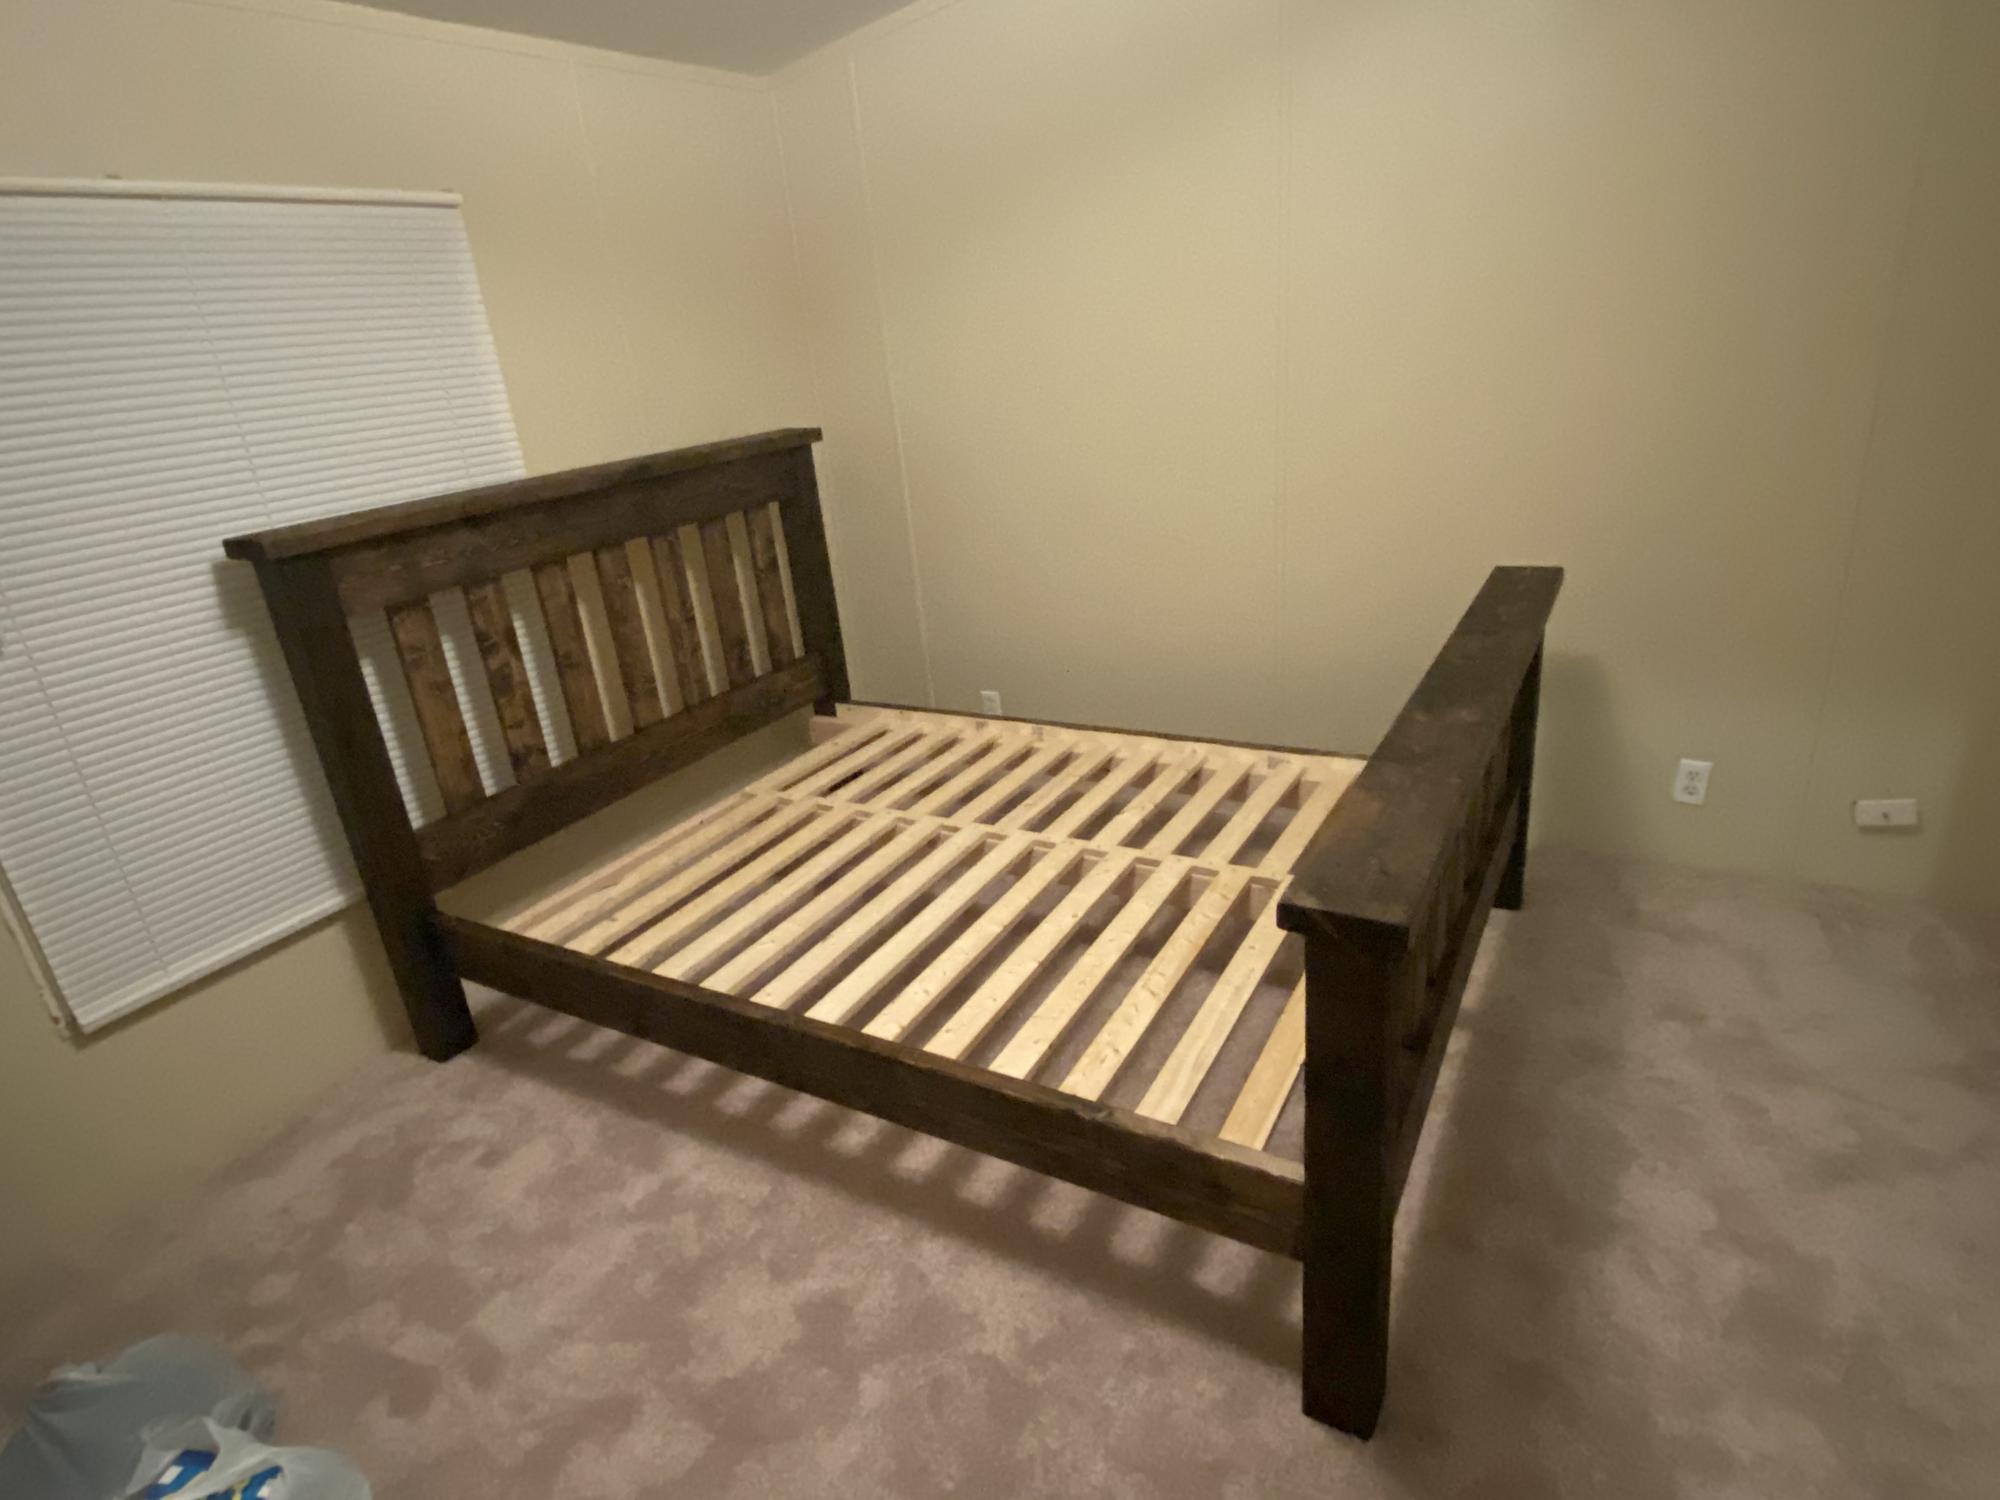
This was our first foray into a built-it-yourself Anna White project, and WE DID IT!!!
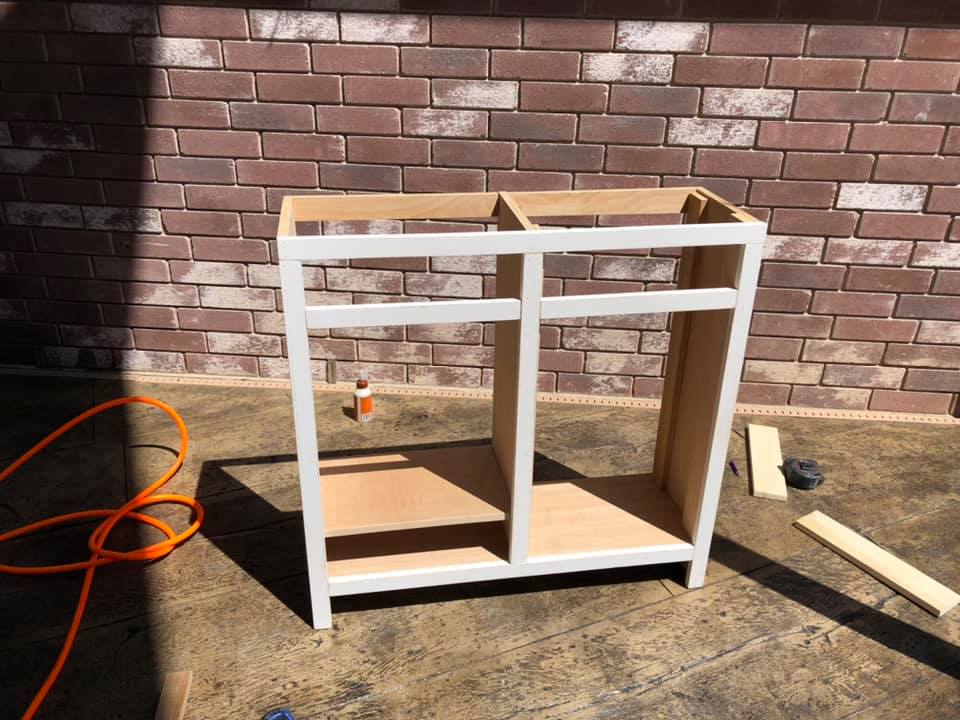
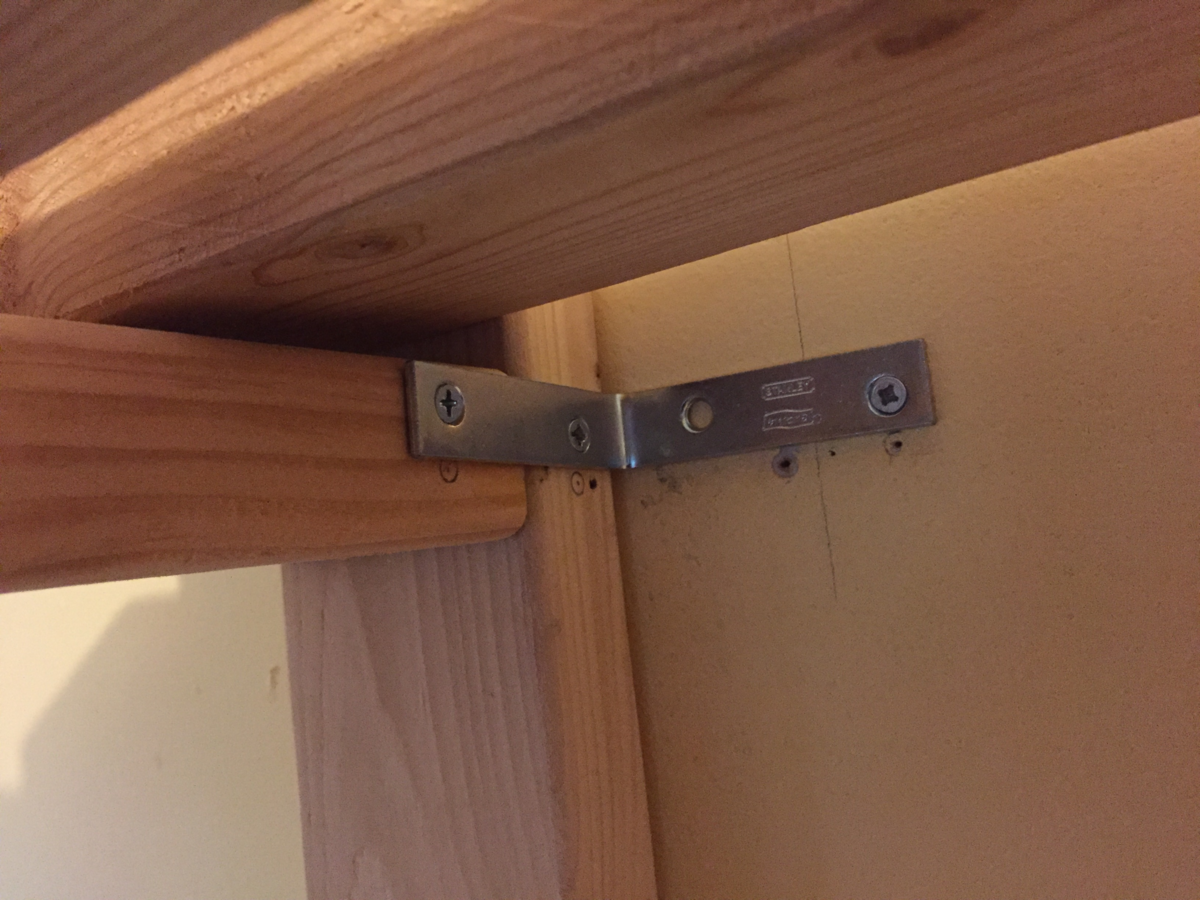
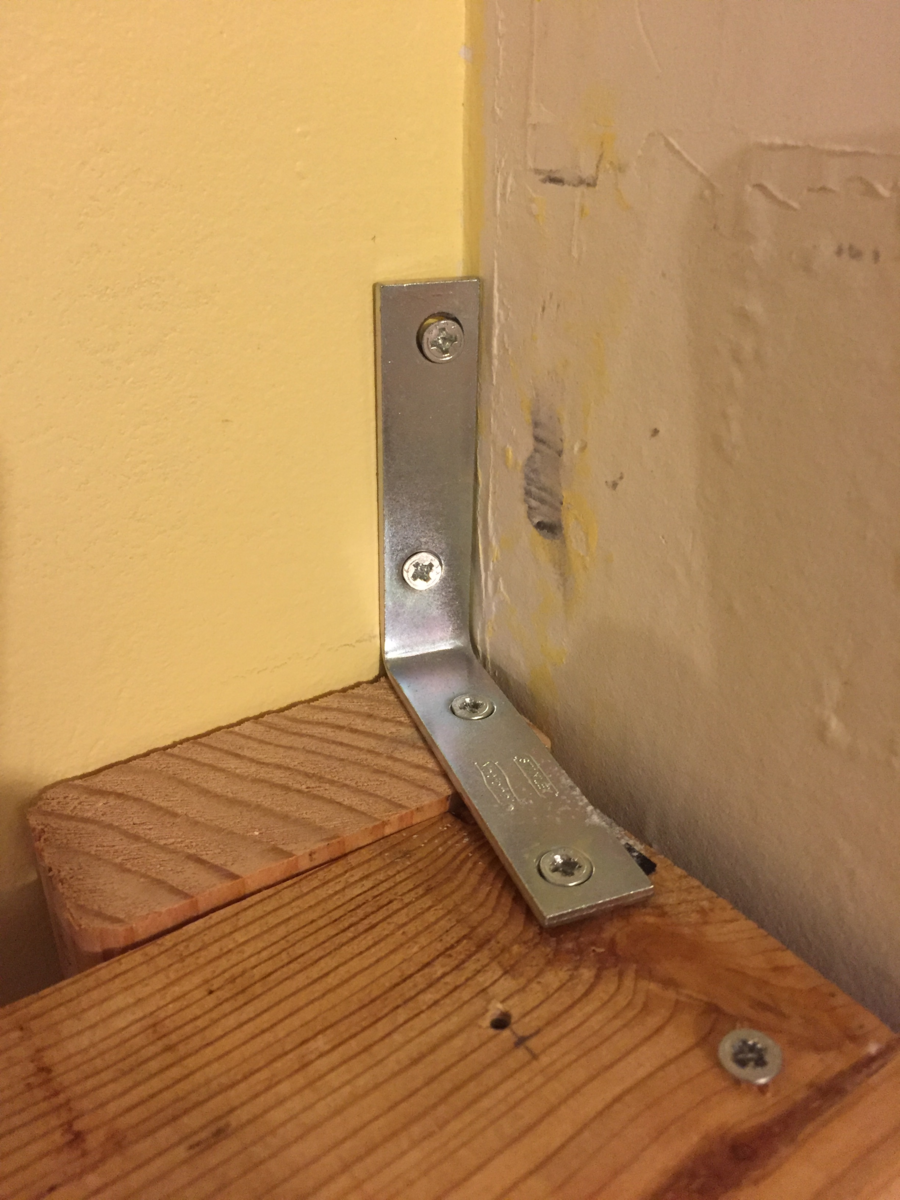
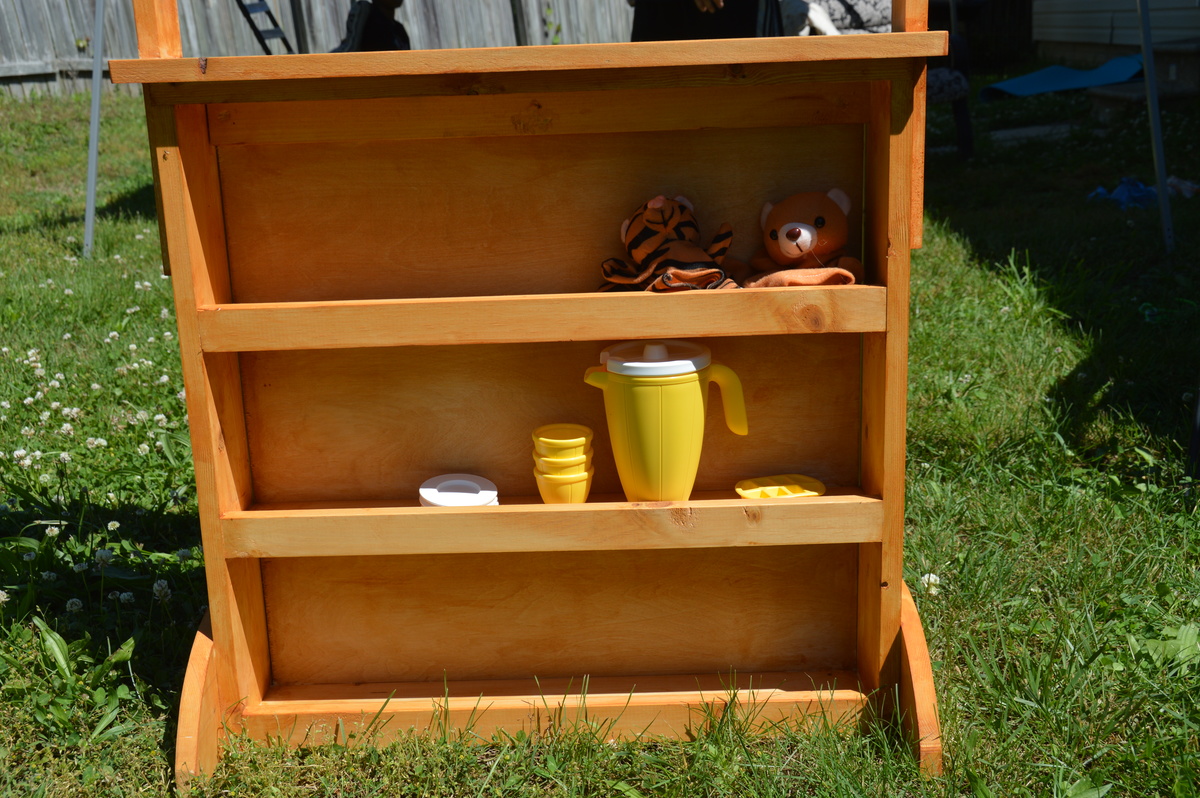
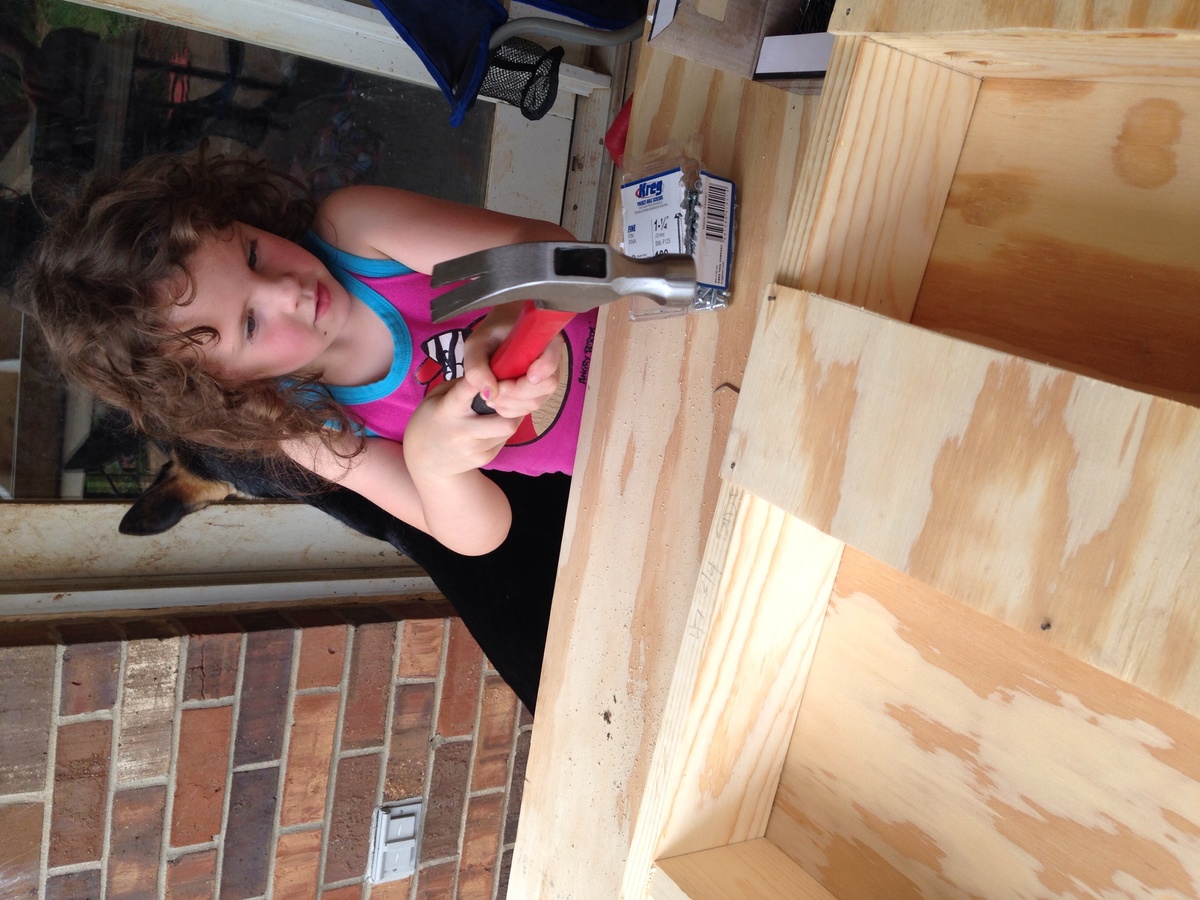
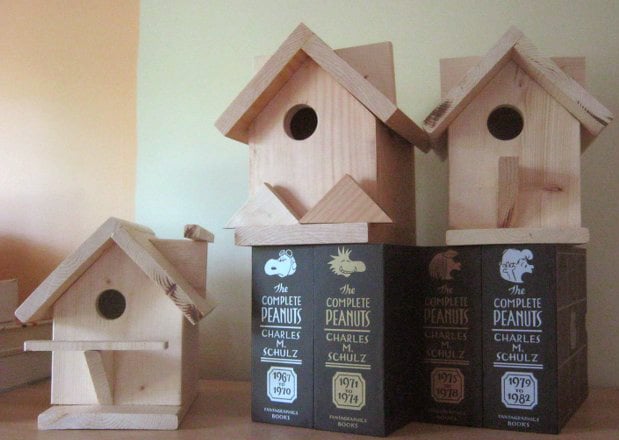
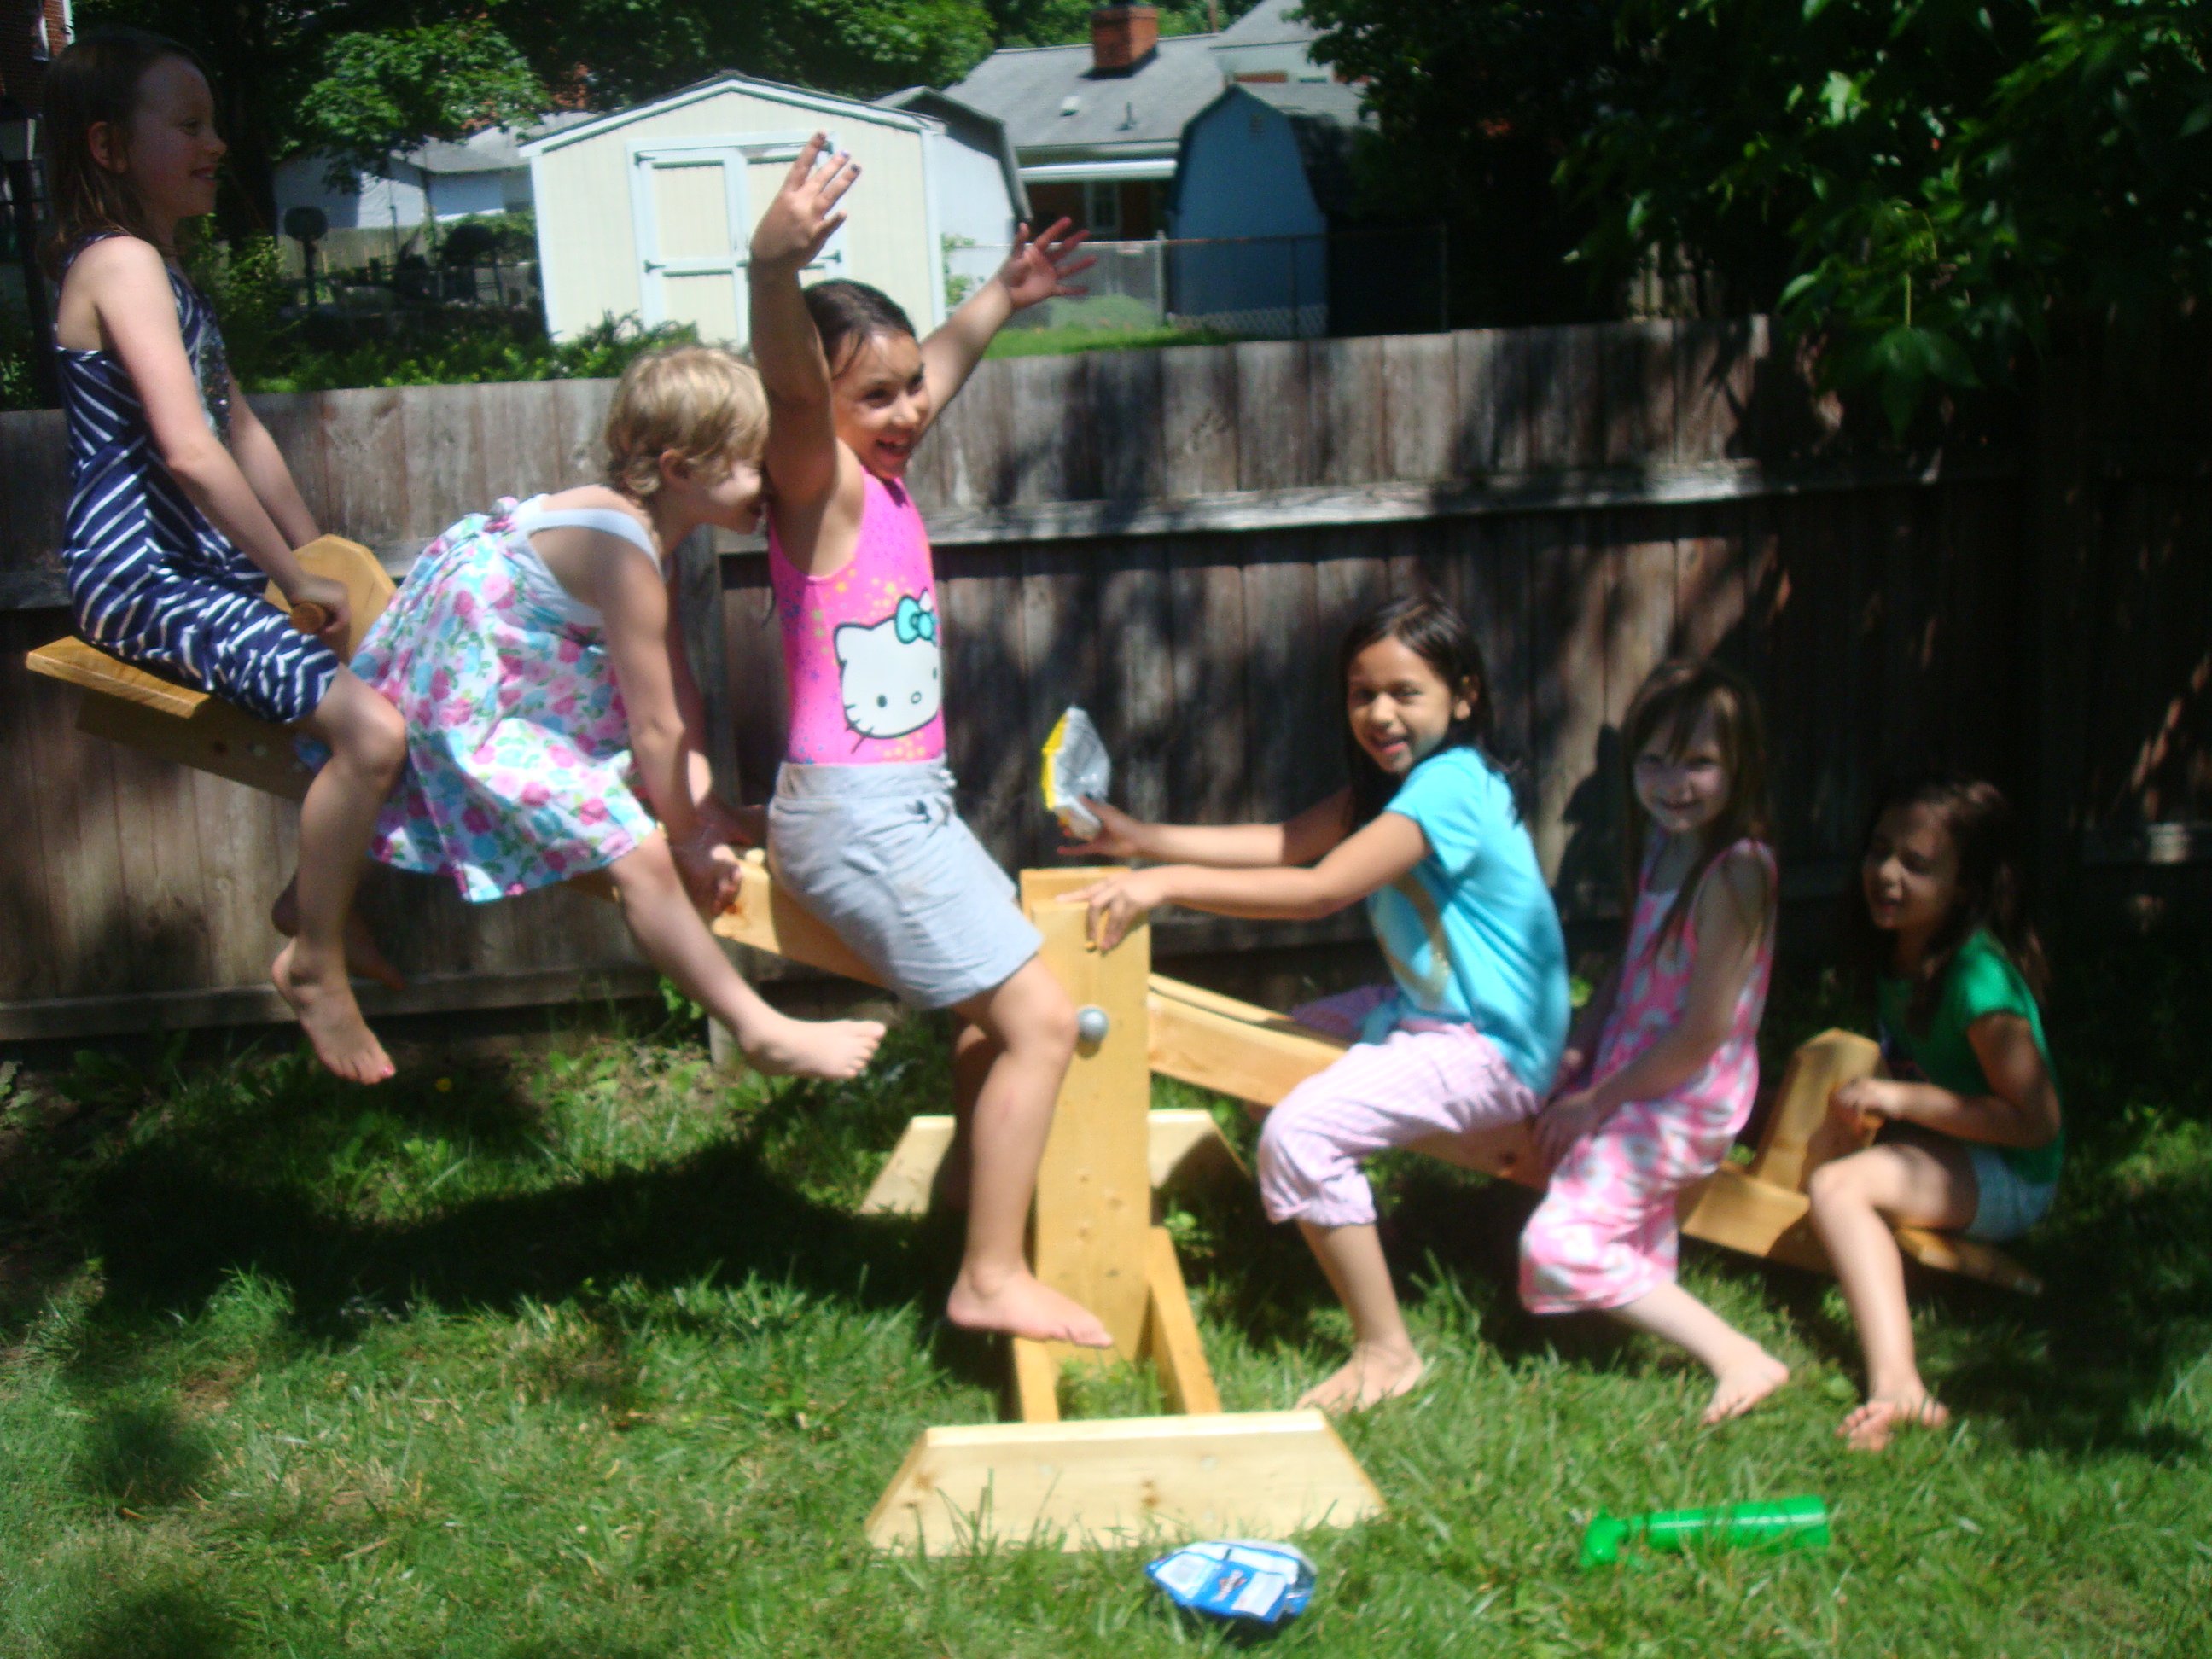
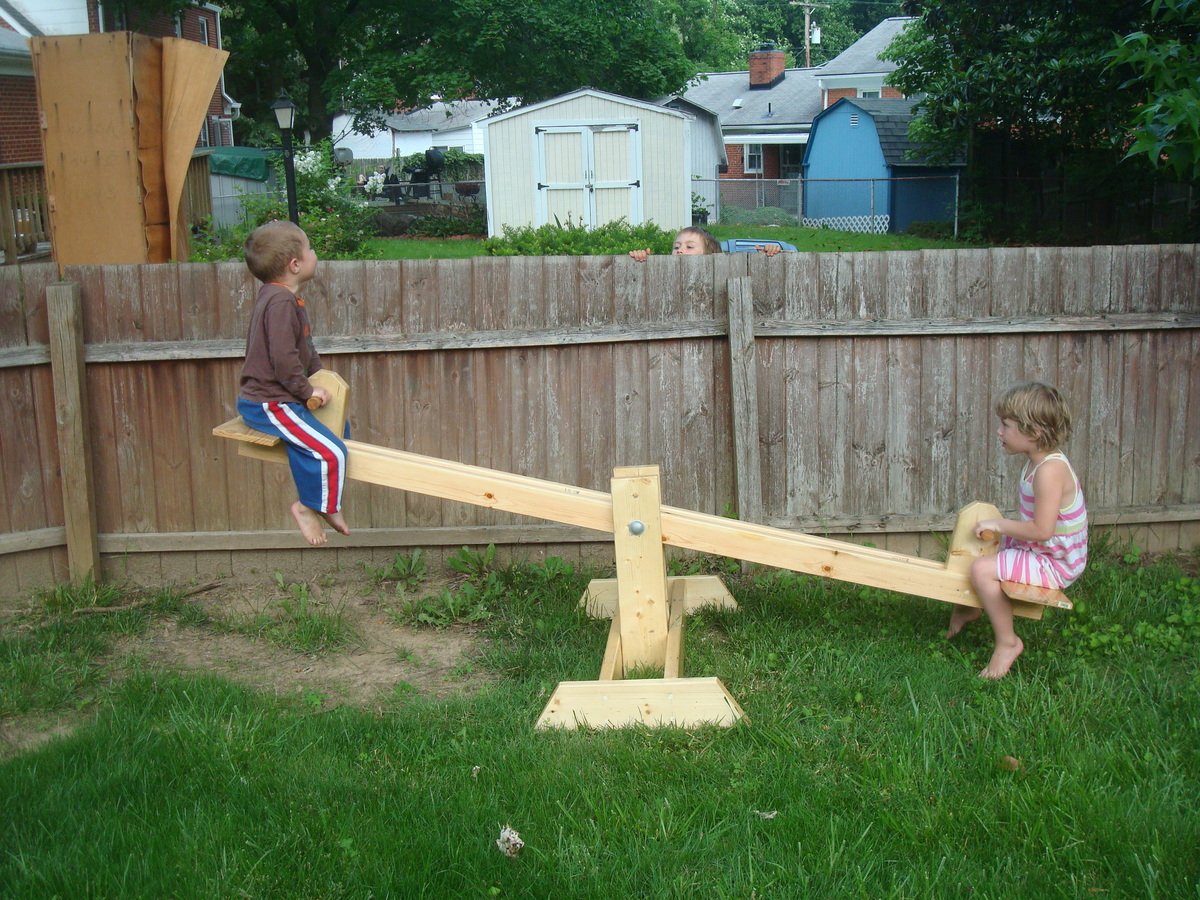
(and you can see from the picture that it's structurally sound!)
It took a little longer than the 45 minutes in the plans, but was finished before the birthday party :-) Our kids ( 5 and 7) even had ownership in this project and enjoyed helping sand.
Only modification we made to the plans was to turn the seats 90 degrees to make a bit more of a seat so that our 2 year old could seesaw too.
Built from Plan(s)
Estimated Cost
$60
Estimated Time Investment
Day Project (6-9 Hours)
Finish Used
polyurethane
Recommended Skill Level
Beginner